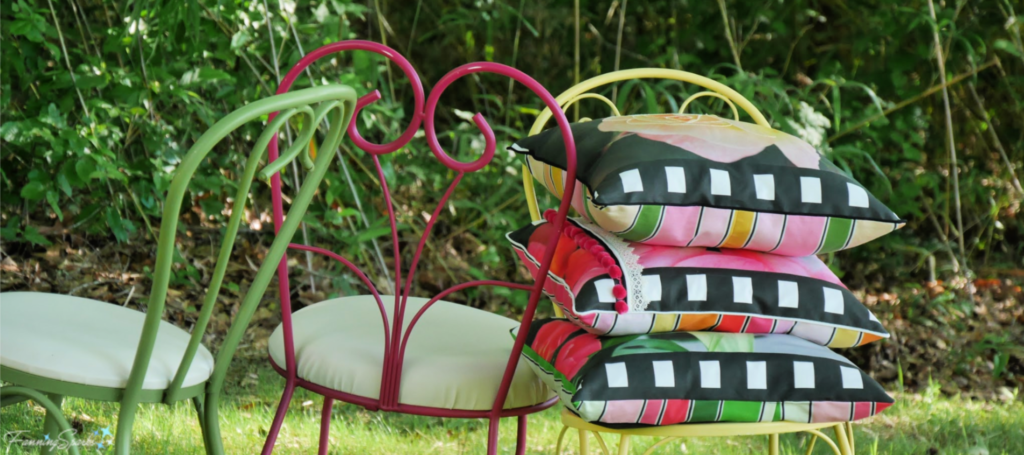
Recently while sprucing up the front porch for summer, I decided some bright and cheerful pillows were needed for a little extra punch. Decorative pillows are a great way to add color, texture and interest with very little investment. Plus it’s easy to make them special and unique. They’re like a blank canvas—just waiting for a little creativity.
I’m always looking for ways to incorporate my photos into our home décor. So why not incorporate some of my favorite shots into these new pillows? And what could be brighter and cheerier than flowers? Flowers come in all colors so I could select images to match the vibrant color scheme—magenta, yellow and green—of our outdoor furniture.
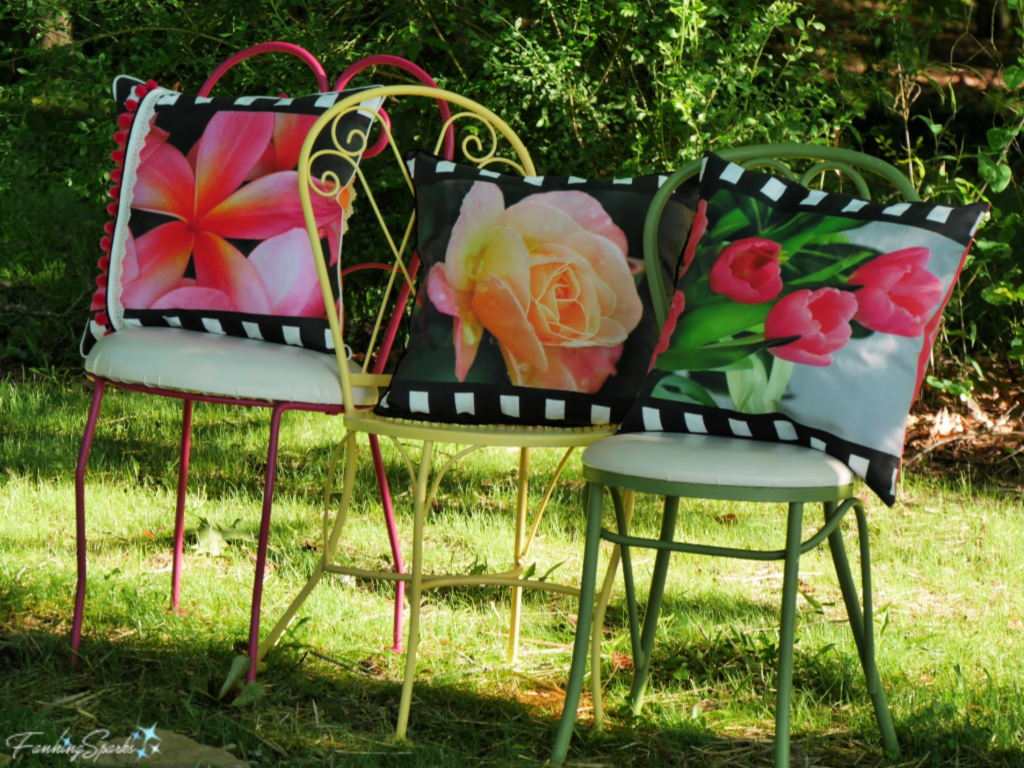
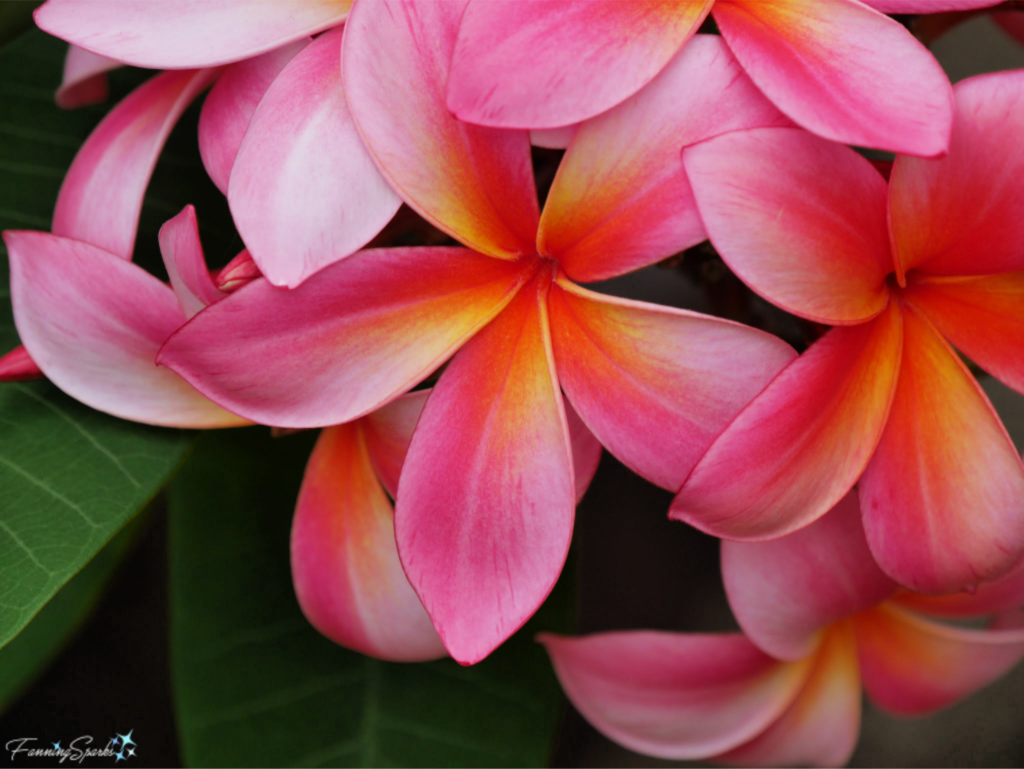
Sorting through my numerous flower images, I was reminded of the places where I saw these flowers and took the photos. This sparked the idea to pair flowers with destinations. For me, travel and flower gardens go hand in hand! It was fun to design a unique collection of pillows. I selected the tropical frangipani because it reminds me of my beloved Singapore.
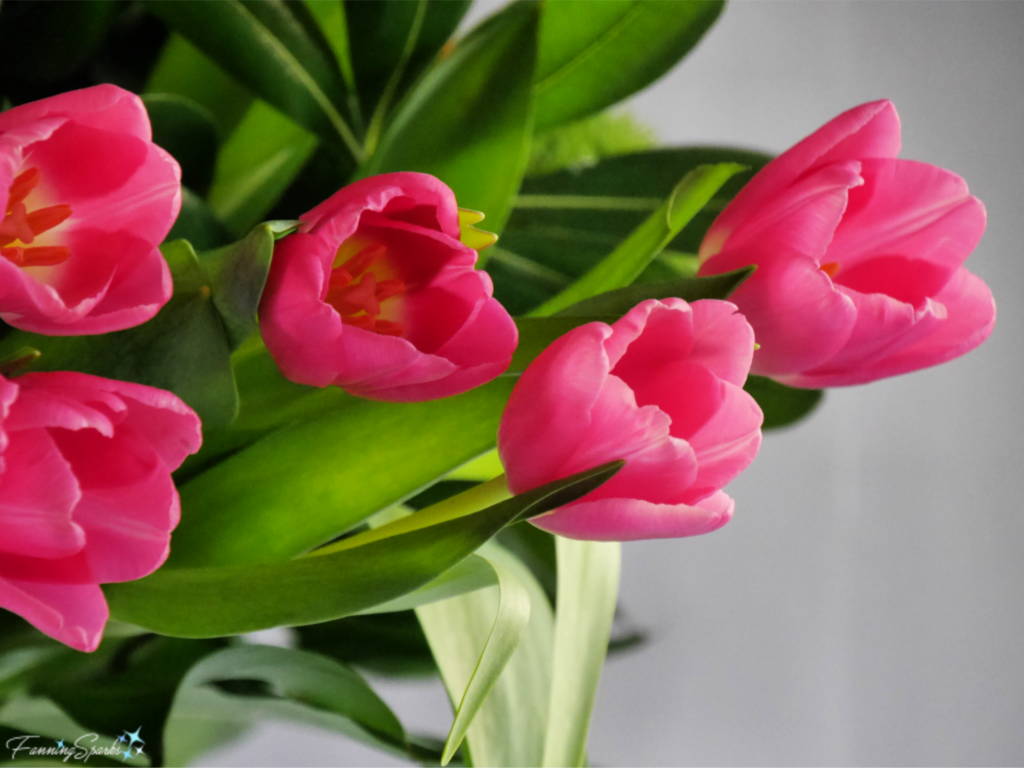
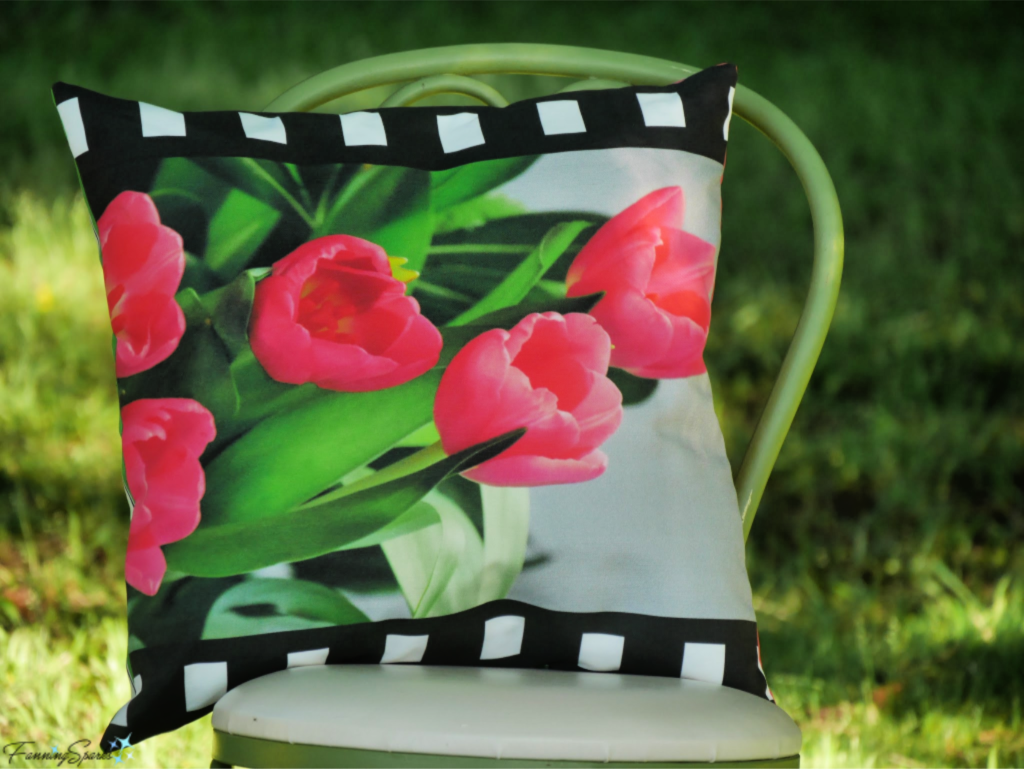
Tulips are a beautiful, and obvious, choice for the charming Netherlands. I was reminiscing about the Dutch tulip fields in a recent post—check out A Virtual Visit to Lisse if you missed it.
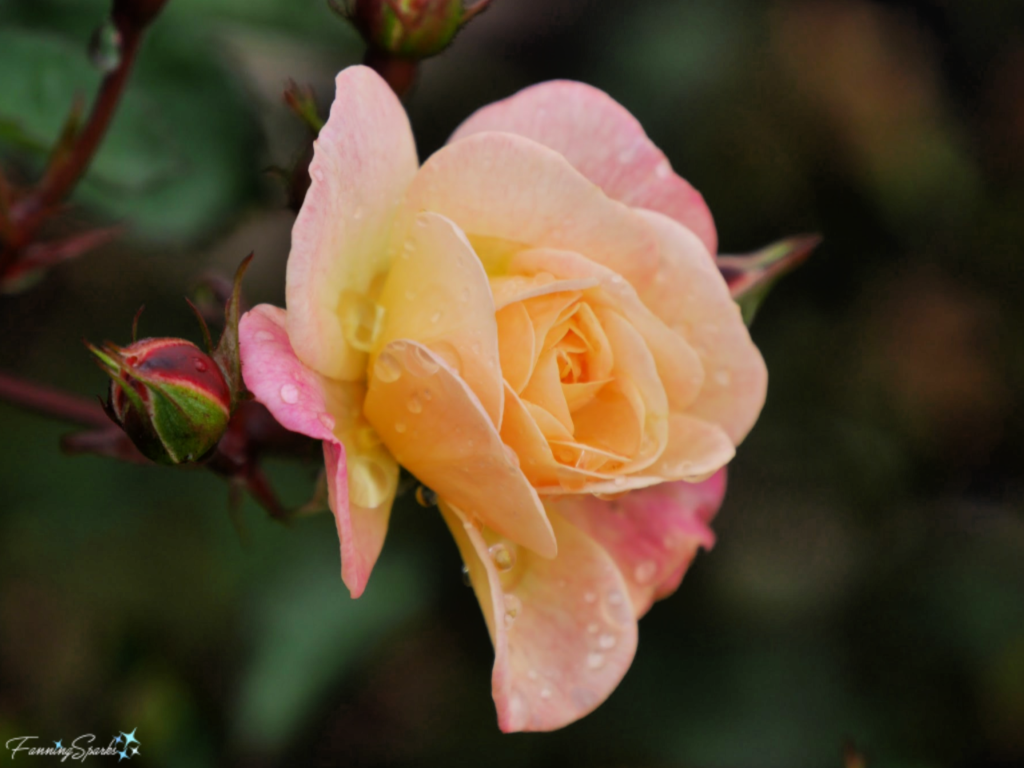
Roses are the quintessential English country garden flower and a perfect reminder of the gardens I toured in England. While it was too early in the season for roses when I visited the Pashley Manor Gardens, the gardens were beautiful. You might enjoy A Virtual Stroll in Ticehurst which I shared recently.
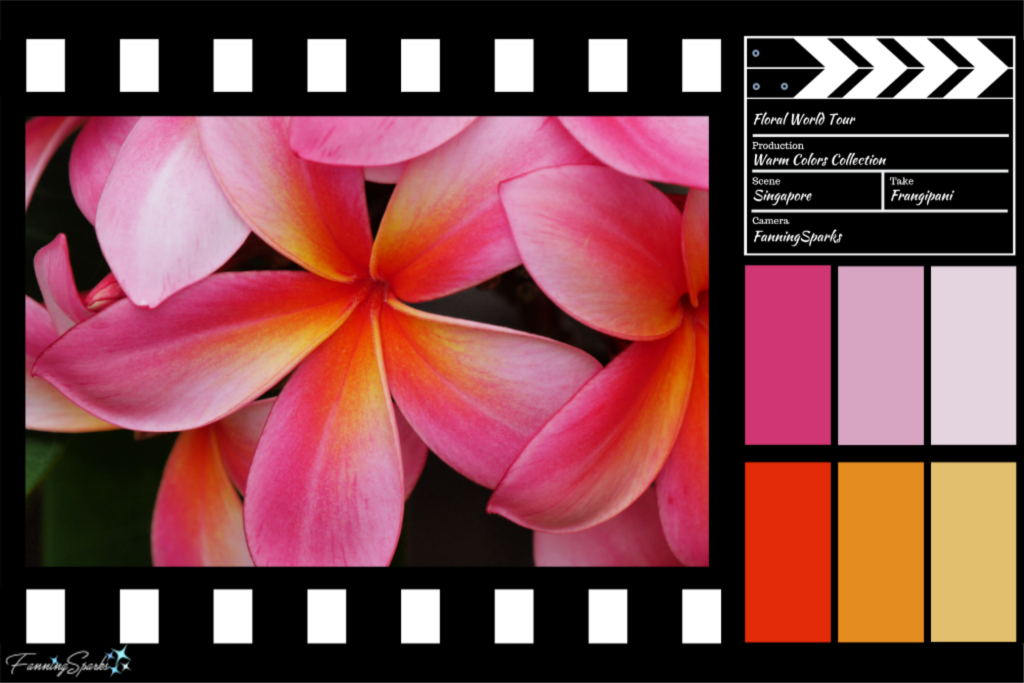
Having selected the flowers and countries, it was time to create the actual design. The goal was to create an 18″ square pillow. I used a few different tools but the final design was done in Canva which is an online graphic design tool. I stayed true to the original photos as much as possible but decided a border of old-timey film negatives would add a little extra interest. (Sidenote: Those who remember the days of film photography may recall the challenge of aligning those little holes with the camera’s sprockets when loading a roll of film.) By pulling colors directly from the photos, I was able to create a coordinating stripe pattern for the pillow backs. Then in order to call out the flower and country pairings, I mocked up a clapper board to use as a label on the pillow back. There was a little space left over so I added 6 colored boxes to simplify color matching. Eventually, it all came together.
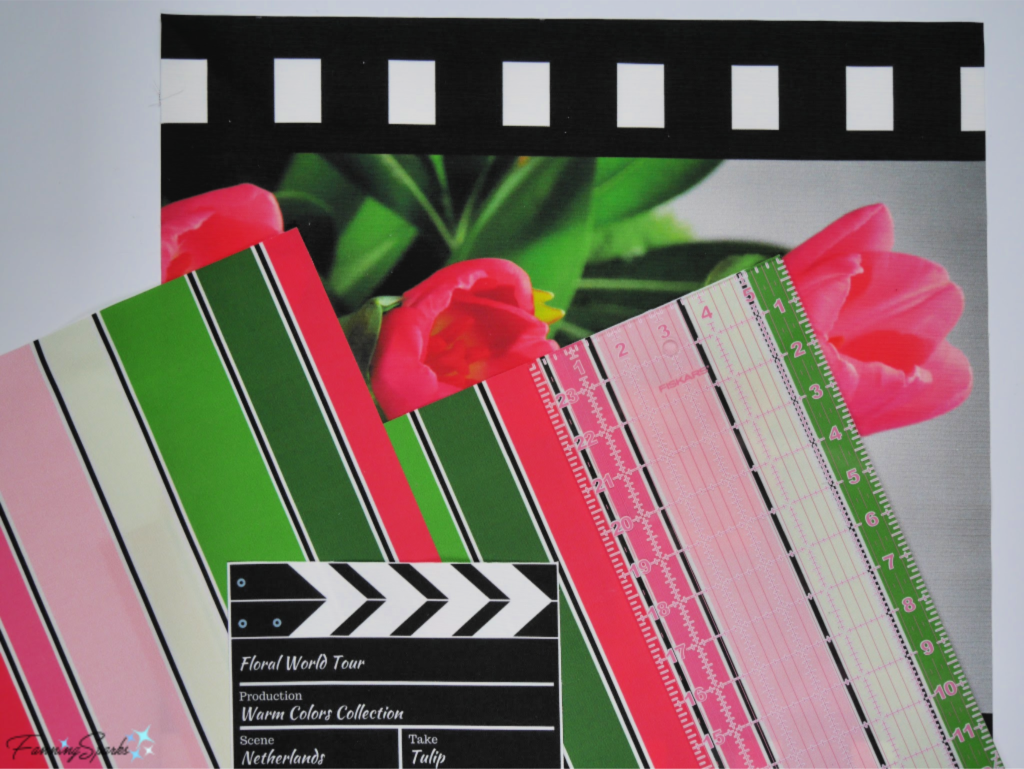
Once I was happy with the design, I uploaded it on the Spoonflower website and had it custom printed. I’ve used Spoonflower’s on-demand printing services before so I knew they would produce an accurate likeness of my design. They did not disappoint! The printed fabric is exactly what was designed. The details are crisp and the colors are vibrant! Here’s a photo of the printed Tulip + Netherlands pillow front.

Now for the best part! With a simple click of a button, I made these designs visible to everyone and listed them for sale! So today I’m announcing my new Spoonflower shop featuring my Floral World Tour – Warm Colors Collection. Check out the new FanningSparks shop on Spoonflower. Here’s a screenshot of the main page.
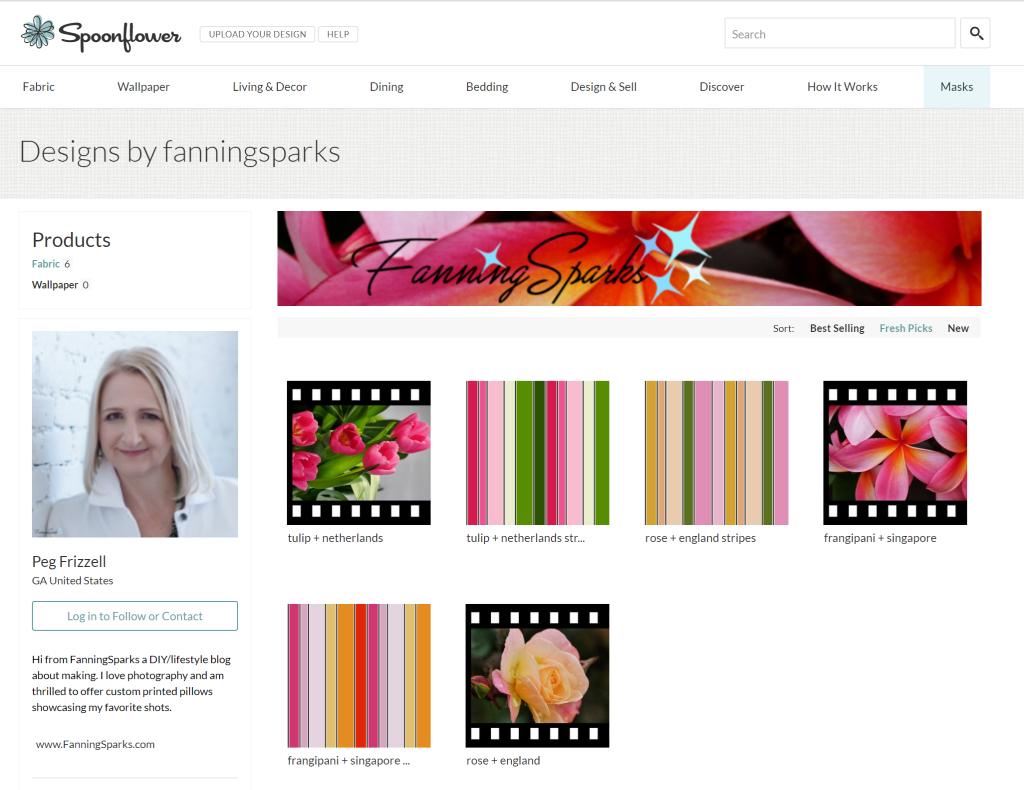
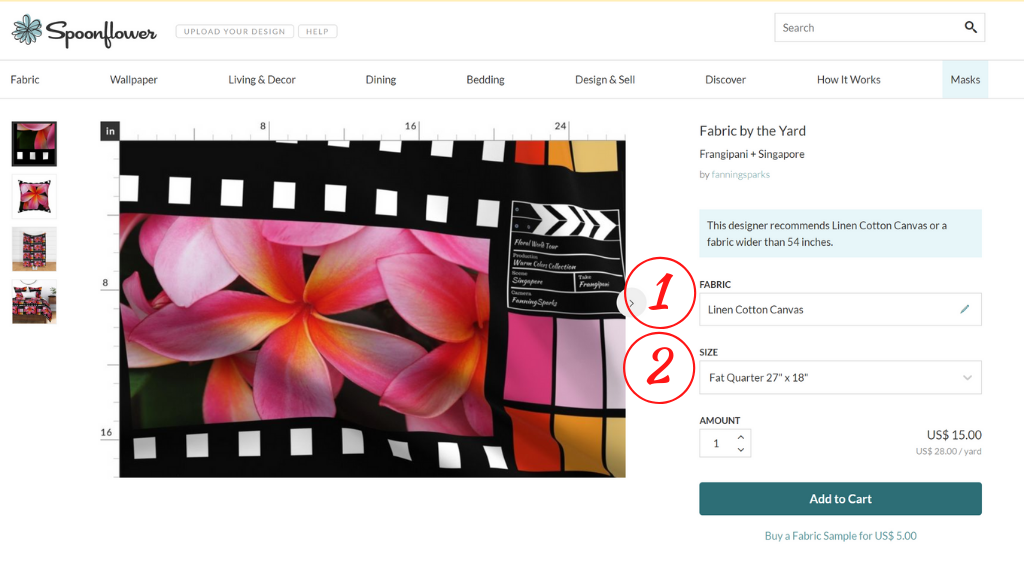
My Spoonflower offering is for cut-and-sew 18” square pillow covers. There are 3 design options: Tulip + Netherlands, Frangipani + Singapore, and Rose + England. Why not give it a try? Simply order 2 fat quarters—one with the flower image and one with the coordinating stripes. As shown in the below screenshot, there are a couple of selections to make when ordering:
1. Fabric: I recommend the Linen Cotton Canvas. This fabric is 54” (137cm) wide. It’s a versatile blend of linen and cotton which is perfect for home décor textiles such as pillows, table linens and tea towels.
2. Size: The pillow covers are specifically designed for a 27” x 18” fat quarter. This means the fabric must be at least 54”. A narrower fabric, such as 42” (107 cm) Petal Signature Cotton, will not print the full pillow front as designed.
The only additional supplies you’ll need are an 18” square pillow insert and thread. Only basic sewing is required—the construction is straightforward, the seams are straight and the envelope closing means no fussing with zippers or buttonholes. If you’ve dusted off your sewing skills to sew face masks recently, this would be the perfect next project. My next post, Basic Pillow DIY Tutorial, includes detailed step-by-step instructions.
Here’s how the Tulip + Netherlands pillow turned out. Bright and cheerful? Check!
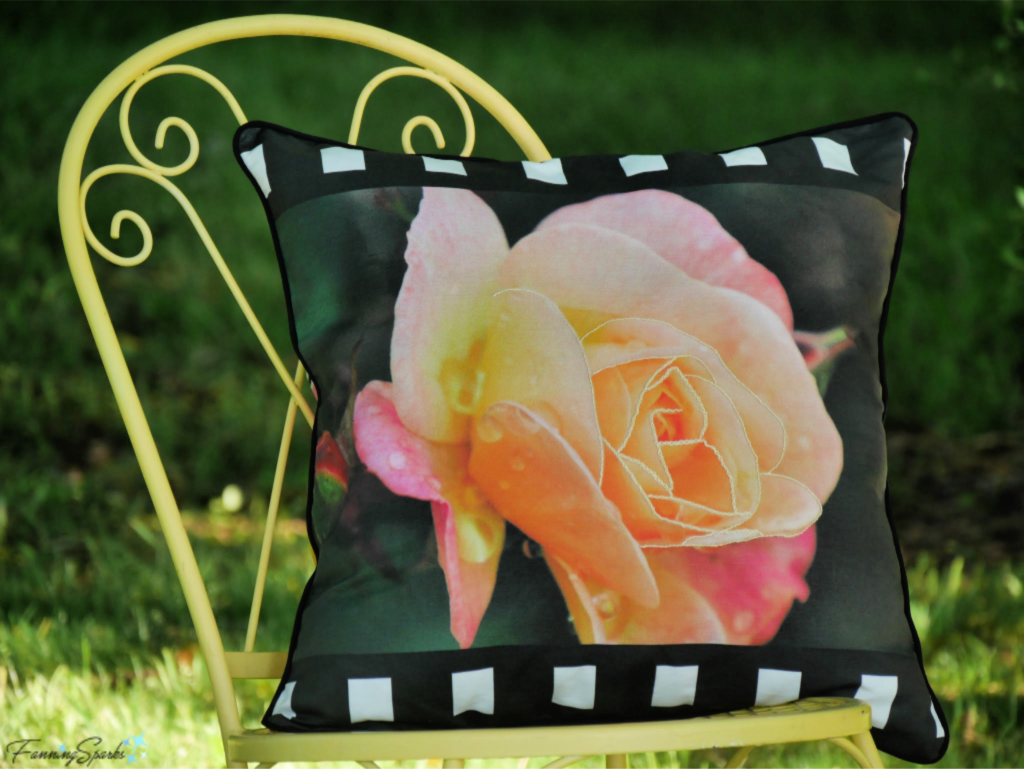
One of the best things about this project is its versatility. The pillows are pretty and unique as designed but you can also add your own personal flair. I couldn’t resist the opportunity to add a little embroidery to the Rose + England pillow. Here it is in progress.
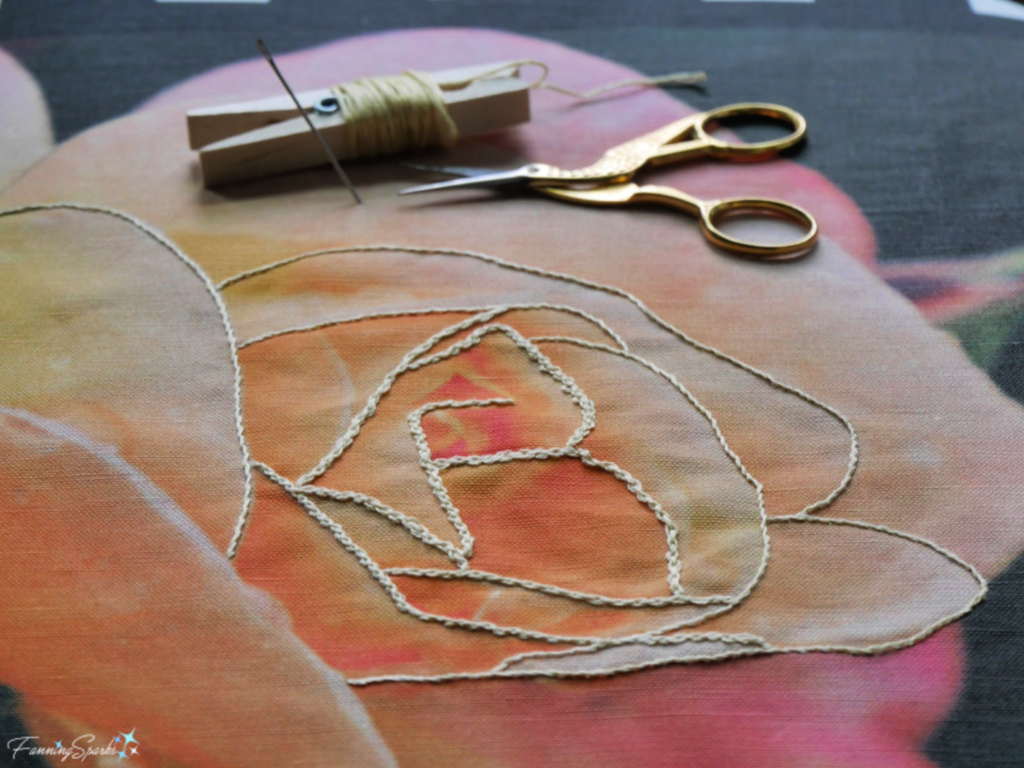
I absolutely love how it turned out.
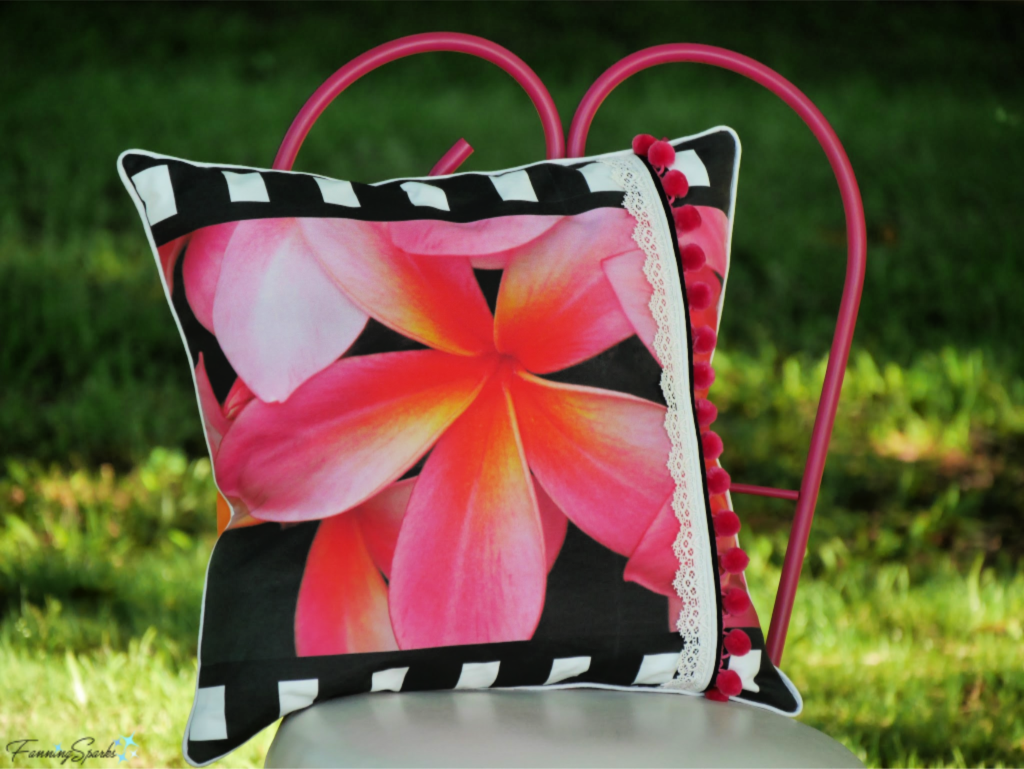
I chose a different approach with the Frangipani + Singapore pillow and selected from an assortment of trims.
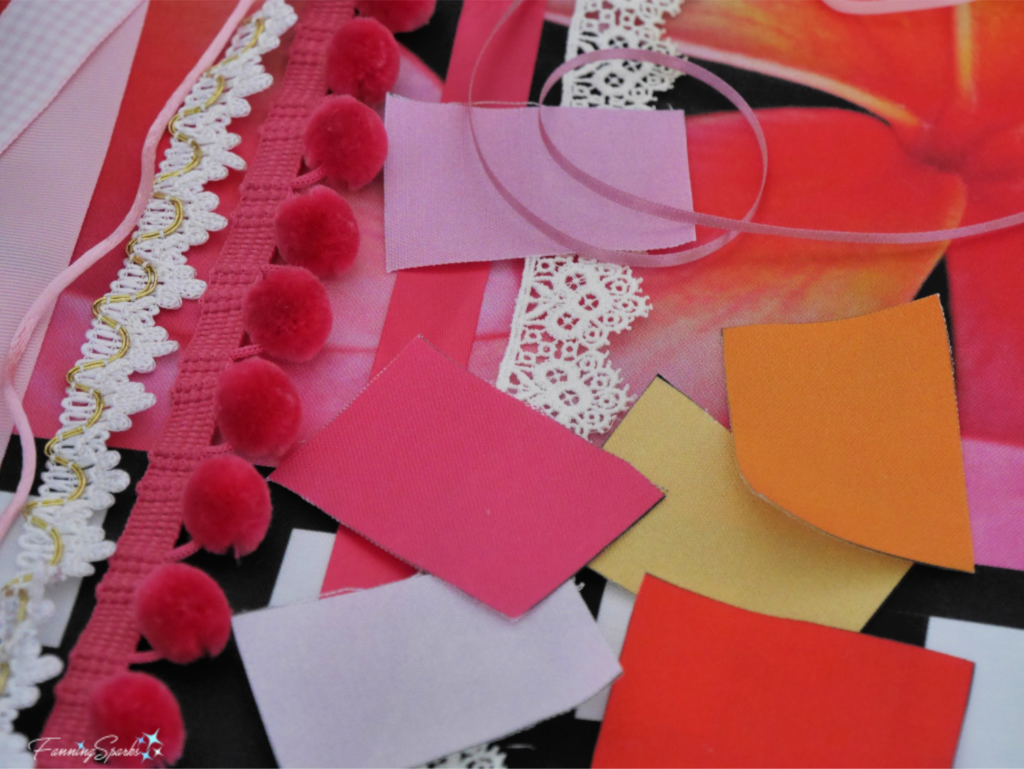
Here’s how it turned it.
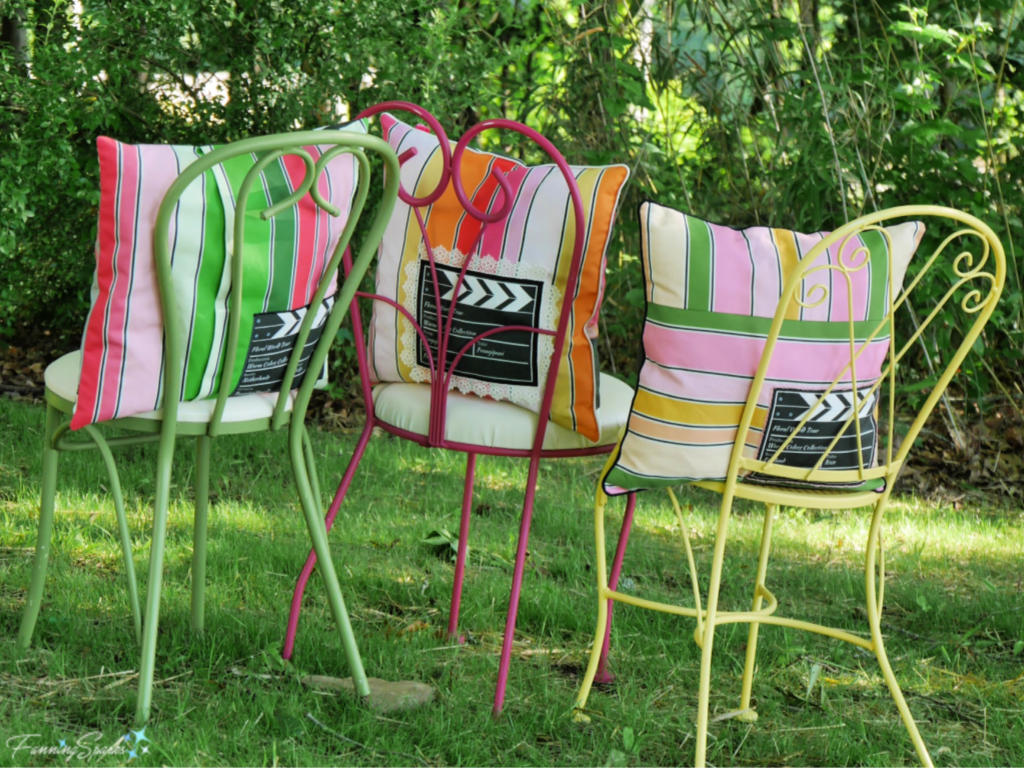
I also played around with the pillow backs to add a little variety.
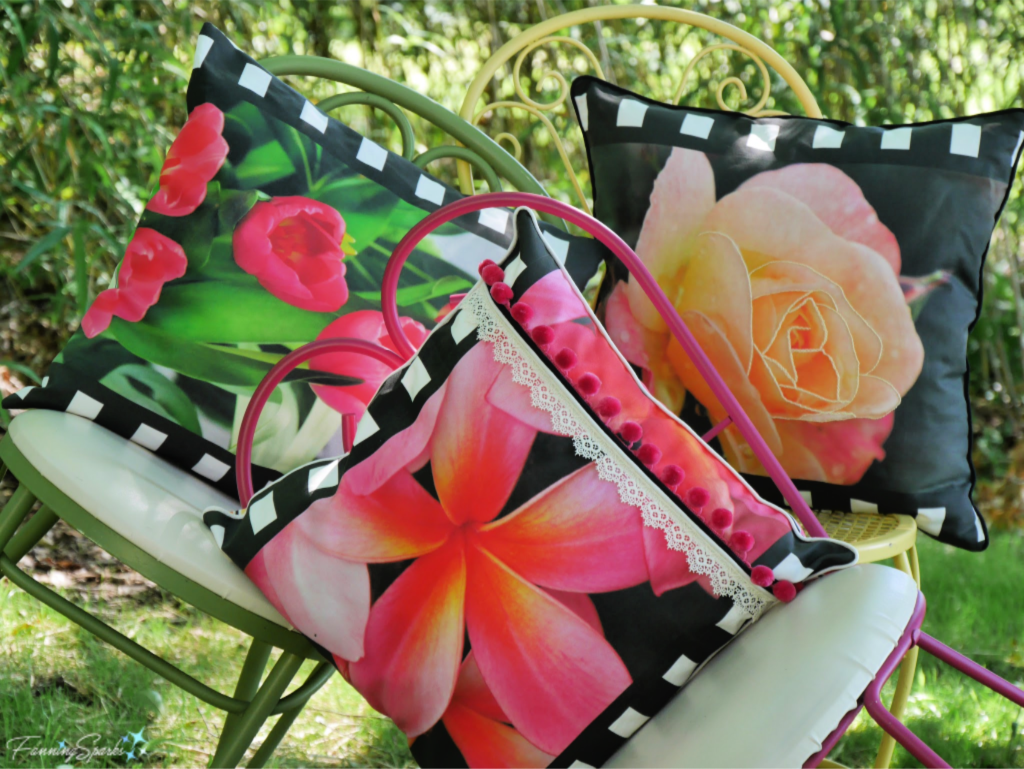
I’ll close with one final shot and a special request. Please could you take a minute to visit the FanningSparks Spoonflower shop, create an account, follow the shop and/or heart your favorite designs? If you have friends who might also be willing to do so, please pass along this request to them. This feedback will go a long way to gaining traction in the vast world of Spoonflower design. Thank you… I’m grateful for your help!
More Info
This is the new FanningSparks shop on Spoonflower. Please check it out!
Detailed step-by-step instructions for sewing these amazingly simple pillows can be found in my post Basic Pillow DIY Tutorial. I’ve added a second collection of decorative photo pillows featuring ferns. Check it out in the post Bring In the Outdoors – Fern Collection.
I’ve raved about Spoonflower in previous posts. Check out the DIY Personalized Fabric-Covered Journal Tutorial posts Part 1 and Part 2.
Today’s Takeaways
1. Decorative pillows are a great way to add color, texture and interest.
2. Consider incorporating photos printed on fabric in your décor.
3. Entertain the idea of embellishing pillows with your own personal flair.

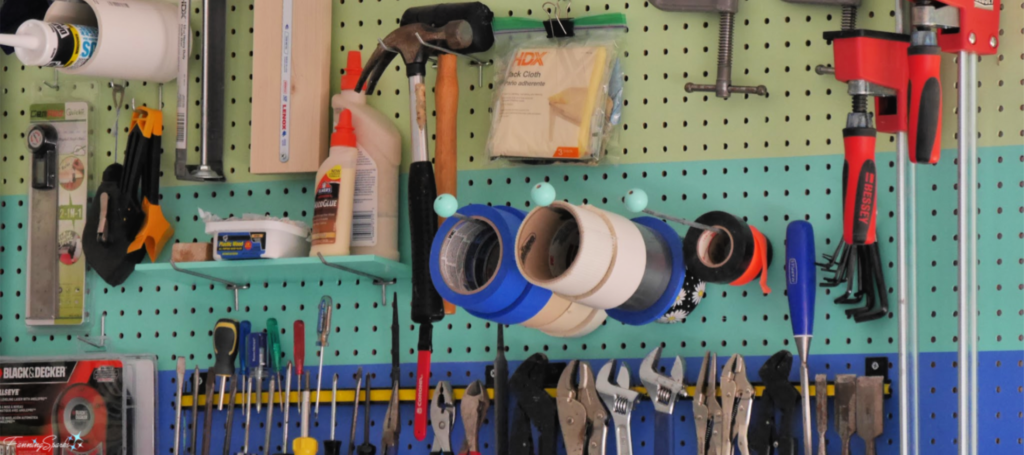
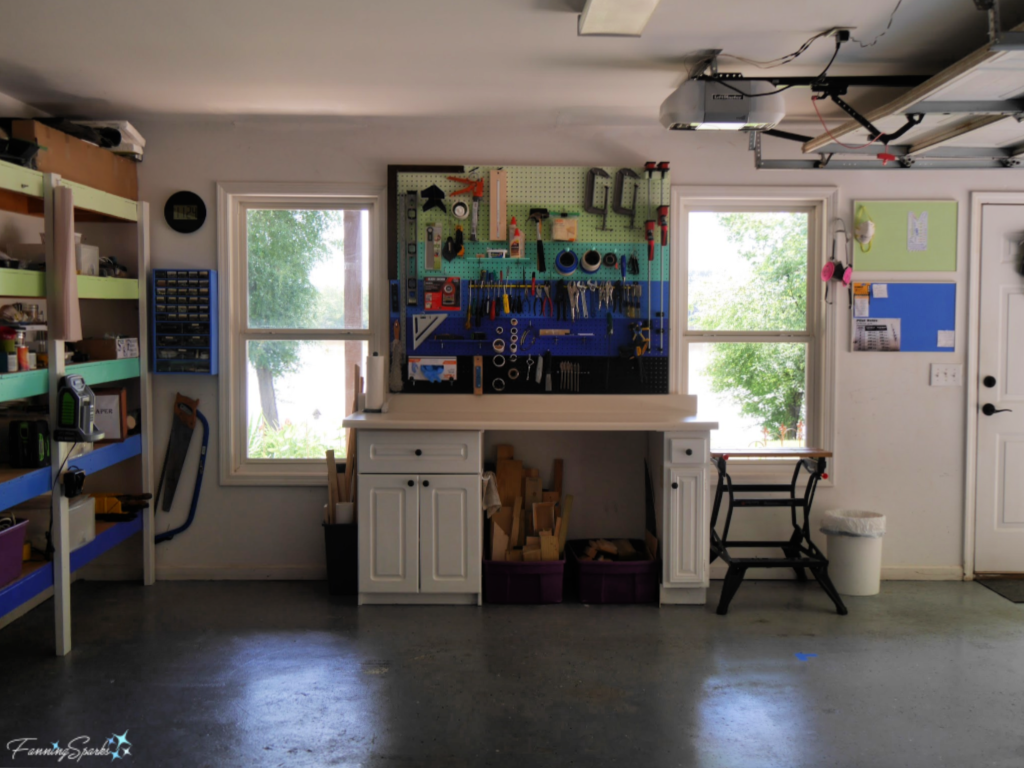 But it wasn’t always like this! Before last week, only a few tools like the jigsaw and drill were stored in the cabinet under the workbench. Many of the tools and supplies I used most frequently were stored on shelves on the opposite side of the garage. So every time I needed a hammer or a piece of sandpaper I had to walk around our second vehicle. I’m not complaining—I love having a dedicated workshop area and I really didn’t mind maneuvering around the vehicles. That being said, it wasn’t the most efficient setup and space was tight.
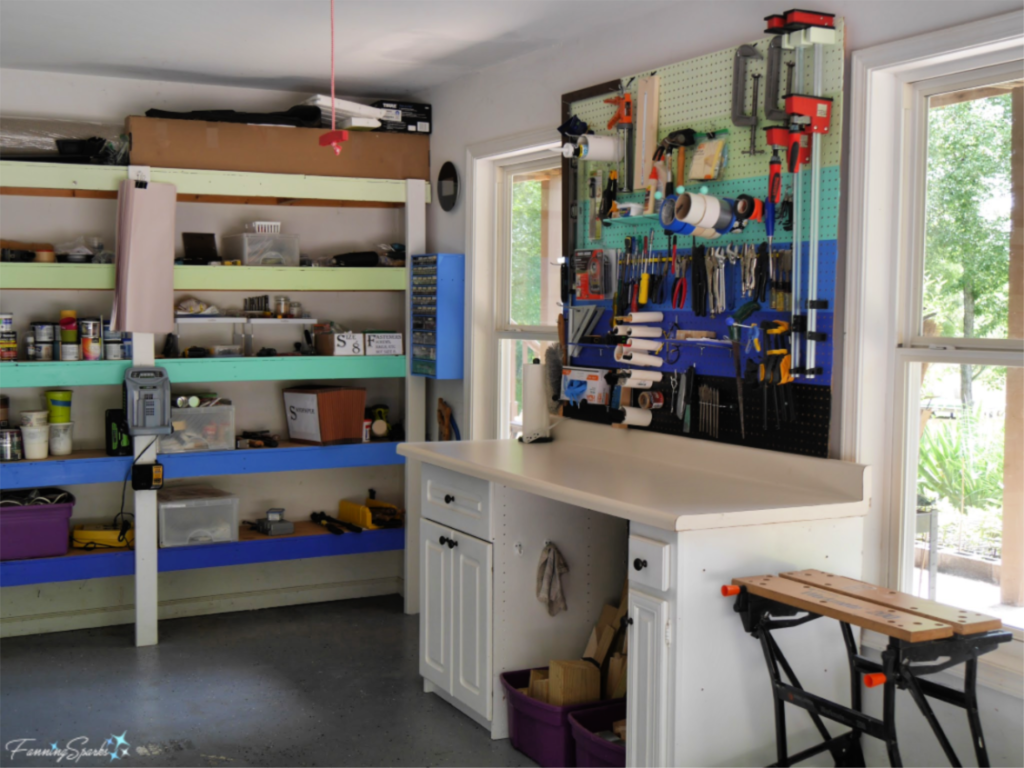 Hanging a pegboard and reorganizing isn’t ground breaking but I’m amazed at the improvement. Now my frequently used tools and supplies are within easy reach. It’s so much more efficient to simply reach for a tool than to interrupt my work flow to go fetch it. It’s also easier to keep my work surface cleared. Plus it’s so pleasant to spend time in this pretty workspace. I learned a few things along the way that I thought might be worth sharing. Here are my top 10 tips from our gussied up workshop.
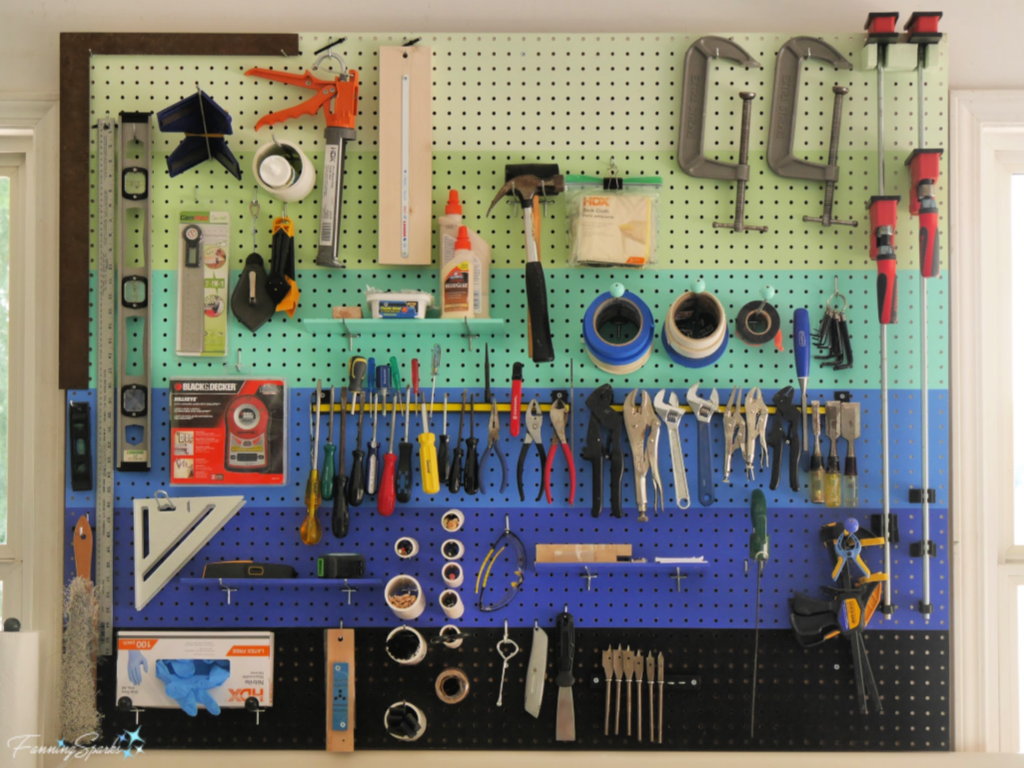 These steps should help maximize your pegboard space:
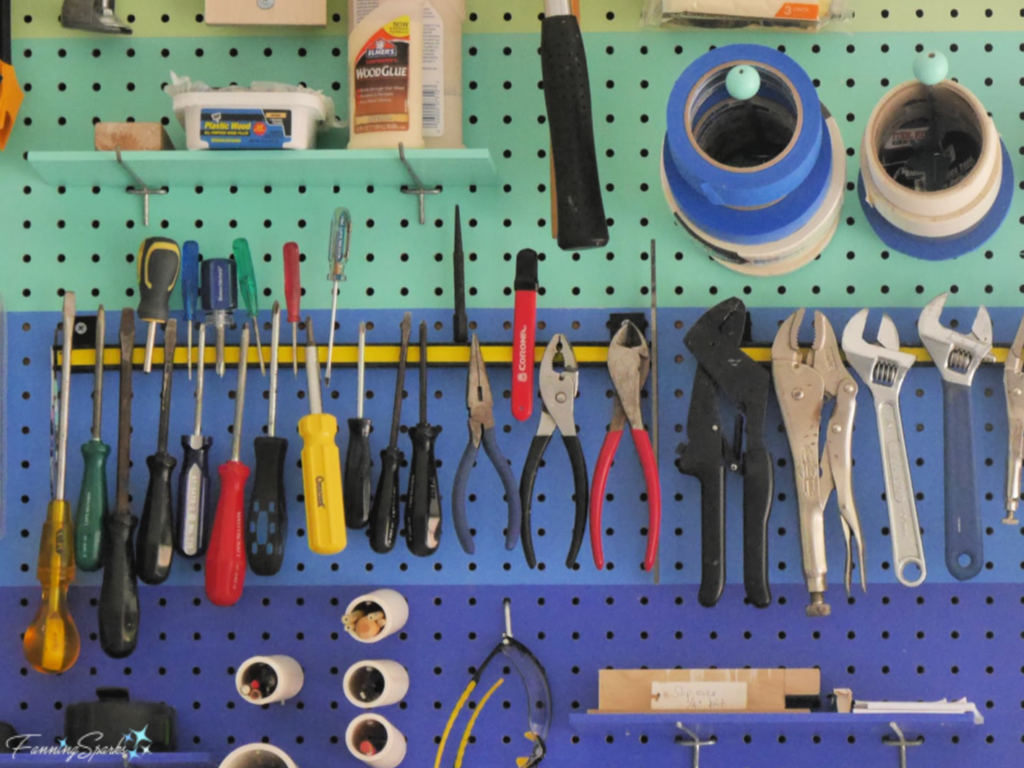
 Tip 3. Magnetic tool bars are great. We already had 2 magnetic tool storage bars so I moved then to the center of the pegboard and secured them to a supporting brace. I really like these bars because the magnets are strong and they hold a lot of items in a small space. The magnetic tool bars, with their bright yellow strips, are shown below.
 Tip 4. Select good pegboard hooks. There are lots of different formats and sizes of pegboard hooks and hangers on the market. I simply repurposed hooks we already had. Some of the hooks were duds and fell out every time I removed the item I’d hung. Other hooks, like the one highlighted below, stayed in place and worked much better.
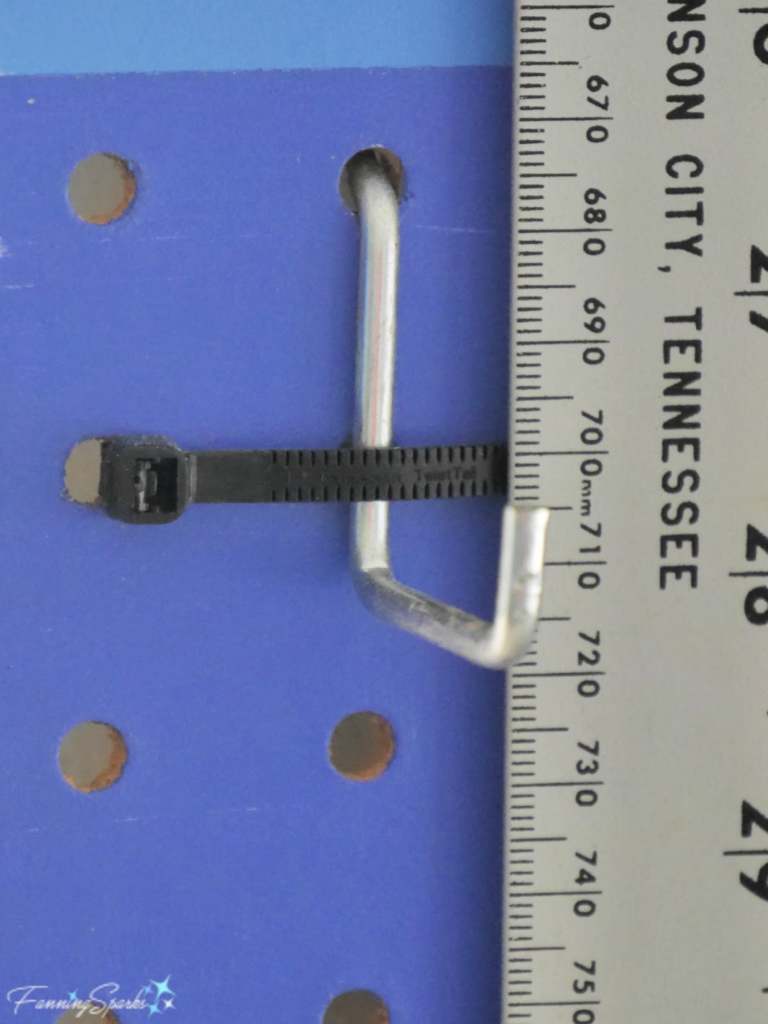
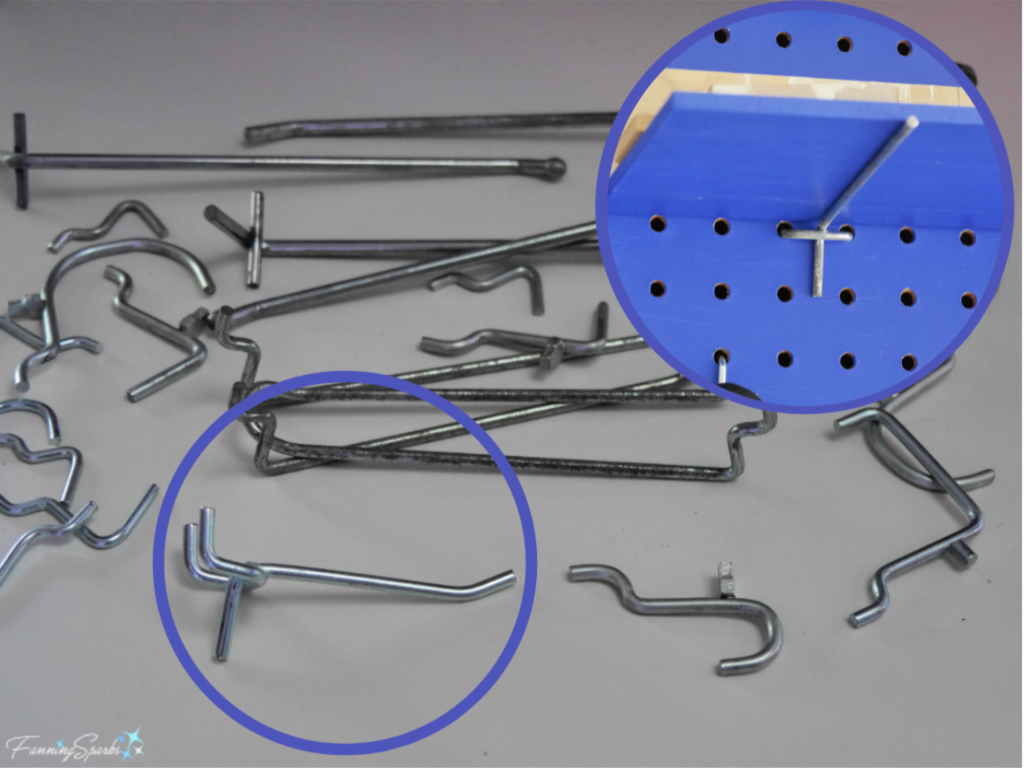 Tip 5. Lock in pegboard hooks. As mentioned, some pegboard hooks won’t stay in place. A simple fix is to secure them with a cable tie. This isn’t a perfect solution, though, because it only works along the edges where you can get your hand behind the pegboard. A quick online check suggests that “peg locks” are the latest solution to this problem. If you’re buying new hooks, consider including peg locks.
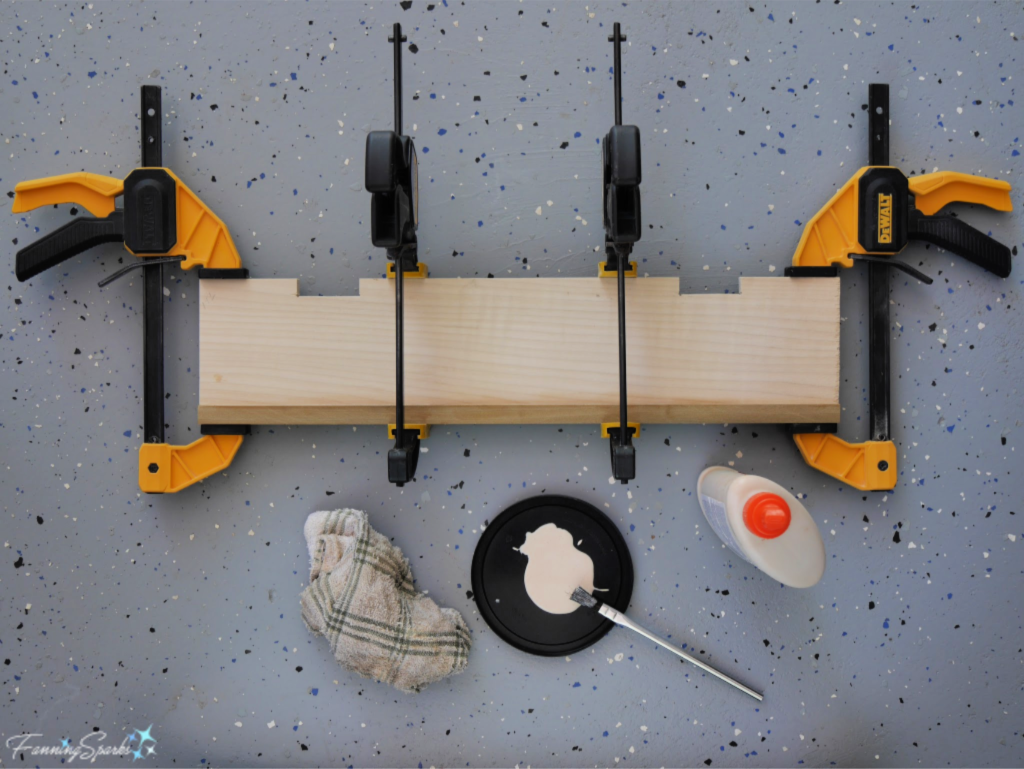
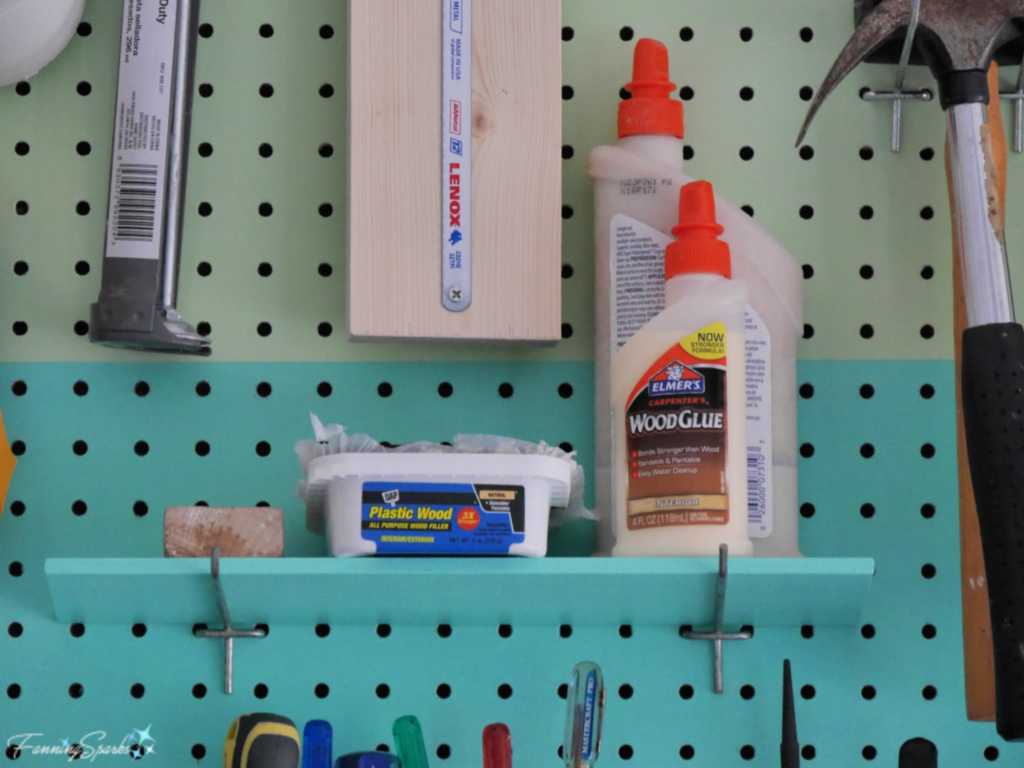
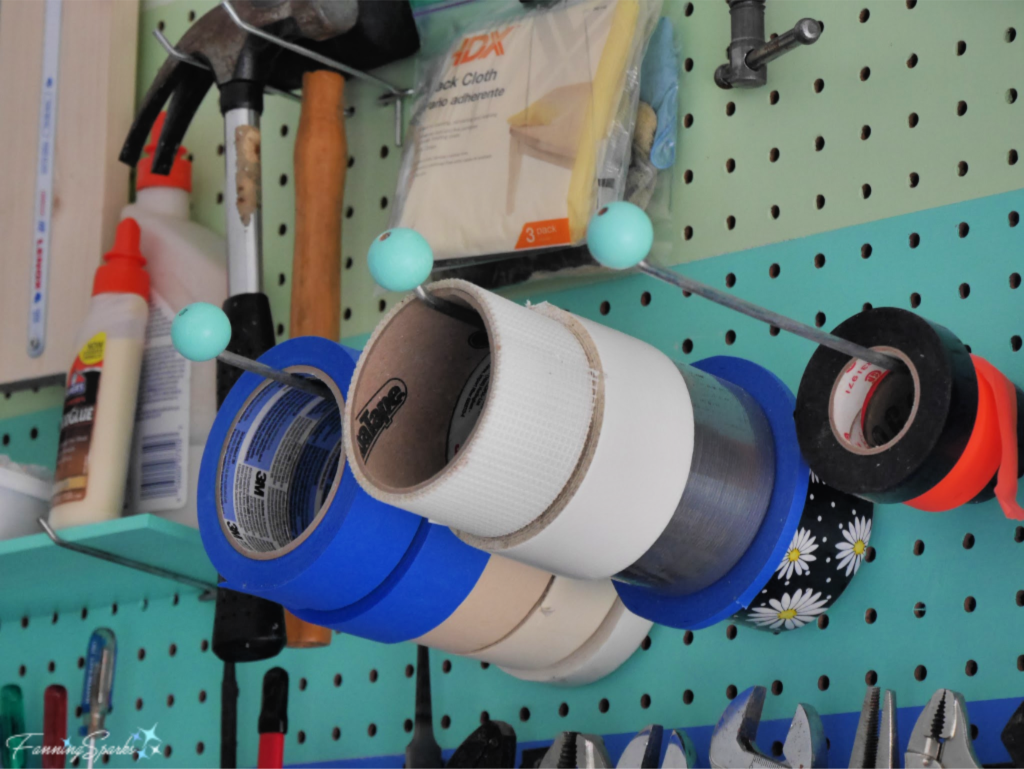 Tip 7. Make small shelves. Some tools and supplies don’t lend themselves to being hung. My sanding block, wood filler and wood glue are examples. It’s easy to create a small shelf using 2 matching pegboard hooks and a small rectangular piece of wood or MDF. I simply laid my shelves across the hooks but you could easily secure them with cable staples.
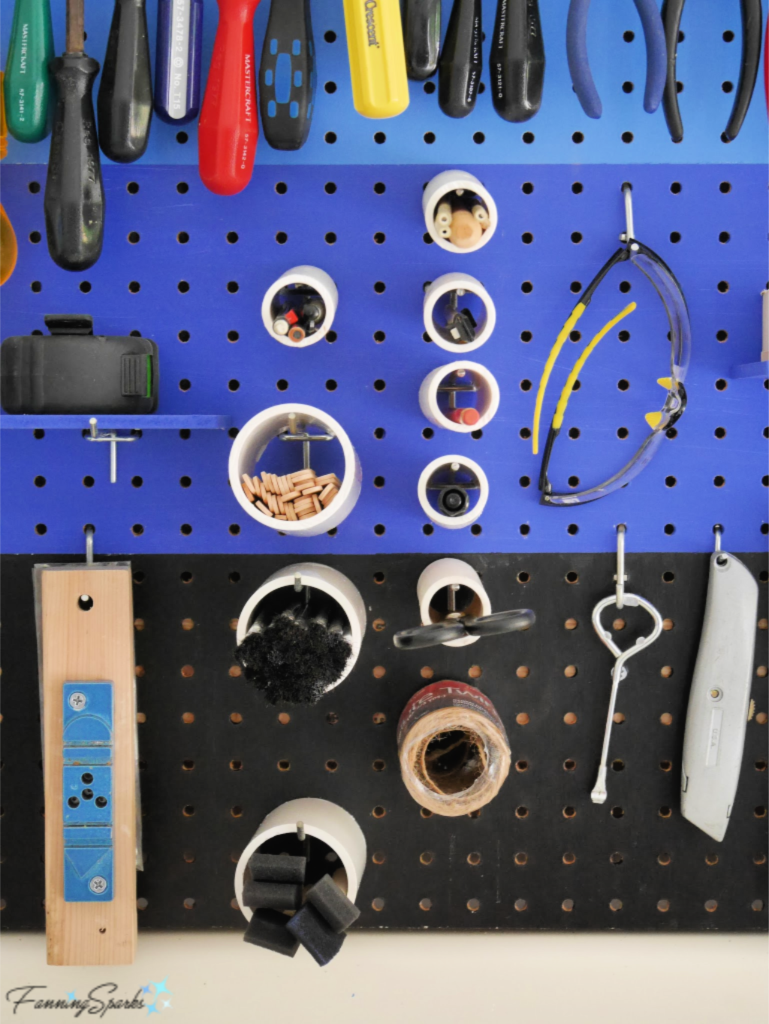
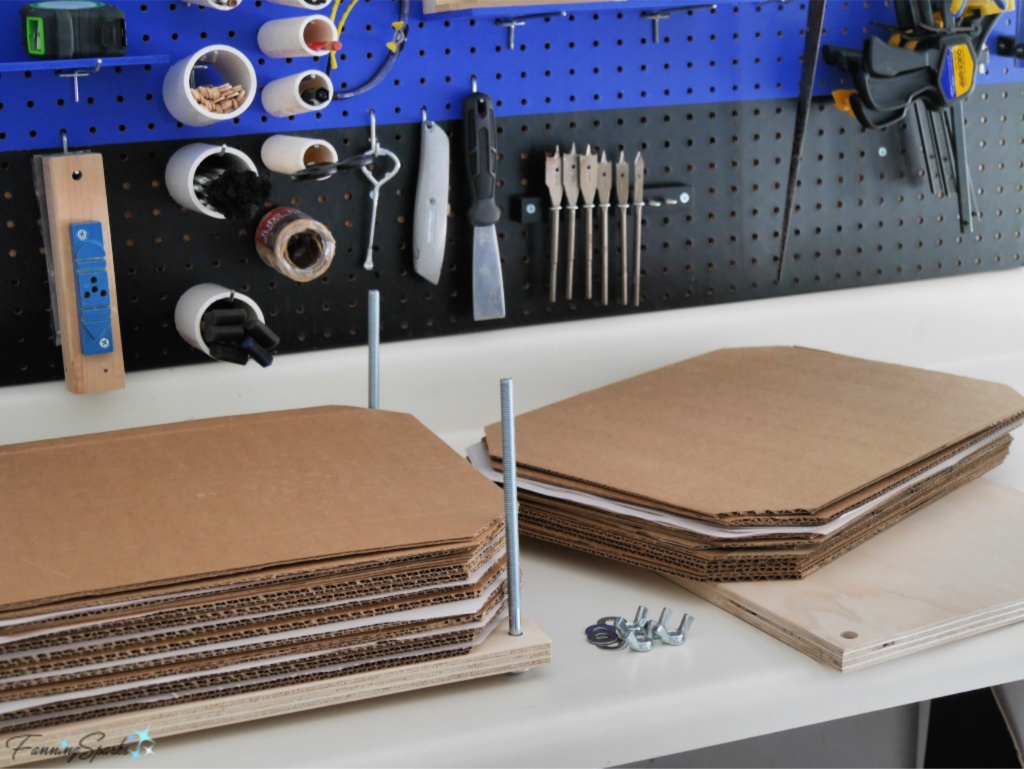
 Tip 8. Hang sections of PVC pipe. Simply cut pieces of PVC pipe and slip them over a pegboard hook. These tubes are perfect for long narrow items like pencils, scissors, craft sticks and small foam paint brushes.
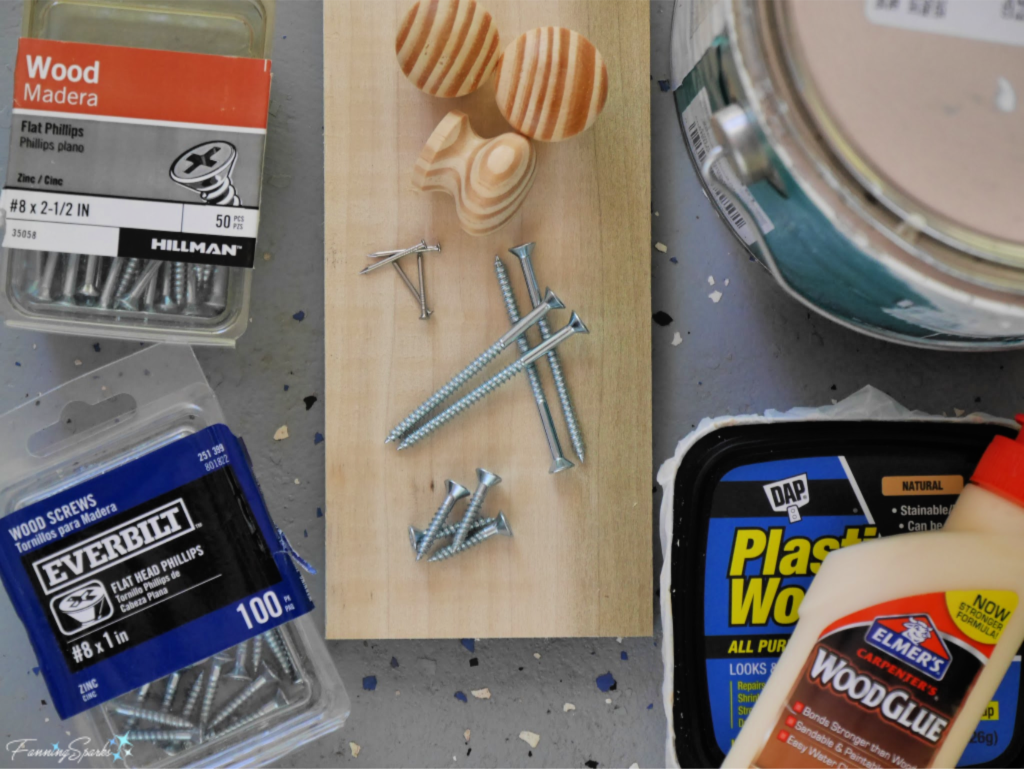
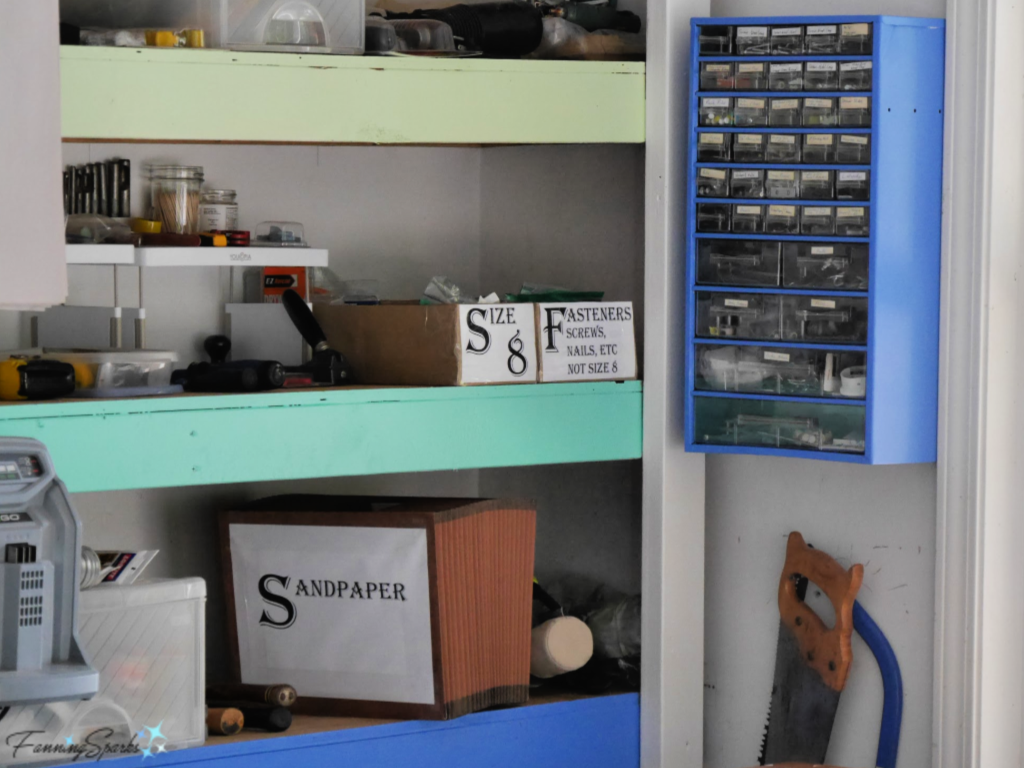
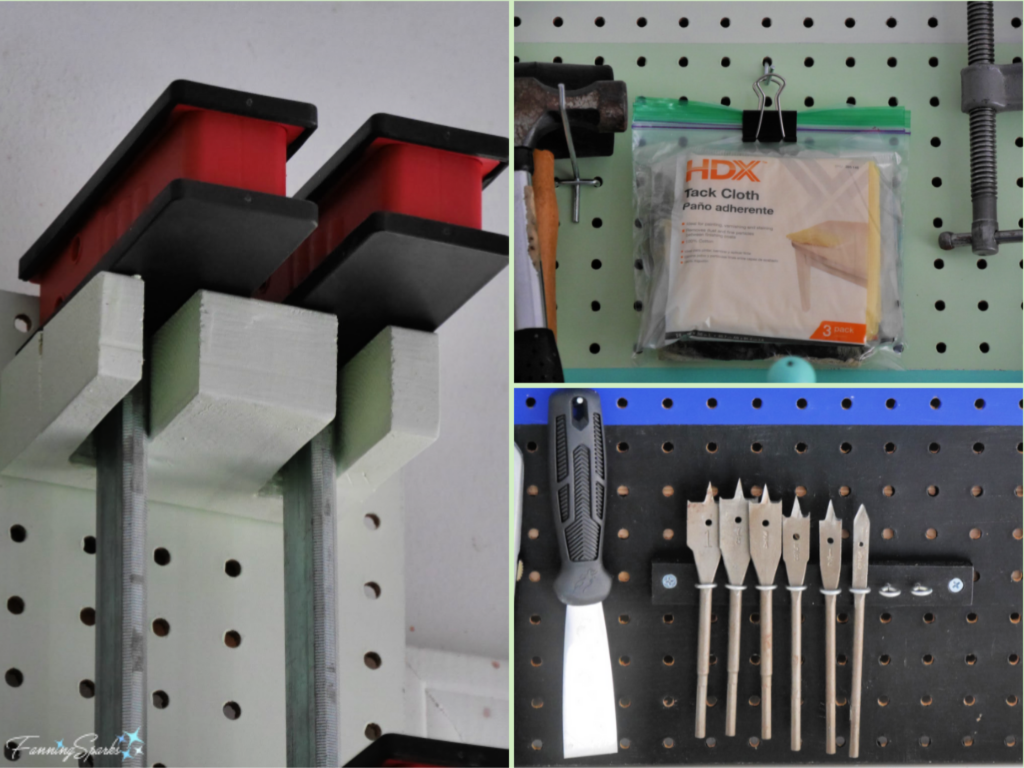 Tip 10. Add labels. Take a few minutes to label items that aren’t obvious. For instance, I like to store sandpaper in an accordion file sorted by grit. Labels make that clear. Another tip that might be helpful relates to fasteners. Whenever possible, I use size 8 fasteners. This has allowed me to build up a good inventory of size 8 screws, for wood and metal, in various lengths. Labels remind me of what goes where.
 Bonus Tip. Paint with bright, cheerful colors. We re-purposed the pegboard from another location. As I was hanging it, I realized it was rather scuffed up and could use a fresh coat of white paint. But, hey, if I’m going to paint it anyway why stick with boring white? That’s when the 6-colored stripes emerged and things got a whole lot more interesting. Very little paint was needed—I just used leftover sample paint which I already had on hand. Although I didn’t set out to paint the pegboard, the faces of the built-in shelves and even my cork bulletin boards, I’m really glad I did.
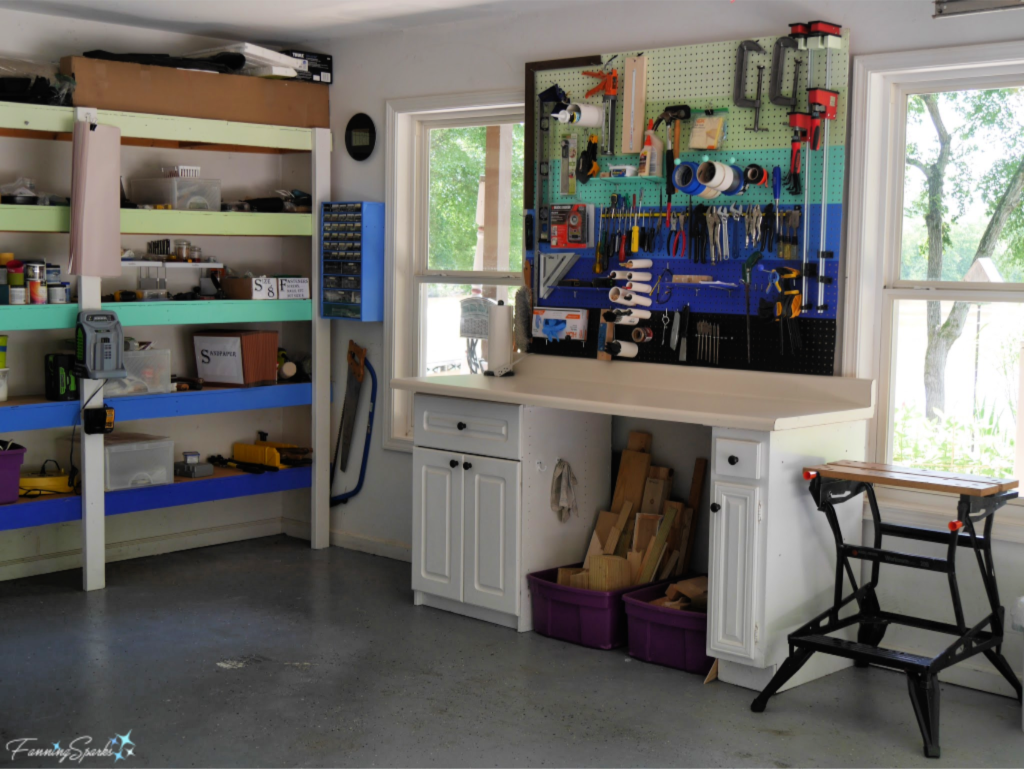 It’s back to project work in our new gussied up workshop! Here’s a sneak preview of one that’s under way.
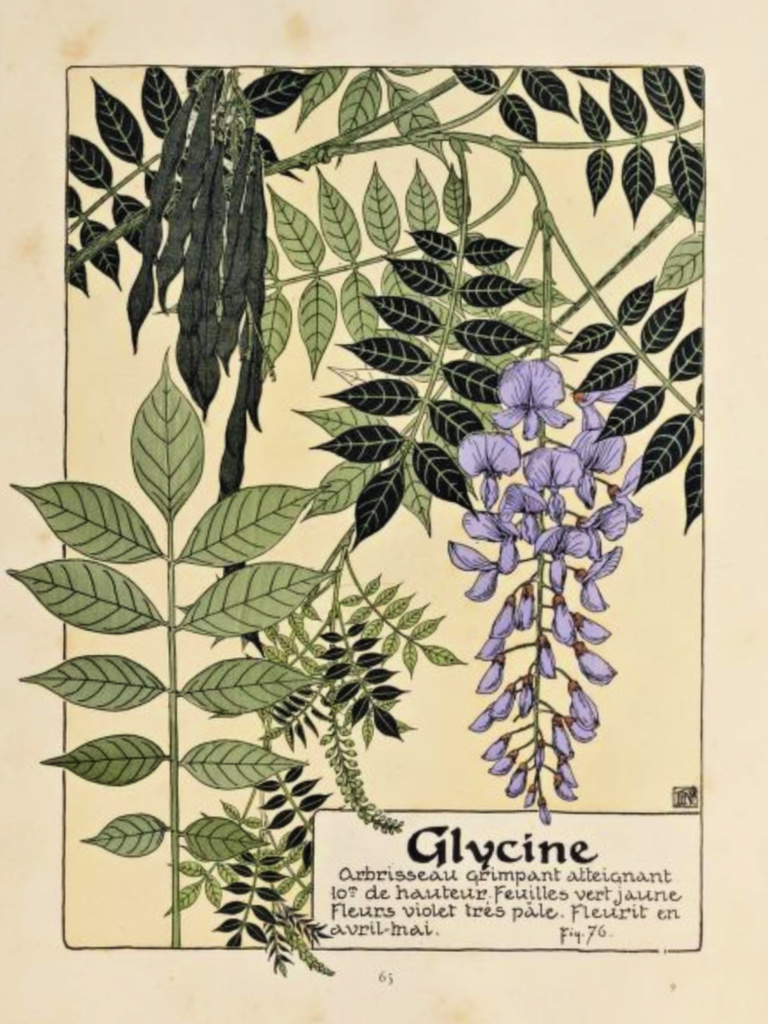
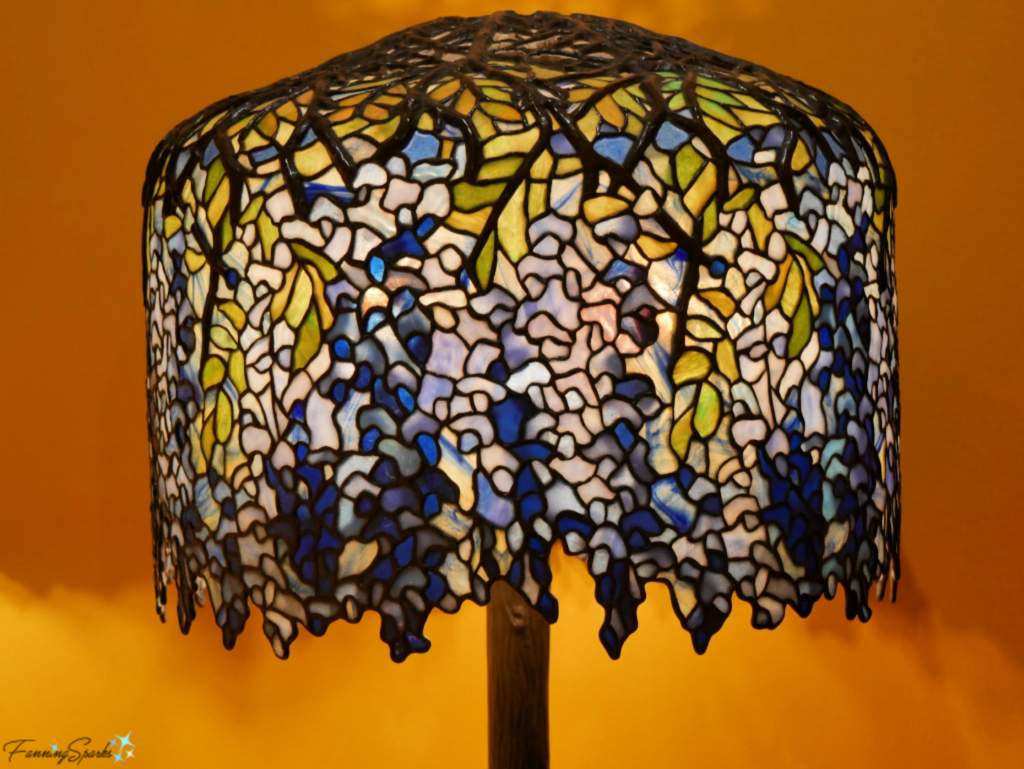
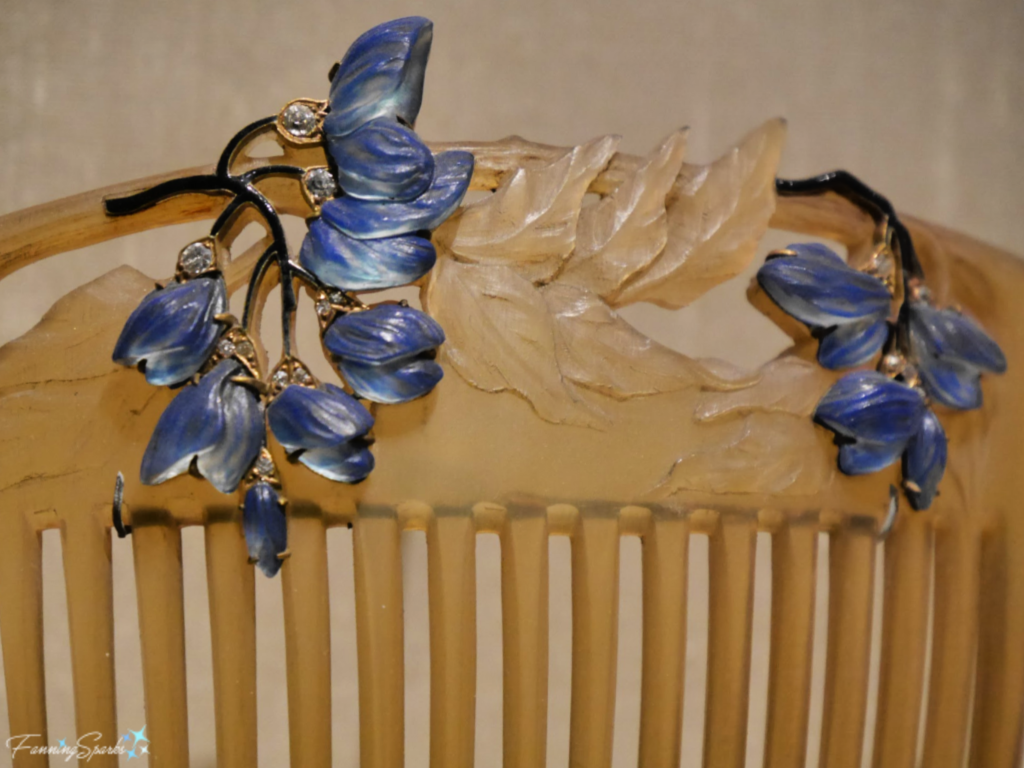 And how could I ever forget the Wisteria lamp? This masterpiece of leaded-glass art by Clara Driscoll is on display at the Morse Museum in Winter Park, Florida. More Art Nouveau stained glass gorgeousness can be seen in my post
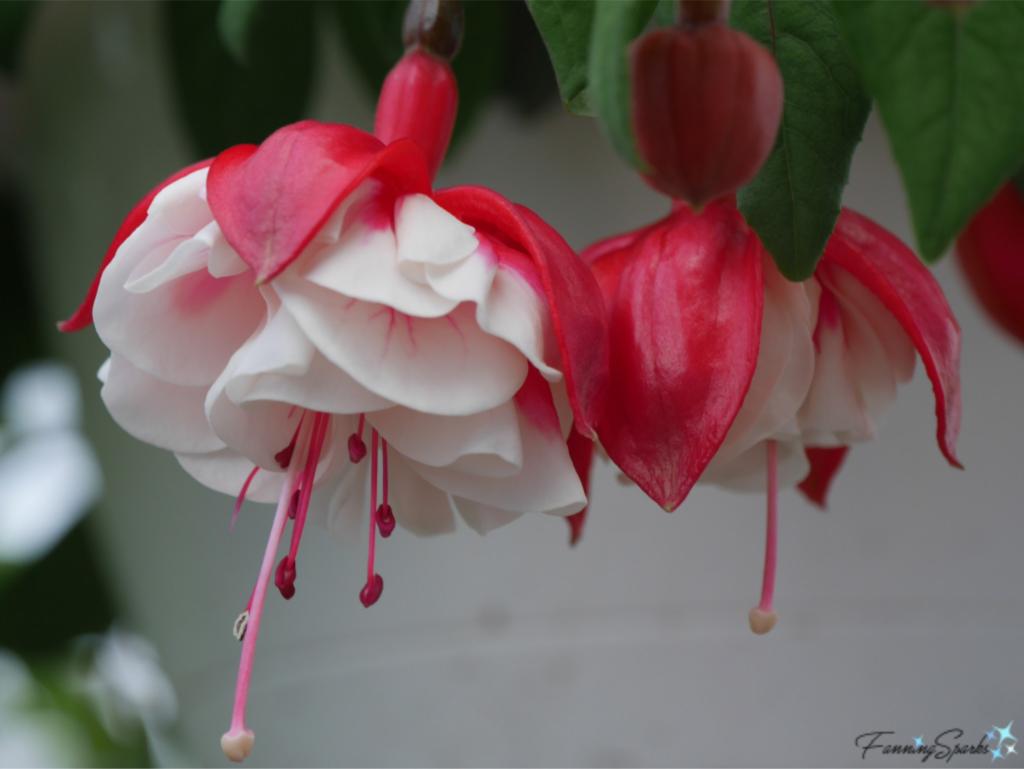
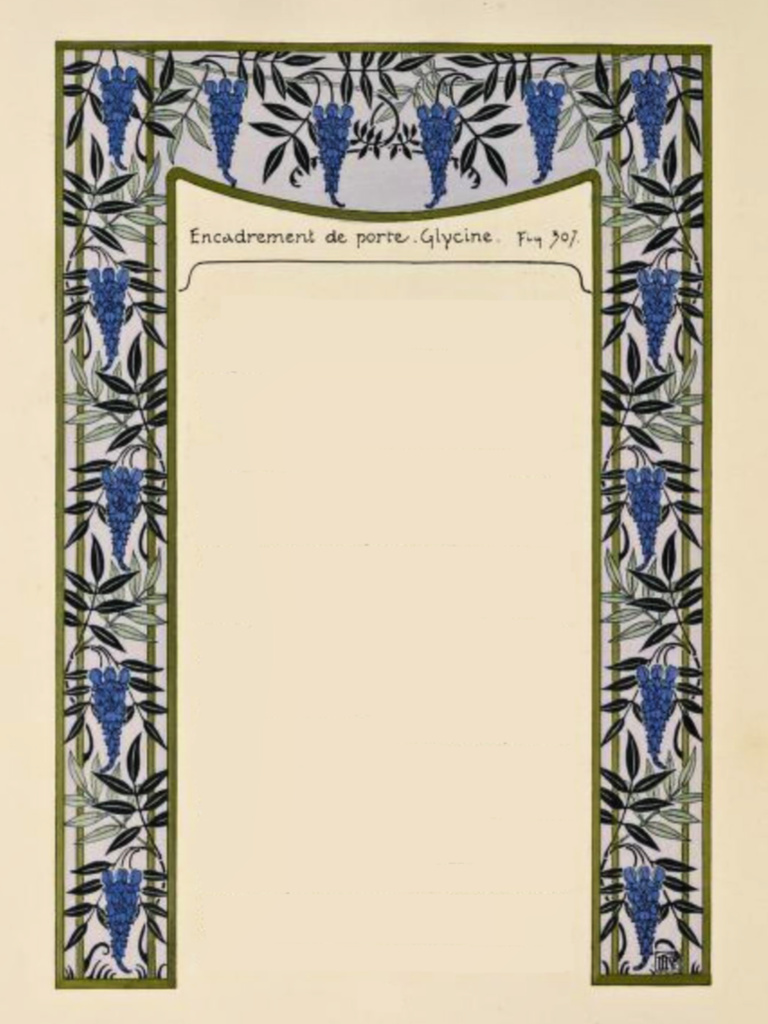
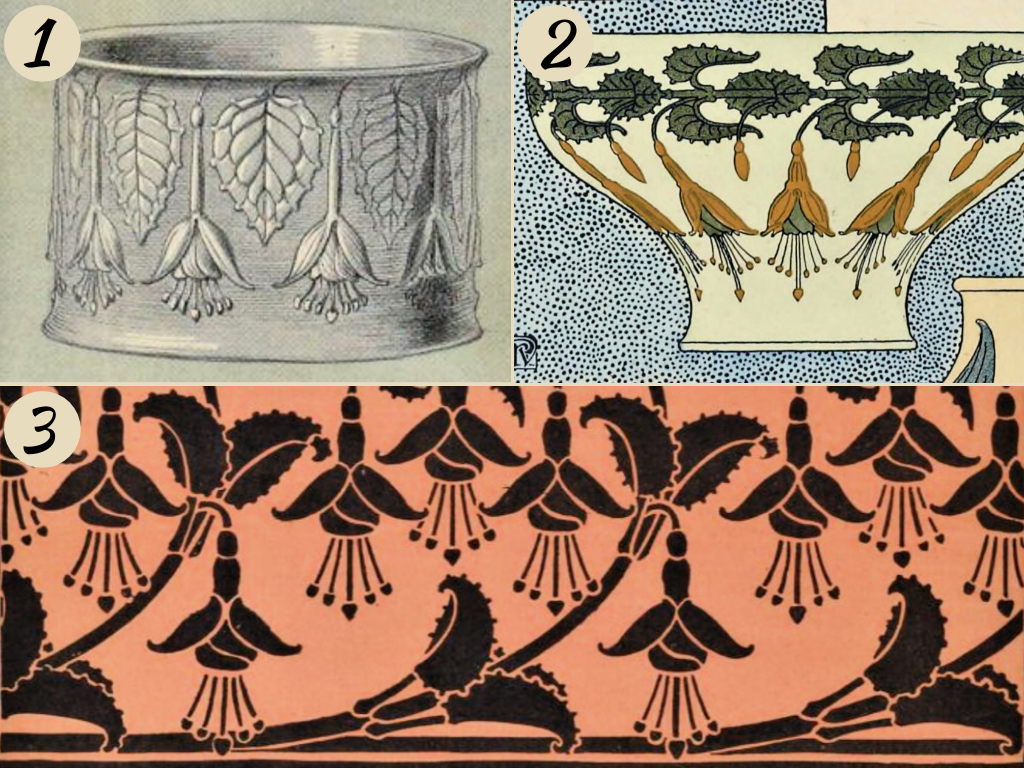
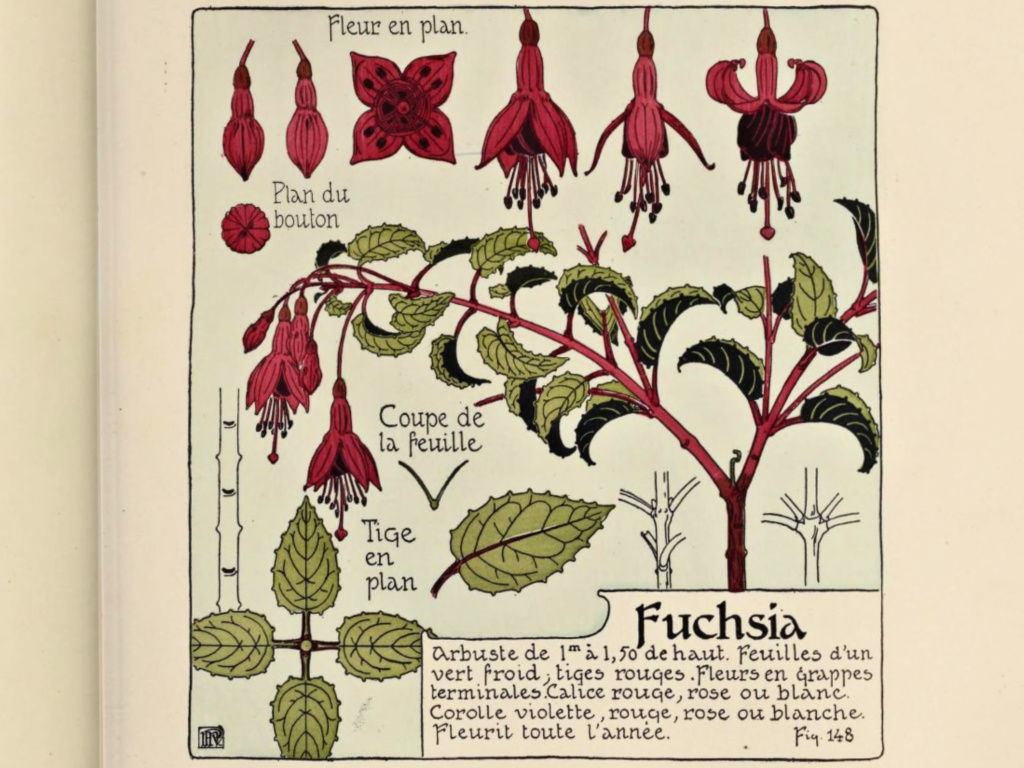 Throughout the book, Verneuil suggests a range of interpretations for the Fuchsia including: 1. Napkin Ring 2. Decorative Vase 3. Stencil Border.
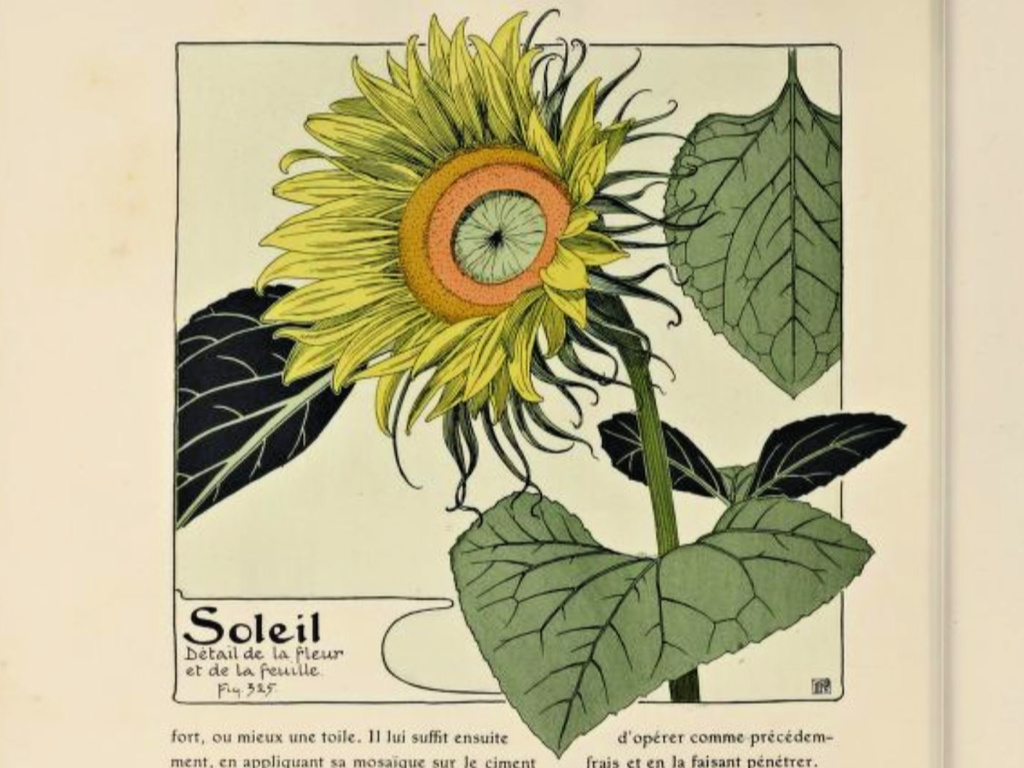
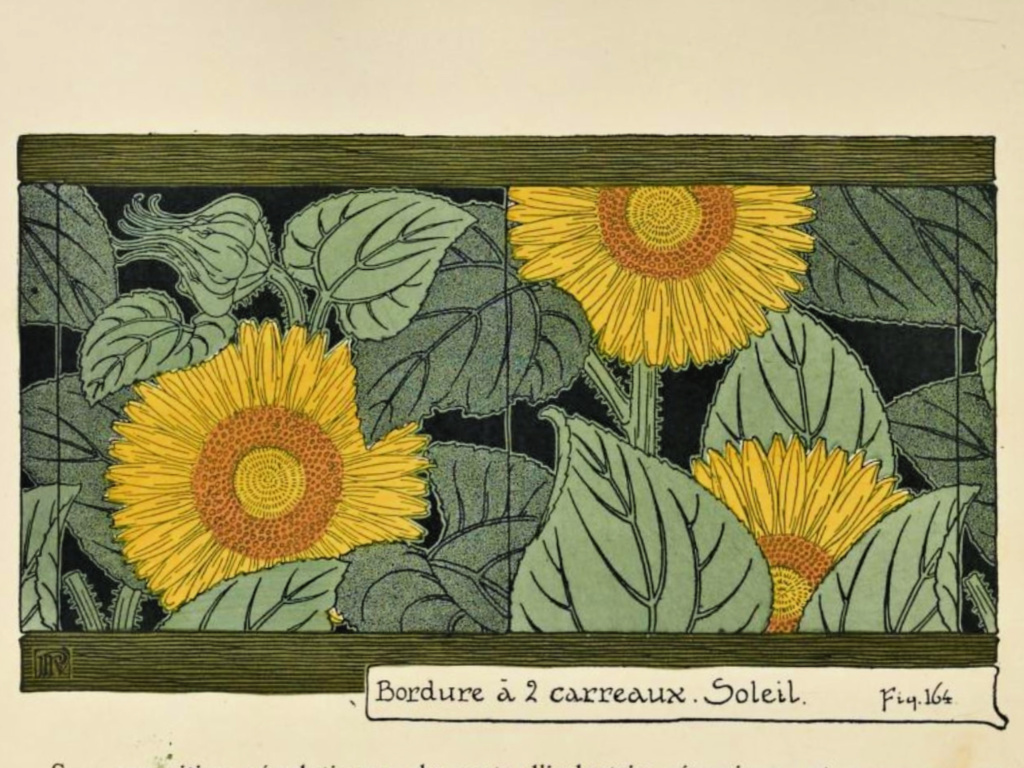
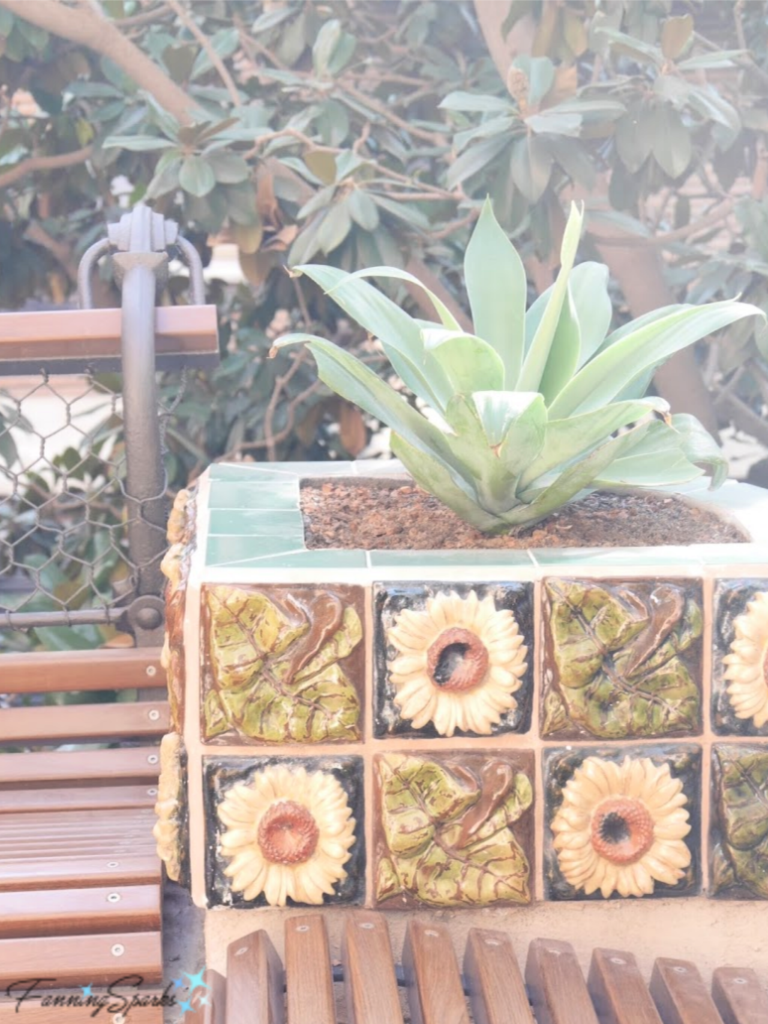
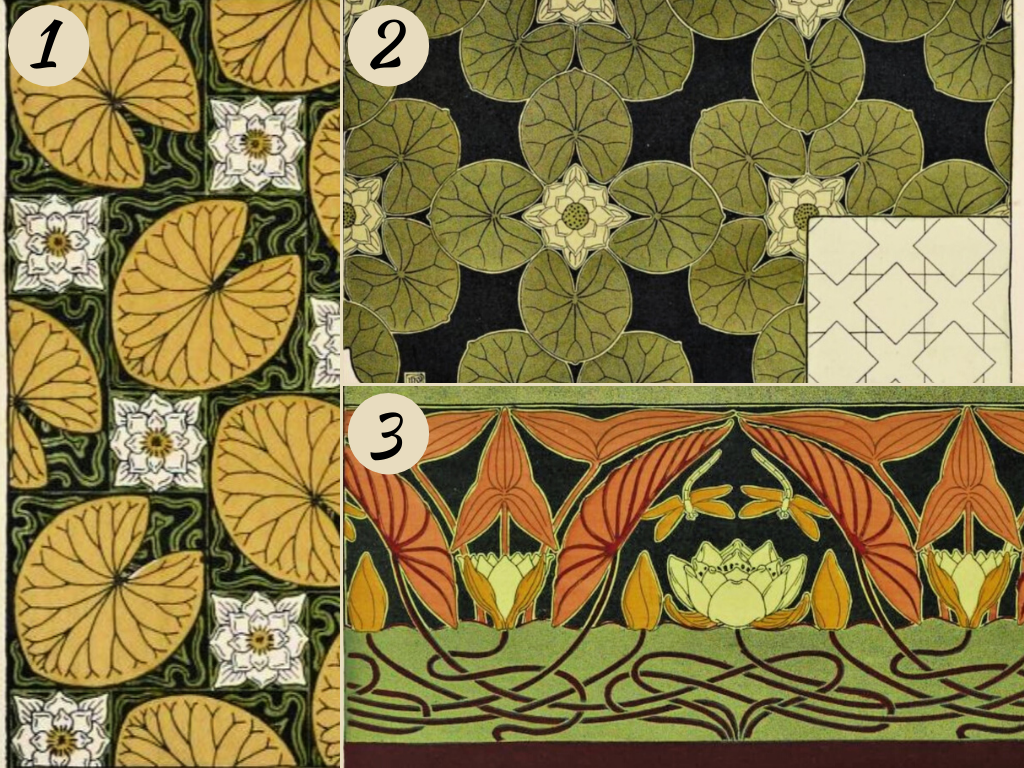
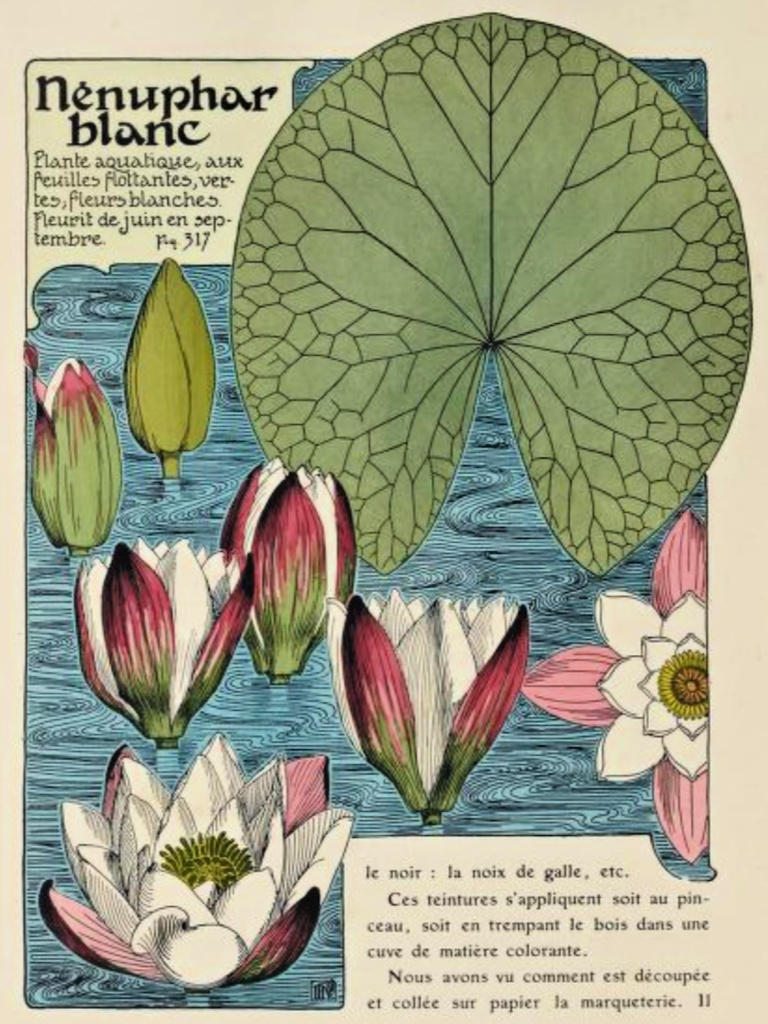 Verneuil suggests several interpretations of the Water Lily including: 1 Tiles 2 – Marquetry and 3 – Wallpaper Border.
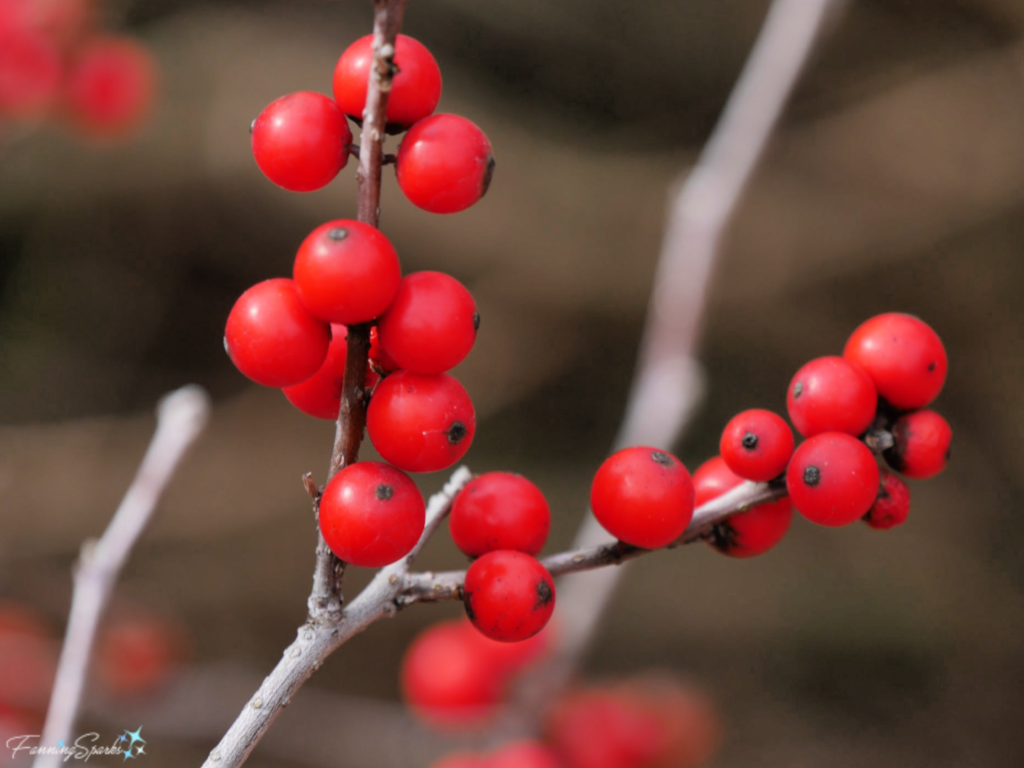
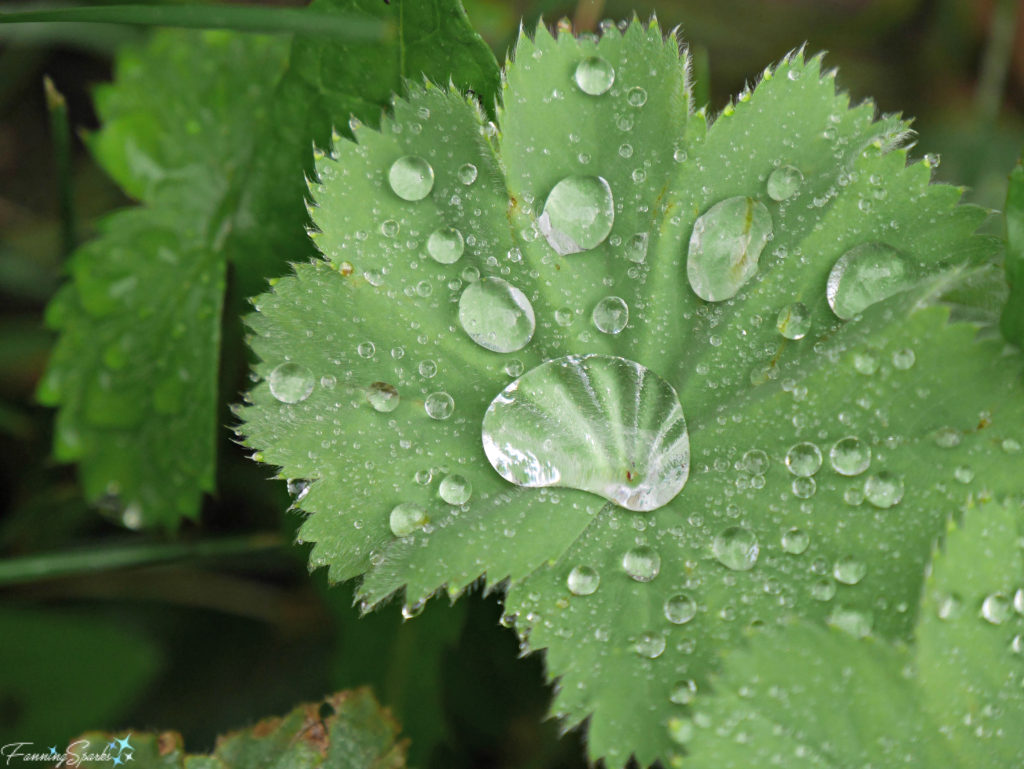
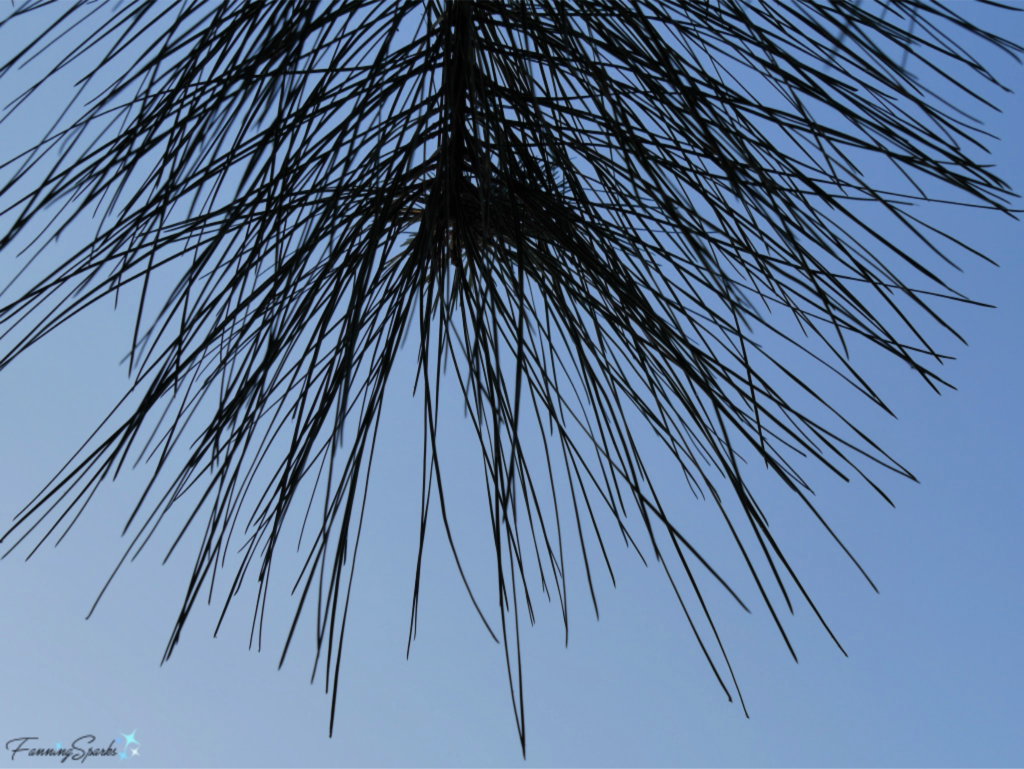
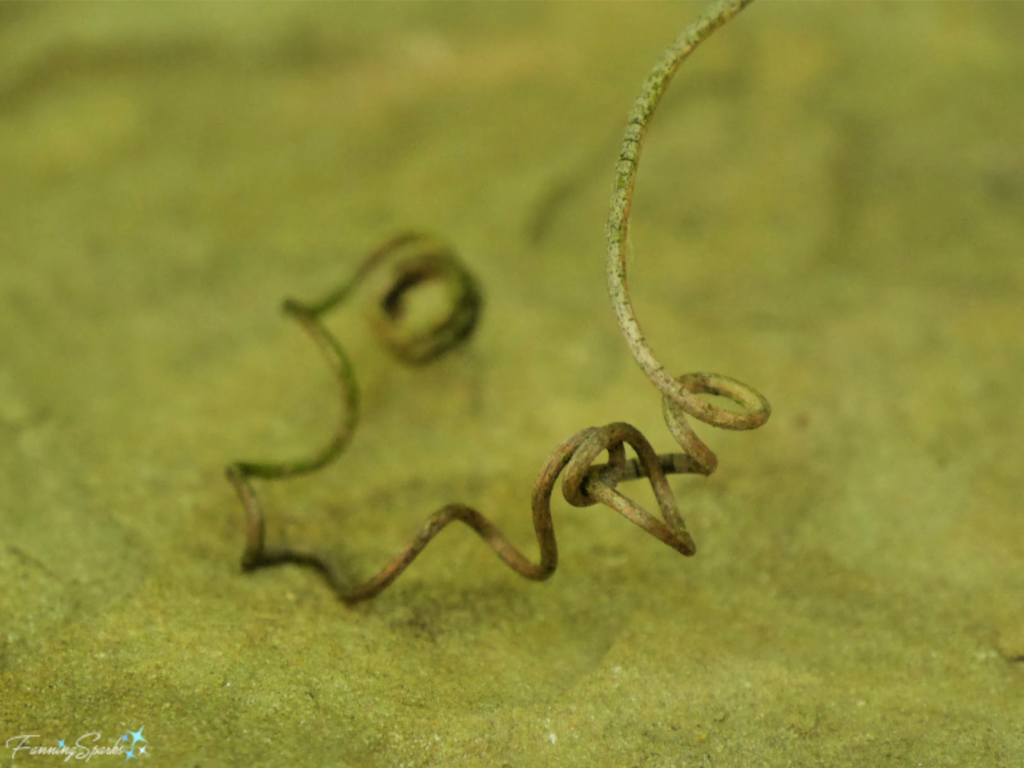
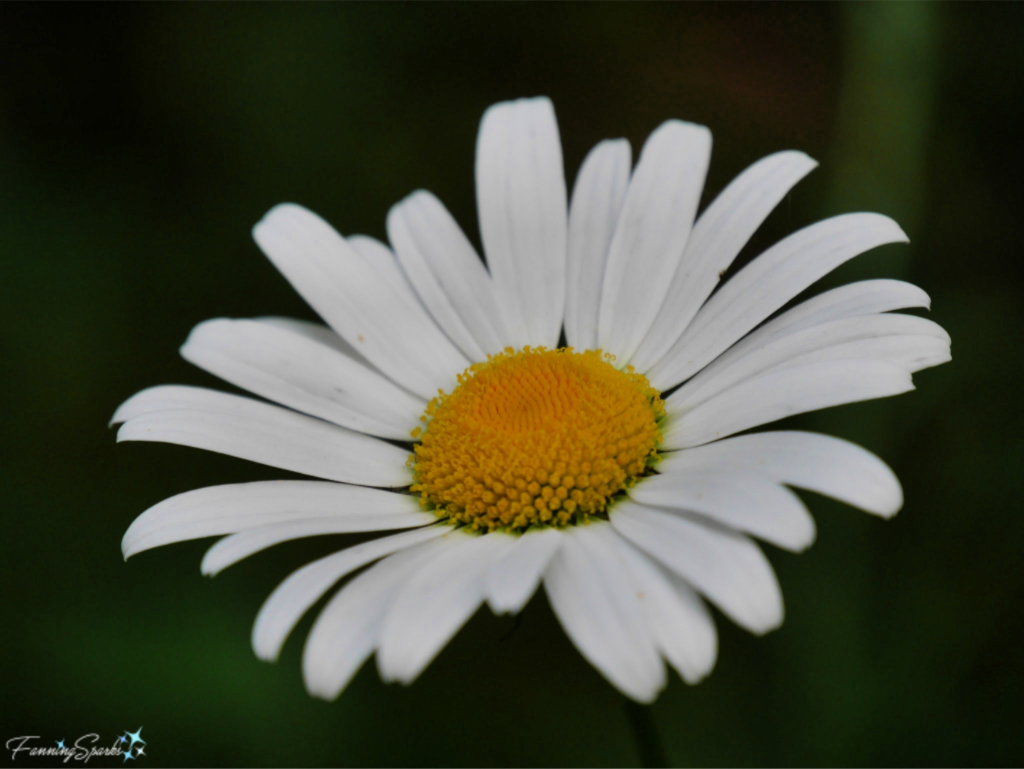
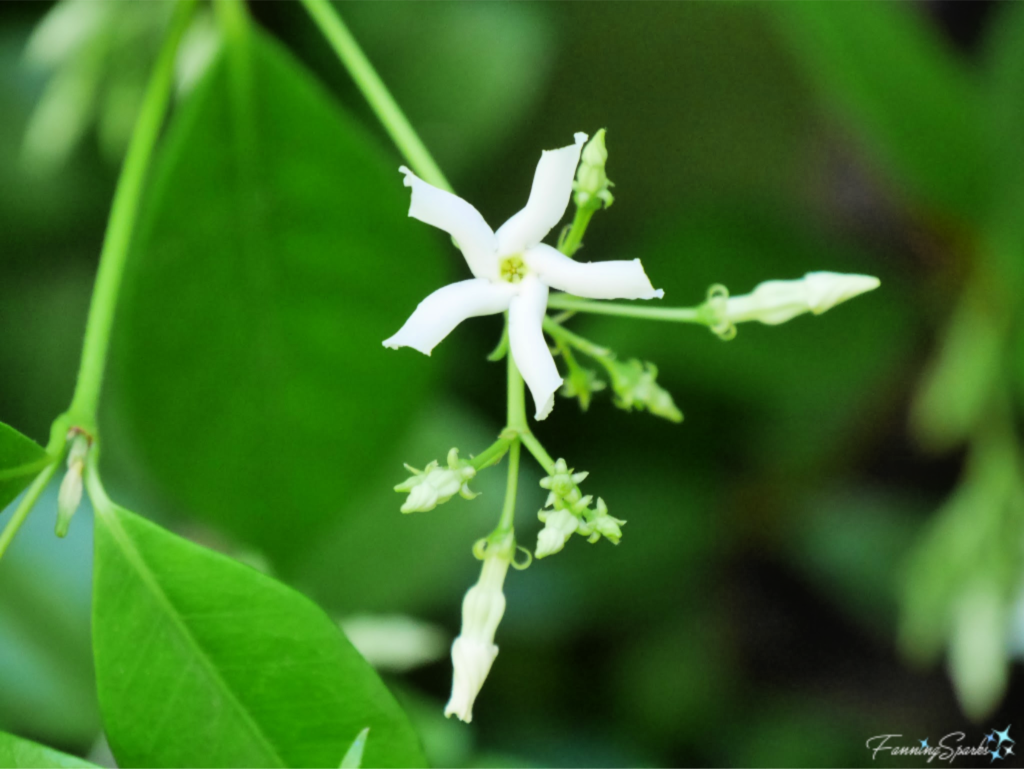
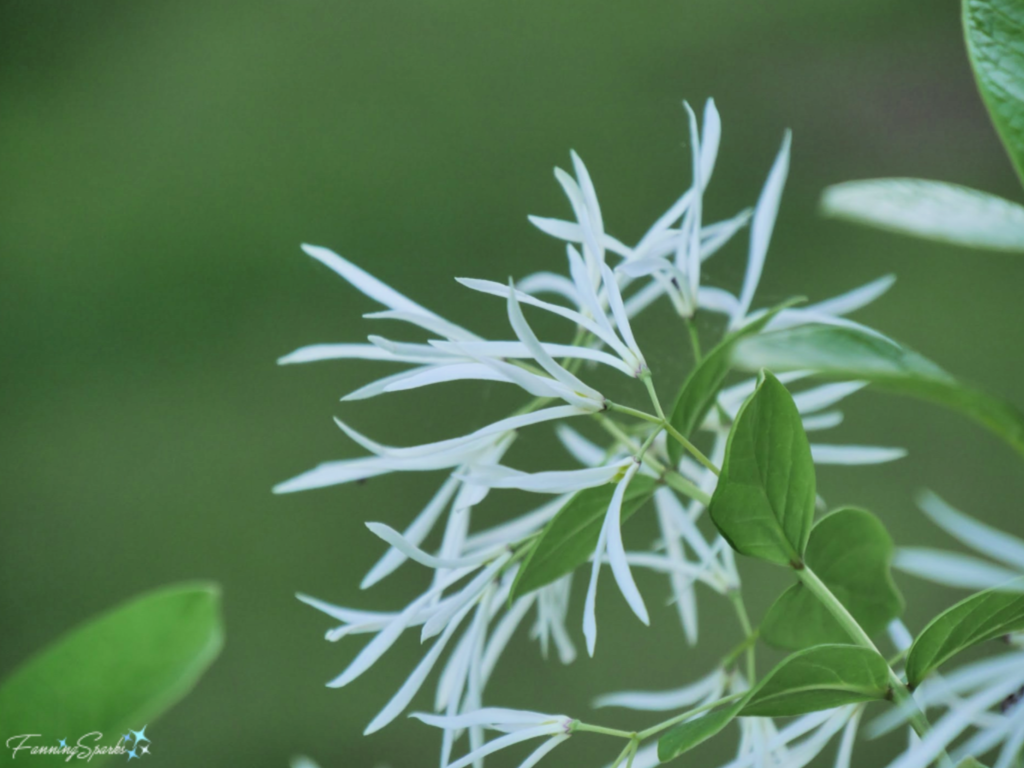
 Organic forms are rounded, irregular, free-flowing and curvy. They are most evident in nature. They often make patterns but rarely with mathematical precision. When I set out to photograph examples of natural forms I quickly became overwhelmed. There is an endless variety and every subject has multiple forms. I decided to narrow my focus to the plant world and pick out familiar forms.
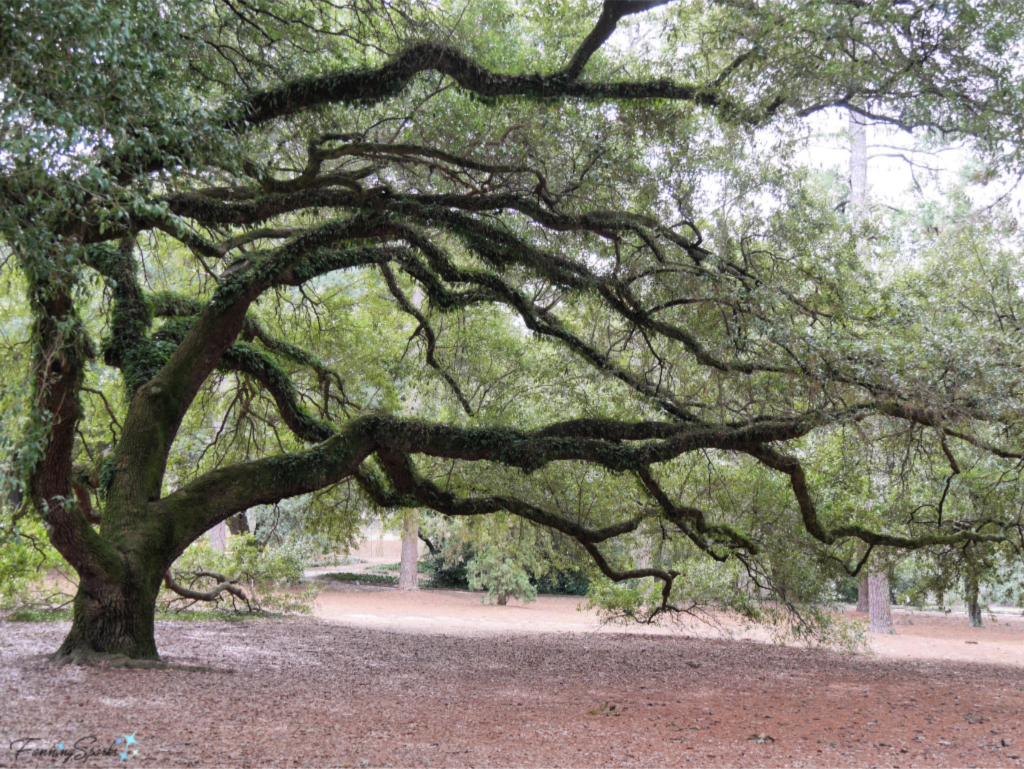
 A similar free-flowing form is illustrated by the fractal branching of this gorgeous Southern Live Oak (Quercus virginiana).
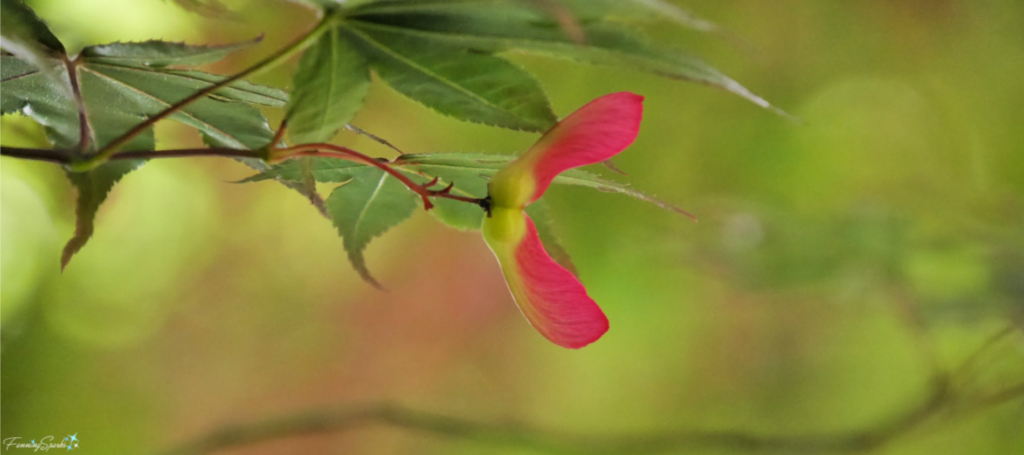
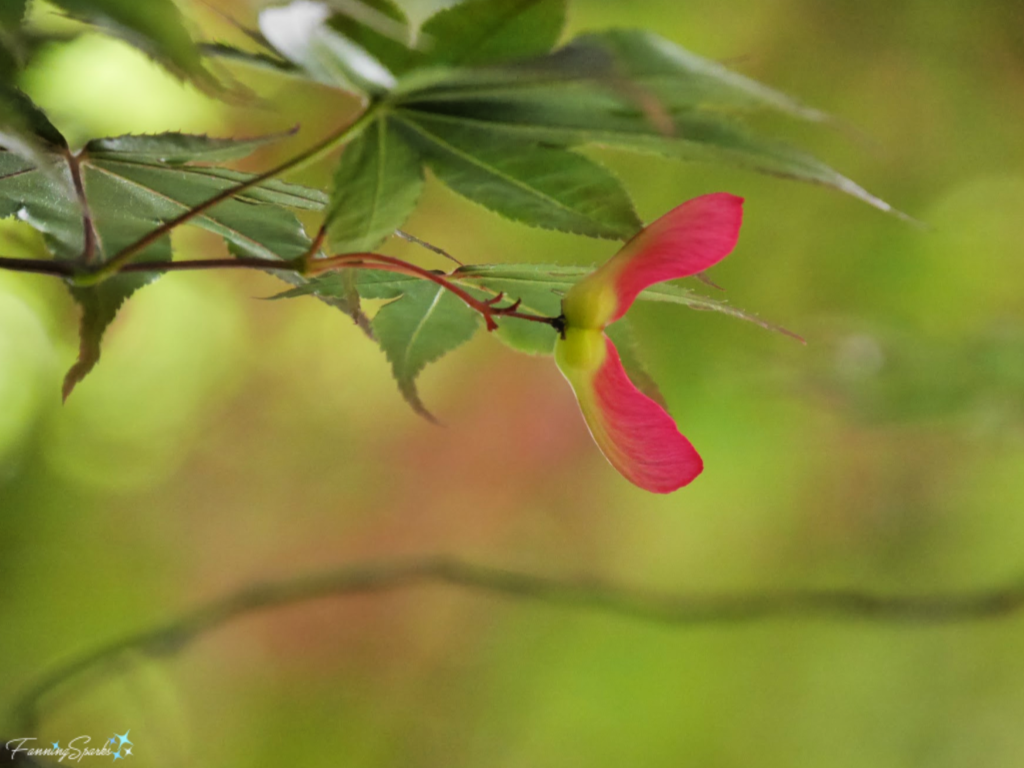
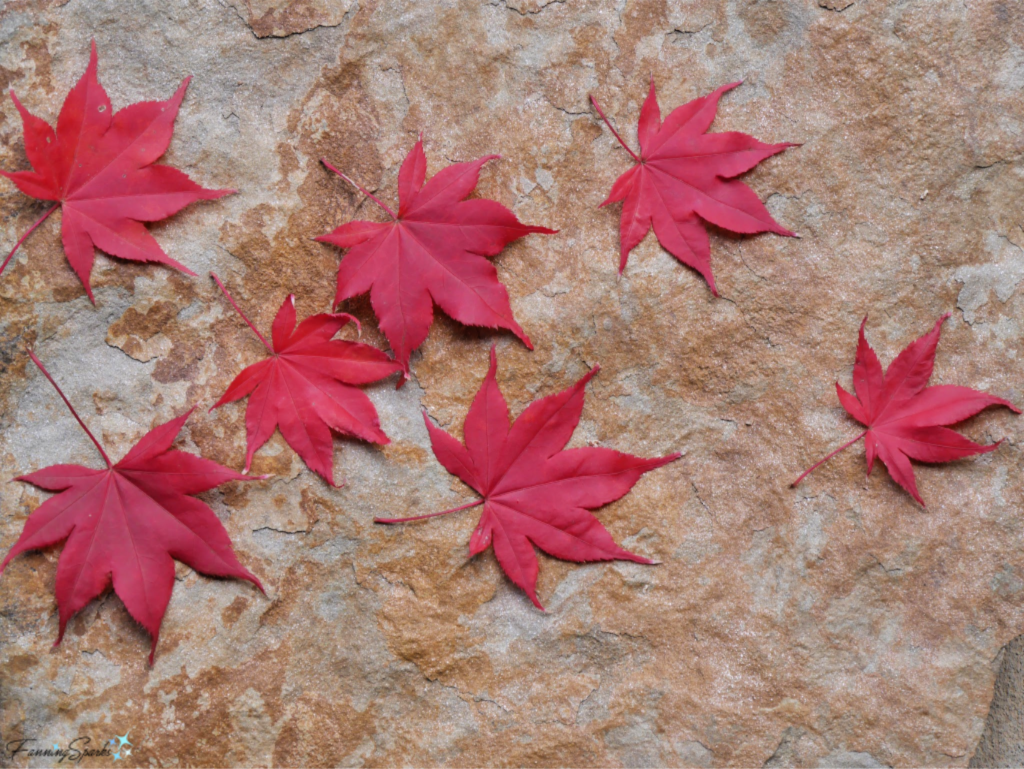 In the spring, the Japanese Maple tree bears these uniquely-formed winged seeds called samaras or keys.
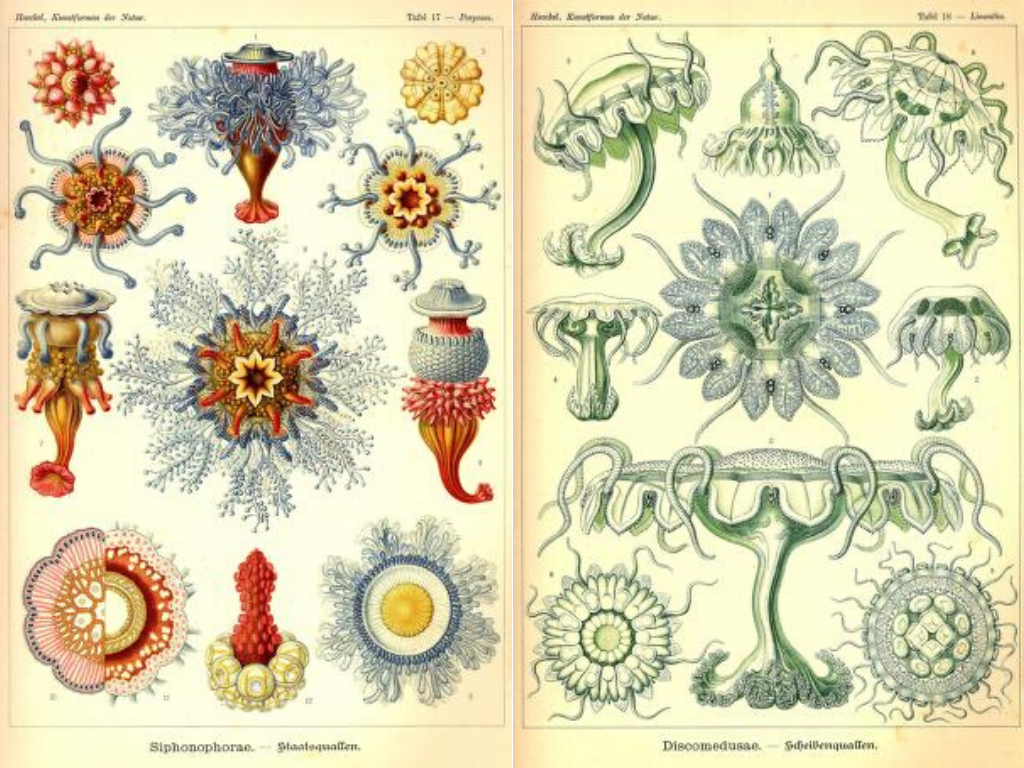
 Studying nature’s forms is not a new idea. The work of German biologist Ernst Haeckel is particularly noteworthy. Back in 1904, he published Kunstformen der Natur (Art Forms in Nature). The book, a collection of 100 prints of various organisms, is “considered the most beautiful visualization of nature ever made by a scientist”. While Haeckel’s purpose was scientific research and documentation, his work has been tremendously influential on many of the 20th Century artistic movements especially the Art Nouveau movement. Here’s an example from Haeckel’s Art Forms of Nature illustrating Siphonophorae and Discomedusae which are classes of marine organisms commonly known as jellyfish.