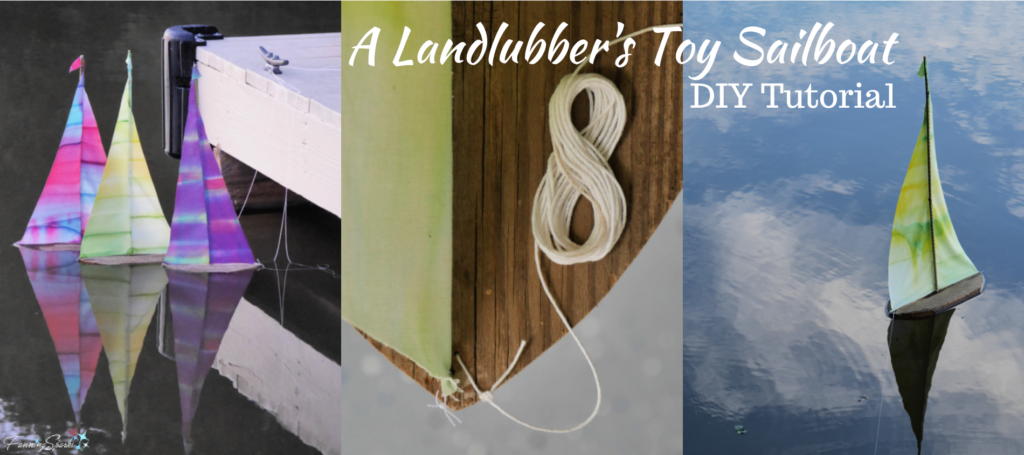
This little sailboat may have started out as a photo prop but it quickly became so much more. It became a lesson in buoyancy, center of mass and balance. It became an introduction to nautical terminology. A landlubber, for instance, is a person unfamiliar with the sea or sailing. And it became a test of patience and determination. Then this little sailboat became fun! While it definitely doesn’t “sail”, it does an amazing job of floating in still waters and gentle breezes. It’s also amazingly easy to make… especially with the step-by-step instructions in today’s post. It may just be the ideal sailboat for all those landlubbers who’ve always wanted to sail. Or at the very least, it can be a great subject for your next Instagram post!
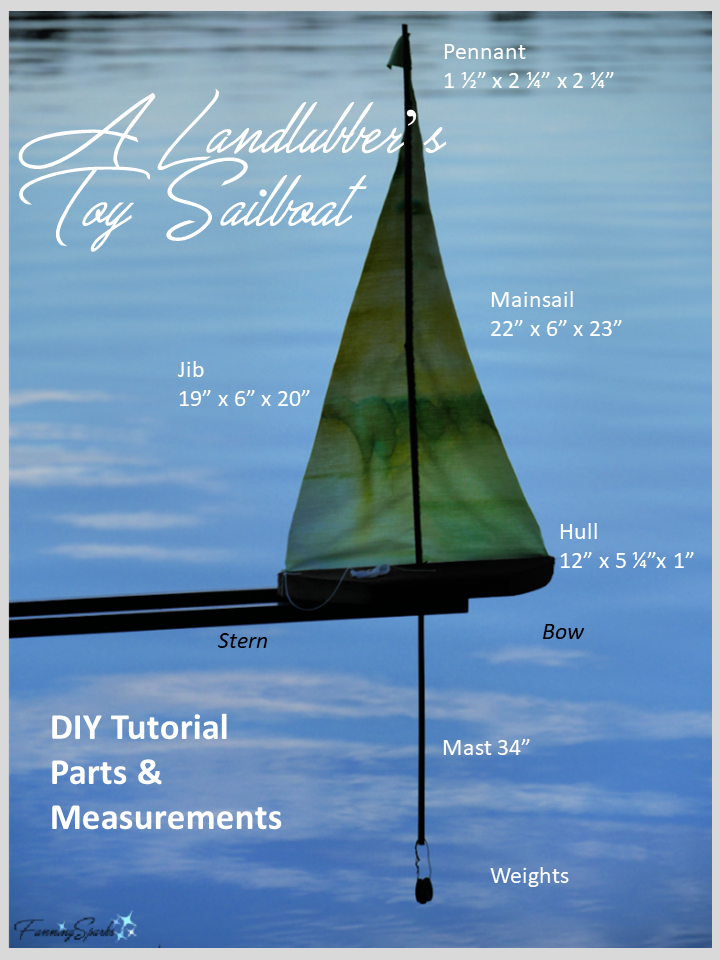
 The below graphic illustrates the parts and measurements for the landlubber’s toy sailboat. Essentially, it’s a piece of flat wood (aka Hull) with a vertical stick (aka Mast) and some pieces of fabric (aka Mainsail and Jib). The trick is to get it to float and stay upright. That’s where determination and perseverance came into play. It took lots of trial and error and several test runs to get to a solution that works. Now that I’ve figured it out, I’m happy to share the details with you!
Gather the supplies and tools as listed below. Then follow the step-by-step instructions to make your own landlubber’s toy sailboat.
Supplies Needed
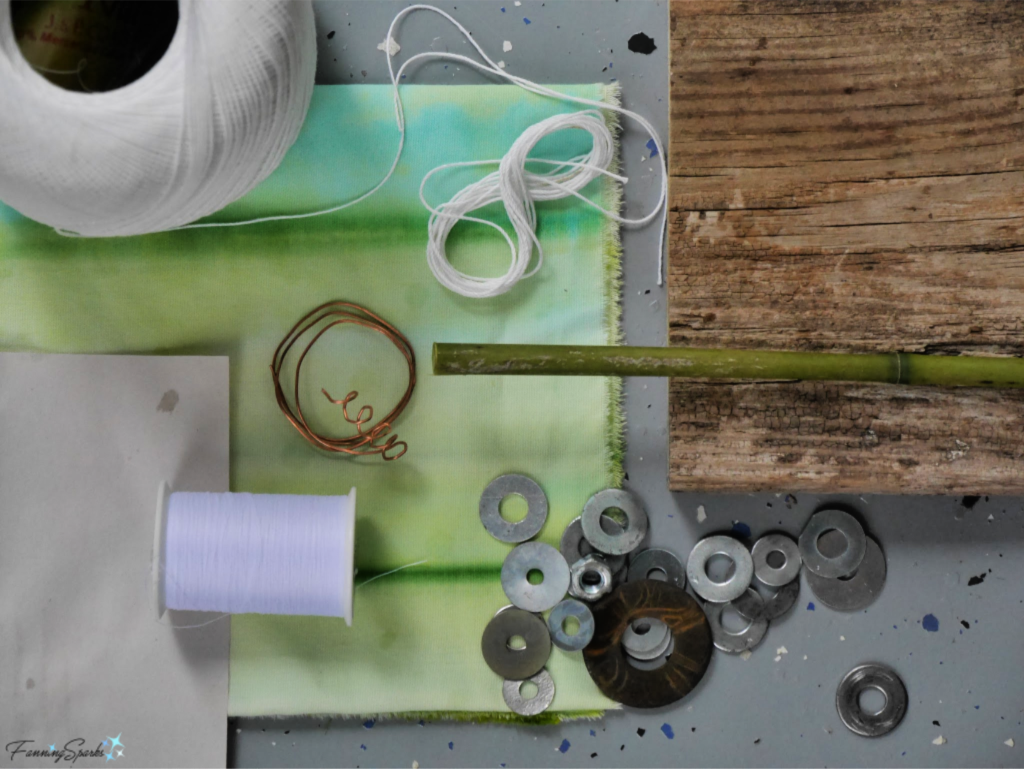 . Weathered Wood 12” x 5 ¼” x 1” (actual dimensions)
. Bamboo Stick (or wood dowel) 34” x ⅜”
. Fabric 24” x 10”. I used cotton fabric from a previous fabric dyeing experiment. Choose a light fabric that won’t get waterlogged and will dry quickly.
UPDATE July 6, 2021: I tried re-making the sails from a polypropylene fabric called Oly*Fun™. This fabric repels water so the sails stay dry. Cotton fabric, on the other hand, can get wet and throw off the balance of the sailboat. Oly*Fun fabric is available from craft and hobby stores. It is sold in sheets or by the yard and comes in a variety of colors .
. Thread
. Wire 20 gauge – 1 piece about 1 ½” and 1 piece about 6”
. Washers 4 to 6 – 1” washers. Alternatively heavy nuts could be used.
. String about 6’ I used cotton crochet cotton.
. Paper about 6” x 6” To make a template.
Tools and Equipment Needed
. Jigsaw (or whatever type of saw you prefer to cut wood)
. Tape Measure
. Pencil
. Drill with ⅜” and ⅟₁₆” bits
. Scissors
. Sewing Machine. Alternatively waterproof glue could be used.
. Sewing Needle must be small enough to pass through ⅟₁₆” holes in Hull
. Pliers. To cut and bend wire.
Instructions for Landlubber’s Toy Sailboat
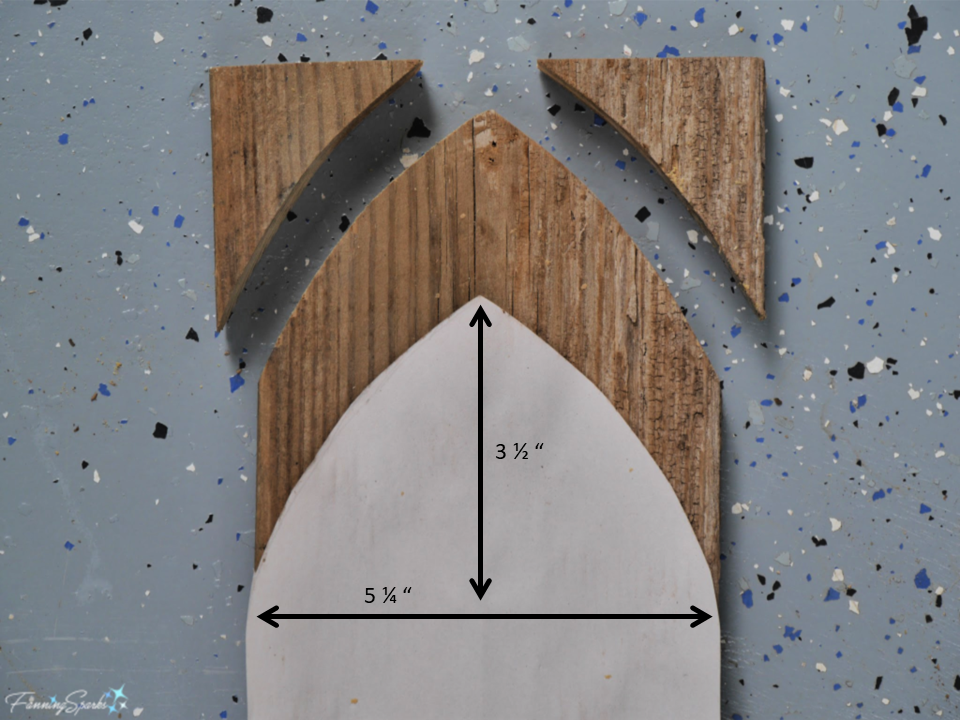
Step 1 – Cut Hull Cut 12” x 5 ¼” rectangle from 1” weathered wood. Draw lines from corner to corner to find center. Mark and drill hole through wood using ⅜” bit. Prepare a template for shaping the Hull. Cut a piece of paper 6” x 5 ¼”. Find center point of 5 ¼” edge and mark. Measure about 3 ½” from 5¼” edge and mark. Sketch a curved line from the 3 ½“ mark to the center point. Fold and cut out both sides at the same time creating a template similar to the one shown below.
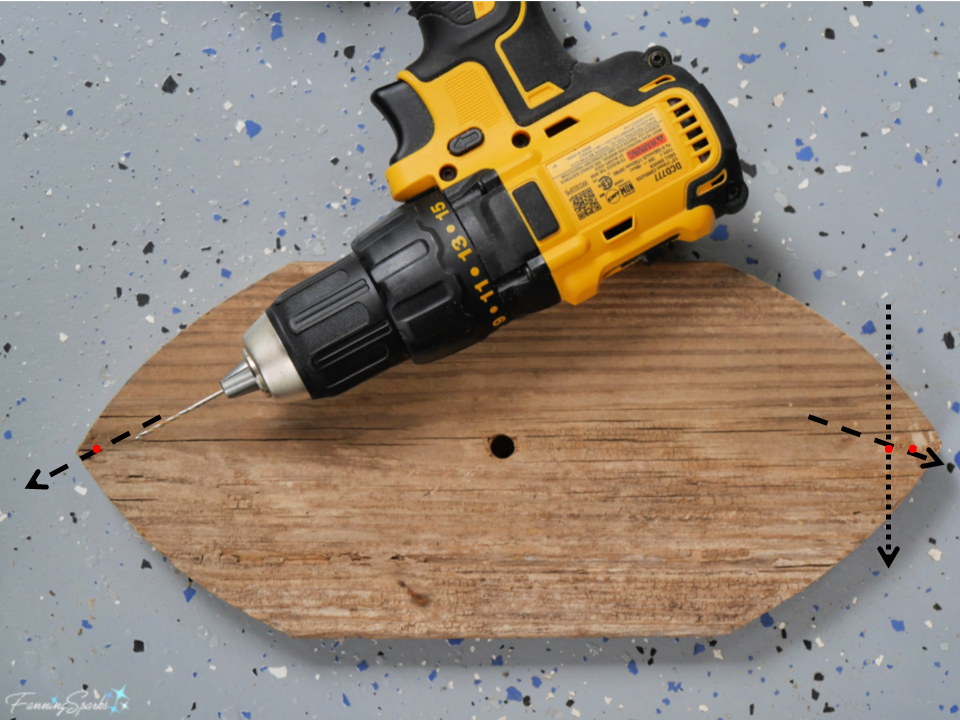
 Step 2 – Drill Hull Using the ⅟₁₆” bit, drill 3 holes for thread and string as illustrated with black arrows on the below photo:
. 1) one hole at the tip of bow drilled at an angle entering from the top and exiting about halfway through the Hull
. 2) one hole at the tip of the stern drilled at an angle entering from the top and exiting about halfway through the Hull
. 3) one hole at the stern drilled straight through the Hull.
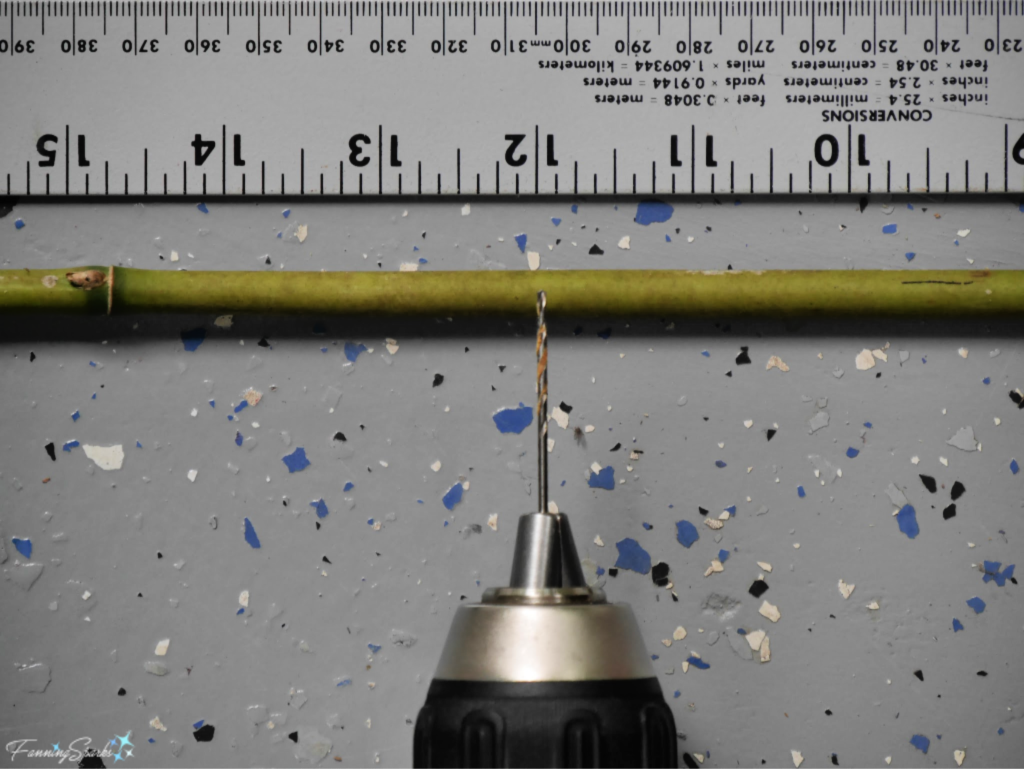
 Step 3 – Cut Mast Cut a 34” section of ⅜” bamboo (or dowel) to make the Mast. Measure up 12” from the bottom of the Mast and drill with the ⅟₁₆” bit through the center of the bamboo rod at this point. Drill through the bamboo rod at each end of the Mast.
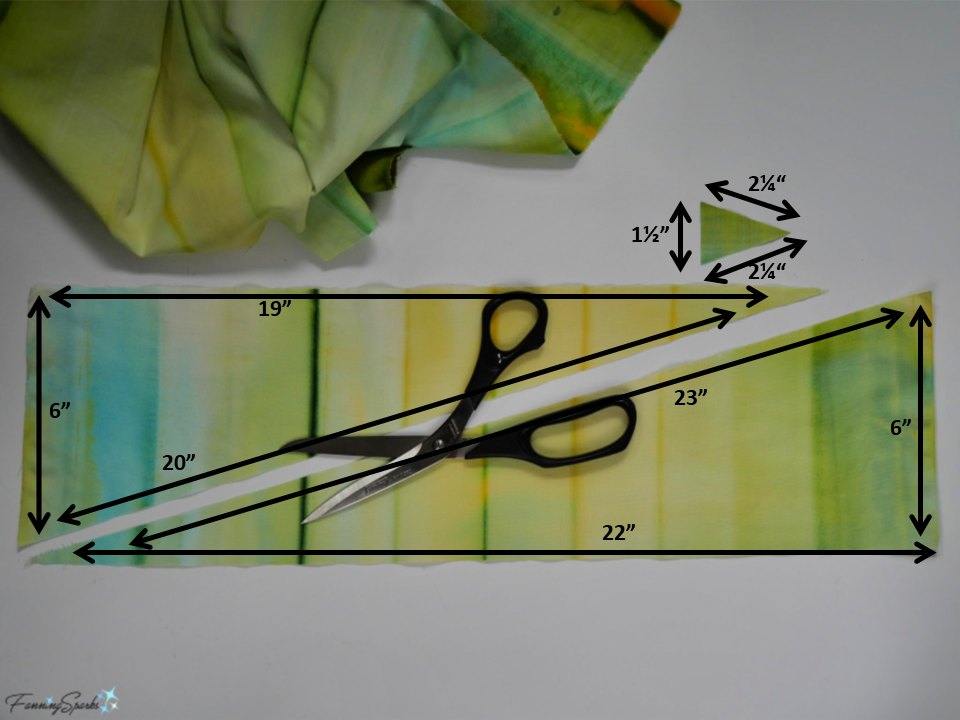
 Step 4 – Cut Sails Cut the sails from the fabric. You will need 3 triangles of fabric:
. 1) Mainsail at 22” (height) x 6” (width) x 23”
. 2) Jib at 19” (height) x 6” (width) x 20”
. 3) Pennant at 1 ½” (height) x 2 ¼” x 2 ¼”.
If you wish to decorate your sails, this would be the ideal time to embellish them. Add a colorful design, motif, name or message.
 Step 5 – Sew Sails Lay the Jib on the Mainsail aligning the right angle corners and the long straight edges (Mainsail 22” and Jib 19”). Sew a small ¼” seam. Alternatively, you could use waterproof glue.
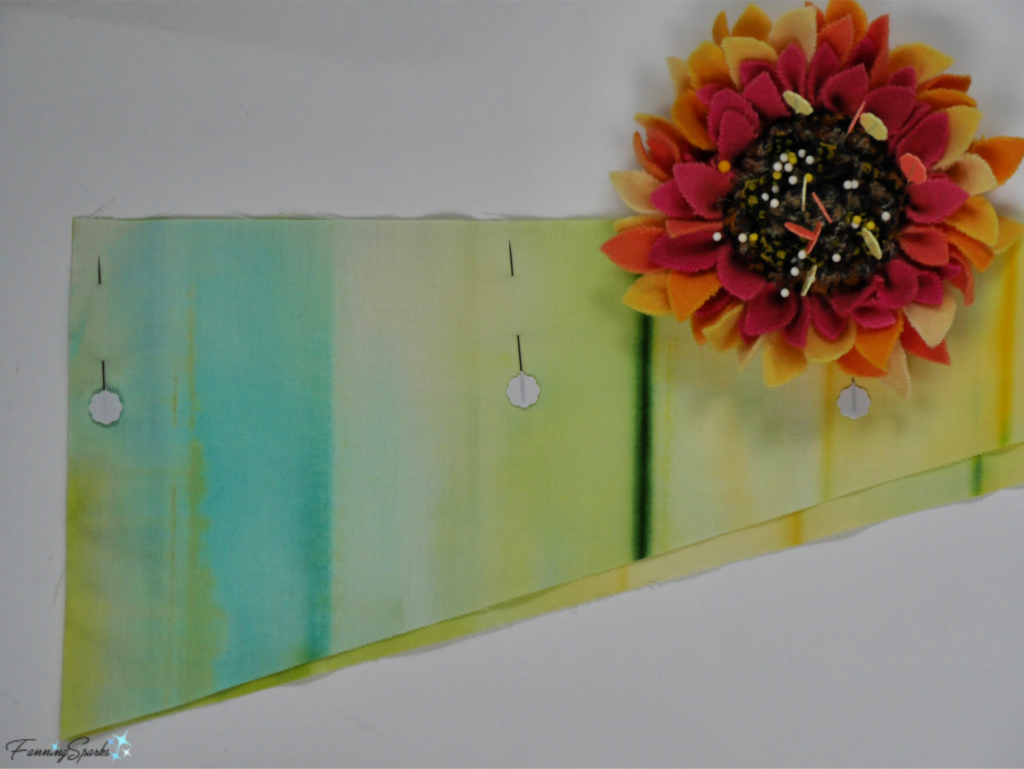 Step 6 – Attach Sails Cut about 1 ½” of wire. Bend loop into one end. Insert wire through the middle hole in Mast (at 12” mark). Bend loop in other end of wire to keep it snuggly in place. Sew the sails to the mast. Start by stitching thread through the bottom of the sails and the wire. Stitch by looping thread around Mast and through seam on sails. At the top of the Mast, insert needle and thread through hole in Mast to secure top of Mainsail. Take a few last stitches through the fabric to finish securely. Alternatively, you could use waterproof glue to attach the sails to the Mast.
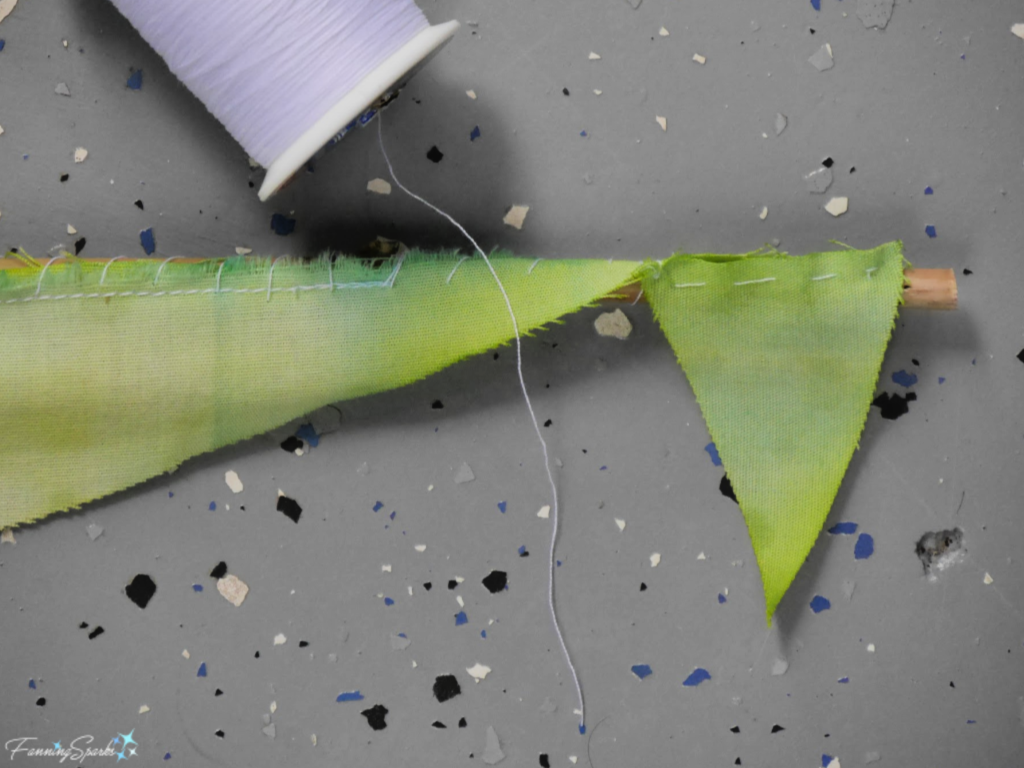
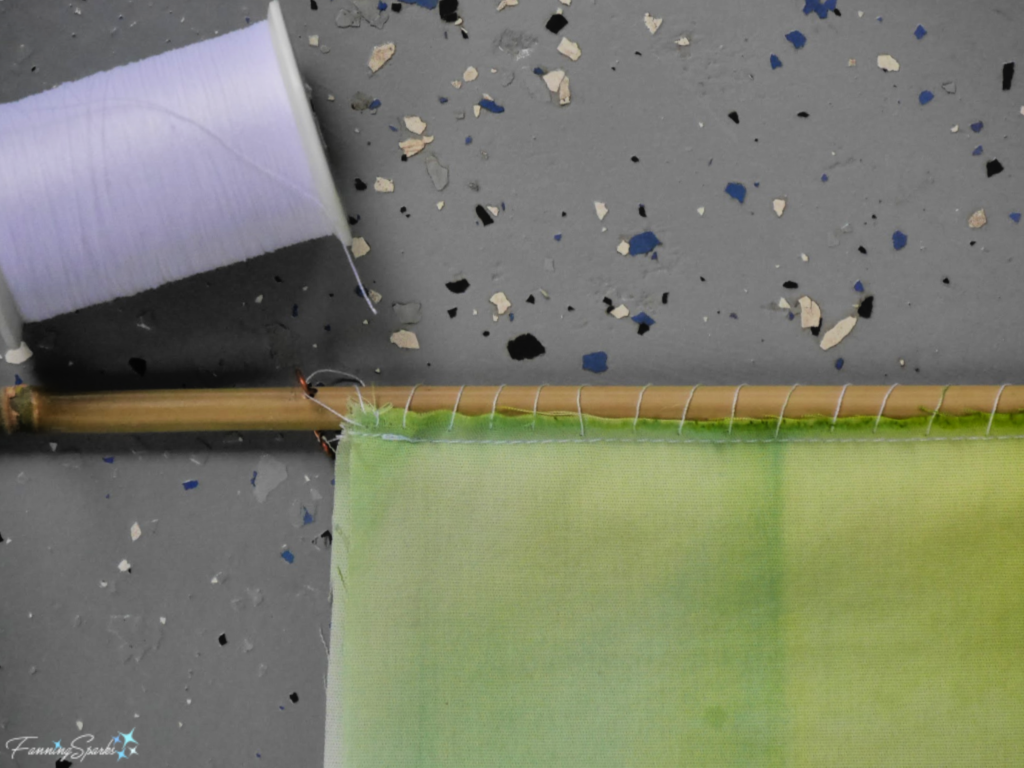 Step 7 – Attach Pennant Sew Pennant to top of Mast. Start at the top of the Mast, take a few stitches through the fabric to start securely. Insert needle and thread through hole in Mast to secure Pennant. Use running stitch to bring thread down to bottom of the Pennant. Wrap thread around Mast. Take a few last stitches through the fabric to finish securely. Alternatively, you could use waterproof glue to attach the Pennant to the Mast.
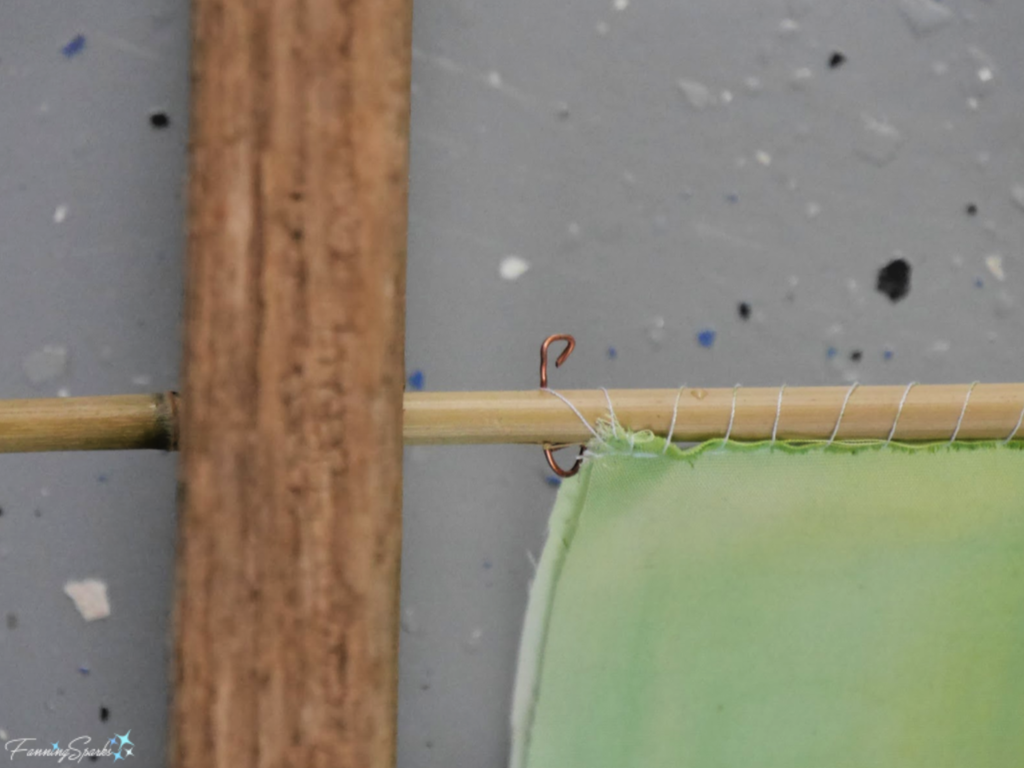
Step 8 – Assemble Boat Insert Mast into the Hull. Hold Hull just below the bent wire. The wire will keep the Mast from slipping down through the Hull when in the water.
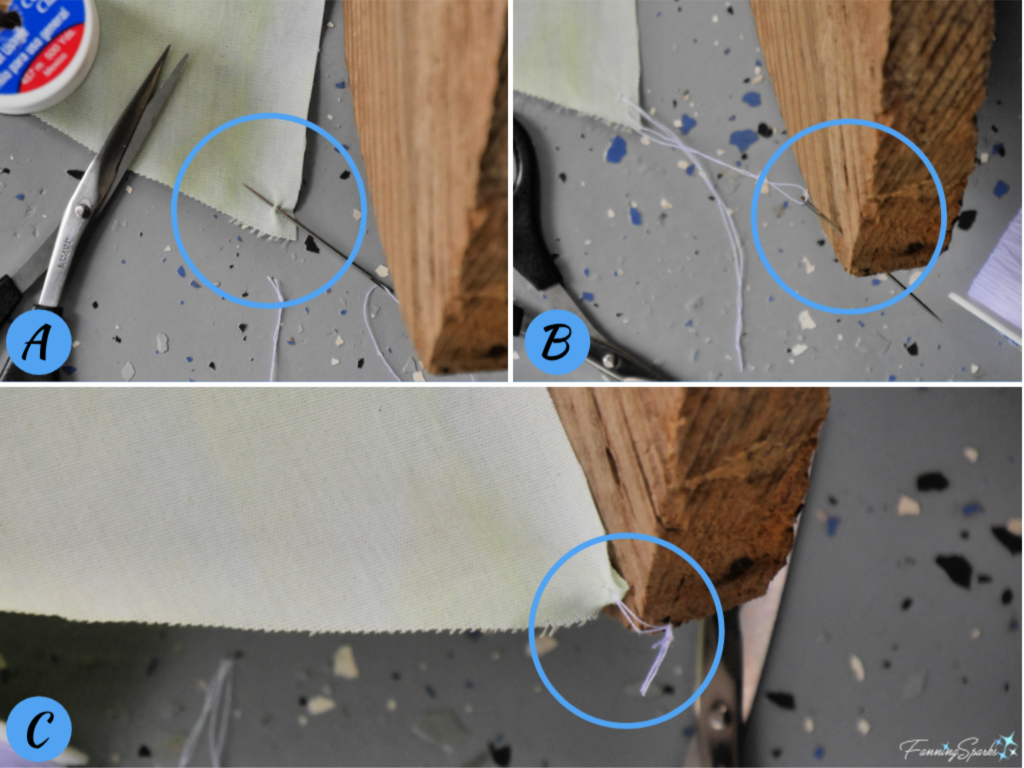
 Step 9 – Attach Sails to Hull Attach front and back corners of sails to Hull with thread. Start with the Mainsail and the bow of the Hull.
. A) Thread a needle with double thread and knot the end. Take a small stitch in the front corner of the Mainsail. Do not pull the thread all the way through leaving a long tail.
. B) Pass needle through the angled hole in the Hull from top entrance to side exit.
. C) Pull the ends of the thread together bringing the Mainsail in tight contact with the Hull. Knot securely.
Repeat with the Jib at the stern of the Hull.
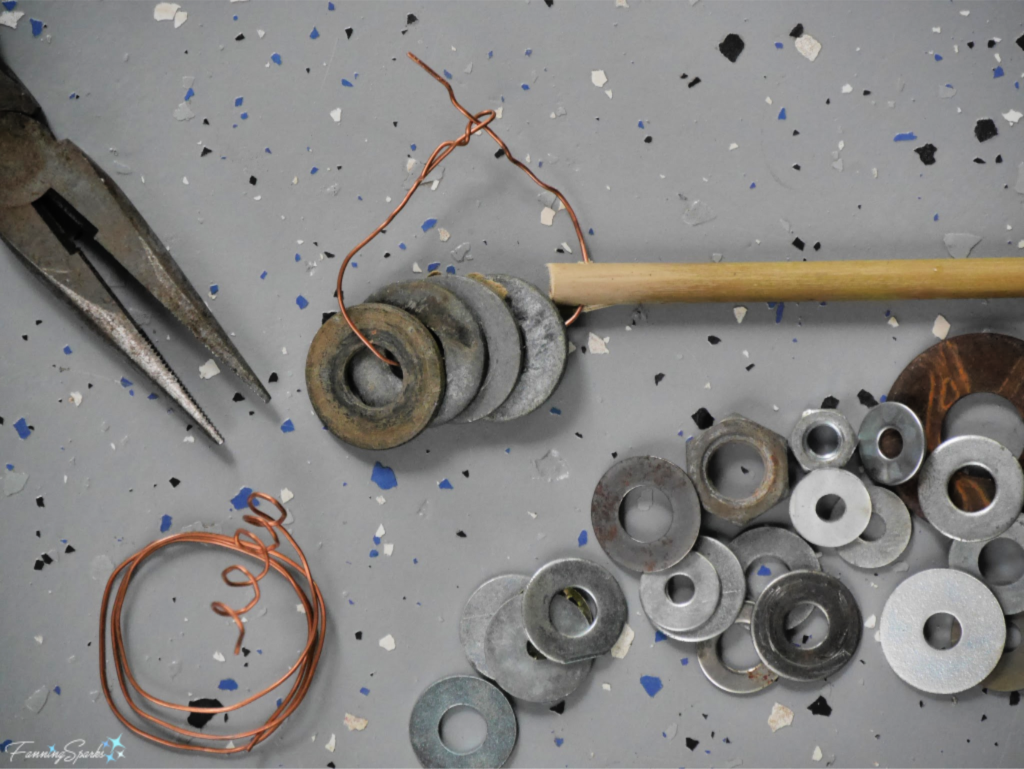
 Step 10 – Attach Weights to Mast Cut about 6” of wire, put 4-6 1”washers (or nuts) on wire, thread wire through bottom hole of the Mast. This weight forms a keel, of sorts, and serves to keep the sailboat upright.
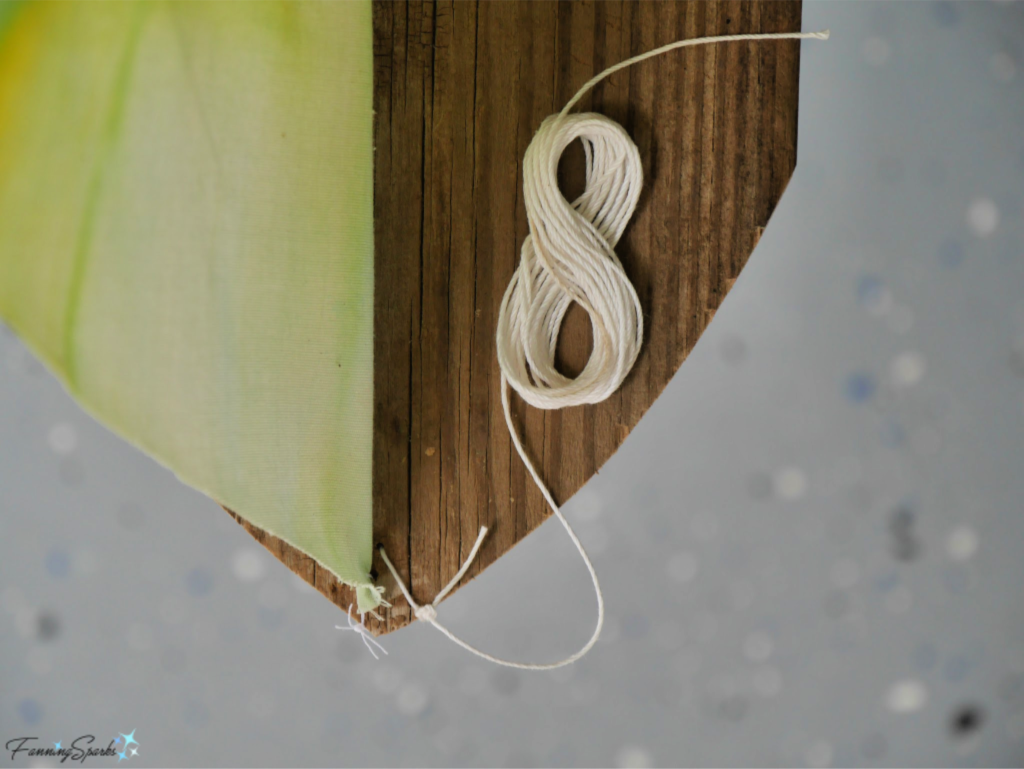
 Step 11 – Attach String Cut a piece of string about 6 feet long. Use needle to thread the string through the hole at the stern of the Hull. Knot to attach securely. You’ll need this string to keep the sailboat from floating off into the sunset!
 Step 12 Test Run It’s time to give your sailboat a try. This sailboat needs about 1 ½ feet of water to stand upright. Gently set it in water to ensure it floats and stays upright. Adjust if necessary; for example by centering or adding washers to the weights.
Step 13 Christen Your Boat You may wish to name your boat and celebrate your maiden voyage with a mock boat christening ceremony. The tradition of christening vessels dates back to the Vikings and is believed to bring good fortune and safe returns. But don’t even think about smashing a bottle of champagne on your boat’s hull! Apparently, this old tradition is no longer practiced for safety and environmental reasons. A more suitable approach might be to simply proclaim “I christen thee, (your boat’s name).” Enjoy your new landlubber toy sailboat!
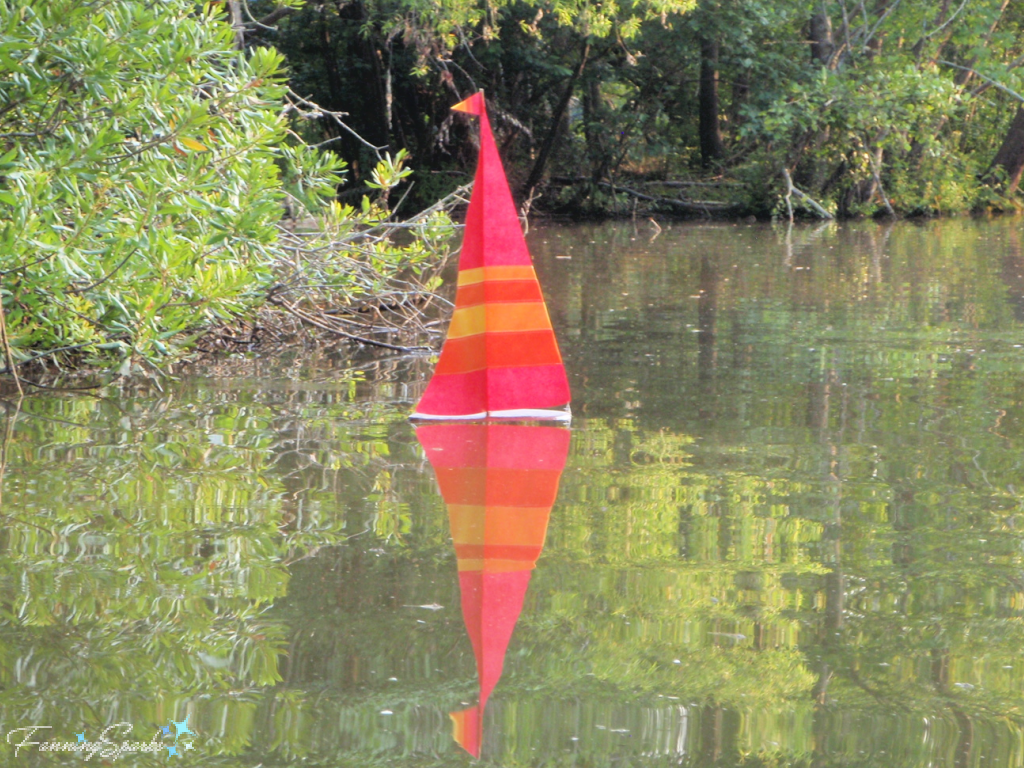
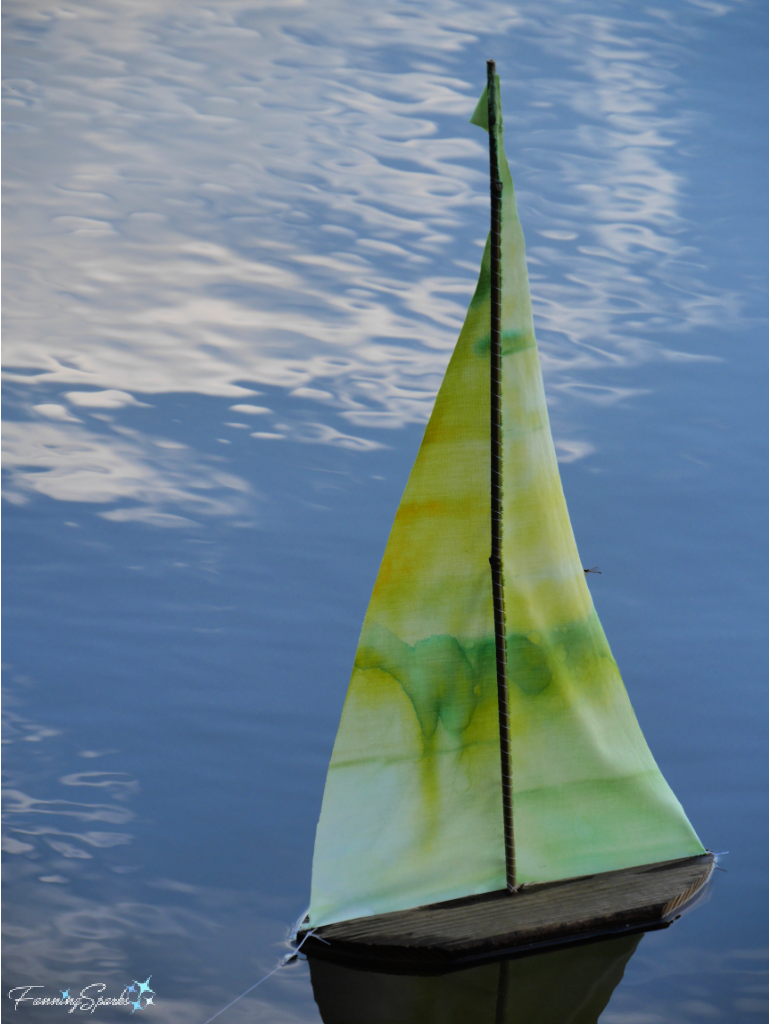 UPDATE July 6, 2021: Shown below is my latest iteration of this sailboat. This time I made the sails with a polypropylene fabric called Oly*Fun™. This fabric repels water so the sails stay dry and the sailboat stays balanced.
More Info
My post Sunrise Breakfast Picnic triggered the idea for this toy sailboat. I made 3 as photo props.
 You can learn to build a tiny toy sailboat with a cork, craft foam and a toothpick in the hands-on science activity in this DIY Toy Sailboat from Science Buddies on YouTube.
Cautionary Note: Please follow sound water safety practices.
UPDATE August 20, 2023: Warning from experts: “Remove toys. Don’t leave pool toys in the water. A child might fall into the water while trying to retrieve a toy.”
Today’s Takeaways
1. This landlubber’s toy sailboat can serve as a water toy, decorative item or photo prop.
2. Consider following this tutorial to make your own toy sailboat.
3. Don’t underestimate the charm of a simple, old-fashioned toy.


 The end of the dock provided the perfect spot to enjoy the show and await sunrise.
 With such an early start, everything had to be prepared and packed the night before. Luckily, a breakfast picnic doesn’t require much food and the menu was super simple.
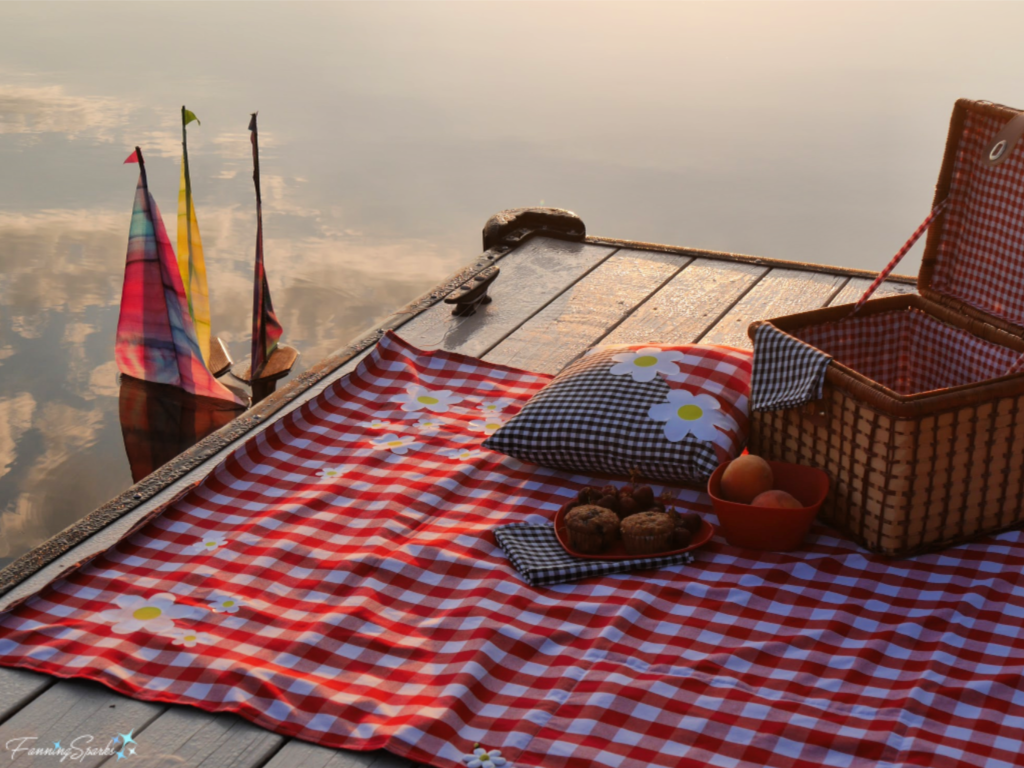 My breakfast picnic consisted of blueberry muffins and fresh fruit. It would have been perfect if I hadn’t forgotten the coffee. My to-go coffee mug was ready but, in the rush to reach the boat launch for first light, I left it sitting on the kitchen counter. With or without coffee, this simple meal was tasty and hassle-free.
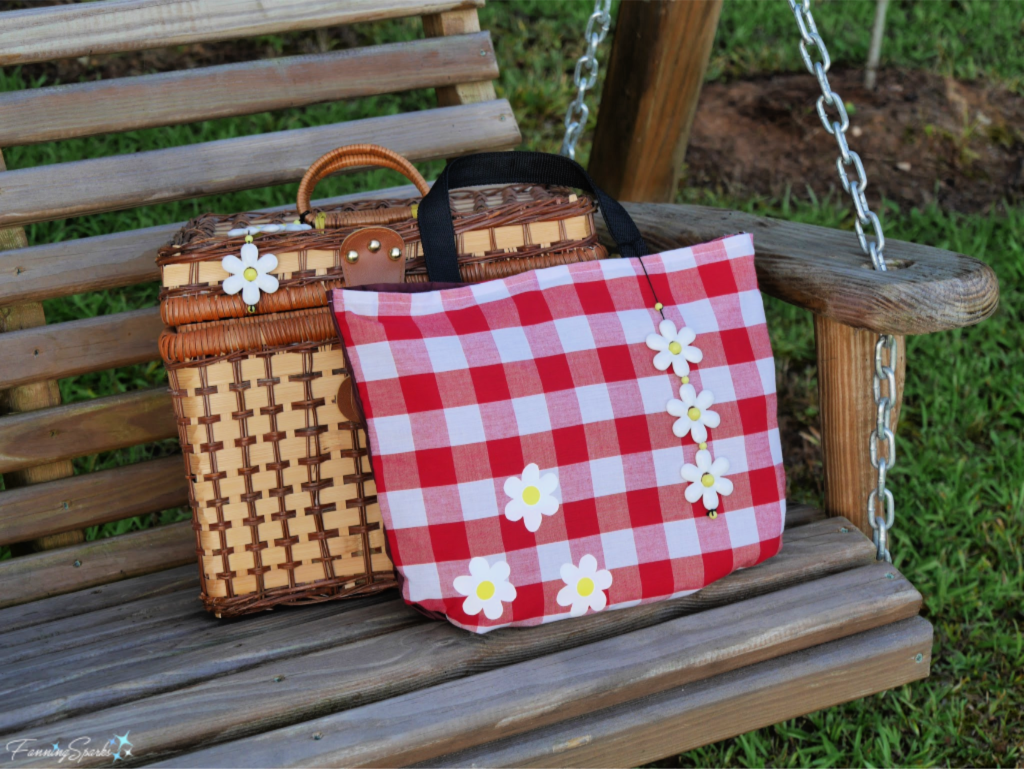
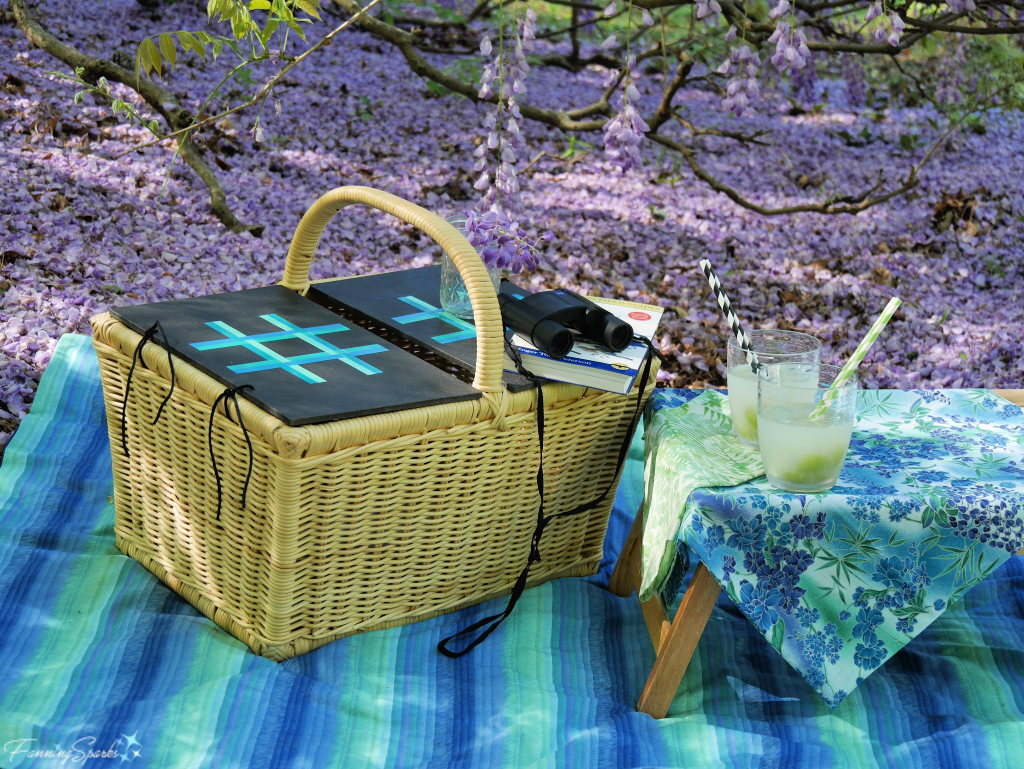
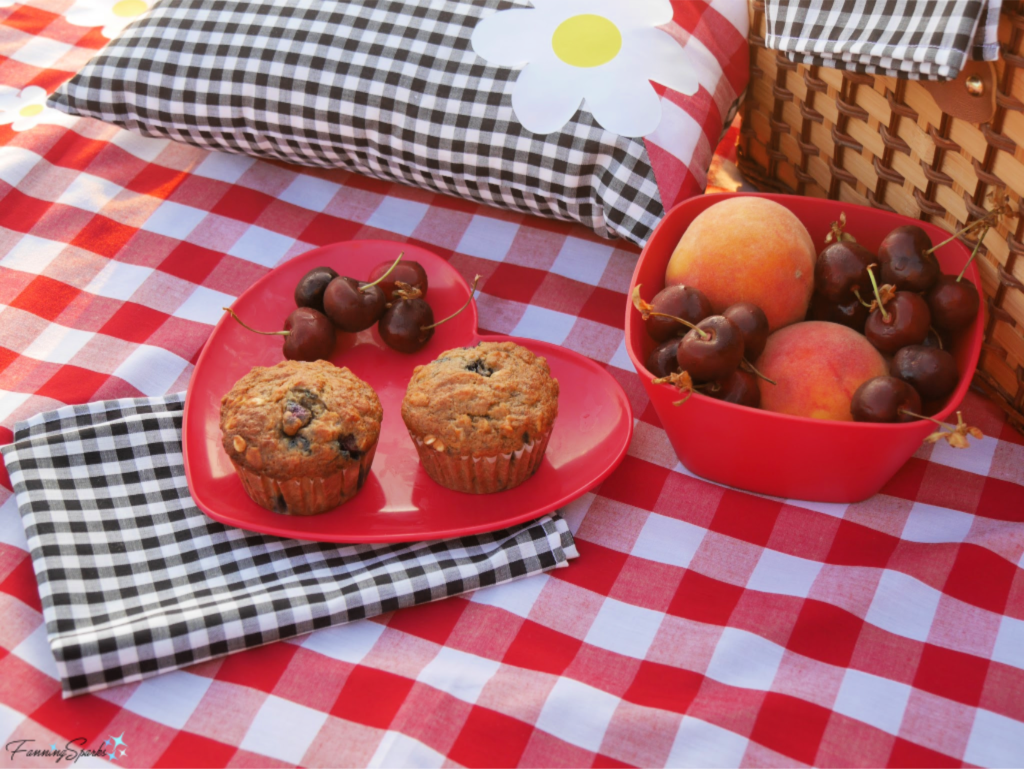 Aside from the picnic blanket, everything fit inside the picnic hamper. This was my first time using this new picnic blanket and I’m really pleased with the results. The waterproof backing kept the blanket dry despite the heavy dew on the dock—just as intended.
 This picnic blanket is a project from last summer. At the time, my research showed that while there are dozens of online tutorials for making a picnic blanket none had all the features I wanted. So I designed, what I consider to be, the ultimate picnic blanket. It’s a generous size, machine washable, waterproof but not slippery, easy to transport, and has a pretty, eye-catching design. I’ll share the step-by-step instructions in an upcoming post. There’s even a built-in pocket that turns into a compact carrying case.
 As I was planning for the breakfast picnic, it occurred to me it might be fun to include a small boat. I readily admit I got a little carried away. Instead of a small boat, a small fleet of sailboats, complete with colorful fabric sails, emerged. Thankfully, the sailboats actually floated! Here’s the photographic evidence—3 pretty sailboats floating in the diffused light of the magic hour.
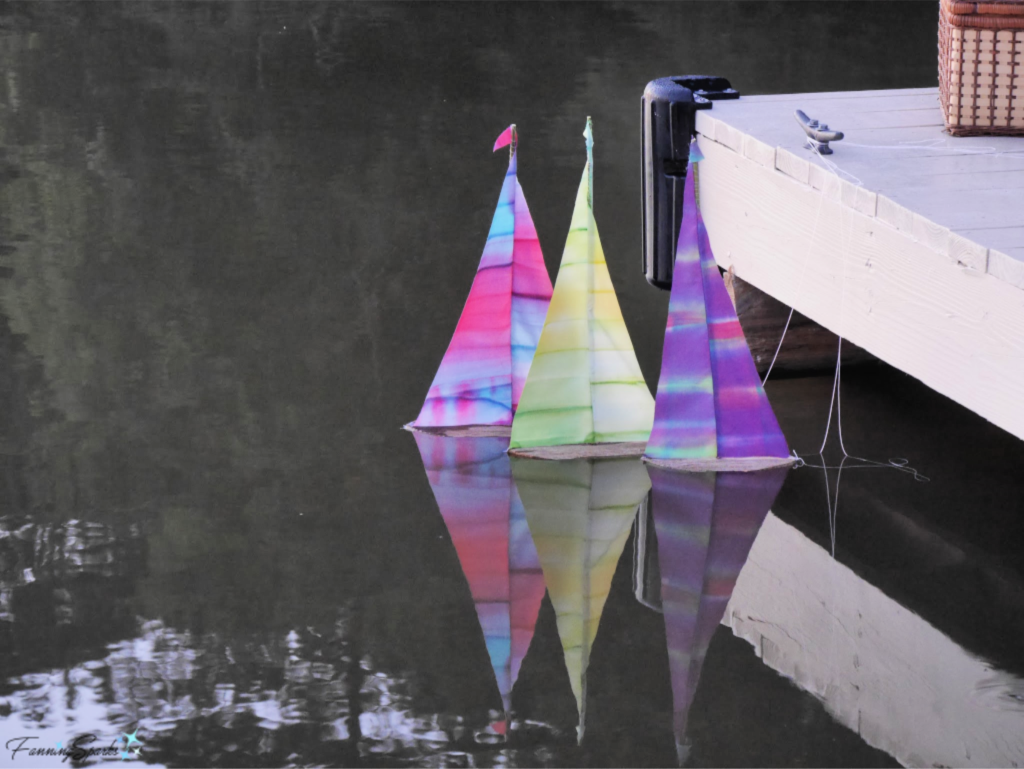 By the way, the term “magic hour” is used by photographers to describe the natural light around sunrise and sunset. The morning sequence is magic hour > sunrise > golden hour. It’s the opposite at sunset. Typically, the light during these hours is softly diffused producing the warm, rich colors that photographers love. I also raved about the beauty of this natural light in the post
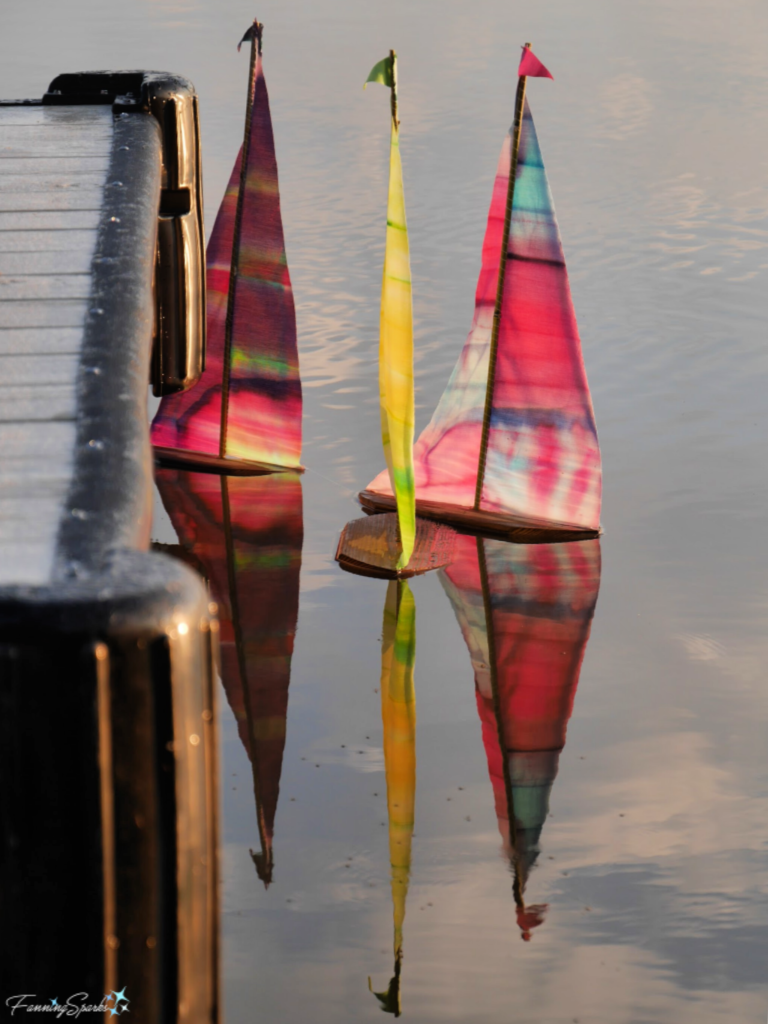
 Here’s another example of the little fleet caught in the golden hour.

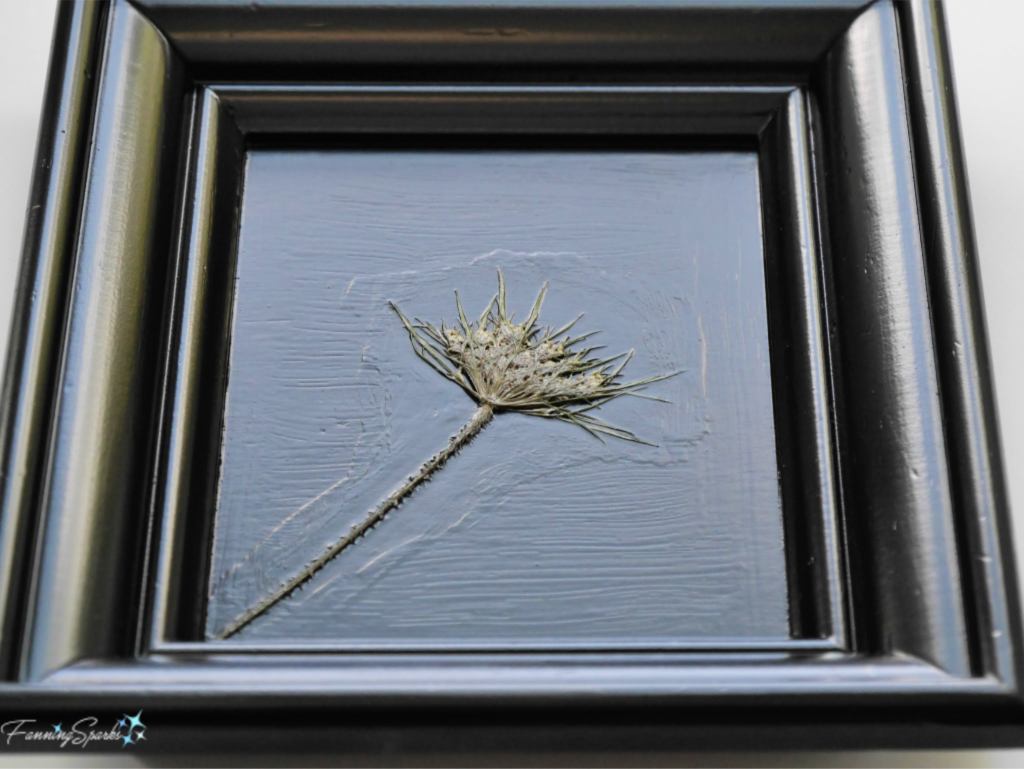
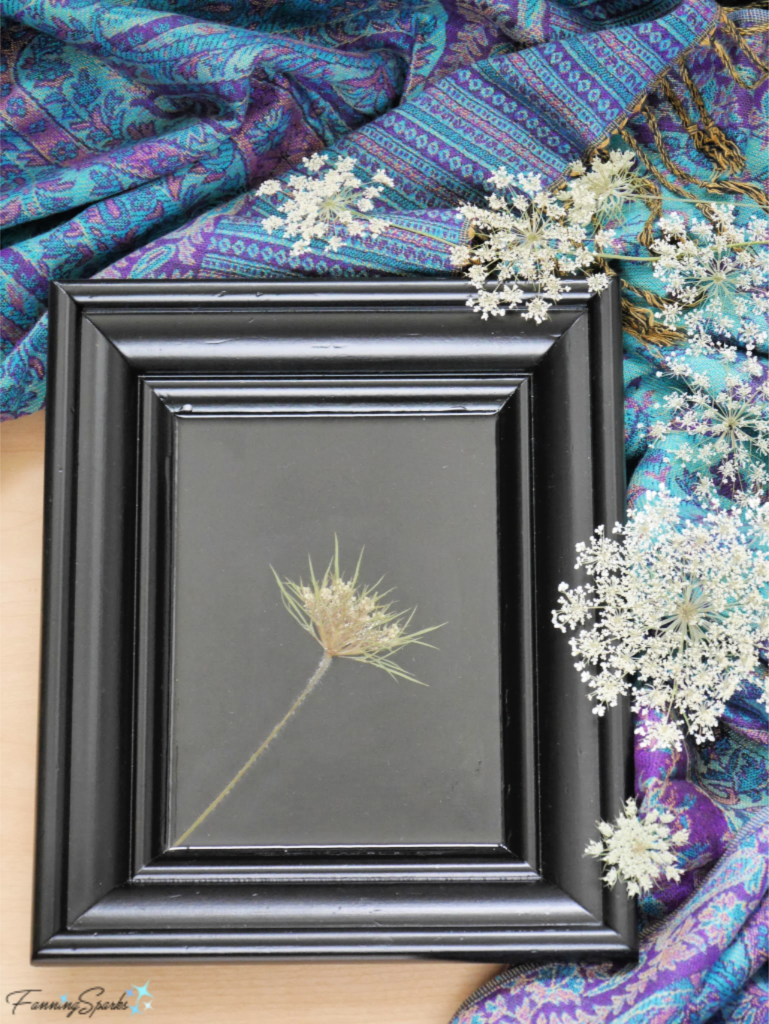
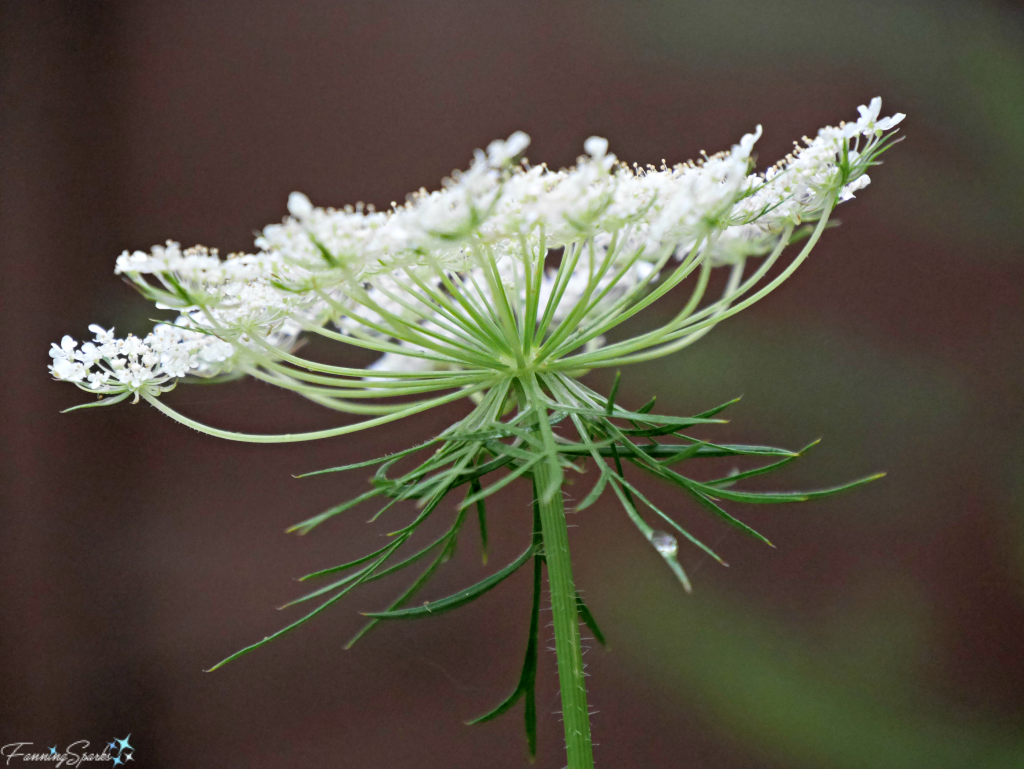 The partially open blossom of Queen Anne’s Lace (shown below) is strikingly simple against the black background. I used Mod Podge matte finish to glue the pressed wildflower in place and to seal the surface.
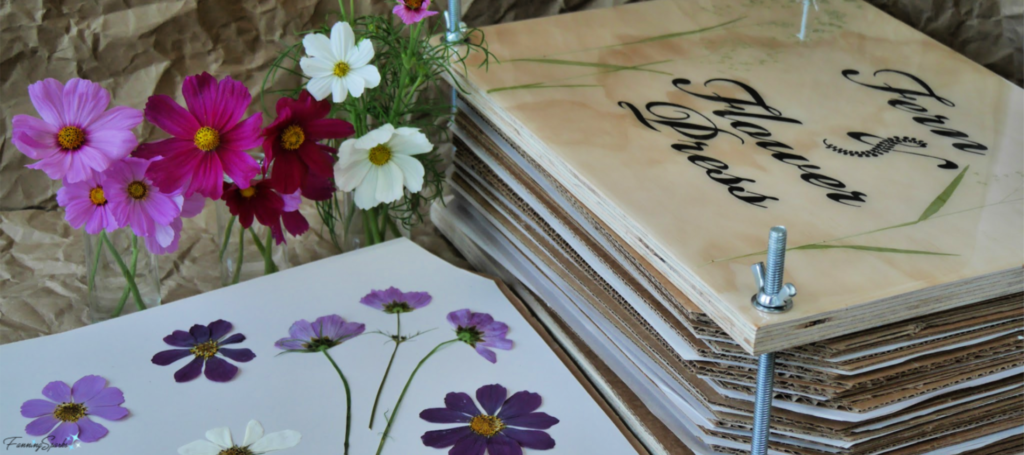
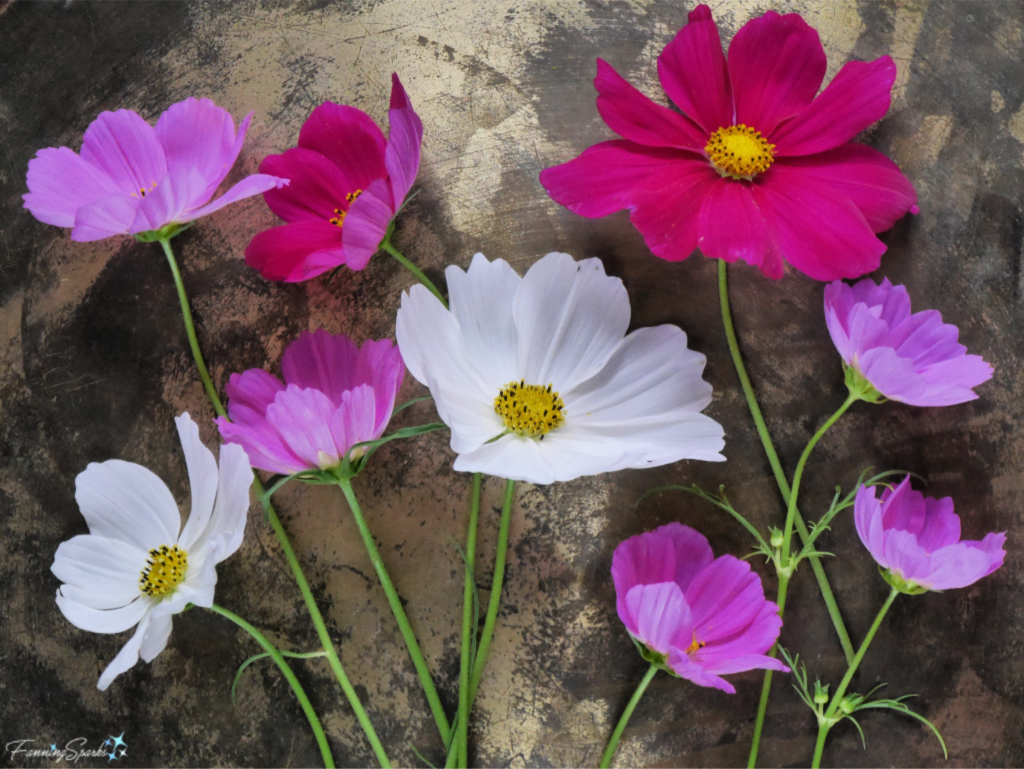
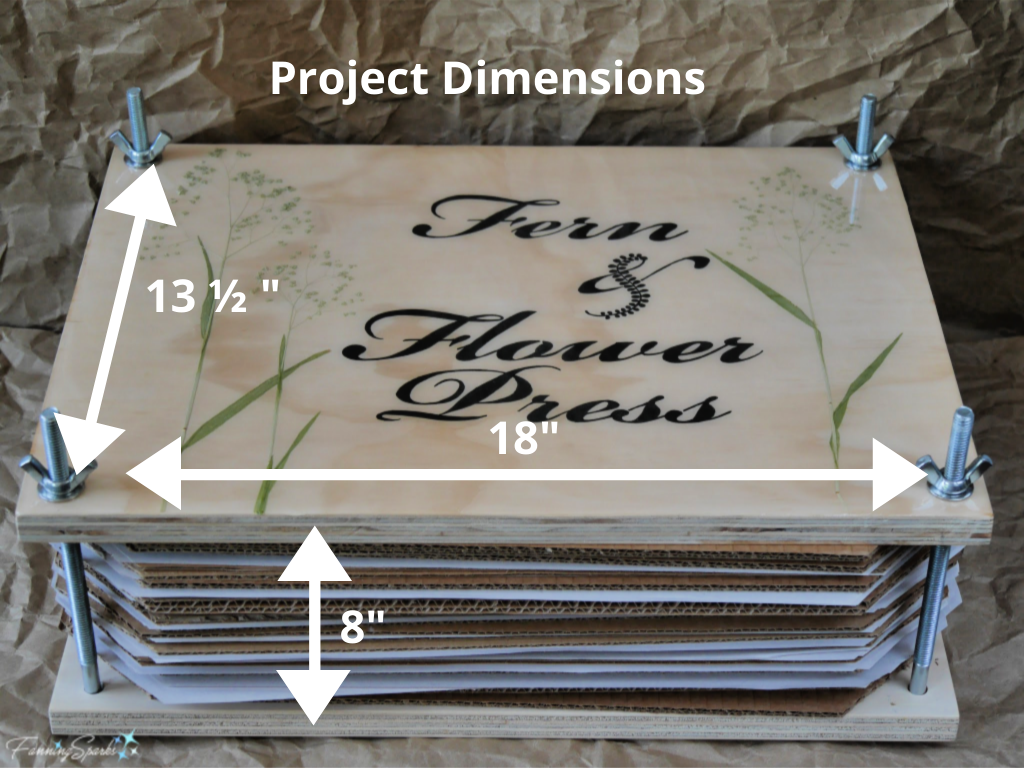
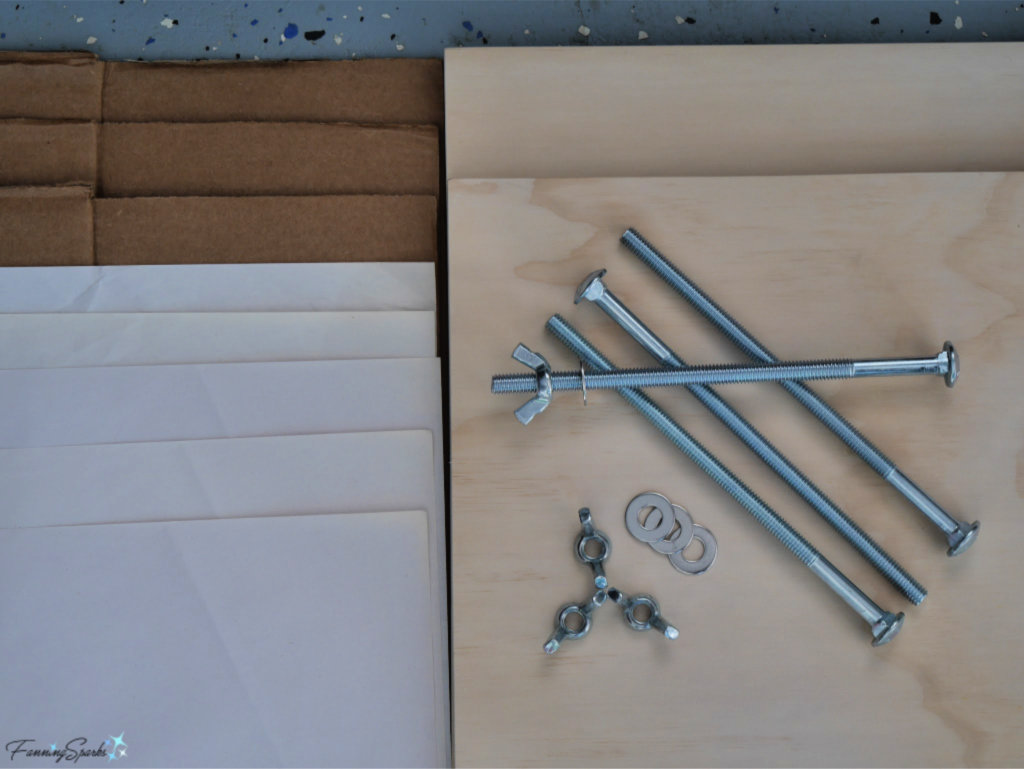
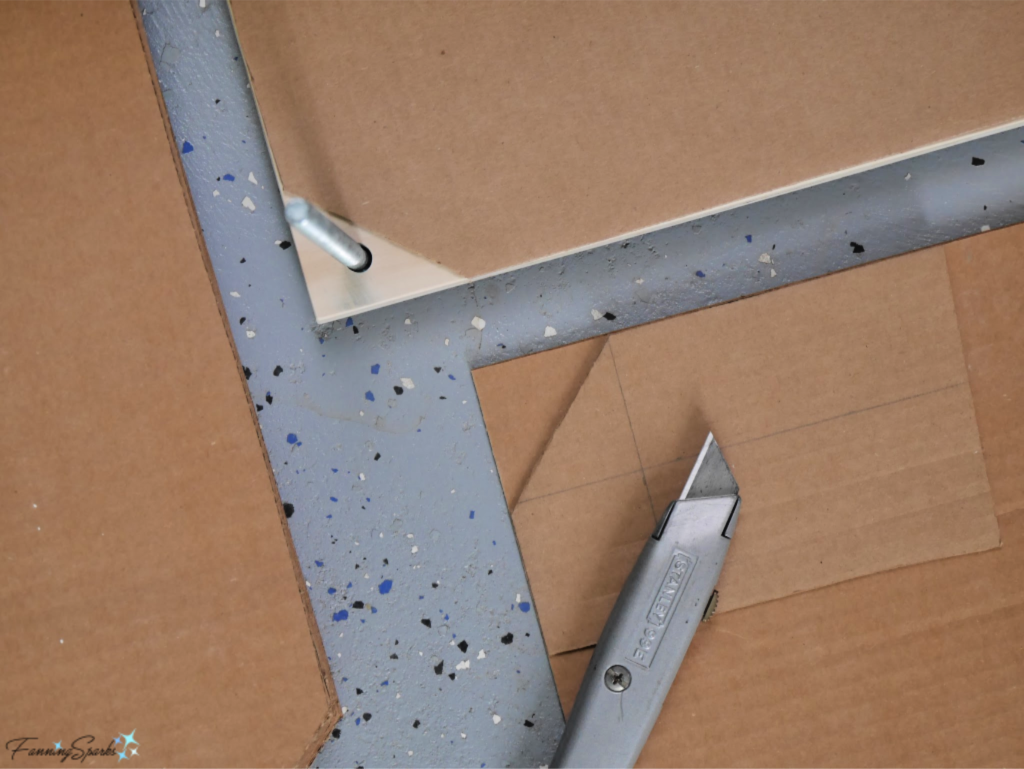 Use one of the cardboard sheets to cut a piece of packing paper to the same size. I found it easiest to use scissors and cut multiple sheets of paper at once. Repeat to make 72 sheets of paper.
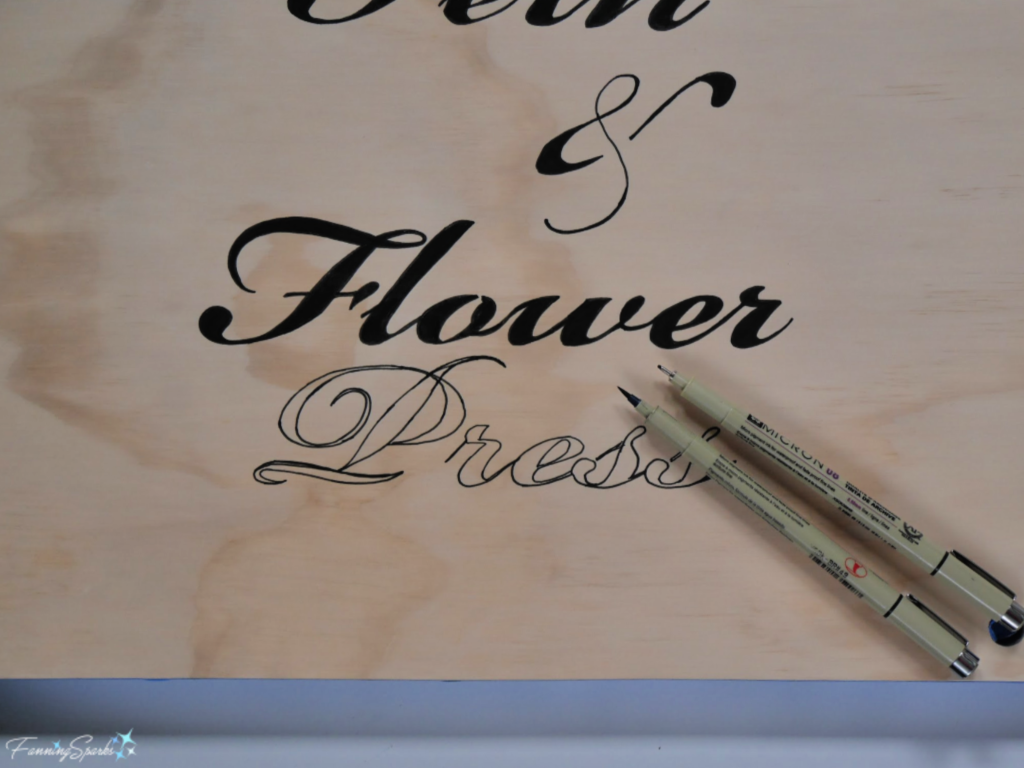
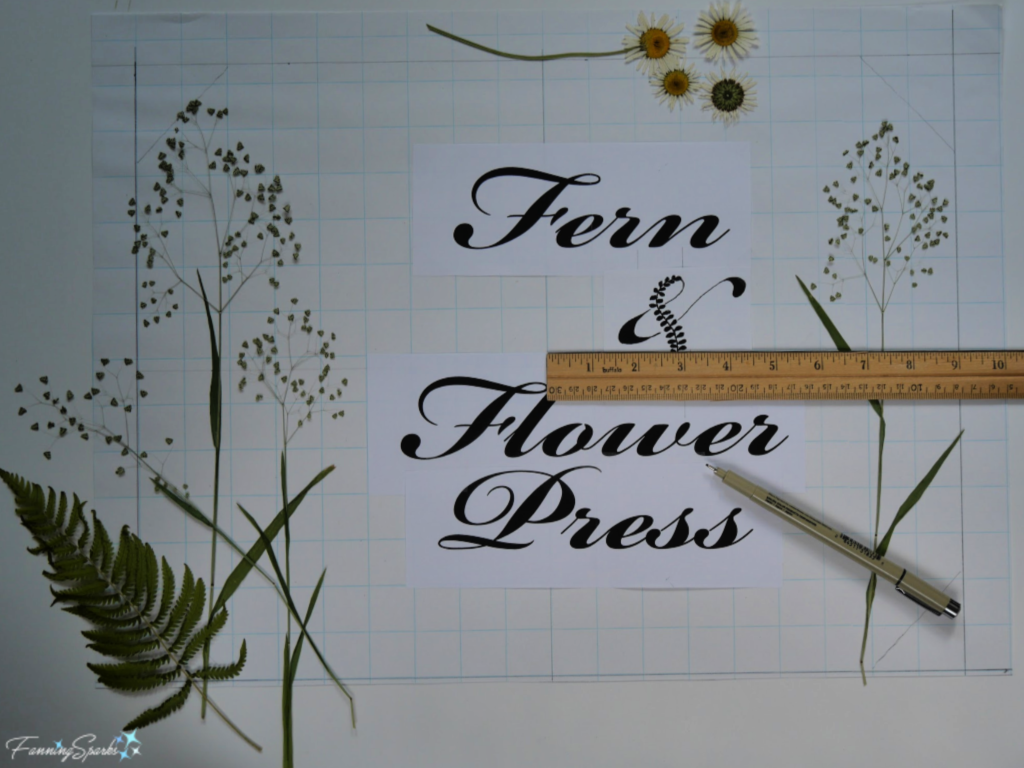 Step 6 – Trace and Color Title on Top Cover Tape your final design to the Top Cover. Use a ball stylus tool or dull pencil to trace the letters pressing down to indent the surface of the wood. Check to ensure indentation is visible.
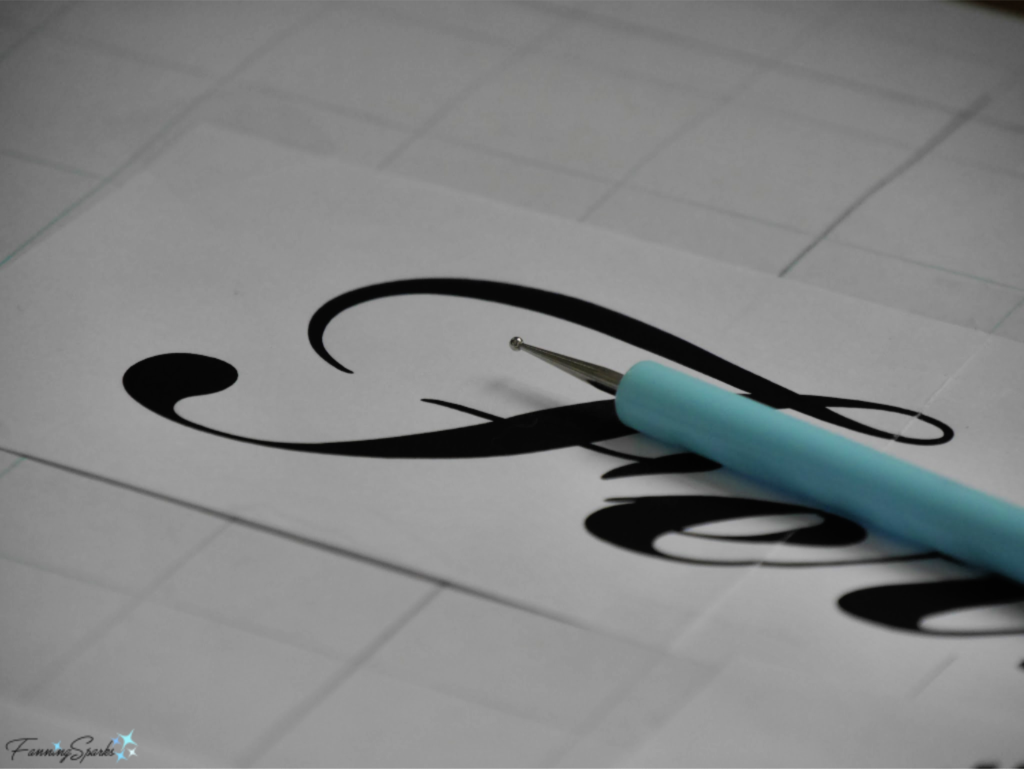 Use 08 black marker to trace along the indentations. Fill in letters with brush tip black marker.
 Step 7 – Seal with Mod Podge Use small paint brush to apply a thin coat of Mod Podge matte finish over the entire surface of the Top Cover. Start with the lettering. Then apply Mod Podge to the areas where the dried materials will be positioned. Carefully, place the dried materials on the Mod Podge pressing down to attach all stems, leaves, seeds, etc to the surface of the wood.
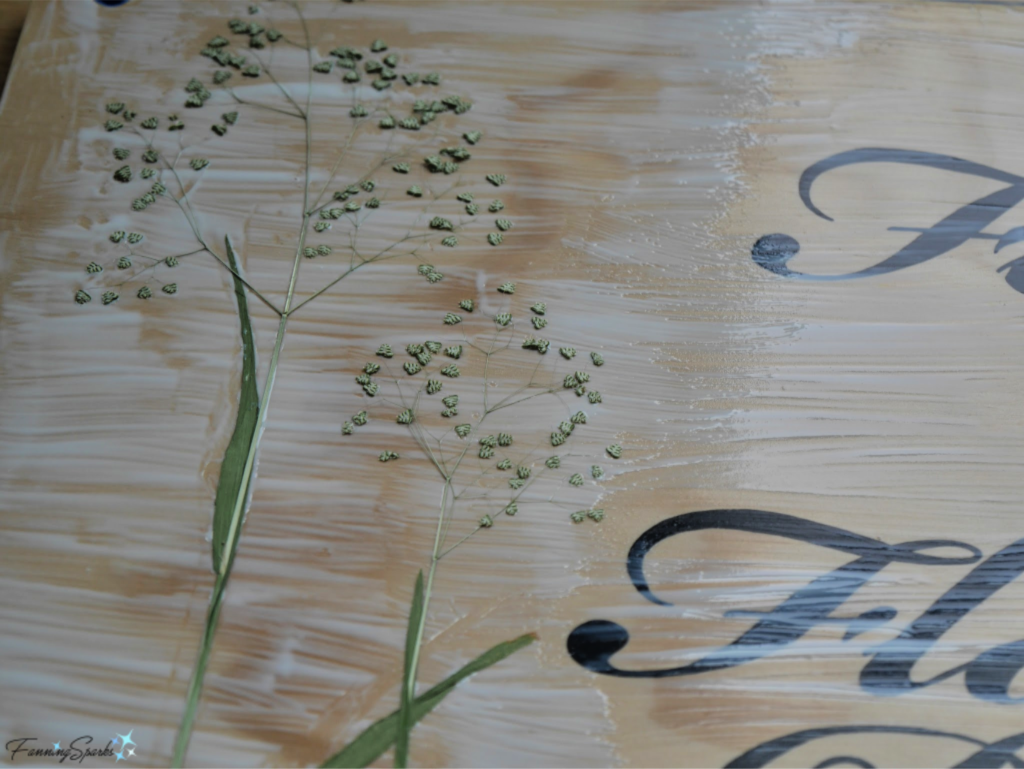 After placing everything as desired, prepare to apply a top coat of Mod Podge. The top coat can be thinned out with a little water if desired. The objective is to seal all the natural materials under the Mod Podge so everything stays in place when the resin coat is applied. Sealing also reduces the number of air bubbles in the next step.
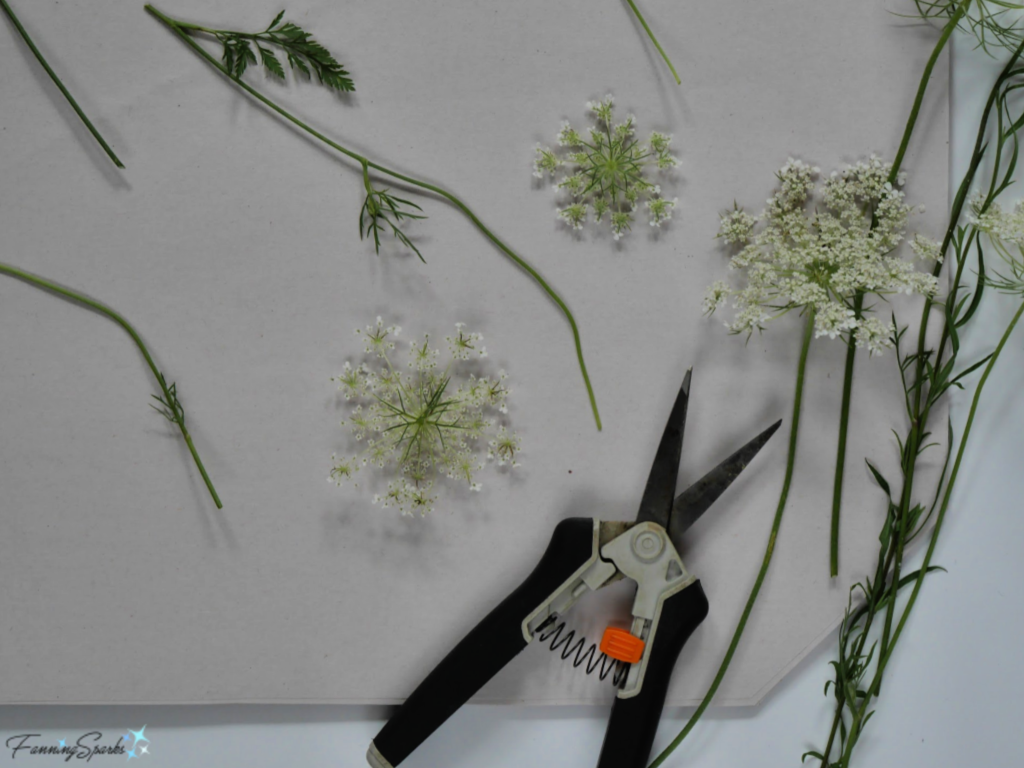
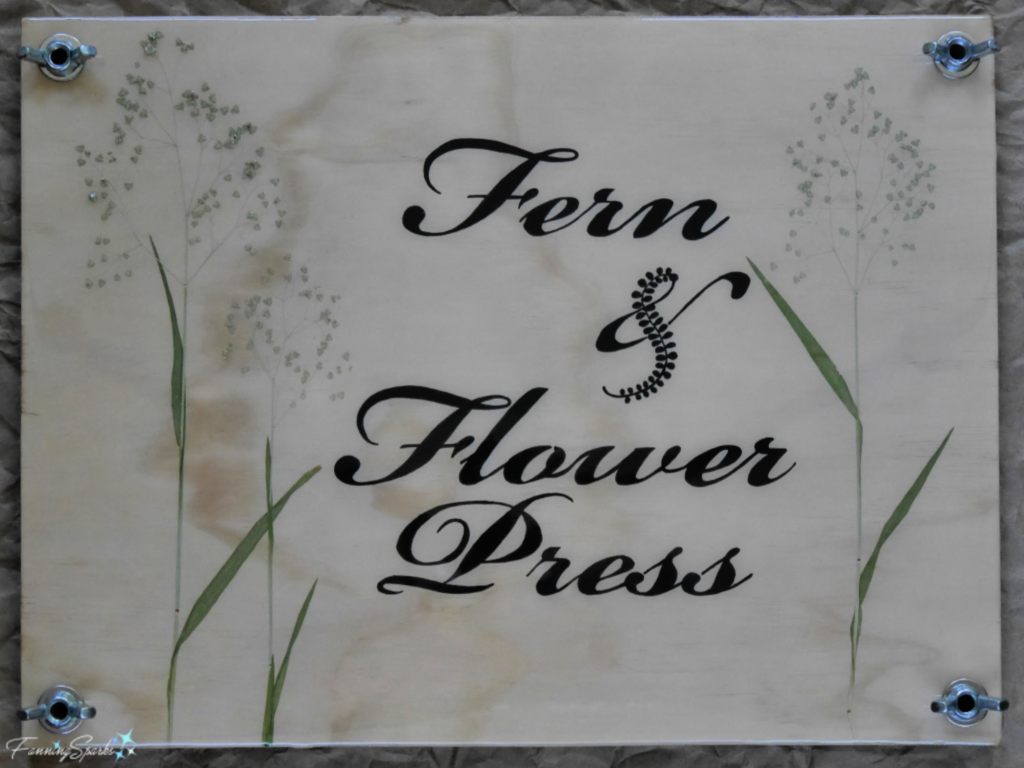 Your new Fern & Flower Press is ready to use! Begin by gathering leaves, fronds, flowers, grasses, seed heads and any other plant materials you wish to dry and press. It’s best to cut plant materials early in the day as soon as they are dry. Avoid thick or dense elements such as roses or peonies. Work quickly to minimize drooping and wilting.
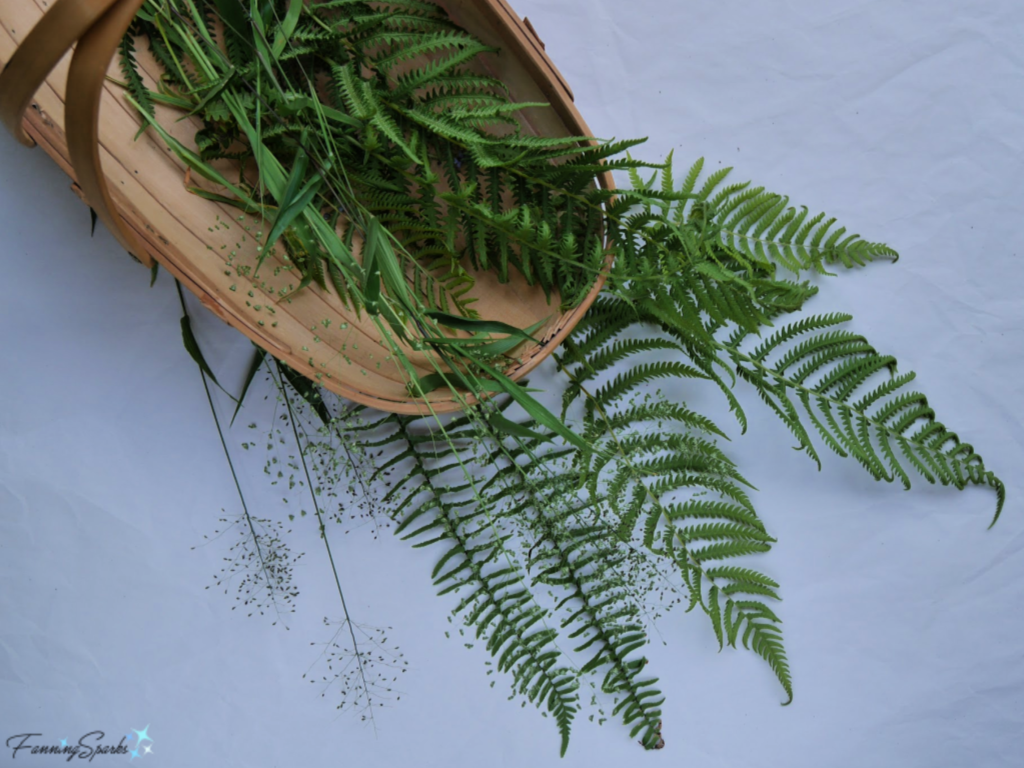 Separate and trim the materials to be pressed.
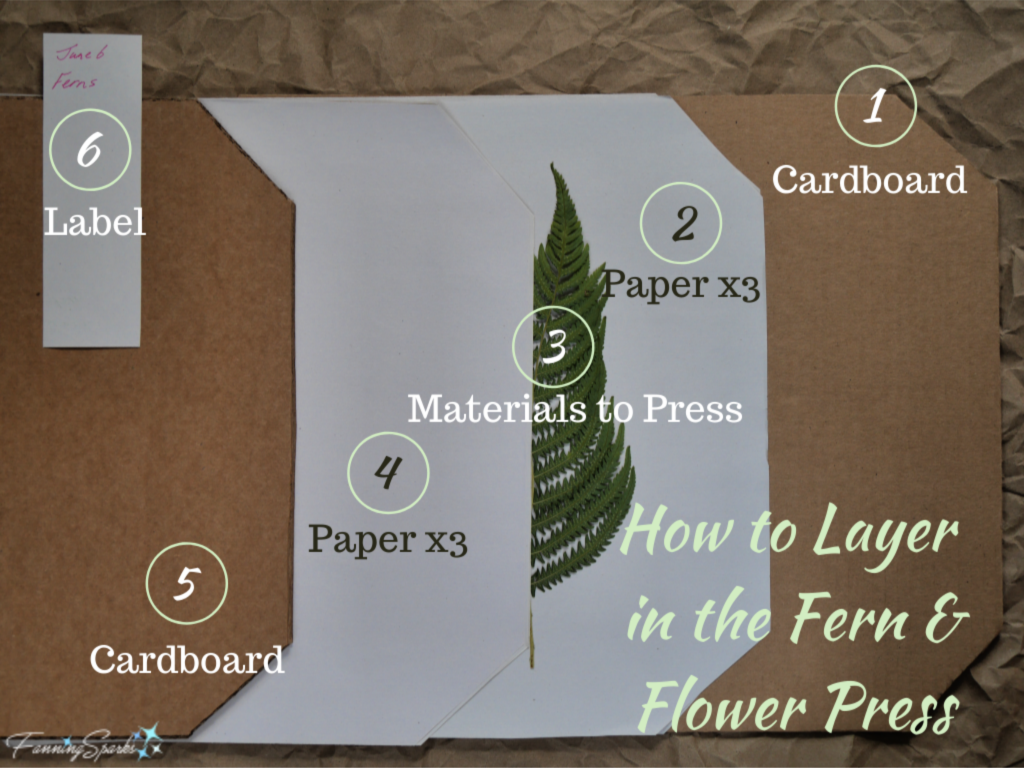
 To place plant materials in the press, layer the components as follows:
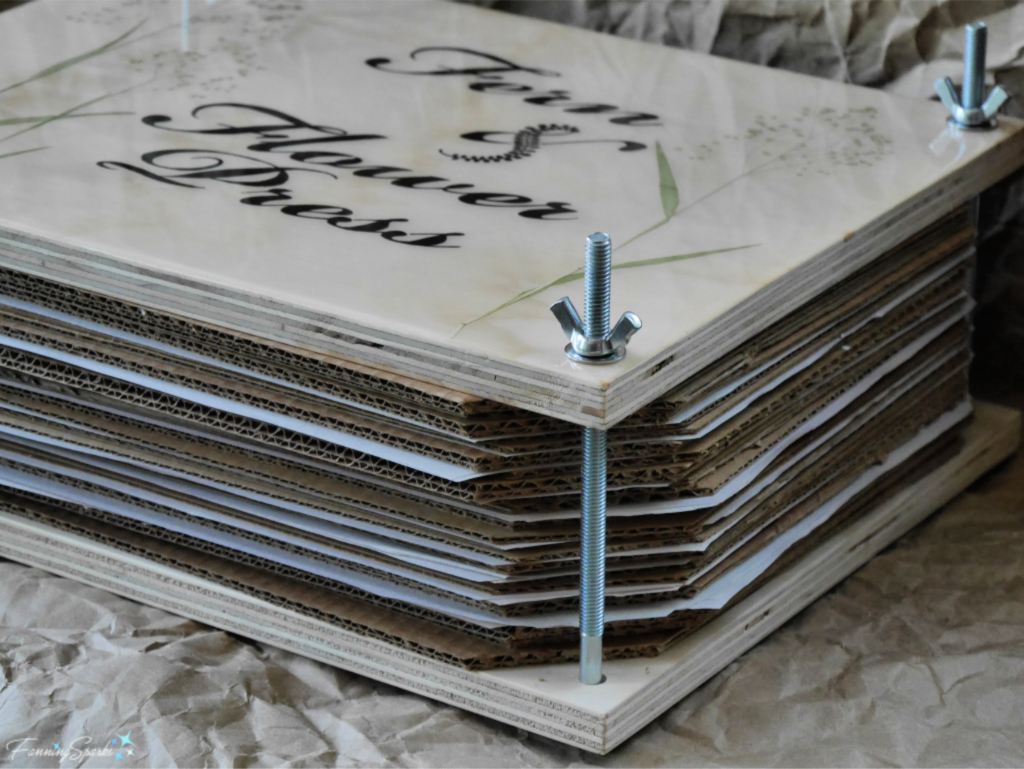
 Insert the carriage bolts into the Bottom Cover. Continue to build layers stacking them on the bottom of the press. When all layers are ready, slip the Top Cover onto the carriage bolts, slide on flat washers and tighten with the wingnuts. Ensure all 4 wingnuts are tightened equally.
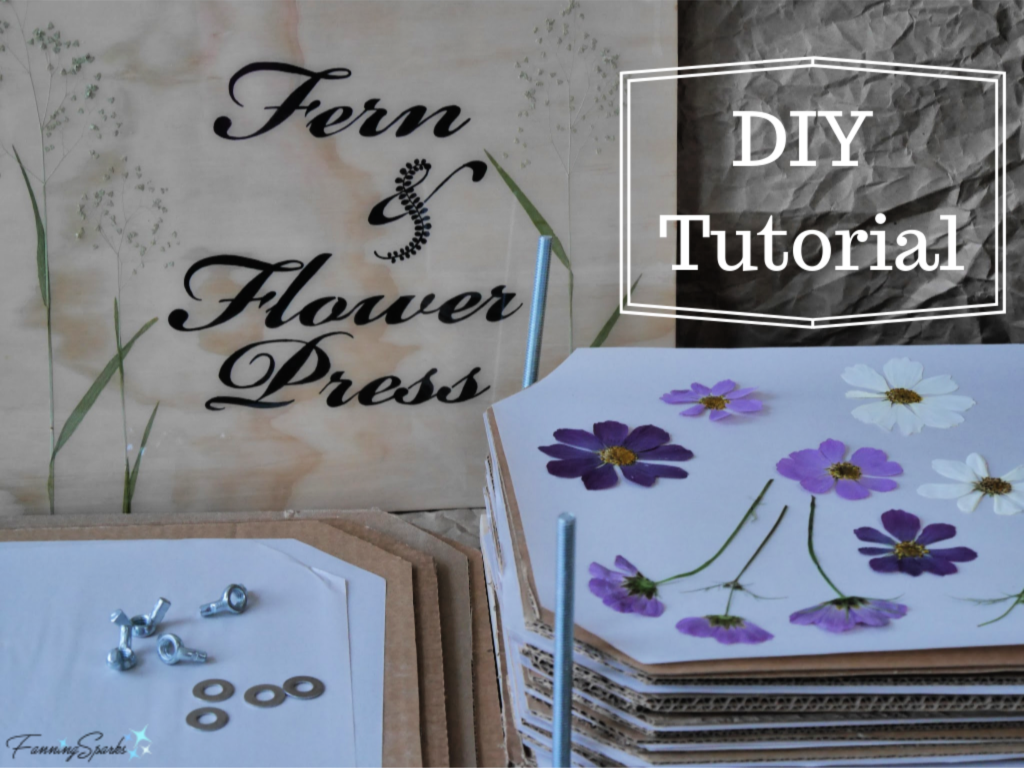
 Now it’s time to let the press do the work. Drying times will vary but most plant materials are ready in about 2 weeks. You may need to re-tighten the wingnuts as the materials dry. While you’re waiting, start planning how you’ll use your beautifully pressed plant materials!
 You can learn more about epoxy resin on the
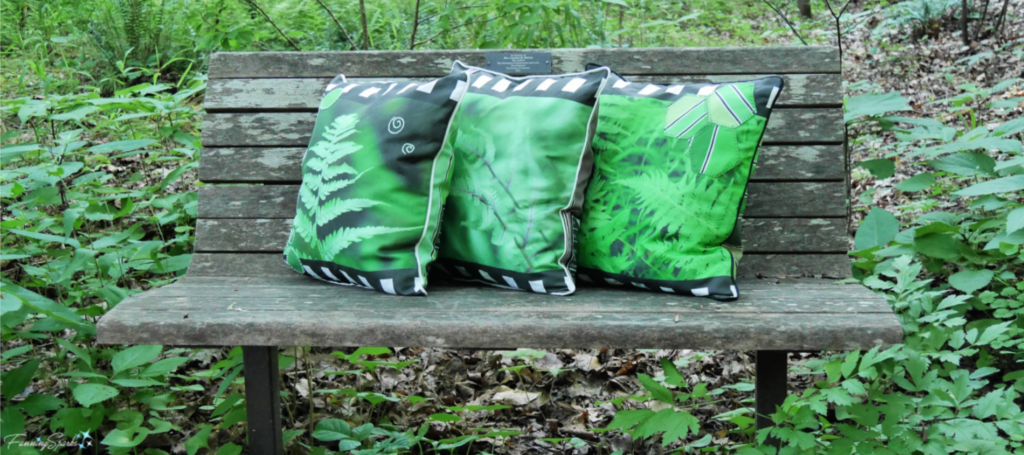
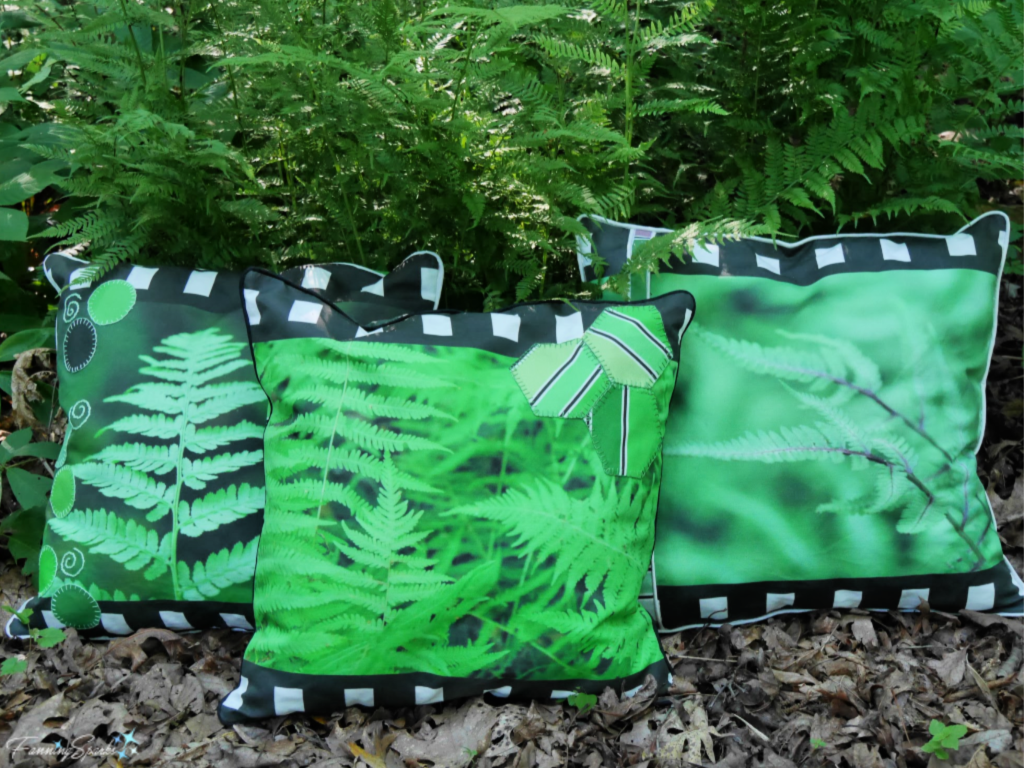

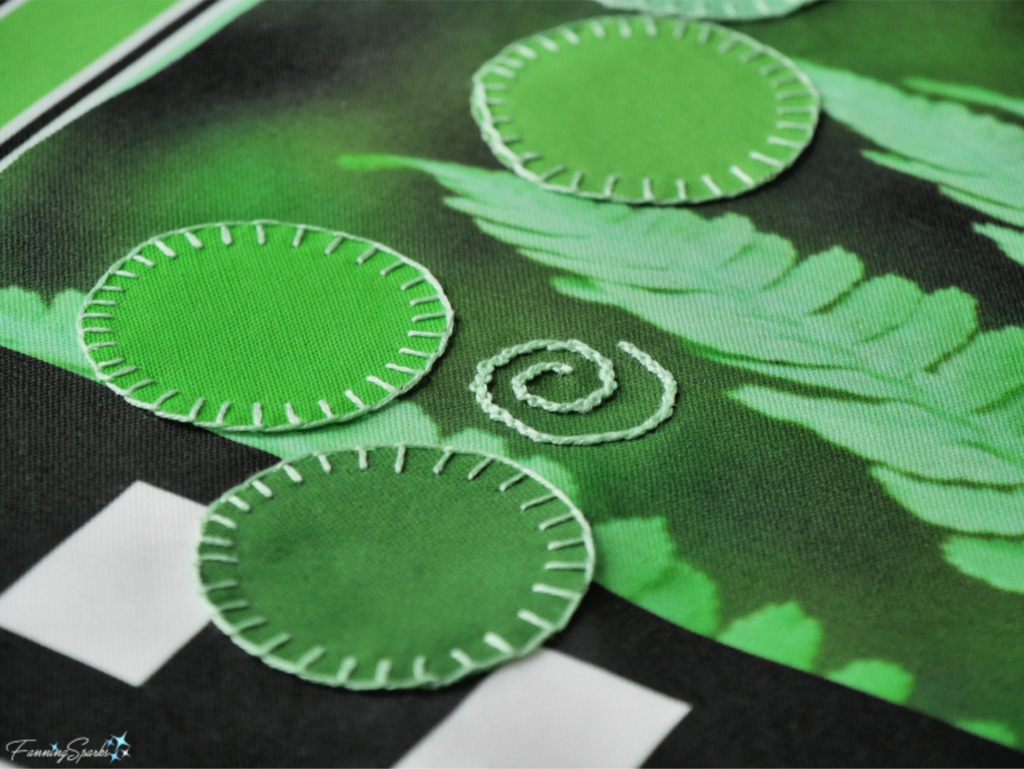 Here’s how it turned out.
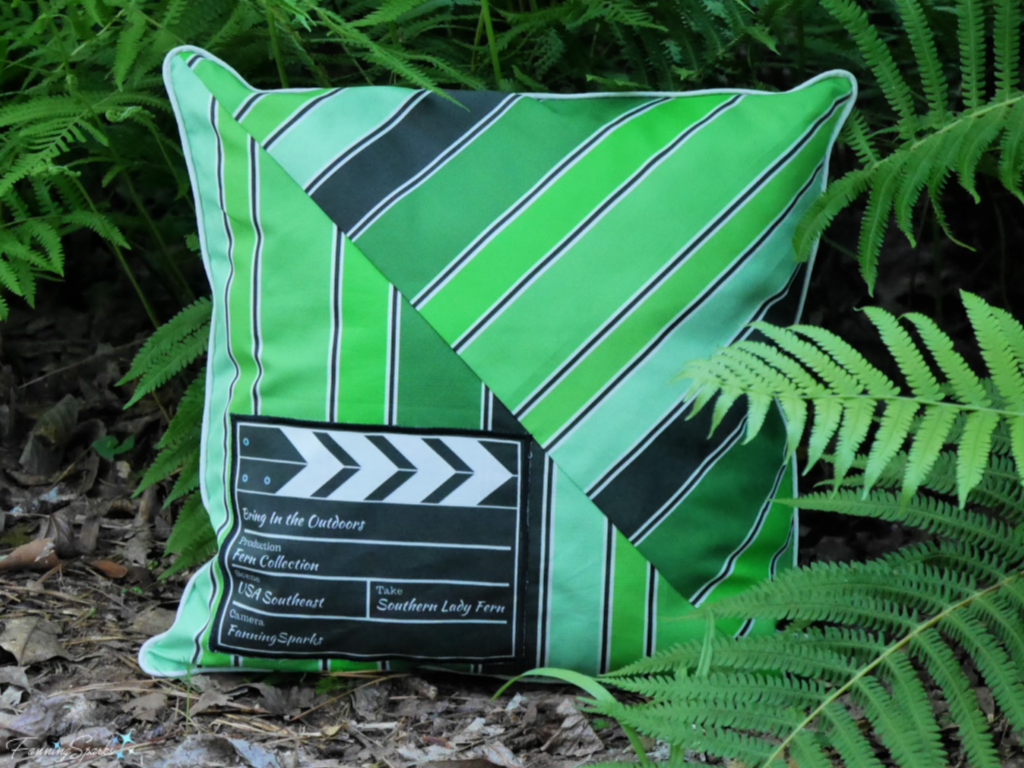
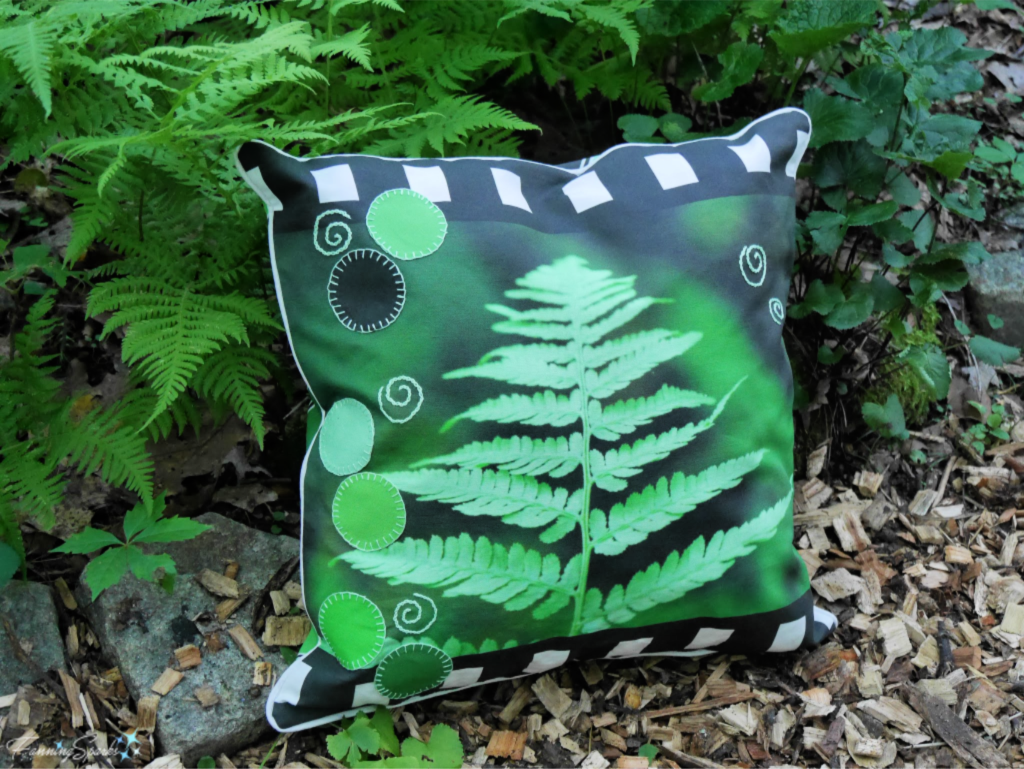 For the back of the Southern Lady Fern pillow, I added a little twist with a diagonal section of the striped fabric.
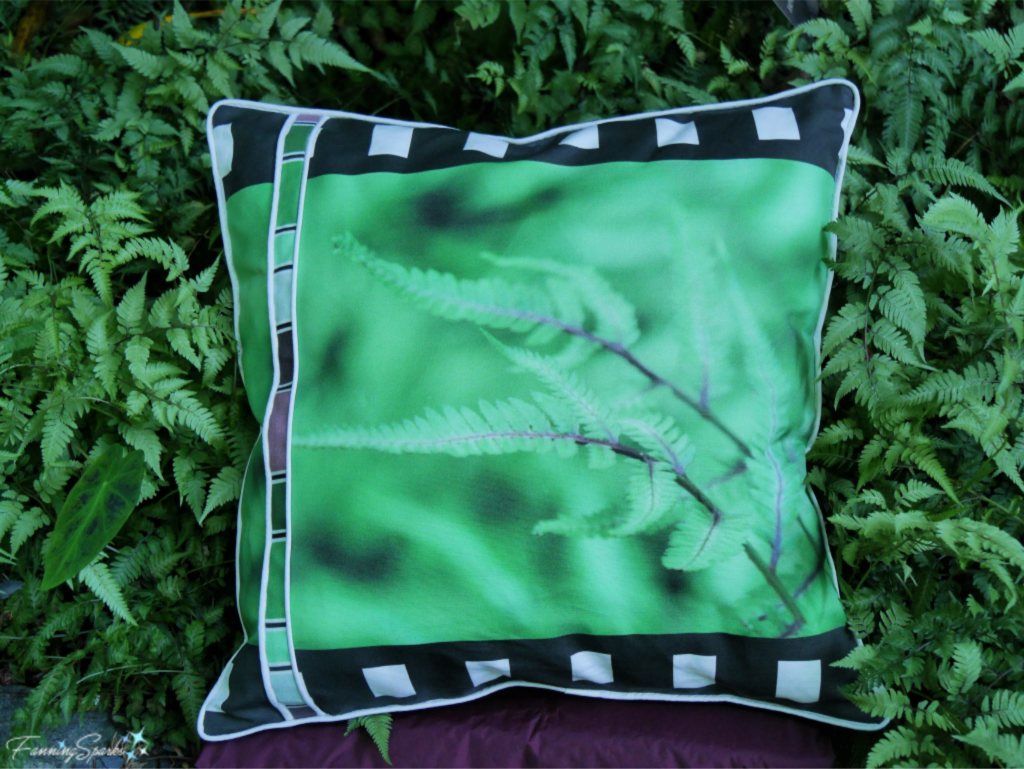
 The Japanese Painted Fern (Athyrium niponicum ‘Pictum’) is considered one of the most beautiful ferns for the home shade garden thanks to its dramatic foliage and unique burgundy and silver coloring. Here’s how it looks on the pillow front design.
 I added a narrow strip of the striped fabric on the pillow front to accent the various colors in this design. Here is the finished front of my Japanese Painted Fern pillow.
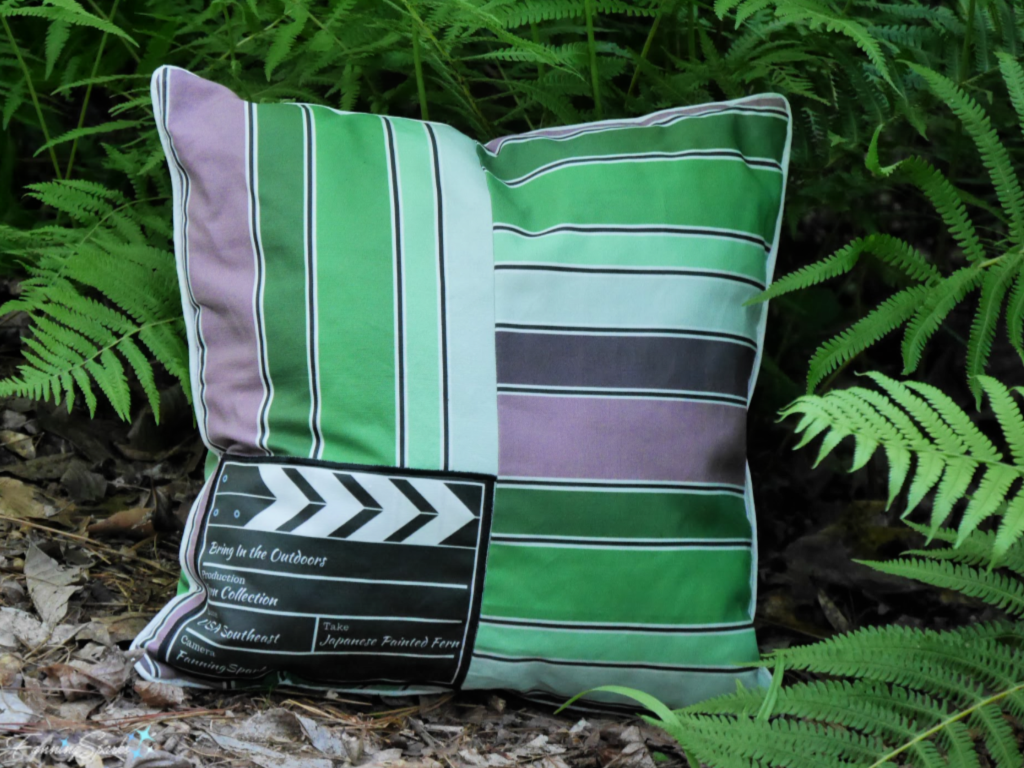
 Here is the back of my Japanese Painted Fern pillow. I love this combination of greens and burgundies.
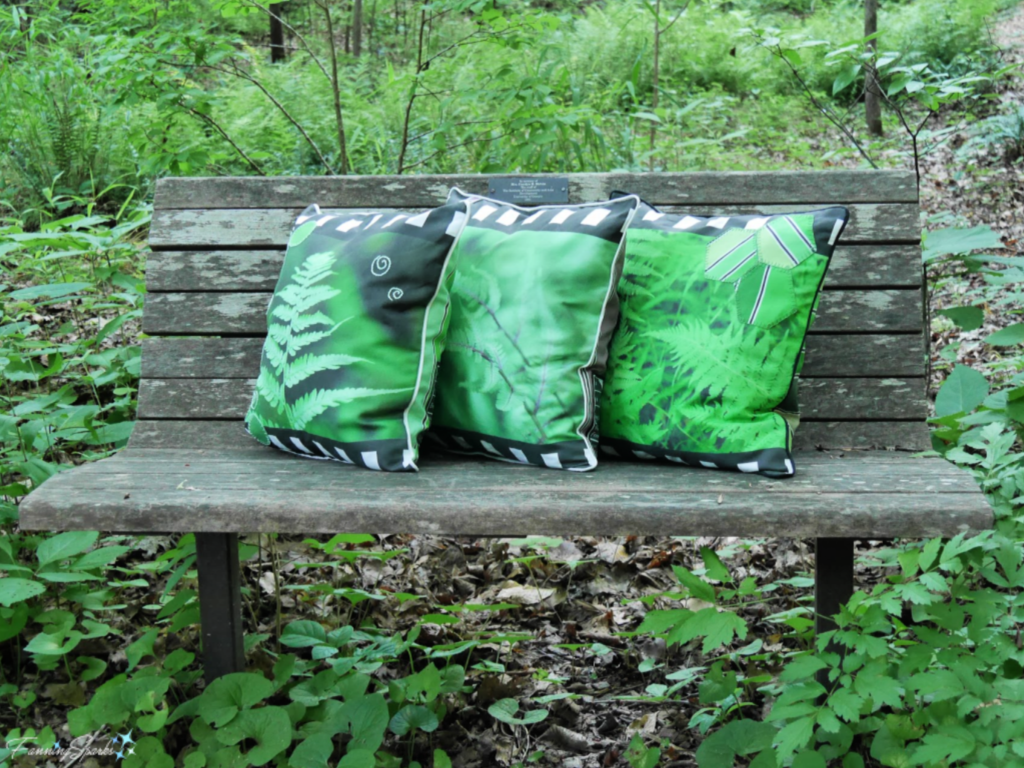
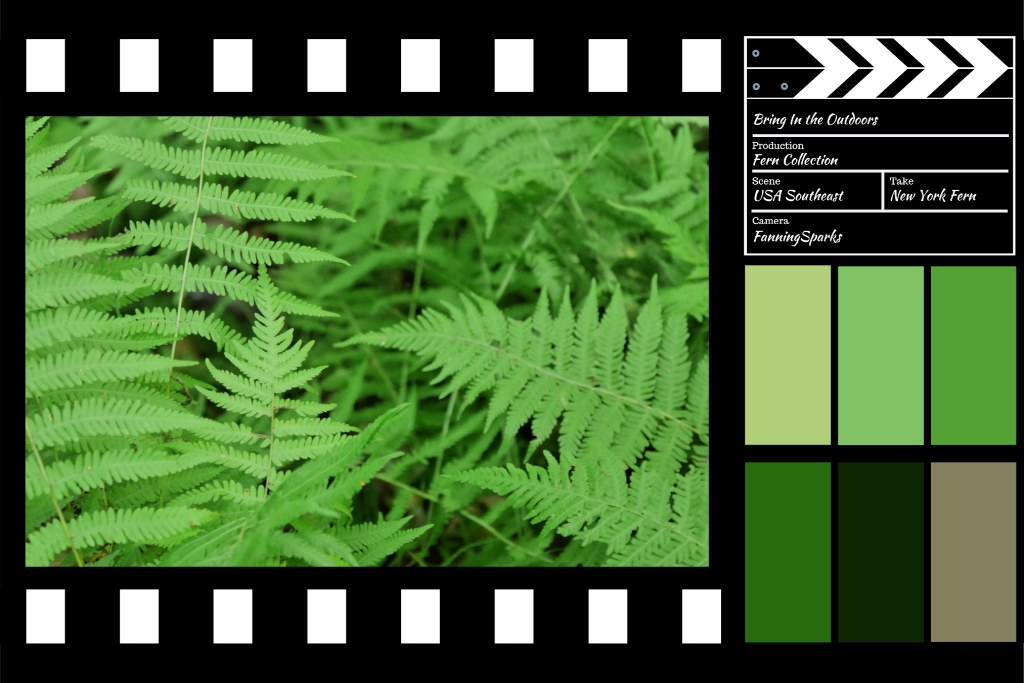
 The third pillow in the collection is the New York Fern (Thelypteris noveboracensis). This is the pillow front design.
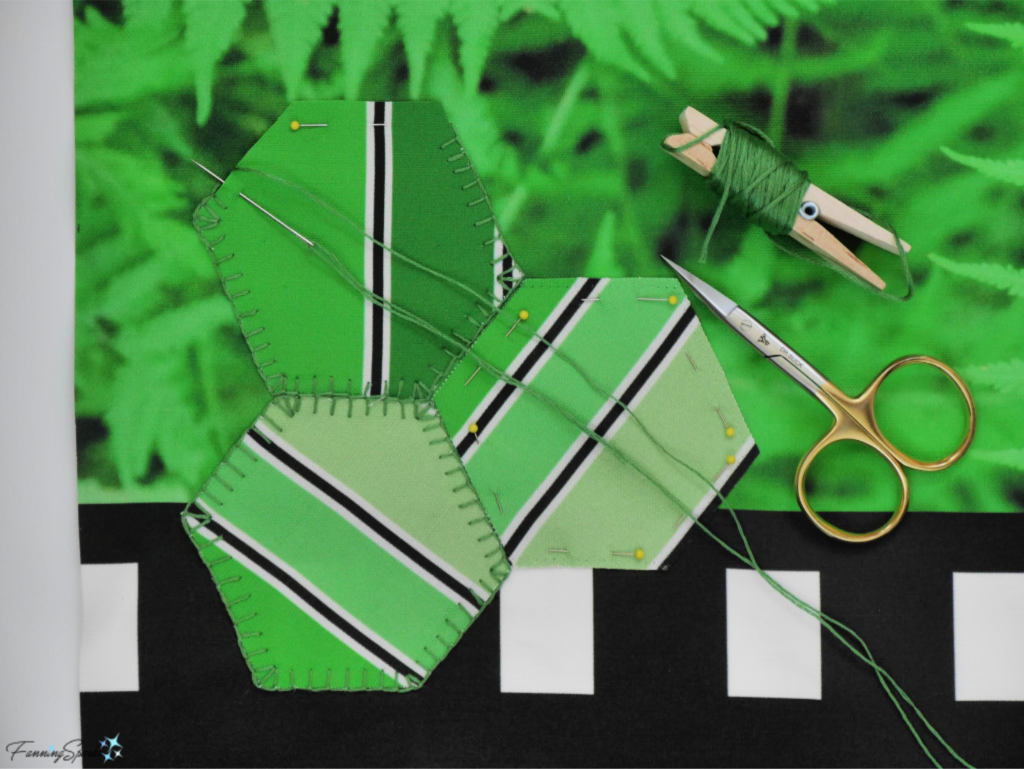
 To add a little unexpected contrast, I appliqued hexagon shapes from the striped fabric on the pillow front.
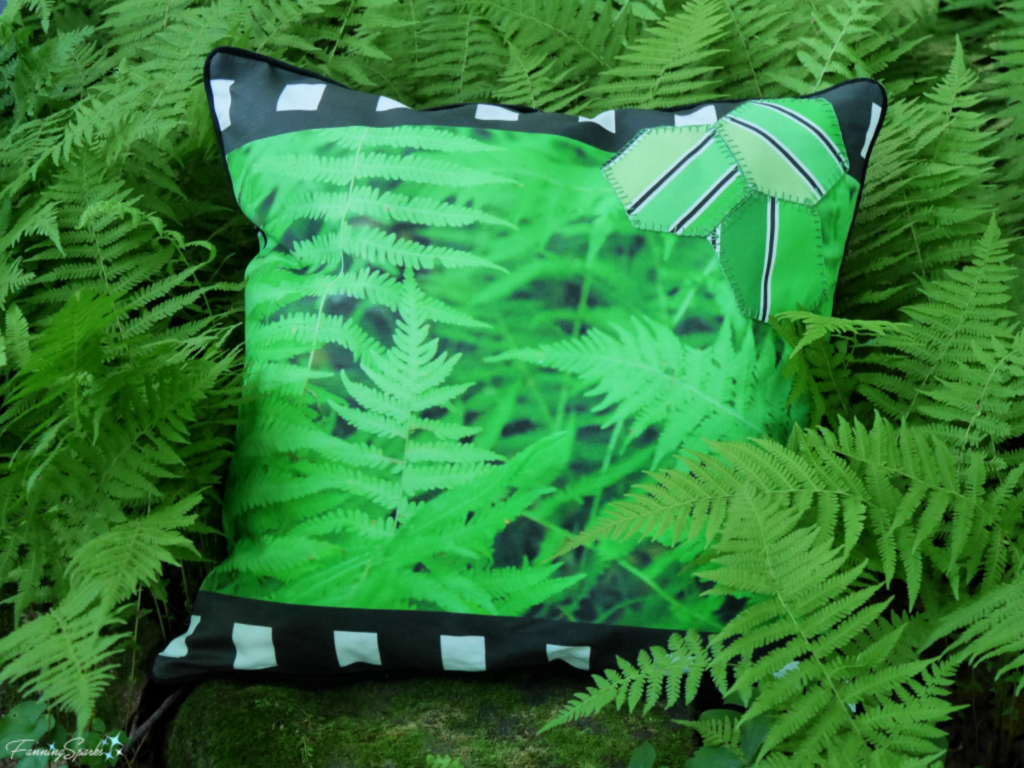
 Here’s how the finished hexagons look on the front of the New York Fern pillow.
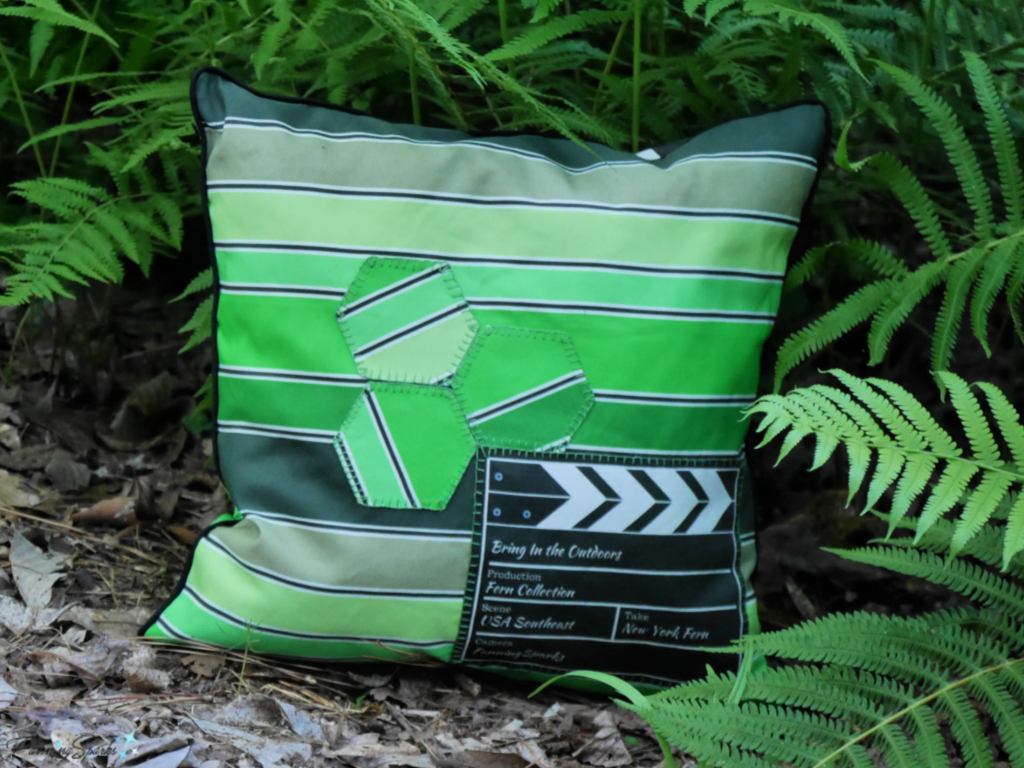
 The hexagon shapes are repeated on the pillow back.
 Last summer, I attended a class on Ferns and Fern Allies at the State Botanical Garden of Georgia (see
 I’m on the lookout for new and interesting ways to incorporate ferns into my home and surroundings. My favorite ideas are pinned on a Pinterest board,
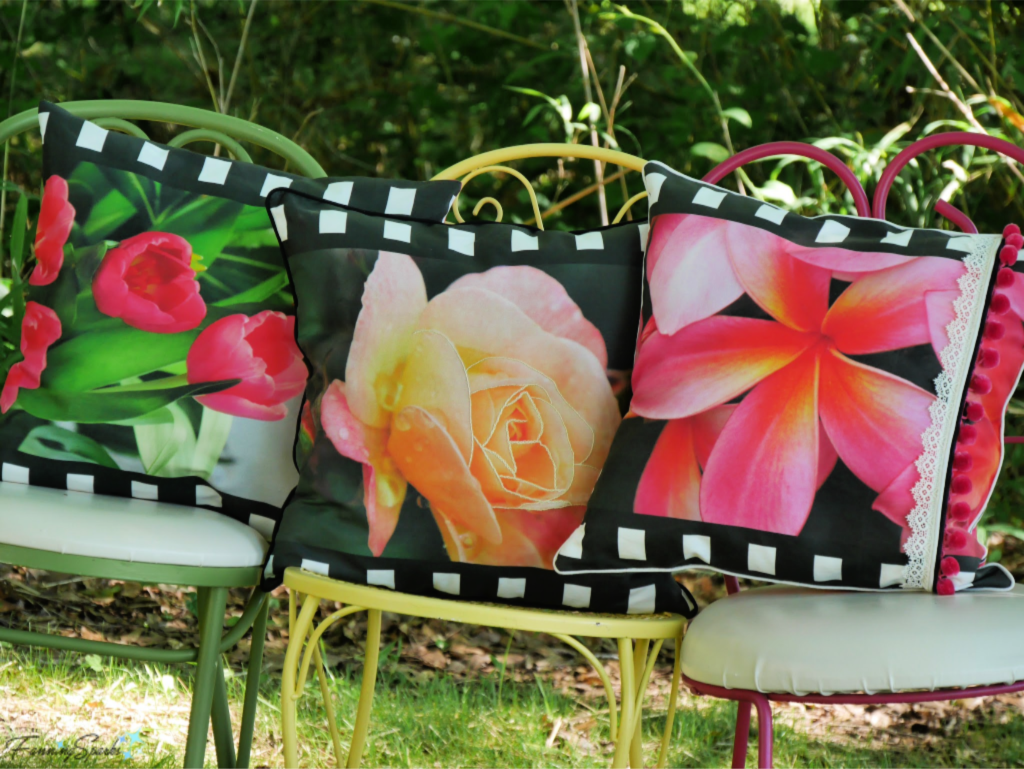

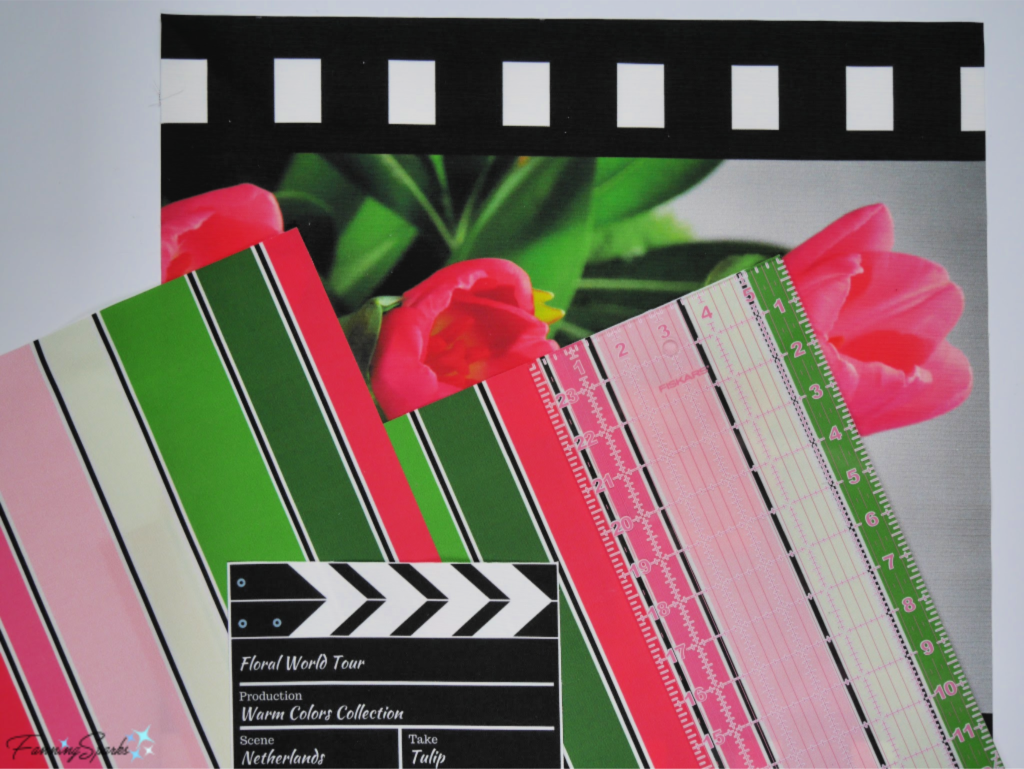
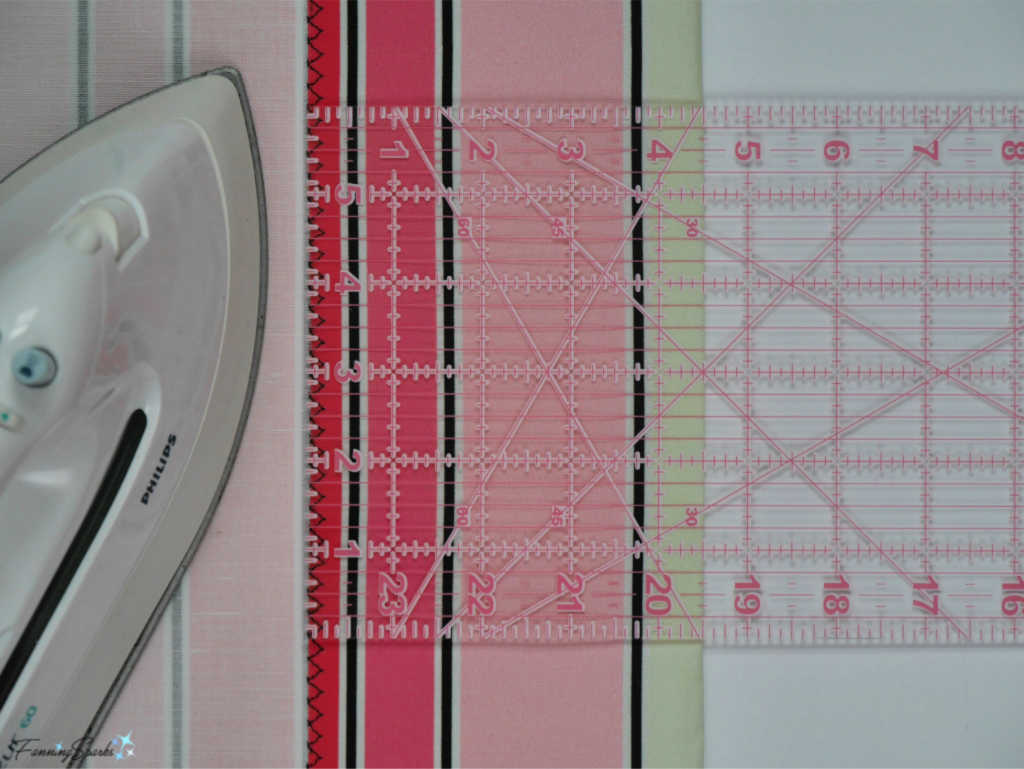
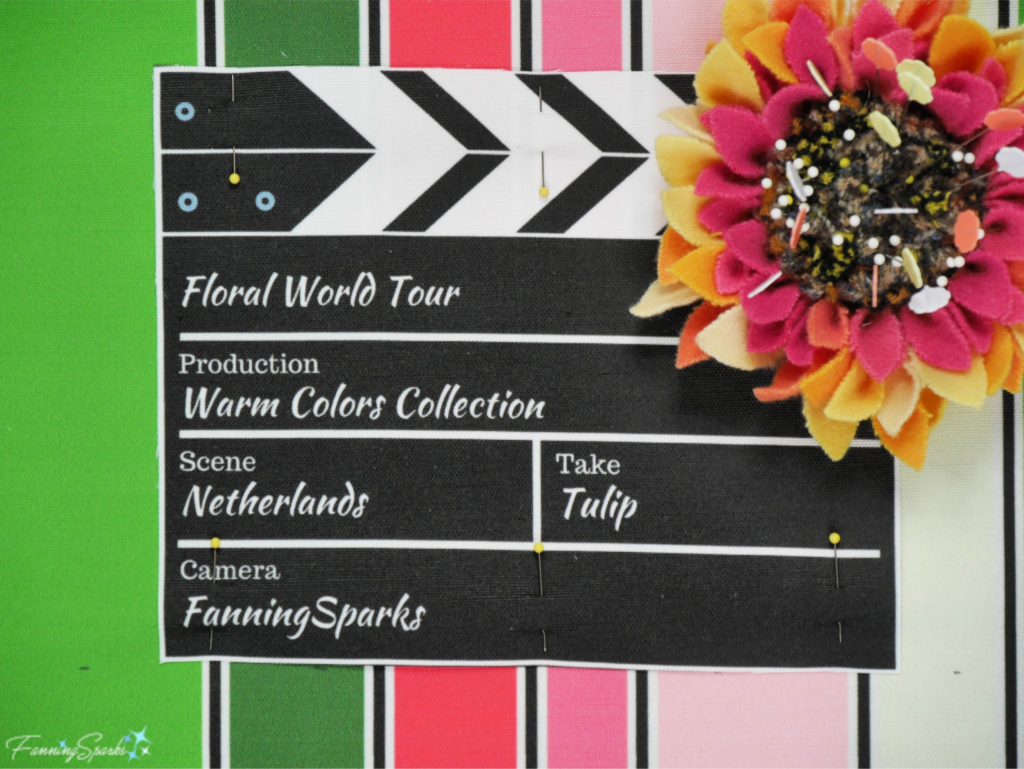
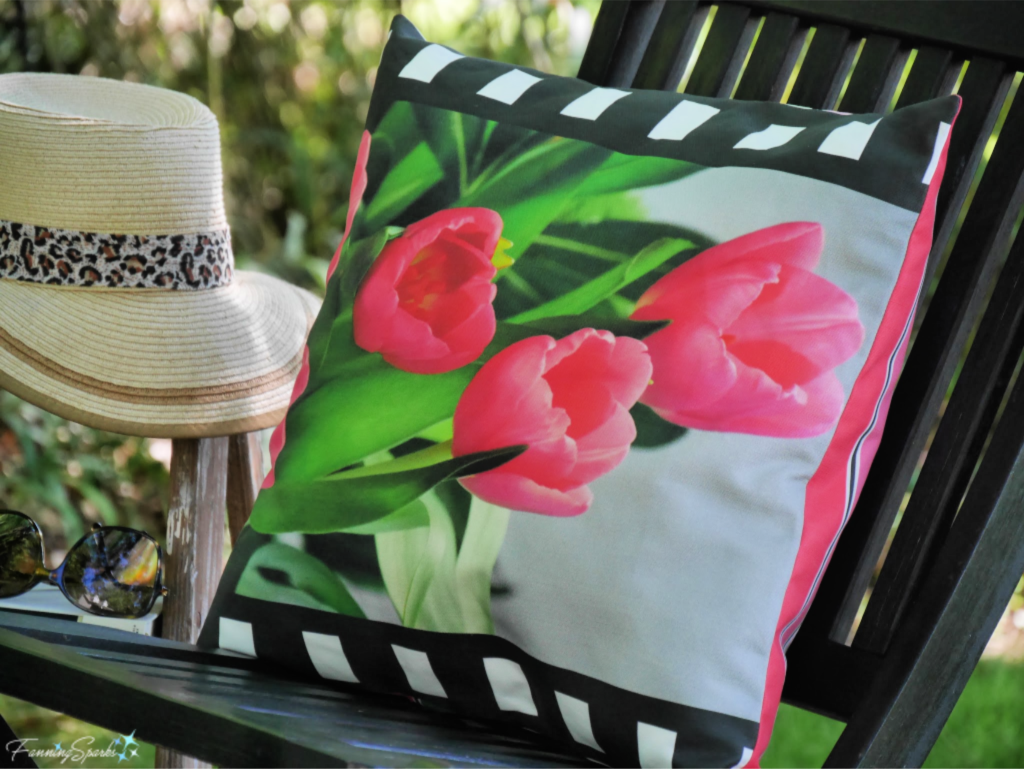
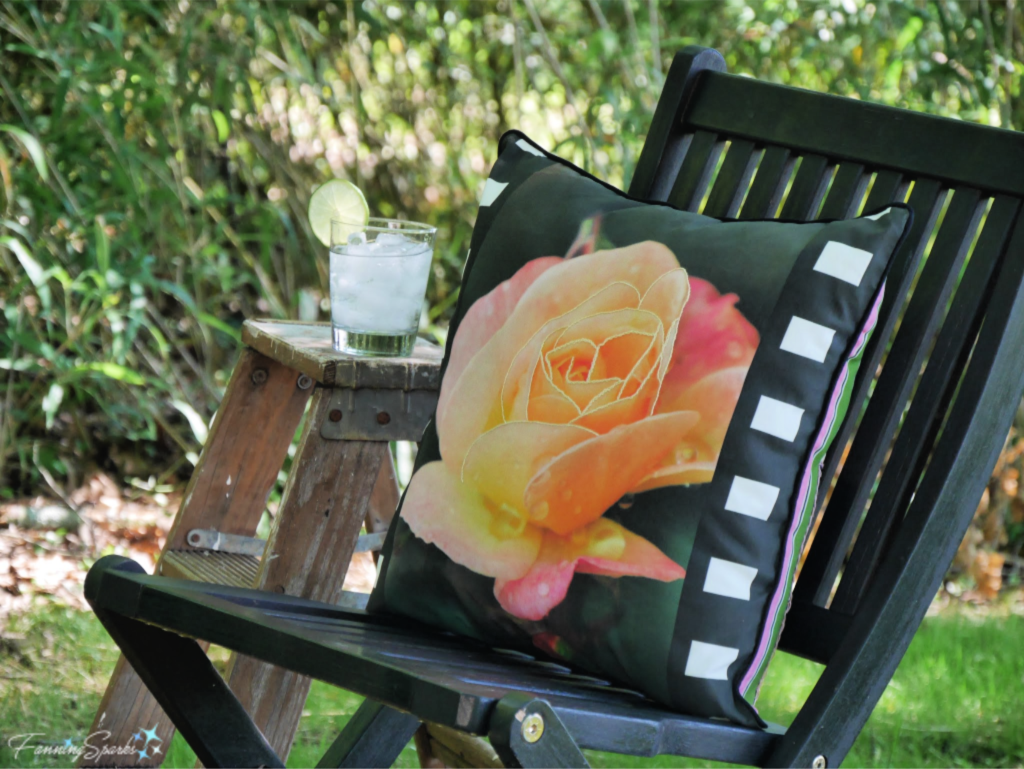
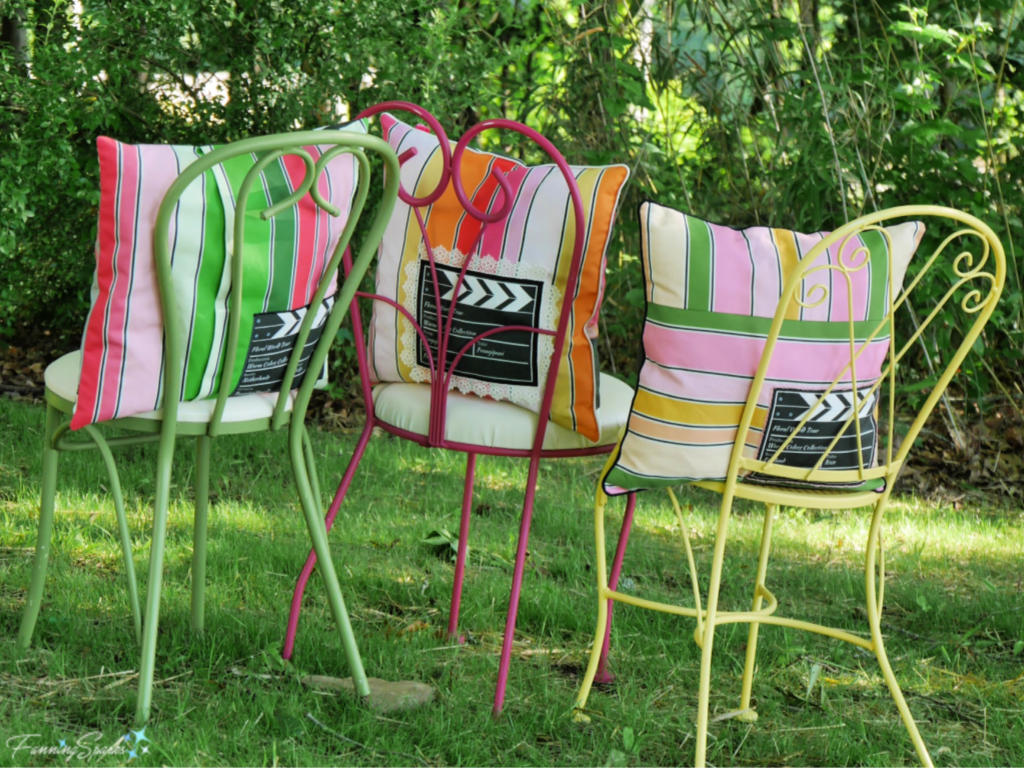
 The back of the pillow can also be customized. If you simply sew the back closed (ie instead of making an envelope closing), less fabric will be needed. The extra striped fabric can be used to change the direction of the stripes; instead of running the stripes vertically, they can be turned horizontally or sewn in a combination of horizontal and vertical (as shown on the pillow on the right).