It started out like any other Sunday, lazily sipping coffee and easing into the day—an ordinary Sunday morning. An hour or so later, I found myself surrounded by a couple dozen people I’d never met, milling around, introducing ourselves and checking out the space. There was a low buzz of excitement. Just as folks were getting a little restless, a whirlwind of energy burst into the room. It was Corrina Sephora Mensoff and we were gathered in her metal art studio. She introduced herself, extended a warm welcome and thanked everyone for participating. Then as all good leaders do, she shared her vision and explained our roles for the day. We were volunteers ready and eager to help with a community art project.
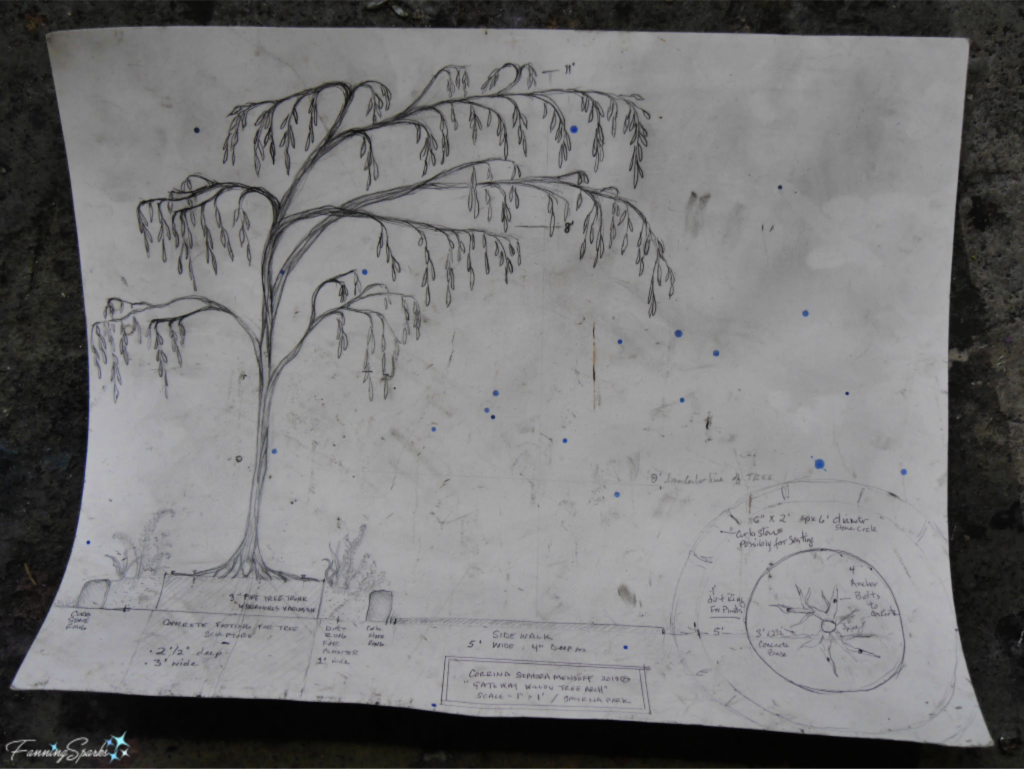
Corrina has been commissioned by the City of Smyrna, Georgia to create a piece of public art for a city park. She designed the “Gateway Willow Tree Arch”, a graceful, 11-foot-tall willow tree with sweeping branches and dangling leaves. Here’s the design sketch she shared with us.
 The work was obviously in flight with numerous components evident around the studio. The main tree trunk and branches, made of fabricated mild steel, was erected in the studio.
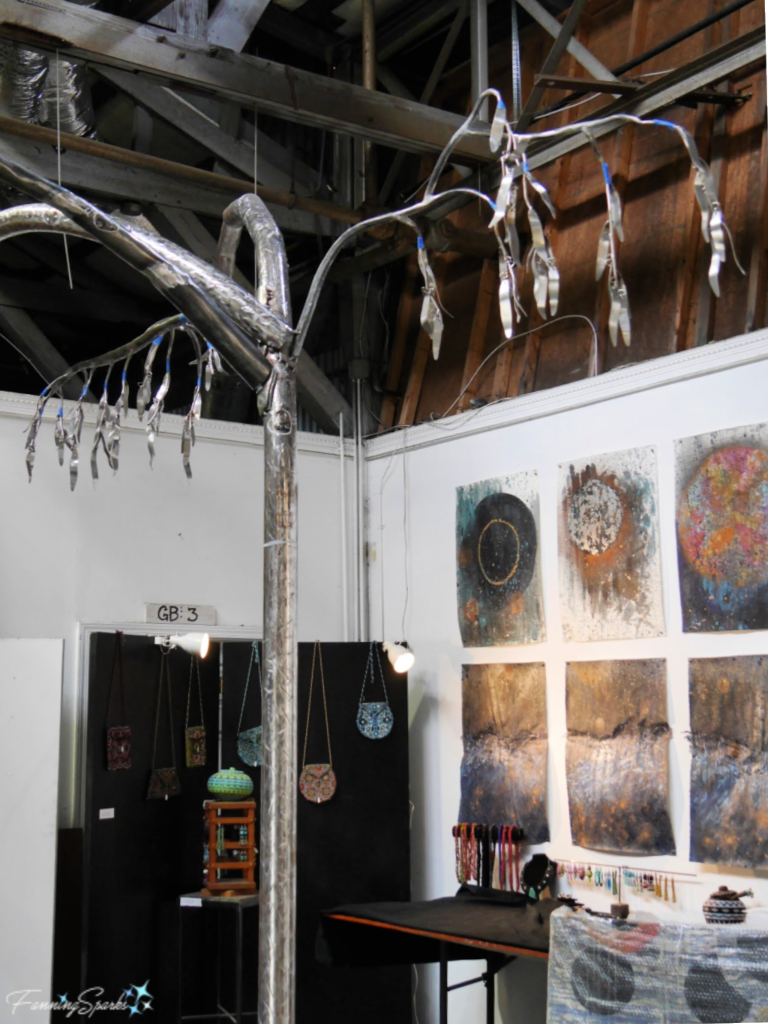
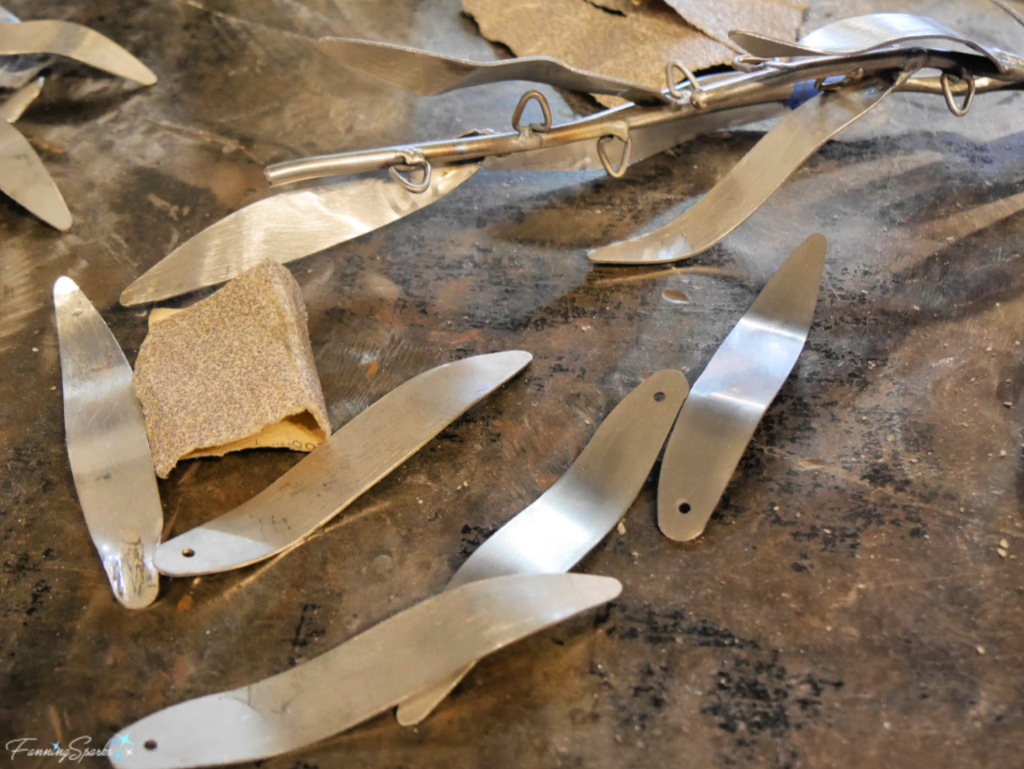
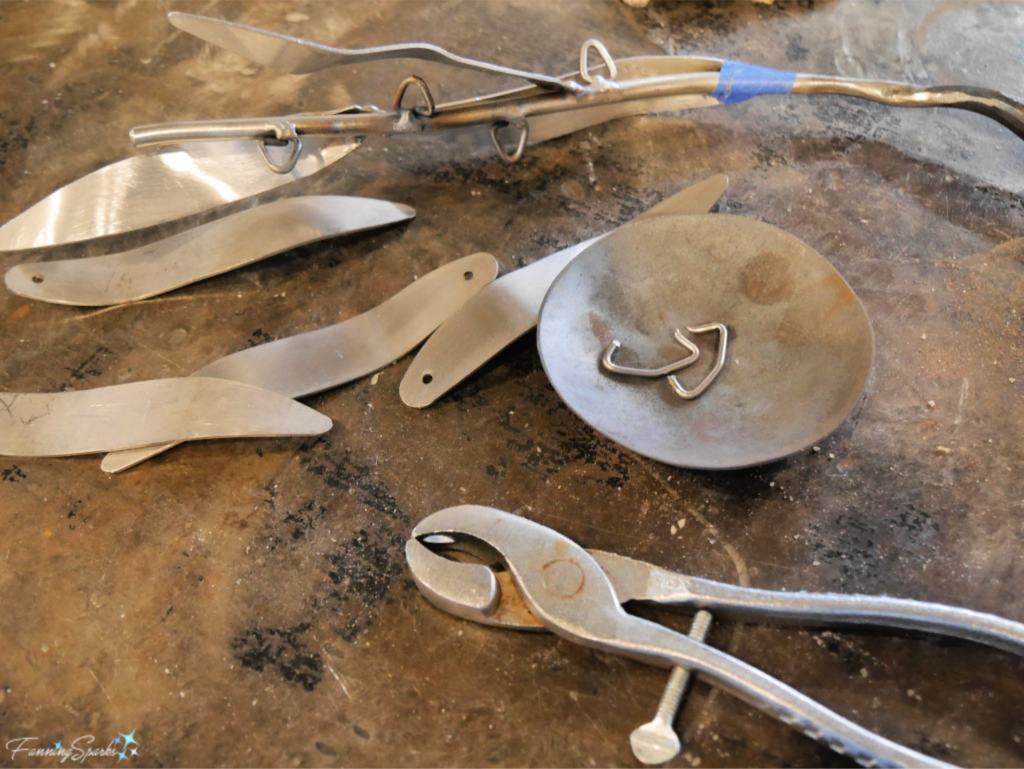
The branch tips and leaves were made of stainless steel.
 The leaves, hundreds of them, were custom-made by waterjet cutting.
 Corrina and her team, Richard and Miriam, explained that we’d be working in 3 pods or teams. Each team would focus on a different task—one group would shape, sand and attach leaves, another group would seal welded seams, and the final group would paint the mild steel sections of the branches as indicated by blue painter’s tape.

We quickly aligned ourselves with a pod and dug in. I was in the second pod and we were responsible for sealing the welded seams. We used a plastic metal product called “Bondo” to cover areas where water might seep in or collect and cause rust. V-shaped areas between branches and roots required particular attention. The work was quite straightforward and left lots of opportunity to chat with fellow volunteers. Here’s a look at the tree root section we sealed.

As the morning went on, we were able to move around between pods to try different tasks and meet other people. Here’s my work area for attaching leaves with 3 sizes of oblong leaves, a branch with attachment loops already welded in place, stainless steel “hog rings”, and special pliers. I used the pliers to compress the hog ring after slipping on a leaf and attaching it to a triangular loop.
 Our group made good progress and finished the painting and sealing by early afternoon. A second team of volunteers joined just as the paint and Bondo had dried enough to roll into the next steps of the process.
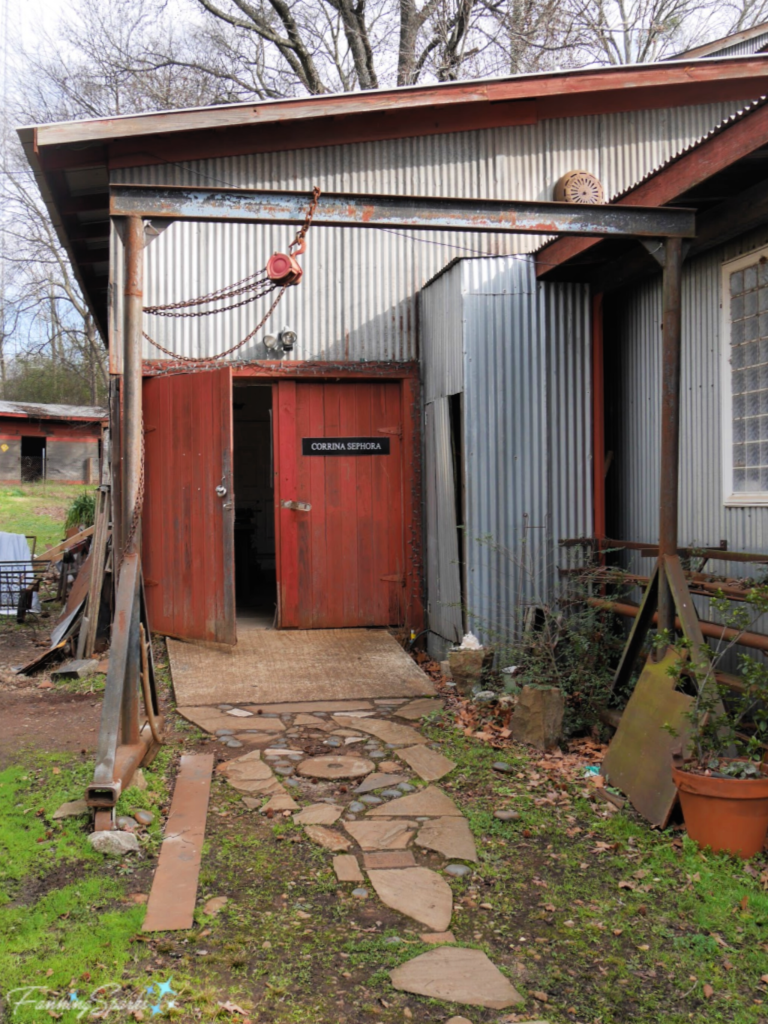
This was my first opportunity to participate in a community art project. I really enjoyed the experience especially getting to know the other volunteers. Folks had diverse backgrounds and I learned they chose to participate for a variety of fascinating reasons. It was also great fun to hang out in Corrina’s Studio. The studio is located at the Goat Farm Arts Center in West Midtown, Atlanta, Georgia.
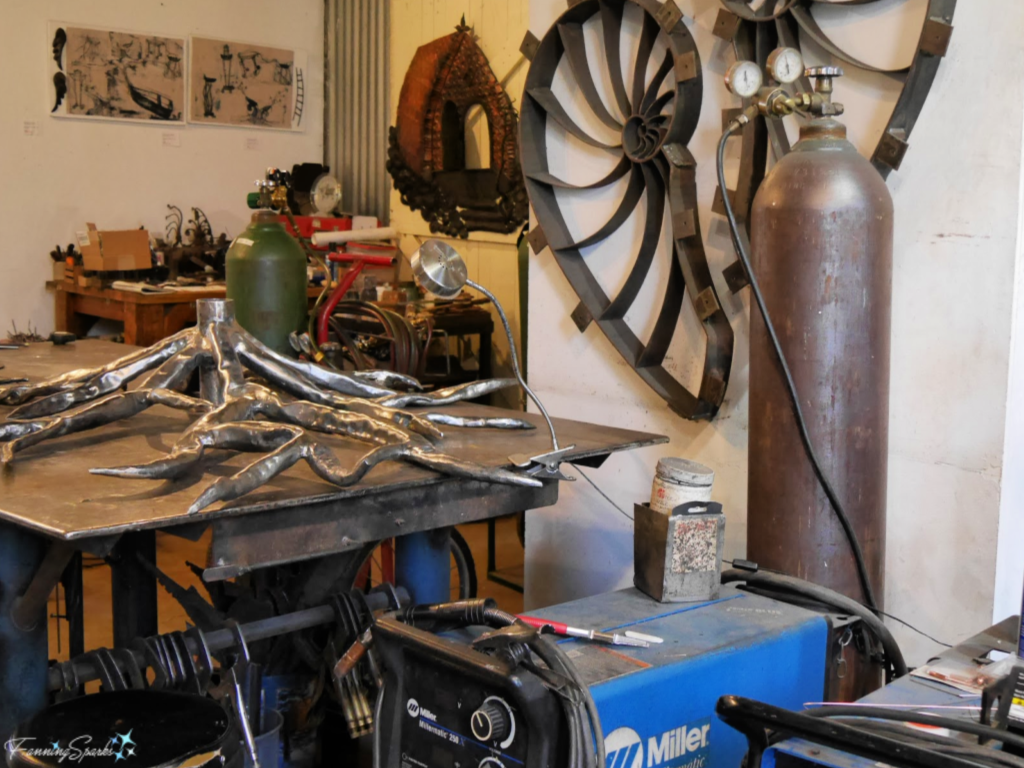
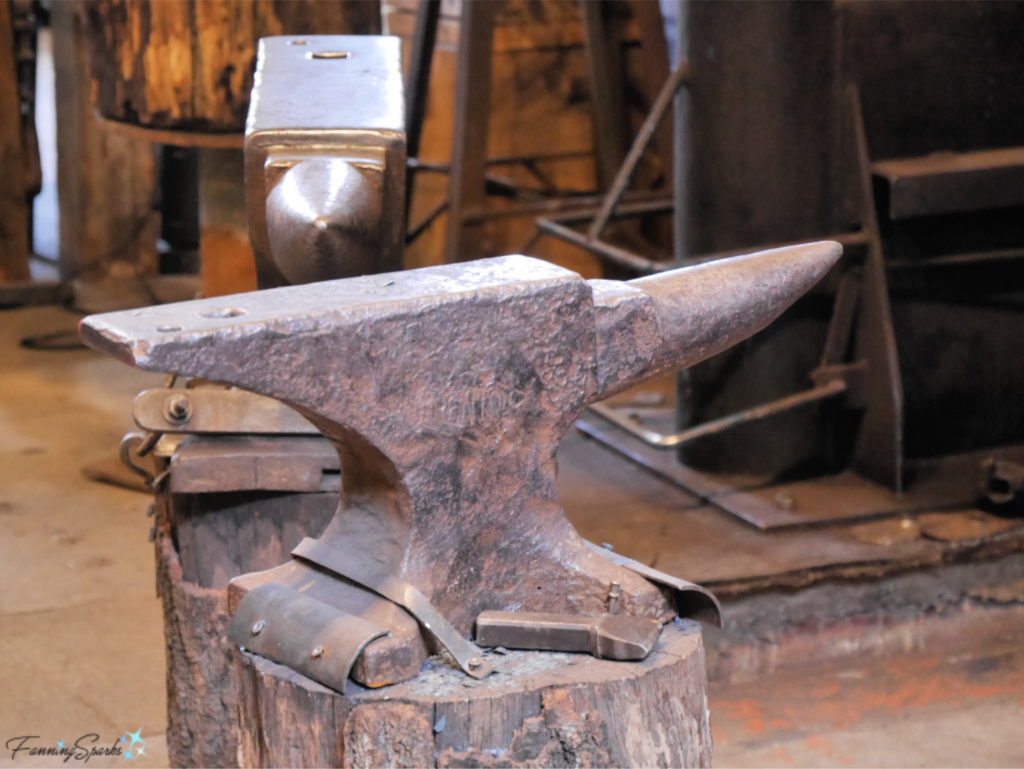
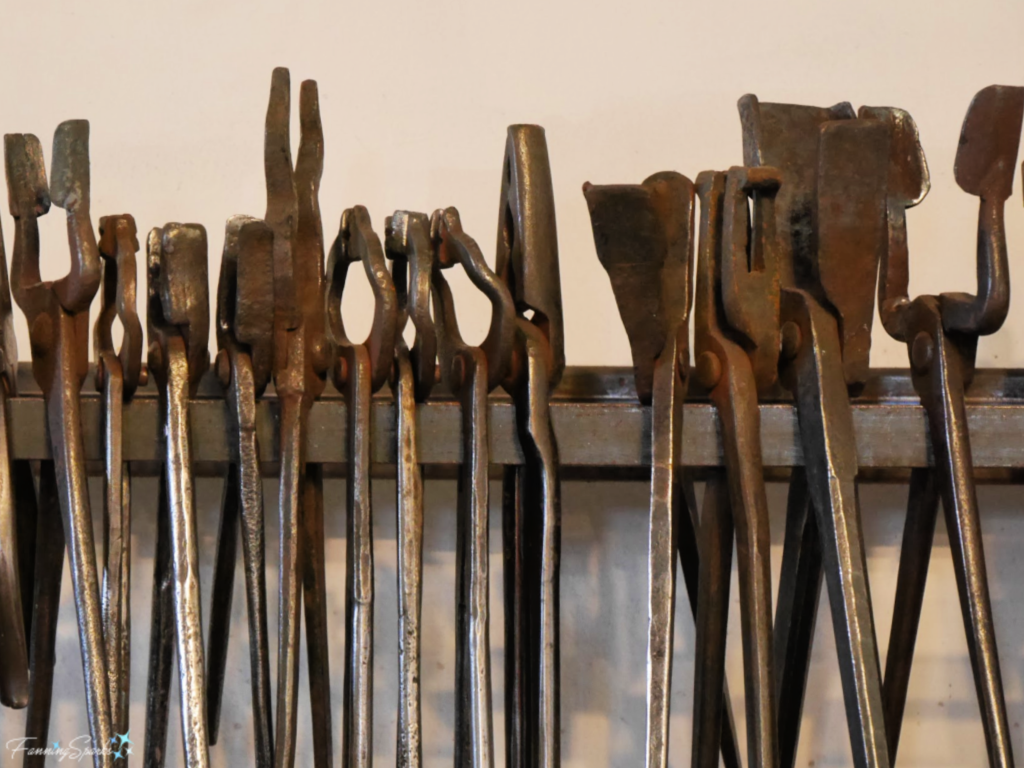
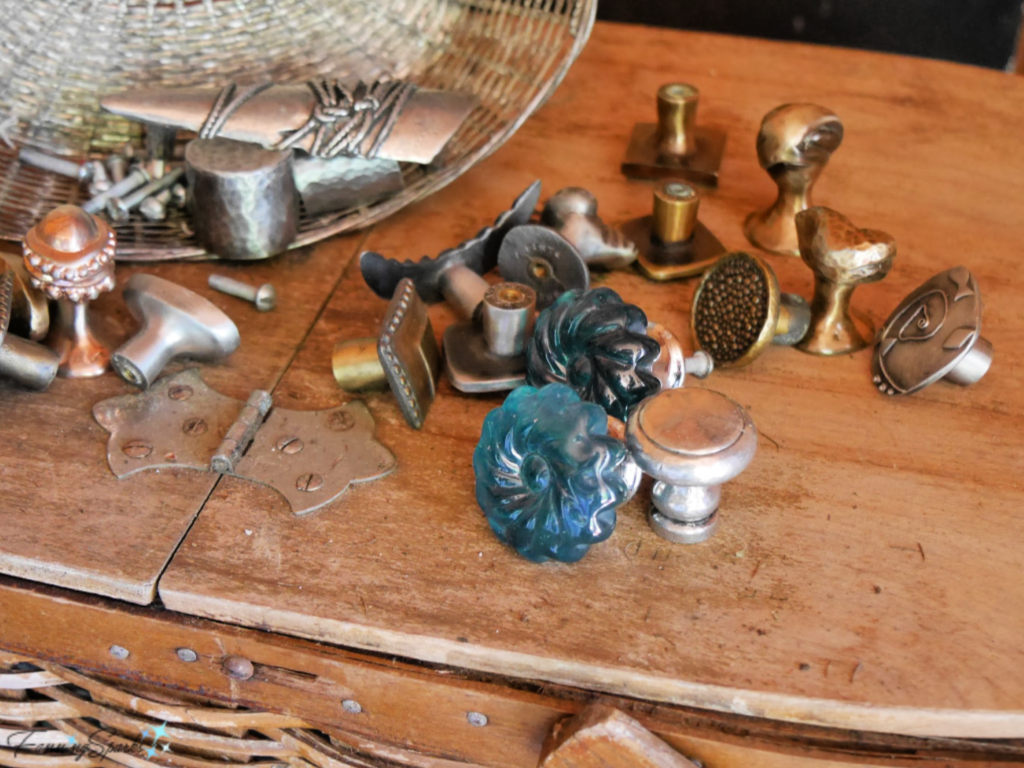
It’s obvious real work happens there! Here’s a glimpse of some of the equipment, tools and materials.
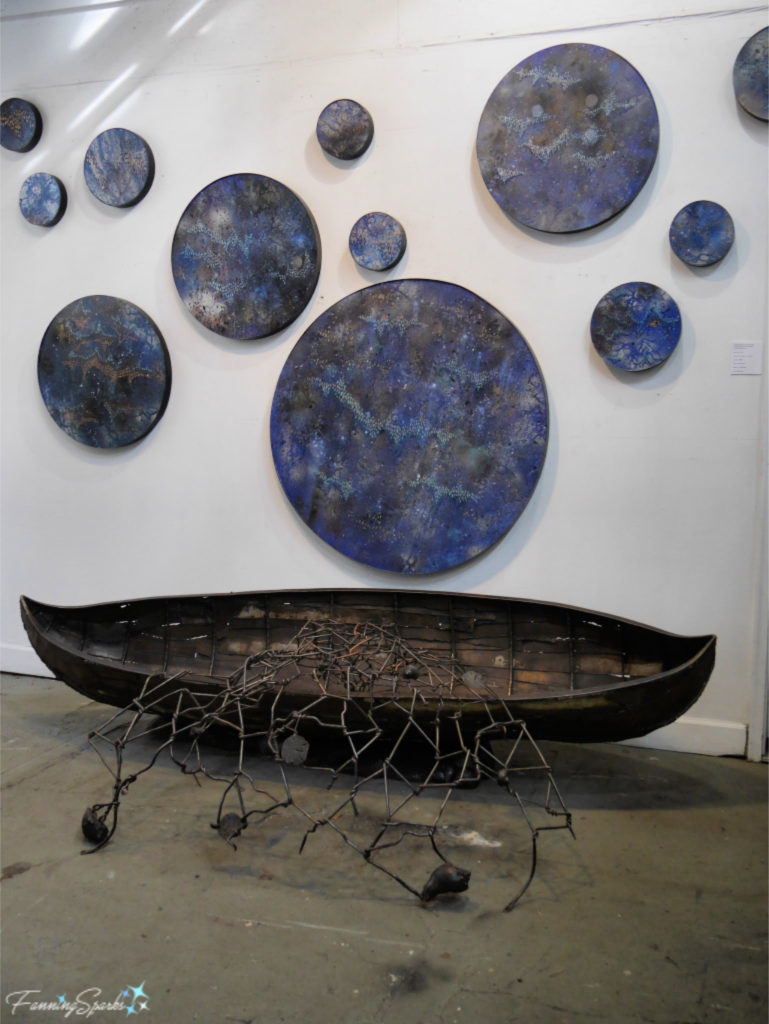
There were several projects underway and lots of finished art to admire. In the below photo, the forged and fabricated steel piece in the foreground featuring the boat is called “Where Have I Come From, What Will I Leave Behind?”. The beautiful painted circular pieces on the wall are from Corrina’s body of work “Somewhere Between the Deep Blue Sea and the Edge of the Universe”.
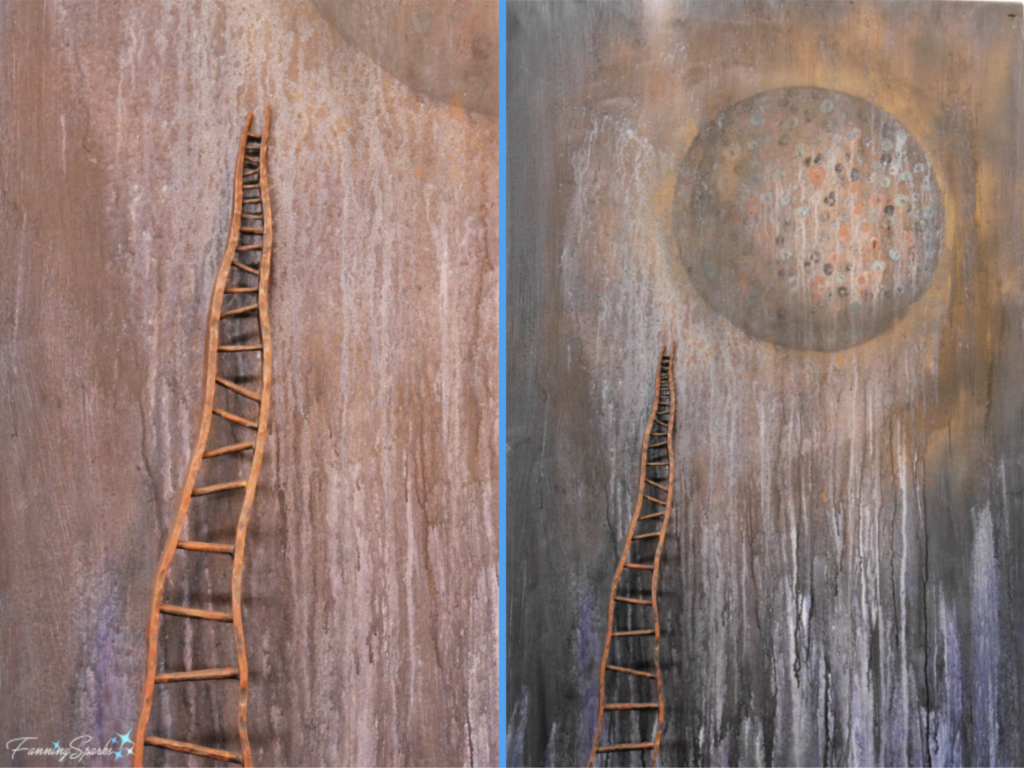
This stunning piece, “Ambrosial Ascension”, is made of wood, acrylic, aerosol, pigment, copper and gold leaf.
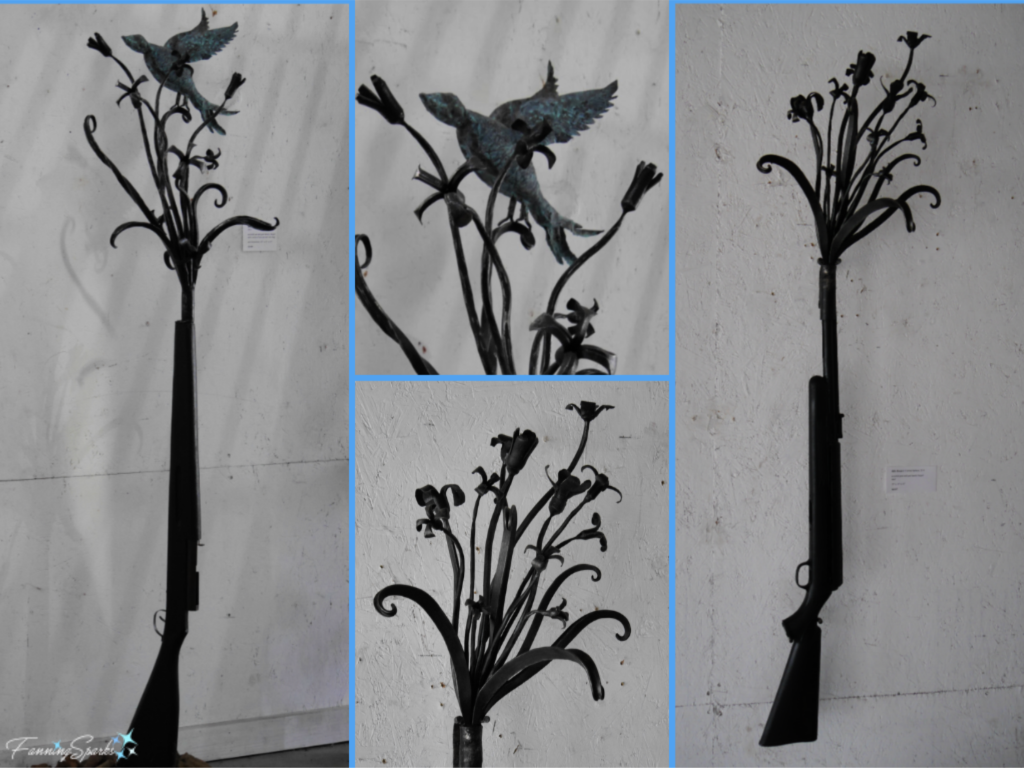
 The below artwork is part of Corrina’s body of work called “Blood of the Earth” in which she is “setting the metal free through the process of transforming these weapons of violence into something new.” When asked on the Today Maybe Forever Podcast about her intention in exhibiting this work, Corrina explained her objective was to trigger a community conversation for change.
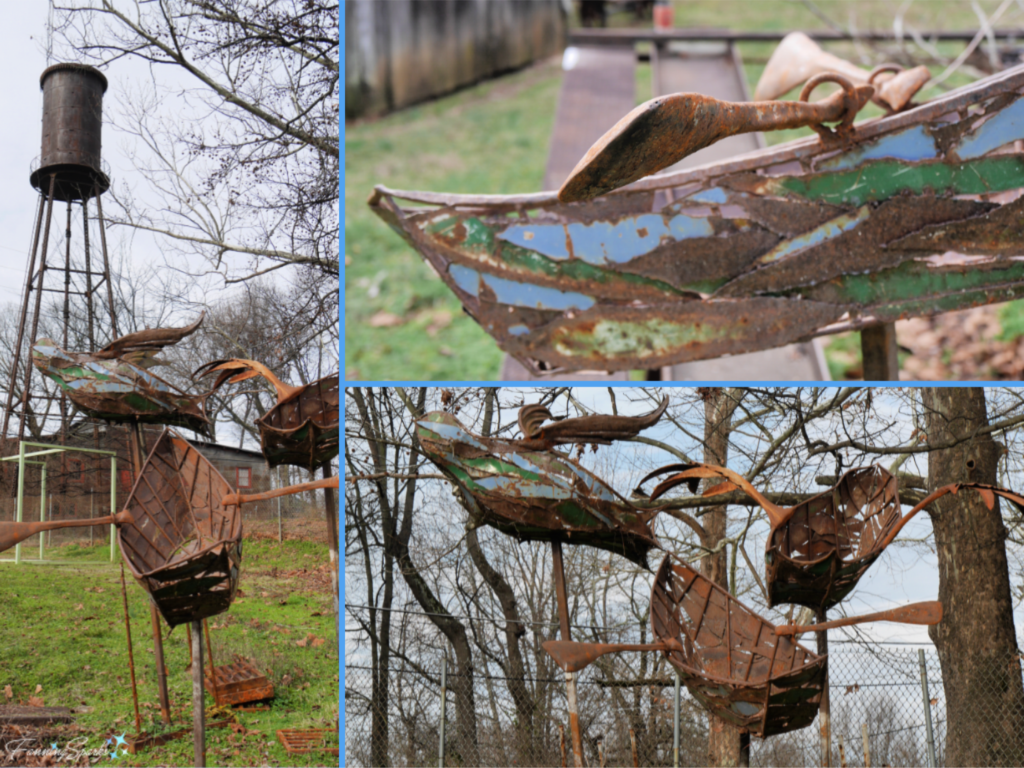
The below forged, fabricated and recycled steel sculpture was displayed outside Corrina’s studio. It is called “Transcendence” and depicts a thoughtful evolution from simple rowboat to soaring bird.
It may have started out as an ordinary Sunday, but it turned out to be anything but! Many thanks to Corrina, Richard, Miriam and my fellow volunteers for making this wonderful experience possible.
More Info
You can learn more about Corrina Sephora Studio on her website and on Instagram. Note Corrina offers a variety of metalworking classes and workshops at her studio in Atlanta. I also enjoyed listening to interviews of Corrina on 2 podcasts, Peachy Keen and Today Maybe Forever.
I’ve set a goal for myself to visit as many of Corrina’s public art works as possible. So far, my hit list includes the following in the Atlanta, Georgia, USA area:
. The Promised Land at the Martin Luther King, Jr. National Historical Park (450 Auburn Avenue NE, Atlanta) Website
. Start Where You Are at Legacy Park in Decatur (S. 500 Columbia Drive, Decatur)
. Sun, Moon, Nautilus Passage at Atlanta Botanical Gardens (1345 Piedmont Avenue, Atlanta) Website
. Life Cycle Boat at Atlanta Freedom Park (586 Candler Park Drive, Atlanta) Website
. Freedom of Flight at Hardy Ivy Park (300 W Peachtree St NW)
. And soon (dedication expected to be mid-March 2020), the Gateway Willow Tree Arch at a park in Smyrna. (I believe it will be the Concord Linear Park on Concord Road near downtown Smyrna).
I learned about this community arts project from a friend who forwarded the Eventbrite announcement (Thank you, Jackie!).
Visiting artist studios is one of my favorite things to do, check out the following posts where I had an opportunity to dive into the world of a professional artist:
. A Visit to Clara’s Loom – weaving and fiber art with Celia Dionne on the Alabama Gulf Coast, USA
. A School for Makers – sewing and embroidery at Alabama Chanin in Florence, Alabama, USA
. Artisan Transforms Quahog Shells – carving with Marcia Poirier at Wildabout Wampum in Cocagne, New Brunswick, Canada
. Peeking Behind the Studio Curtain – woodworking with Walt Cottingham, fused glass with Cat Martin, and weaving with MaryJo Lanik in Henderson County, North Carolina, USA
. A Real Hot Glass Experience – glass blowing at Gilbert Glassworks in Santa Rosa Beach, Florida, USA
. Rug Hooking in my Home Province – rug hooking with Deanne Fitzpatrick in Amherst, Nova Scotia, Canada
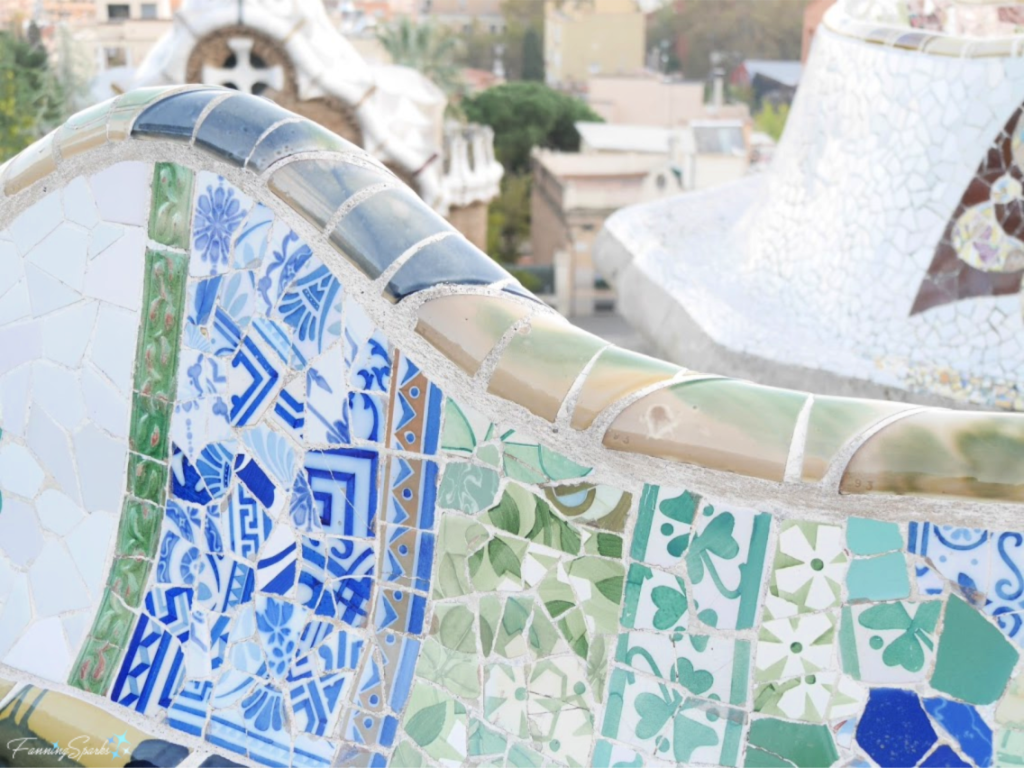
. Learning from the Ancient Masters – Roman mosaics at Studio Cassio in Rome, Italy
. Making Curls and Swirls with a Filigree Master – silver filigree with António and Rosa Cardoso at AC Filigranas in Gondomar, Portugal.
Today’s Takeaways
1. Consider participating in a community art project.
2. Working on a joint art project helps build community.
3. Engaging in the making of public art adds heart to the artwork.


 A collection of prints, all featuring cranes and local birds, was the focal point of the foyer in last year’s Southern Living Idea House. Similar, but not identical, mattes and frames connect the prints and tie it all together.
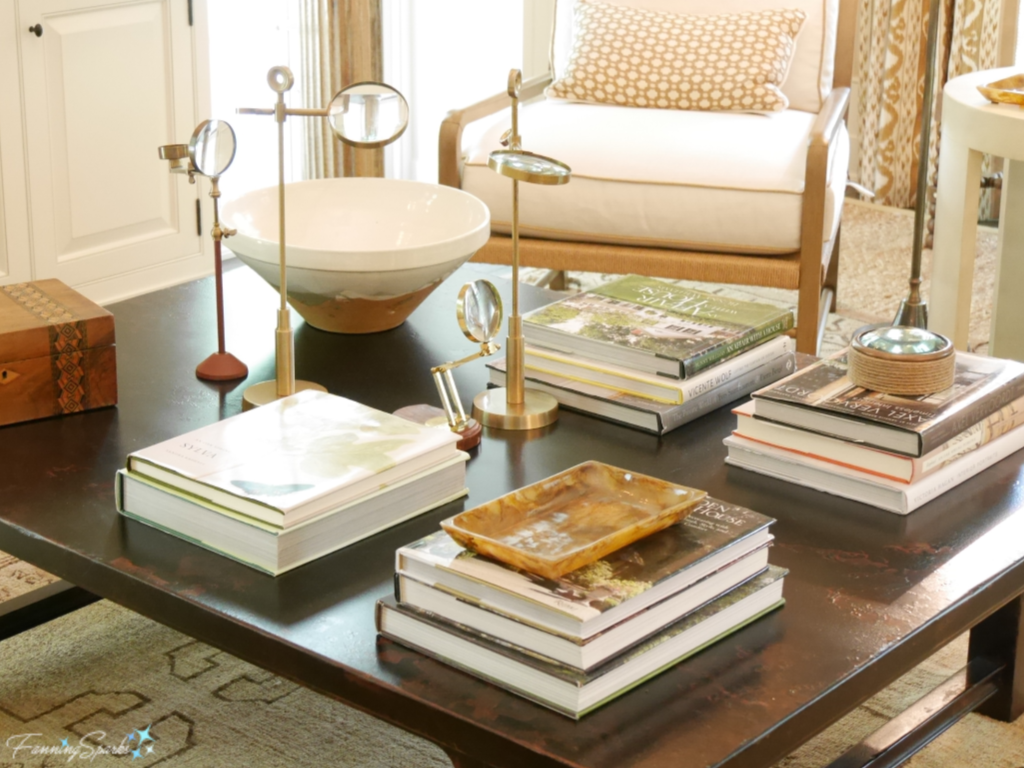
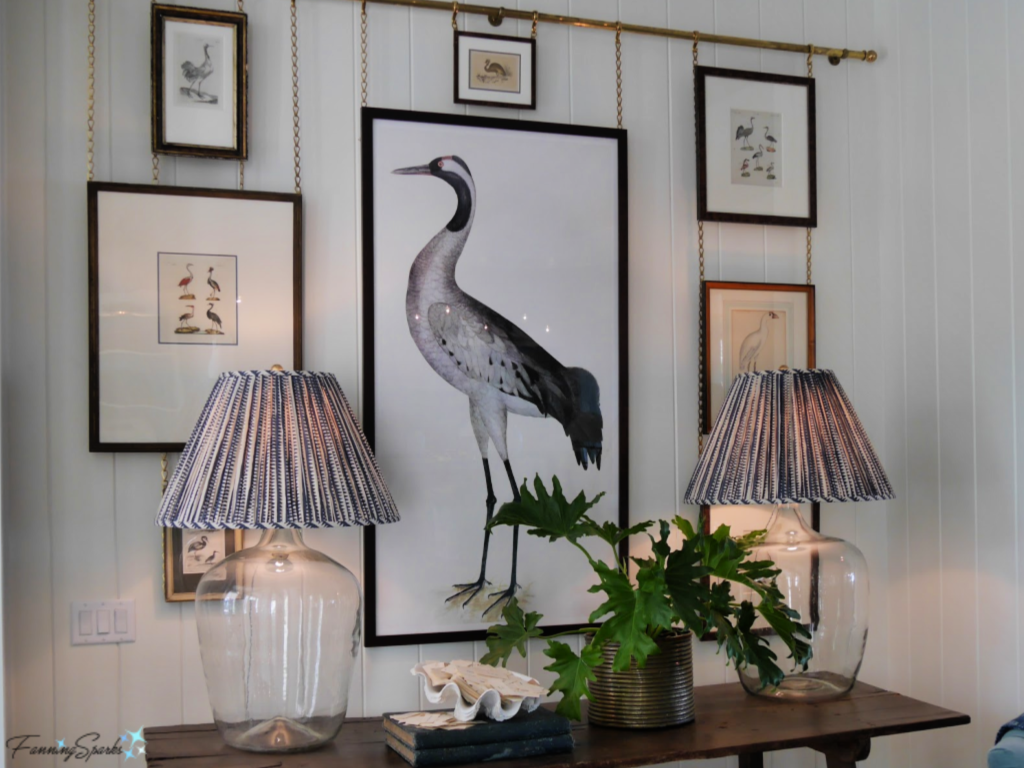 In the same Idea House, the seating area of the living room featured several collections. Anyone who loves to read will appreciate how the designer wove a significant collection of books into this setting. Several outstanding pieces of blue and white pottery have been artfully incorporated into the space. The grouping of pillows on the sofa could also be considered a small collection.
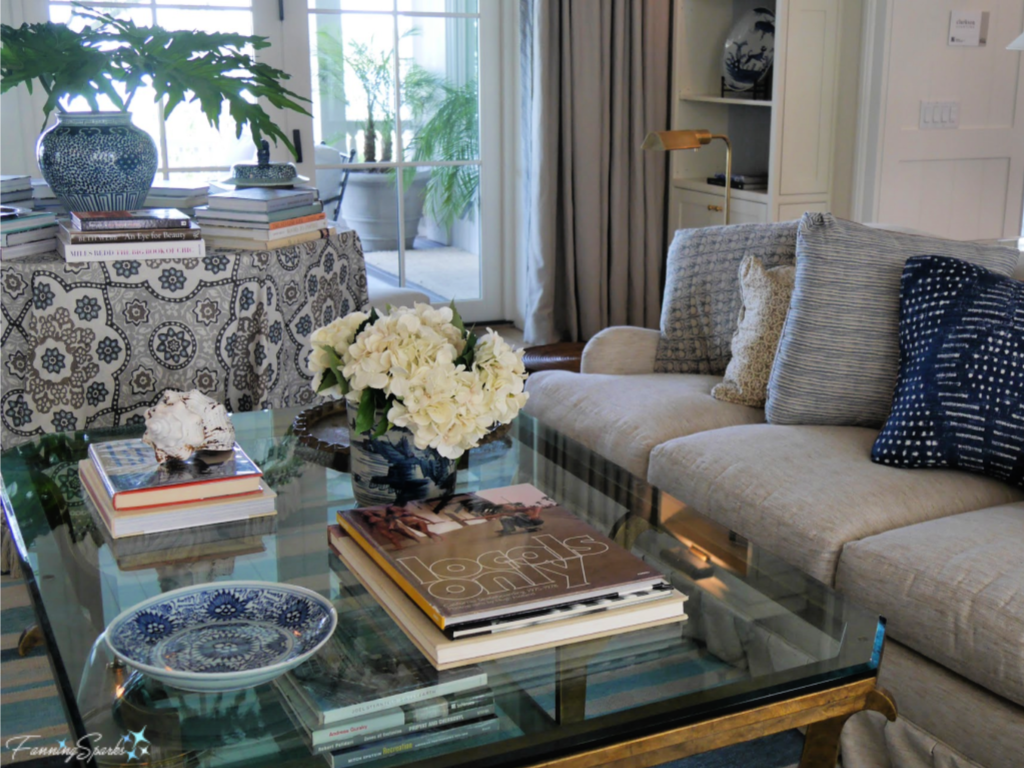

 … wooden stamps…
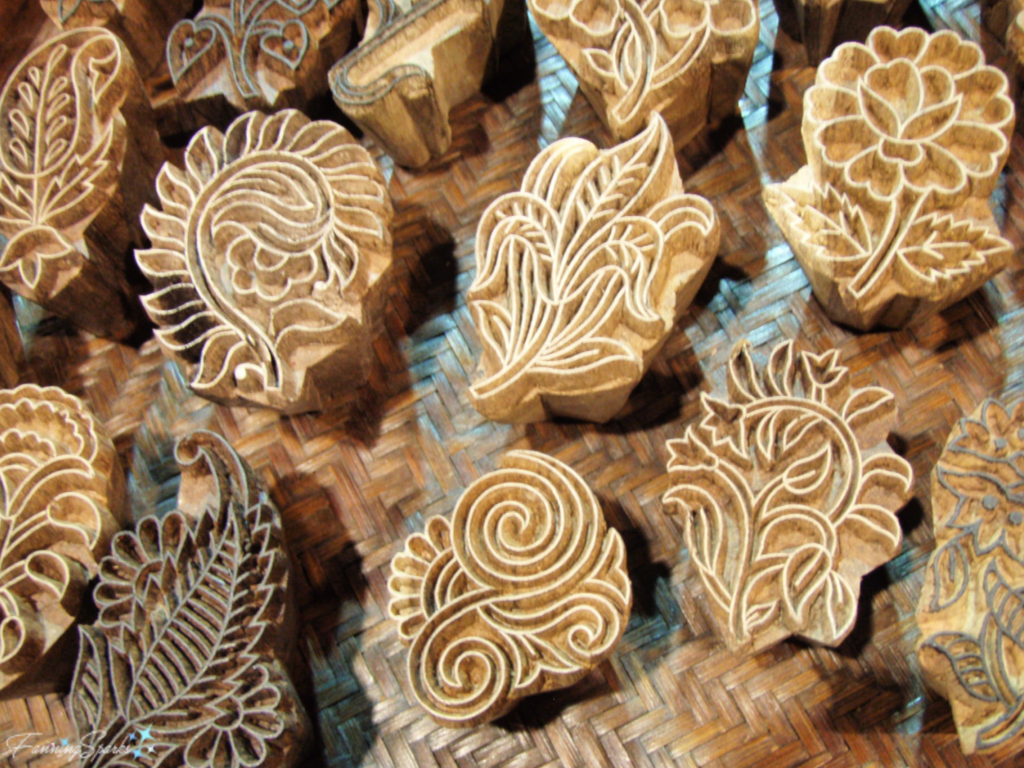


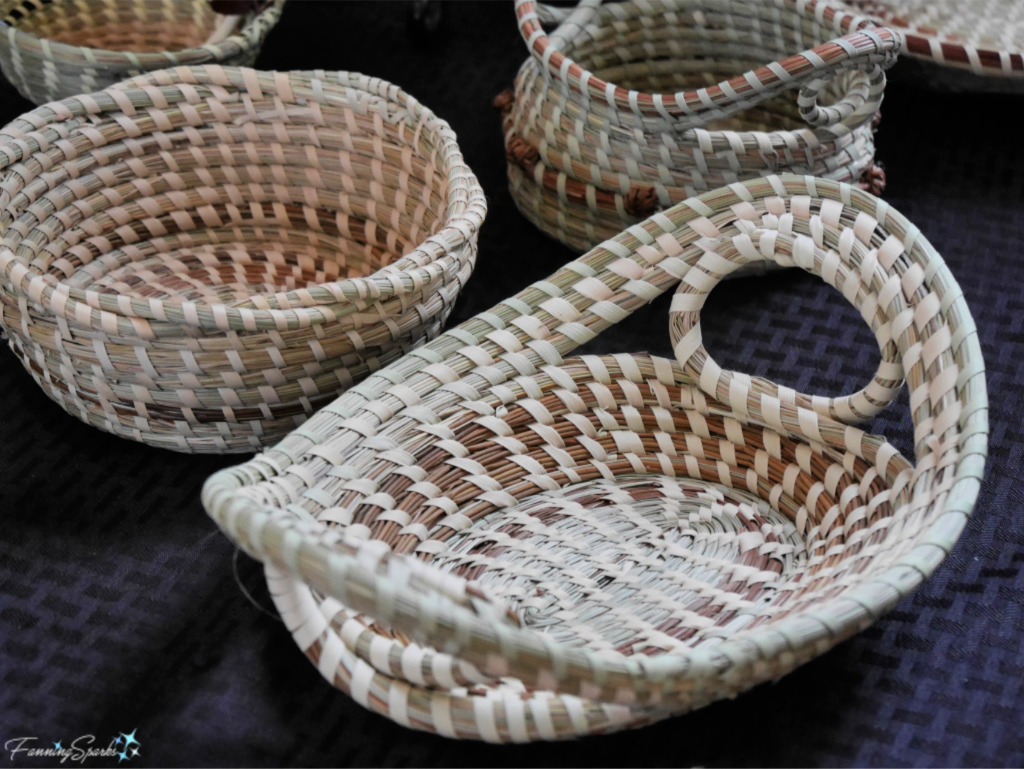
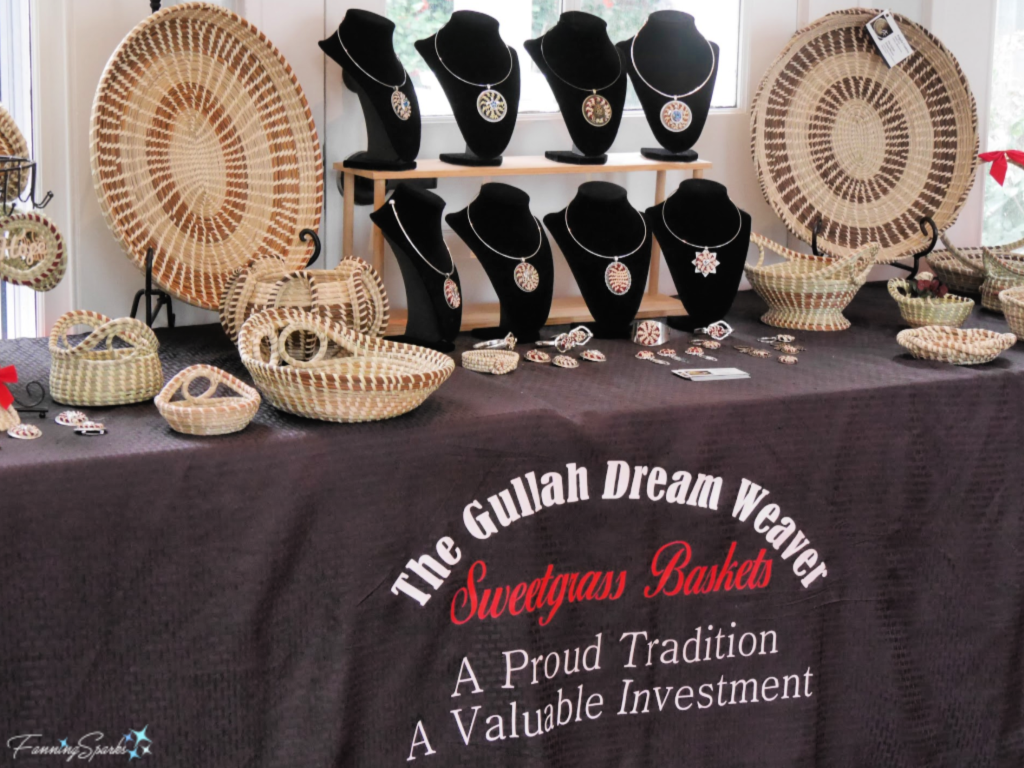
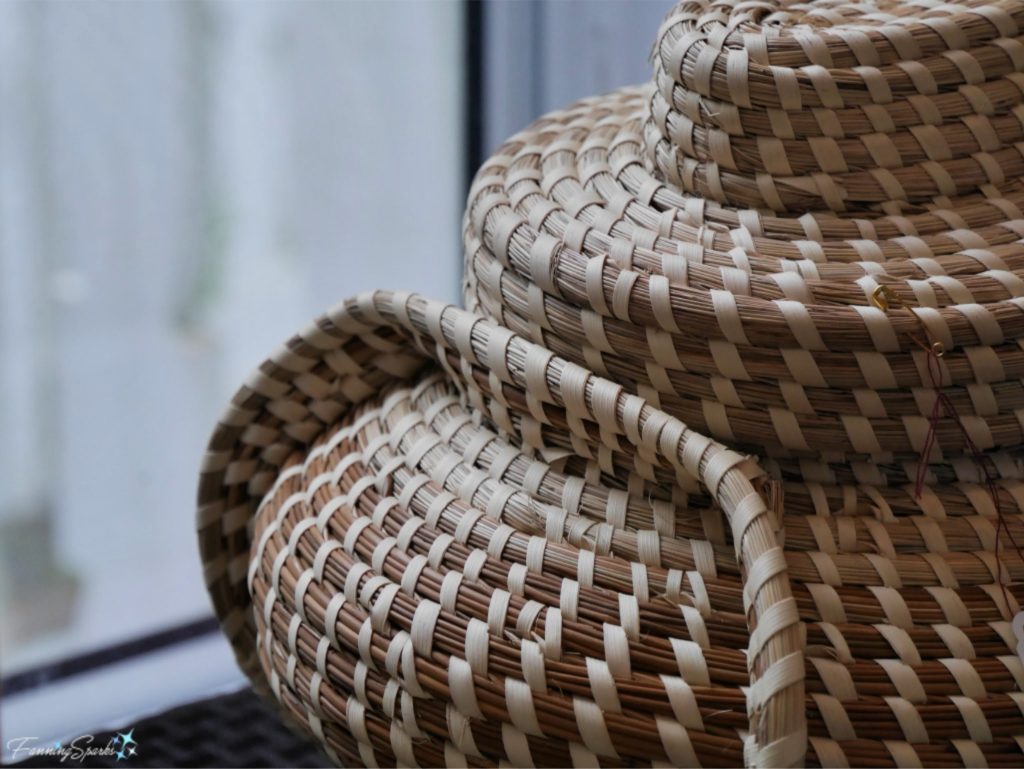

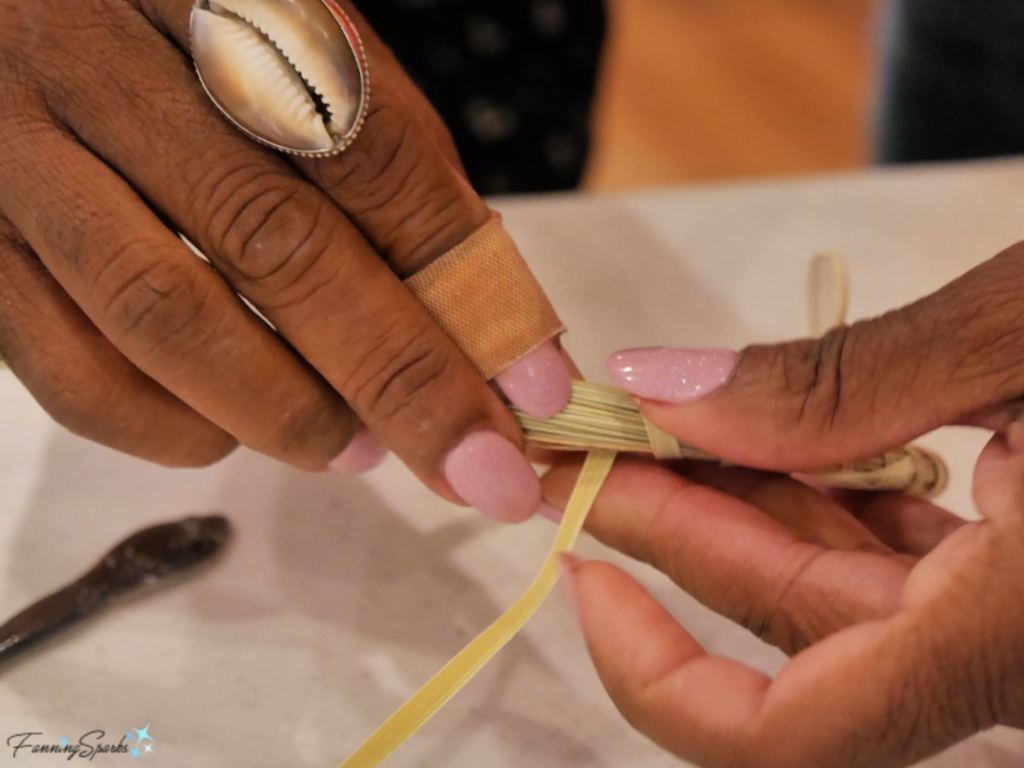
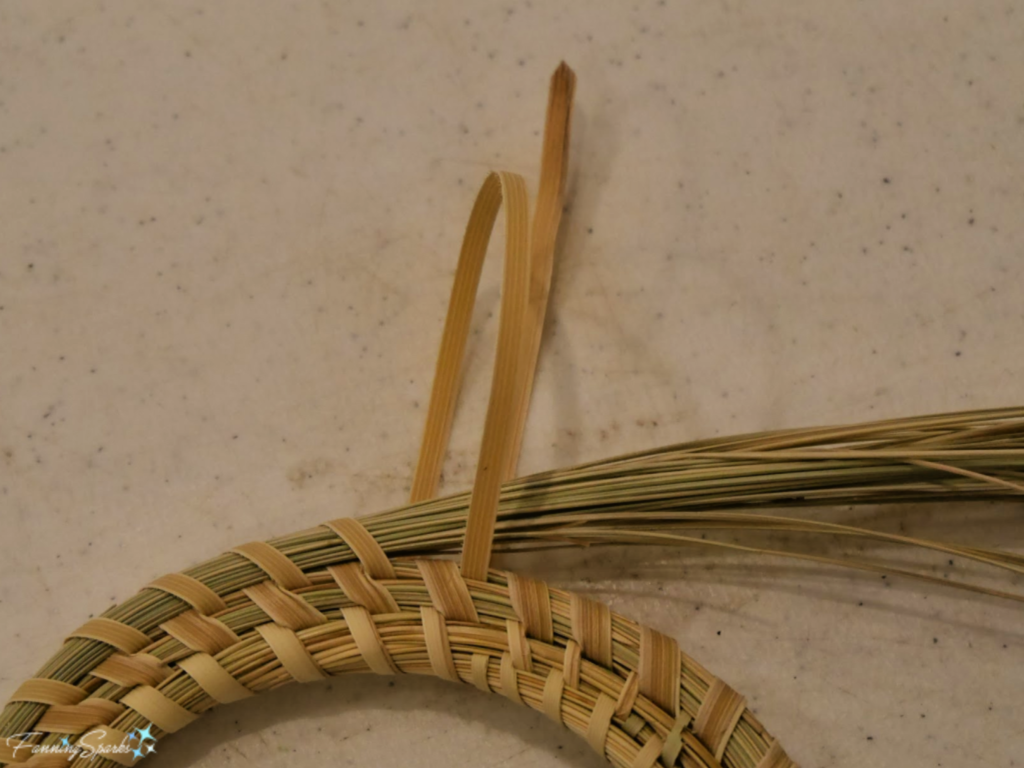
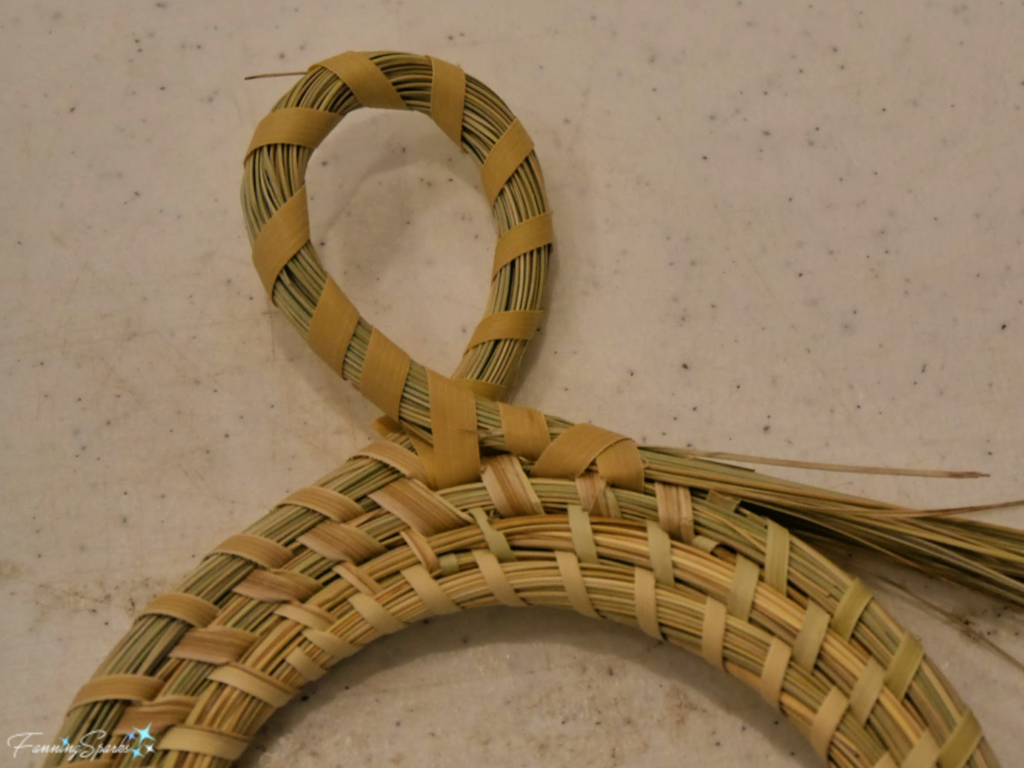
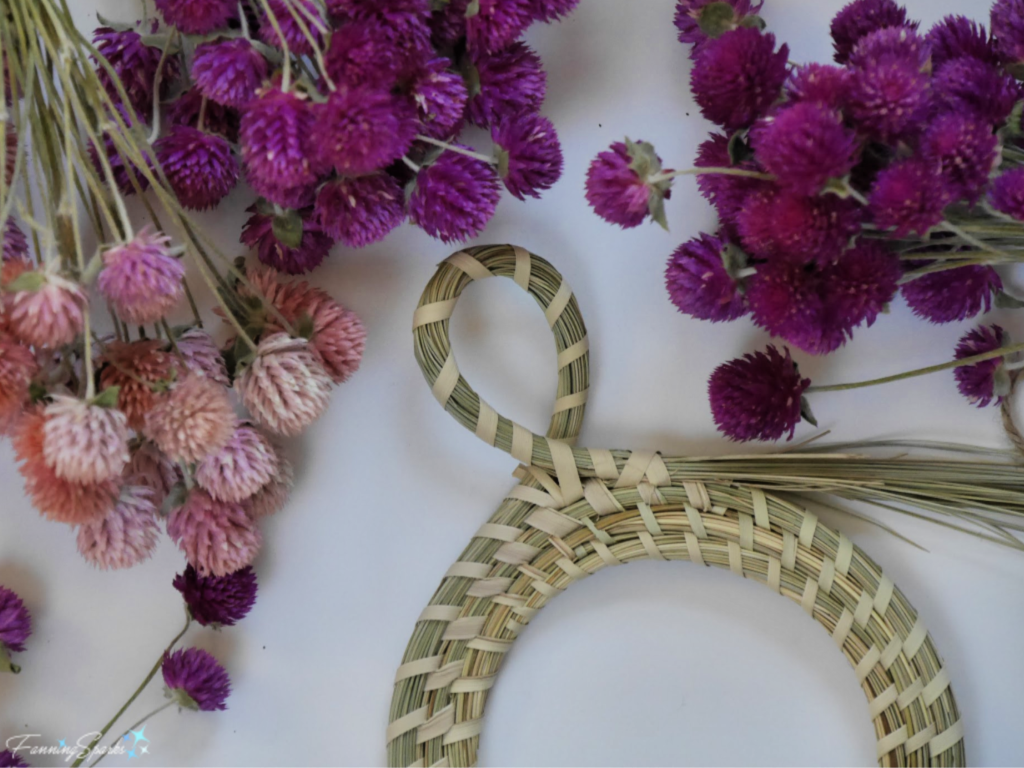
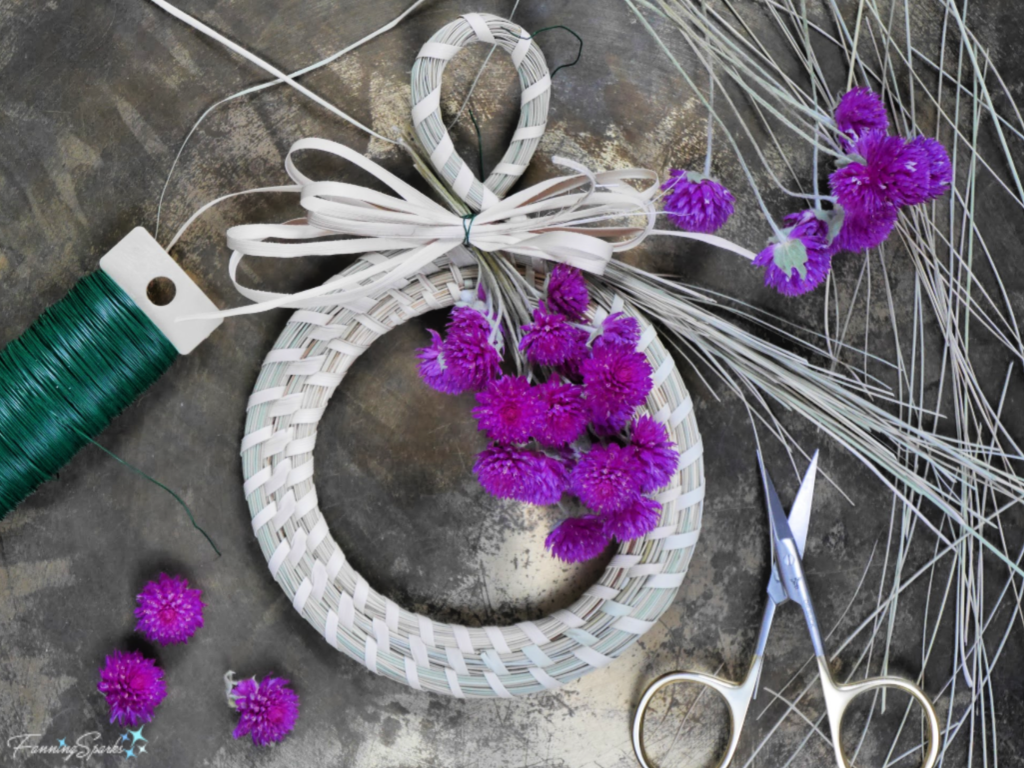
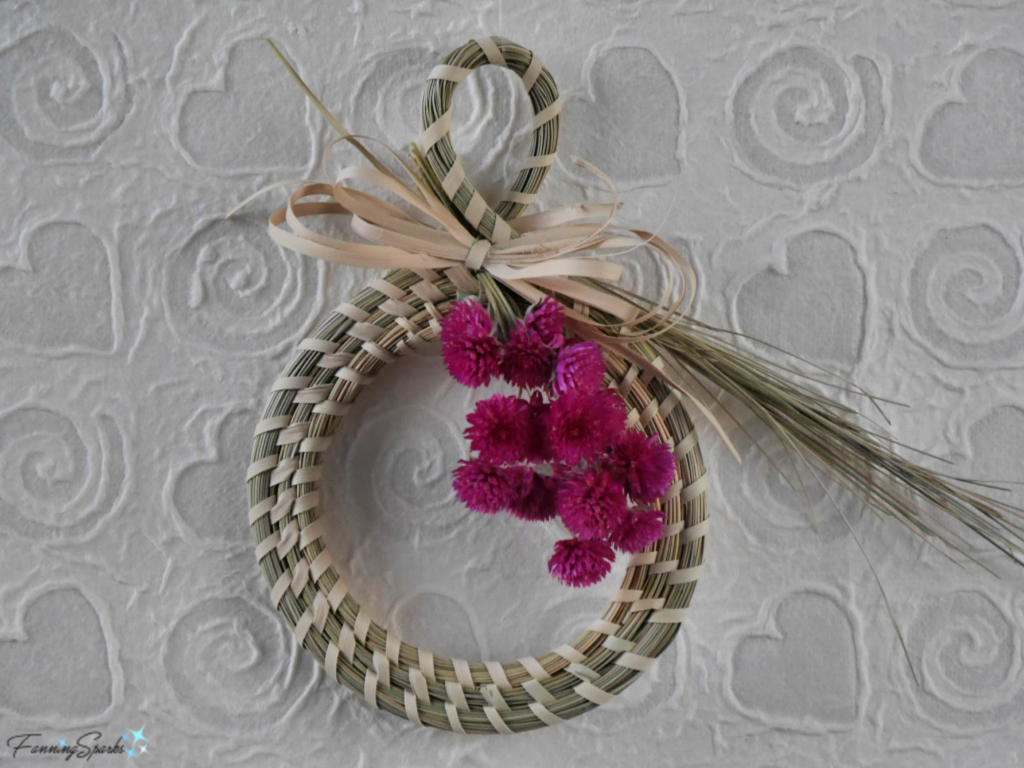
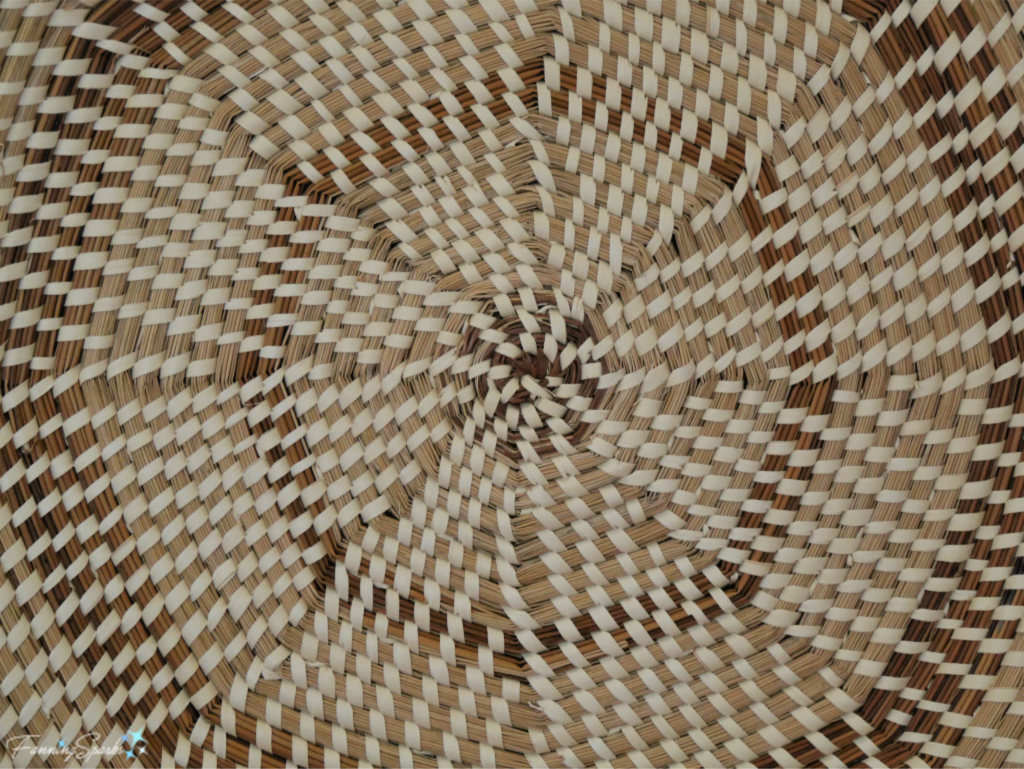 Usually the class learns how to make a small sweetgrass basket. But during the month of December, Daurus switches it up and has the class weave a small sweetgrass wreath. She’s a great instructor—knowledgeable, attentive and patient. To make the most of our time (the class is 2 hours long), Daurus starts the wreathes. Here’s my starter wreath along with the simple tools we used—a pair of scissors and a “nail bone” (actually a repurposed spoon handle).
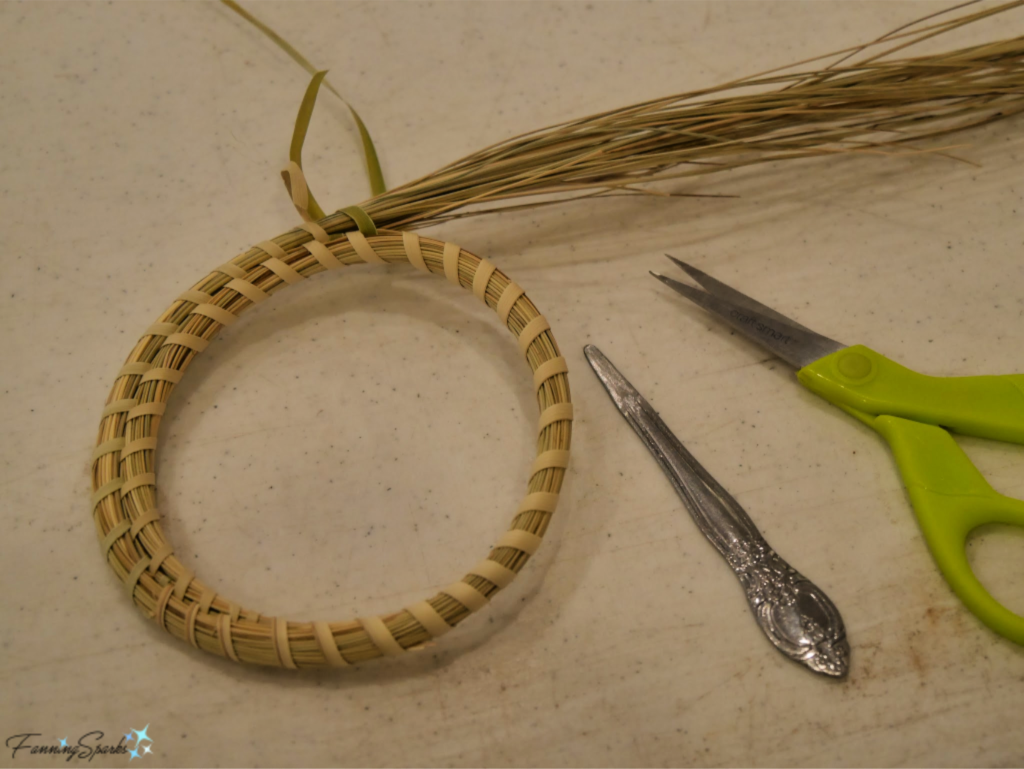

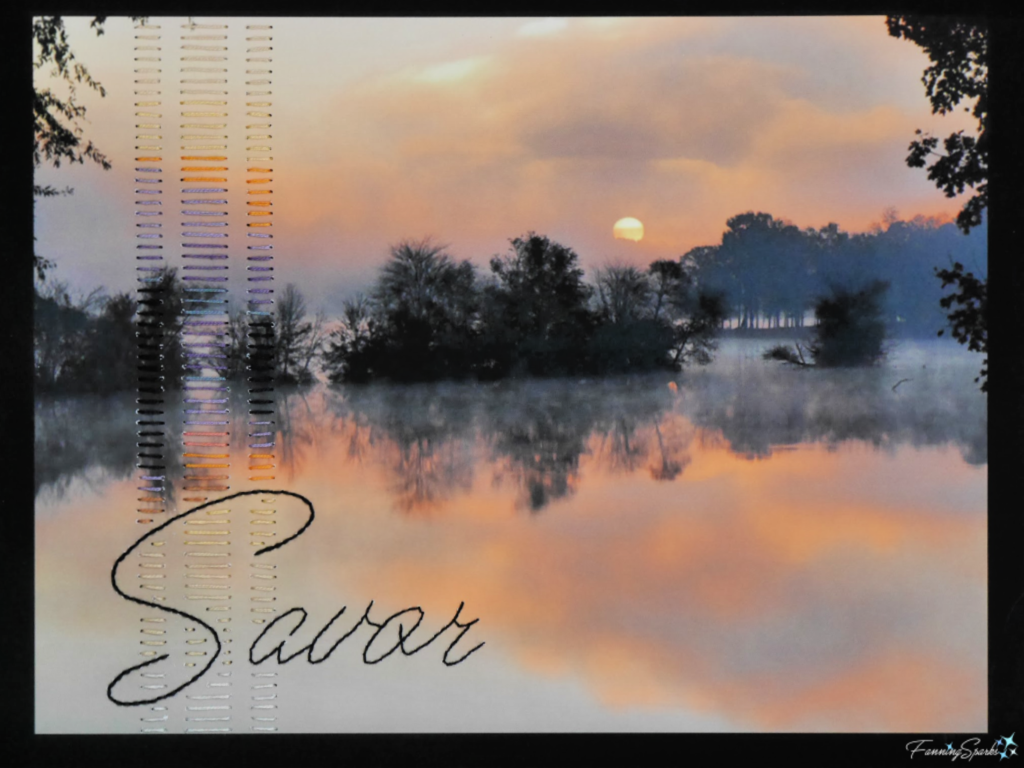
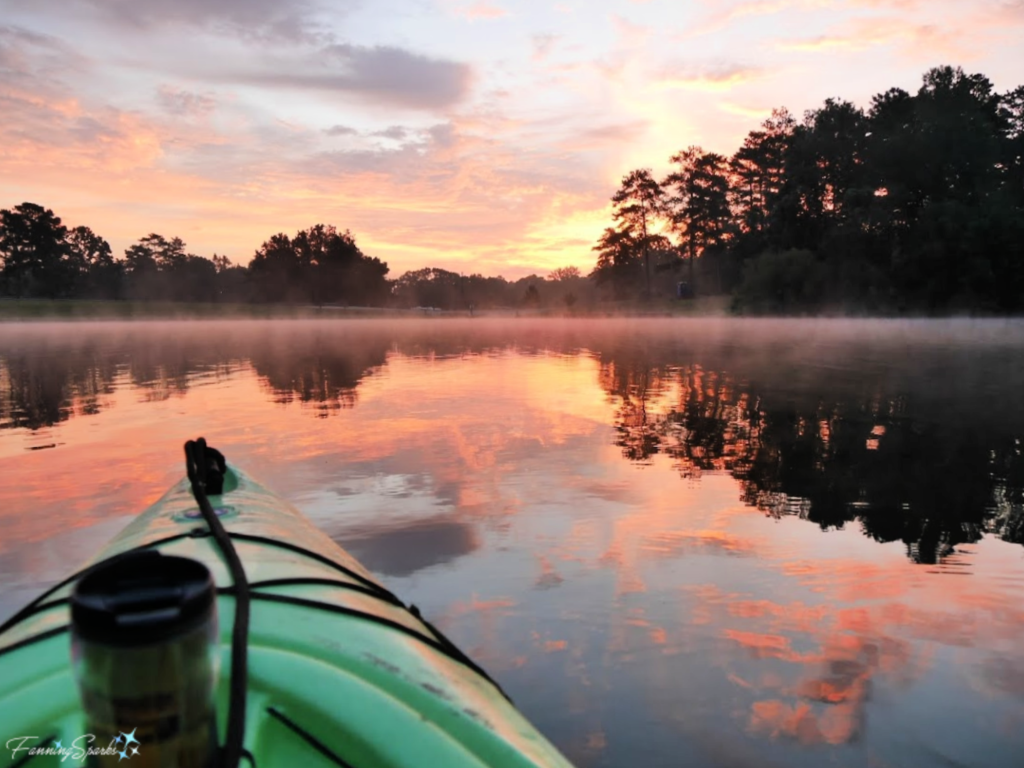
 Most people look forward to and savor the novelty of traveling and exploring new destinations. On a grander scale, having the once-in-a-lifetime experience to watch this magnificent leopard while on an African safari was definitely something I savored.


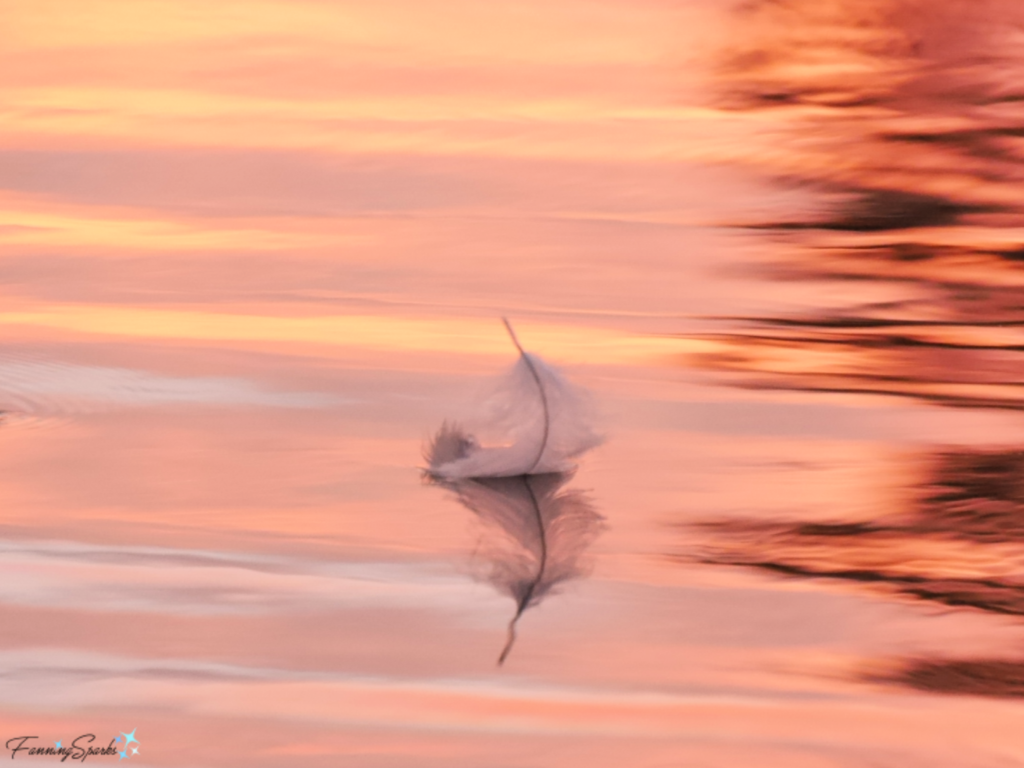
 Eventually the little ones were ready to leave the nest. The below wren chick is emerging for the first time. Watching the chicks learn to move around and fly for the first time was amazing. I selected these photos for their uniqueness and the story they tell.
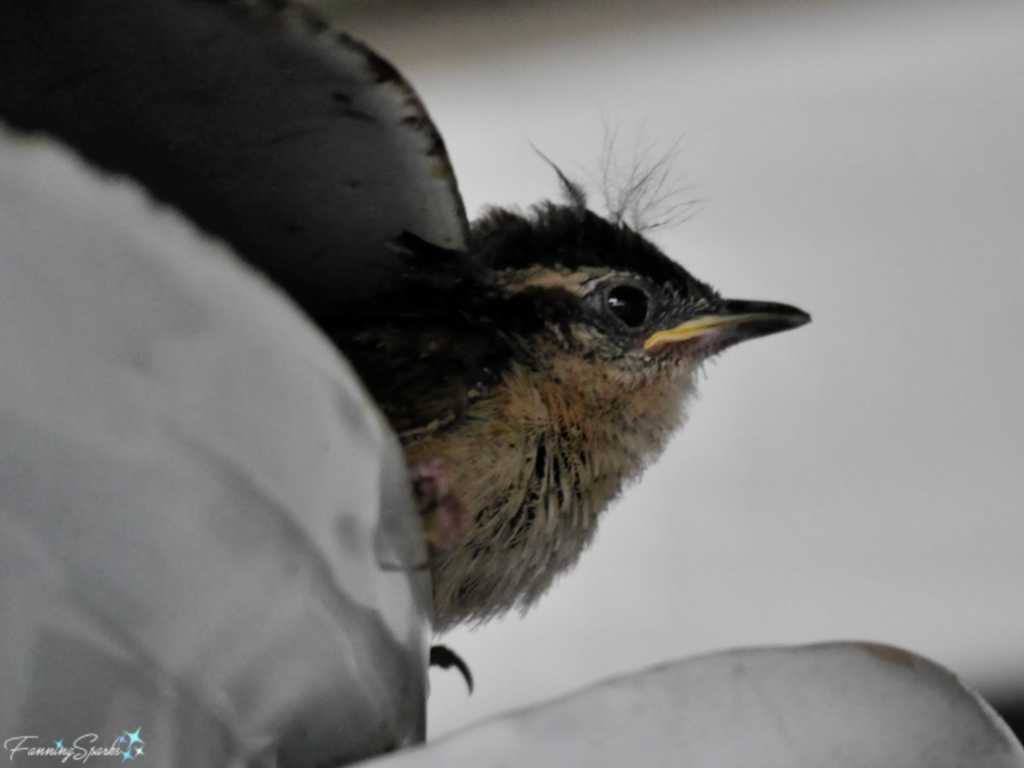 This foxglove was glowing in the morning sunshine at the Georgia State Botanical Garden in Athens, Georgia. I chose this shot for the dramatic lighting, the strong use of negative space and the striking contrast.
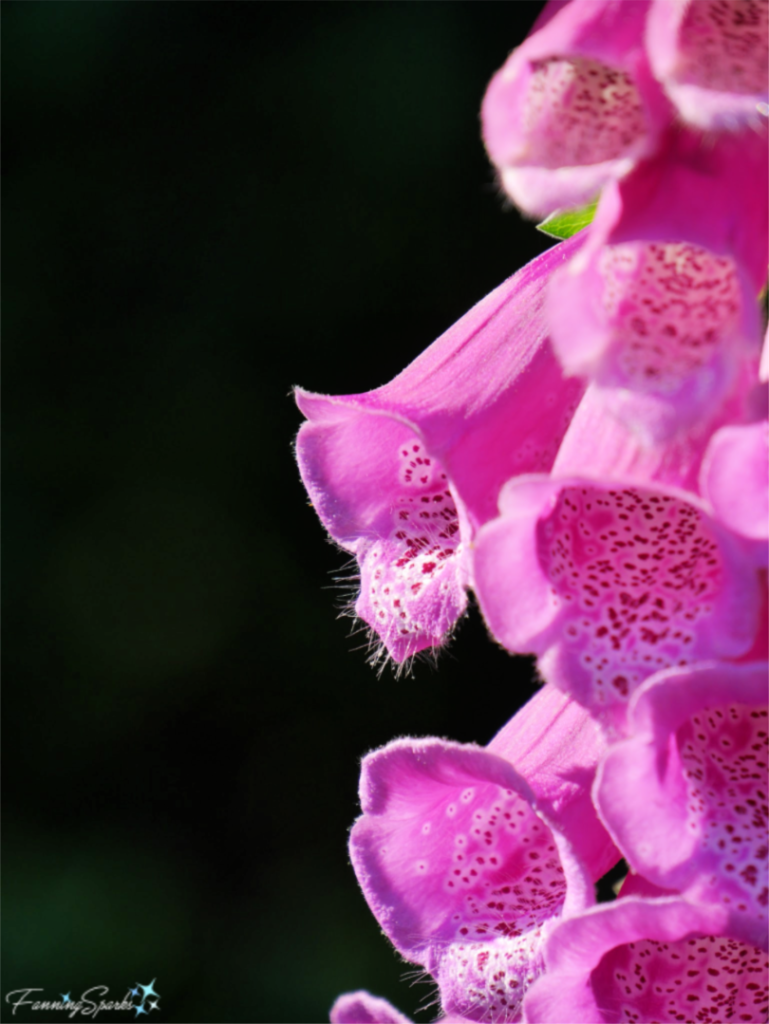

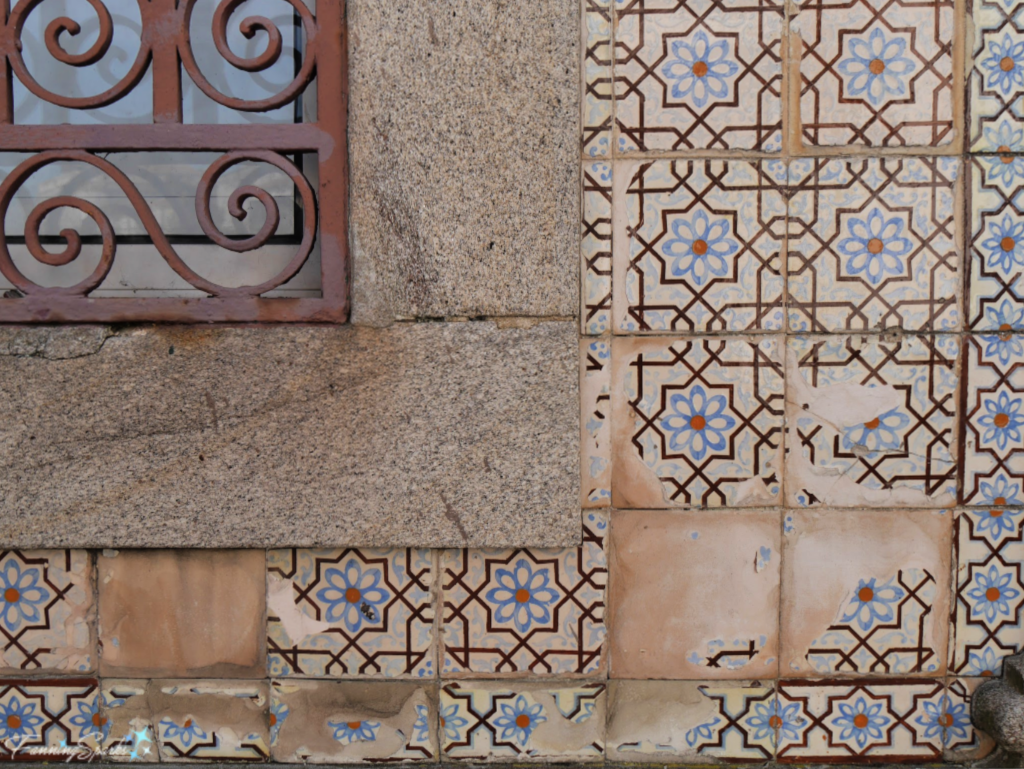
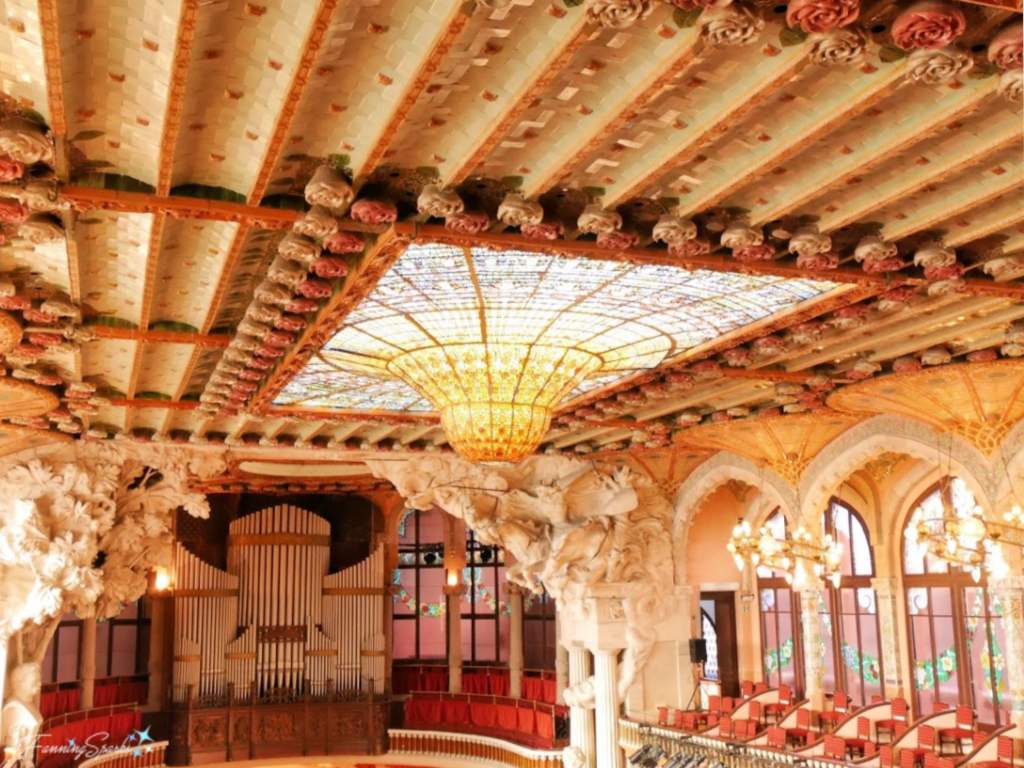
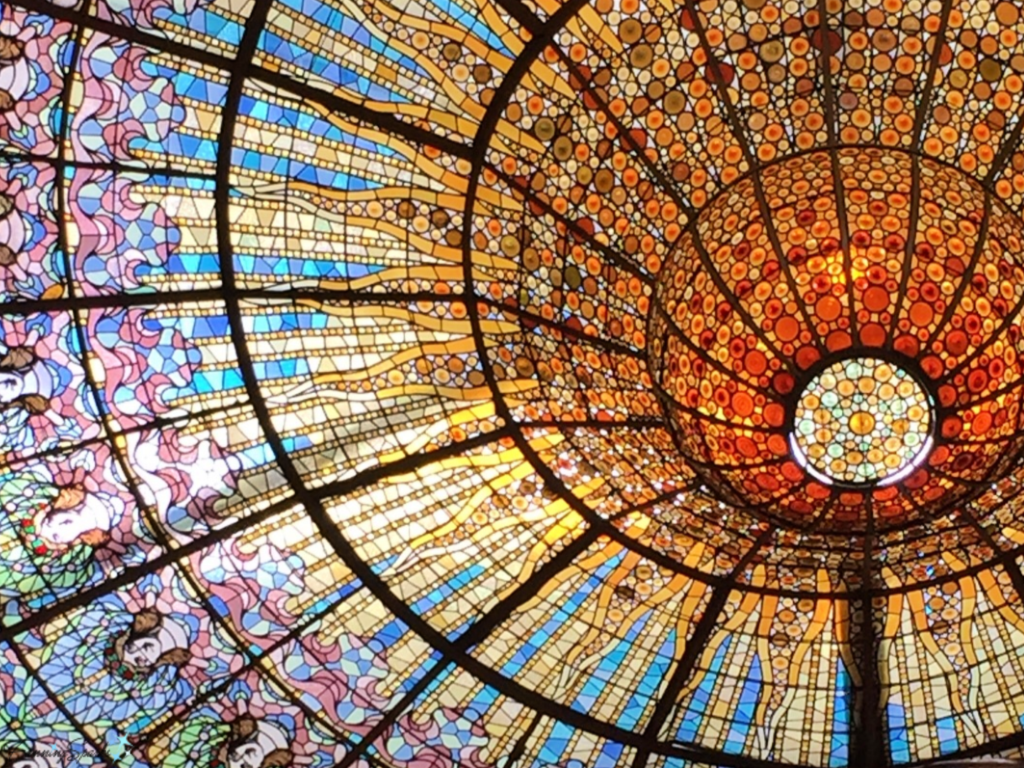
 Here’s another example of repetition and contrast. The angular window frame and the square tiles provide a nice contrast to the curvy wrought iron and flowers on the tiles. While the contrast of the aging and damaged tiles adds interest and pop. I chose this photo for the strong lines and interesting contrasts. This photo was taken in Ovar, Portugal. You can see lots more Portuguese tiles in my post