
What makes a good picnic great? A pleasant natural setting, agreeable weather…
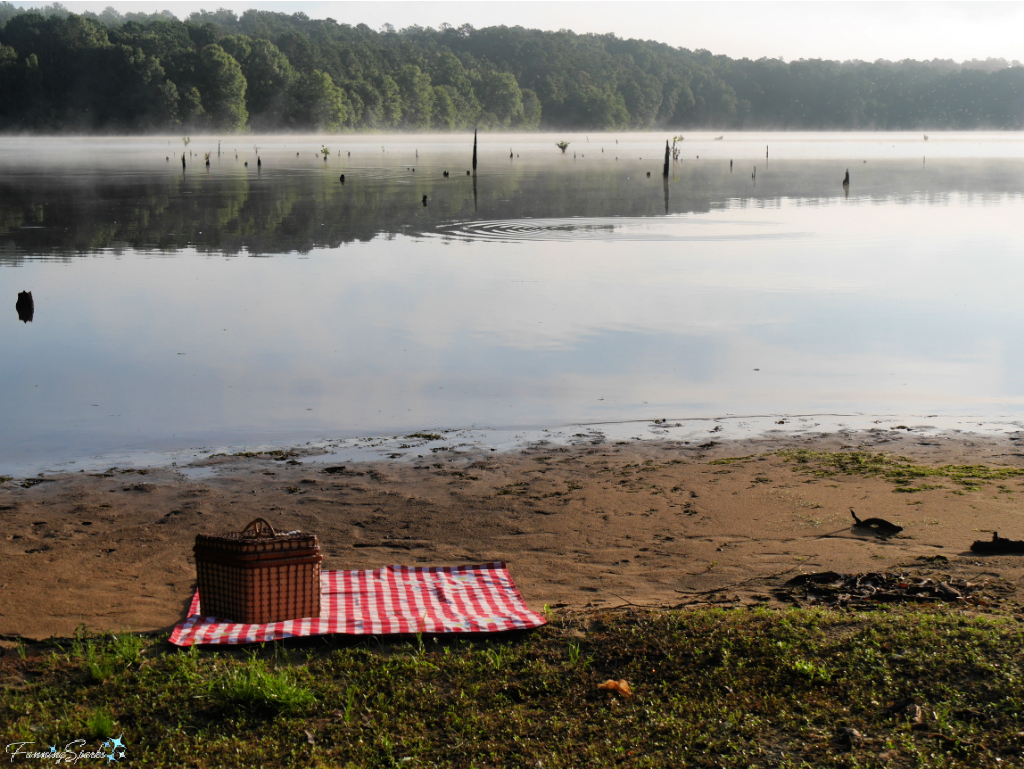
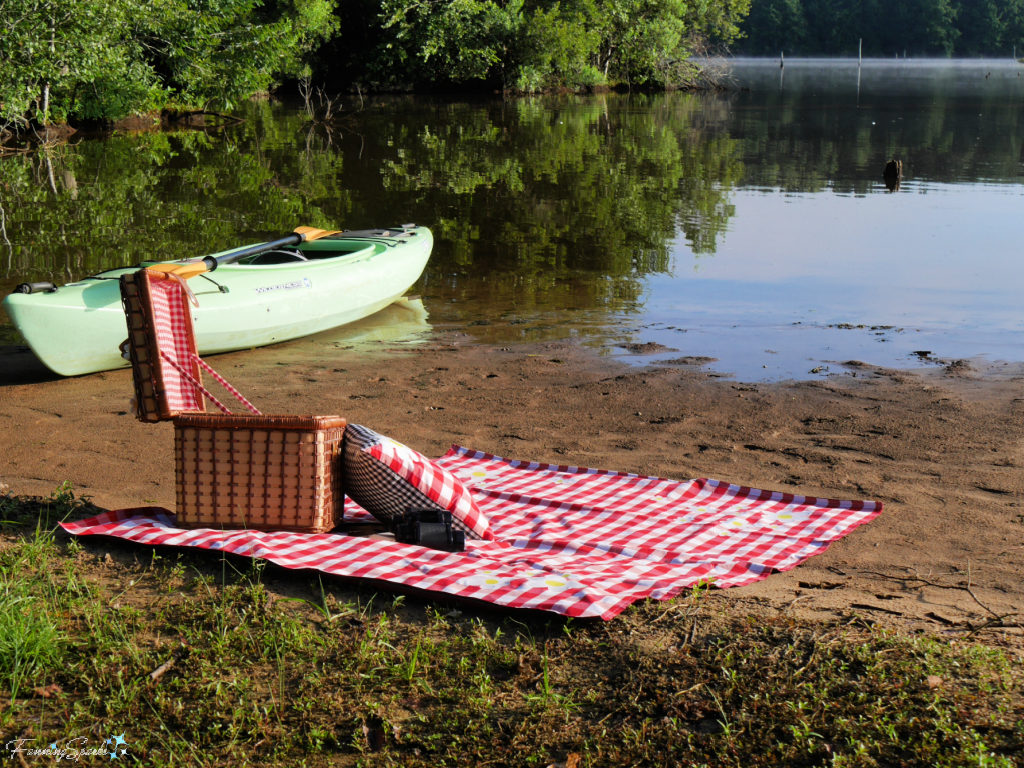
…tasty food and drink, a leisurely pace and a few key items for comfort. Enjoyable company even if it’s only your own. Nowadays, a location that is safely distant from others. Amusing ways to relax… kayaking, bird watching, reading, exploring, taking photos, watching the sunrise, playing games… or simply napping.
A thoughtfully designed picnic blanket is one of the key items for comfort. A picnic blanket should provide a protected place to sit—keeping moisture, bugs and pokey things at bay. It should be durable, easy care and machine washable. It should be lightweight and easy to carry. It should be generously-sized. And if it’s pretty and attractive that’s even better.
 I think the picnic blanket featured in today’s post delivers on all that. Plus it’s easy to make with the step-by-step instructions provided below. Why not give it a try?
Supplies Needed
The following supplies will be needed to make the Ultimate Picnic Blanket:
. Decorative Cotton Fabric 2 yards of 45” wide A simple 100% cotton in your choice of pattern, color and design. I chose a large-checked gingham in red and white.
. Waterproof Backing Fabric 1 ¾ yards of 58” wide This is the secret ingredient of this picnic blanket. I chose a dark maroon-colored, coated taffeta which is a lightweight coated nylon. It’s designed for rain gear, tarps, tent flies and other camping gear. It’s machine-washable in warm/cold on the gentle cycle and partially machine-dryable on low. I ordered the coated taffeta online from The Rain Shed (see More Info below).
. Belting – 30” of 1” wide cotton belting This allows for 2 carrying handles. My original version of this Picnic Blanket had only 1 handle but it gaped open and was cumbersome to carry.
. Thread
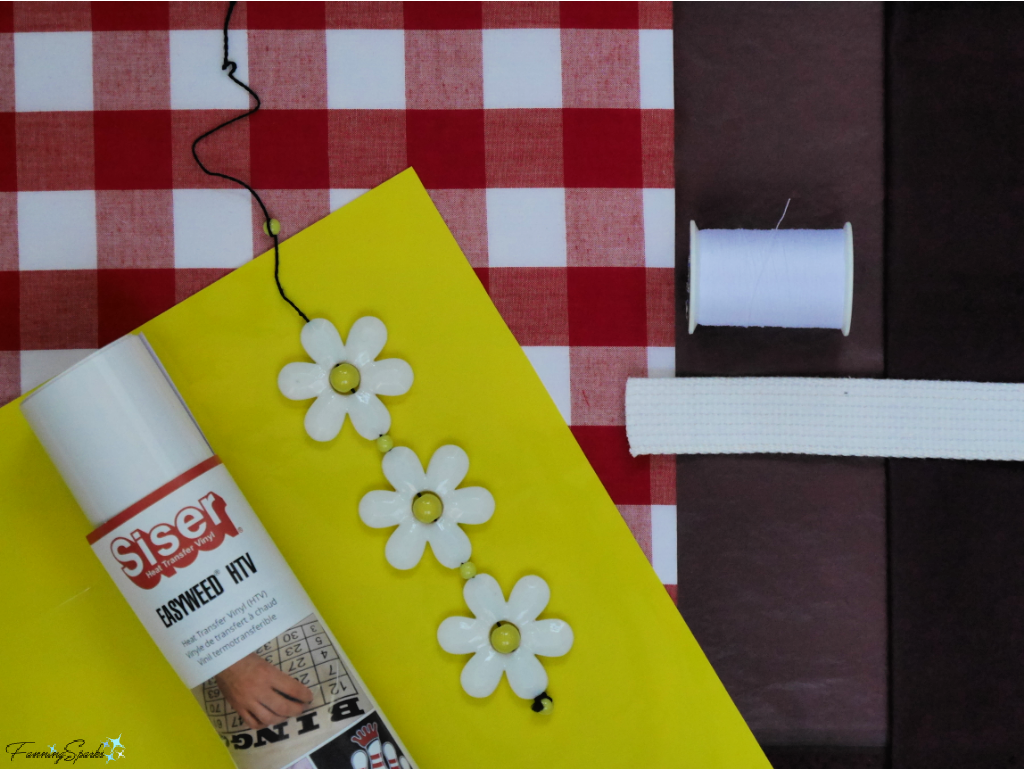
. Iron-on Vinyl aka Heat Transfer Vinyl (optional) I purchased 1 – 12” x 24” sheet of white HTV and 1 – 12” x 12” sheet of yellow HTV for the daisy design shown but used only about half. There are various brands of heat transfer vinyl but I recommend Siser Classic Easyweed. Embellishing the picnic blanket with daisies is, of course, completely optional.
. Parchment Paper Used to apply the Heat Transfer Vinyl
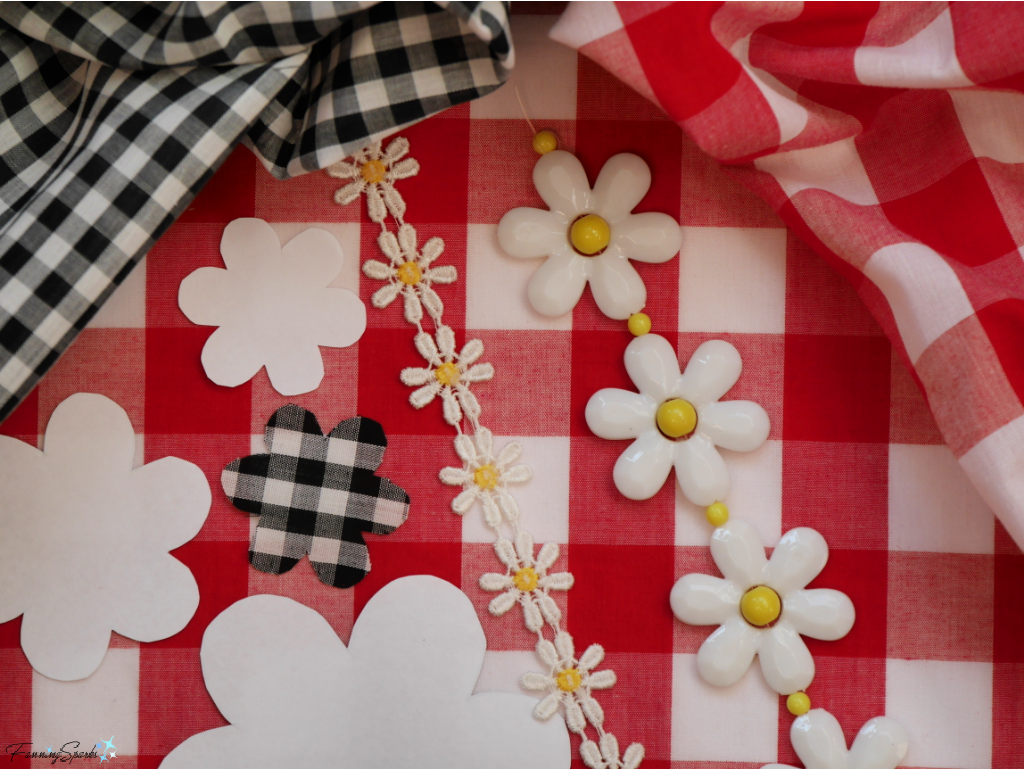
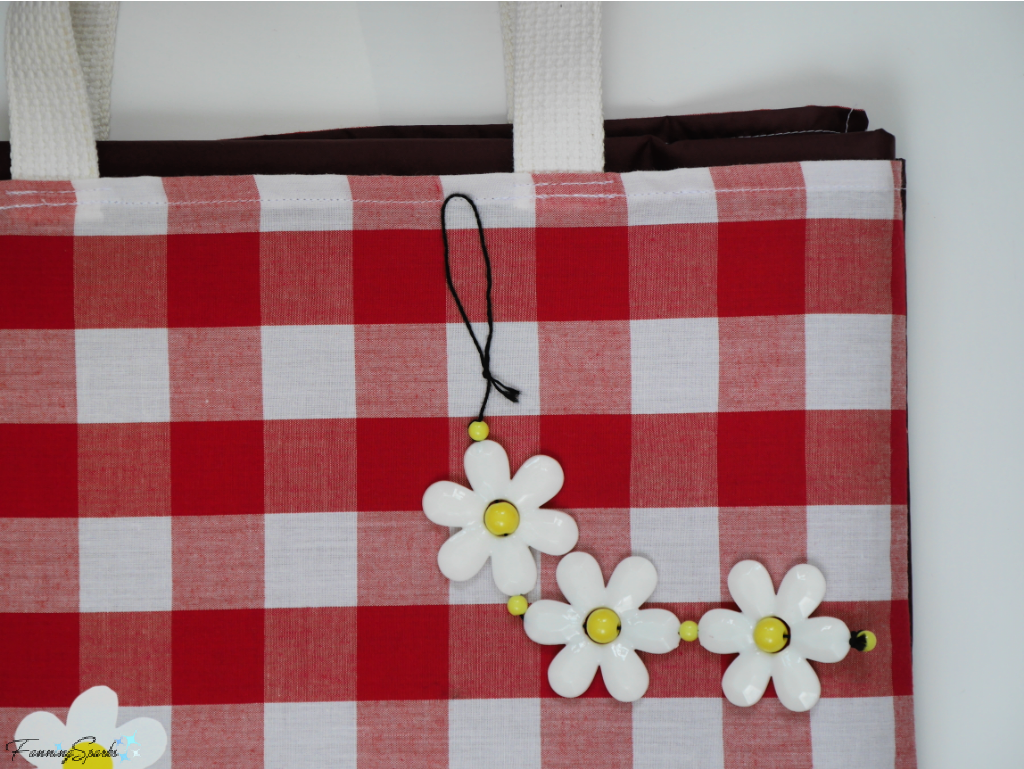
. Beaded Trim (optional) The beaded daisy trim shown below is from the InBloom Bead Designs line from Hobby Lobby. It was a clearance section score from a few years ago and, unfortunately, doesn’t appear to be available. I used it as a fun accent on the carrying handle. Any type of trim, such as tassels, pompoms, or brightly colored ribbons, will work equally well.
. Paper Used to cut out design motifs
 Tools and Equipment Needed
The following tools and equipment will be needed:
. Measuring Tape or Yardstick
. Scissors or Rotary Cutter with Mat
. Cutting Machine or Scissors I use a Cricut Explorer.
. Iron
. Sewing Machine
. Small Scissors or Snips for cutting threads
. Fabric Marker I love the Pilot FriXion Marker
. Straight Pins
. Seam Turner or Craft/Popsicle Stick.
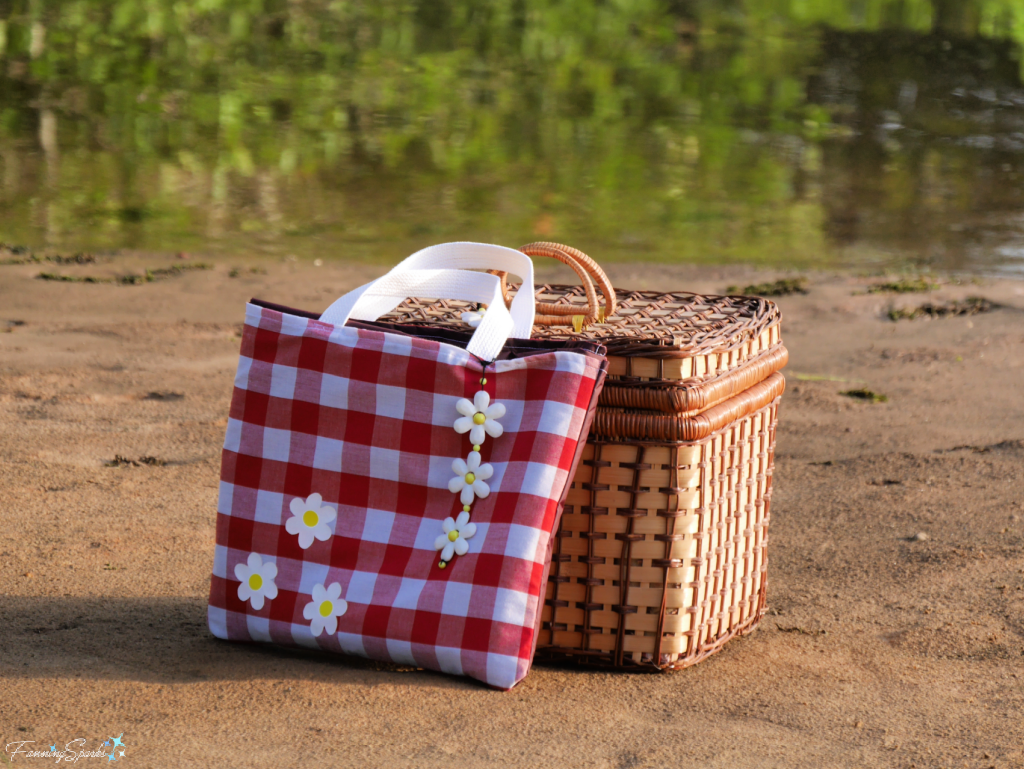
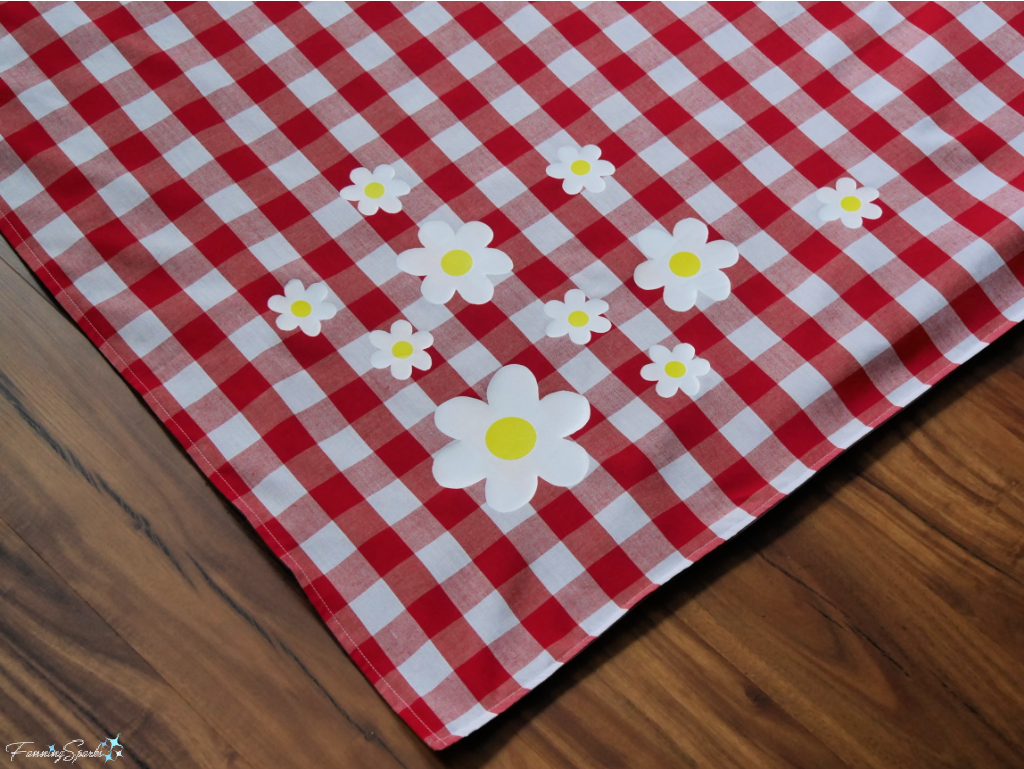
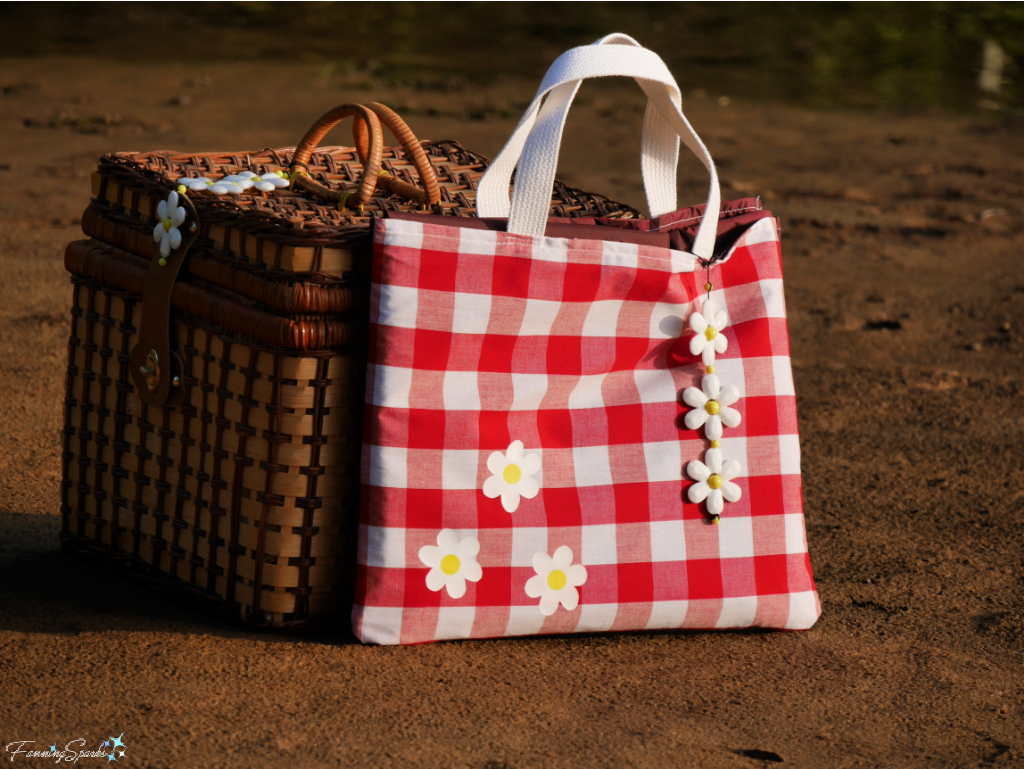
Step 1 Determine Design. Determine the style and design for your Picnic Blanket. Select appropriate materials. I choose a classic red-and-white check with a cheerful daisy motif. My main fabric is 100% cotton in a large red-and-white gingham check. The backing is a maroon-colored coated taffeta. I chose to embellish the blanket and pillow with vinyl white and yellow daisies. A beaded daisy chain provided the perfect accent.
 Step 2 Cut Fabric Cut the following 4 rectangles of fabric:
. 1 – 45” x 57” rectangle from the decorative cotton fabric for the Blanket Top
. 1 – 15 ½” x 12½” rectangle from the decorative cotton fabric for the Pocket Front
. 1 – 45” x 57” rectangle from the waterproof backing fabric for the Blanket Backing
. 1 – 15 ½” x 12½” rectangle from the waterproof backing fabric for the Pocket Backing.
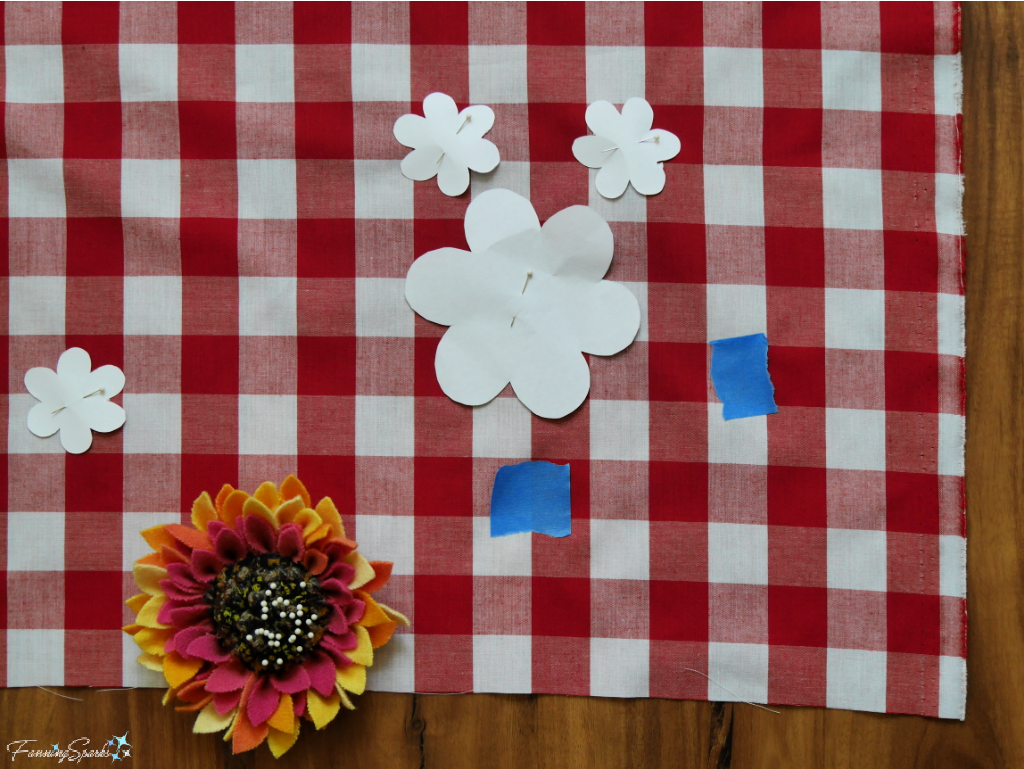
Step 3 Layout Design Cut out design motifs from paper and pin in place on the Blanket Top. Adjust until the layout is pleasing. I chose to position daisies in all 4 corners of the Blanket Top; each corner has a different number and arrangement.
 Step 4 Adhere Vinyl Daisies The daisy motif is made from heat transfer vinyl (HTV). HTV can be purchased in sheets or rolls. It can be cut with a cutting machine (such as a Cricut Explorer) or cut with scissors. HTV is an iron-on vinyl, which is available in a variety of brands and colors. Siser Classic Easyweed HTV brand seems to have the best reviews and, after working with it a few times, I would recommend it as well. If you’re not familiar with HTV, here’s a short explanation.
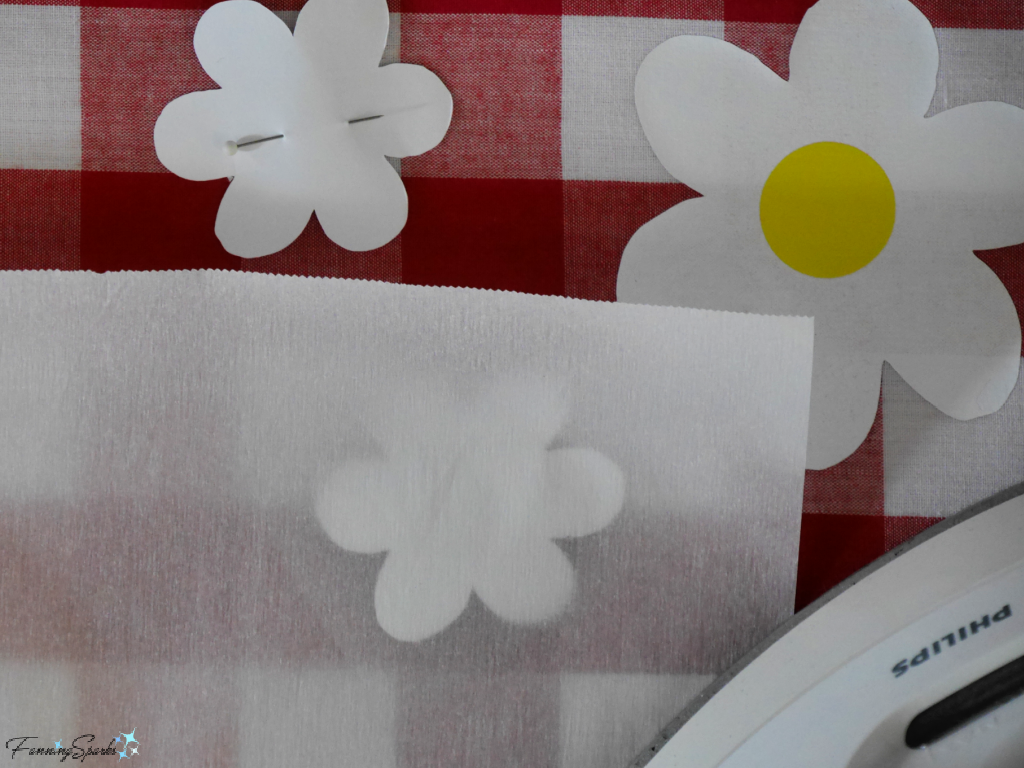
HTV has two layers; a layer of clear shiny “carrier” and a thin layer of colored vinyl (white and yellow in this case). The electronic cutter cuts the design in the thin colored vinyl while leaving the carrier layer intact. The carrier layer is used to position the design on the fabric and then removed after pressing. When cutting HTV, it’s important to place the HTV with the thin colored vinyl side UP on the cutting mat. This means the clear shiny carrier layer is facing down.
Step 4a) Cut Daisy. Use the cutting machine to cut the daisy from white HTV. Leave the center of the daisy intact. Use scissors to trim a generous border around the daisy so it’s easy to manipulate. Remove the excess white vinyl leaving only the white daisy on the carrier layer. Repeat this process to cut a circle for the flower center from the yellow HTV.
Alternatively, use scissors instead of a cutting machine. Cut out the white daisy flower and the yellow center with scissors cutting through both layers of the HTV. Adhere to the fabric in the same way described below with one exception. Because the carrier layer will be the same size and shape as the colored vinyl, the carrier layer will not stick to the fabric. Instead simply remove the carrier layer and place the colored vinyl directly on the fabric, taking care to position in the desired location.
Step 4b) Pre-heat Fabric. Pre-heat the Blanket Top fabric by pressing with a hot iron set on cotton (or whatever setting is appropriate for the fabric being used). Do not use steam.
Step 4c) Place white daisy. Press 2 seconds. Hot peel. Position a white daisy on the Blanket Top in the desired location with the white vinyl facing down and the sticky side of the carrier layer stuck to the fabric. Use hands to smooth into place. Cover the carrier layer with parchment paper. Press the hot iron down firmly, moving around very slowly, for 2 seconds. Lift the parchment paper and remove the carrier layer from the daisy (being careful of the hot surfaces). The white daisy should be attached to the fabric.
Step 4d) Place yellow center. Press 2 seconds. Hot peel.
Position the yellow flower center on top of the white daisy. Place it with the yellow vinyl facing down and the sticky side of the carrier layer stuck to the white daisy. Use hands to smooth into place. Cover all HTV with parchment paper. Press the hot iron down firmly, moving around very slowly, for 2 seconds. Lift the parchment paper and remove the carrier layer from the yellow center (being careful of the hot surfaces). The yellow center should be attached to the white daisy.
Step 4e) Press 8 seconds. Cover all HTV with parchment paper. Press the hot iron down firmly, moving around very slowly, for 8 seconds. Let cool.
 Step 4f) Repeat for all daisies.
NOTE: The coated taffeta of the Blanket Backing should not be pressed with a hot iron so HTV can be adhered to the cotton fabric of the Blanket Top only.
Step 5 Attach Blanket Top to Backing Lay Blanket Top with right side facing up and top edge along top of work surface. Position the Blanket Backing over the Blanket Top with right side facing down. Align all edges. Pin edges taking care not to puncture the main section of the coated taffeta fabric with pins; instead place pins inside the seam allowance. Prepare to leave three openings when sewing the two Blanket pieces together.
. 1 opening will be used for turning the blanket right side out. It should be about 6”-8” long and positioned along the center of bottom edge.
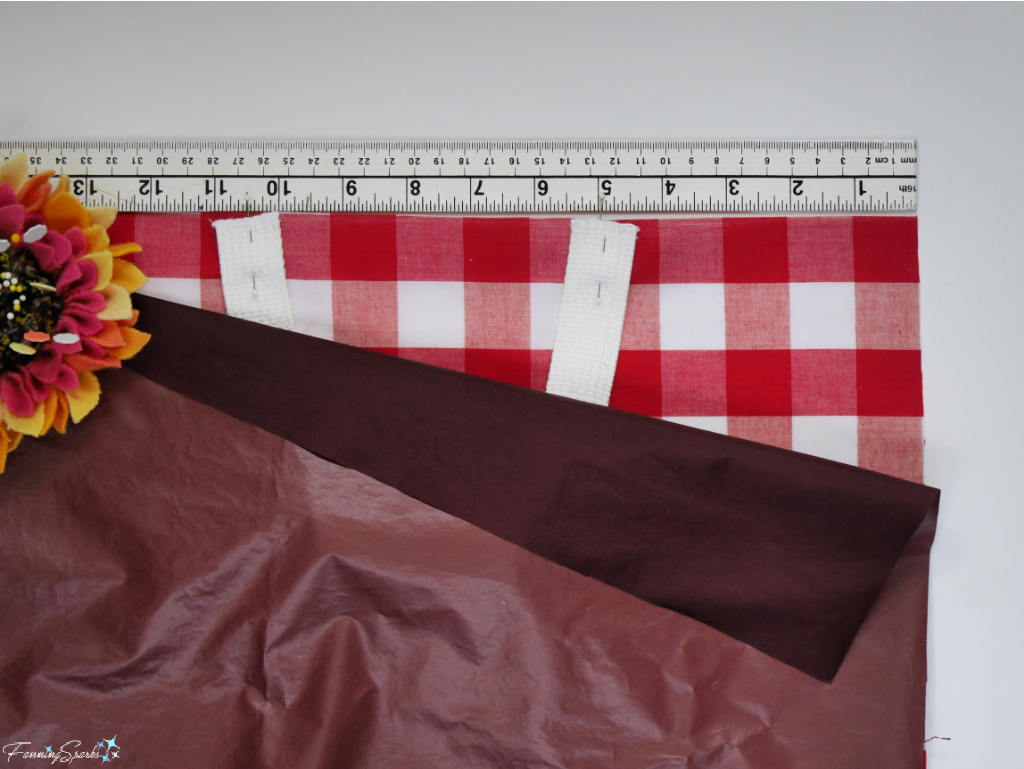
. 2 openings will be used to insert the belting for a handle. They will be positioned along the top edge. Measure from the top left edge and mark at 17”, 19”, 22 ½ “, and 24 ½”. One unsewn gap should be between the 17” and 19” marks. The other unsewn gap should be between the 22 ½” and 24 ½” marks. Slide pins into these sections as a reminder not to sew here.
Sew around the Blanket with a ¼ “ seam allowance.
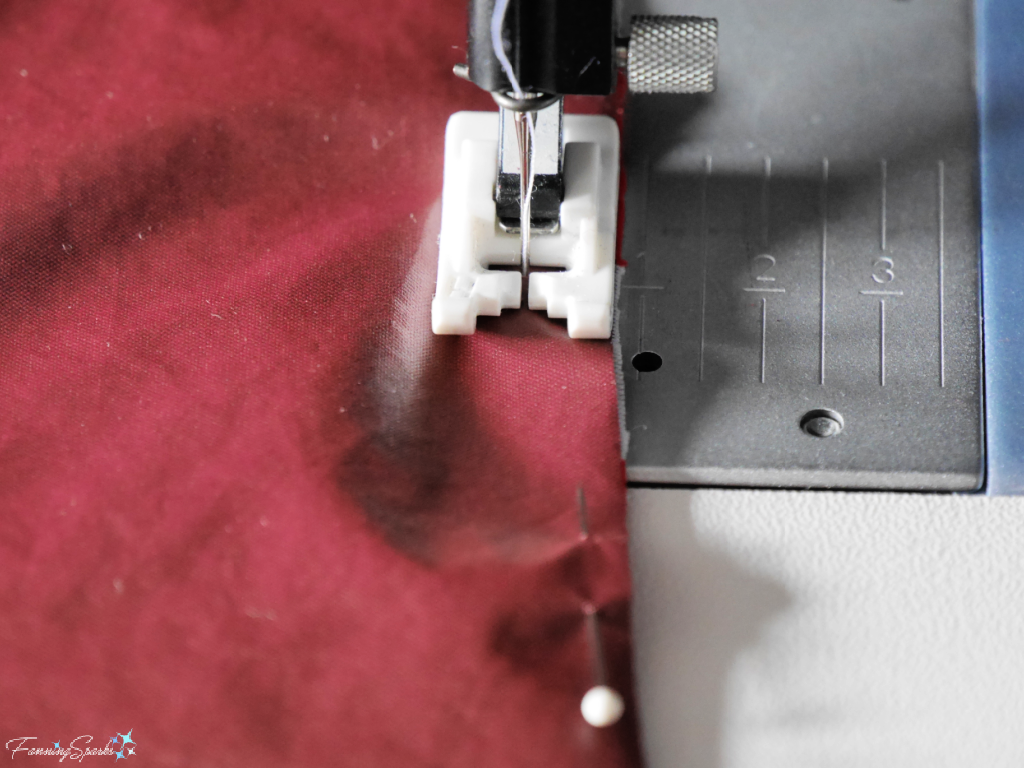
TIP: The slipperiness of the coated taffeta fabric can be a little tricky to sew. Place the decorative cotton fabric on the bottom and the coated taffeta on the top to make it easier to feed the fabric through the sewing machine. A non-stick presser foot is also helpful.
 Step 6 Turn Right Side Out Pull the blanket through the opening to turn it right side out. Use seam turner to push out seams and corners. Press for a crisp finished seam taking care not to overheat the coated taffeta on the Blanket Backing. Sew the opening closed. Topstitch close to edge all around the Blanket skipping the two small openings left for the belting (from Step 5). Here’s how a finished corner looks.
 Step 7 Prepare Pocket Gather pieces for the Blanket Pocket including the decorative cotton fabric Pocket Front and the coated taffeta Pocket Backing. Cut 2 pieces of 1” belting each measuring 14”. Adhere HTV daisies to Pocket Front following method outlined above in Step 4. Use the zigzag stitch on the sewing machine to overcast the ends of the belting and prevent fraying.
Step 8 Attach First Handle to Pocket Lay Pocket Front right side up with top edge along top of work surface. Measure and mark 5” from both outer edges. Take one of the pieces of belting and center each end over a 5” mark. Align ends of belting with the top edge of the fabric inserting ¼“ of belting into seam. Ensure belting is not twisted; same side of belting should be on the inside edge of both ends. Lay Pocket Backing, with right side facing down, on top of the Pocket Front. Align all edges. Pin.
 Sew all around the Pocket edges with a ¼“ seam allowance leaving a 4-6” opening along the bottom edge. Turn Pocket right side out. Use seam turner to push out seams and corners. Press for a crisp finished seam taking care not to overheat the coated taffeta on the Blanket Backing. Sew the opening closed. Topstitch close to edge all around the Pocket. Reinforce handle with a second row of stitching.
Step 9 Attach Pocket Lay out Blanket with Blanket Backing facing up and the top edge along the top of the work surface. The openings for the belting (from Step 5) should be along the top edge. Measure and mark 13 ½ “ from top right along the top edge. Repeat about 11” down from top edge. Position Pocket, with Pocket Front facing down, on top of Blanket Backing with top edges aligned and right edge of Pocket at 13 ½ “ marks. Pin along seamlines.
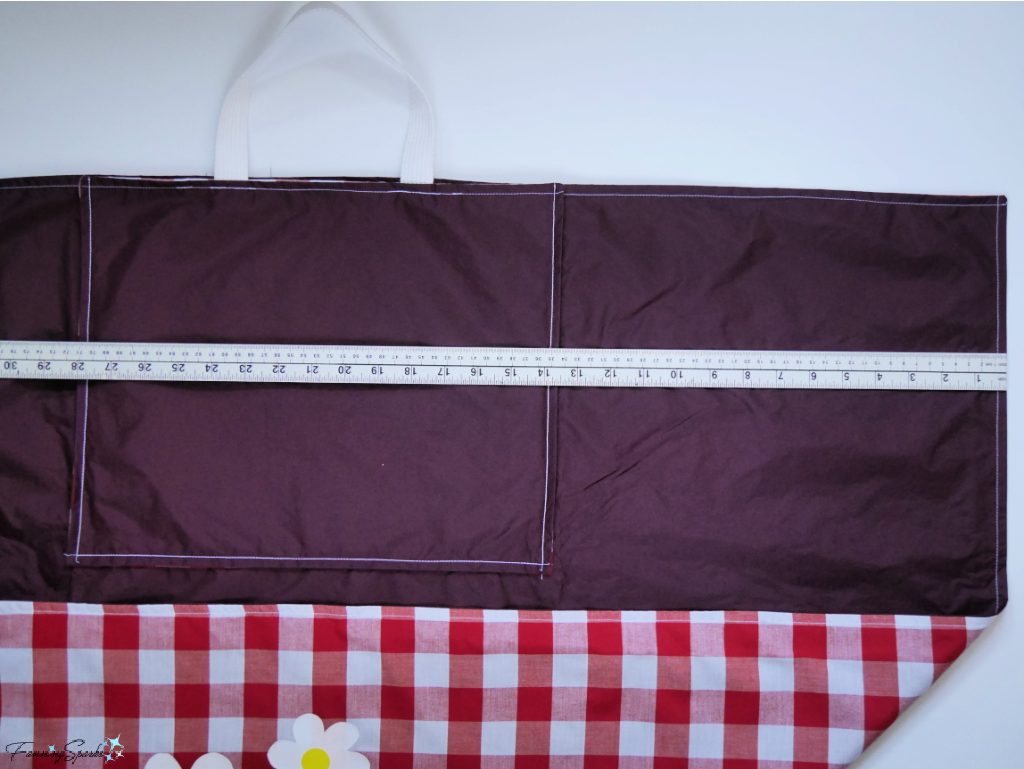 Sew around sides and bottom of Pocket leaving top edges open. Backstitch at top edges to reinforce.
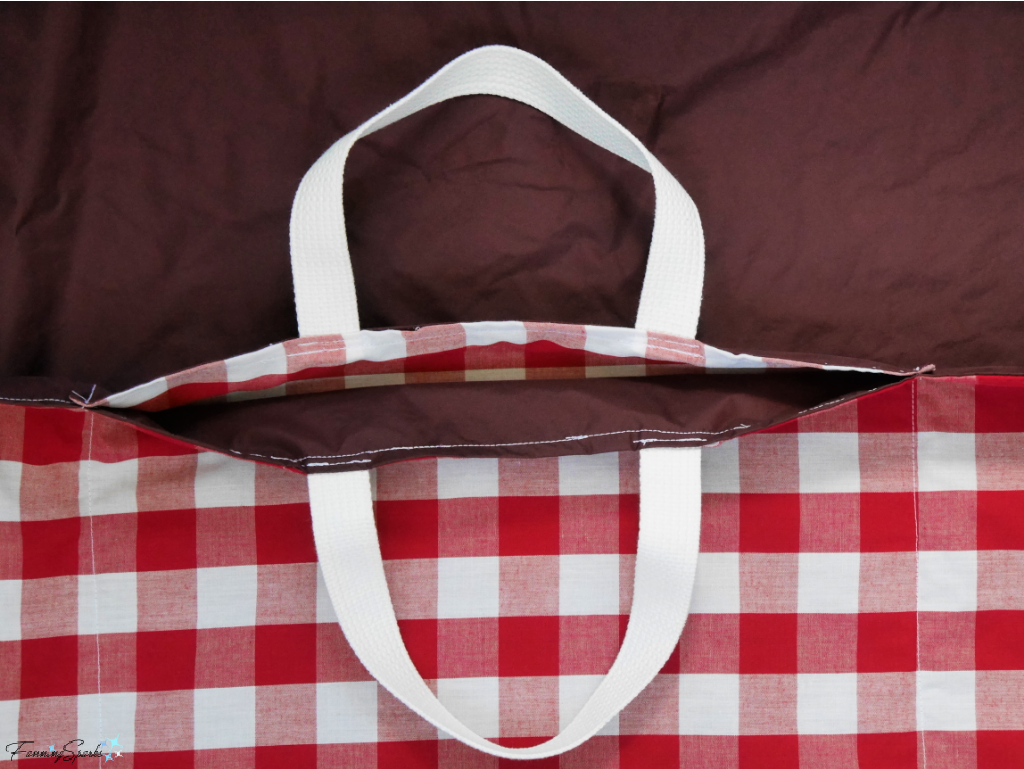
Step 10 Attach Second Handle to Blanket Lay Blanket Top facing up with top edge along top of work surface. The Pocket should be at the top of the work surface. Insert ¼” of belting into the openings (from Step 5). Take care to align second handle with the first handle. Ensure belting is not twisted; same side of belting should be on the inside edge of both ends. Pin in place.
Stitch top edge of Blanket across handle ends. Take care to stitch only the Blanket layer keeping Pocket pulled out of the way. Sew a second row of stitches to reinforce handle. The two handles should match and line up across the top of the Pocket.
 Step 11 Attach Trim Attach your trim of choice, beads, tassels, pompoms, ribbons, etc, with thread or string. It should be easy to remove before washing the Picnic Blanket. Simply tie a loop at the end of the string and then slip the trim through the loop and tighten.
 Your Ultimate Picnic Blanket is ready to use! To fold the Blanket for easy carrying to your next picnic:
1. Hold up the Picnic Blanket, a corner in each hand, with the handles hanging down from the bottom edge.
2. As you fold, keep Pocket to the outside. Bring hands together to fold Picnic Blanket in half. Fold again. Fold Picnic Blanket in half horizontally. Fold again.
3. The folded Picnic Blanket should now be the same size as the Pocket with the Pocket on the outside. Insert hand into Pocket and grab Blanket at the bottom of the Pocket. Turn Pocket inside out pulling Blanket into Pocket. Smooth Blanket pushing out corners from inside.
It’s that simple!
You may want to take a few extra minutes to make a small pillow to match your new Picnic Blanket. Check out the post, Basic Pillow DIY Tutorial, for step-by-step instructions to make a decorative envelope pillow. Simply substitute fabrics and embellishments to match your Picnic Blanket and follow the construction process. 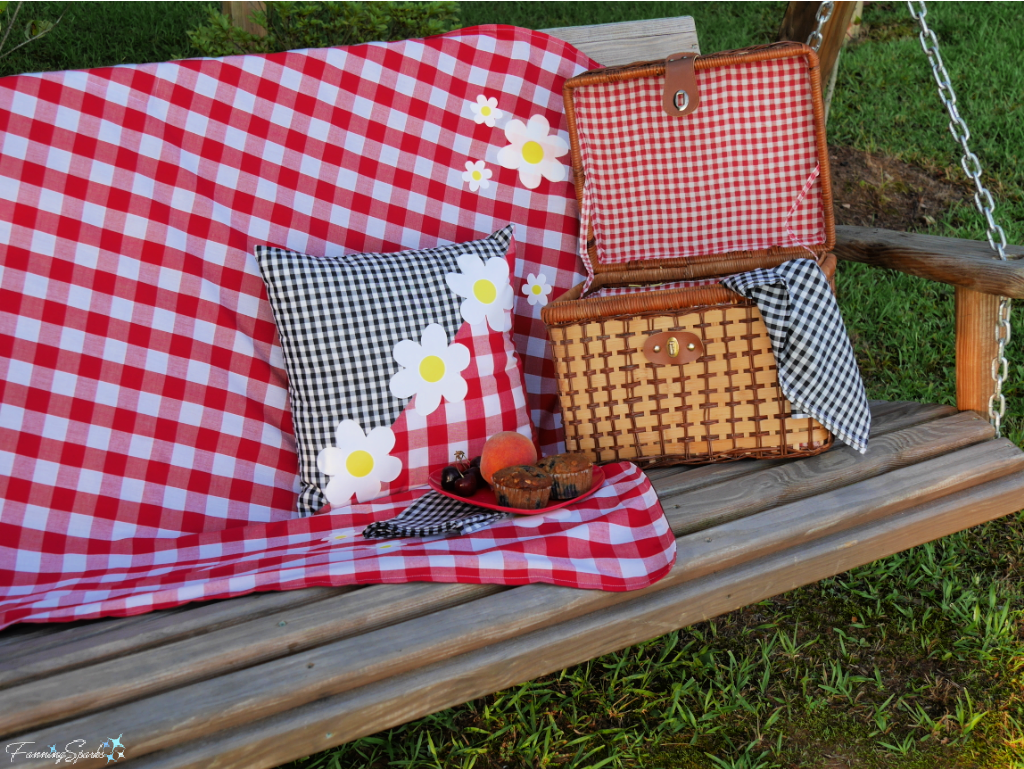
More Info
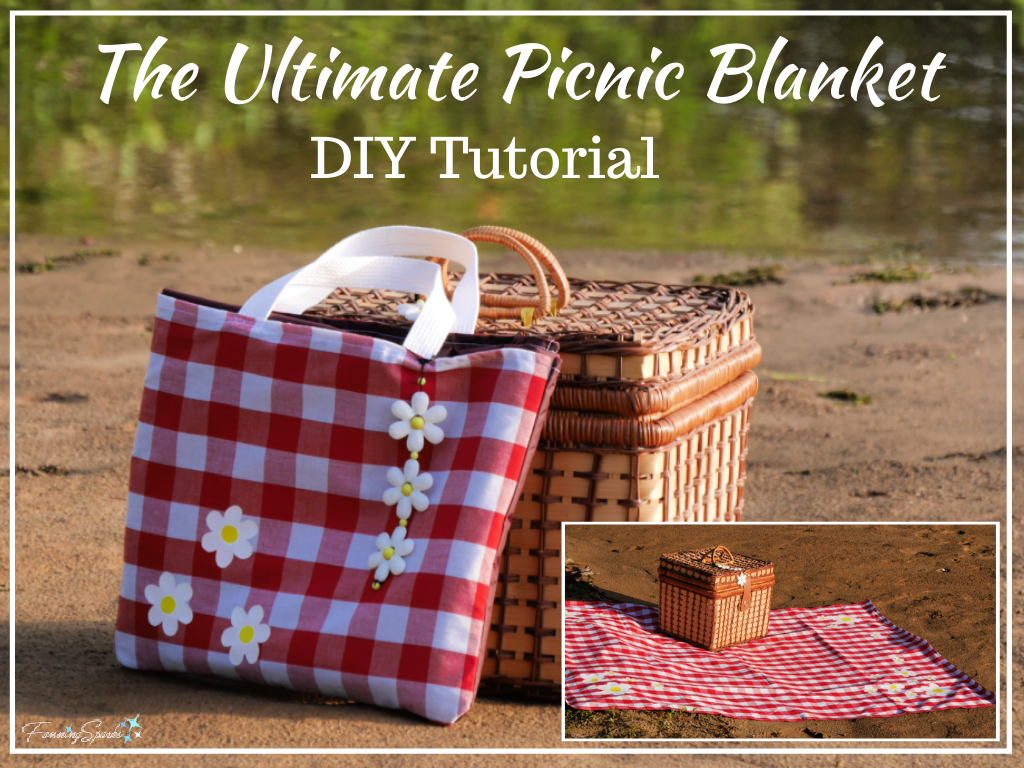
Please share this image or pin for future reference.
The Ultimate Picnic Blanket debuted in the Sunrise Breakfast Picnic post. Picnics were also featured in the posts: Picnic Under the Wisteria and A Colorful Backyard Picnic.
The coated taffeta fabric used for the Picnic Blanket Backing can be purchased from The Rain Shed. Look under Coated Fabrics in the Fabrics section. The Rain Shed has lots of difficult to find supplies and materials for outdoor activities. They even sell patterns for cool things like gaiters, rain chaps and umbrellas.
Today’s Takeaways
1. A picnic is an ideal way to enjoy the outdoors.
2. The Ultimate Picnic Blanket could make your next picnic more comfortable.
3. Even a simple handmade item, like a picnic blanket, is an opportunity to get creative.


Comments are closed.