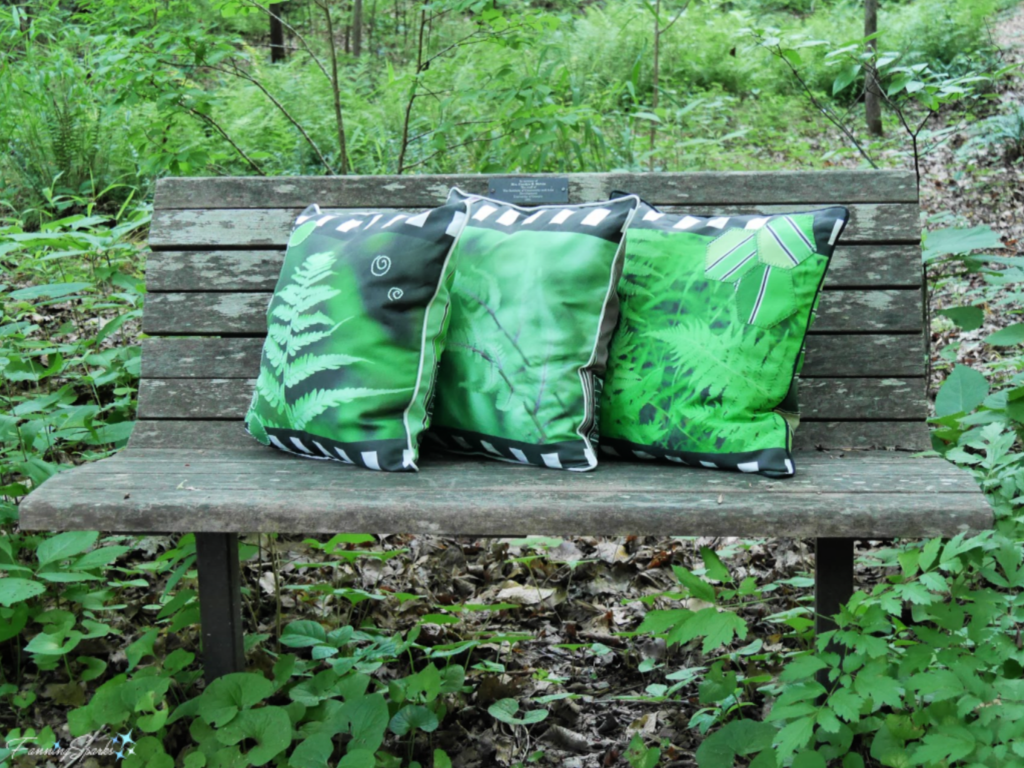
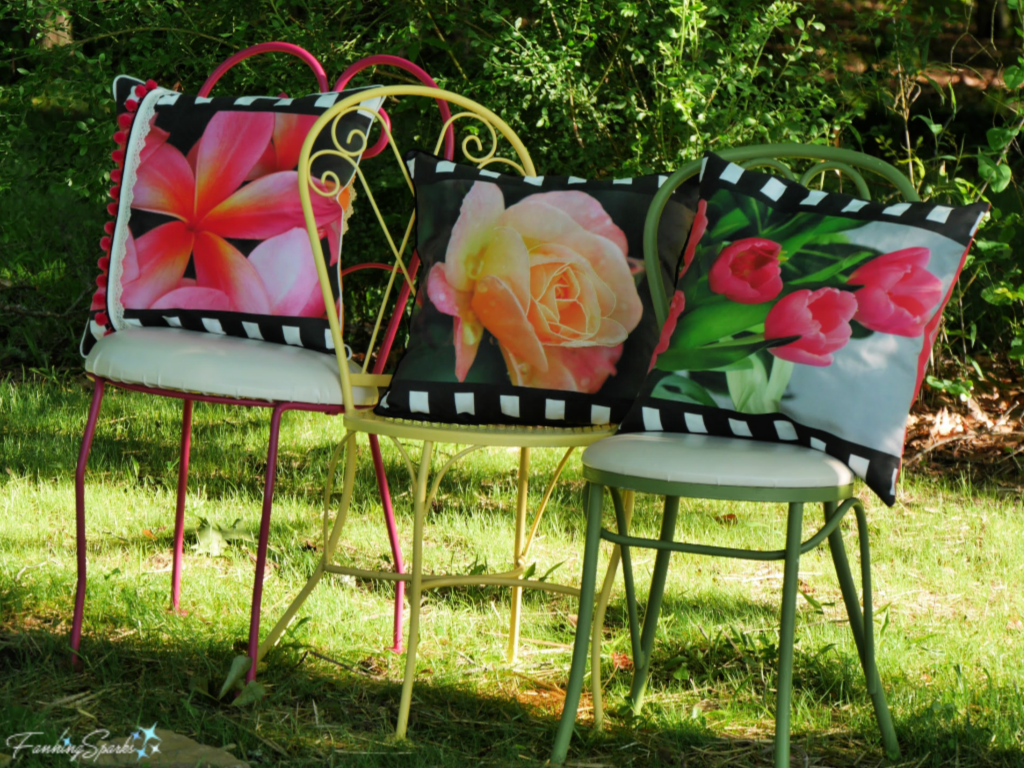
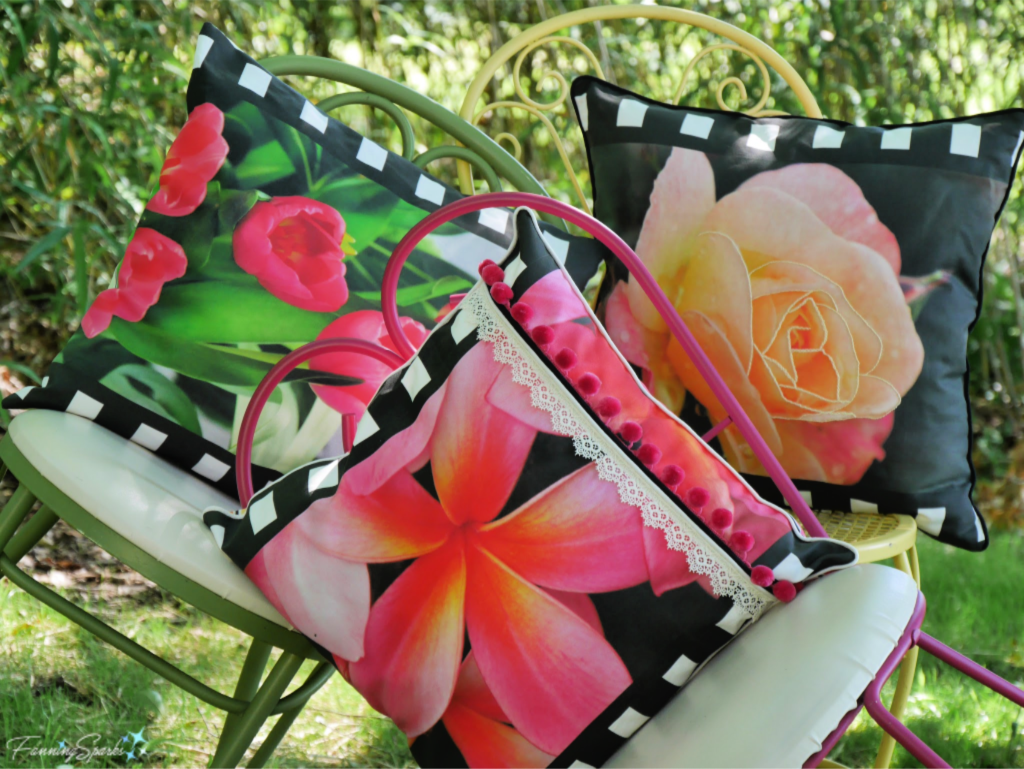
Is it possible to have too many decorative photo pillows? The Floral World Tour pillows turned out so well that I created a second collection. This one showcases ferns and is titled “Bring In the Outdoors – Fern Collection”. The 3 pillows in this collection showcase the Southern Lady Fern, New York Fern and Japanese Painted Fern.
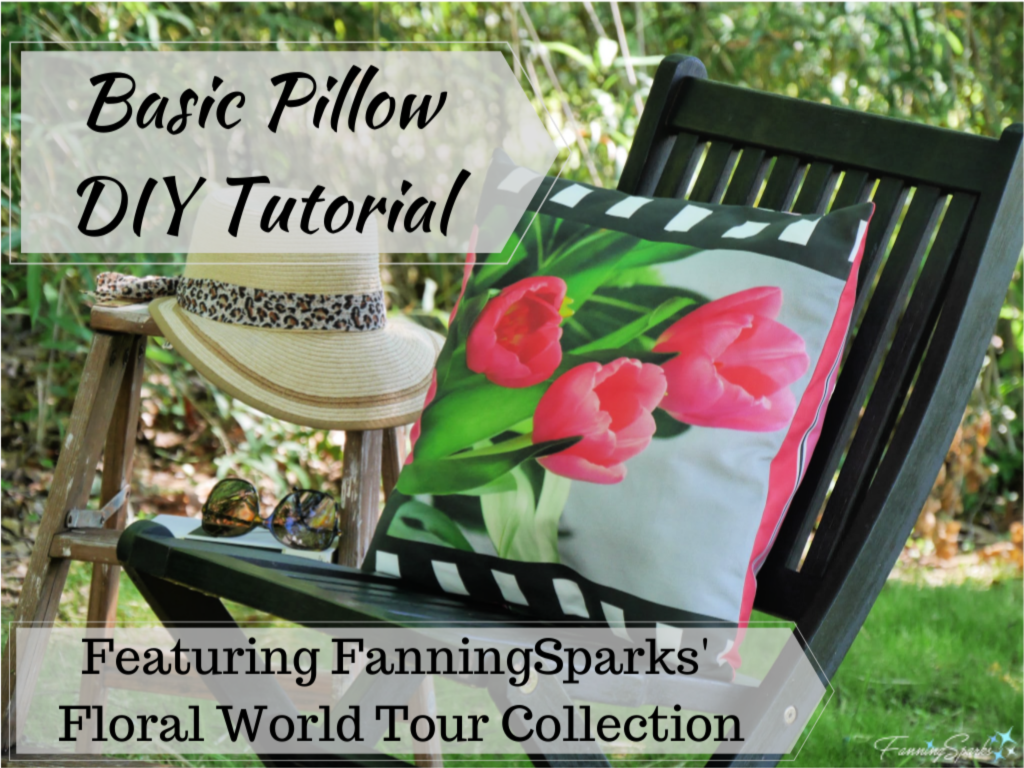
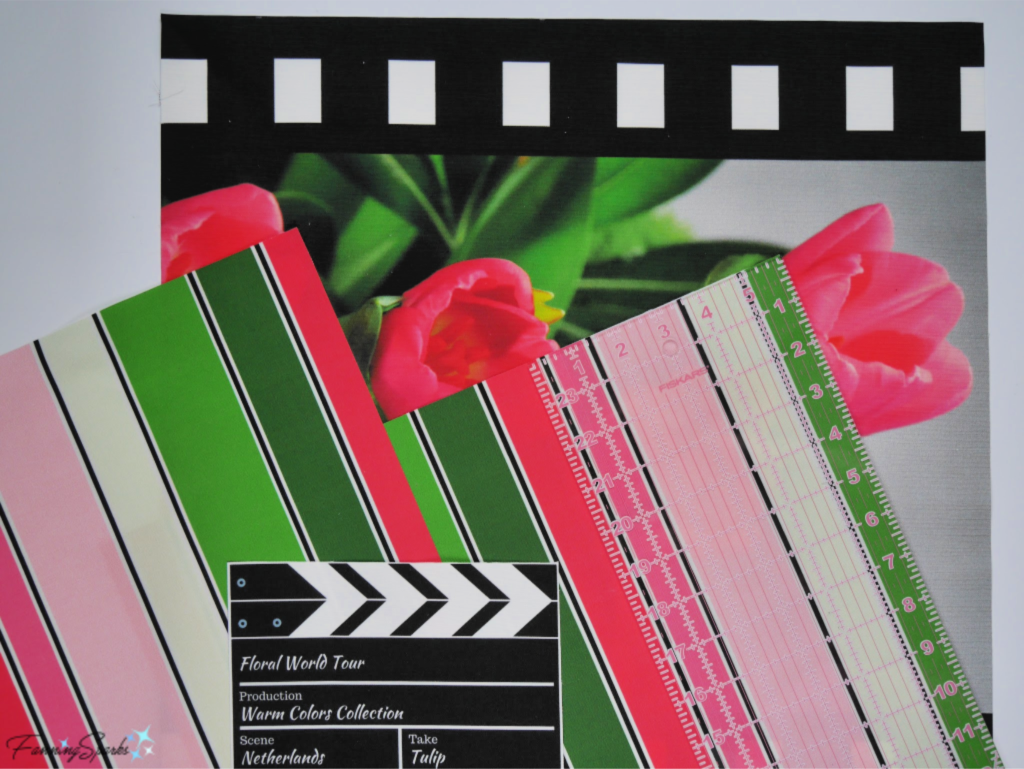
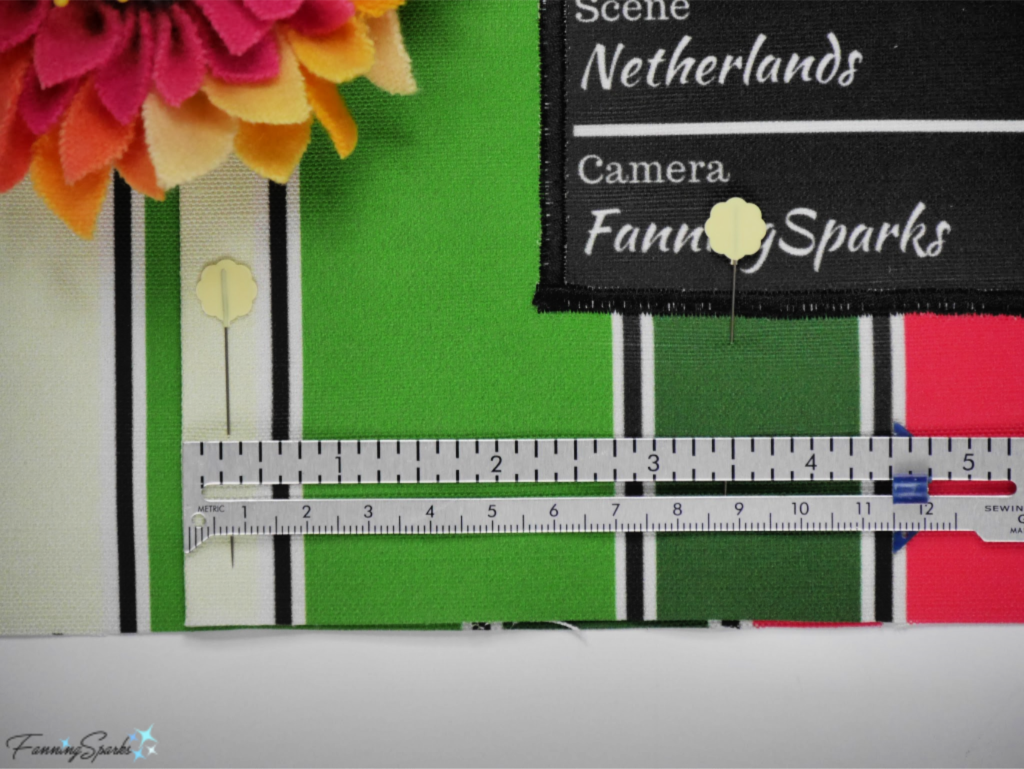
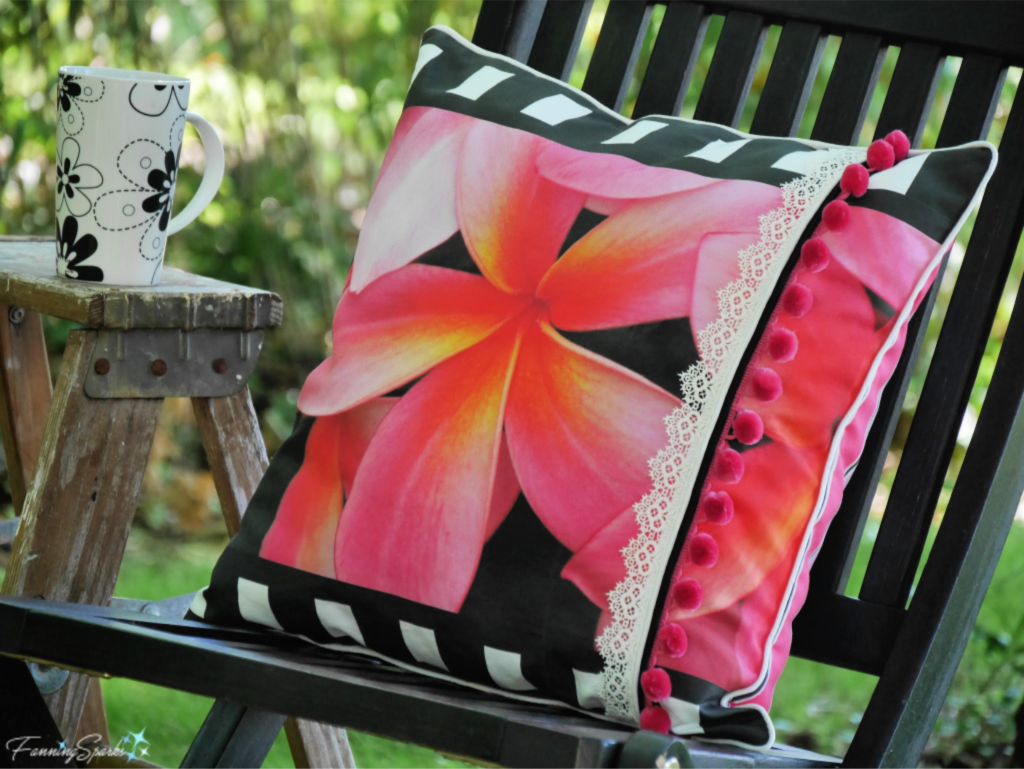
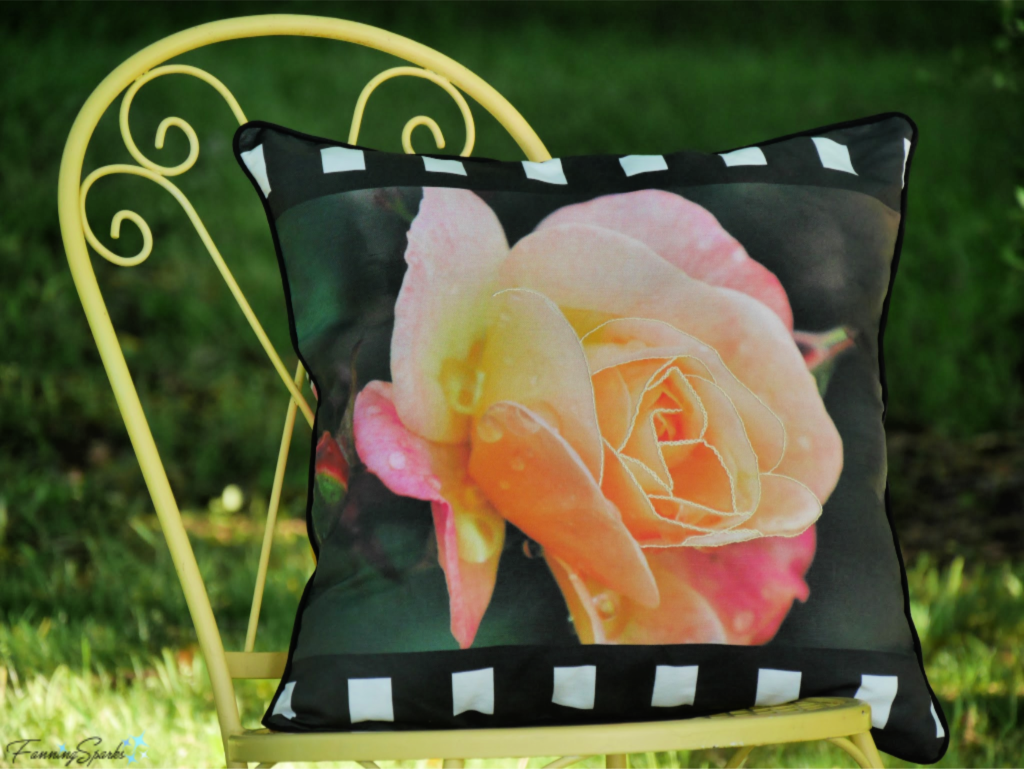
The Fern Collection is available in the FanningSparks’ Spoonflower shop along with the Floral World Tour Collection. Each fern photo has a color-coordinated striped fabric. My previous post, Basic Pillow DIY Tutorial, provides step-by-step instructions for sewing these amazingly simple decorative pillows. While the design framework is the same for all the pillows, the endless possibilities for embellishment and personalization mean every pillow can have its own unique look.
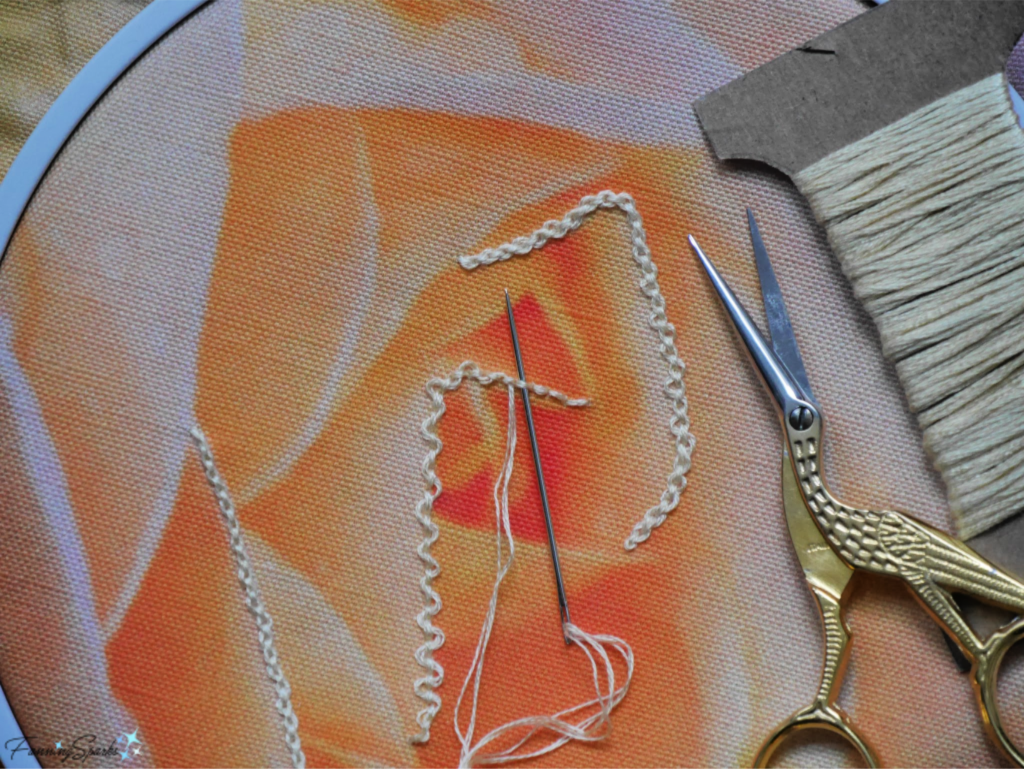
Here’s a closer look at the pillows in the Fern Collection. This is the Southern Lady Fern (Athyrium asplenioides) pillow front design.

I decided to applique a few circles and embroider some spirals to embellish the pillow front.
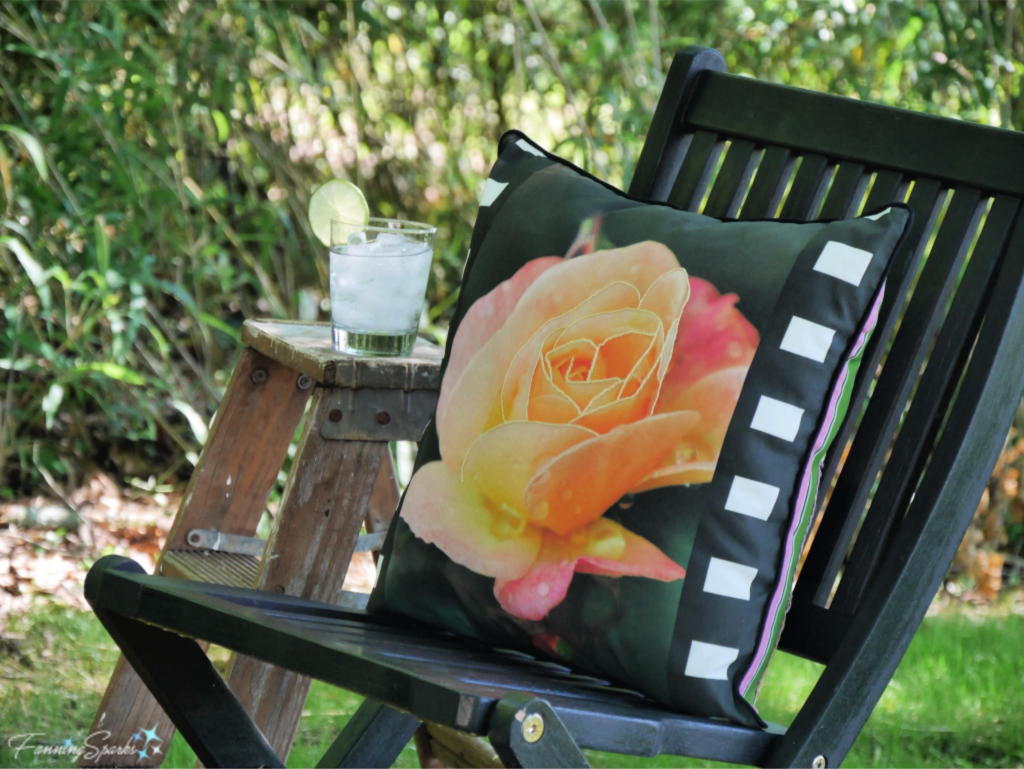
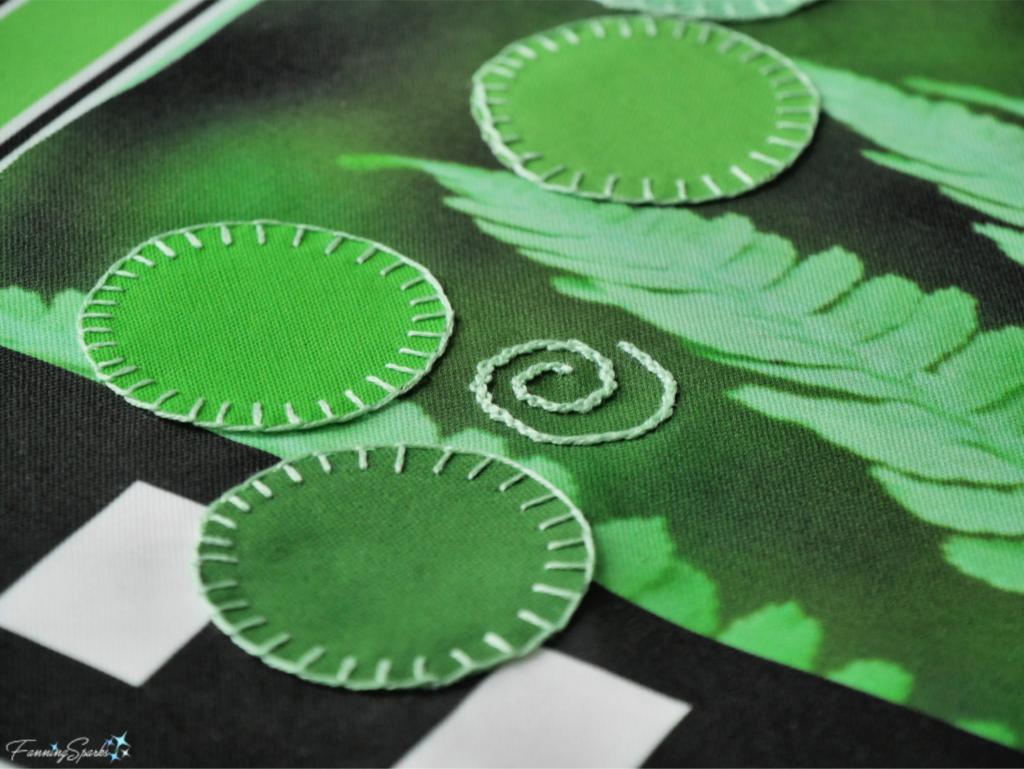 Here’s how it turned out.
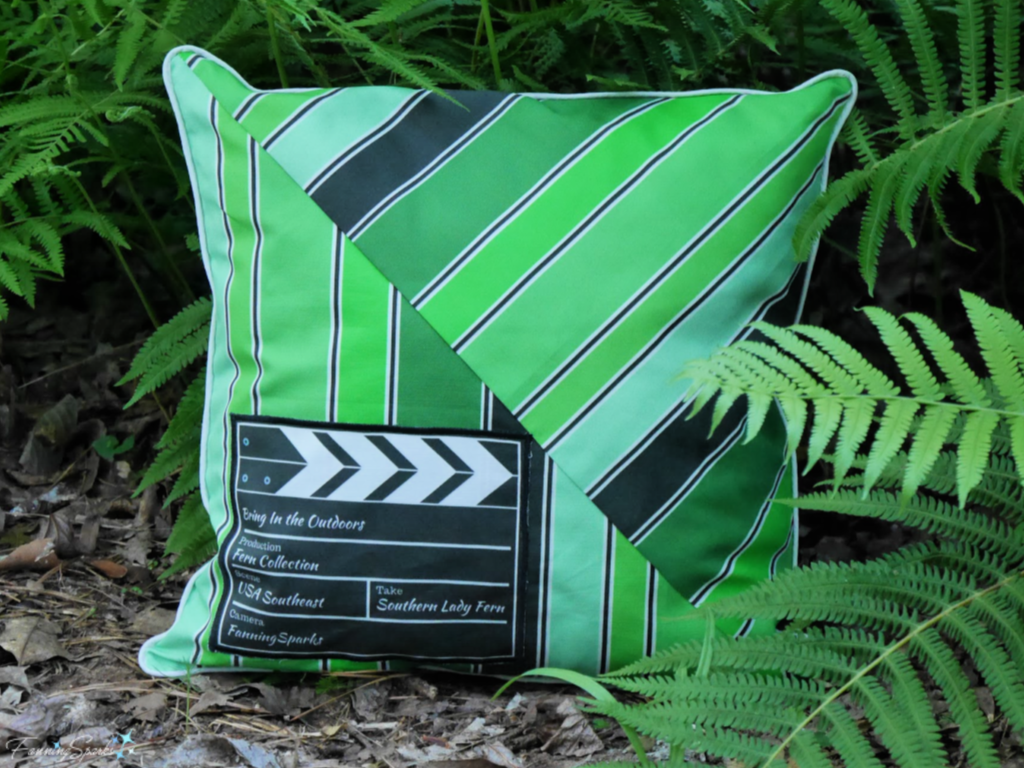
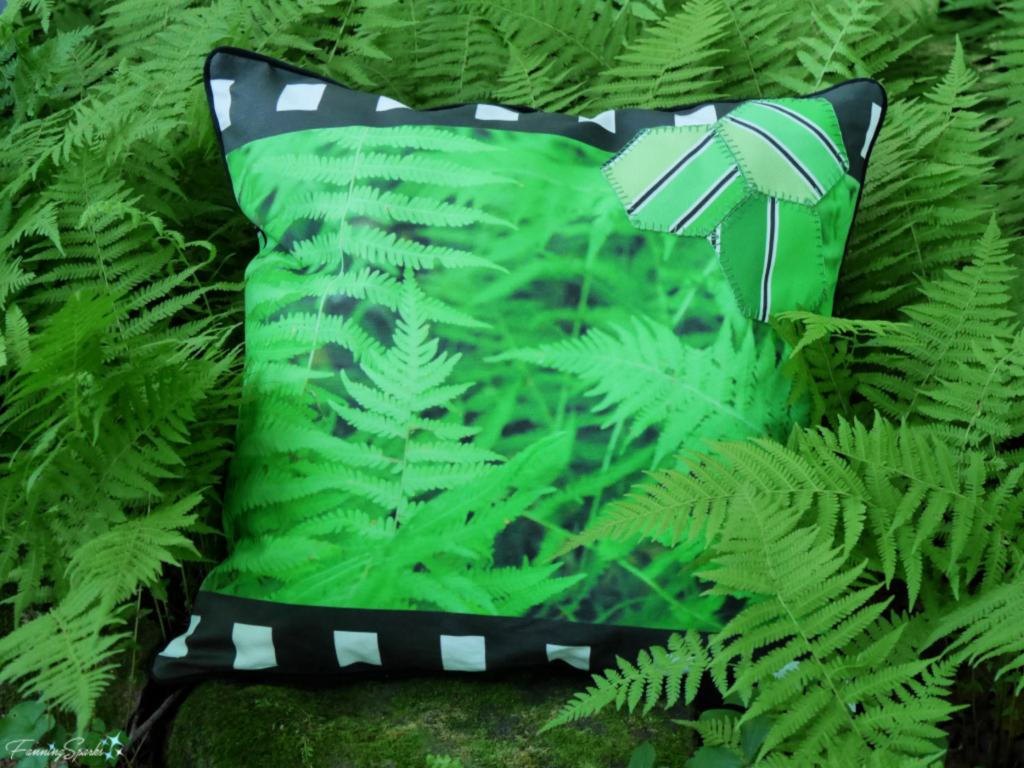
 For the back of the Southern Lady Fern pillow, I added a little twist with a diagonal section of the striped fabric.
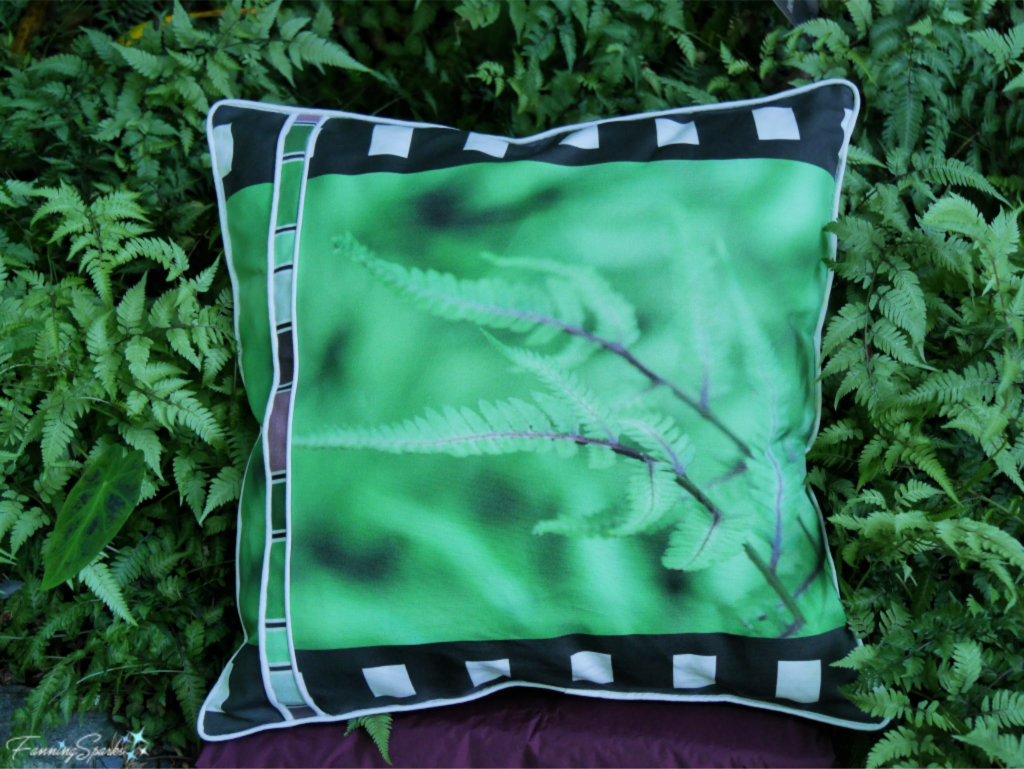
 The Japanese Painted Fern (Athyrium niponicum ‘Pictum’) is considered one of the most beautiful ferns for the home shade garden thanks to its dramatic foliage and unique burgundy and silver coloring. Here’s how it looks on the pillow front design.
 I added a narrow strip of the striped fabric on the pillow front to accent the various colors in this design. Here is the finished front of my Japanese Painted Fern pillow.
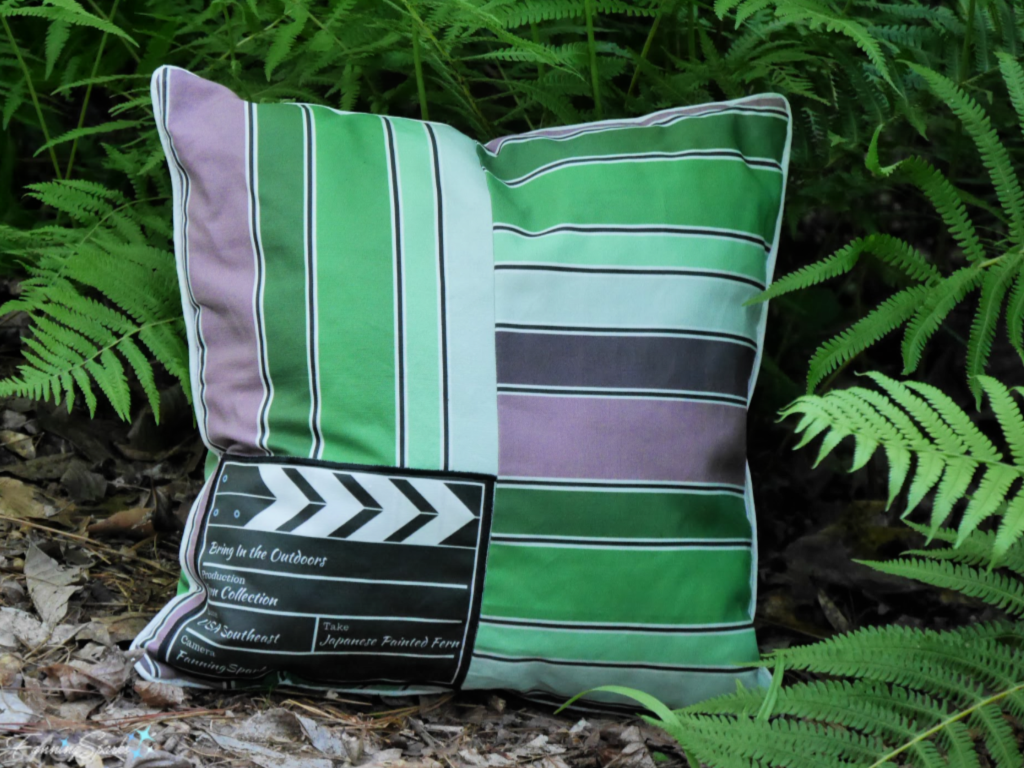
 Here is the back of my Japanese Painted Fern pillow. I love this combination of greens and burgundies.
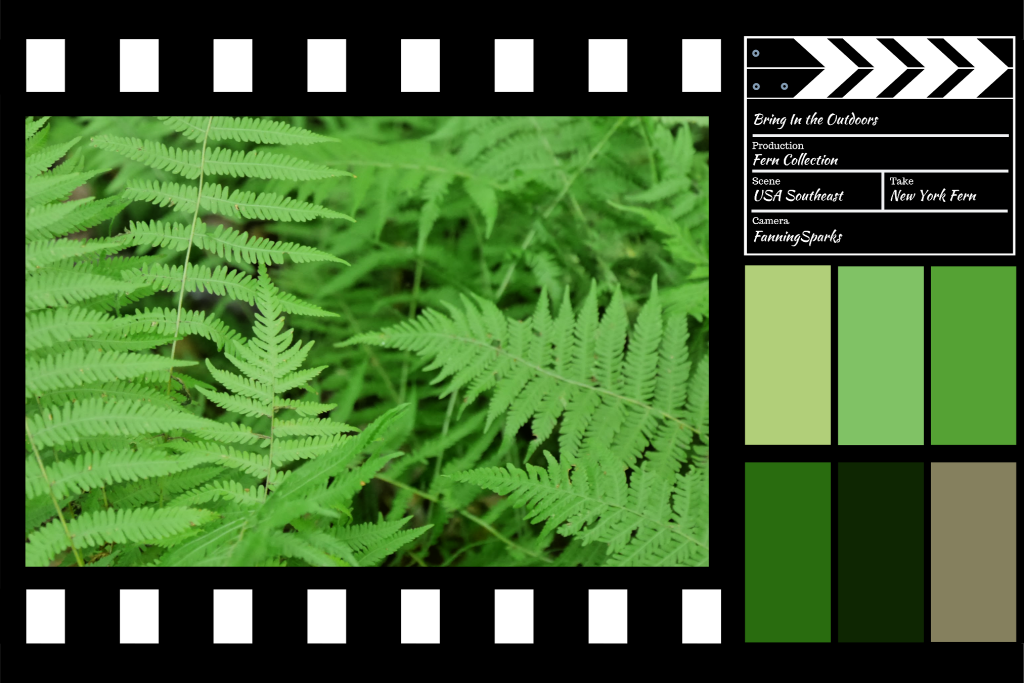
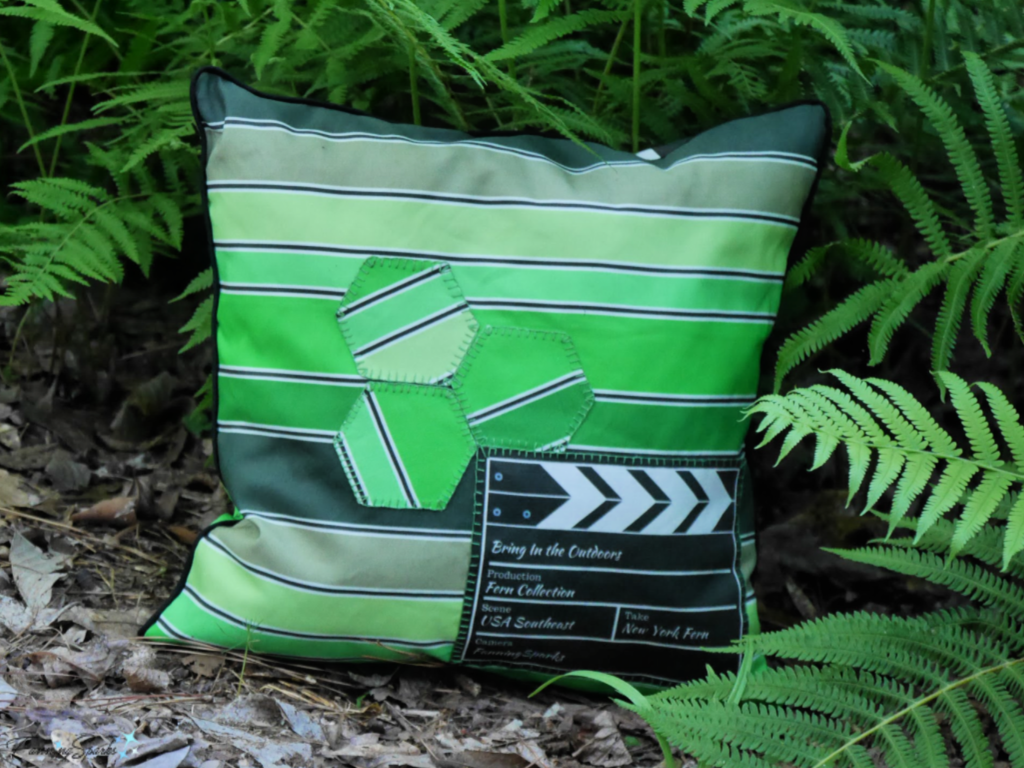
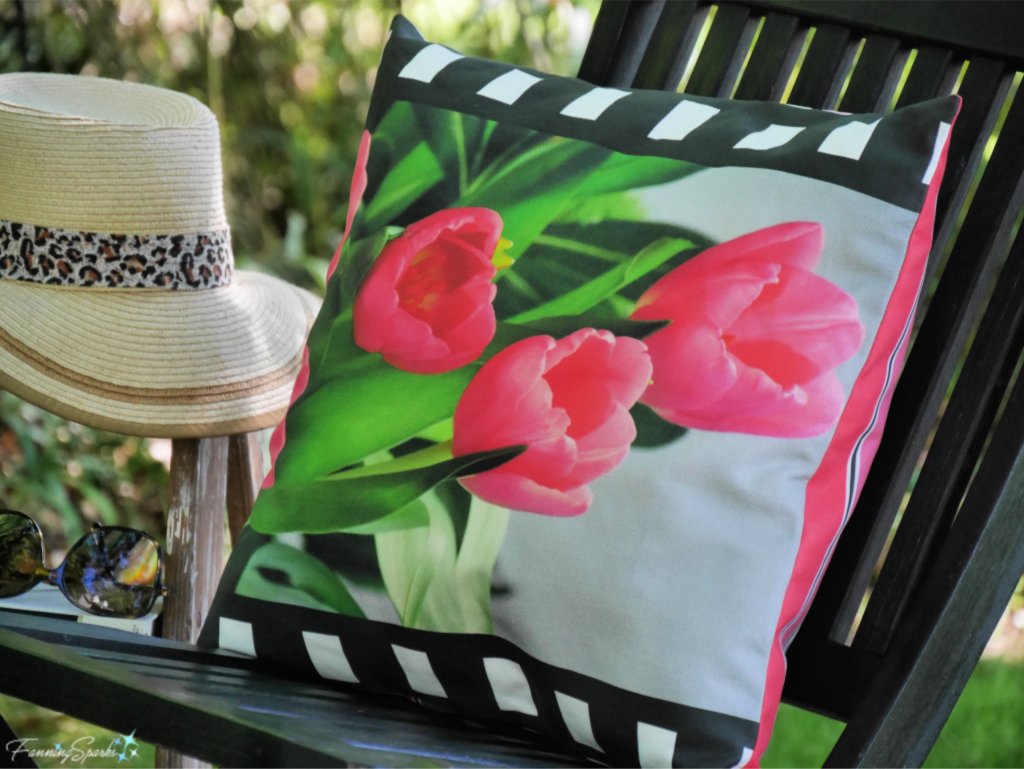
 The third pillow in the collection is the New York Fern (Thelypteris noveboracensis). This is the pillow front design.
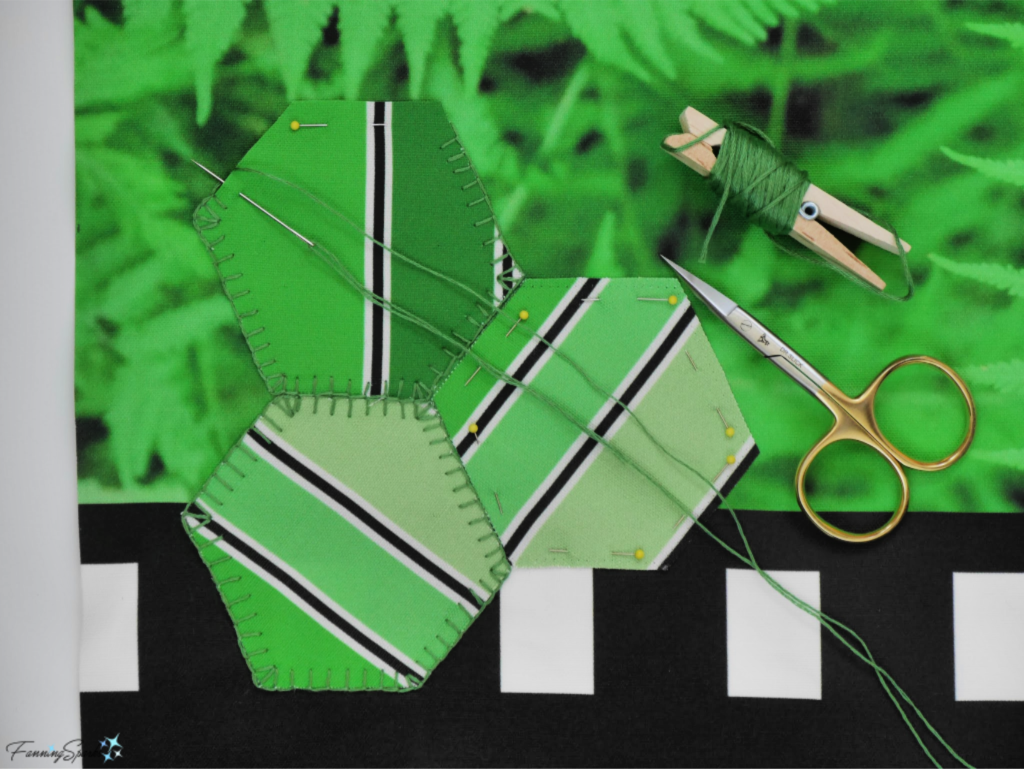
 To add a little unexpected contrast, I appliqued hexagon shapes from the striped fabric on the pillow front.
 Here’s how the finished hexagons look on the front of the New York Fern pillow.
 The hexagon shapes are repeated on the pillow back.
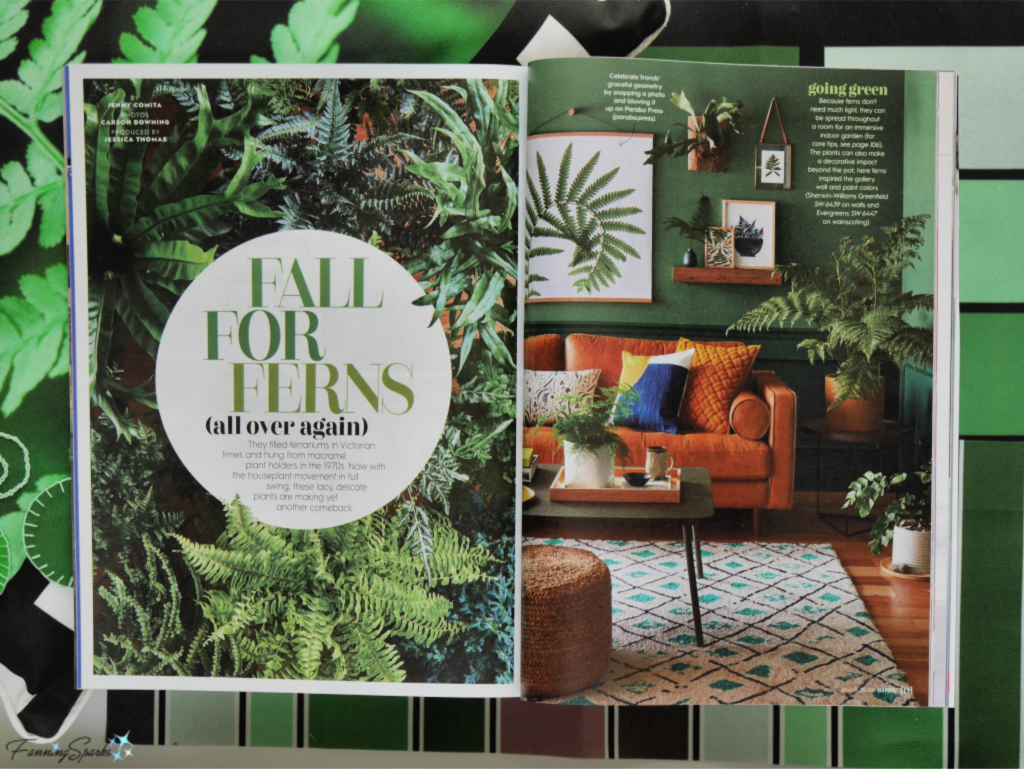
 Last summer, I attended a class on Ferns and Fern Allies at the State Botanical Garden of Georgia (see Southern Ladies, Christmas Stockings and Hairy Armpits). The class triggered an interest in ferns which is now at risk of becoming a full blown case of pteridomania. Believe it or not, the term “pteridomania” means fern madness or fern fever and was coined in 1855 to describe the Victorians’ obsession with ferns. Ferns are very popular again although it’s unlikely the interest will achieve the same fever pitch it did in Victorian times. Ferns are being featured as a hot trend in home decorating blogs and magazines. The March 2020 issue of Better Homes and Gardens, for instance, proclaimed ferns are making a comeback in their article Fall For Ferns.
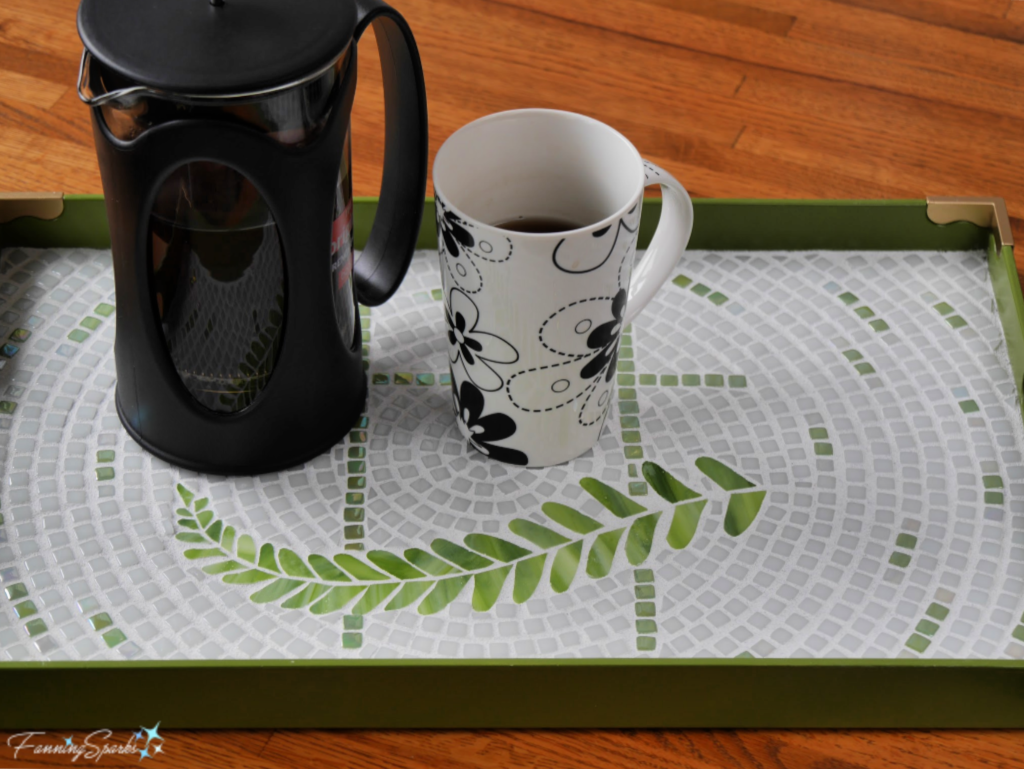
 I’m on the lookout for new and interesting ways to incorporate ferns into my home and surroundings. My favorite ideas are pinned on a Pinterest board, Ferns – FanningSparks Favs. It has grown to over 200 pins. Not long ago, I designed the below mosaic serving tray featuring a stained glass fern motif (see Serving Up My OOAK Mosaic Tray).
 Sarah Whittingham, author of the book Fern Fever: The Story of Pteridomania, explains “The obsession with ferns was not confined to a few professional botanists but it affected men, women and children from all classes through the British Isles, the Empire and America. Books and articles encouraged thousands to set out on fern forays. Their overwhelming desire to ‘capture’ a rare specimen led them to wade through streams, scale rock faces, descend gorges and lean over fast-flowing rivers. Accidents were common, sometimes fatal, and over-collecting and even fern stealing were rife.” I’m sure I won’t be risking my life for a fern but I certainly understand the appeal!
More Info
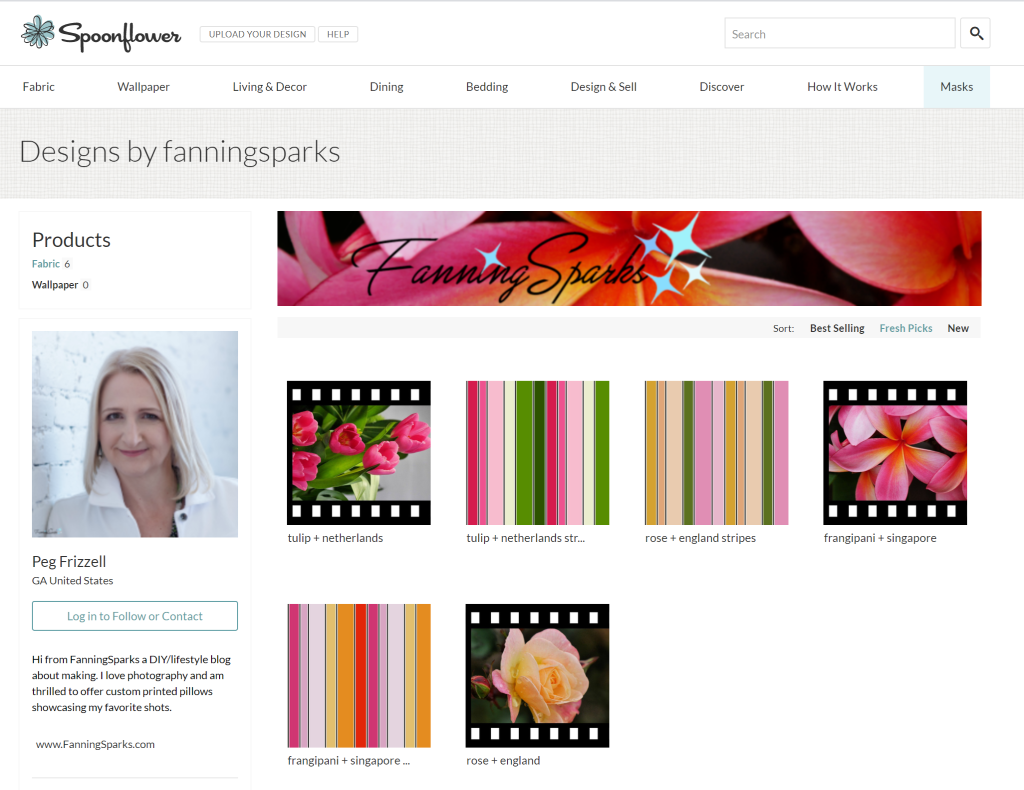
This is the link to the FanningSparks shop on Spoonflower where you can order the cut-and-sew pillow covers from the Floral World Tour – Warm Colors Collection and the Bring In the Outdoors – Fern Collection.
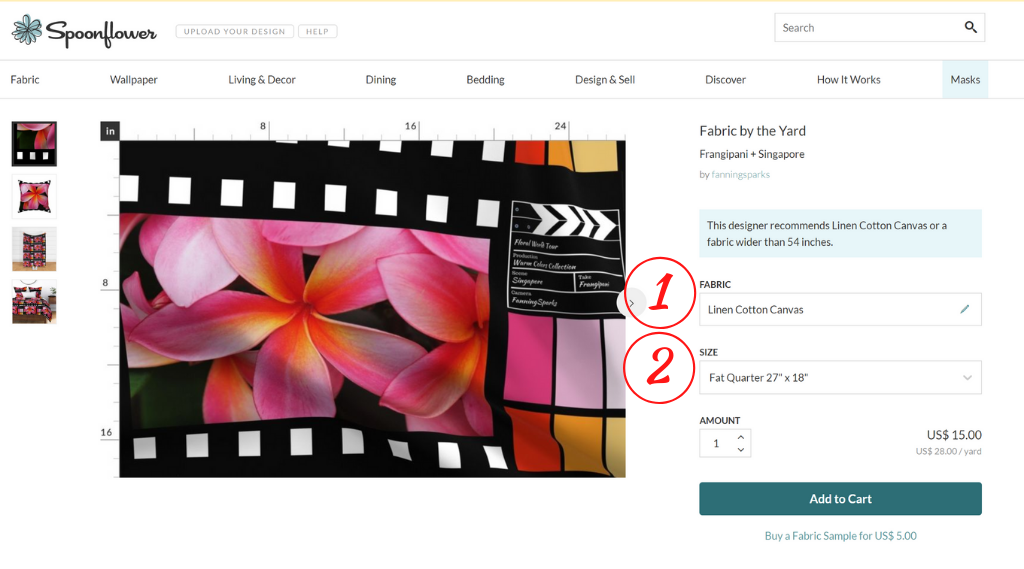
My previous post, Announcing the Floral World Tour Collection, explains how the pillow collection came about as well as providing some helpful information for ordering from Spoonflower. The post Basic Pillow DIY Tutorial provides step-by-step instructions to make these amazingly simple cut-and-sew pillows.
To learn more about ferns, check out my previous post, Southern Ladies, Christmas Stockings and Hairy Armpits.
Check out my new Pinterest board, Ferns – FanningSparks Favs, for ideas on how to incorporate ferns into your home and surroundings.
Details about the fern motif on my mosaic tray can be found in the post Serving Up My OOAK Mosaic Tray.
Today’s Takeaways
1. Look for ways to bring in the outdoors with natural elements.
2. Ferns can add lush greenery in a variety of forms and textures.
3. Consider adding a FanningSparks’ Bring In the Outdoors – Fern Collection pillow to your home.


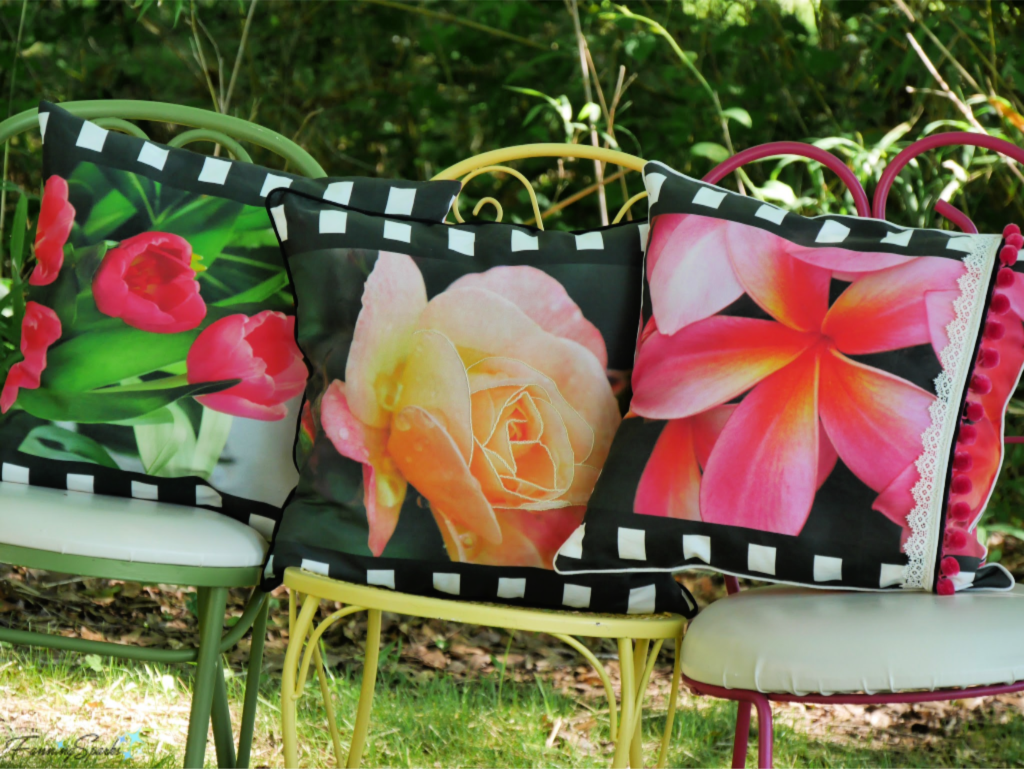

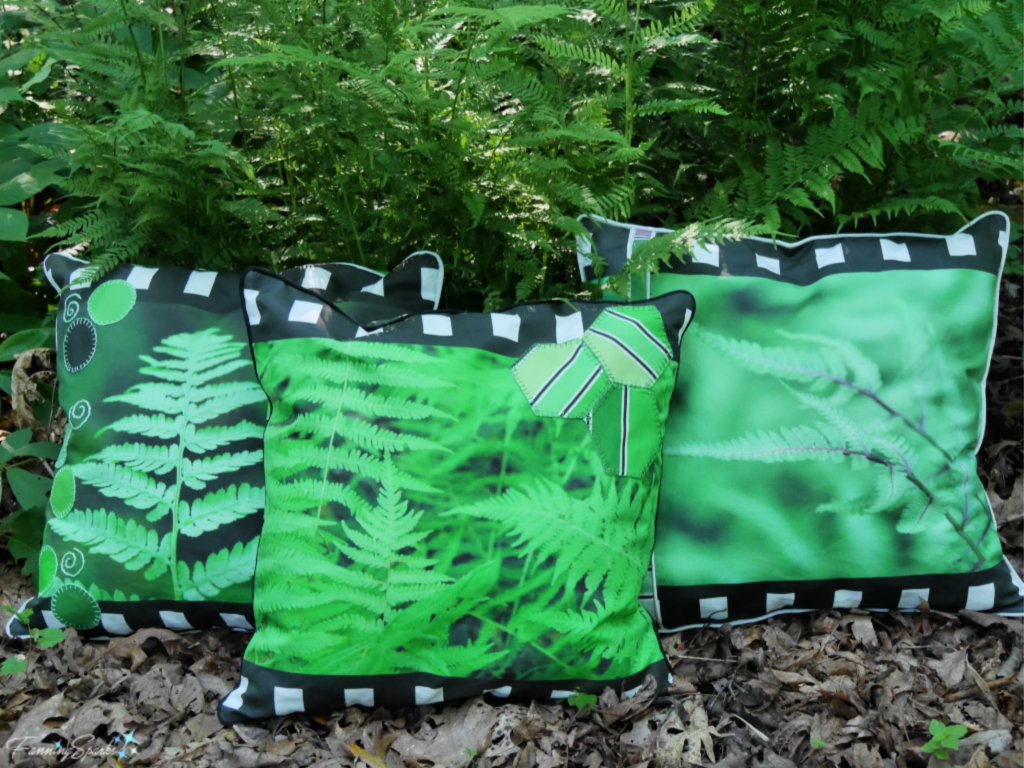
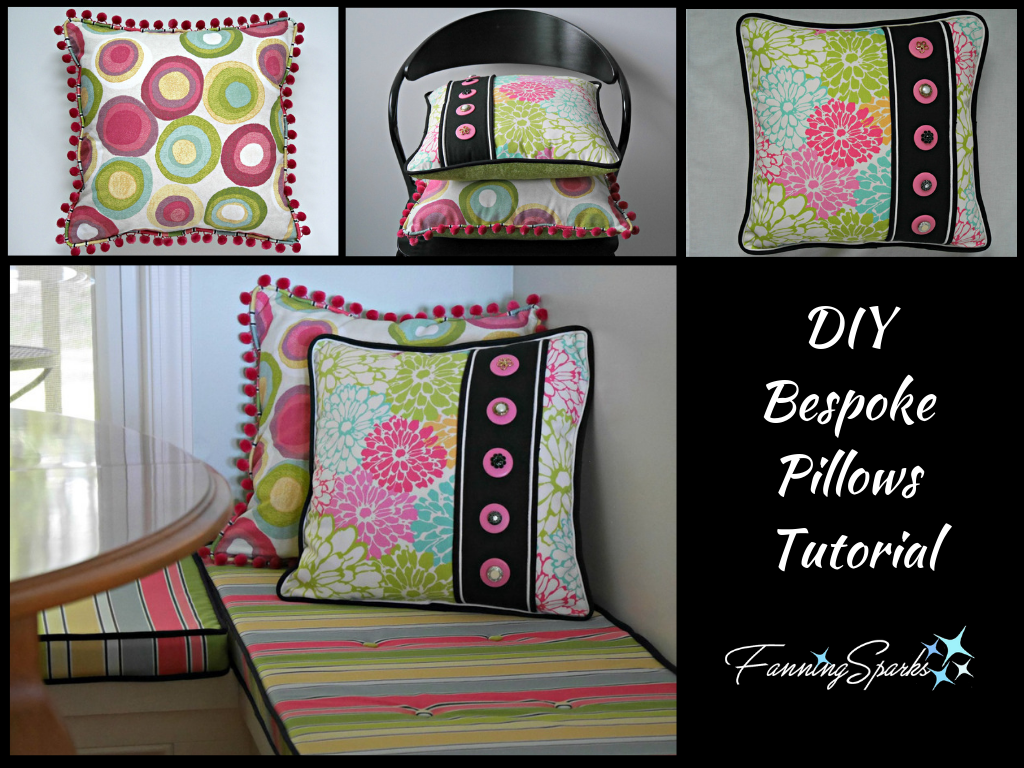
 The back of the pillow can also be customized. If you simply sew the back closed (ie instead of making an envelope closing), less fabric will be needed. The extra striped fabric can be used to change the direction of the stripes; instead of running the stripes vertically, they can be turned horizontally or sewn in a combination of horizontal and vertical (as shown on the pillow on the right).
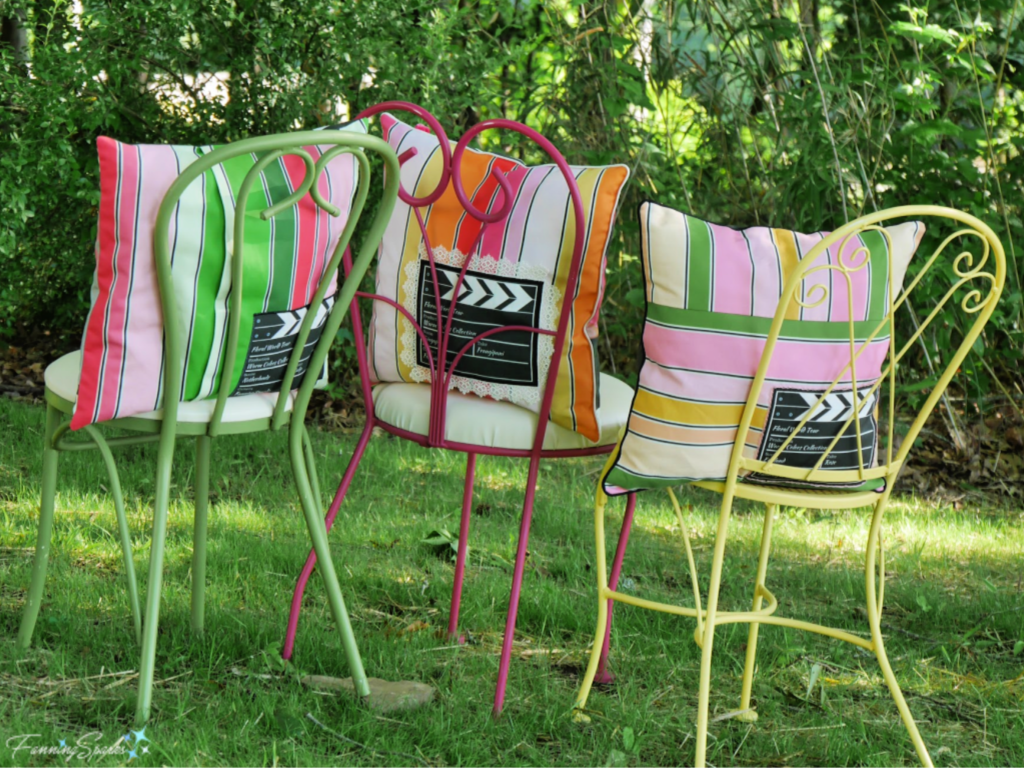


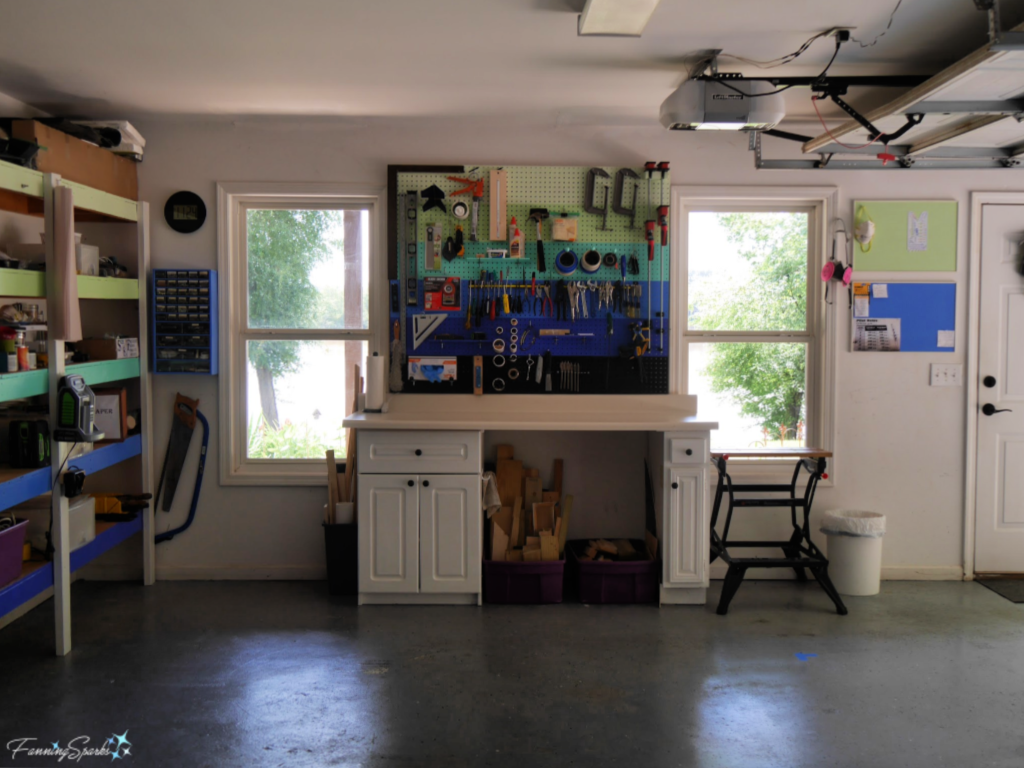 But it wasn’t always like this! Before last week, only a few tools like the jigsaw and drill were stored in the cabinet under the workbench. Many of the tools and supplies I used most frequently were stored on shelves on the opposite side of the garage. So every time I needed a hammer or a piece of sandpaper I had to walk around our second vehicle. I’m not complaining—I love having a dedicated workshop area and I really didn’t mind maneuvering around the vehicles. That being said, it wasn’t the most efficient setup and space was tight.
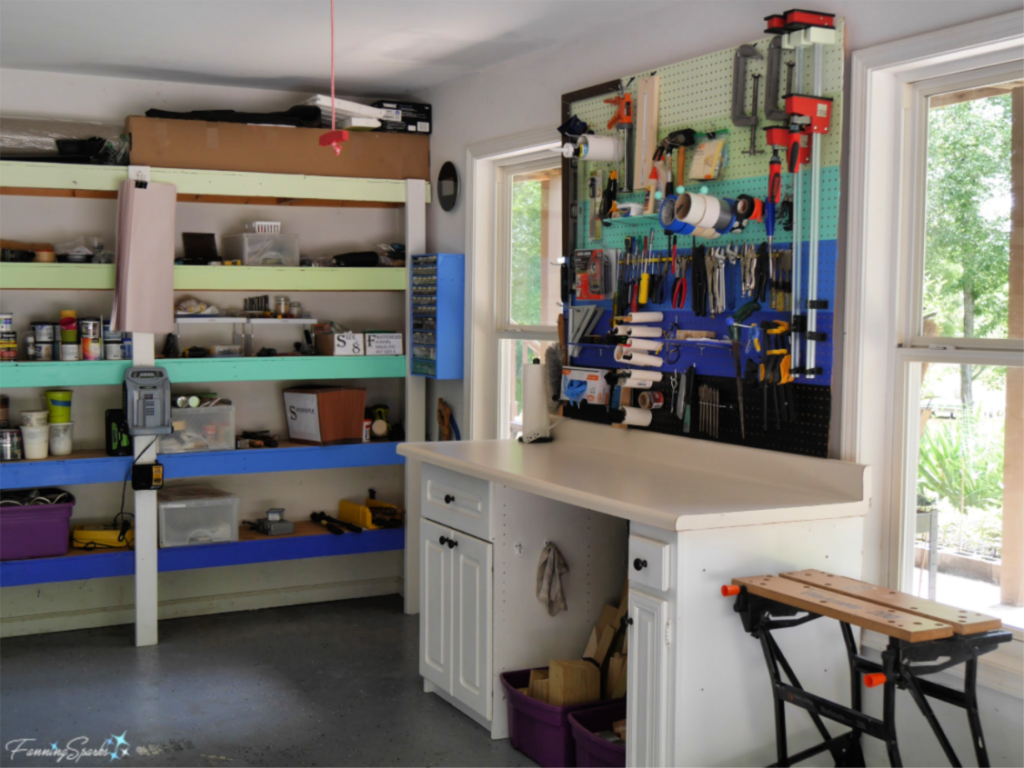 Hanging a pegboard and reorganizing isn’t ground breaking but I’m amazed at the improvement. Now my frequently used tools and supplies are within easy reach. It’s so much more efficient to simply reach for a tool than to interrupt my work flow to go fetch it. It’s also easier to keep my work surface cleared. Plus it’s so pleasant to spend time in this pretty workspace. I learned a few things along the way that I thought might be worth sharing. Here are my top 10 tips from our gussied up workshop.
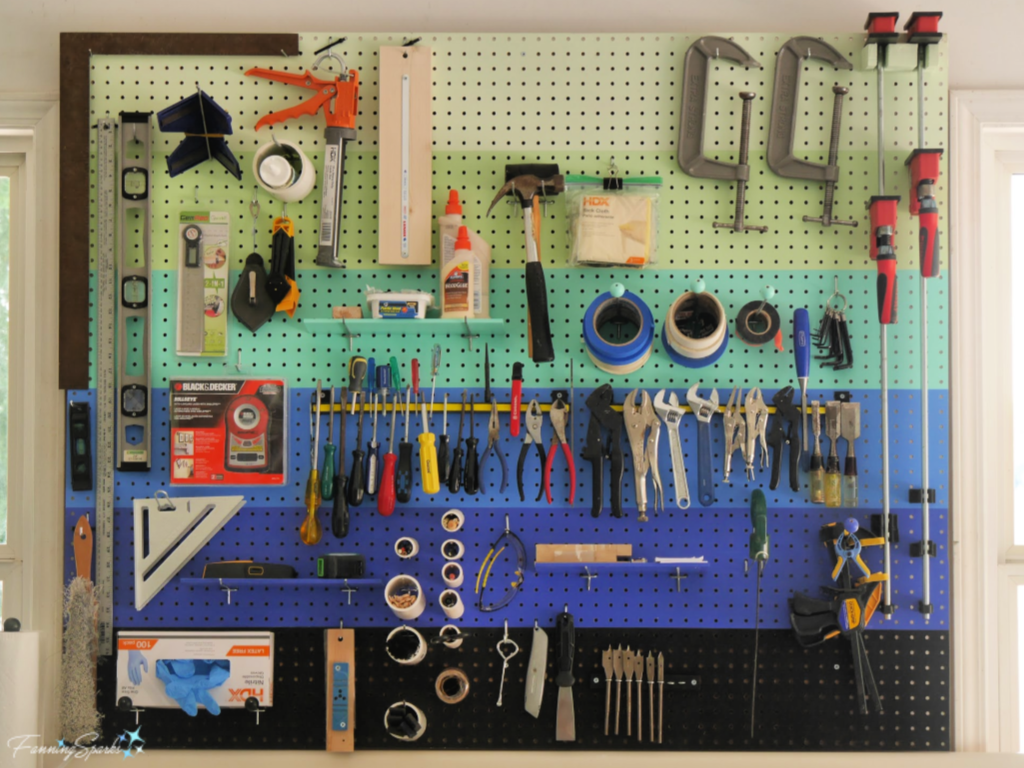 These steps should help maximize your pegboard space:
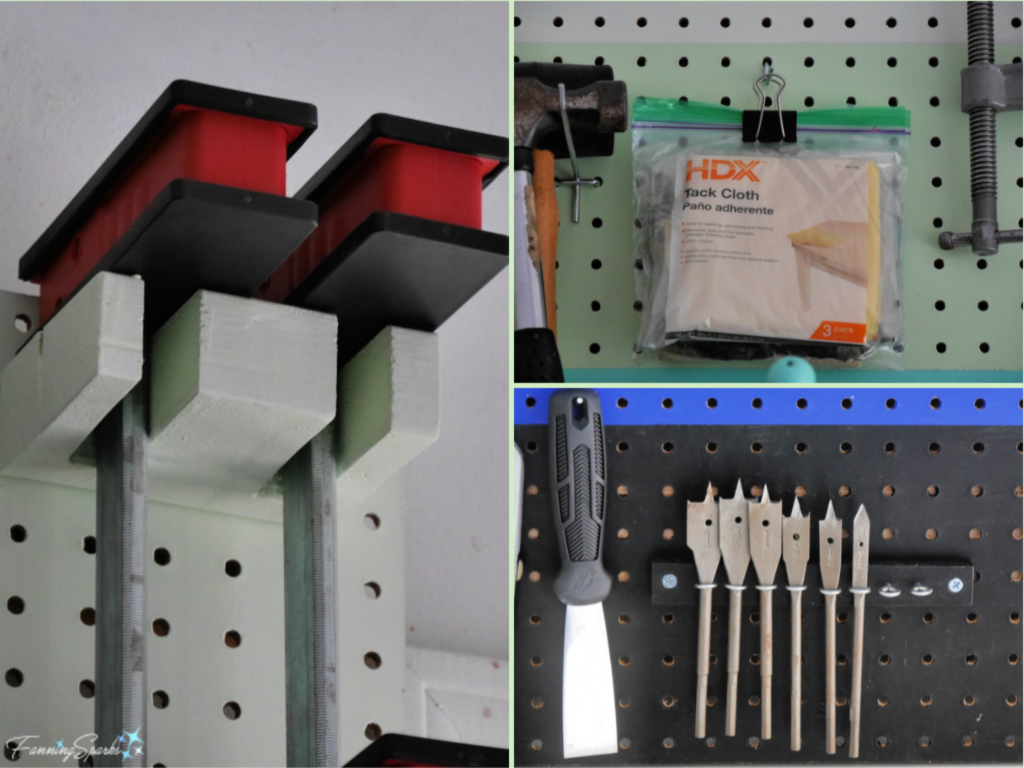
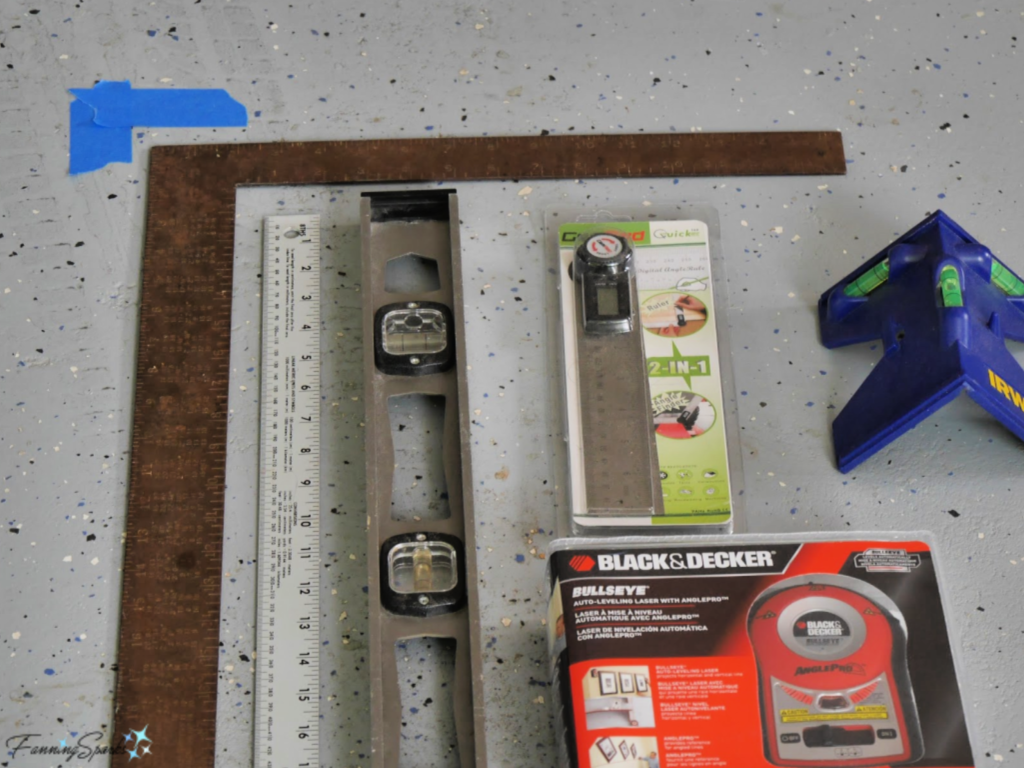 Tip 3. Magnetic tool bars are great. We already had 2 magnetic tool storage bars so I moved then to the center of the pegboard and secured them to a supporting brace. I really like these bars because the magnets are strong and they hold a lot of items in a small space. The magnetic tool bars, with their bright yellow strips, are shown below.
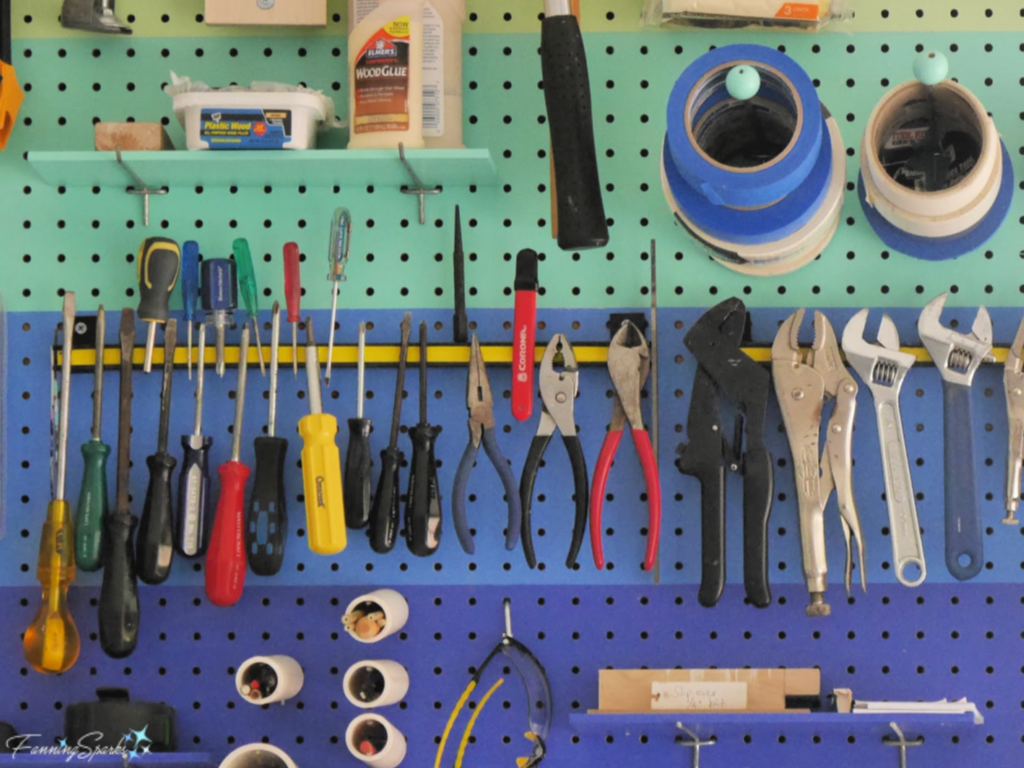 Tip 4. Select good pegboard hooks. There are lots of different formats and sizes of pegboard hooks and hangers on the market. I simply repurposed hooks we already had. Some of the hooks were duds and fell out every time I removed the item I’d hung. Other hooks, like the one highlighted below, stayed in place and worked much better.
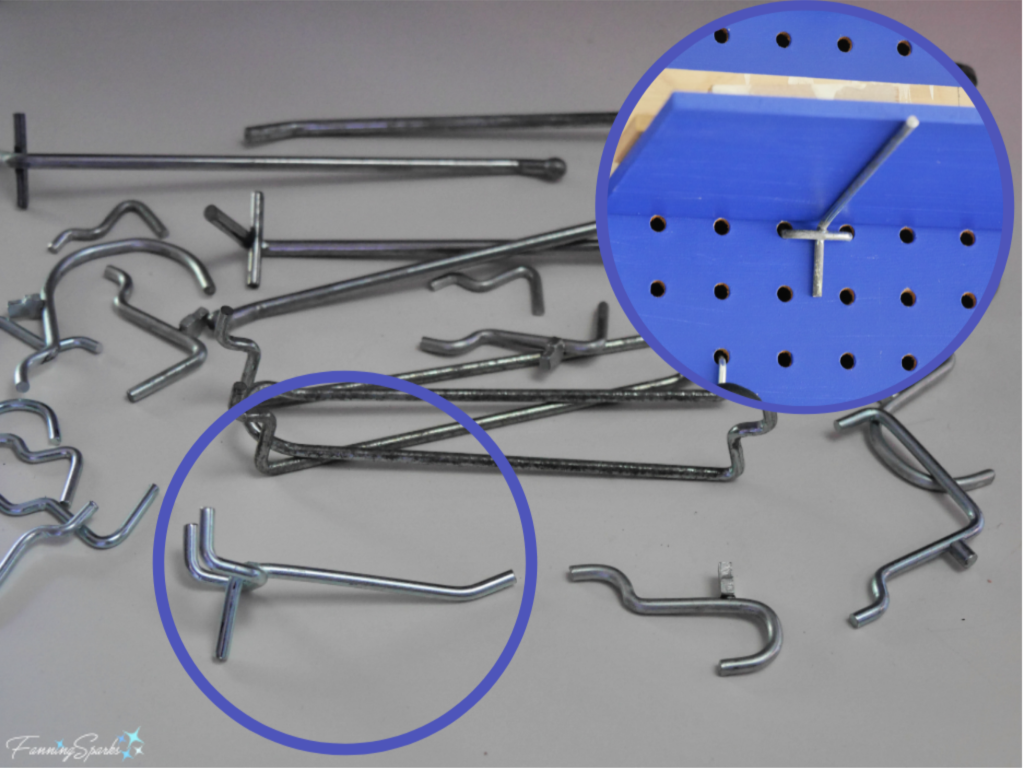 Tip 5. Lock in pegboard hooks. As mentioned, some pegboard hooks won’t stay in place. A simple fix is to secure them with a cable tie. This isn’t a perfect solution, though, because it only works along the edges where you can get your hand behind the pegboard. A quick online check suggests that “peg locks” are the latest solution to this problem. If you’re buying new hooks, consider including peg locks.
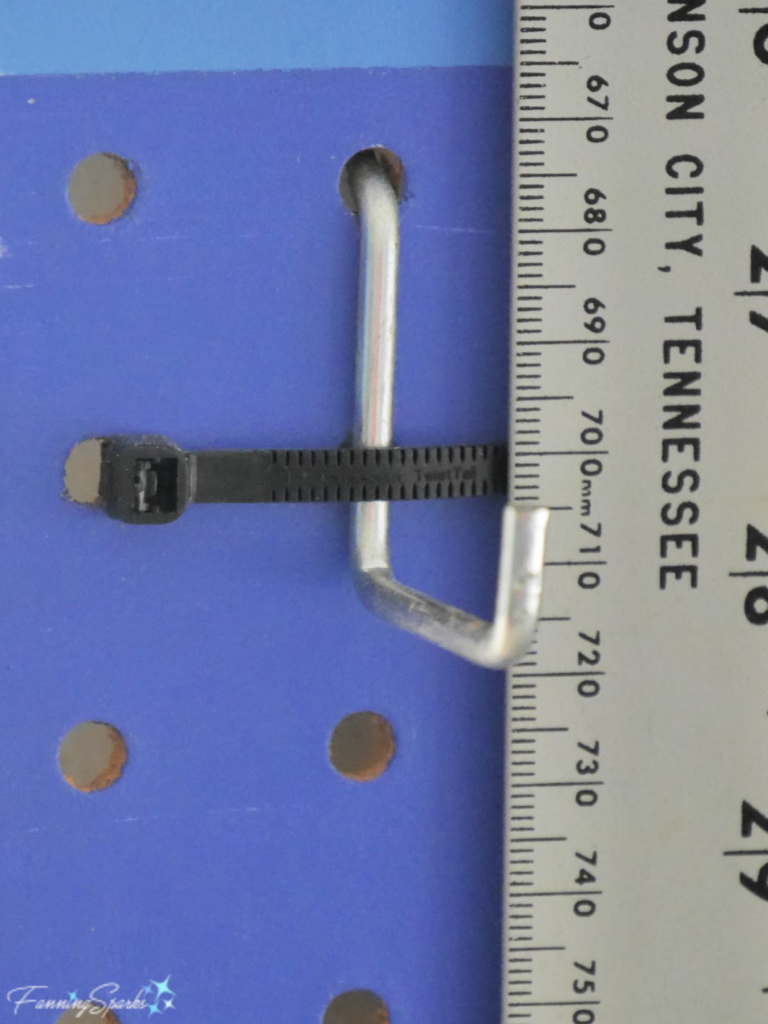
 Tip 7. Make small shelves. Some tools and supplies don’t lend themselves to being hung. My sanding block, wood filler and wood glue are examples. It’s easy to create a small shelf using 2 matching pegboard hooks and a small rectangular piece of wood or MDF. I simply laid my shelves across the hooks but you could easily secure them with cable staples.
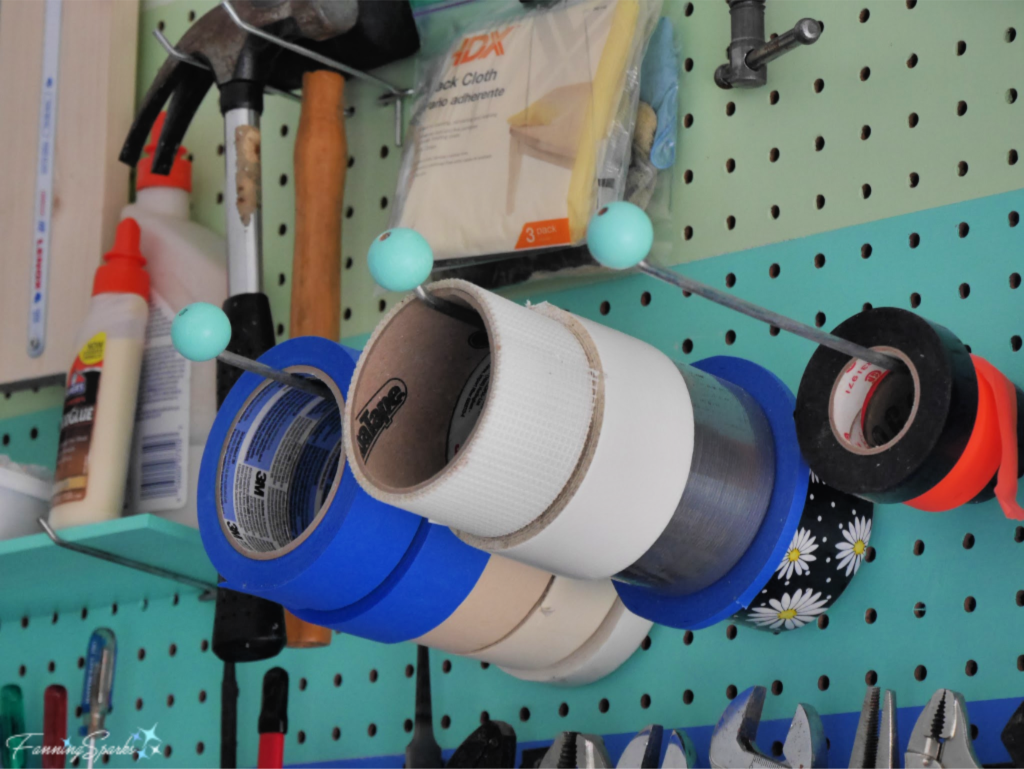
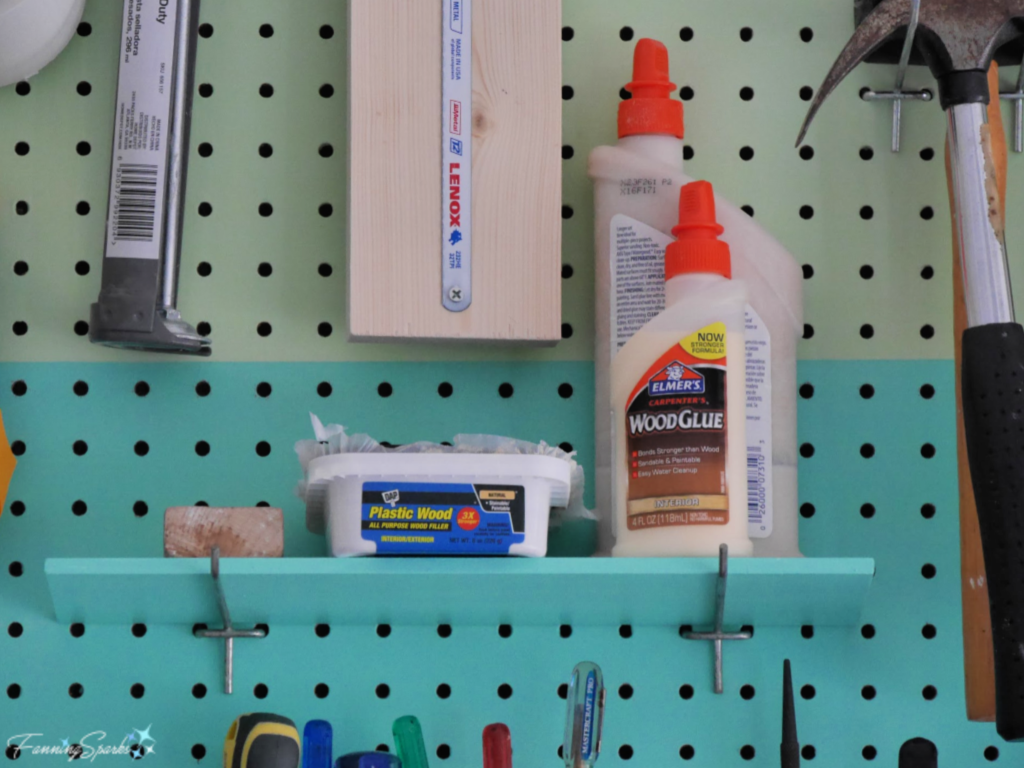 Tip 8. Hang sections of PVC pipe. Simply cut pieces of PVC pipe and slip them over a pegboard hook. These tubes are perfect for long narrow items like pencils, scissors, craft sticks and small foam paint brushes.
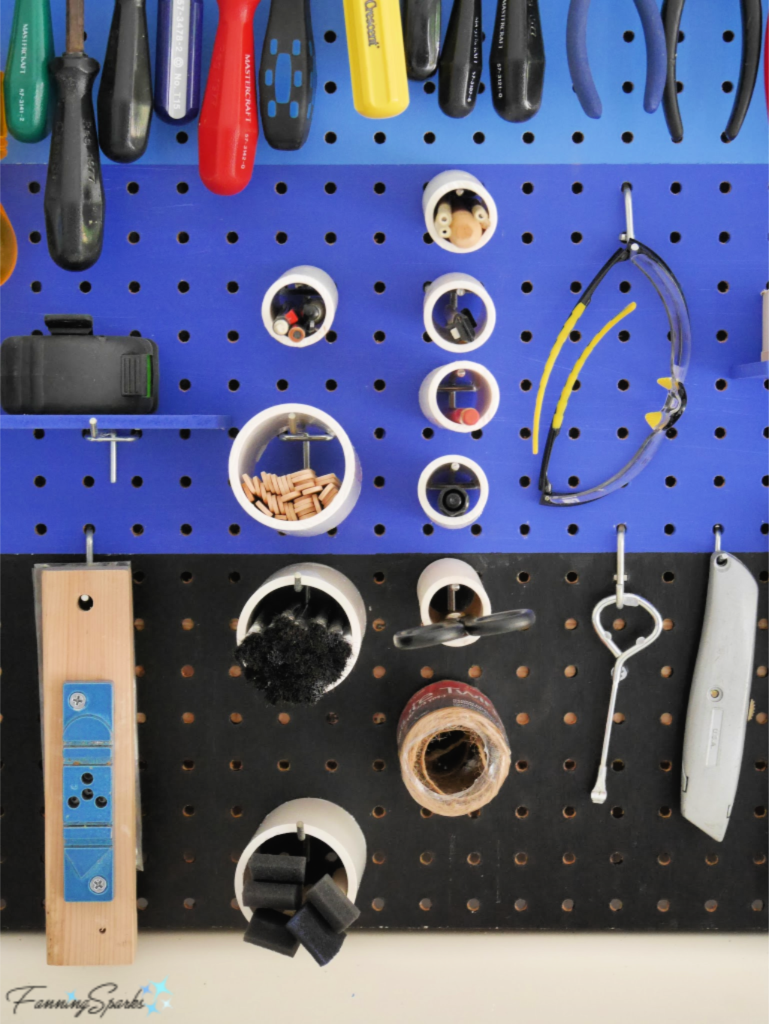
 Tip 10. Add labels. Take a few minutes to label items that aren’t obvious. For instance, I like to store sandpaper in an accordion file sorted by grit. Labels make that clear. Another tip that might be helpful relates to fasteners. Whenever possible, I use size 8 fasteners. This has allowed me to build up a good inventory of size 8 screws, for wood and metal, in various lengths. Labels remind me of what goes where.
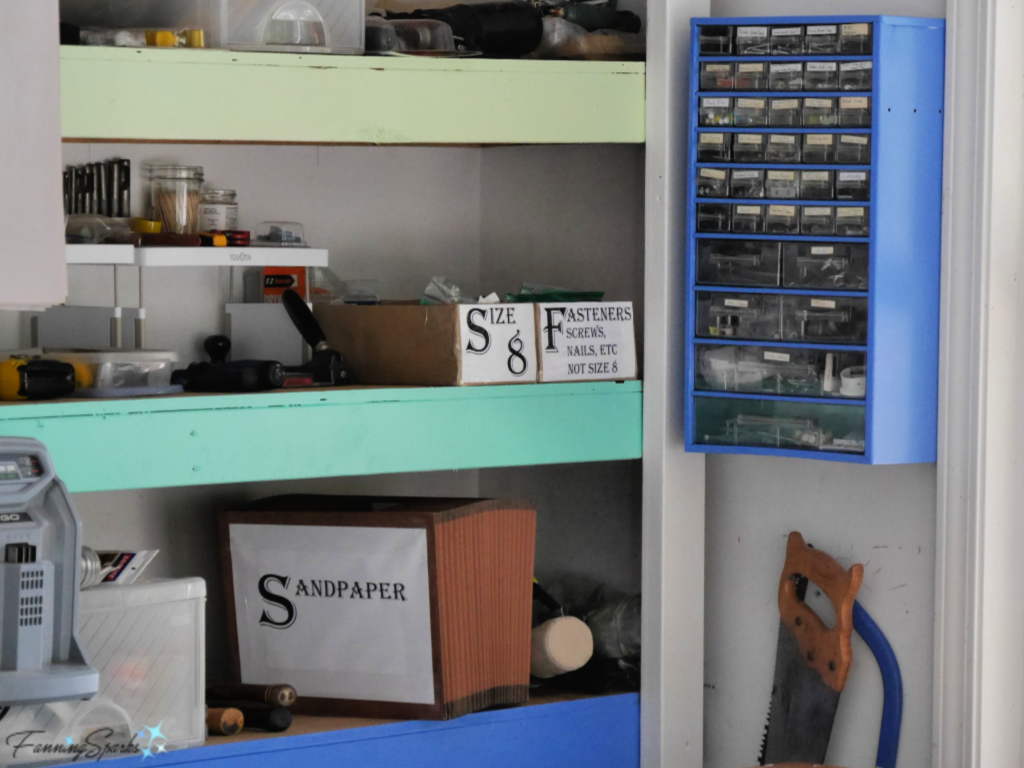 Bonus Tip. Paint with bright, cheerful colors. We re-purposed the pegboard from another location. As I was hanging it, I realized it was rather scuffed up and could use a fresh coat of white paint. But, hey, if I’m going to paint it anyway why stick with boring white? That’s when the 6-colored stripes emerged and things got a whole lot more interesting. Very little paint was needed—I just used leftover sample paint which I already had on hand. Although I didn’t set out to paint the pegboard, the faces of the built-in shelves and even my cork bulletin boards, I’m really glad I did.
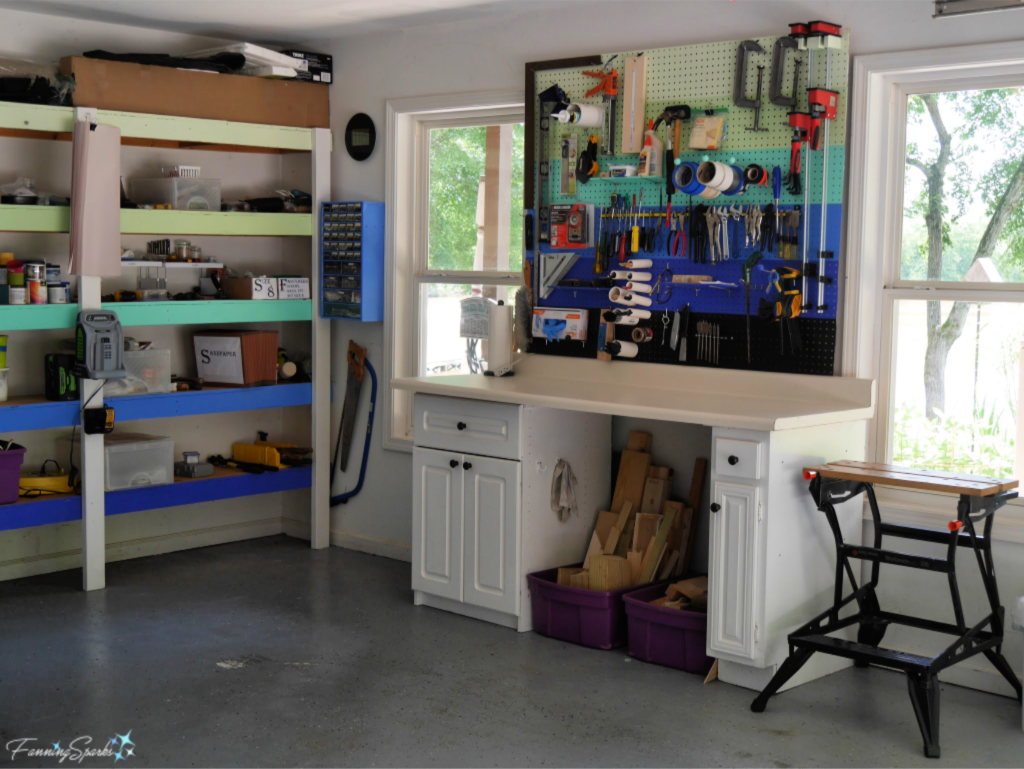 It’s back to project work in our new gussied up workshop! Here’s a sneak preview of one that’s under way.
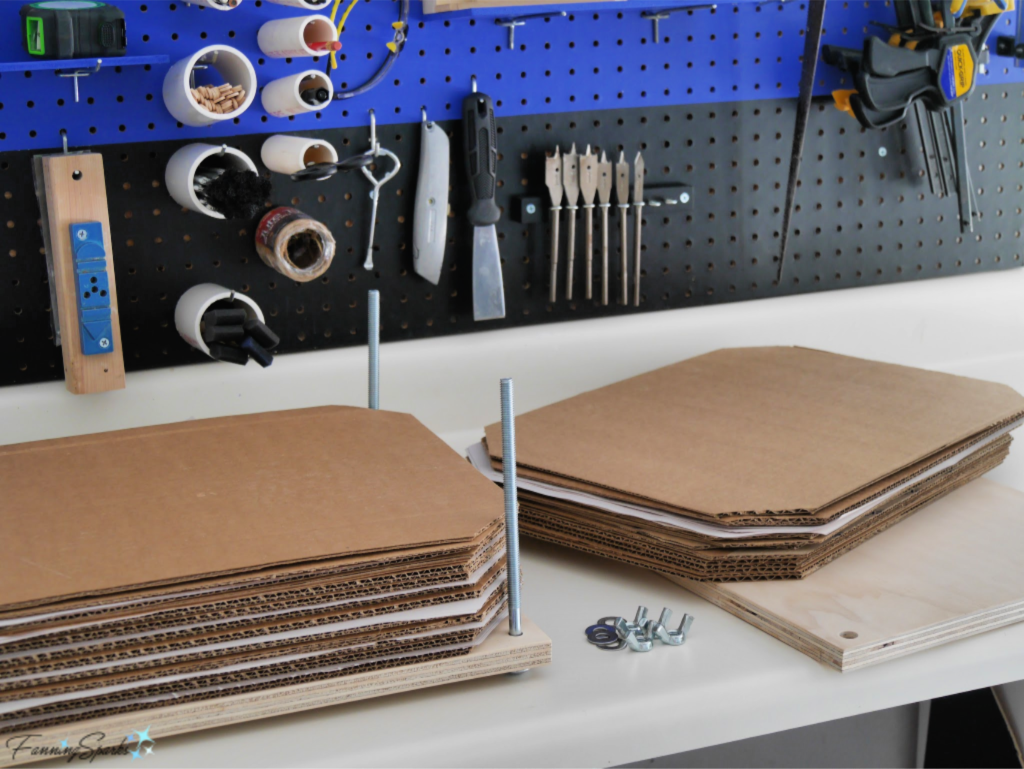

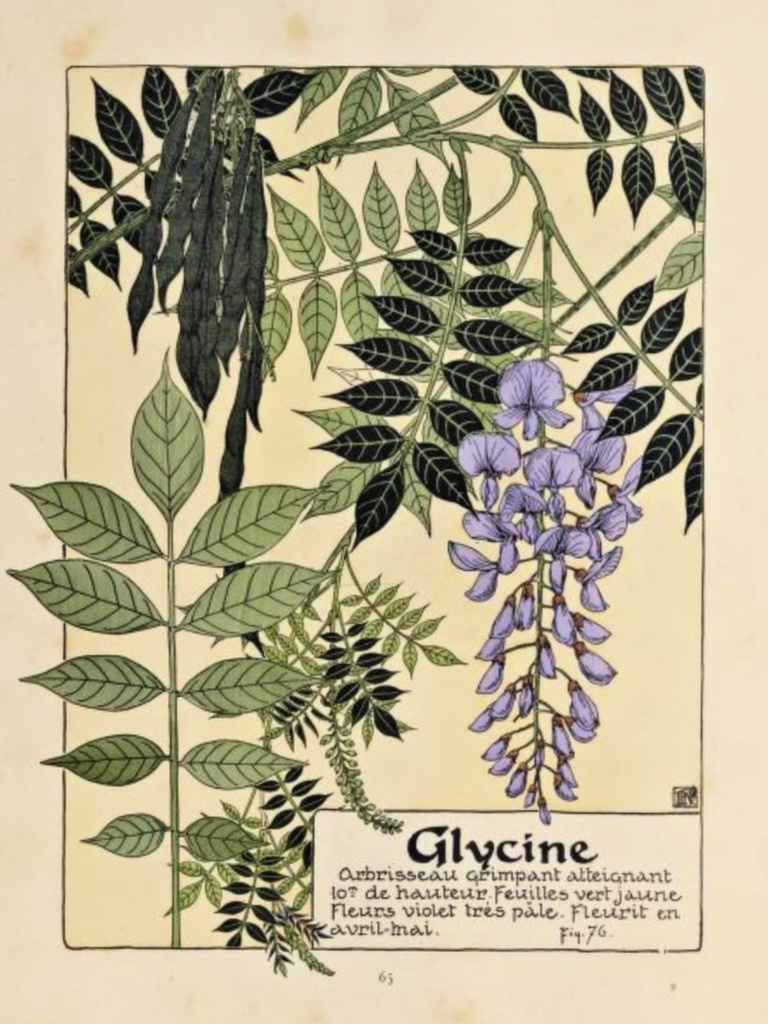
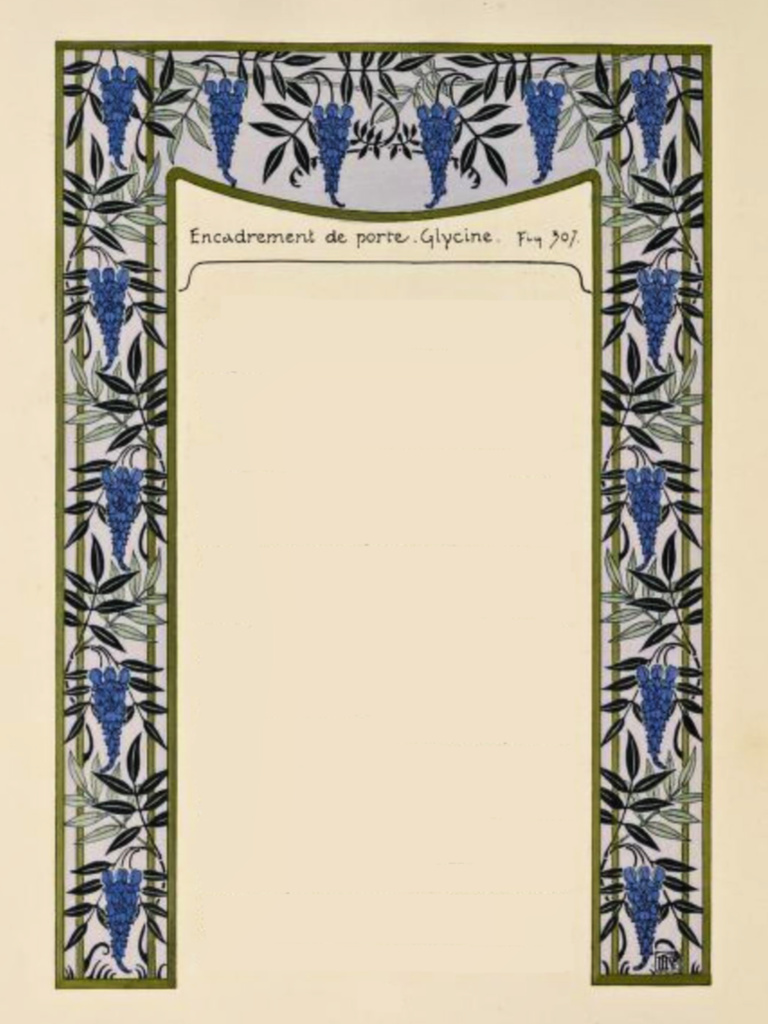
 And how could I ever forget the Wisteria lamp? This masterpiece of leaded-glass art by Clara Driscoll is on display at the Morse Museum in Winter Park, Florida. More Art Nouveau stained glass gorgeousness can be seen in my post
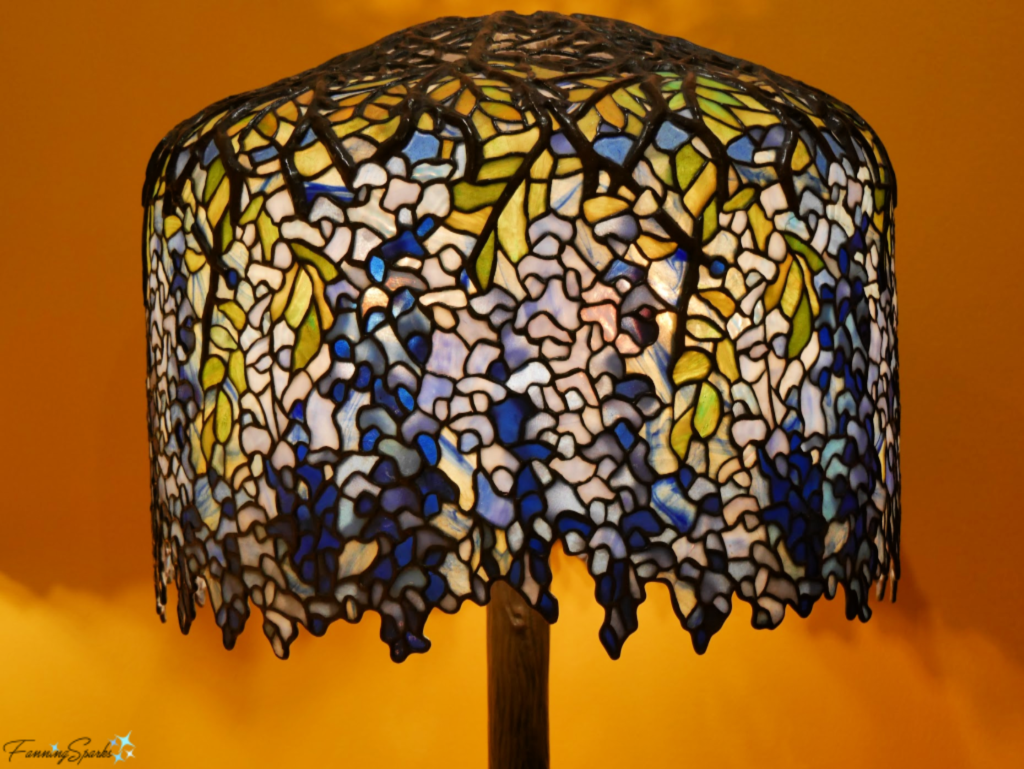

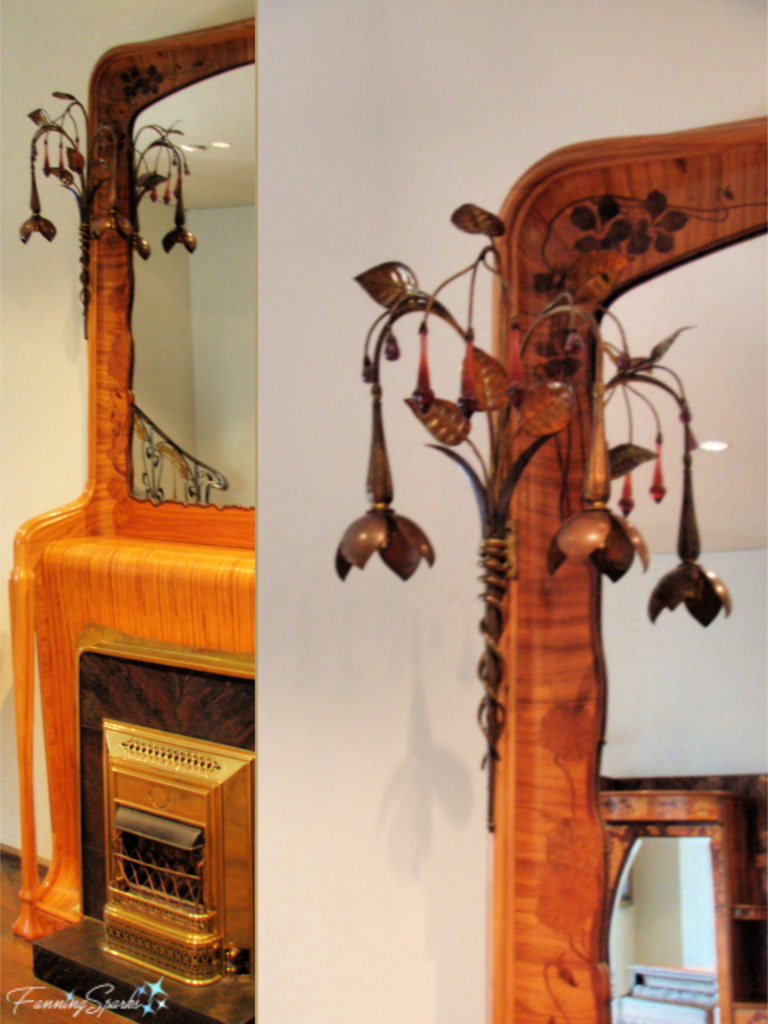
 Throughout the book, Verneuil suggests a range of interpretations for the Fuchsia including: 1. Napkin Ring 2. Decorative Vase 3. Stencil Border.
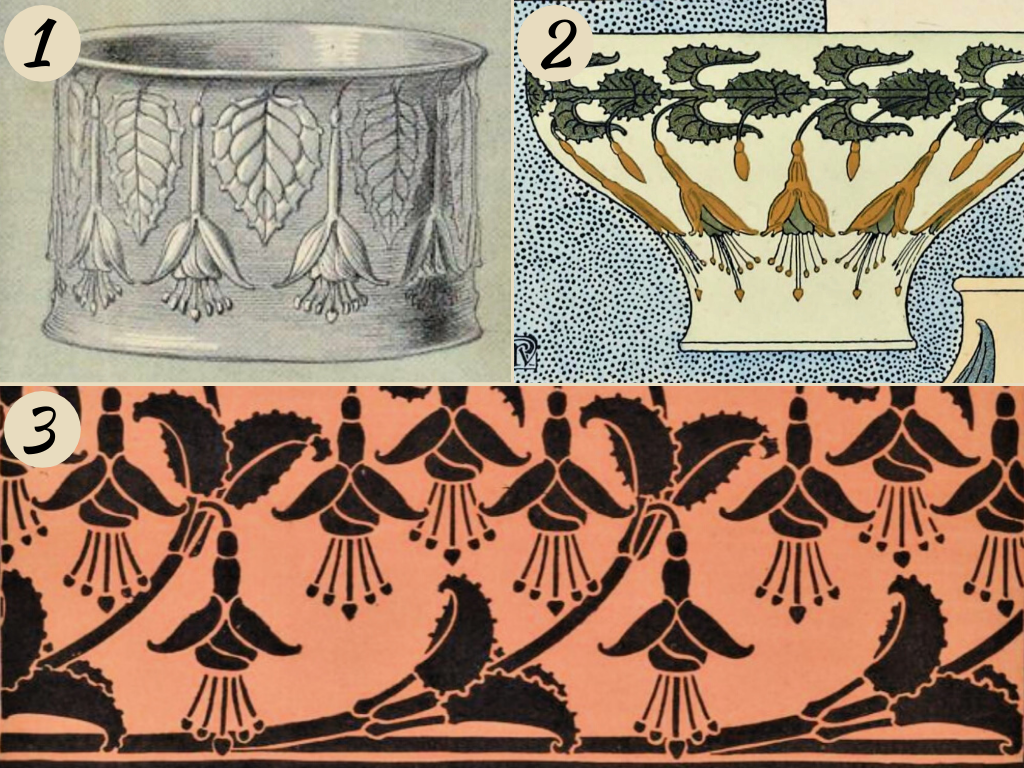
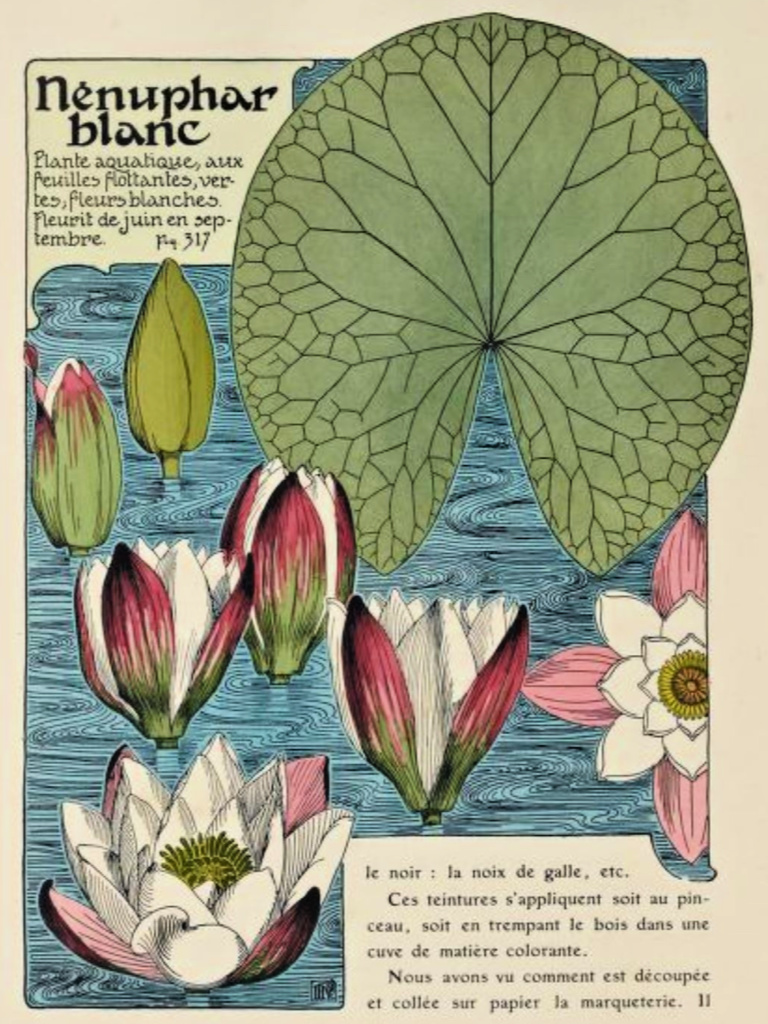 Verneuil suggests several interpretations of the Water Lily including: 1 Tiles 2 – Marquetry and 3 – Wallpaper Border.
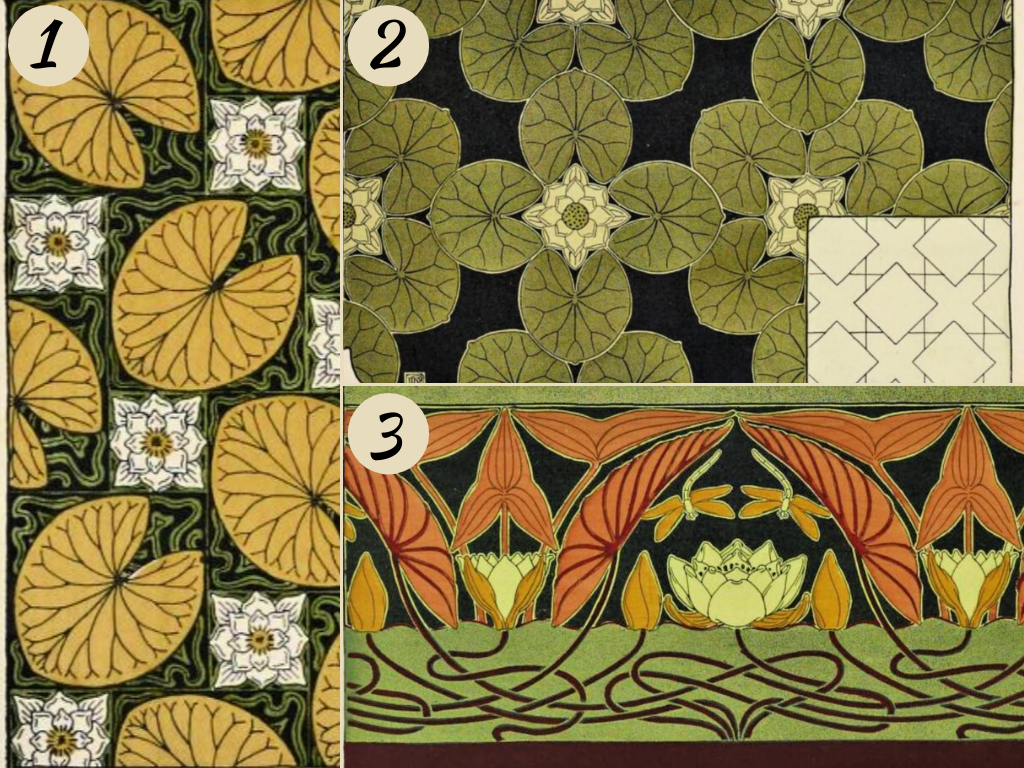

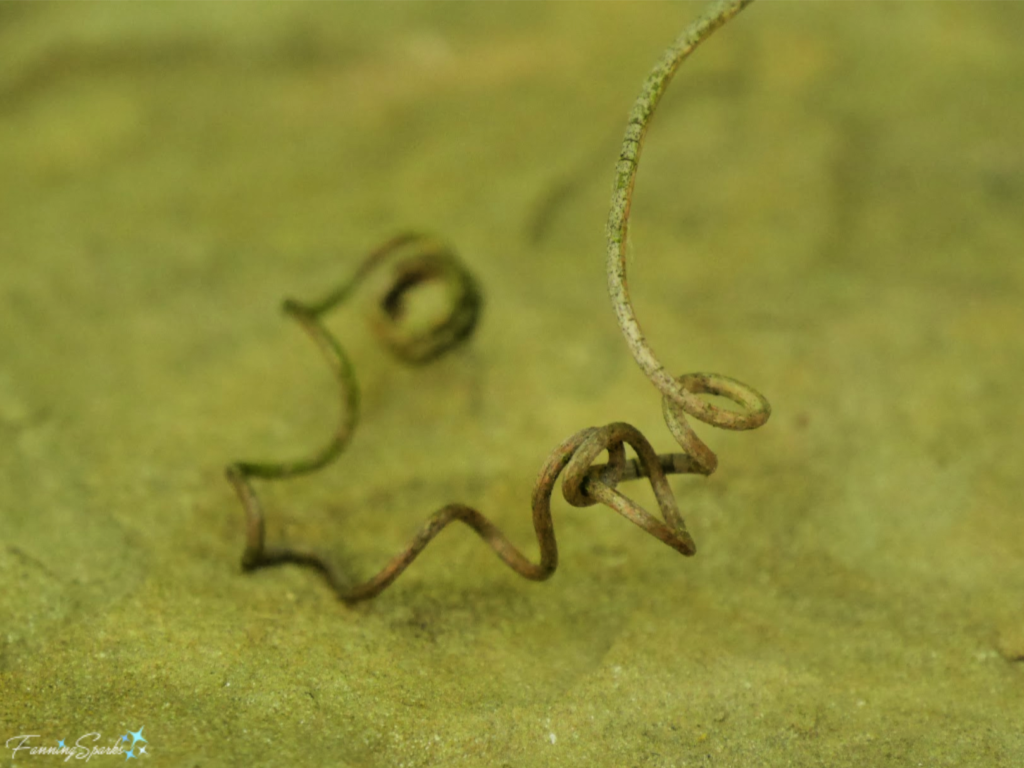
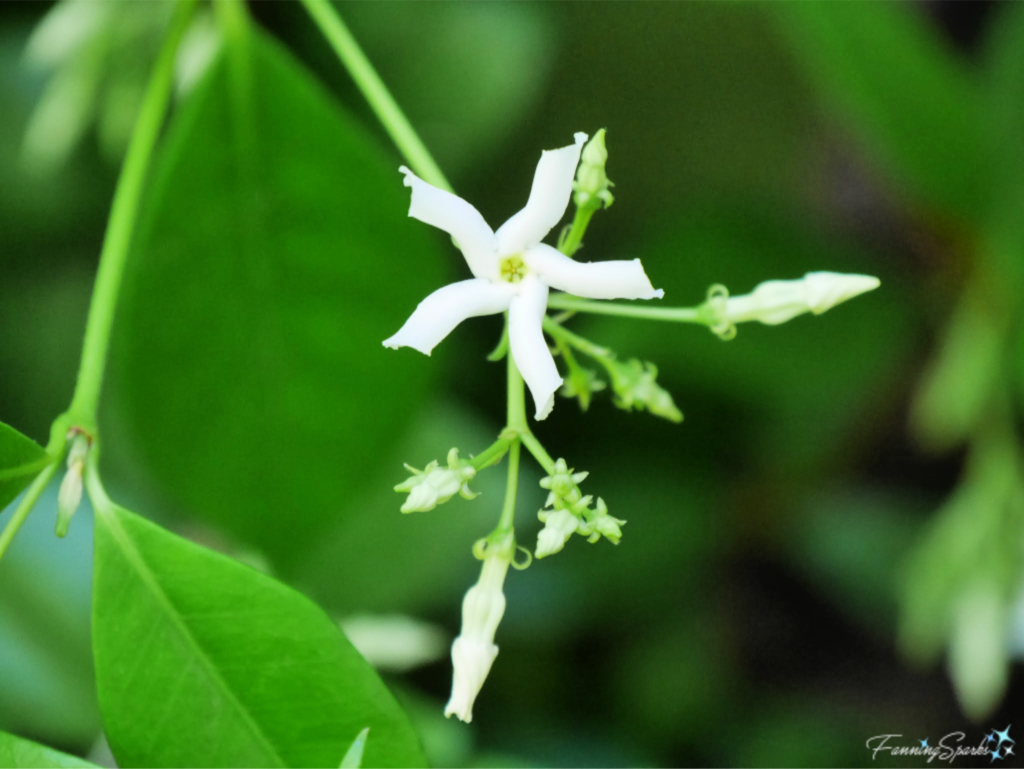
 Organic forms are rounded, irregular, free-flowing and curvy. They are most evident in nature. They often make patterns but rarely with mathematical precision. When I set out to photograph examples of natural forms I quickly became overwhelmed. There is an endless variety and every subject has multiple forms. I decided to narrow my focus to the plant world and pick out familiar forms.

 A similar free-flowing form is illustrated by the fractal branching of this gorgeous Southern Live Oak (Quercus virginiana).
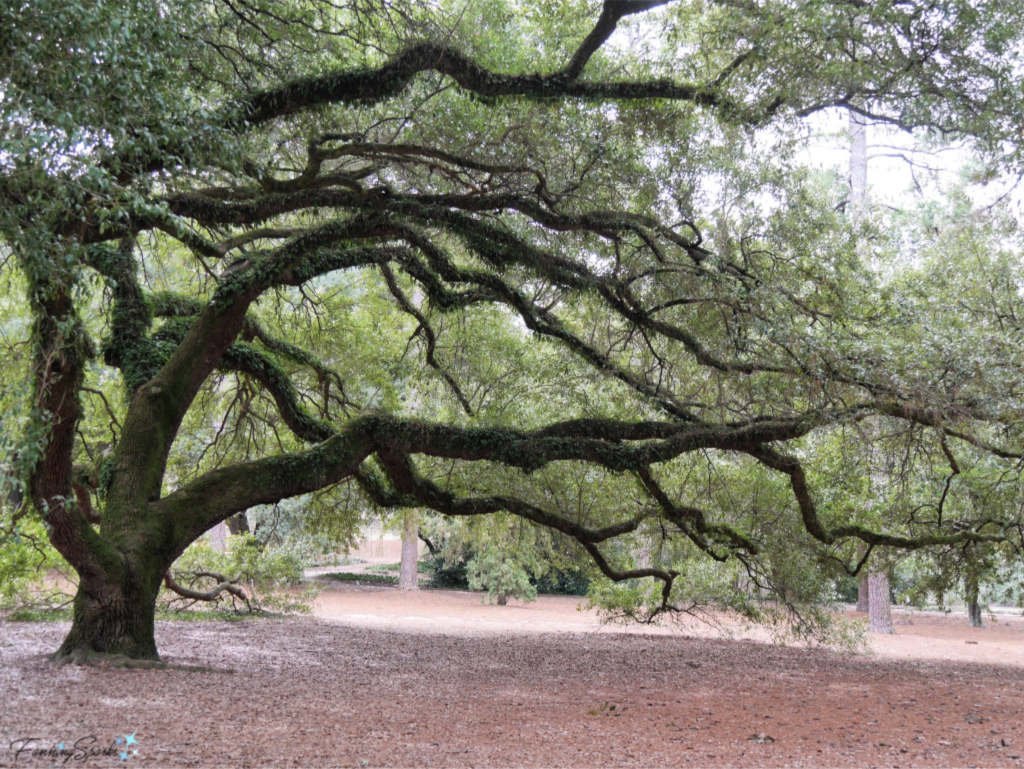
 In the spring, the Japanese Maple tree bears these uniquely-formed winged seeds called samaras or keys.
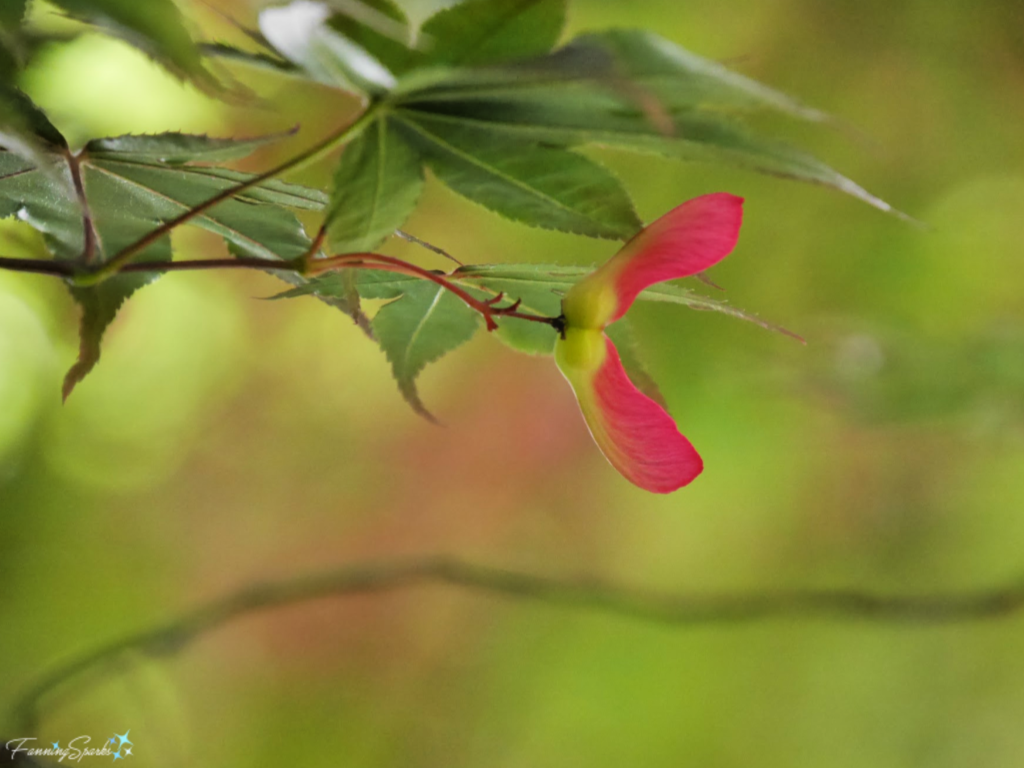

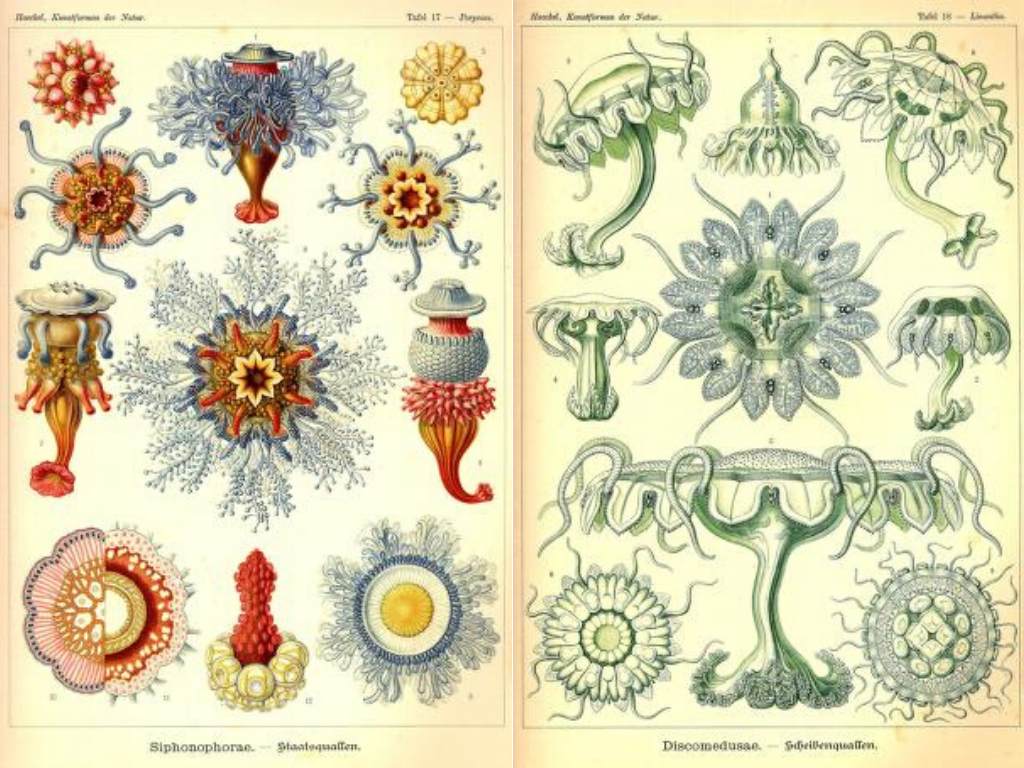
 Studying nature’s forms is not a new idea. The work of German biologist Ernst Haeckel is particularly noteworthy. Back in 1904, he published Kunstformen der Natur (Art Forms in Nature). The book, a collection of 100 prints of various organisms, is “considered the most beautiful visualization of nature ever made by a scientist”. While Haeckel’s purpose was scientific research and documentation, his work has been tremendously influential on many of the 20th Century artistic movements especially the Art Nouveau movement. Here’s an example from Haeckel’s Art Forms of Nature illustrating Siphonophorae and Discomedusae which are classes of marine organisms commonly known as jellyfish.