Birdwatchers observe wild birds in their natural habitat. The popularity of birding has increased significantly since 1934 when Roger Tory Peterson first published his book “A Field Guide to the Birds”. The availability of binoculars and the rise of car travel increased the popularity further.
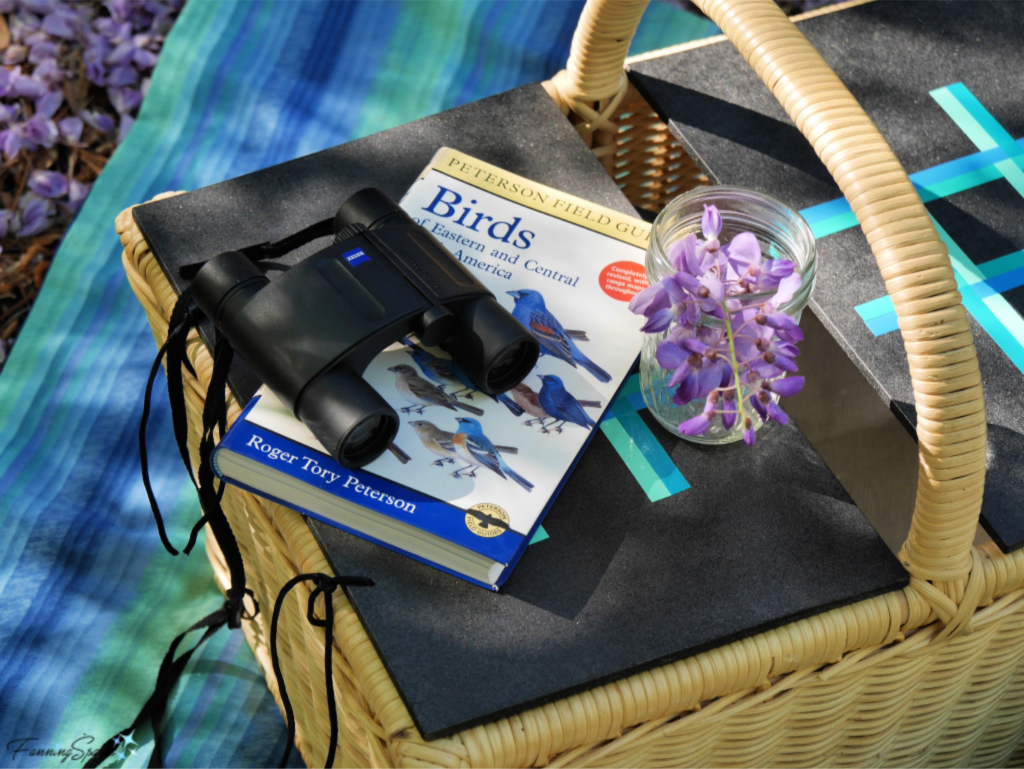
Wild birds can be observed in a multitude of locations ranging from one’s backyard to internationally-recognized, birding hotspots. Feeding birds in the backyard is tremendously popular. Research findings, provided by the U.S. Fish and Wildlife Service, report more than 50 million North Americans feed birds.
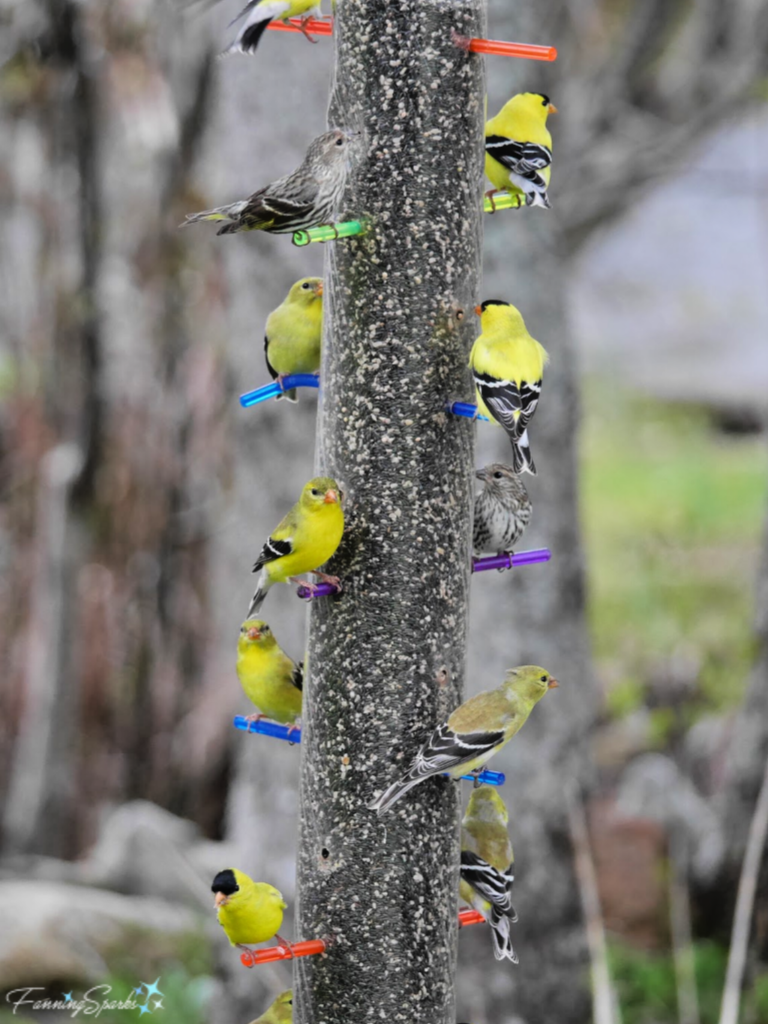
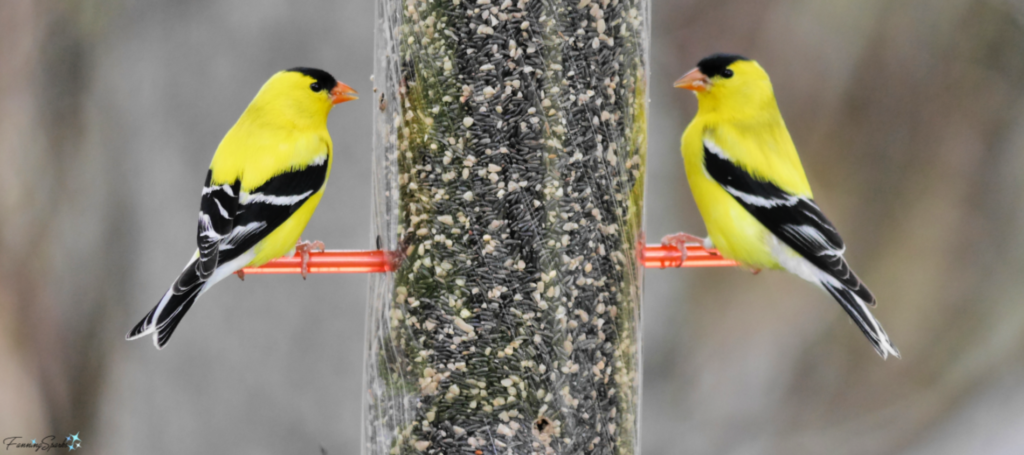
According to Darryl Jones, a professor at the Environmental Futures Research Institute and School of Environment and Sciences at Griffith University in Australia, “Feeding wild birds is a deceptively commonplace activity. Yet, it is one of the most intimate, private, and potentially profound forms of human interaction with nature … people who feed birds are alert to a wide range of additional natural phenomena.” In the below photo, it’s a full house at the silo feeder as a flock of American Goldfinches enjoy niger seed in Margaree, Cape Breton, Nova Scotia.
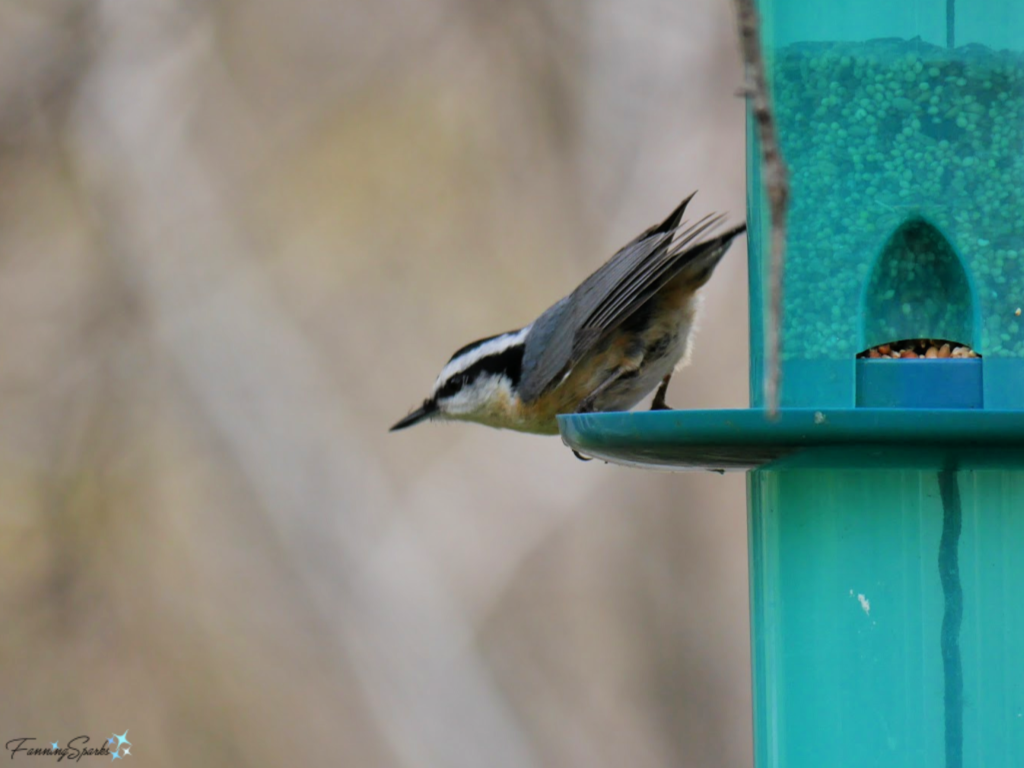
Backyard feeders can attract various species of birds depending on location and food provided. Here a Red-Breasted Nuthatch prepares to leave the feeder.
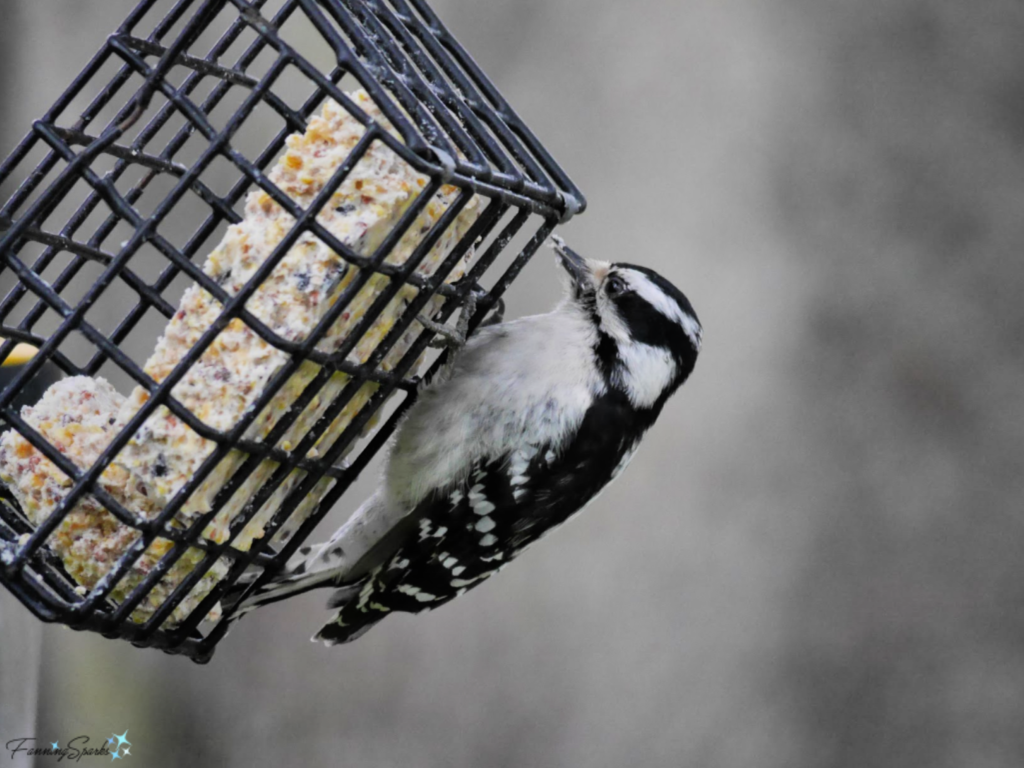
This Downy Woodpecker enjoys a feast at the suet feeder.
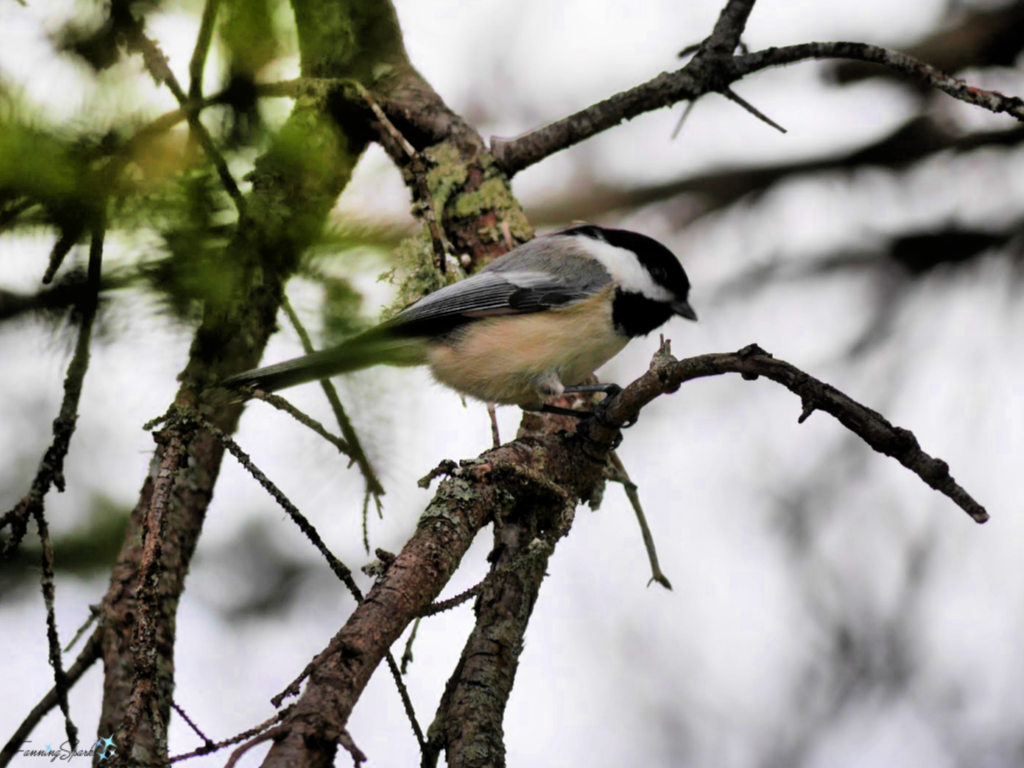
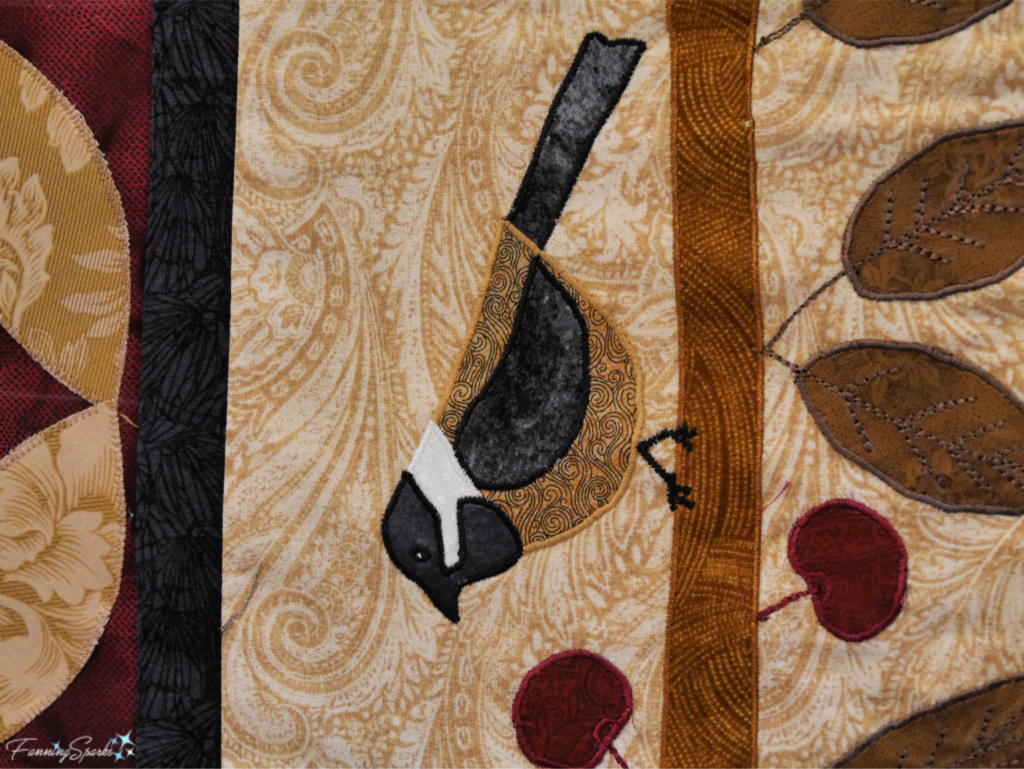
In addition to enhancing our connection with nature, watching birds can provide inspiration for arts and crafts. Take this sweet little Black-Capped Chickadee for instance.
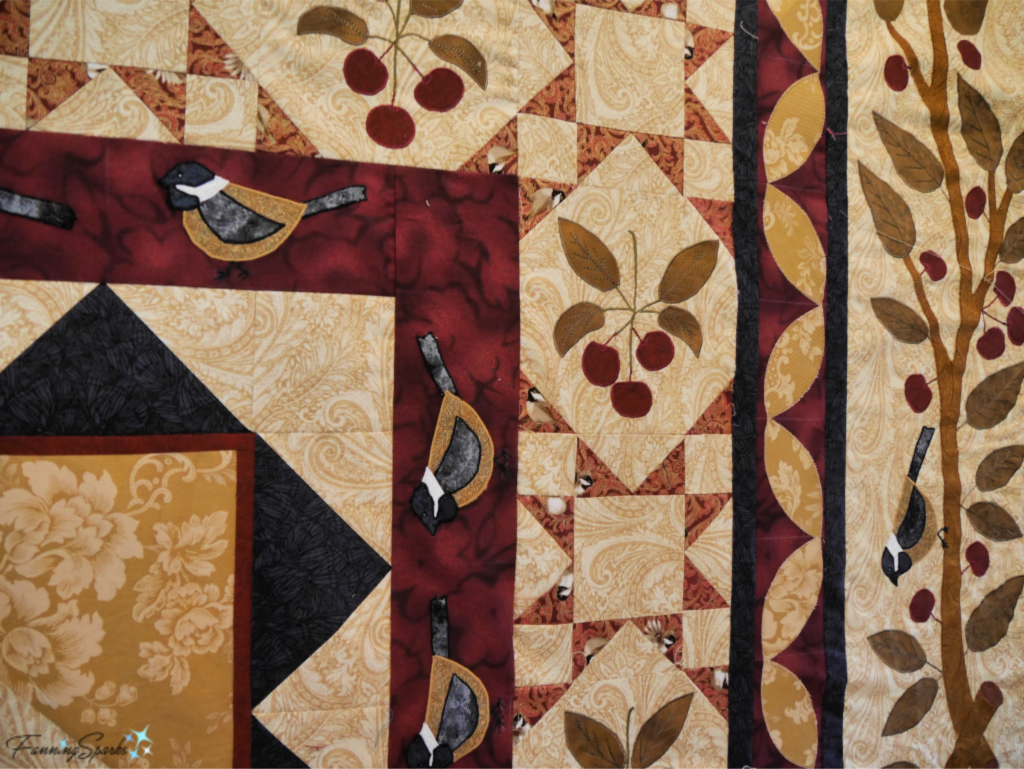
Anne Morrell Robinson is an international award winning fiber artist located in Big Intervale, Cape Breton, Nova Scotia. I recently had the pleasure of visiting Anne’s treasure-filled studio at Kingross Quilts and Fibre Arts. As she showed us around, this gorgeous work-in-progress on her quilt design wall caught my eye.
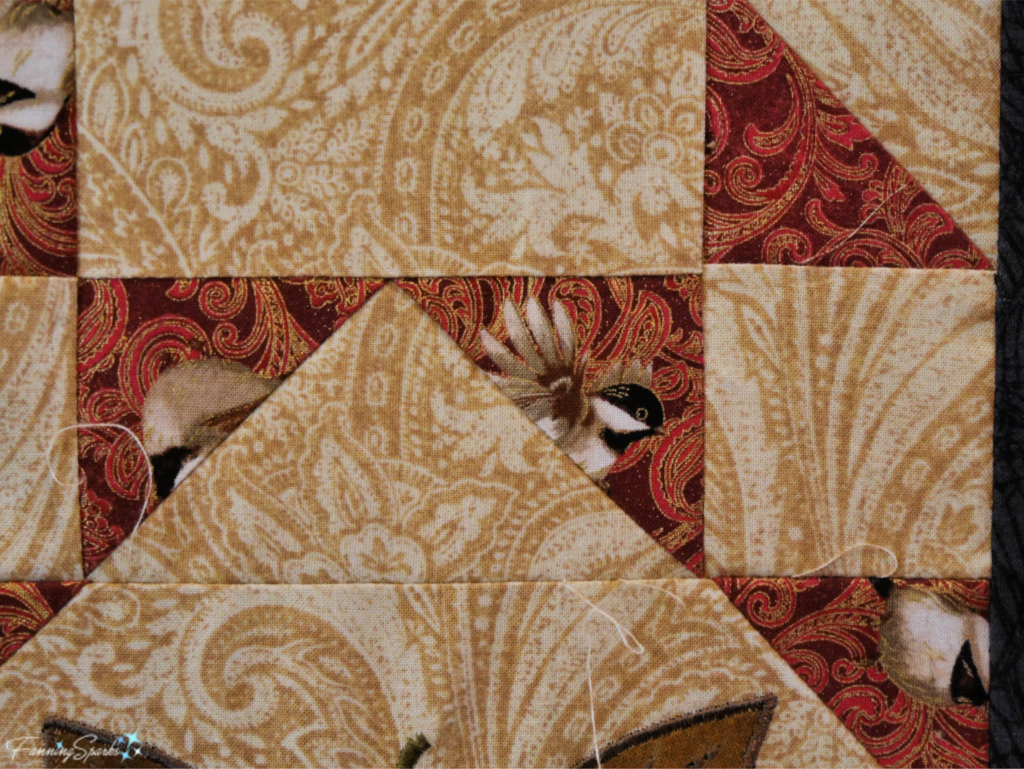
The below wine/red fabric, called My Little Chickadee and designed by Jackie Robinson, inspired Anne’s design.
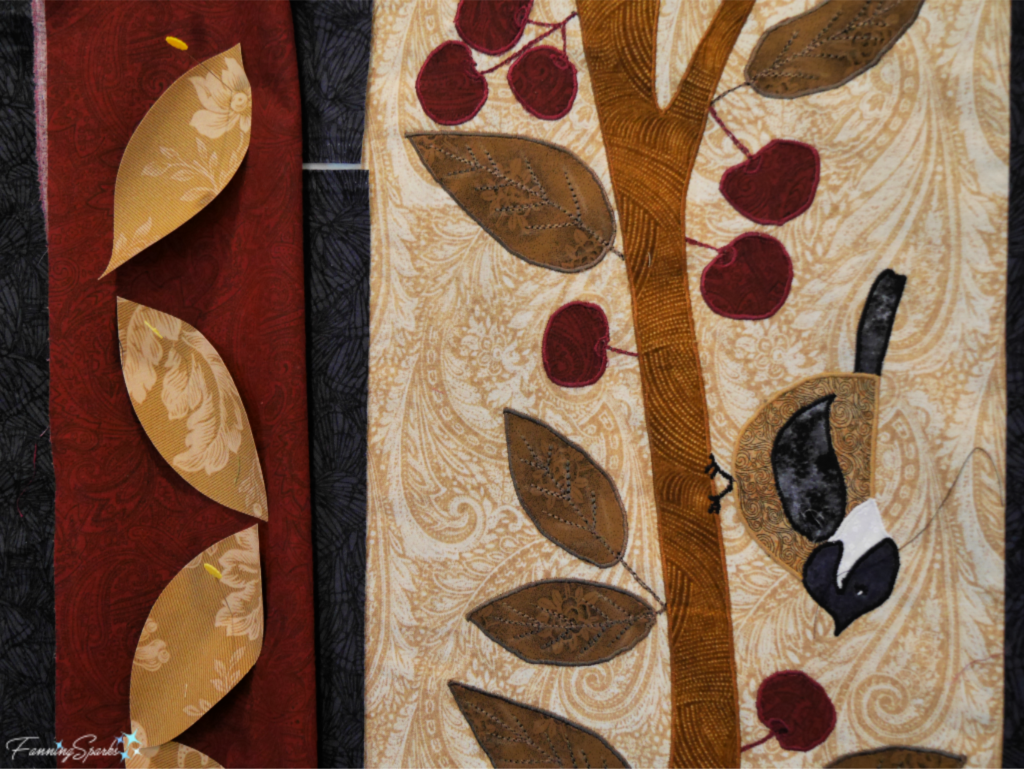
But Anne took the chickadee theme to the next level by designing and creating her own chickadee appliques. Brilliant!
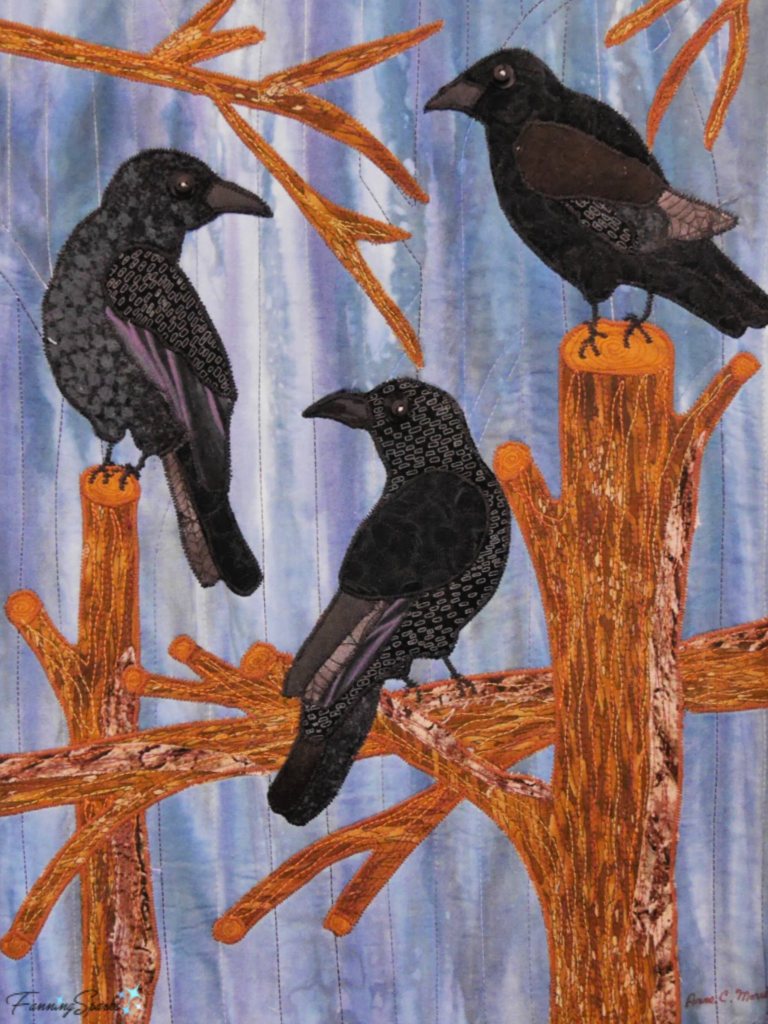
This quilt was not the only piece that featured local birds. The below quilted wall hanging features appliqued crows.
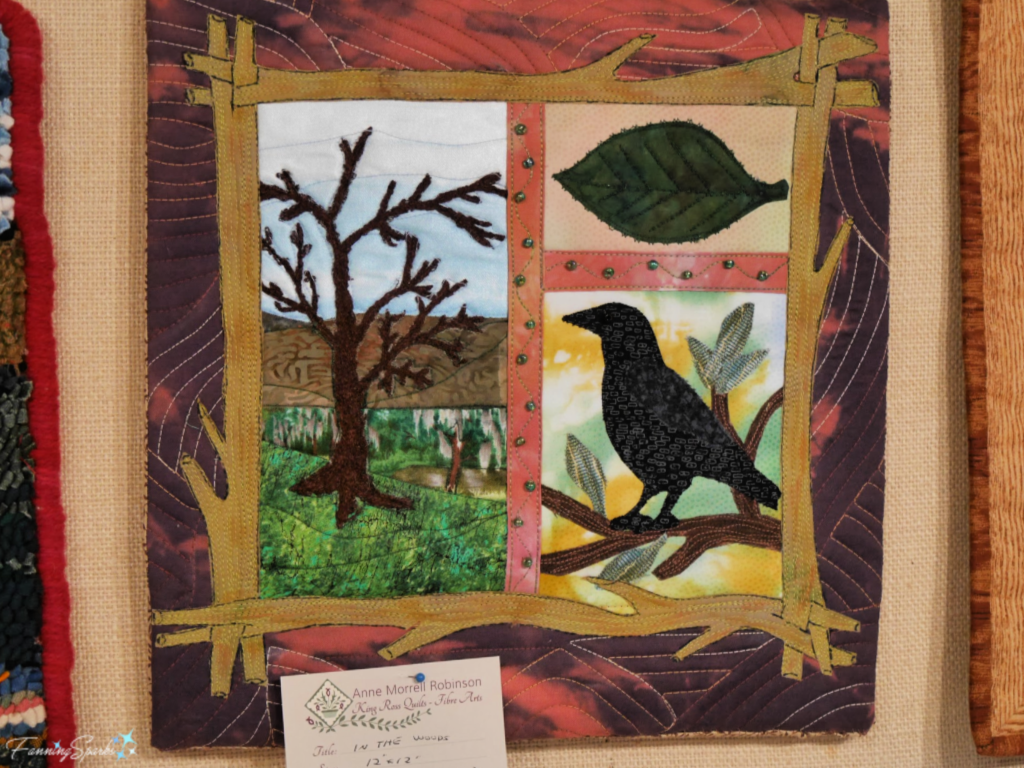
There’s another crow in the below quilted panel, called In the Woods.
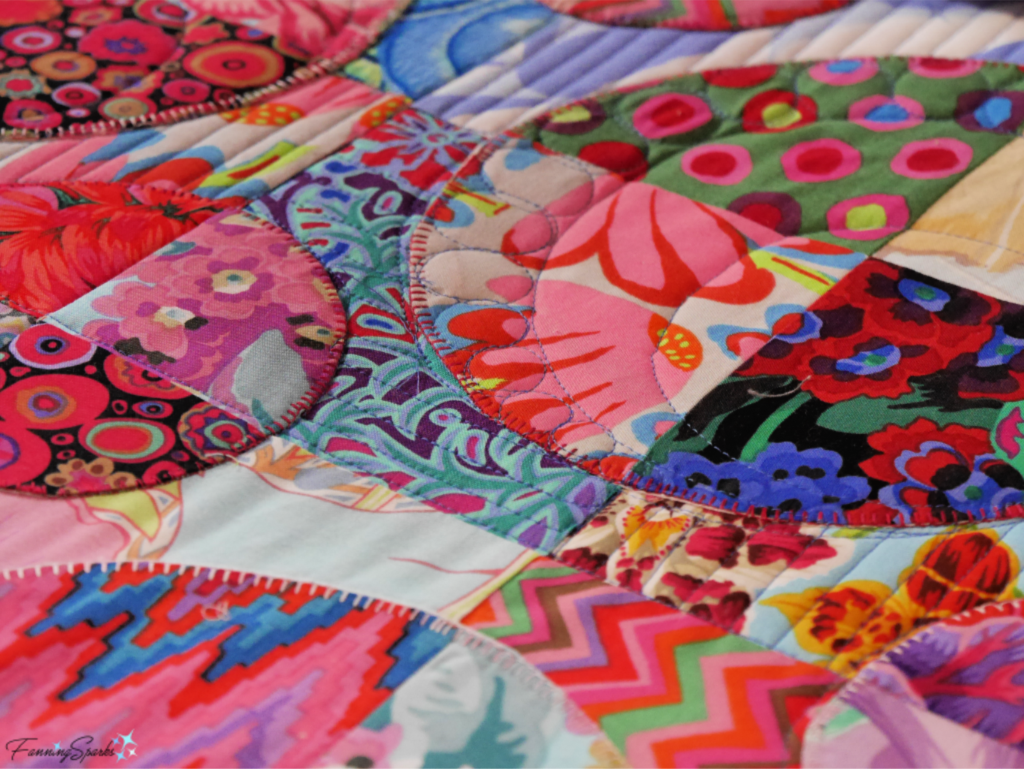
 I don’t want to give the impression that Anne’s work is limited to bird themes. Her studio was filled with beautiful quilts, hooked rugs and other fiber arts with a wide variety of subjects. Here’s a quilt she had in progress on her quilting machine.
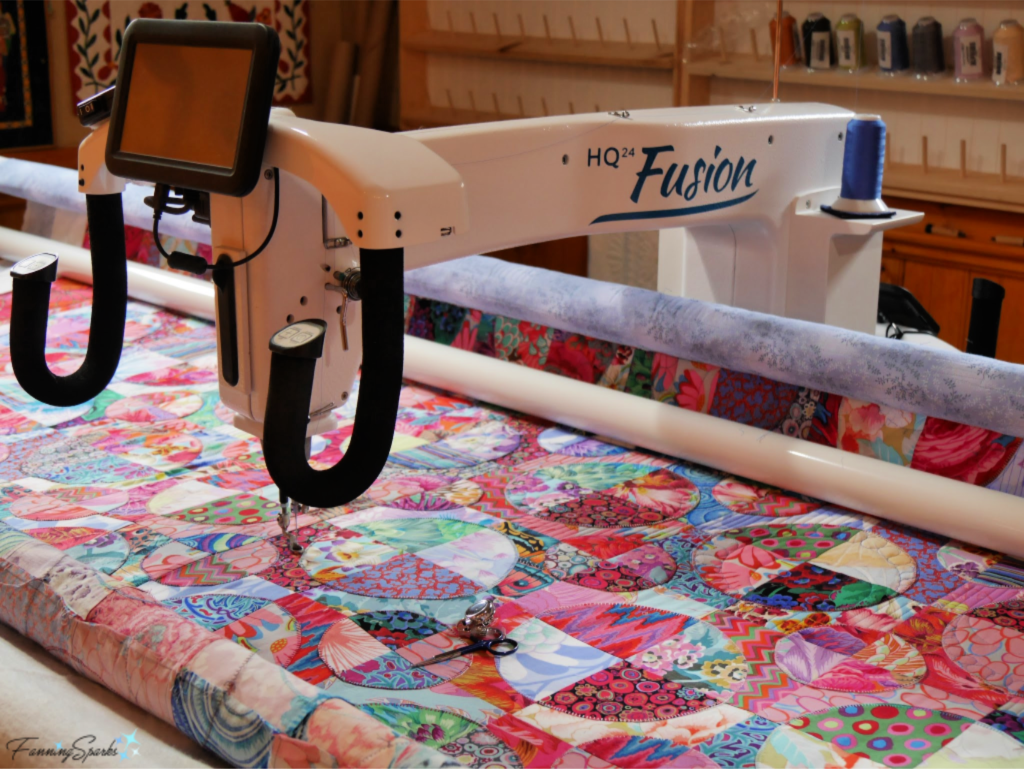
She calls this pattern Plates and Saucers because that’s what she used to draw the circles for the original template. I love the vibrant colors and bold patterns in this one.
It is said that birds delight people because of their beauty and their power of flight. Many believe birds also help people connect to the beauty of nature. I’d like to take it one step further and point out that birds are a major source of inspiration for artists around the world.
Special thanks to Bertha and Dave for the private showing at their bird theater and to Anne for the special tour at Kingross Quilts and Fiber Art.
More Info
To learn more about Anne Morrell Robinson and her beautiful work, check out the Kingross Quilts and Fiber Arts website or Facebook page.
I recently visited another talented Nova Scotian artist. See Rug Hooking in my Home Province to learn about Deanne Fitzpatrick and her lovely hooked rugs.
Finding inspiration in nature is a recurring theme on this blog. Check out the following posts for more:
Color Palette by Mother Nature
Patterns by Mother Nature
Texture by Mother Nature
The Cornell Lab of Ornithology is a great source of information for birdwatchers. Their website states: “We believe in the power of birds to ignite discovery and inspire action. Join us on a lifelong journey to enjoy, understand, and protect birds and the natural world.” The All About Birds section of the website is jam-packed with useful and interesting info.
Cornell Lab of Ornithology, along with Bird Studies Canada, operate Project FeederWatch which is “a winter-long (November-April) survey of birds that visit feeders … in North America. Participants periodically count the birds they see at their feeders and send their counts to Project FeederWatch.”
Today’s Takeaways
1. Watching birds can be a surprisingly enjoyable pastime.
2. There are numerous resources available to learn about birds and bird feeding.
3. Birds can be a great source of inspiration for art, craft and design.


 Perhaps it’s that long winter nap that has led to the long-standing tradition of rug hooking in this region. Originally, rugs hooked by housewives from old clothing, were used to provide warmth on household floors. Hooked rugs are rooted in practicality and frugality‒a fitting metaphor for this region. But over the years, the rugs have become works of art and the makers have become artists. They’ve taken something that started as a functional necessity and made it into something beautiful for the home. This type of transformation is common in this region which boasts many talented artists and artisans. I recently had the opportunity to visit one of those artists.
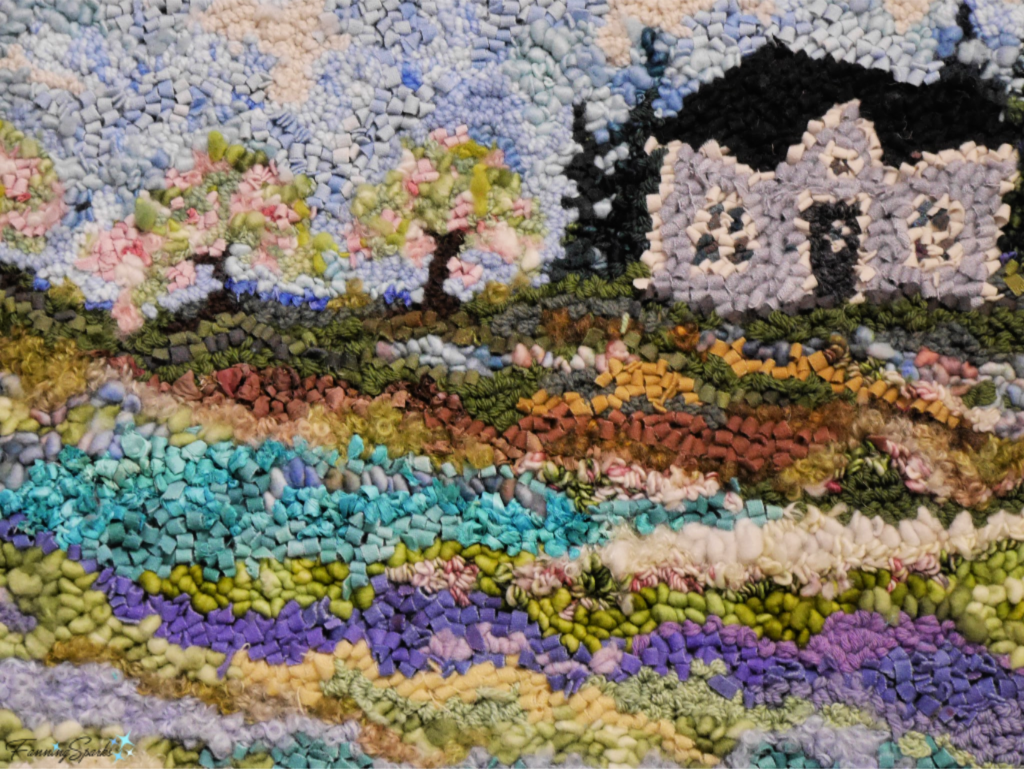
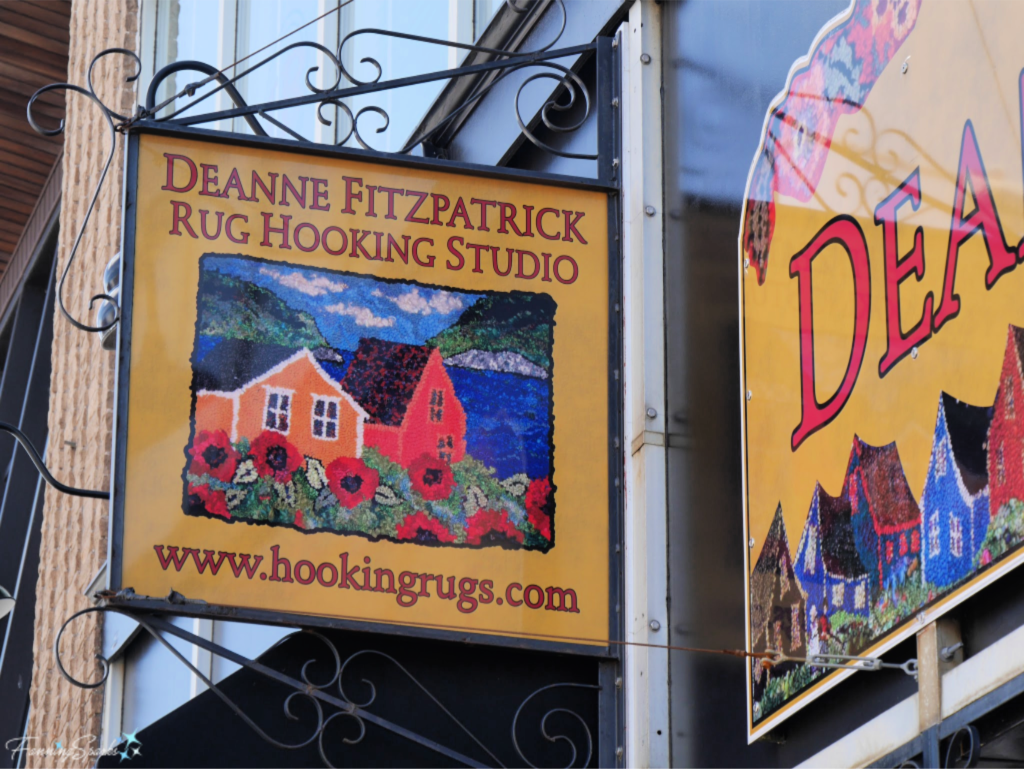 Before I go any further, I need to warn you; don’t let the name fool you! “Rug hooking” is not about making floor mats. Don’t even think about wiping your shoes on one of these beauties!
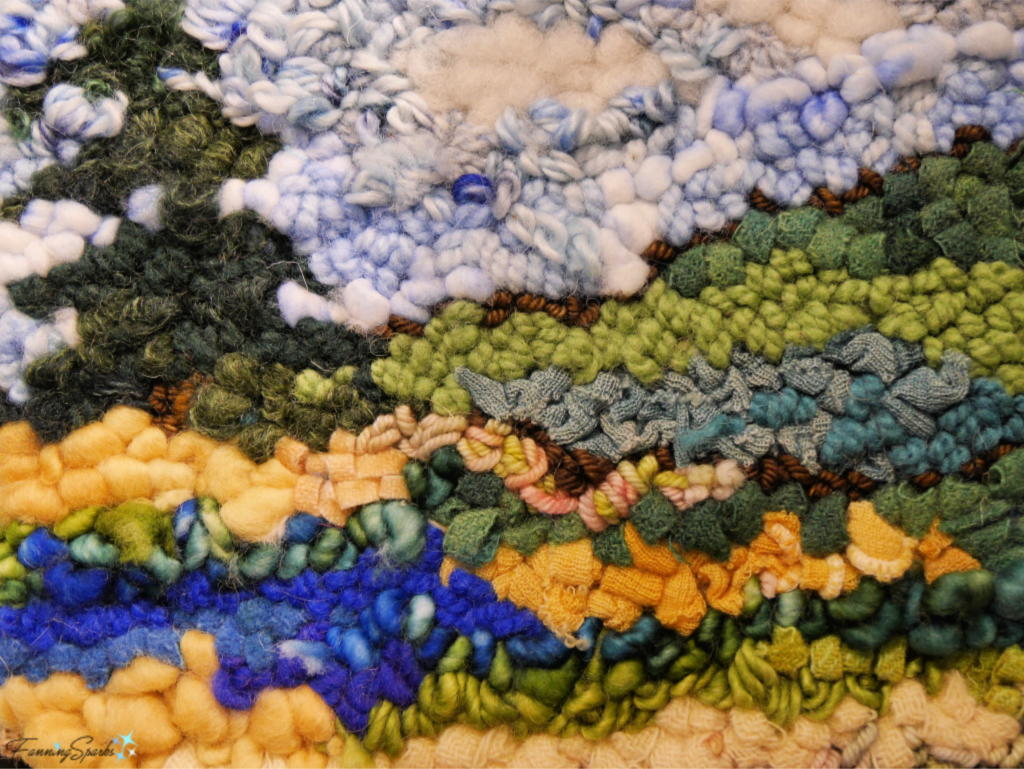 Deanne’s Studio is a treasure trove of colorful fiber in artistic displays.
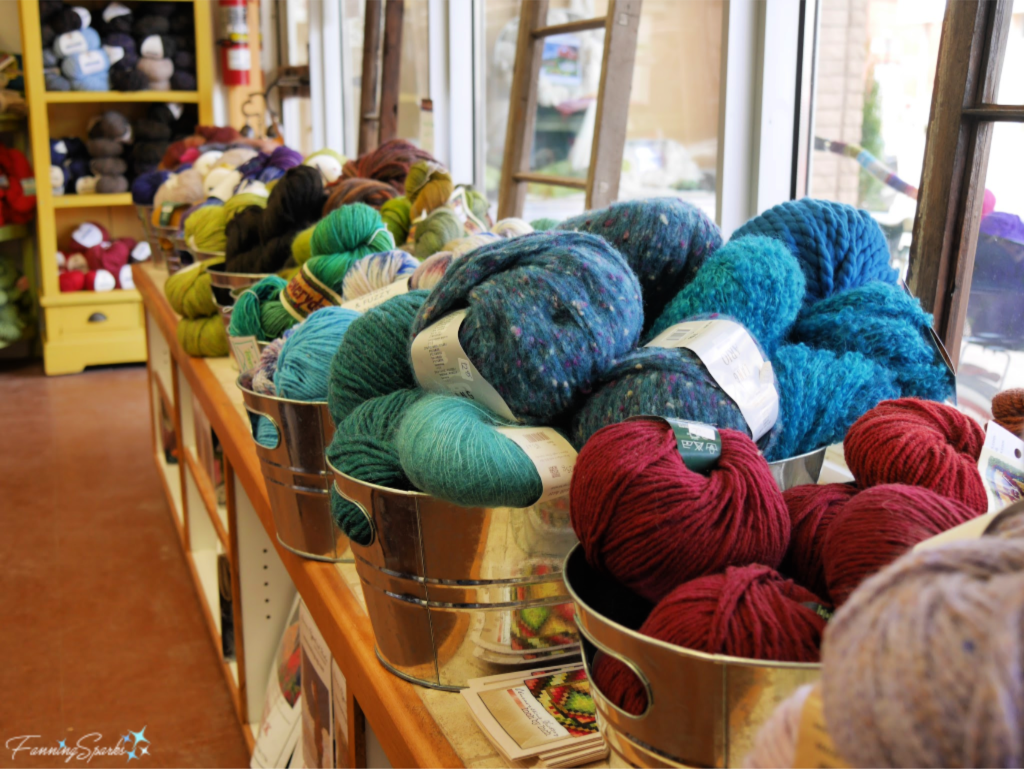
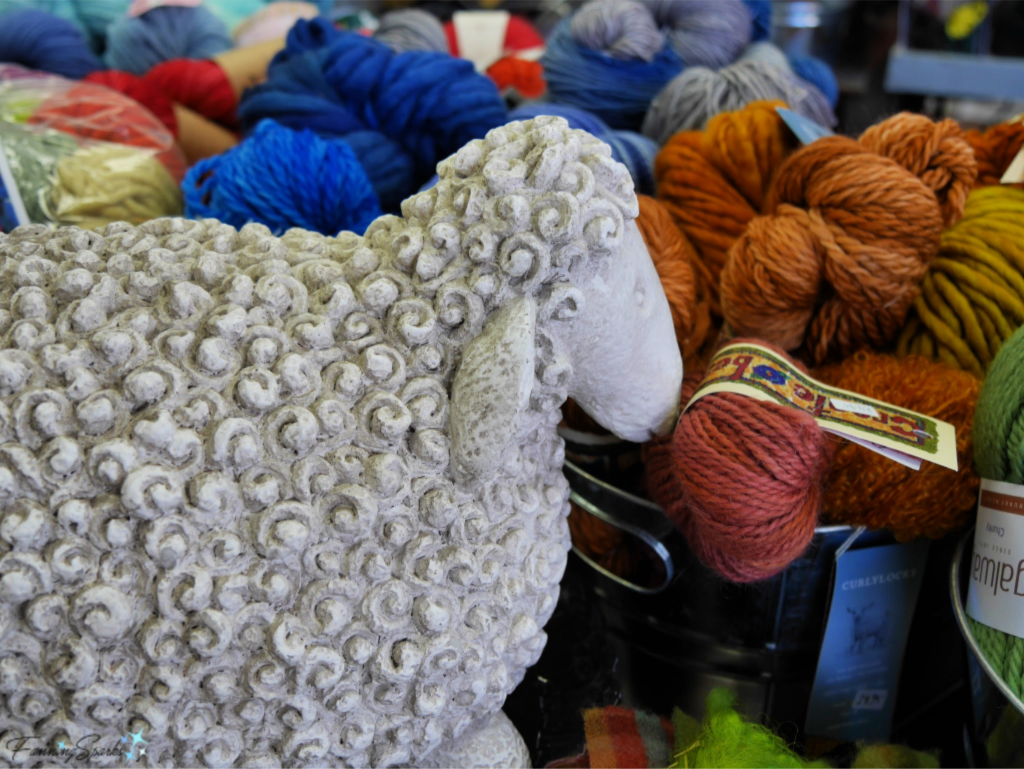
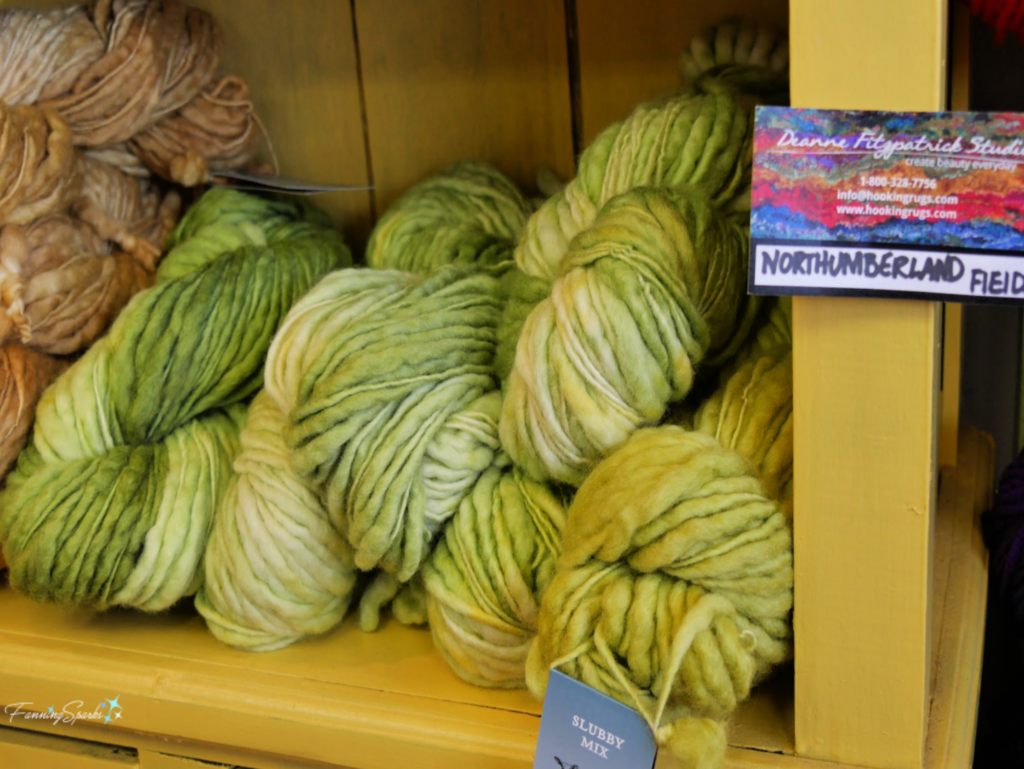 One of the best things about visiting the Studio is the legendary Maritime hospitality. Where else would you be given free rein to wander around the entire studio and invited to enjoy a cup of tea with delicious oak cakes? Plus you’re encouraged to learn to hook. Deanne, herself, taught us how.
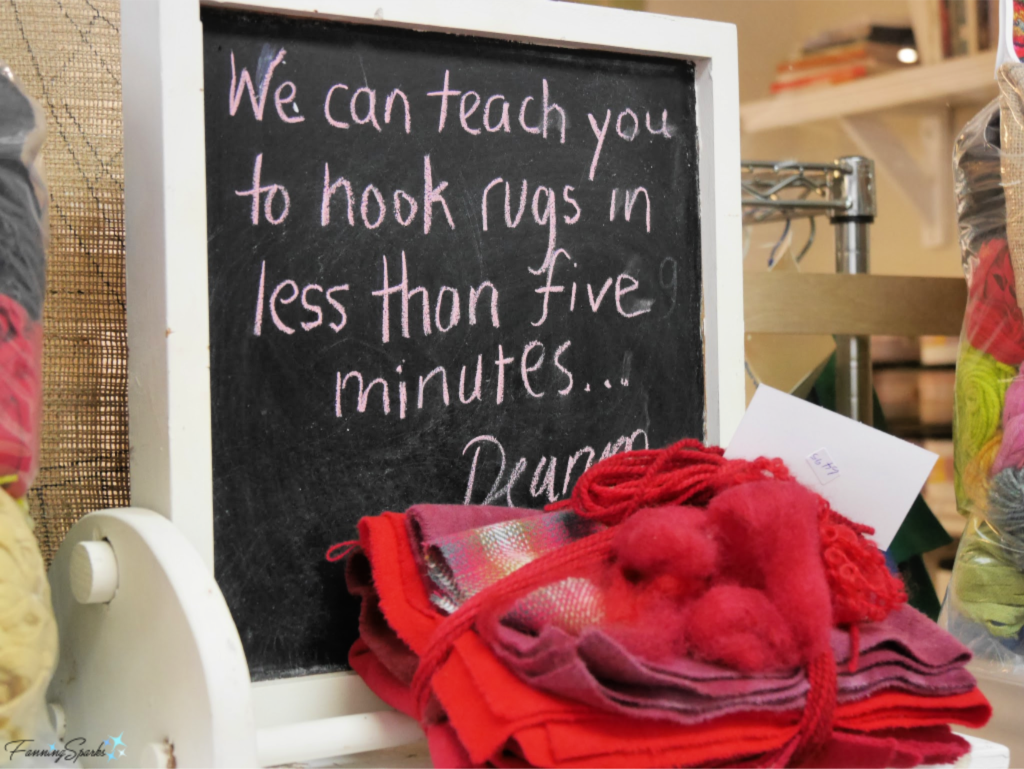
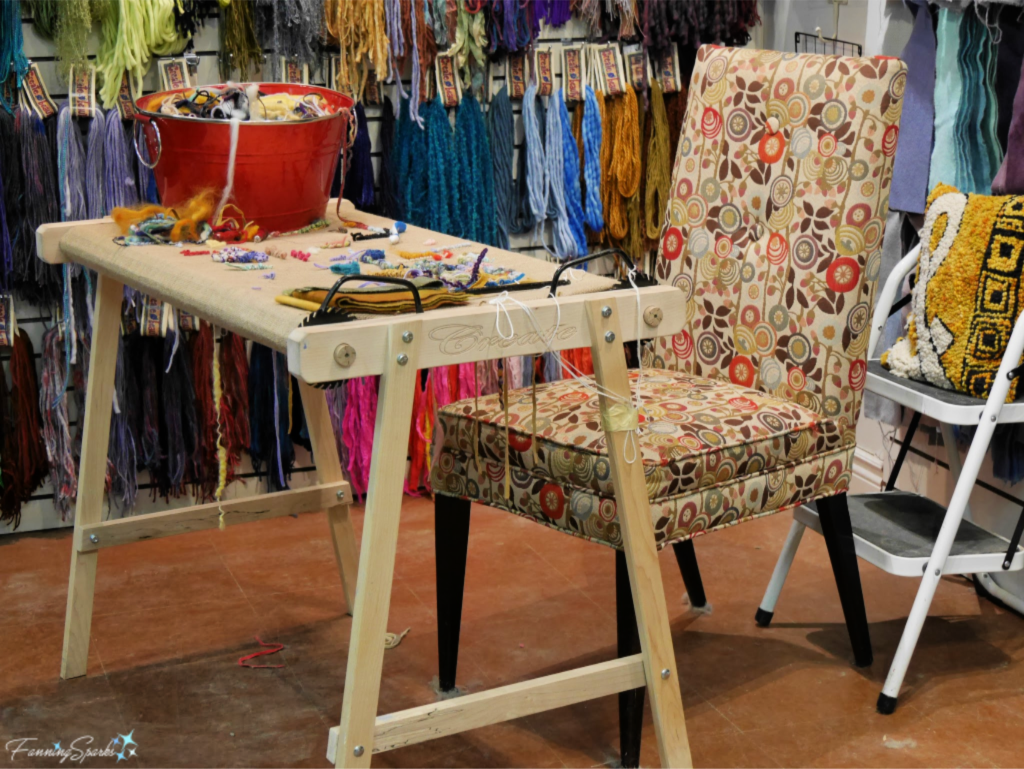 As promised, it only took a few minutes to learn. Here’s my sister, Marian, giving it a try.
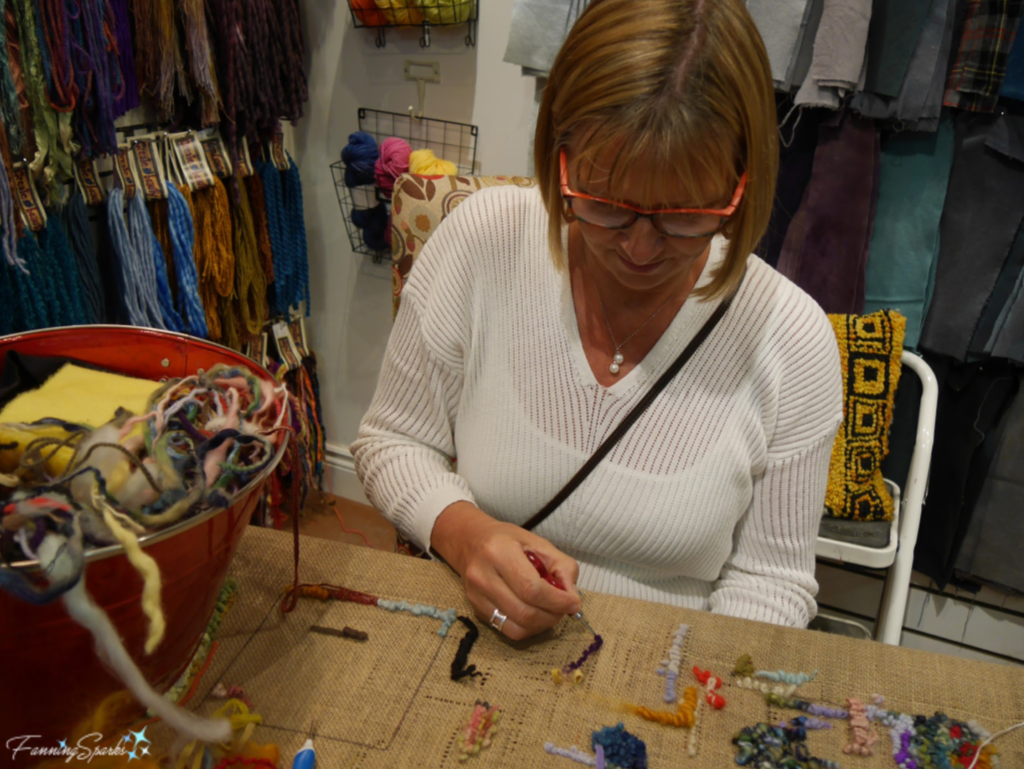
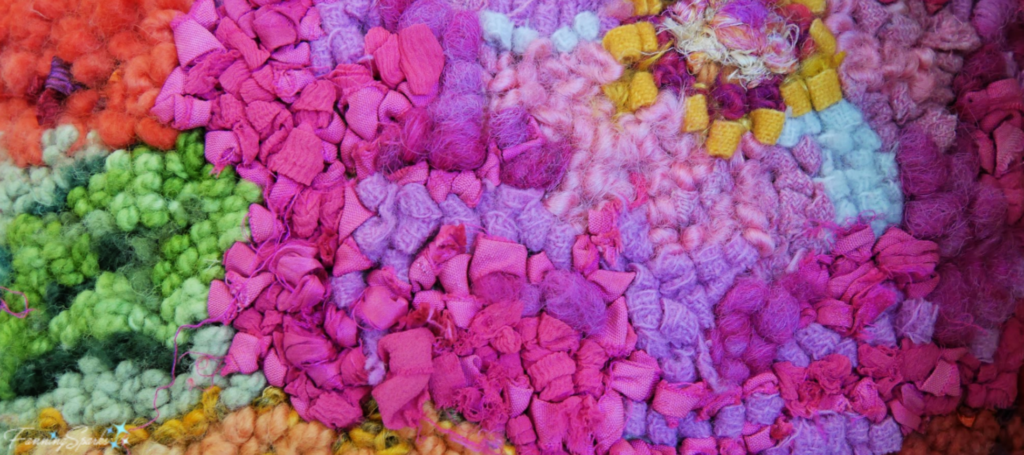
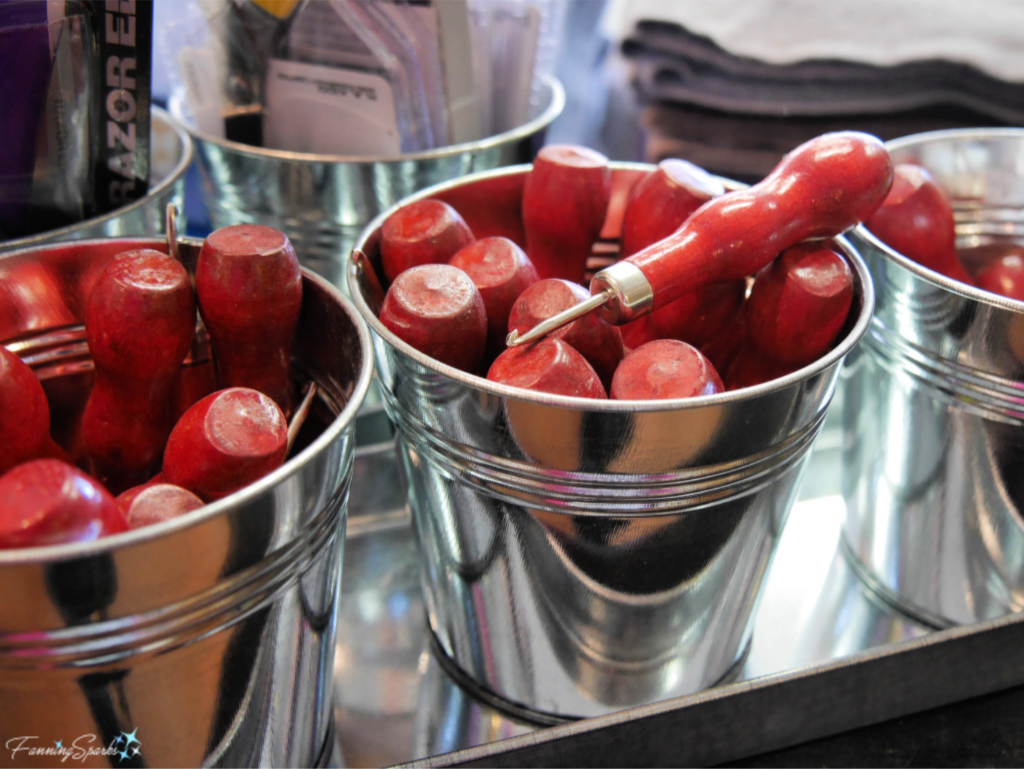
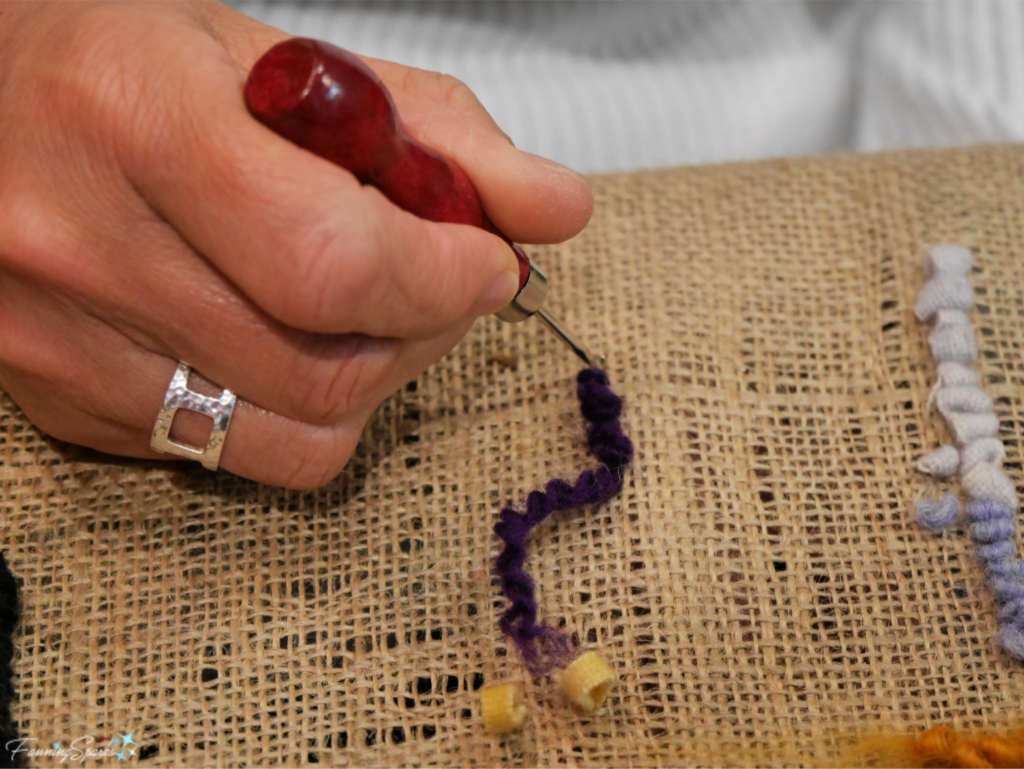 You start with a backing of burlap or linen stretched on a frame. Then using a simple hook you pull strips of fabric, strands of yarn, or other fiber through the backing to make a small loop. You repeat this process until you’ve covered the surface with fiber loops.
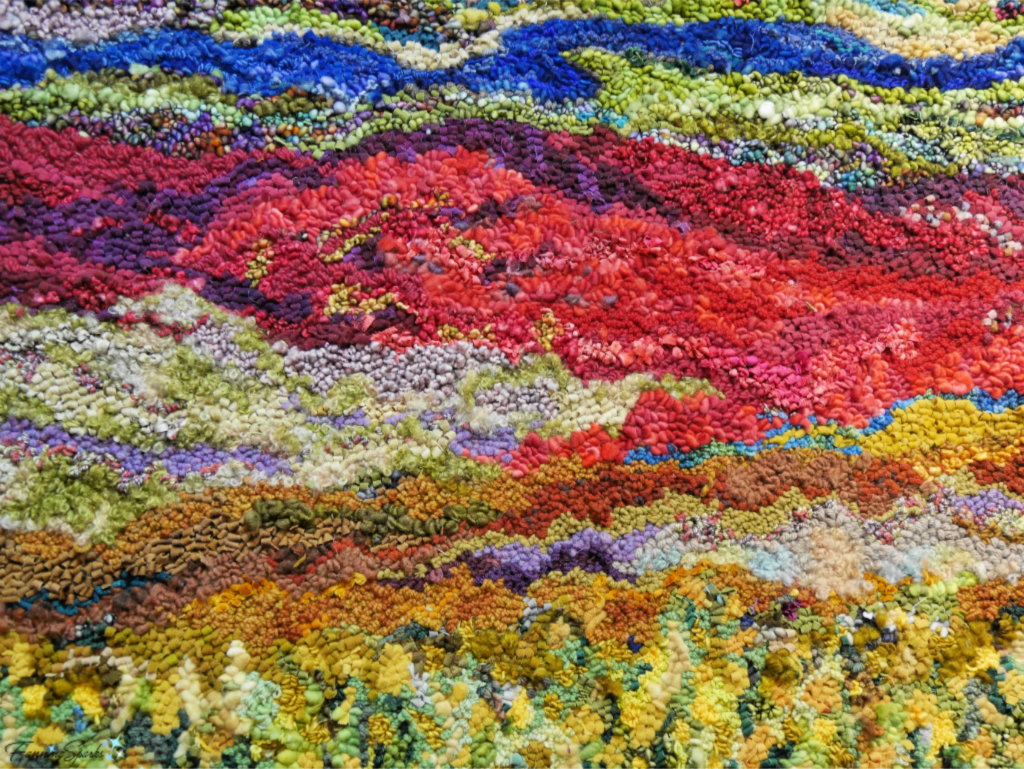
 Of course, it takes an artistic eye and lots of practice to work up to beautiful pieces like Deanne’s “The Golden Season”.
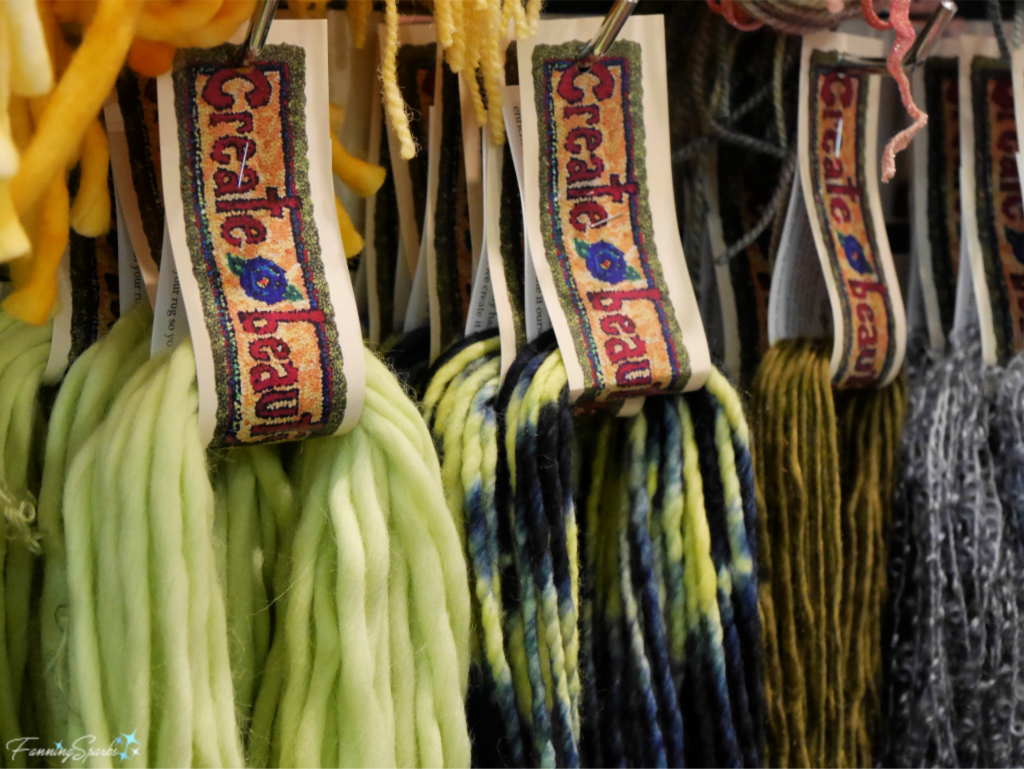
 Deanne and her team strive to “Create Beauty Everyday” and they encourage their customers to do the same. She’s said “it is my goal to live simply, and make hooked rugs that are unmistakably art”. Obviously, she has accomplished that goal.
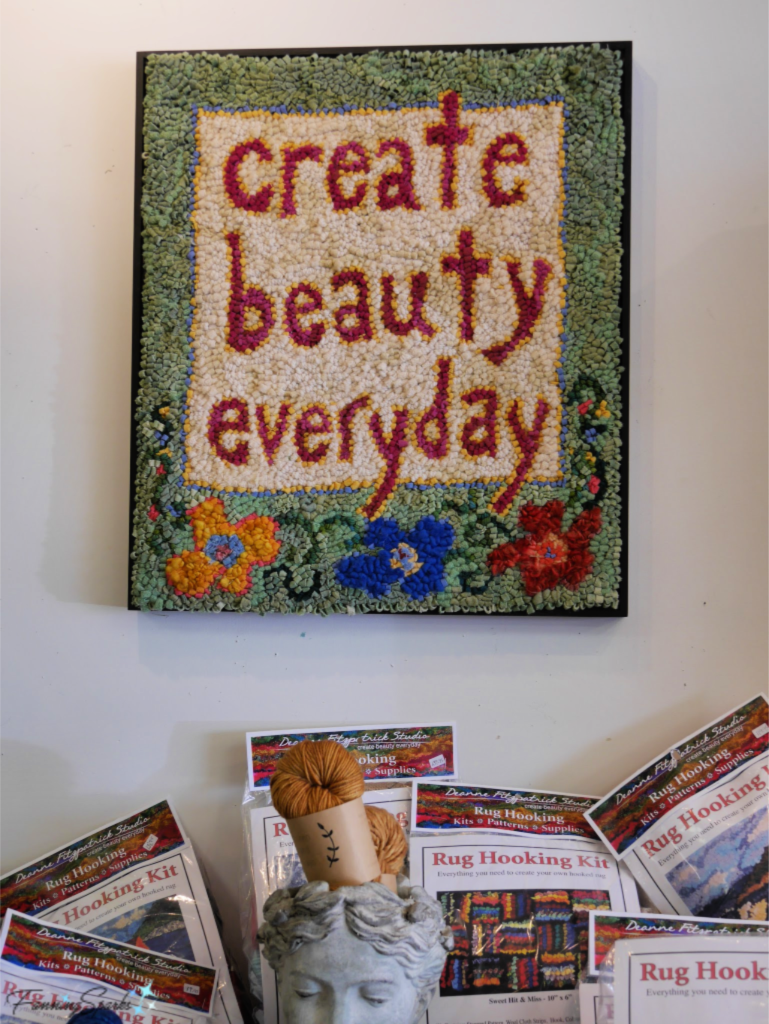 Special thanks to Deanne and her team for your kind hospitality and a memorable visit!

 This house is located on Main Street in Madison. I often drive by it when I run errands around town. Sadly, the property was neglected and had fallen into disrepair. Then over the last few months, I noticed things were happening‒workers were present, scaffolding was erected, wooden braces were installed, piles of bricks appeared, and signs were posted.
 When I noticed the house was included on the Madison in May tour, I was excited to go have a look. I wasn’t disappointed‒there’s definitely something special about this house! Below you can see the Library as it is today with a large photo showing how it looked previously.
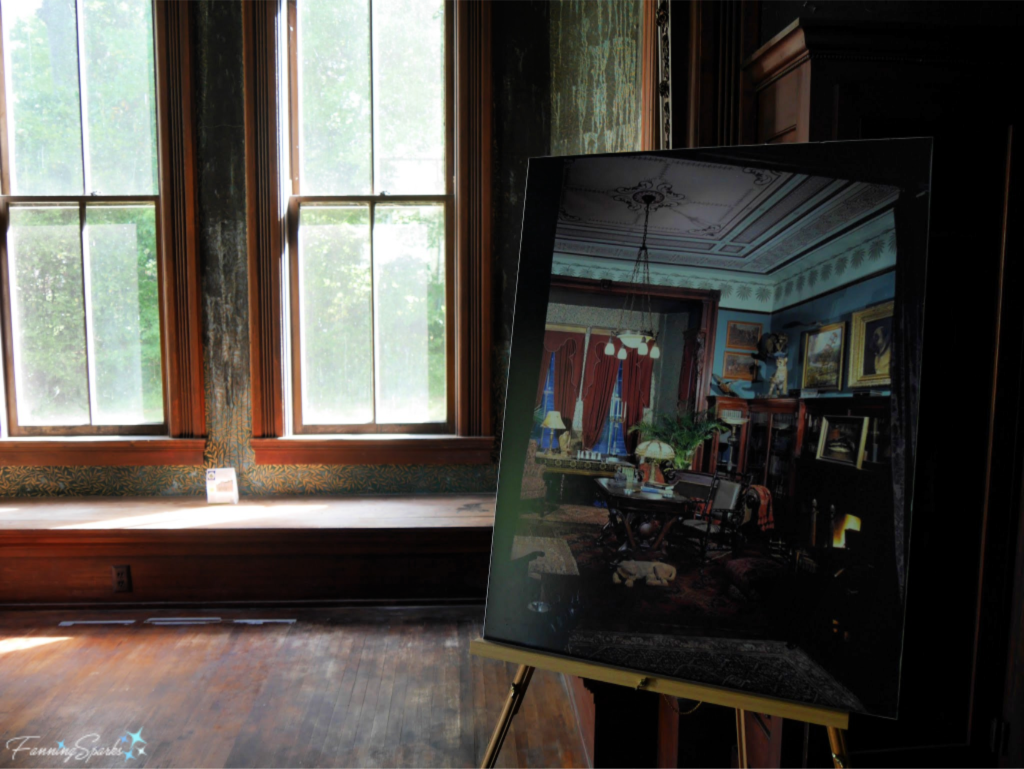 This is the Entry Hall which originally showcased a solid walnut staircase.
 This house was obviously beautiful in its day. And maybe that’s the attraction‒its the possibility of bringing it back to its former glory! Every detail that’s still intact‒and there are many‒is just waiting to be restored. Lucky for the house, many citizens of Madison and the surrounding area feel the same way. Here’s a glimpse of the ornate trim on the exterior. Can’t you just picture it as it was?
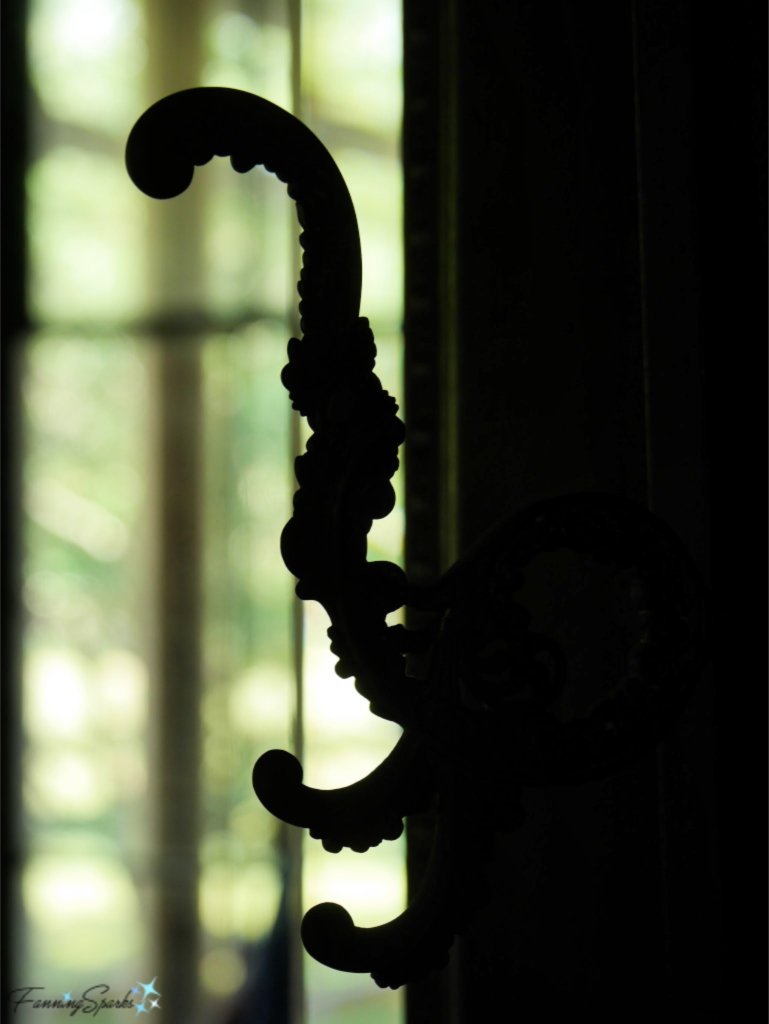
 The house reflects the Aesthetic Movement and, as the story goes, was greatly influenced by a lecture given in Atlanta, Georgia in 1882. Surprisingly, the lecture was given by Oscar Wilde, someone more widely recognized for his plays, novels and poetry, than for his decorating expertise. Wilde’s lecture was part of a 9-month, 140-lecture tour across Canada and America. The Atlanta lecture was titled “House Beautiful” and promoted the virtues of the Aesthetic Movement. This is why I’ve come to think of the Foster-Thomason-Miller House as “Madison’s House Beautiful”.
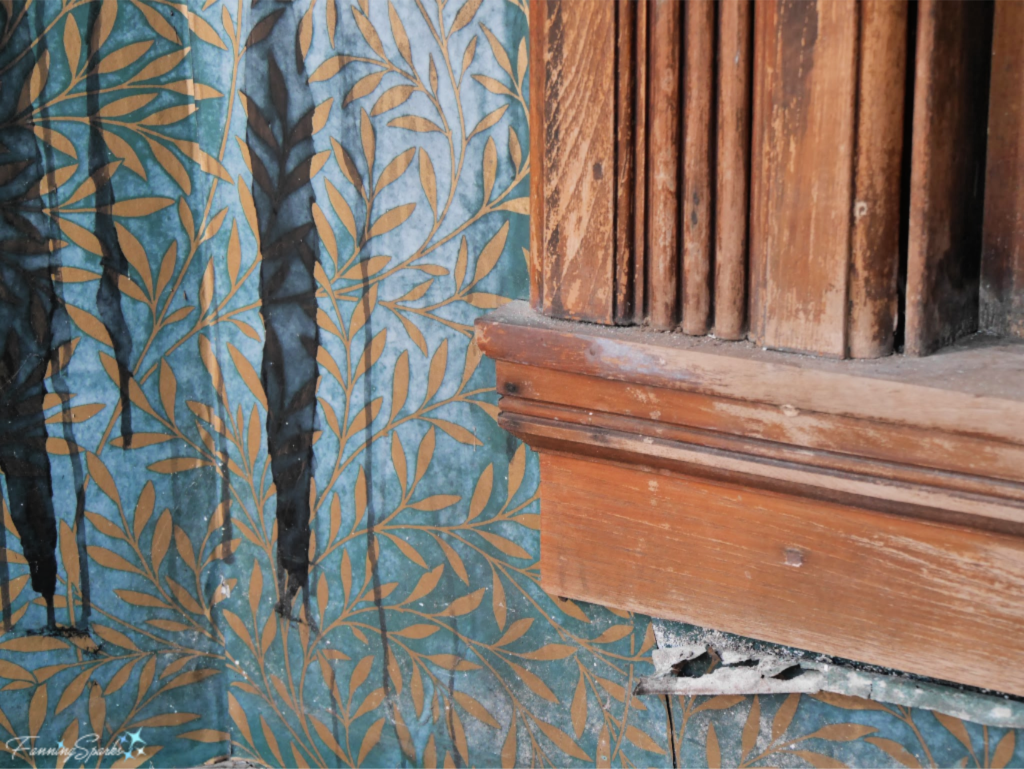
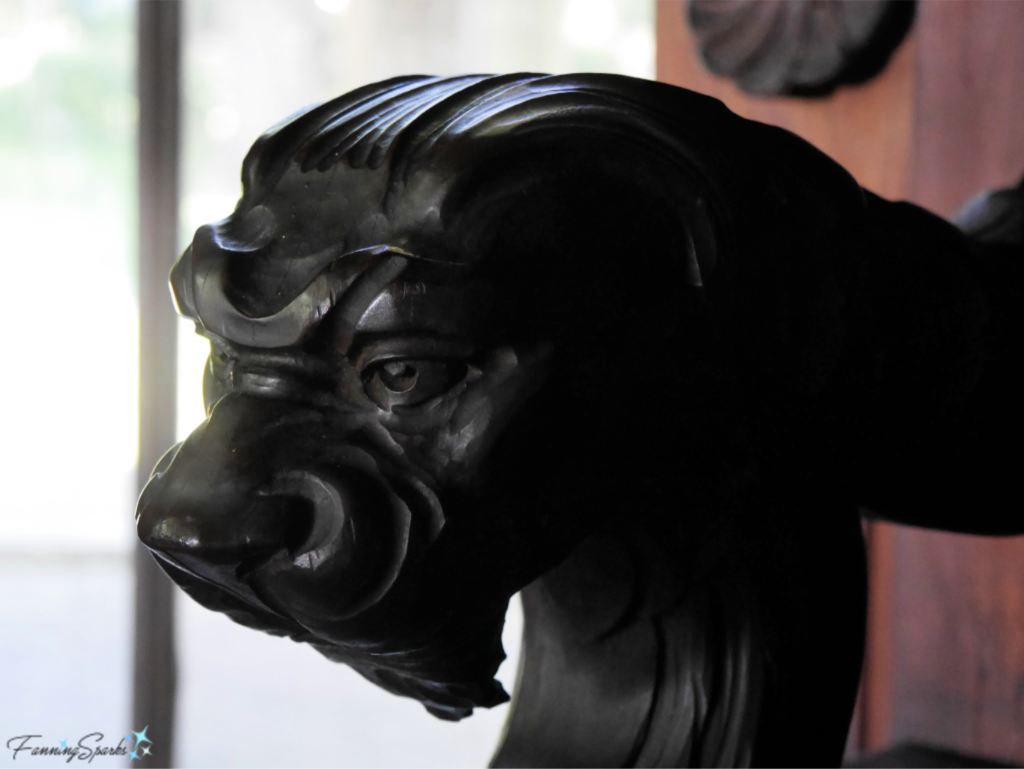 In regards to the use of color, Wilde said “You have too many white walls. More colour is wanted.” The owners of this House Beautiful seem to have taken this advice to heart. Color is used throughout the house including this beautiful wall in the Library.
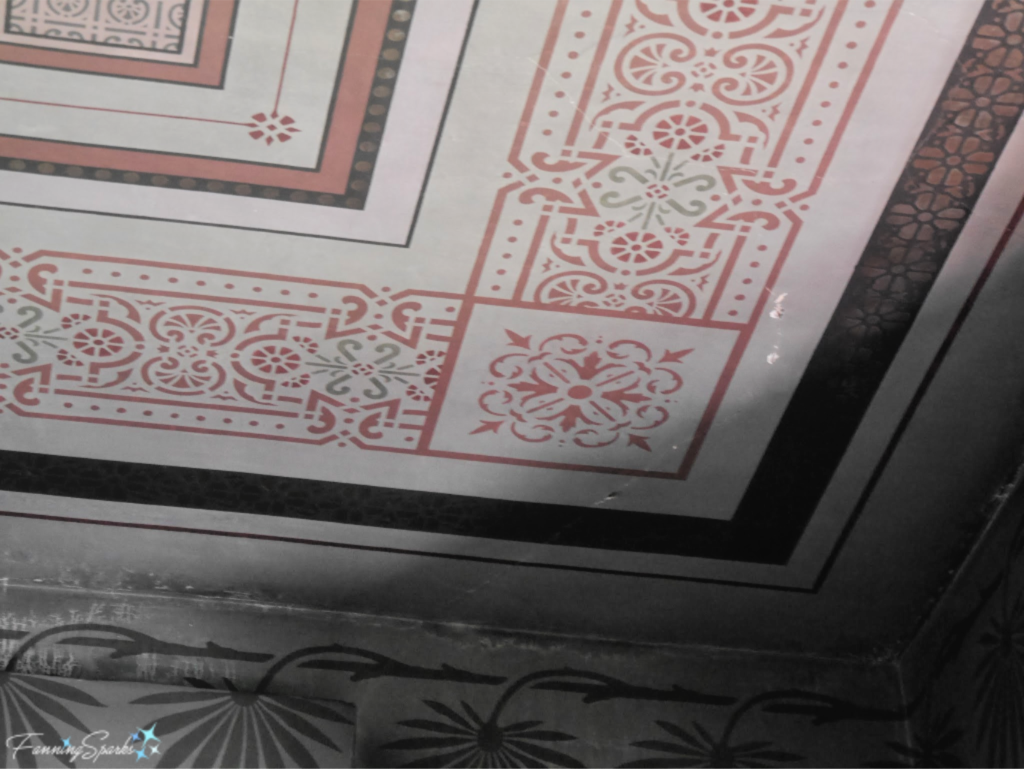
 Wilde advised his listeners to look to nature for decoration inspiration. “Golden rod and aster and rose and all the flowers that cover your valleys in the spring and your hills in the autumn: let them be the flowers for your art… Nature [has] given you the noblest motives for a new school for decoration.” Here are some examples of floral motifs in this House Beautiful. This stenciled ceiling is from the Library.
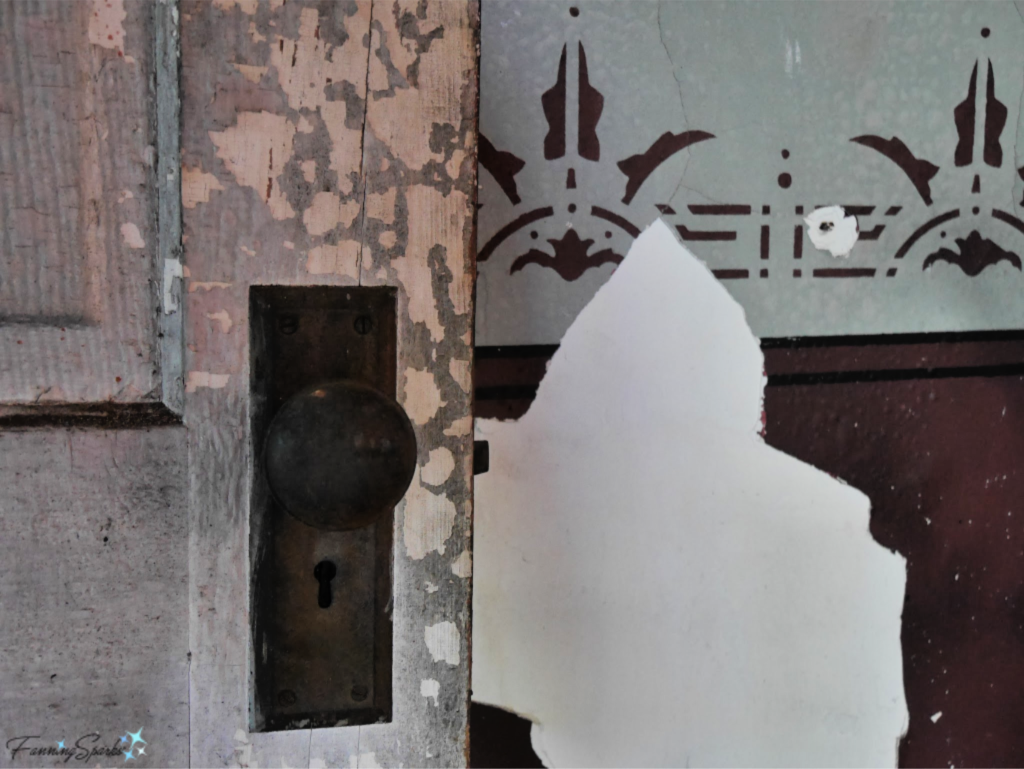 The Aesthetic Art Movement was short lived, lasting for only about 10 years from 1880 to 1890. As a result, there are not many surviving examples of this style‒a situation which makes Madison’s House Beautiful even more significant.
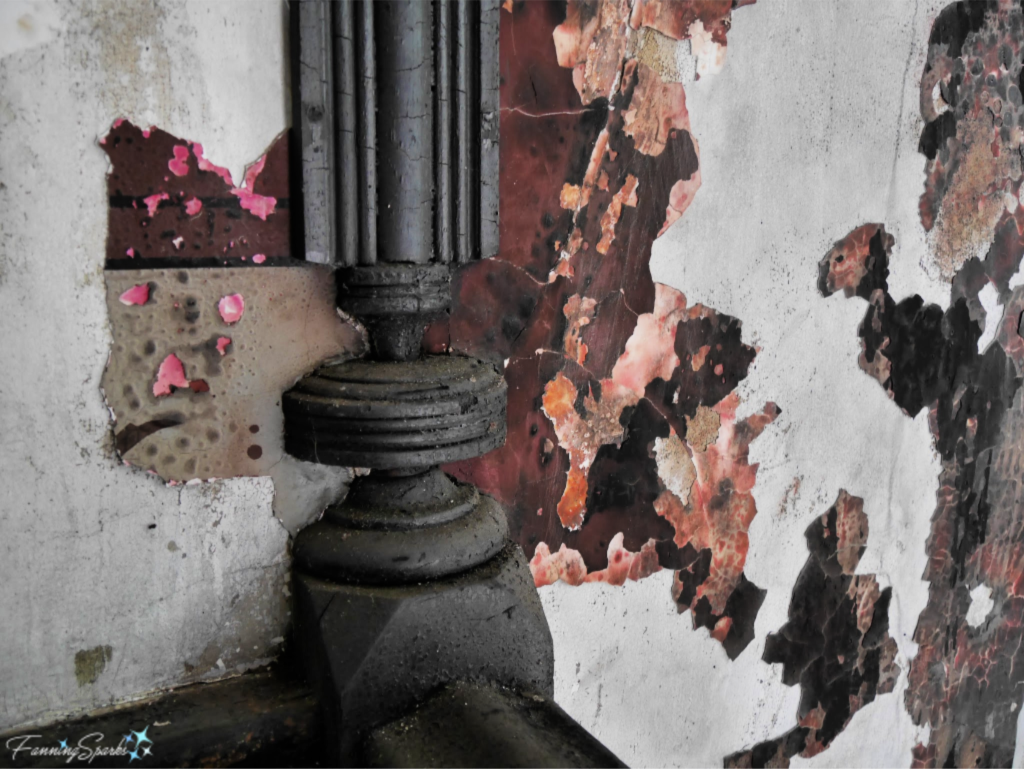
 The house has been vacant since the fire. It was placed on the Georgia Trust’s 2018 “Places in Peril” list meaning it was recognized as a valuable structure at risk of being lost. This brings us back to present day with the MMC having found a conservation buyer to preserve this outstanding property.

 Later in the day, the scene from my picnic blanket looked like this.
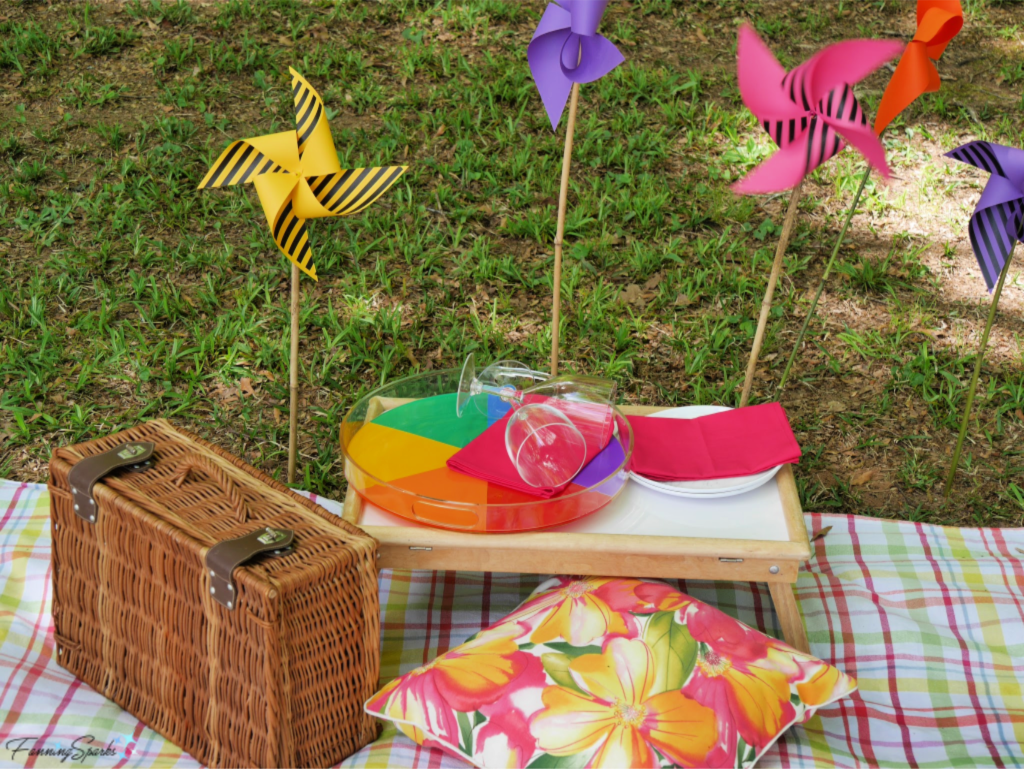
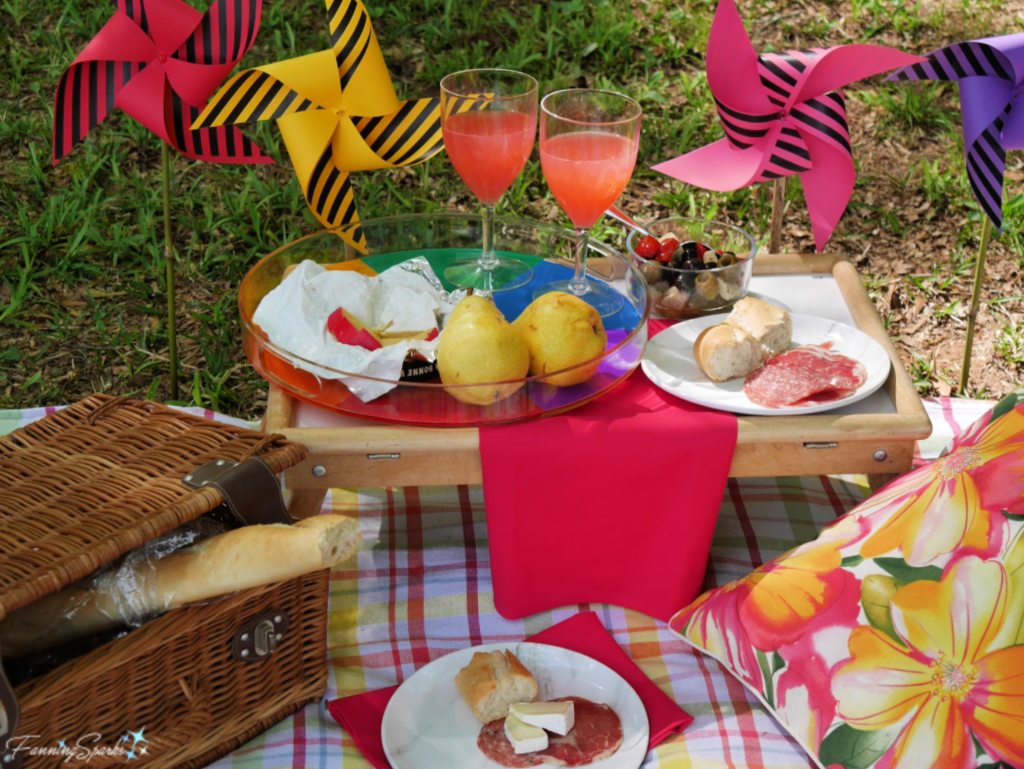
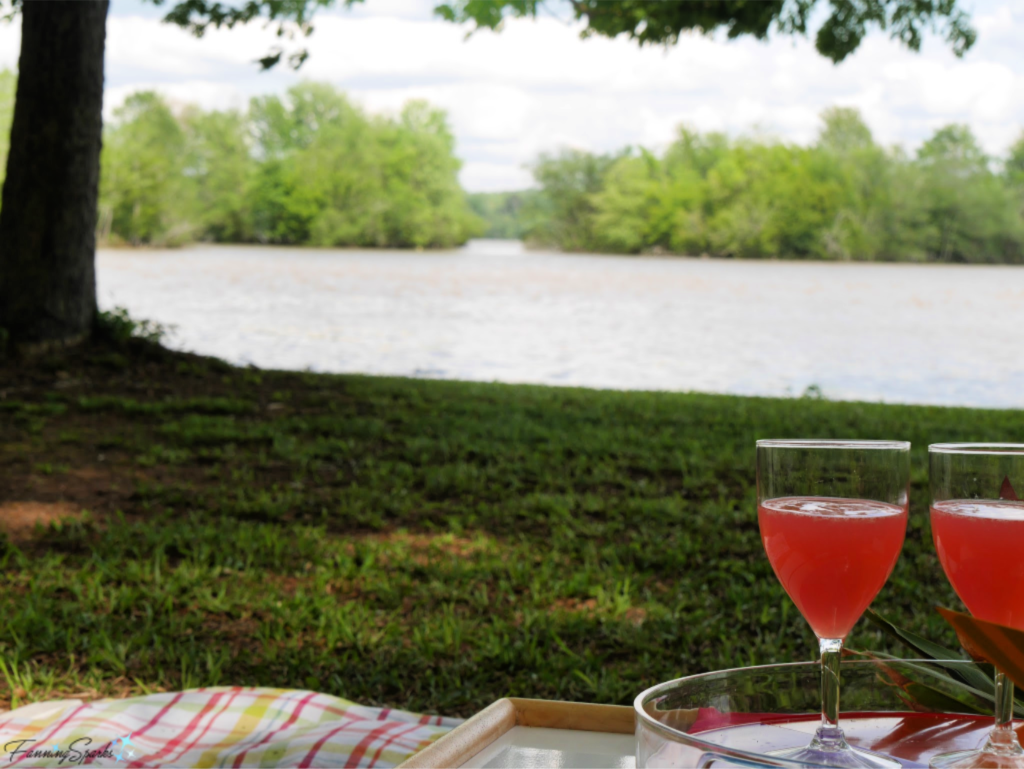 Today’s picnic theme is bright and joyful.
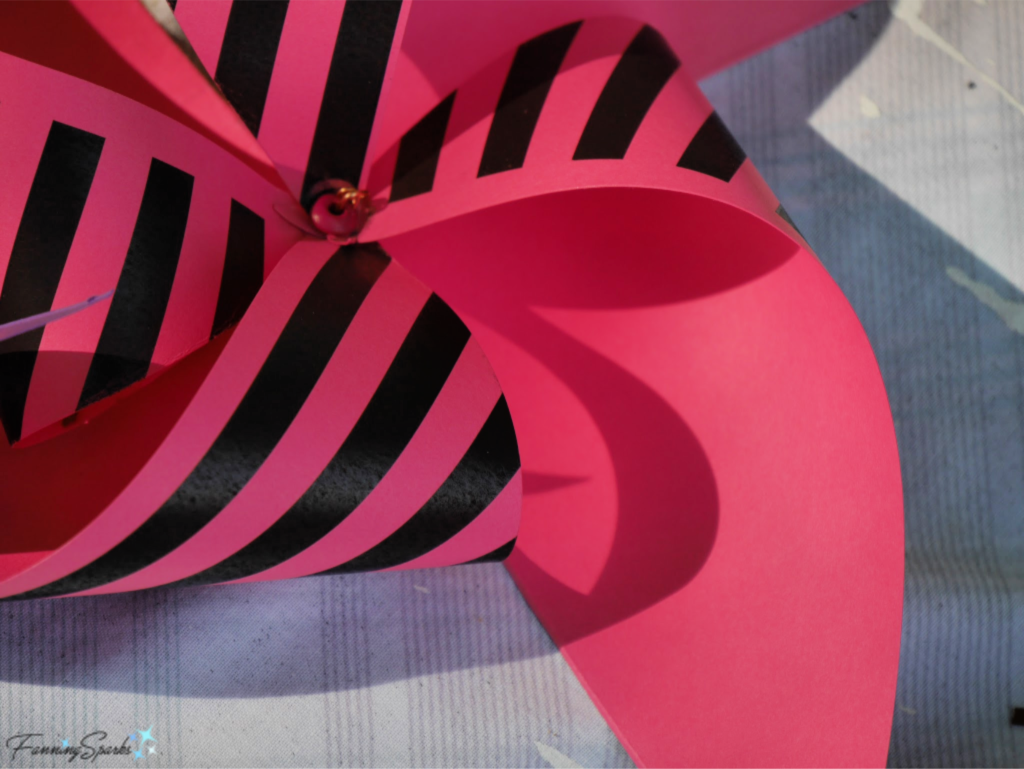
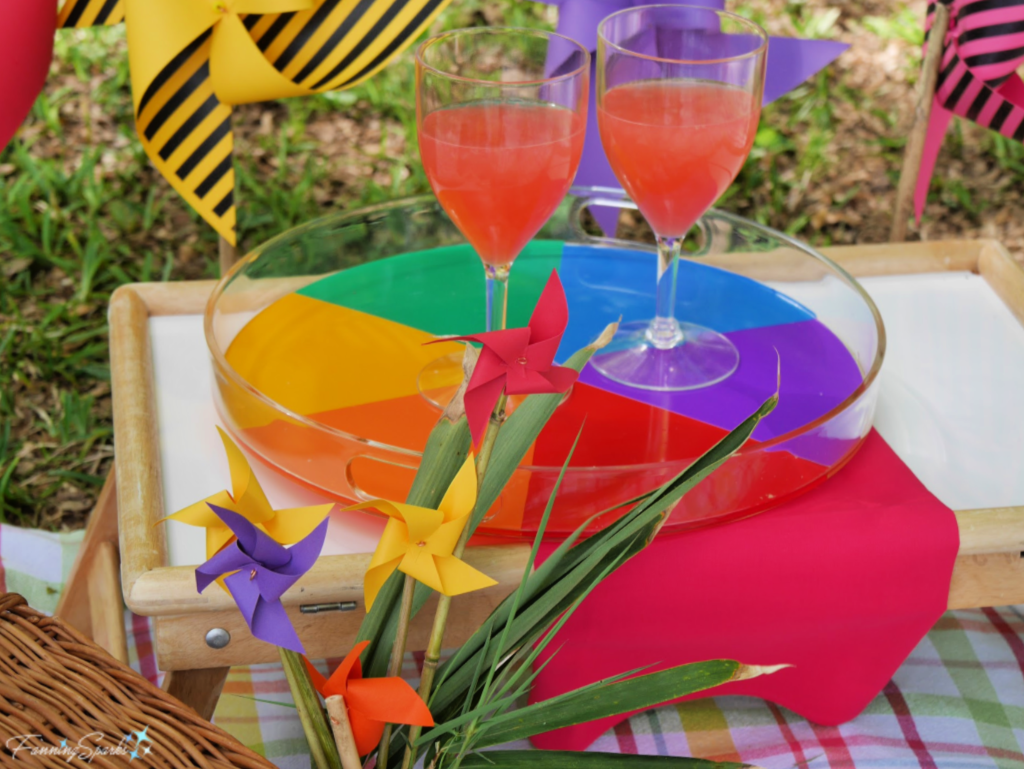 Colorful pinwheels set the mood.
 A clear plastic tray, decked out as a color wheel, carries the colorful theme forward.
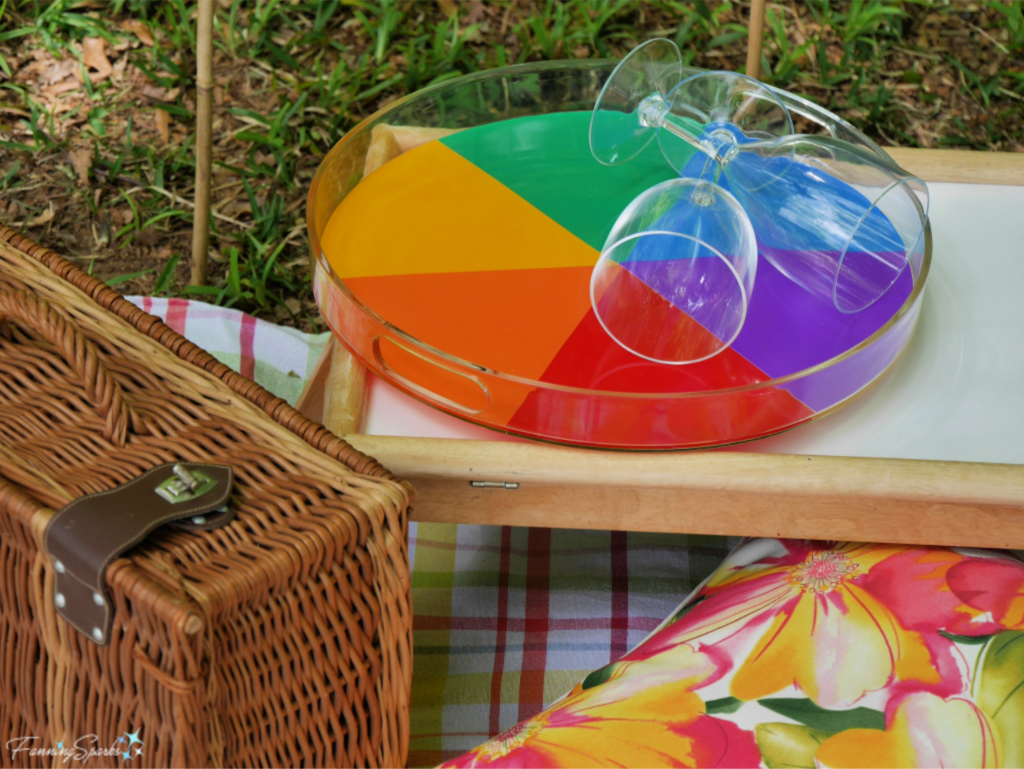 A matching picnic blanket, pillow and napkins pull it all together. Plastic glasses and melamine plates add ease and convenience. A wicker picnic basket and small table tray help with transport and set up.
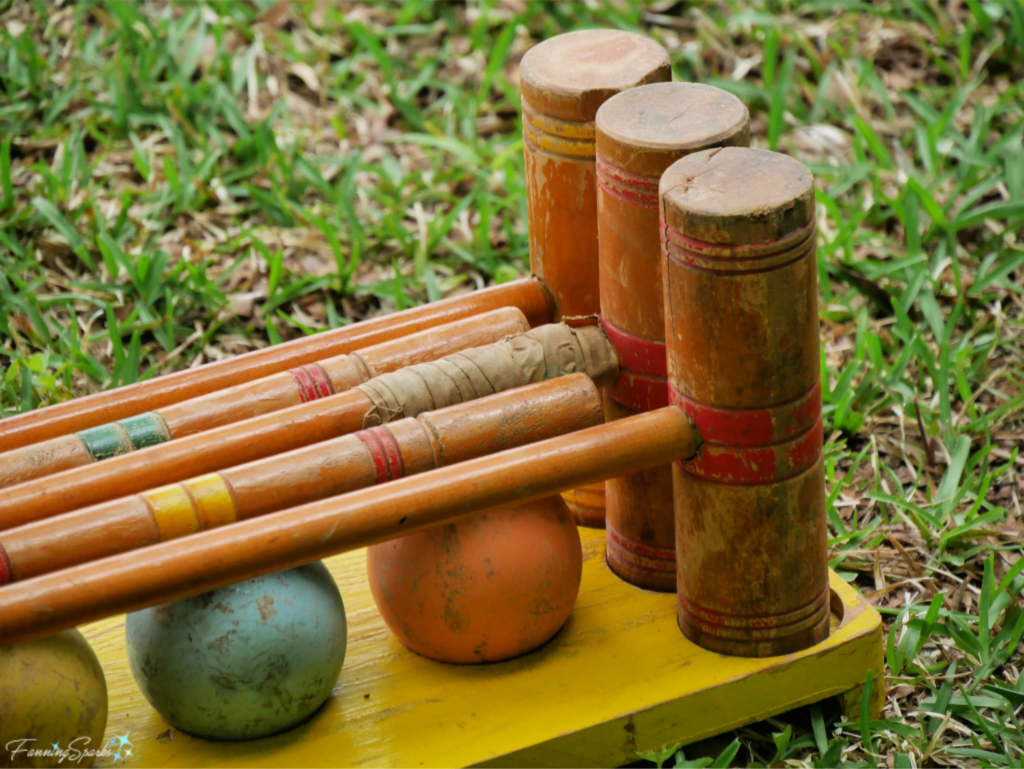
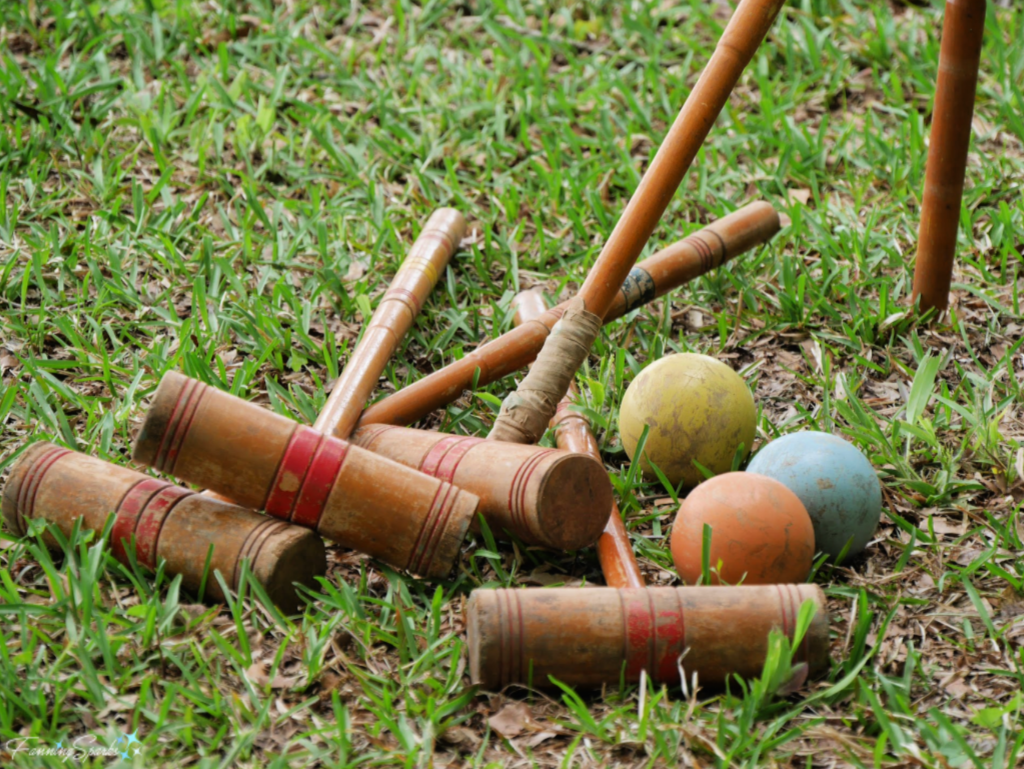
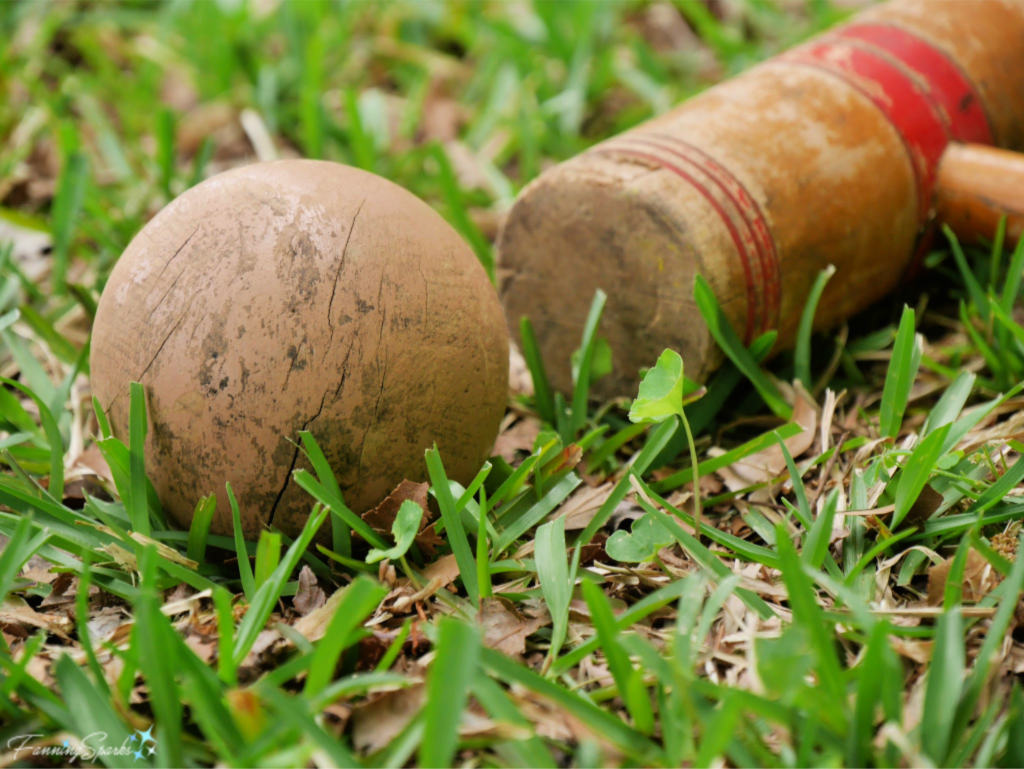
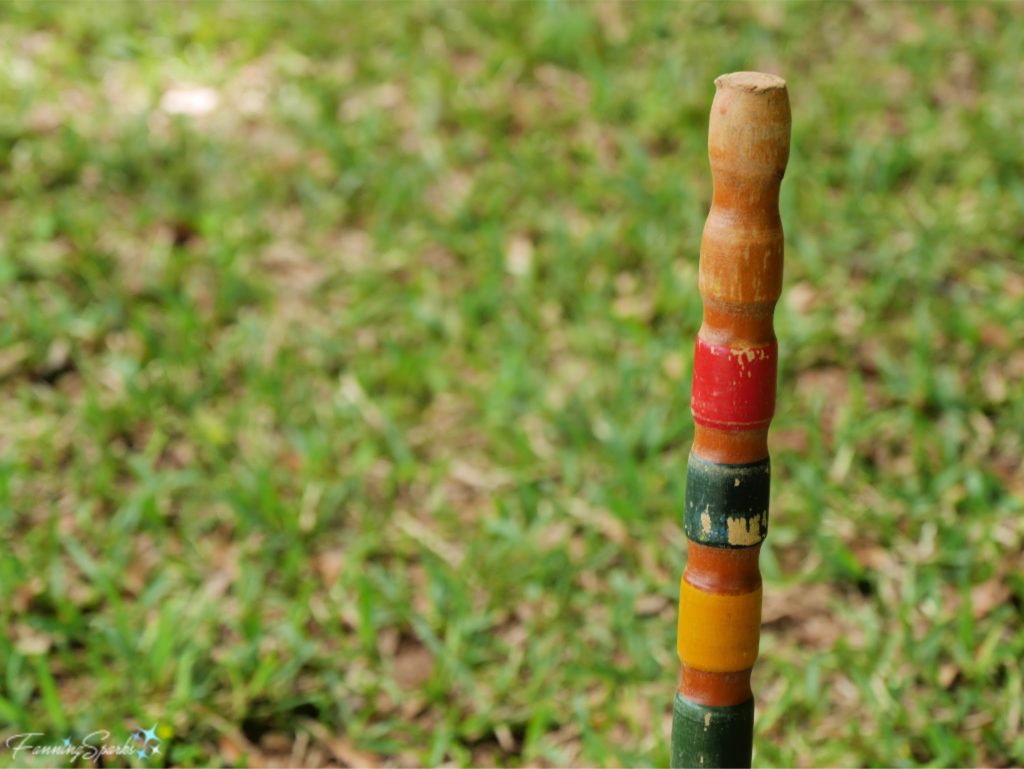
 Meanwhile, a vintage lawn croquet set adds playful fun and character.
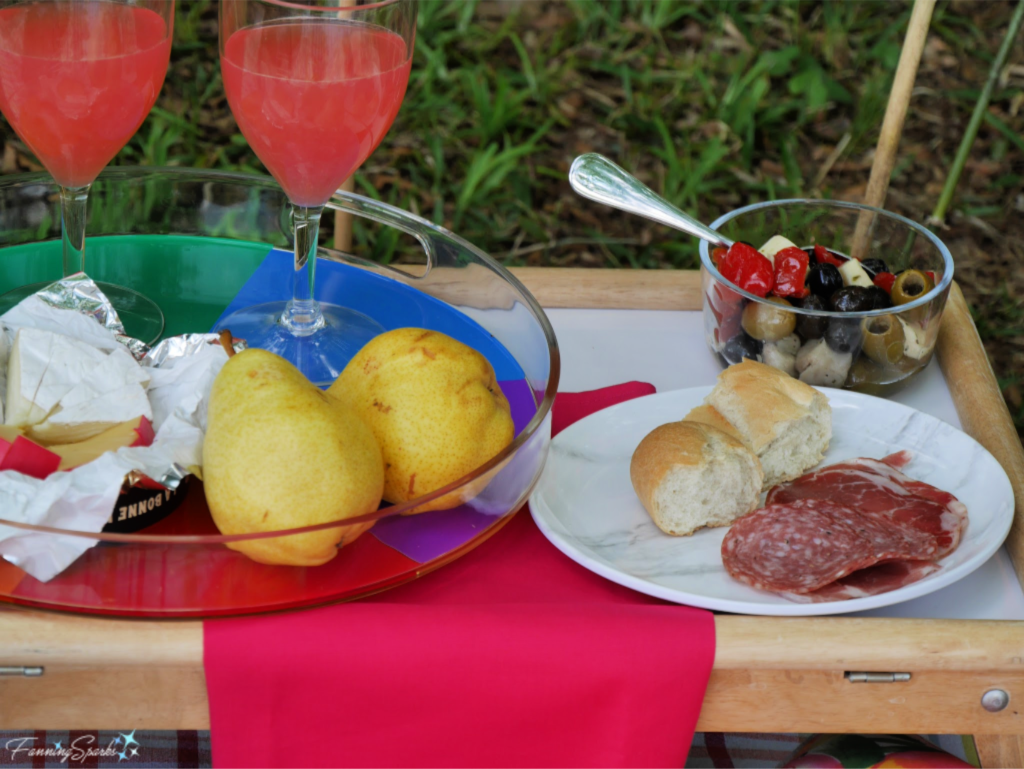
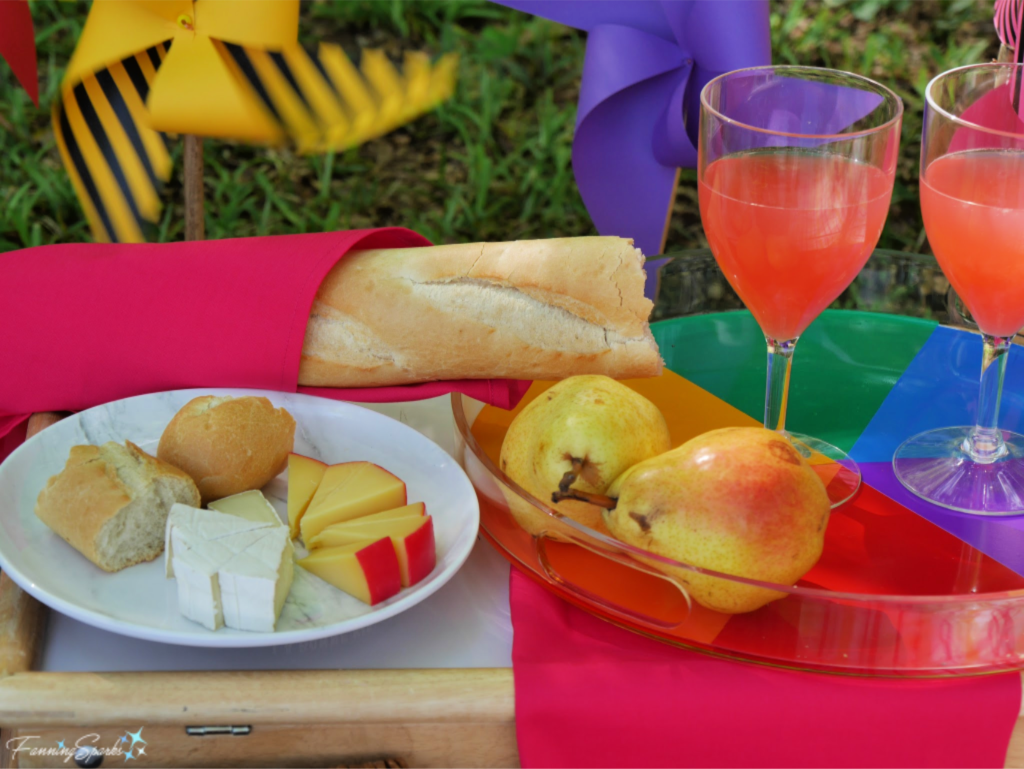
 A simple meal of bread, cheese, olives, meats and fruit hit the spot.
 After this nice light meal, a little cloud gazing was in order.
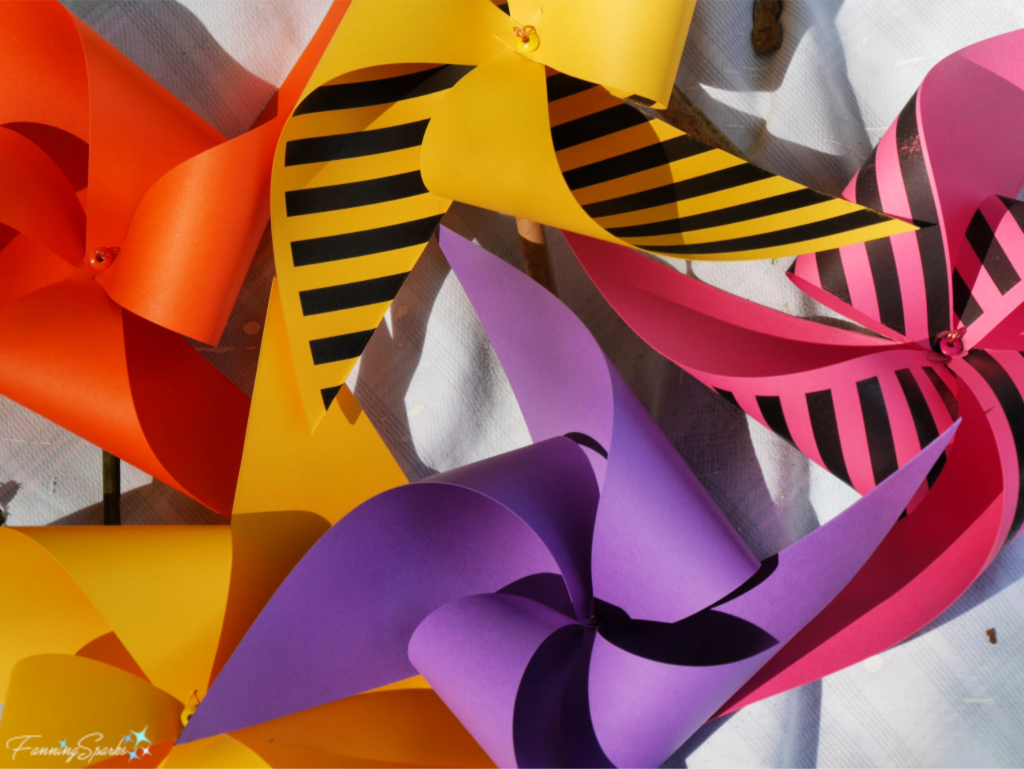
 Cardstock turned out to be the ideal material. It comes in lots of colors and can easily be printed to add a little extra interest (eg black stripes). Cardstock is flexible enough to bend the wings without creasing or folding. I drilled a small hole in the end of a bamboo stick to hold the pinwheel. We have lots of bamboo in our yard so that was an easy choice. Alternatively, you could use small dowels.
 The tricky part was making the pinwheels spin smoothly. After a little trial and error, I found a solution that worked. Short pieces of wire, with a small loop at each end, held the pinwheels to the bamboo sticks. But getting the tension and spacing right was the challenge. The pinwheel didn’t spin if it was attached too tightly or too loosely. I finally got the right tension when I inserted 3 small wooden beads as spacers between the layers‒one bead on top of the wings, one bead between the wings and the paper back, and one bead between the paper back and the stick. That worked like a charm and the pinwheels were spinning in the breeze.
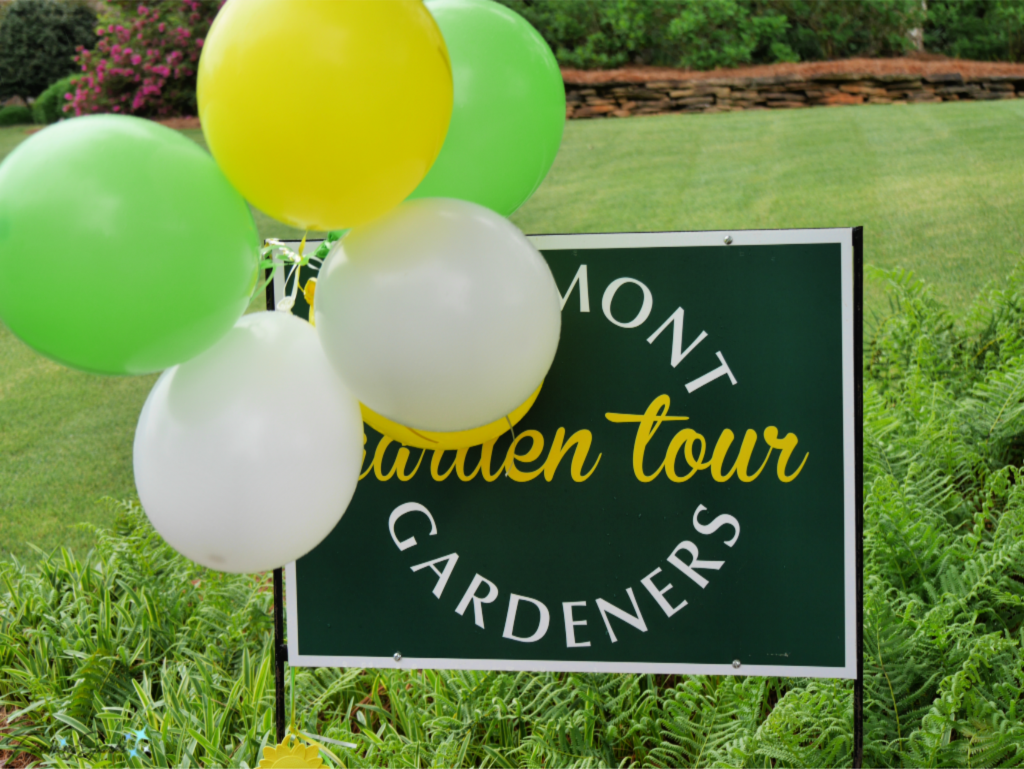 The tour included 5 great gardens and encouraged visitors to “immerse yourself in this self-guided tour filled with garden creativity and ideas”. I followed those instructions to the letter and immersed myself in 4 beautiful gardens. Today I’d like to share some of the creativity and ideas from those gardens.
 But just around the corner, this delightful scene took the edge off the formality. And, yes, that’s a rock alligator in the green grass! I love how the gardener used a variety of grasses and plants to “paint” this scene.
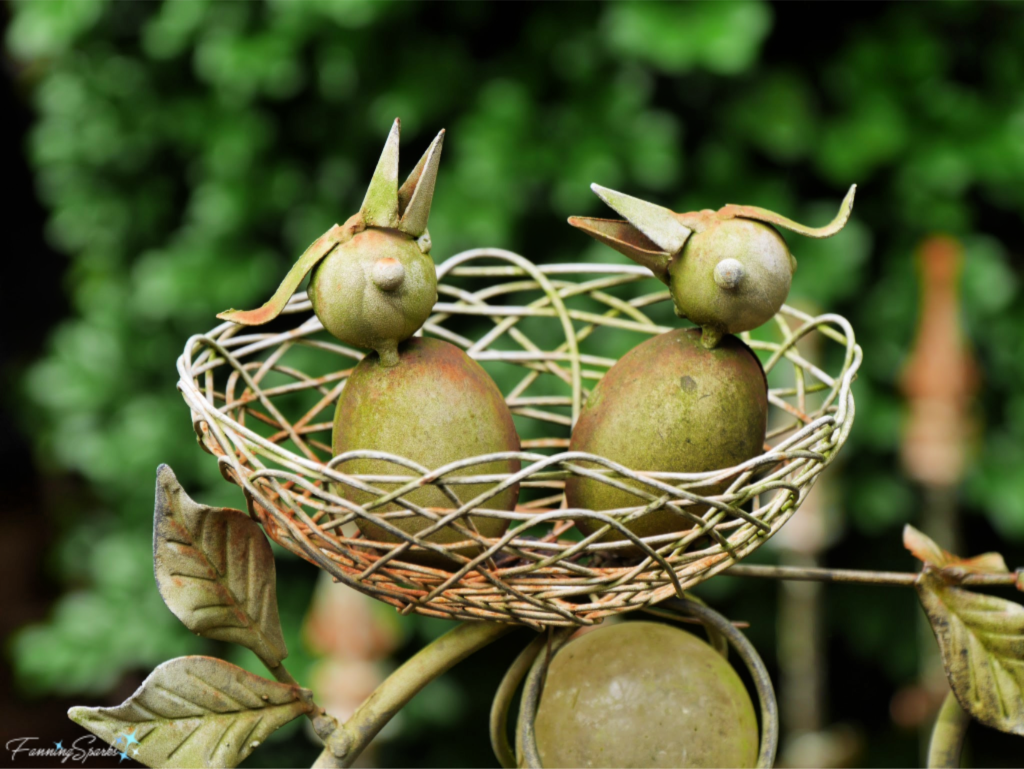
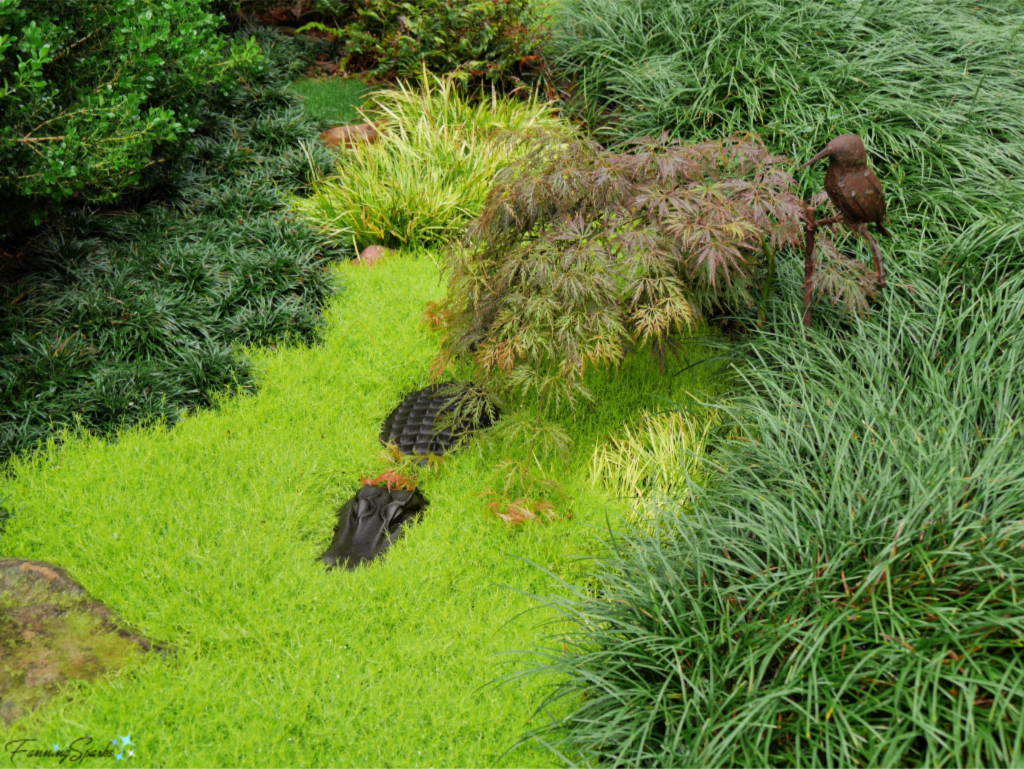 Touches of whimsy, like this bird sculpture, kept things light and fun.
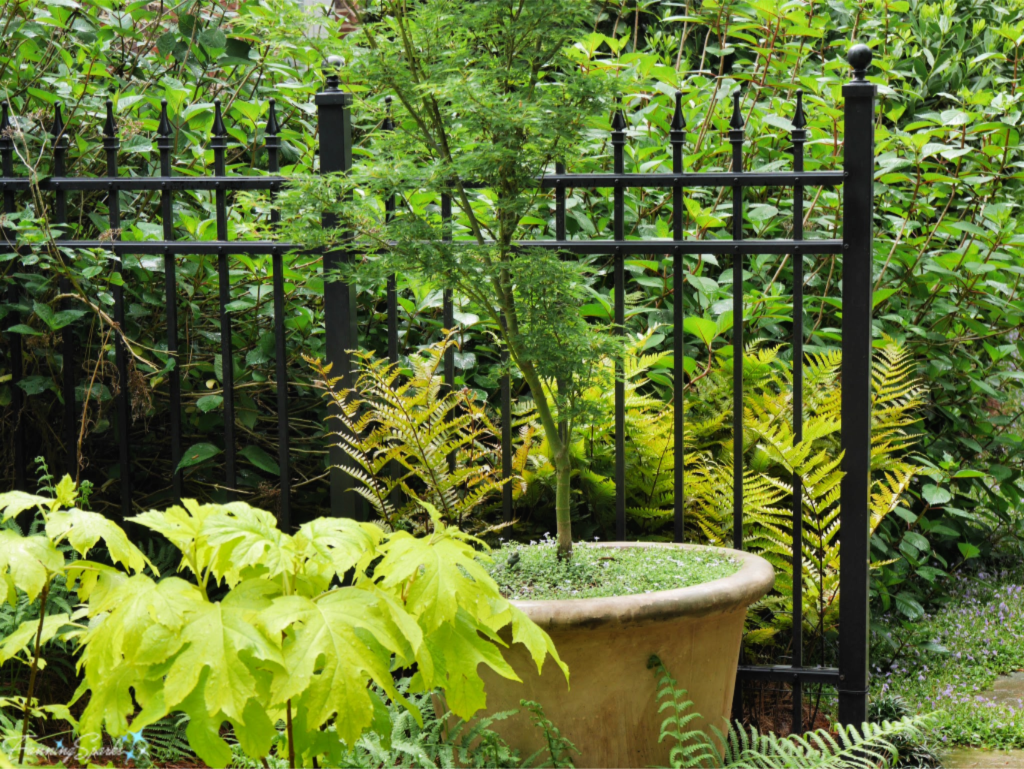
 This gardener strategically placed large potted plants throughout the garden. It’s a great way to vary height and add interest. Planting a delicate ground cover at the base of the potted tree helps the pot blend in and hides the potting soil. That’s a nice detail I’ve filed away for future reference.
 The Cavan garden at Mal Bay Rd had a fun, casual vibe. Here a set of stone steps and a simple arch connect the backyard seating area to a grassed section.
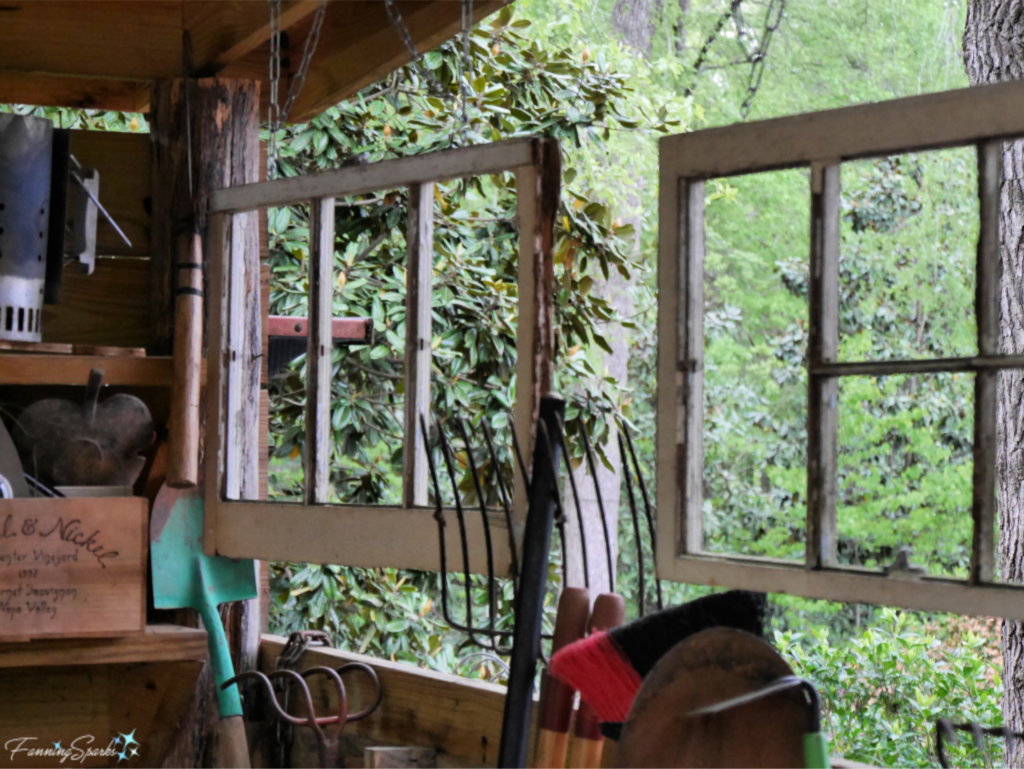
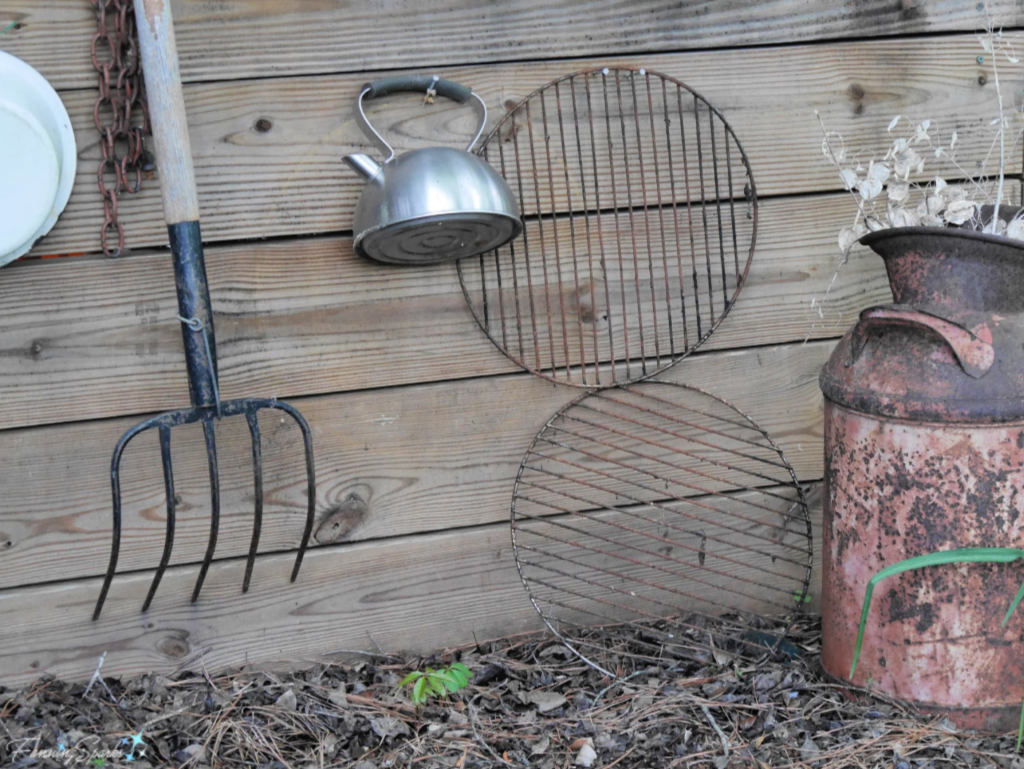
 This potting shed caught my eye. It’s situated towards the back of the property, has open walls, a fun collection of vintage items and a delightful, laid back feel.
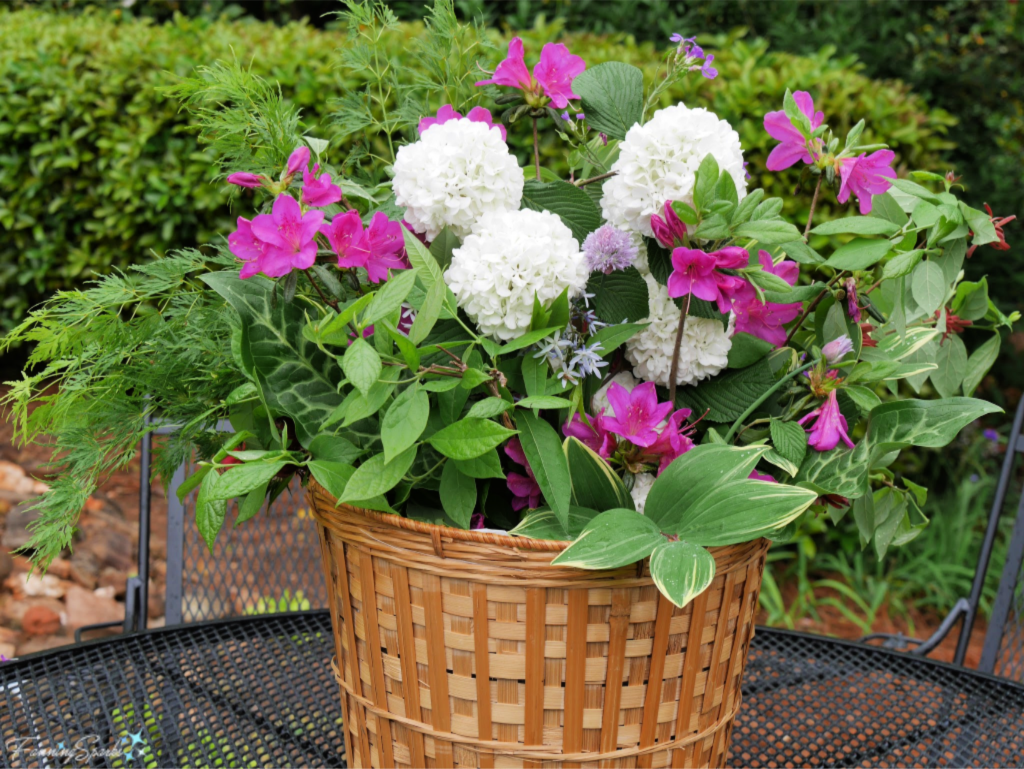
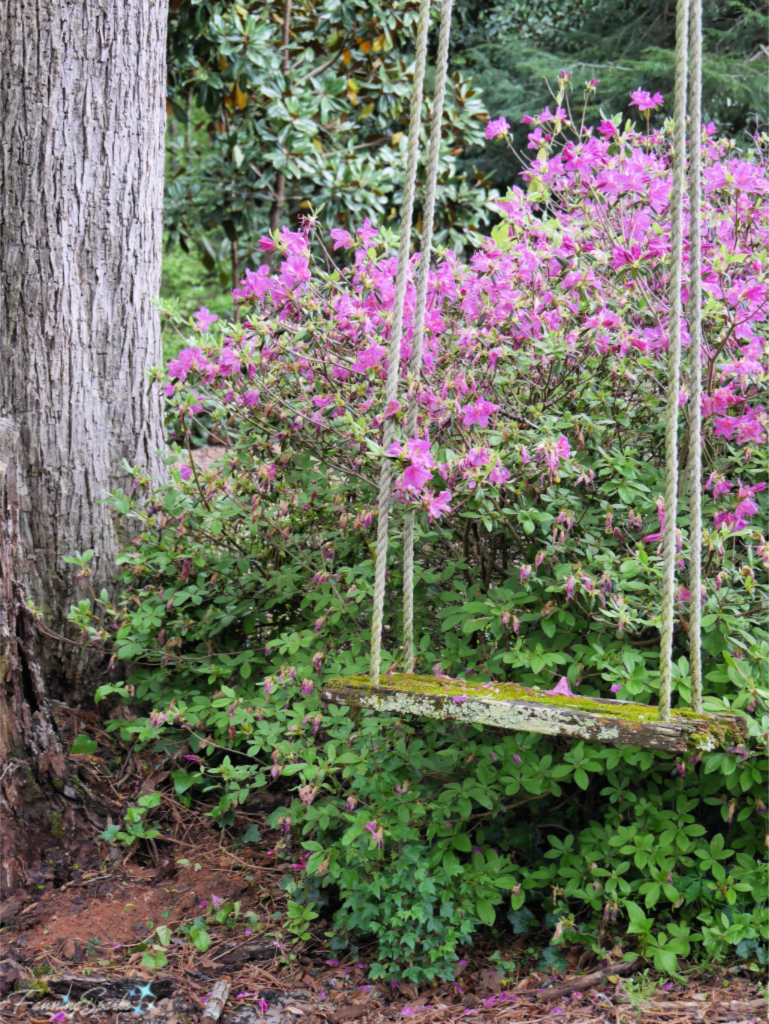 Several casual floral arrangements were placed throughout the seating and eating areas. I rarely think to do this but it’s easy to do and adds such a nice touch.
 The Carey garden on Fox Trace featured a network of dry streams and bridges leading to this lovely covered seating area.
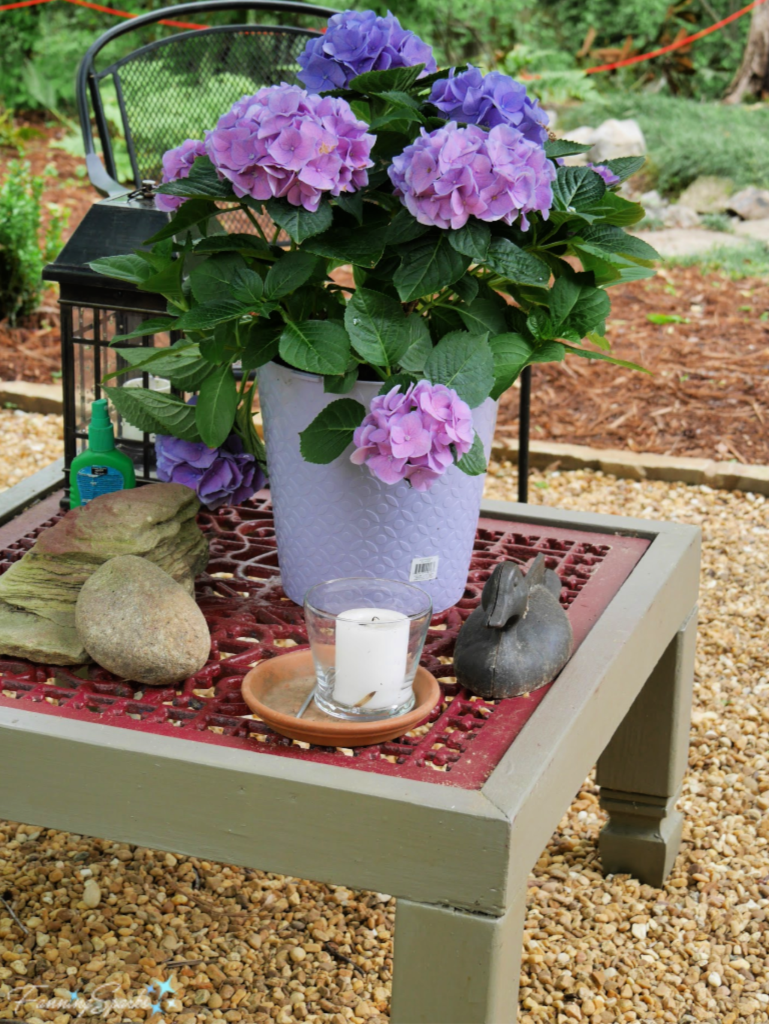
 The coffee table adds interest to the seating area with its unusual surface. It reminds me of a vintage heat grate floor register.
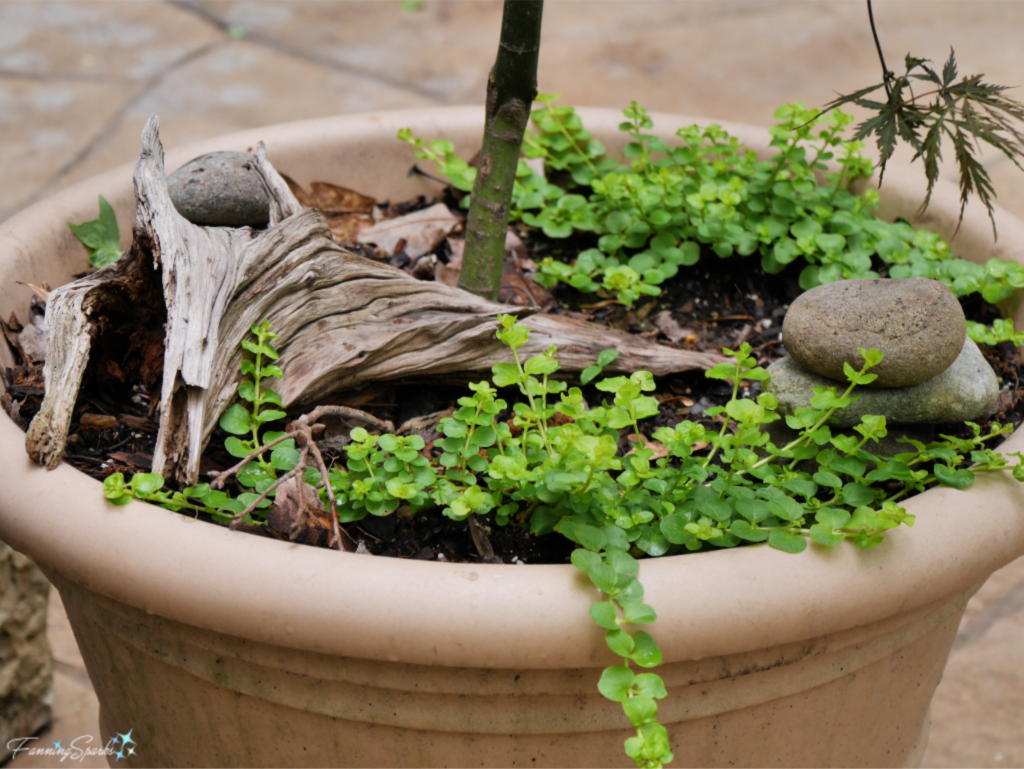
 Here’s another take on dressing up the soil under a potted tree. A little driftwood, a few carefully selected stones, and some creeping jenny complete the scene.
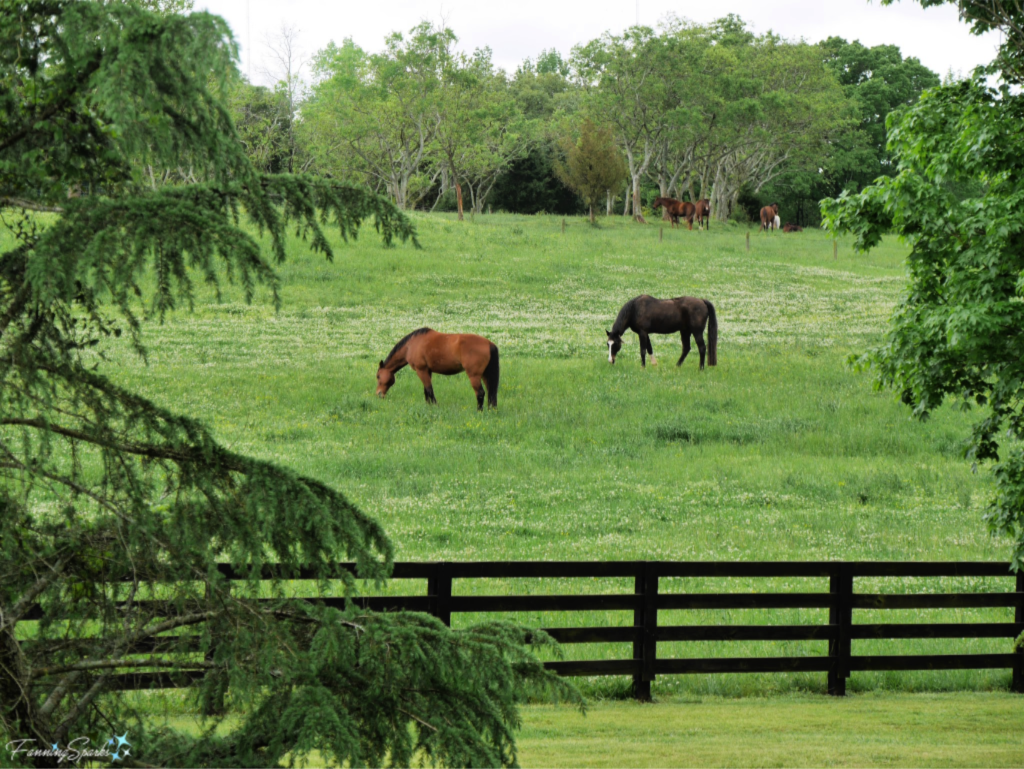
 I wrapped up my tour with the Middendorf garden on Jefferson River Rd. As it turned out, I saved the best for the last! All the gardens were lovely but the Middendorf garden is located on a 137-acre horse farm, called Silverthorn Farm, which was open for our viewing pleasure. Gardeners often strive to frame views in their designs but not many have vistas like this!
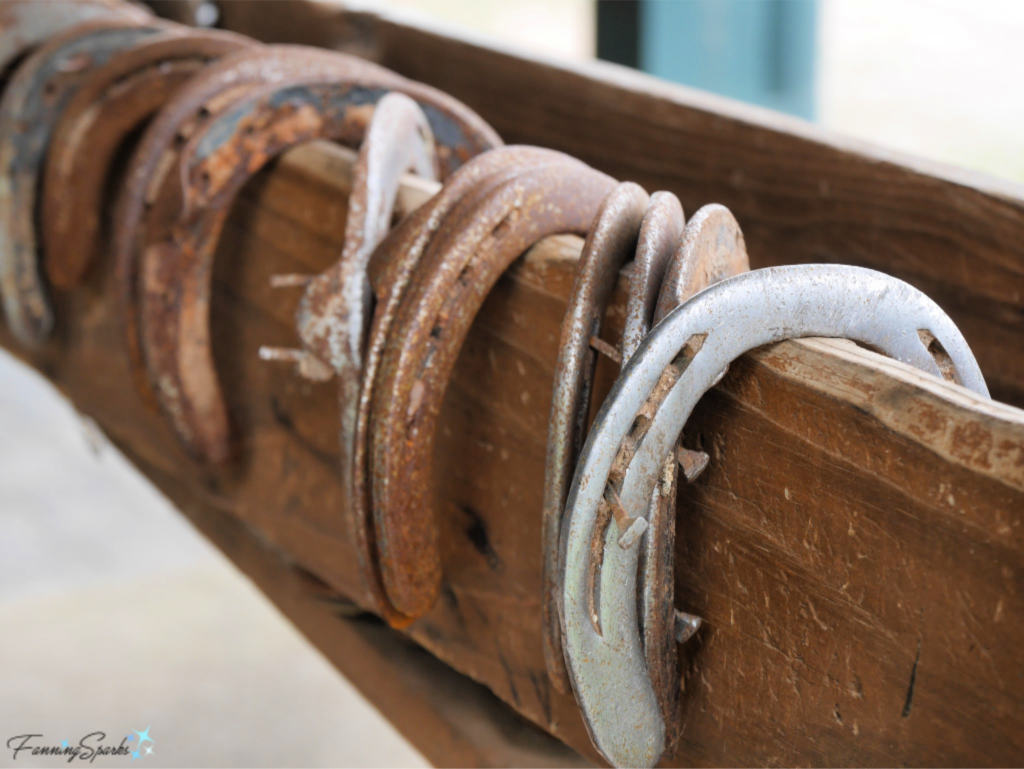
 This horse barn is 200 years old and packed with charm and character.
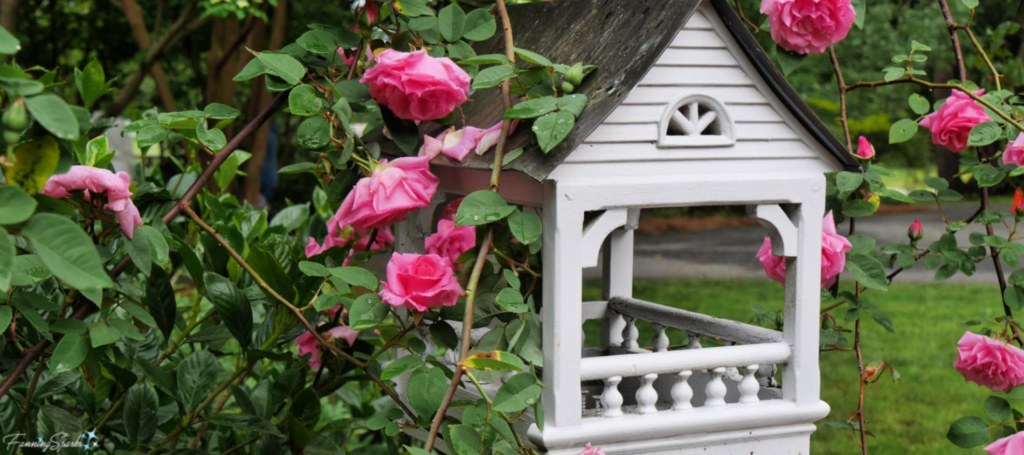
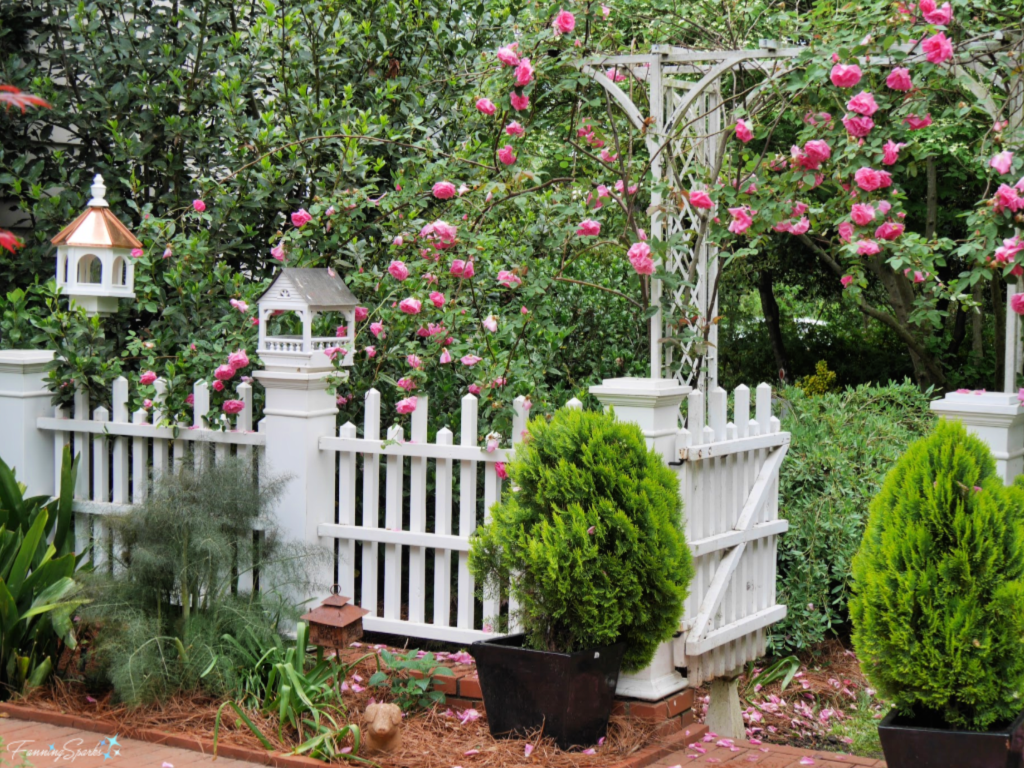
 The flower gardens were lovely as well. This enclosed rose garden was at its prime.
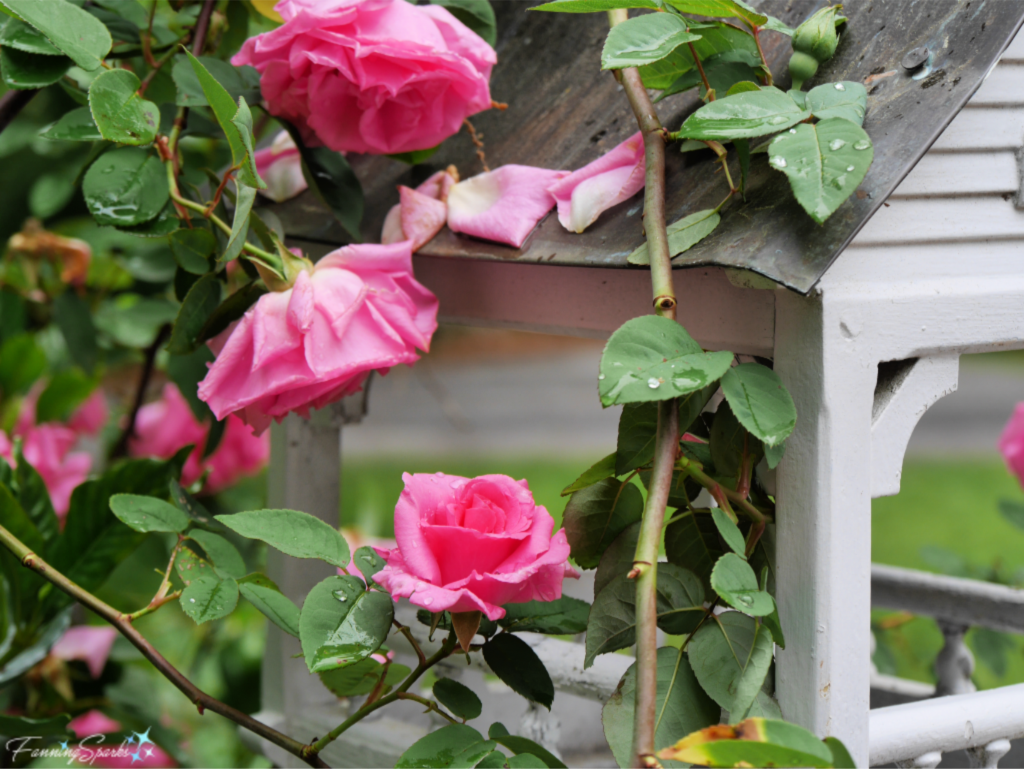
 The setting was delightful and the roses were splendid. It was the perfect way to wrap up a day of magnificent spring gardens.
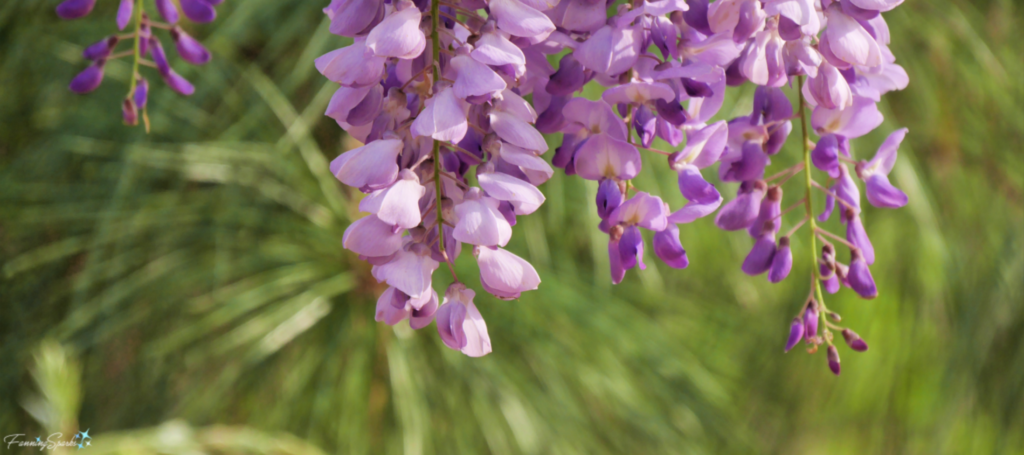
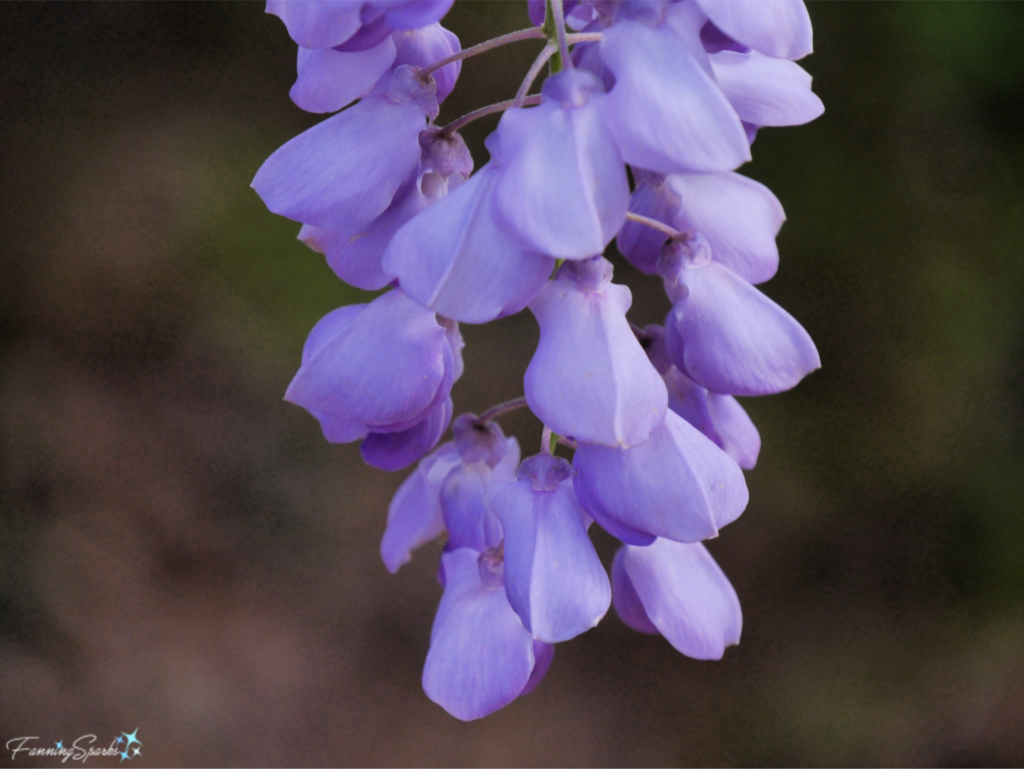
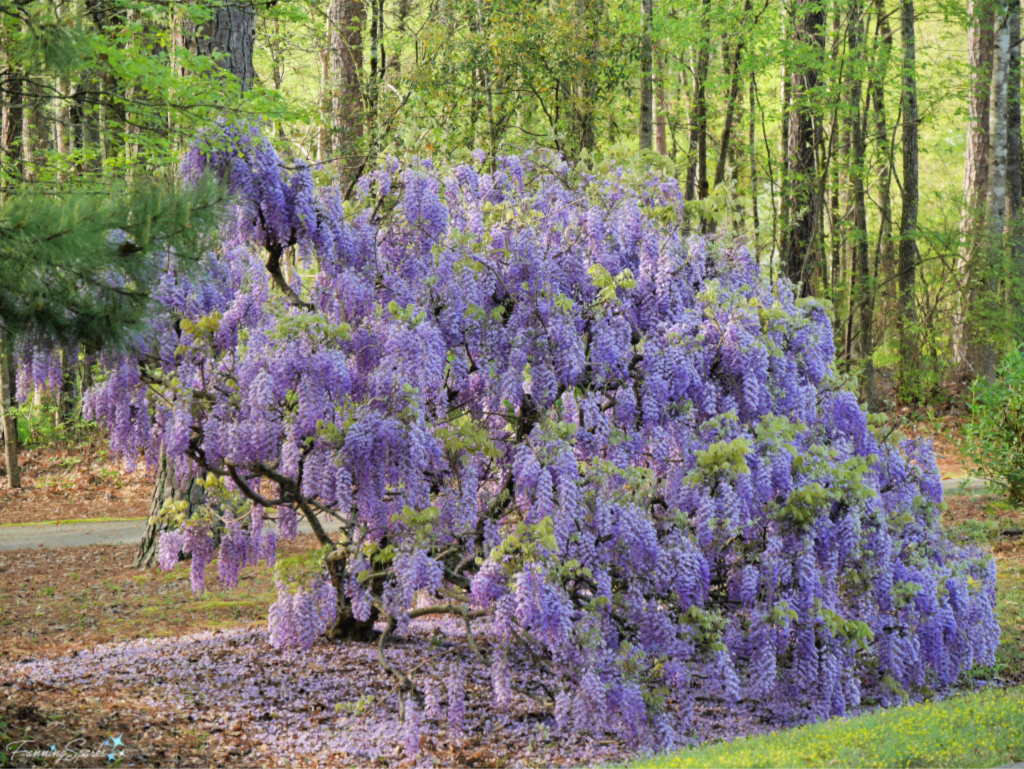 Upon closer inspection, a curtain of rich color and shape came into focus.
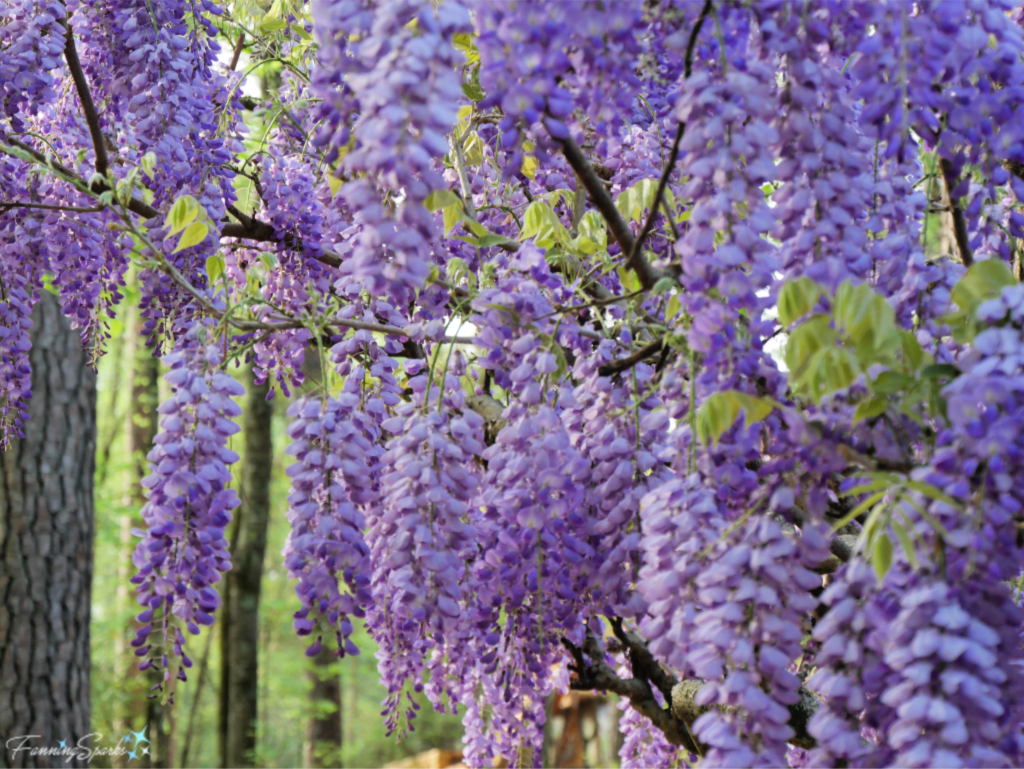 The curtain consisted of dozens of pendulous blooms called racemes.
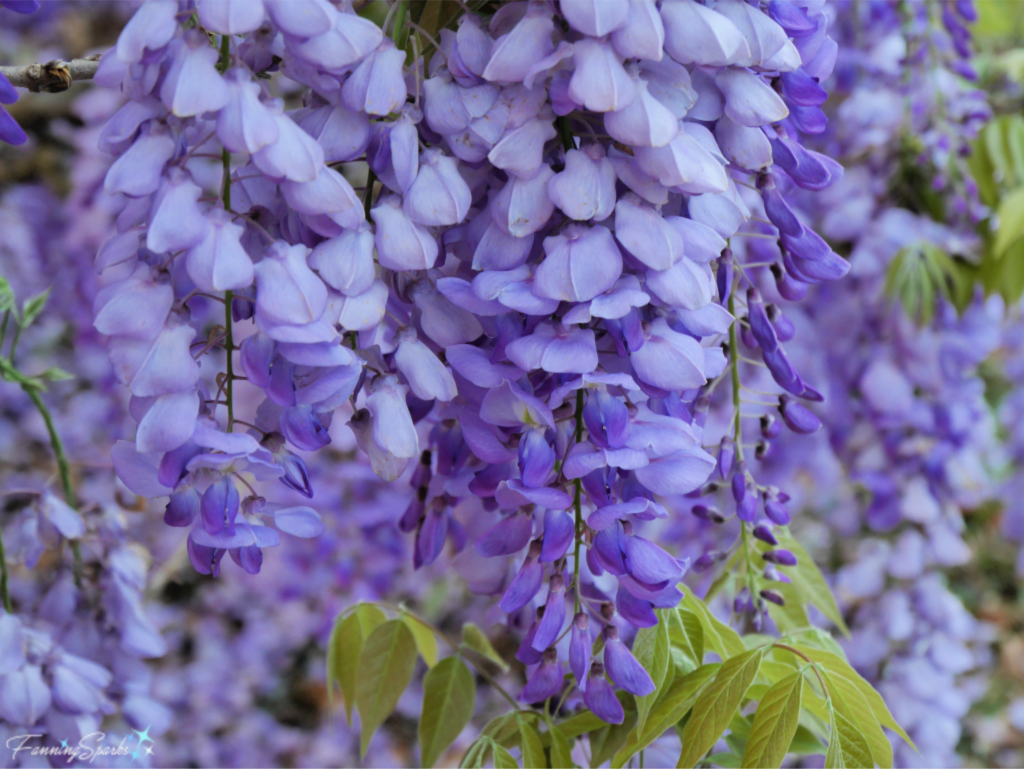 Separate flowers clustered along a central stem to form the raceme. The flowers open from the top down.
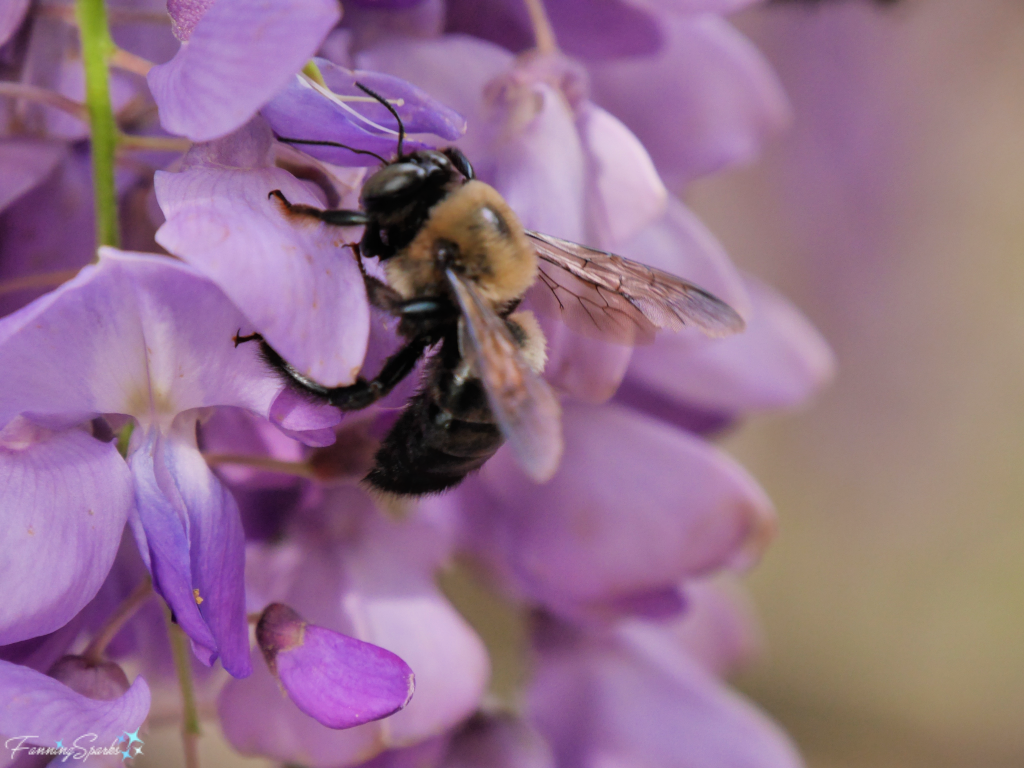
 Not only was this wisteria beautiful, it also smelled heavenly. And it created a soft, musical buzz from all the bumble bees that were busy at work.
 It was so lovely that I couldn’t resist staging a charming spring picnic under the wisteria. Luckily, my neighbor was very accommodating. Thank you, Bill!
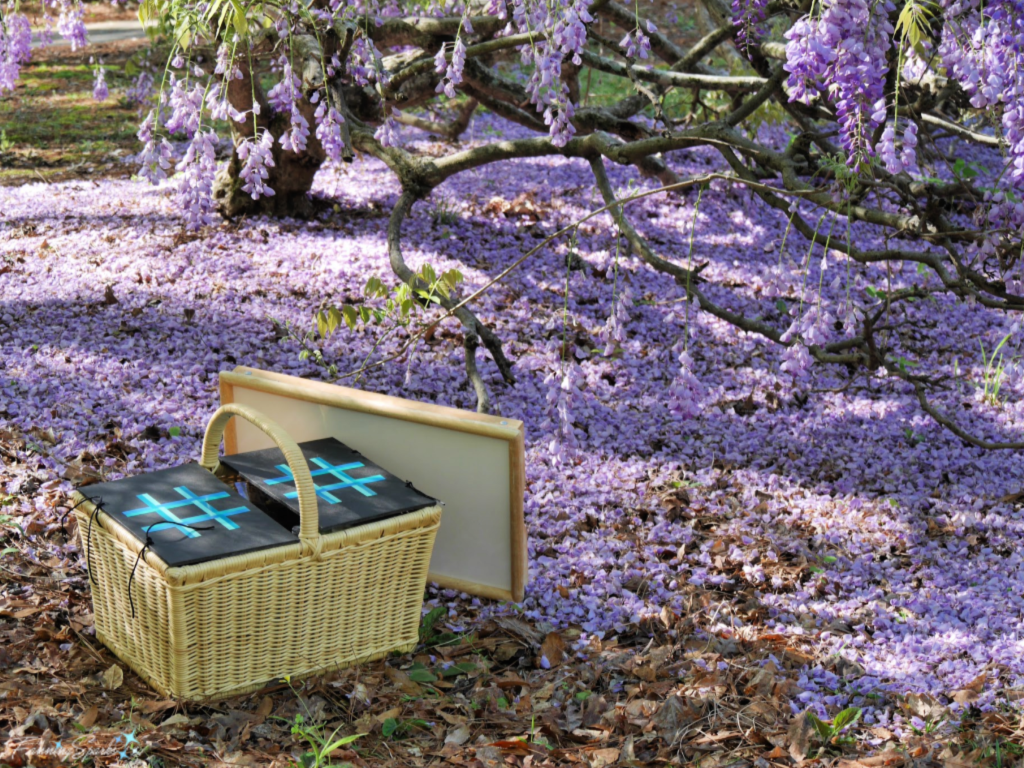 Here’s how it came together.
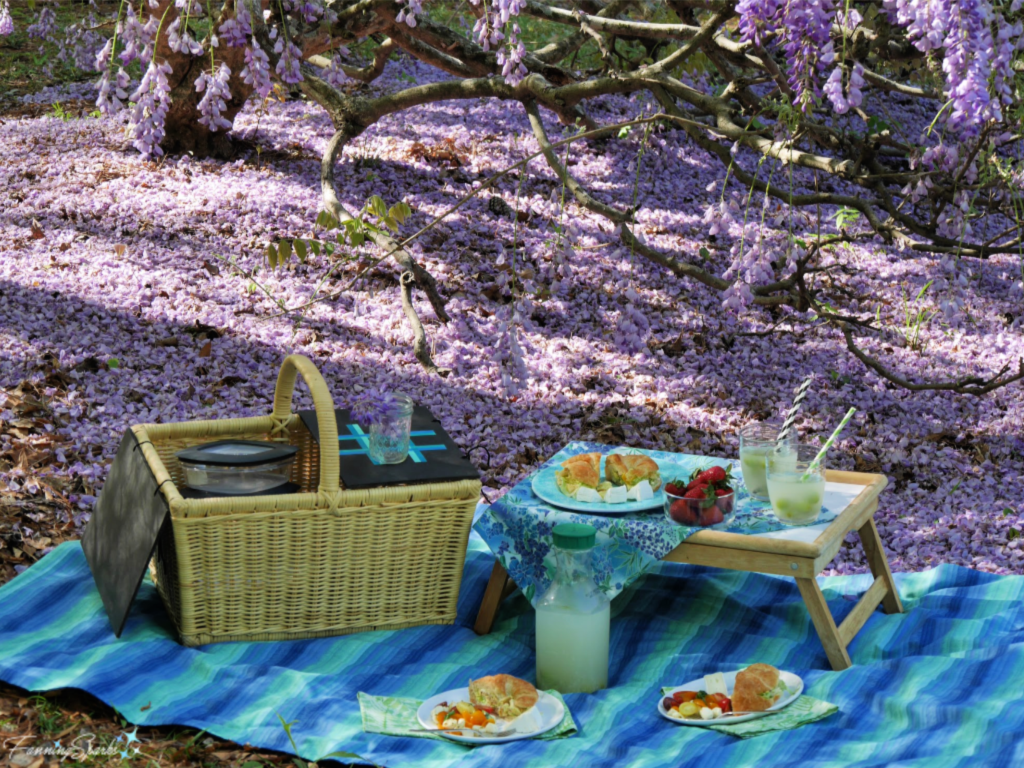 Special thanks to my favorite chef, David, for the curry chicken salad croissants and the caprese salad.
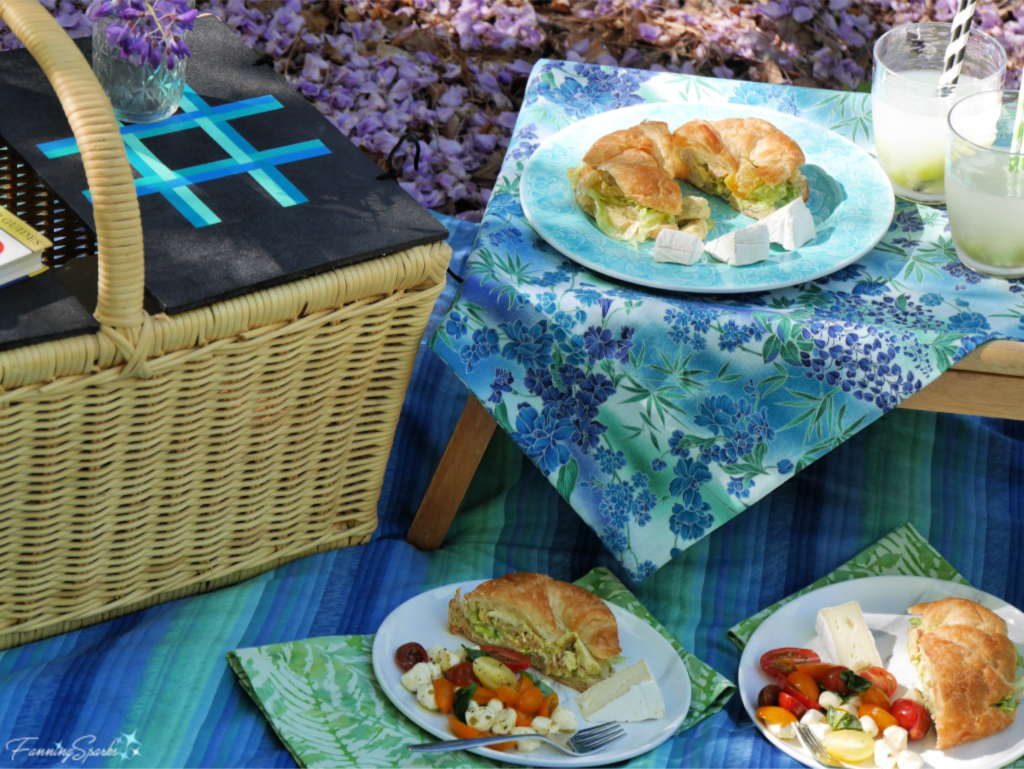 This was my first time using this picnic basket. It was ideal. It’s a generous size, solidly constructed, and the top serves as a handy, little table.
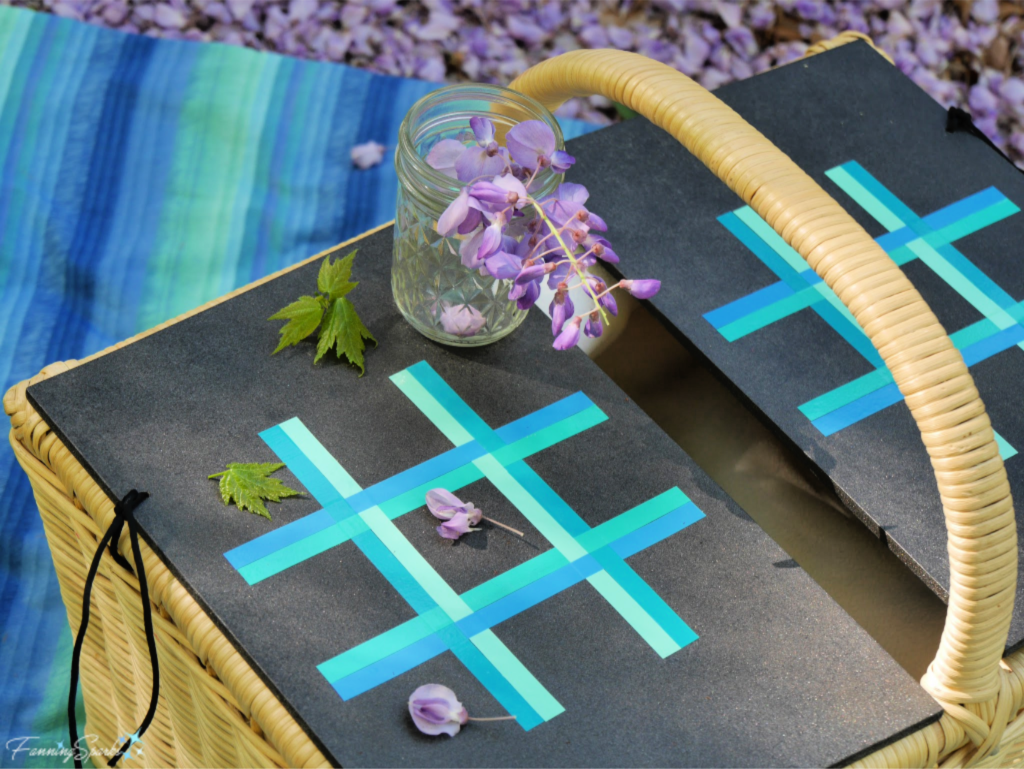
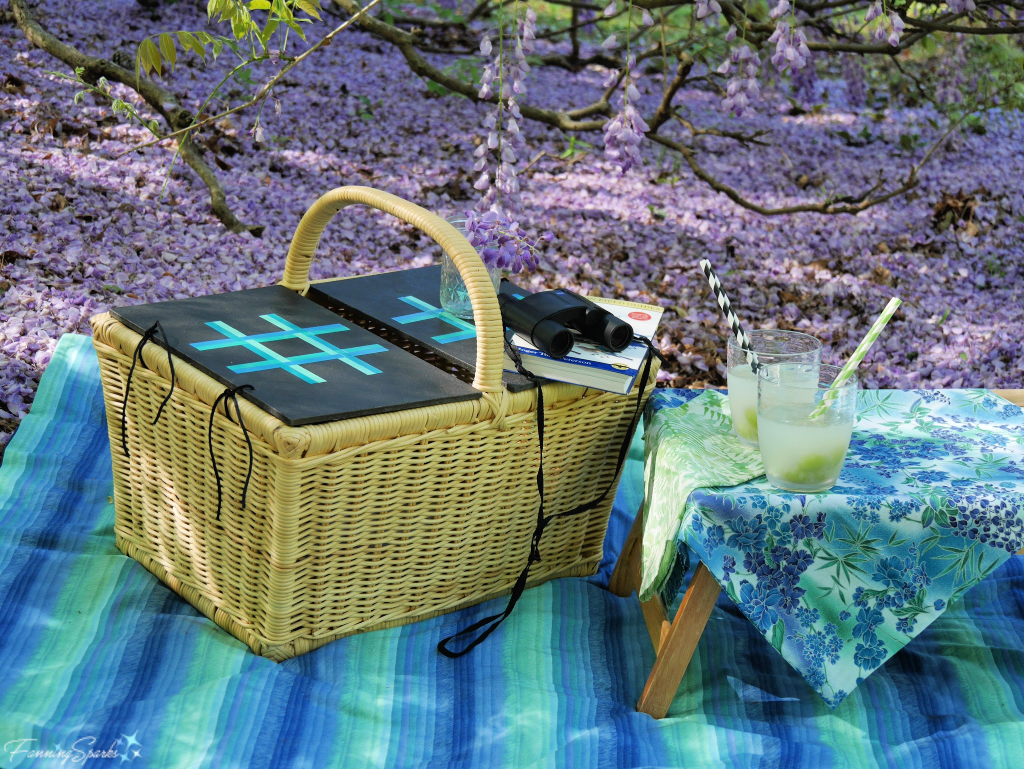 I actually found the wicker basket at a local thrift store for only $7.00 but it was missing the lids. A couple of pieces of MDF, some black spray paint and black cord solved the problem. Of course, I couldn’t just leave the covers plain black. A few strips of adhesive vinyl in a simple woven design added some punch. The new colorful grid is perfect for an impromptu game of tic-tac-toe.
 Staging this picnic was a great photography challenge. In fact, it was so much fun I may have to do it again!