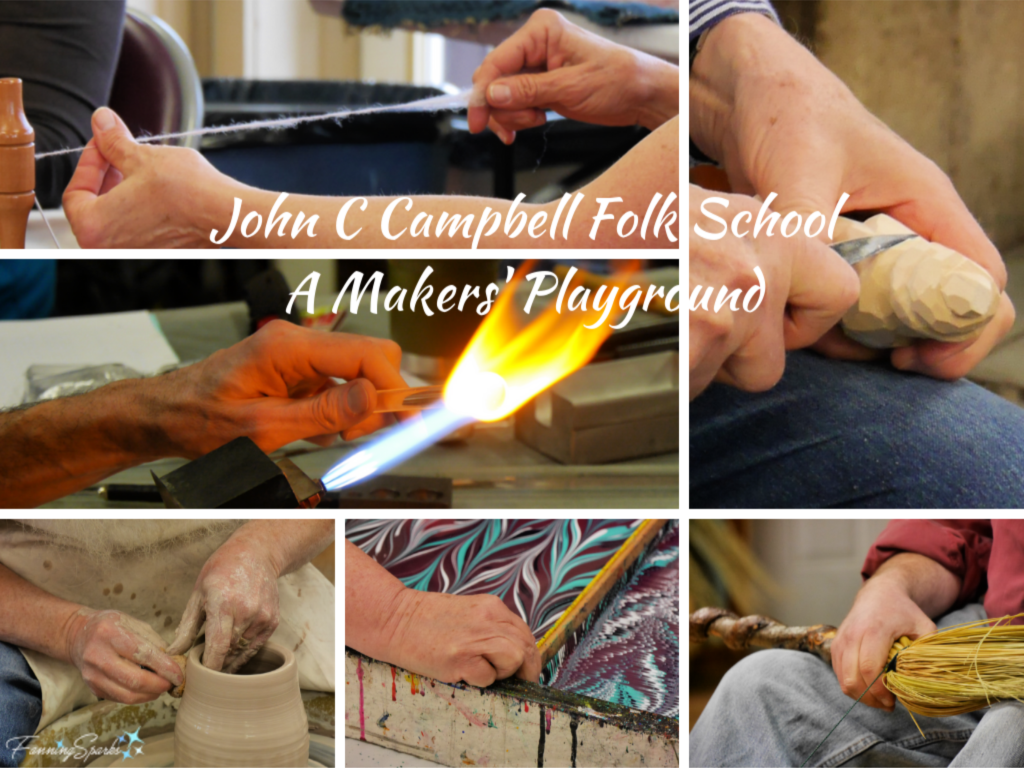
My time at the John C Campbell Folk School has come to an end. It was bittersweet‒as these events usually are‒to leave the School and head home. The heart and soul of the Folk School is creativity and making so I’d like to focus on that aspect of my experience in today’s wrap-up. The context for this post, if you haven’t been following the story, is that I participated in a 9-week Work Study Program at the Folk School. During this session, I worked for the Folk School as a member of the Garden Crew for 5 weeks and attended classes for 4 weeks.
In a previous post, Work Study Program FAQ, I shared the questions I’m asked most frequently about the program. Check it out if you’re wondering how the program works. I’ve also shared my experiences of participating in various classes.
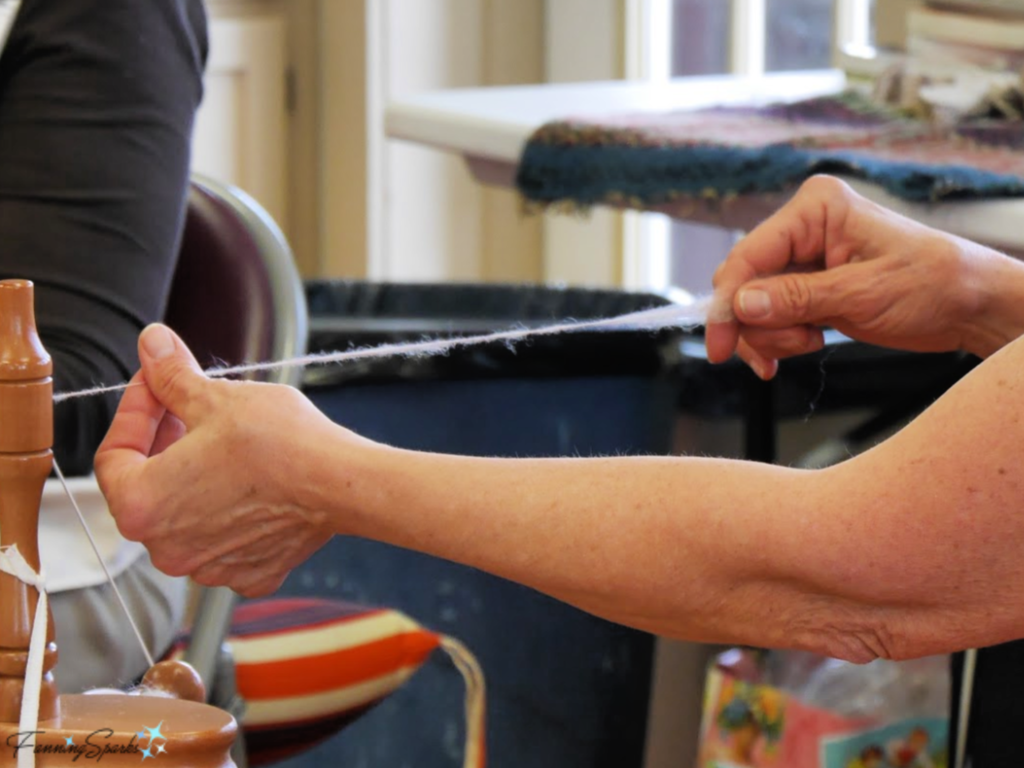
In the week-long From Sheep to Shawl class, we learned the various steps to go from a sheep’s fleece to spun yarn. Here Martha Owen demonstrates spinning.
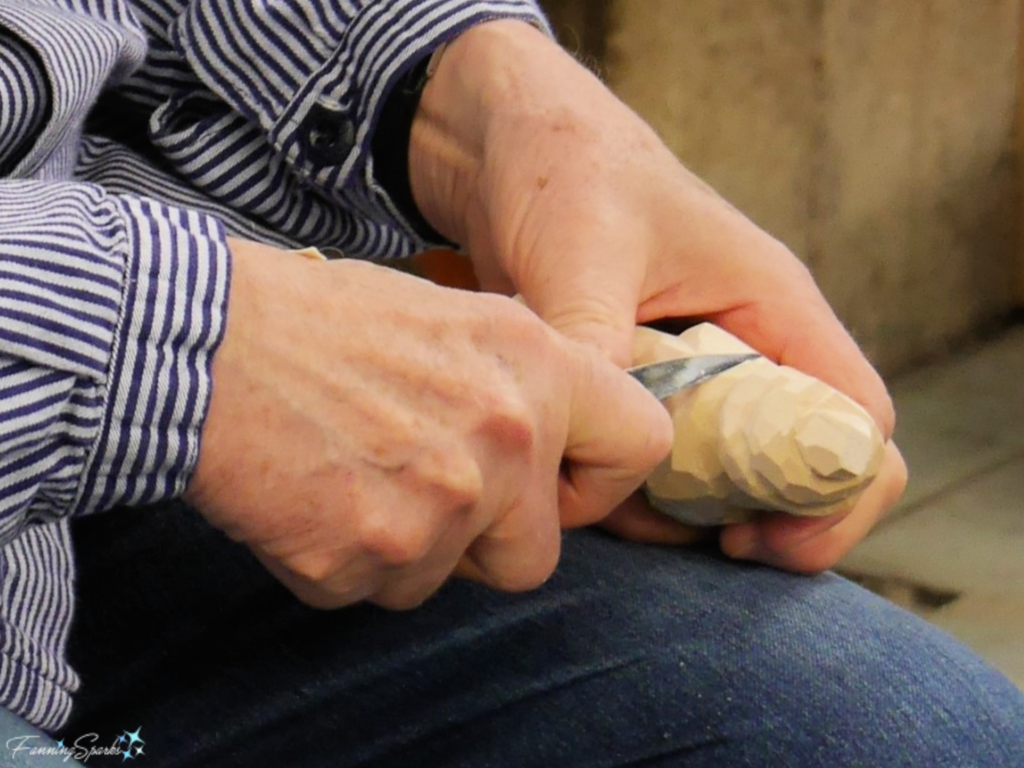
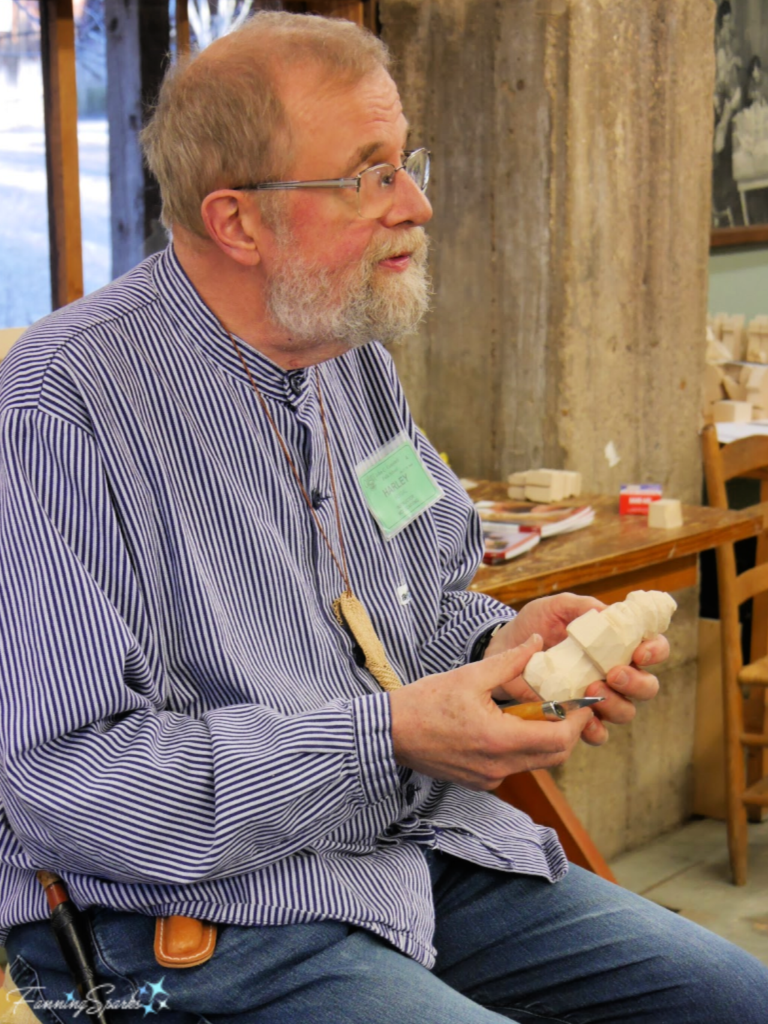
 In Flat-Plane Carving with Harley, I shared the story of this Scandinavian style of woodcarving taught by Harley Refsal.
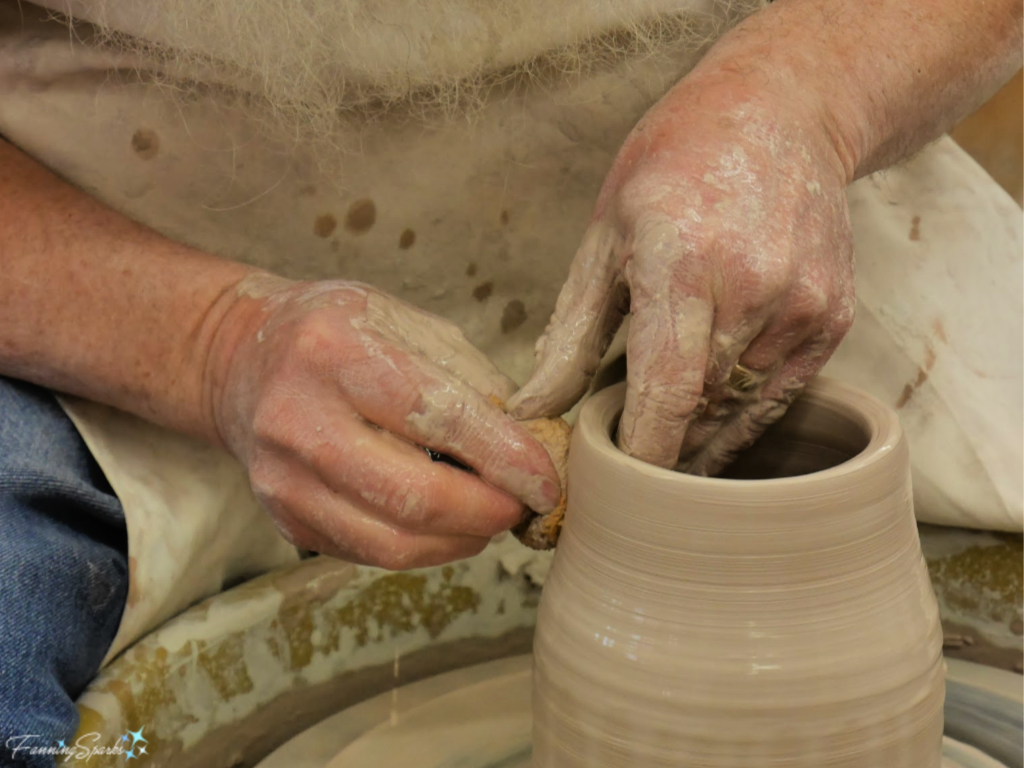
 In Center, Open, Pull, I shared my experience learning to throw clay during the week-long Round and Round We Throw class. Steve Fielding demonstrates throwing.
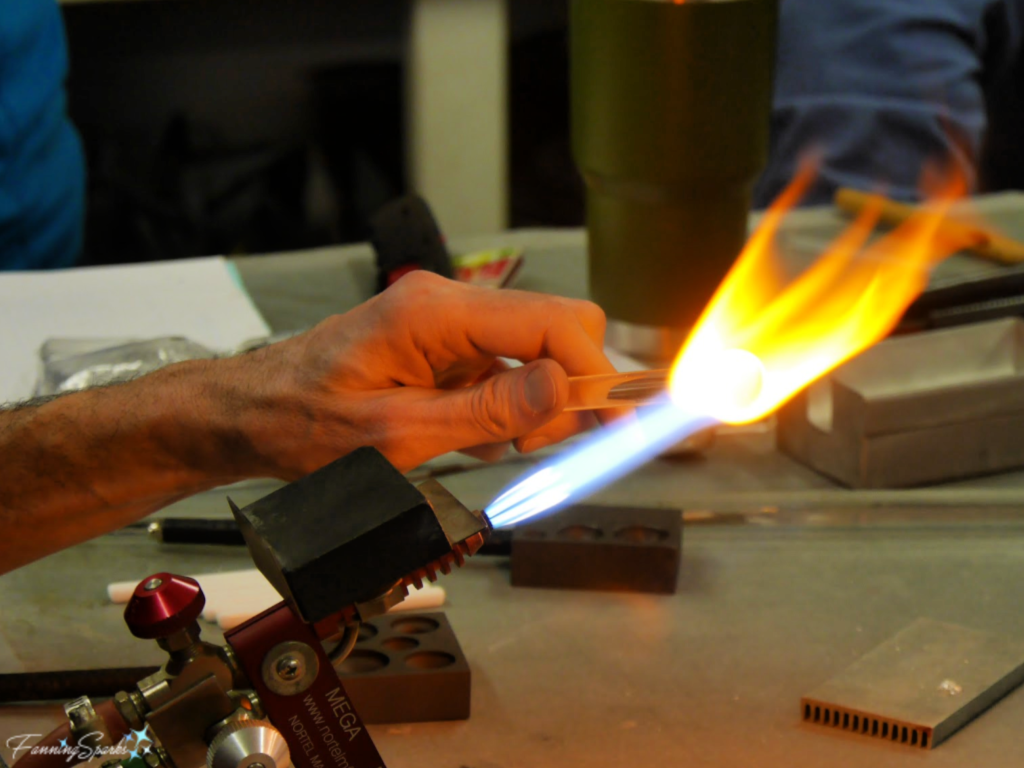
 I didn’t post about every class I attended although I enjoyed them all. I participated in a week-long class on glassblowing with Alex Greenwood and Tony Prince. Here Tony demonstrates flamework.
 Weekend classes on Basketry, Inkle Weaving and Portrait Photography were also informative and great fun.
As you can see, that’s a broad spectrum of subjects. I deliberately chose to go “wide and shallow” instead of “narrow and deep”. I selected a variety of classes including media that were completely new to me (eg woodcarving) and media that have interested me for some time (eg basketry and clay).
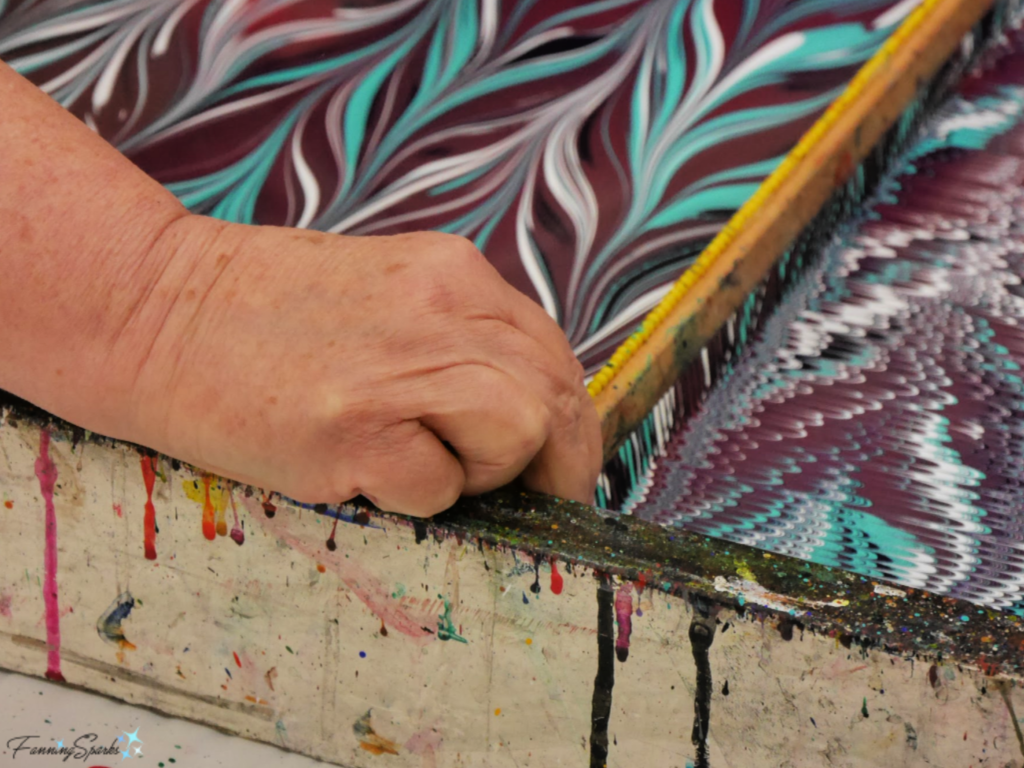
But the fun didn’t stop there, every week, one or two of the instructors host demonstrations for all students. I attended as many of these as possible. This was another excellent way to gain exposure to different media. Here are a few of the demonstrations I attended. Paper marbling was demonstrated by Pat K Thomas.
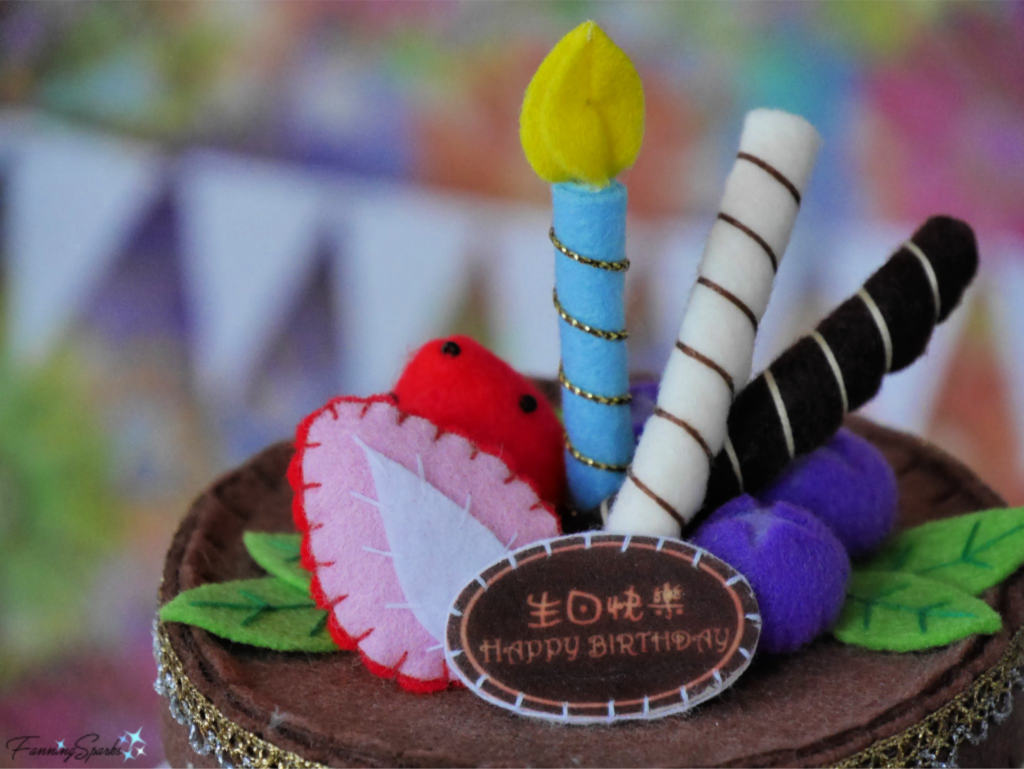
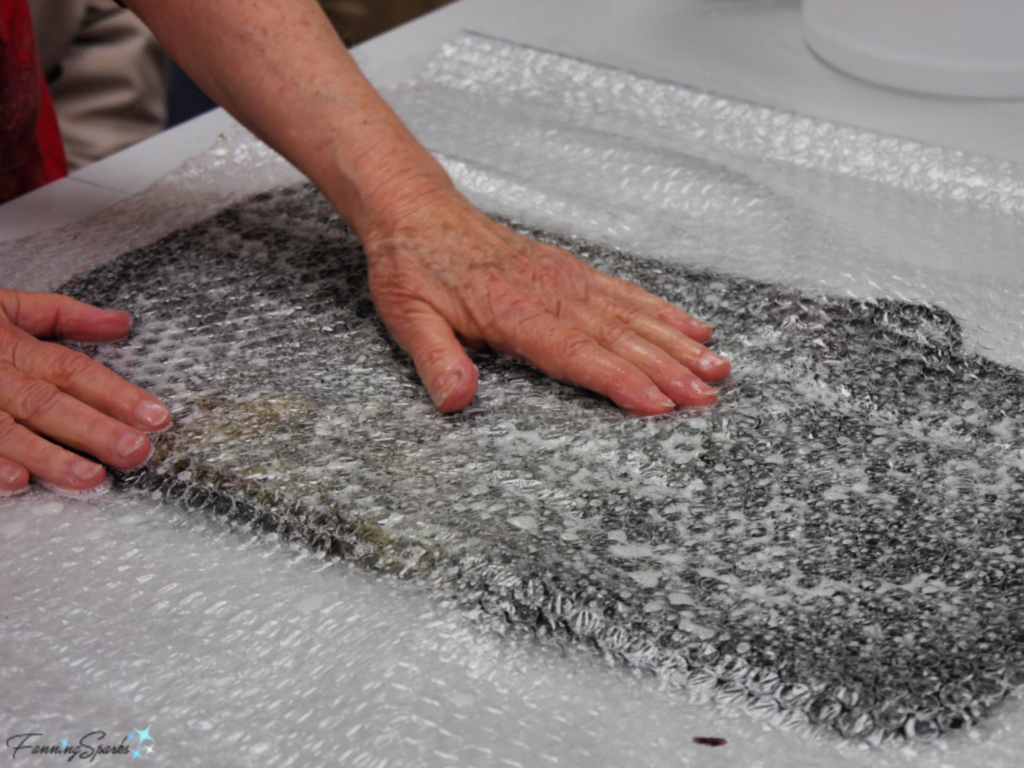
 Vasanto demonstrated felt making.
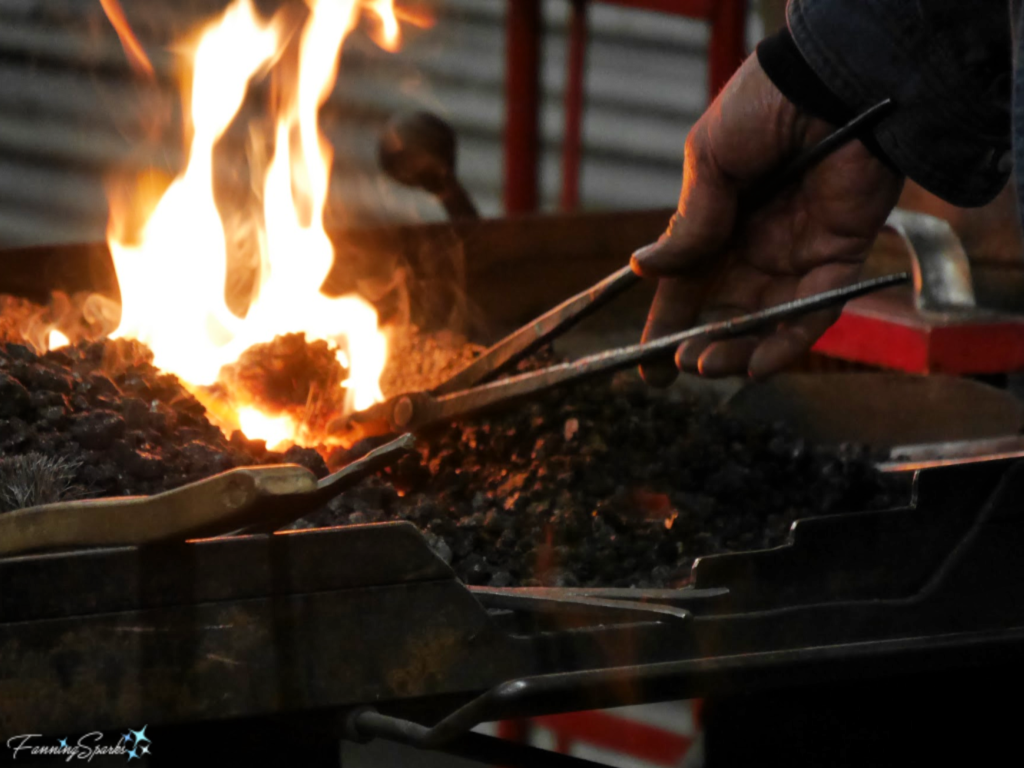
 A blacksmithing demo was hosted by Paul Garrett who is the Resident Artist for Blacksmithing.
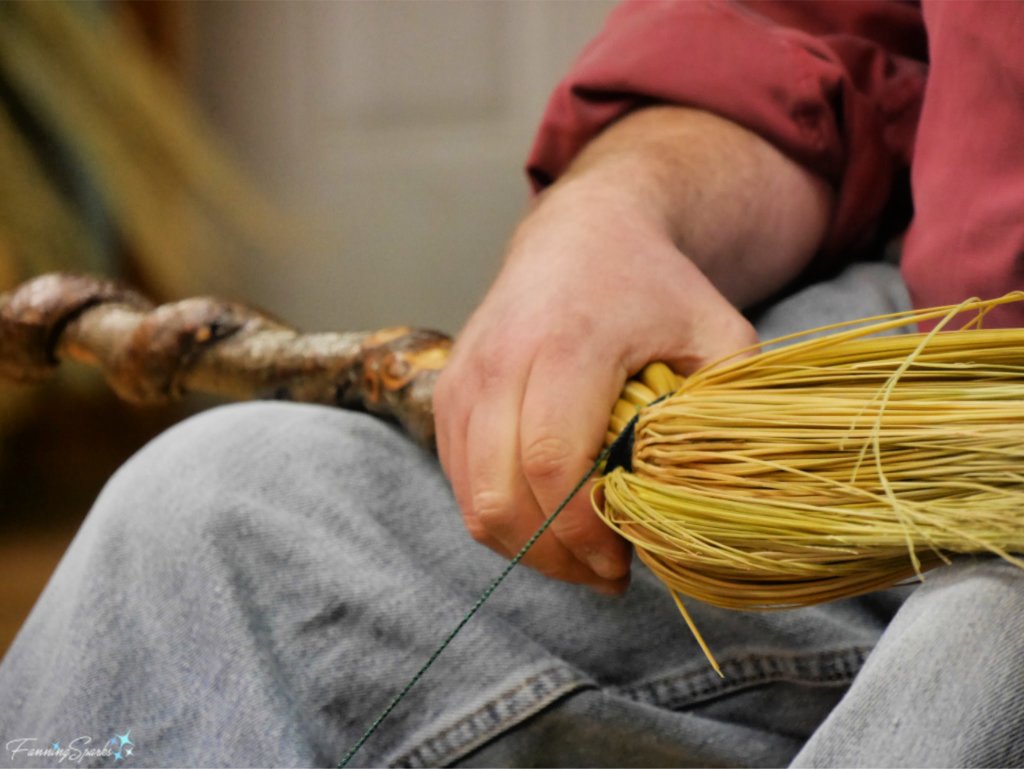
 Marlow Gates demonstrated broom making.
 This is merely a sampling of what the Folk School has to offer. For instance, I haven’t mentioned the music and dance program but it is very popular and offers a wide variety of classes.
By now, you will understand why I titled this post “A Makers’ Playground”. It’s an energizing environment. Instructors bring their expertise and know-how. Everyone brings their creativity, ideas and inspiration. Together we play. Together we create community and art. Together we make magic!
More Info
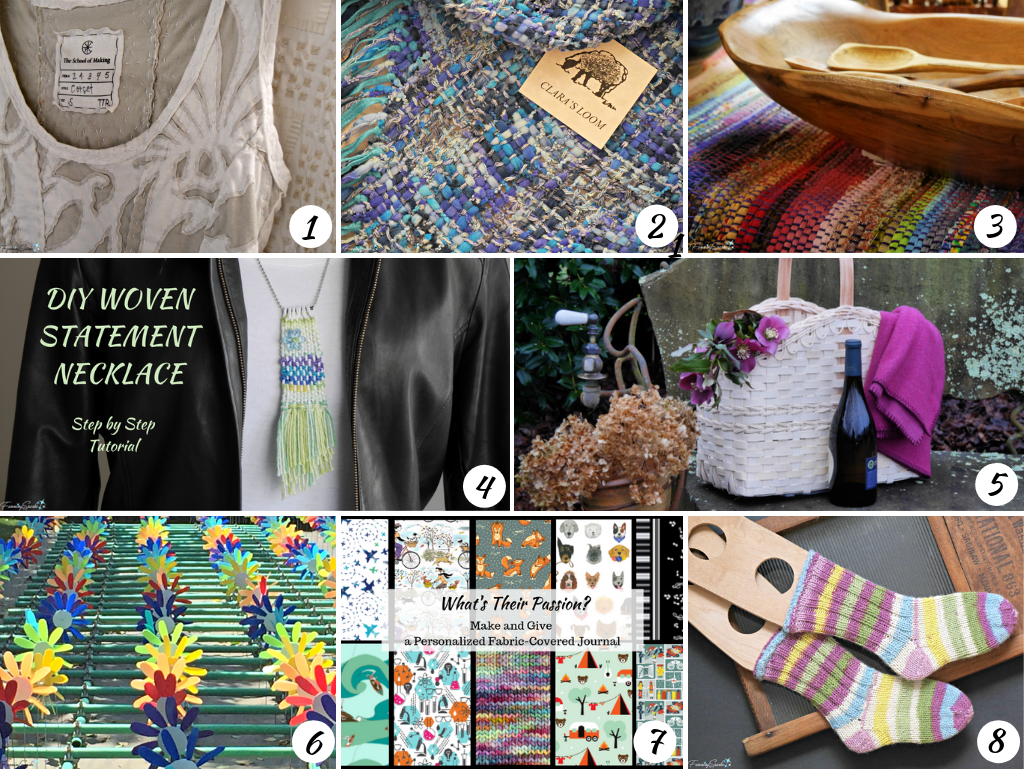
Please pin this image for future reference.
I participated in the Work Study Program at the John C Campbell Folk School. You can learn more about the program in my post First Impressions as a Work Study Student. Or check out the following posts to learn about the Folk School experience.
. Weave a Market Basket
. Artistic Details Around Campus
. Carving in Brasstown
. Getting Started with Woodcarving
. Work Study Program FAQ
. From Sheep to Shawl
. Flat-Plane Carving with Harley
. Center, Open, Pull.
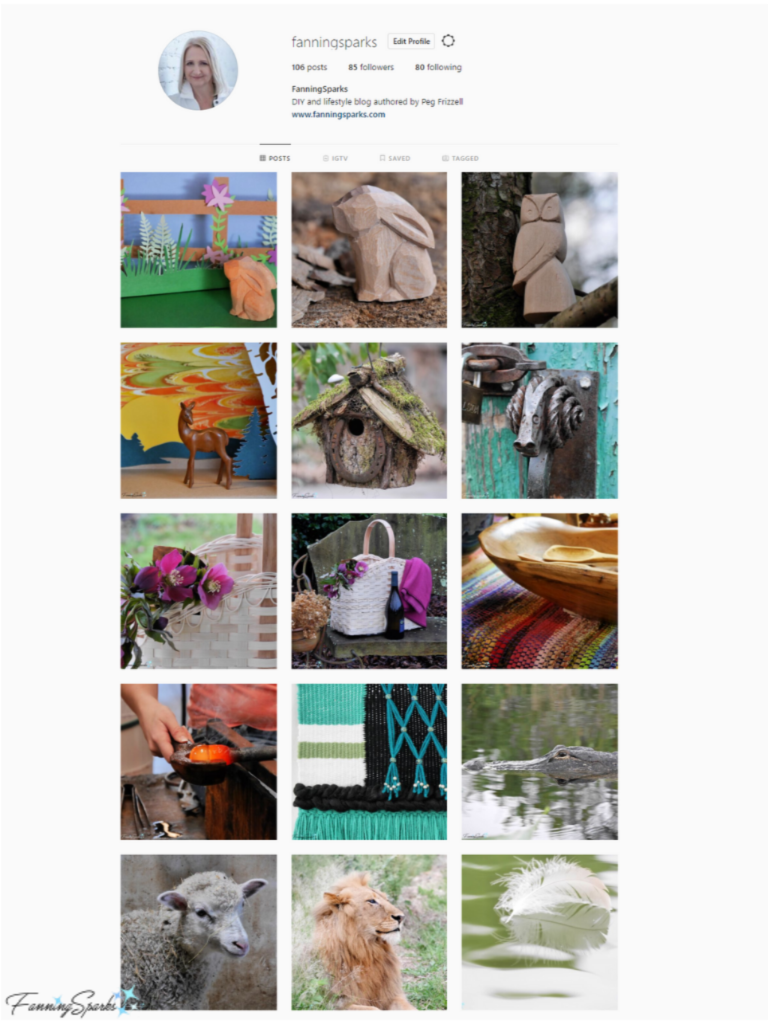
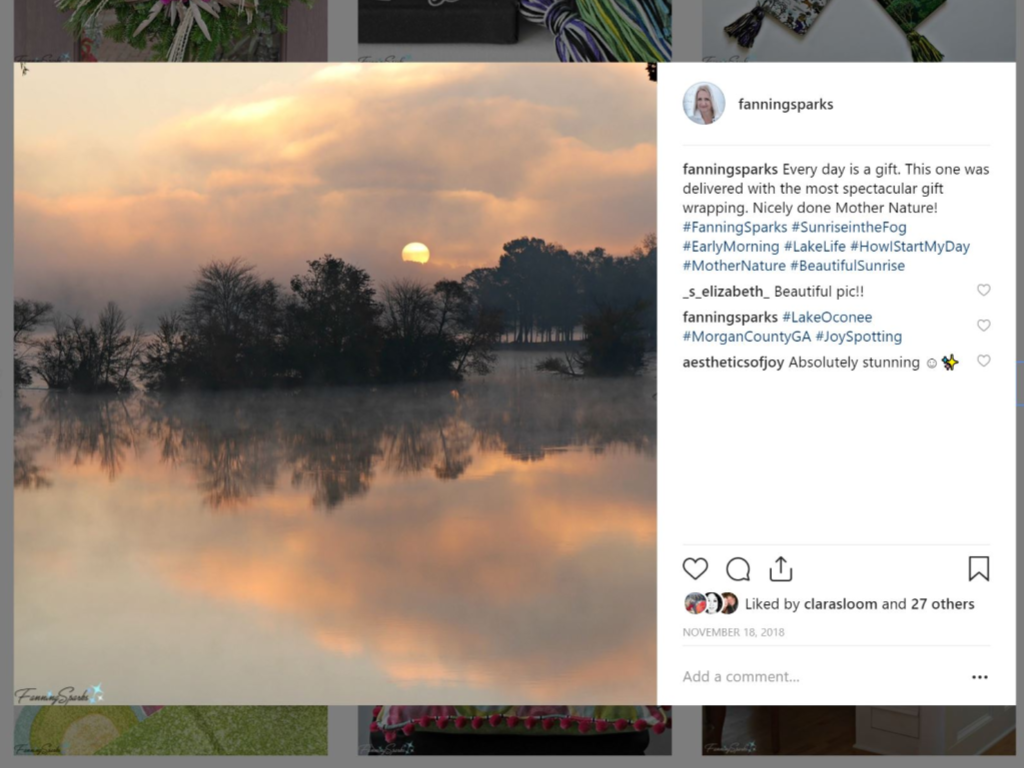
You can learn more on the John C Campbell Folk School website, their Facebook page or Instagram account. Information about the Work Study program is found here.
The John C Campbell Folk School is the largest folk school in the U.S. today but there are a number of other folk schools from which to choose. You can find an index of folk schools under the Folk School Network option on The Folk School Alliance website.
Today’s Takeaways
1. Experience the joy of making by hand.
2. Consider immersing yourself in a new craft.
3. Find a makers’ playground, like the John C Campbell Folks School, near you and dive in.


 On Monday morning, instructors, Steve Fielding and Mike Lalonde, started with an information-packed demonstration. We learned about the potter’s wheel‒to set the direction and control the speed. We learned the importance of body position and posture at the wheel. Here’s a photo of my working station.
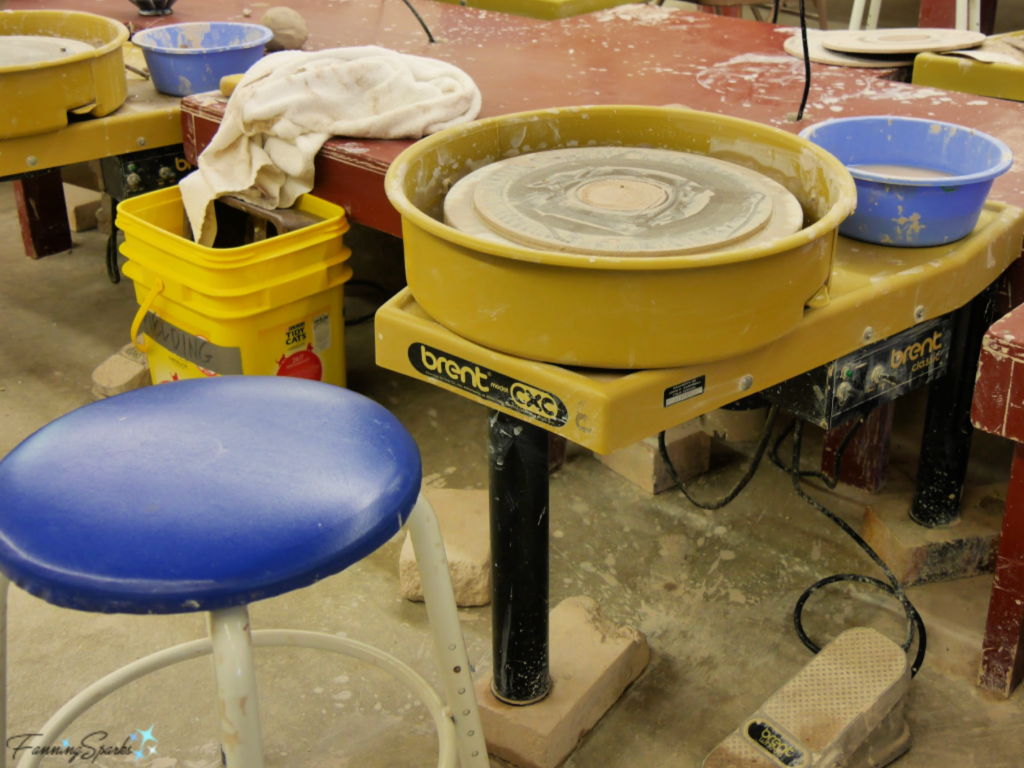 We learned about bats, which are the removable platforms on top of the wheel head, and other pieces of equipment.
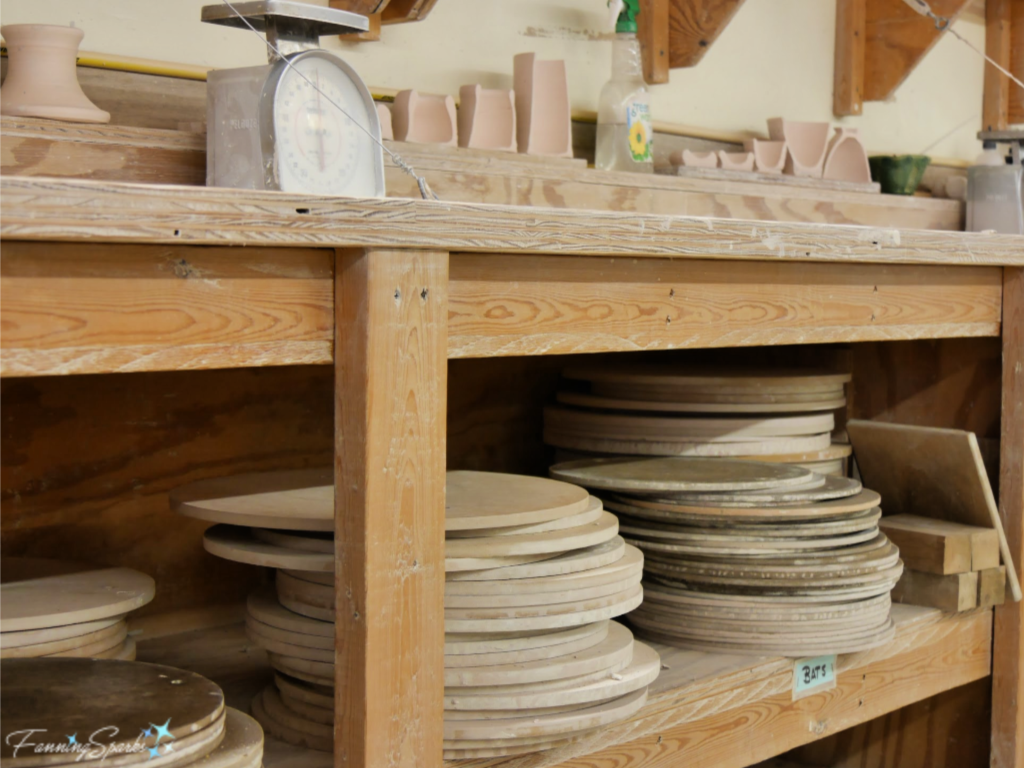 We learned about applying water to lubricate the clay without getting it too wet. Then we watched the essential steps to center, open and pull the clay. This is Steve demonstrating how to center.
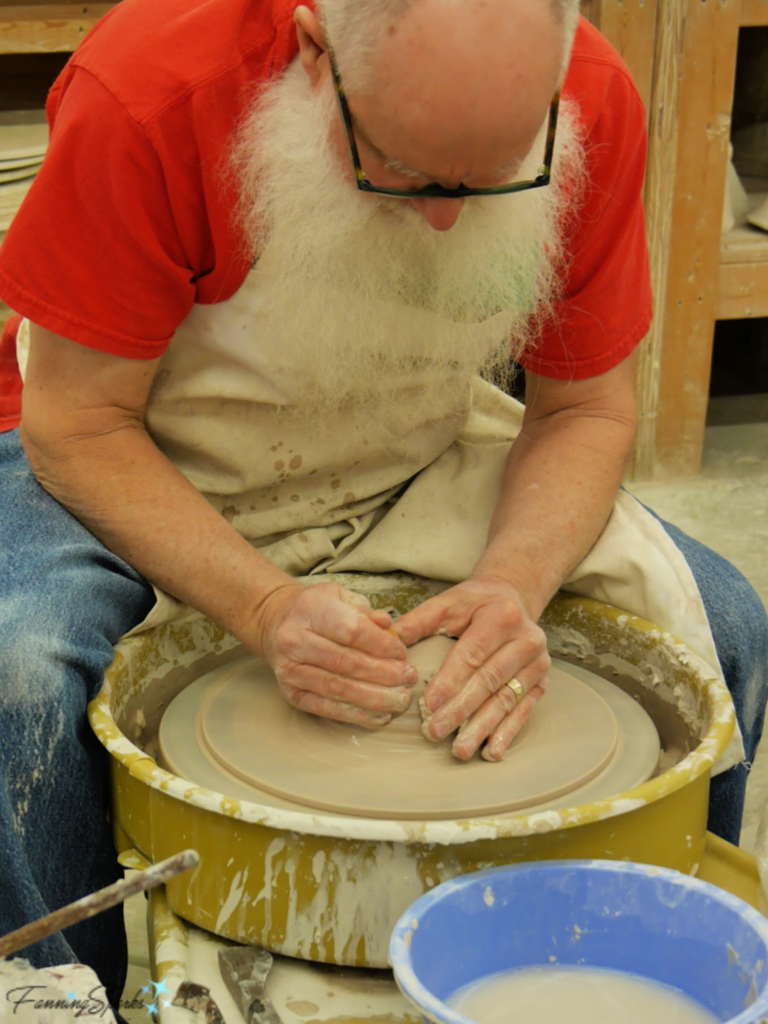
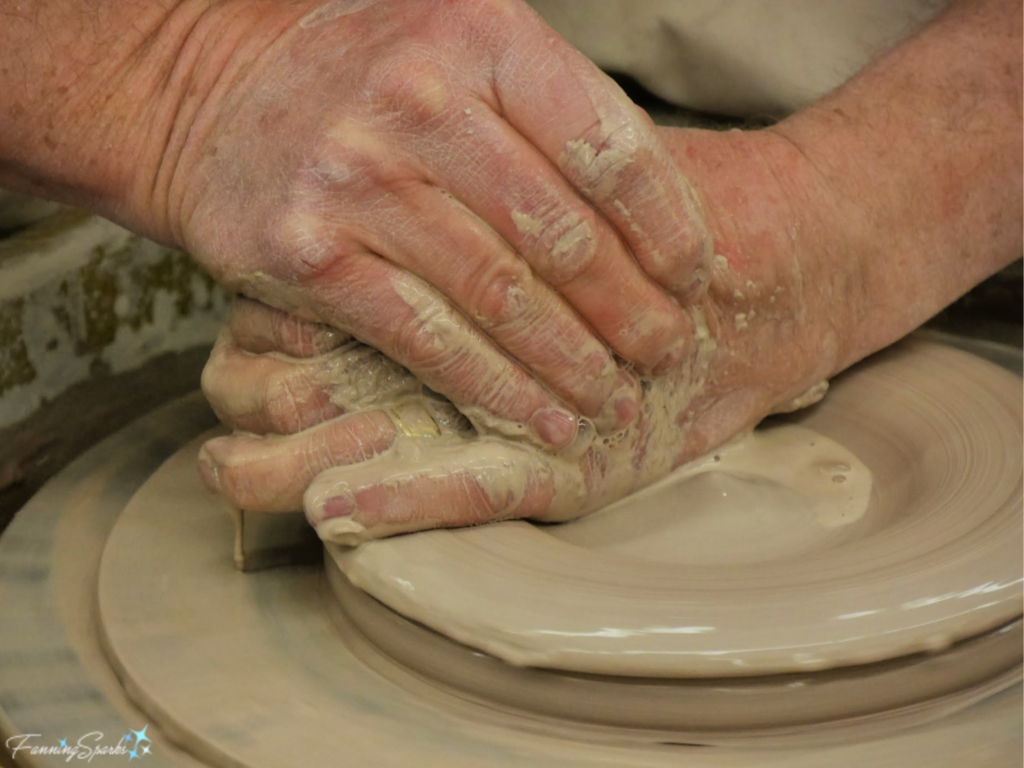 After opening, he demonstrates how to pull. “Center, Open, Pull” quickly became our mantra.
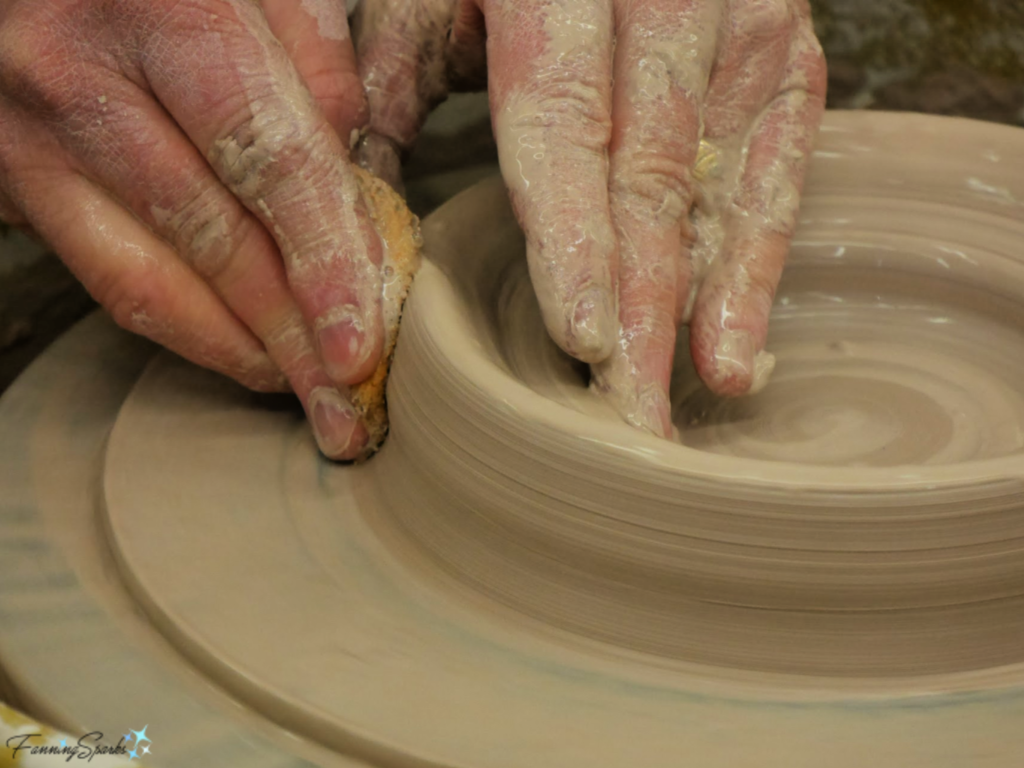 We learned about checking the thickness, compressing the rim, shaping, and various other steps. Here Steve refines the shape of his piece.
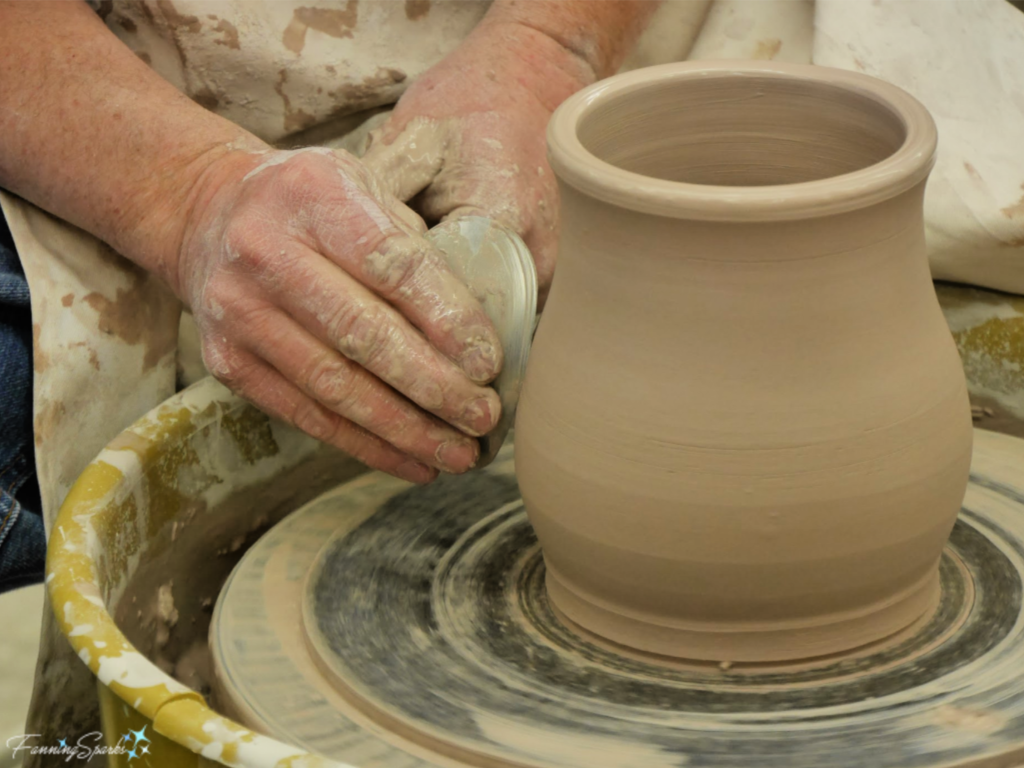 We learned about trimming the bottom edge and the importance of a “BOLD undercut” (an instruction delivered with such force that none of us will ever forget it!).
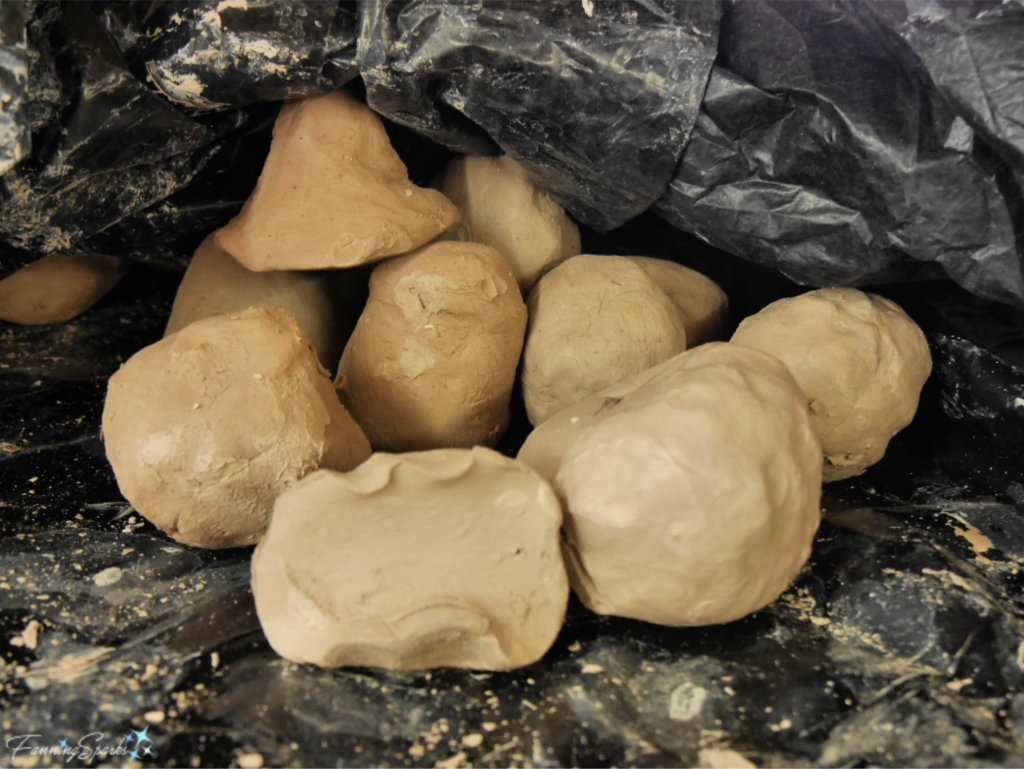
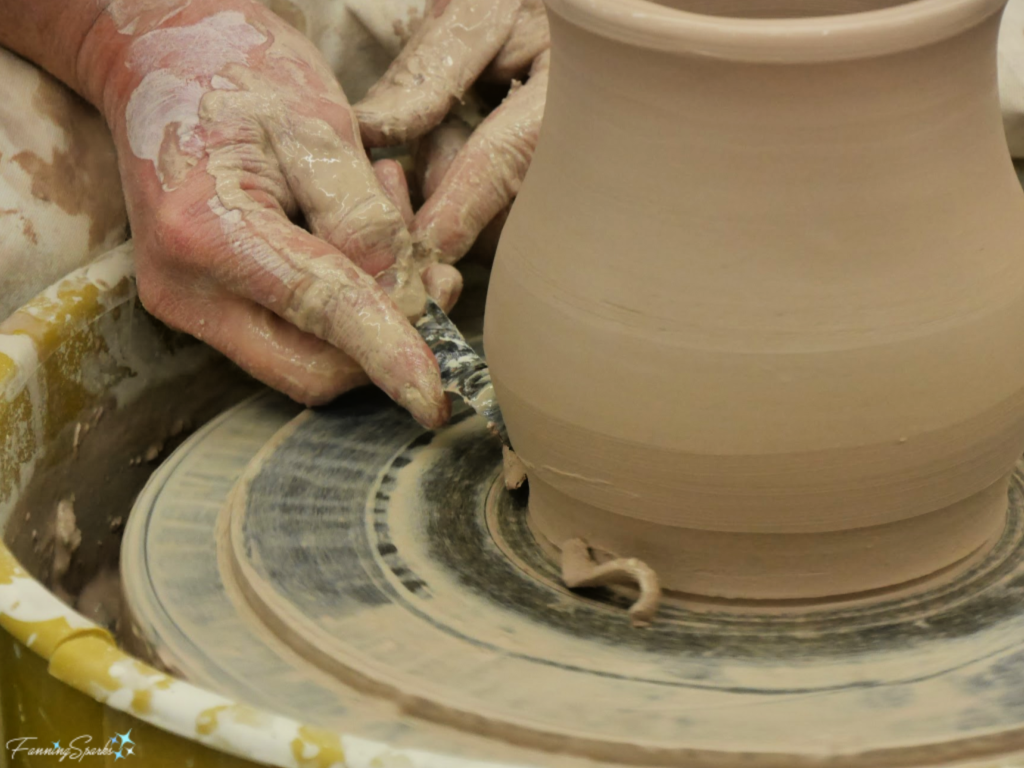 Then it was our turn to give it a try. And try and try and try. Vince Pitelka puts it this way in his book Clay A Studio Handbook: “When learning to throw, always sit down at the wheel with at least a dozen balls of clay. You must abandon the preciousness of the individual piece. Starting with only a few balls of clay encourages an unconscious determination to make every piece a success and thus an unproductive tendency to overwork the clay. Keep working on a piece if things are going well, but the instant it starts to go bad, scrap it and start another. You will accelerate the learning curve and accomplish far more.” I wish I’d realized this from the get-go. Abandoning the preciousness of each piece is not something that comes naturally to me! But I did become very familiar with the Scrap Clay bucket where we abandoned our precious pieces.
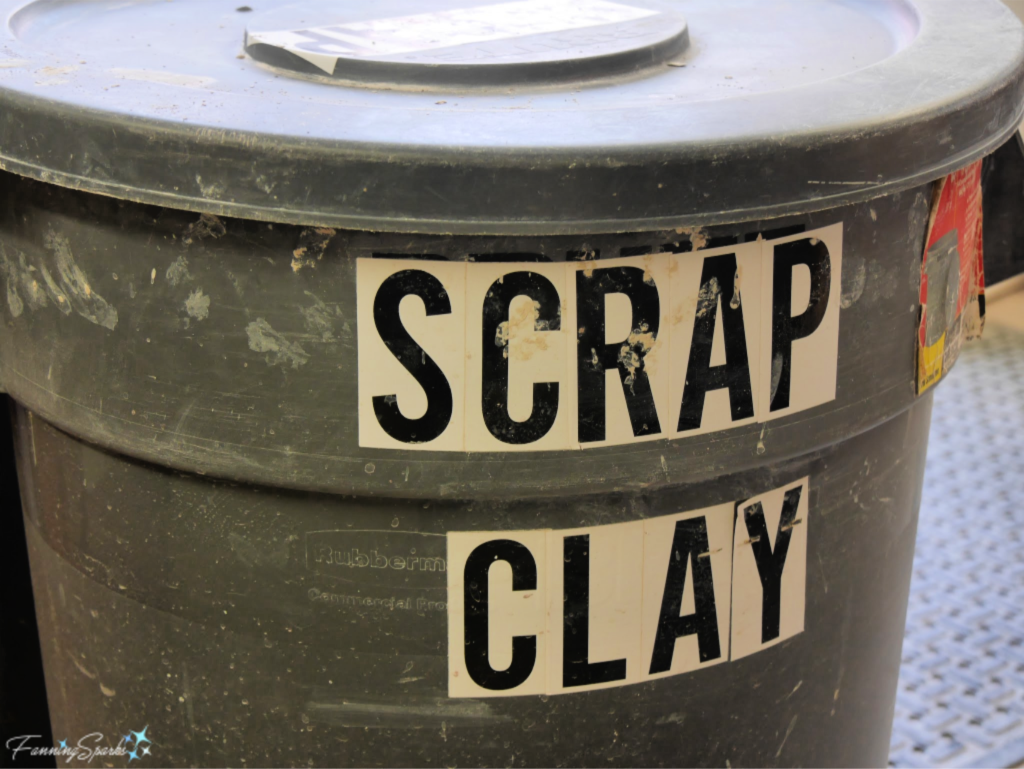 The instructors told us about the importance of a slow and steady touch‒to always apply and release pressure on the clay slowly. But experience was the best teacher on this point. Clay is very responsive which means you have total control over how the clay is shaped but it also means one, small misplaced movement can quickly ruin the piece. Developing the right touch can only be accomplished through a great deal of practice.
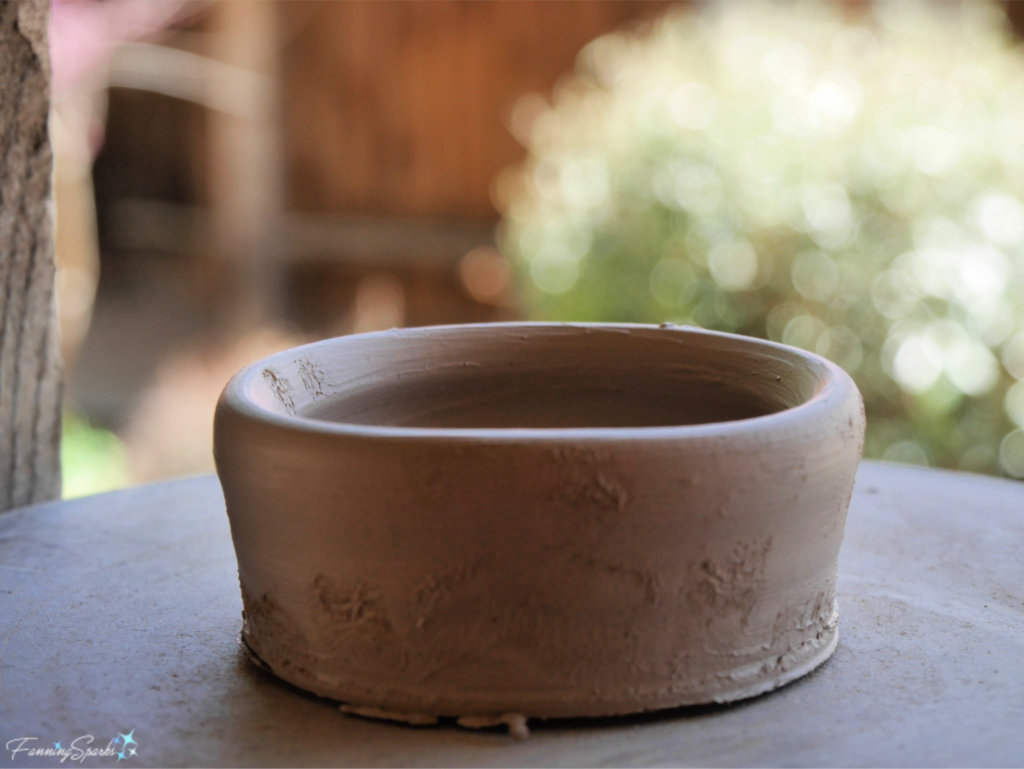 Some of the students were more experienced as evidenced by the beauty of their first pieces.
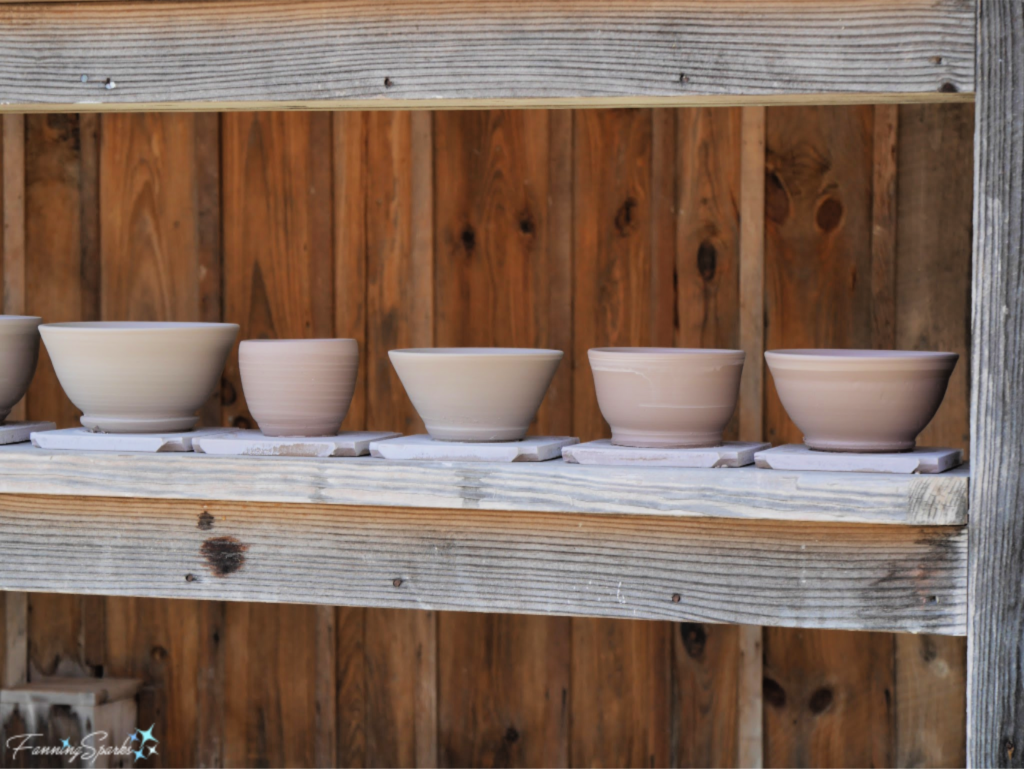 Throughout the week, we witnessed the process to center, open and pull multiple times. We learned about drying and firing clay. We learned the steps to complete at each stage from wet, leather-hard, bone-dry to bisque. We started with bowls and then progressed to cylinders and mugs. We had fun experimenting with glazes trying different colors and combinations.
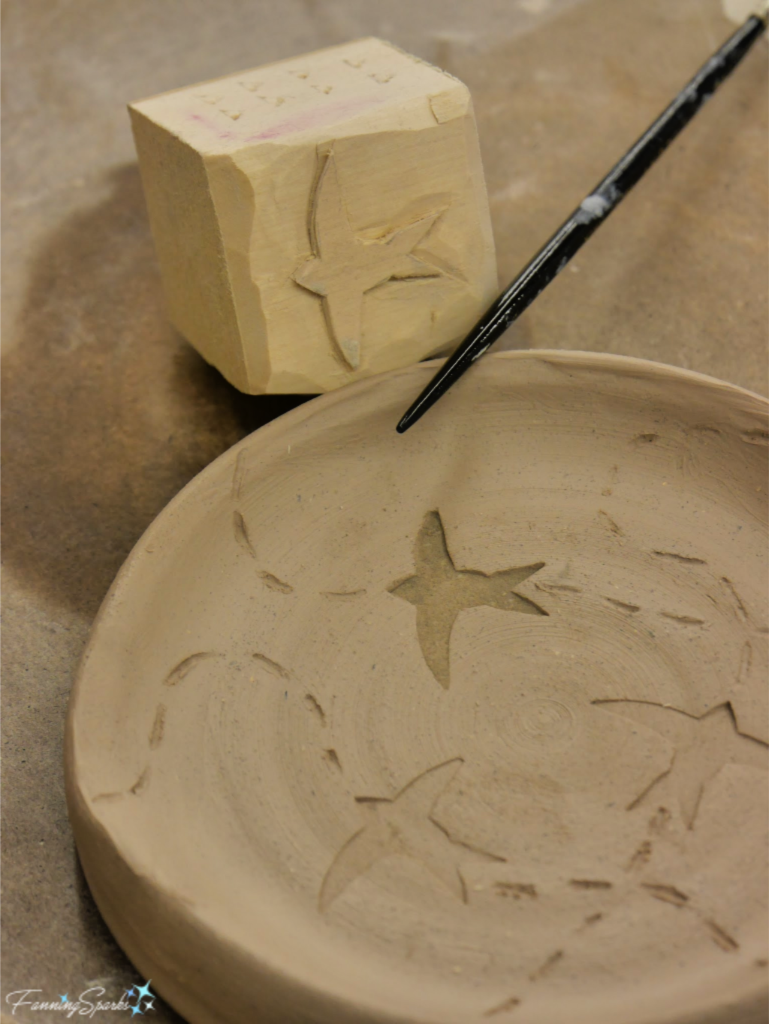
 I love this spoon rest! I love that it’s functional and serves a purpose in my daily life. But most of all, I love that it is a combination of two new skills I learned at the Folk School‒woodcarving and clay throwing. It is one of a kind and truly unique to me.
 After carving the simple carrot form, we drilled a small hole at the top of the carrot with a hand drill. Here’s my carrot (bottom left) about to be drilled.
 The class progressed from carrots to fish. Harley uses a fish figure to introduce the topic of wood grain and how to adjust your cutting technique according to the direction of the grain. He uses a simple phrase “Always ski downhill” as a reminder to push the knife in the same direction as the wood grain. Here is a finished fish, often referred to as the “go by”, in front of my fish carving blank.
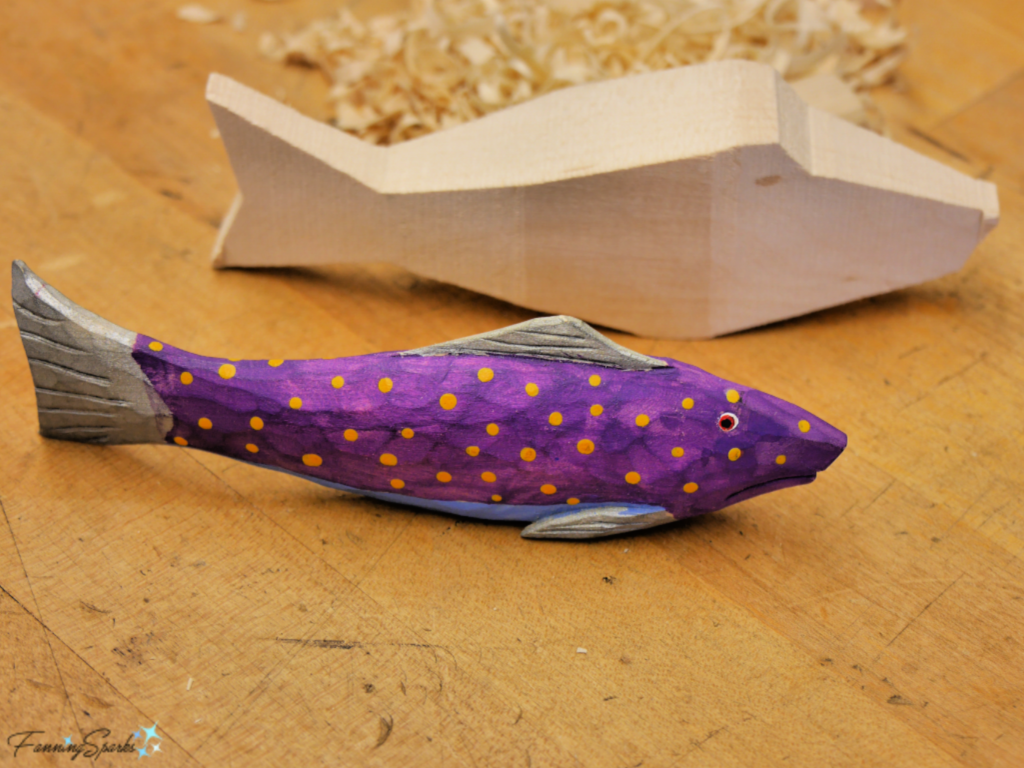 Harley brought a variety of figures and carving blanks to give the students lots of options.
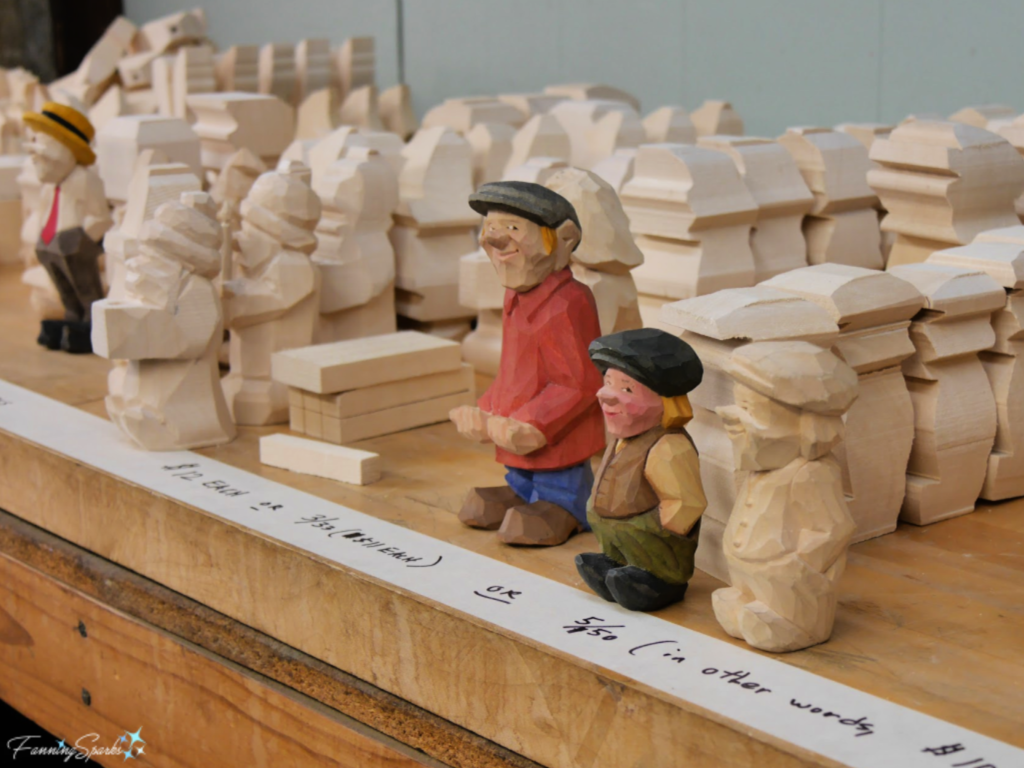 The tomte, a figure inspired by the work of painter/illustrator Jenny Nyström (1854-1946) creator of the Swedish image of the Jultomte, is one of Harley’s favorites.
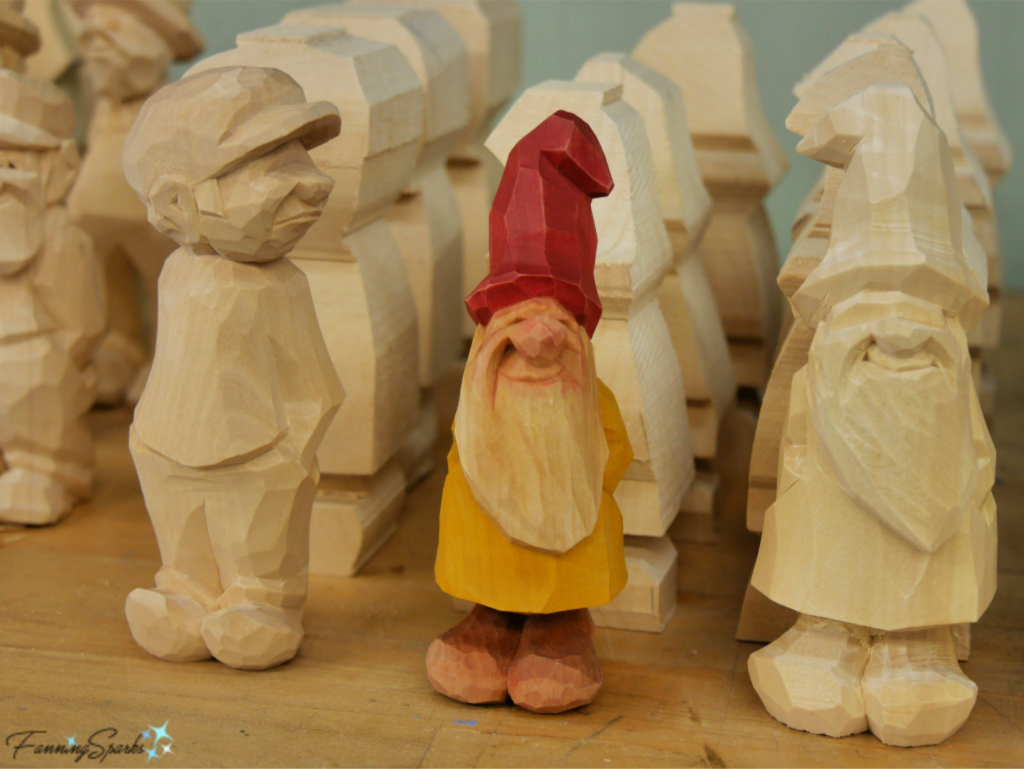 Harley emphasized the importance of a sharp knife and demonstrated knife sharpening techniques. Here he is using a series of credit card-sized Dia-sharp sharpeners from DMT (Diamond Machine Technology).
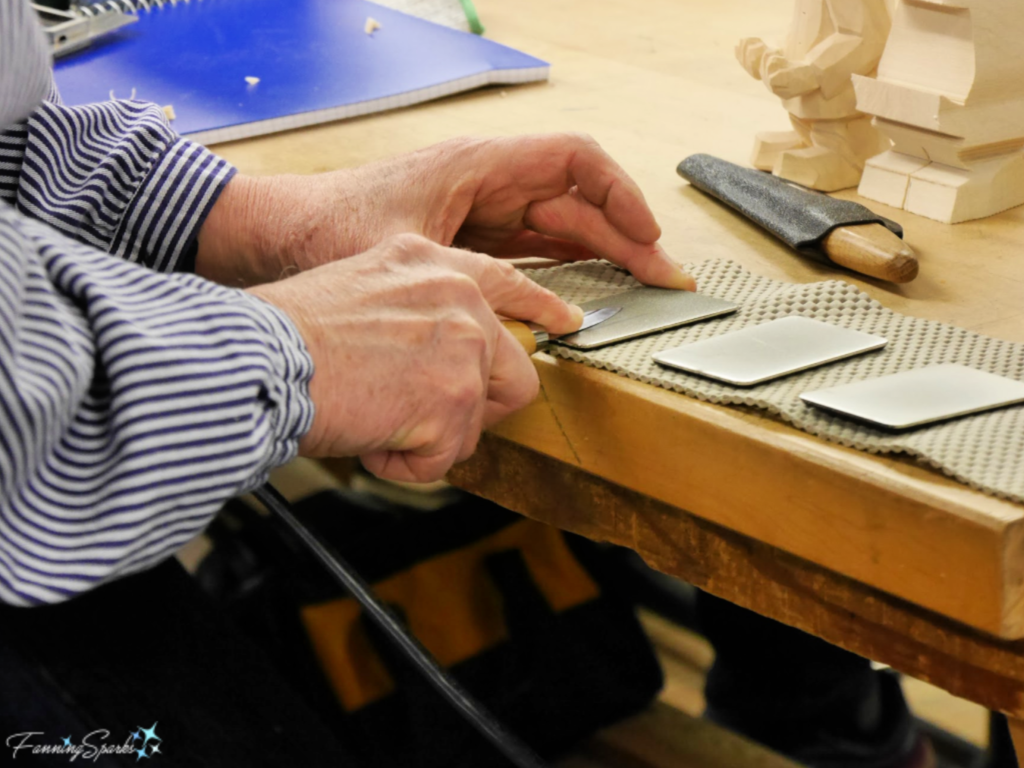 I decided to tackle a horse figure next. Here’s the go by with my carving blank.
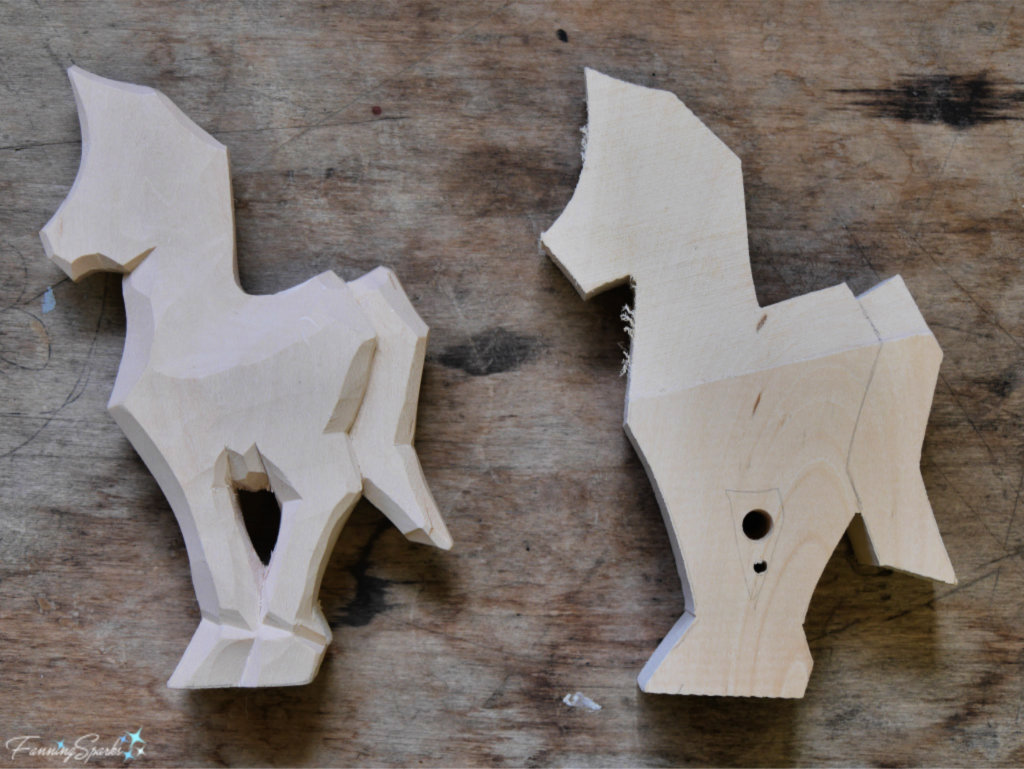 This horse figure lends itself to the flat-plane style. I was pleased with my progress.
 Then for my biggest carving challenge to date, I decided to take on a figure of a man designed to hold a sign. This is the go by model carved by Harley.
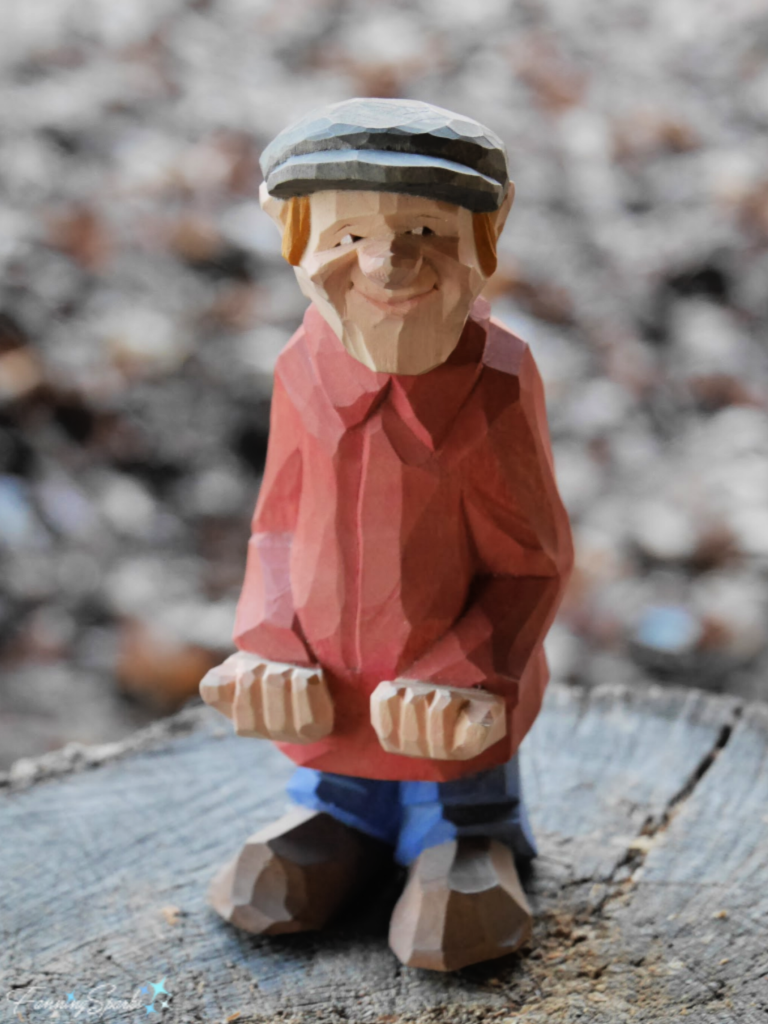 Here’s my carving blank with the first section carved out around his left shoe.
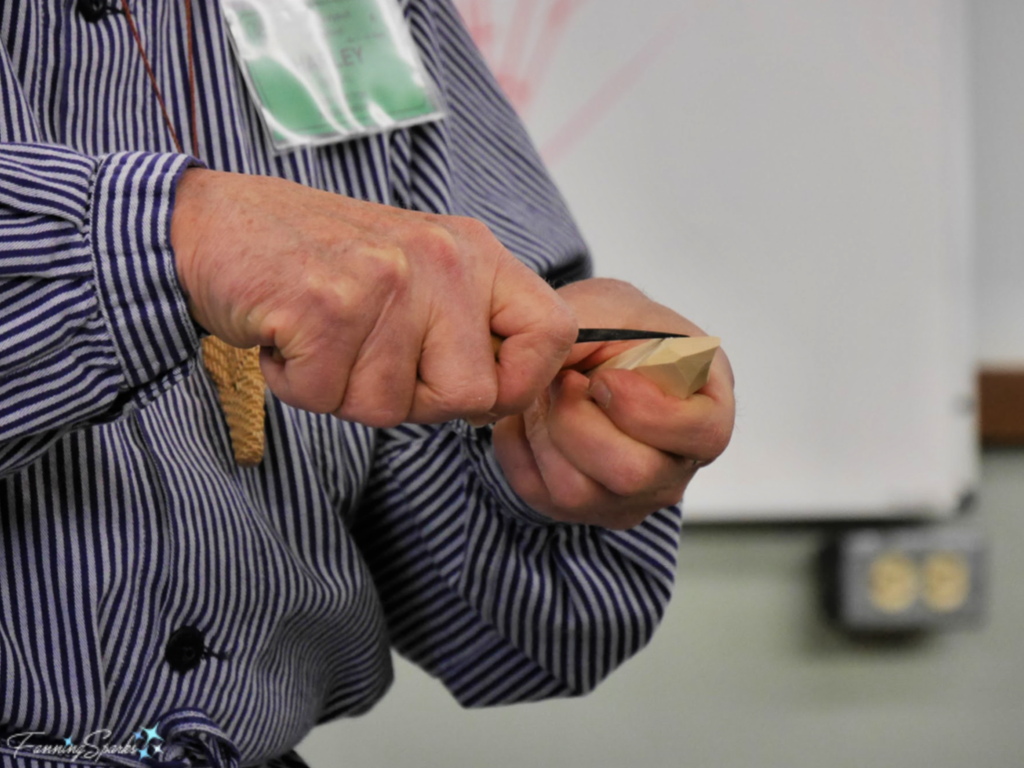
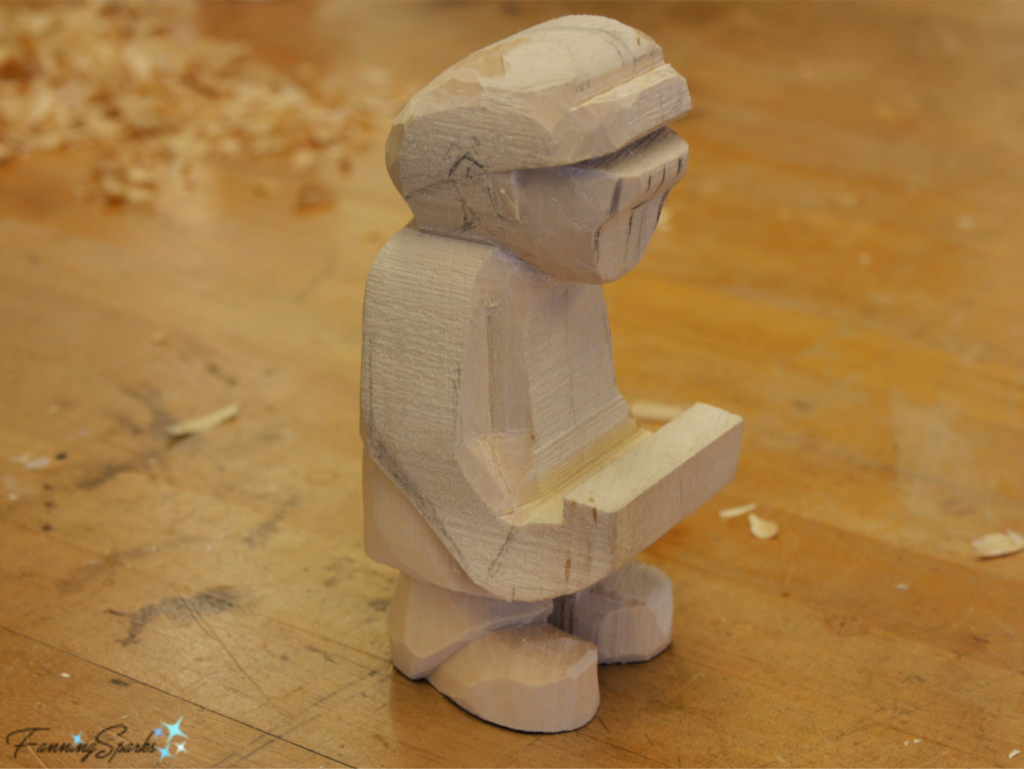 I worked on this figure for several days with lots of assistance from Harley and Frank. In the below photo, I’m about to tackle the face. One lesson I learned is the importance of marking your cuts. A pencil is indeed a critical tool for woodcarving.
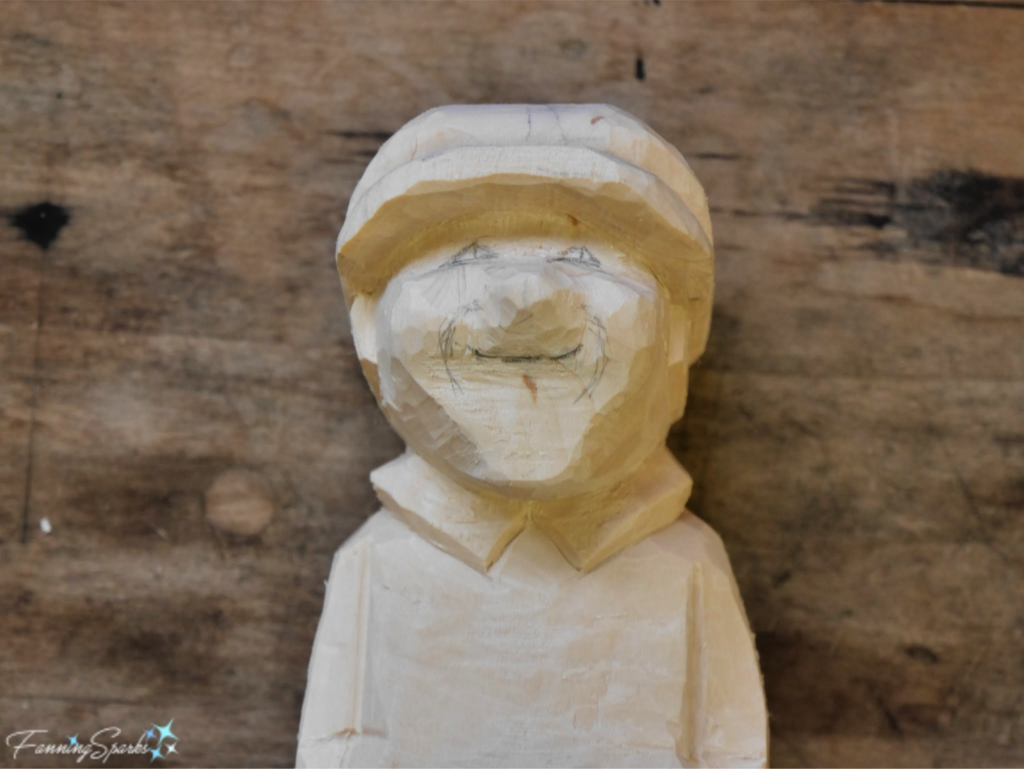 Although I decided to leave my figure natural, we learned how to paint and finish our pieces. Harley thins water-based acrylics to paint his carvings.
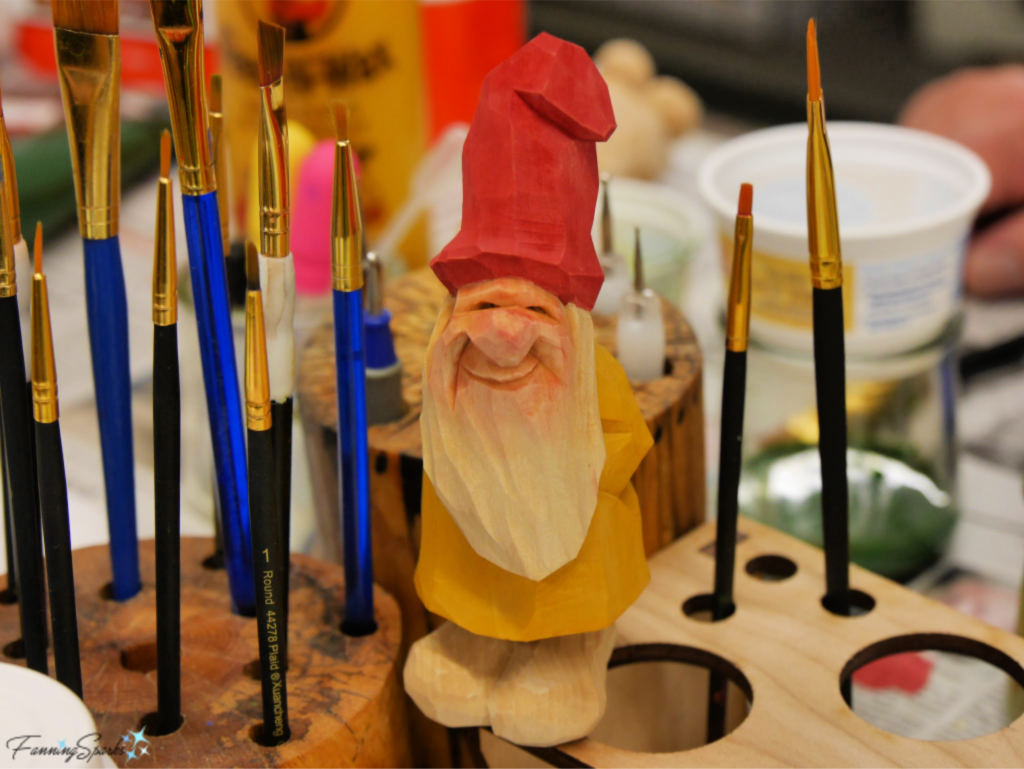 Then he finishes them with a matte finish wax such as Watco Satin Wax.
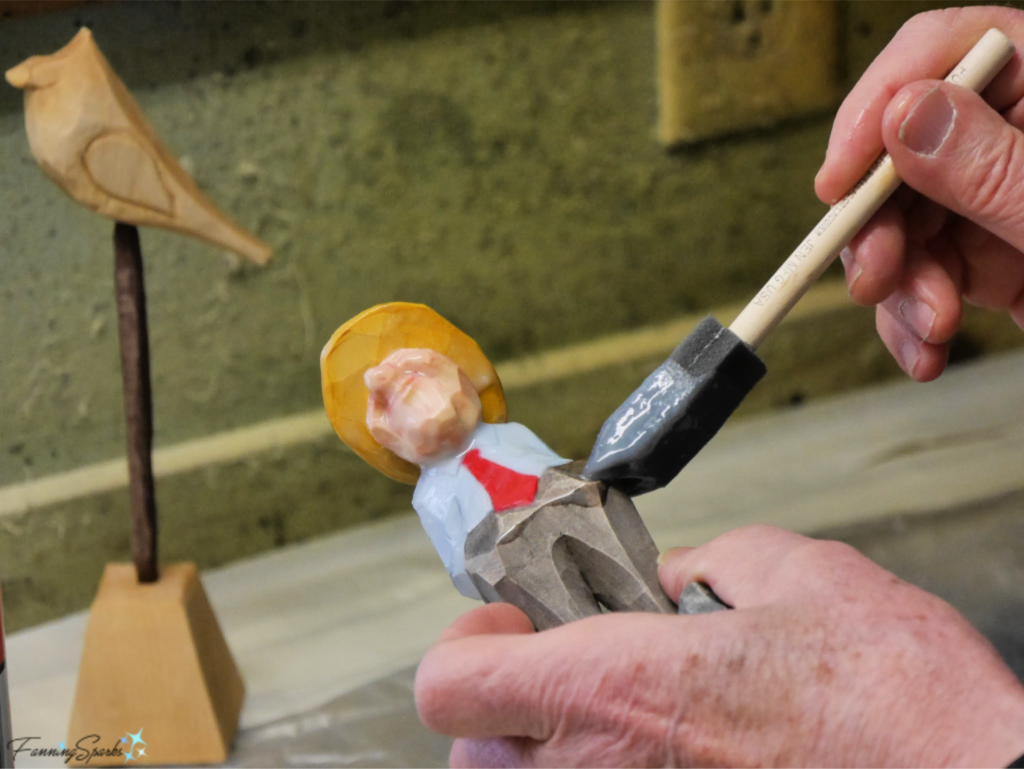 I chose the sign holder figure because it’s functional. But as I looked for the perfect spot to place it in my home, I realized it’s so much more than just a sign holder-it’s a delightful reminder of the joy of creating and wonderful days spent carving with Harley, Frank and my new carving friends.
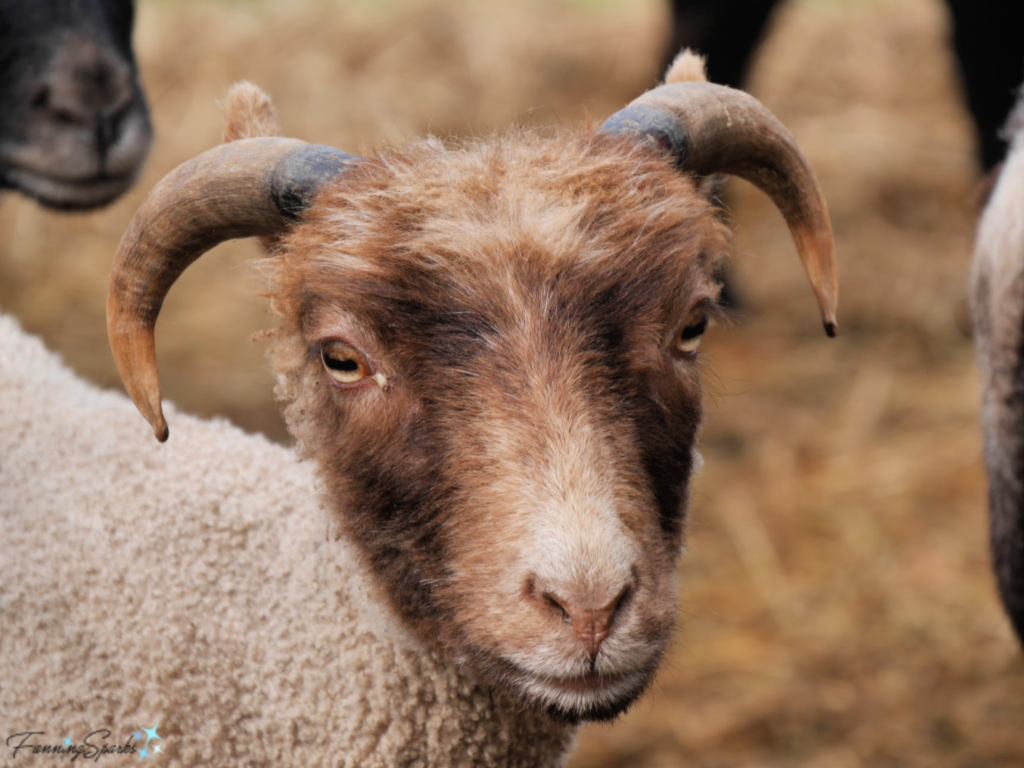
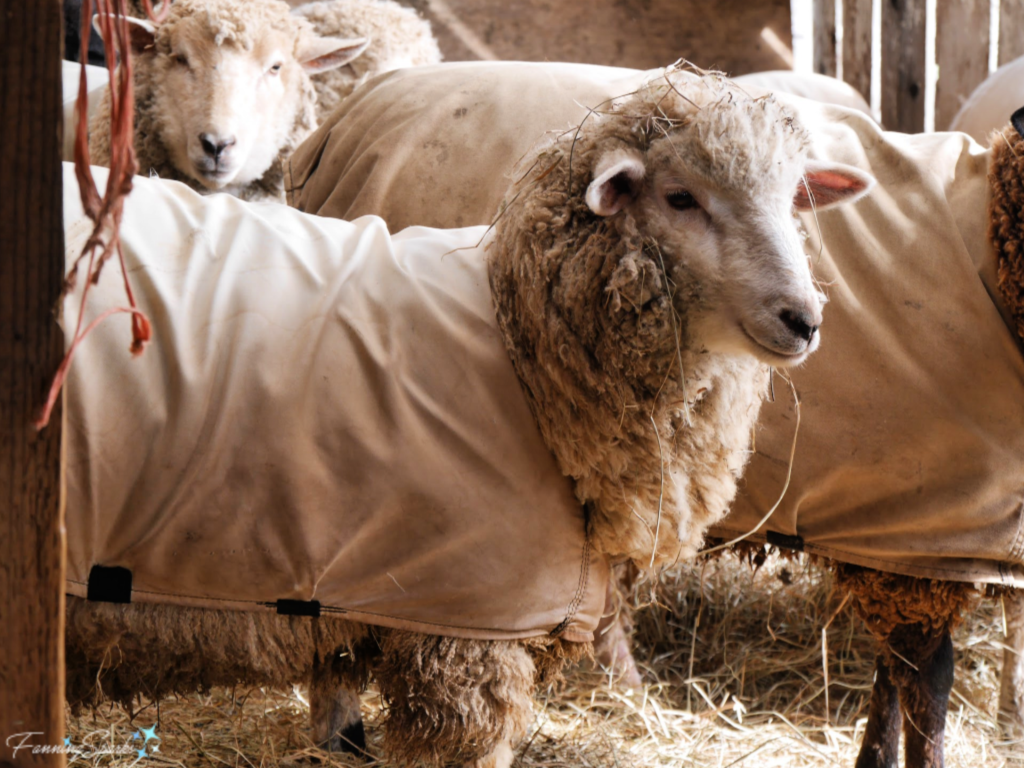 We capped off the week with a visit to Martha’s sheep farm. There we saw two different herds of sheep, the Corriedales and Romneys; and the Shetland sheep. Seeing the sheep “up close and personal” definitely brought the information to life.
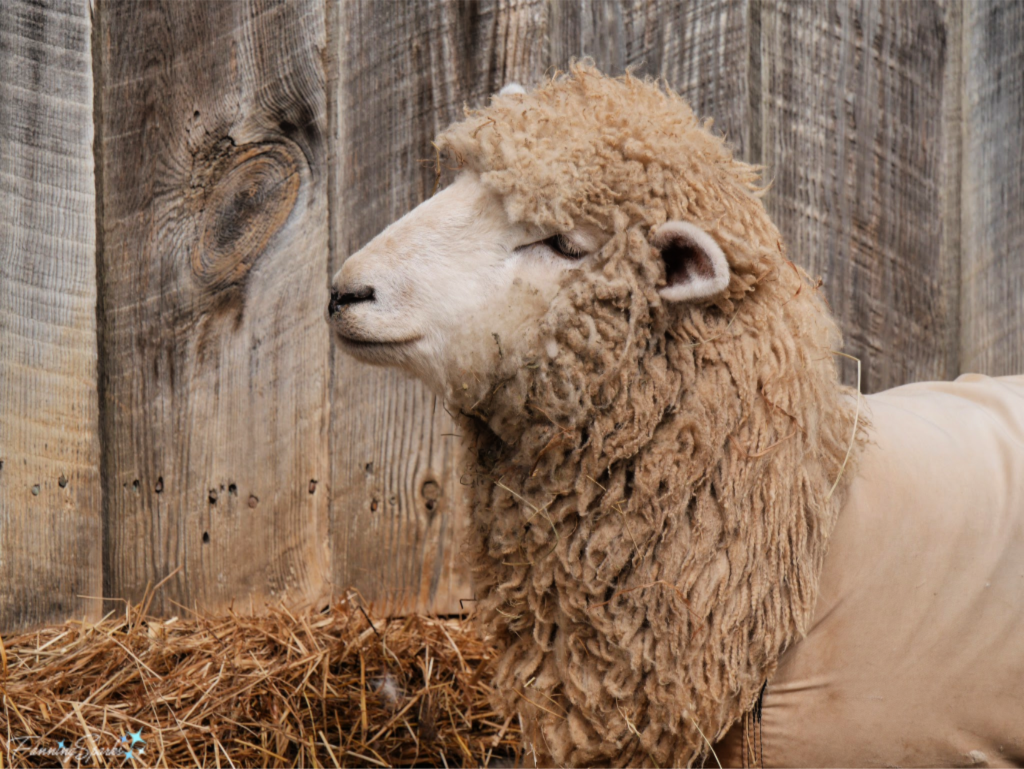
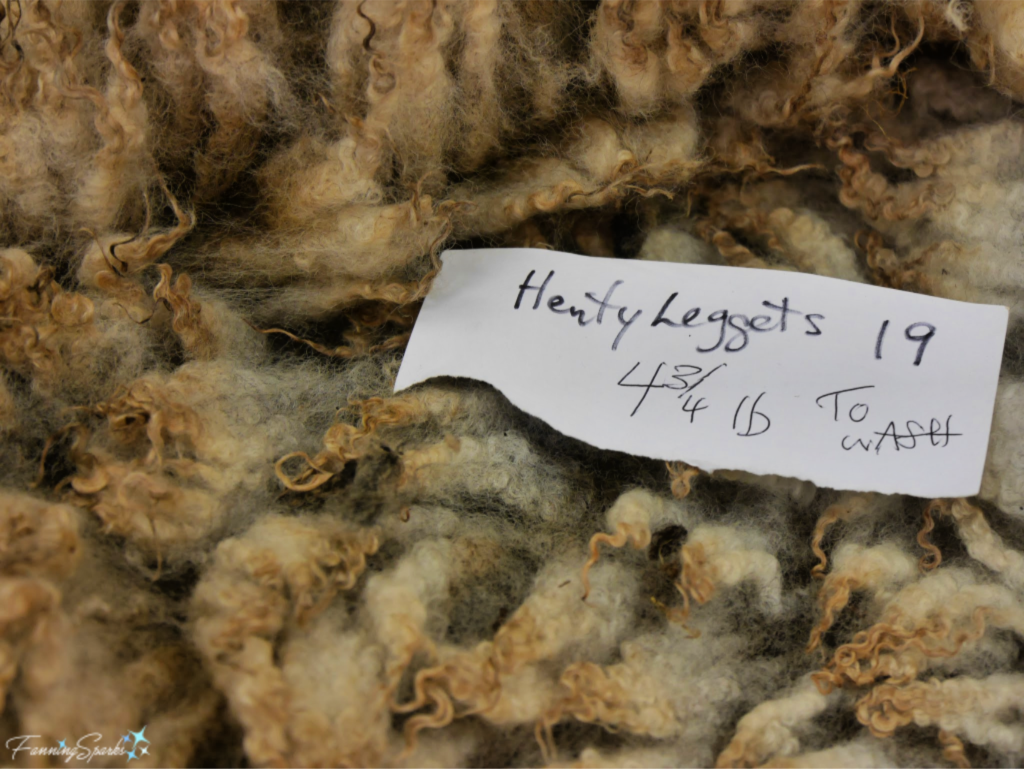 We washed the fleece and hung it to dry overnight.
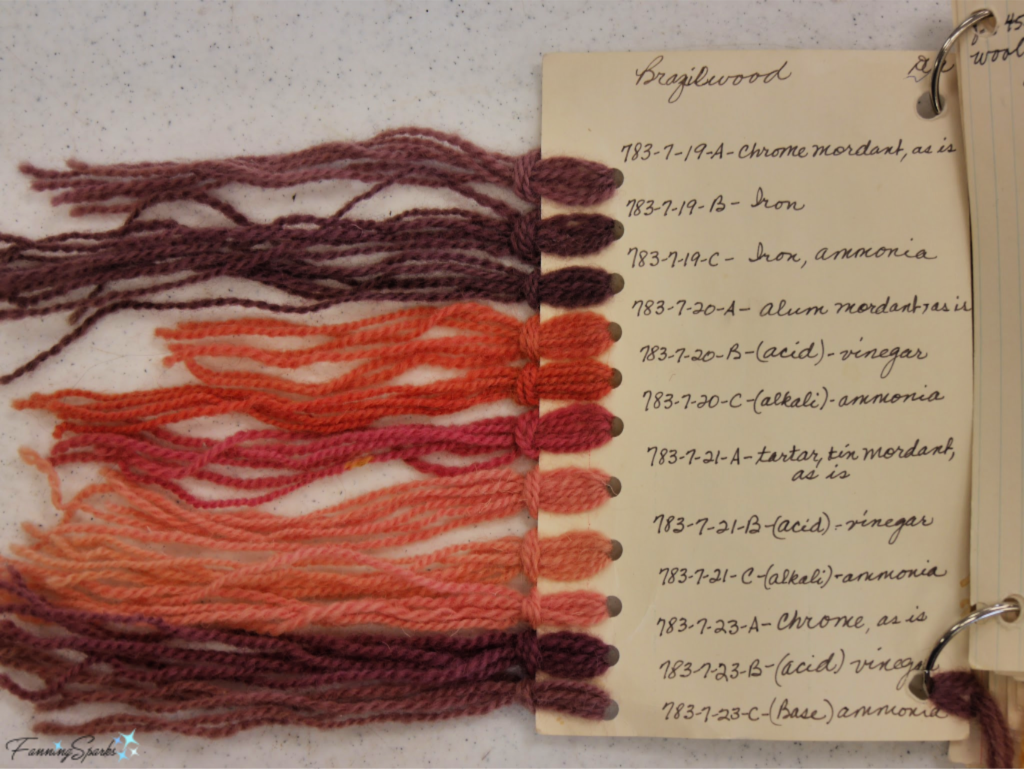
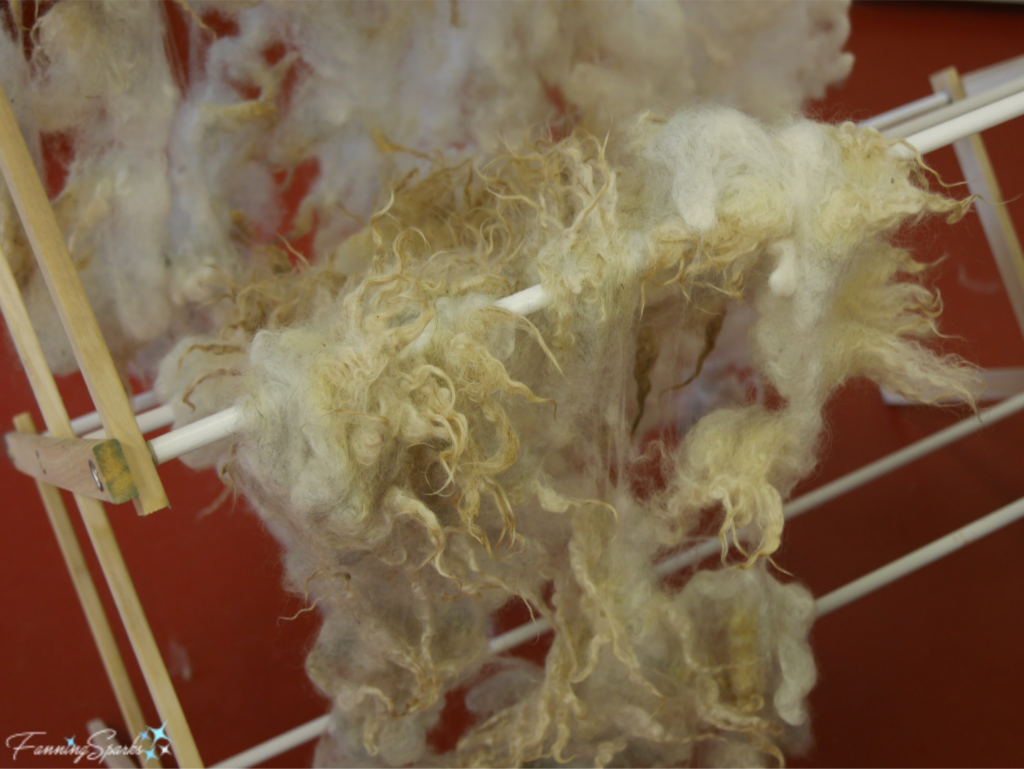 The next day, we skirted the fleece meaning we removed all the nasty bits and vegetable contamination. Then it was time to start discussing natural dyeing… one of my favorite subjects! First we mordanted the wool with alum and cream of tartar to ensure the dyes would fix in the wool.
 We started experimenting with various dyestuffs. We filled separate dye pots with marigolds, onion skins and cochineal. Then we doubled our options by adding iron or overdyeing. We were pleasantly surprised every time wool was pulled out of a dye pot. The below dye is cochineal‒a natural red dye prepared from the dried bodies of the cochineal insect.
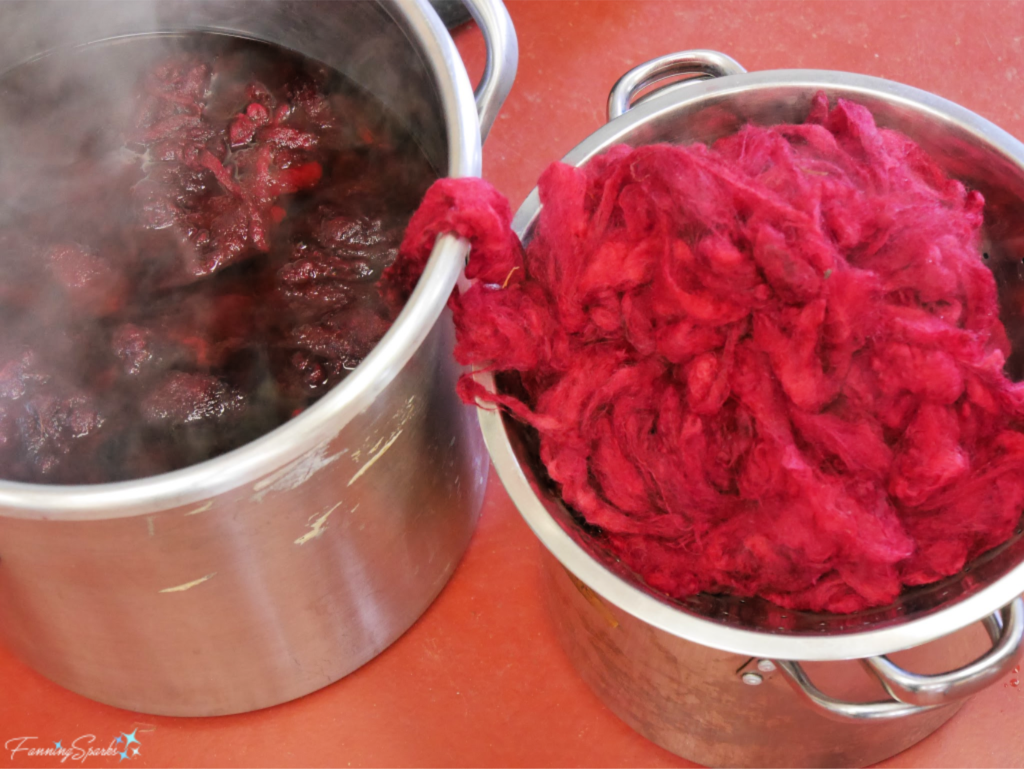 We also made a “rainbow pot” by layering the various dyestuffs, cheesecloth, and wool. Here’s how that wool turned out. Isn’t it pretty?
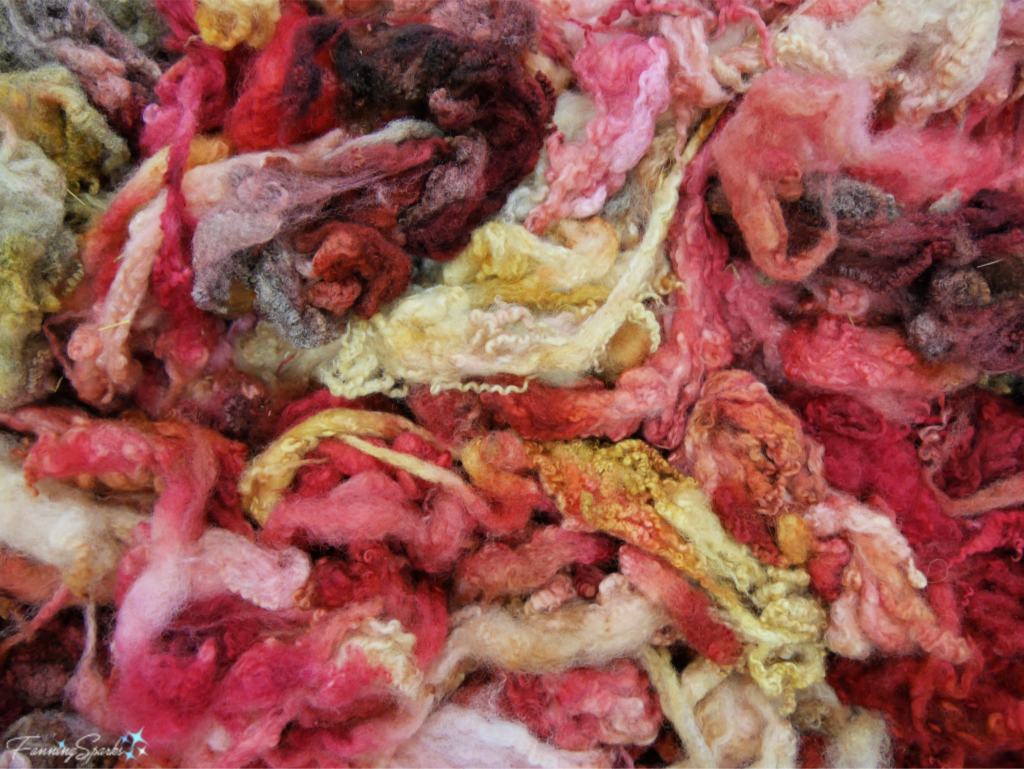
 As our dyed wool dried, we shifted back to preparing the wool. We learned to card wool, first with hand carders then with a drum carder.
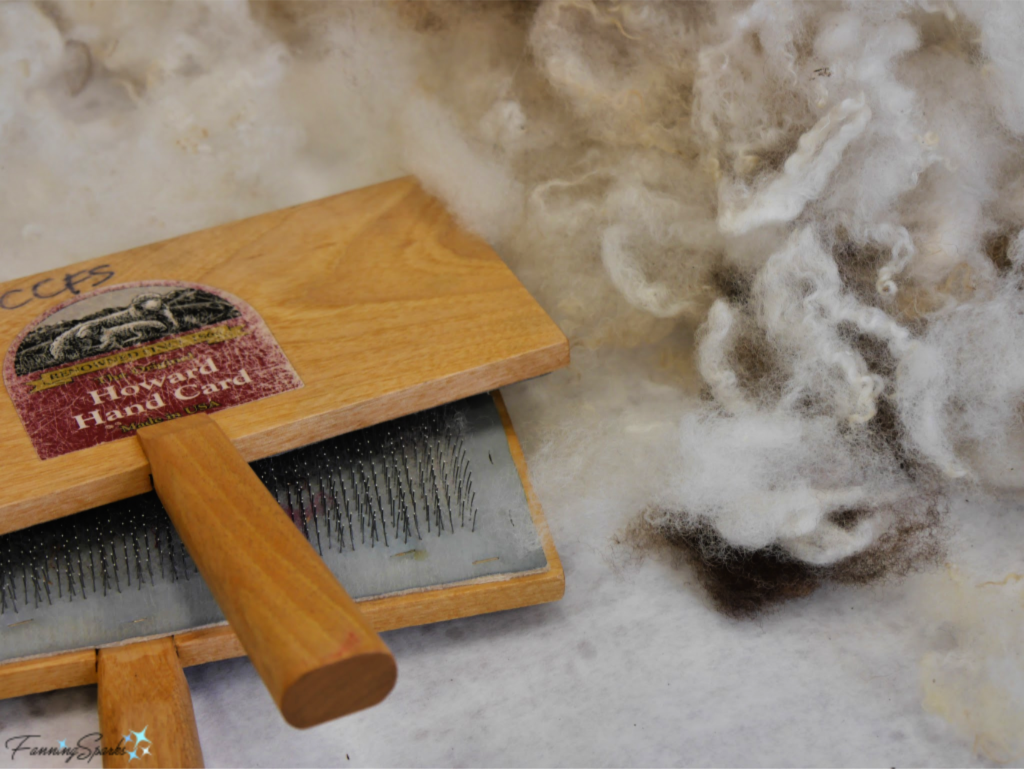 As you might expect, the drum carder was much faster and easier.
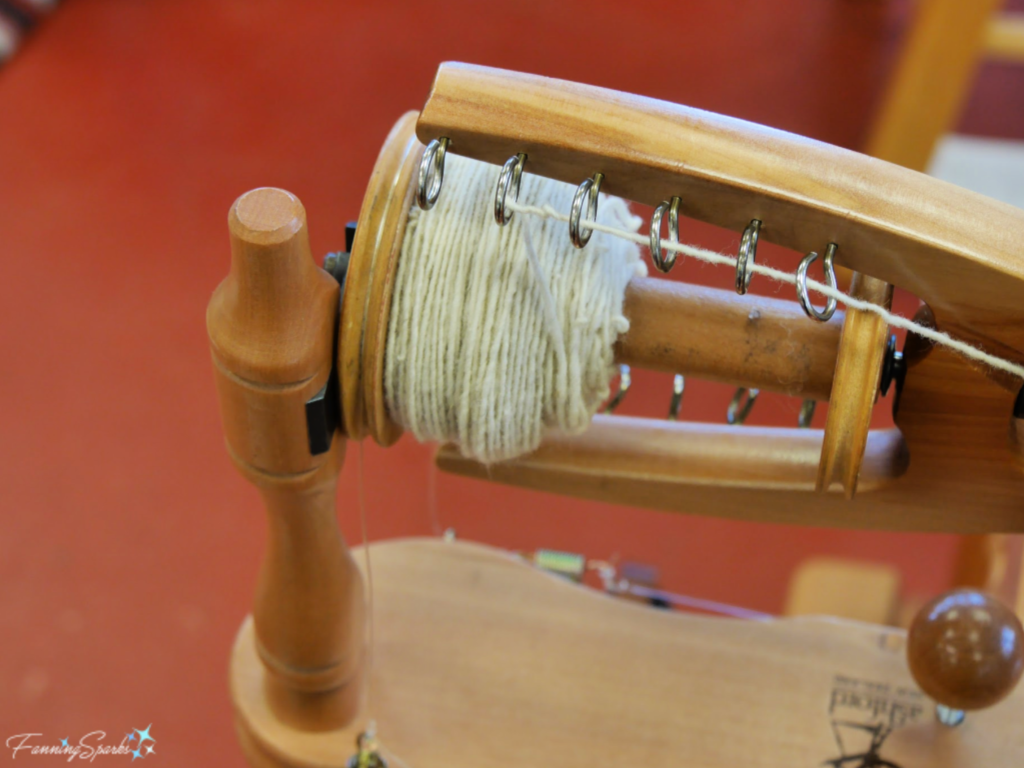
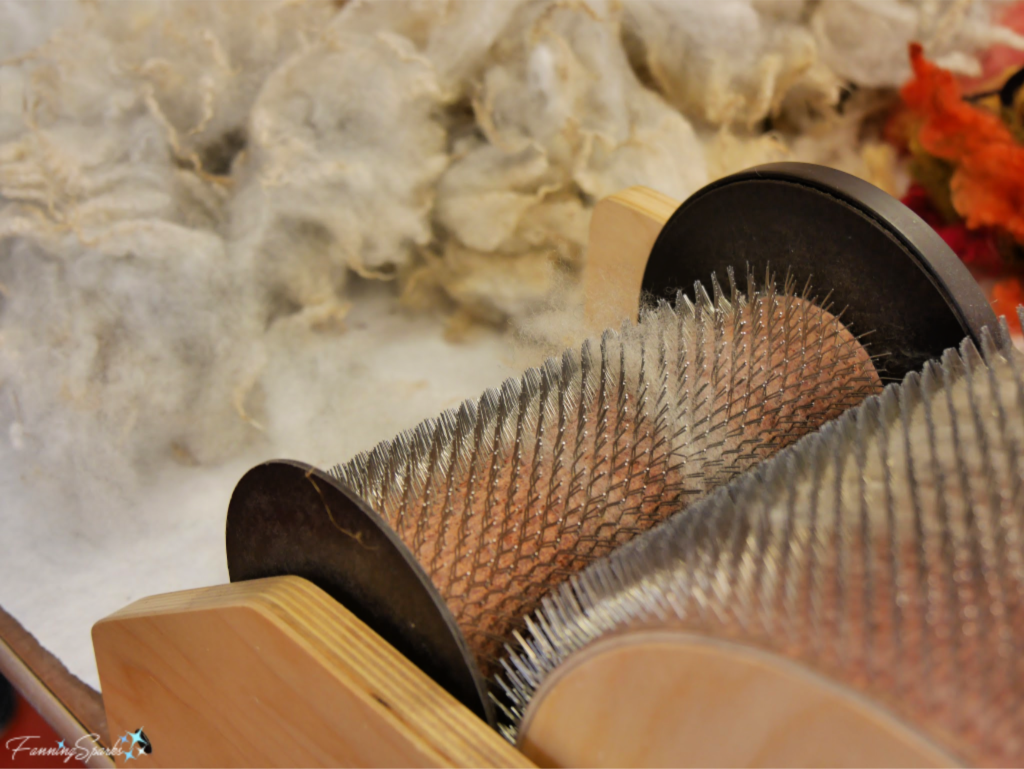 We did a bit of combing. But the bulk of our time was spent learning to spin. Here’s the spinning wheel I attempted to use.
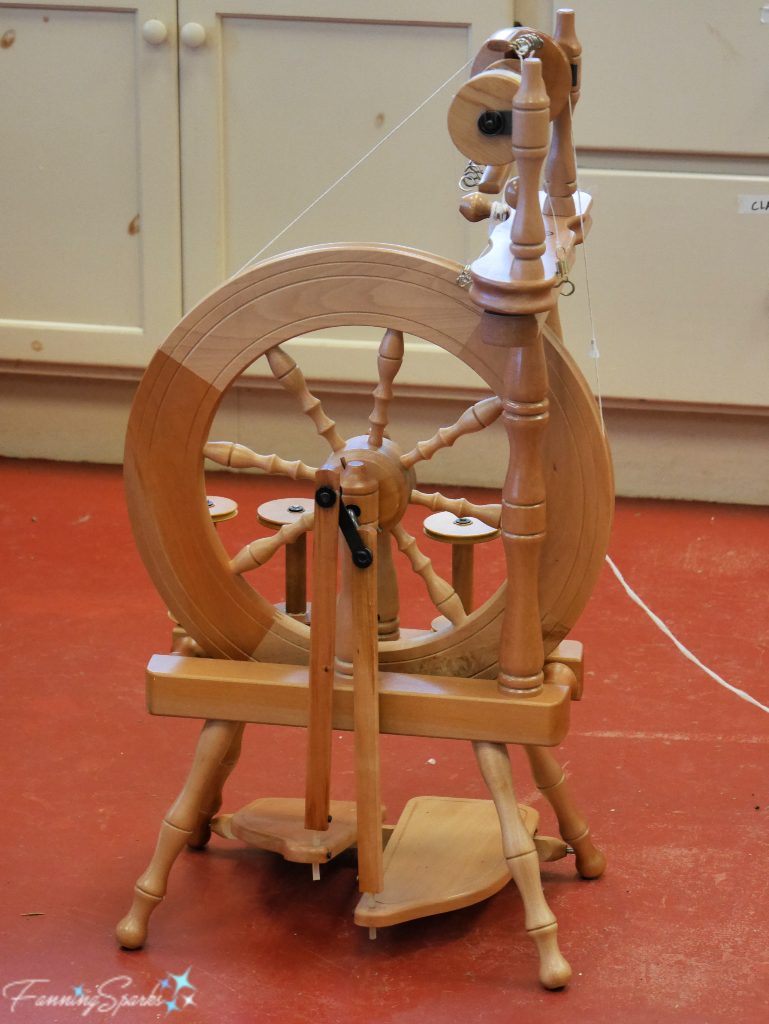
 I should add the rest of the class did catch on and lots of beautiful yarn was spun. Here’s the class display for the Student Exhibit at the end of the week.
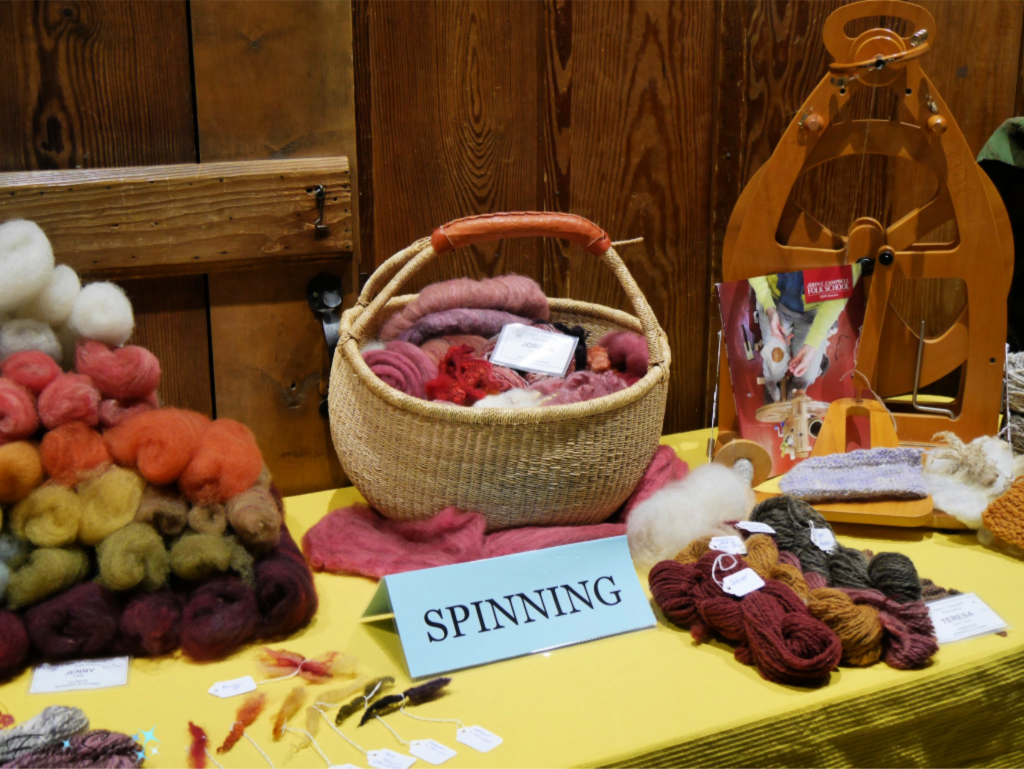 I learned a variety of new skills and have a new appreciation for the journey wool makes from sheep to shawl. Special thanks to Martha Owen and my fellow students for a great week!
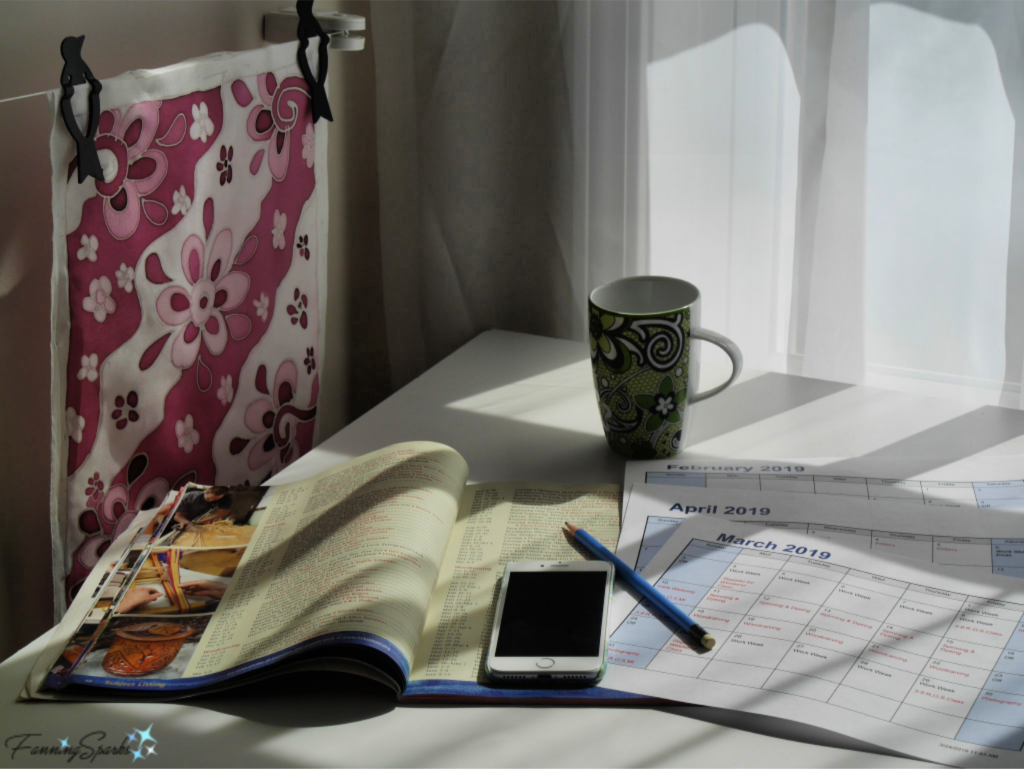 Q7. Do classes have to be at a specific time?
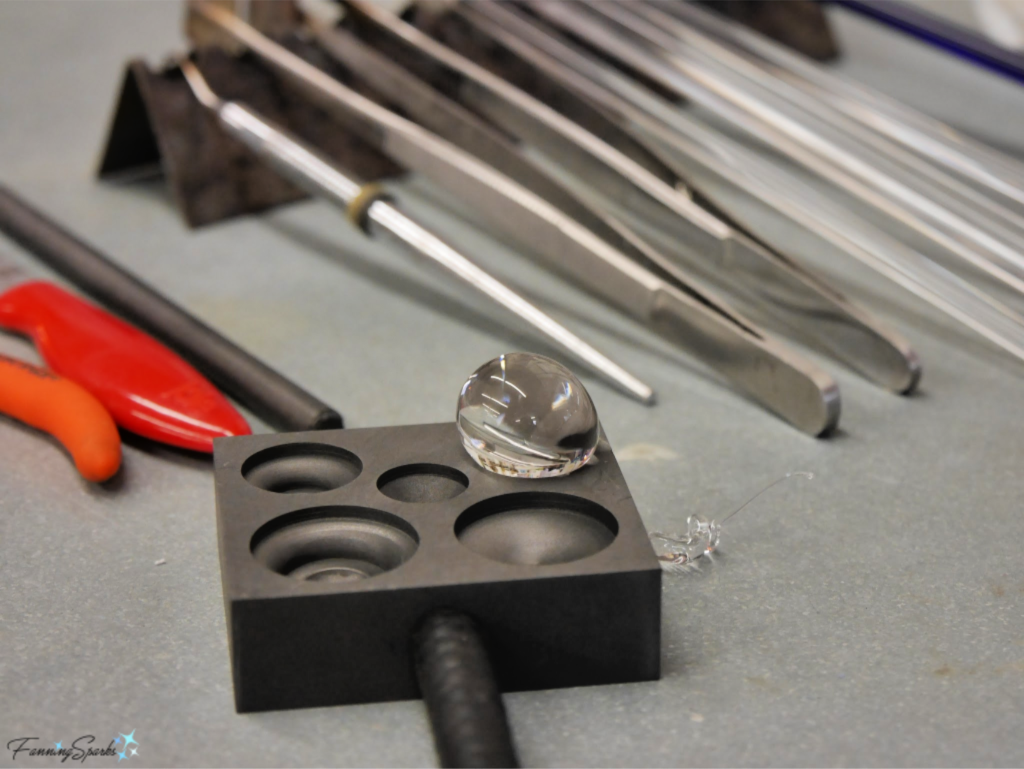 Here’s my in-progress strap in the Inkle Weaving class.
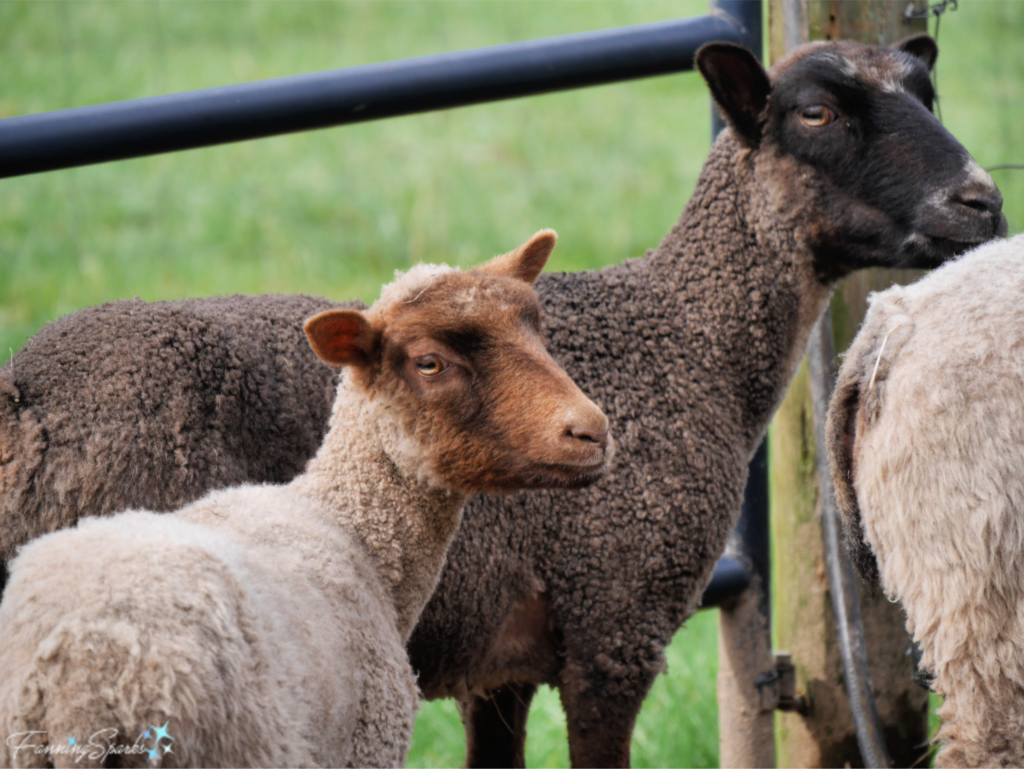
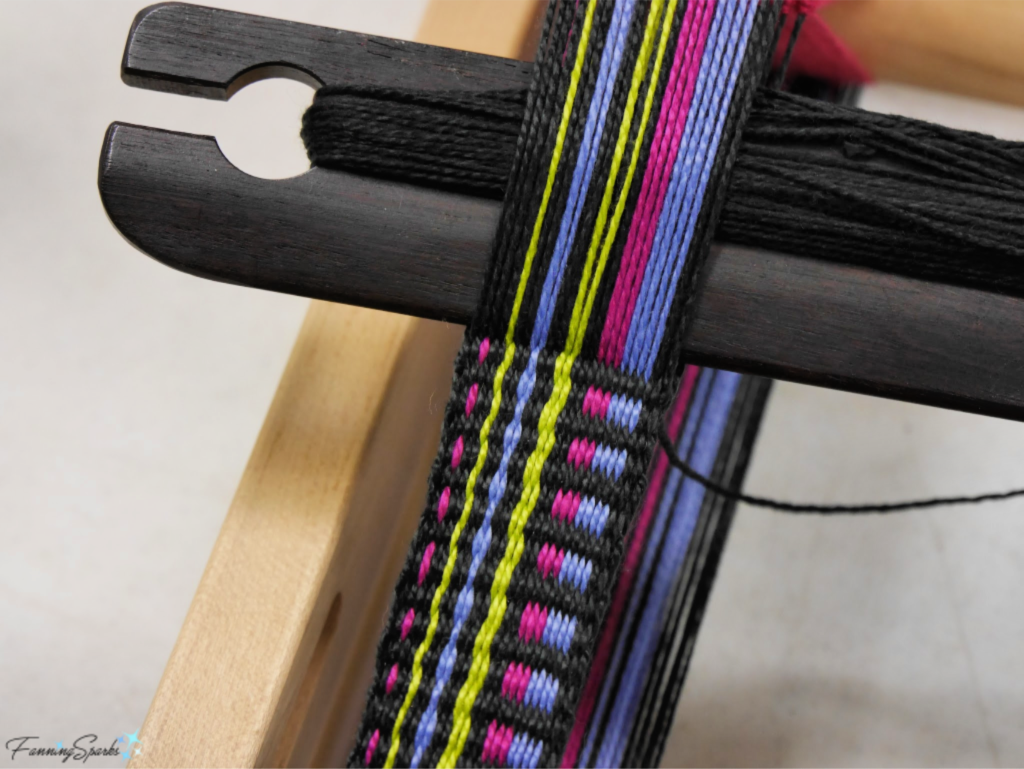 Here is a young Shetland sheep on Martha Owen’s farm tour which was part of the Sheep to Shawl Spinning and Dyeing class.
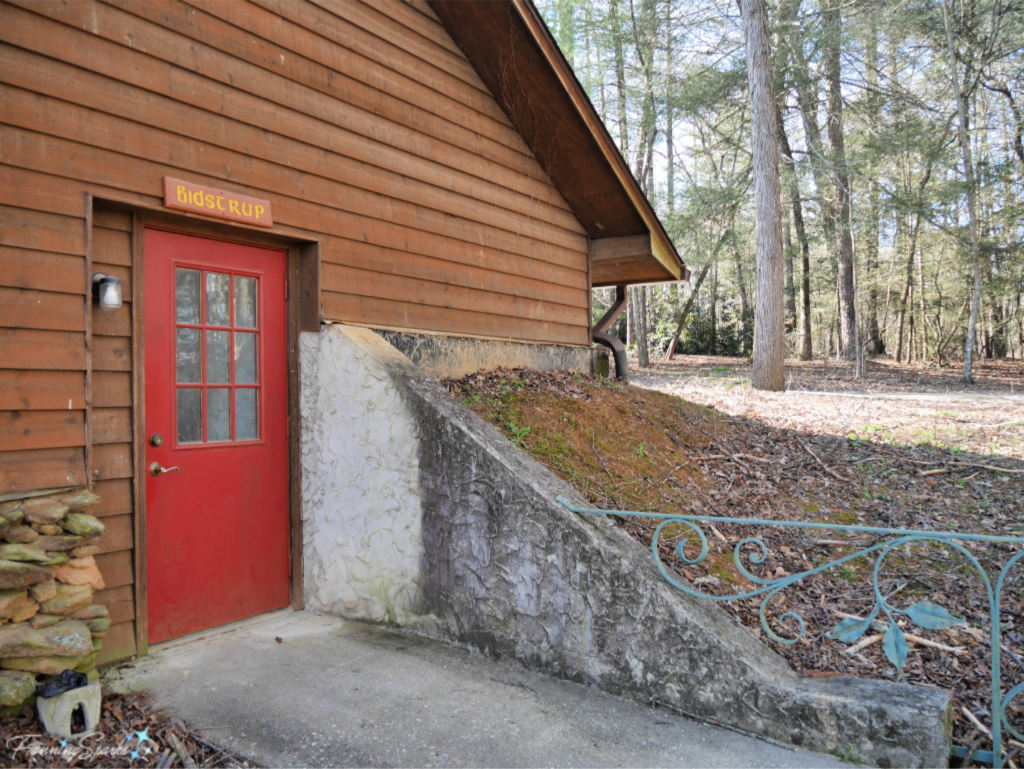 Q11. Do you have your own room?
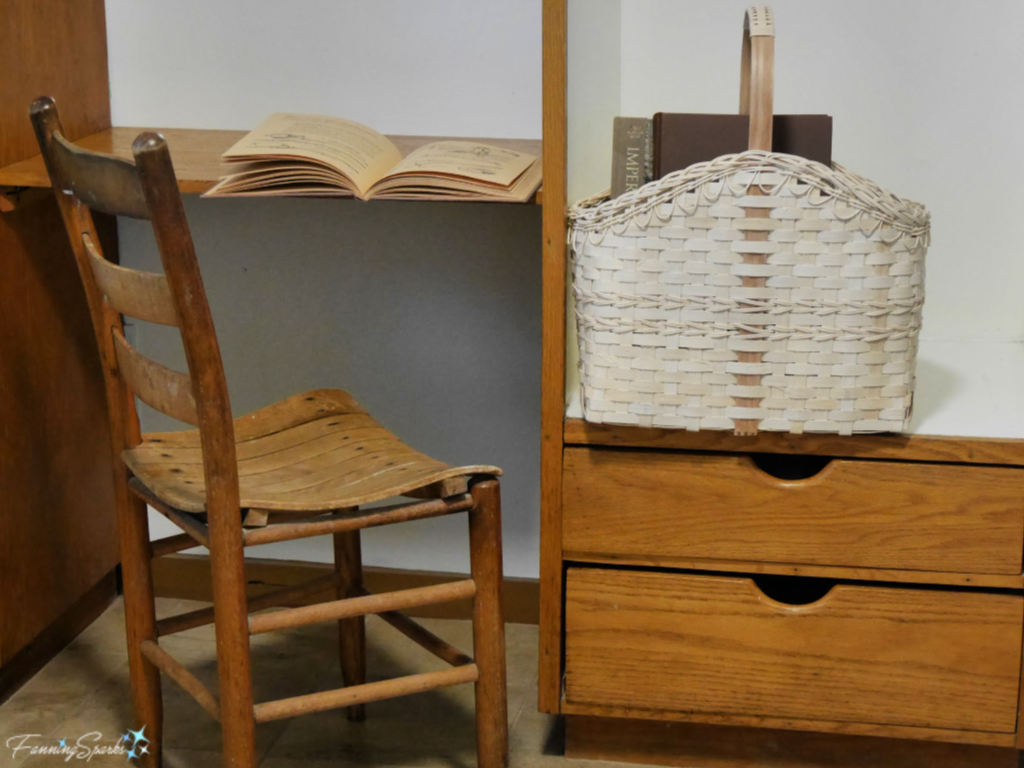 Q12. What is the work?
 Our team also had an unusual assignment to clean out the Big Barn beside the Blacksmith Studio. We had to remove and dispose of the debris that had been collected over the years.
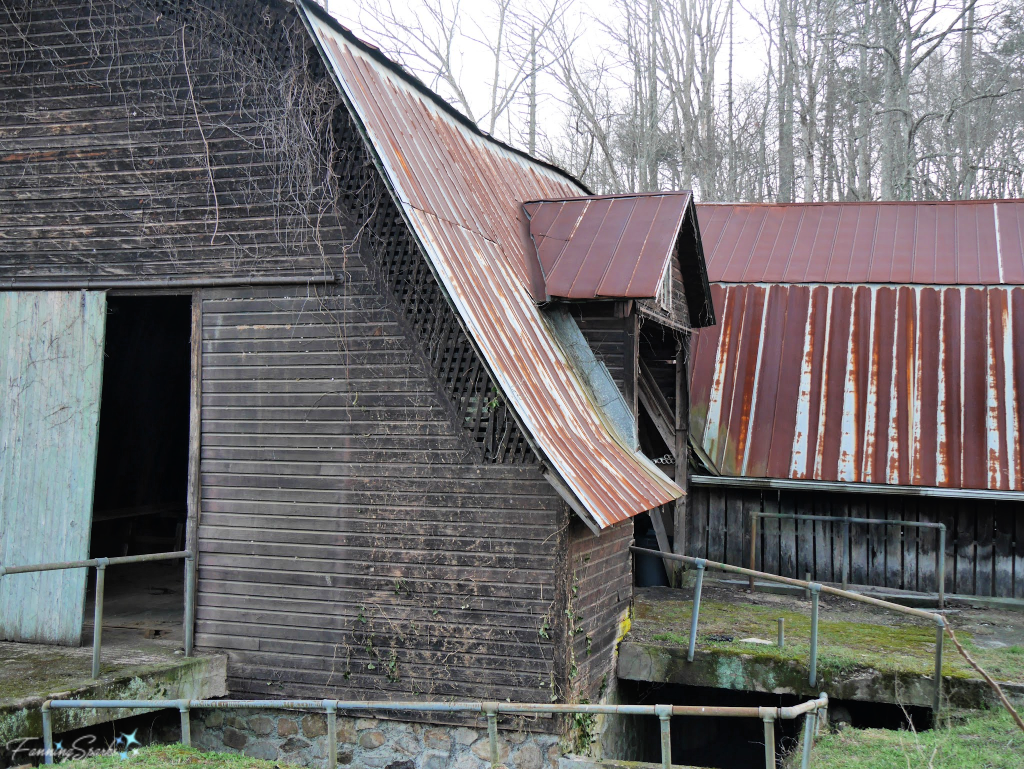 Q13. Is the work difficult?