What do Southern Ladies, Christmas Stockings and Hairy Armpits have in common? They’re all memory joggers to identify a species of fern. The Southern Lady Fern (Athyrium asplenioides), for instance, can be identified by its long smooth stalks. So the silly, little phrase, “Southern ladies shave their legs” is a helpful way to remember it.
The Cinnamon Fern (Osmundastrum cinnamomeum) can be identified by tufts of white or tan hairs at the base of each pinna (often referred to as a leaf) thus the hairy armpits reference. The pinna of the Christmas Fern (Polystichum acrostichoides) is thought to resemble the shape of a Christmas stocking. Note the toe of the stocking close to the stalk in the below photo.
These are some of the fun facts I learned during a recent class at the State Botanical Garden of Georgia in Athens. The class, Ferns and Fern Allies, was taught by Dr Wilf Nicholls and Linda Chafin. It was an excellent opportunity to learn about these interesting plants. I had no idea, for instance, that ferns and fern allies (more accurately “seedless vascular plants”) were the first land plants and date back 475 million years. Who knew?
We learned about the astonishing diversity of ferns (Phylum Pterophyta) which includes 11,000 species. Although there are only about 130 species native to my home state of Georgia.
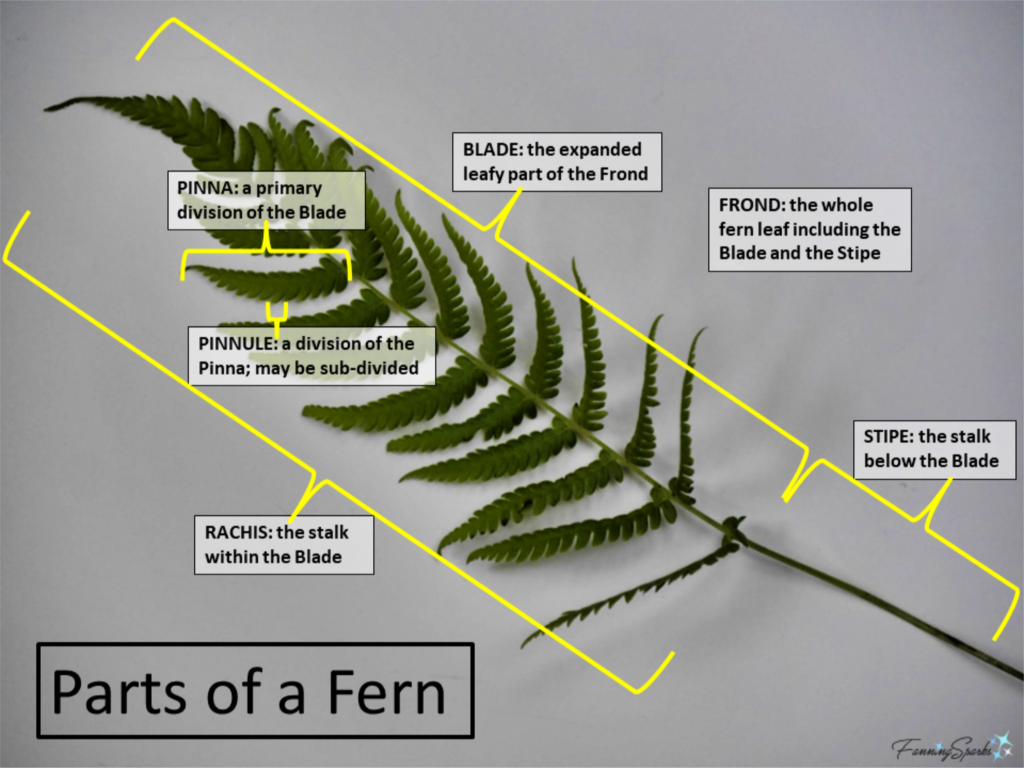
We learned the proper terminology for ferns. For instance, ferns do not have leaves, they have fronds. Here are the major parts of a fern.
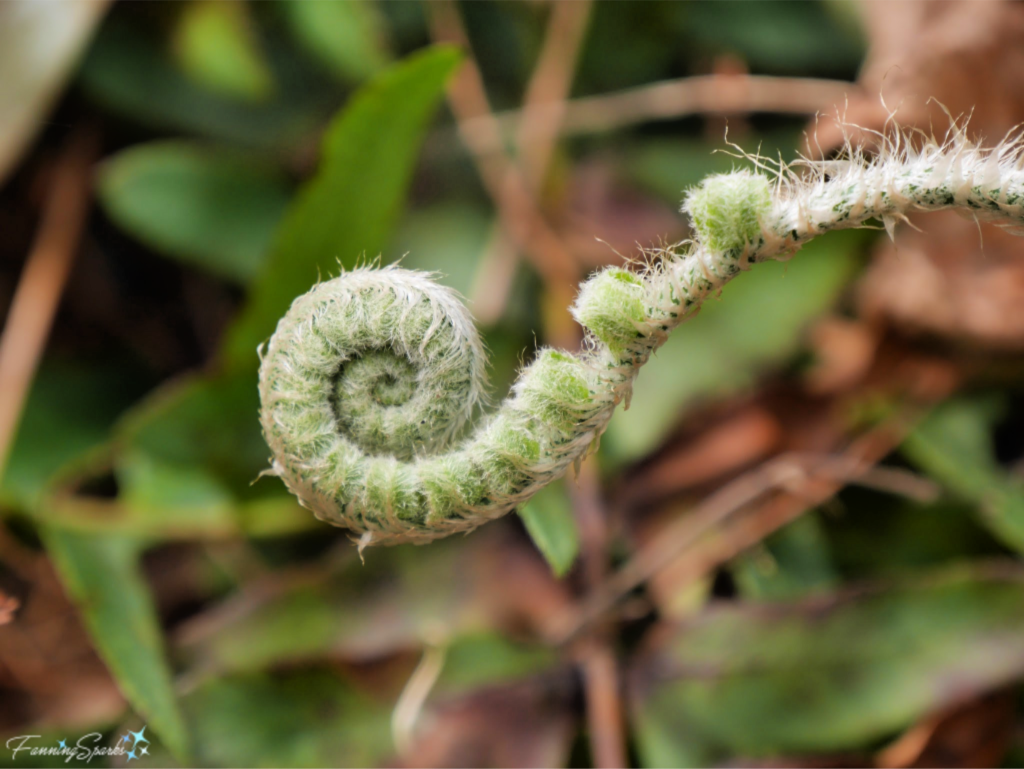
We learned that all fern fronds begin as croziers (that pretty little spiral I always thought was a fiddlehead). Here’s the crozier of a Christmas Fern (Polystichum acrostichoides).
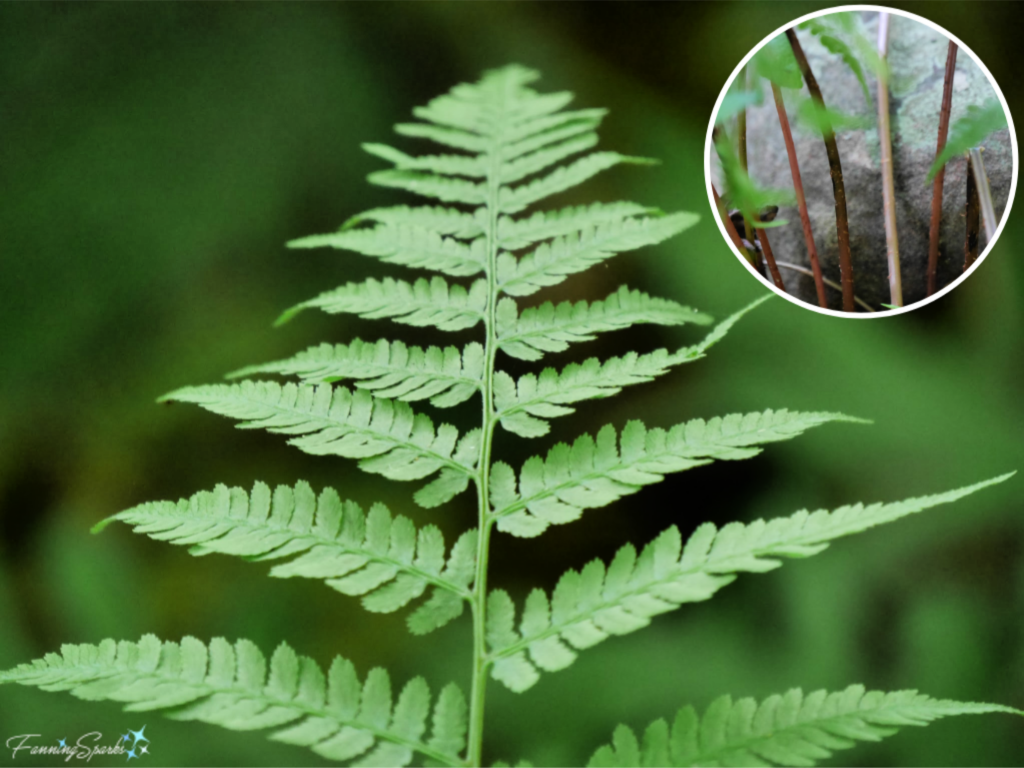
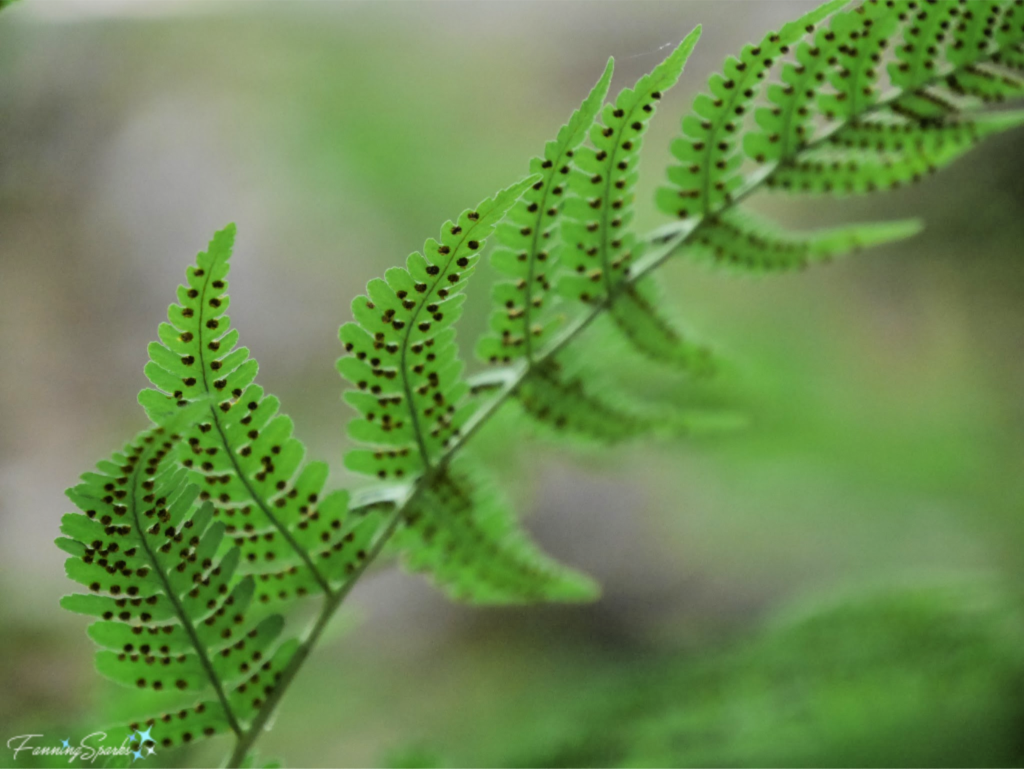
We used microscopes to examine spores and sporangia (spore-producing case or bag). We learned about the life cycle and sexual reproduction of a fern. Here are the sporangia on the underside of the Marginal Wood Fern (Dryopteris marginalis) pinna.
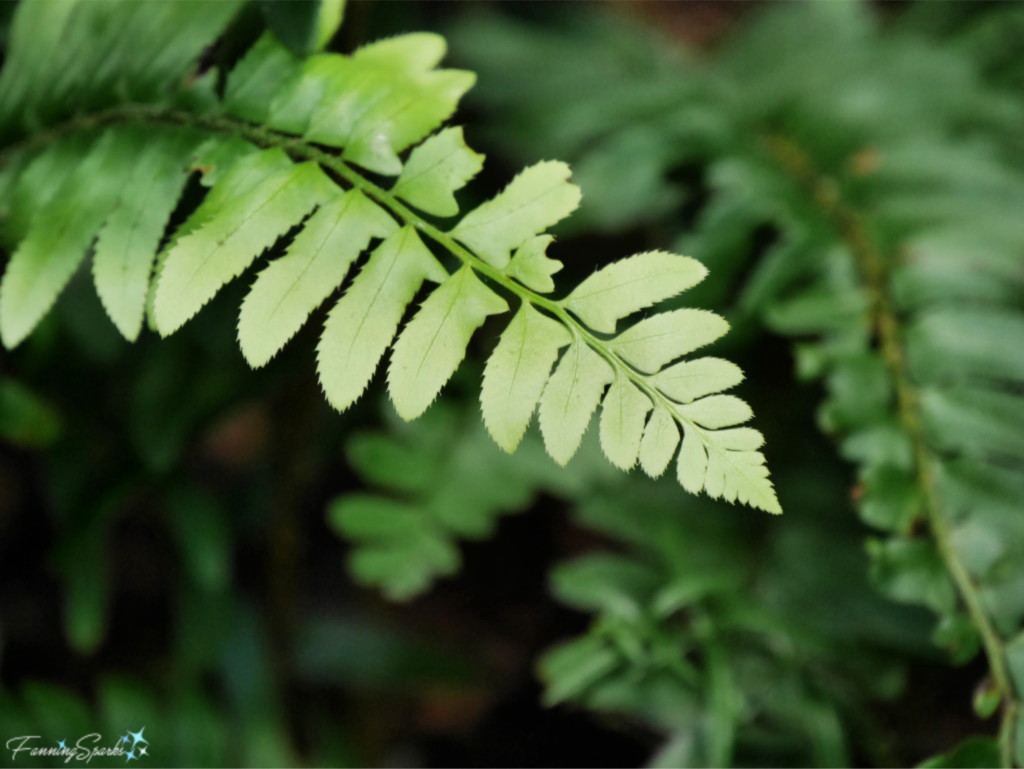
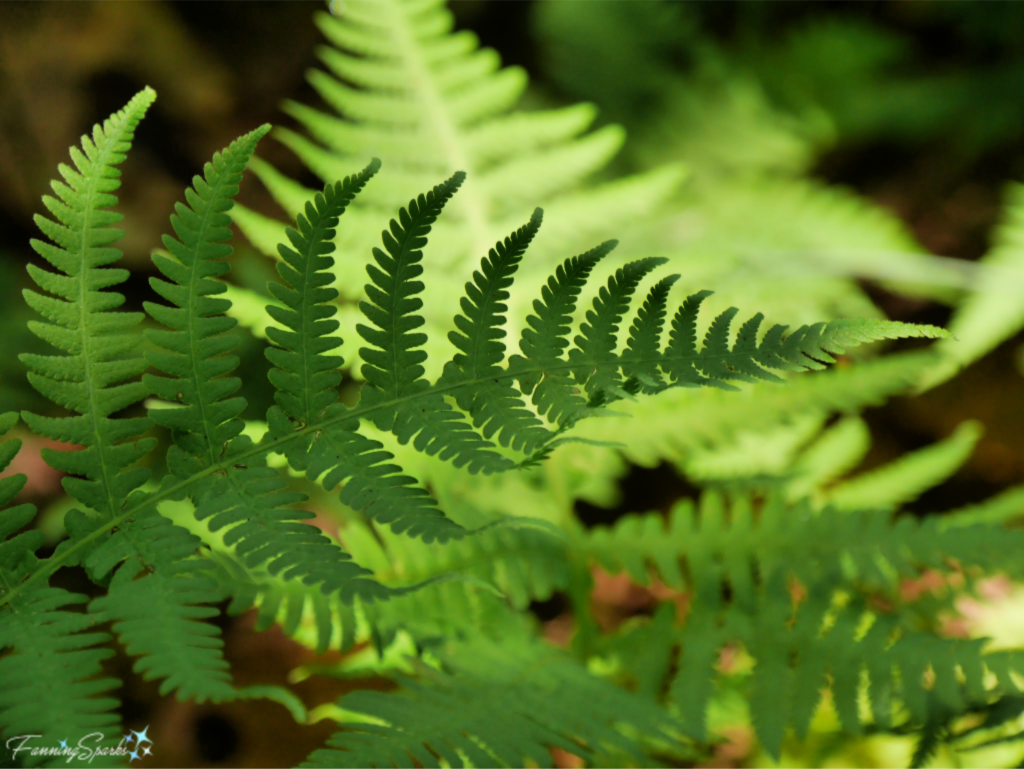
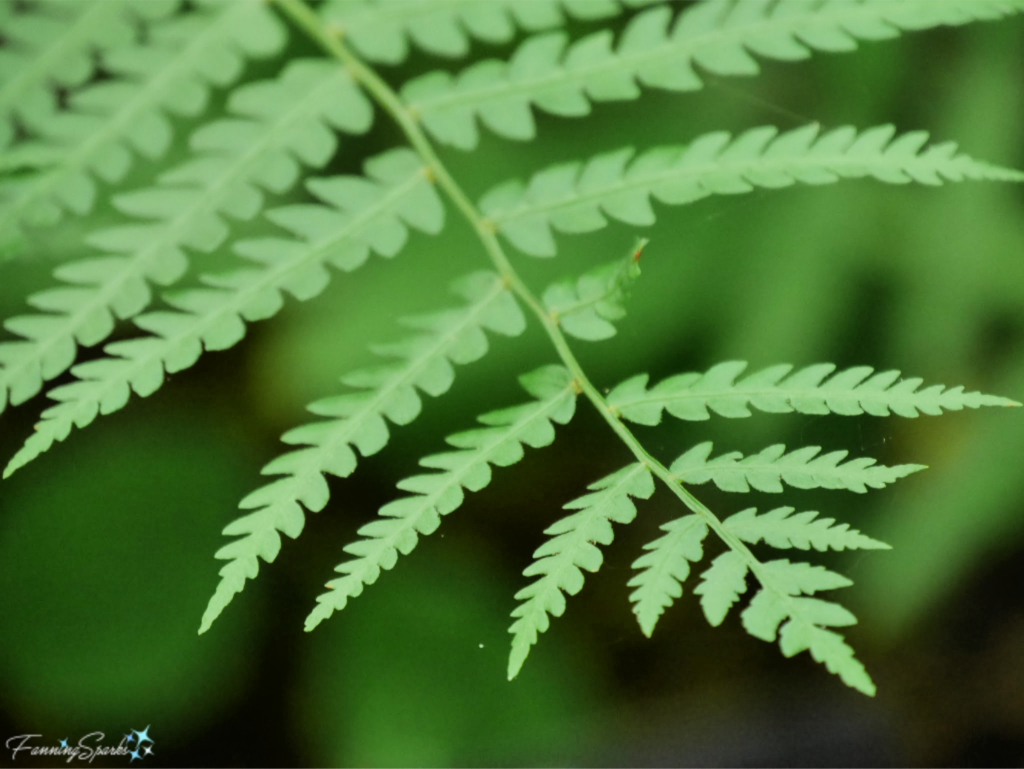
We concluded our class with a guided tour of the Dunson Native Flora Garden to identify native ferns and discuss their growing conditions. We didn’t address ferns for home gardens but, of course, recognizing native species and understanding their preferences goes a long way to making wise selections for the garden. Here are a couple more native ferns we saw. This lovely frond, backlit by golden sunshine, is a Broad Beech Fern (Phegopteris hexagonoptera).
This is the Cinnamon Fern (Osmundastrum cinnamomeum). Unfortunately, those hairy armpits mentioned above are not visible in this photo.
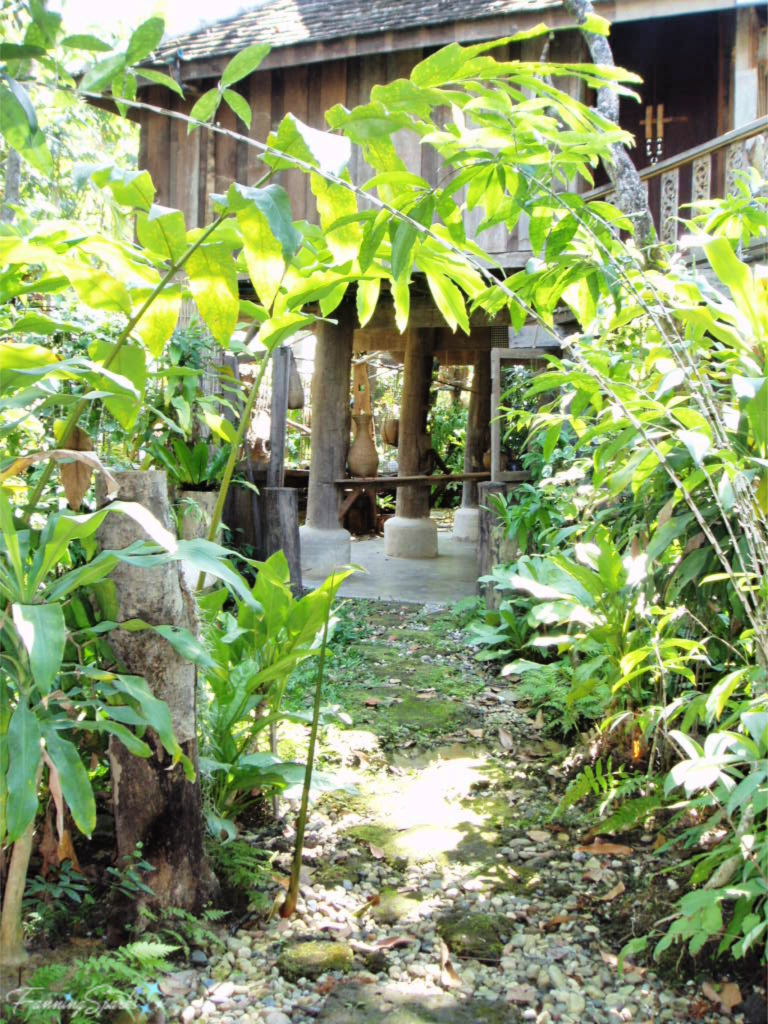
Ferns always remind me of a place I stayed in Thailand. Fern Paradise is a small, family-run resort hidden away in the countryside just outside Chiang Mai City in northern Thailand. My friend Vicki and I stayed there for a few nights many years ago. I’m happy to report that a quick internet search shows Fern Paradise is still a going concern. At Fern Paradise, guests stay in unique, elevated villas which are restored rice barns. The rice barns, or “Lhong Khao”, were originally used by rice farmers in what was the Lanna Kingdom in northern Thailand.
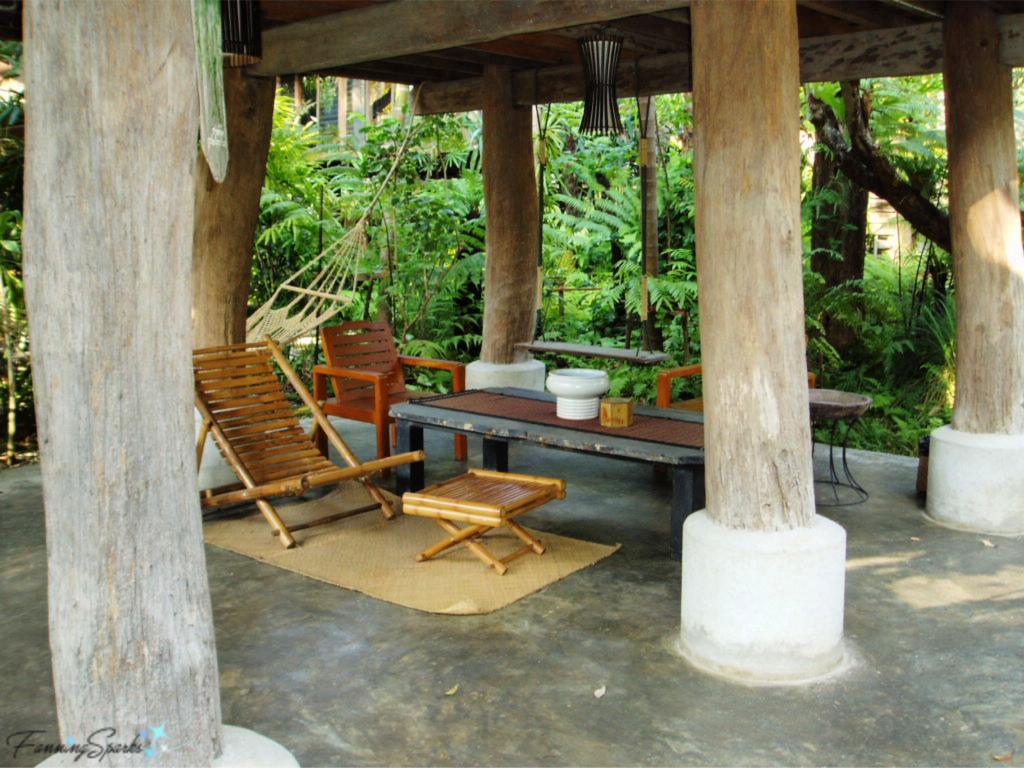
Guests can enjoy a cozy, outdoor terrace underneath the rice barn.
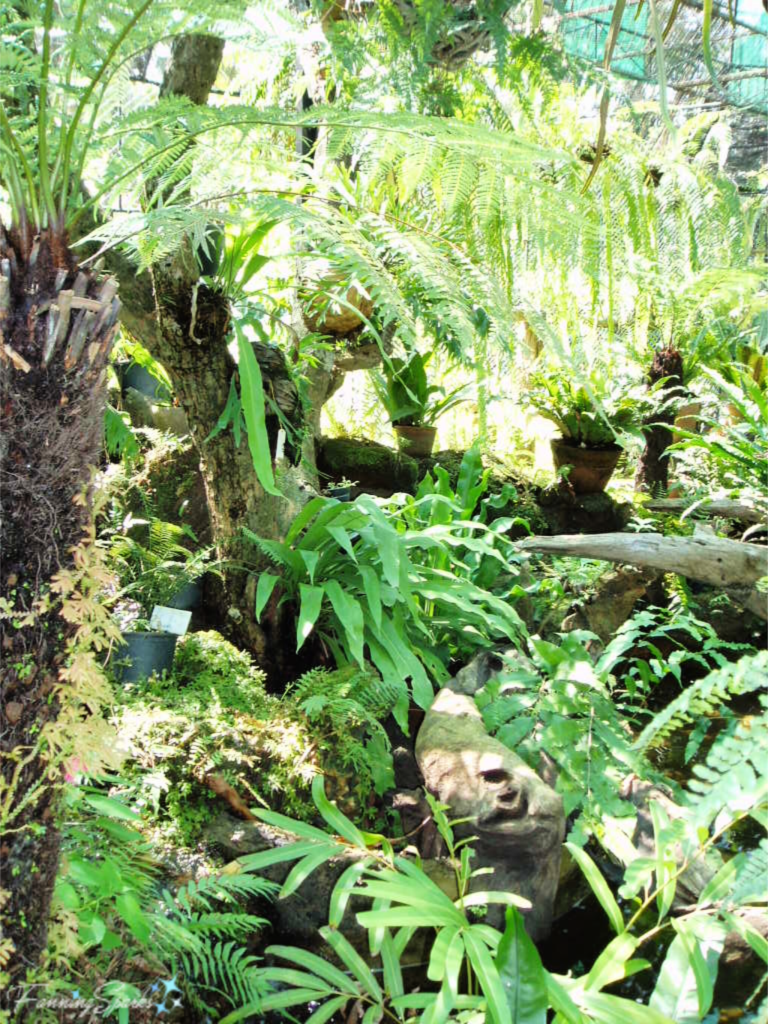
Dr. Niwat Tantayanusorn, owner and architect of Fern Paradise, moved 9 of these structures to his property to preserve their rich heritage. These unique Lanna architectural treasures are surrounded by a lush, green tropical paradise. Much of that lushness can be attributed to an abundance of ferns. Niwat is a fern expert and an avid fern collector. There are more than 300 types of ferns at Fern Paradise. During our stay, we were fortunate to have Niwat take us on a tour. He explained the history of the resort and showed us the Fern House where a variety of ferns are exhibited.
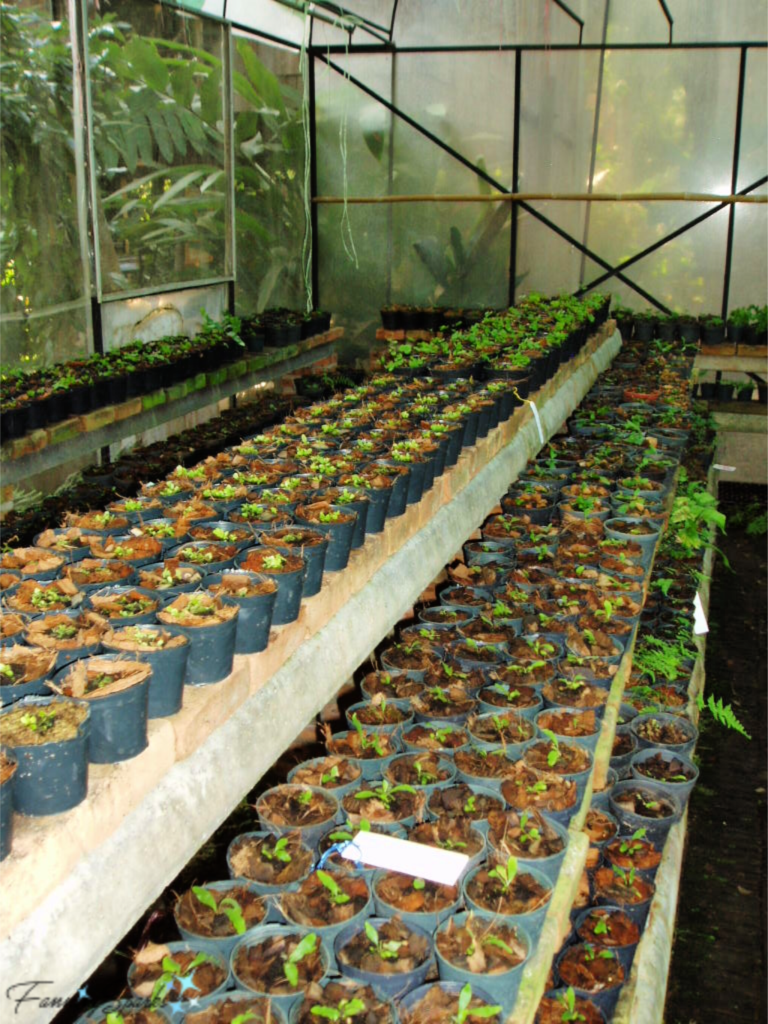
He also showed us the Green House where he starts ferns from spores and nurtures them to maturity.
From the rustic-chic rice barn rooms to the lush fern gardens to the charming hospitality, staying at Fern Paradise was an unforgettable experience!
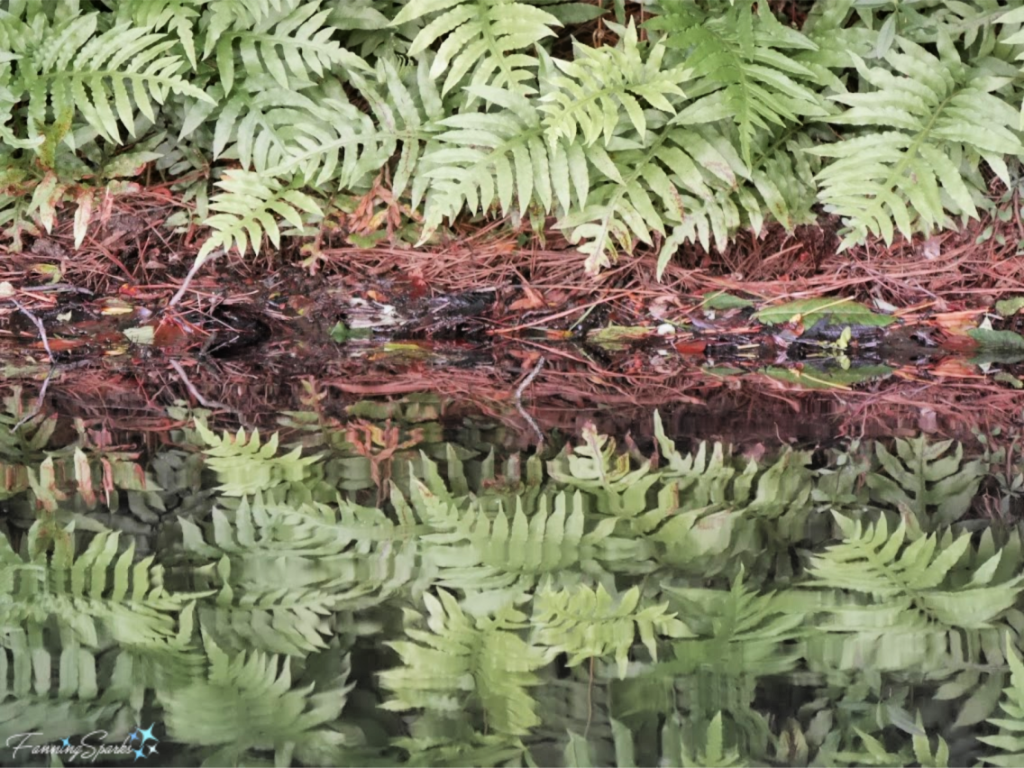
As suggested by the number of photos in this post, ferns are fun and easy to photograph. Their elegant, graceful lines and soft, airy foliage lend themselves to interesting patterns and pleasing compositions. Here is a favorite shot from my photo archives. I like the near-perfect reflection of the fern fronds on the water’s surface. And thanks to my recent class, I can now identify this as the Sensitive Fern (Onoclea sensibilis) which is common to wetlands in Georgia.
More Info
The State Botanical Garden of Georgia, at the University of Georgia in Athens, offers a number of adult education programs.
The Nature Study Guide, Fern Finder: A Guide to Native Ferns of Central and Northeastern United States and Eastern Canada, by Barbara Hallowell and Anne C Hallowell is a helpful tool for identifying ferns.
The iNaturalist.org and their Seek app, which I mentioned in my previous post Seek to Identify Wildlife with this Fun App, are great resources for identifying wild plants and animals.
For more information about Fern Paradise in Northern Thailand, check out their website.
Not only photographers are attracted to ferns; ferns are a popular subject in art, craft and design. Check out my new Pinterest board, Ferns – FanningSparks Favs, for over 100 ideas on how to incorporate a fern motif into your home and surroundings. Jewelry, dishes, wallpaper, fabric, embroidery, vintage prints, sculpture… ferns are everywhere!
Today’s Takeaways
1. Consider taking a look at the vast and fascinating world of ferns.
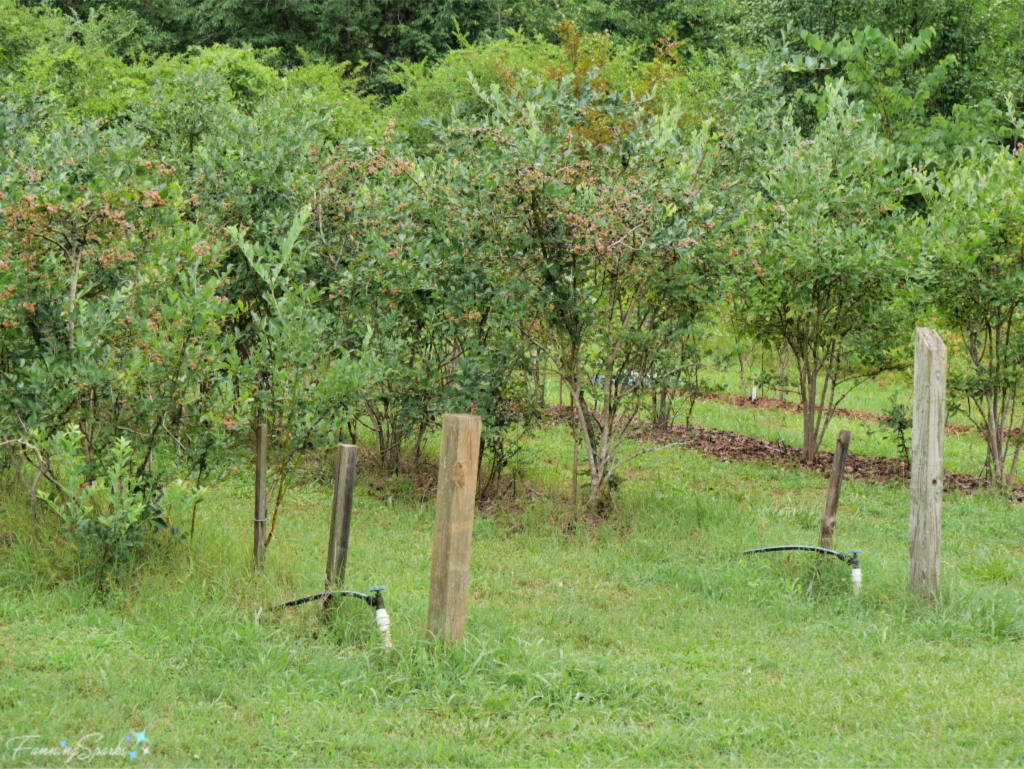
2. When selecting ferns for a home garden, choose a native species suited to your growing conditions.
3. Ferns are a popular design element; consider incorporating them into your home or surroundings.


 Blurred Lines
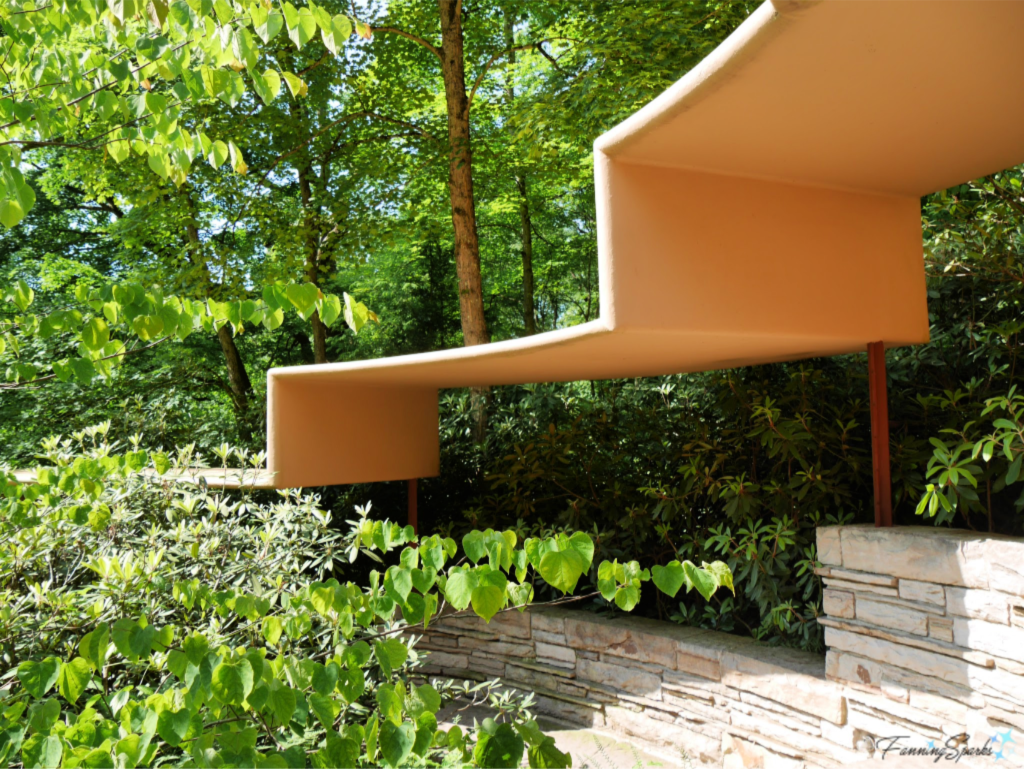
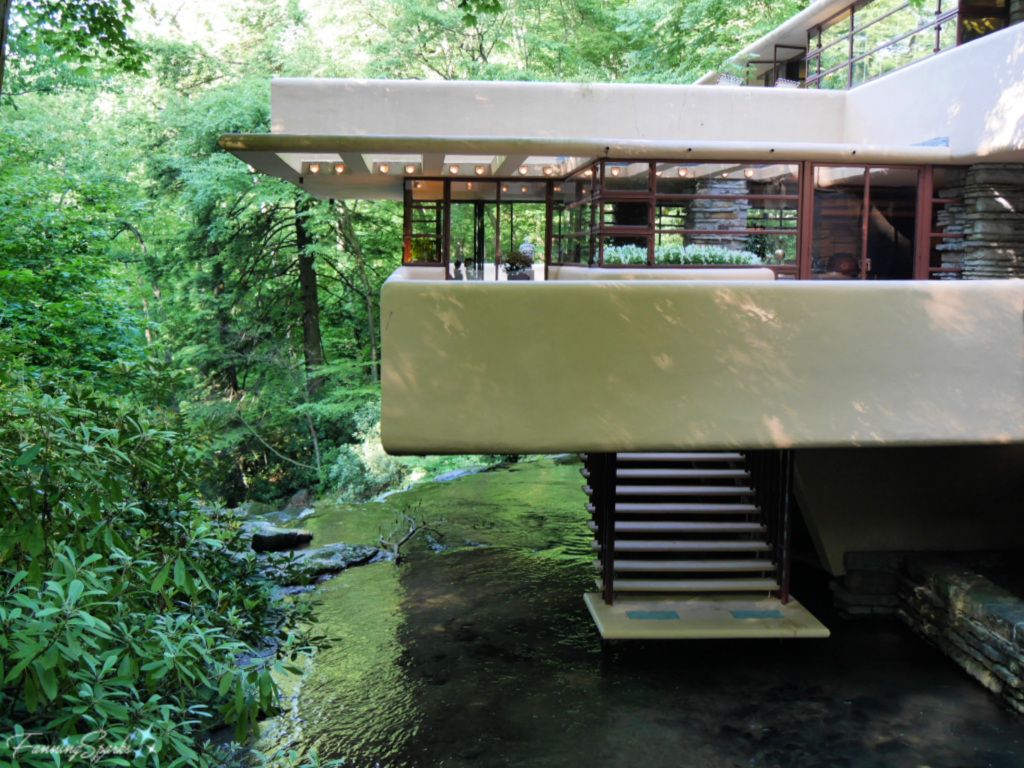 And those stairs that you see coming down to the stream, they are accessed from this glass-enclosed stairwell or hatchway in the living room.
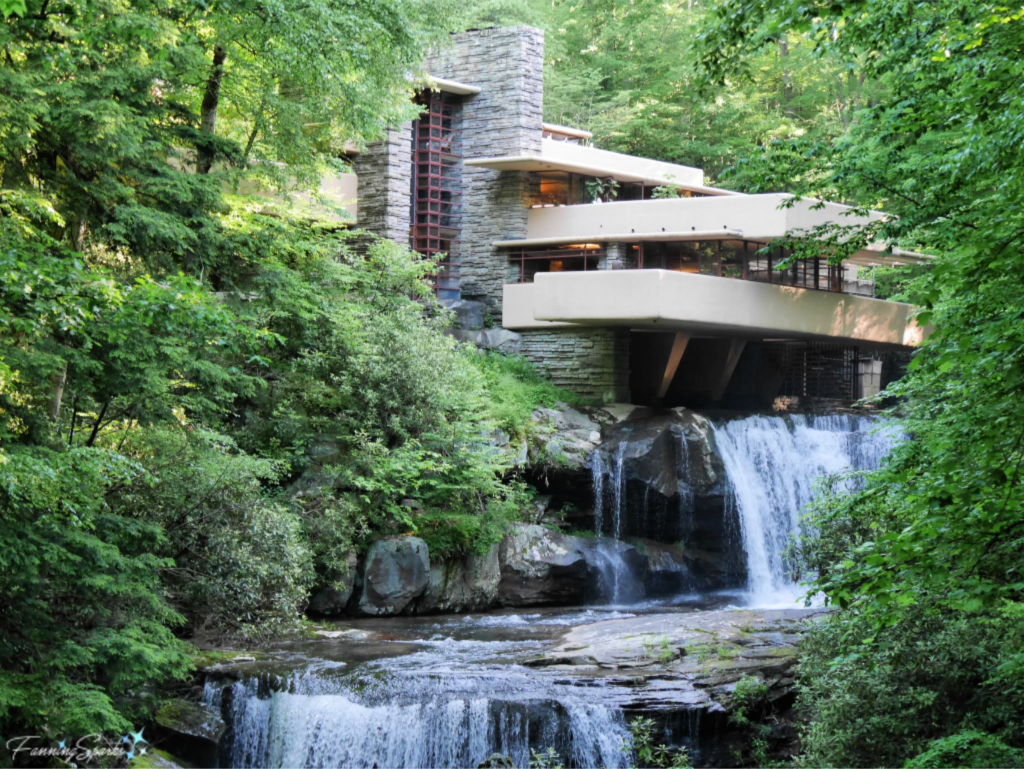
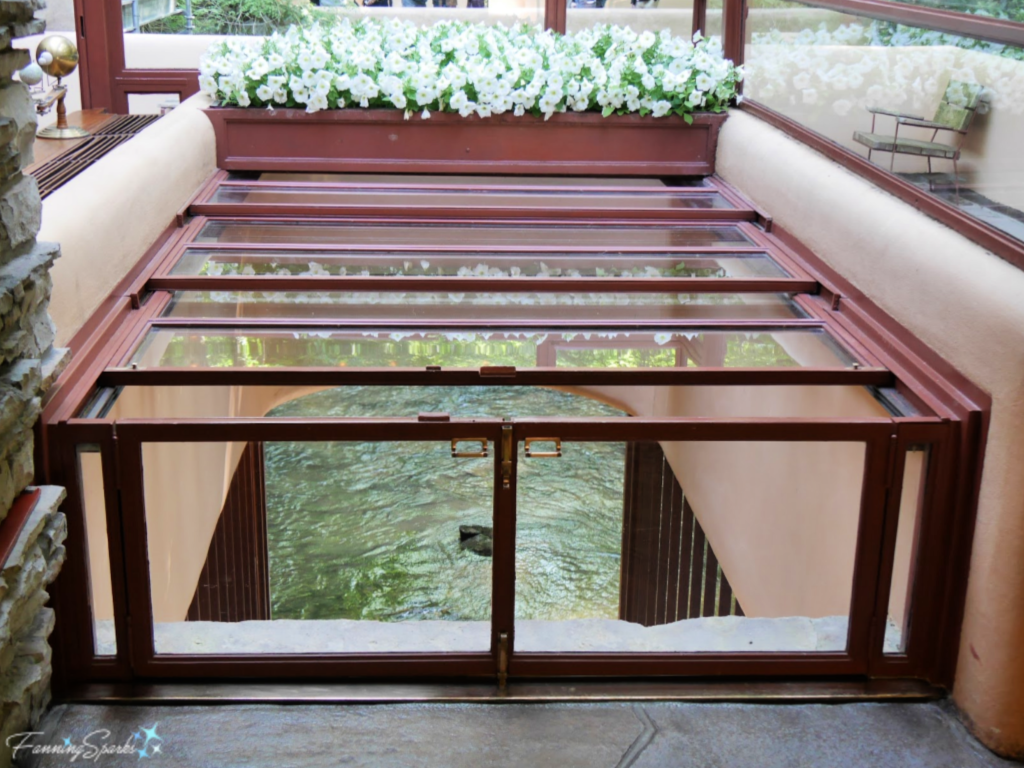 This is a great illustration of one of Wright’s philosophies. He liked to blur interior and exterior space by making the interior decor complement the exterior. The idea of “bringing the outside in” is still popular today. It’s fascinating to see how Wright accomplished this nearly a hundred years ago.
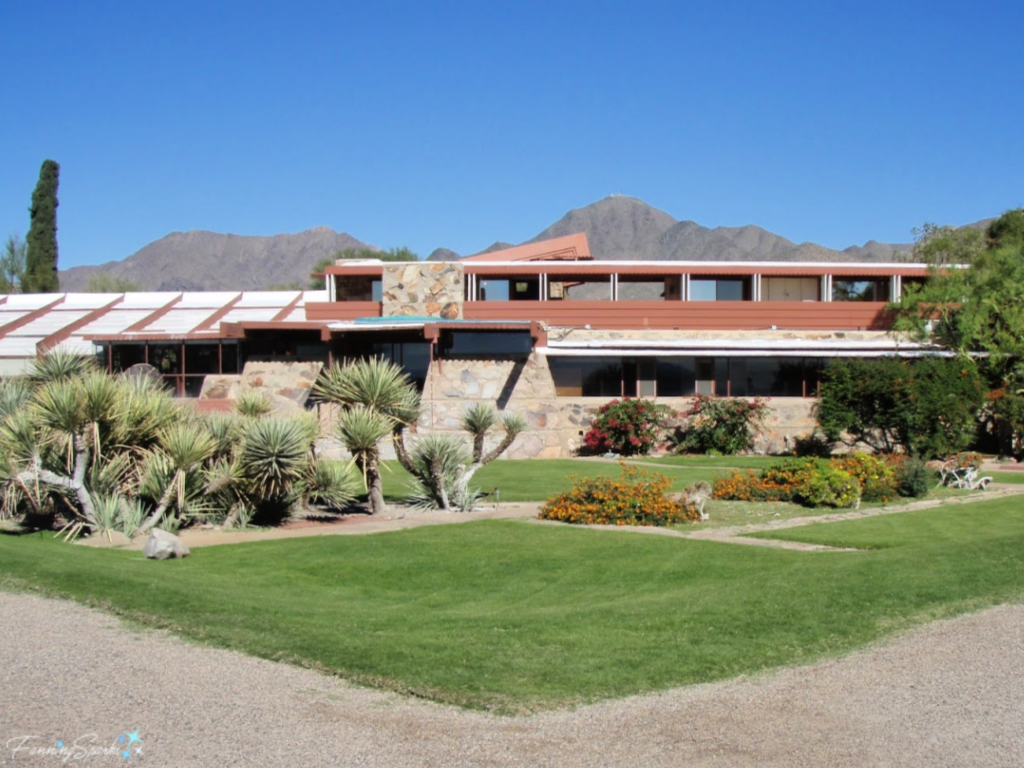 These same horizontal planes are a strong design element in Robie House in Chicago. Robie House is considered the finest example of the “Prairie Style” of architecture which Wright created in the early 1900s.
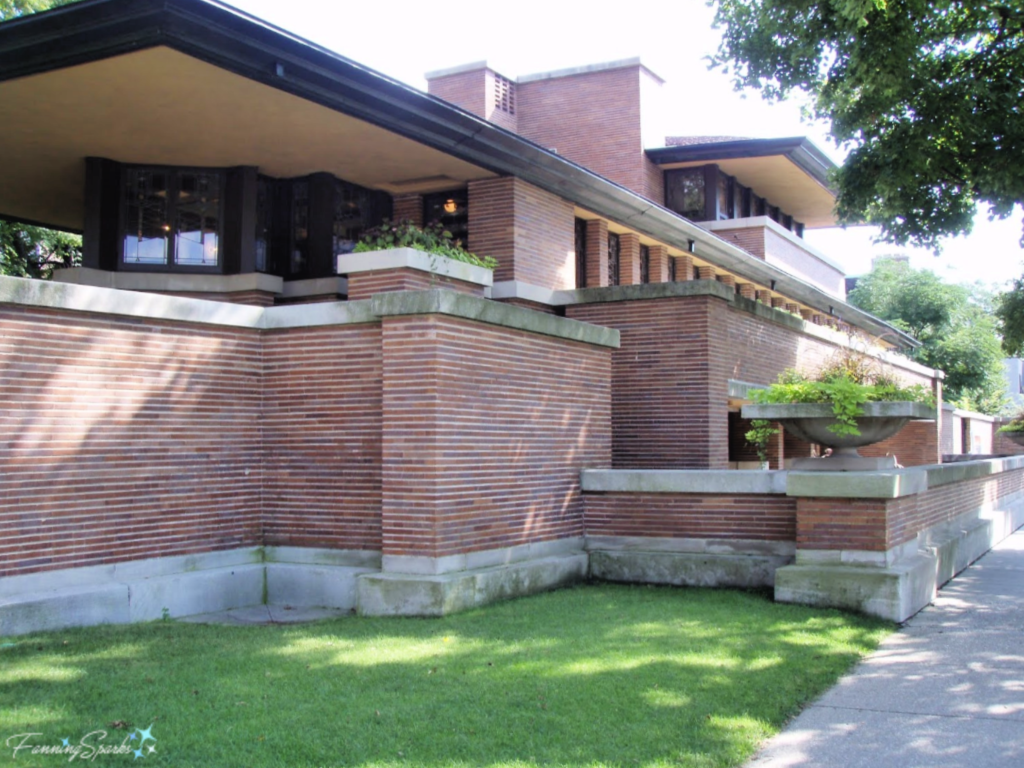 Rosenbaum House in Florence, Alabama continues with horizontal planes and rectangular shapes. Rosenbaum is an example of Wright’s Usonian style. His Usonian vision was to make home ownership affordable for the American middle class. To accomplish this, he simplified his design (eg by eliminating attics and basements) and reduced construction costs (eg by eliminating the need for specialized labor).
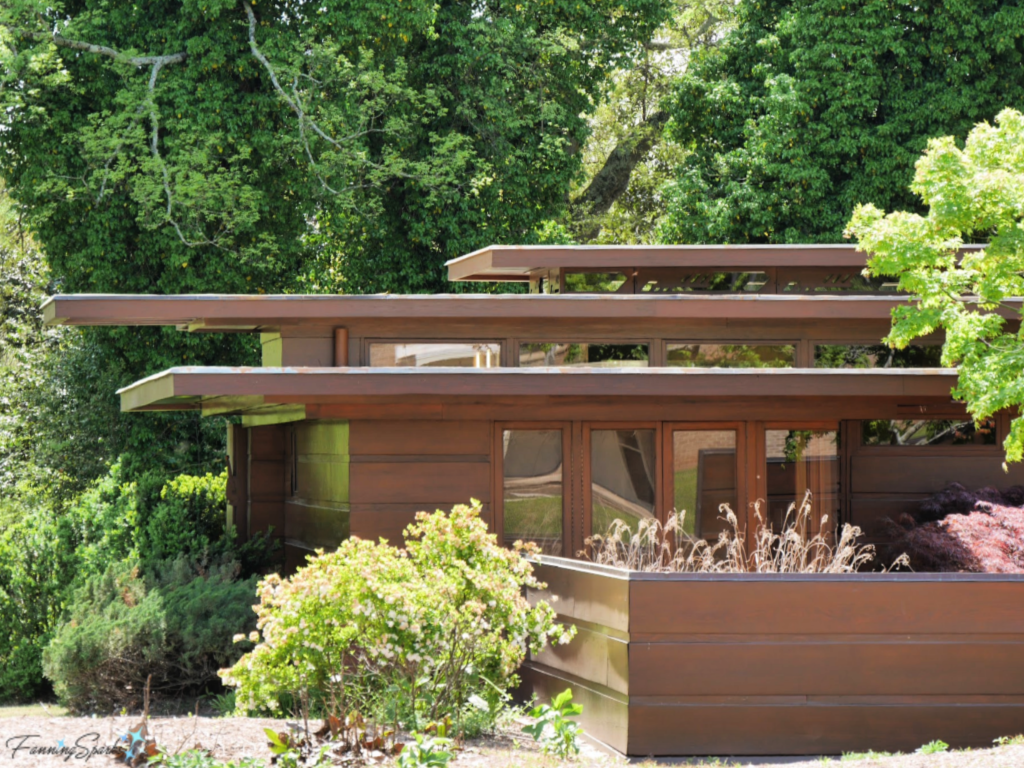 Natural Materials
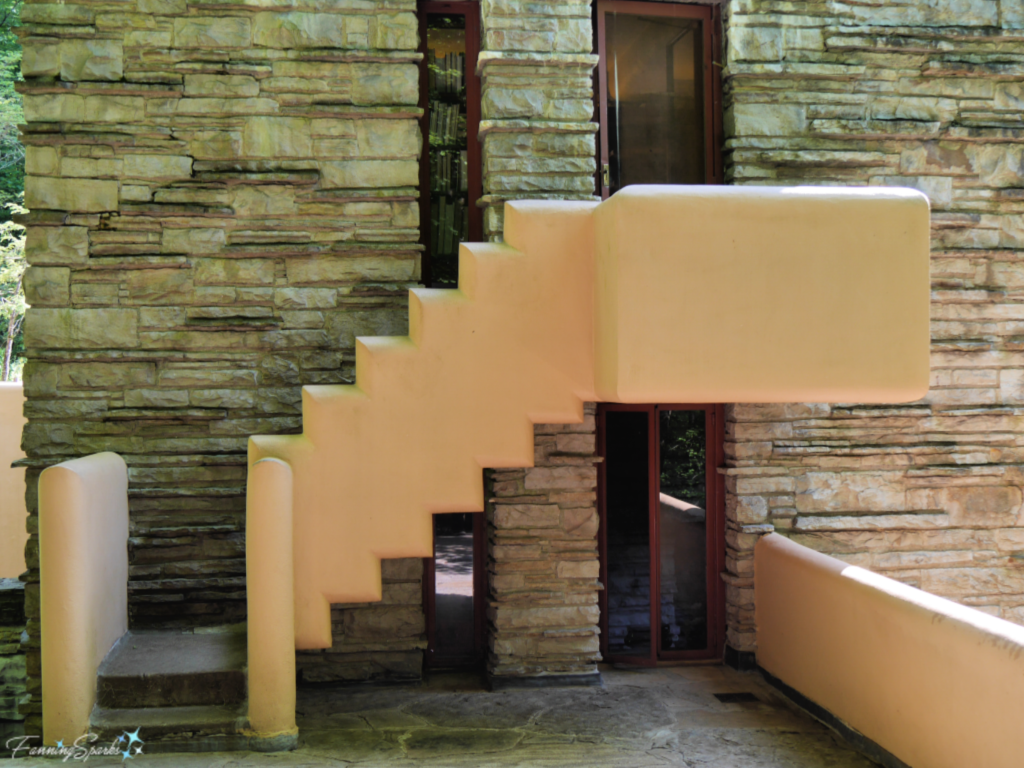
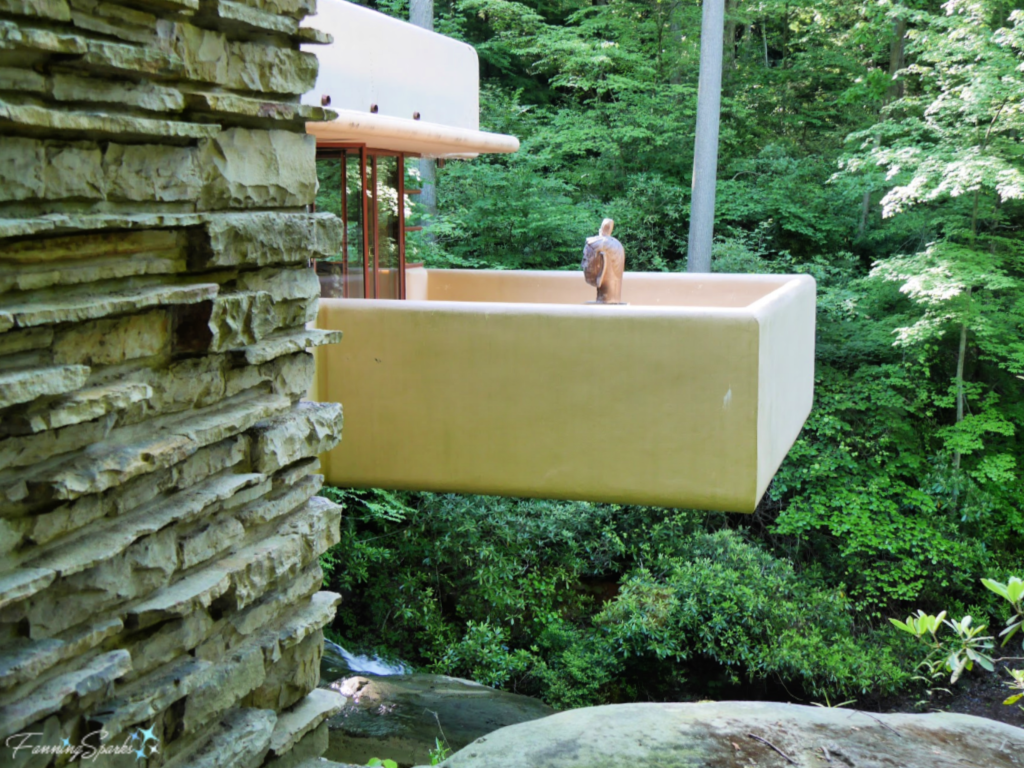 He used a similar approach at Taliesin in Spring Green, Wisconsin where he chose local yellow limestone and river sand to construct the walls. Taliesin is of particular interest because it was Wright’s home, studio, and garden sanctuary for over 30 years. He used Taliesin as a laboratory for architecture and design and started his school of architecture there. This was the first Frank Lloyd Wright home I had the opportunity to visit.
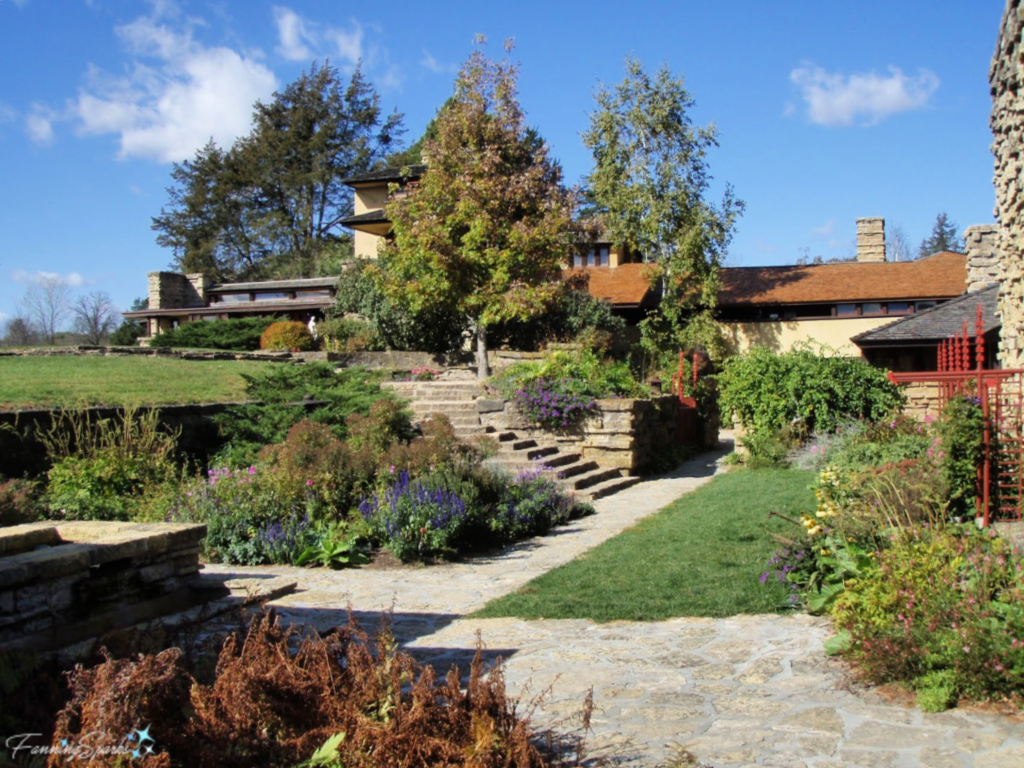 Cantilever Construction
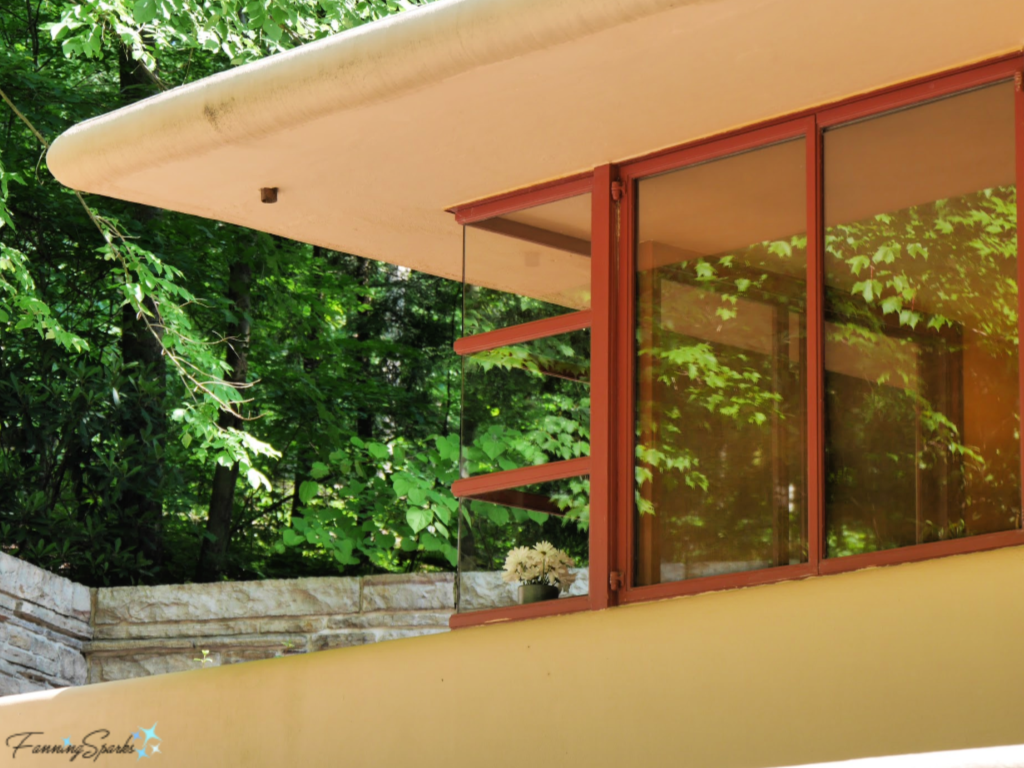
 Natural Light
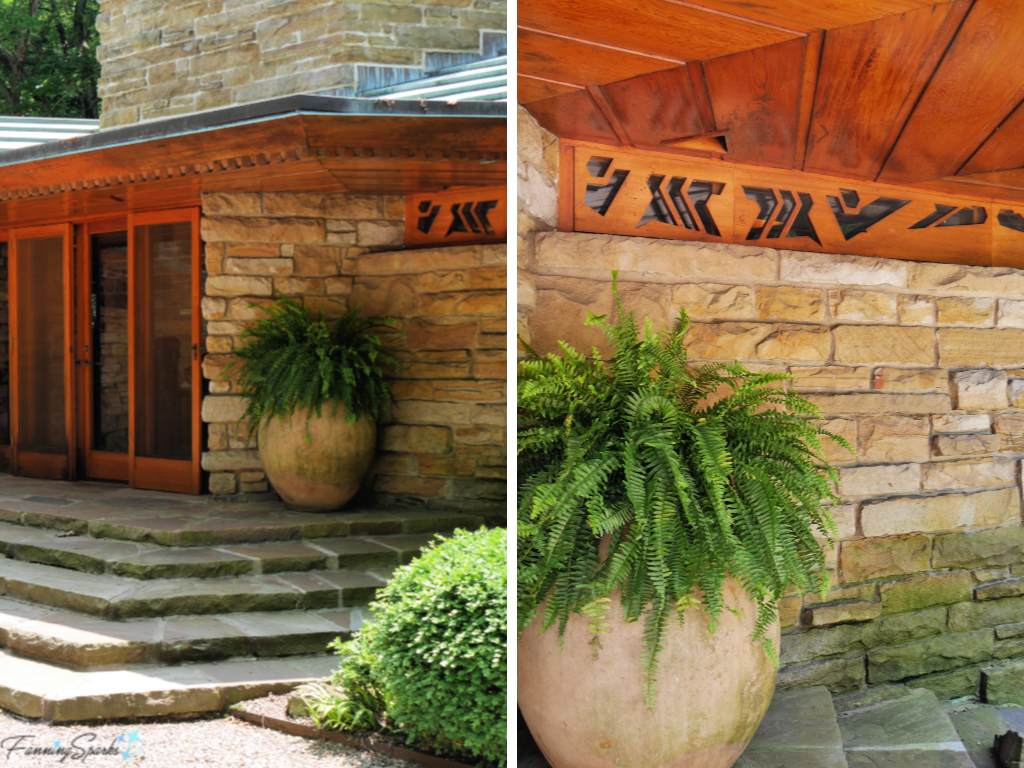
 Art Glass
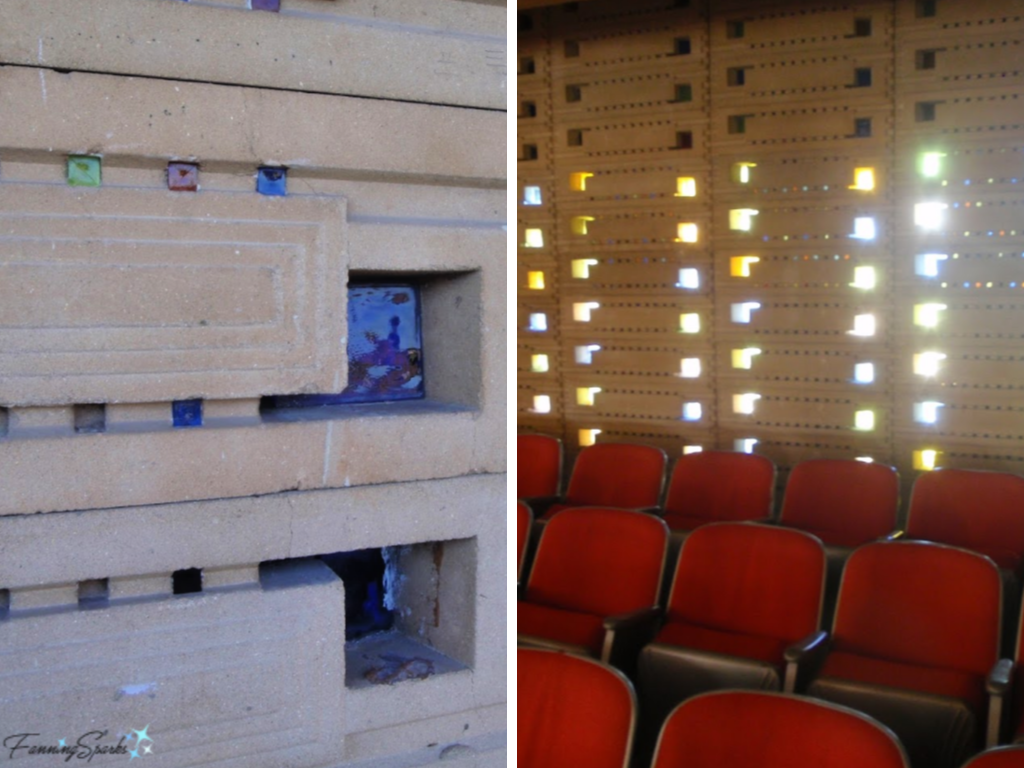 Meanwhile, the front of the chapel has this stunning display of light and color.
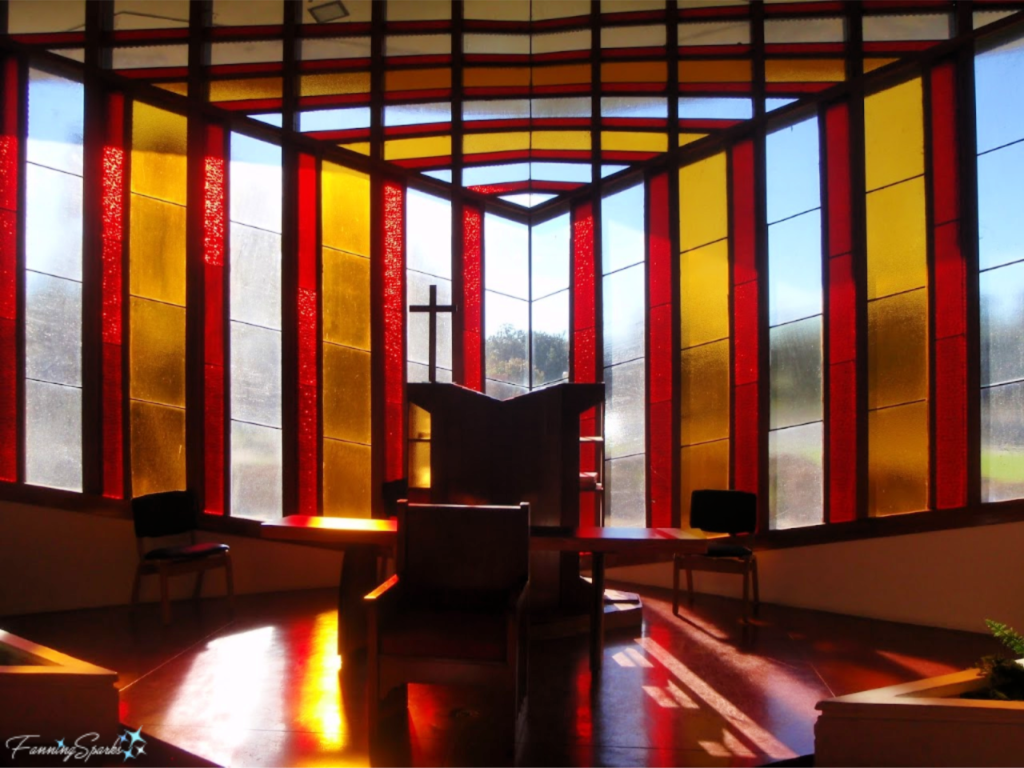 Geometric Shapes
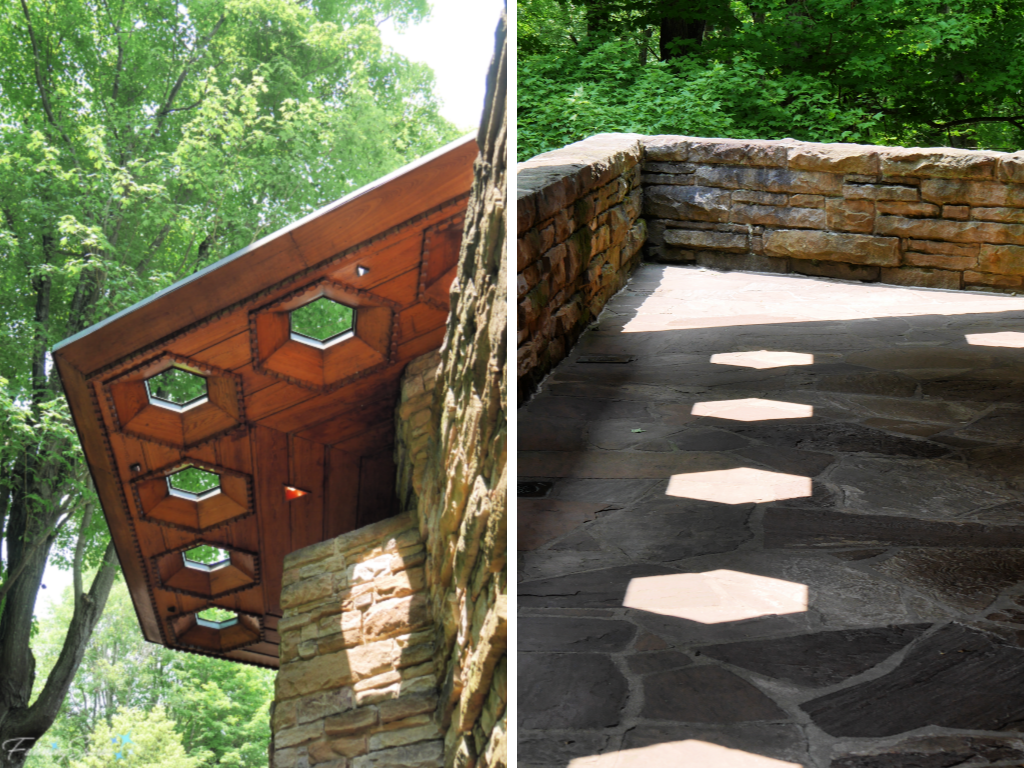 Circles and semi-circles are prominent in Wright’s design for The Annunciation Greek Orthodox Church in Milwaukee, Wisconsin.
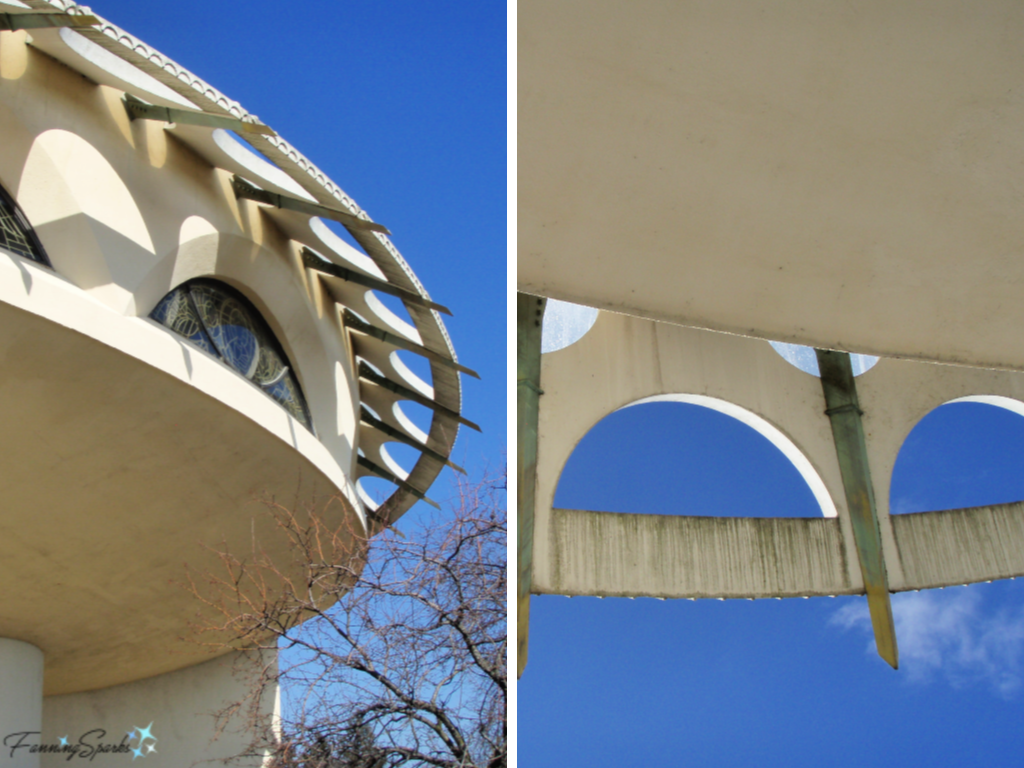


 While it looks easy when a pro like Tony does it, it’s not! Glass flamework takes exceptional coordination and lots of practice. My own meager attempt to blow a round Christmas ornament turned into an odd shape more like a vegetable. Yet, I’m insanely proud of my pepper-like ornament!
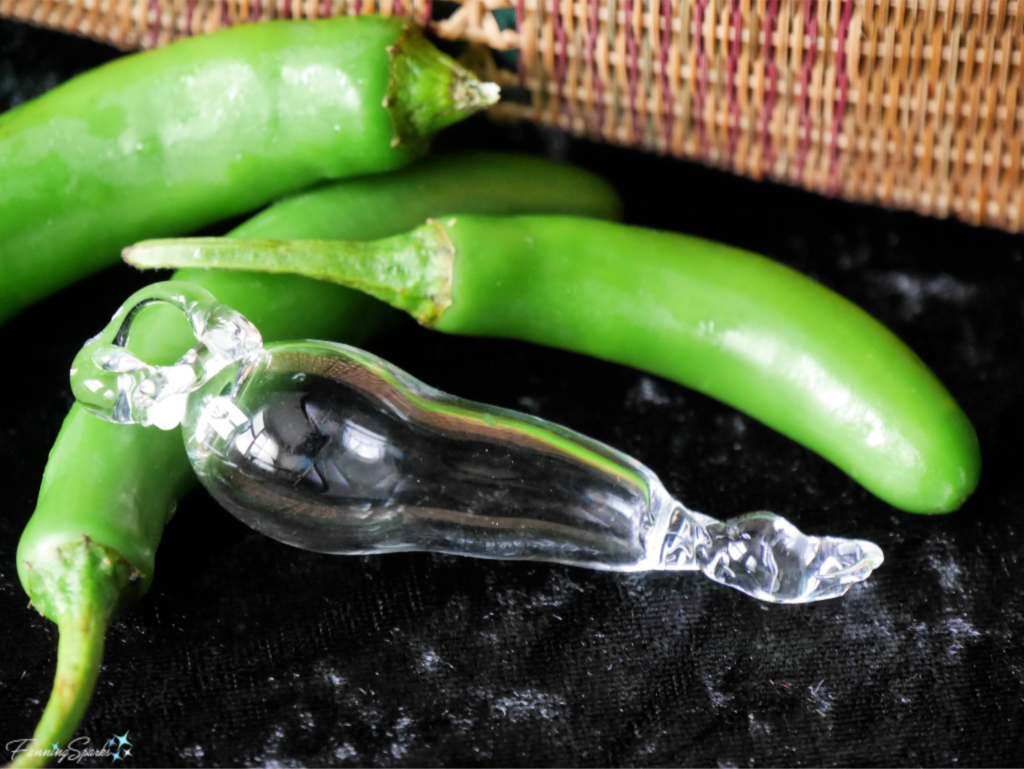


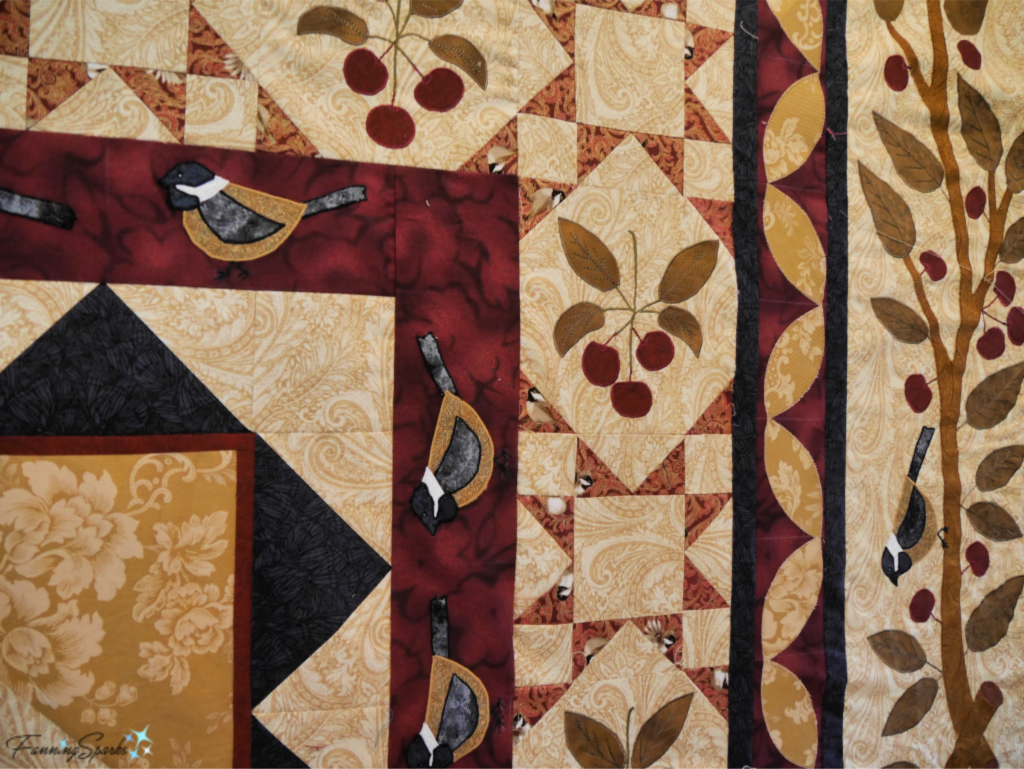
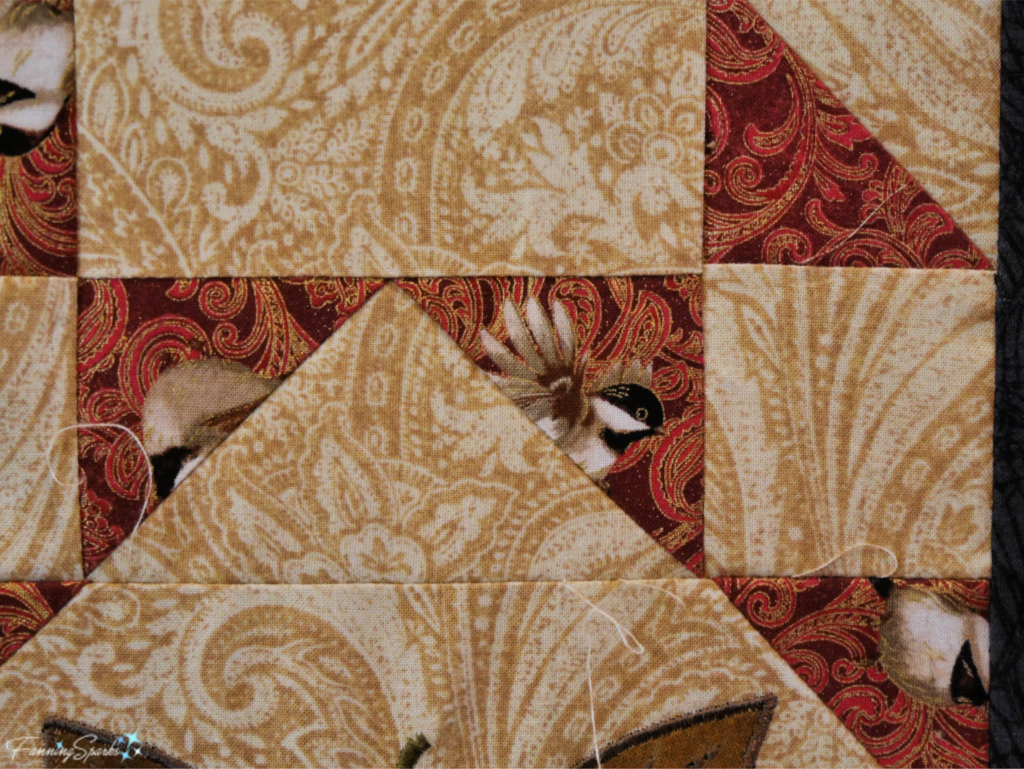
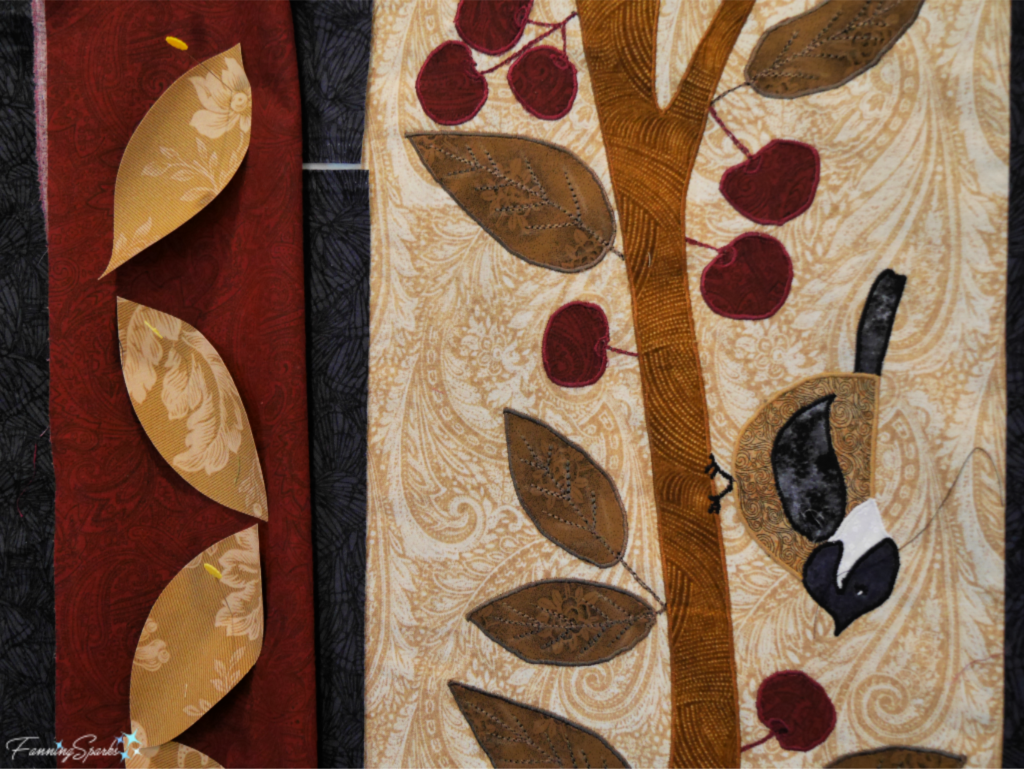
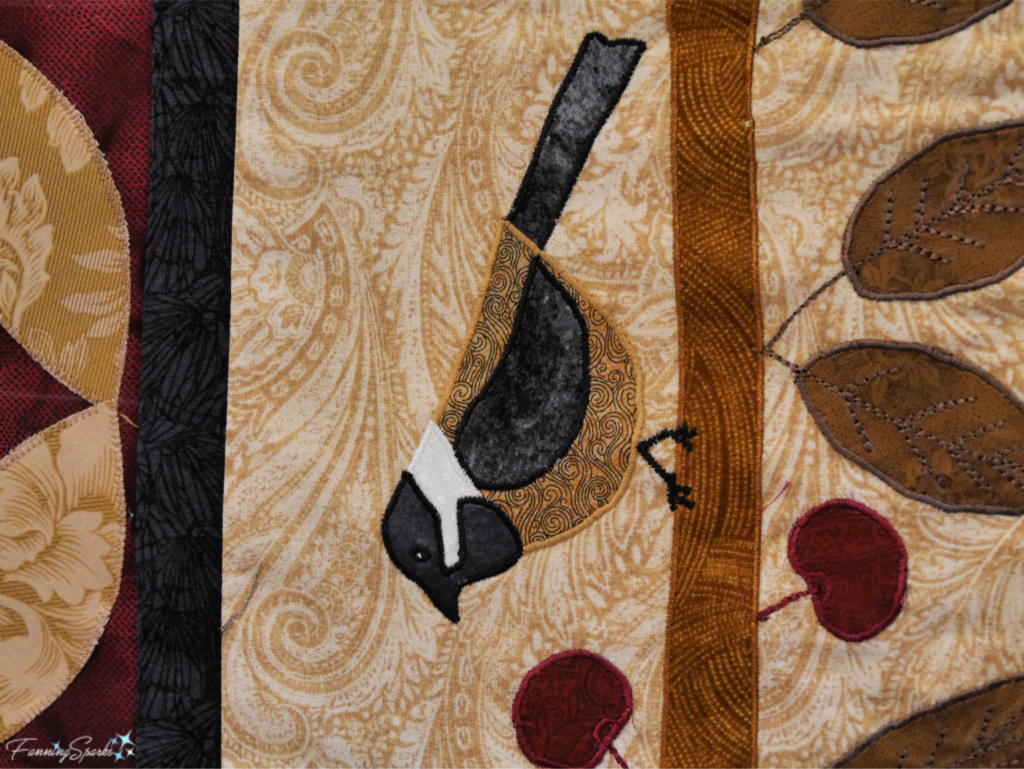
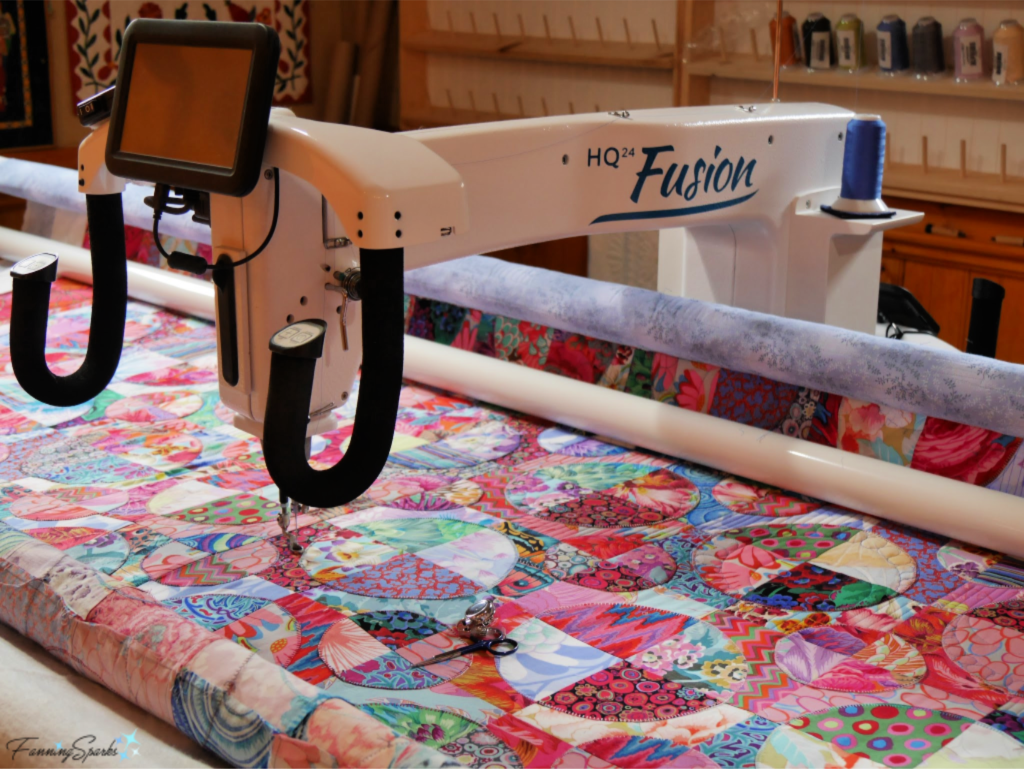
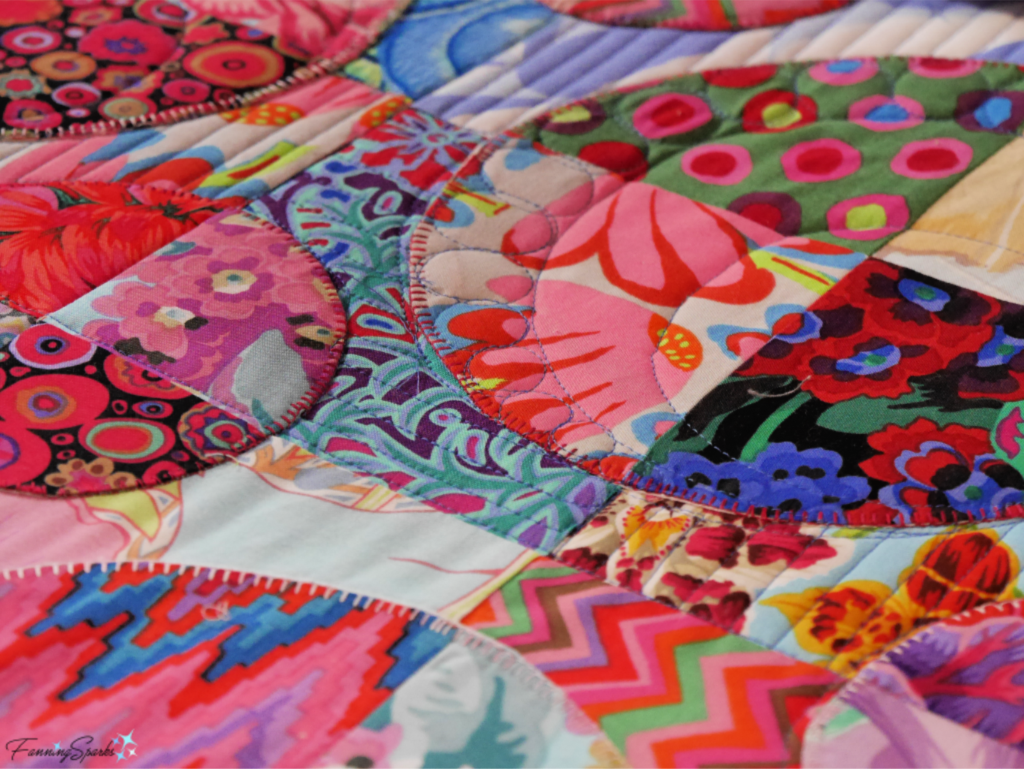
 I don’t want to give the impression that Anne’s work is limited to bird themes. Her studio was filled with beautiful quilts, hooked rugs and other fiber arts with a wide variety of subjects. Here’s a quilt she had in progress on her quilting machine.