
Turns out, my new Repurposed Cardboard Storage Bins create the perfect grid of blank canvases. There are nine separate surfaces begging to be taken to the next level. So, the new plan is to cover each bin in a different fabric and then embellish it with a different design using a variety of techniques ― essentially turning the panel of cardboard bins into a textile art gallery.
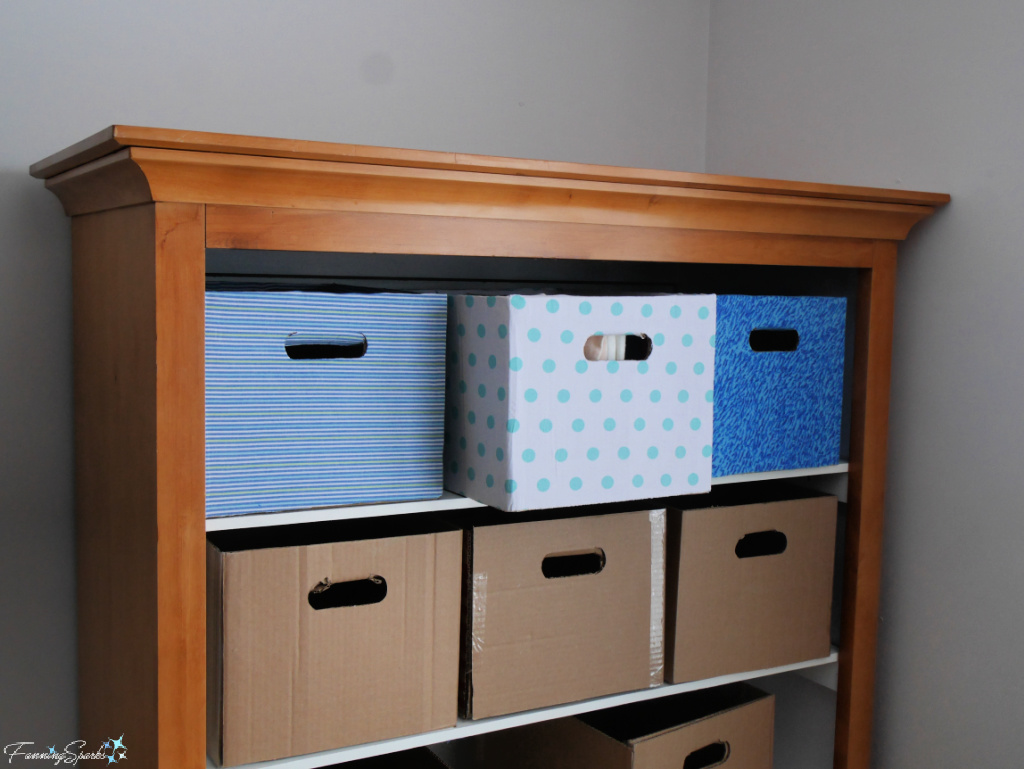
As a reminder, here’s how my Repurposed Cardboard Storage Bins looked last week. This is the starting point for zhuzhing up the storage bins!
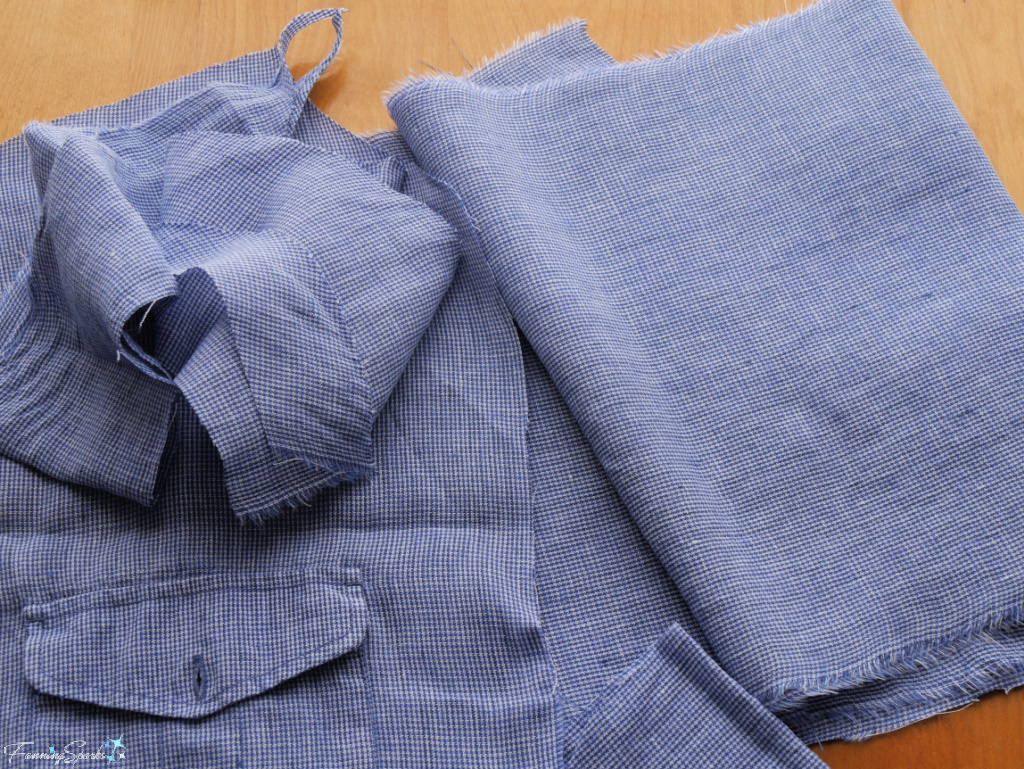
The first step was to select a variety of fabrics, in a mix of colors and designs, that would work together. I’ve been collecting bed sheets and large shirts, such as the blue/gray cotton shirt shown below, from local thrift shops for projects like this.
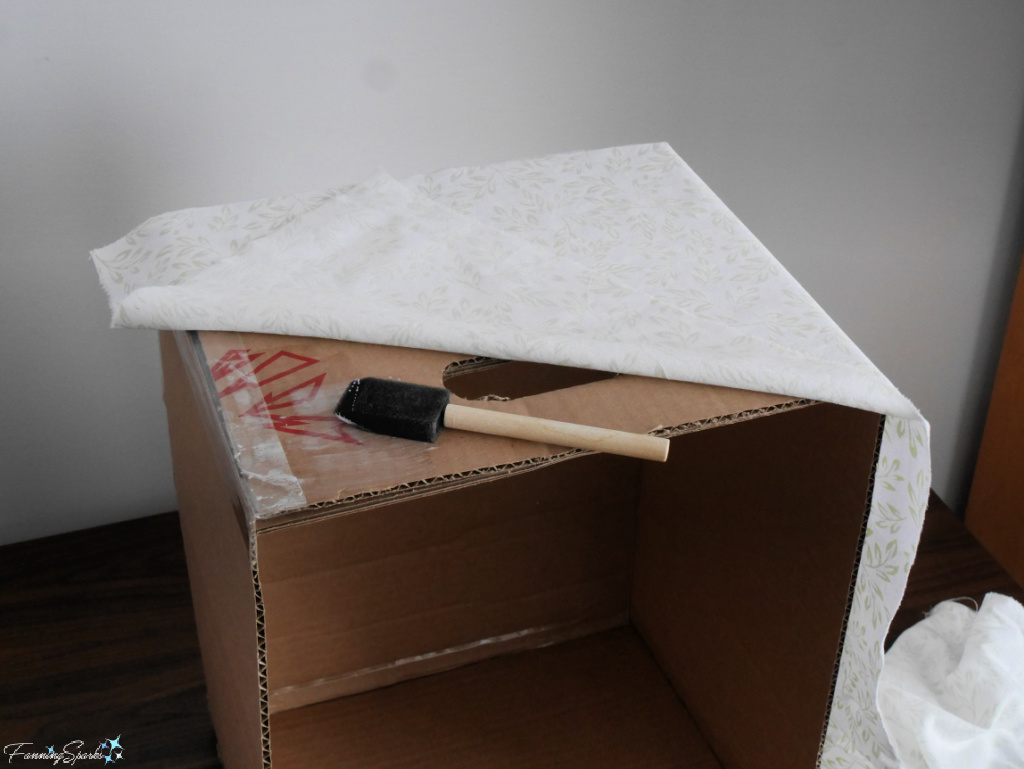
As noted in last week’s post, these storage bins are modeled after a standard bankers box ― they are 12” wide by 10” high x 15” deep (30.5cm x 25.4cm x 38.1cm). A long narrow piece of fabric ― measuring about 57” x 11 ½” (145 x 29cm) ― is used to cover the four outside surfaces of the storage bin. It’s possible, of course, to piece together sections of fabric to make the required strip. The fabric is glued to the cardboard with regular white glue (Elmer’s School Glue).
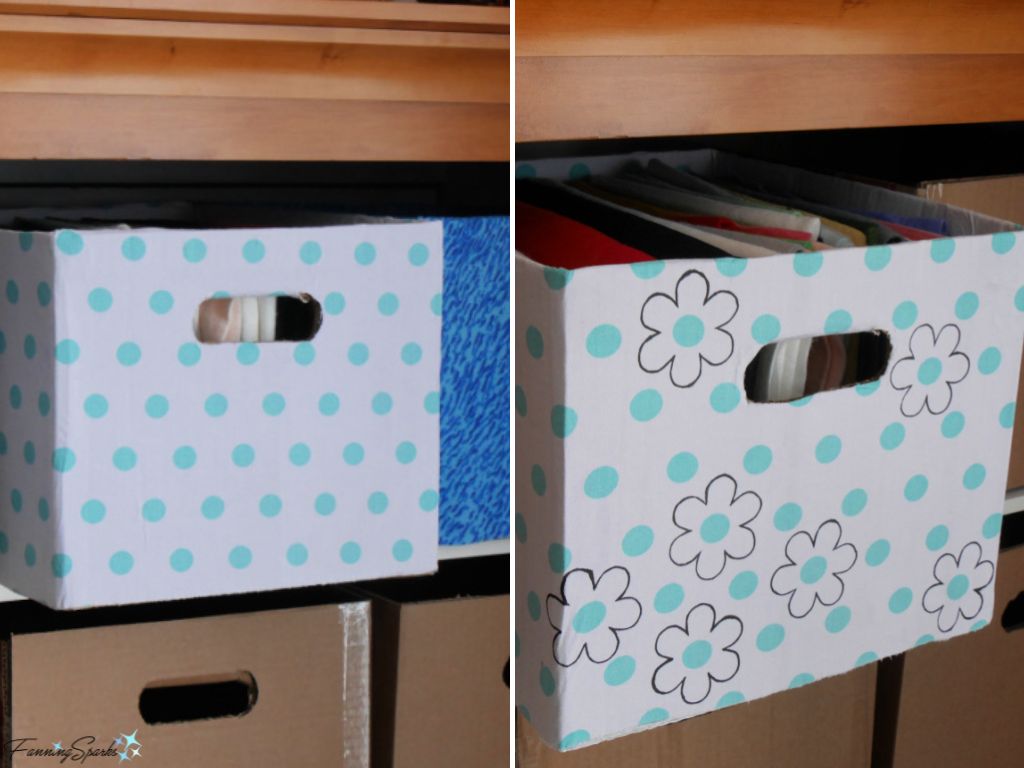
I tested my plan to embellish the storage bins on one that was already covered in fabric. The fabric is white cotton with a regular repeat of aqua dots.
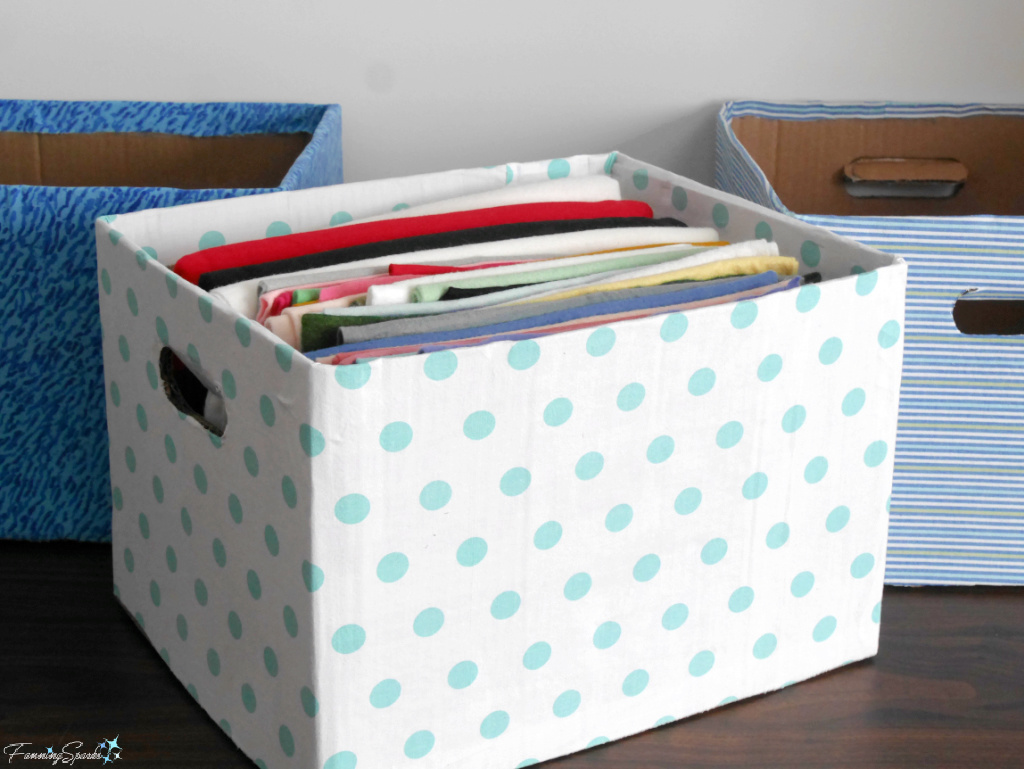
I simply used a fabric marker to draw petals around a few of the dots. Only one end of the storage bin will show when it’s in the cabinet so only the front face needed embellishment. It’s super simple but, in my opinion, the understated flowers add just the right amount of personality.
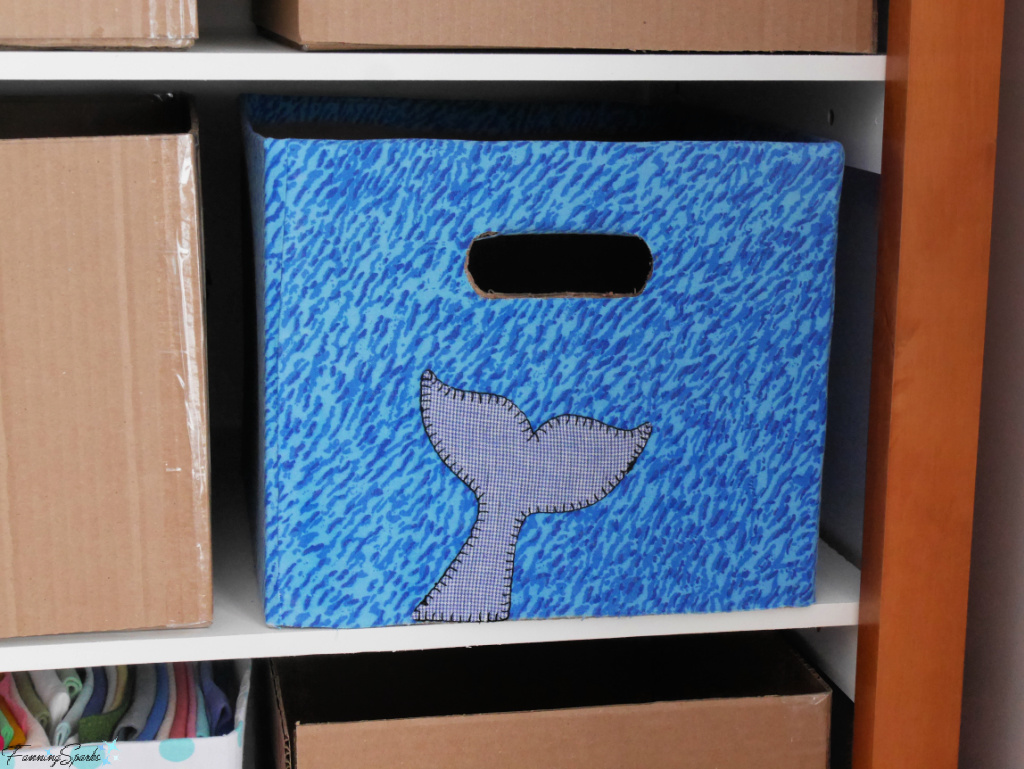
My second effort was also done on one of the storage bins which had already been covered with fabric. It is a cotton fabric printed in an abstract mix of blues and grays which has always reminded me of water. I chose to embellish this surface with one of my favorite motifs – a whale tail.
Ever since seeing humpback whales doing tail rolls in person (see my previous blog post Watching Humpbacks on the Bay of Fundy), I’ve looked for ways to incorporate whale tails in my art.

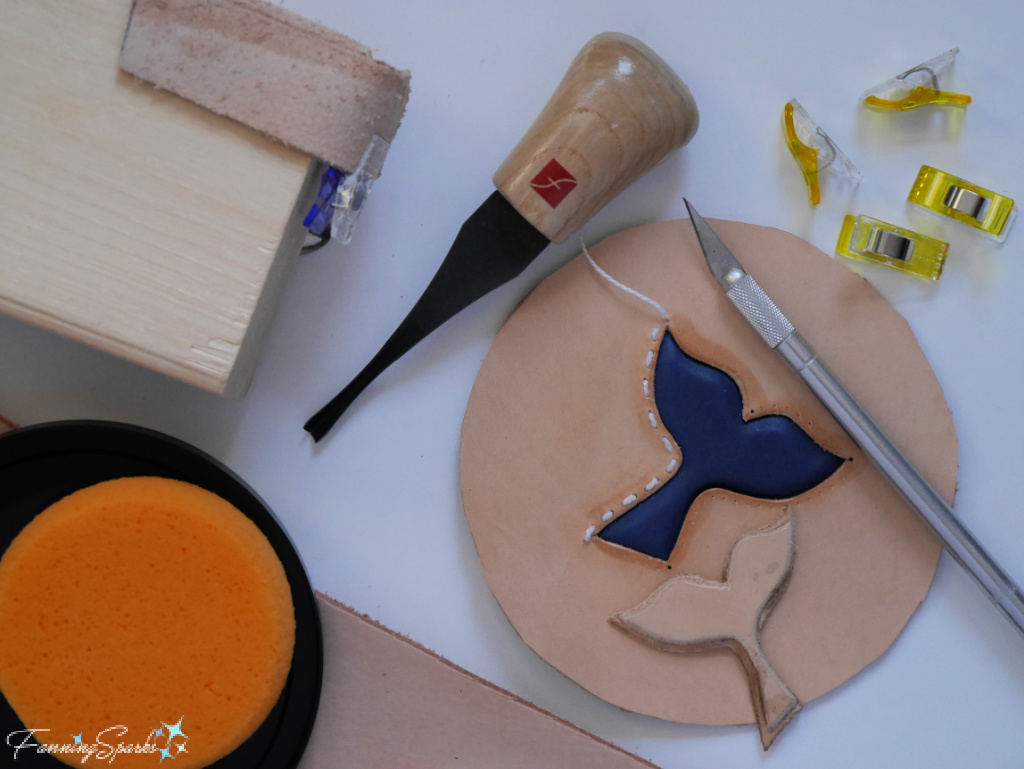
Here’s one made in leather when I was learning to mold leather with water. See my previous blog post, All-in on Leathercraft, for the full story.
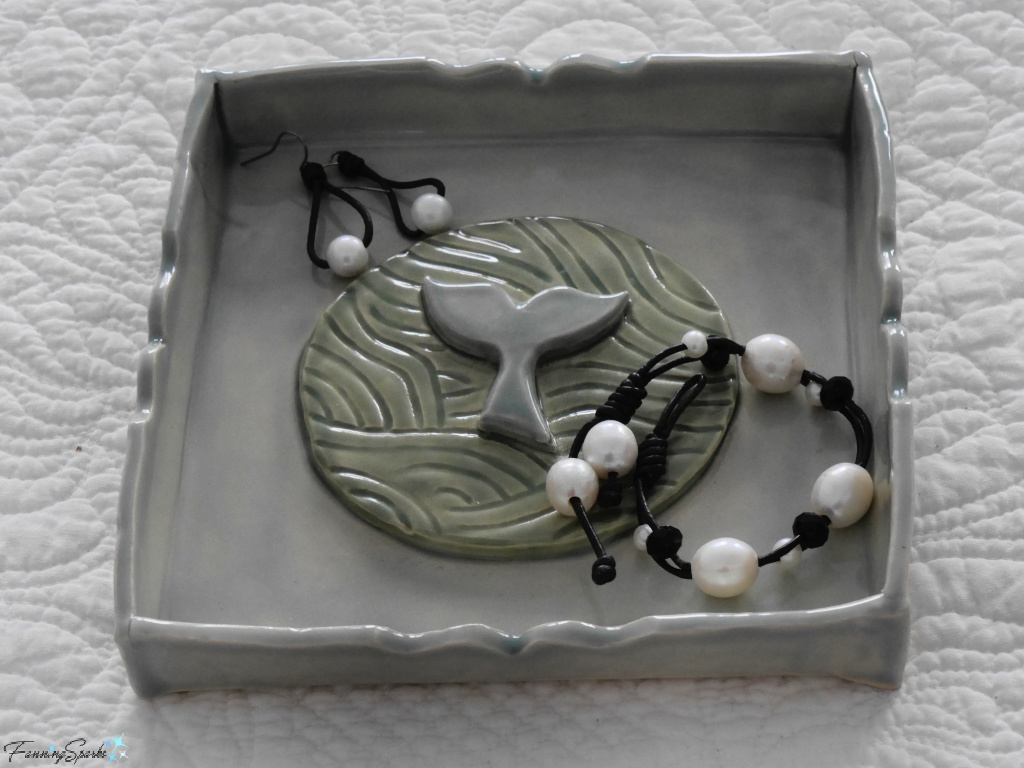
 And here’s another one, on a small ceramic catchall tray.
Back to the current project, I used a fabric applique technique to add a whale tail to the storage bin. After reinforcing a piece of blue/gray cotton fabric with fusible interfacing, I cut out the whale tail shape and sewed a blanket stitch around the outside edges. To fuse it to the storage bin, I used my iron directly on the storage bin. It worked surprisingly well.
My next effort was a more intricate, raw-edge, applique technique using small pieces of fabric. This technique is often used in textile collage (see my previous blog post A Barrage of Textile Collage). It goes by many names including snippet art, scrappy applique or, simply, fabric scrap applique. Regardless of the label, the idea is the same ― use small pieces of fabric to create a picture or design.
The secret to this technique is a double stick fusible web called Steam-A-Seam 2 by The Warm Company. The double-sided sticky web is repositionable until permanently fused. The recommended approach is to “Trace design in reverse on grid side. Remove lining and stick tracing to the wrong side of the fabric. Cut out design. Remove paper.” Next stick the design elements onto the base fabric. At this point, it’s possible to add, remove, reposition and adjust elements until the entire design is complete. Then steam press to fuse and seal the entire work.
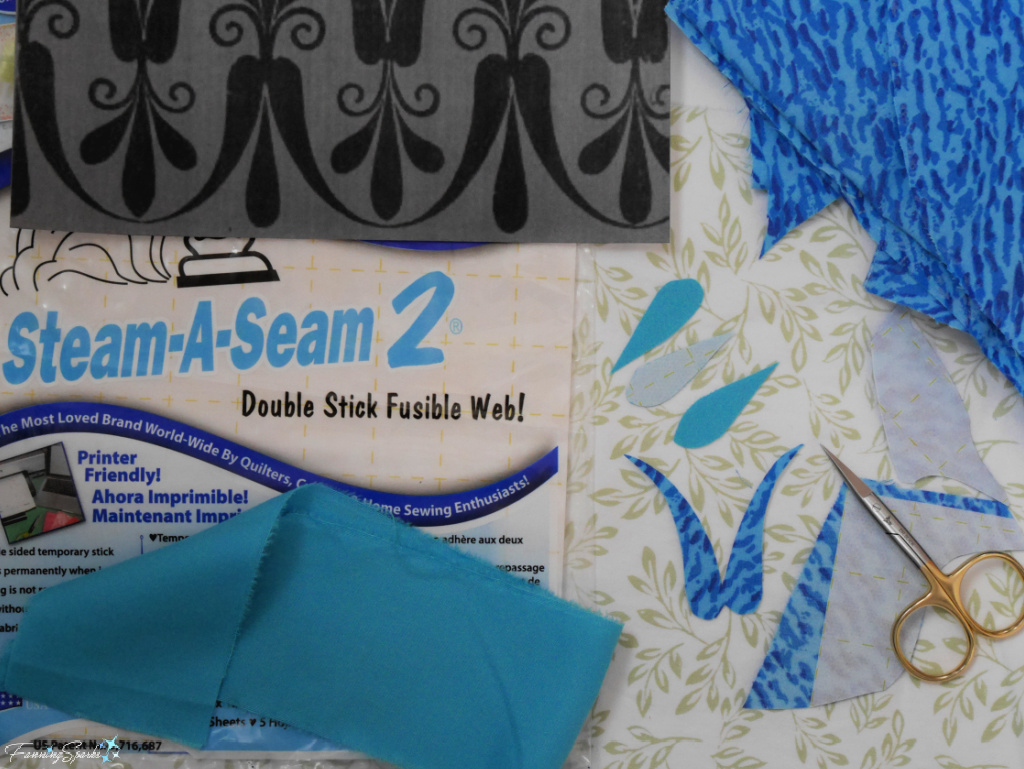
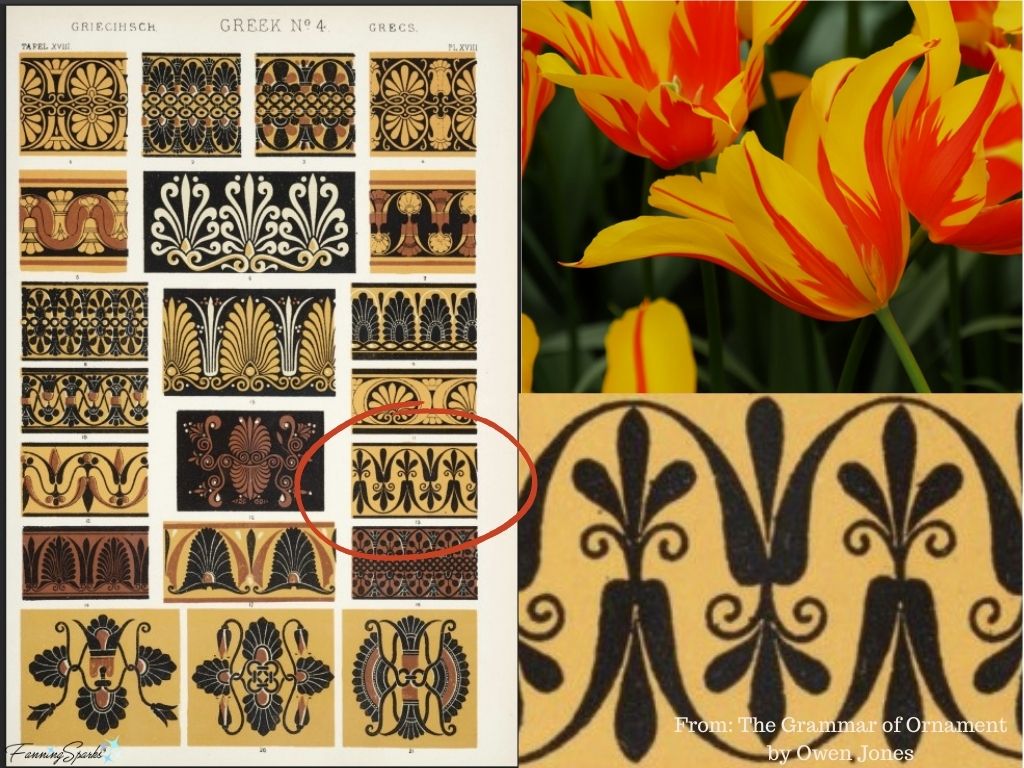
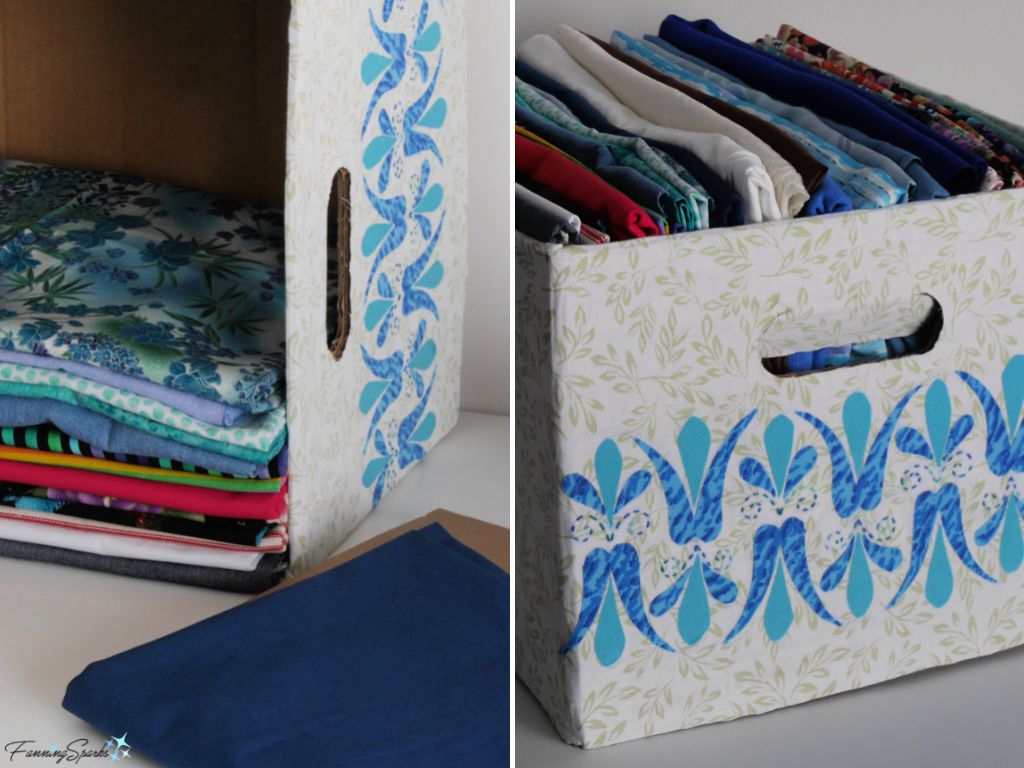
I chose a classic Greek design from The Grammar of Ornament, a classic design sourcebook written by Owen Jones and published in 1856. Jones catalogues an astonishing array of traditional and classical ornamentation examples in his book. The chapter on Greek Ornament is richly illustrated with “Ornaments from Greek and Etruscan Vases in the British Museum and the Louvre”. Shown below is Greek No 4 – Plate XVIII which includes my chosen design. The stylized flowers remind me of lily-flowered tulips.
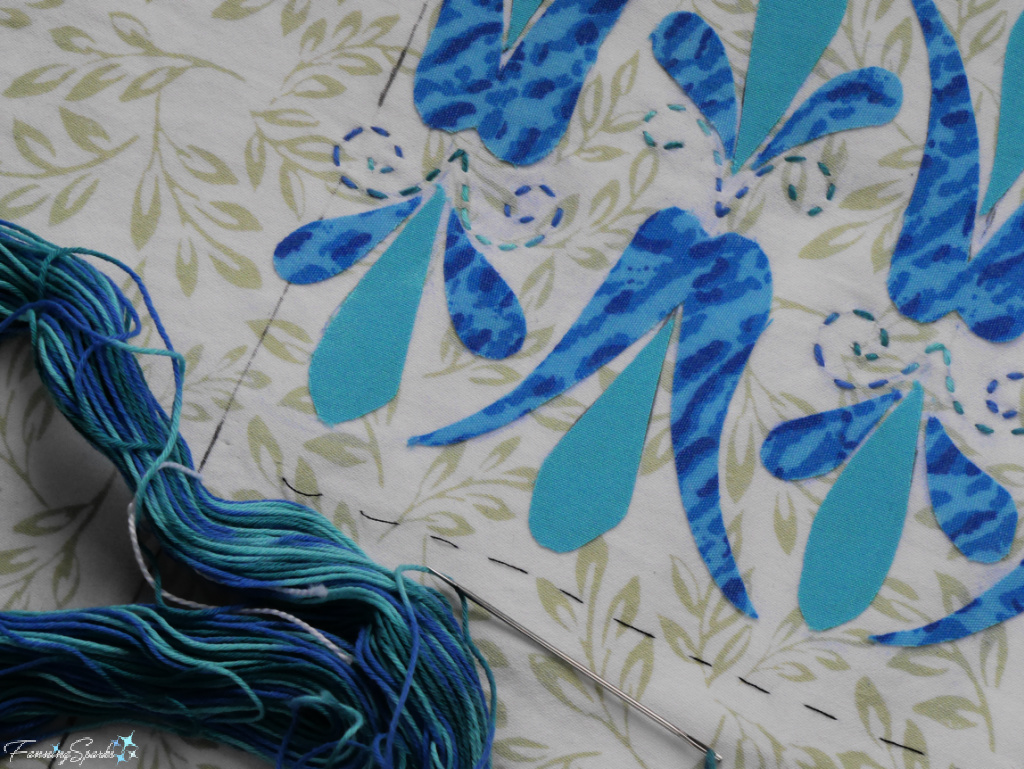
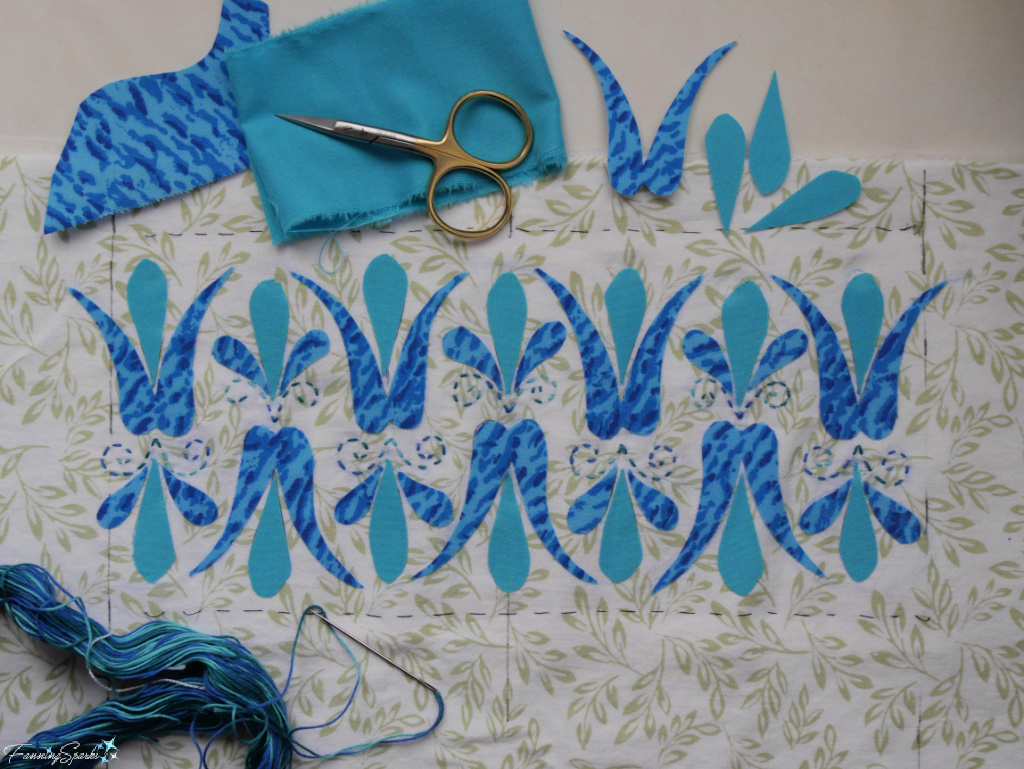
Unsurprisingly, this raw-edge applique had to be done before the fabric was applied to the storage bin. It was easy to piece together while the fabric was flat. A few lines of simple running stitches finish out the design.
I wasted no time putting the completed storage bin into service. It’s possible to fold pieces of fabric and place them in the box so all the fabrics are visible. This will make it much easier to scan for a specific color, design or fiber content. Here’s my new appliqued tulip design in action.
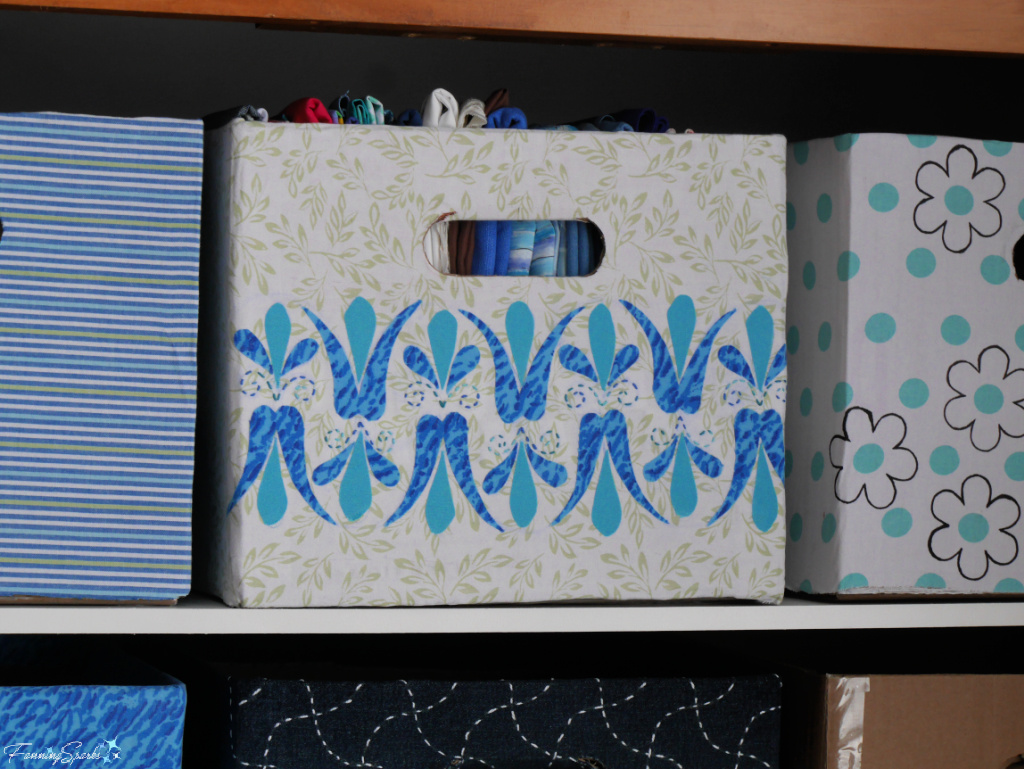
Here’s the same raw-edge appliqued storage bin in the cabinet.
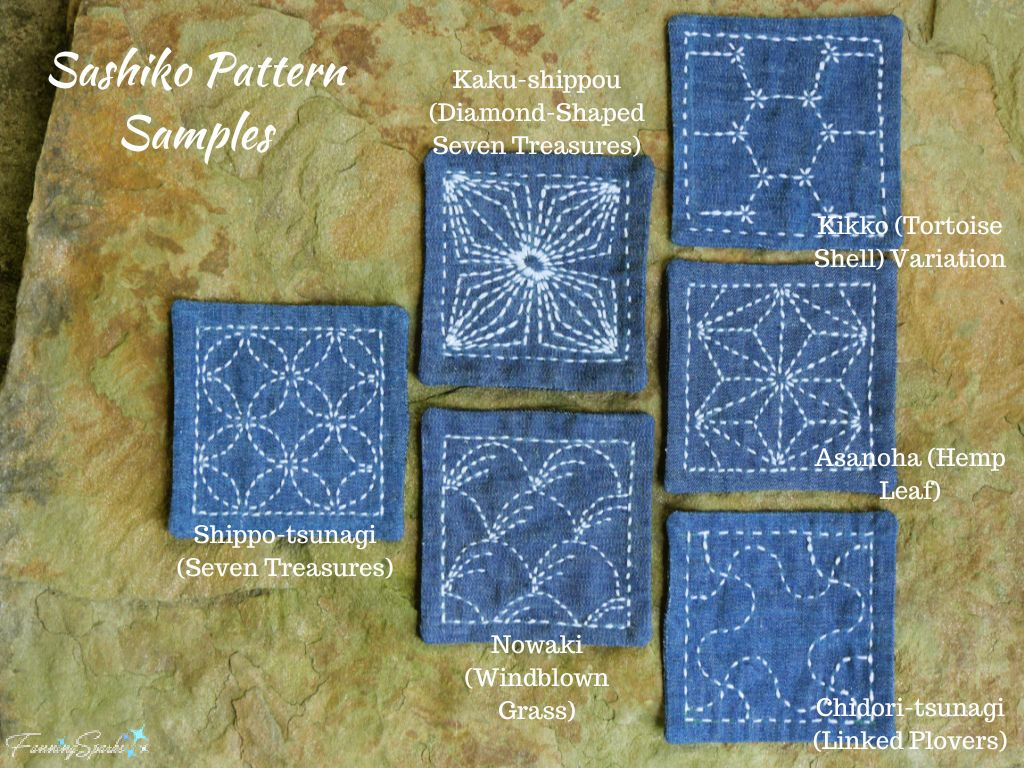
Sashiko is a very popular Japanese hand-stitching technique. Check out my previous blog post, My Little Stab at Sashiko, to learn more about this rich traditional craft and to see examples of sashiko patterns.
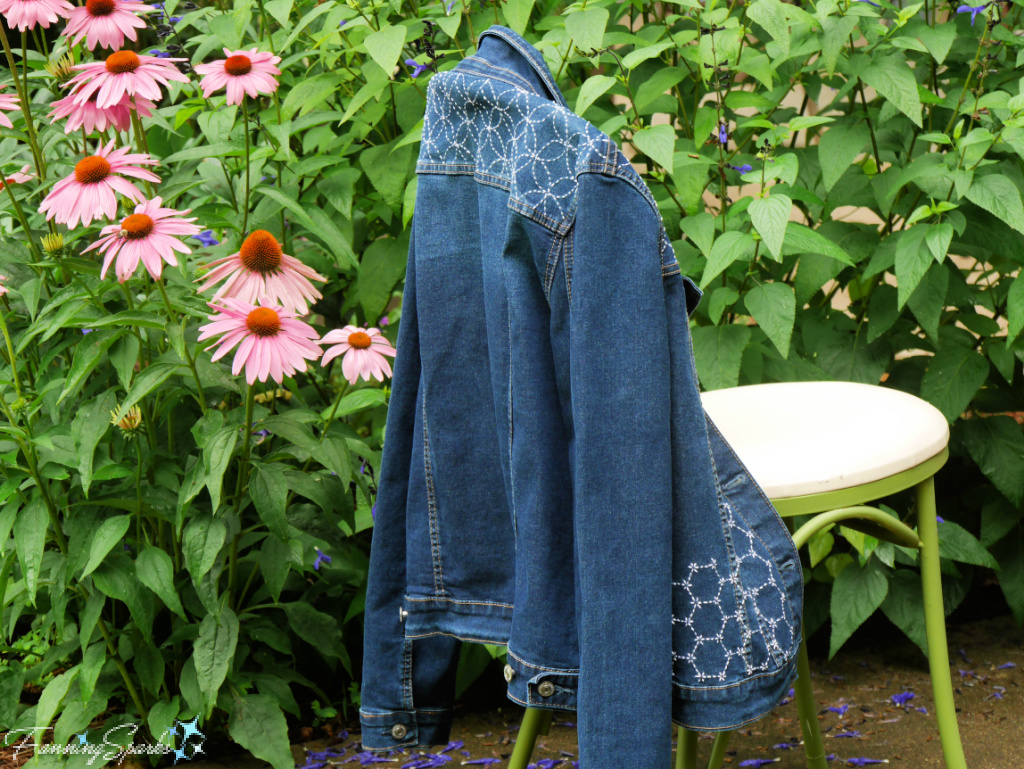
One of my all-time favorite projects ― A Denim Jacket with Sashiko Flair ― features sashiko stitching in a selection of patterns.
This storage bin embellishment project seemed like the perfect opportunity to showcase a little sashiko in my studio. A pair of thrifted denim jeans were repurposed for this storage box. After cutting and piecing the denim fabric to the desired size, I marked the section to be embellished and prepared to trace the sashiko design. I chose the Chidori Tsunagi (Linked Plovers) pattern because it’s my favorite to stitch.
Just as I did with A Denim Jacket with Sashiko Flair, the stitching pattern was transferred to the denim in a two-step process ― first tracing the pattern onto the fabric with Saral transfer paper then redrawing it with a bright orange Pilot Frixion Erasable Marker Pen. The design is stitched with DMC Pearl Cotton (Size 5) in white with a long, sturdy needle.
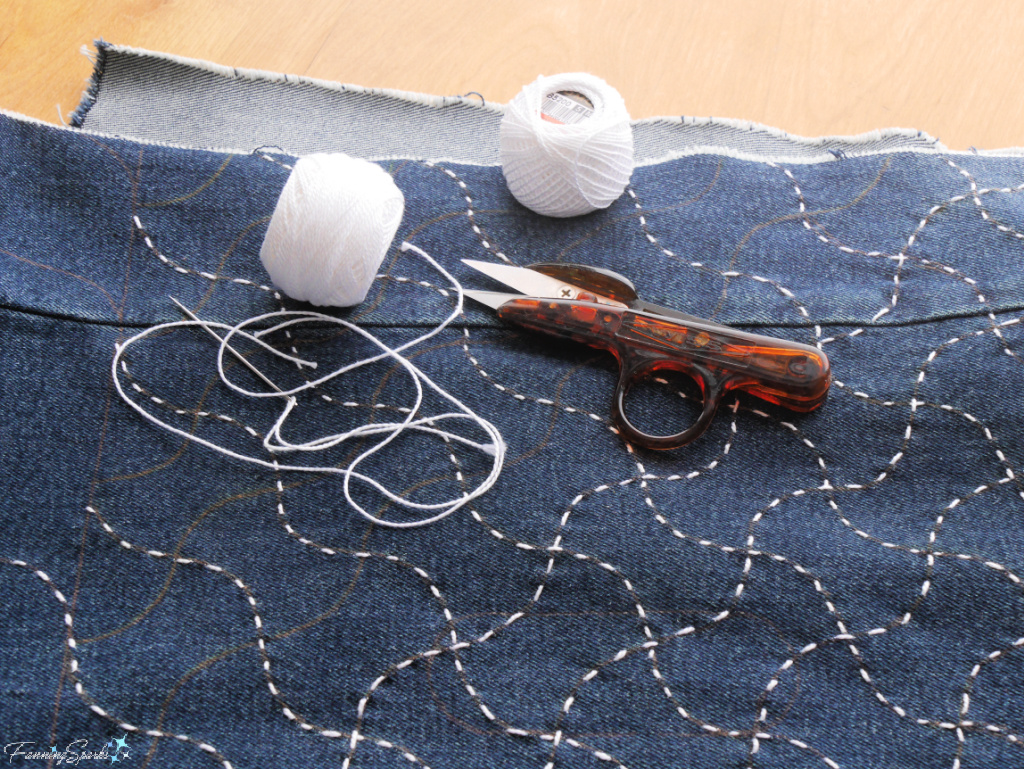
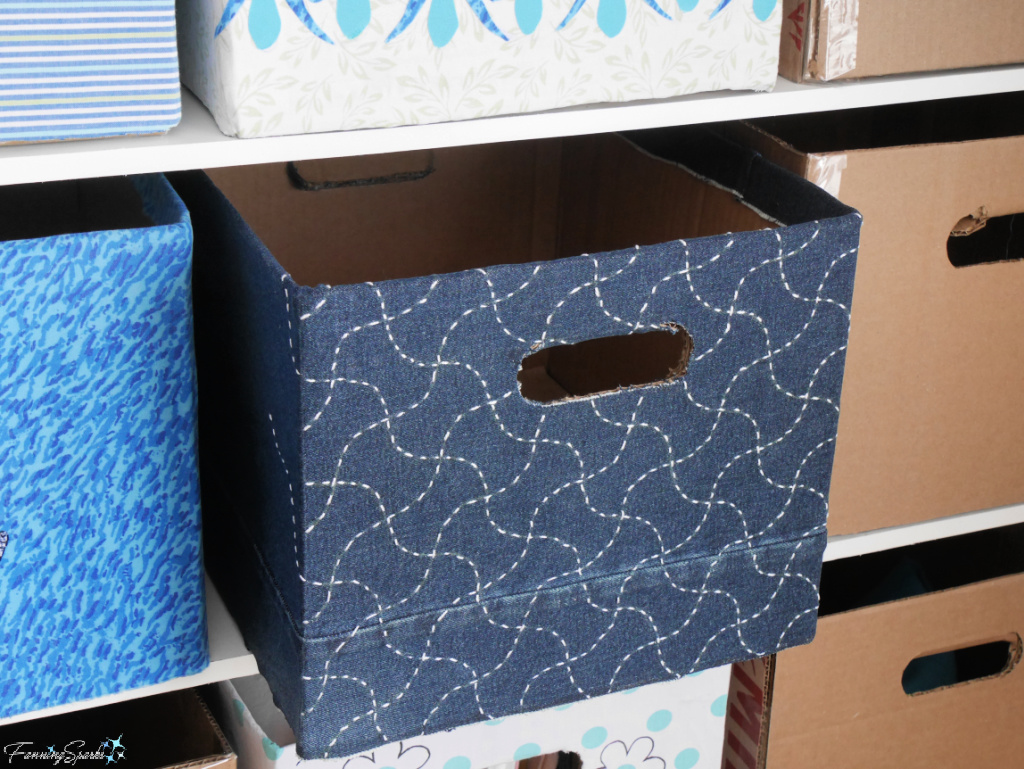
One small complication was the handle hole. The fabric needed to be cut around this hole so the flap could be pushed into the bin. This meant the sashiko stitches would also be cut and, in all likelihood, the threads would come undone. So, I stopped and re-started each line of stitching at the handle cut line ensuring the thread ends were securely anchored. Here’s how the sashiko-stitched storage bin turned out.
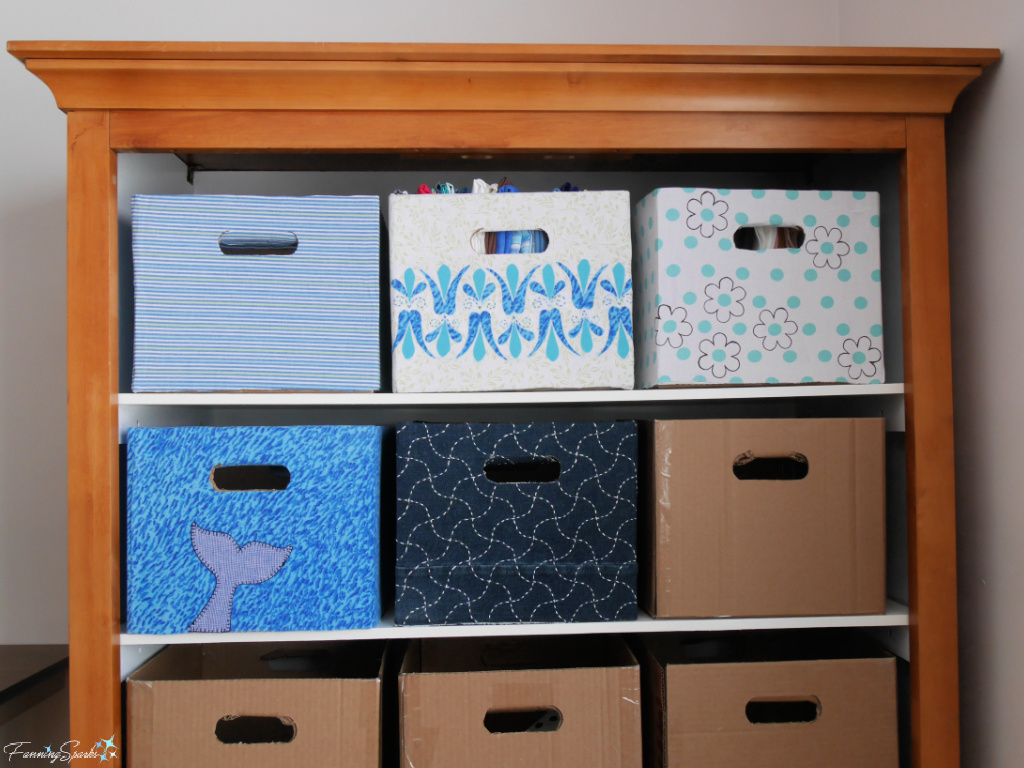
Overall, the repurposed cardboard storage bin project is coming along nicely. My official progress report as of the writing of this blog post is: four storage bins zhuzhed up and complete, one storage bin covered in fabric and ready to be embellished, and four storage bins to be done.
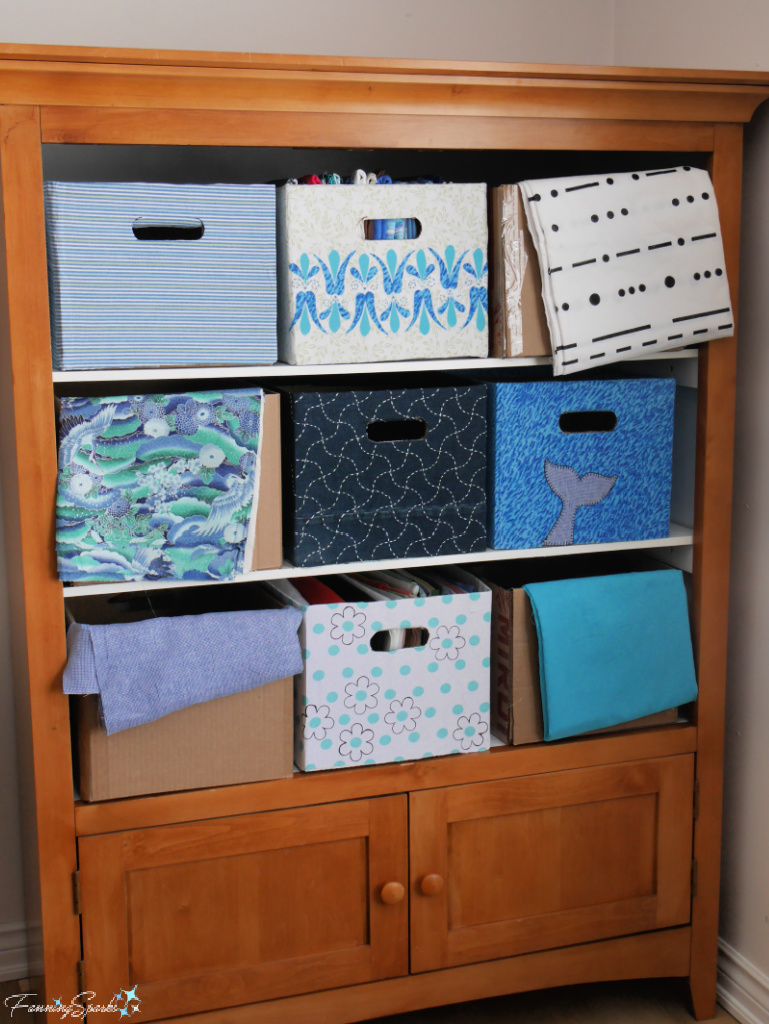
I’m currently auditioning fabrics for the last four bins. Here’s a sneak peek of what is to come.
More Info
This is the third post in a series on repurposing cardboard. The first post, Making Art Out of the Box, explored how cardboard can be used to create art. The second post, Repurposed Cardboard Storage Bins, shared instructions for making custom storage bins from repurposed cardboard.
Previous blog posts mentioned in this blog post include:
. Repurposed Cardboard Storage Bins
. Watching Humpbacks on the Bay of Fundy
. All-in on Leathercraft
. A Barrage of Textile Collage
. My Little Stab at Sashiko
. A Denim Jacket with Sashiko Flair
The following book was consulted in the writing of this blog post:
. The Grammar of Ornament book by Owen Jones published in 1856. It is available here on Internet Archives.
To learn more about Steam-A-Seam 2 double stick fusible web, see The Warm Company website.
Today’s Takeaways
1. Consider leveraging utilitarian surfaces in your home to showcase art.
2. Consider ways to turn the ordinary into something special.
3. Creative inspiration can spark from anywhere including, for instance, the natural world, the work of other artists, design sourcebooks and global traditional crafts.


Comments are closed.