
Sometimes the best solutions are the simplest… and the most obvious! My current quest to repurpose cardboard moving boxes is a case in point. Why not reuse those boxes for ongoing storage? Ridiculously obvious! Right?
But moving boxes are all about function and practicality with no regard for aesthetics ― that’s not an issue in the basement but less than ideal in the studio. Especially since these boxes will be on full display.
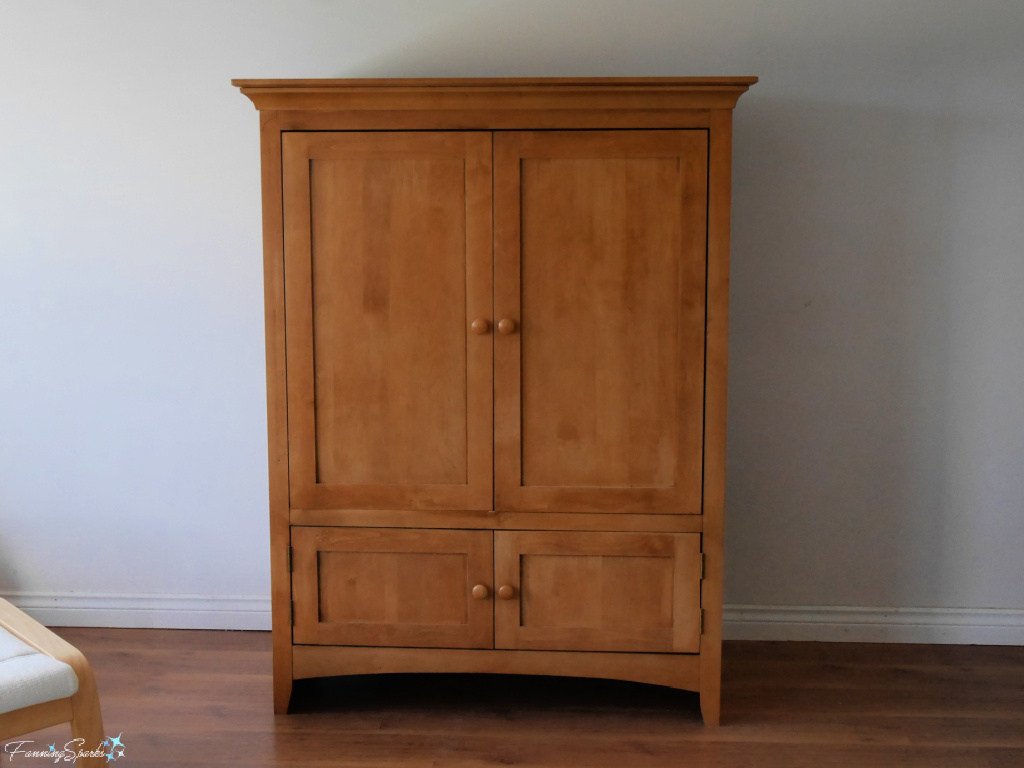
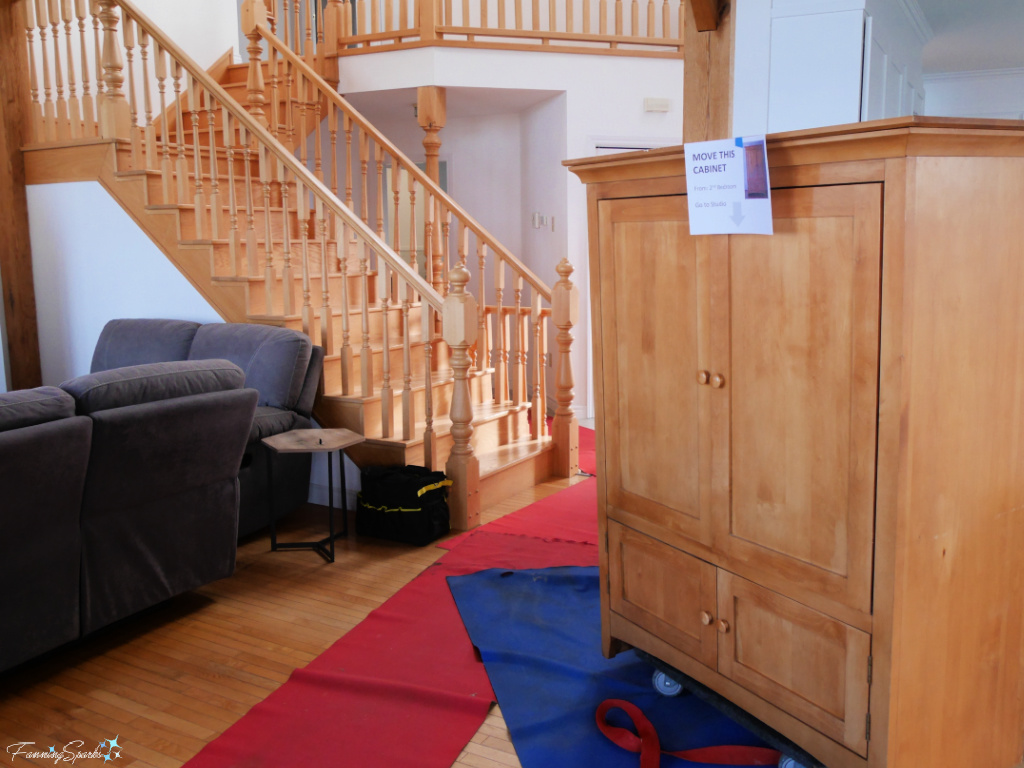
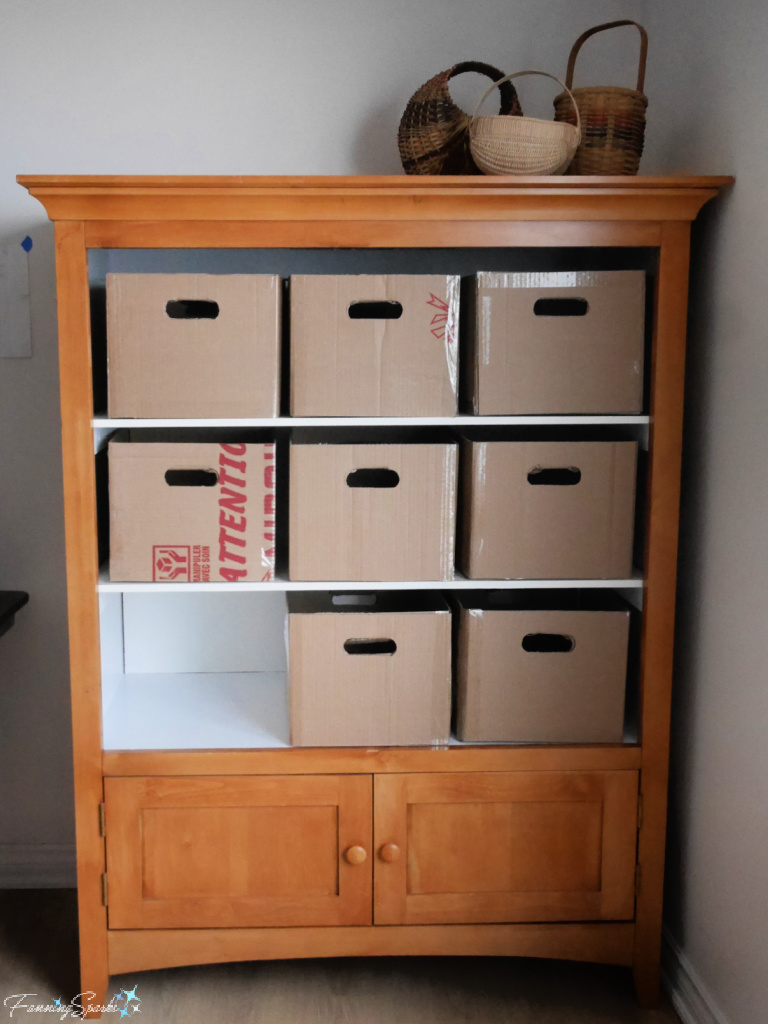
Here’s the situation. We acquired this wooden TV Cabinet as part of our recent move. It’s well-built, sturdy and crazy heavy.
Thankfully, the movers agreed to carry it up the stairs to my new studio!
I’ve been repurposing this cabinet to store my fabric stash. Originally, it was set up as a typical TV cabinet with a low shelf for the television and doors that rolled back for viewing. I removed the doors, removed the TV shelf, added new shelves in the top section and painted the inside white. This brings me to today’s project. As much as I love admiring my fabric stash, it’s just not practical or attractive to store it on open shelves.
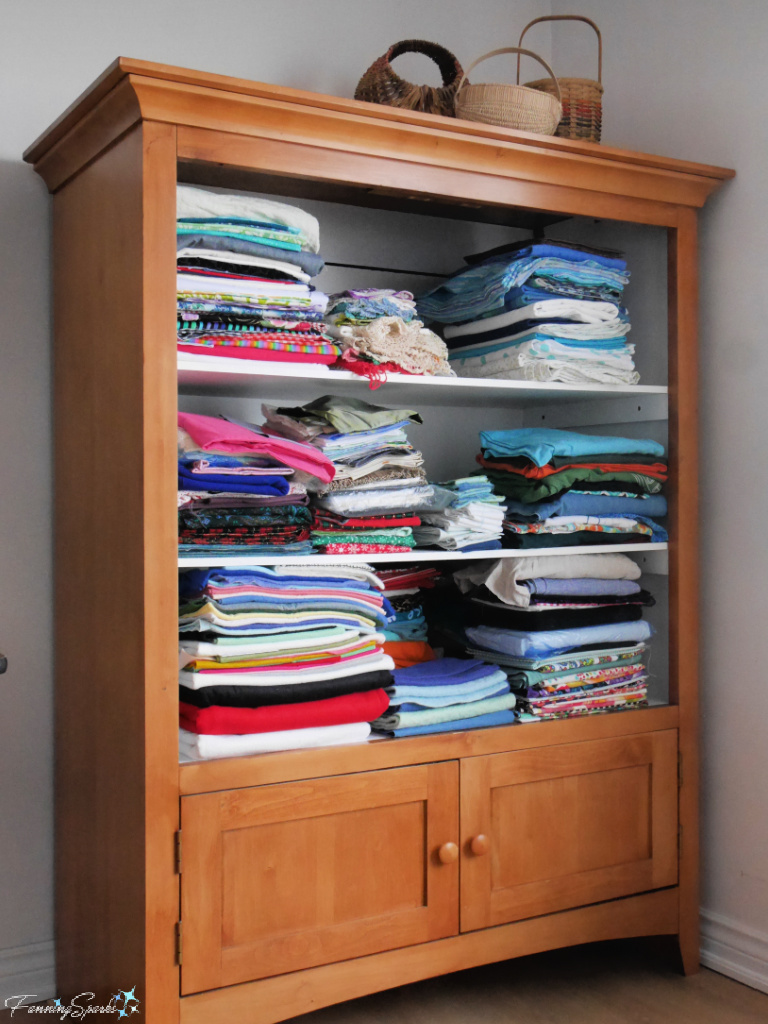
So, I came up with a plan to further transform this storage space. The idea is to store the fabrics in removable bins which are custom-made to fit in the cabinet. It was tempting to just buy some plastic containers at the local dollar store but, when I saw the floor to ceiling displays of cheap plastic, I couldn’t make myself bring even more plastic into the world. Plus, I currently have a surplus of perfectly usable cardboard. Surely, I thought, there’s a way to repurpose what I already had.
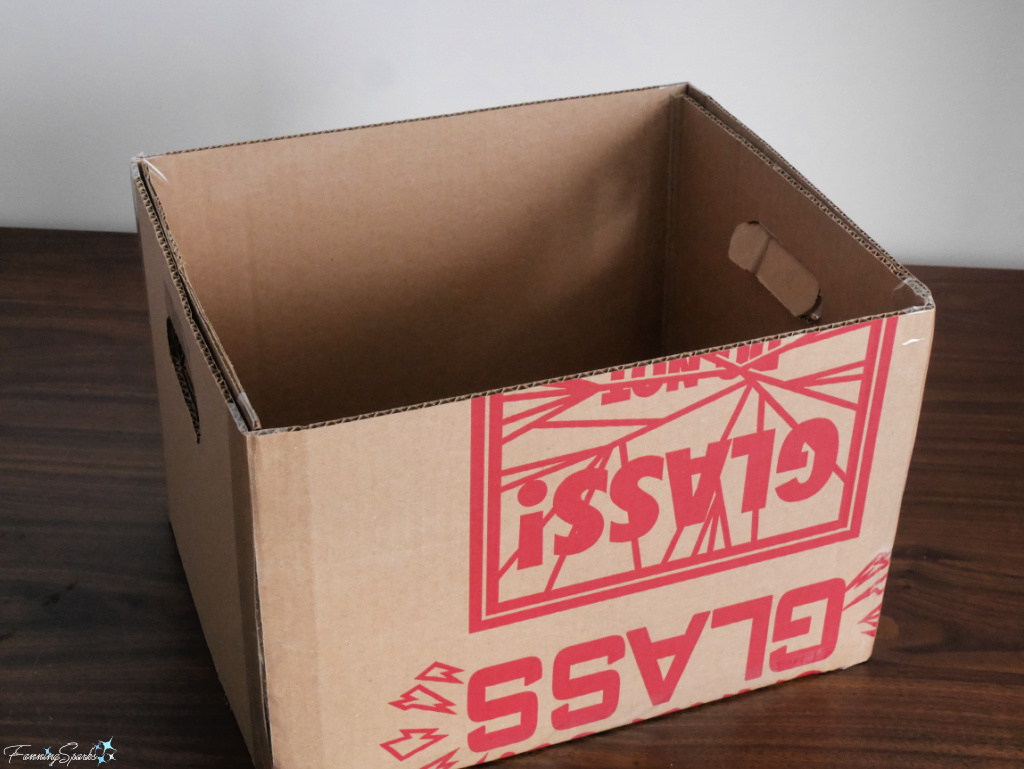
I went in search of the perfect cardboard container for my project. Ideally, it would be an open bin that I could easily slide on and off the shelves. It would be open on top, be custom-fit to this cabinet, be strong enough to hold heavy fabric, have sturdy handles and look nice. Turns out, a bankers box ― the ubiquitous cardboard box used to store documents and paper files in office settings ― was the ideal starting point.
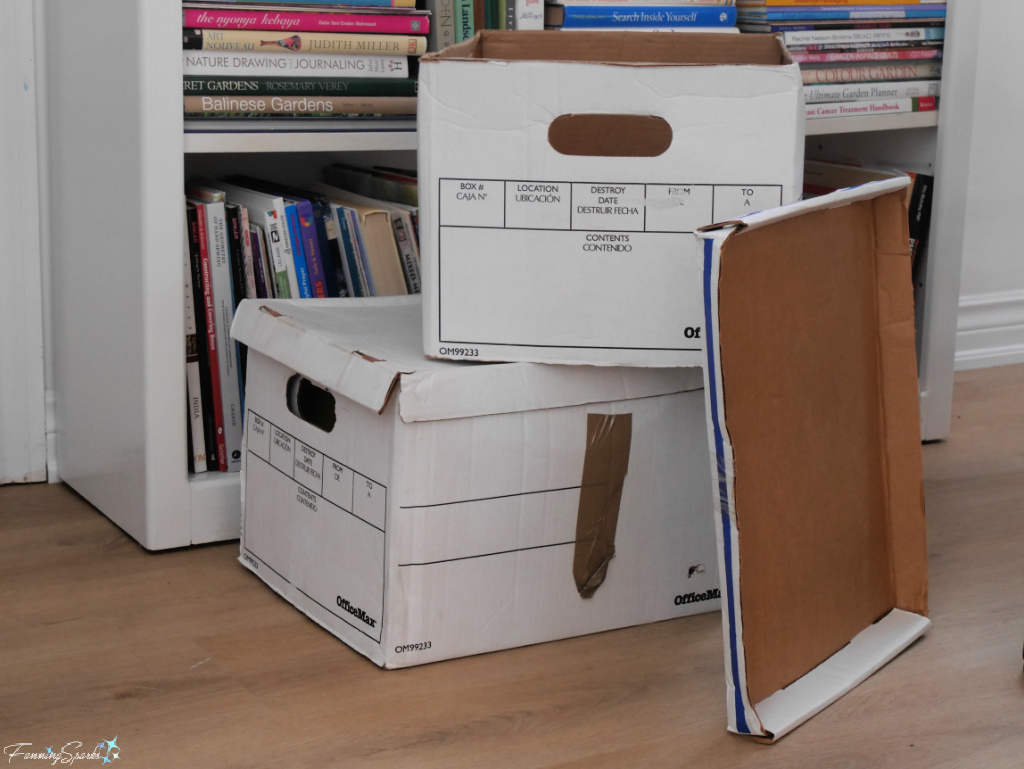
The design of a bankers box is really quite ingenious ― a flat piece of cardboard is configured in such a way that it can easily be turned into a sturdy container with a few simple folds. Since there’s no need to reinvent this wheel, I simply modelled my new, repurposed cardboard, storage bin on a standard bankers box.
The following graphic records the layout and measurements of the cardboard needed to create this storage bin.
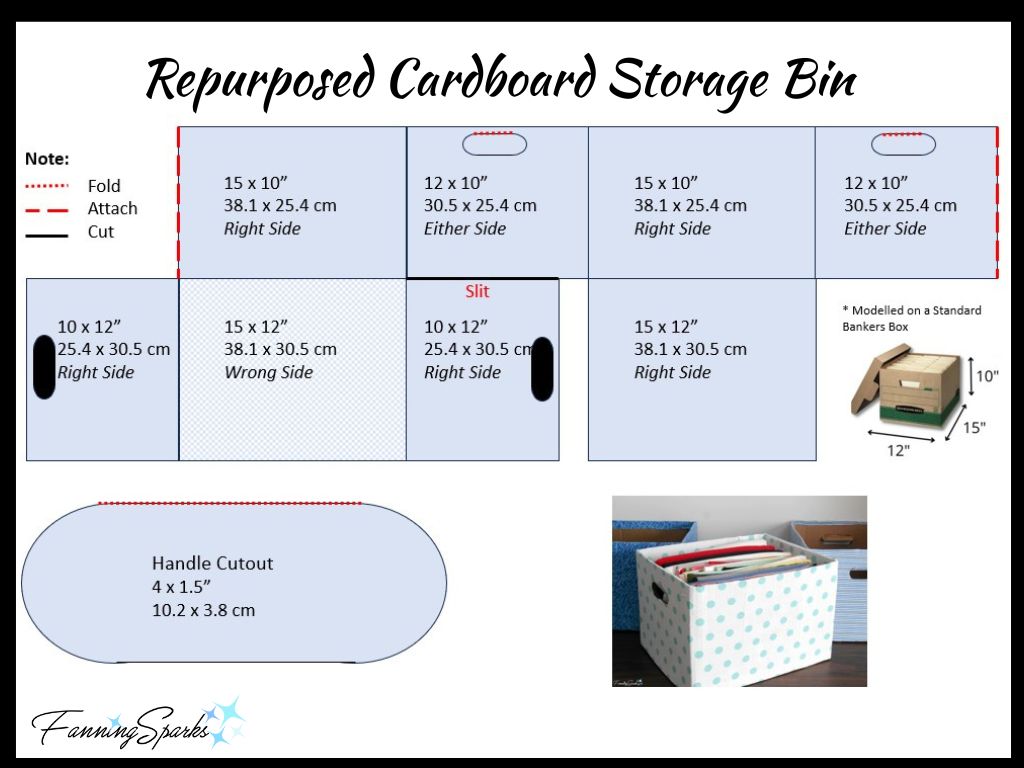 With this plan in hand, making the actual storage bins is quite doable. The first step is to cut cardboard pieces in the sizes shown. The graphic indicates which side of the cardboard – Right Side, Wrong Side or Either Side – should be facing up.
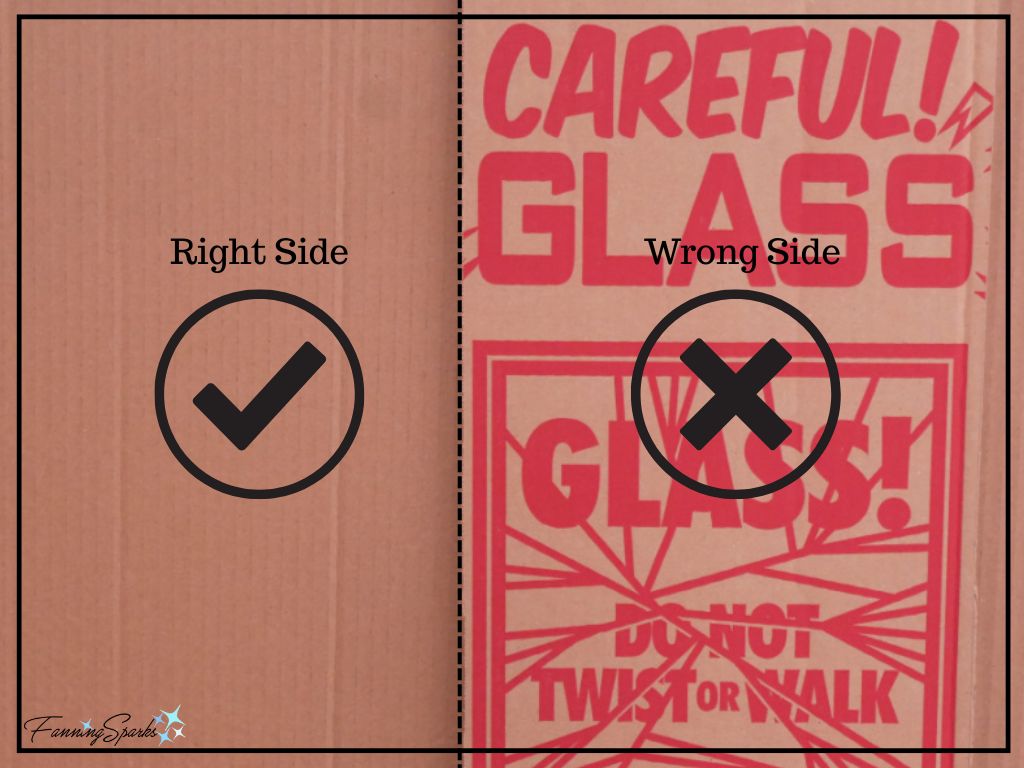
For the purposes of this project, a cardboard surface without any printing or markings is considered to be the “Right Side”. I left the bottom and inside of my cardboard storage bins bare so I used the right sides of the cardboard for those surfaces.
The outside of my bins, on the other hand, are covered with fabric which hides any printing or marks on the “Wrong Side” of the cardboard.
The pieces labelled “Either Side” will be hidden inside folds so it doesn’t matter if the right or wrong side of the cardboard is facing up.
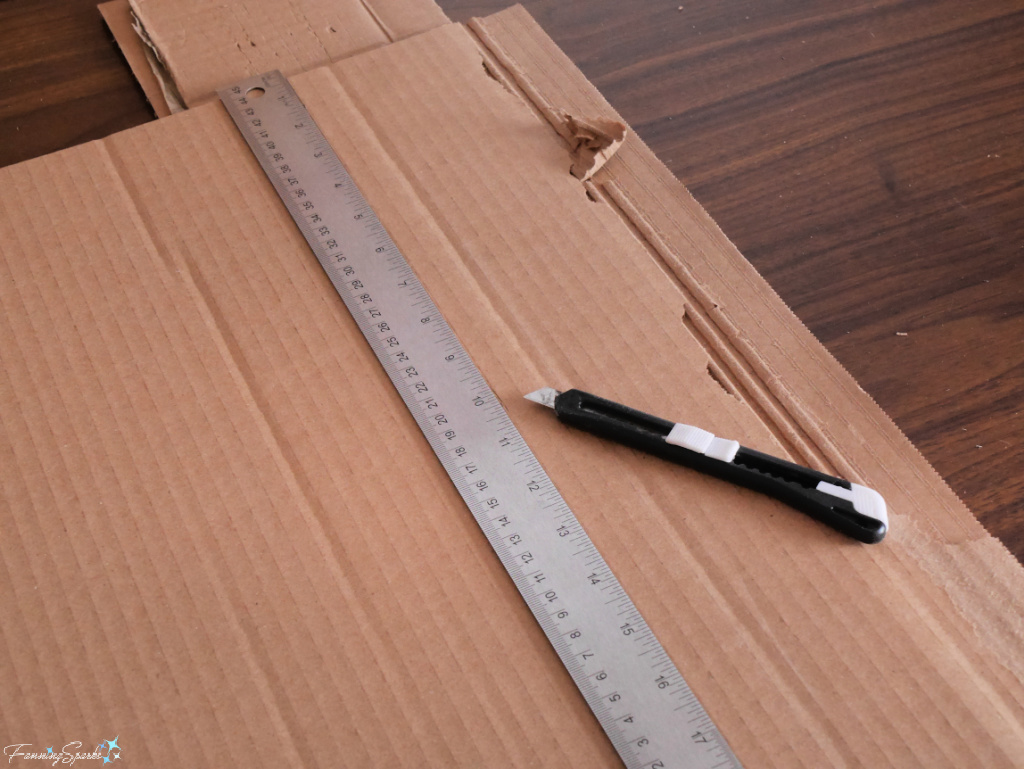
Try to combine pieces as much as possible but, worst case, there are eight separate pieces per storage bin. My cabinet will hold nine bins – three per shelf – so I needed to cut 72 pieces of cardboard. After trying a few different tools and techniques, I found the easiest approach was to hold my cork-backed metal ruler along the cutting line and then to slide my utility knife along the ruler. It usually took a few passes for a full, clean cut. A couple of layers of scrap cardboard placed under the piece to be cut protected my working surface.
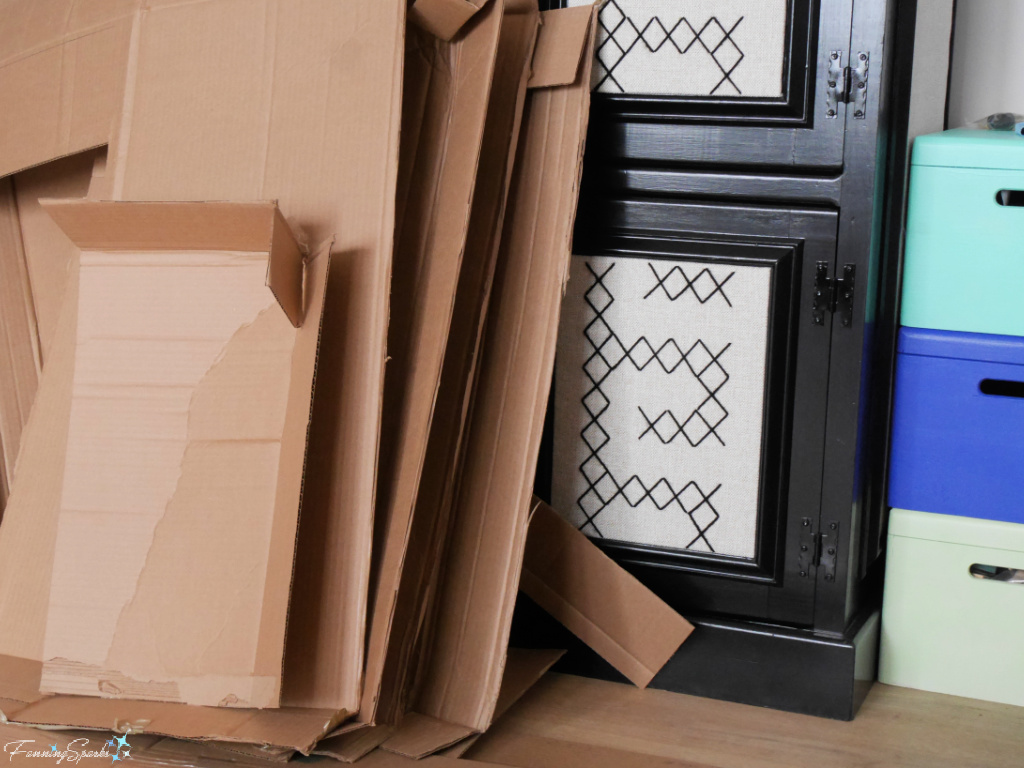
Any corrugated cardboard box can be used for this project but I found the boxes used to pack pictures and mirrors provided the largest pieces of reusable cardboard. But as long as the piece of corrugated cardboard is undamaged and at least 12” x 10” (30.5 x 25.4 cm), it can be used in this project.
After cutting the individual pieces, use packing tape to assemble the parts into the desired configuration ― take care to position the right and wrong sides as indicated on the diagram.

The next step is to cut the details. Cut the slit (labelled in red and shown as a heavy black line on the diagram).
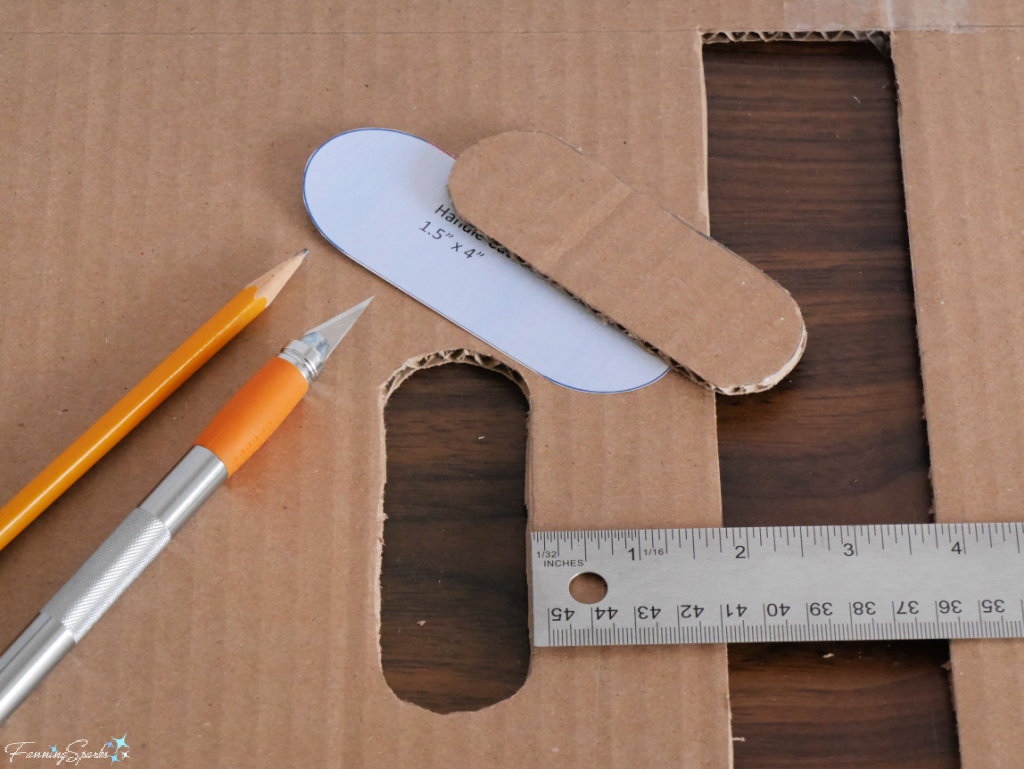
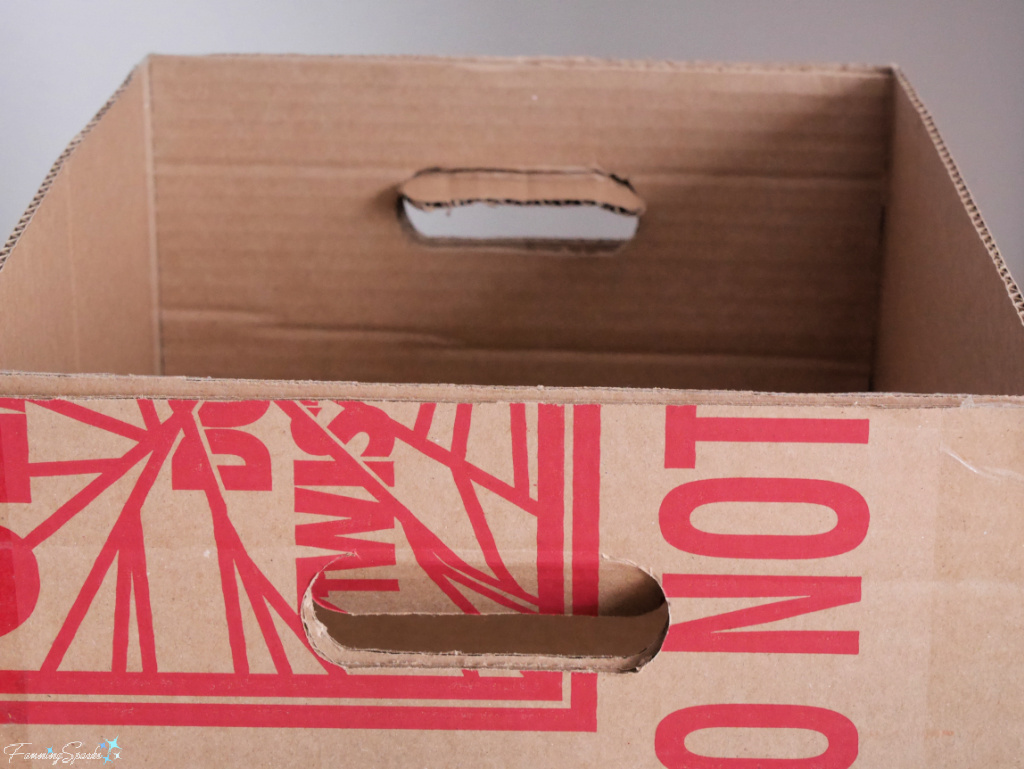
Cut the holes for the handles using the Handle Cutout template from the graphic. Center the hole horizontally and position it about 1¾” (4.5 cm) from the edge as shown.
I found it easier to cut the curves with an X-Acto knife. Remove the two handle holes shown in solid black entirely. But do NOT cut along the top edges (indicated by the red dotted lines) of the other two handle holes. These flaps will be folded to the inside of the storage bin to reinforce the carrying handles.
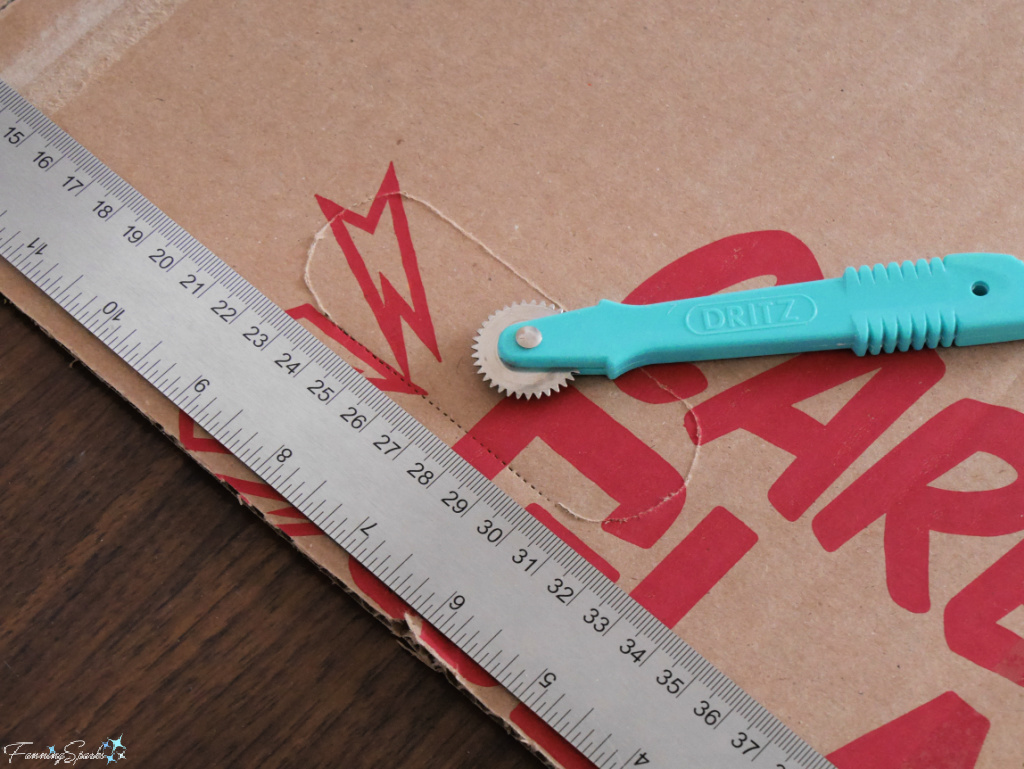
Any pieces that were combined for cutting (meaning they weren’t taped together) have to be folded. Running a tracing wheel over these lines before folding them makes it much easier to fold precisely. A tracing wheel, by the way, is a sewing tool designed to trace pattern pieces onto fabric with dressmakers’ carbon paper. In this situation, instead of tracing a pattern, the teeth on the little metal wheel are used to perforate the outer paper liner of the cardboard.
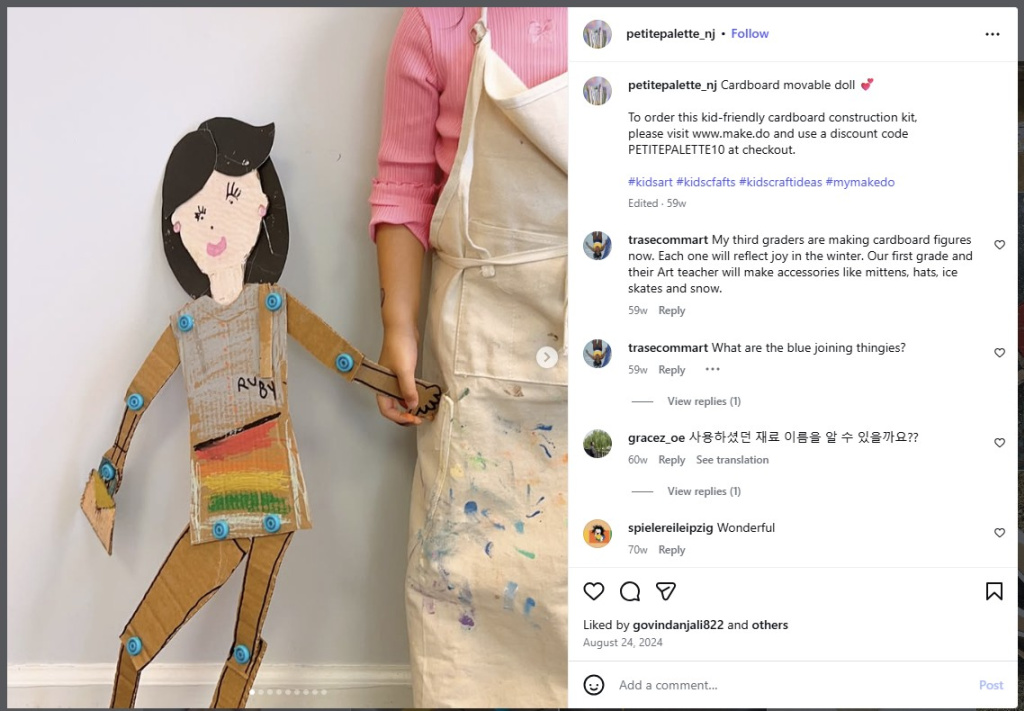
Using a tracing wheel to score lines is a trick I learned from the folks at Makedo. Makedo specializes in cardboard construction for children. As stated on their website, “Tools. For kids. For cardboard. Turn everyday cardboard into open-ended making and play that develops creativity, confidence and problem-solving. Built to last and made to be reused, so every box becomes an opportunity to create, again and again!”
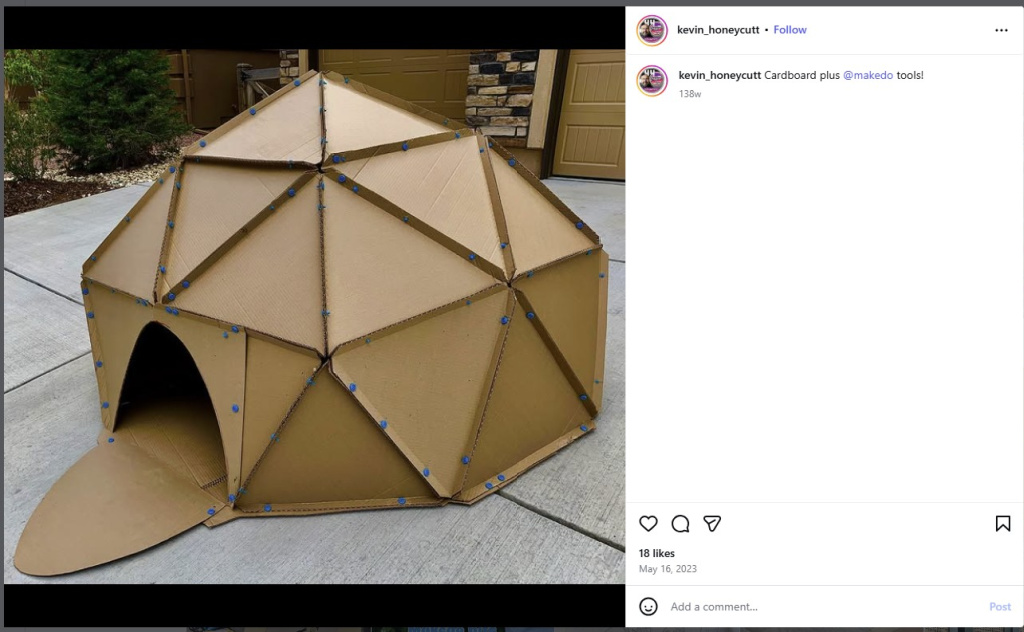
The dressmaker’s tracing wheel is an adult version of the Makedo Fold-Roller. I’ve included a few screengrabs from the Makedo Instagram account. The first one shows the Makedo cardboard construction tools.

I love the Makedo story. “Inspired by his children’s boundless creativity to transform simple cardboard into extraordinary creations” explains the Makedo website, “PJ, a toy designer, had an “aha!” moment: Tools. For kids. For cardboard.” He was driven to create “something that would not only last but also supercharge children’s natural inclination to play and invent”.
“Today, Makedo isn’t just a product line; it’s a vibrant, global community of makers dedicated to building a better future for people and the planet through imaginative, purposeful play, one cardboard creation at a time.” The Makedo online community, which actually includes people of all ages, shares an abundance of resources including introductory videos, project inspiration and maker tips for costumes, creatures, objects, structures, vehicles and so on.
Back to today’s project ― the next steps are to assemble and cover the outside of the storage bins. Strictly speaking, it isn’t necessary to cover the cardboard ― it could be left as is and the bins would function fine. But it would be a missed opportunity!
There are many options to get creative. The cardboard could be covered or decorated with a variety of materials such as paint, paper or fabric. I chose to cover mine with fabric because… well… as I disclosed at the top of this blog post, I have a rather large stash! In my own defence, let me just point out that nearly all the fabric I’m using for this project is recycled from thrifted clothing and bed sheets.
Originally, I assumed it would be easier to apply the fabric to the flat cardboard before assembling the box. So, that’s how I approached the first one.
But I covered the second bin in the reverse order and it was much easier. So, I recommend that sequence of steps instead ― first assemble the storage bin then cover it.
Start by making a four-sided open box by bringing together the two edges (marked with dashed red lines on the graphic). Take care to ensure the right sides of the cardboard are facing inside the box. This will result in the sides to be covered ― that is, the wrong sides with printing and marks ― facing out. Firmly attach these edges with packing tape on the outside and inside.
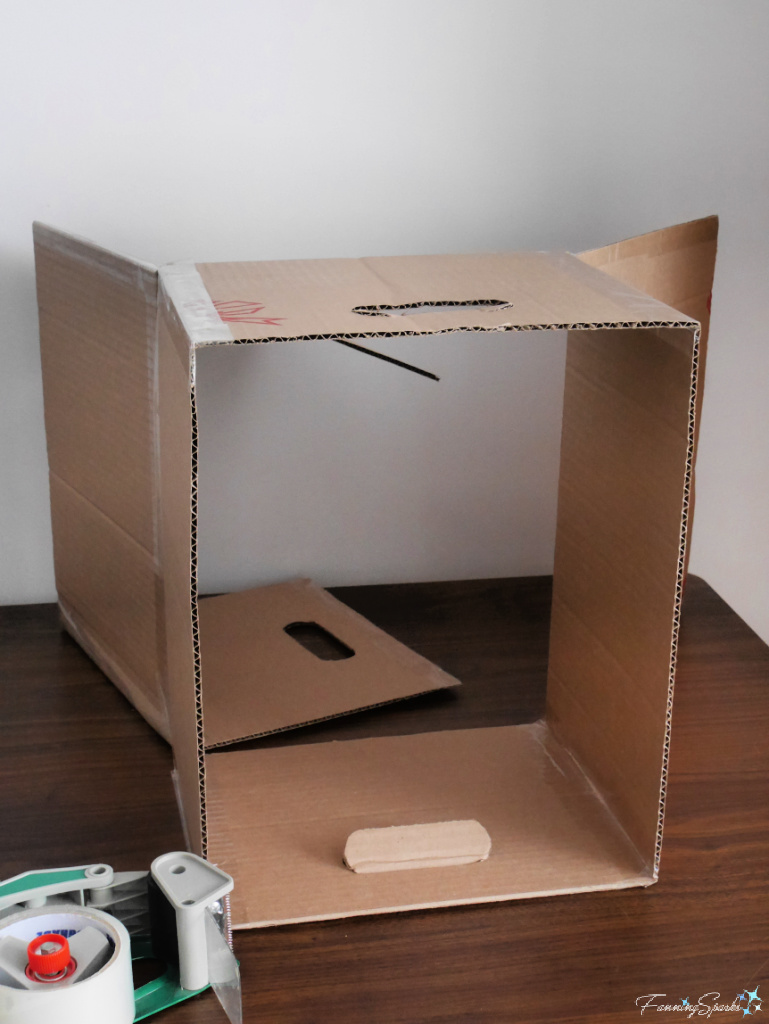
Next, assemble the storage bin by folding as illustrated below. Note the bottom and the ends of the storage bin will be double-walled when it is fully assembled. This is one of the secrets of its strength.

Finish the handles by pushing the flaps of the partially-cut handle holes through the fully-cut holes.
Here’s how the storage bin looks at this stage.
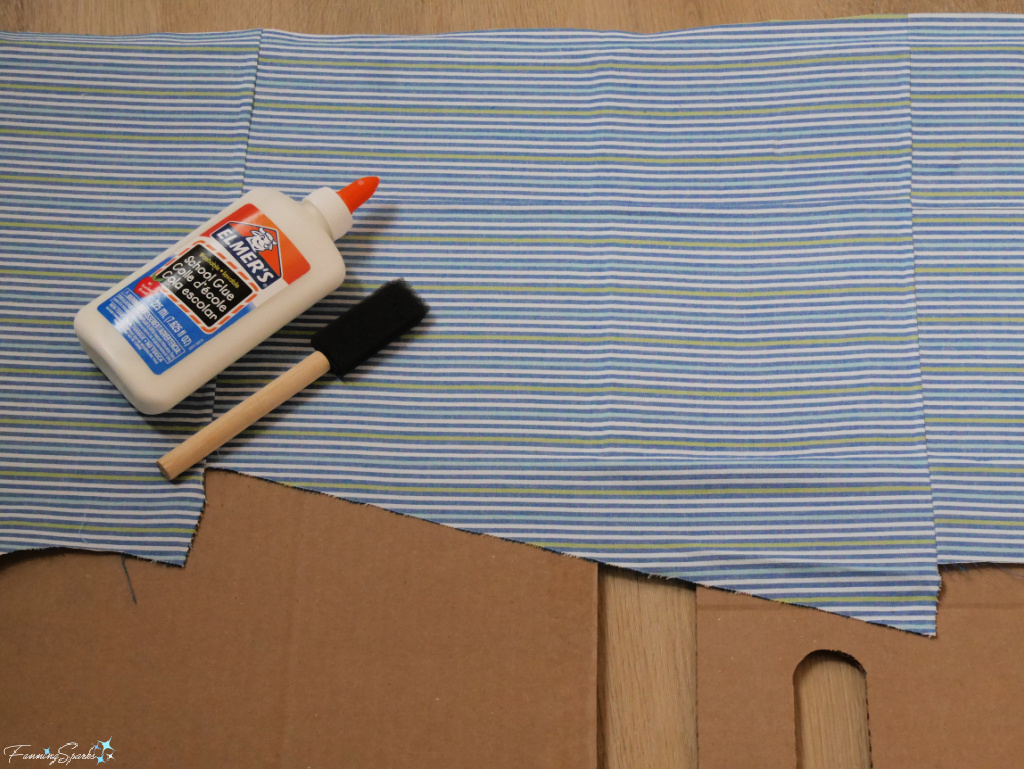
It takes a long narrow piece of fabric ― measuring about 57” x 11 ½” (145 x 29cm) ― to cover the four sides of the storage bin. It’s possible, of course, to piece together sections of fabric by sewing or simply glueing. These measurements allow for 1½ ” (3.8 cm) of fabric to be folded down over the top edge of the storage bin and for 3” (7.5 cm) of fabric to overlap where it meets on the side.
Working one section at a time, use a small foam brush to spread regular white glue (Elmer’s School Glue) evenly over the surface. Then carefully smooth the fabric over the glued surface aligning the bottom edge of the fabric with the bottom edge of the storage bin. Take care to keep the fabric straight and smooth. The top edge of the fabric should extend about 1½” (3.8 cm) beyond the top edge of the storage bin. I found it easier to leave this edge unglued at this stage.
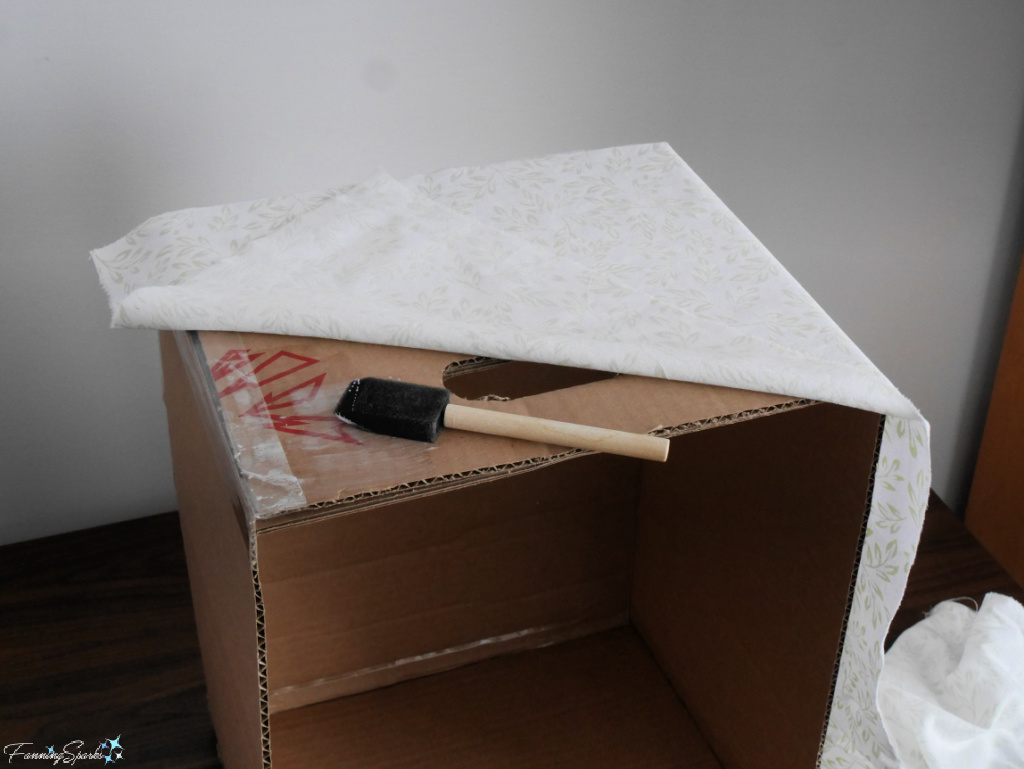
Continue working around the four sides of the box in this way. Take care to glue both layers of fabric where it overlaps on the side.
One word of caution, don’t use too much glue because excessive moisture will cause the cardboard to warp and pucker.
Special thanks to Marian for recommending this technique!
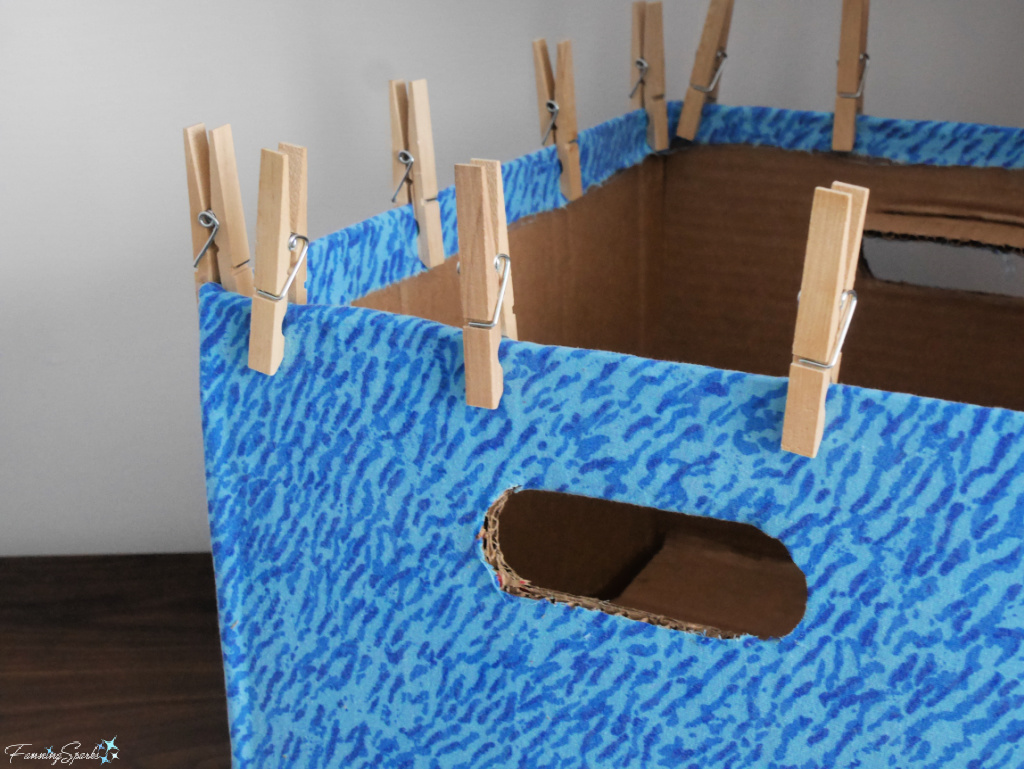
After the glue has dried, address the final details. Use scissors or an X-Acto knife to carefully cut the fabric covering the handle hole flaps. I found it easiest to work from the inside where I could see and follow the cardboard cuts more clearly. Dab glue along all the cut edges to seal them. Then finish the top edge by folding the extra fabric down over the top edge and glueing it in place. It’s helpful to lock things in place with clothespins or clips until the glue dries.
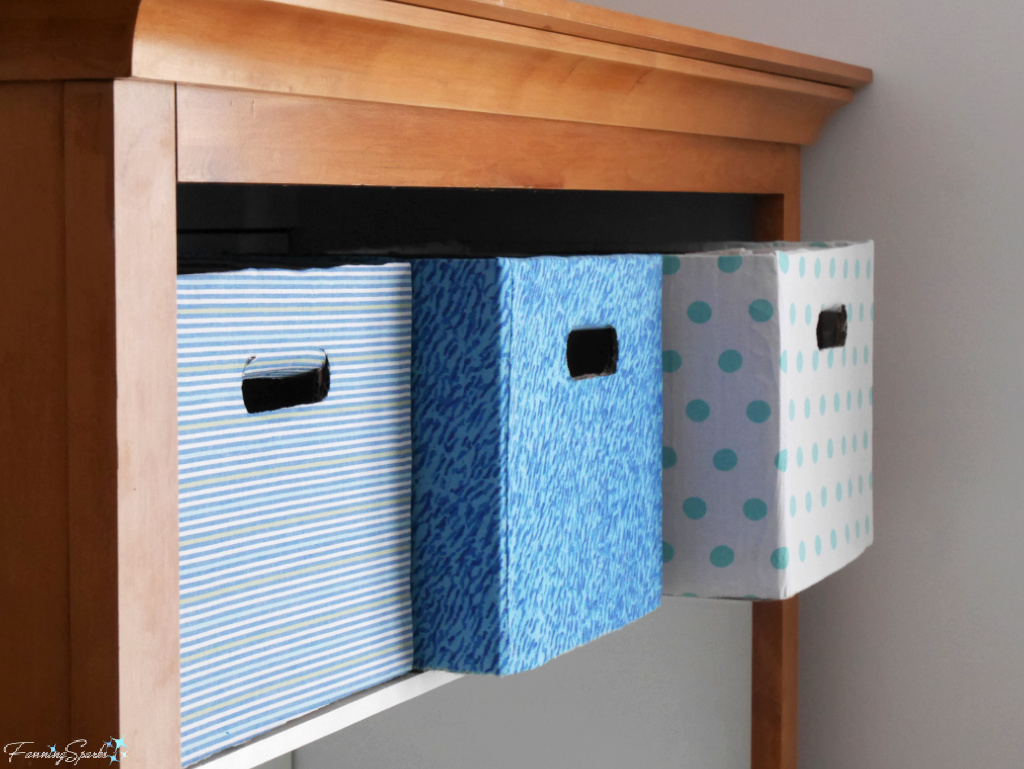
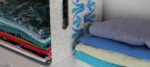
Three of the nine storage bins I have planned are finished and I’m really pleased with the results. Here’s the first one already loaded with fabric.
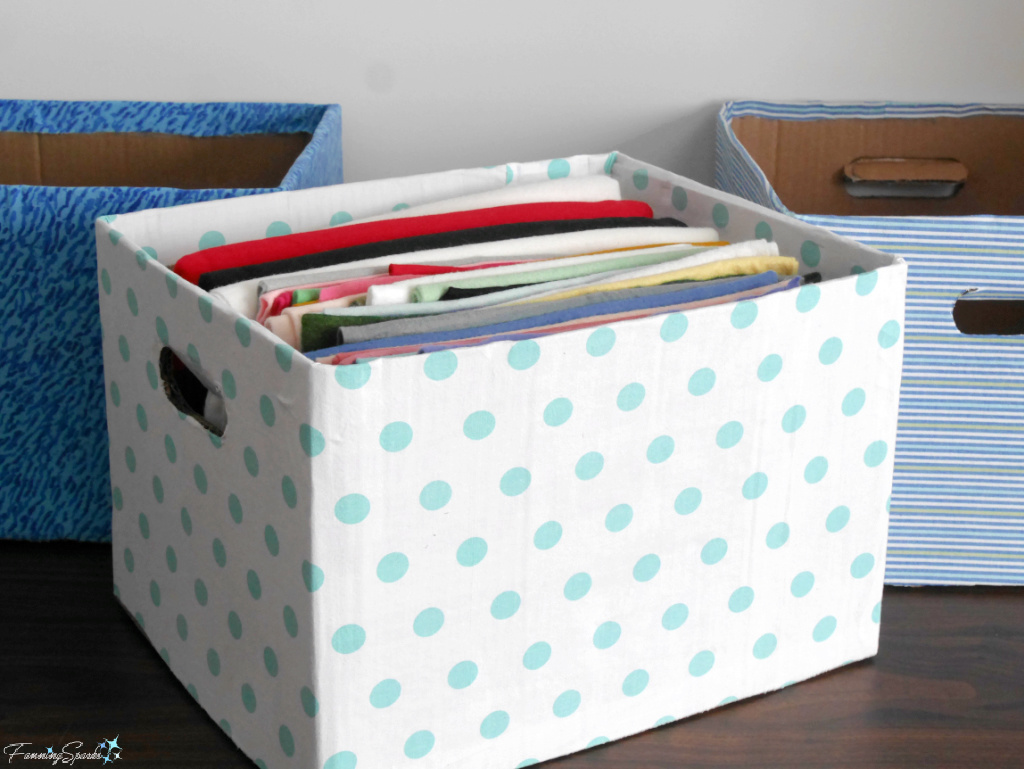
And here’s how they look in the cabinet. Not bad for a pile of used cardboard!
More Info
This is the second post in a series on repurposing cardboard. The first, Making Art Out of the Box, explored how cardboard can be used to create art.
To learn more about Makedo, “Tools. For kids. For cardboard.”, see their website or Instagram account.
Today’s Takeaways
1. Sometimes the best solutions are the simplest.
2. The design of a standard bankers box is really quite ingenious.
3. One practical way to repurpose cardboard is to make custom storage bins.


Comments are closed.