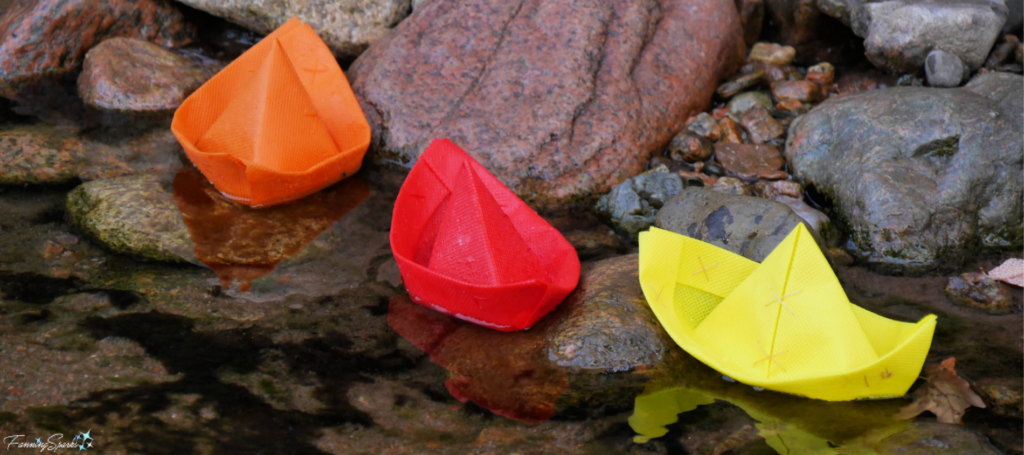
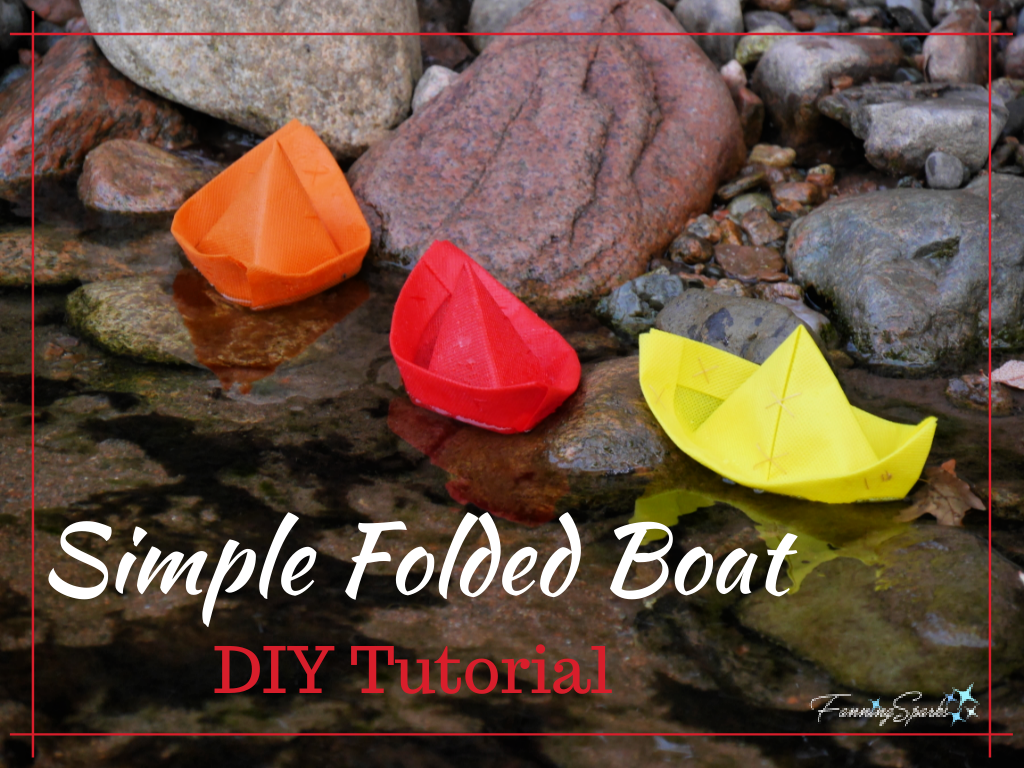
In my previous post, Falling Leaves and Floating Boats, I introduced these small, floating boats and promised to share the instructions for making them. I’ve had the opportunity to test these little boats in a few different settings since that post. They handled the swift current of a small stream without any mishaps.
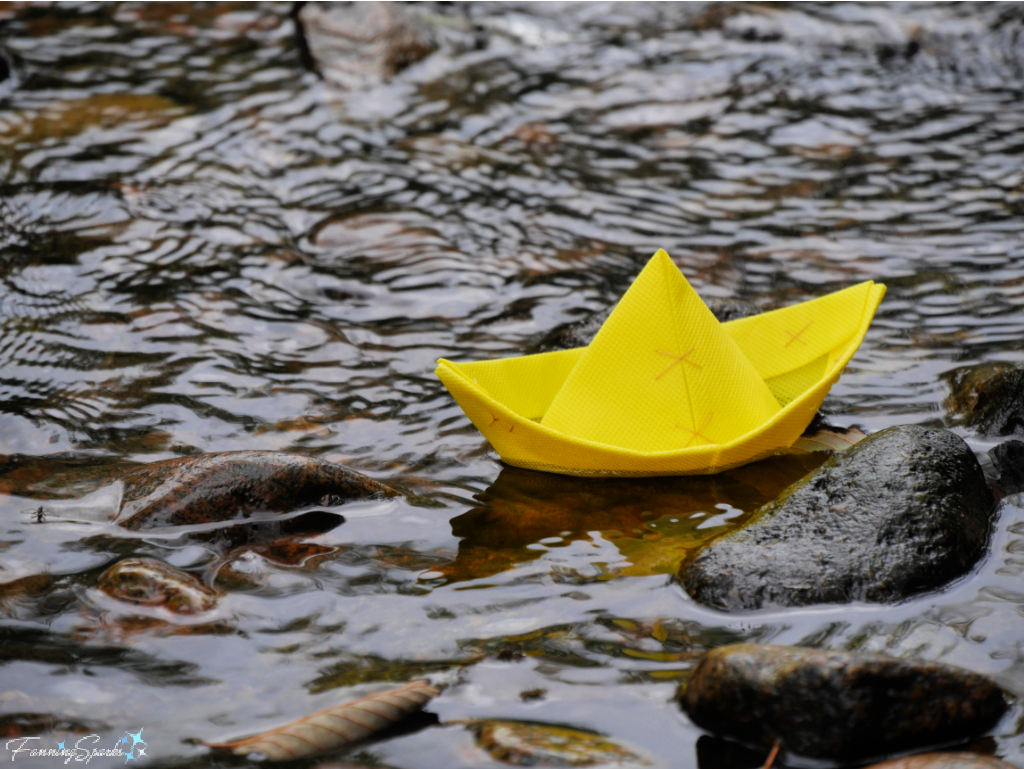
This little creek would have been a great place to stage a race or host a regatta.
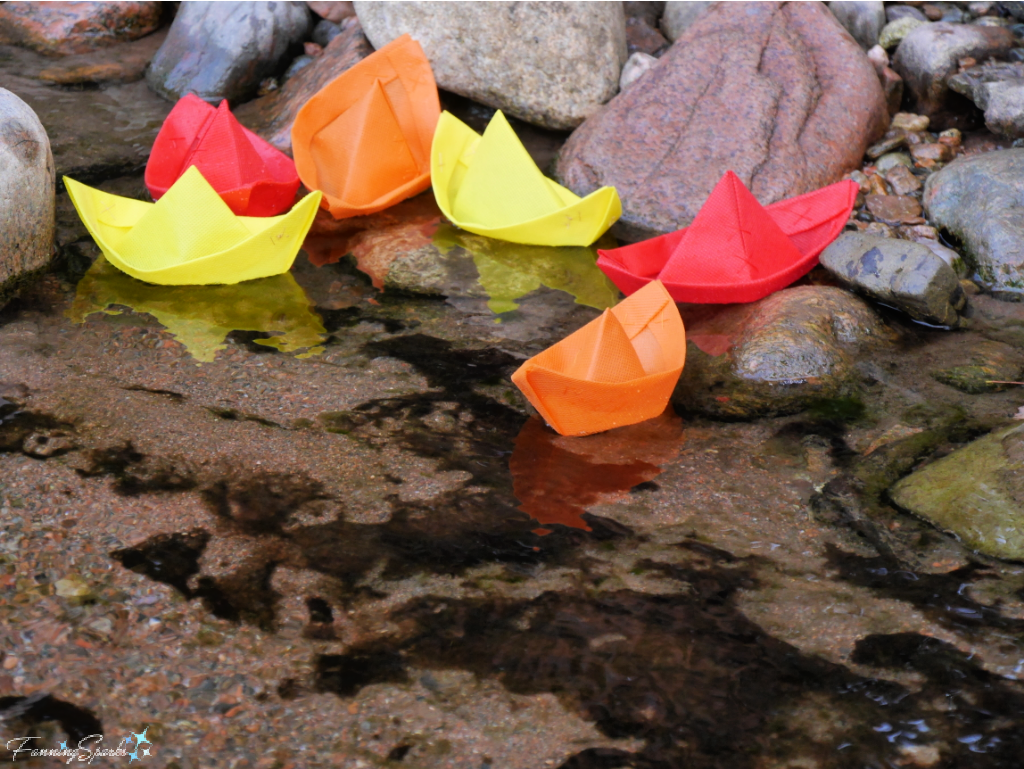
I also tried the boats in the gentle surf at the beach.
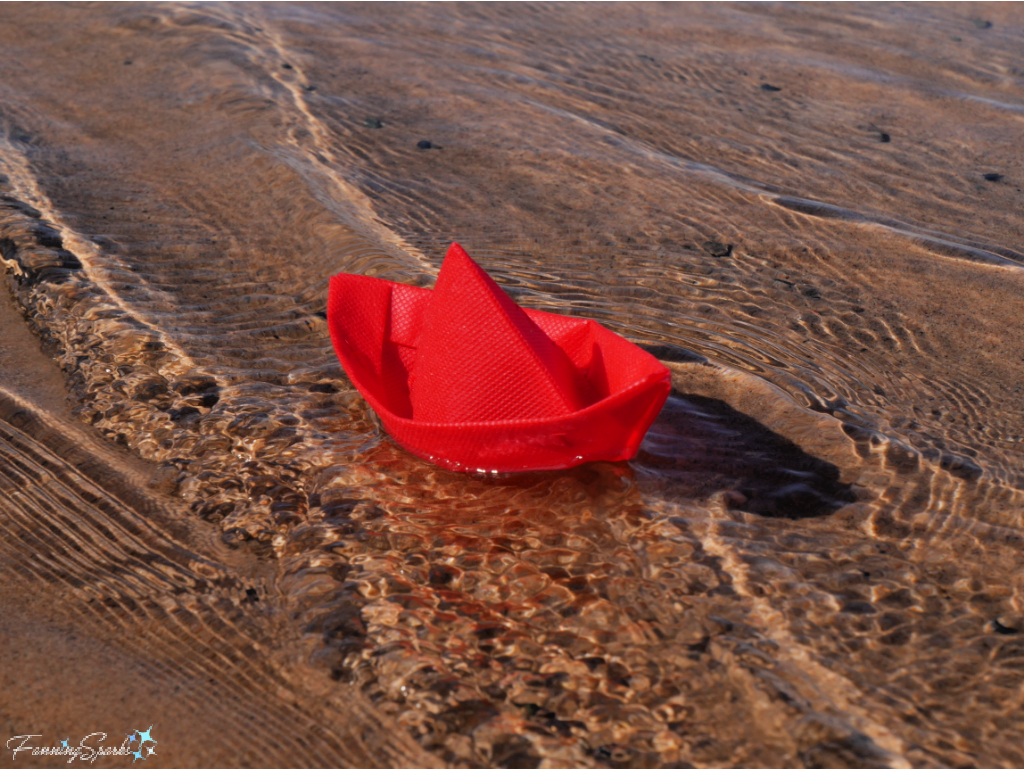
I’m happy to report the boats fared well in all these settings. But be forewarned, these boats are light and swift and could be heading out to sea before you know it. Ask me how I know!
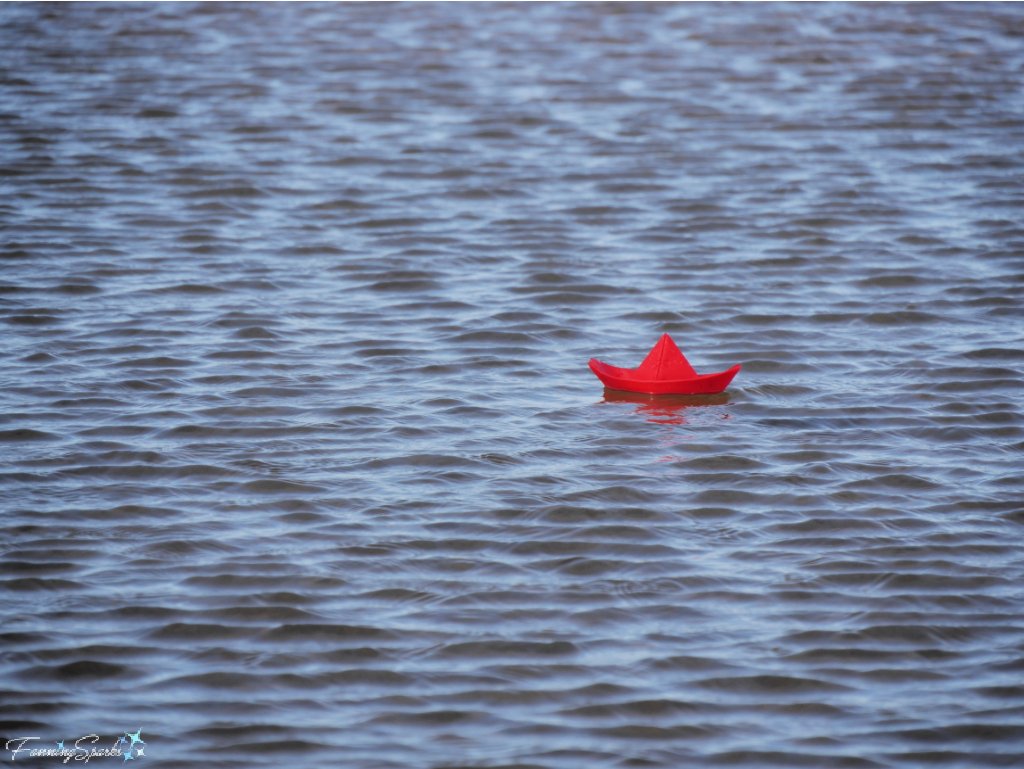
These folded boats are easy to make. They are simply an upscaled version of the boats children fold from paper. But there are a few things I learned from trial and error that are worth calling out.
First is the material used to make them. Traditionally, these boats are folded from paper. Paper boats float beautifully—the first time. But they get waterlogged quickly. I tried several other materials including clear vinyl, adhesive vinyl, lightweight coated nylon and marine vinyl. The material that performed the best, though, is a polypropylene fabric called Oly*Fun™. This fabric repels water and floats perfectly. Oly*Fun™ is readily available from fabric and hobby stores. I purchased mine from Hobby Lobby. It is sold in sheets or by the yard and comes in a variety of deep, rich colors.
After trying a few different configurations, I found the ideal size and proportions to be a 7” x 10” rectangle of fabric. The finished boat is about 7” long by 3” wide by 2 ¾” high.
Fabric doesn’t hold folds as well as paper but I discovered that tacking down the folds solved that problem. I used matching thread to make a few simple stitches at pivotal spots. This served to hold the folds, keep the fabric in place and maintain the shape of the boat. I suspect you could use glue to accomplish the same thing.
These 3 key learnings are incorporated into the Simple Folded Boat Tutorial instructions that follow.
Supplies Needed
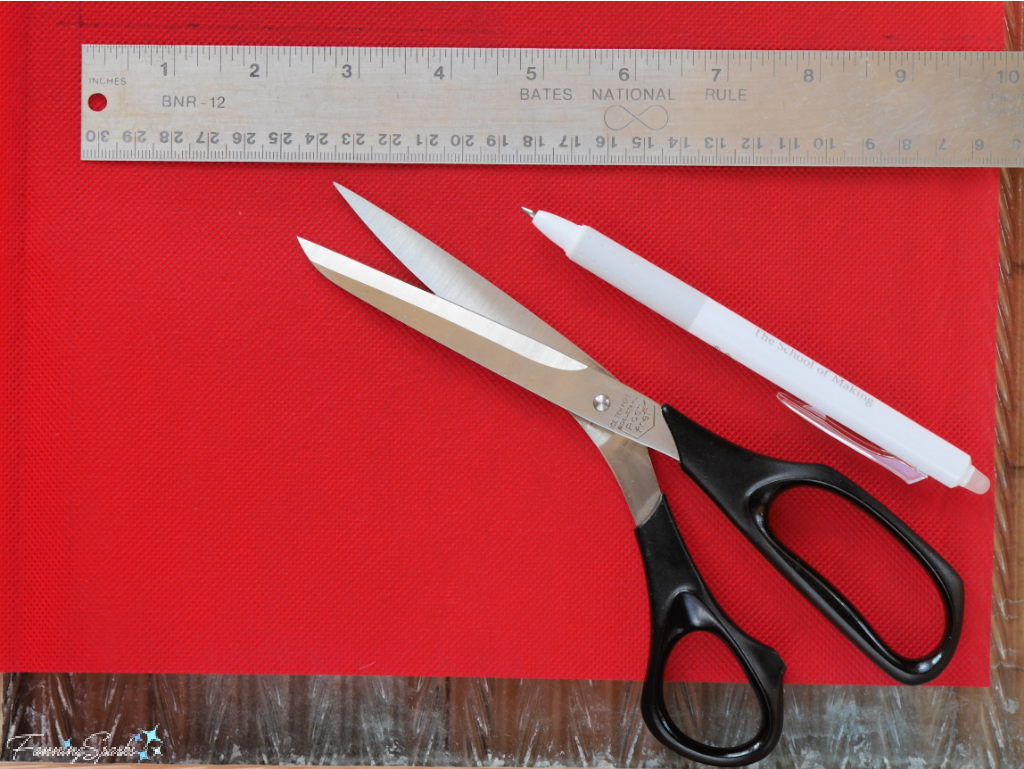
The following supplies are needed to make 1 simple, folded boat:
. Fabric: 1 – 7” x 10” rectangle of Oly*Fun™ which is a 100% polypropylene fabric made by Fairfield
. Thread: Matching thread. Alternatively, waterproof glue could be used.
Tools Needed
. Scissors
. Ruler
. Pencil/Marker
. Binder Clips: 2 small ¾” clips
. Sewing Needle
Instructions for Simple Folded Boats
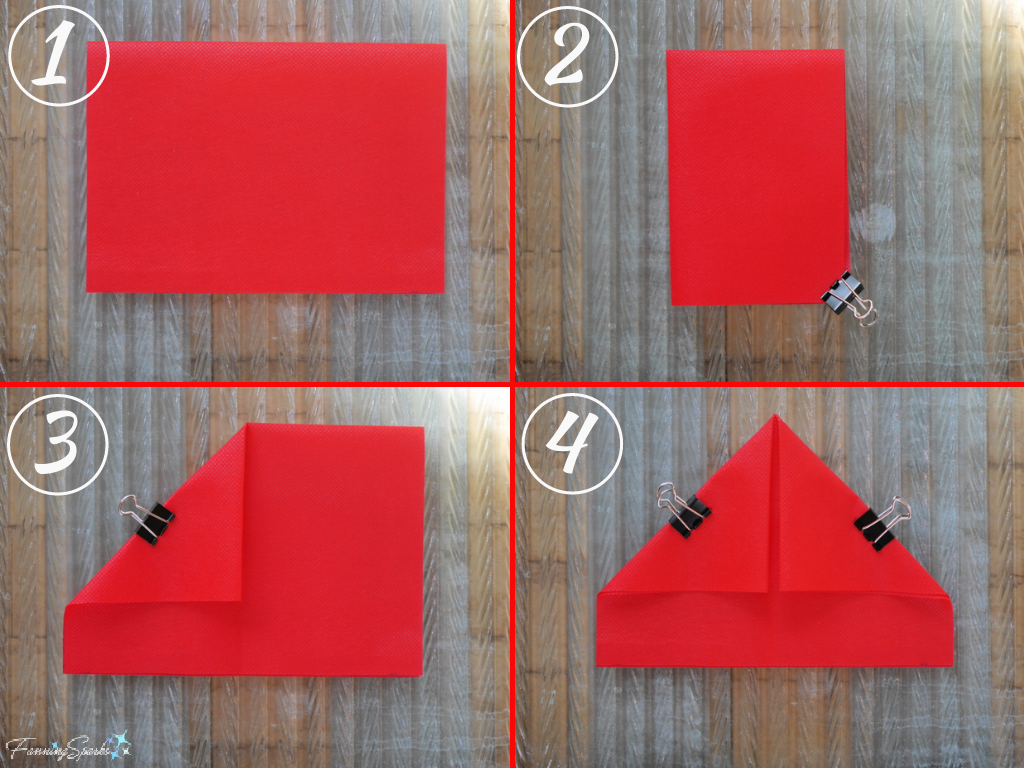
Step 1-4 Fold Peak Place fabric rectangle on working surface with 7” edge along bottom.
Step 1: Fold in half bringing top edge down to match bottom edge.
Step 2: Fold in half, again, bringing left edge over to match right edge. Use binder clip to hold in place while pressing firmly to crease the fabric. Once creased, remove the clips and unfold. This crease serves to mark the center line.
Step 3: Bring top left corner down to align with the center crease. Hold in place with a binder clip.
Step 4: Repeat on right side bringing top right corner down to align with the center crease.
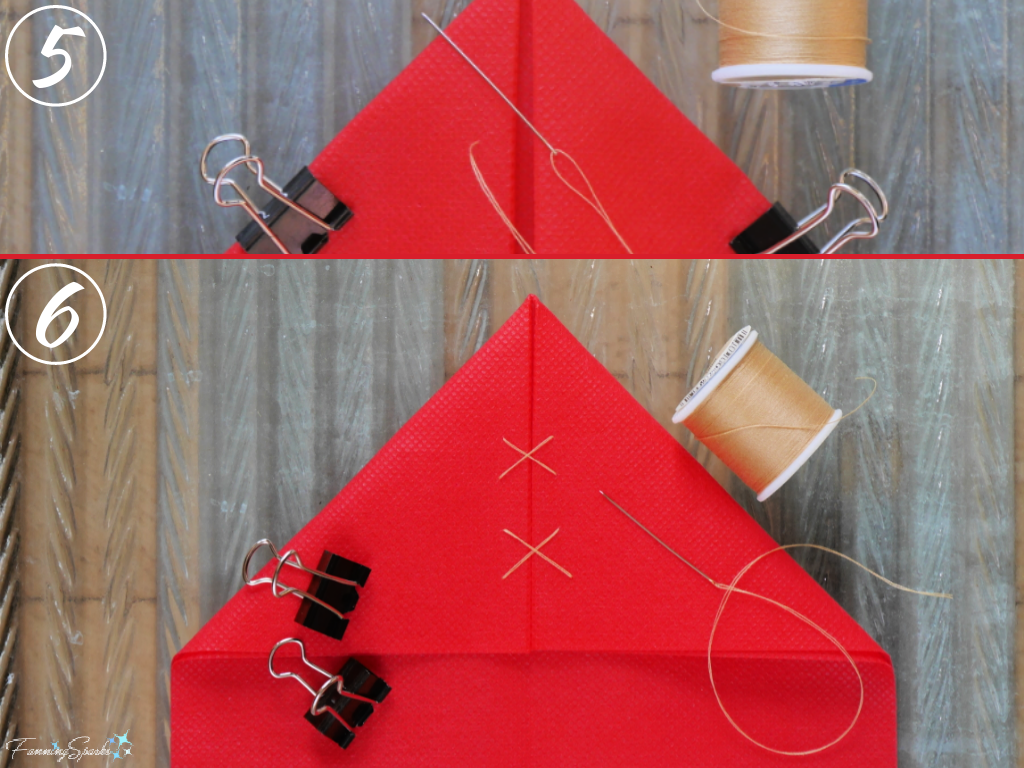
Steps 5-6 Stitch Peak Tack down folds with hand-sewn stitches. I used contrasting thread for clarity in this tutorial but I recommend using matching thread. I found cross-stitches worked well and looked nice. Alternatively, you could use glue to secure the folds.
Step 5: Carefully stitch through all layers EXCEPT the back layer. Otherwise, the boat cannot open. Insert fingers inside peak to hold fabric in place while stitching. Knot ends and hide inside folds.
Step 6: Make a second cross-stitch. Remove binder clips.
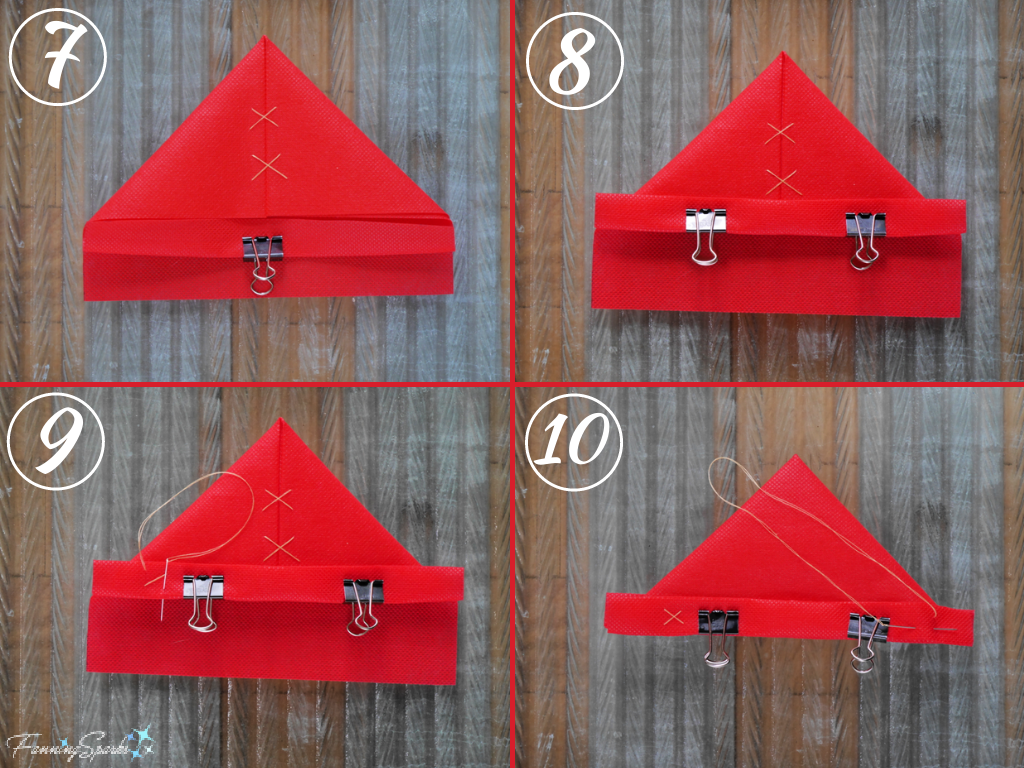
Steps 7-10 Fold and Stitch Sides
Step 7: Bring bottom edge up to match bottom edge of peak.
Step 8: Fold again, bringing folded bottom edge up by the same amount as previous fold.
Step 9: Tack folds with a cross-stitch about ¾“ from the left edge. Carefully stitch through all layers EXCEPT the back layer. Repeat on right side.
Step 10: Turn over boat so back side is facing up. Repeat steps 7-9.
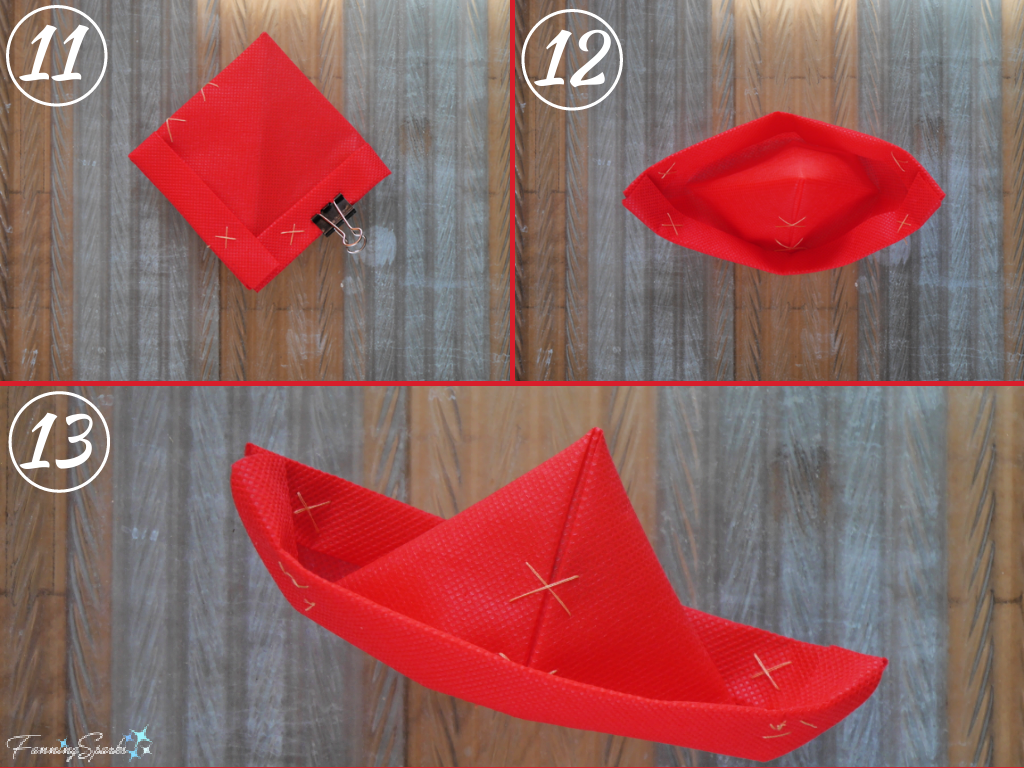
Steps 11-13 Open Boat
Step 11: Position boat on working surface with front facing up. Refold boat forming a diamond shape with the center front positioned along the top left. All the ends of the sides will be at the bottom point. Starting with the ends sitting on top, neatly tuck the right ends inside the folds of the left tip. Flip over the boat and repeat with the back set of ends.
Step 12: Lift up the boat holding a set of folded, tucked ends in each hand. Pull hands apart to open up boat. Flip up sides and open peak fully.
Step 13: It’s that simple! Your new Simple, Folded Boat is ready for action.
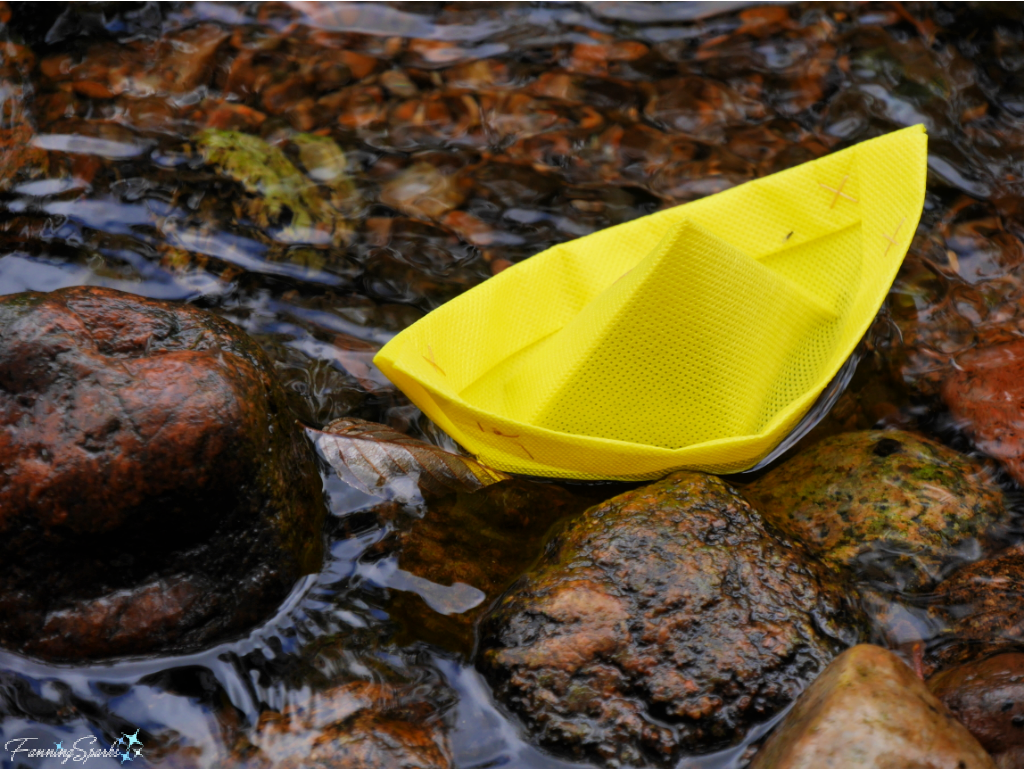
Find some water and let the fun begin!
More Info
Please share this image or pin for future reference.
Check out my previous post, Falling Leaves and Floating Boats, for fun photos of these boats in an autumn setting.
You can learn more about Oly*Fun™ fabric on the Fairfield website.
These Simple Folded Boats are suited to shallow waters while the Toy Sailboats I featured in the previous post, Sunrise Breakfast Picnic, are better suited to water that is at least 1½ feet deep. Check out a A Landlubber’s Toy Sailboat – DIY Tutorial for instructions.
Today’s Takeaways
1. Consider making simple, folded boats to share with children or enjoy yourself.
2. Enjoy spending time by a stream, lake, ocean or other natural body of water.
3. Find joy in the simple pleasure of floating a boat.

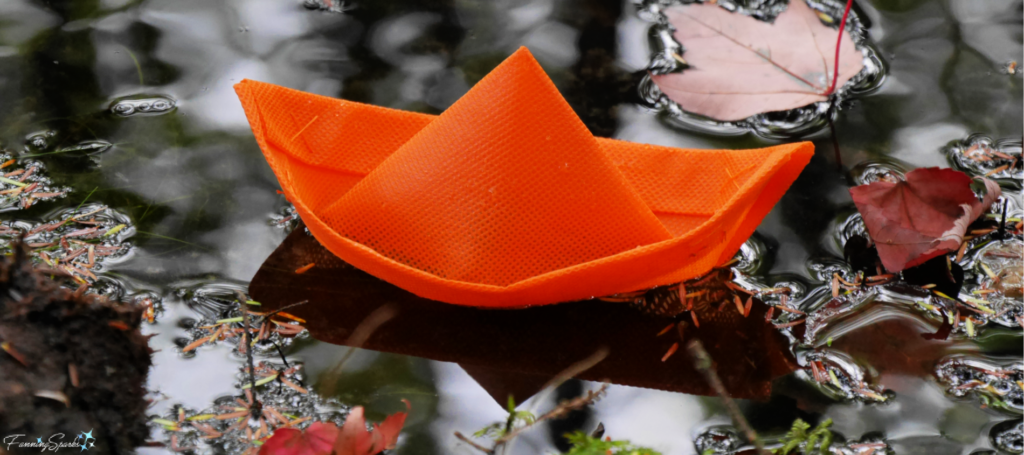
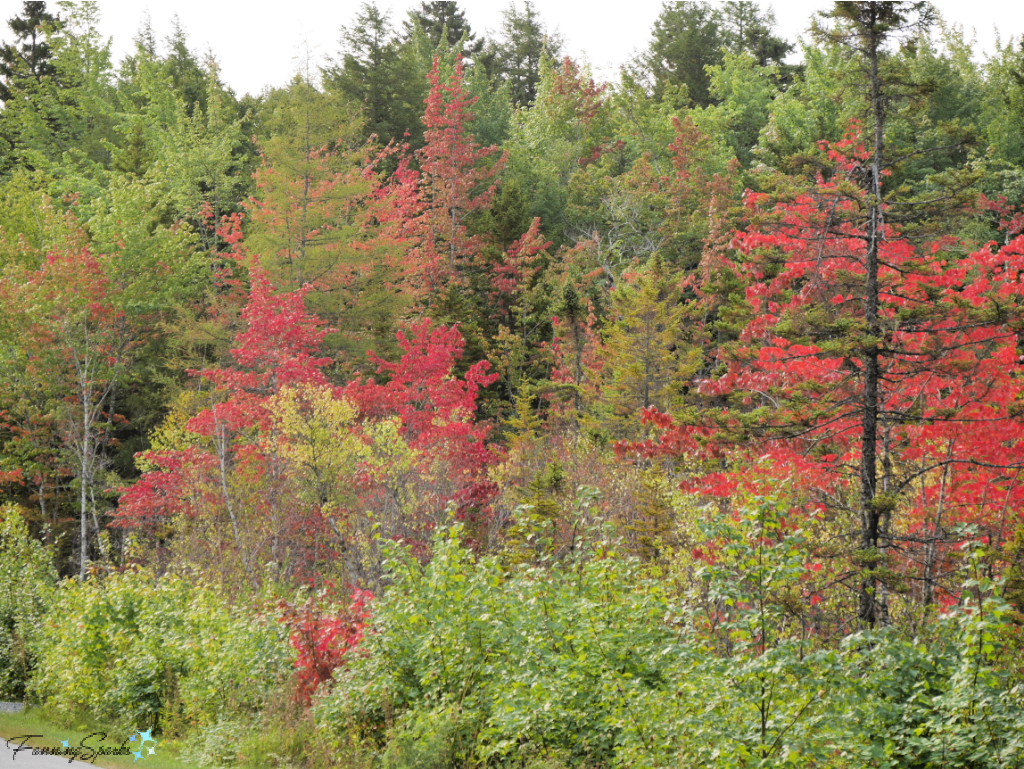 The leaves have just started to turn color in Nova Scotia. According to my brother, who knows such things, the first trees to turn are those that are unhealthy or are rooted in wet areas. The gorgeous red maple leaves shown below were indeed in a wet swampy area.
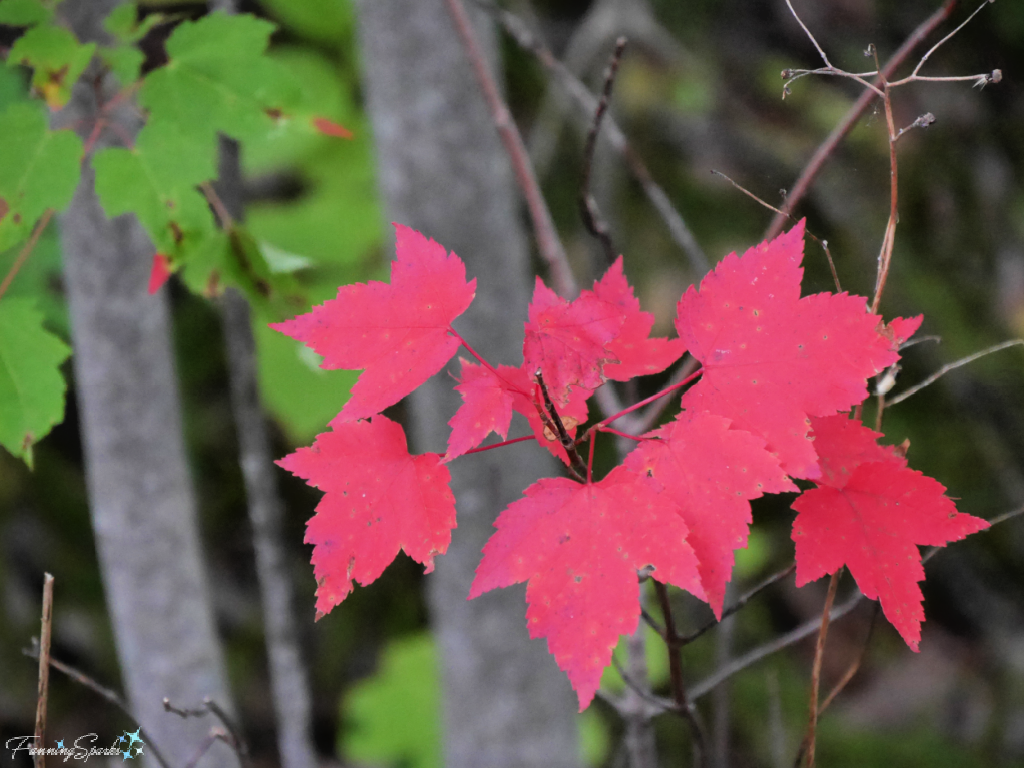
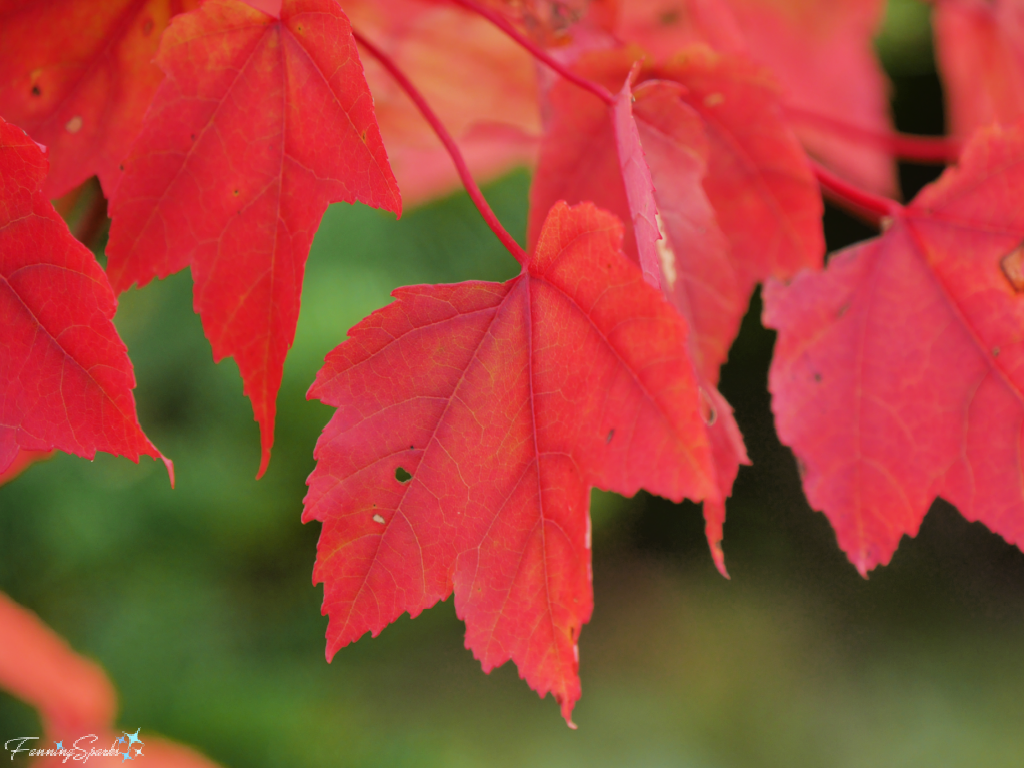 Mother Nature outdid herself with these fall colors! Check out the vibrancy of these scarlet leaves backlit by sunlight.
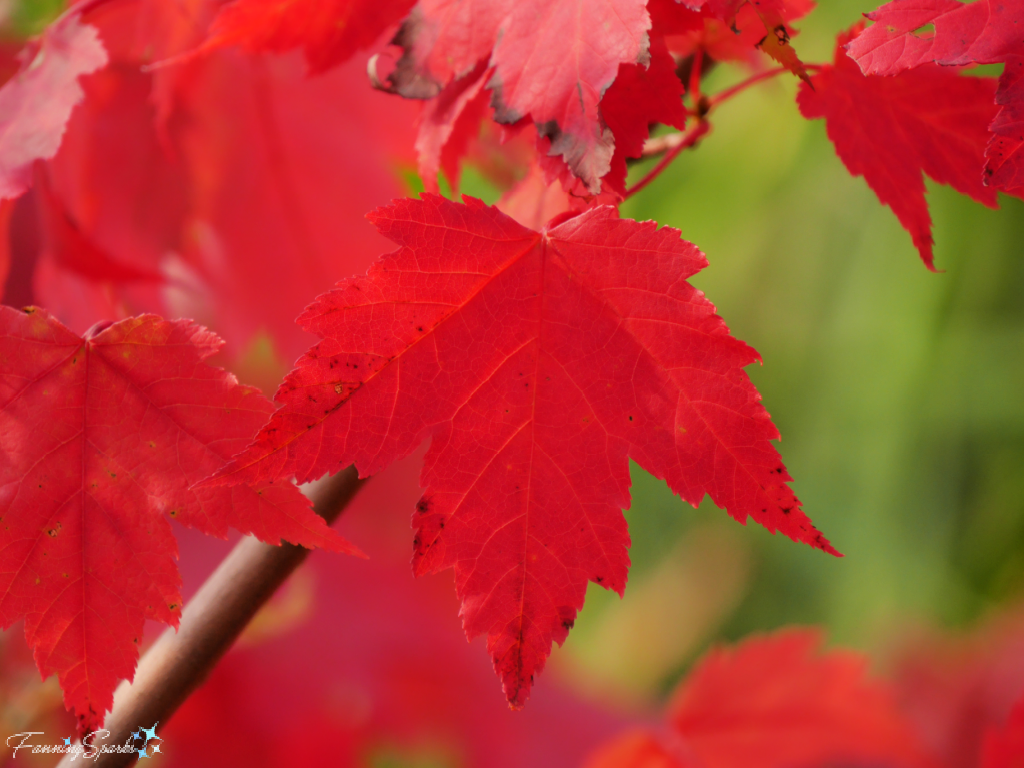 Red is not the only color on Mother Nature’s palette—there are yellows, golds, oranges, peaches, pinks and a myriad of greens.
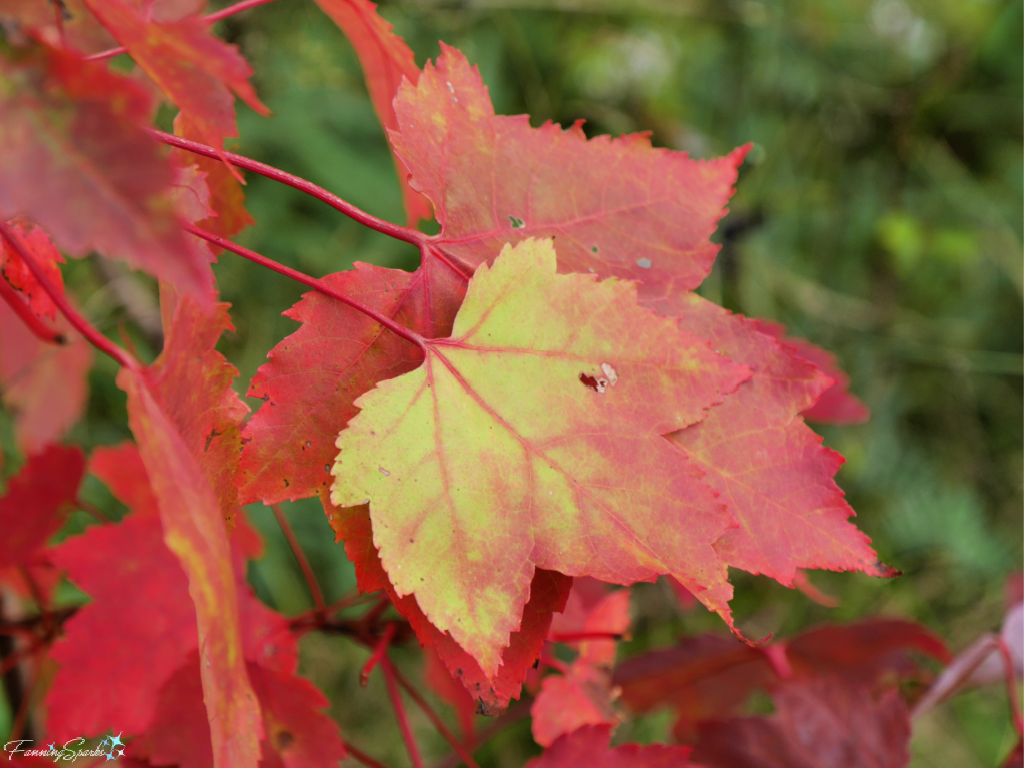
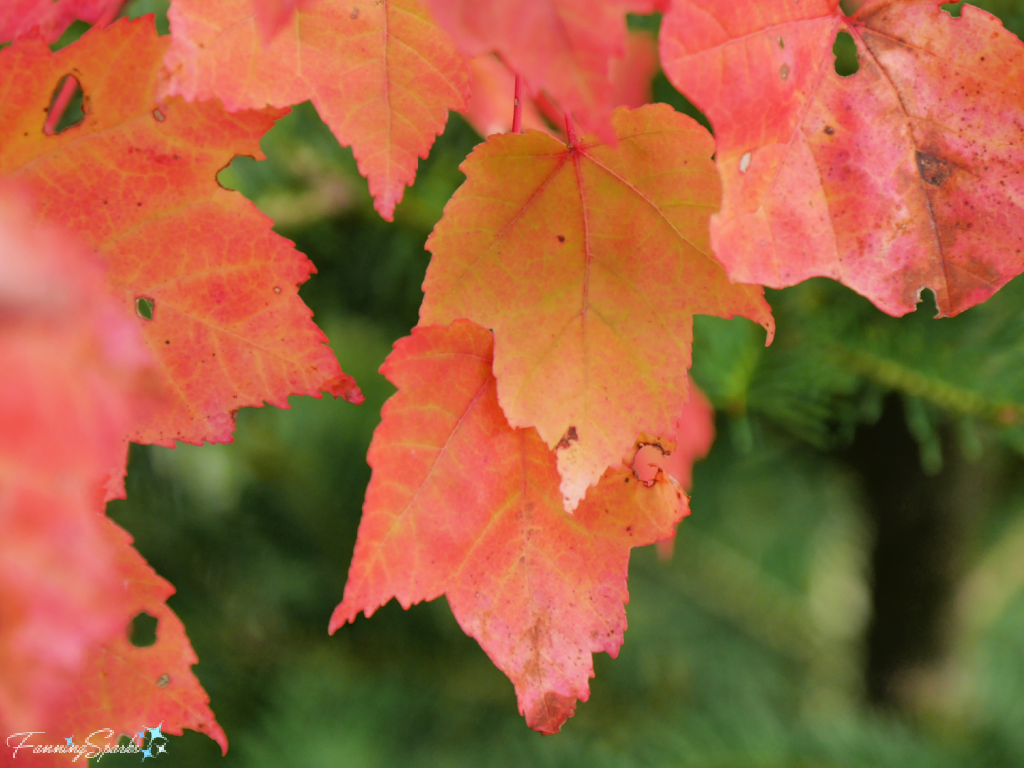
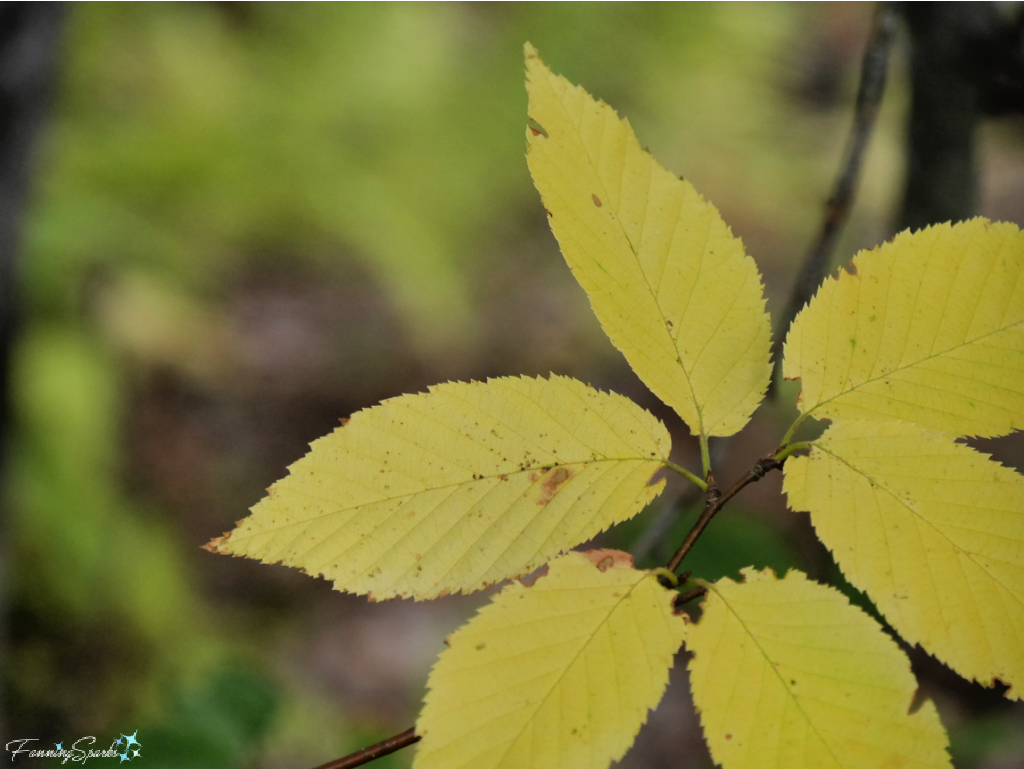
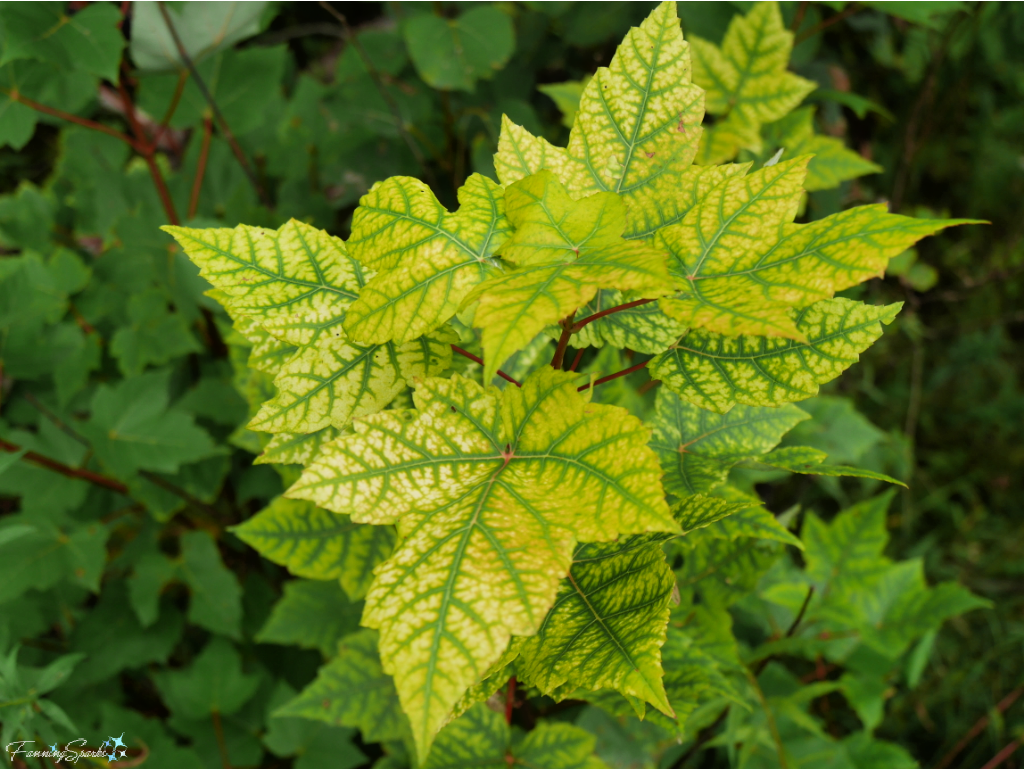 These gorgeous colors are fleeting, of course. They don’t stay on the trees for long. Luckily, colored leaves can also be lovely after they’ve fallen—especially if they land in water.
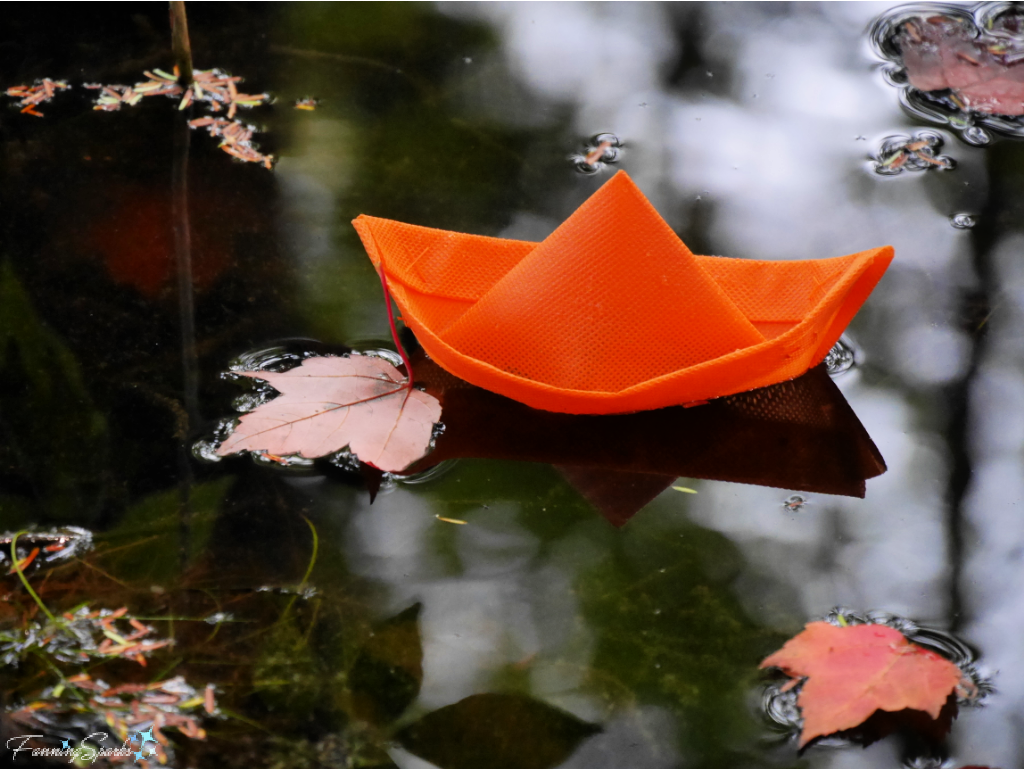
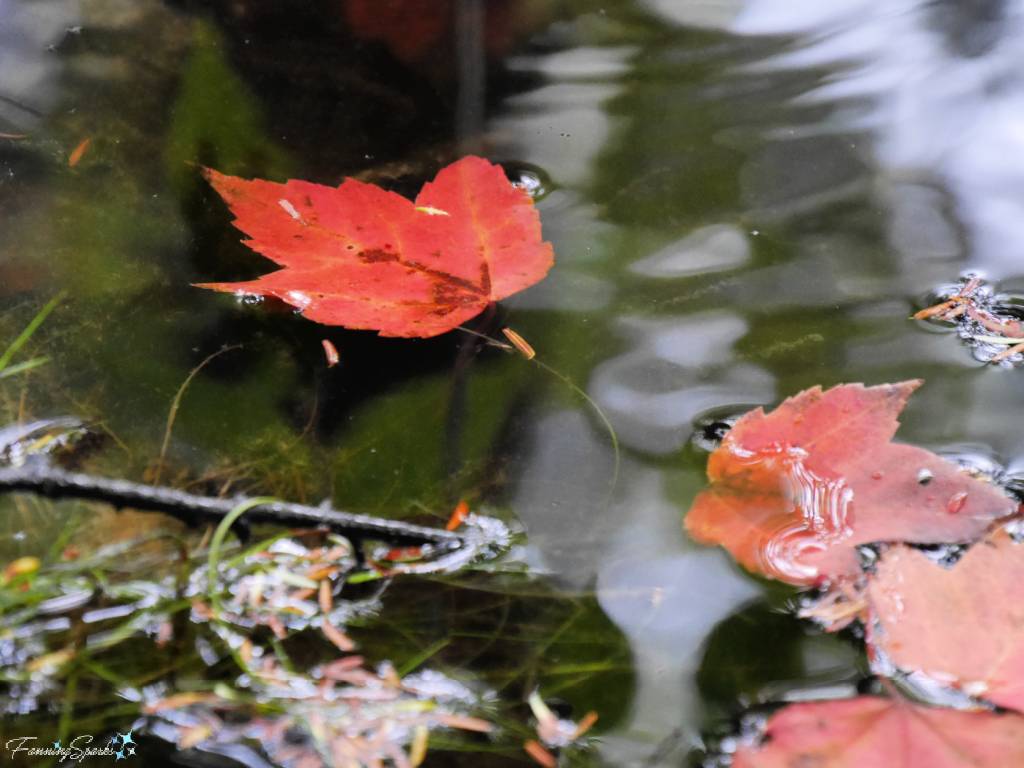 Turns out, that wet, swampy area I spotted along the road provided the perfect backdrop for my new floating boats. The water was dark, shallow and calm. Here’s one of my favorite photos of my little orange floating boat.
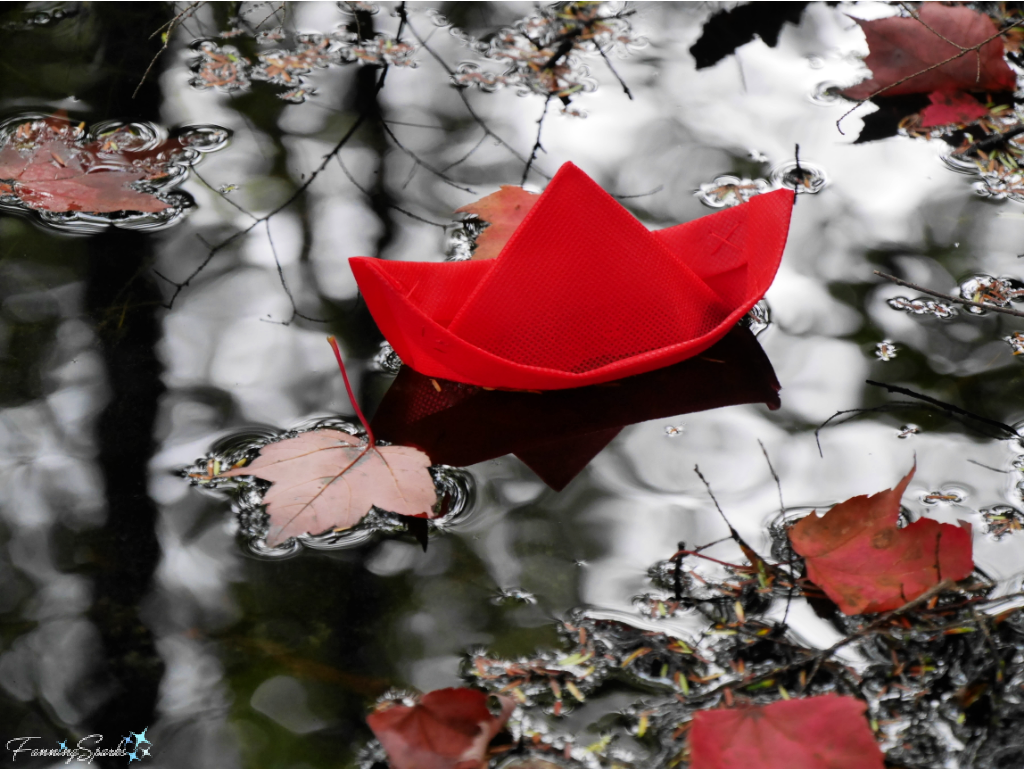
 Here’s a red floating boat in the same setting. I love the contrast between the dark reflections and the colorful leaves.
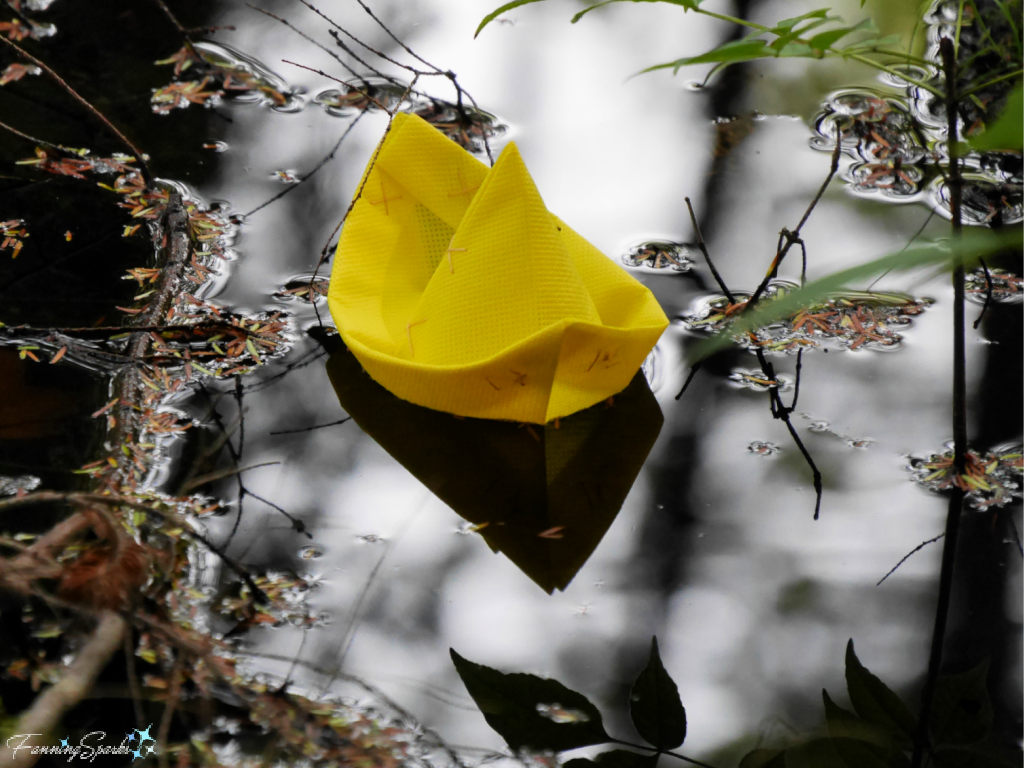
 The brilliant yellow of this floating boat is a nice counterpoint to the moody setting.
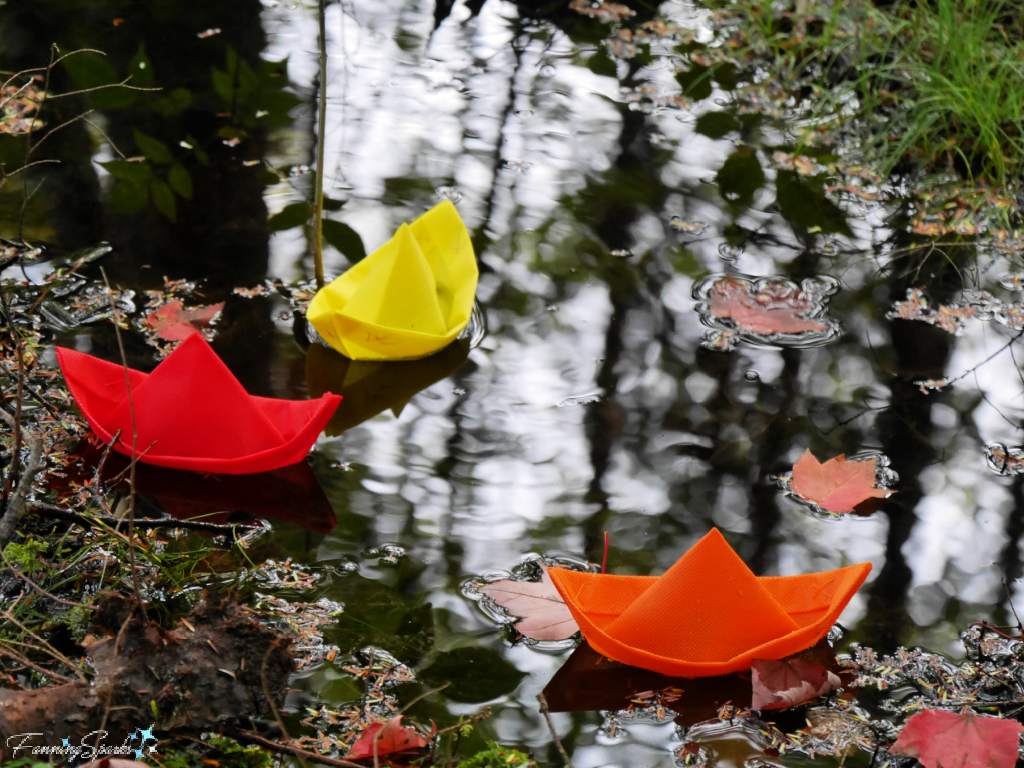
 And here they are together—a trio of colorful, floating boats amongst the fallen leaves.
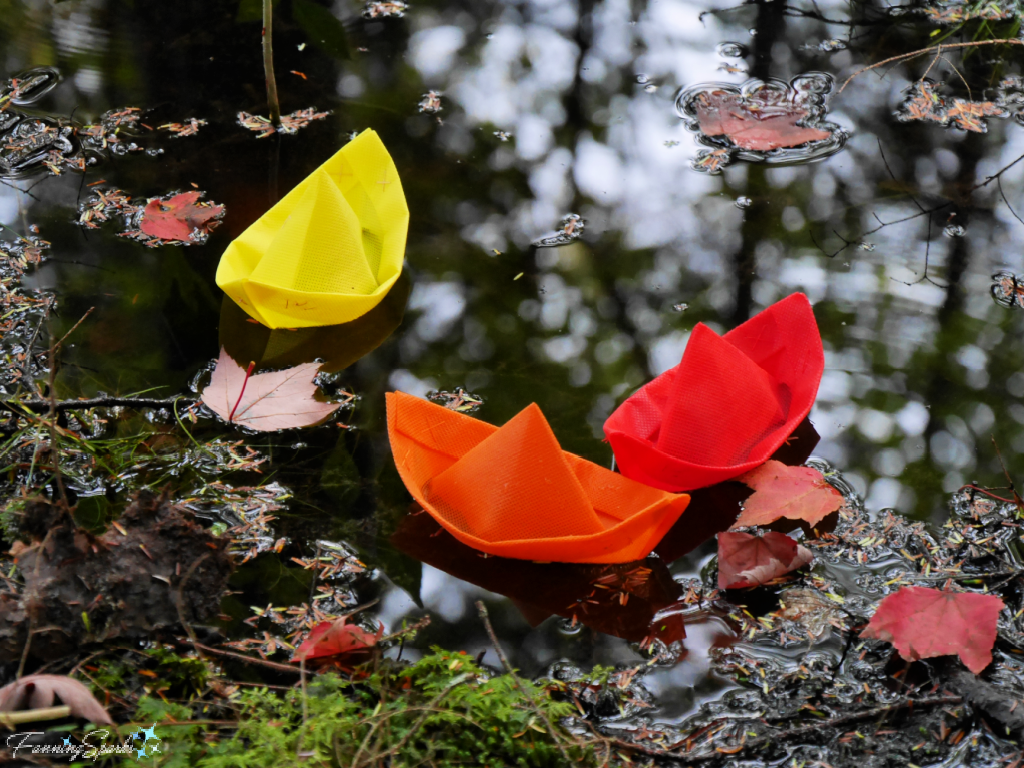 I just love that inky, black water! It’s the perfect foil for the gorgeous fallen leaves and the bright little boats. Plus it captures the most stunning reflections. But the location itself is anything but stunning. Here’s the broader view.
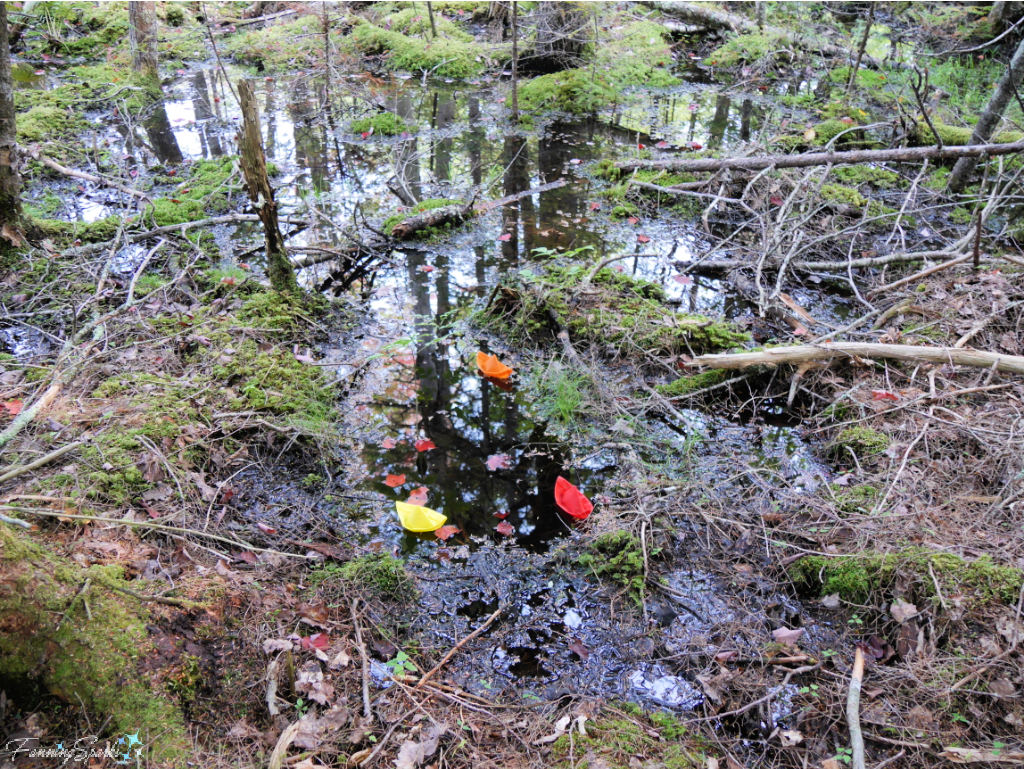 One would never guess such an ordinary, lackluster setting could lead to extraordinary photos. Circling back to my opening comment, sometimes the most unlikely of places can indeed lead to the most amazing photos. Have you had a similar experience? Please share in the comments below.

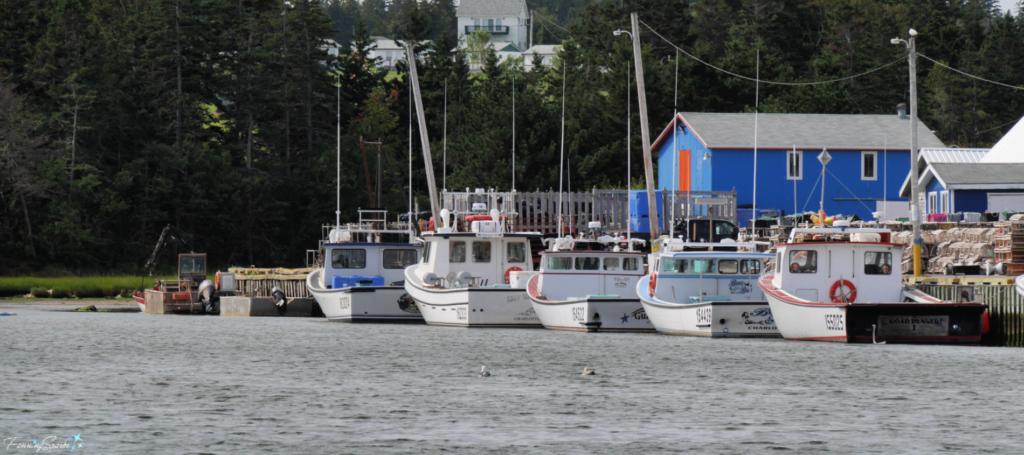
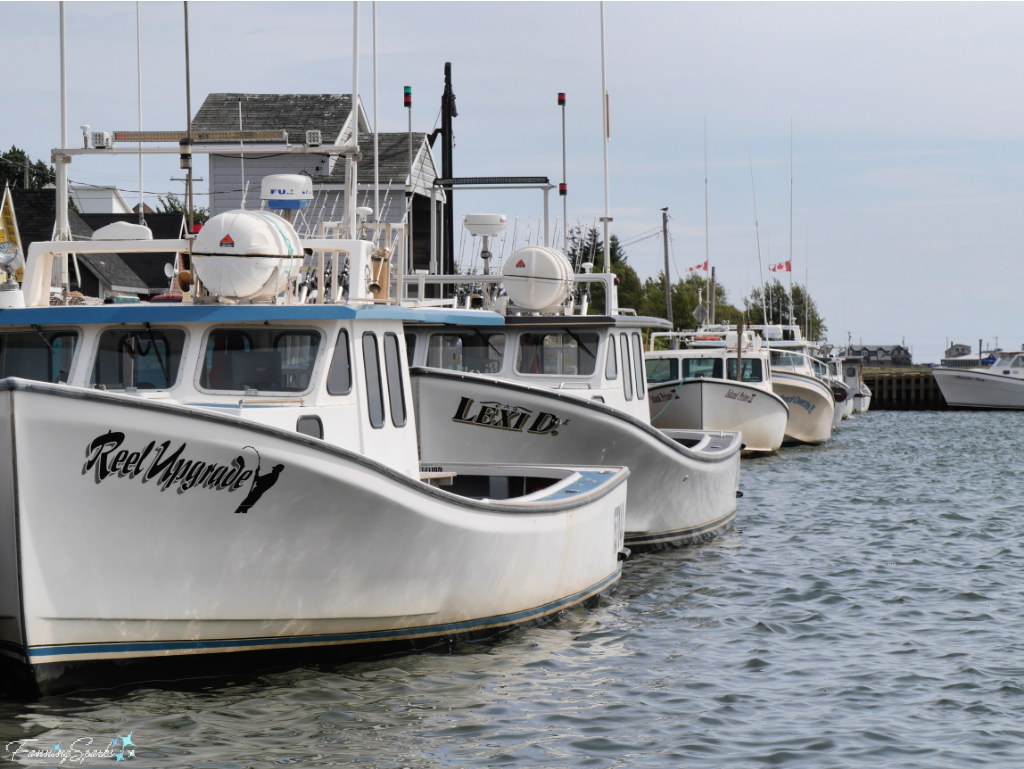
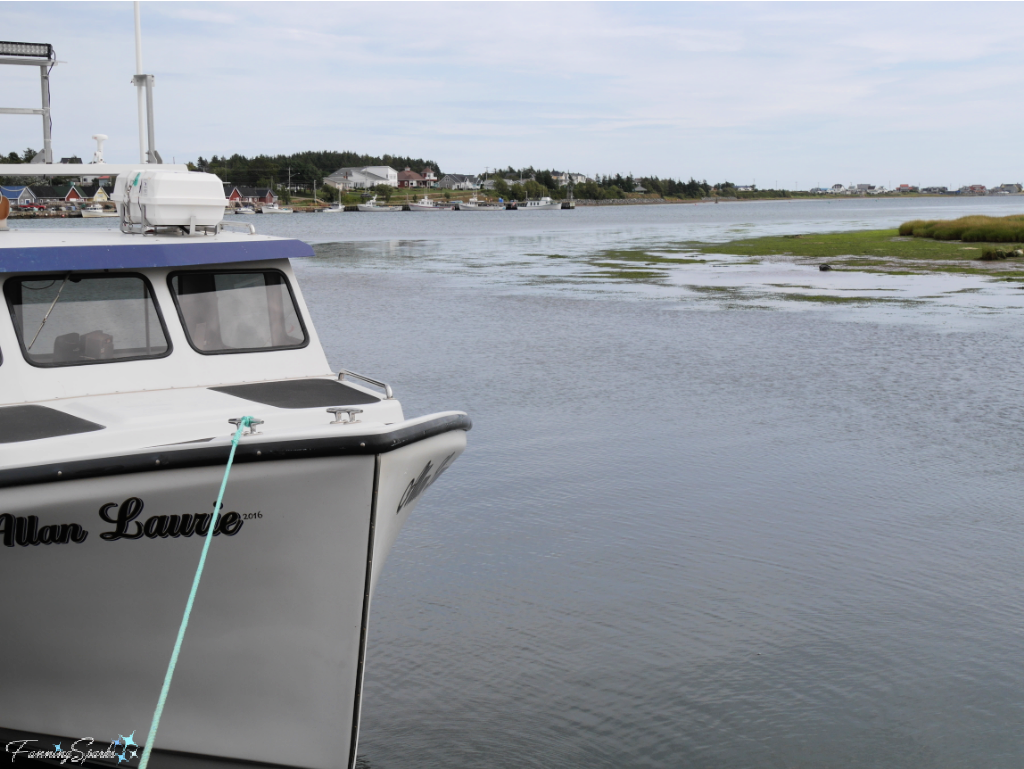 North Rustico has a proud tradition of living with the sea and fishing is the primary industry. The harbor is home to about 40 fishing vessels.
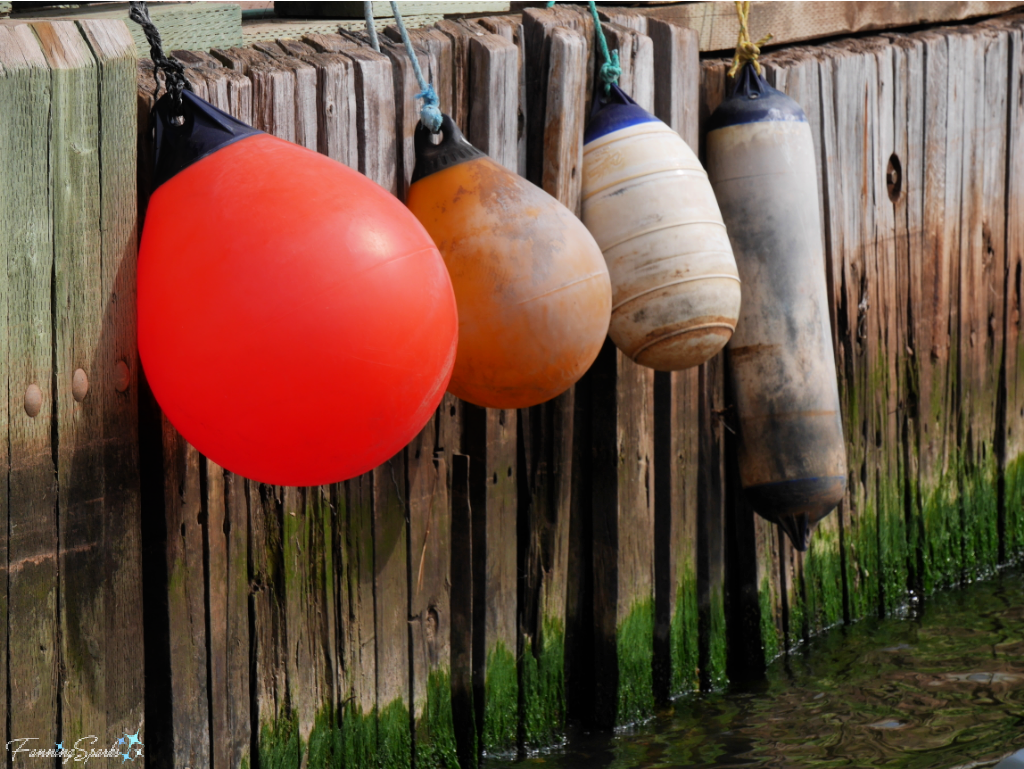
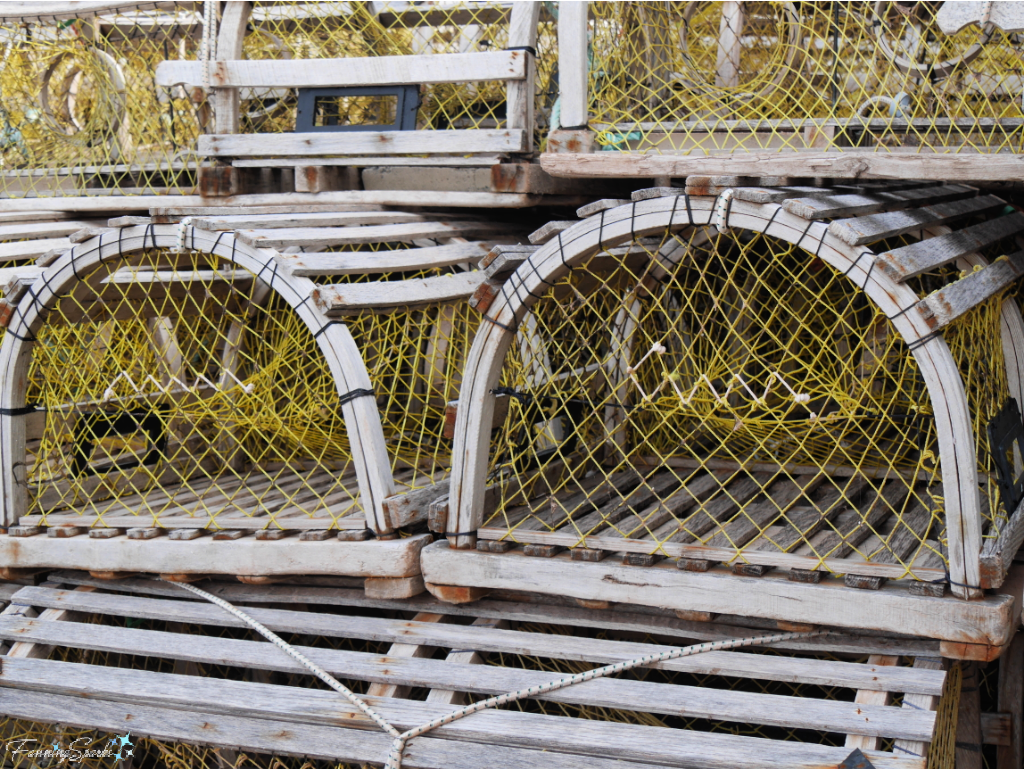
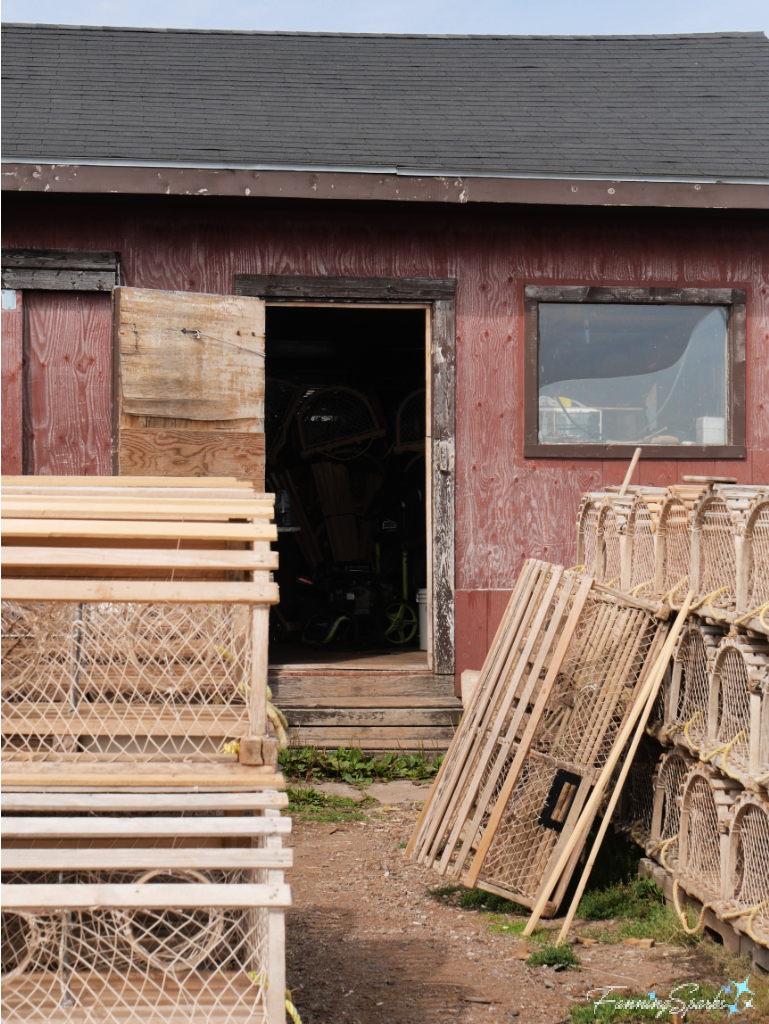
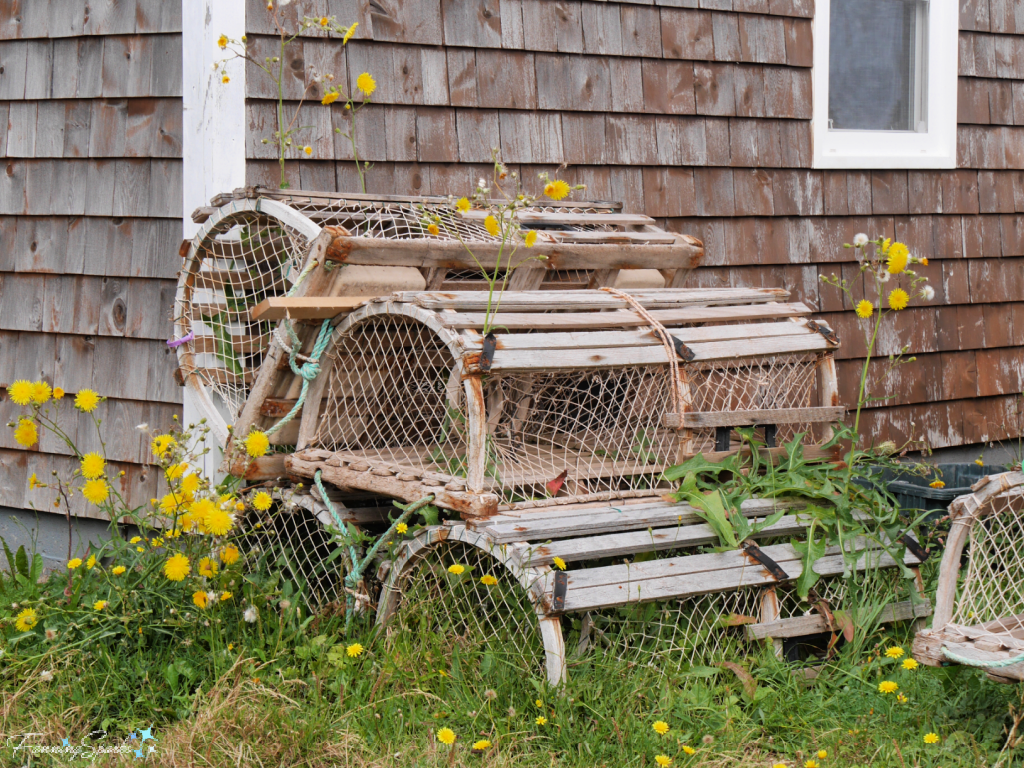
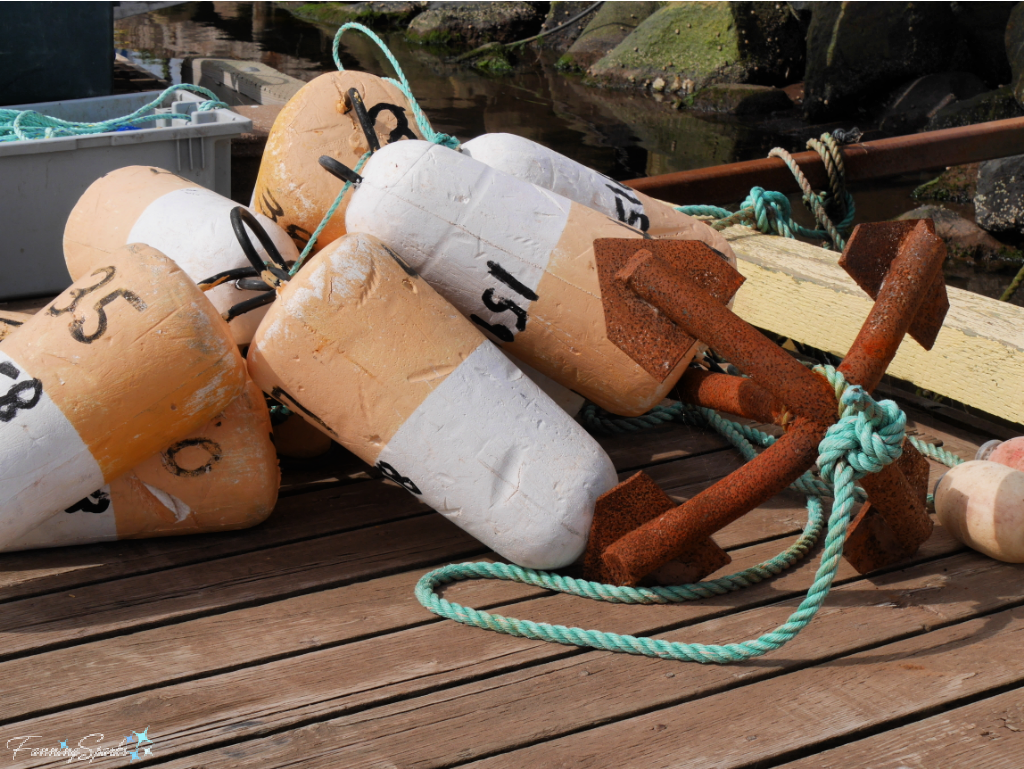
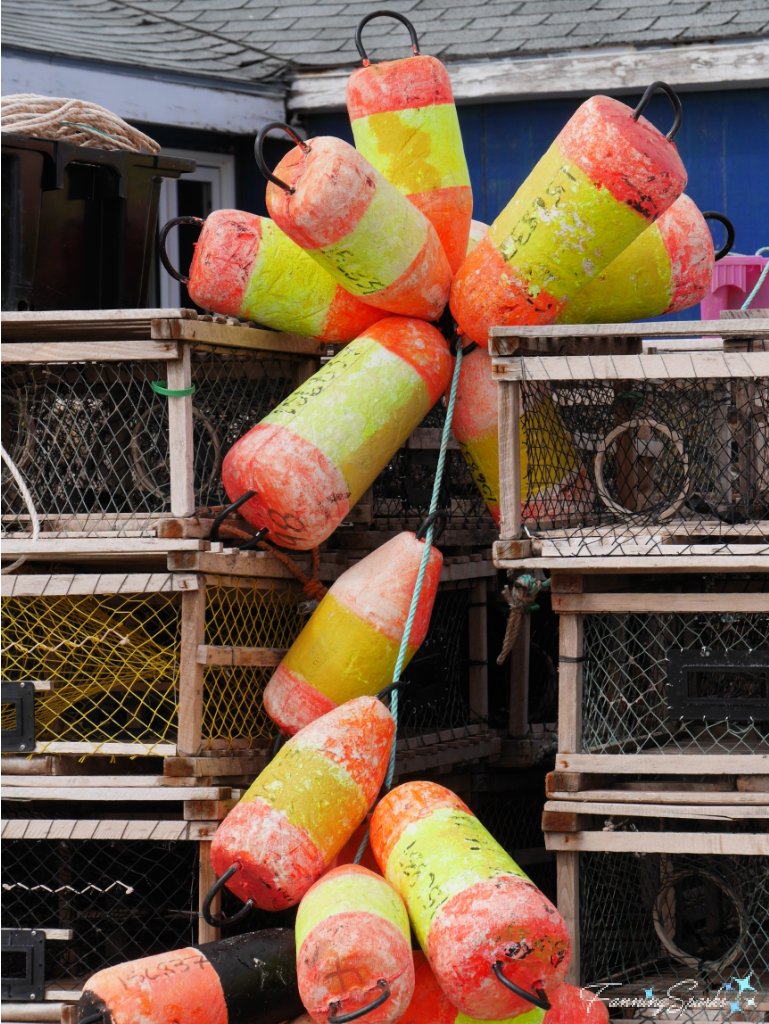
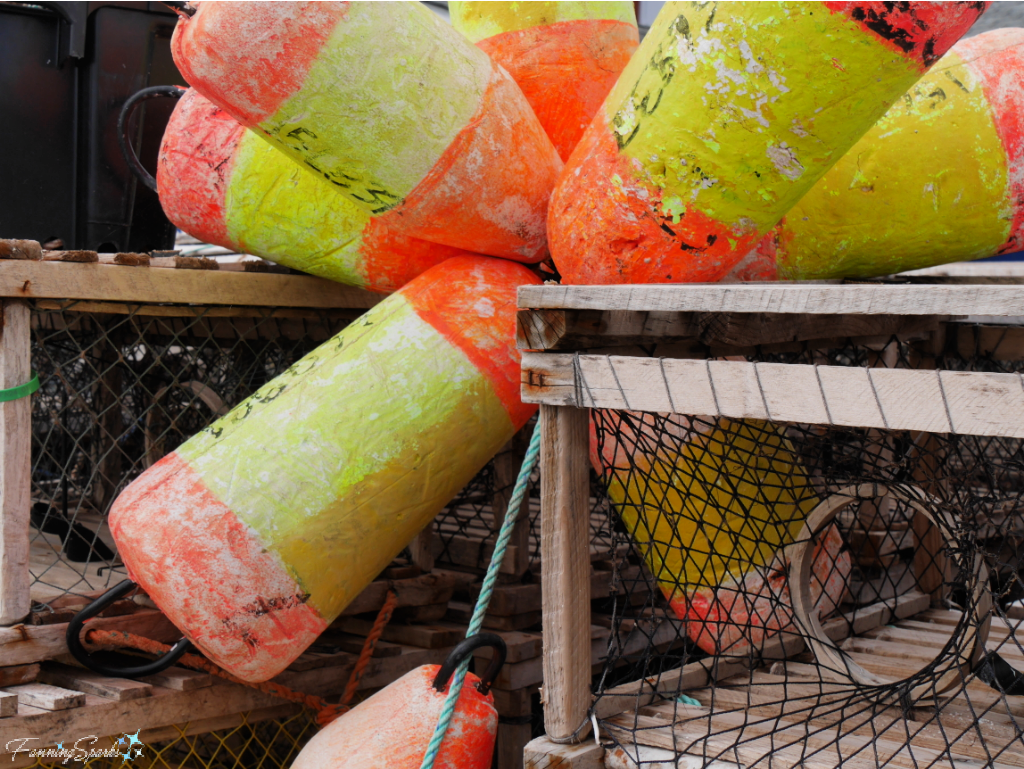
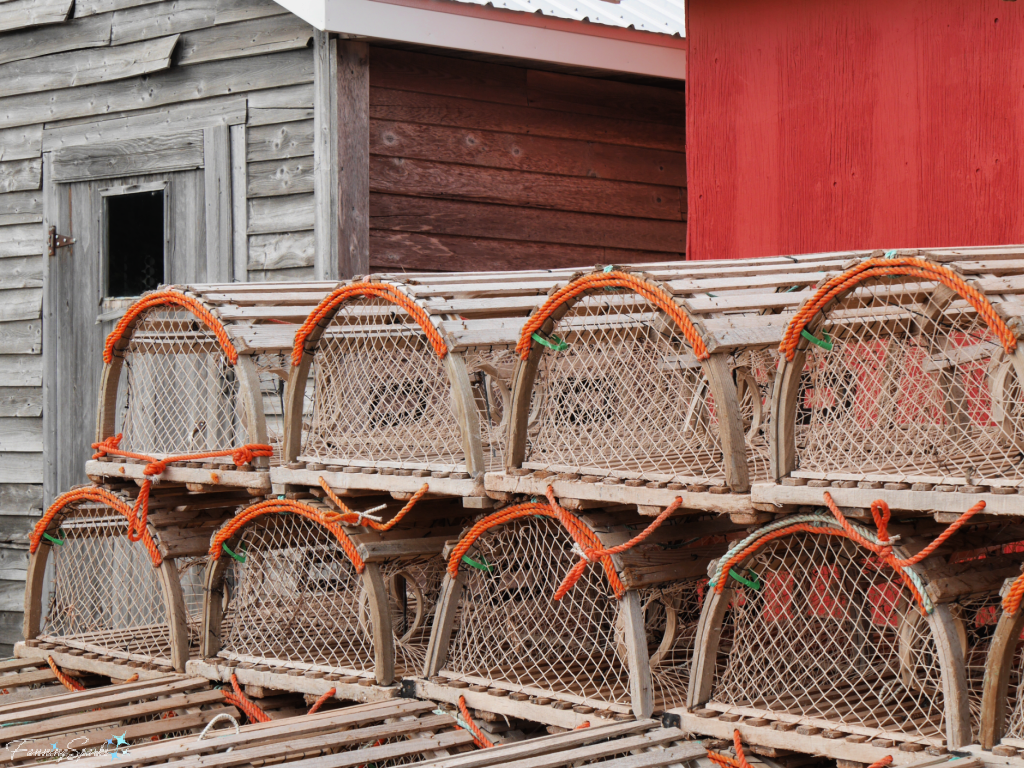
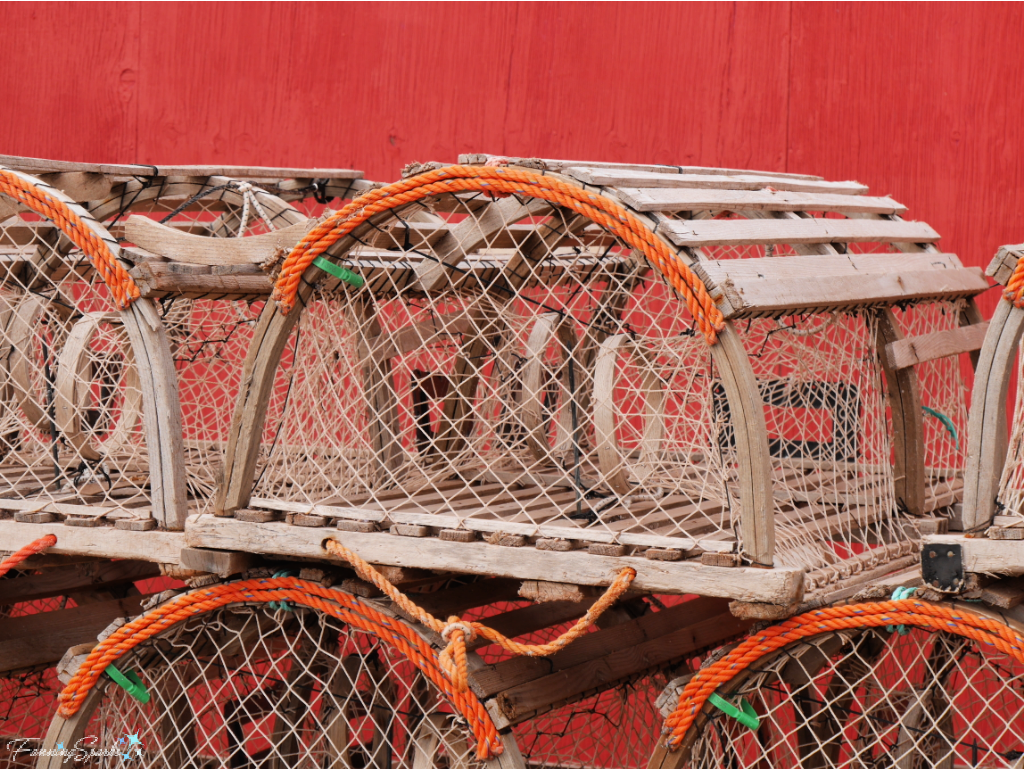
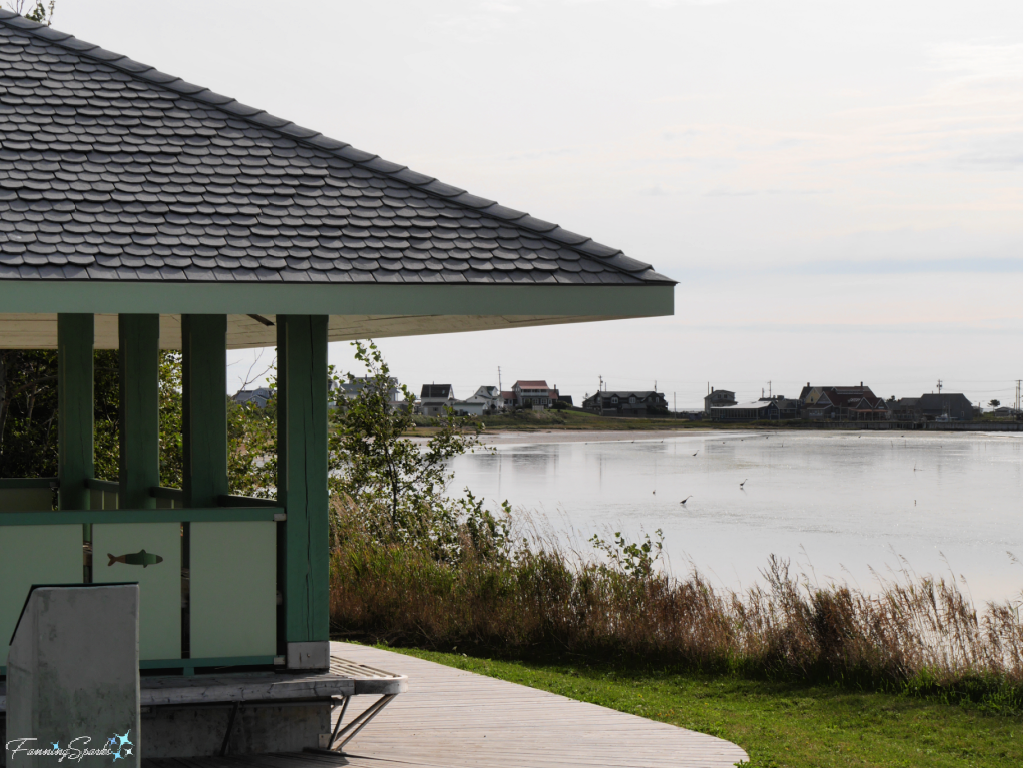
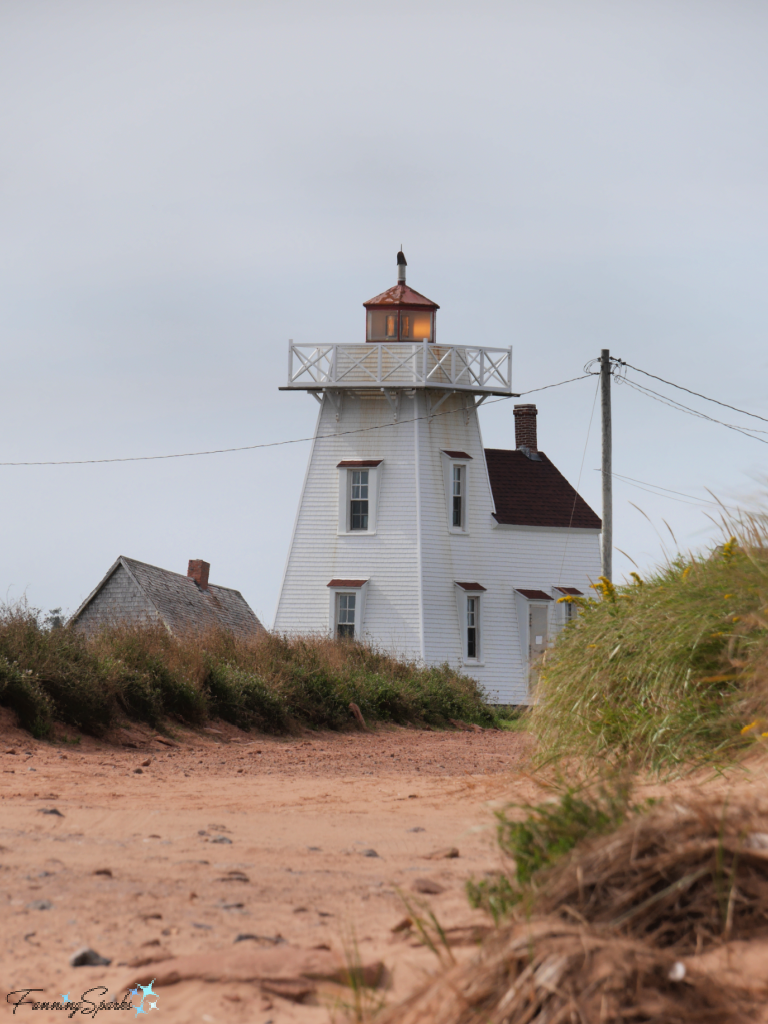
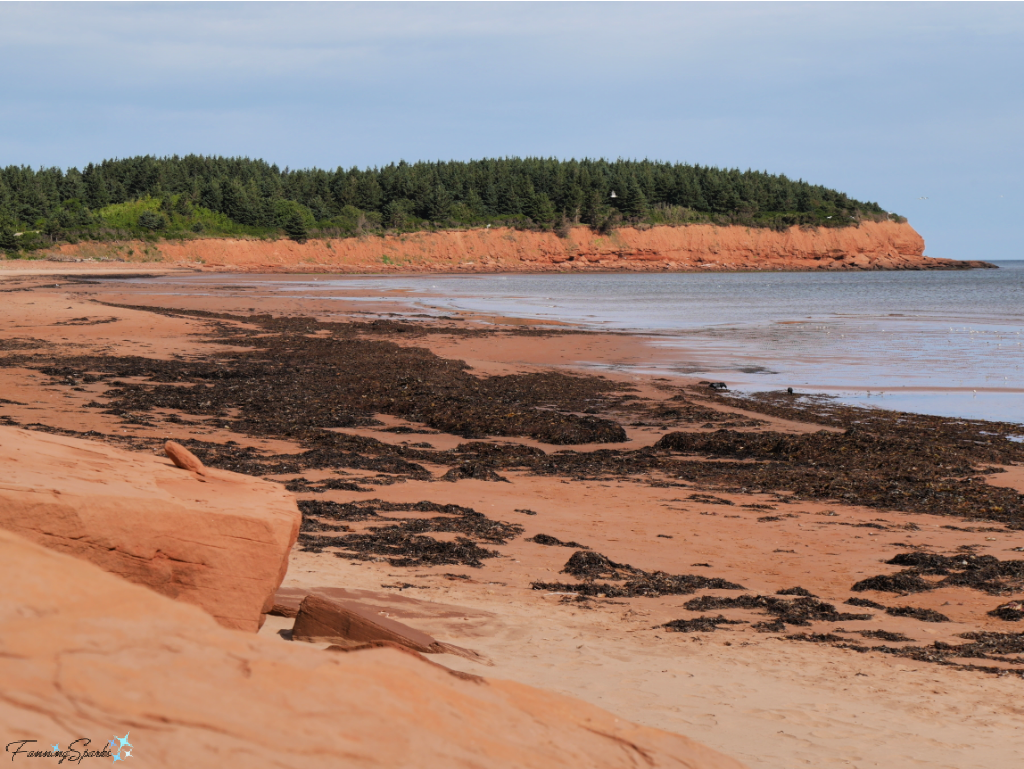 It’s the perfect place to enjoy the antics of the shorebirds as they forage for food along the beach.
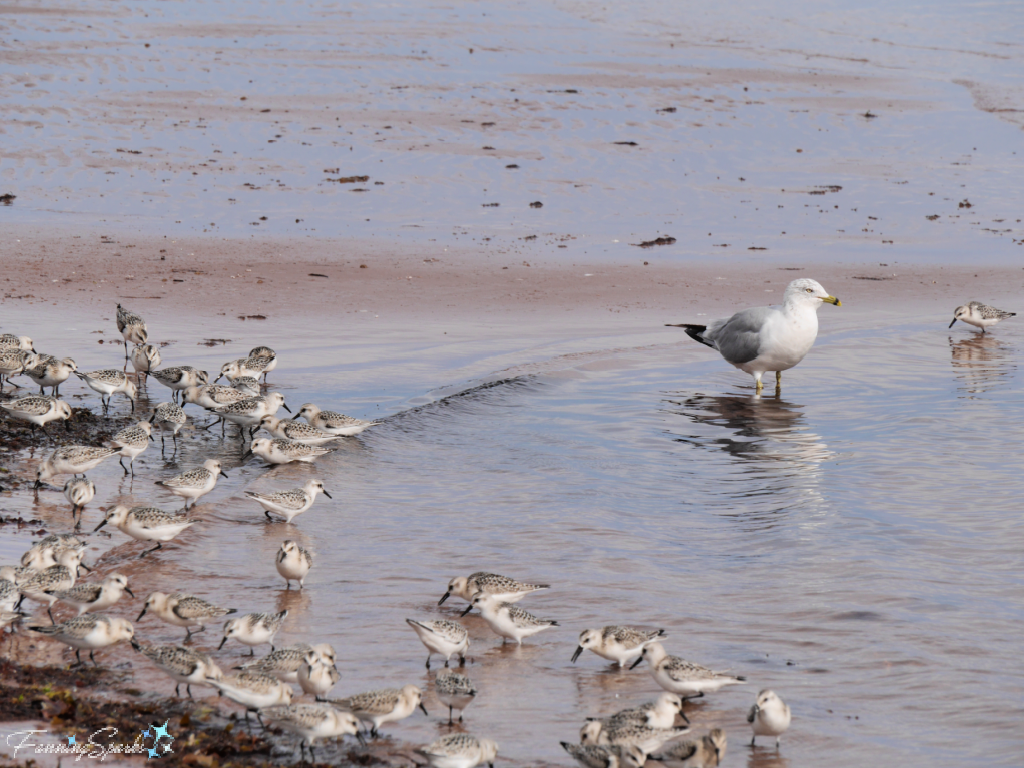
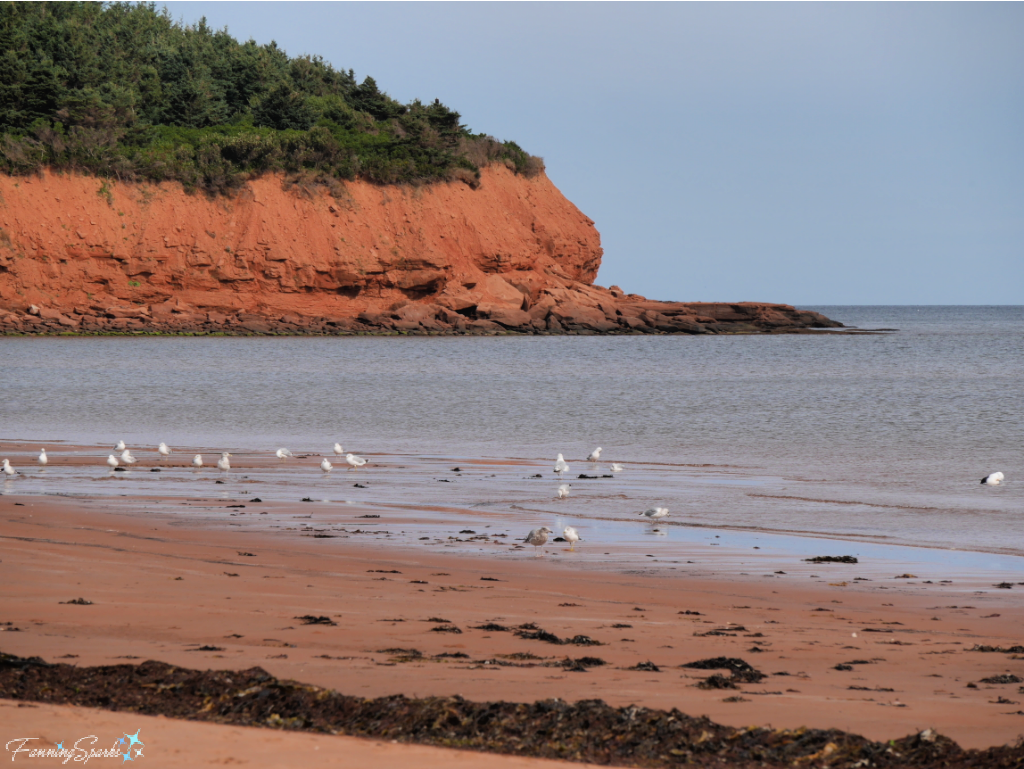 A flock of industrious sandpipers are joined by a Ring-billed Gull (Larus delawarensis) .
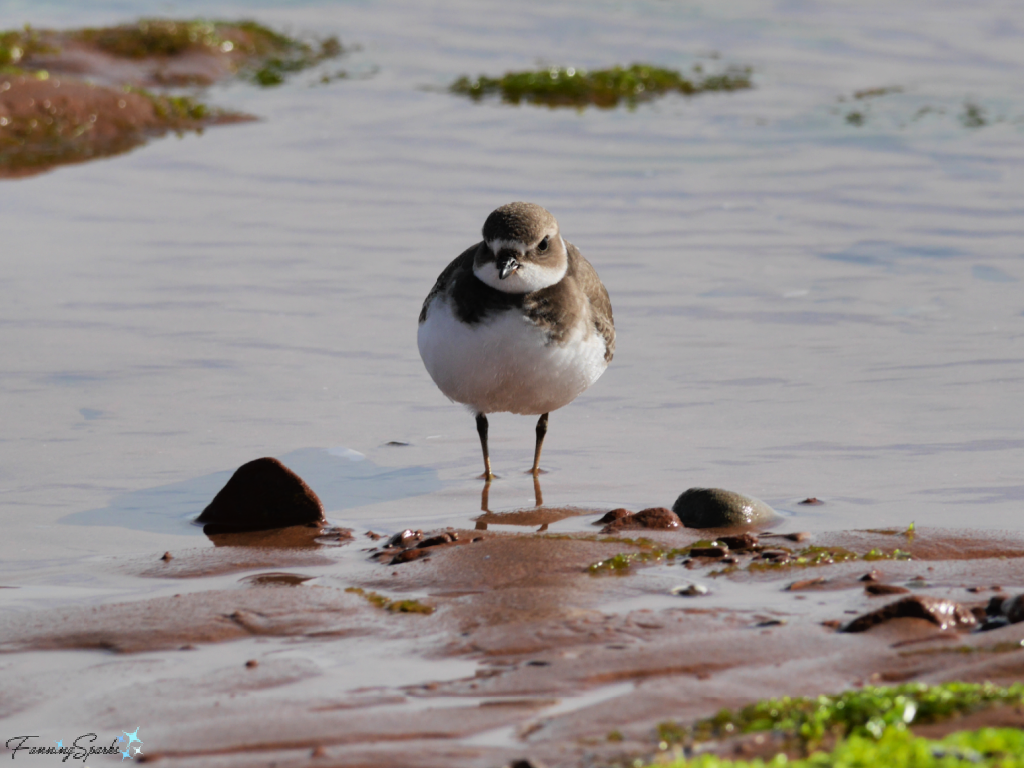
 This cute, chubby bird is a Semipalmated Plover (Charadrius semipalmatus).
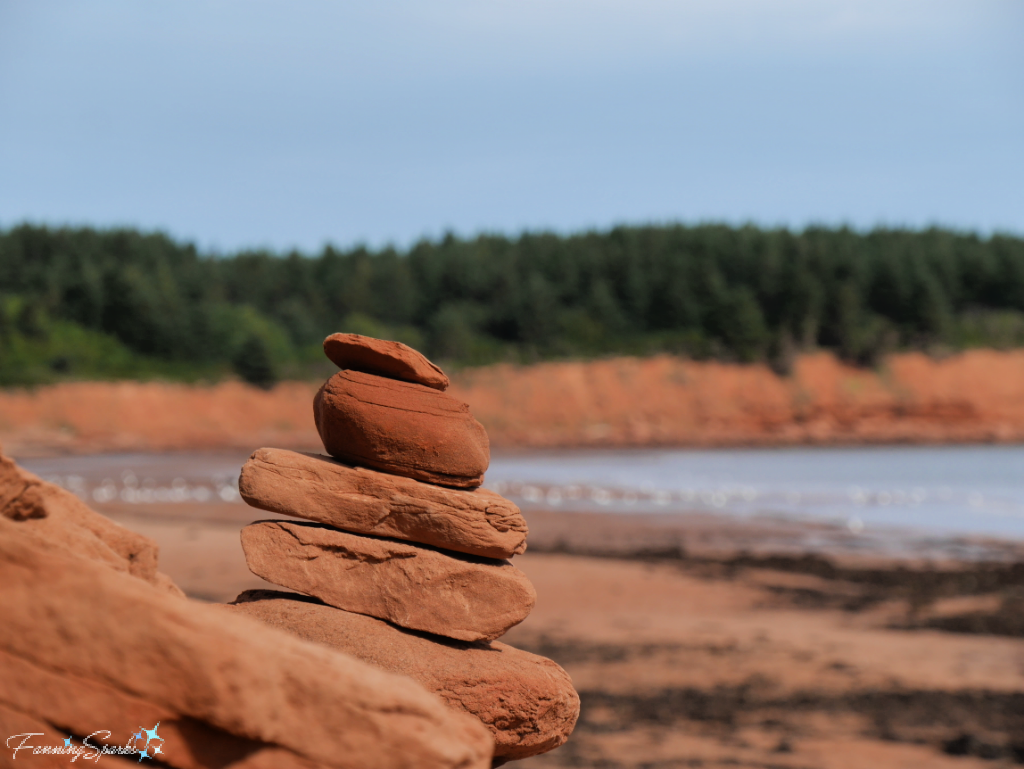
 As if the ample bird population doesn’t provide enough challenging subjects, the abundant Island sandstone is just begging to be stacked into a cairn for a photo.
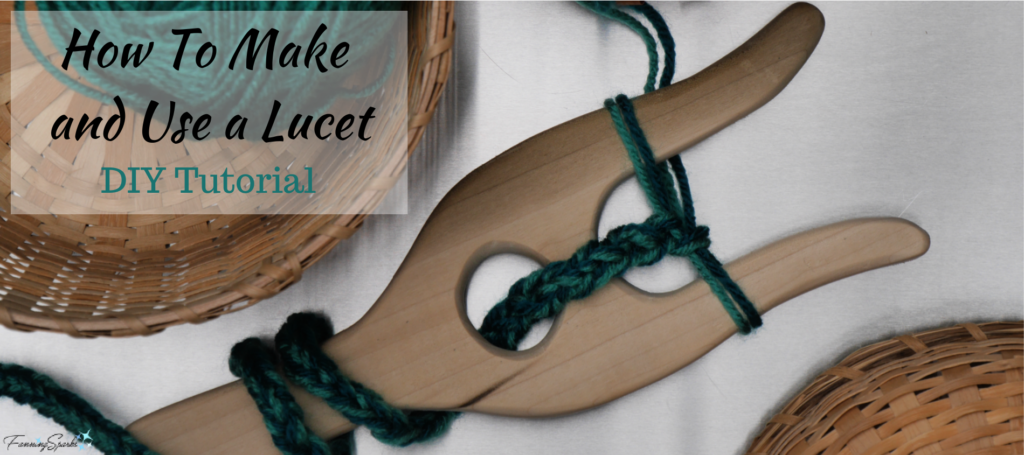
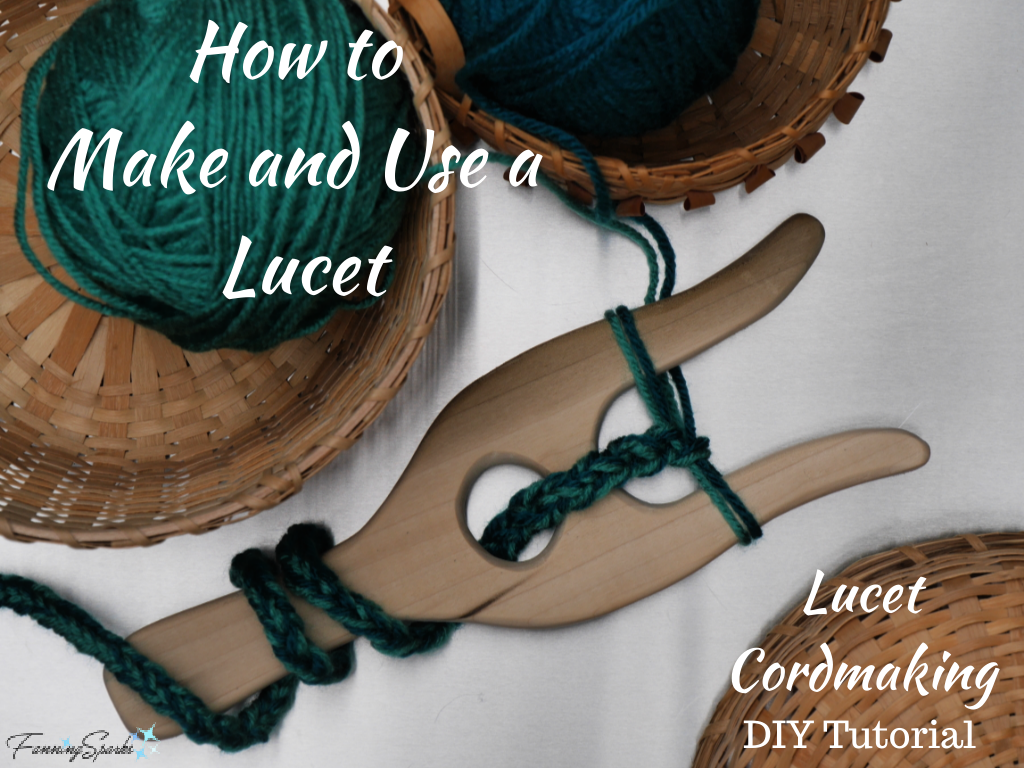
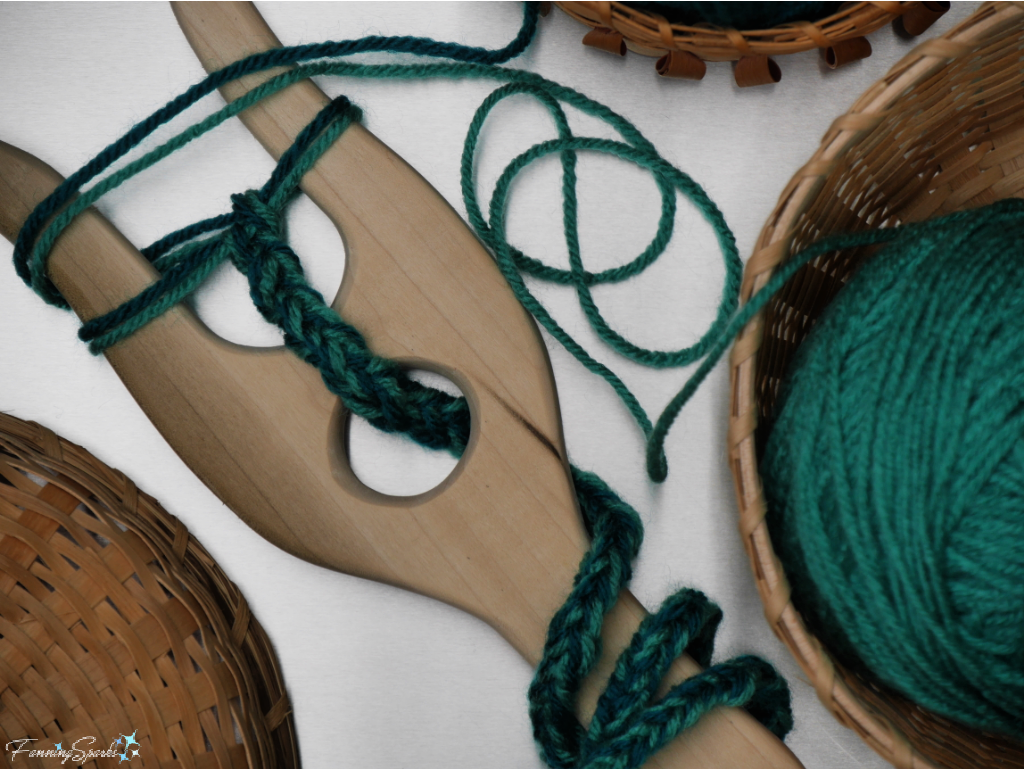 A lucet makes a strong, square woven cord. One advantage of luceted cord is it doesn’t unravel when cut. Another advantage of this method is that it’s not necessary to pre-cut the cording material. If using yarn, for instance, you work directly from the ball of yarn and continue until the desired length is reached.
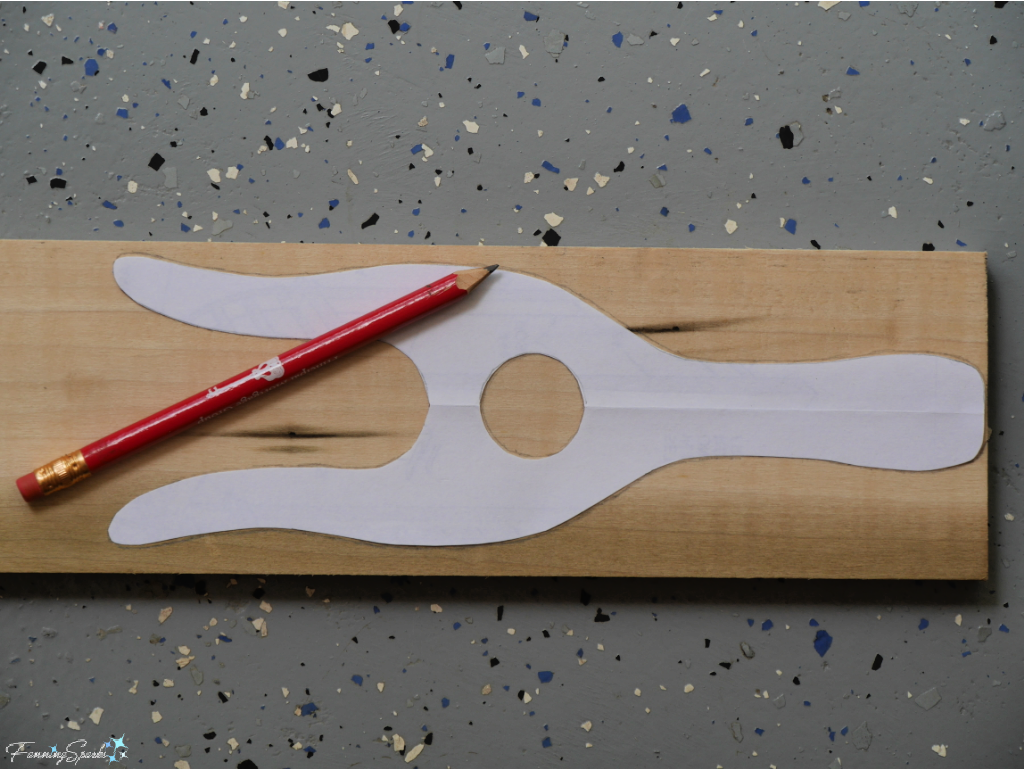 Use jigsaw to cut along marked lines.
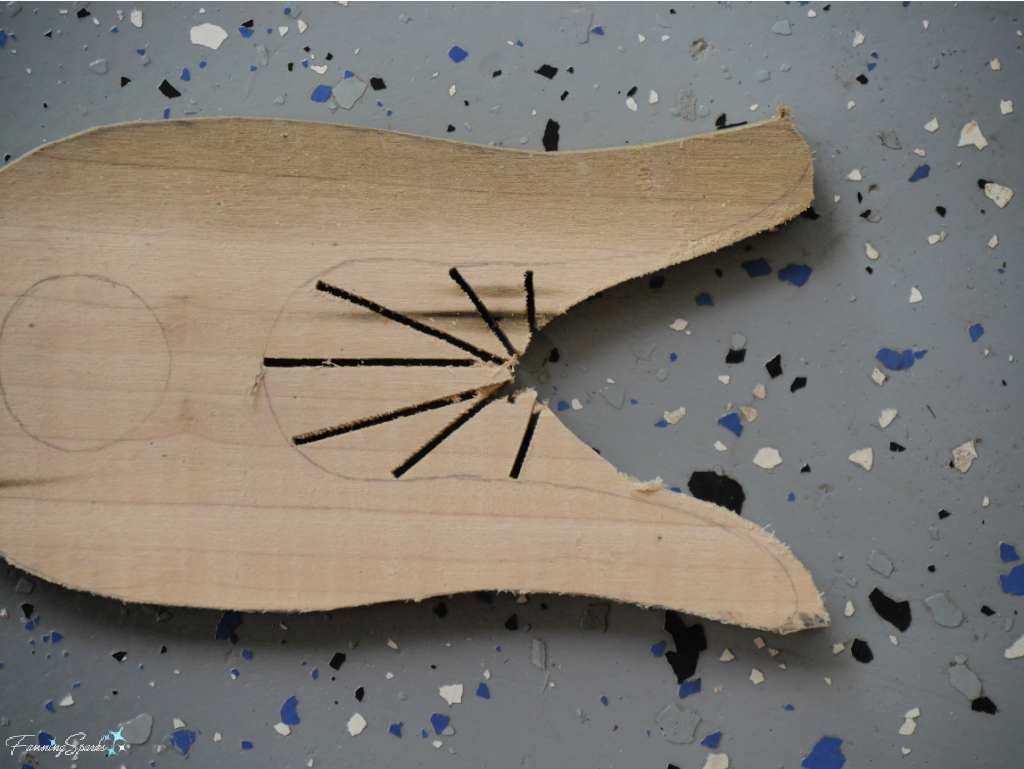 TIP: Use the drill to bore a series of holes in the center hole to make it easier to cut with the jigsaw.
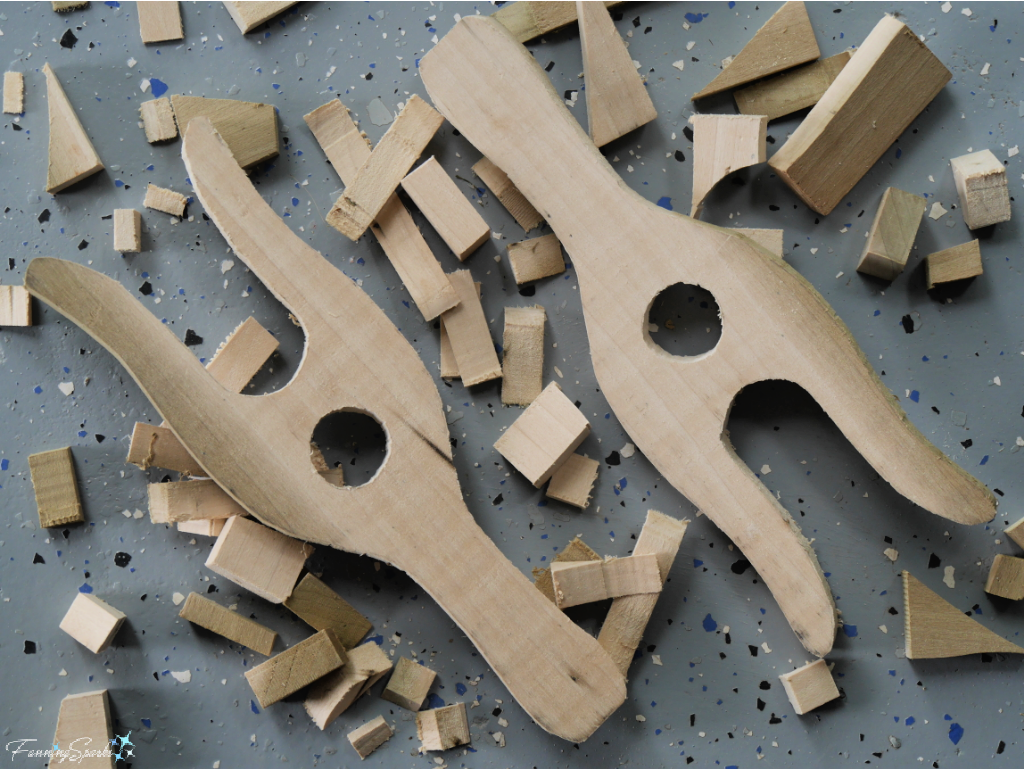
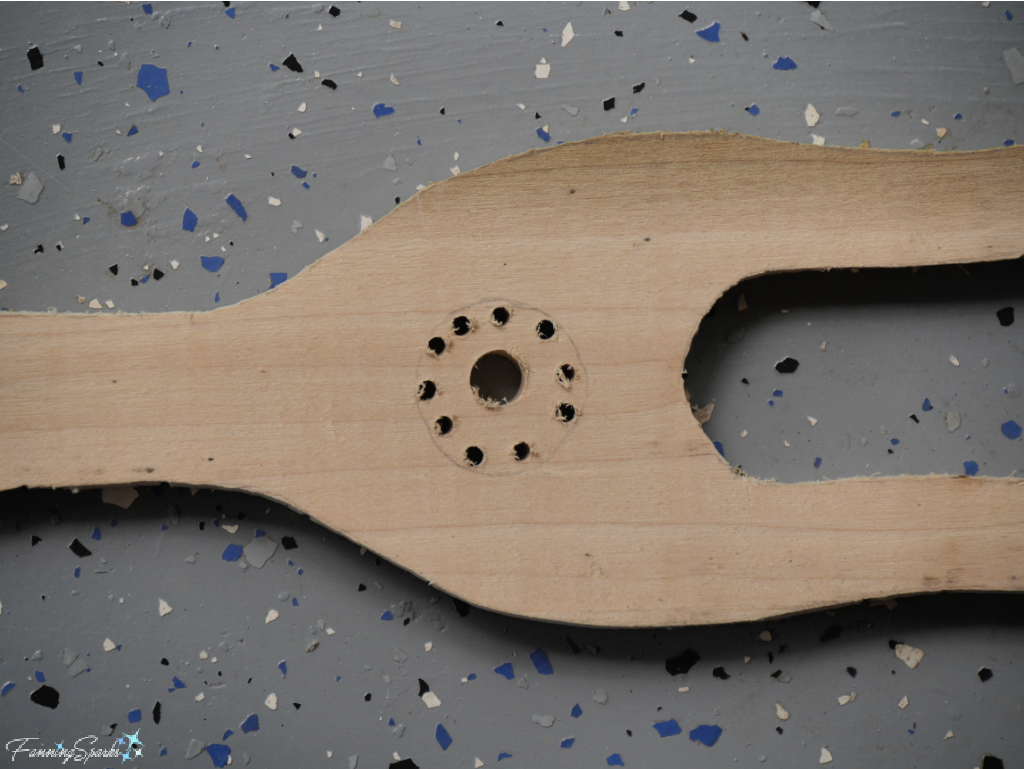 I made two lucets. Here’s how they looked at this stage.
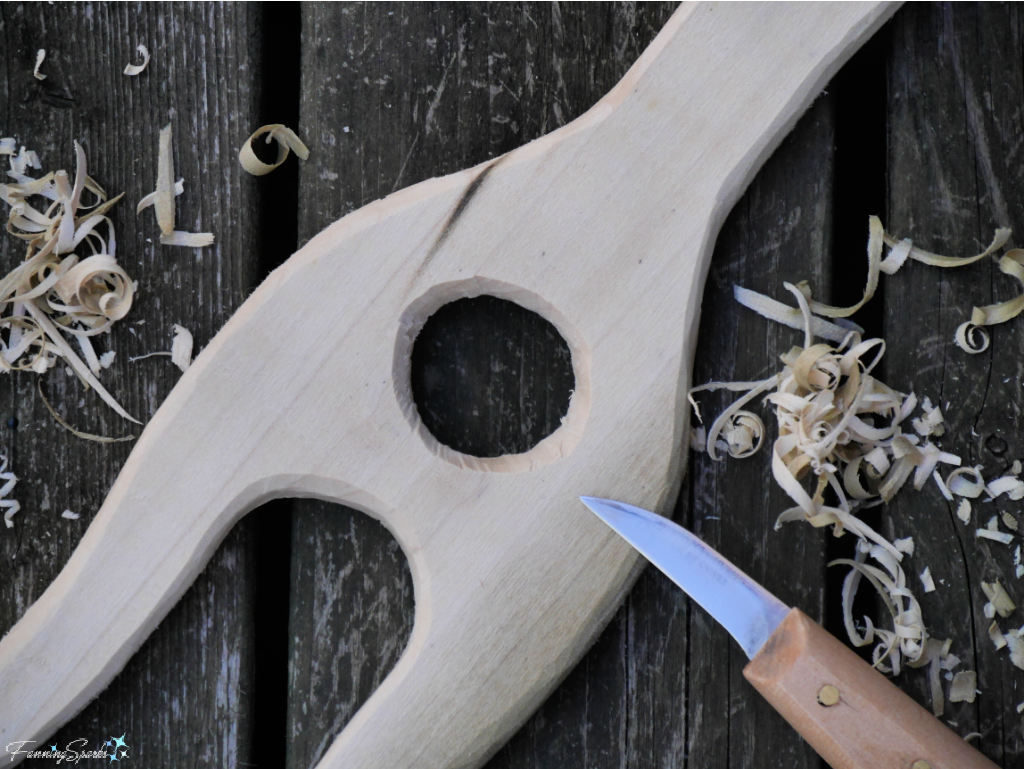
 Step 3 Finish and Sand Use a wood carving knife to round the edges of the lucet.
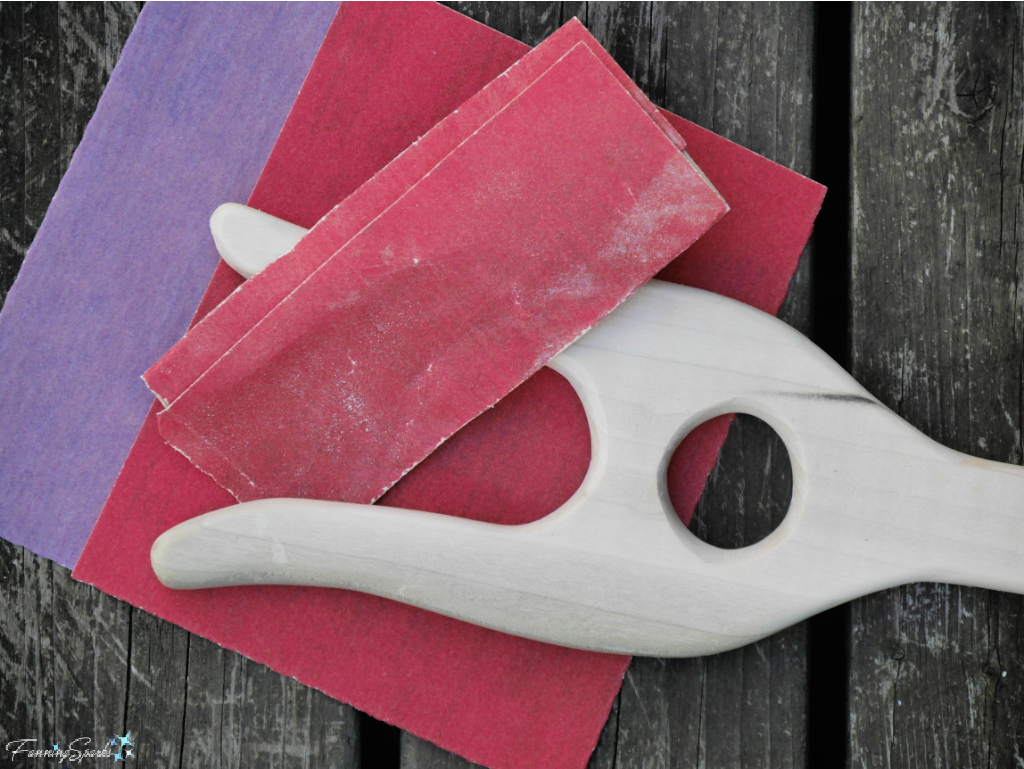
 Sand smooth with fine and extra fine grits sandpaper. This is an important step since any roughness, especially along the prongs, can snag your cording material.
 Instructions to Use Lucet
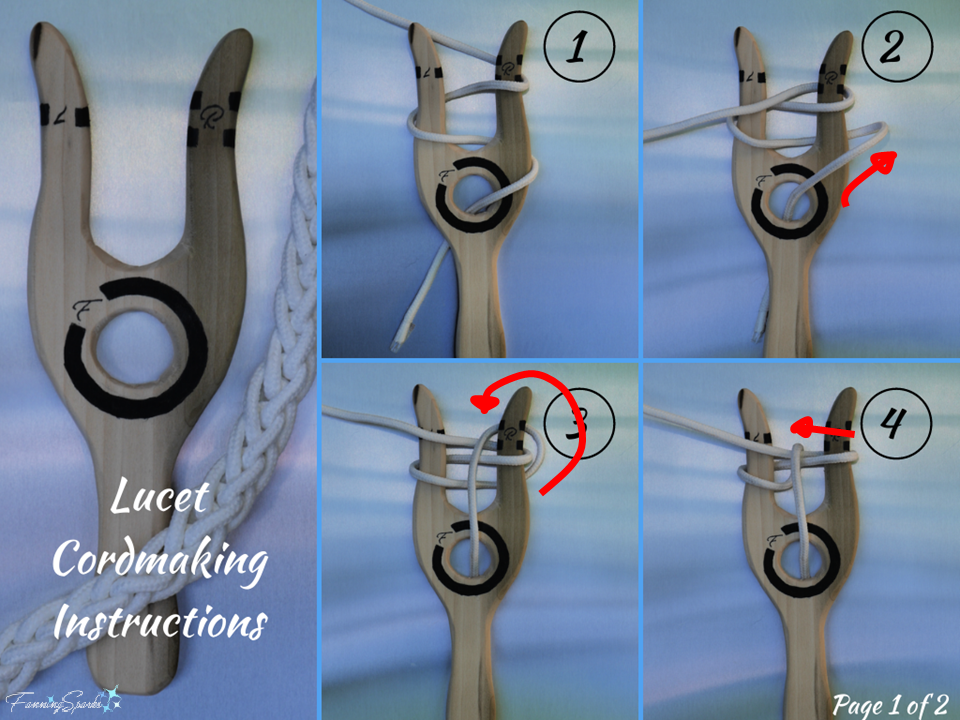
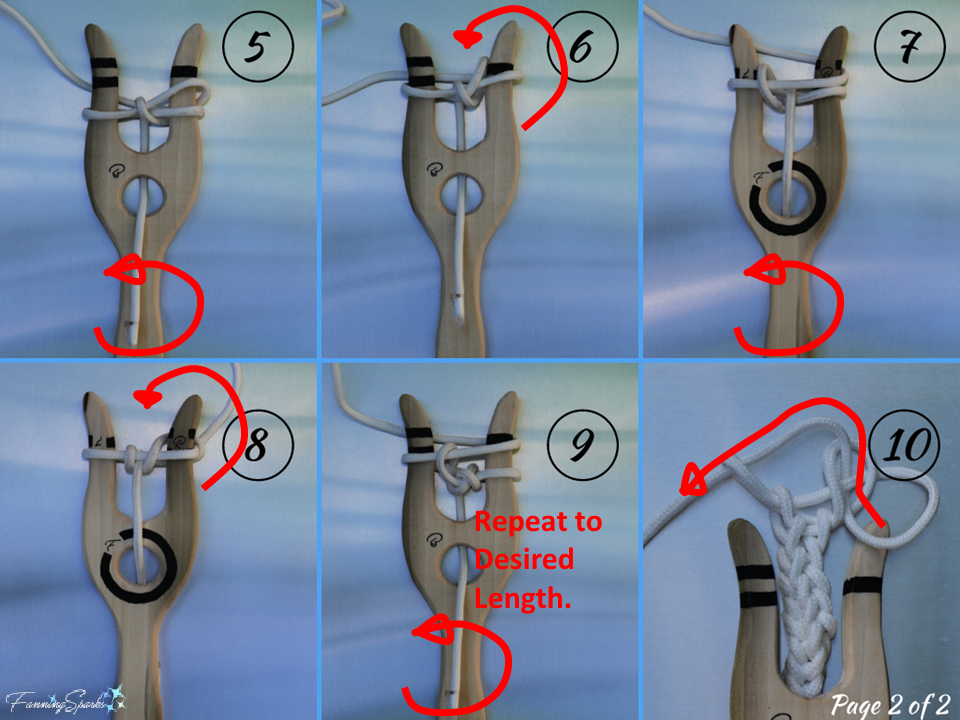
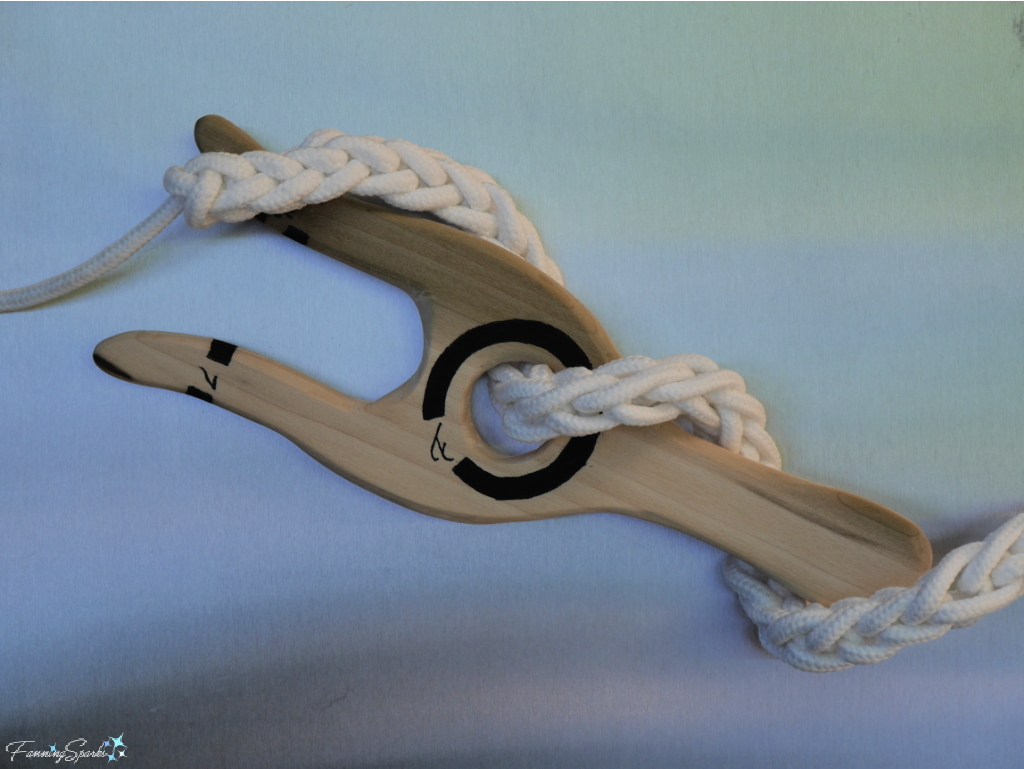 I used rope for this demonstration but you can use string, yarn, twine or other fiber strands. Results will vary from individual to individual and from one material to another but 1 foot of ¼” rope gave me 1 inch of luceted cord. Plan for approximately 1’ to 1”.
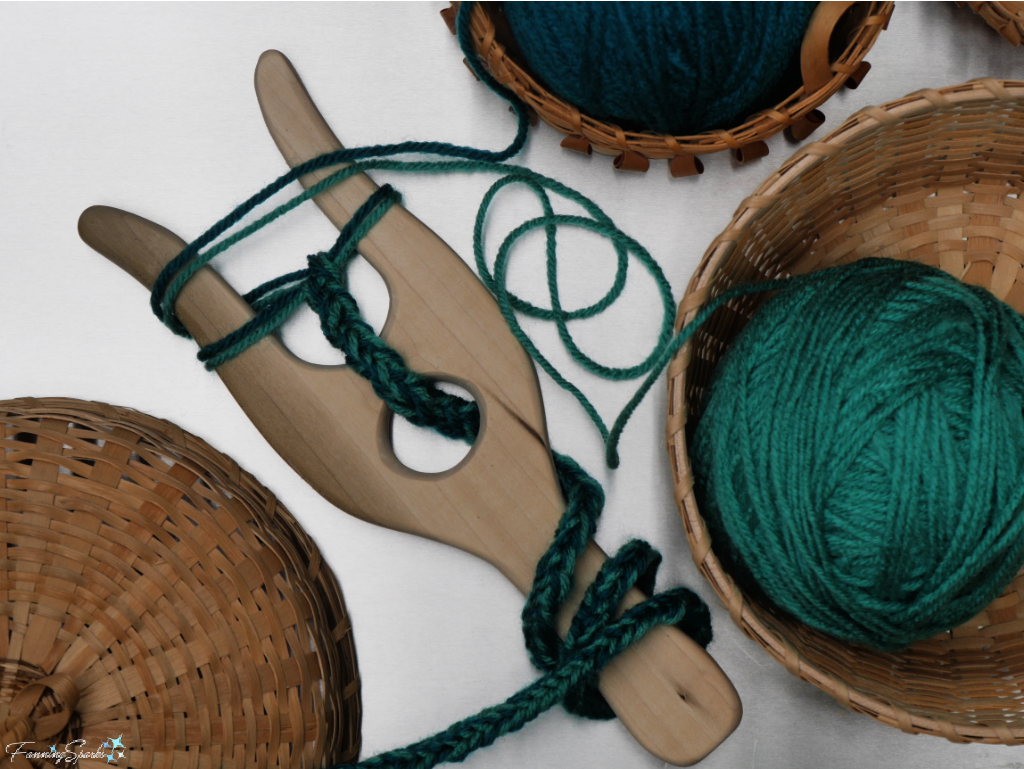
 Once you get the hang of it, cordmaking goes surprisingly fast. I’ve been experimenting with different materials and tweaking my technique. Using a double strand of yarn, in two different colors, makes an interesting cord. And, of course, there’s the follow-on question of how to use all this lovely cord. But that’s a topic for another day!
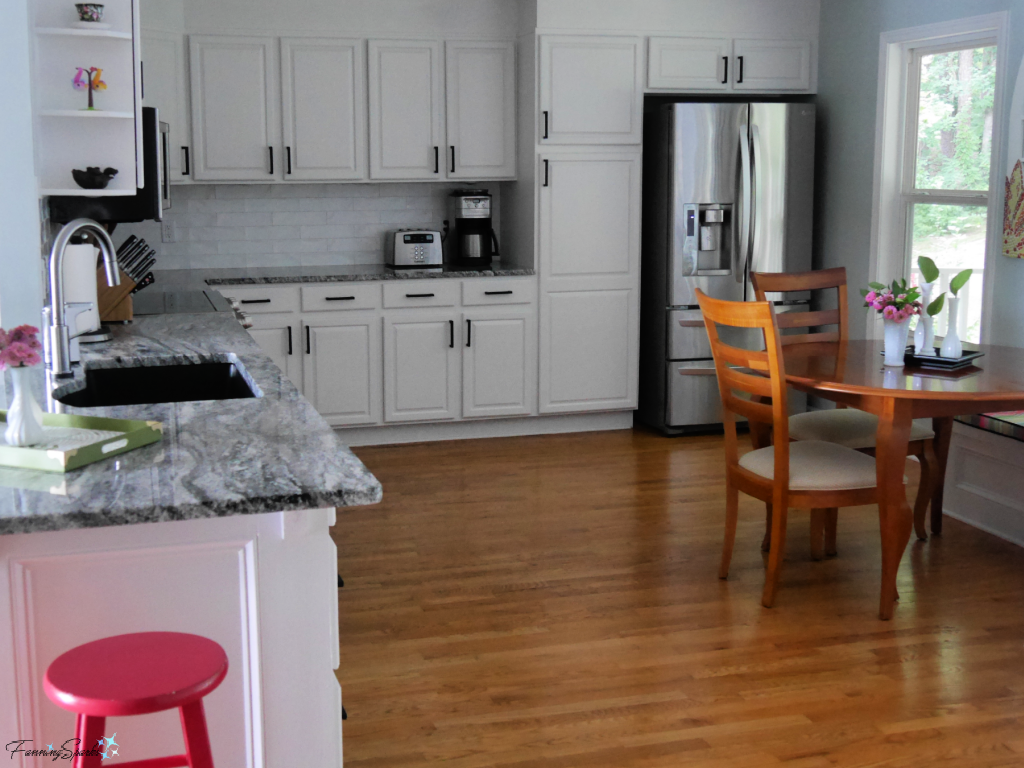
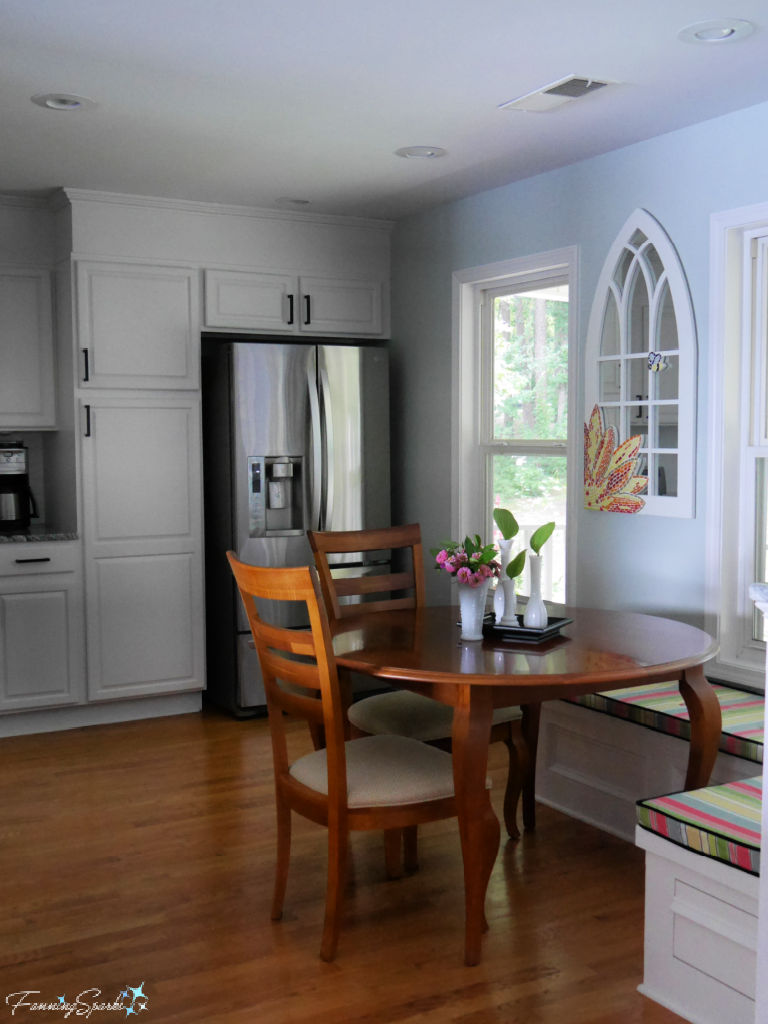
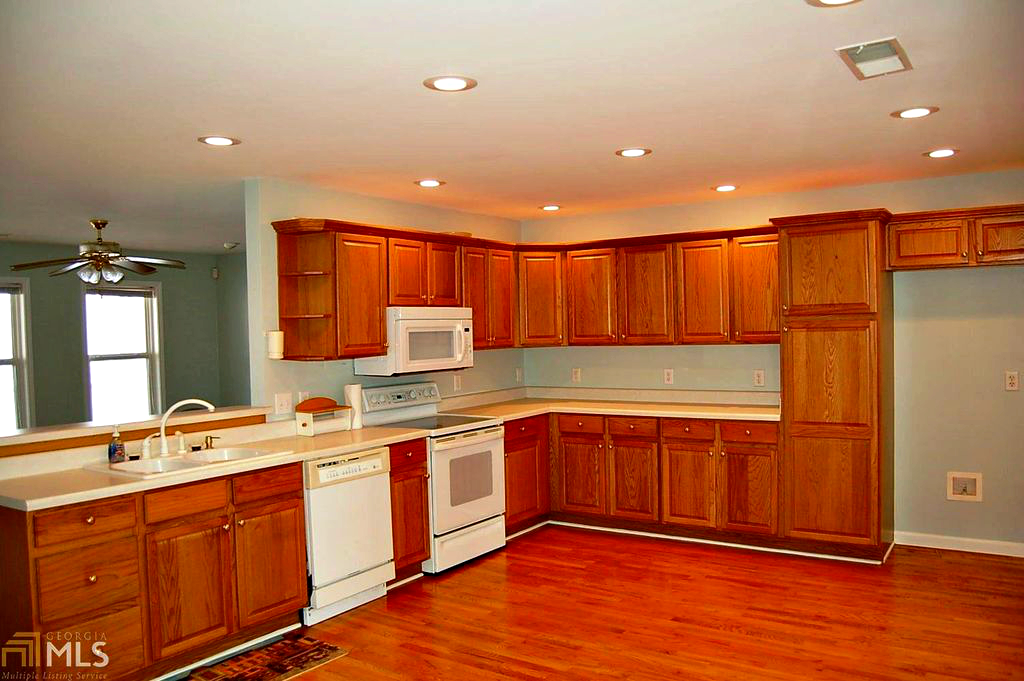 The kitchen underwent a significant transformation when we first moved in. We maintained the original layout but made a number of improvements. We kept the original cabinets, extended them to the ceiling, painted them white and replaced the hardware. We reconfigured the countertops and had them replaced with granite. We had new tile backsplash installed. We replaced the appliances, the sink and the faucet. Here’s how the kitchen looked after the renovations.
 We also had a new pony wall and banquette constructed to separate the front entry and create an eat-in area. I shared the details of this change in the post
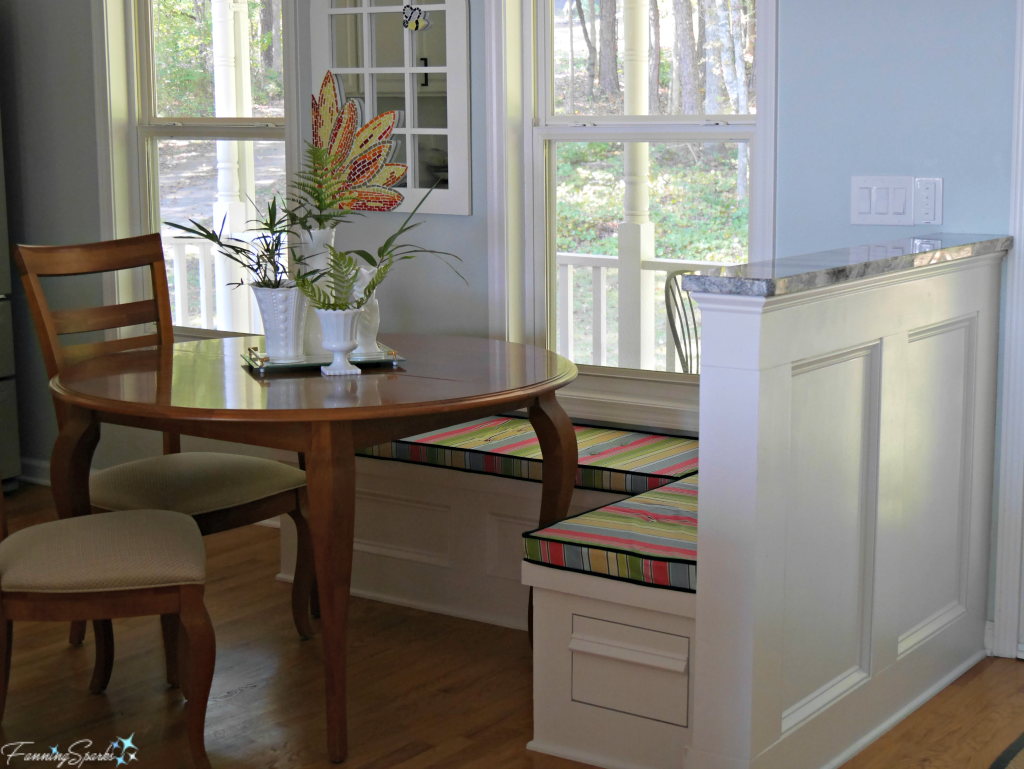 One thing we didn’t change was the lighting. We simply ran out of steam and decided to delay new light fixtures. A series of recessed can lights were the only source of lighting in this area. They provided acceptable task lighting but did nothing for ambient, accent or decorative lighting.
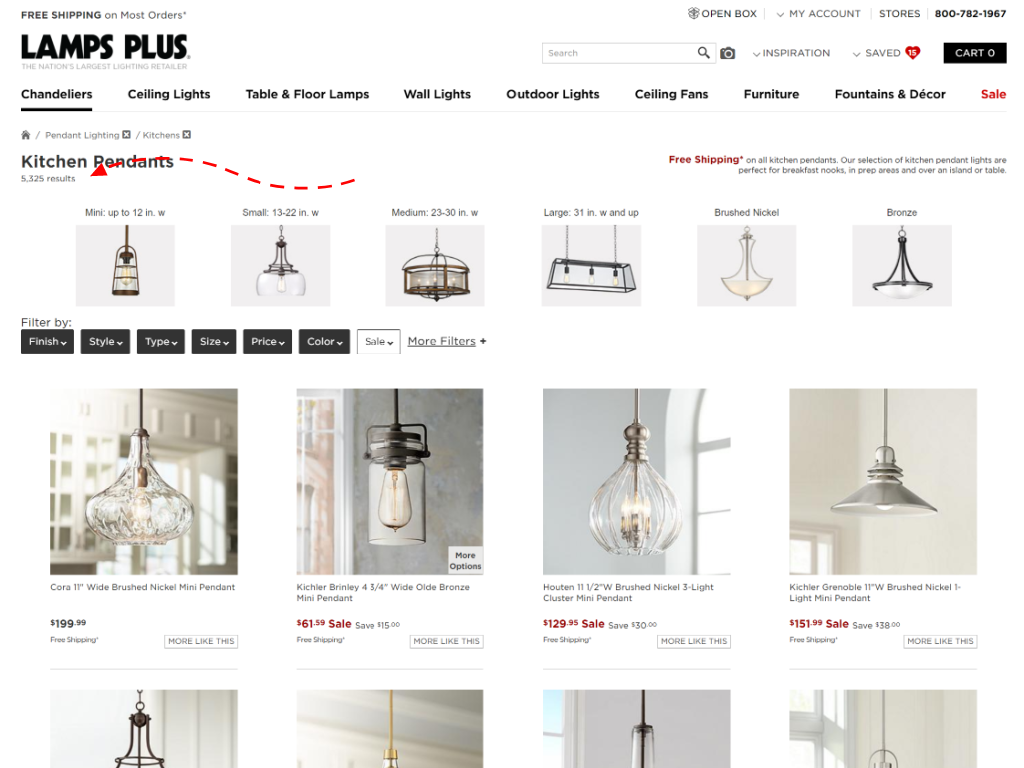 Selecting light fixtures online can be challenging. The first step is to narrow down the choices. The above screenshot shows 5,325 results for kitchen pendants… over 5,000 options! The search filters allowed me to narrow down the options by Finish, Style, Size, Price, and so on. The Save Option allowed me to “heart” the fixtures I liked and add them to a wishlist. These are, of course, fairly standard features for an online shopping site. But the shopping aid that is noteworthy and made my search much more manageable is the View In Your Room feature.
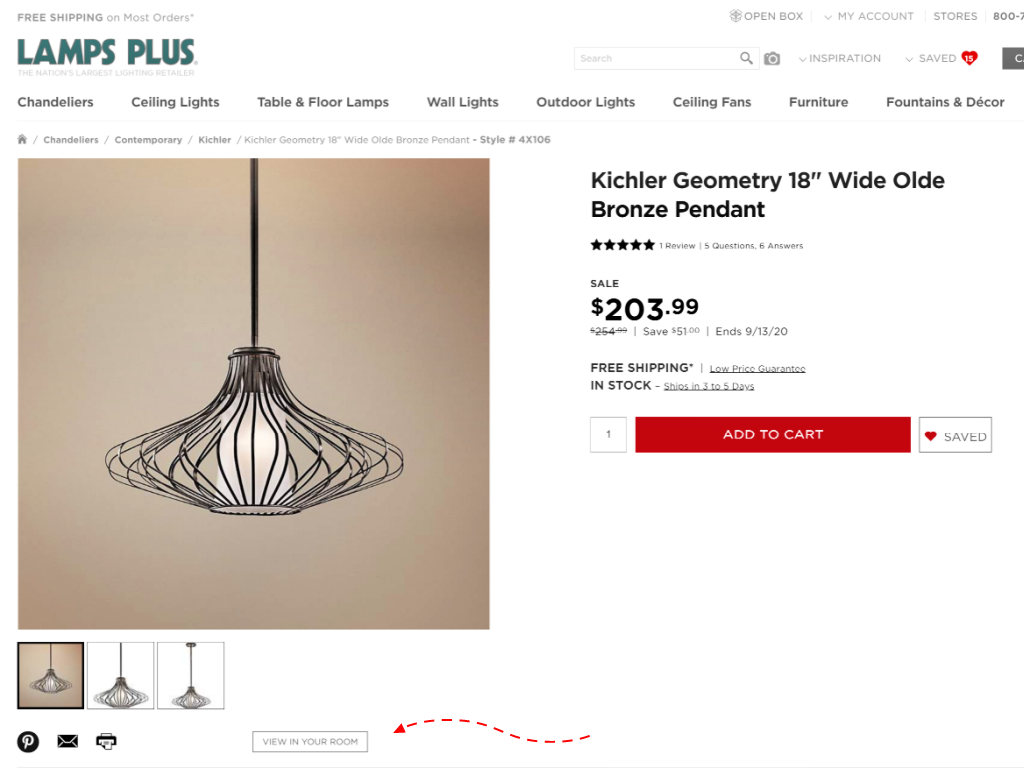
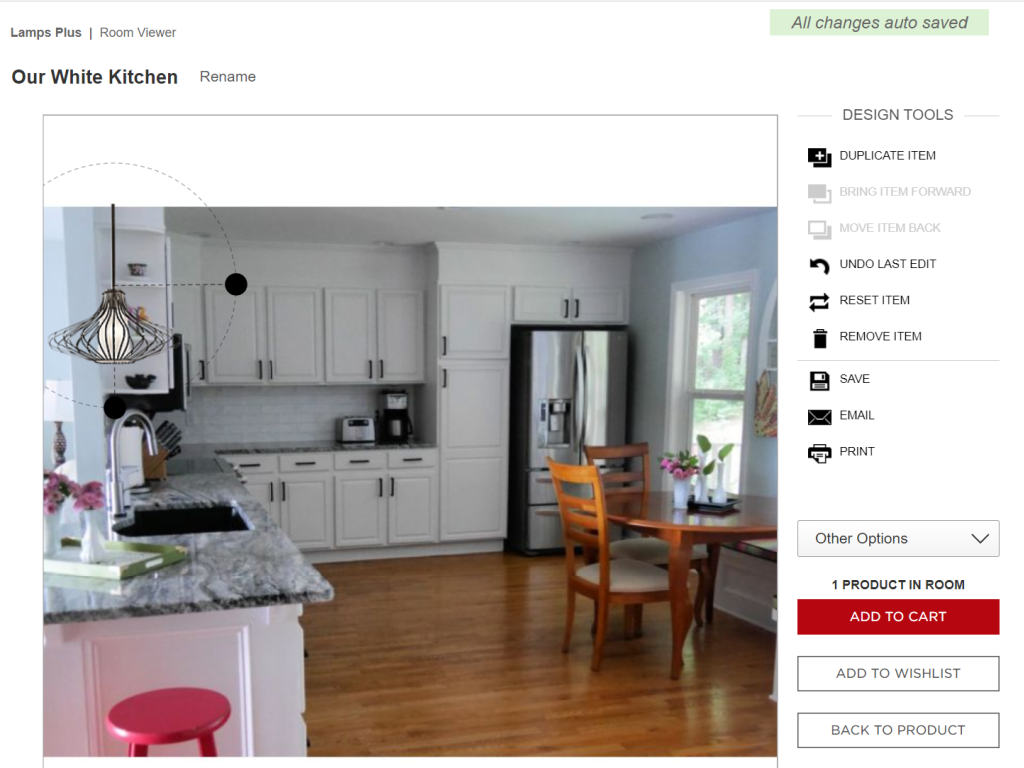 One thing to keep in mind when using the LampsPlus Room Viewer feature is scale. You can easily resize the fixture to make it look good in the Room Viewer photo but, obviously, the actual fixture is a specific size. It’s difficult to determine how big or small the light fixture will be in the actual space. That’s when I switched my selection process from online to hands-on.
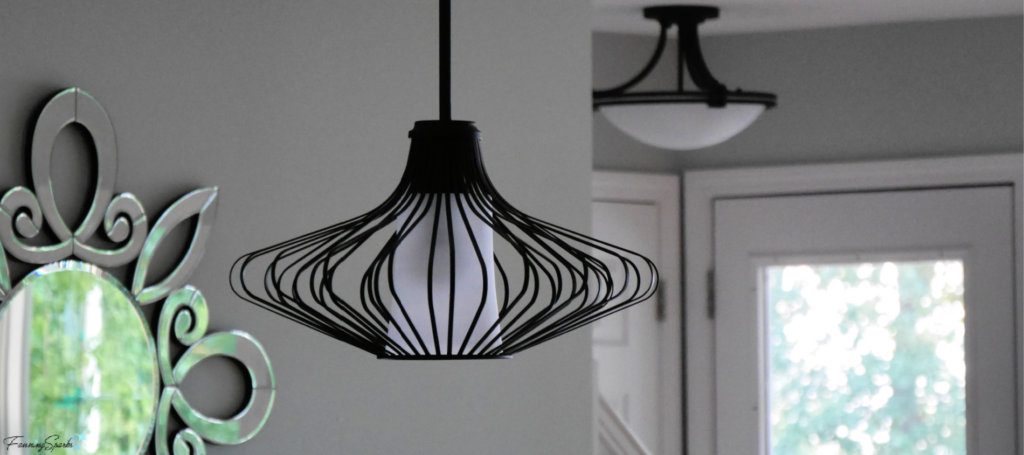
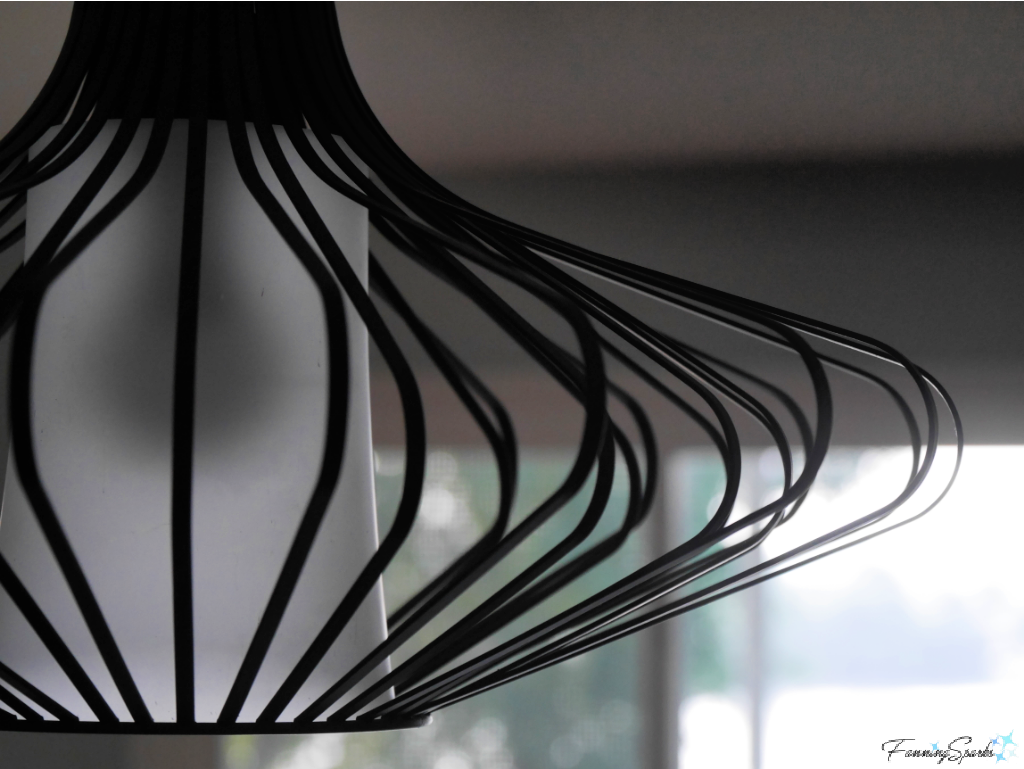
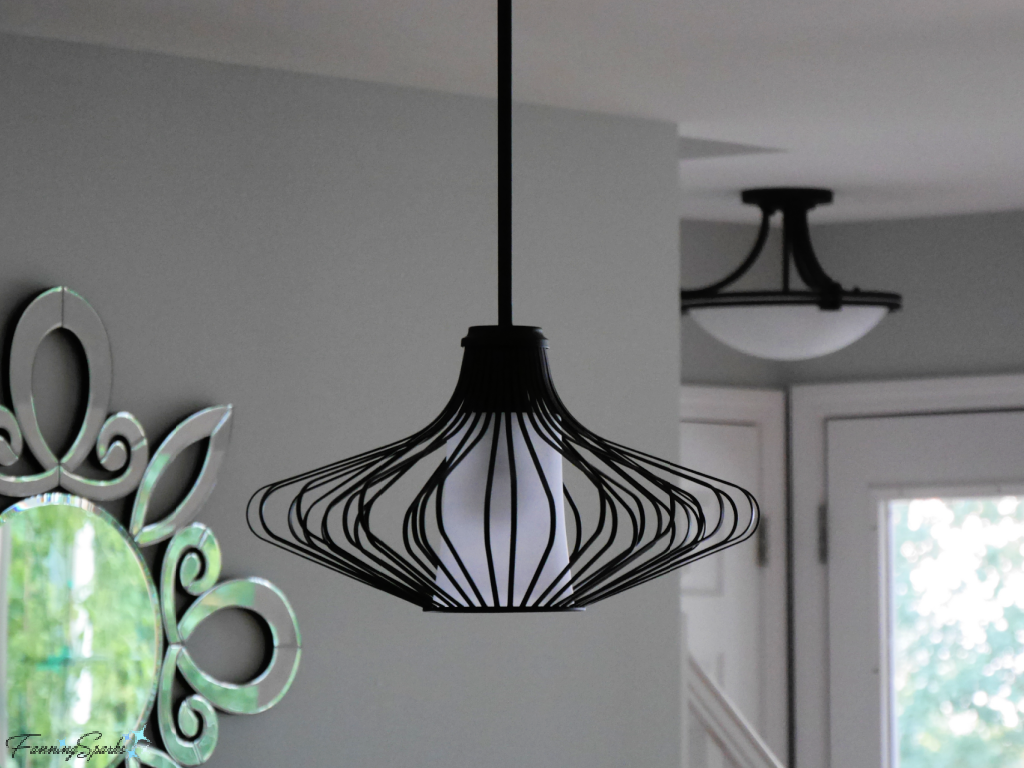
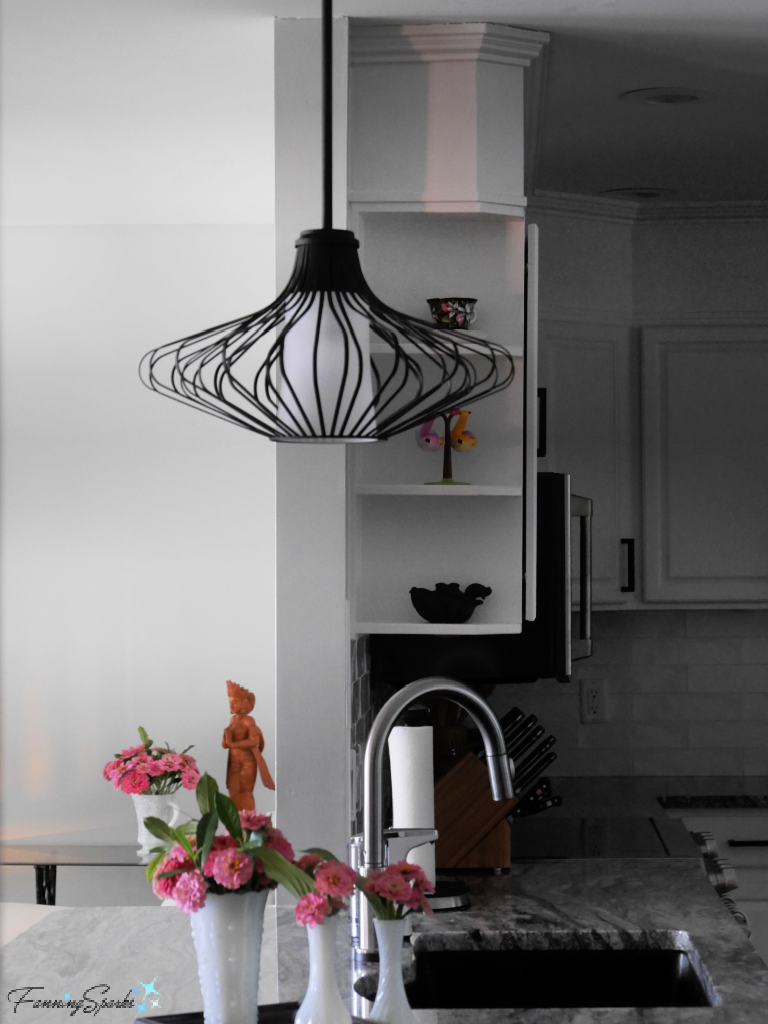 In my opinion, it adds great visual interest without taking over the space. The generously-sized, open black metal frame creates a light, sculptural effect. This pendant light is the Kichler Geometry 18” wide in old bronze.
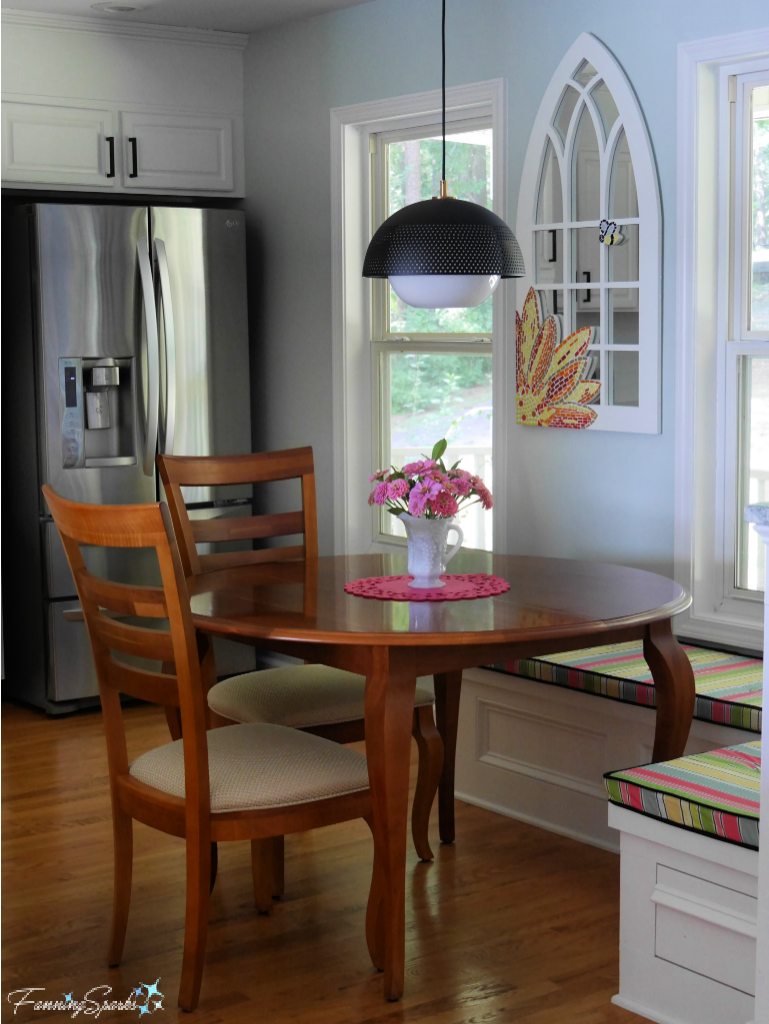
 We kept things cohesive by choosing light fixtures in a combination of black metal and white glass but mixed it up with different forms, sizes and details. Here’s the new pendant light over the dining table.
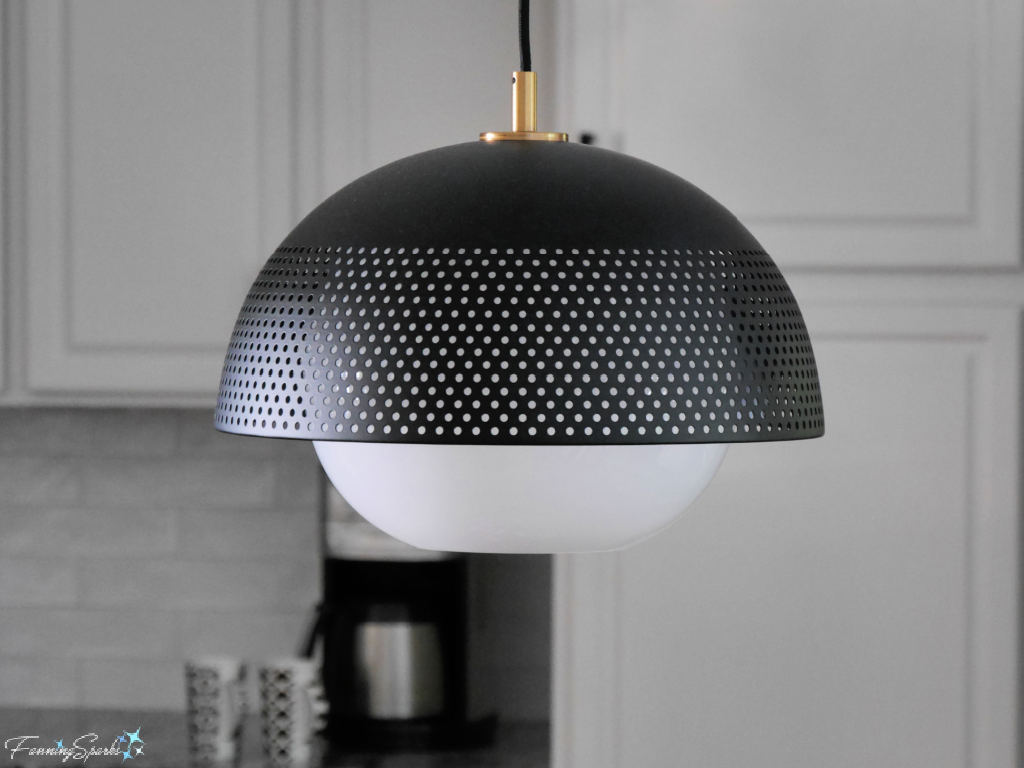 Having selected a new close-to-ceiling fixture for the front entryway, we decided to install the same fixture in the other entryway. This photo shows that fixture along with the pendant over the counter. The close-to-ceiling fixture is the Possini Euro Deco 16” wide in bronze.
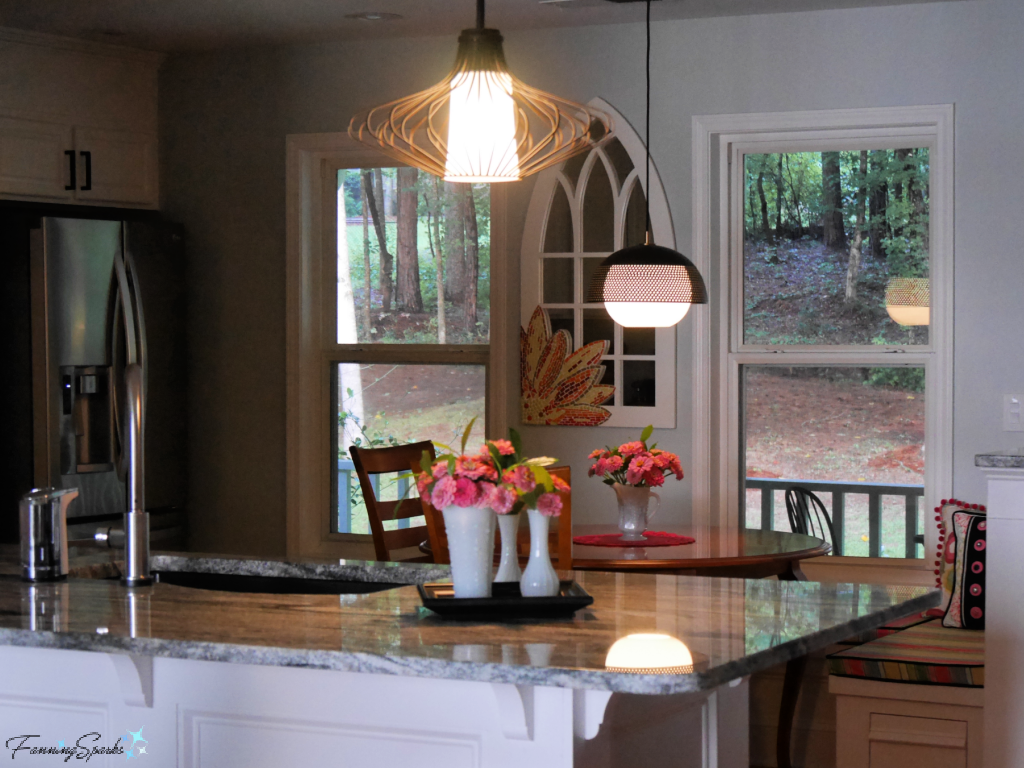
 Of course, lights have to be turned on to get the full effect. We had dimmer switches installed on the pendant lights which allows them to serve as task lighting when set to high and ambient lighting when set to low. Here are the over counter and dining table pendant lights.
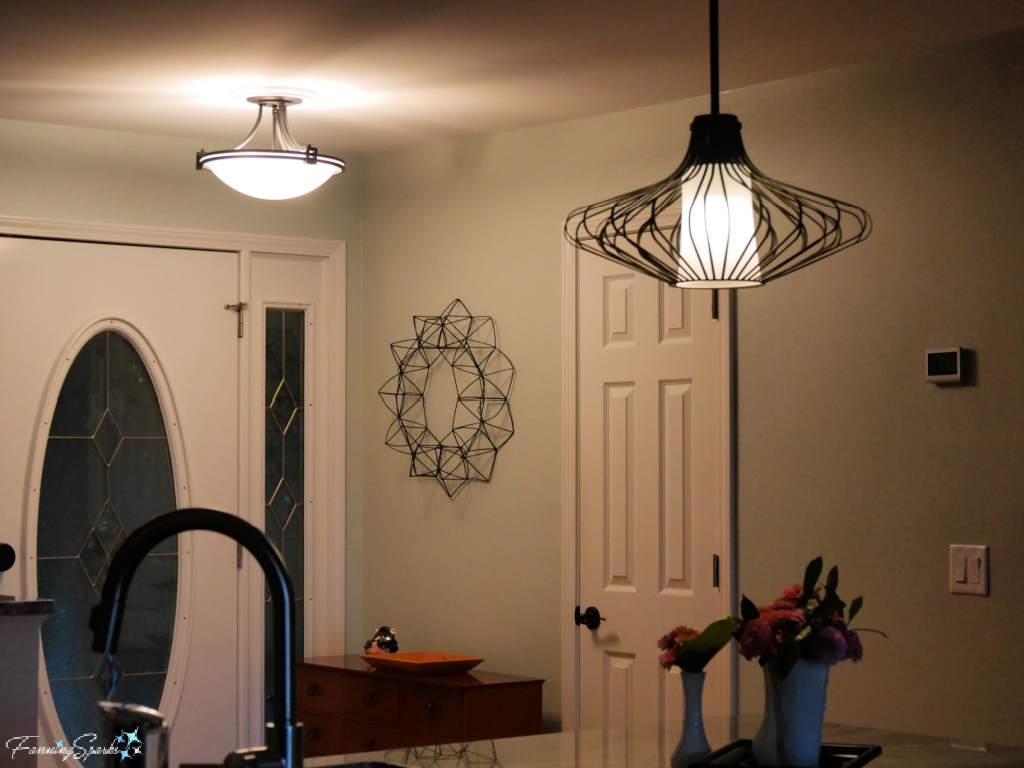
 In this next photo, the over counter pendant light fixture and the entryway close-to-ceiling fixture are shown.
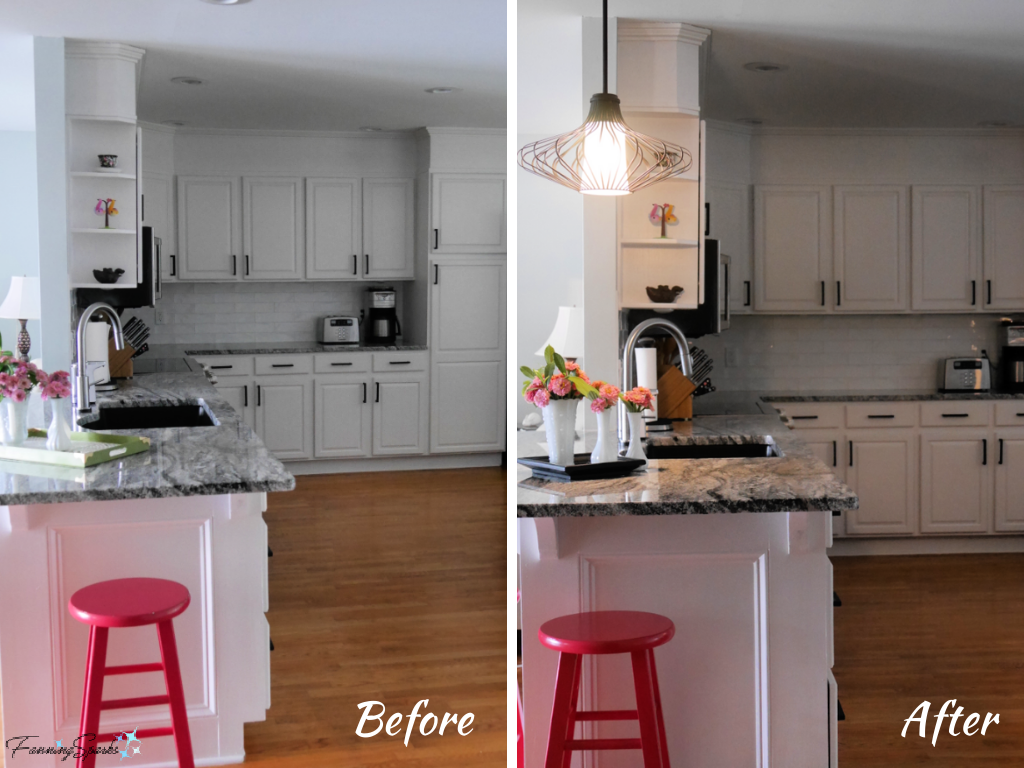
 It’s always fun to see a side-by-side comparison–here’s the counter area before and after the new pendant light fixture. I think Randall Whitehead was right…decorative lighting does indeed add “visual sparkle to a space.”
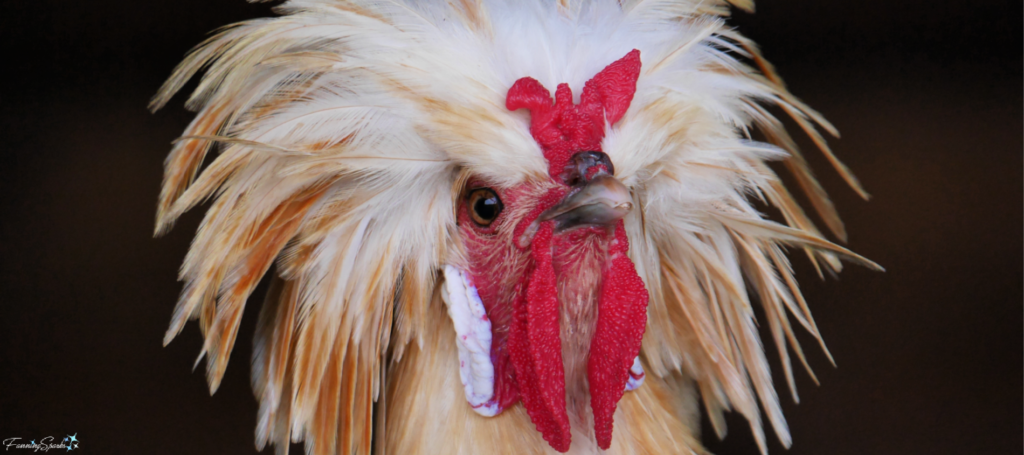
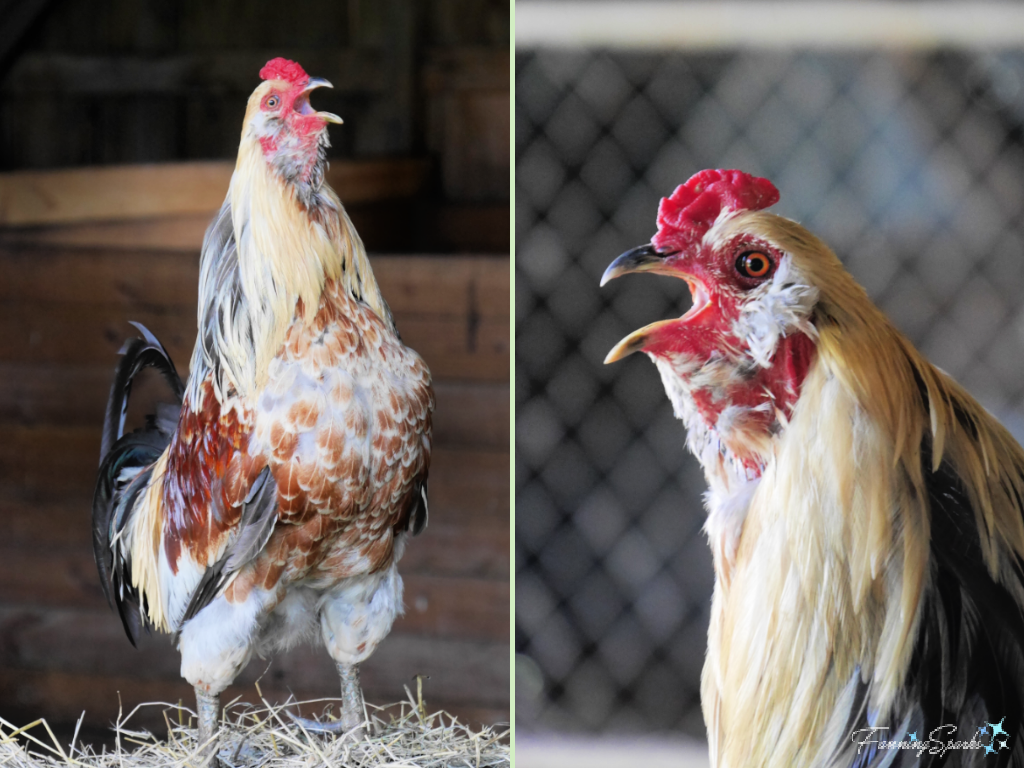 Whether you’re a diehard chicken fan or simply curious (like me), the barnyard at Hundred Acre Farm in Madison, Georgia is a great place to visit. This quaint farm setting is home to about 200 chickens plus ducks, turkeys, peacocks, horses, goats, dogs, a donkey and probably others I didn’t even see. The chickens are raised “free range” with the ability to roam from the chicken roost to the green pastures. In fact, you’ll want to drive slowly along the farm’s main driveway to avoid chickens crossing the road to get to the other side (Sorry… I just couldn’t resist referencing that age-old riddle!).
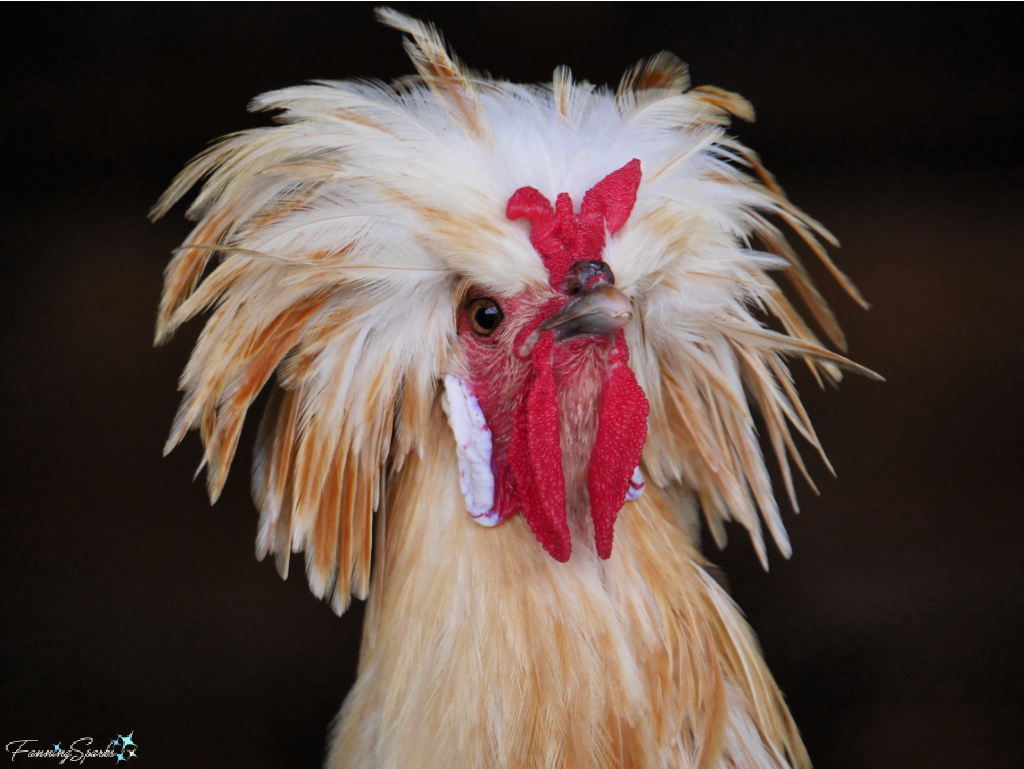
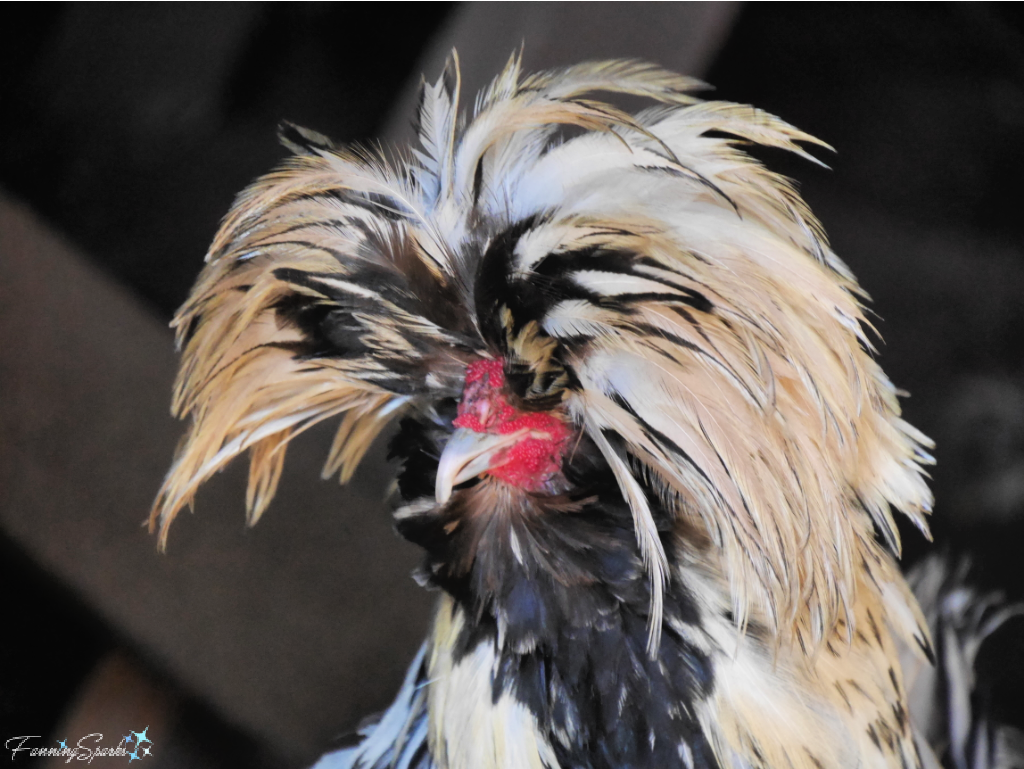
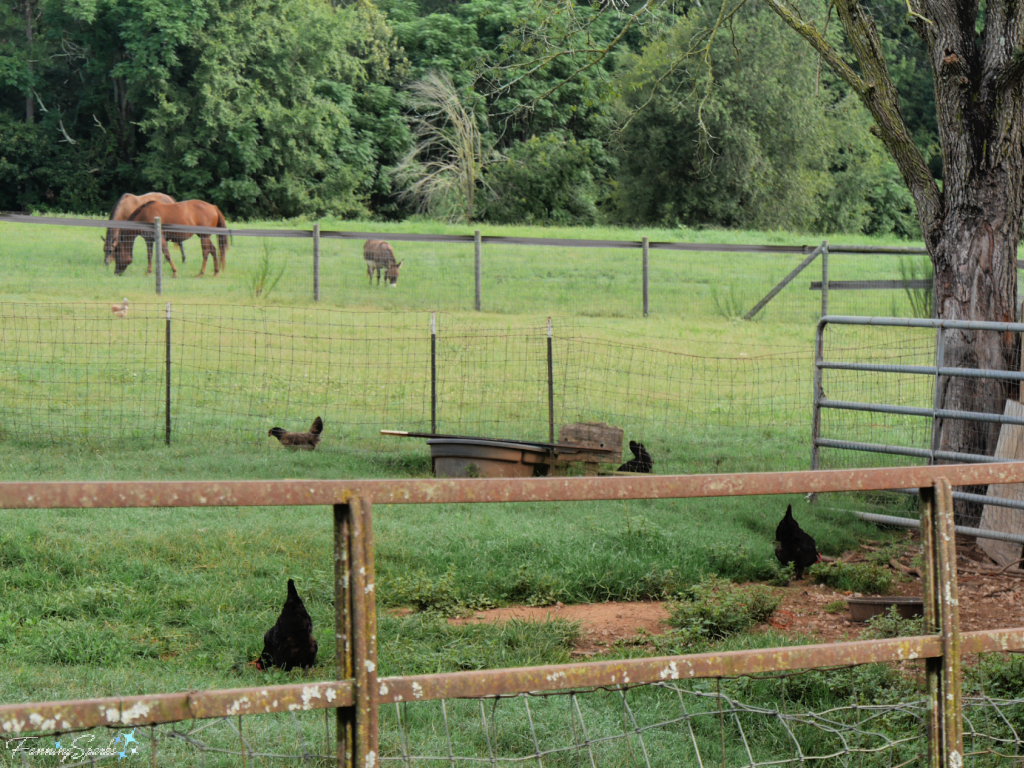 One of the most interesting aspects of the flock at Hundred Acre Farm is the variety of chickens. I’m no chicken expert but according to the folks at the Farmhouse Inn (Thank you Kristen and Crystal!) there are actually about 8 different breeds. I’d like to share some examples in today’s post.
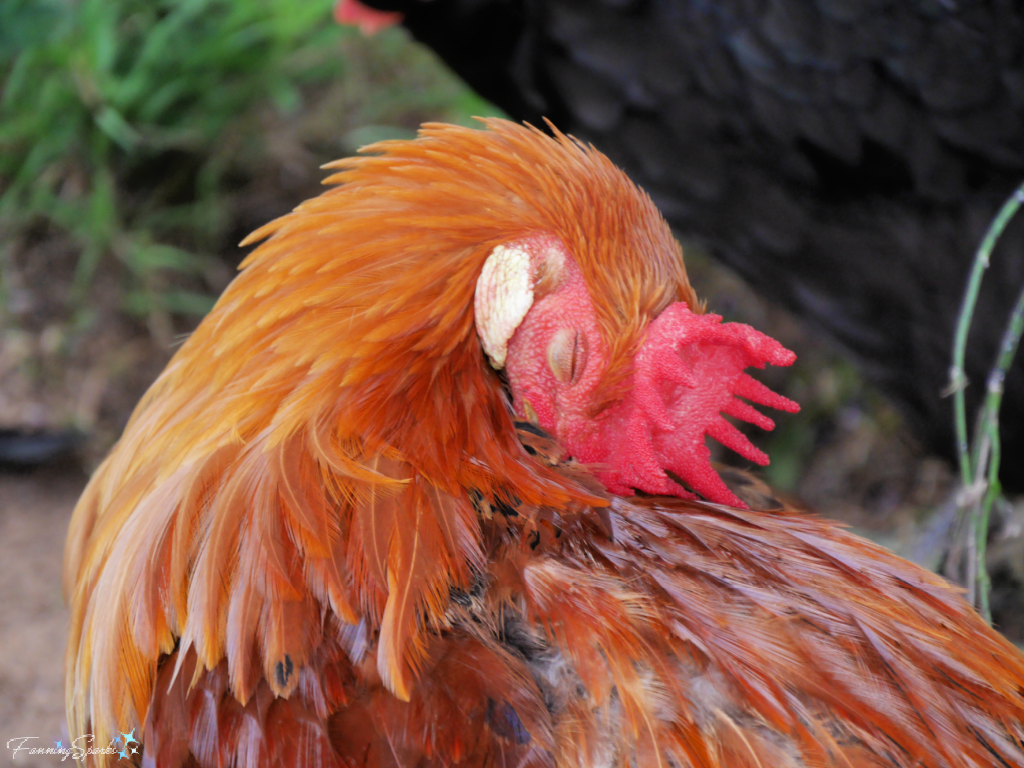
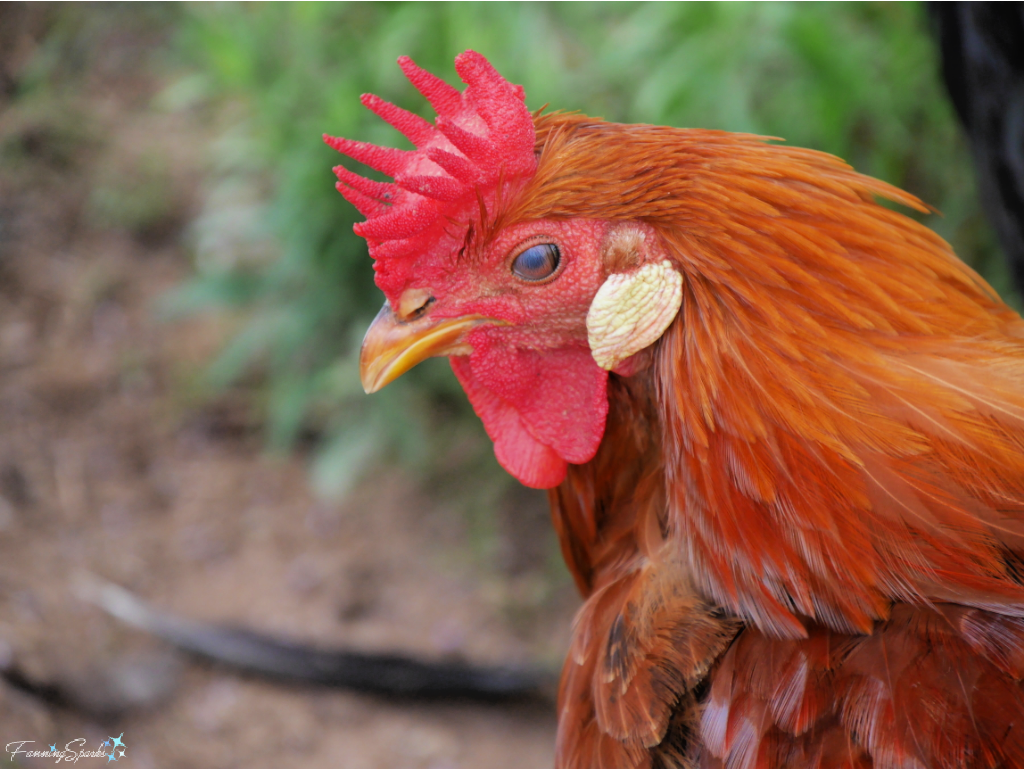 Of course, it takes some effort to look this good! Here’s the rooster preening himself. Preening is a form of grooming that helps release new feathers from their sheaths, remove debris and pests, and distribute oil over the feathers.
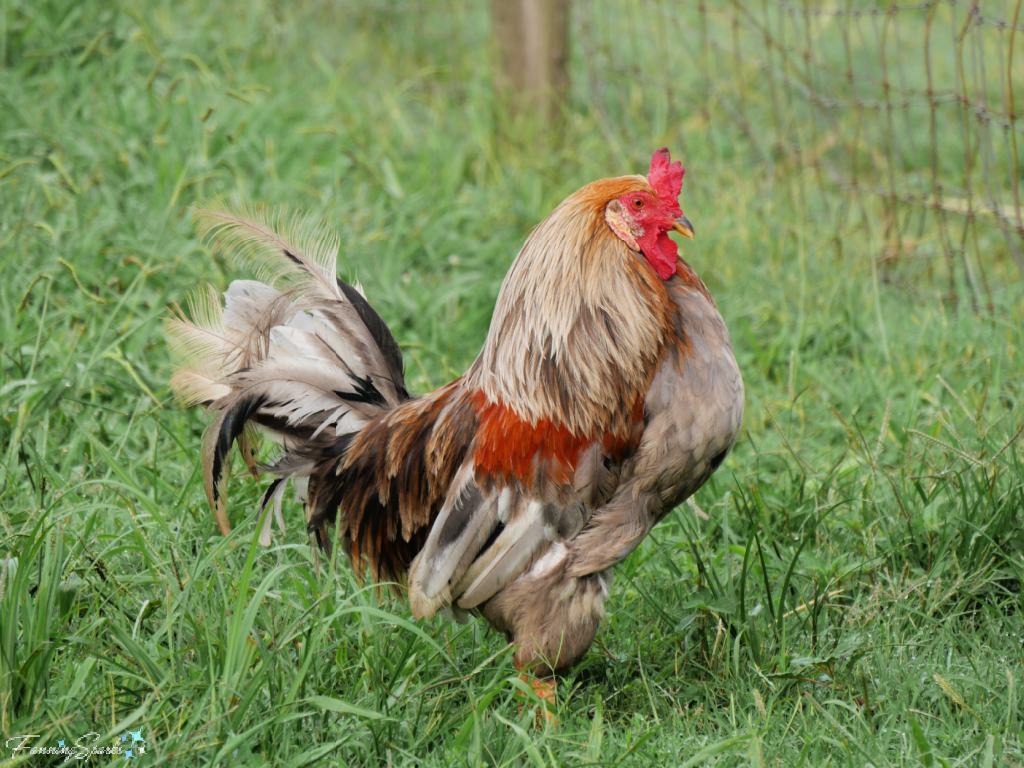
 But the Rhode Island Red isn’t the only handsome gentleman in this barnyard. The Brahma chicken, in Light, Dark or Buff colored varieties, is noteworthy for its large size. It is “often described as “The King of Chickens,” says the Backyard Poultry website. Here’s a beautiful Buff Brahma rooster proudly strutting his stuff.
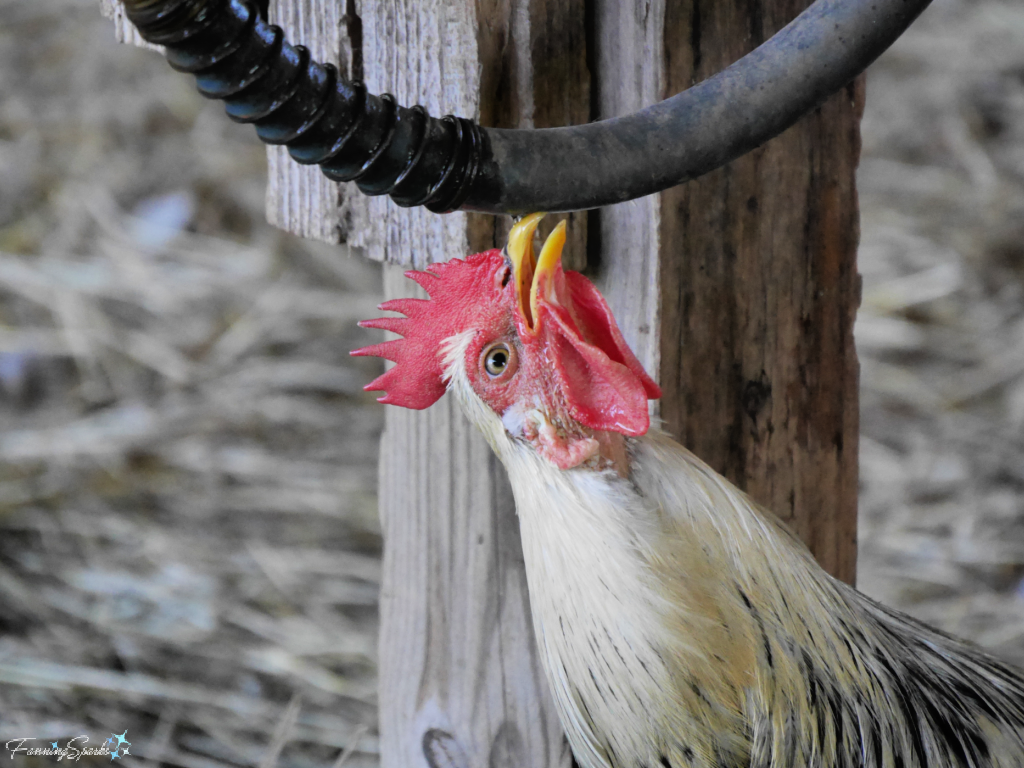
 Thanks to the Backyard Poultry website, I’ve learned that roosters serve a few purposes. The most obvious is breeding. “One good reason to have a rooster is that you want chicks! Hens don’t need a rooster in the flock to lay eggs, but they do need a rooster in the flock to lay fertile eggs.” Roosters can also serve to protect the flock, be raised as livestock for meat, or, rather surprisingly, become family pets.
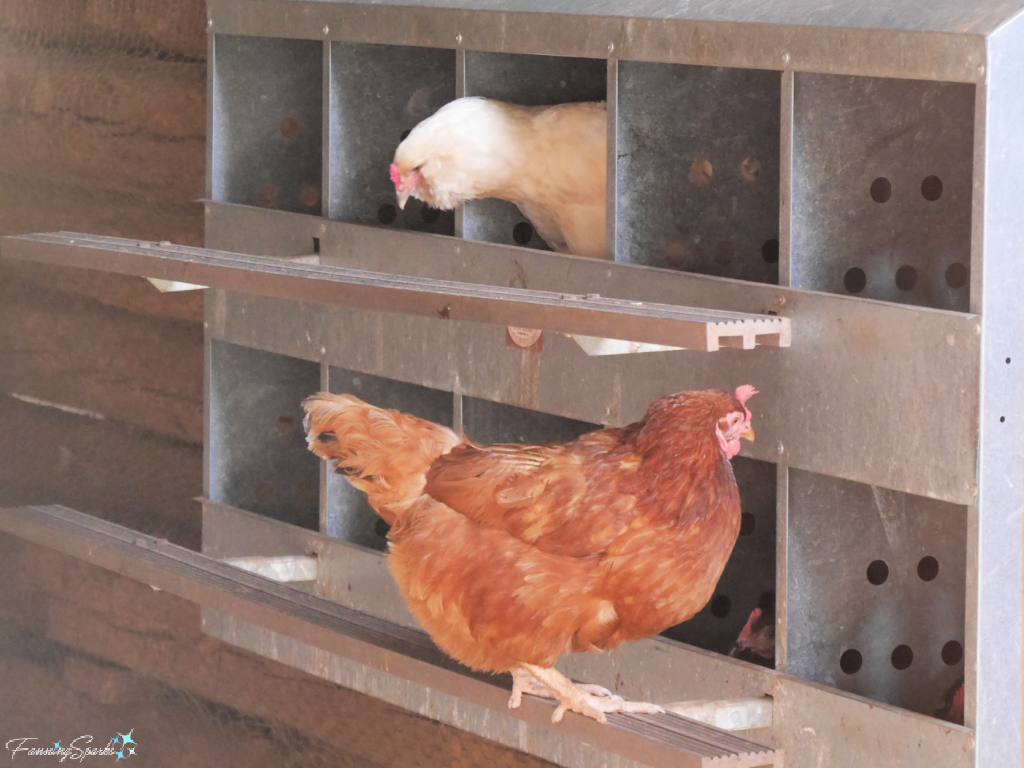
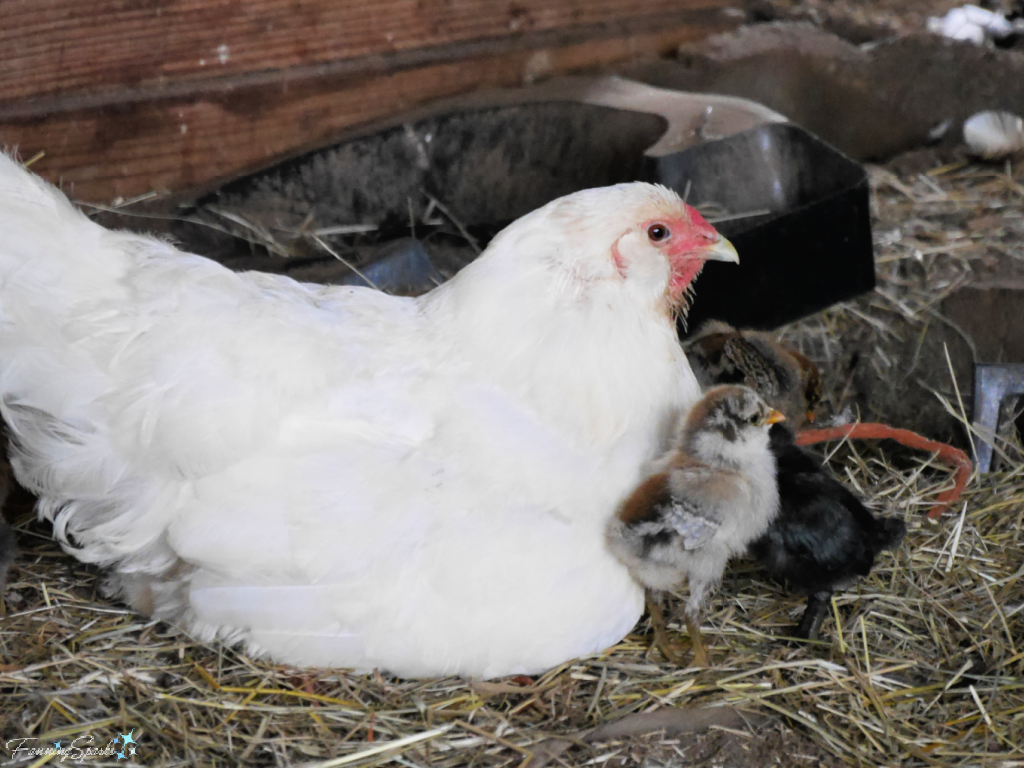
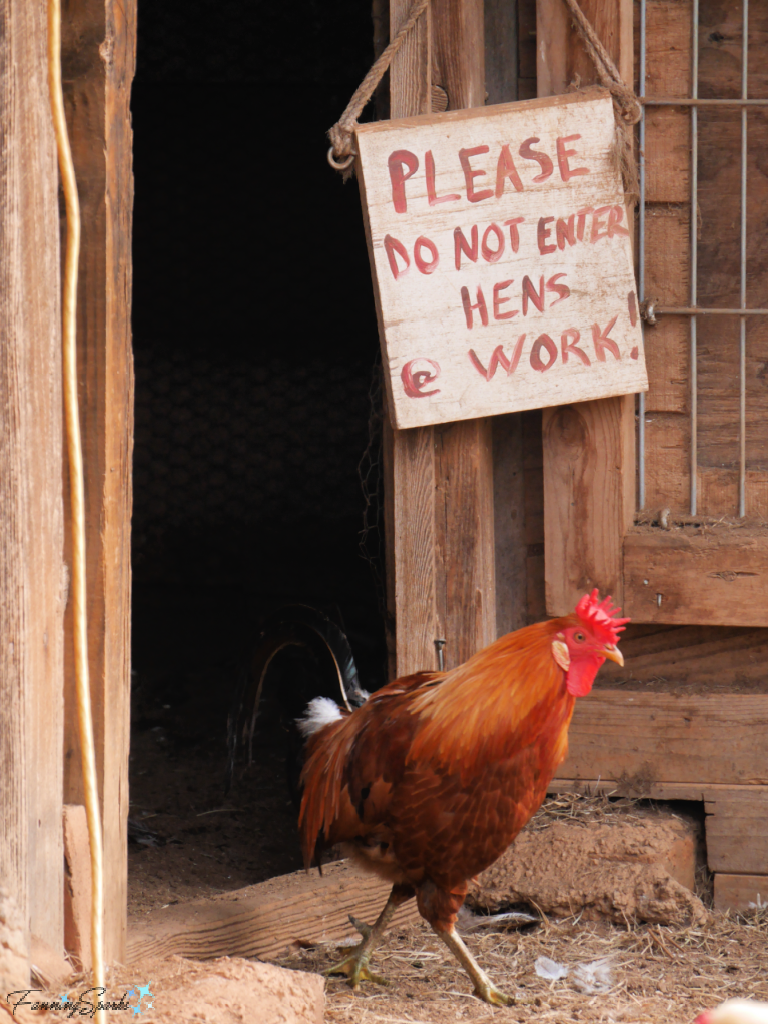 Other female duties include raising the young. This DeKalb Amberlinks mother hen was watching over her chicks in the barn. Hens, are said to, guard their chicks fiercely.
 Eventually, Mom led the kids out of the barn…
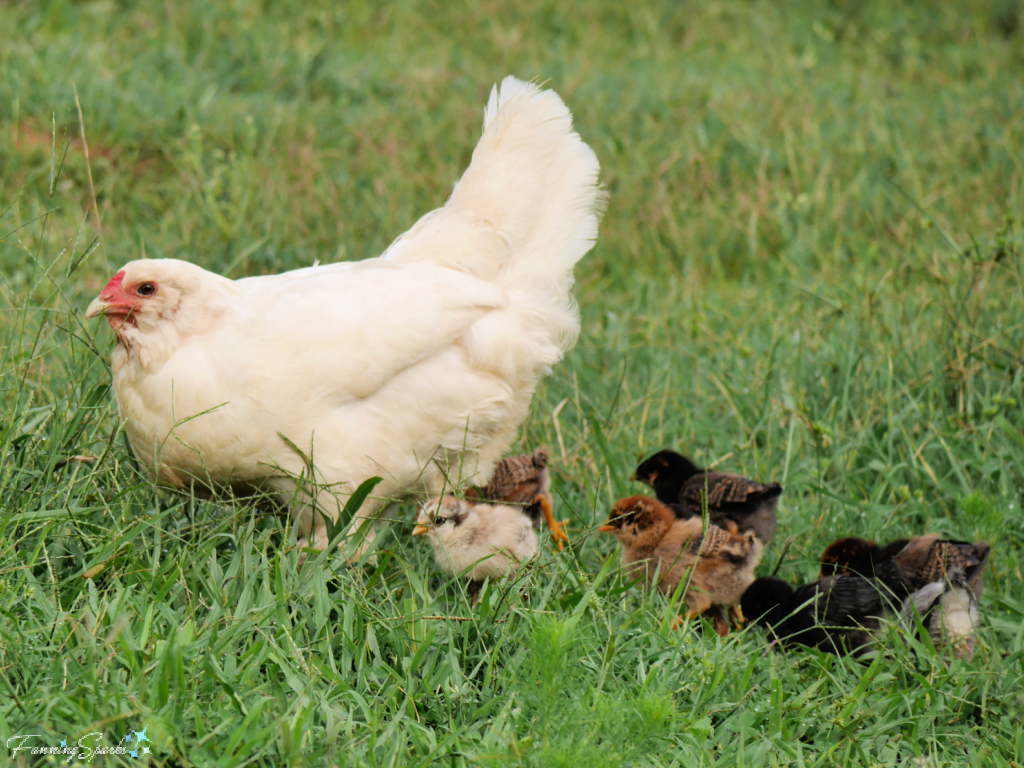
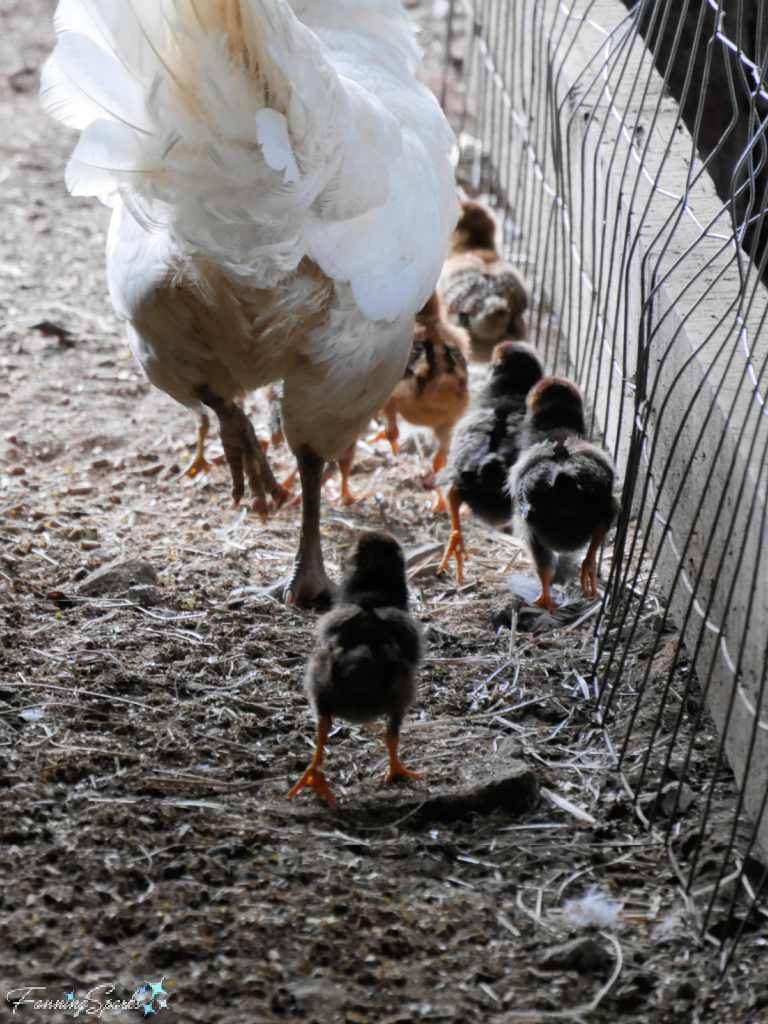 ……and out to the field. Unlike some birds, mother hens don’t feed their chicks directly. Instead they lead them to food and water and call them towards edible items.
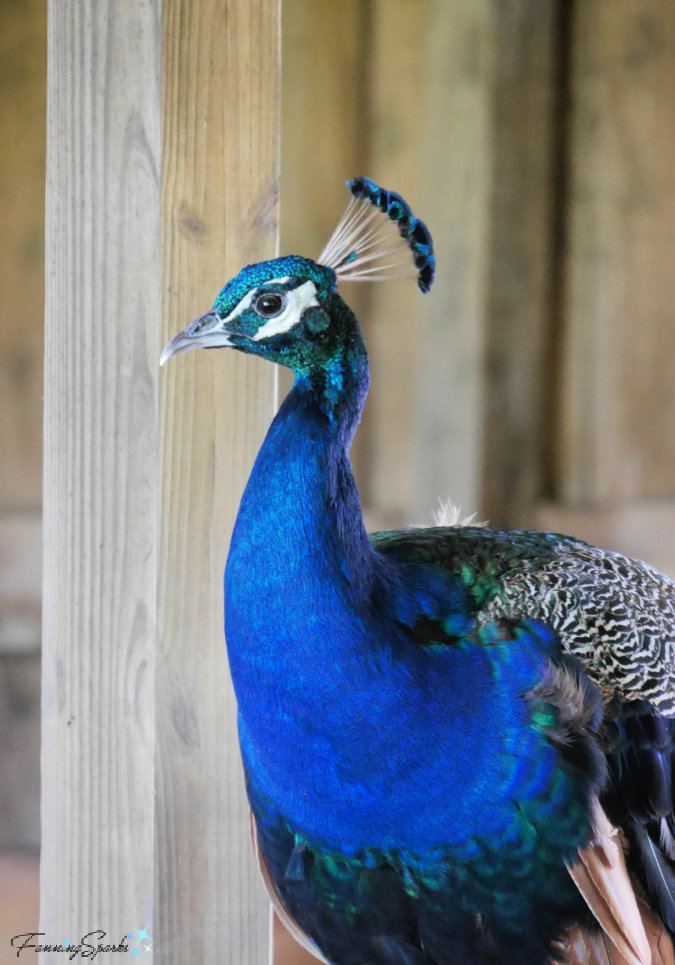
 While the chickens are busy earning their keep, there are other barnyard residents who merely have to look good like this handsome peacock…
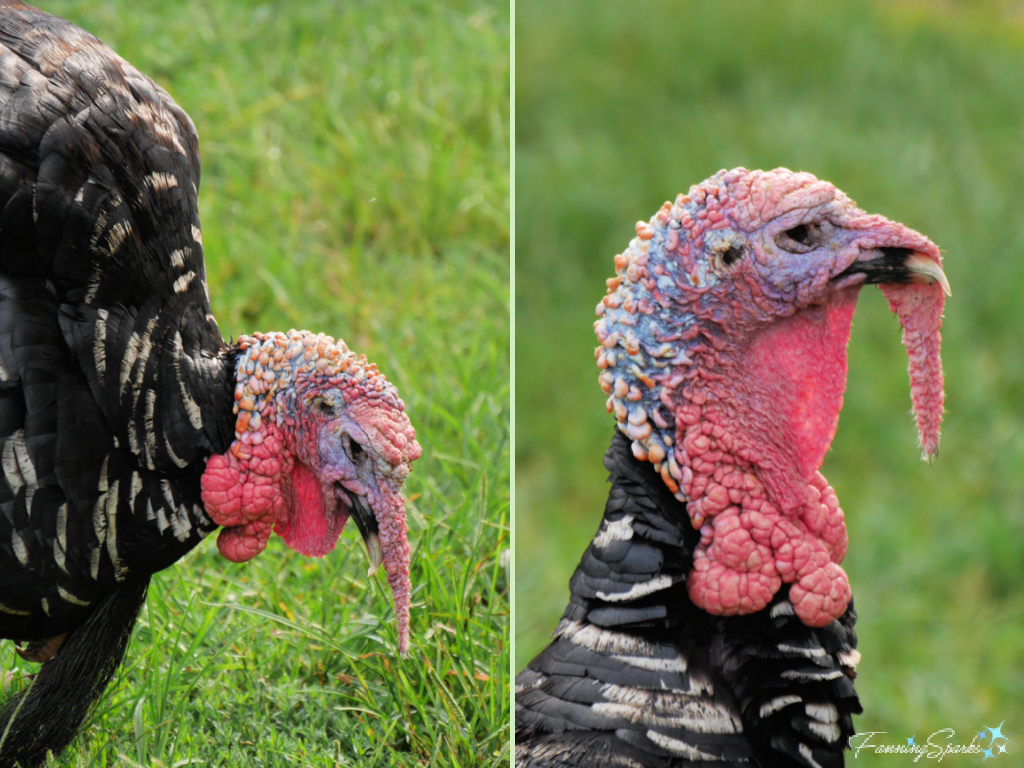 Luckily, a female turkey sees it differently and finds those fleshy outgrowths on the turkey’s head and throat, called caruncles, rather attractive. At least that’s what I read into this description from Wikipedia “In anatomical terms, the snood is an erectile, fleshy protuberance on the forehead of turkeys. Most of the time when the turkey is in a relaxed state, the snood is pale and 2–3 cm long. However, when the male begins strutting (the courtship display), the snood engorges with blood, becomes redder and elongates several centimetres, hanging well below the beak…”