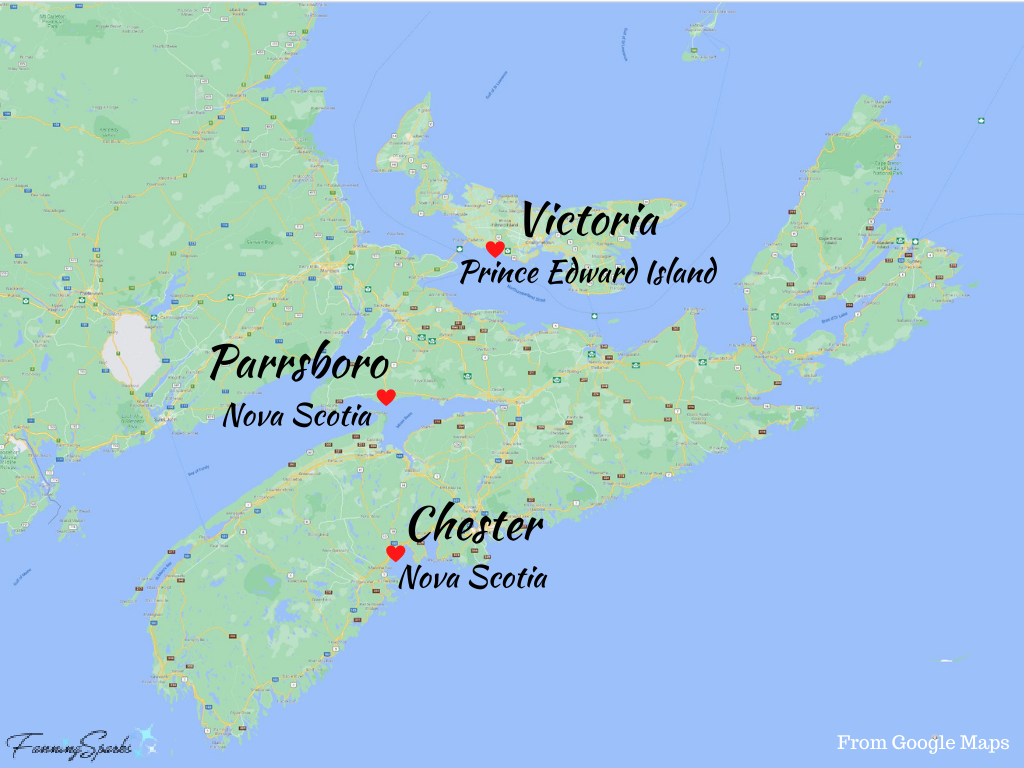
One of the many joys of visiting the Maritime Provinces in eastern Canada is a leisurely stroll around one of the charming seaside villages. The historic villages of Chester, Nova Scotia; Victoria, Prince Edward Island; and Parrsboro, Nova Scotia are all picture postcard perfect. Each has its own personality and charm yet there are many similarities. All three seaside villages are surrounded by natural beauty. They honor their sea-faring roots and take care to preserve their heritage. They foster creative, artistic communities keeping them active, vibrant and viable.
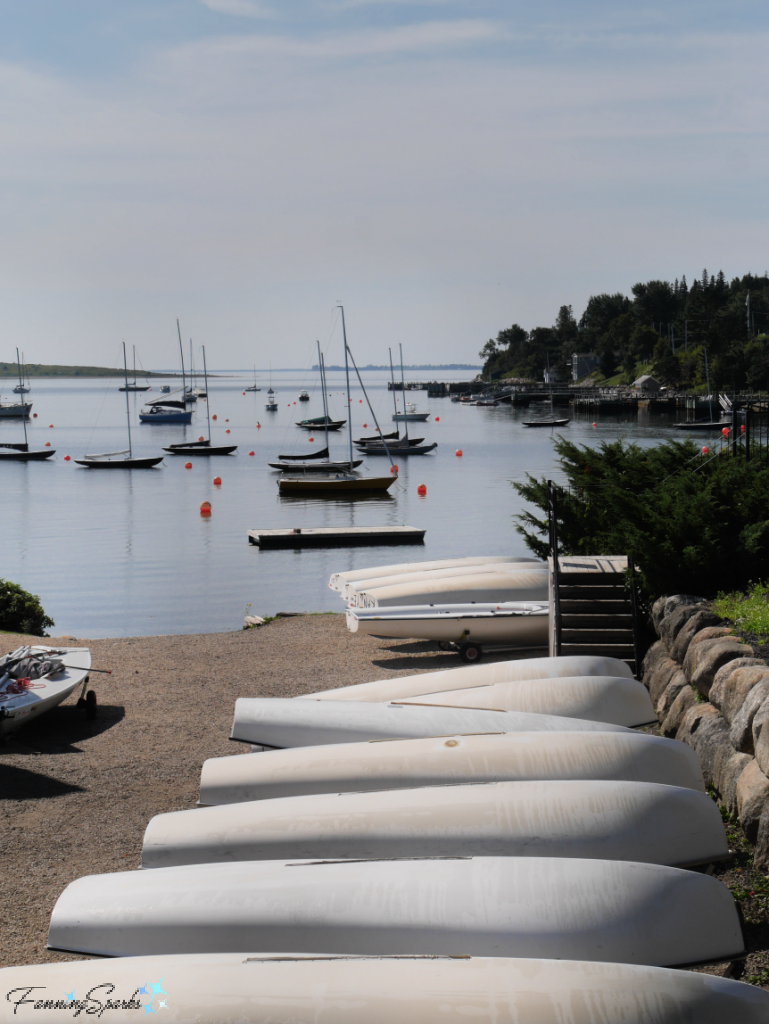
Chester, Victoria and Parrsboro all have a history of ocean-based commerce including shipping, shipbuilding and fishing. These industries are no longer their primary focus but the sea continues to play a big part in these communities today. For instance, the waters around Chester are well-known for yachting, sailing and kayaking. Every August, the Chester Yacht Club hosts Chester Race Week which is Canada’s largest keelboat racing regatta.
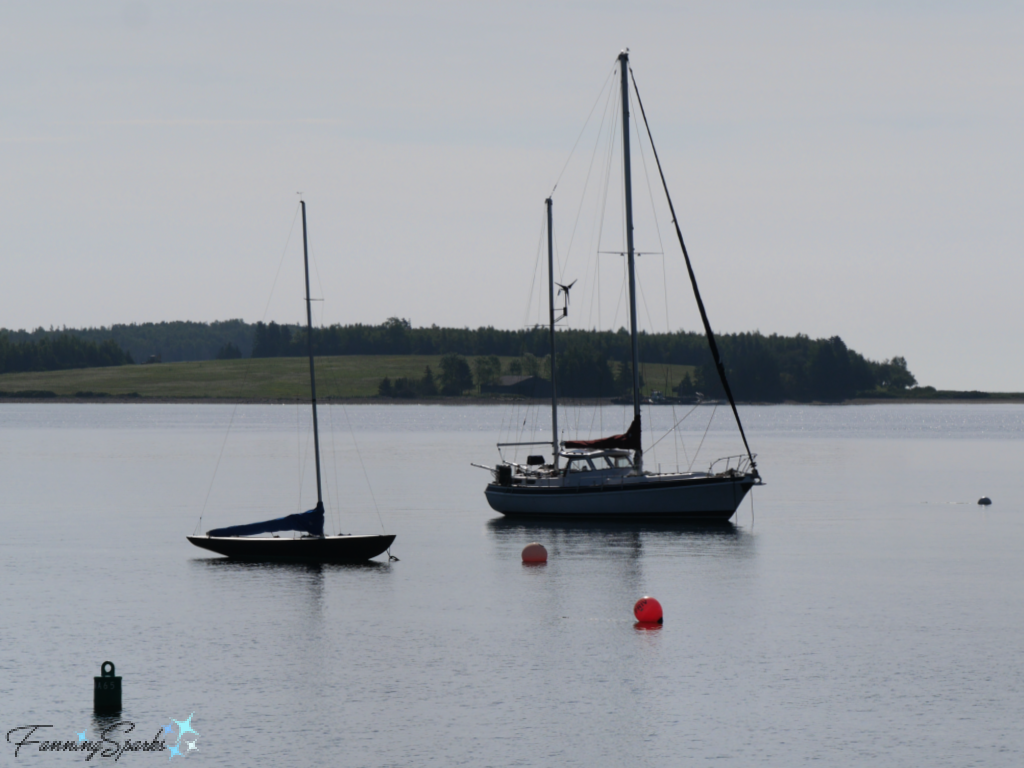
This awe-inspiring view greets visitors at the Chester Yacht Club wharf.
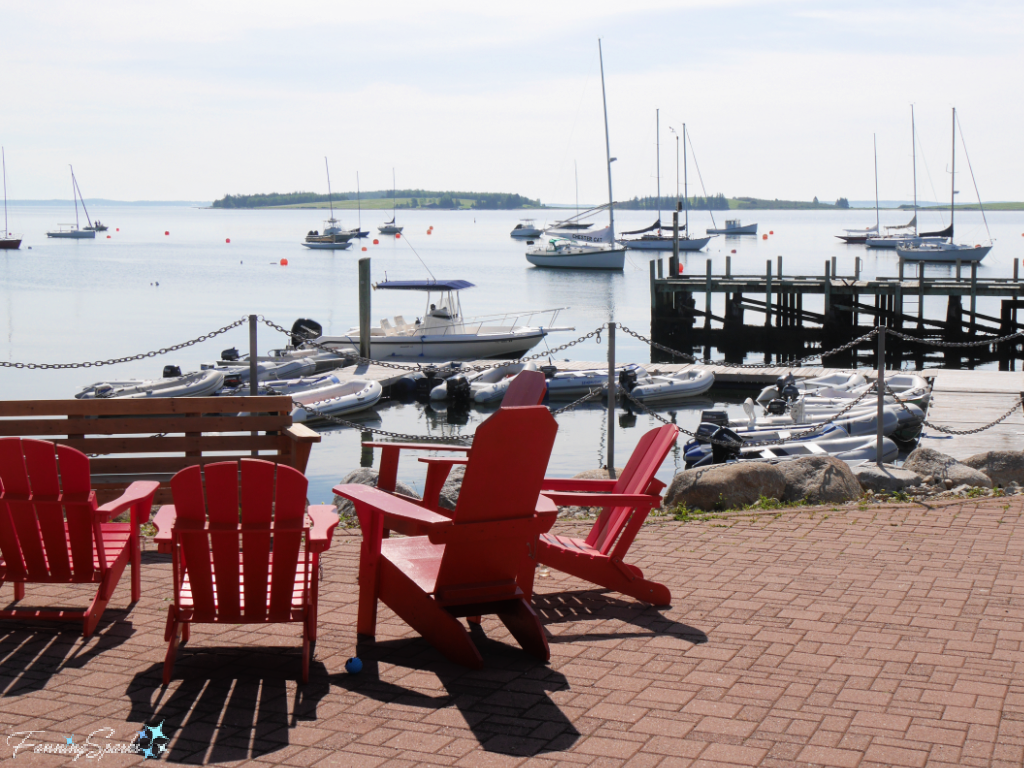
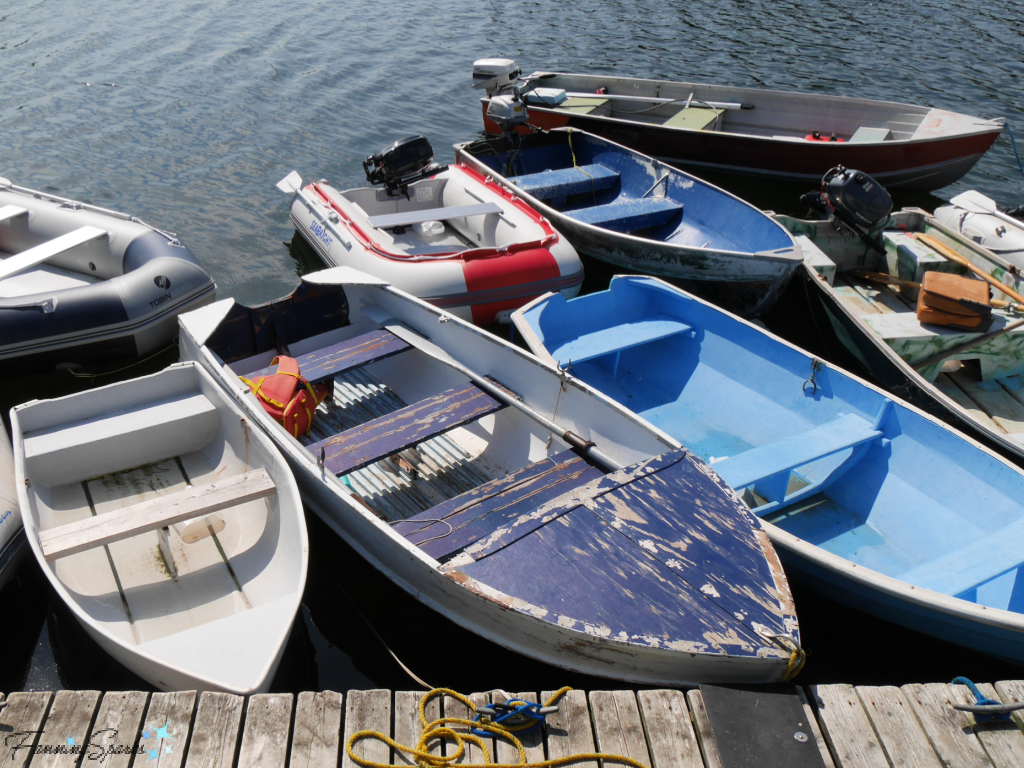
Beautiful vistas and nautical scenes capture one’s attention all along Chester’s waterfront.
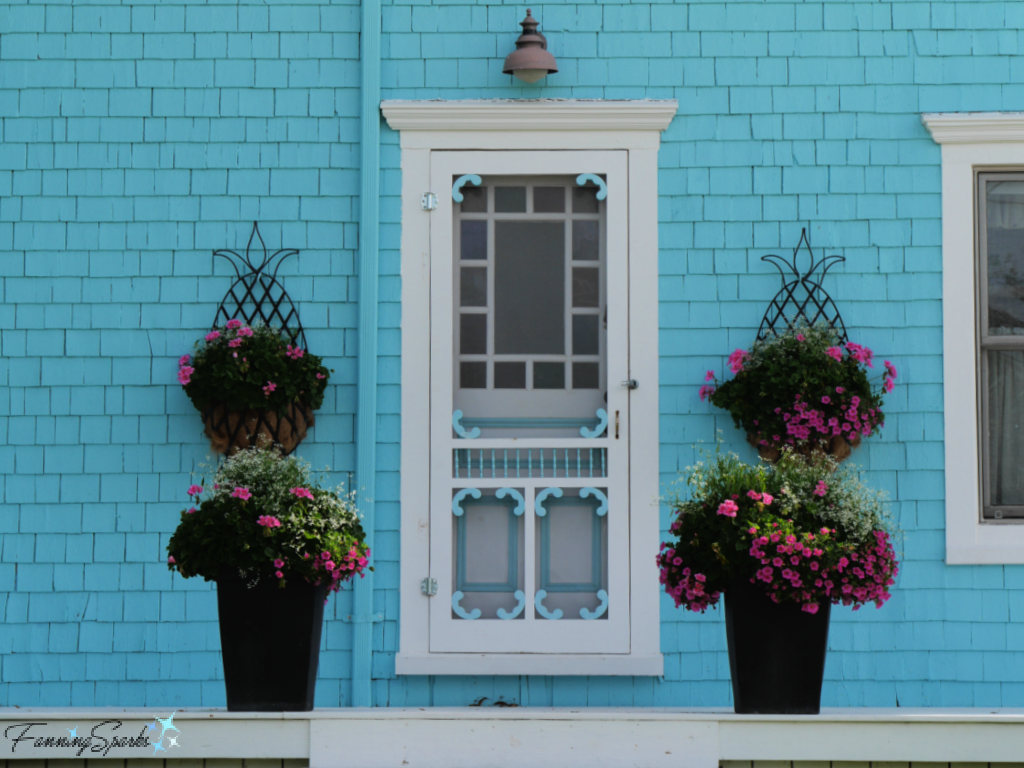
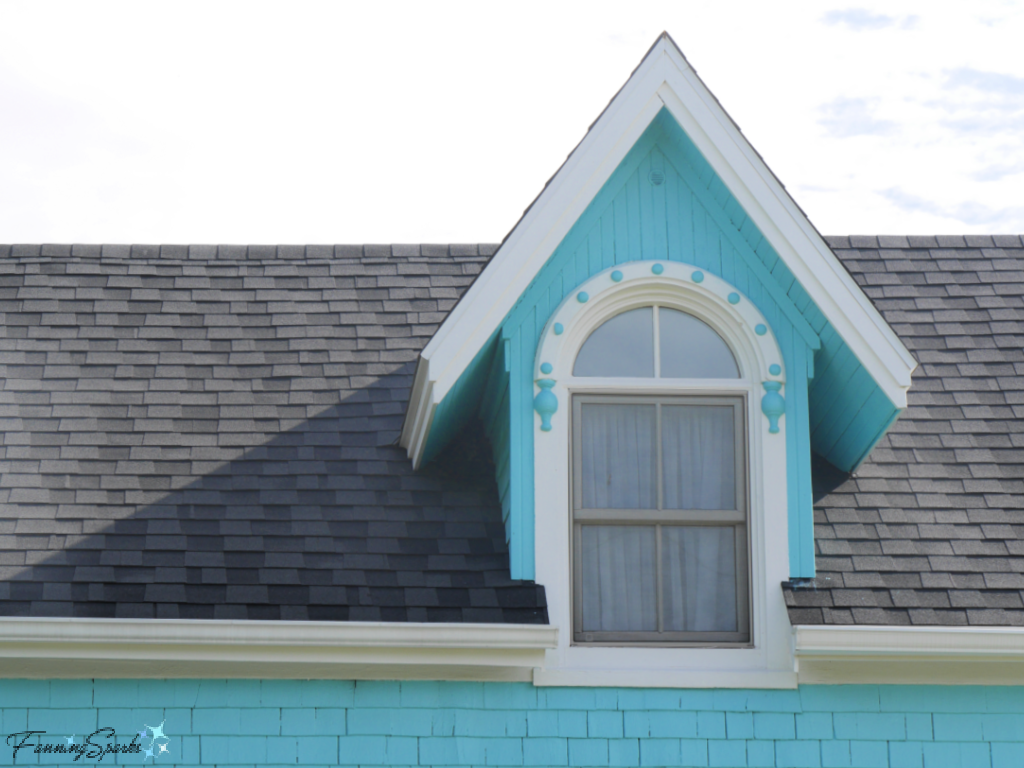
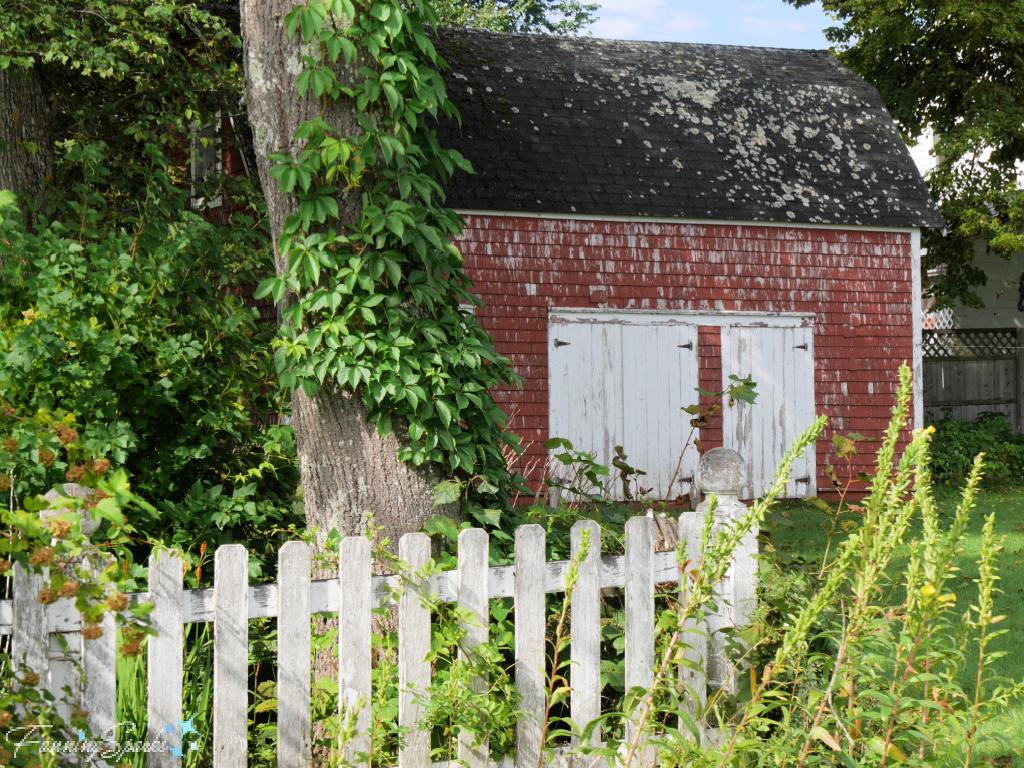
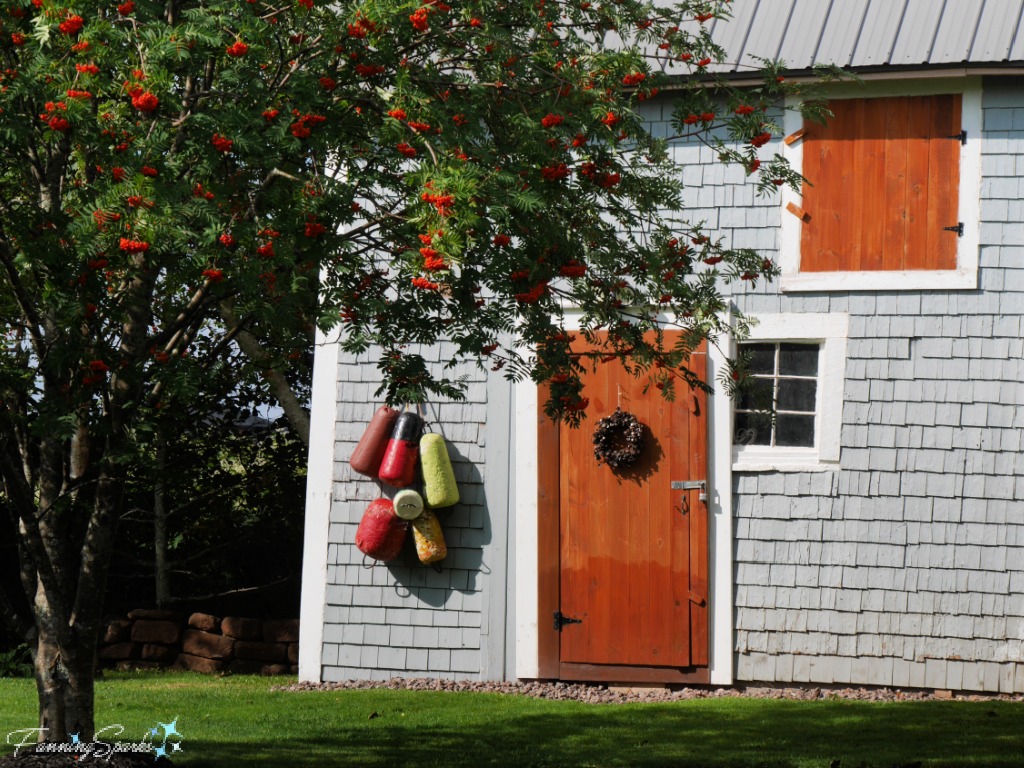
The ocean-based commerce in these coastal villages was in its heyday in the 1800s. It led to considerable prosperity which the citizens invested in their homes and communities. These picture postcard coastal villages are their legacy. The current homeowners in Victoria, or Victoria-by-the-Sea as they’ve branded the community, obviously take pride in their homes and surroundings. Here are a few photos from this picturesque village.

Current residents of these communities celebrate and nurture a creative spirit through art programs and events, theatres and playhouses, art galleries and studios. Parrsboro, for instance, encourages visitors to “Explore. Dream. Create in our inspiring community.”. Every year, Parrsboro hosts Canada’s largest outdoor painting festival—the Parrsboro International Plein Air Festival. As explained on the Parrsboro Creative website, “‘En plein air’ is a French expression meaning “in the open air”. It describes the art of outdoor painting, using specific skills to capture landscapes and views in natural light. Plein Air painting requires adaptability to a changing environment and speed in applying painting techniques.”
The 2021 Plein Air Festival was underway when we visited Parrsboro. In the below photo, well-known Nova Scotian artist Joy Laking puts the finishing touches on a street scene.

Locals might recognize this as the view from the Parrsboro Bandstand looking down Main Street. I love how painters can capture what they see in their mind’s eye versus what’s actually in front of them. For instance, notice how a scooter-rider has been inserted and the dominant Irving service station seen below…

… has been skillfully eliminated from Joy Laking’s street scene.

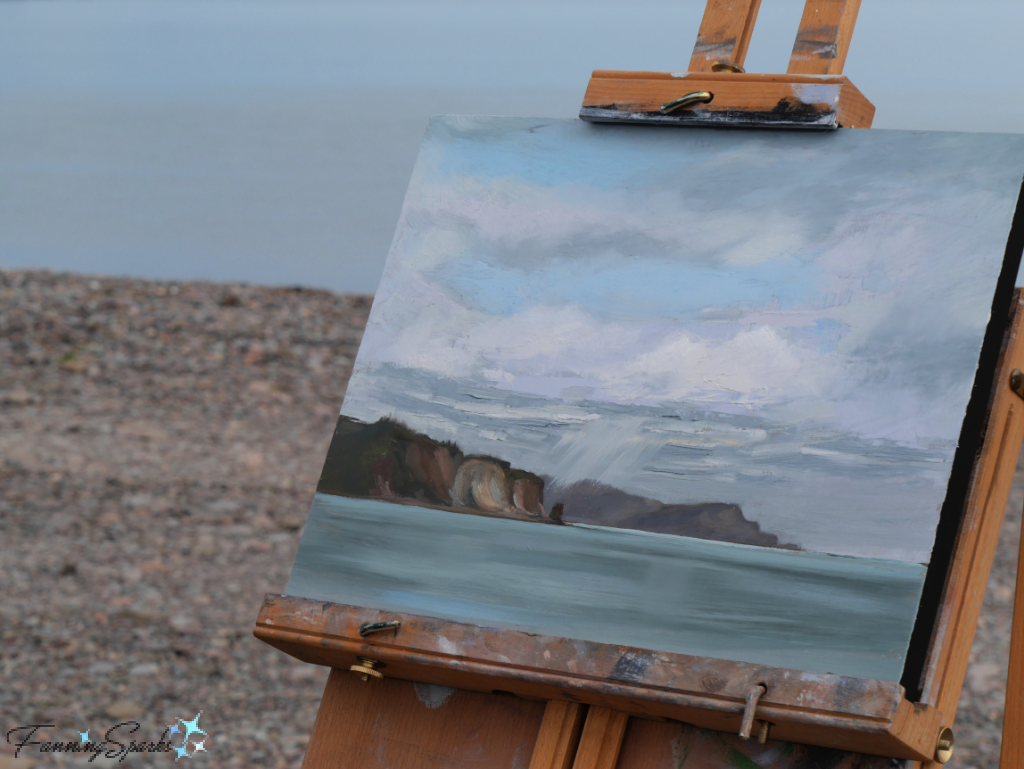
Nearby Partridge Island is a popular location for the plein air painters. It’s little wonder—there is natural beauty in every direction!

We spotted artist Adam Tragakis capturing these stunning cloudy skies over the Fundy cliffs.

Here’s how his painting had evolved a little over an hour later. Splendid!
Pictured below is the same view of the landscape. Notice how Adam Tragakis expertly captured a slightly different scene—at the exact moment the dark, moody clouds dropped sheets of rain over the cliffs.

Chester, Victoria and Parrsboro may not get as much attention as some of the area’s bigger cities and more popular attractions. But this, I believe, works in their favor. Author Stephen Kimber wrote “The Trans-Canada Highway bypassed Victoria. So did the shopping centres and tourist amusement parks. And that – along with its independent-minded citizens – is what makes Victoria the enchanting, picture post card place it is today.” The citizens of these villages have worked hard to build strong, creative communities and sponsor world-class events without compromising their character and uniqueness. Well done, citizens of Chester, Victoria and Parrsboro!
More Info
You can learn more about visiting Nova Scotia and Prince Edward Island on their respective tourism websites or check out these FanningSparks’ posts:
. Solid as a Rock
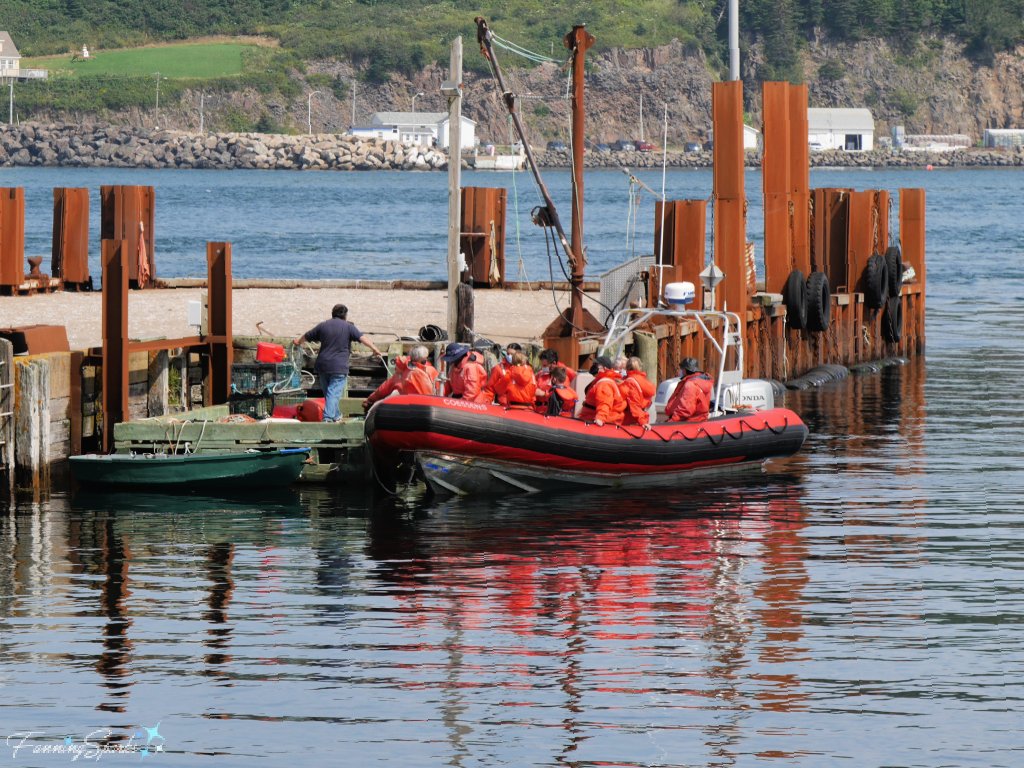
. Watching Humpbacks on the Bay of Fundy
. We Dined on the Ocean Floor
. The Perfect Reminder of Green Gables
. Shutter Therapy in North Rustico
. Beacons of Light
. In Pursuit of Sea Glass
. Falling Leaves and Floating Boats
. First Light at Peggy’s Cove
Chester, Nova Scotia also provides information on its Village of Chester NS and Chester Race Week websites.
Check out the Victoria by the Sea website for more information about Victoria, Prince Edward Island.
More information about Parrsboro, Nova Scotia can be found on the Bay of Fundy website. The Parrsboro Creative organization spearheads arts and culture in Parrsboro and organizes the annual Parrsboro International Plein Air Festival.
To learn more about the talented artists mentioned in this post, visit the Joy Laking Gallery website and Adam Tragakis on Instagram. In fact, you can see the final result of the Parrsboro Plein Air painting we witnessed in this Instagram post.
Today’s Takeaways
1. Seek out lesser-known towns and villages when you travel.
2. Take time to explore with a leisurely stroll.
3. Consider and appreciate the efforts of the local citizens who keep these places picture postcard perfect.


 Fog also shrouded the rocky cliffs in the Nature Conservancy of Canada Reserve on the island’s west coast.


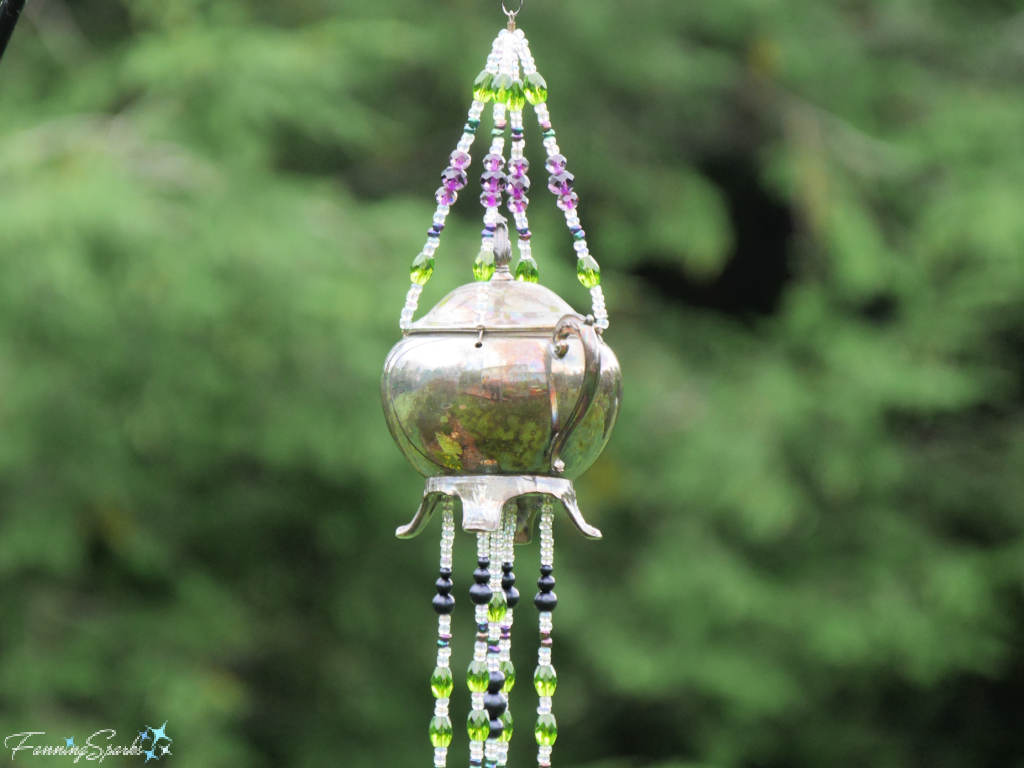 This project is completed with silver-plated cutlery hung from glass-beaded strands. The spoons catch the breeze and produce a pleasant soft tinkling sound. Here’s a closer look.
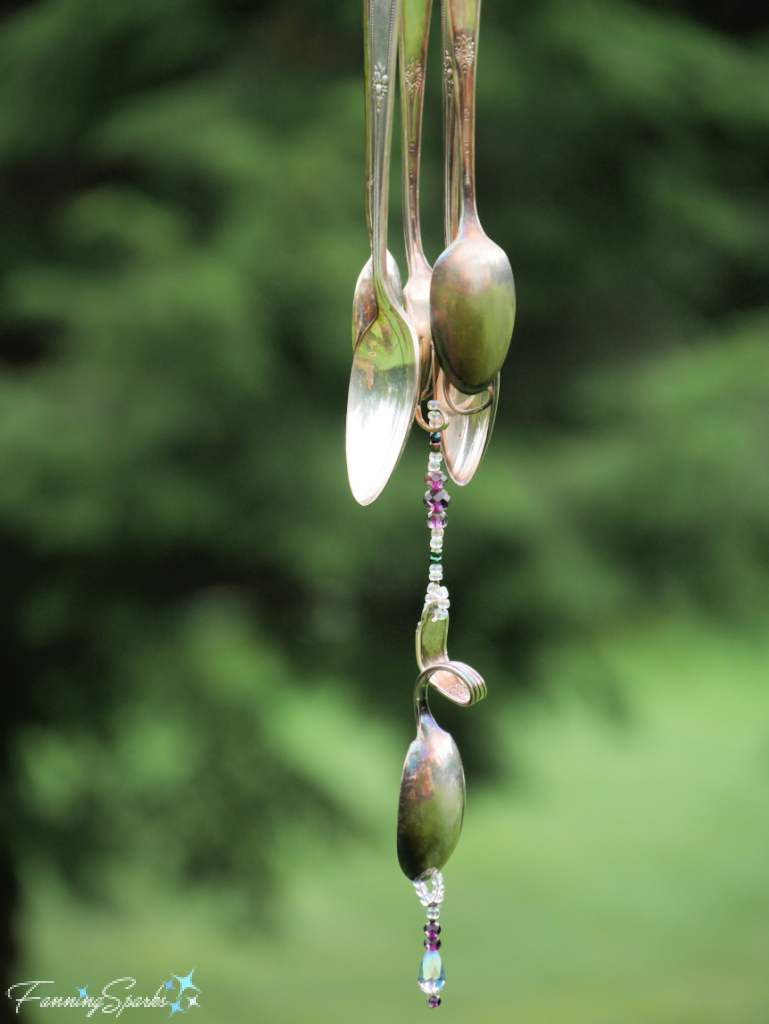
 Let’s get started.
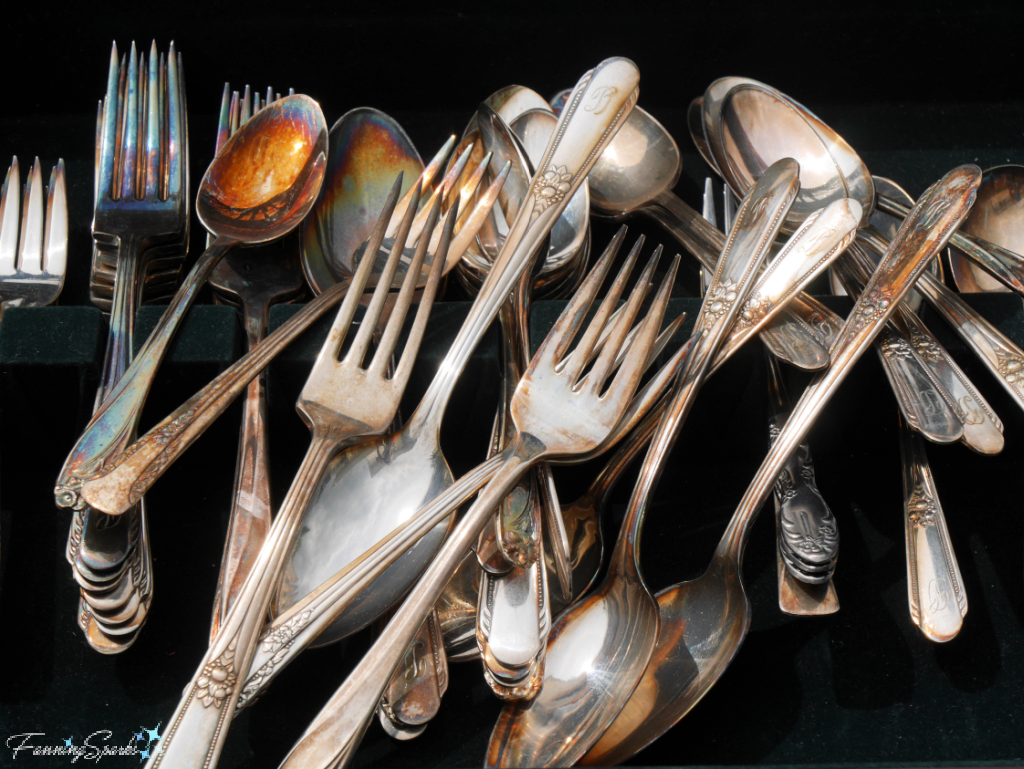 . Beads: Approximately 60” of Glass Beads. Glass beads may be more expensive than other materials but they catch the light beautifully and they tend to weather better. Choose an assortment of colors, shapes and sizes. I purchased a variety of beads, as shown below, to make colorful and interesting hangers but I didn’t use nearly as many beads as shown. I found it helpful to include some “filler” beads (ie the white ones) to really let the other beads stand out. Ensure your glass beads will fit onto your beading wire.
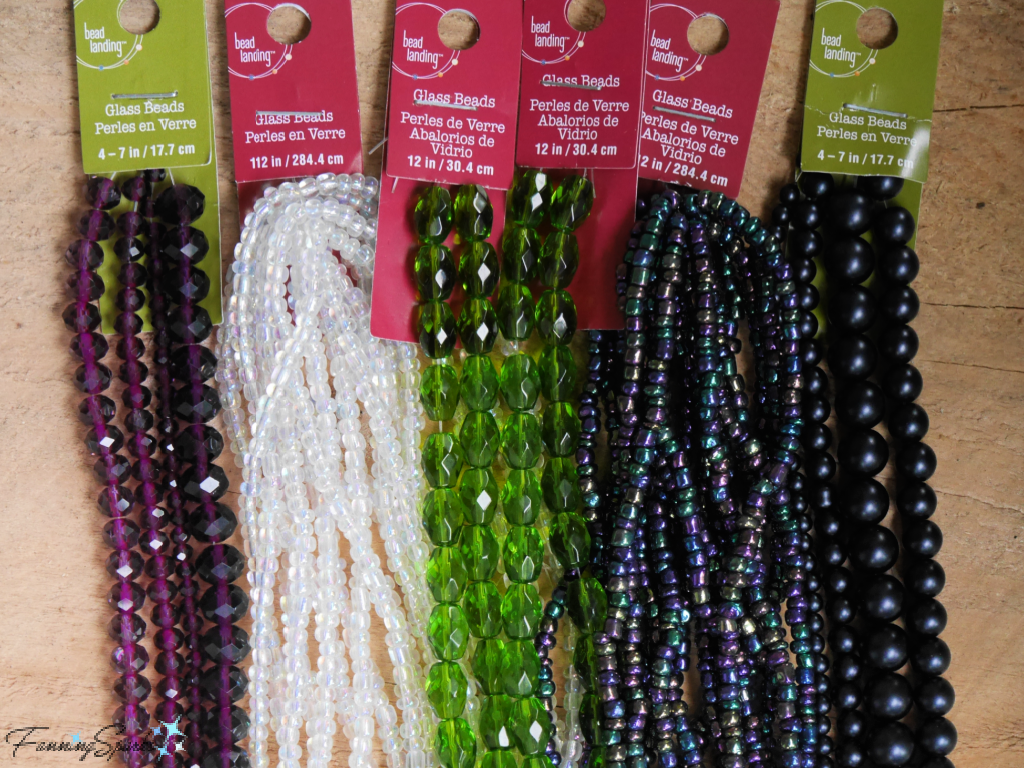 . Teardrop Beads: A teardrop-shaped glass bead adds a nice touch to the bottom of the wind chimes. If using a creamer, teardrop beads are the perfect way to end the bead strands coming out of the creamer’s spout (see photo in Step 12).
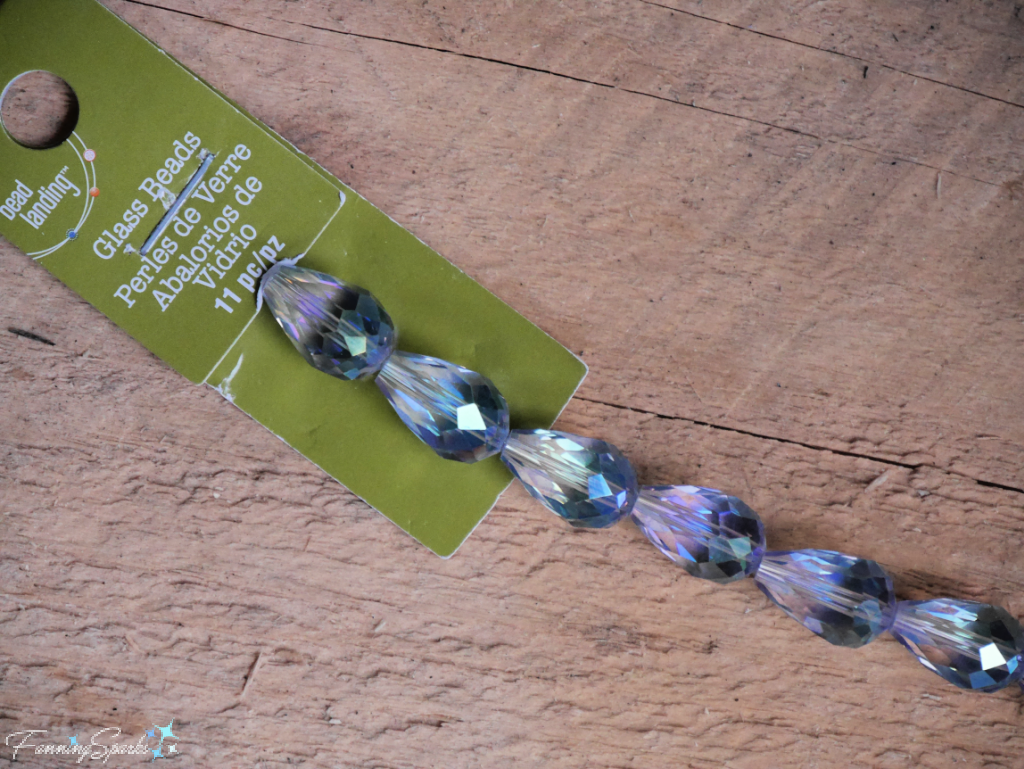 . Beading Wire: Approximately 100” (9 ft) of Beading Wire. This stringing material is made of multiple strands of thin steel wire coated with a layer of nylon. Surprisingly, this type of wire is available as a beading supply and as a fishing supply. I’ve seen 7-strand Beading Wire in the beading section at my local craft store. But I raided my husband’s fly fishing gear and selected a spool of 40-lb Knottable Wire Bite Tipper from RIO. I reasoned that fishing line would be more durable and stand up better to the outdoor conditions I expected my wind chimes to endure. Ensure your beading wire will fit into your glass beads.
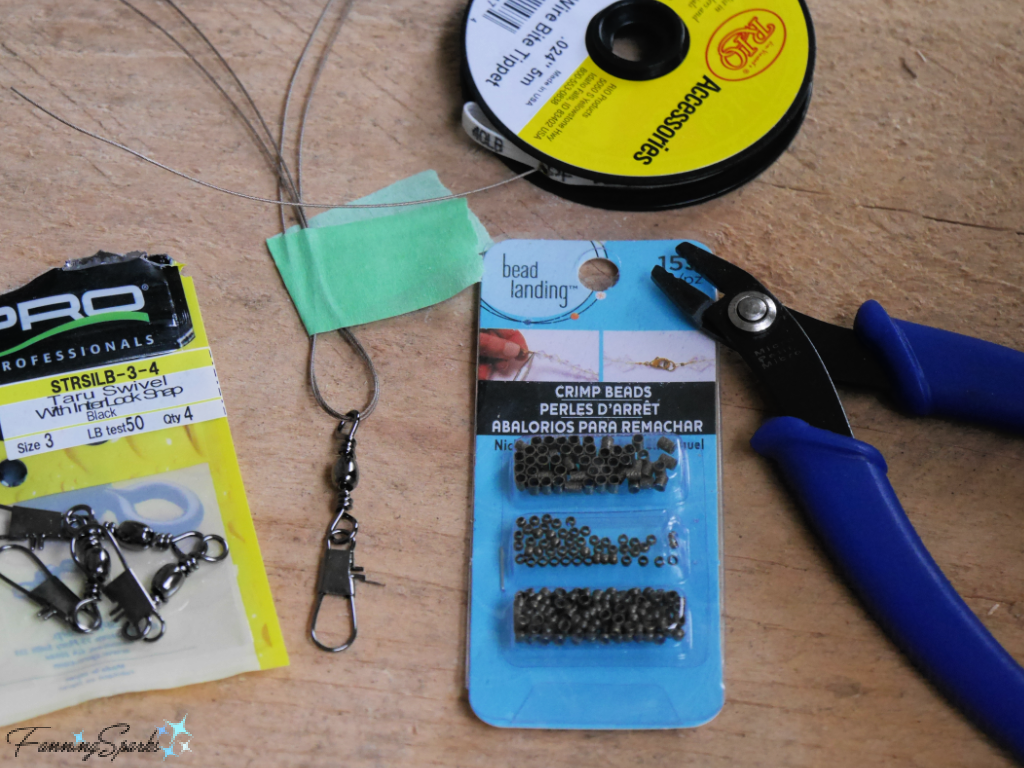 Tools and Equipment Needed
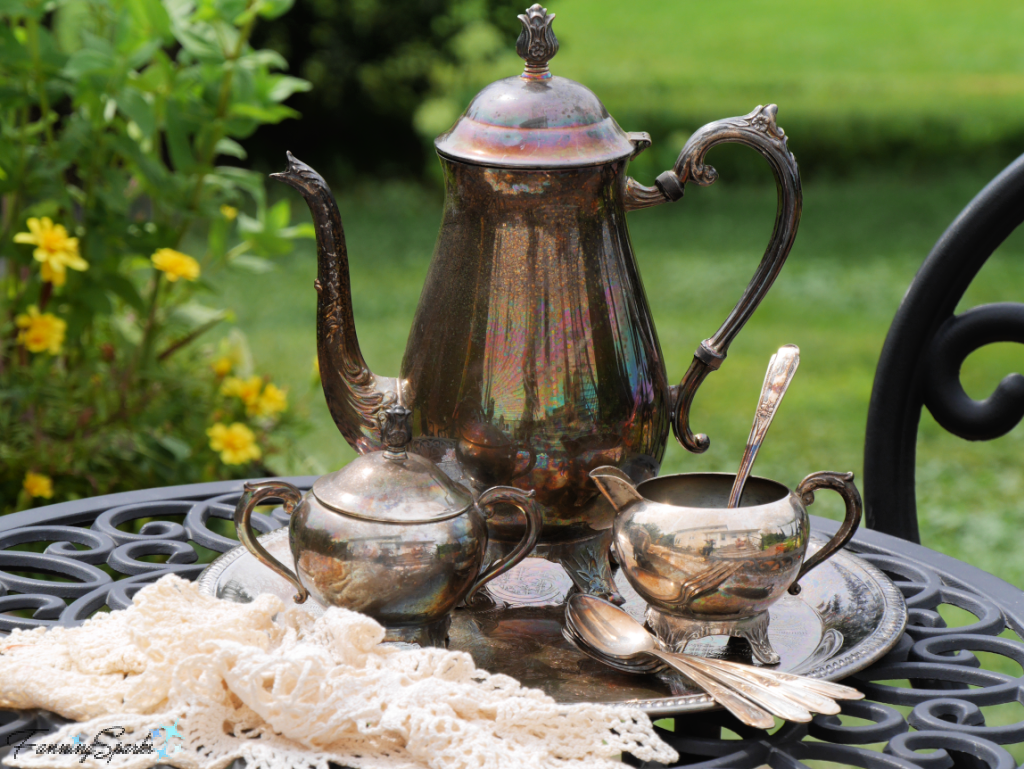
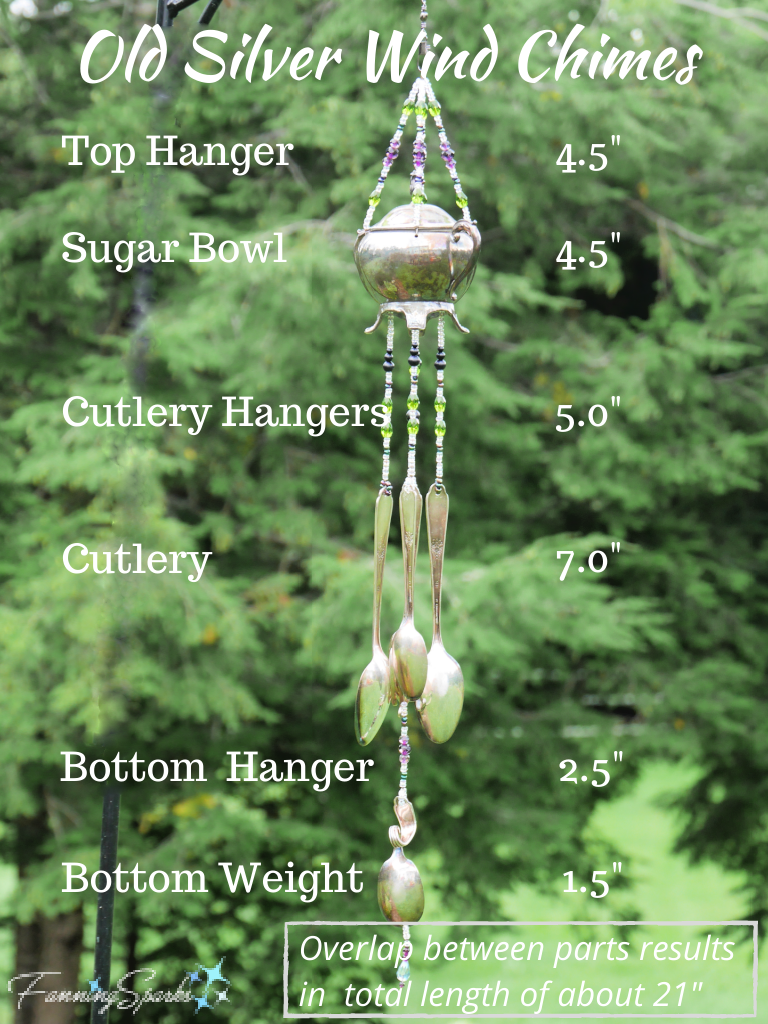 Step 1 – Select Components Select your featured component—it could be a lidded sugar bowl or a creamer as shown in this tutorial. Alternatively, you could use a teapot but the hangers would likely need to be longer so increase the number of glass beads and length of beading wire accordingly.
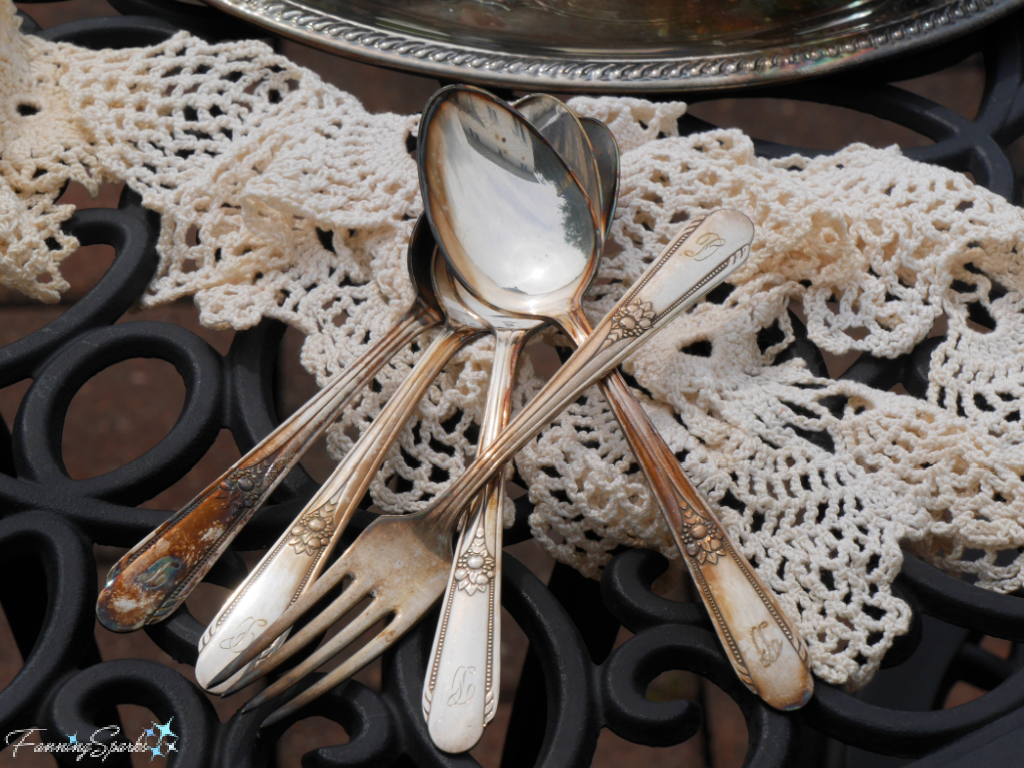 Step 2 – Flatten Spoons and Fork Work on a block of scrap wood. Hold a spoon firmly against the wood block and hit it with a rubber mallet to straighten/flatten the spoon handle. The idea is to straighten the handle a little so the spoon will hang vertically. Optionally, you may also want to hit the spoon bowl a few times to flatten it a little. Repeat with the remaining spoons and fork.
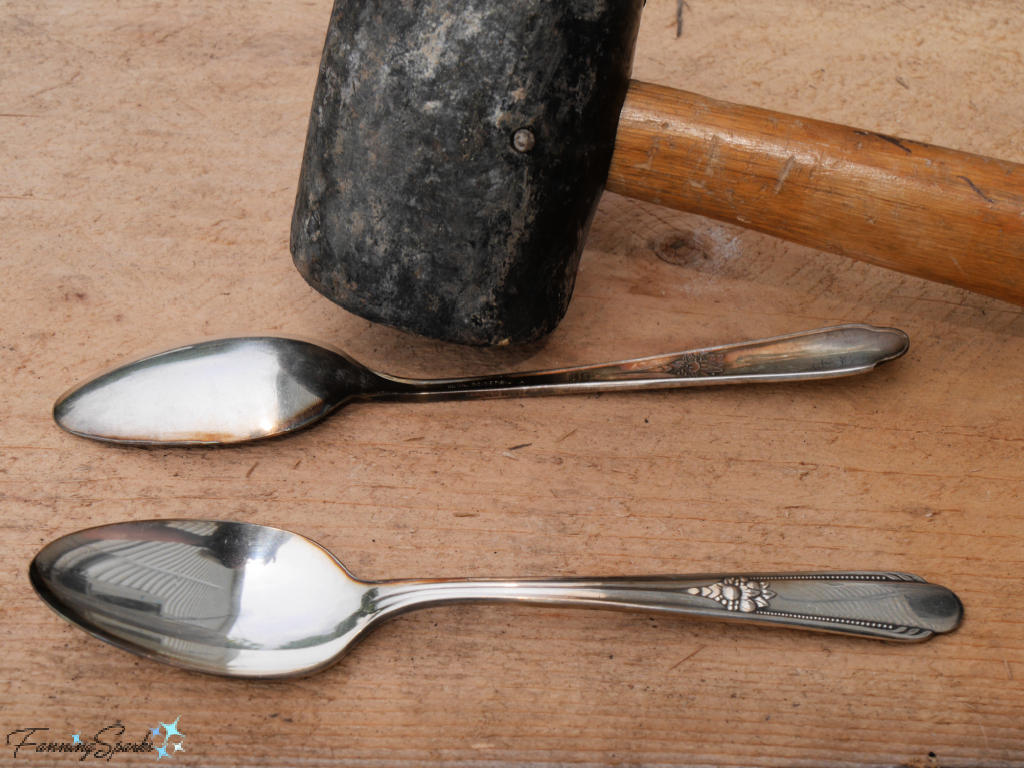 Step 3 – Bend Fork Use flat-nose pliers to grip one of the fork’s tines. Slowly bend the tine out and into a graceful curl. It’s helpful to use round-nose pliers for the final bending. Alternate the direction of the tine curls. Curling out the fork tines increases their contact with the bowls of the spoons meaning the wind chimes will produce more music.
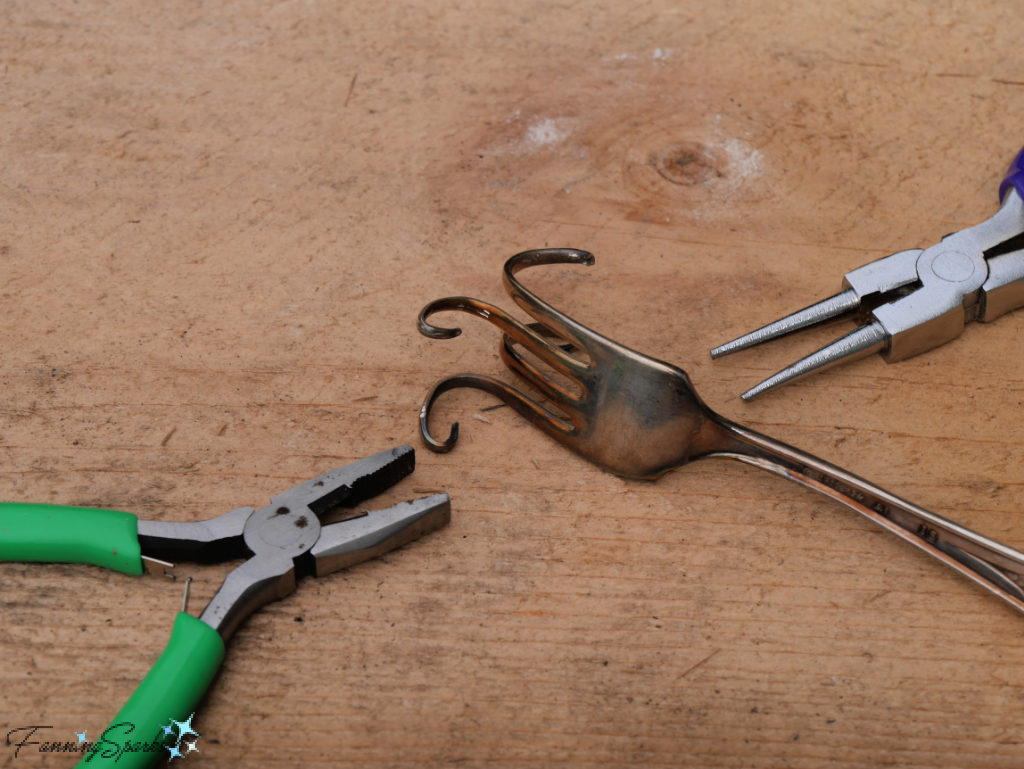 Step 4 – Drill Holes in Spoons and Fork Start with a spoon. Choose a spot at the top of the handle—centered and about ¼” from the tip—to drill a hole for hanging. Indent this spot with a sharp nail and a hammer. Use the drill with a bit for drilling metal. Drill through the spoon handle at the marked spot. Take care to clear away metal filings since these can be sharp. Use a hammer to knock off and flatten any sharp edges or tear-out on the backside of the drilled hole. Repeat for the remaining spoons and fork. Drill a second hole in the fork just above the top of the tines in the center.
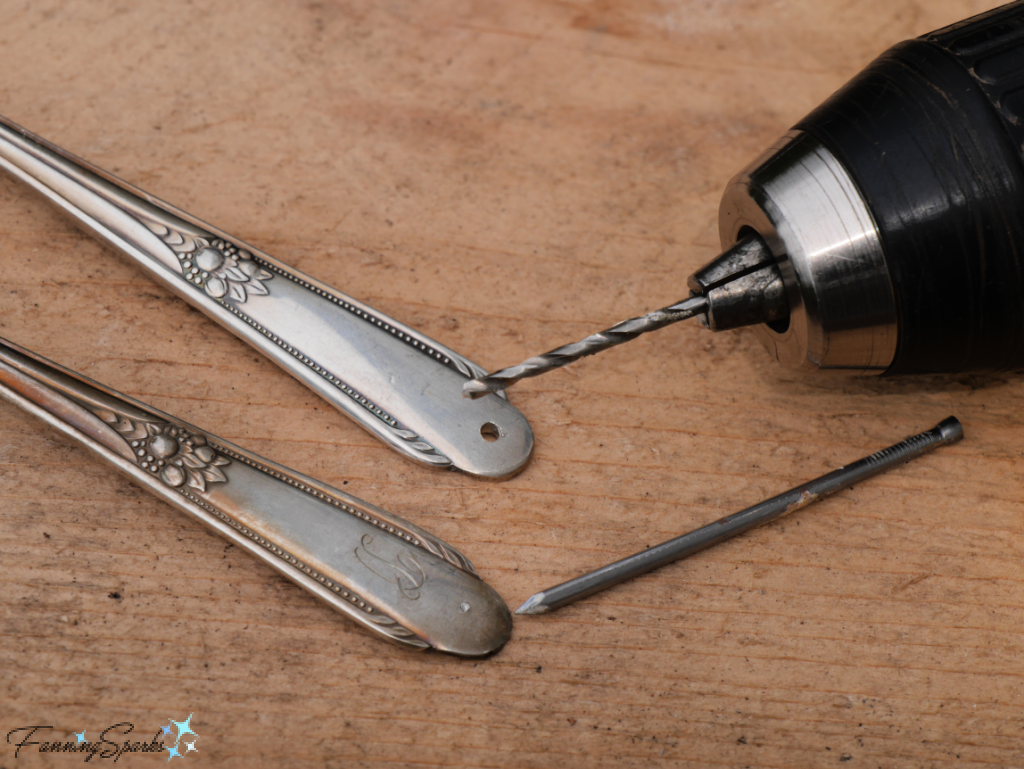 Step 5 – Drill Holes in Sugar Bowl Choose 4 spots on the bottom of the sugar bowl for drilling holes. It’s easiest to align these with the bowl’s feet. As above, indent the selected spots with a sharp nail and hammer. Drill the holes. Locate the center of the bottom, mark and drill. Use a hammer to gently smooth out the backside of the drilled holes.
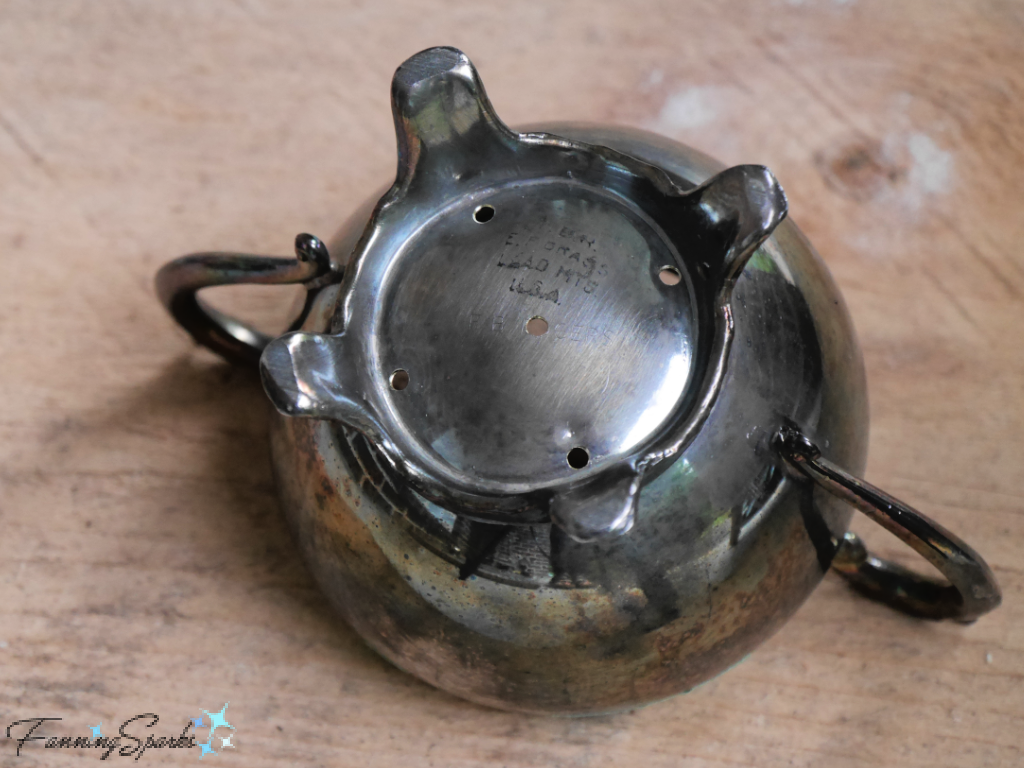 Next drill holes along the top rim of the sugar bowl. Choose 4 spots at an equal distance from the handles and the top edge. Due to the curved edge, drilling these can be tricky.
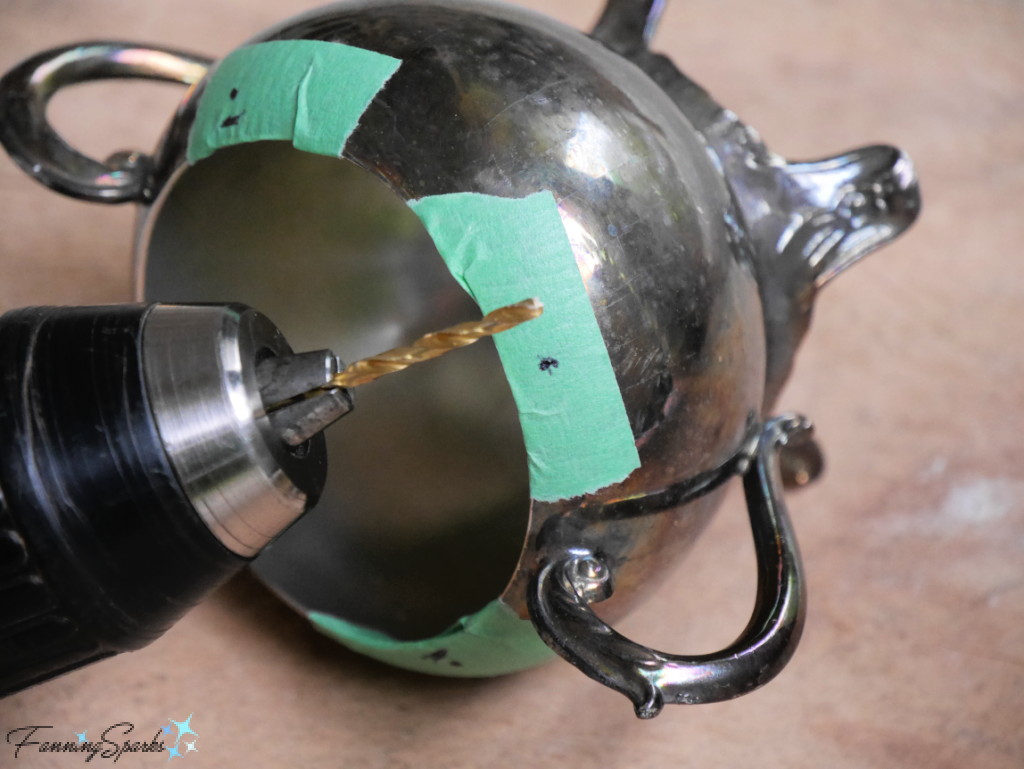 If using a creamer, drill a hole in the center of the creamer’s spout.
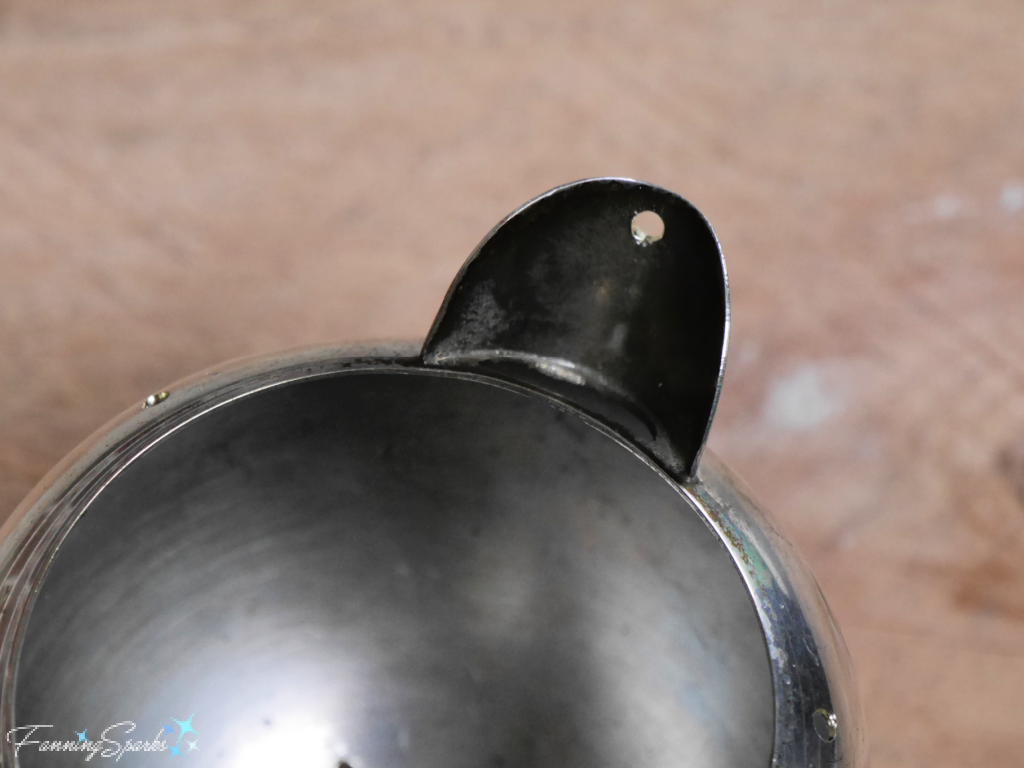 Step 6 – String Beads for Top Hanger Place a piece of fabric on your working surface to keep your beads from rolling away. Cut 2 pieces of beading wire each 16” long. Insert both pieces through the bottom of a swivel snap fitting. Fold wires in half. Slip a crimp bead onto the wire ends and slide it up to the swivel snap fitting. Use crimping pliers to squeeze the crimp bead and lock it into place.
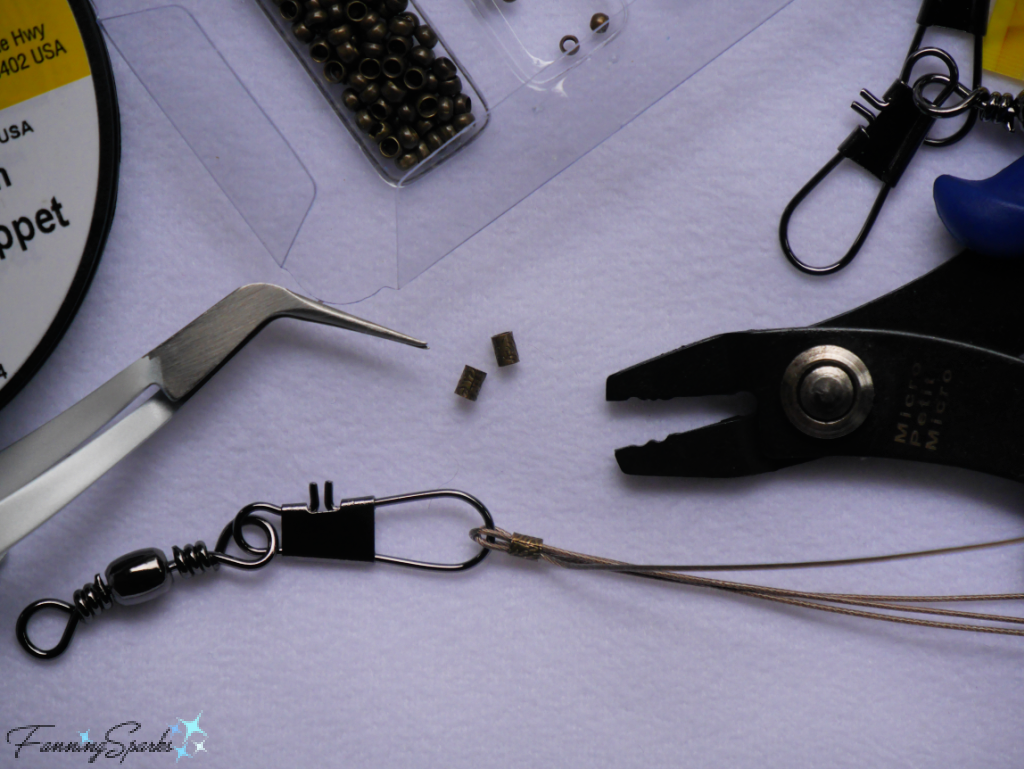 Take a few minutes to plan your bead design. The beaded section should be about 4.5” long. You may want to play around with different combinations of colors and shapes to create a pleasing pattern. Once happy with your design, string the beads onto one of the wires ending with 1 or 2 crimp beads. Then finish with a small crimp bead positioned at the end tip of the wire. Use the crimping pliers to squeeze the end crimp bead into place—temporarily keeping the beads in place while you work on the other sections.
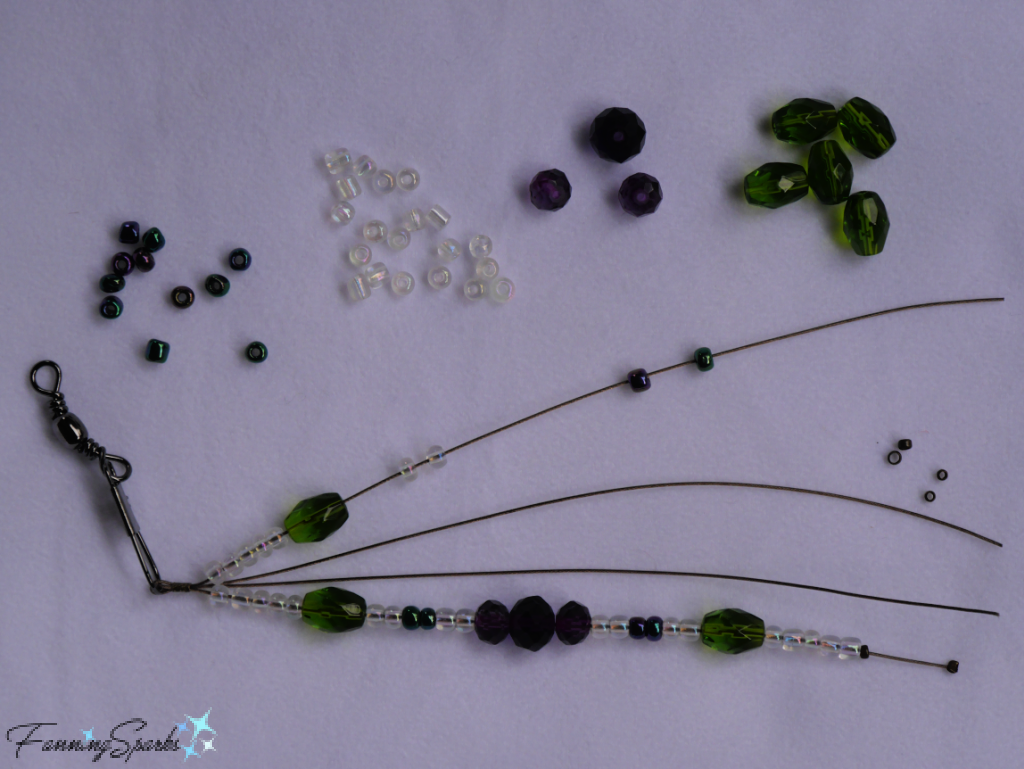 Step 7 – Attach Top Hanger Prepare to attach the beaded wires into the 4 drilled holes on the top edge of the sugar bowl. Snip off the crimped bead from the end tip of the wire. Thread the end of the wire through the drilled hole and back up through 3-5 beads. Ensure beads are snug against the swivel snap fitting at the top.
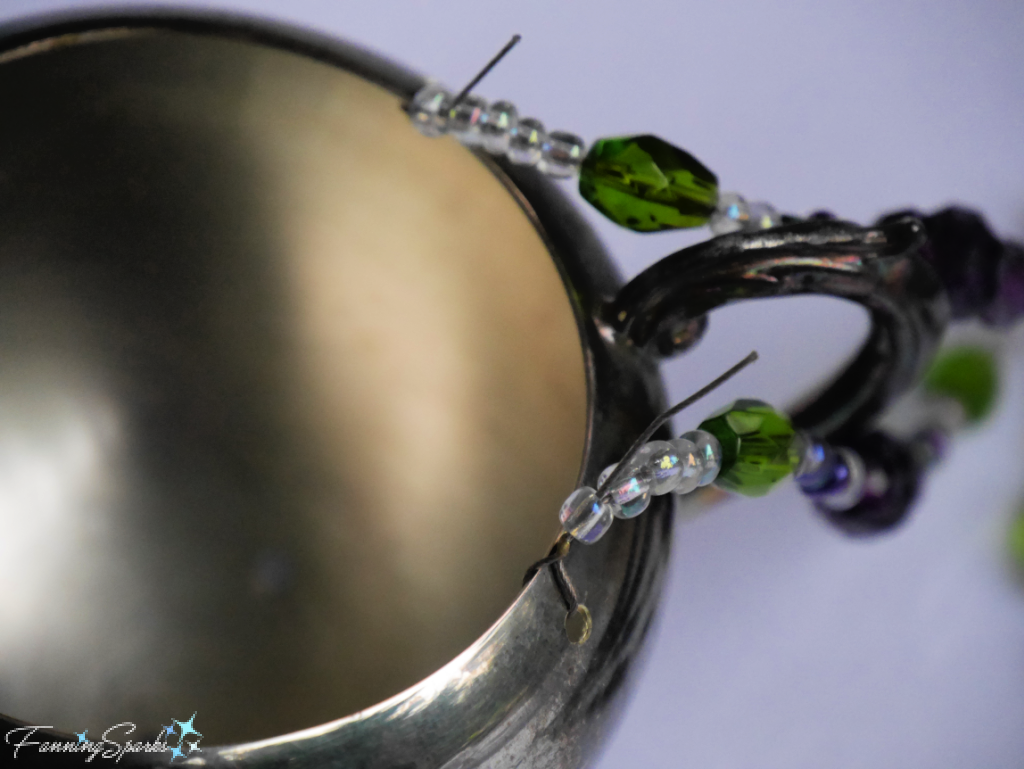 If using a lid on a sugar bowl, put the lid in place and adjust the wire loops to fit. Lock in place, by squeezing the remaining crimp bead(s) with the crimping pliers. Trim off the end of the wire with the cutting pliers. Repeat for the 3 remaining wires.
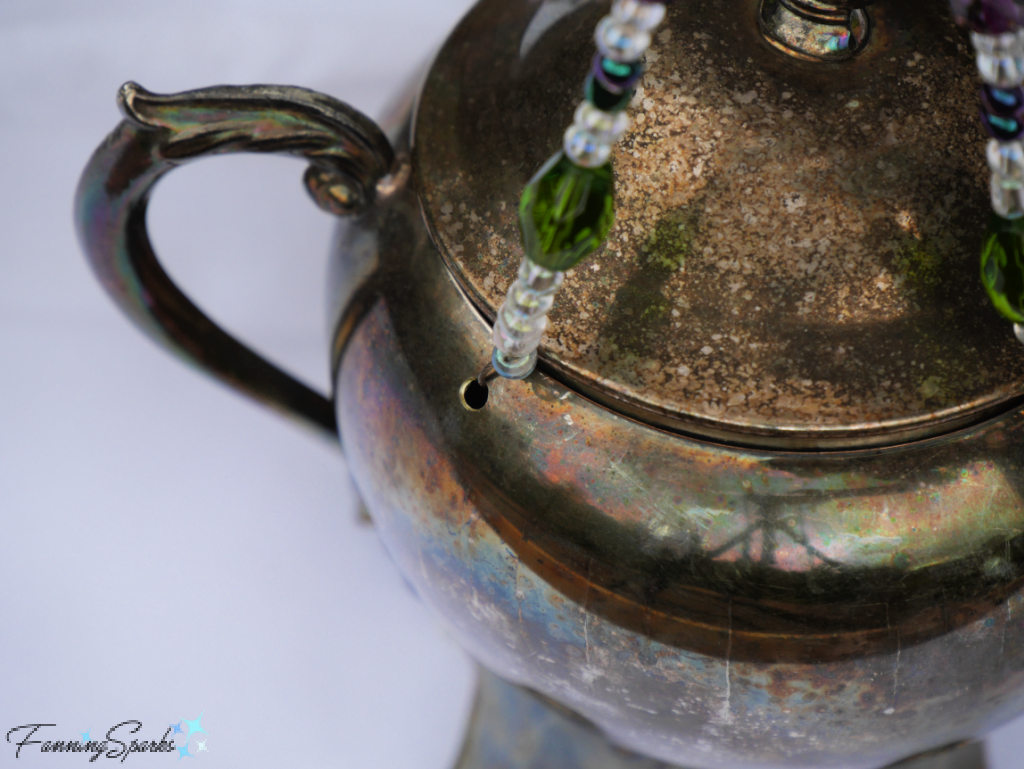 Step 8 – String Beads for Cutlery Hangers Cut a piece of beading wire 10” long. Squeeze a small crimp bead onto one end of the wire. Thread a plain bead onto the wire, slide up to the crimped bead, loop wire around and thread back through bead. Place the beaded end of the wire inside the sugar bowl and pull the wire down through the drilled hole. Repeat for the remaining 4 drilled holes.
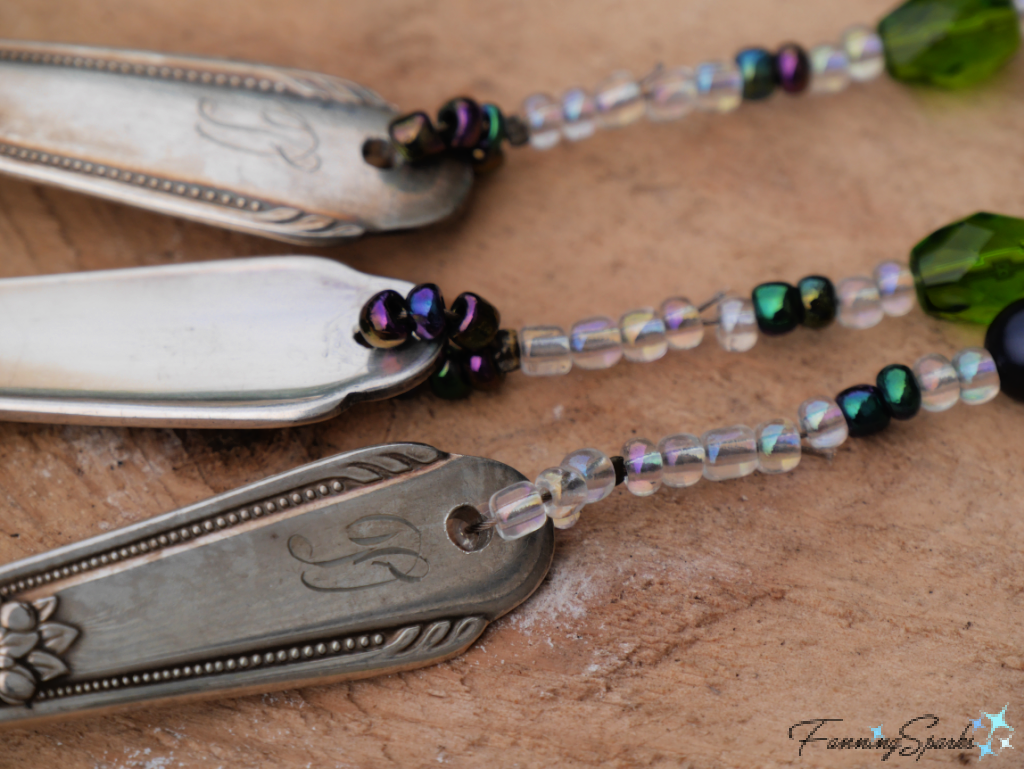
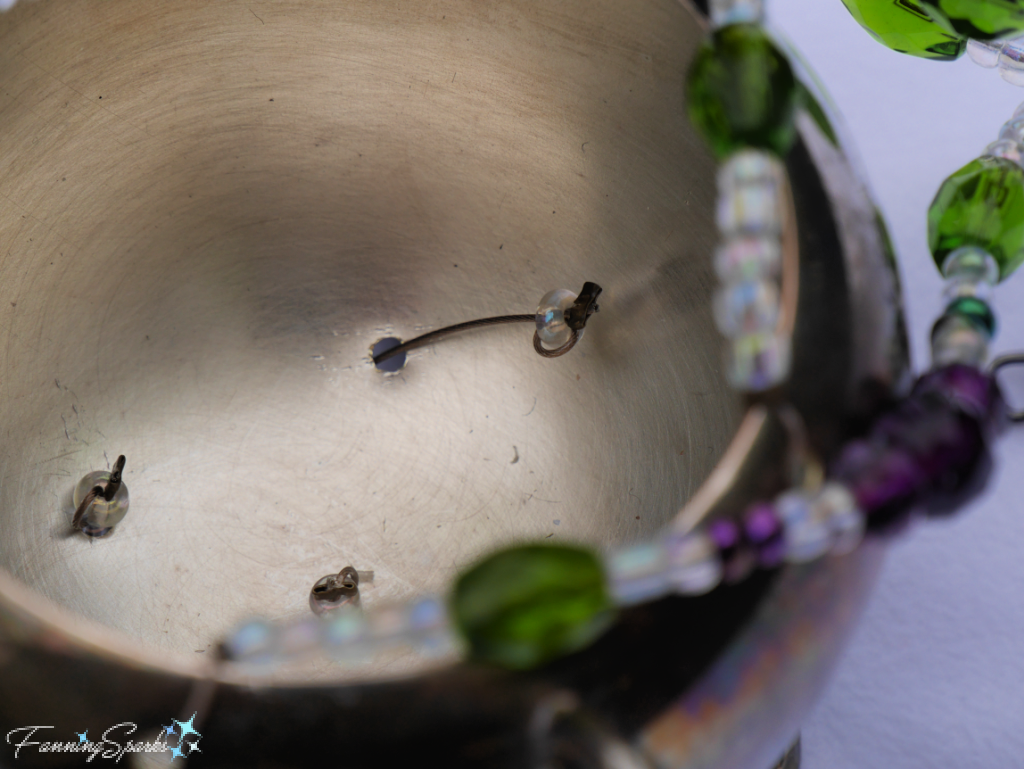 String the beads onto one of the beading wires in your desired pattern. The beaded section should be about 5” long. Choose 6 small plain beads to wrap around the spoon handle. Add 3 of the small plain beads and a crimp bead to the wire. Then squeeze another crimp bead on the very end of the wire to temporarily hold the beads in place. Repeat for remaining 4 wires.
 Step 9 – Attach Cutlery Prepare to attach the spoons and fork to the beaded wires. Start with one of the beaded wires and one spoon. Push all the beads up against the bottom of the sugar bowl. Snip off the crimped bead from the end tip of the wire. Thread the end of the wire through the drilled hole in the spoon handle, from front to back, add 3 small plain beads and pull the wire back up through the crimp bead and the last 3-5 beads above the crimp bead. Lock in place, by squeezing the crimp bead with the crimping pliers. Trim off the end of the wire with the cutting pliers. Repeat for the 4 remaining wires.
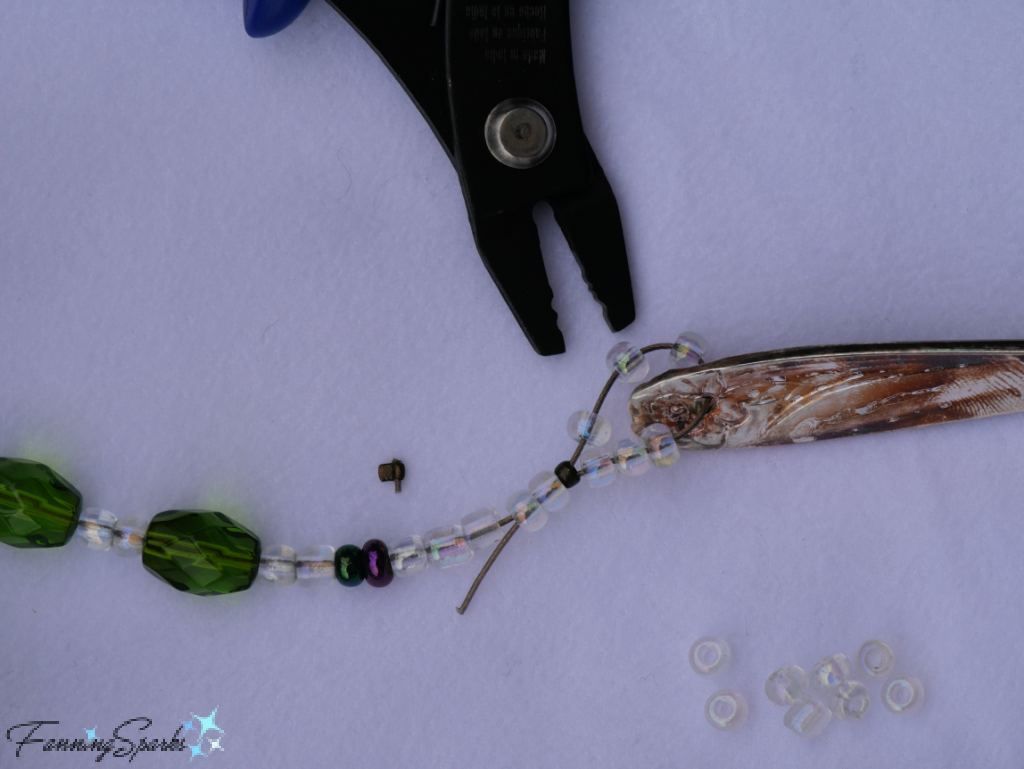
 Step 10 – Prepare Bottom Weight Hold the handle of the spoon with a set of flat-nose pliers. Then use your other hand to bend the spoon handle into an interesting shape. Work carefully to gradually bend the handle. Drill a hole in the handle of the spoon if not done previously. Drill hole at the tip of the spoon bowl.
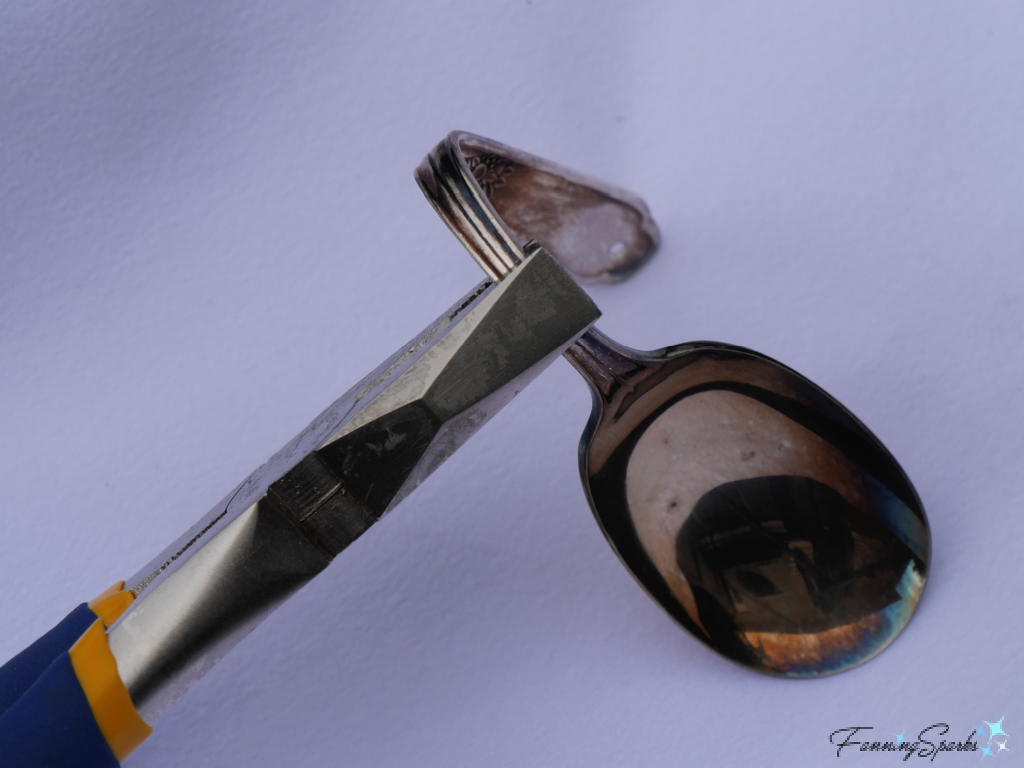 Cut an 8” piece of beading wire. String a small single bead onto the wire and center. Pull both ends of the wire through a teardrop bead. String 2-3 beads and a crimp bead onto the double wire. Then separate the 2 wires and prepare to attach to the tip of the spoon. Choose 7 small plain beads. Thread 4 small plain beads on one end of the wire. Thread the same end of the wire through the drilled hole in the spoon’s bowl, from front to back, add 3 more small plain beads and pull the wire back up through the crimp bead and the last 2-3 beads above the crimp bead. Pull the second end through the beads in a similar way. Lock in place, by squeezing the crimp bead with the crimping pliers. Trim off the ends of the wire with the cutting pliers.
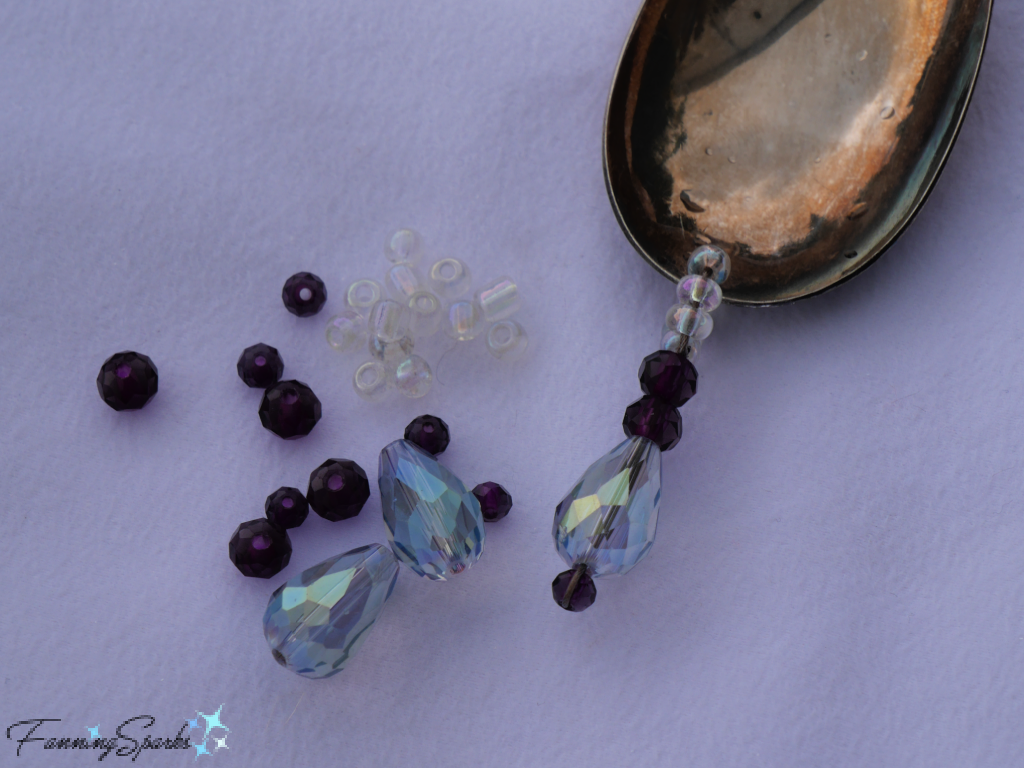 Step 11 – Attach Bottom Weight Prepare to attach the bottom weight to the fork. Drill a hole in the fork just above the top of the tines, if not done previously.
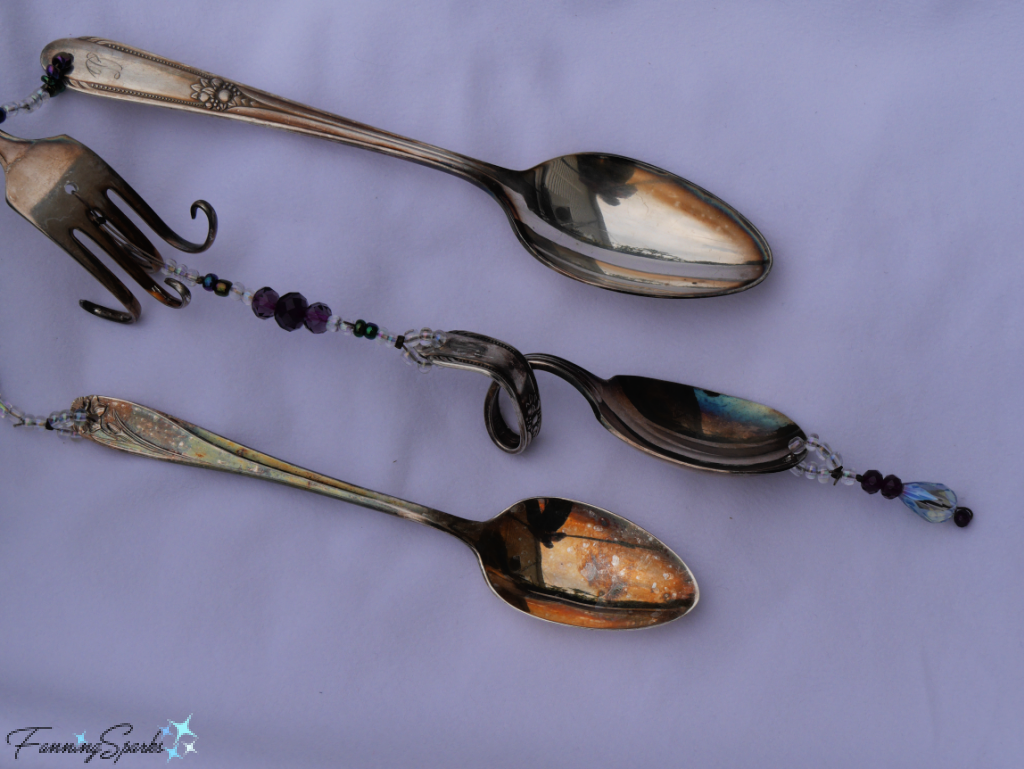 Step 12 – Add Beads to Creamer Spout If using a creamer, prepare to string beads for the creamer’s spout. Cut 3 pieces of beading wire, approximately 6” long. Begin each wire with a teardrop bead using the same technique as described in Step 10 Prepare Bottom Weight. String beads onto the beading wire in your desired pattern. Hold the beaded sections in place on the spout to judge the final length. The beaded sections shown below are 3.5”, 3” and 2.5”. The objective is to create a graceful arch simulating streams of water pouring from the spout. When satisfied with the beaded sections, prepare to attach them to the creamer’s spout.
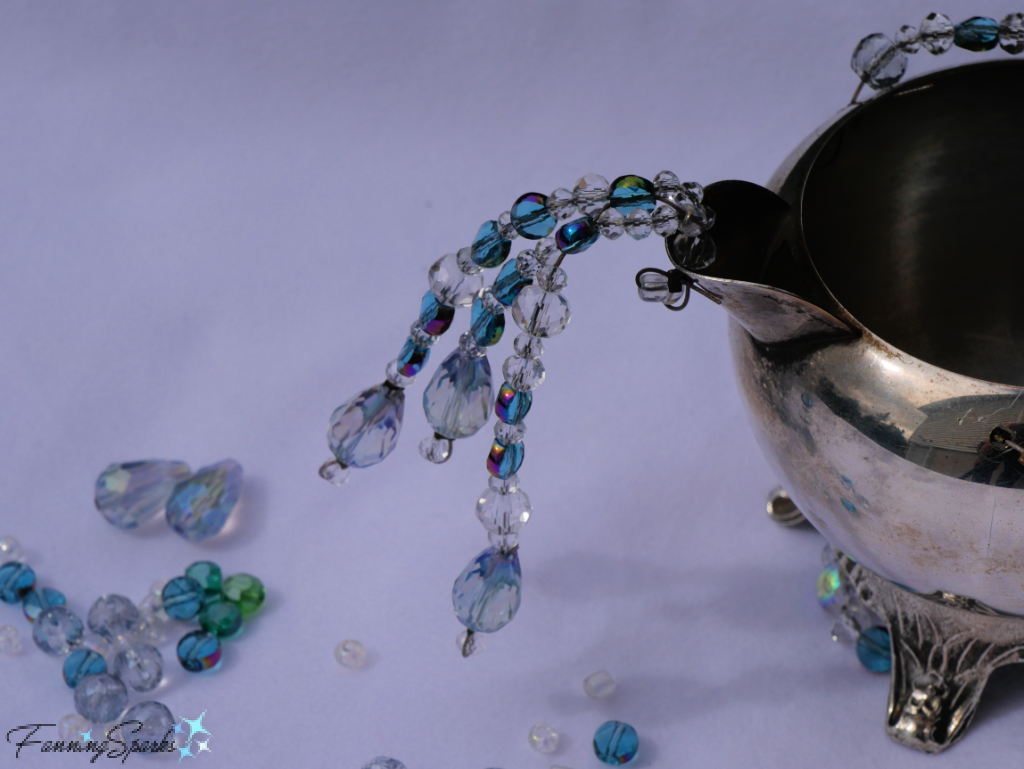 Step 13 – Hang and Enjoy! Get ready to enjoy the sparkling lights and sweet sounds of your new Old Silver Wind Chimes!
 Special thanks to Marian, my sister, for crafting along with me on this project. She gets full credit for the beautiful creamer wind chimes shown in this post.


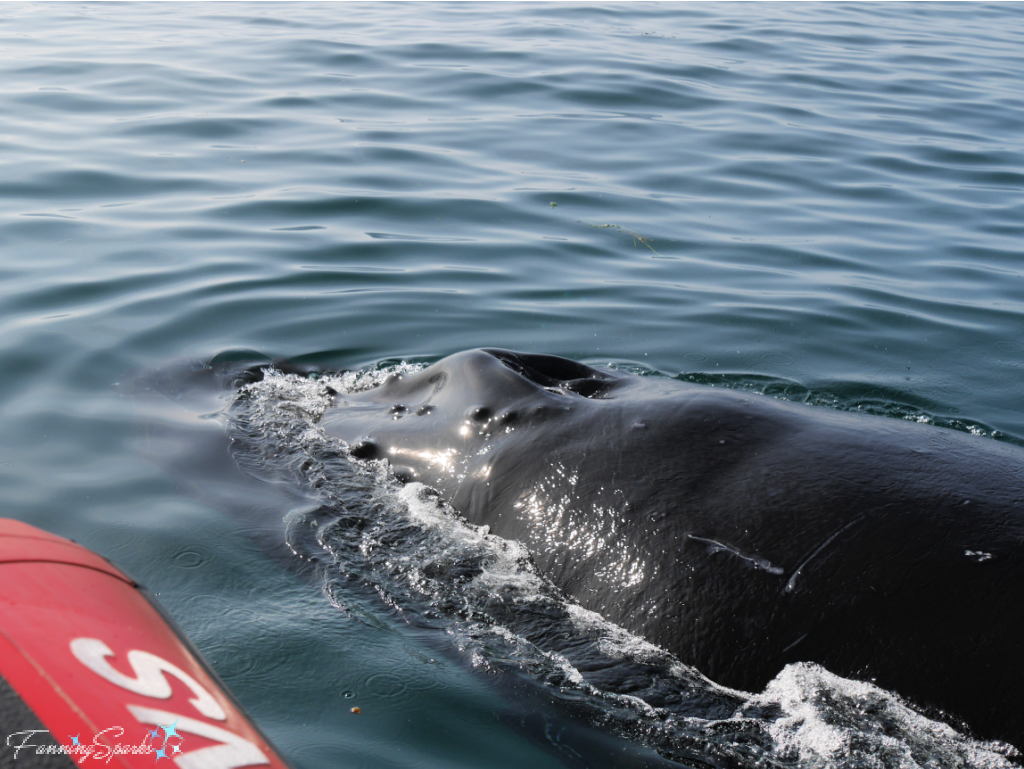
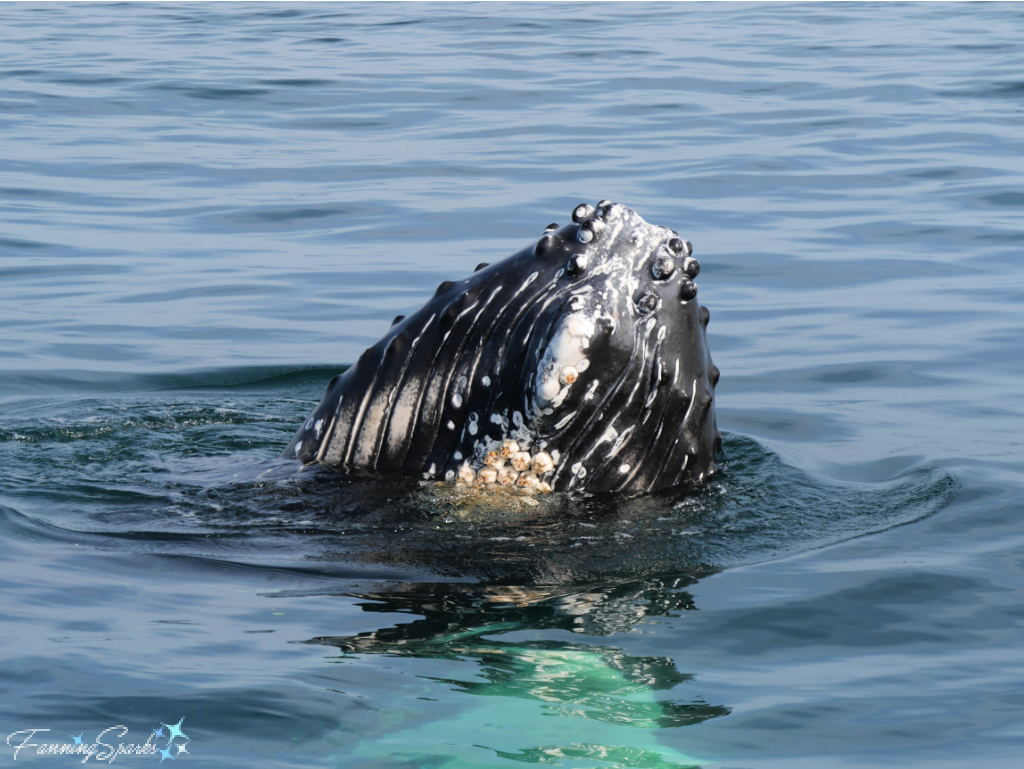
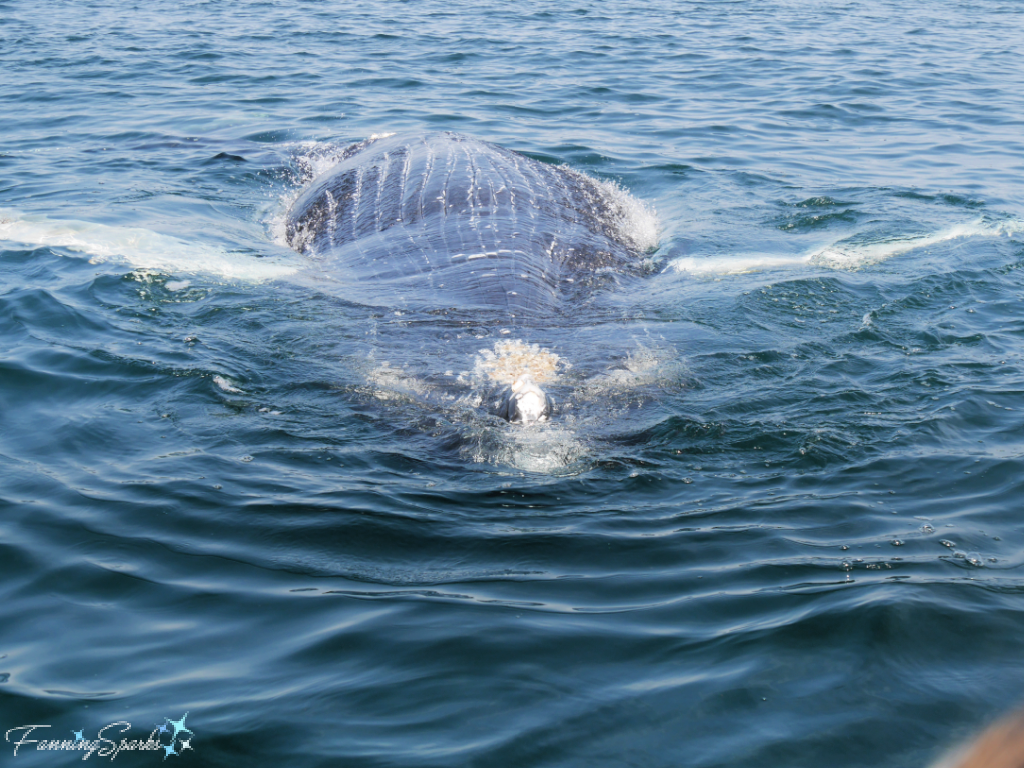
 And then they came! A humpback whale surfaced off in the distance!


 We also witnessed lots of flippering or flipper slapping. NOAA says “Humpback whales are the most famous flipper slapper, as they possess the longest flippers of all cetaceans (around 1/3 of their body size). … A cetacean at the surface rolls onto its side, raises a flipper out of the water, and then hits the surface with it. The whale may do it once or several times in a row.” Check out this flipper action!
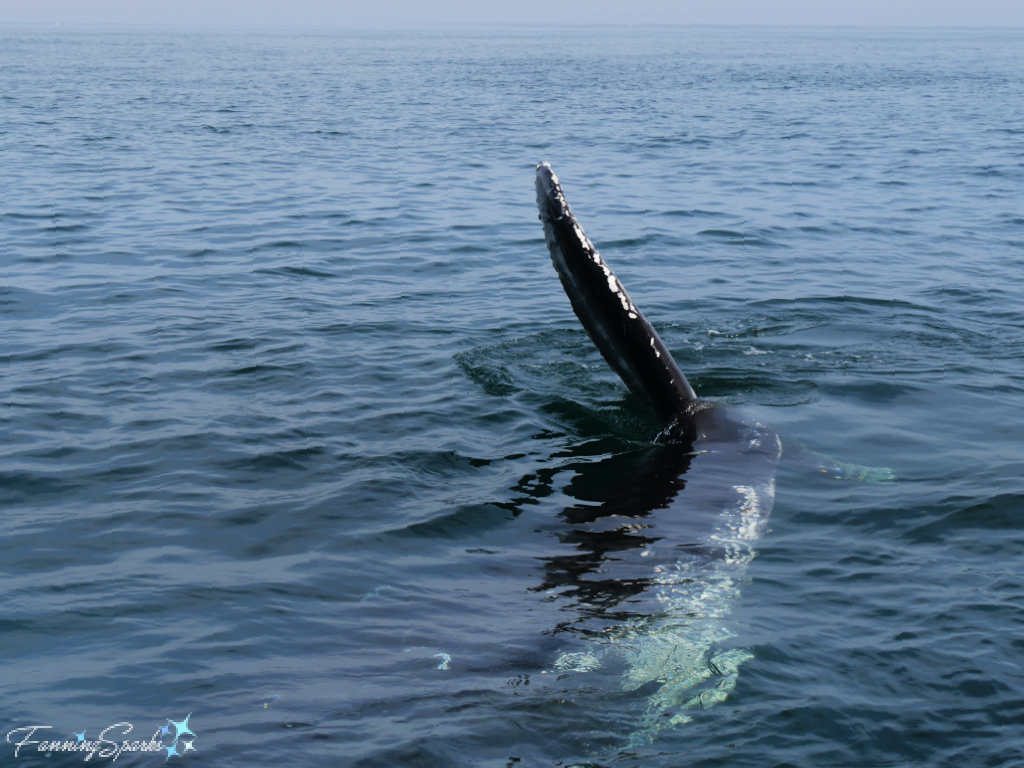


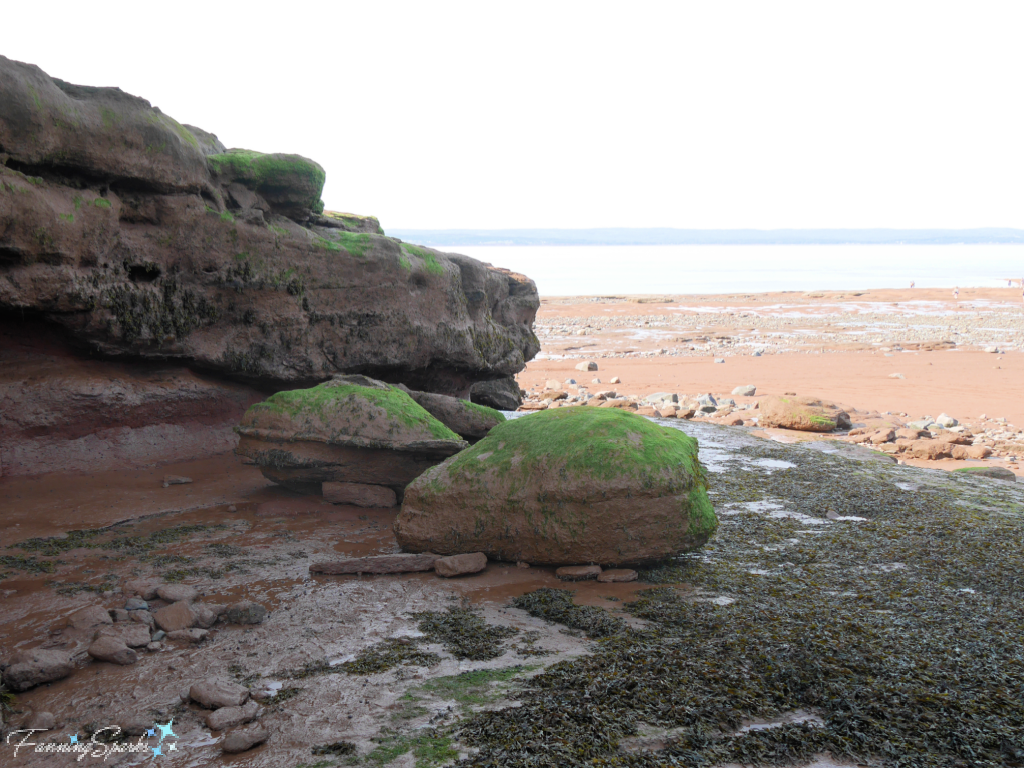
 Wikipedia puts it this way “the tides that flow through the channel are very powerful. In one 12-hour tidal cycle, about 100 billion tonnes of water flows in and out of the bay, which is twice as much as the combined total flow of all the rivers of the world over the same period. They are as powerful as 8,000 train engines or 25 million horses.” Imagine—25 million horses!
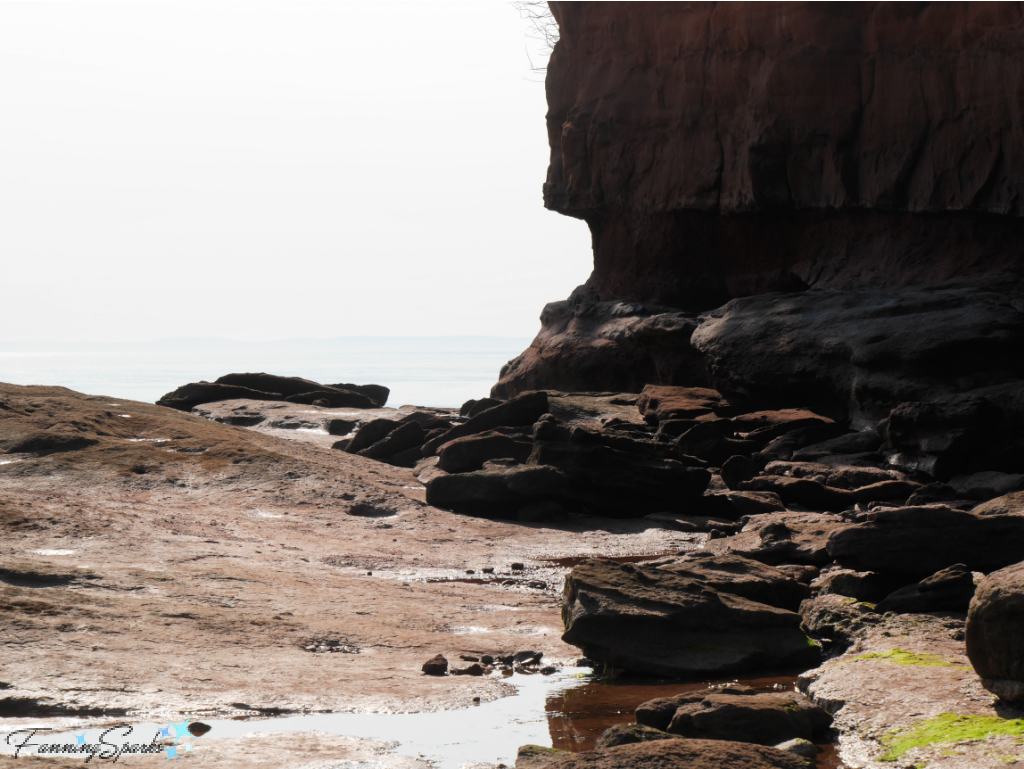


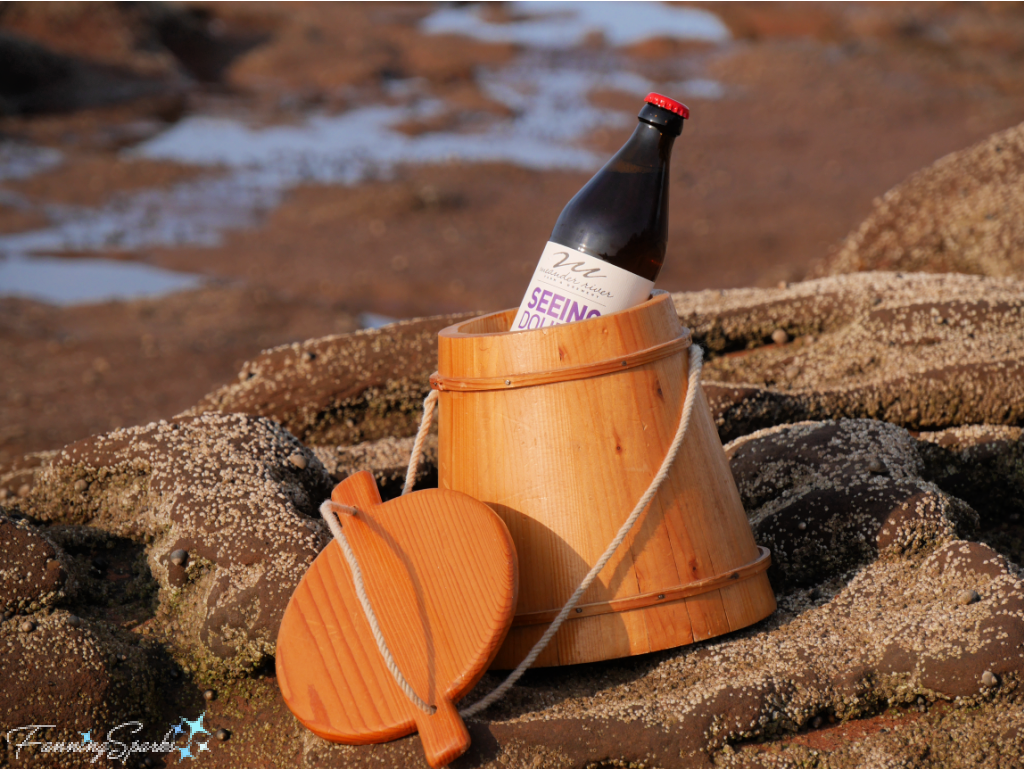 Later in the day, we enjoyed with a nice glass of white wine…
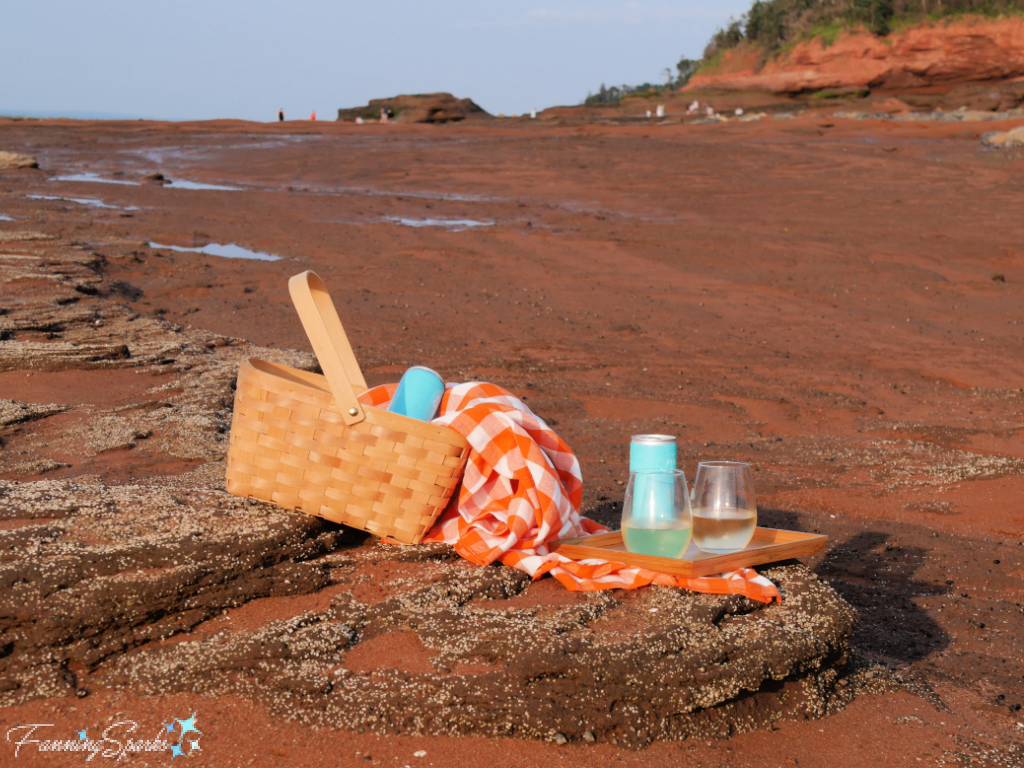 …followed by cheese, crackers and fresh fruit.
 It was a simple meal in an extraordinary setting!
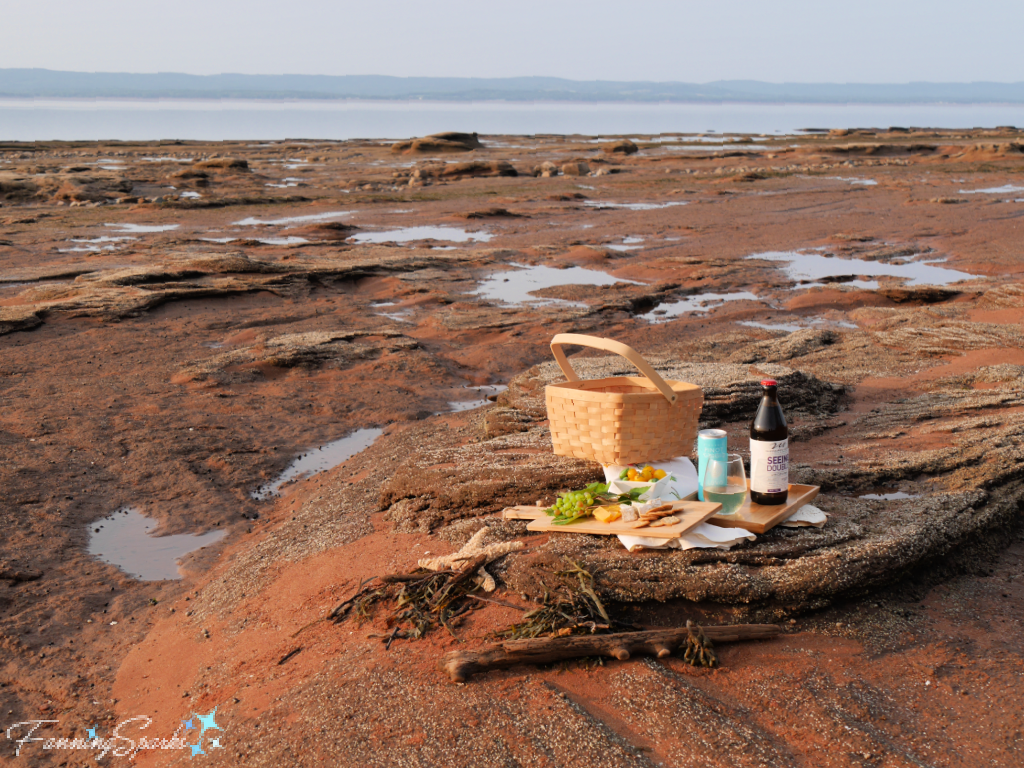


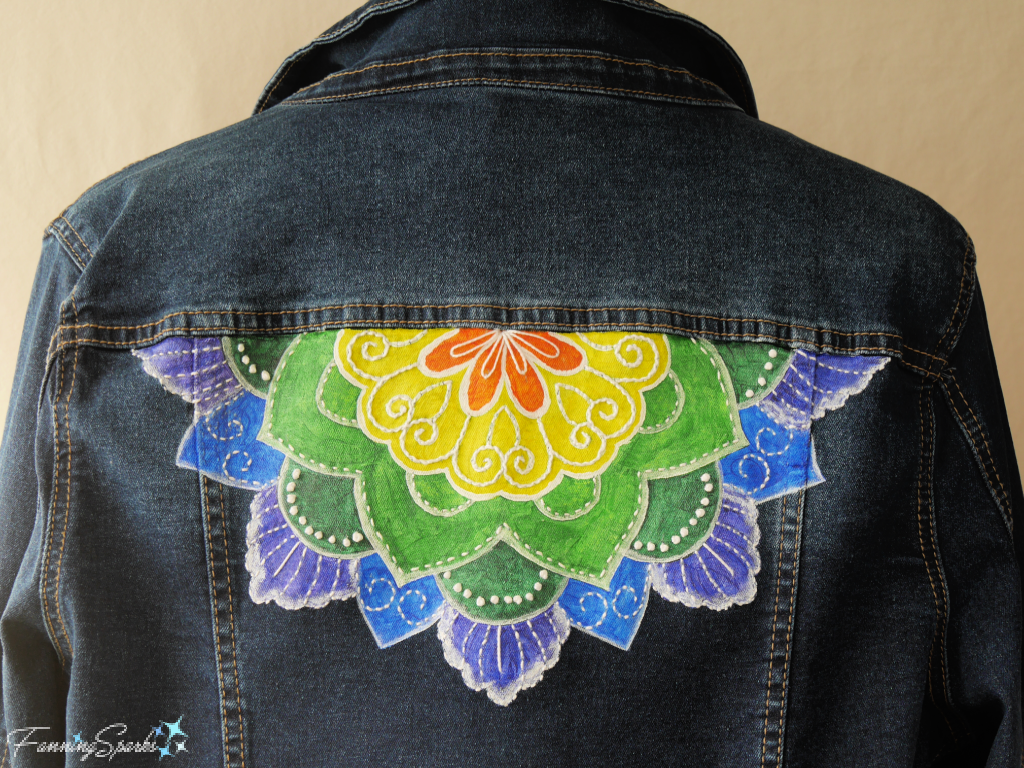
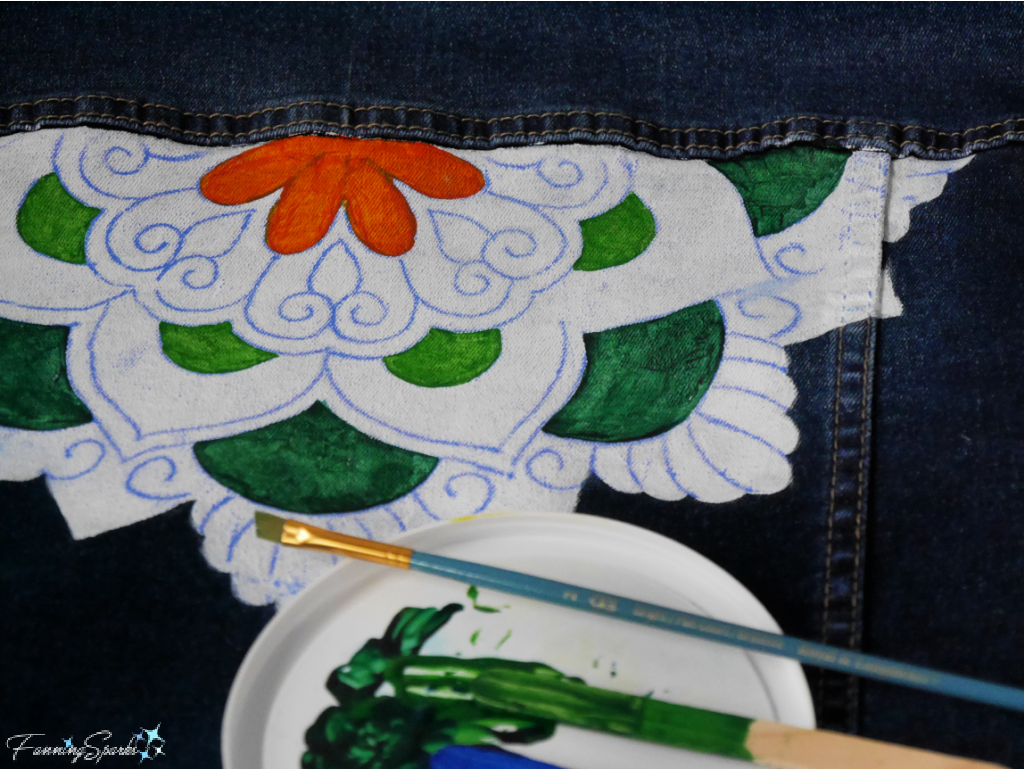
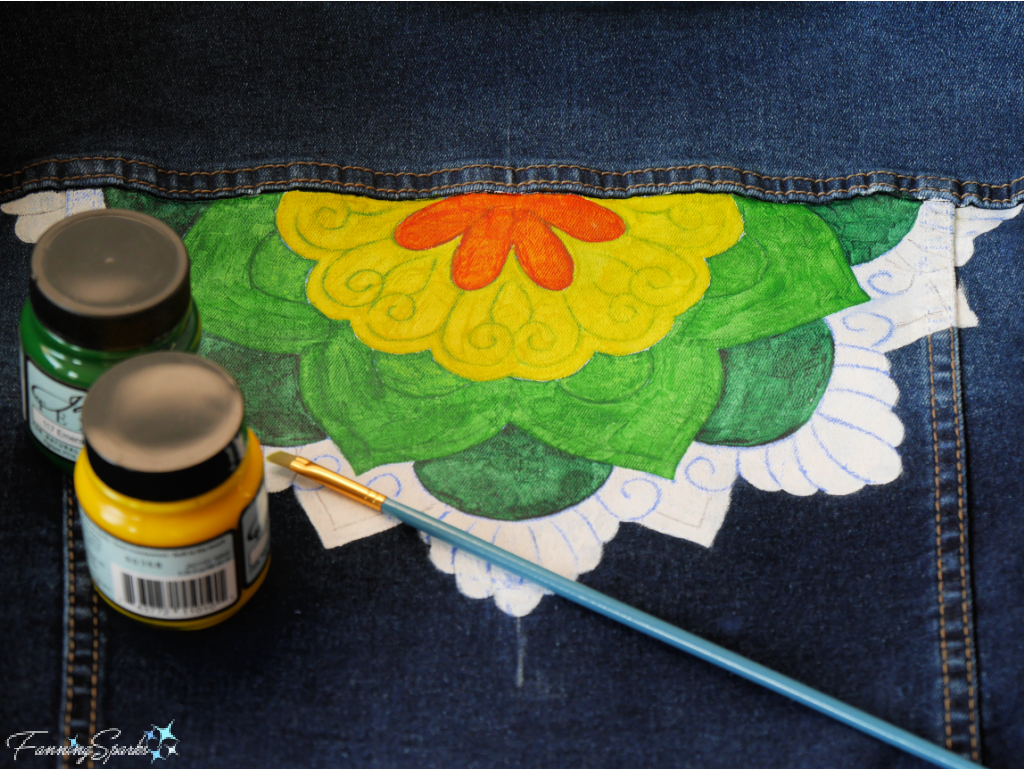
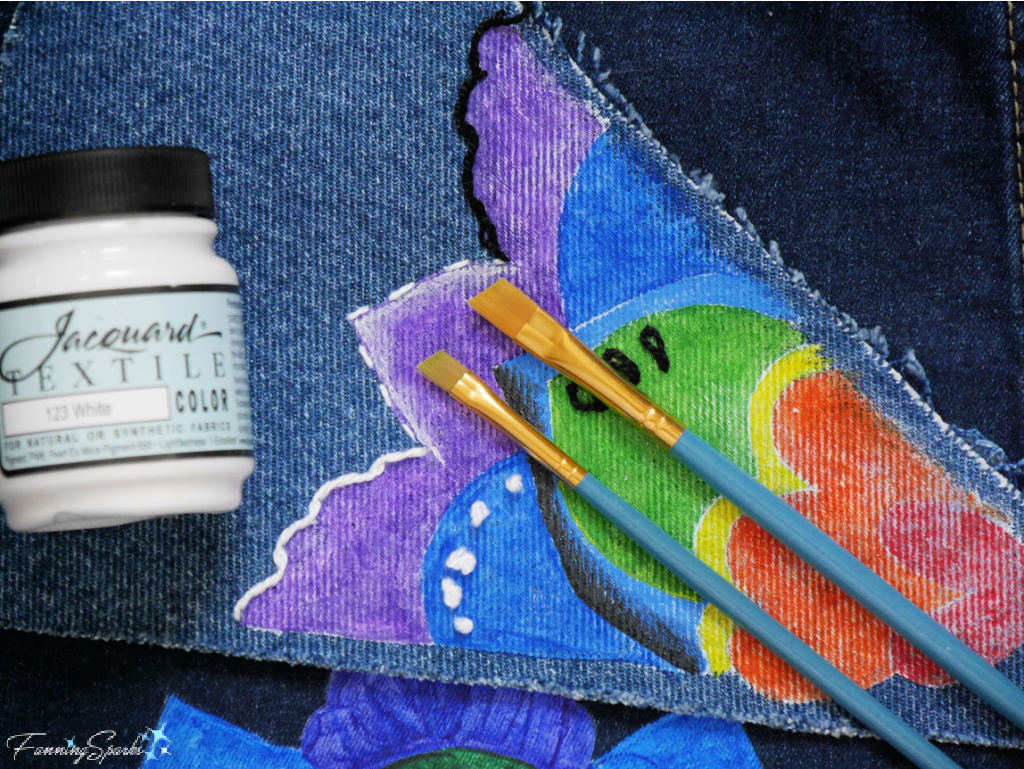
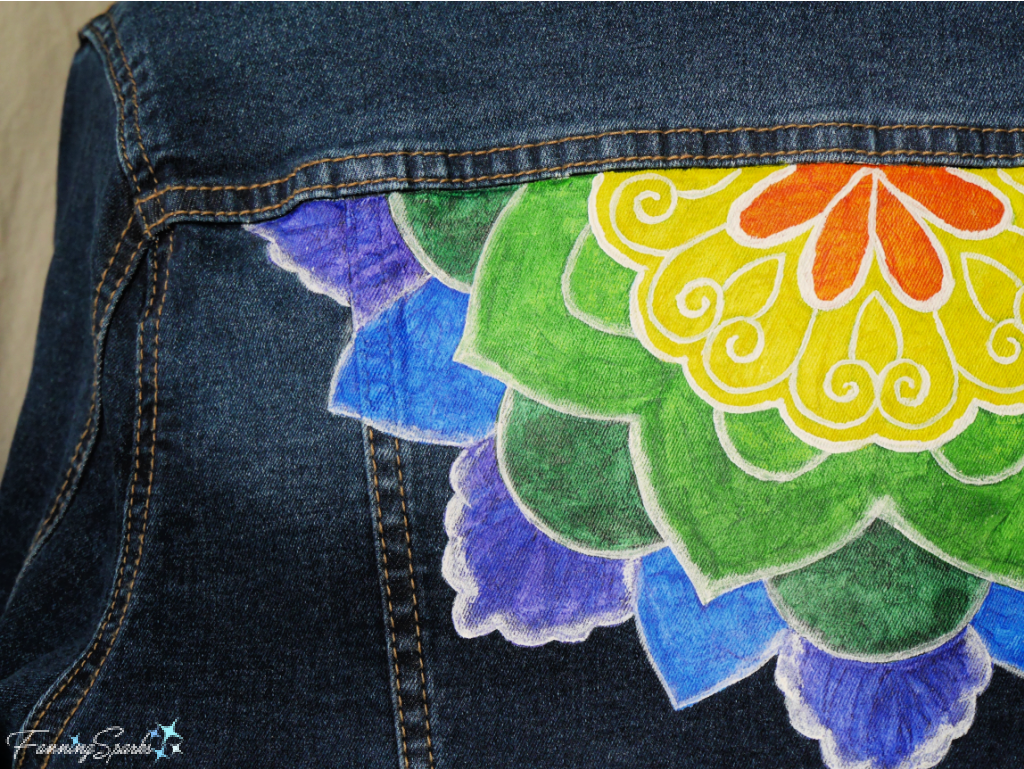
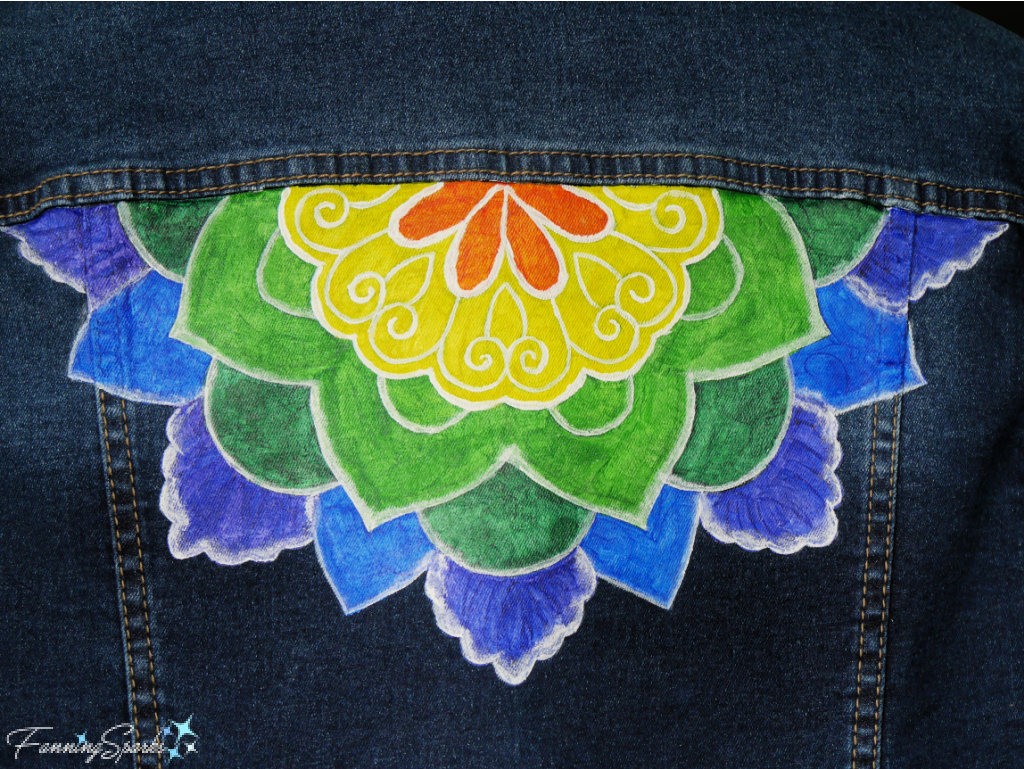
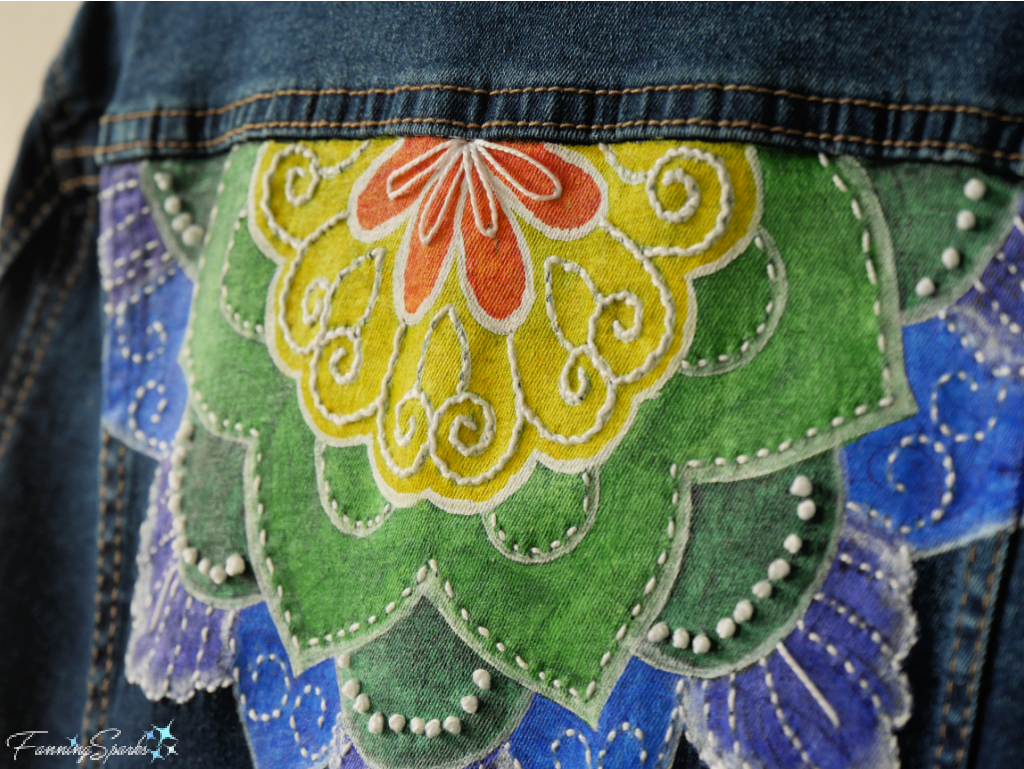

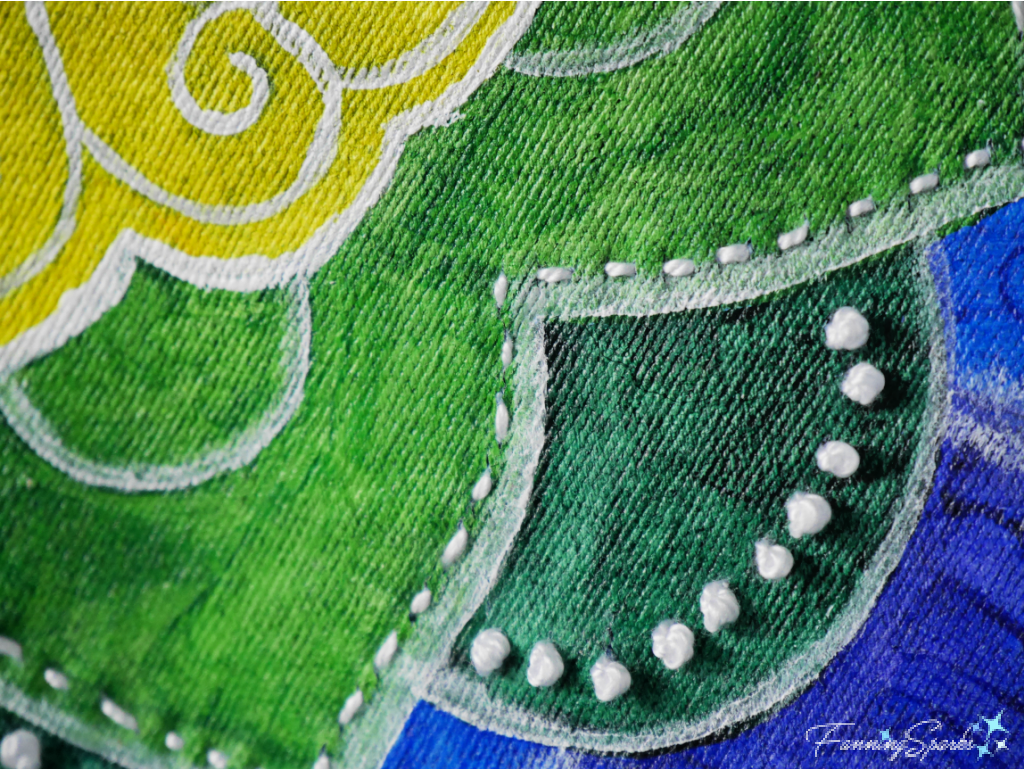

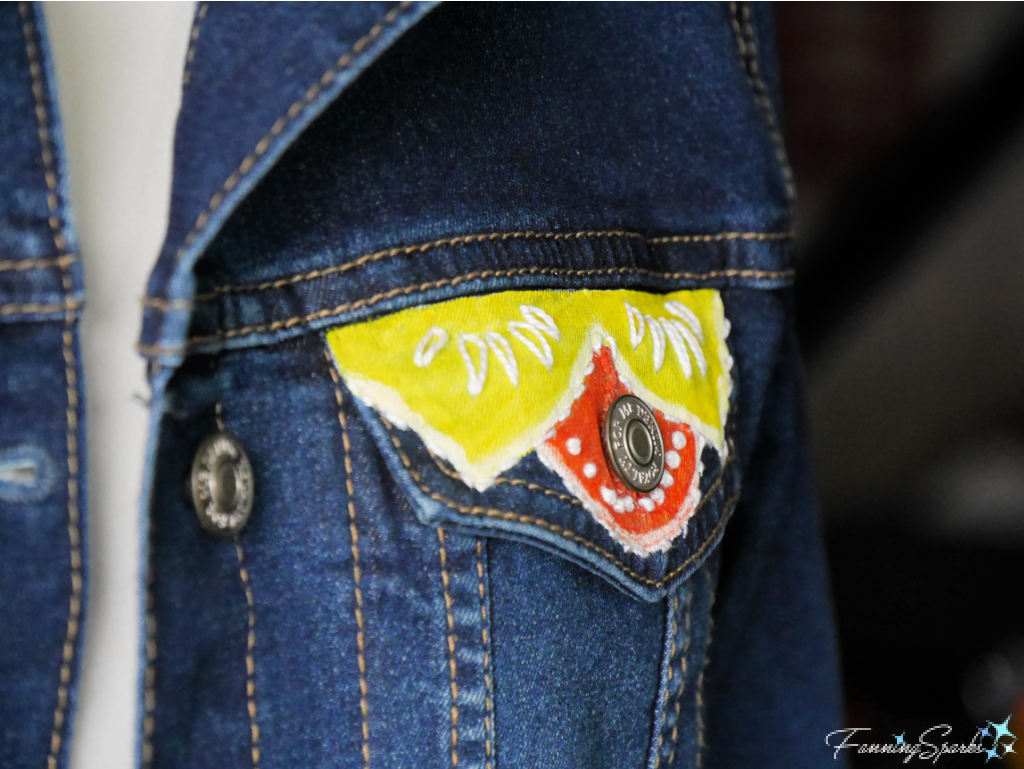
 Then painted and embroidered them in the same way as the back.