A great tip from a friendly local led us to explore the lesser-known area of Amsterdam-Noord during our recent visit to this vibrant Dutch city. We’d already explored several of the popular sights and marveled at the charming canals, bridges and gabled canal houses of the historic Jordaan district.
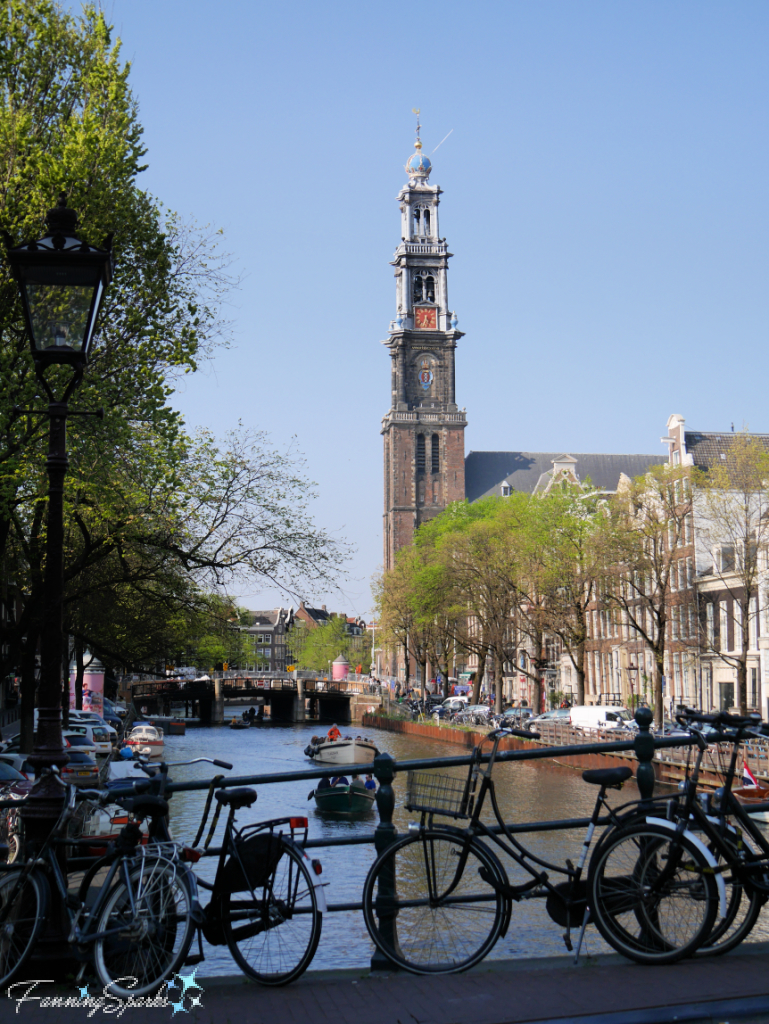
This is Prinsengracht (Prince’s Canal) with the Westertoren (West Tower) in the background.
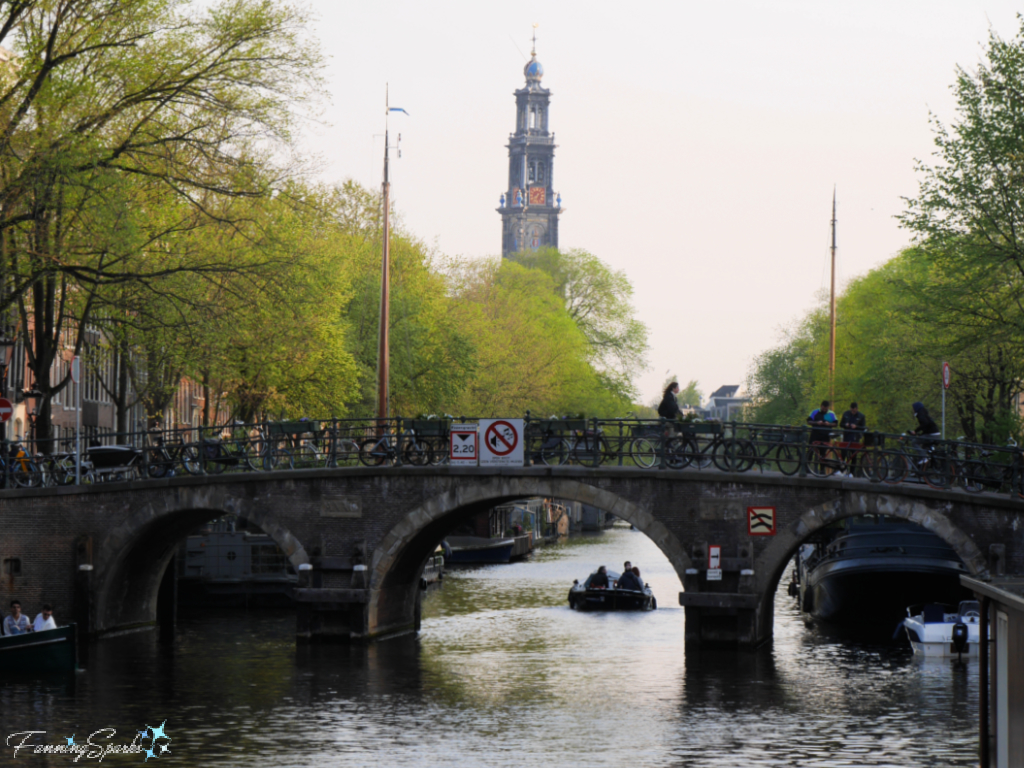
The iconic Westertoren, topped with the beautiful imperial crown, soars above the Jordaan district.
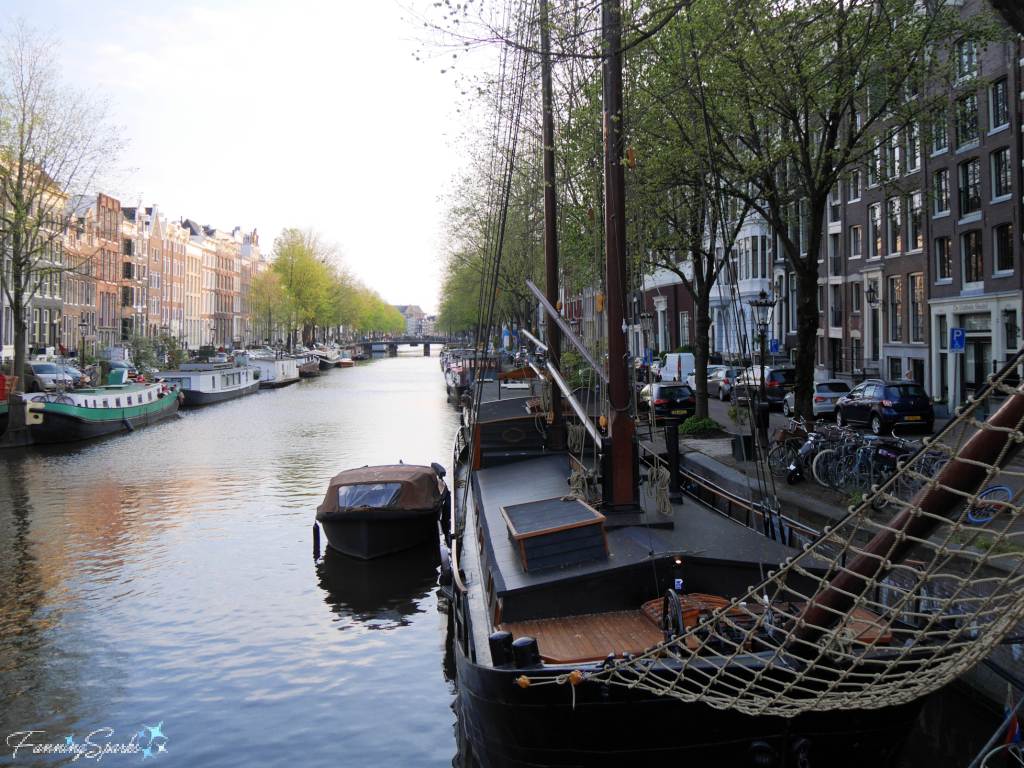
There are about 2,500 houseboats moored along the canal banks in Amsterdam.
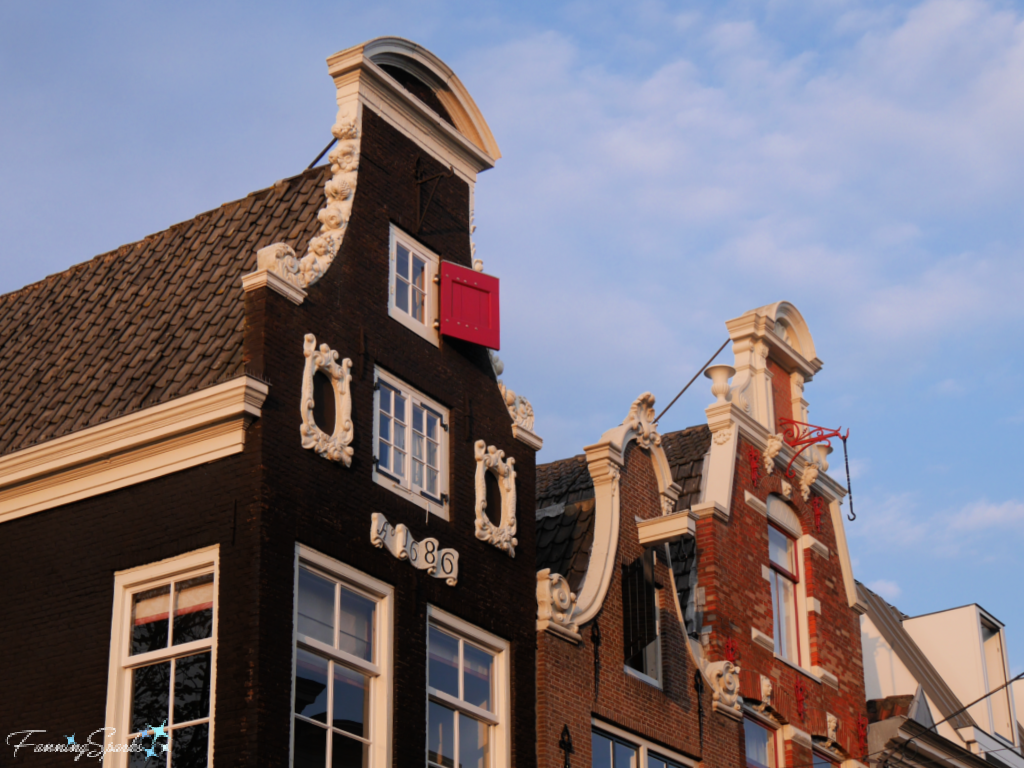
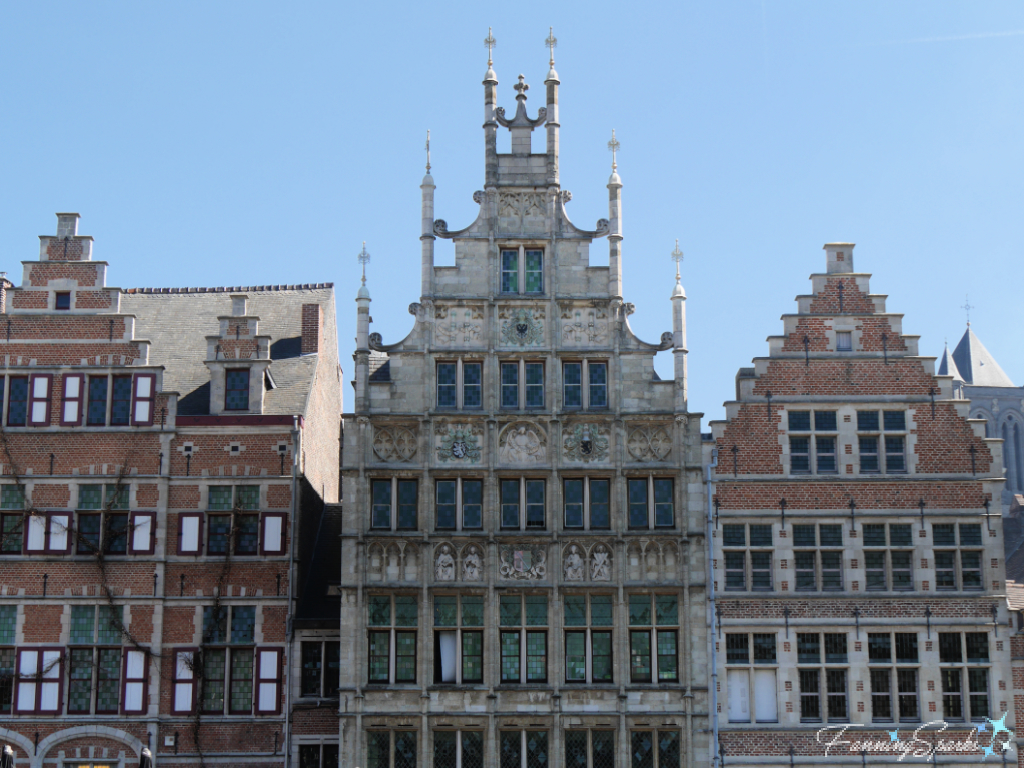
Many of Amsterdam’s canal houses, with their ornate gabled façades, date back to the Dutch Golden Age.
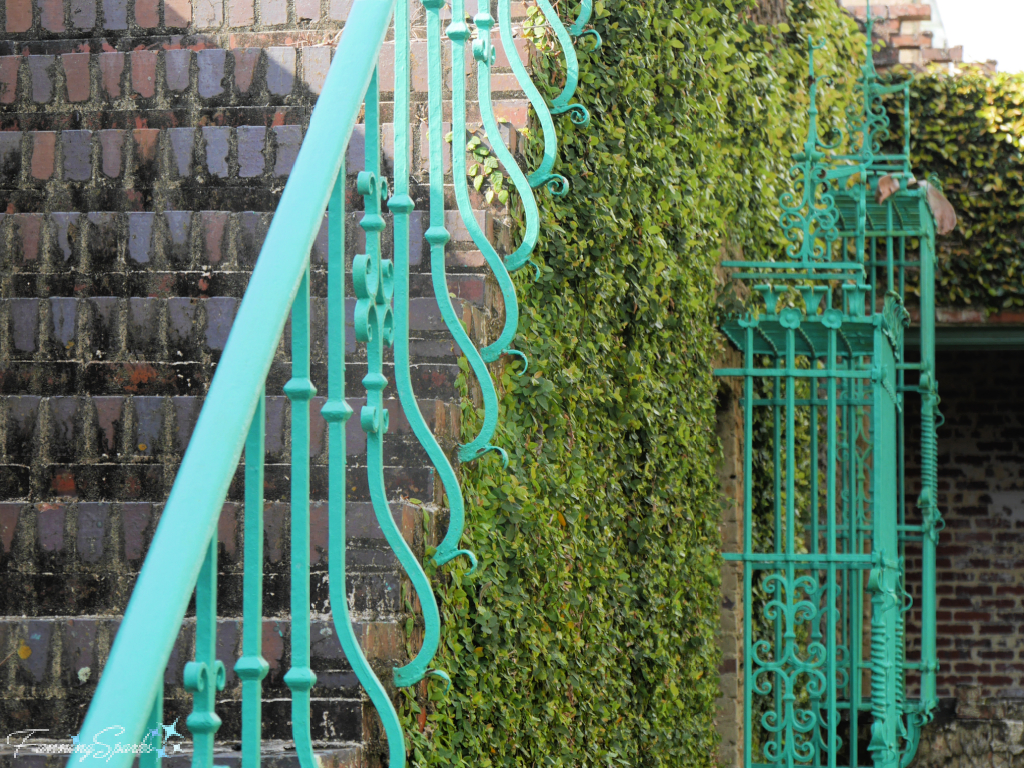
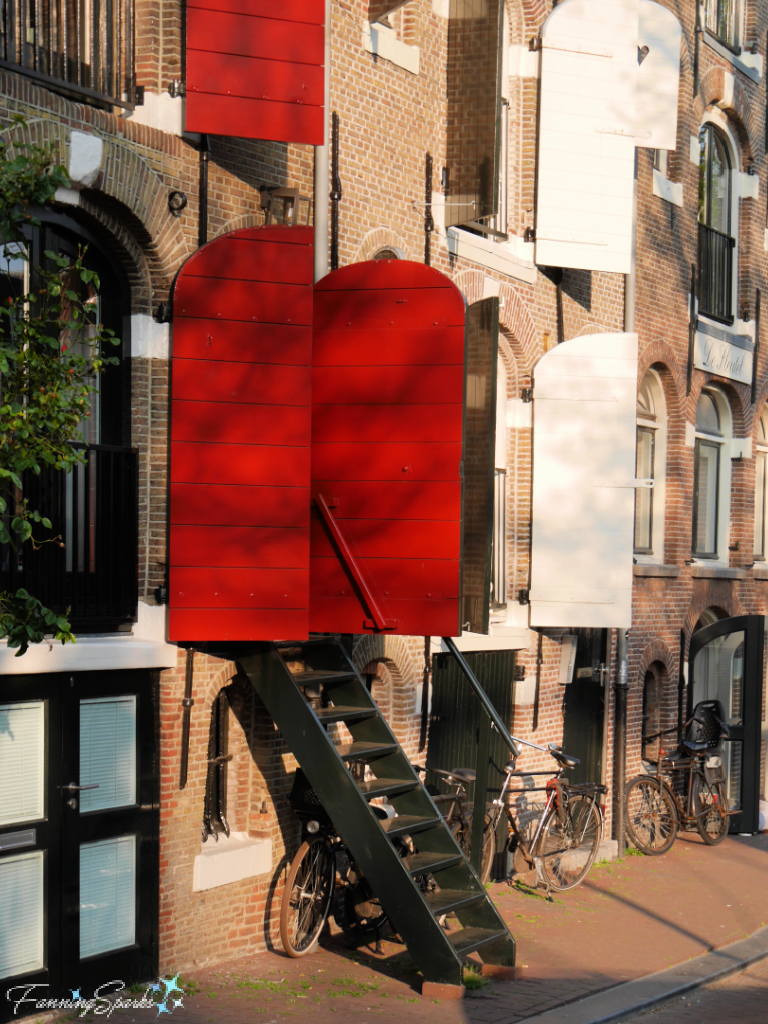
Back in the 16th century homeowners were taxed based on the width of their houses. As a result, houses were narrow and deep with very steep stairs. The ladder-like stairs shown in the photo below are a case in point.
As lovely as this part of the city is, we were ready to get off the beaten path and escape the crowds. It was surprisingly easy to get to the quiet residential area of Amsterdam-Noord (North Amsterdam); we simply hopped a free ferry at the Amsterdam Central Station. Then we wandered around the quiet neighborhoods and through the refreshing, green parks. Eventually we made our way to the NDSM Wharf—Amsterdam’s edgy arts community.
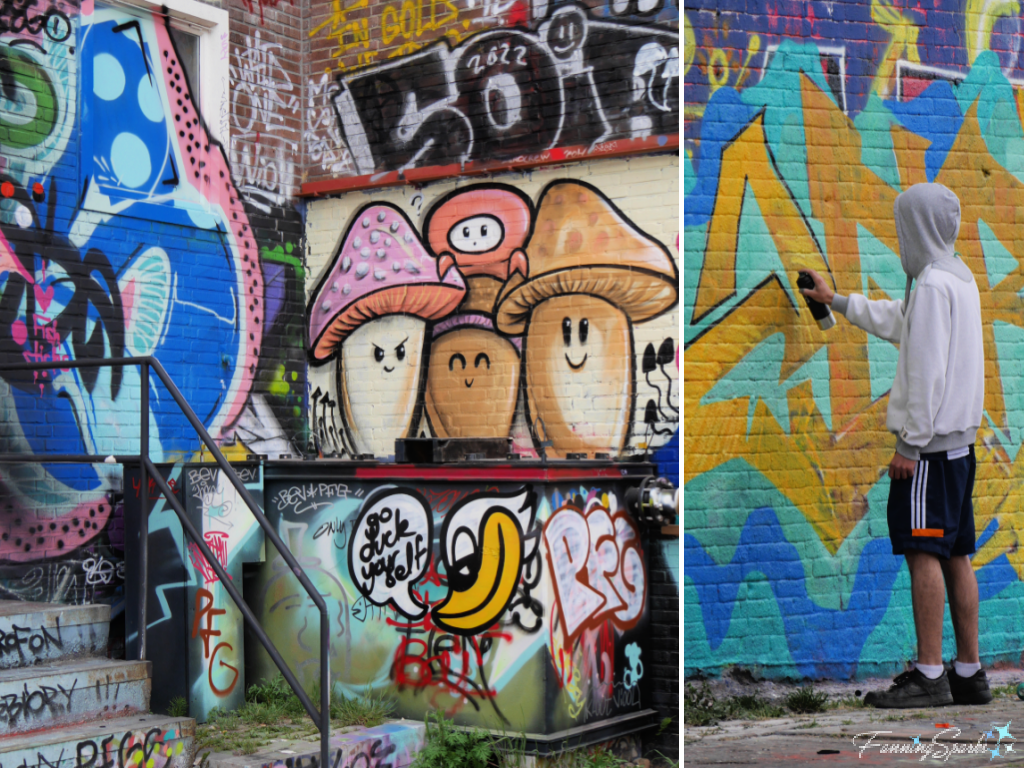
There’s a fascinating story behind this area. NDSM which stands for ‘Nederlandse Dok en Scheepsbouw Maatschappij’ (Netherlands Dry Dock and Shipbuilding Company) was founded in 1894. The company prospered for nearly 100 years building and repairing ships. But the shipbuilding industry declined and NDSM went bankrupt in 1984 closing the 90-hectare (about 222-acre) facility of docks and shipyards. It sat empty until squatters, artists and skaters started to adopt the space. In 1999, an urban regeneration process was initiated. The squatters got organized and argued that NDSM should be considered an incubator. The movement was successful and in the 2000s the neglected shipyard became popular as a cultural incubator zone. Forward-thinking corporations, such as MTV, Red Bull and HEMA, set up offices. More artists and creatives were drawn to the area. Today, some call it Amsterdam’s biggest outdoor playground for graffiti and street artists.
The huge artwork shown in the photo below is aptly named Container Arch. It is constructed of actual shipping containers and a great example of NDSM’s chaotic, post-industrial vibe.
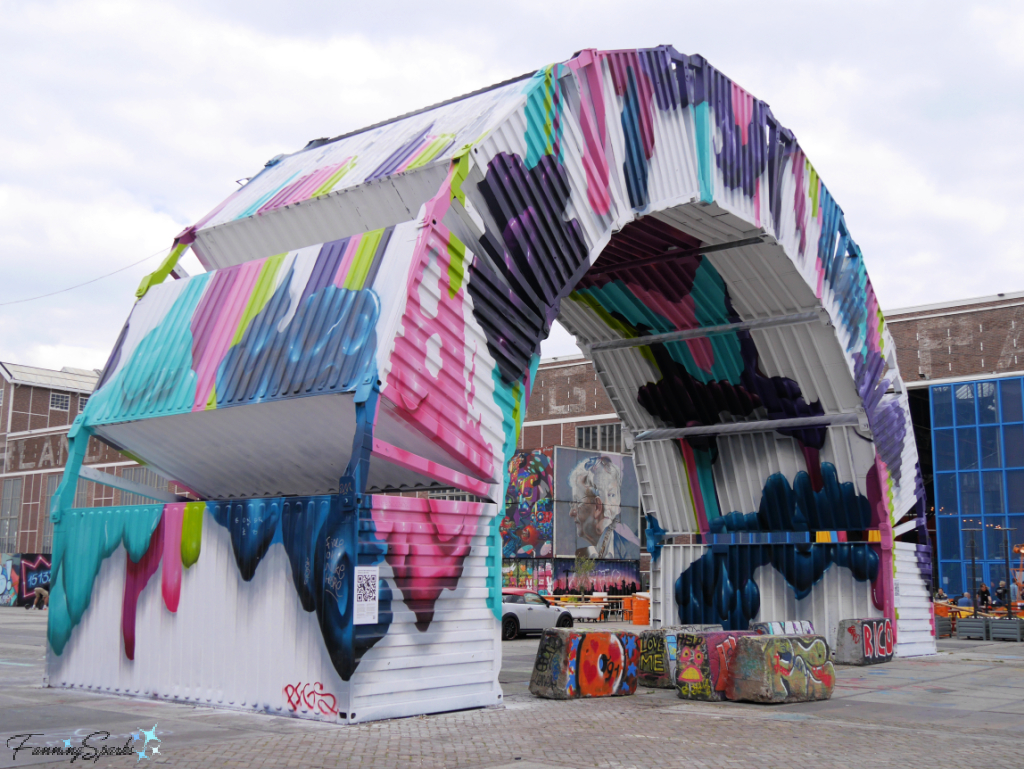
NDSM’s raw edginess is appreciated by artists and visitors alike. Luca Boscardin, a toy designer and illustrator with a studio at NDSM, shared this perspective: “I think NDSM is a perfect place for this kind of project. Here, luckily, there is still a bit of beautiful chaos, and mess. There is room to improvise and to be surprised. … It’s a beautiful place filled with energy and creativity where a lot of great ideas start.”
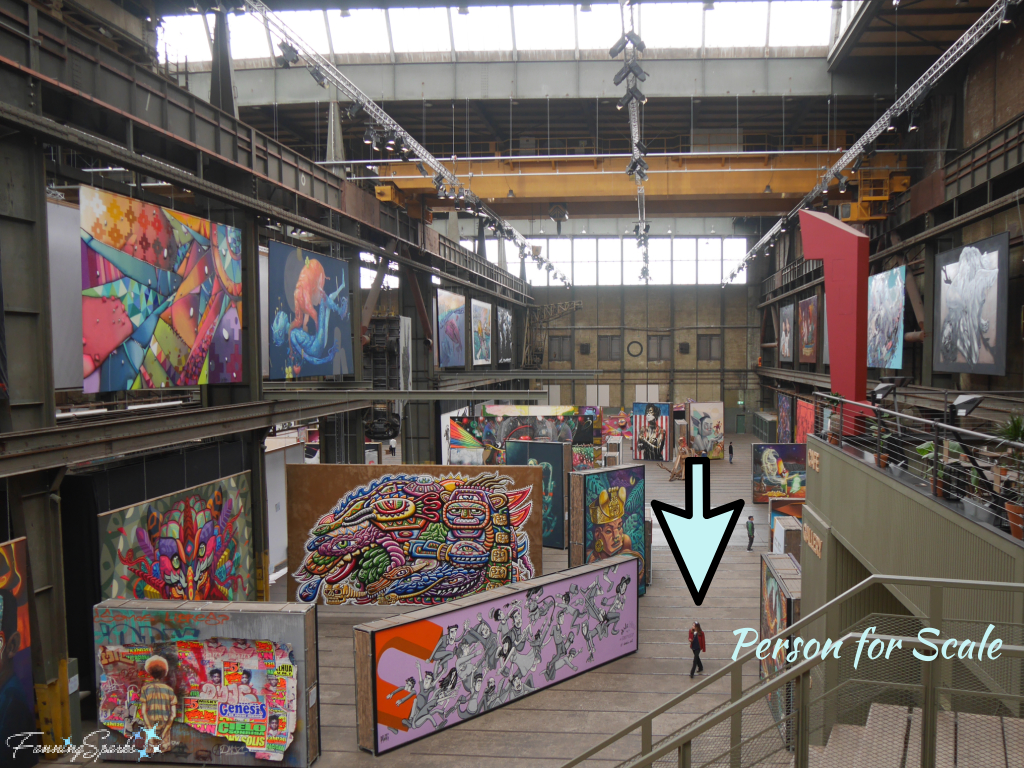
Arguably, the biggest NDSM draw for visitors is STRAAT: the museum for graffiti and street art. STRAAT is located in a huge, 8000 m2 (nearly 2 acres) former warehouse. The ample space presents 150+ artworks as big as walls. The tiny person walking through the exhibit, in the below photo, illustrates the sheer size of this place.
Here’s another photo to help communicate the scale of the artworks. That’s Marian, my sister and traveling companion, taking a photo of the artwork Wild by Treze (Spain, 1986 – 2018).
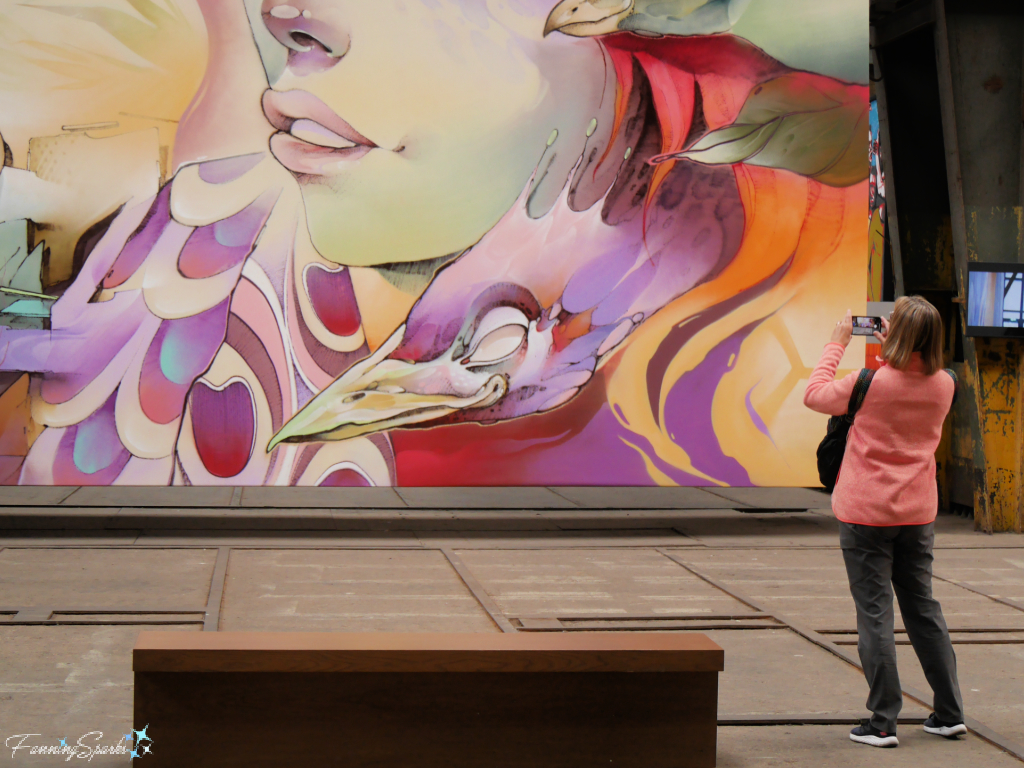
The exhibit card explains “Showcasing his characteristic pastel shades, this piece is one of Treze’s many odes to the inherent beauty in nature, aiming to glorify the miracle of life. ‘The girl represents nature observing something ‘artificial’, like the [graffiti] style. The style is something associated with the metropolis, the concrete jungle and its industry.’ Treze”
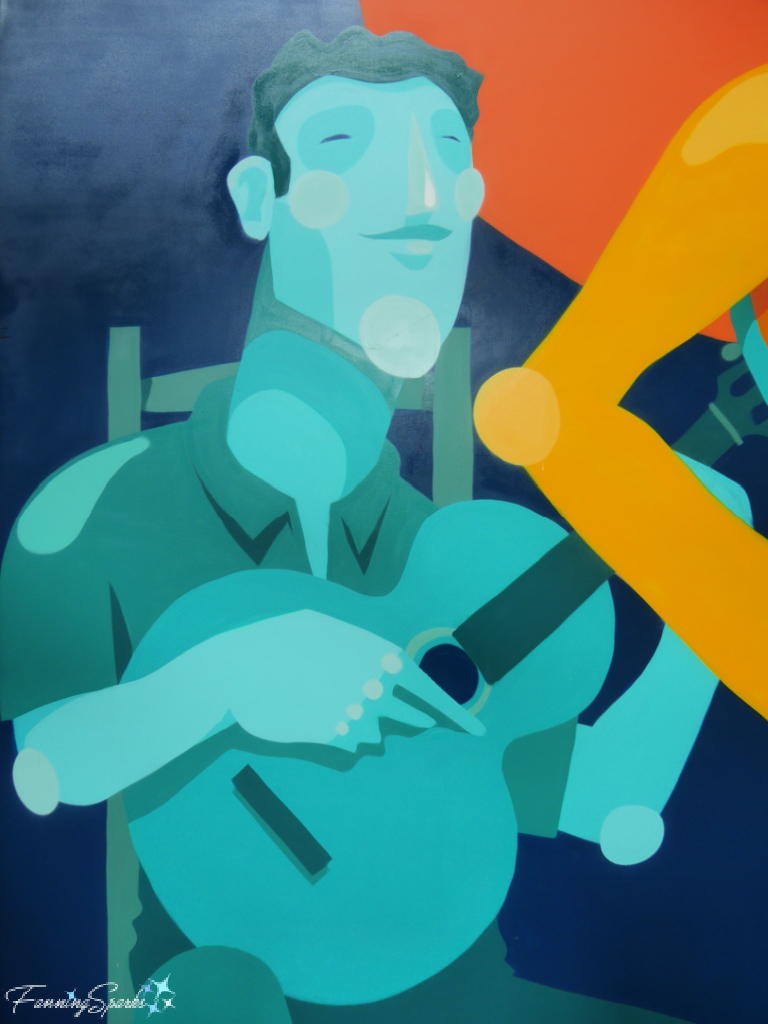
Here’s another one of my favorites—this is Reunion by Zësar Bahamonte (Spain, 1986). Like most of the STRAAT artworks, it is done in spray paint on polyester.
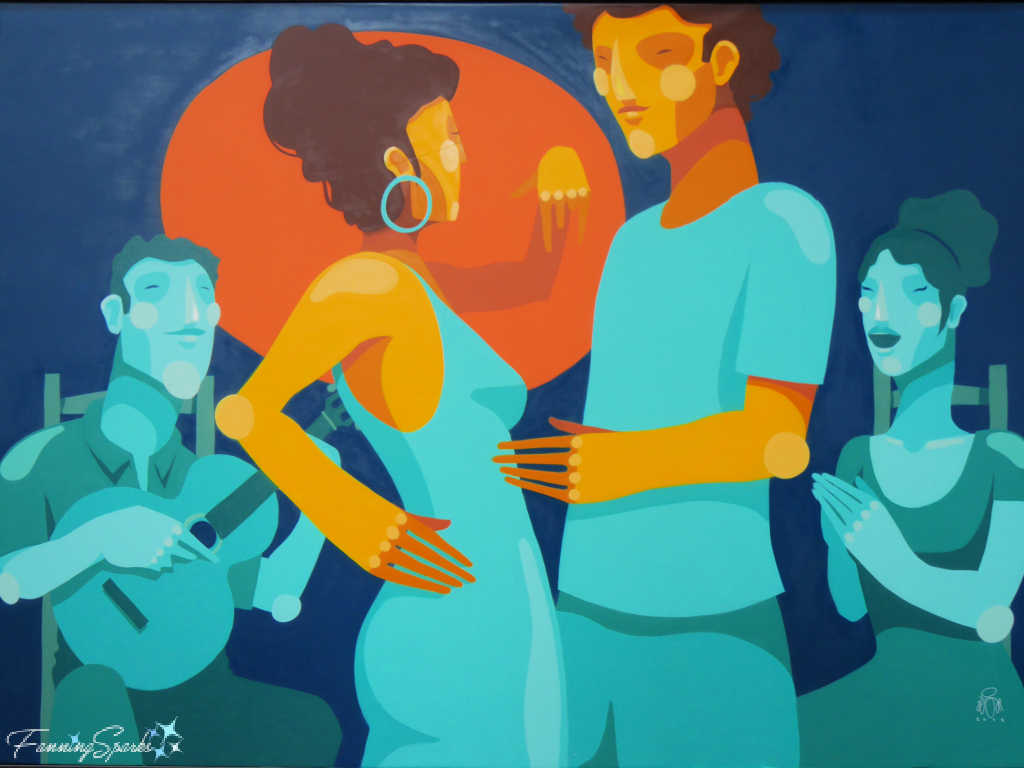
The exhibit card reads “Although Zësar has painted many musicians throughout his career, this was the first time he painted flamenco musicians from his hometown, Seville. Instead of turning to the traditional imagery of flamenco, he represented the artists in his own personal way: fresh and original, yet deeply rooted into the cultural heritage of his country.”
The below artwork is Untitled by Dan Kitchener (UK, 1974). “Dan Kitchener’s iconic wet streets, overcrowded with neon signs, are based on his own photographs. ‘I went out into Tokyo at 2 am in the pouring rain, and it was just the best thing ever. I was laying in the streets, taking all these shots, finding angles… So that’s a shot I took walking from the station to Shinjuku, and I remember that vividly; it’s quite an important image for me.’ Kitchener.”

There are a number of factors that make the STRAAT Museum stand out. The museum website explains: “In our current exhibition, we showcase more than 150 artworks by 130+ artists. But our ever-growing collection features even more works. We are committed to building a collection that properly represents the international street art movement. We aim to attract artists who have earned their rep within the street scene with their personal stories, background, style and talent. A unique quality of our collection is the fact that virtually all artworks were created for and at our museum; the artworks at STRAAT are created in the same place the viewer gets to see them – just like in the streets.”
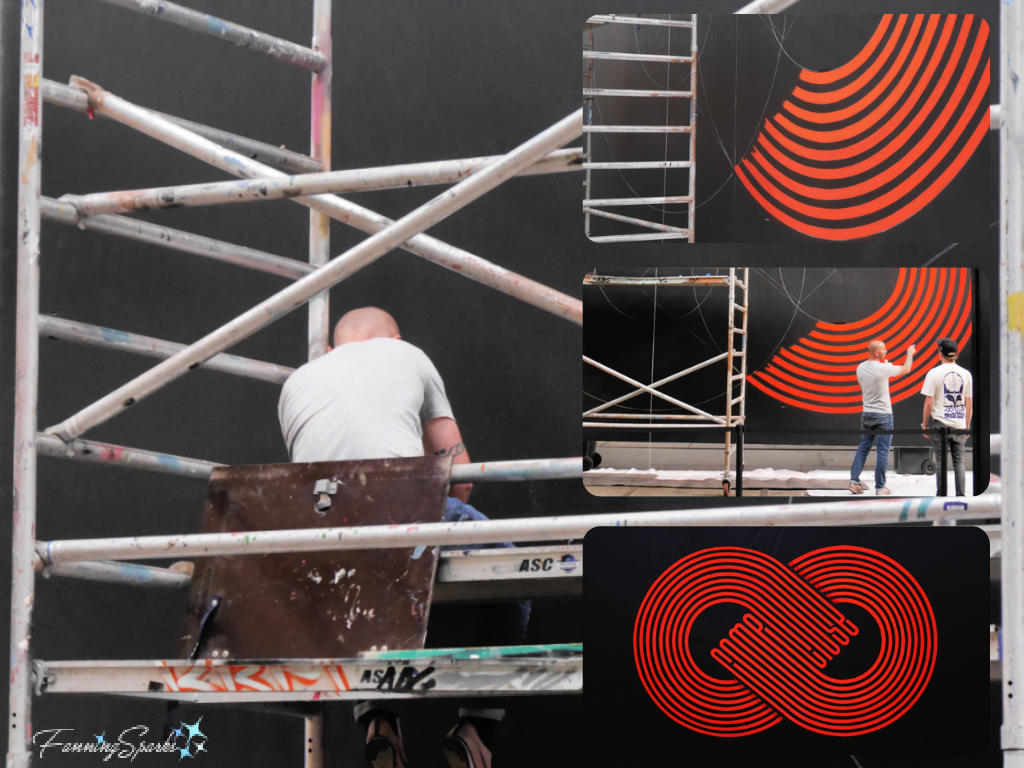
We did, indeed, get to see artists at work. This is Gary Stranger (UK) working on COME CLOSE. The bottom right photo, grabbed from the STRAAT online collection, shows the final result. This description is provided: “COME CLOSE was painted with the idea of the words folding into a lemniscate, suggesting the idea of an infinite embrace. The two halves of the artwork are intended to mimic arms interlocking. Gary Stranger studied arts and typography, but entered the art world through graffiti. … ‘Over the last decade I have been refining my work away from the traditional graffiti aesthetic. I aim to explore the manipulation of letter form, taking type beyond its intended, primary use.’ Gary Stranger”.
I’d never given much thought to the difference between graffiti and street art. The STRAAT Museum defines graffiti as “Name writing in public space. Graffiti writers deconstruct the alphabet and create it a new through the styled letters of their personal tag.” Street art, on the other hand, is defined as “art in public space that has the street as its main source of inspiration. It comes in all shapes and sizes, is ephemeral in nature and is usually produced with the aim of engaging a wide audience through easily intelligible messages.”
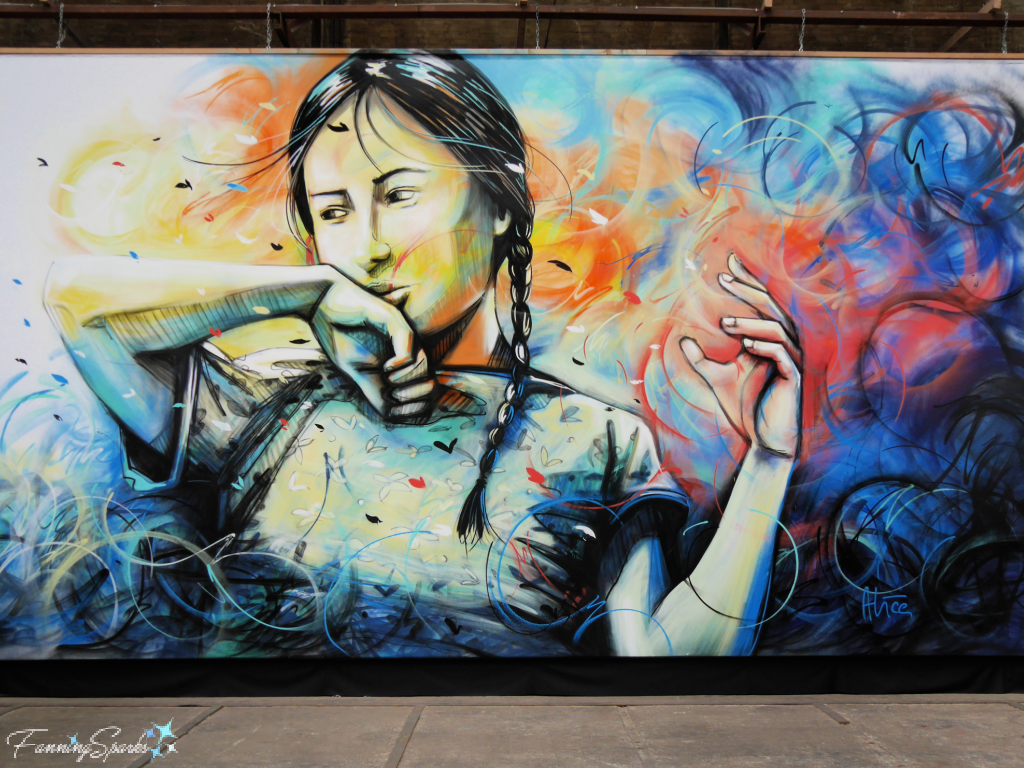
Shown below is Electra by Alice Pasquini (Italy, 1980). “Alice began painting in the streets in 1999, pioneering Rome’s independent art scene. Taking an intimate approach, Alice tells stories through her personal point of view on the world and on the relationships between human beings. Electra is a tribute to feminine vitality, one of the key themes in Alice’s works.” states the exhibit card.
The STRAAT collection showcases five themes including aesthetical, personal, grounded, conscious, and empathic. The conscious theme addresses “Artists’ Outlook on Contemporary Society” and is described as: “Besides being inspired by the physical environment, street art is also influenced by what surrounds it at large: our society. According to author Cedar Lewisohn, ‘when art is placed in the street without the input of a sanctioning body, everything around the image becomes important: the social context and the political context.’ Moreover, when placed in the streets, art reaches a broader audience … In recent years, this visibility has grown exponentially through street art photos going viral on social media. … [the artists] use visibility of their artworks in the streets and at STRAAT to plant seeds in people’s heads and hearts.”
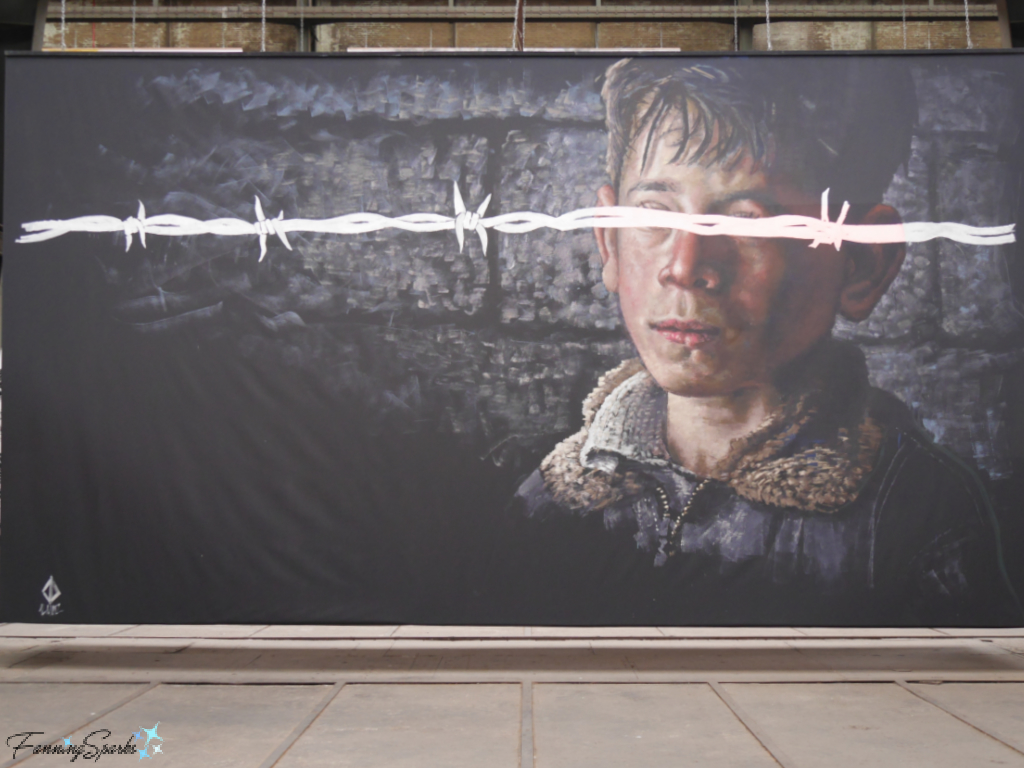
Shown below is Lack of sense of emergency by Alaniz (Argentina, 1984). “Lack of sense of emergency is based on a photo of a Syrian child taken by David Gross. … Alaniz emphasizes how our distracted society fails to recognize the sense of emergency of such situations. ‘I paint about what moves me, and, as a migrant myself, I feel moved by the refugee crisis. I grew up in the ghettos of Buenos Aires and the social injustices that I experienced formed my social interest.’ Alaniz”.
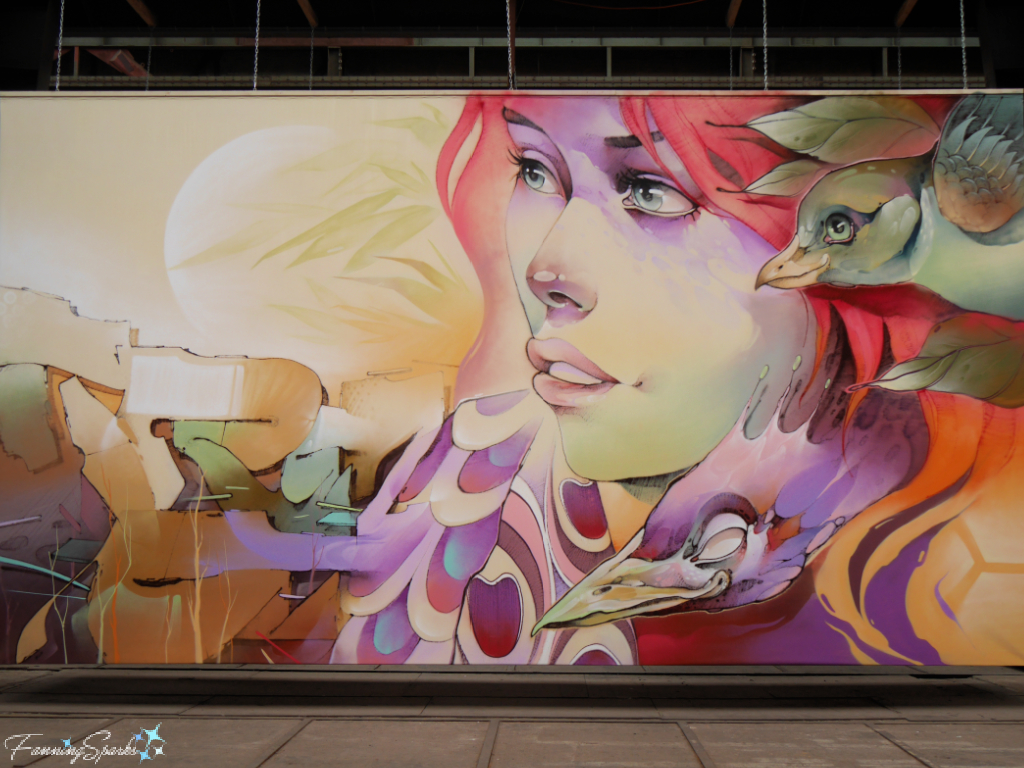
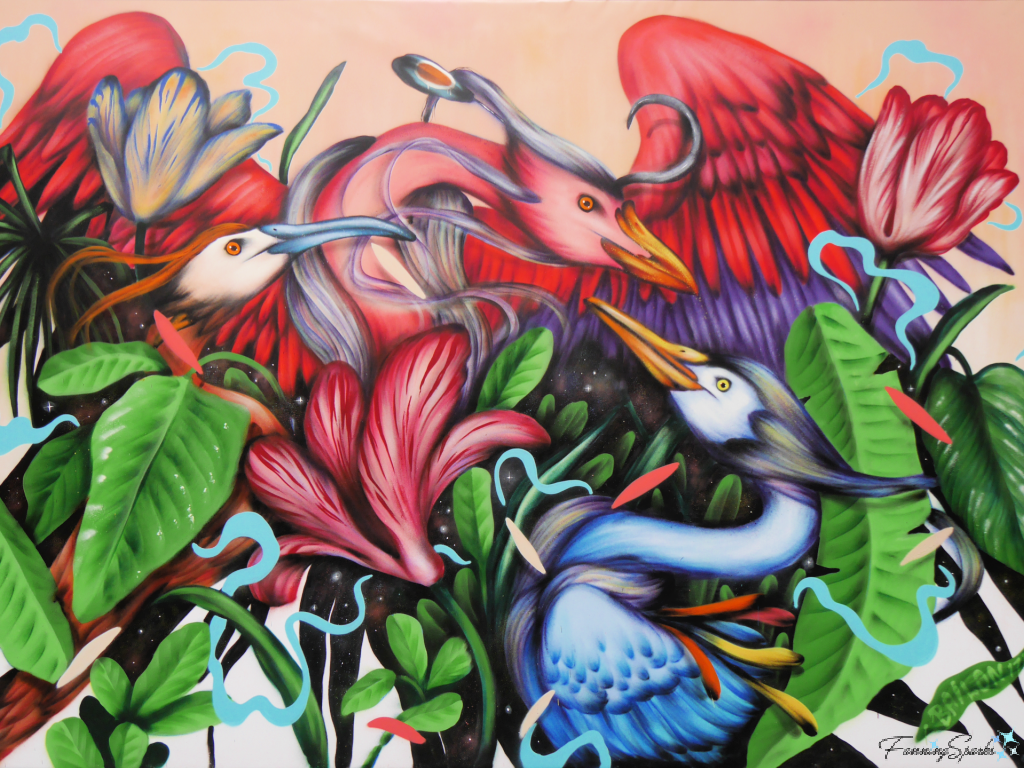
I’ll wrap up with one more favorite—Universo em expansão (Expanding Universe) by Mateus Bailon (Brazil, 1984). The exhibit card states: “Deeply inspired by the natural wonders of his hometown in Brazil, as well as mythology and the mysteries of life, Mateus envisions his own magical creatures. In Universo em expansão, the artist depicts his iconic birds carrying a portal to his own universe. The viewer is free to imagine what could be in there.”
More Info
My recent trip to the Netherlands and Belgium was packed with fun and inspiration. I’m sharing the experience in a series of blog posts including:
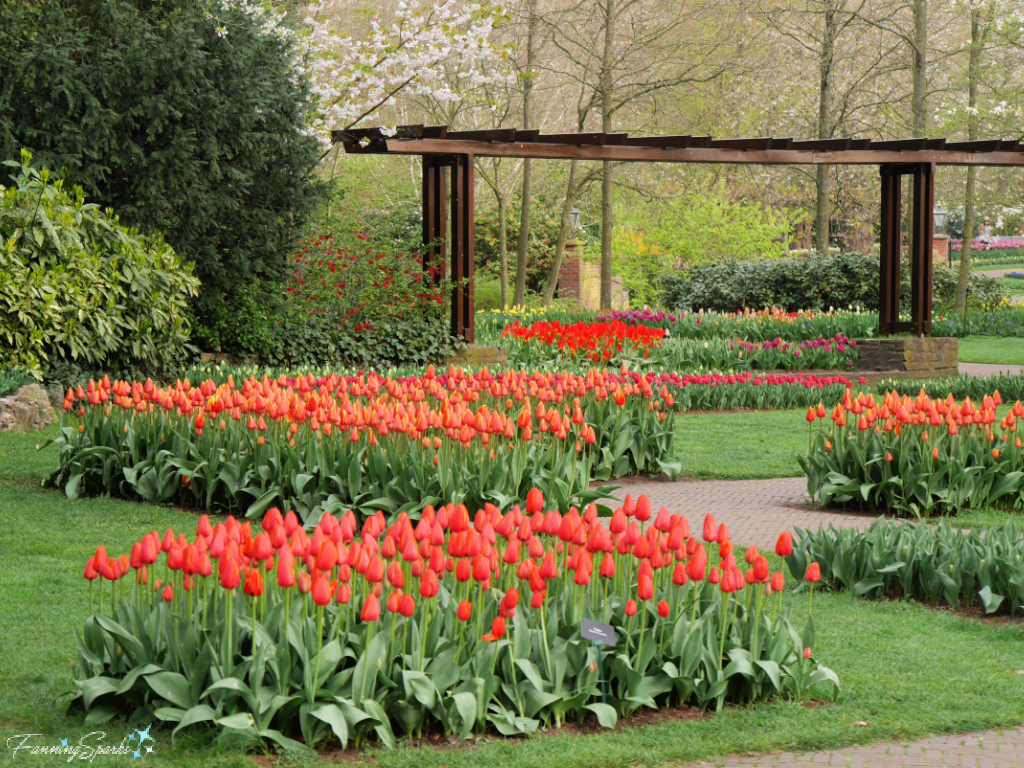
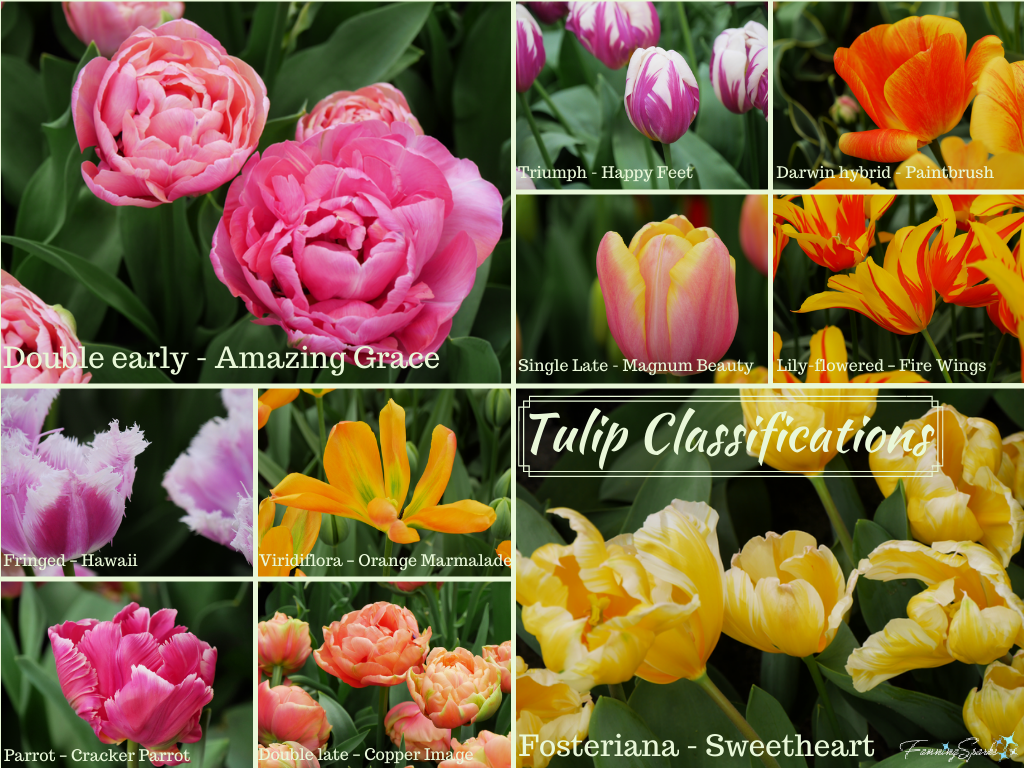
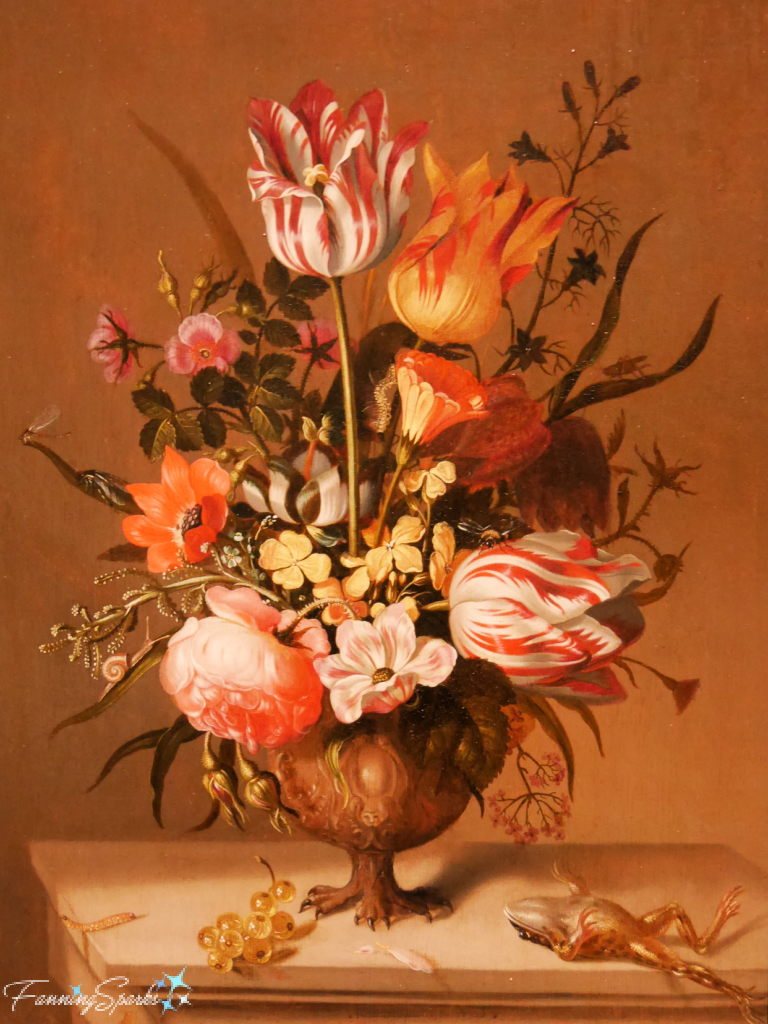
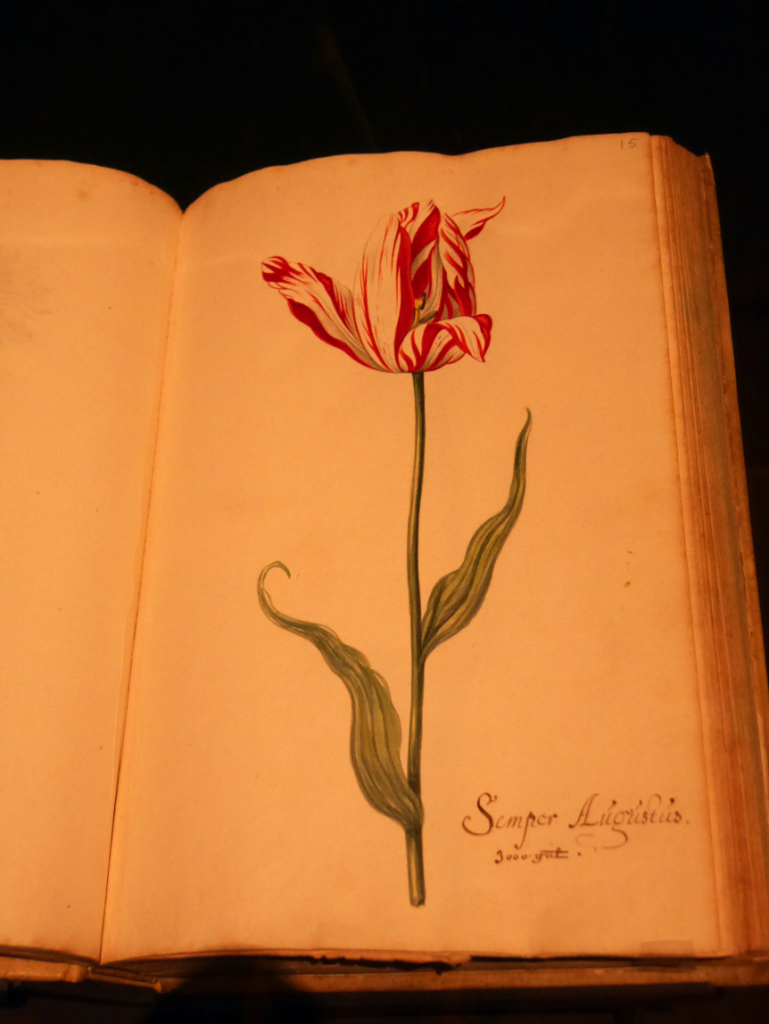
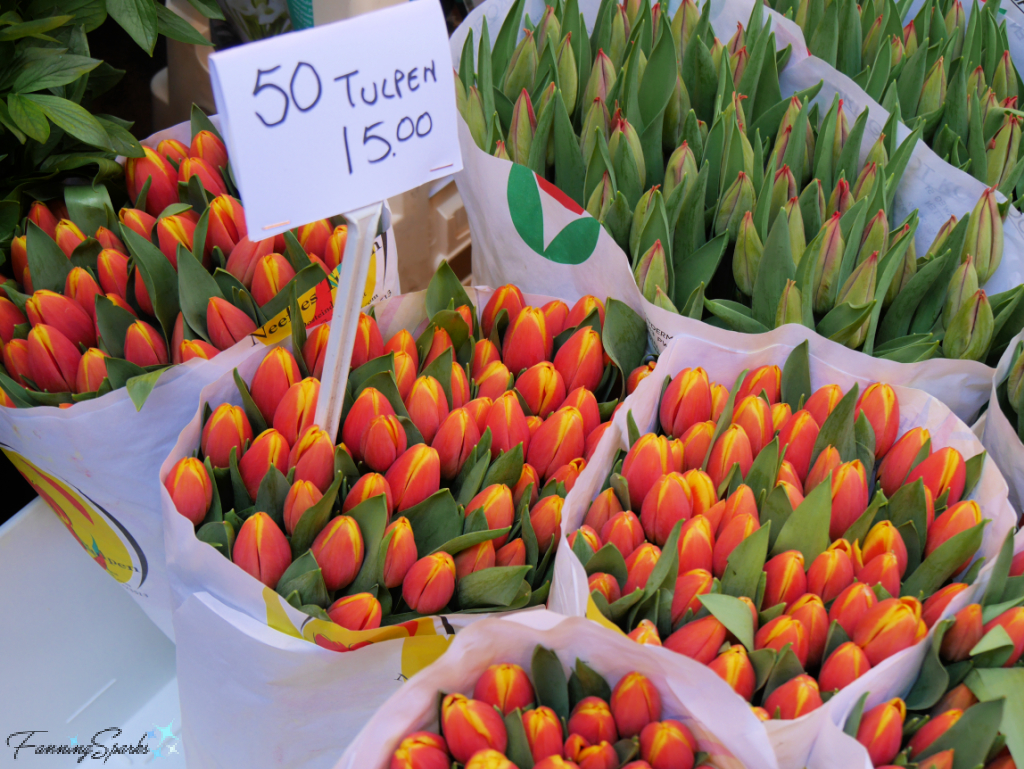
. Come Tiptoe Through the Tulips which is packed with all things tulip including a visit to Noorwijkerhout in the midst of the Bulb Region, the world-famous spring gardens at Keukenhof, and tulip-related highlights from the Rijksmuseum in Amsterdam.
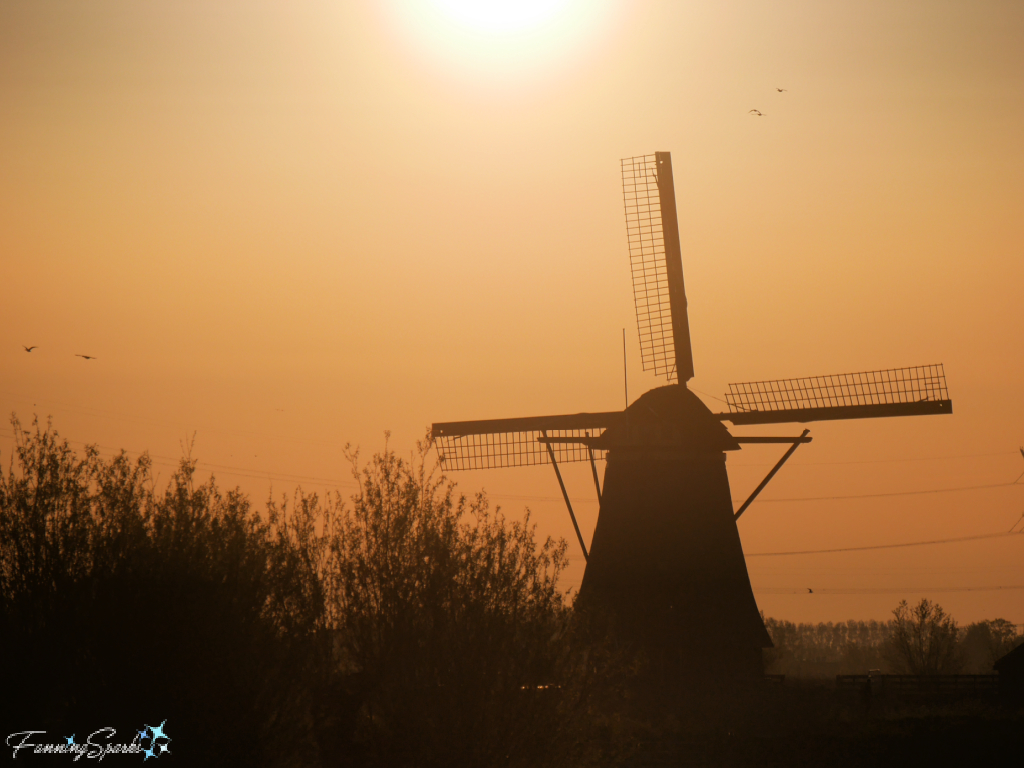
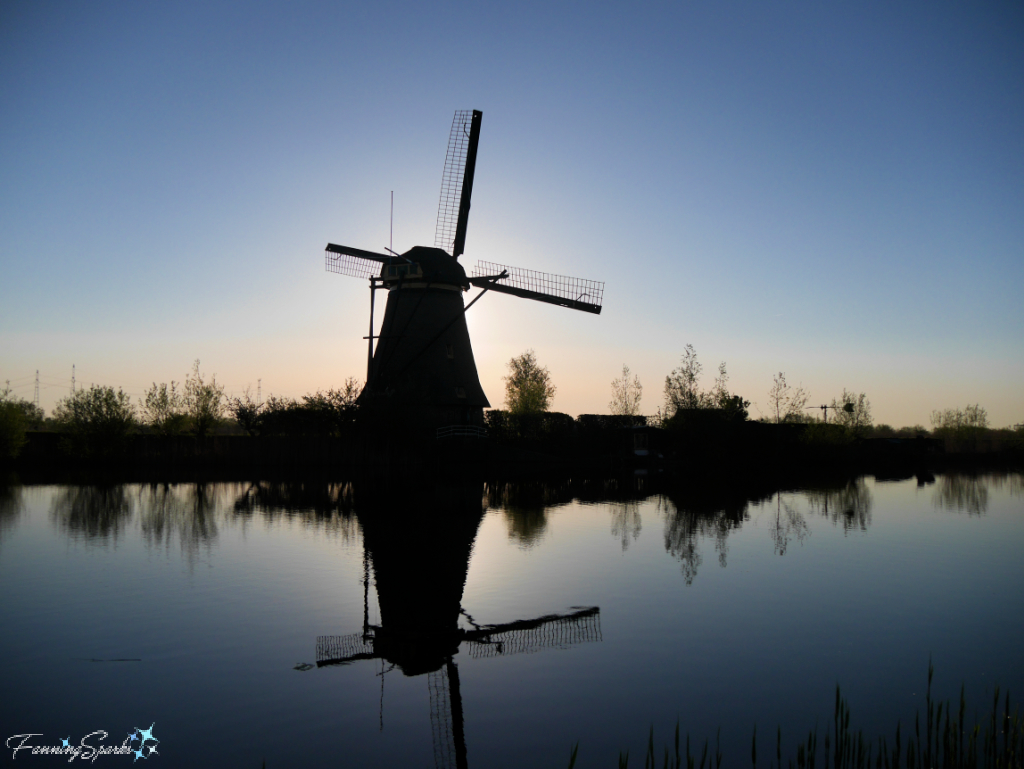
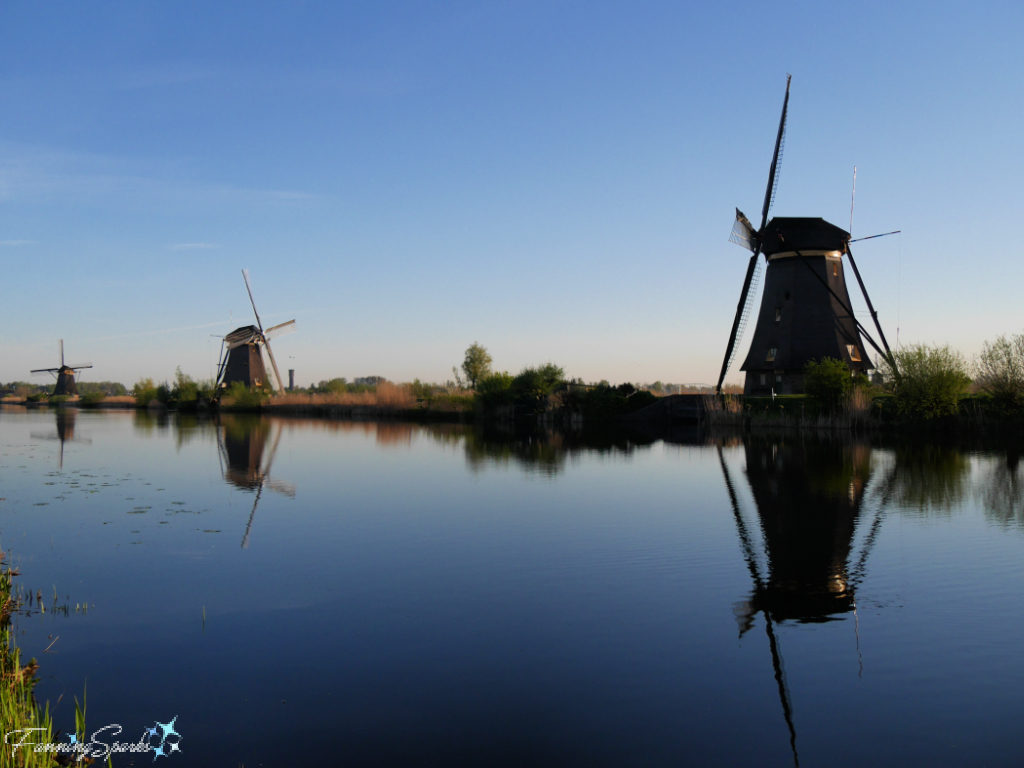
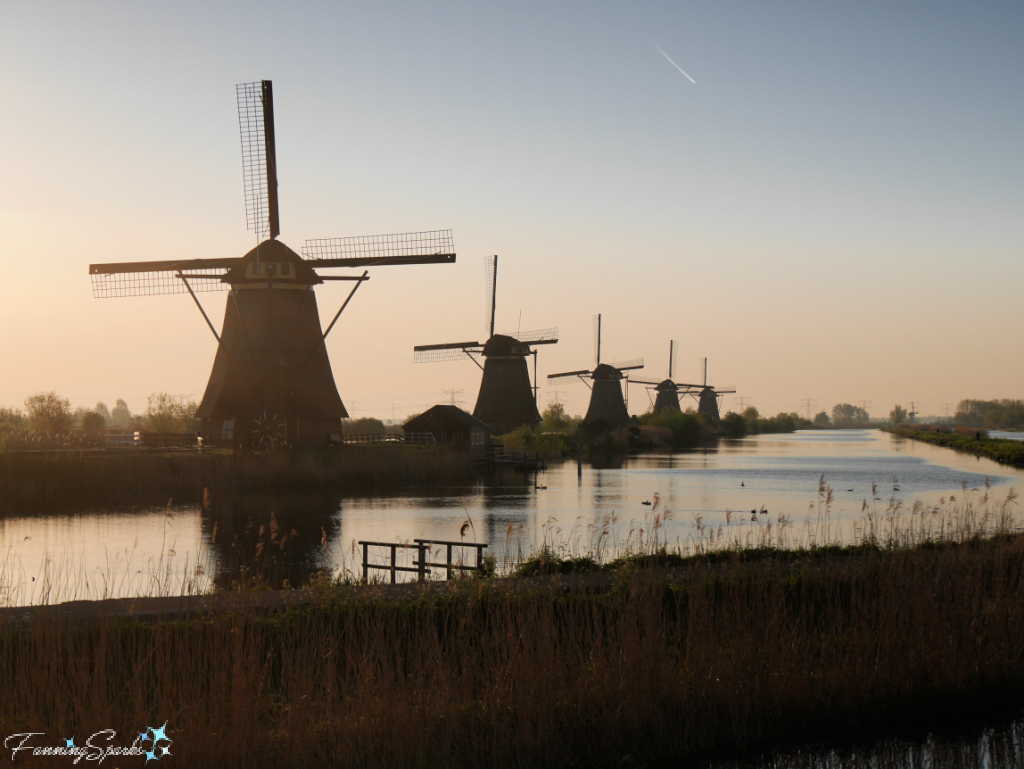
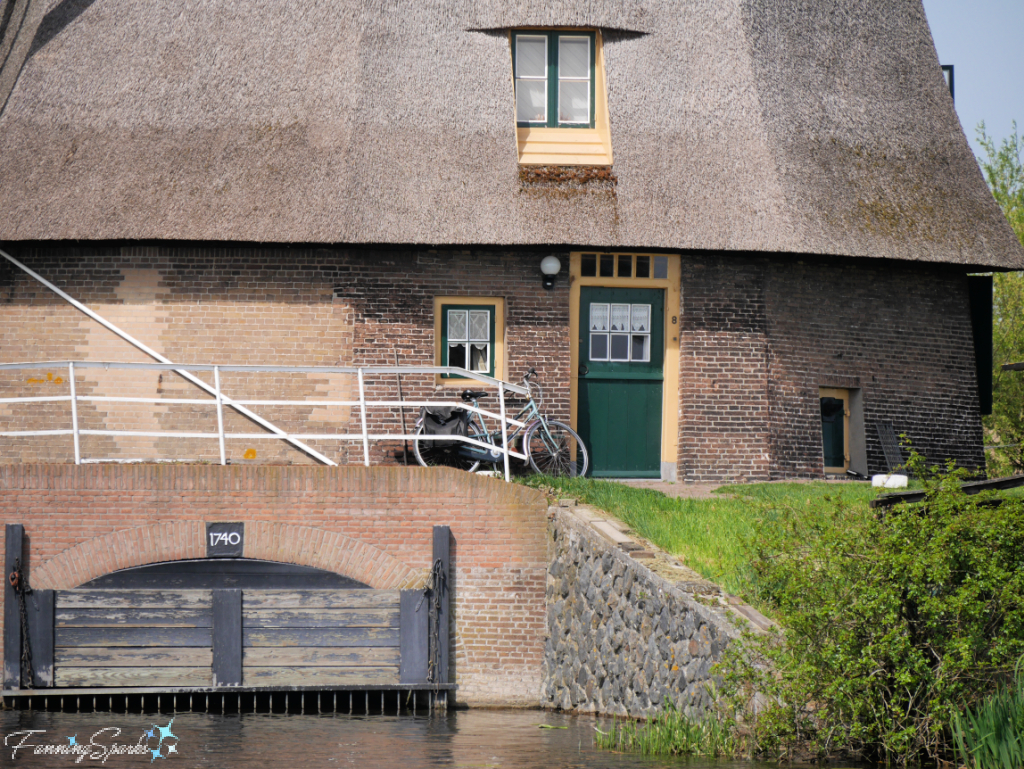
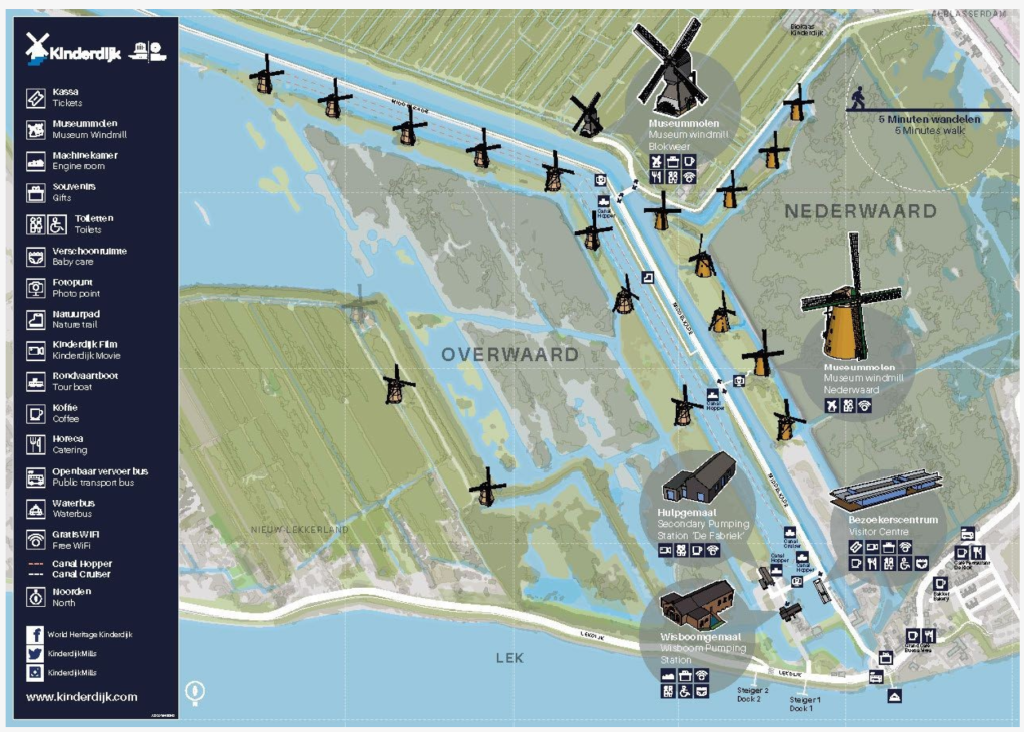
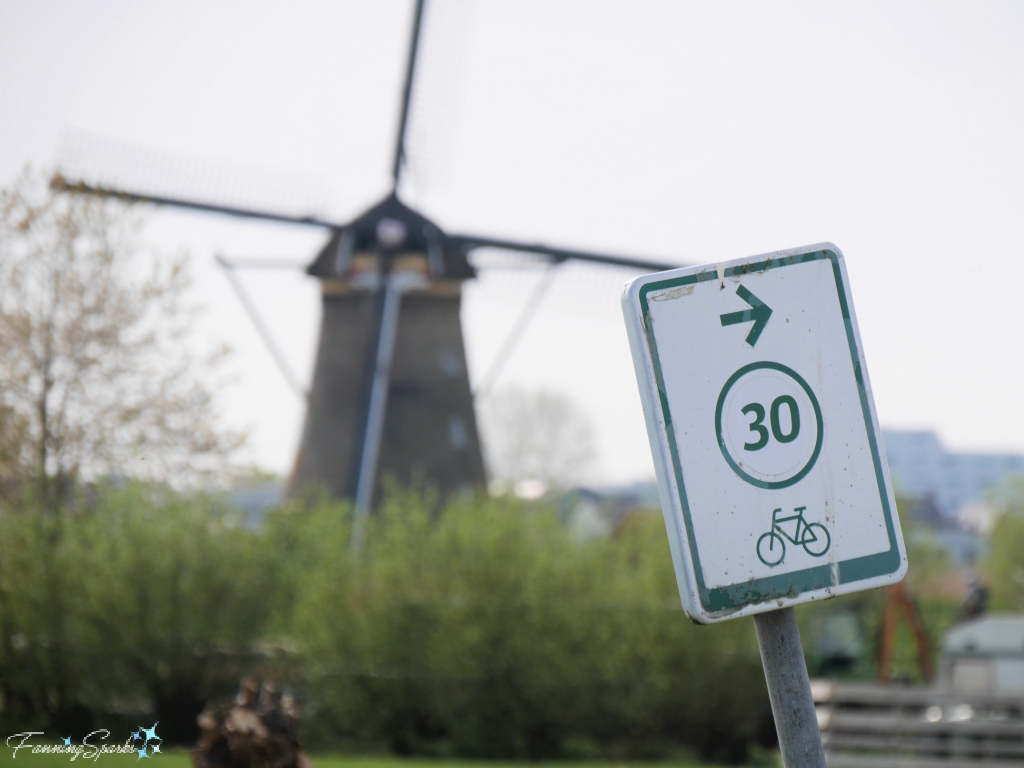
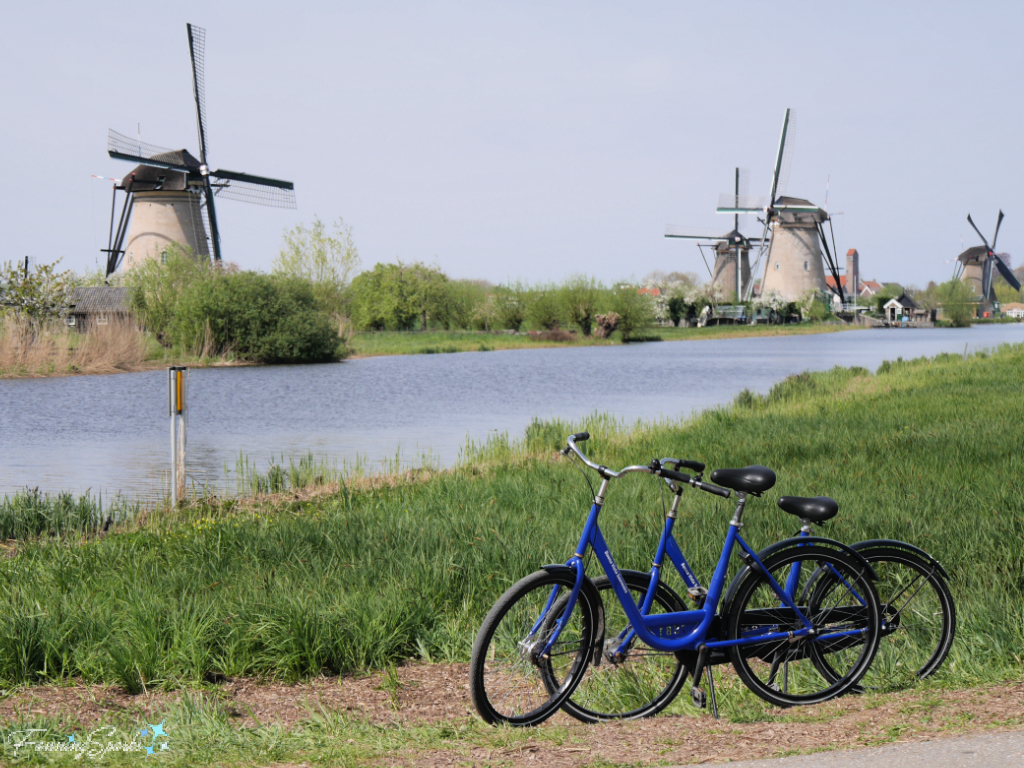
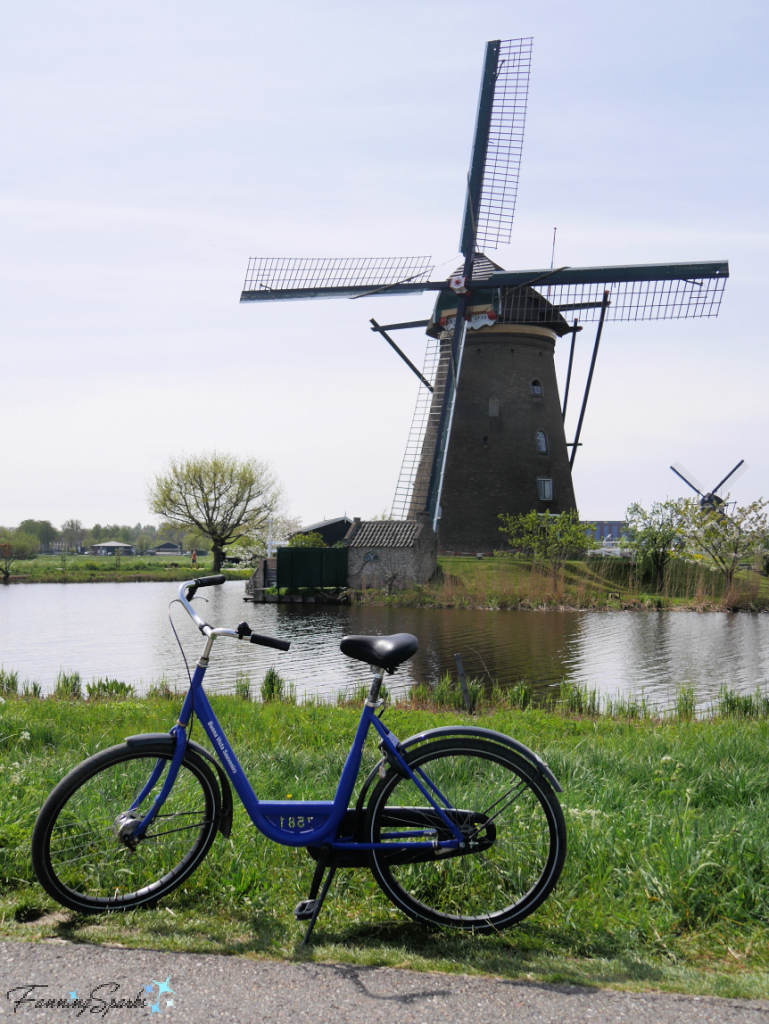
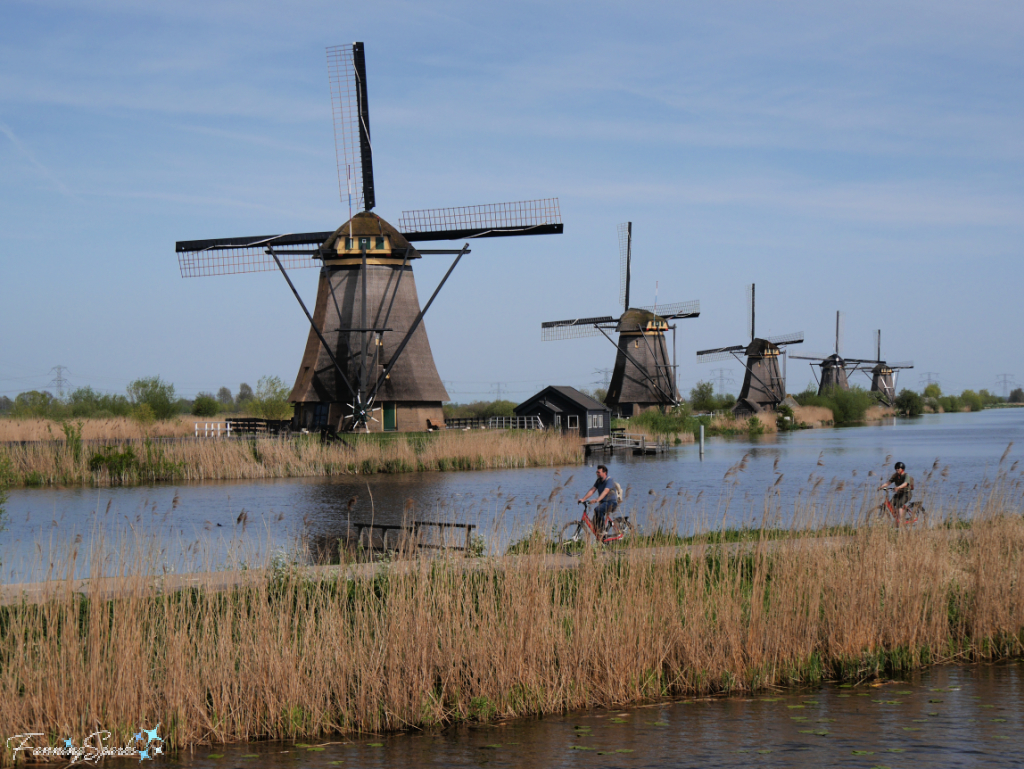
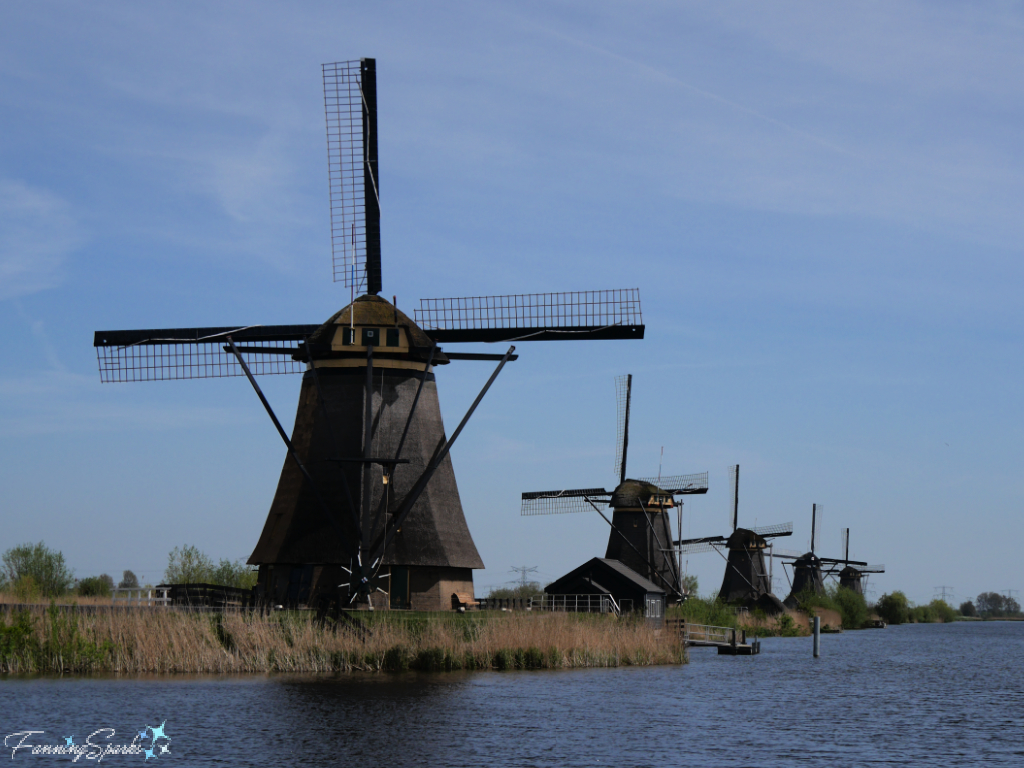
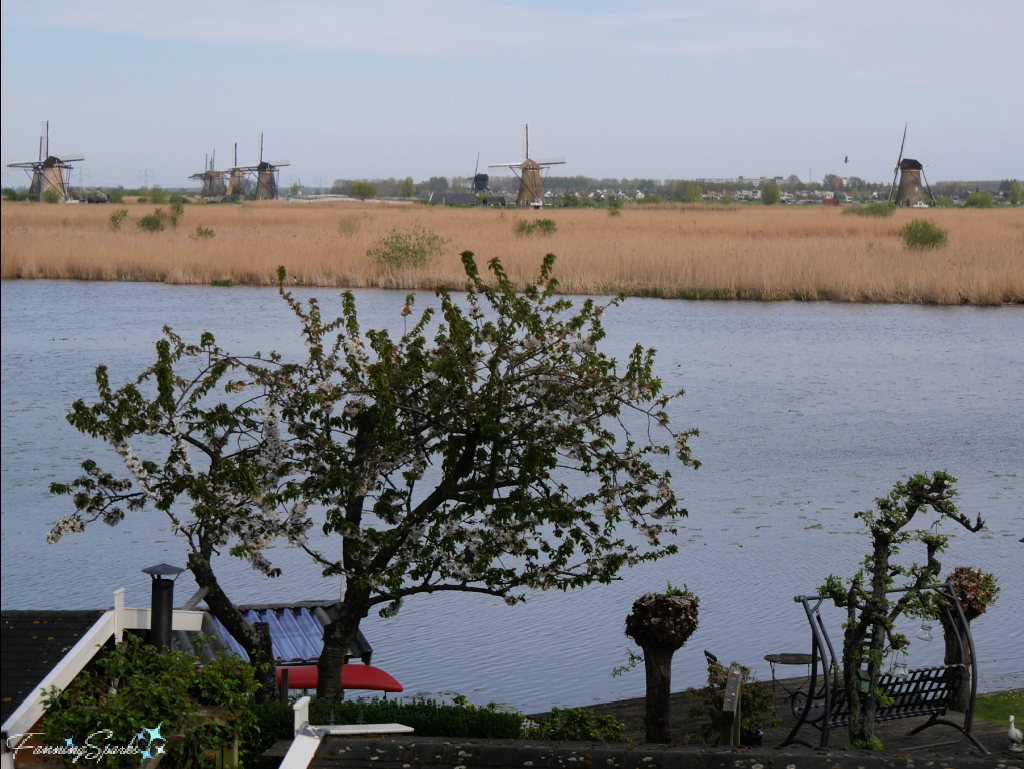
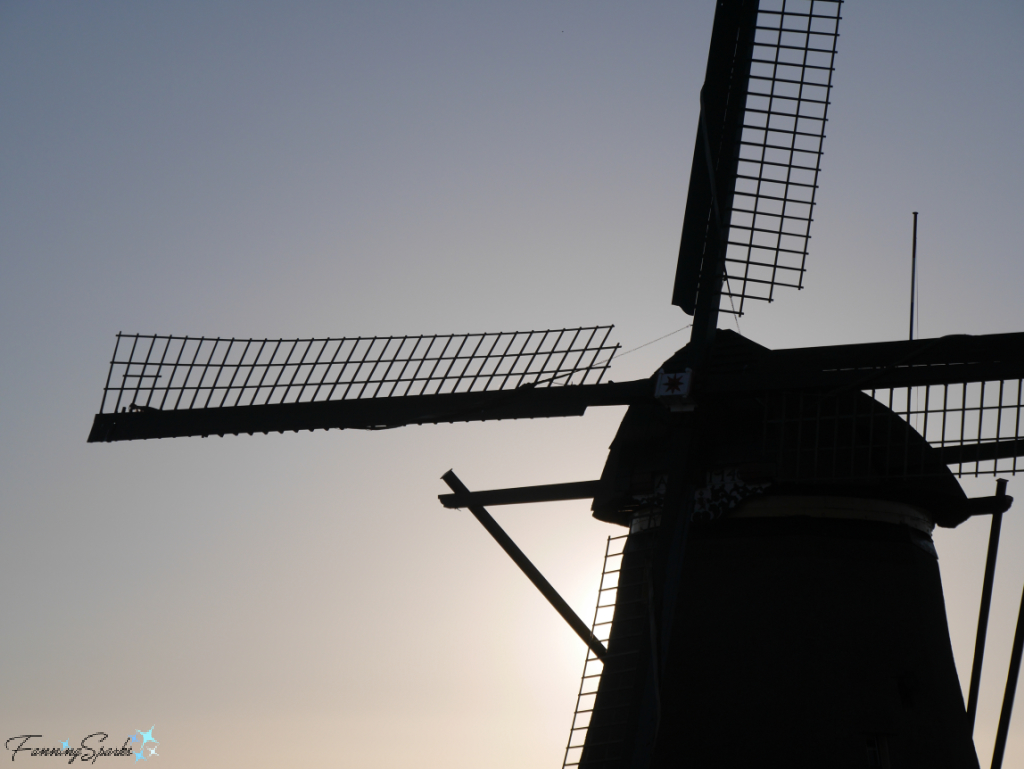
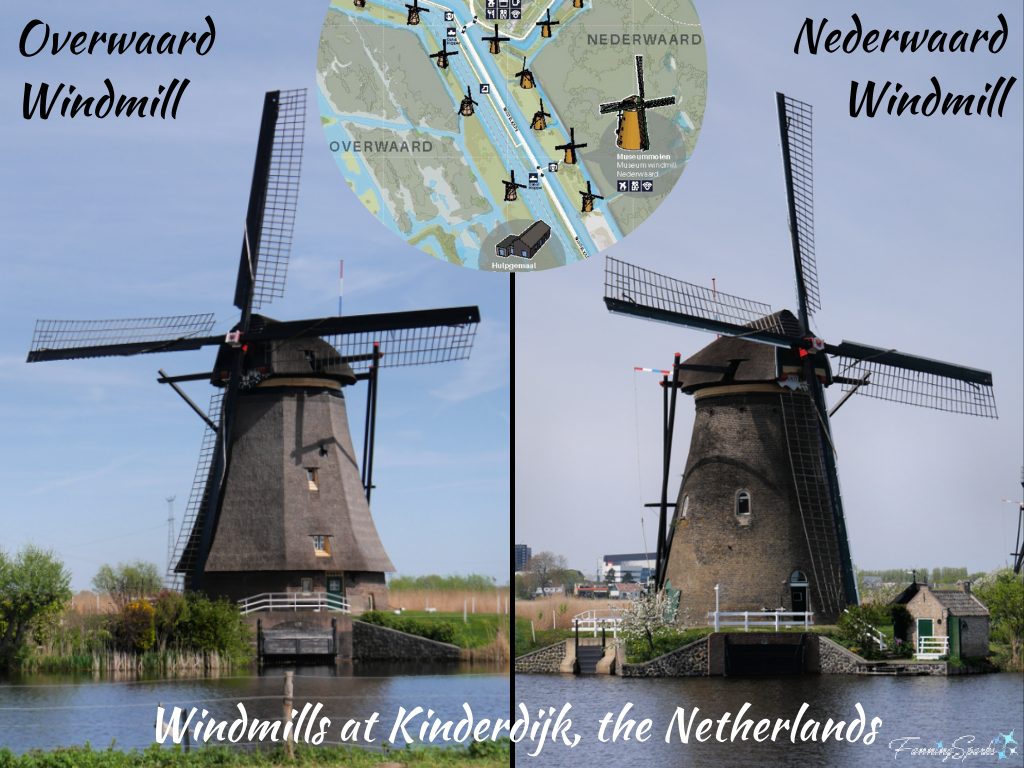
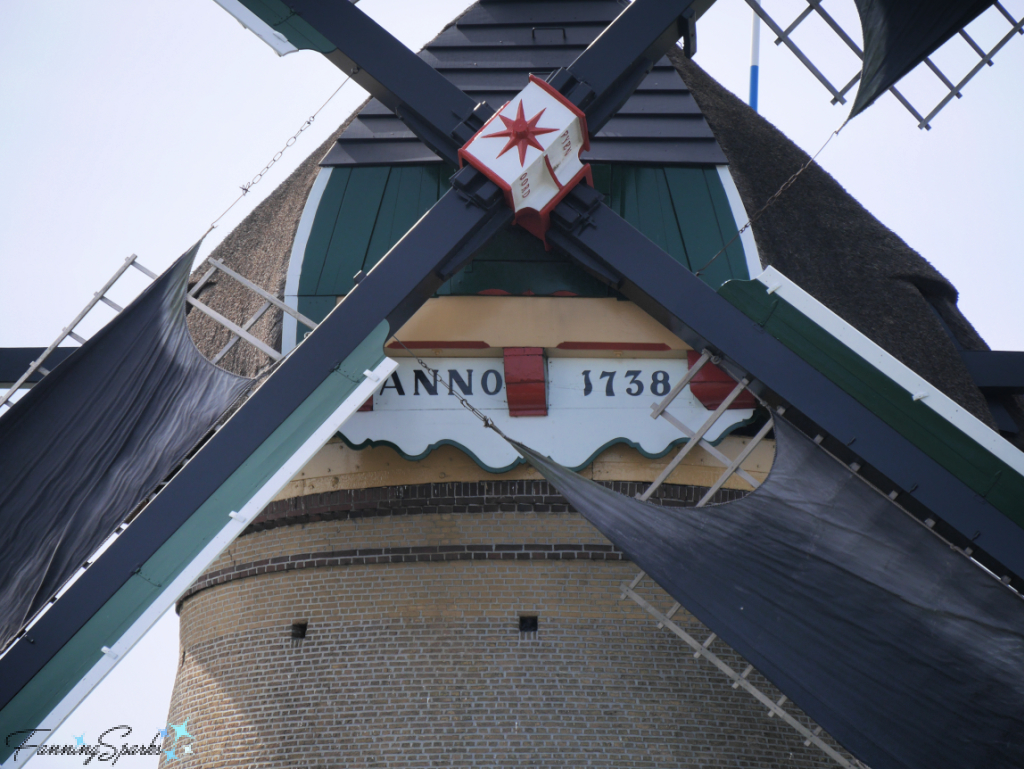
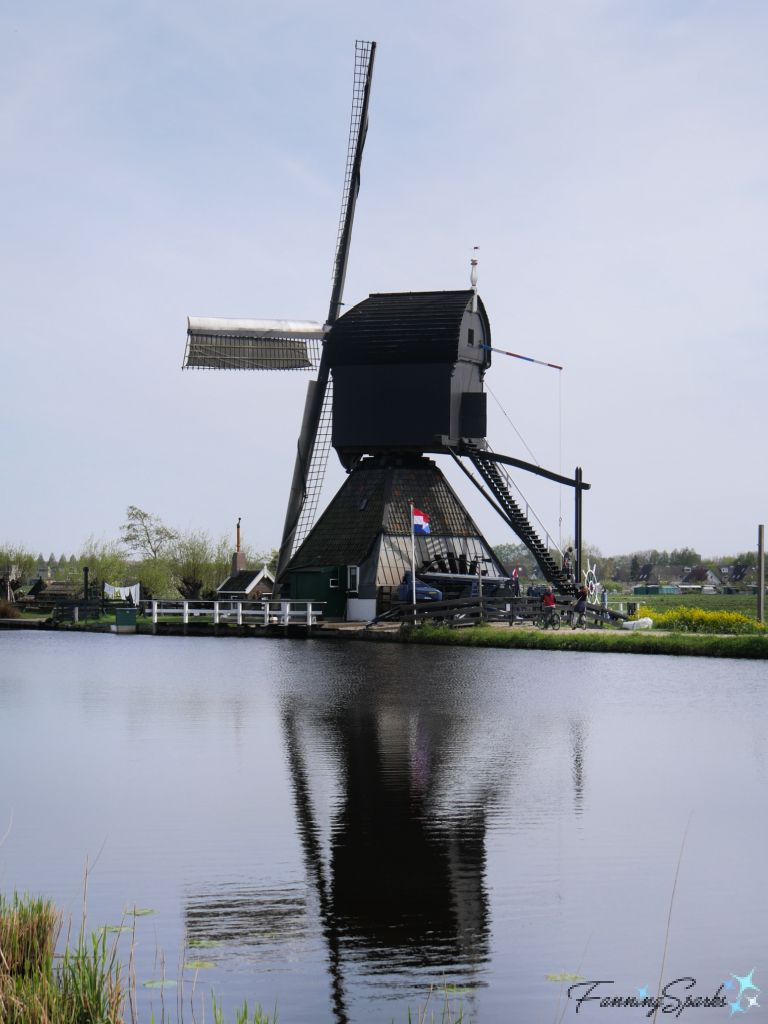
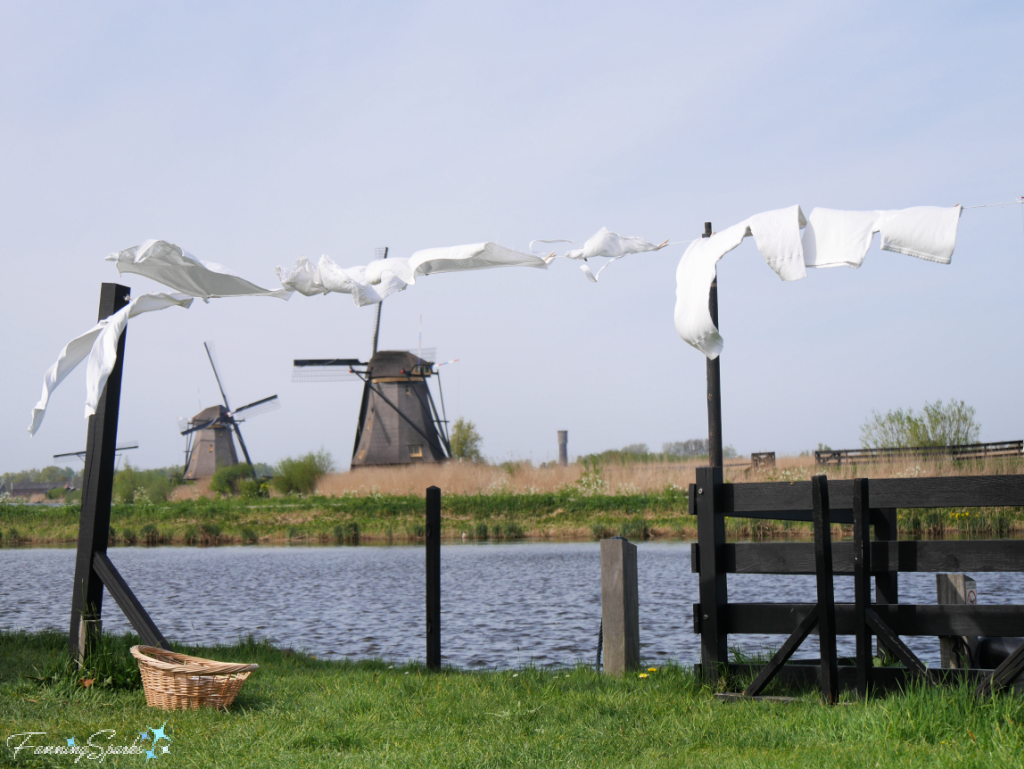
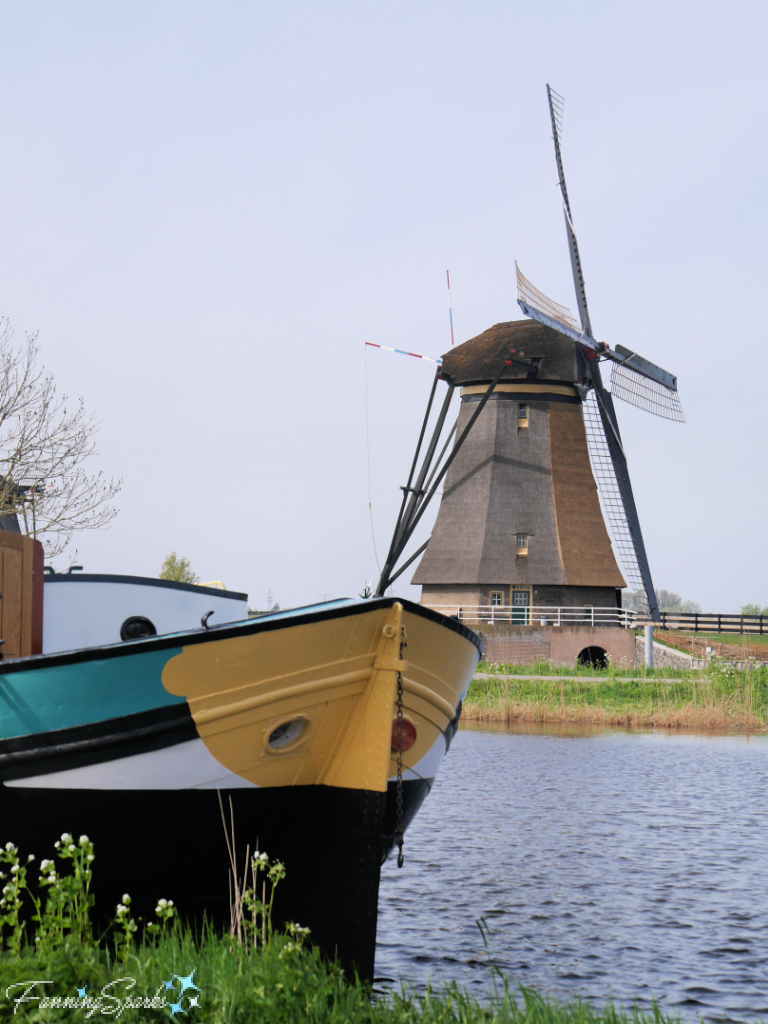
. Milling the Water of Kinderdijk in which I share my visits—an afternoon bike ride and a sunrise hike—to the beautiful windmills of the Kinderdijk.
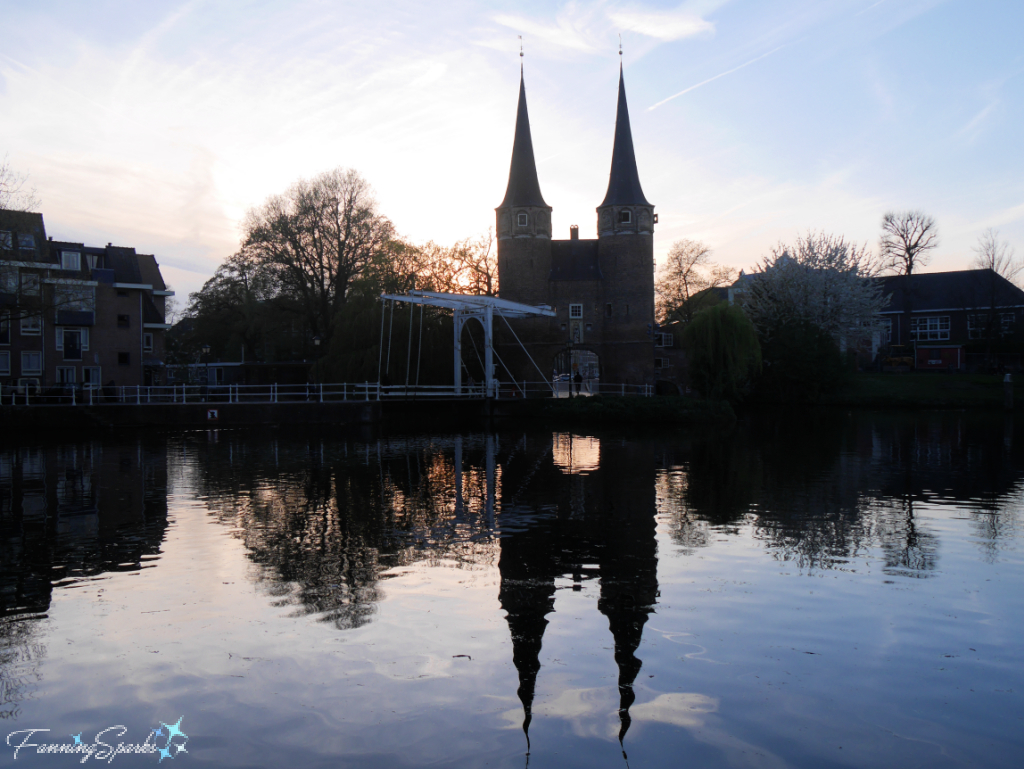
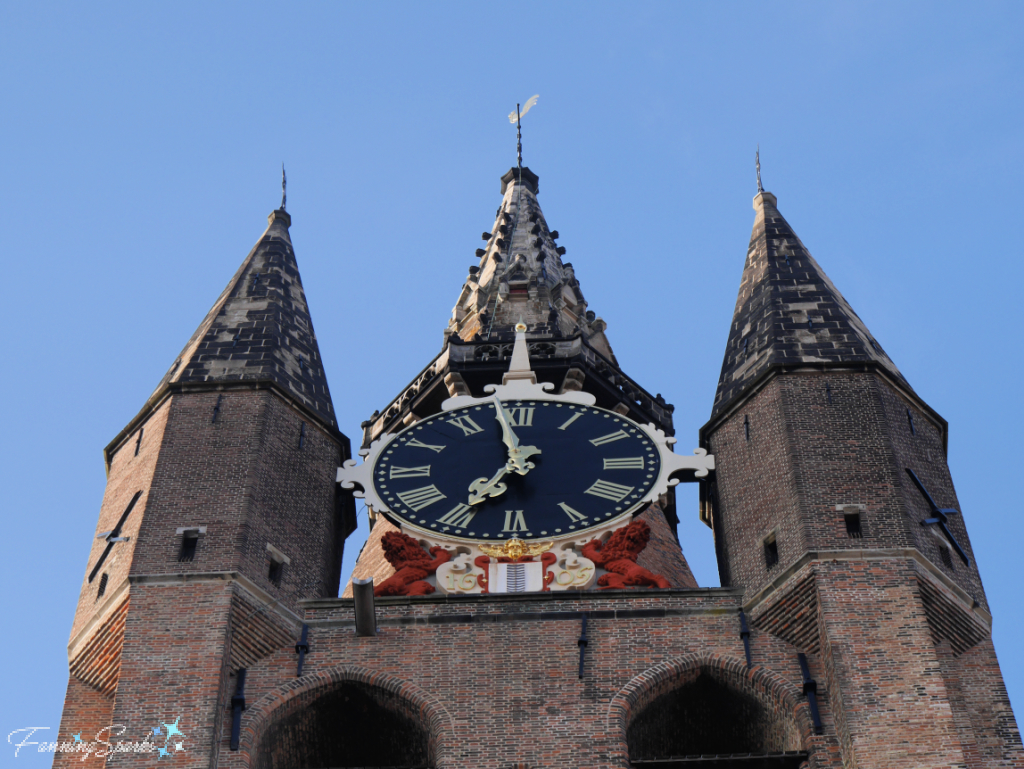
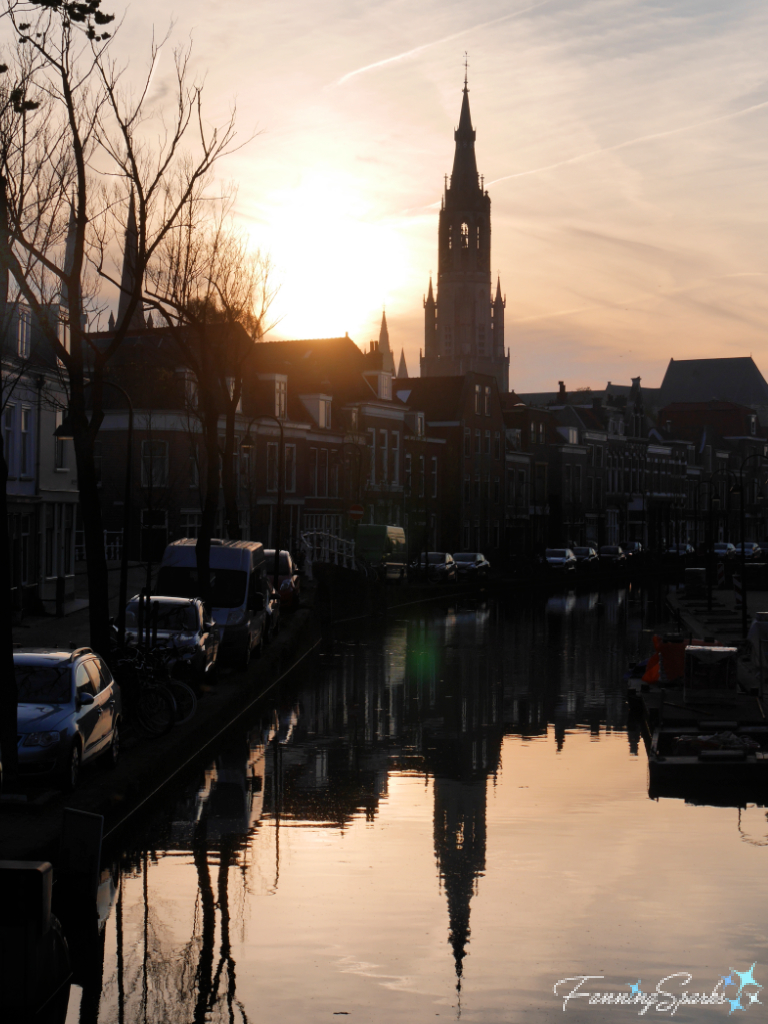
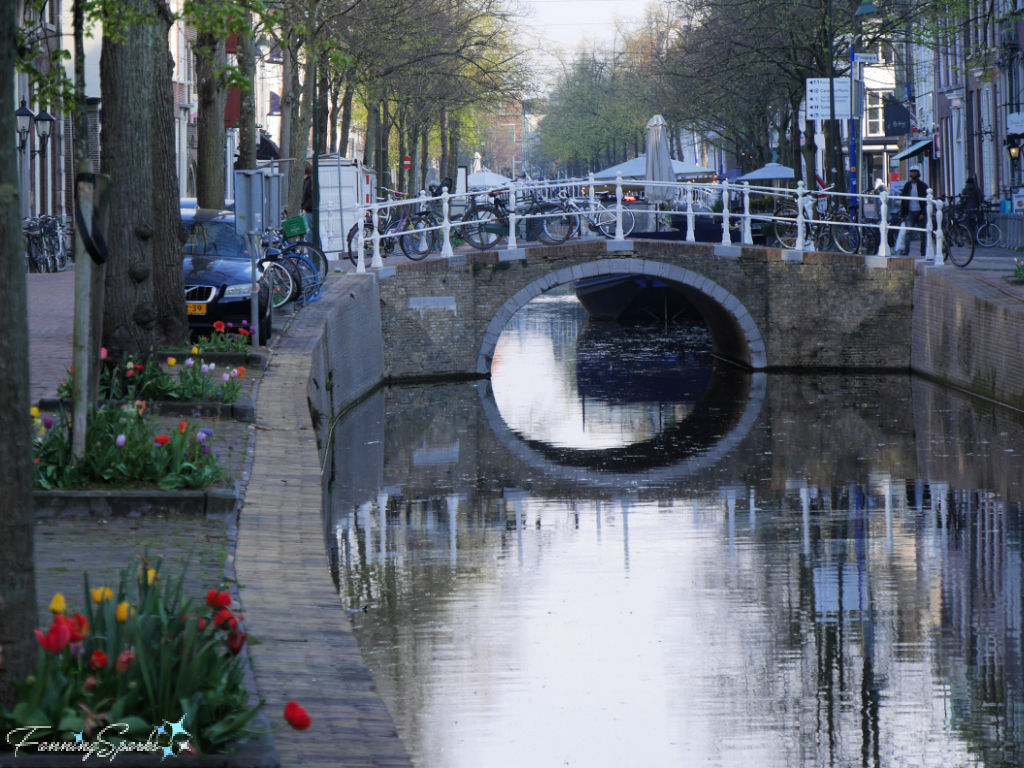
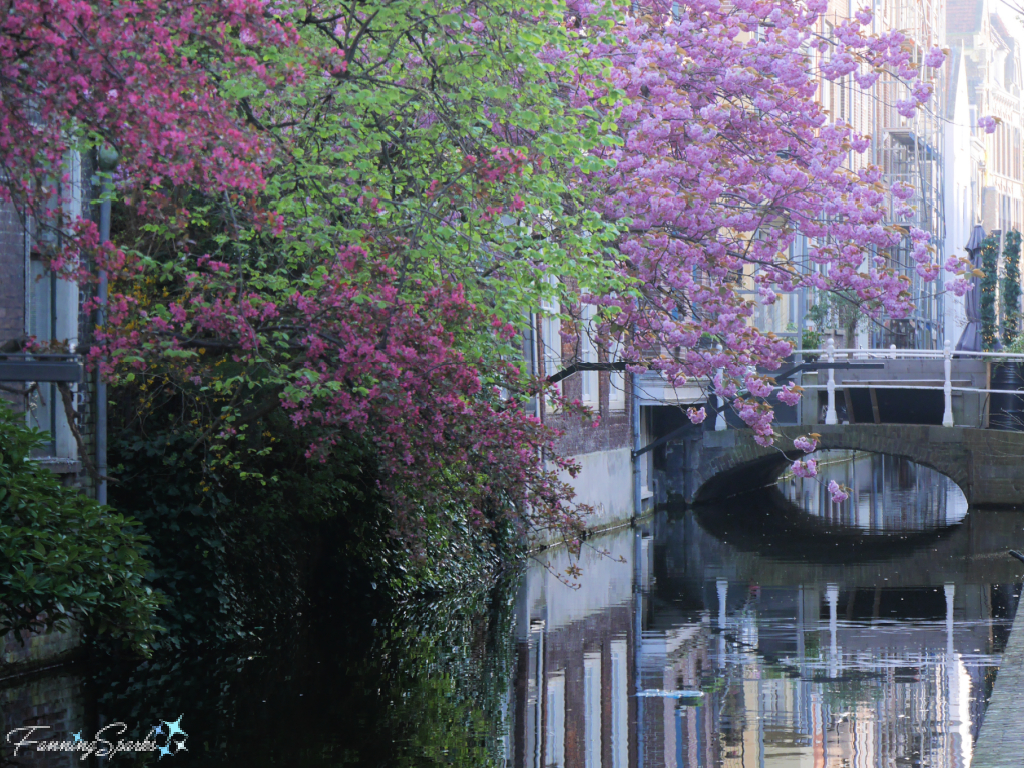
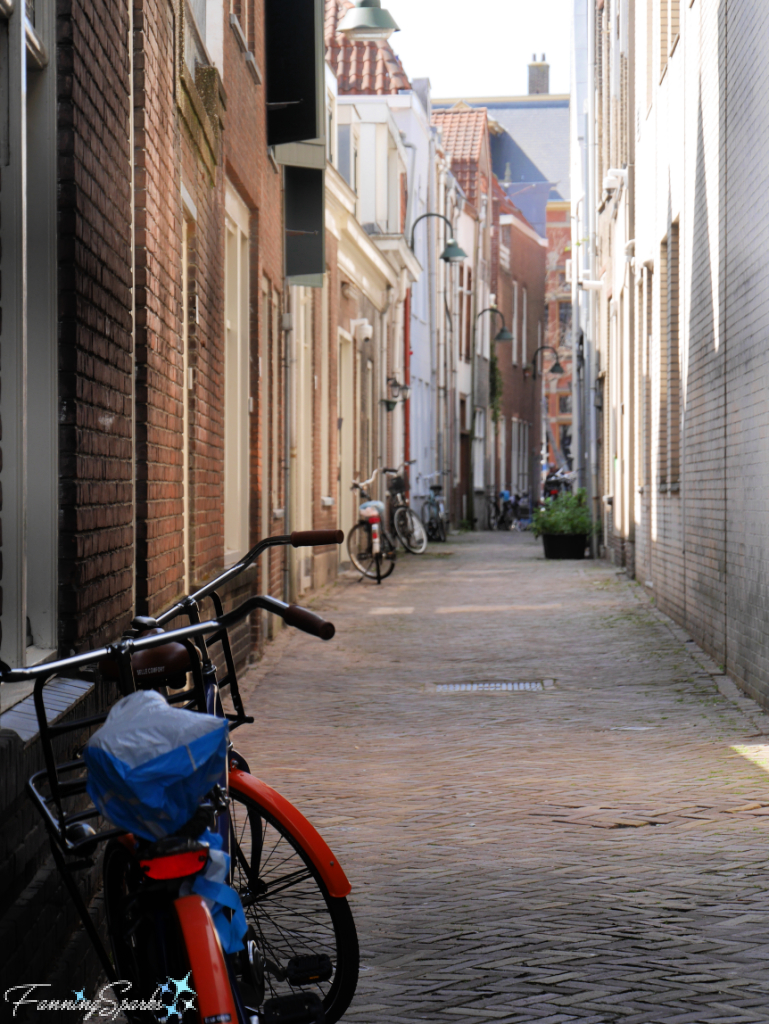
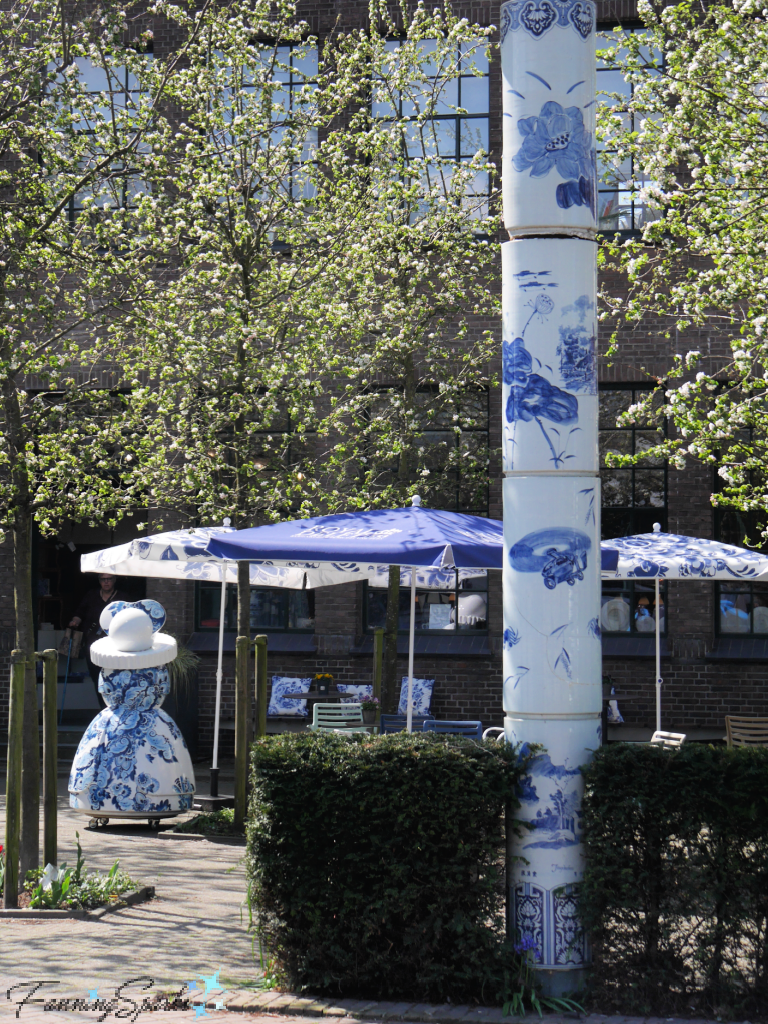
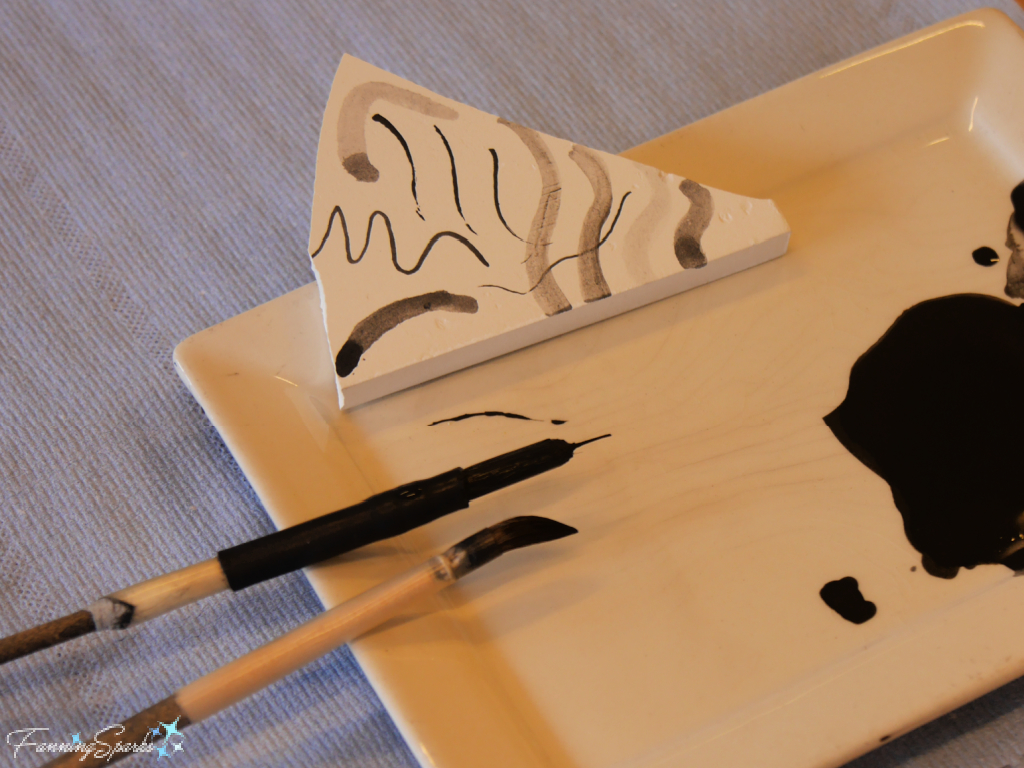
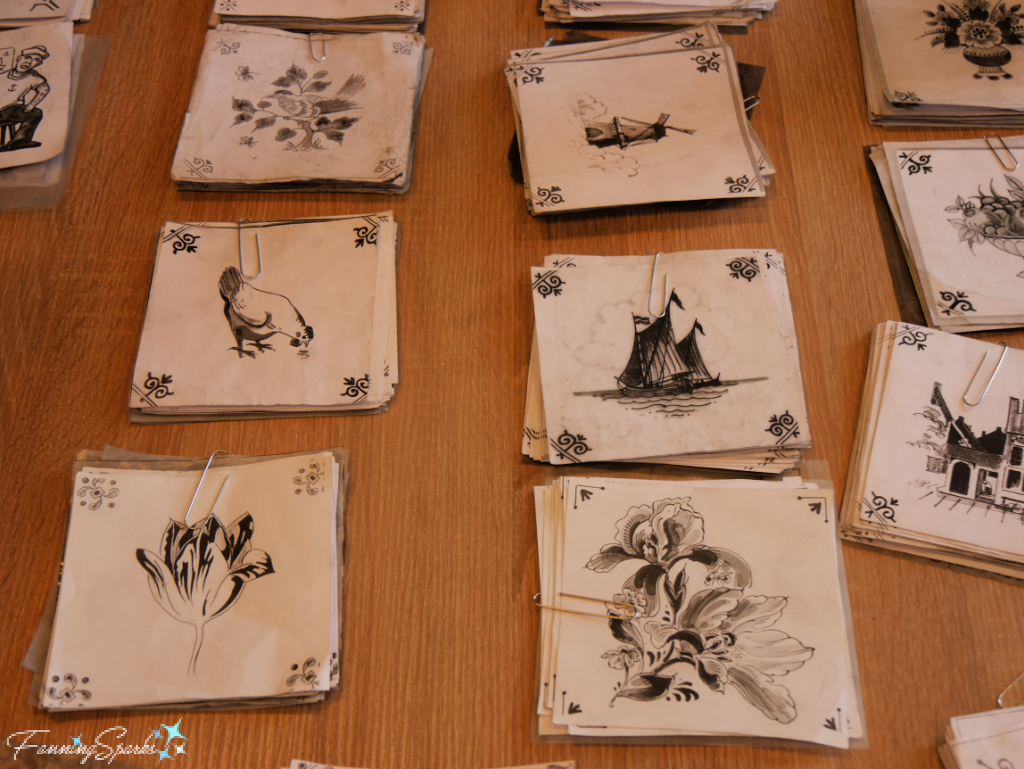
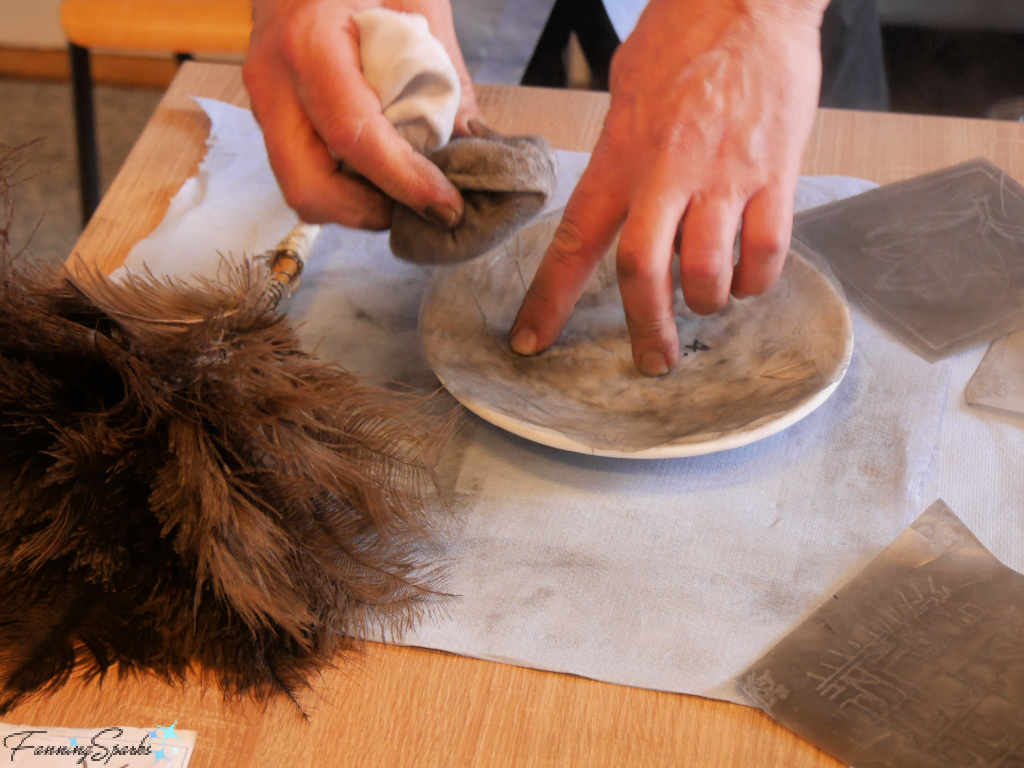
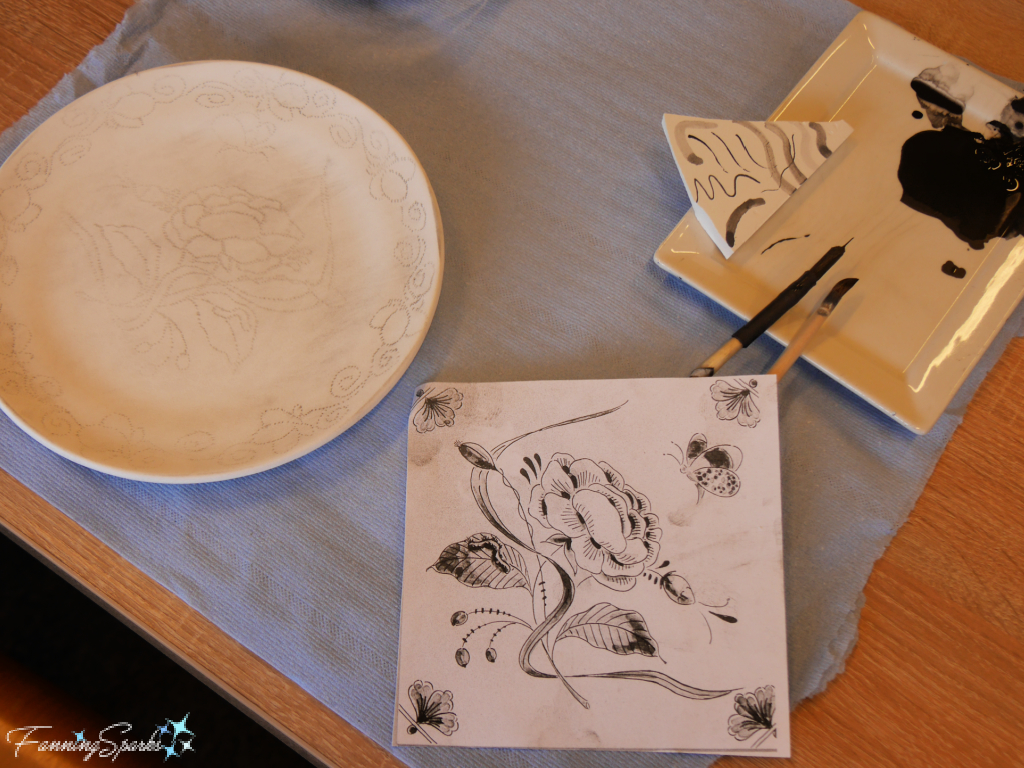
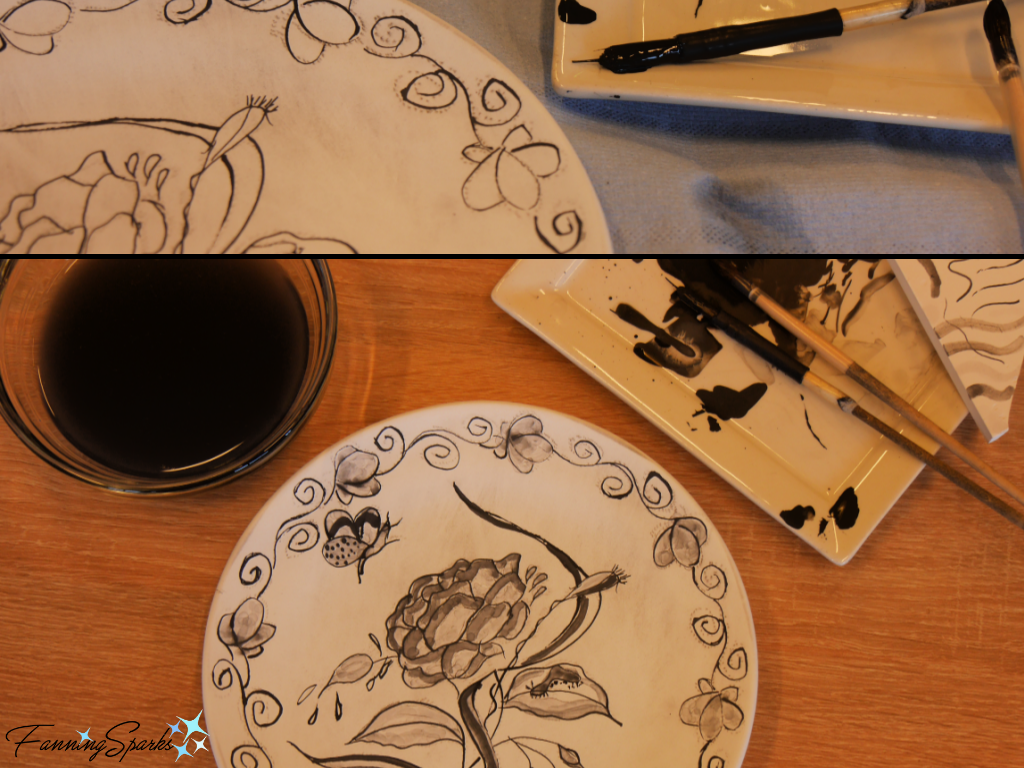
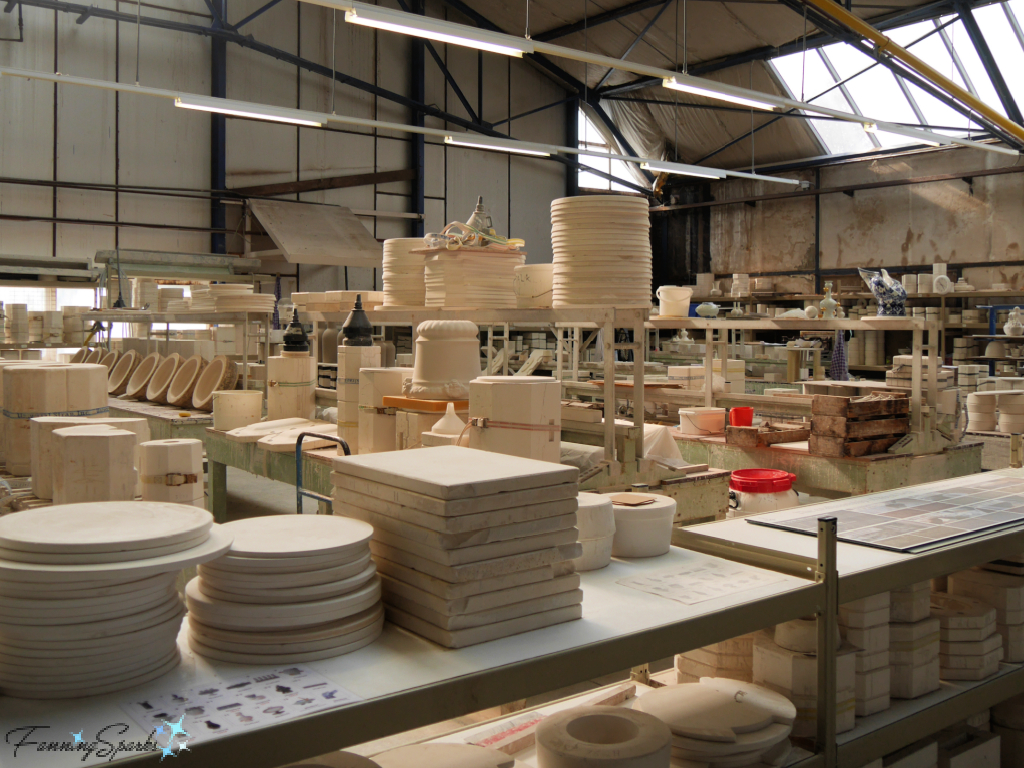
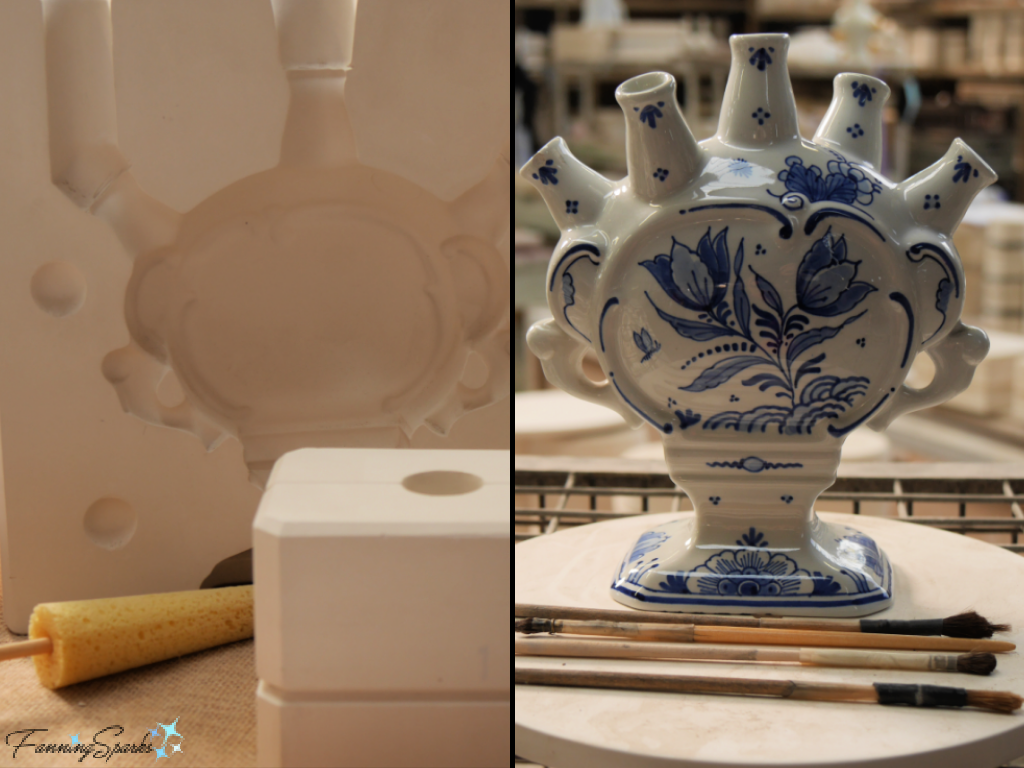
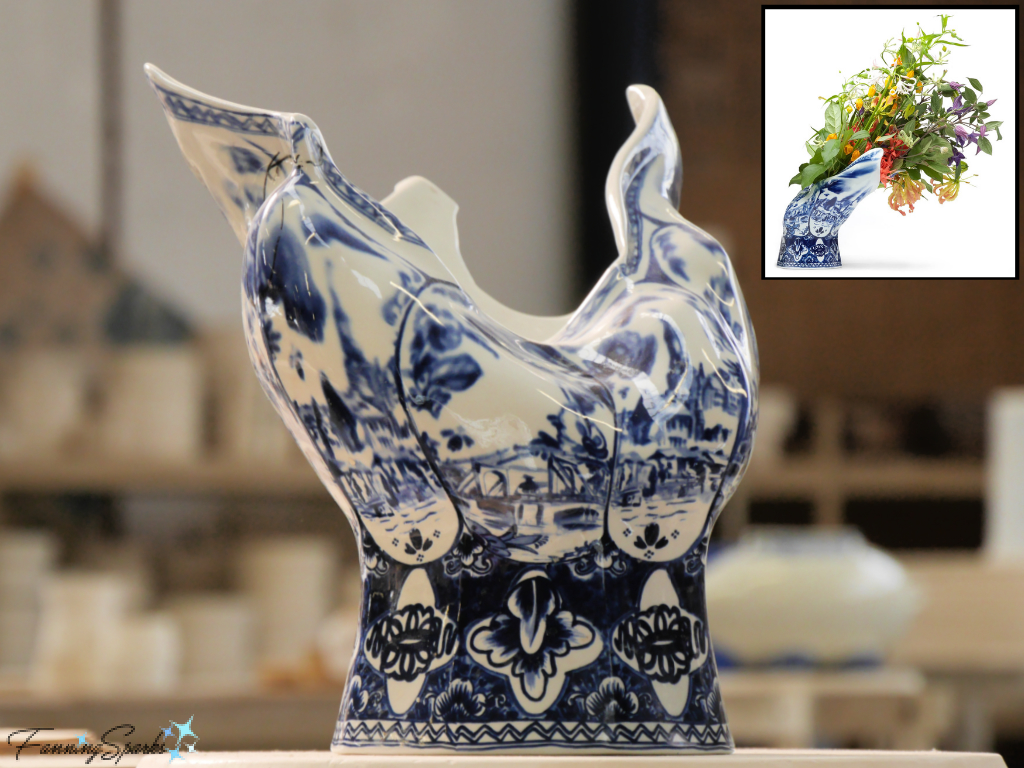
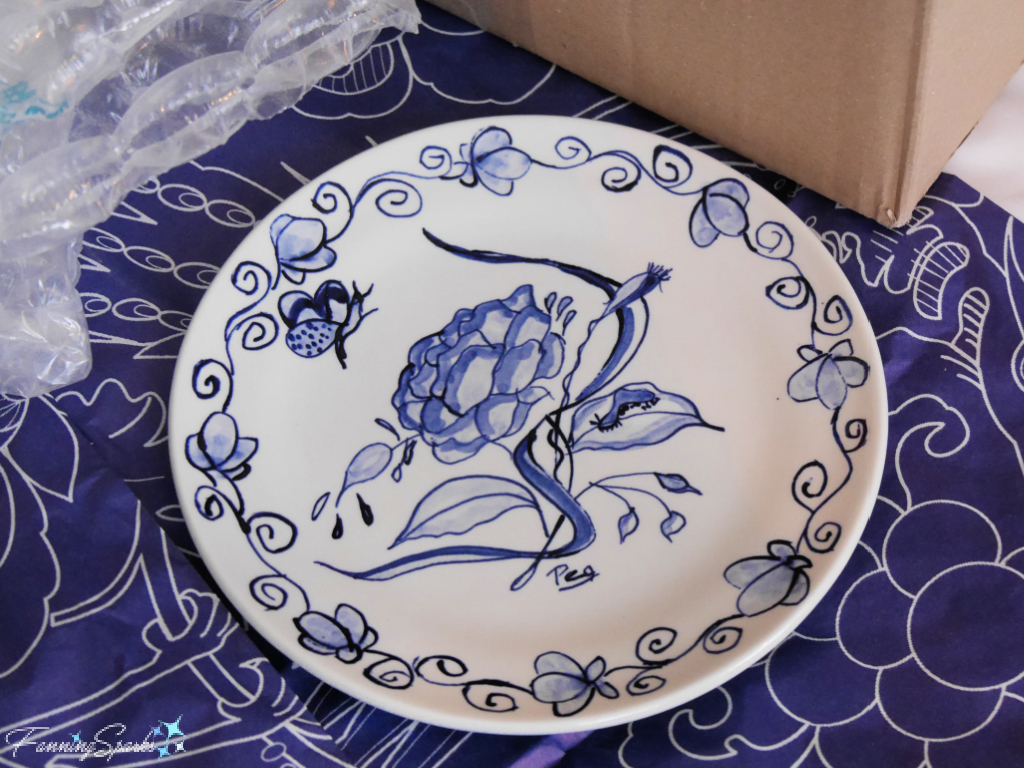
. Painting Delftware in Delft about the charming city of Delft and our experience trying a centuries-old painting tradition at the historic Royal Delft factory.
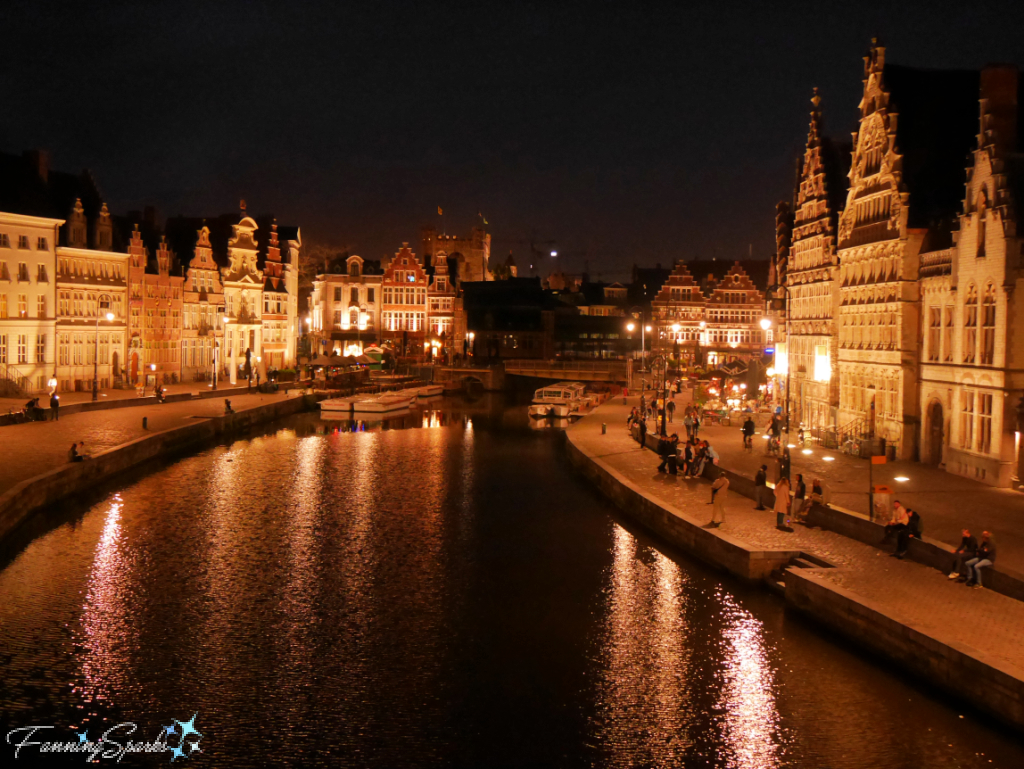
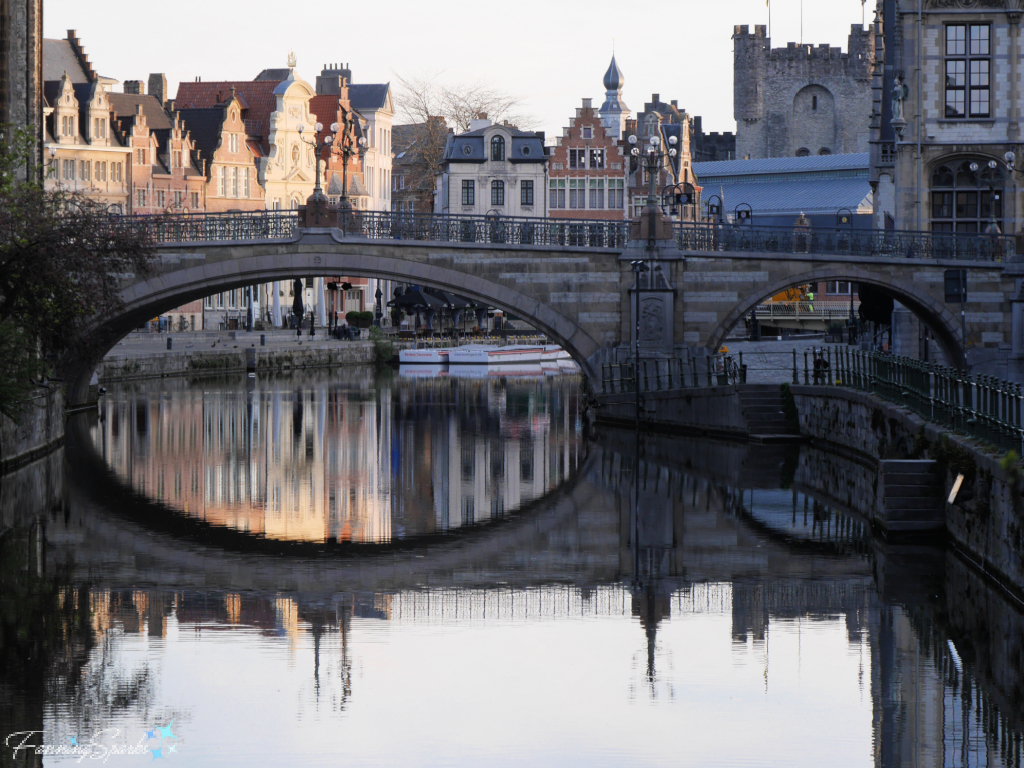
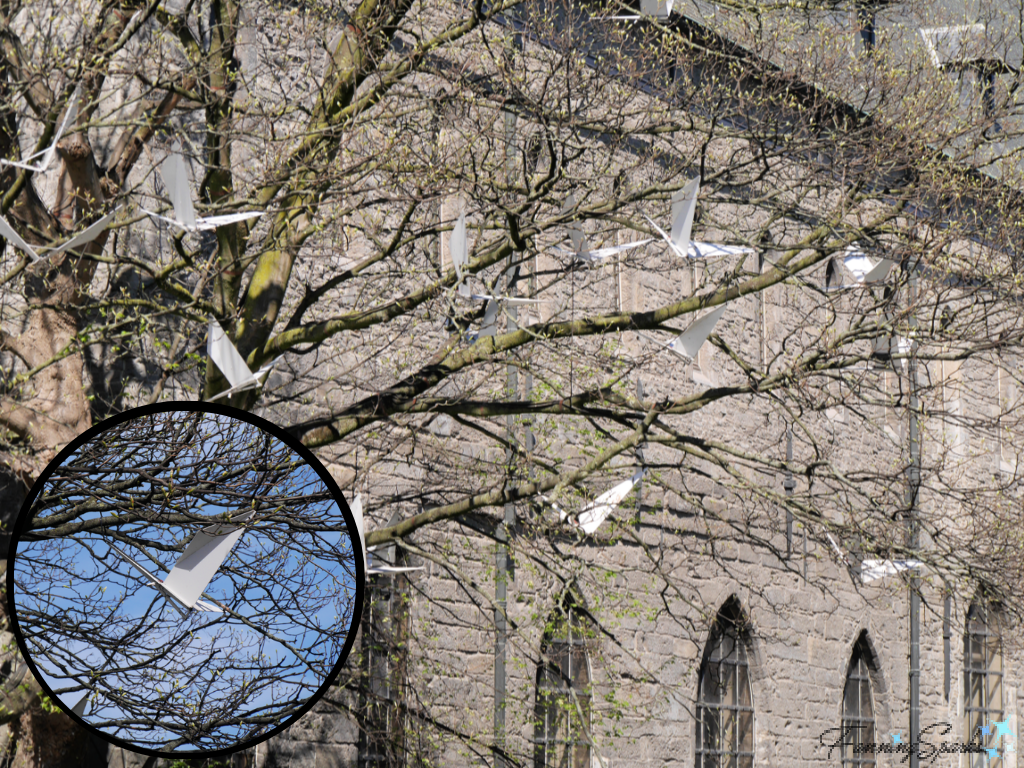
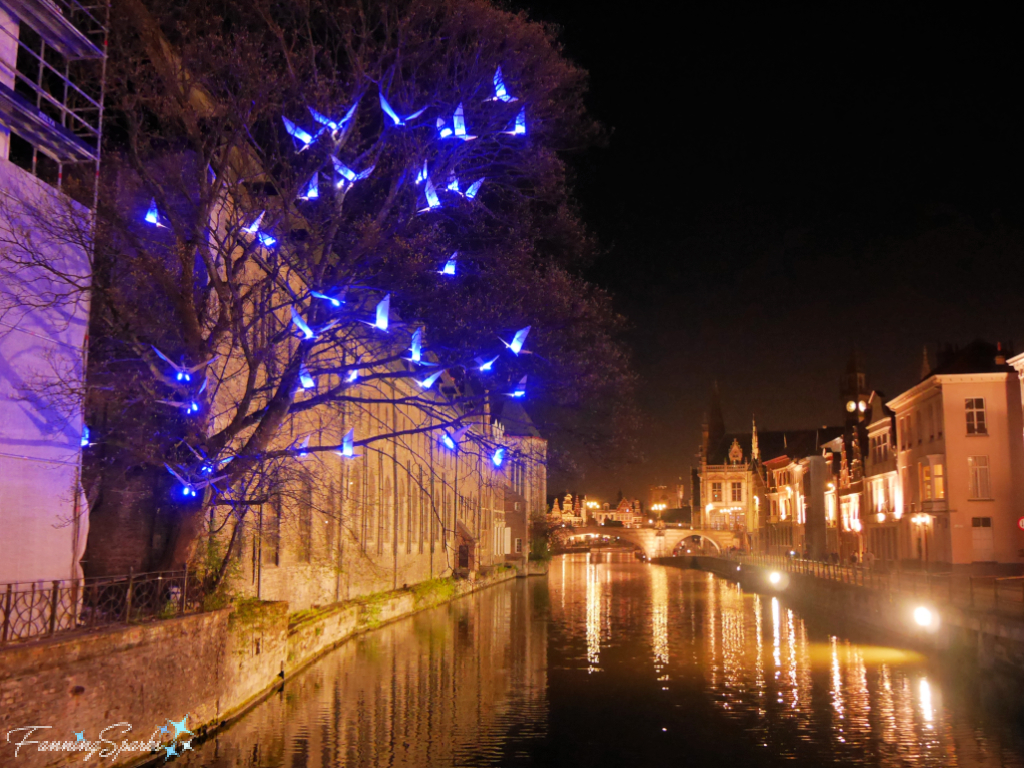
. Expected and Unexpected Delights of Ghent in which I share the rich heritage and beautiful architecture of Ghent Belgium as well as unexpected delights such as innovative art installations and sweet wildlife sightings.
. Artworks as Big as Walls in Amsterdam (this post).
You can find information about visiting Amsterdam, the world-famous 17th century capital of Holland, on the official website for the Netherlands.
Information about NDSM, Amsterdam’s edgy arts community, can be found on the NDSM website.
See the STRAAT Museum website for information about Amsterdam’s graffiti and street art museum. This museum was voted Best Hidden Gem and Best Museum in the Netherlands by the Tickets Remarkable Venue Awards in 2021. The STRAAT Museum’s artworks can also be viewed in their online collection database.
Today’s Takeaways
1. Locals are often the best source for hidden gems at your travel destination.
2. Consider wandering off the beaten path for a more authentic experience.
3. Street artists “use visibility of their artworks in the streets… to plant seeds in people’s heads and hearts.”


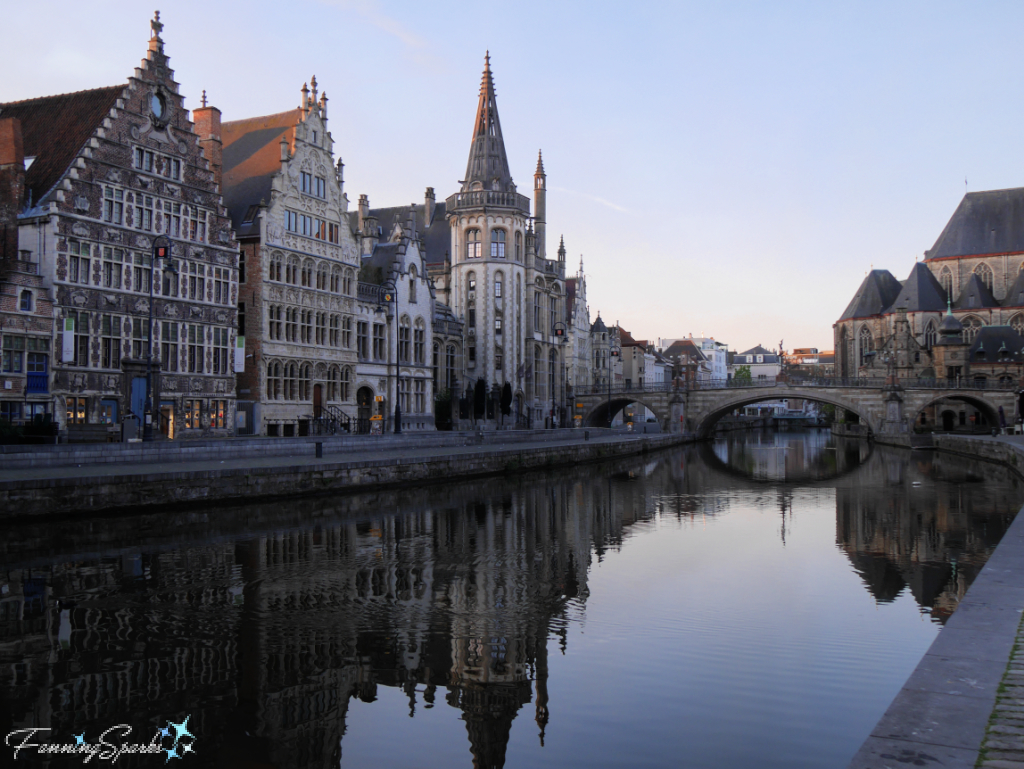
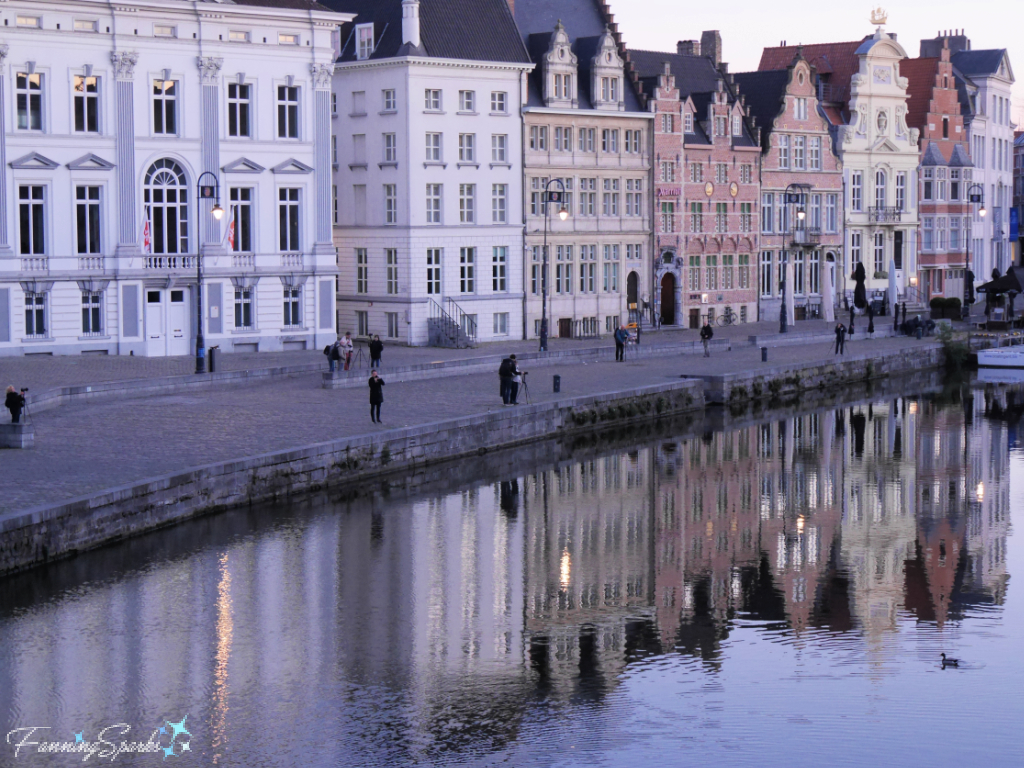
 “The neo-Gothic St Michael’s Bridge offers fine views back over the towers and turrets that pierce the Ghent skyline – just as it was meant to: the bridge was built to provide visitors to the Great Exhibition [in 1913] with a vantage point from which to admire the city center.” says Phil Lee in his book Rough Guide Directions Bruges and Ghent. The below photo was taken from St Michael’s Bridge and shows the Former Post Office (on left) and St Nicholas’ Church (center).
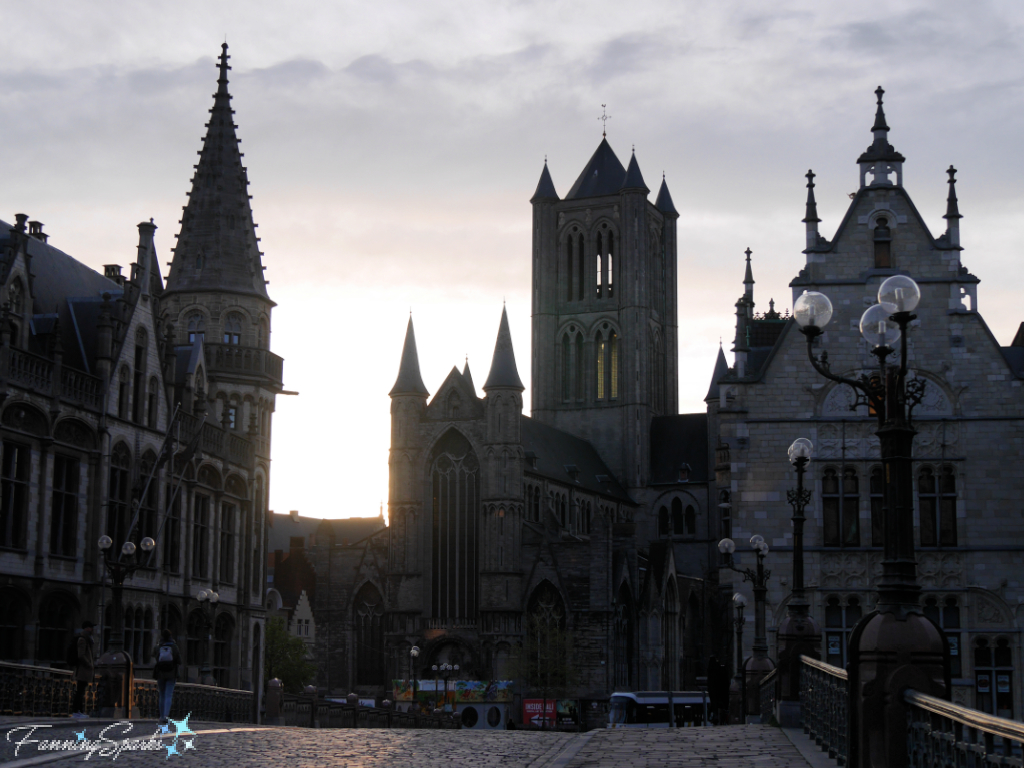 Atop a lamppost at the center of the bridge, is a striking bronze sculpture of Saint Michael defeating a dragon.


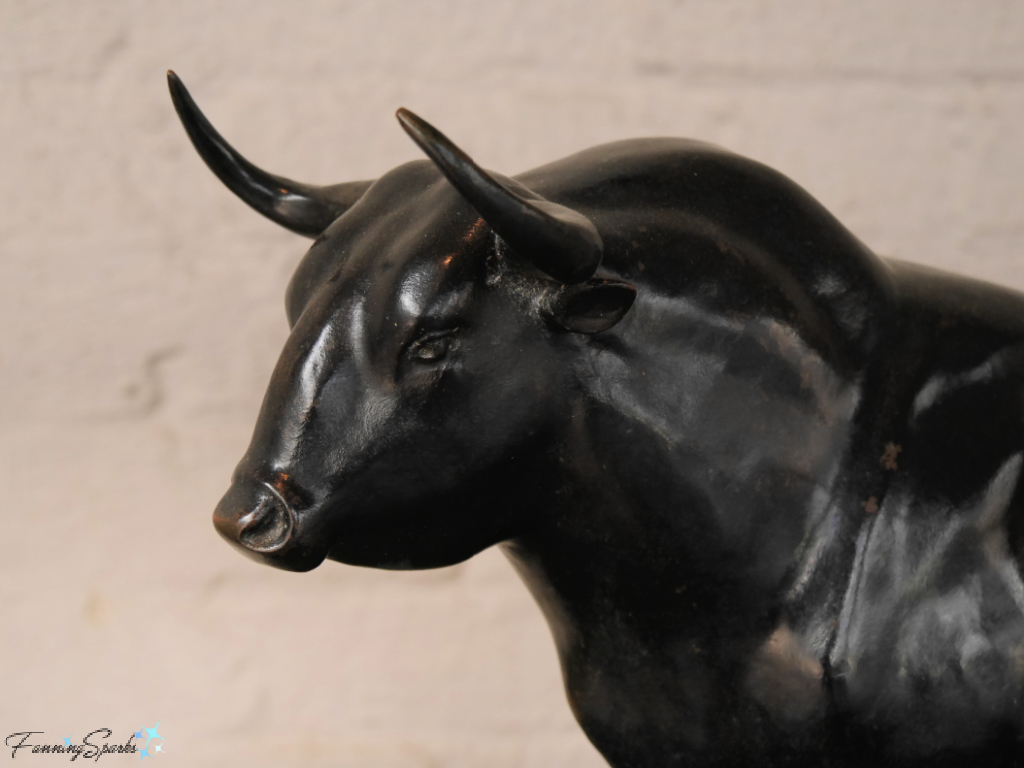
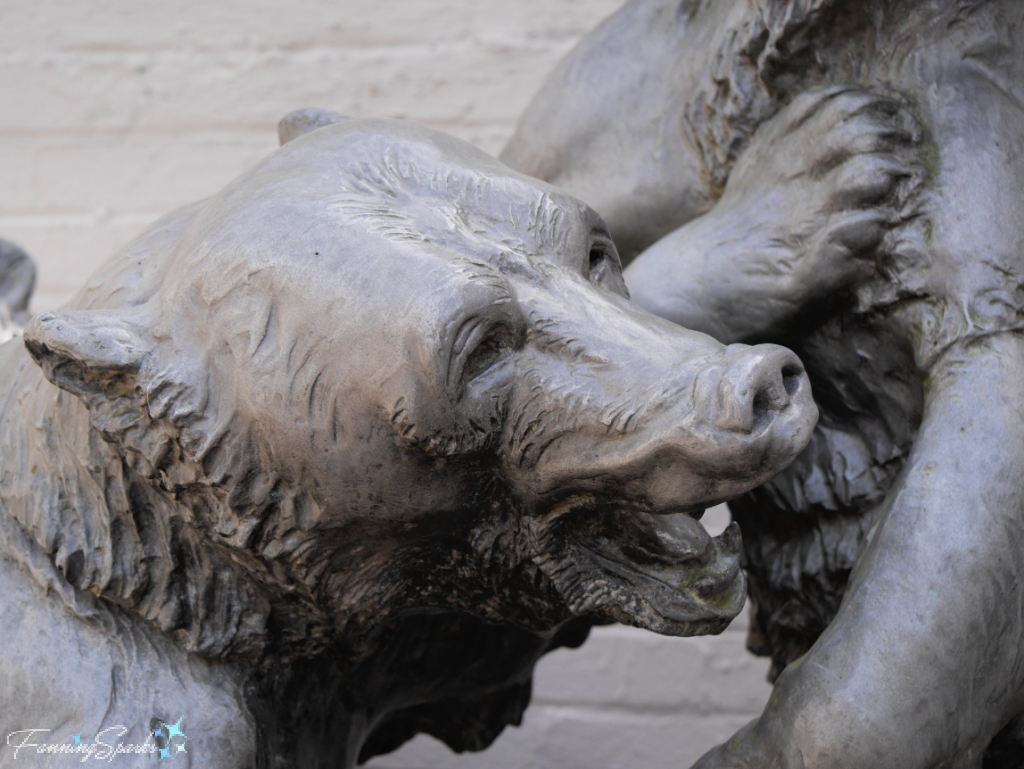
 This majestic bull, Toro Bravo, is by Charlotte Dunwiddie.