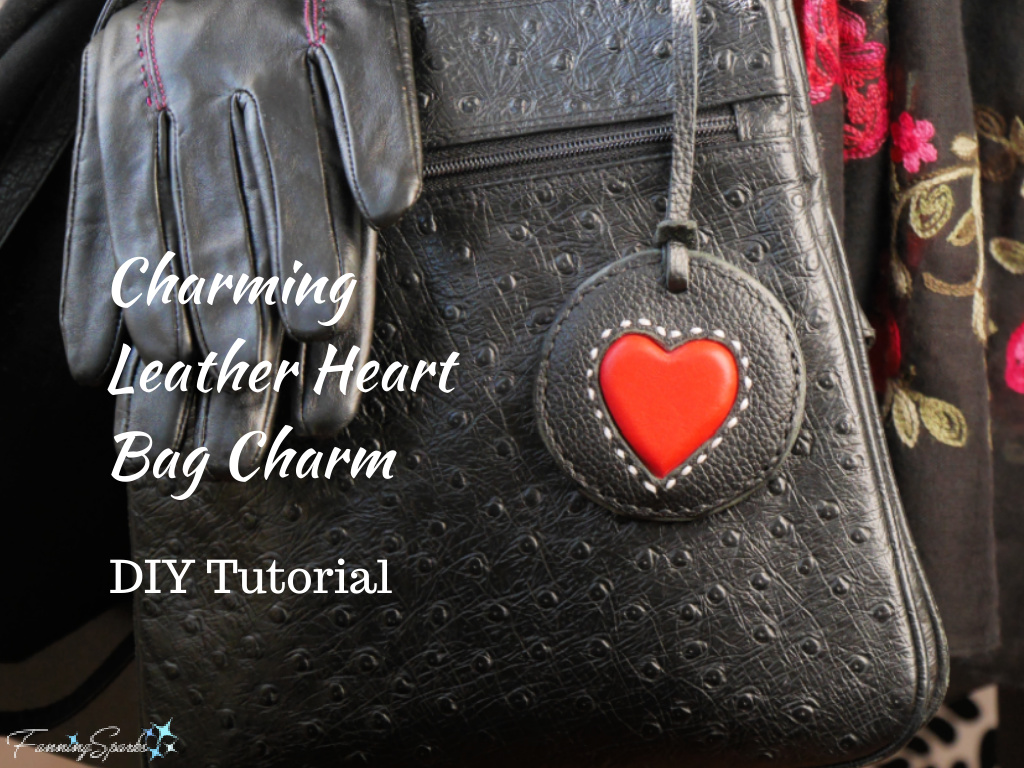
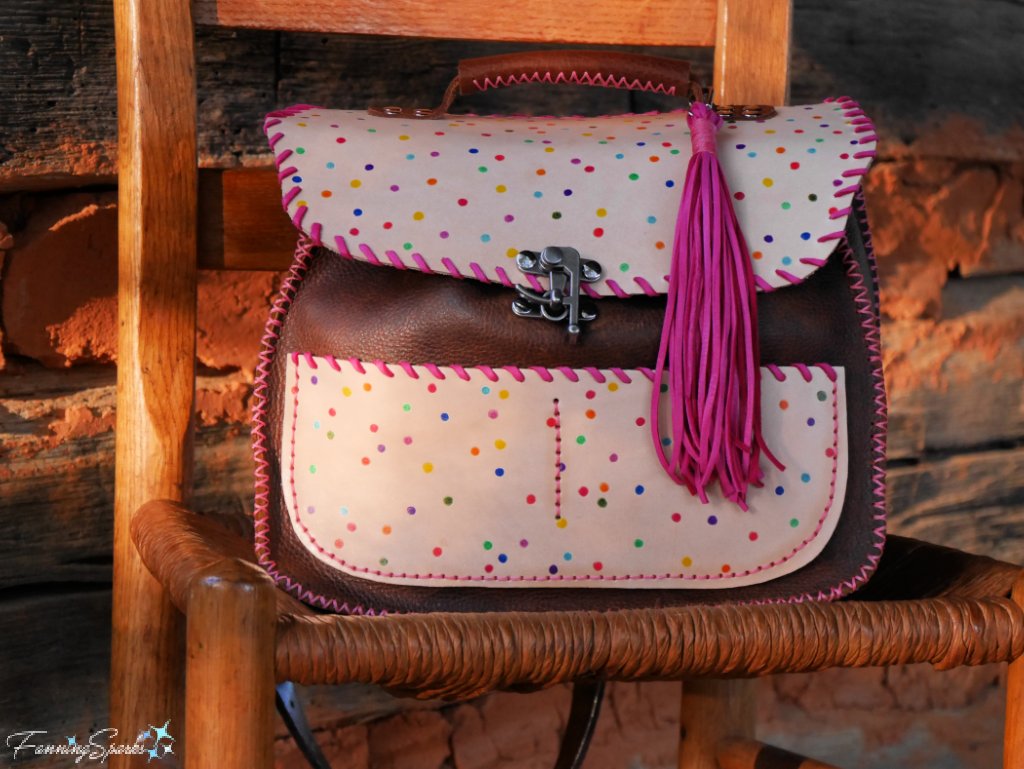
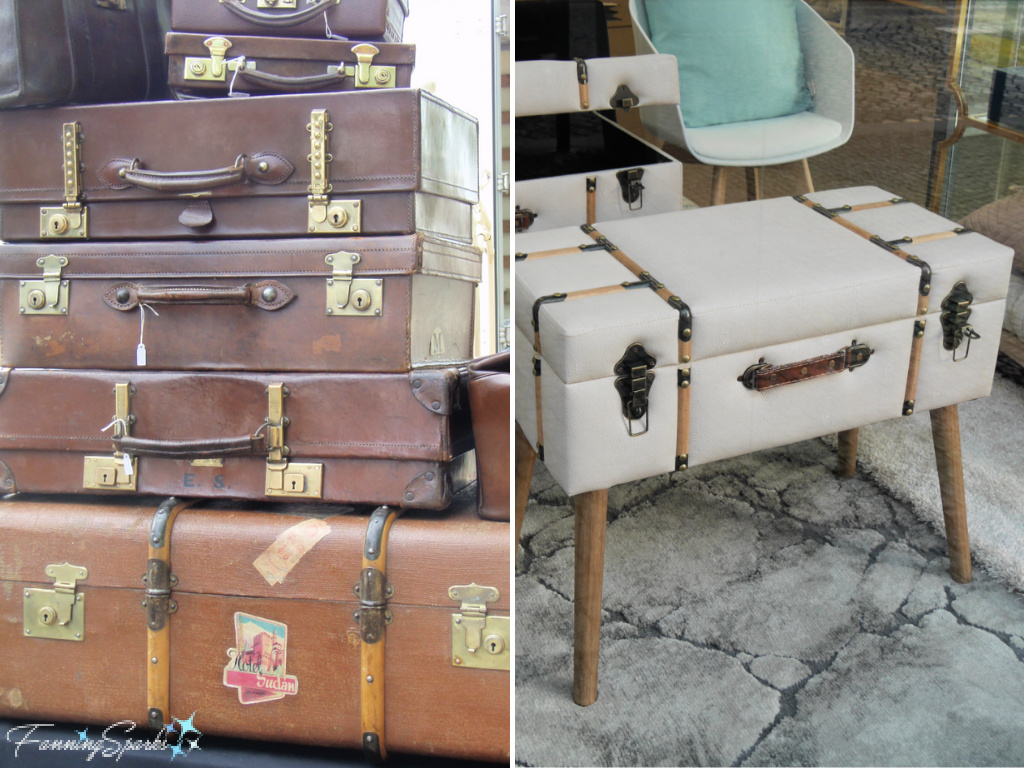
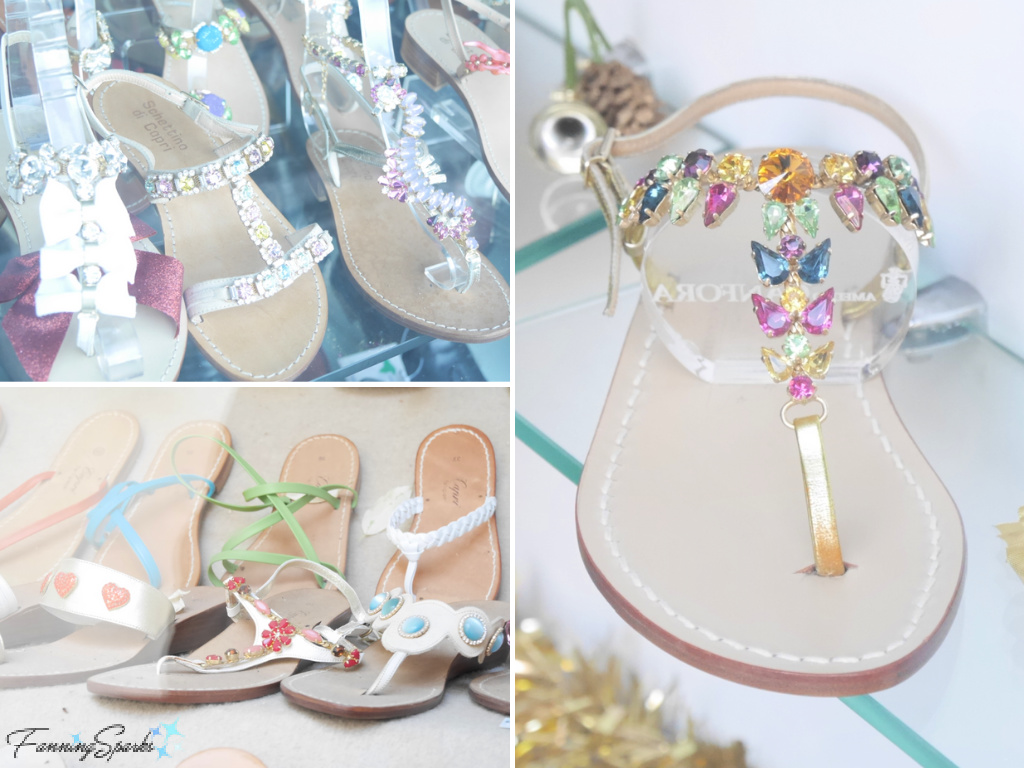
Luxury design houses and high end leather bags have never been my thing. But I do appreciate the creativity and inspiration these talented luxury designers bring to the world. It’s wonderful to be able to scan their collections online. Recently, while perusing the Hermès website, a small leather accessory—the Oran Nano Charm—caught my eye. It’s billed as a “miniaturization of an Hermès icon… the Oran sandal”. It’s a small replica, just short of three inches long, of the Hermès Oran sandal designed to be used as a fun bag accessory. With the hefty price tag of $590 USD, it’s not something I’m about to buy but the idea of a leather bag charm is intriguing.
It appears leather bag charms have been in vogue for a while. Two years ago, one online resource confidently claimed that bag charms were the new trend and it was no longer acceptable to have a bag without a charm. Well… acceptable or not, I do agree that adding a charm to a bag can boost its personality. What’s more, if you design and make the bag charm yourself it becomes an outstanding, one-of-a-kind accessory. This brings me to today’s project—a charming leather heart bag charm! Just in time for Valentine’s Day!
I’m still learning to work with leather so I’m no expert. But I decided to share this project since it’s a straightforward, low-cost, high-impact project that other beginners might enjoy. Read on for a list of supplies and tools followed by detailed step-by-step instructions.
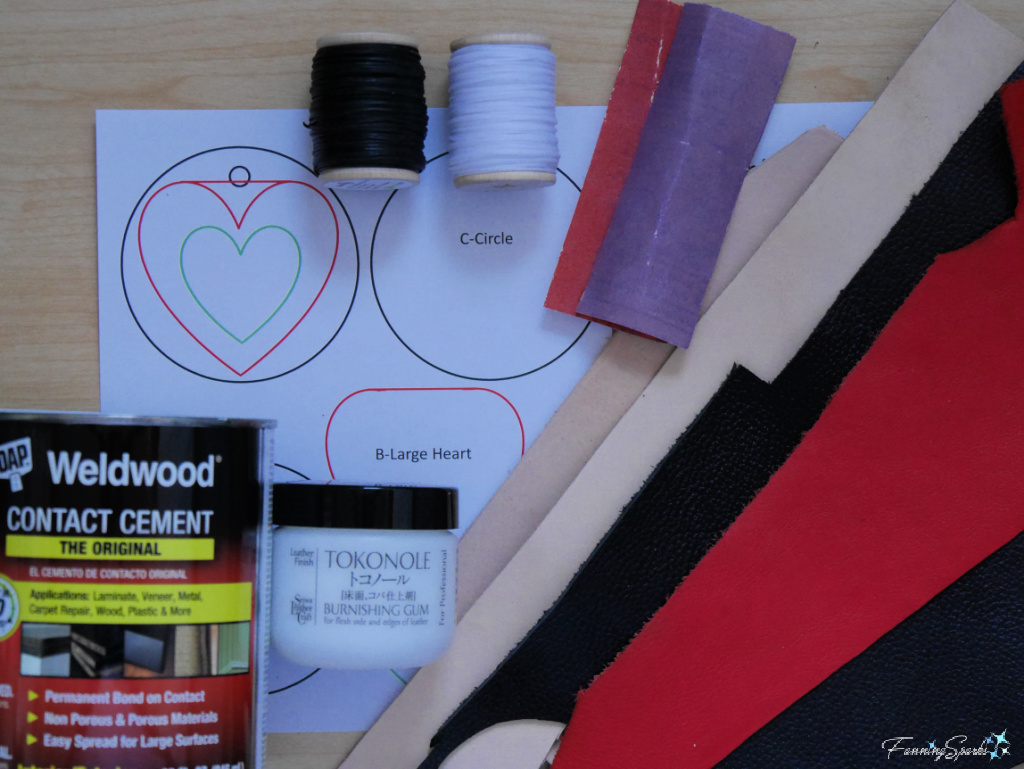
Supplies Needed
. Template: Download Charming Leather Heart Bag Charm – Complimentary Download to print the template.
. Paper: A few sheets of white paper for printing template.
. Leather: You’ll need several small pieces of leather including:
… Black Leather: TWO 3”x 3” pieces of 4-5oz/ 1.6-2.0mm for the body of the bag charm
… Black Leather: 9”x ⅜” piece of 4-5oz/ 1.6-2.0mm for the bag charm strap
… Red Leather: 2¾”x 2¾” of 2-3oz/ 0.8-1.2mm for the molded heart
… Mold: TWO 3”x 3” pieces of natural, veg-tan in 6-7oz/ 2.4-2.8mm to make window for mold
… Mold: TWO 2”x 2” pieces of natural, veg-tan in 6-7oz/ 2.4-2.8mm to make heart inset for mold
… Inner Support: 2¾”x 2¾” of natural, veg-tan in 4-5oz/ 1.6-2.0mm.
. Sandpaper: Medium and fine grit such as 250 and 400 grit.
. Thread for Sewing Leather: I used 0.8mm Ritza 25 Tiger thread in white and black.
. Leather Glue or Contact Cement: I used Weldwood Contact Cement.
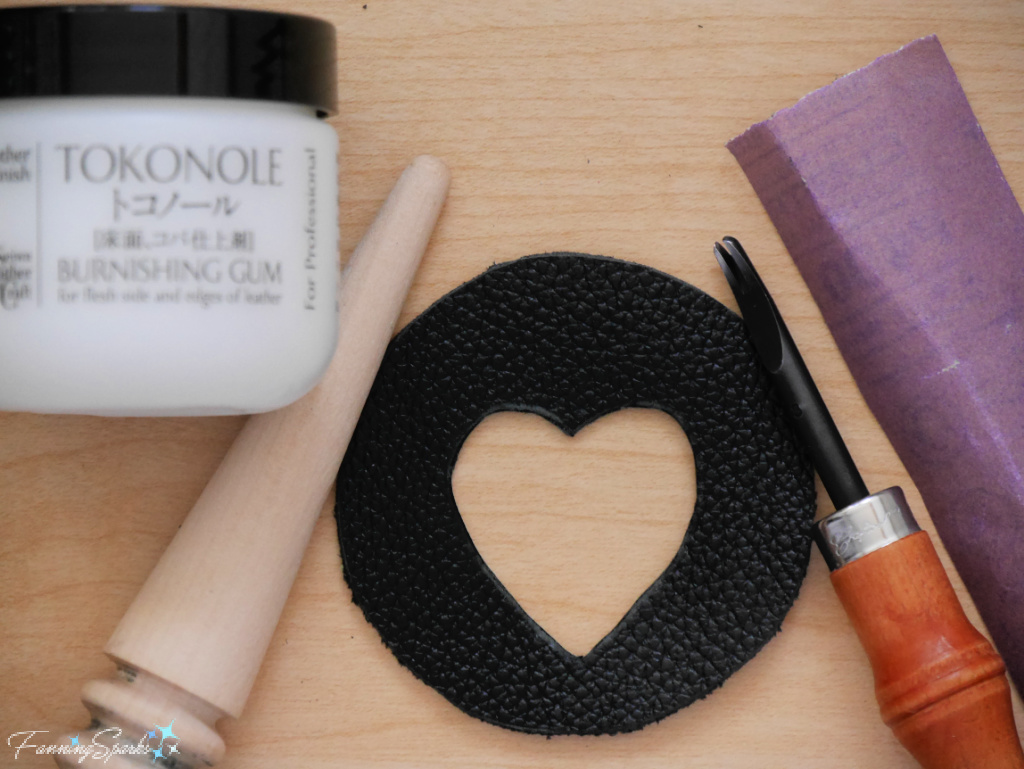
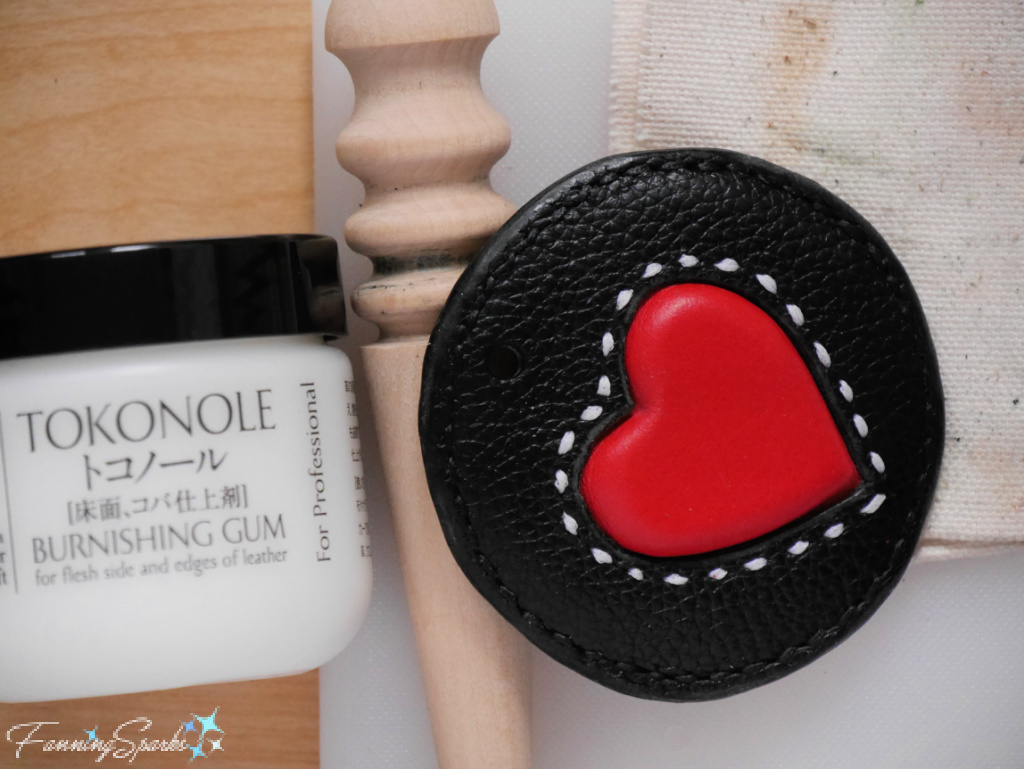
. Seiwa Tokonole Burnishing Gum or Similar Product: To seal and polish the edges of leather.
Equipment and Tools Needed
. Printer: To print templates.
. Scissors: To cut paper.
. X-ACTO Knife
. Self-Healing Mat: To cut leather on.
. Scratch Awl
. Marker and/or Pencil
. Blue Tailor Chalk Pencil (Optional): An alternative way to mark leather.
. Edge Beveler: I used a size 3 edge beveler from Tandy Leather.
. Bone Folder or Similar Tool: To shape wet leather.
. Heavy Object: To weigh down glued surface.
. Wood Slicker: To burnish leather edges. Alternatively, a piece of canvas can be used.
. Wing Dividers: To mark seam allowances and stitching holes.
. Hole Punch: Single punch for stitching holes. I used a diamond 1 prong punch from Tandy Leather.
. Heavy Plastic Surface: To work on when punching leather. Tandy Leather’s Poly Cutting Board is ideal but a plastic cutting board could work as well.
. T-Pins (Optional): To hold paper template in place.
. Leather Stitching Needles TWO
. Lighter or Similar Device: To melt polyester thread ends.
. Mallet or Maul: To hammer punches. Experts recommend using a proper leatherworking mallet or maul with a poly head to avoid damaging your punches. I confess I haven’t bought one yet and I’m still using a regular hammer.
. Punch: Single round hole with about ³⁄₁₆“ diameter.
. Ruler: To cut long straight strip of leather.
. Disposable Brush: To apply contact cement or glue.
Instructions
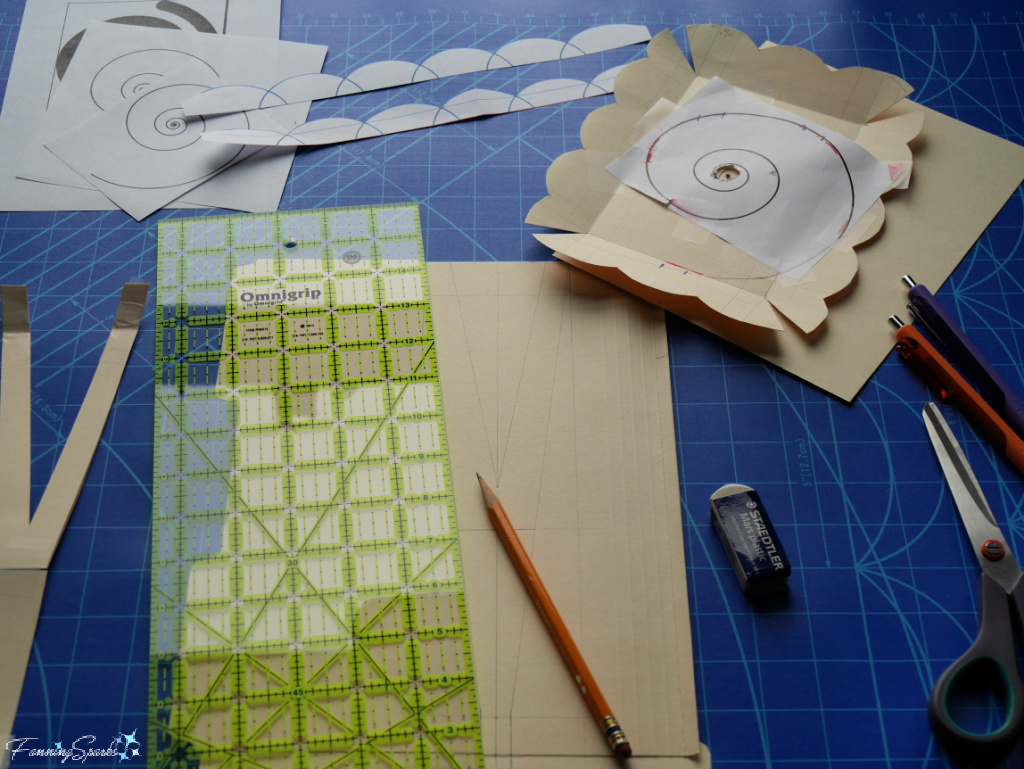
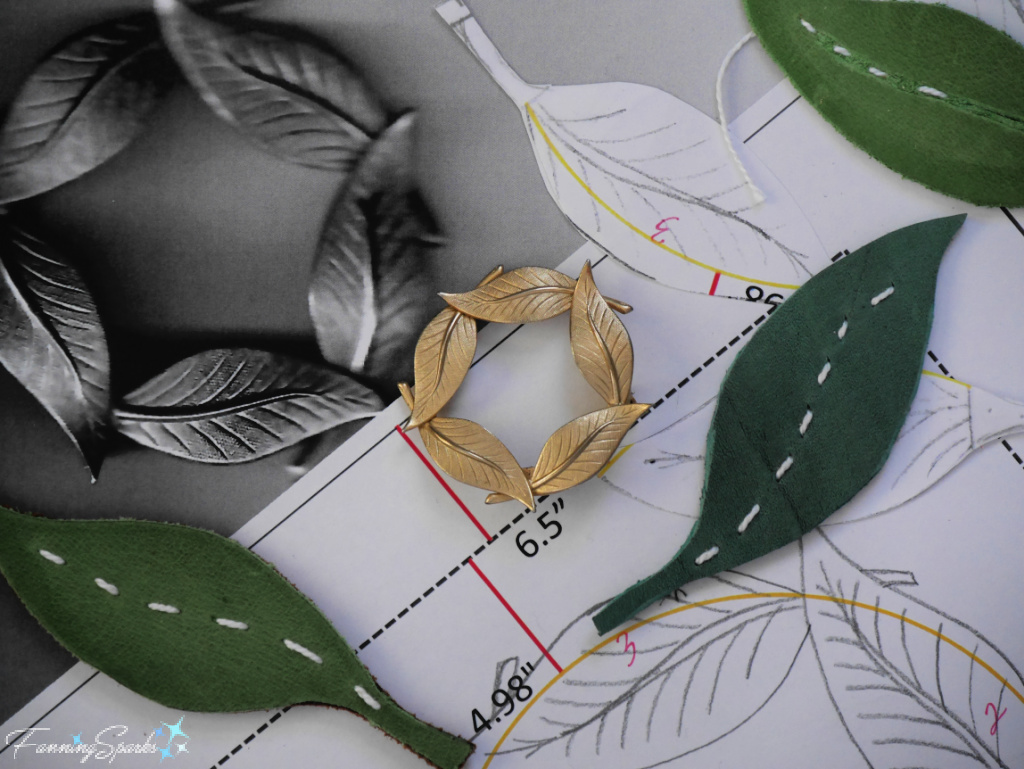
Step 1 – Print Pattern Download the Charming Leather Heart Bag Charm – Complimentary Download and print the template. Take care to ensure the scale is accurate on your printed version. See specifics in the download document.
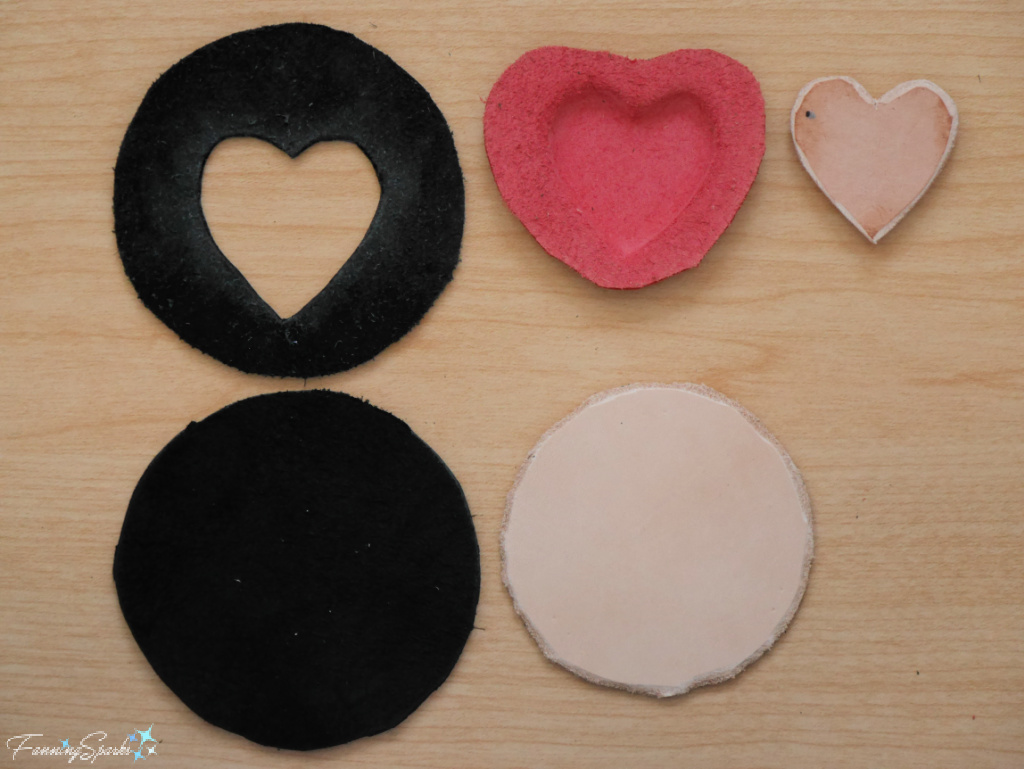
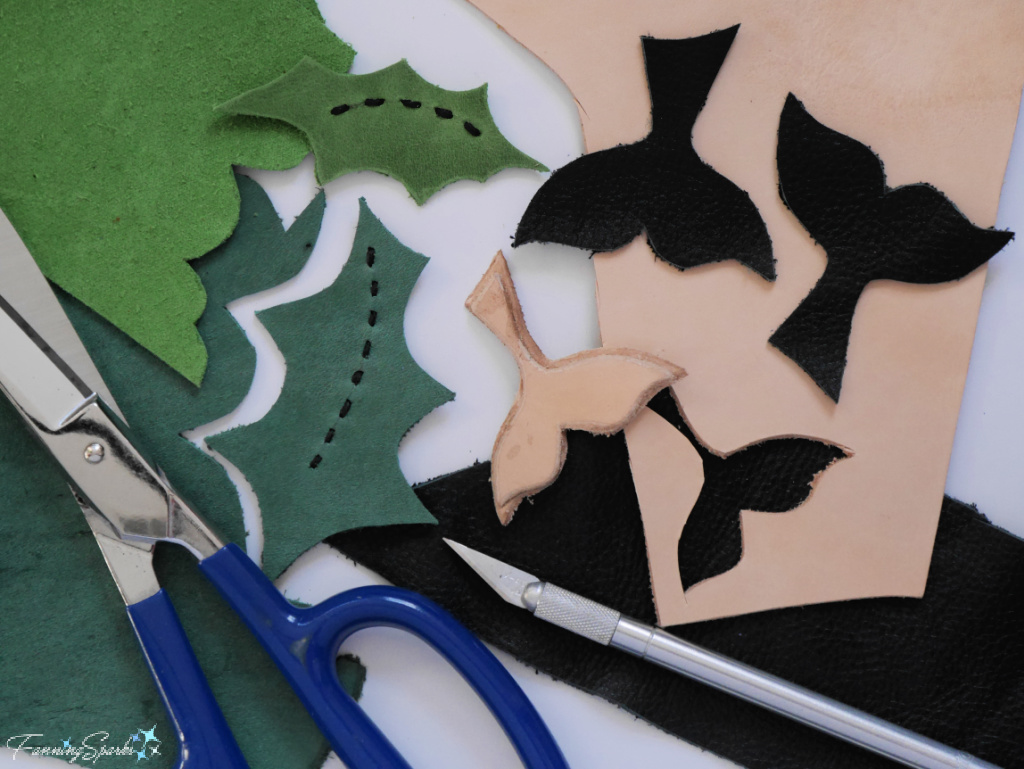
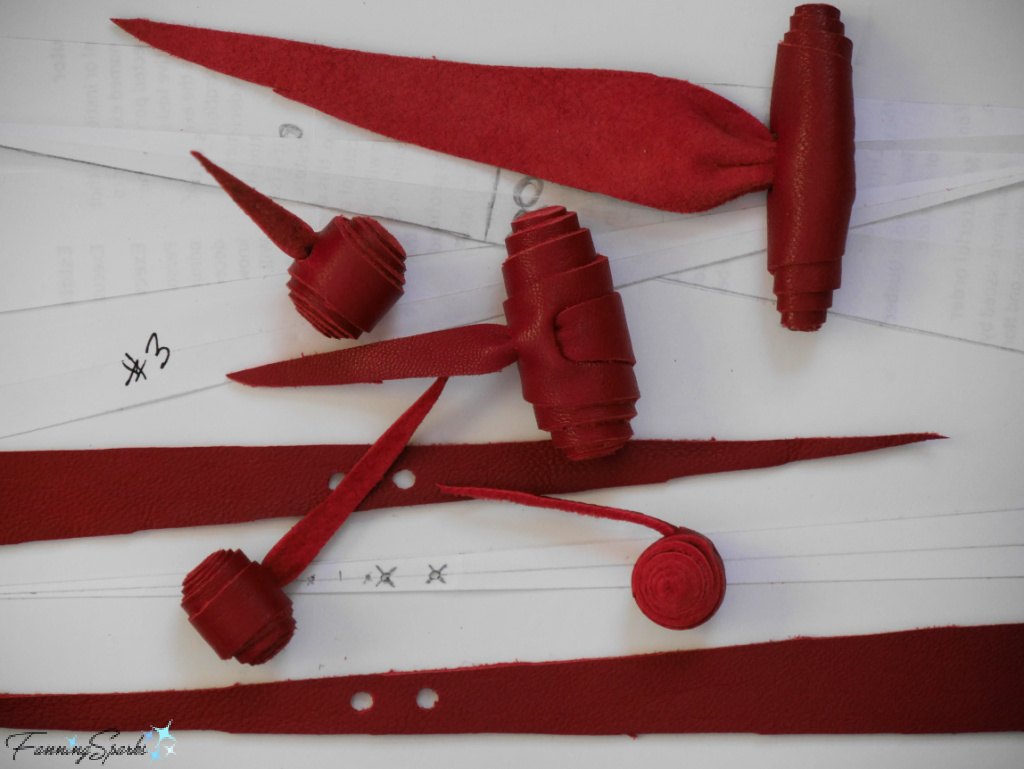
Step 2 – Make Heart Mold A two-part mold will be used to shape the red leather heart. The mold has a small inset heart and a heart-shaped window. Please note, I chose to make this mold from two separate squares of leather—one for the inset heart and the other for the window. Someone with advanced leather-cutting skills could likely cut out the heart-shaped window with enough precision to use the cutout part for the inset heart.
Begin by gluing together the squares of natural, veg-tan leather— TWO 3”x 3” pieces glued back to back and TWO 2”x 2” pieces back to back. Allow glue to dry.
Position A-Small Heart template in the center of the 2”x 2” square. Use a scratch awl to mark around the heart. Use an X-ACTO knife to cut out the heart. Take care to hold the knife blade perpendicular to the working surface. Use the knife to clean up and smooth out the cut edges. This will become the small inset heart.
Make a small mark on the backside of the small inset heart to indicate it will be on the bottom.
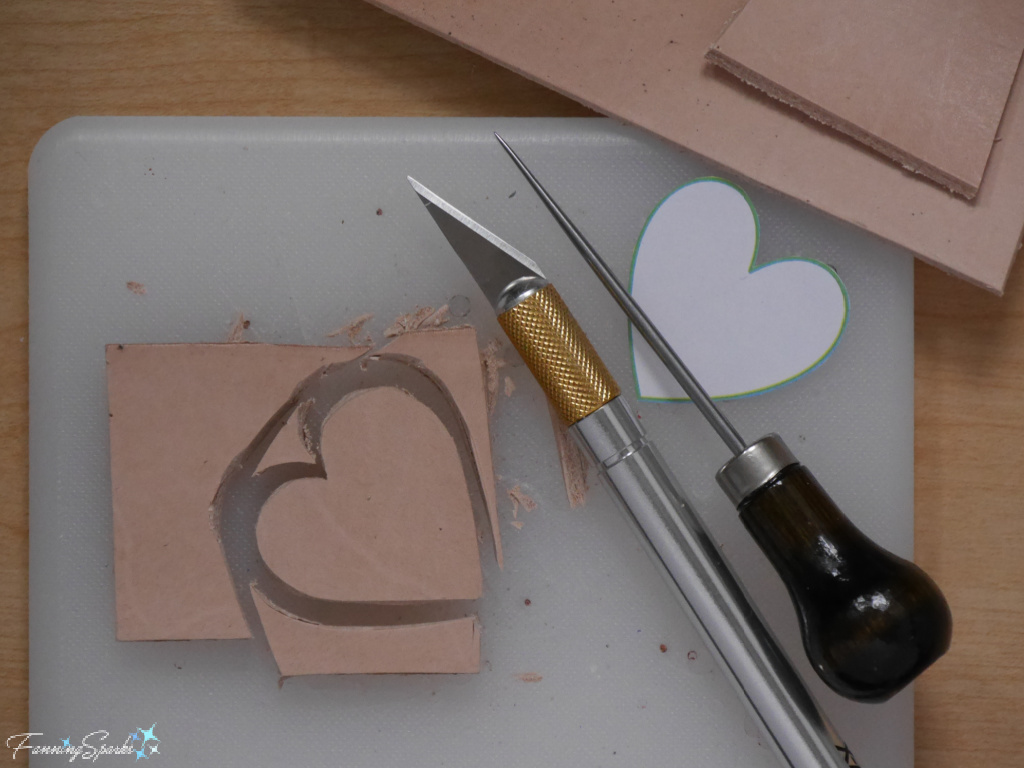
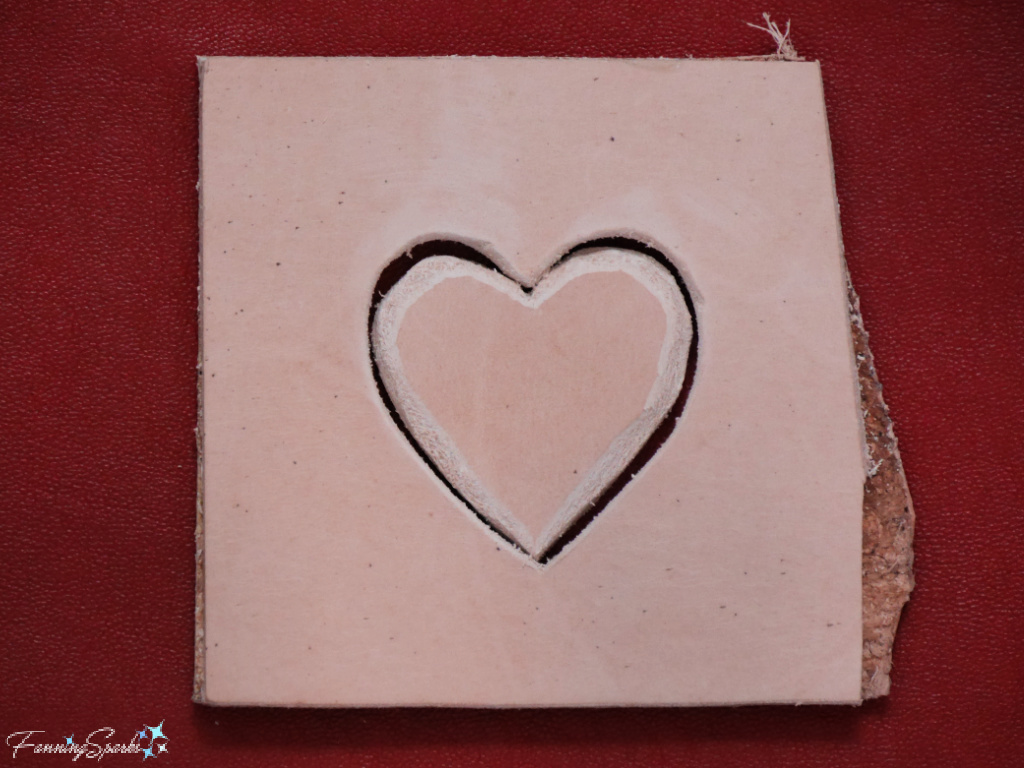
Position A-Small Heart template in the center of the 3”x 3” square. Use a scratch awl and an X-ACTO knife to mark and cut a heart-shaped window in the square. Take care to hold the knife blade perpendicular to the working surface. Use the knife to clean up and smooth out the cut edges. This will become the heart-shaped window mold.
Make a small mark on the backside of the heart-shaped window mold to indicate it will be on the bottom.
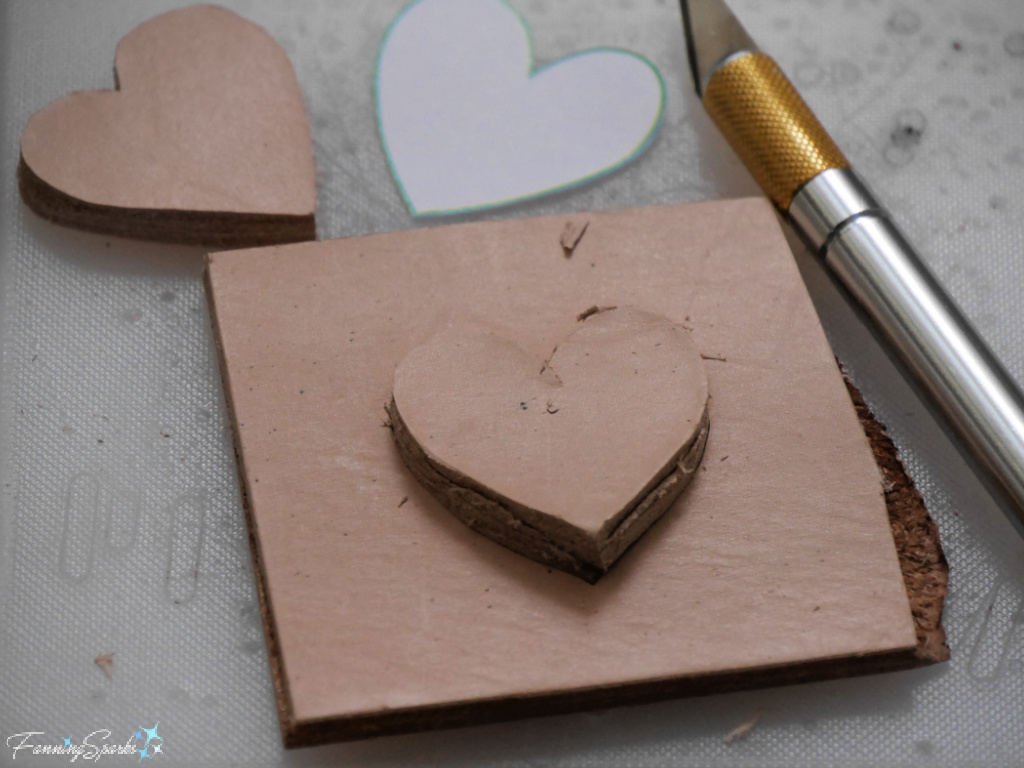
Insert the small inset heart inside the heart-shaped window mold. It should fit snuggly. If needed, adjust the small inset heart to fit.
Use an edge beveler and an X-ACTO knife to finish the edges and fine tune the small inset heart. Angle the edges to about 45⁰ so heart is rounded up at the sides. Use sandpaper to remove about ⅛” all around the side edges of the small inset heart.

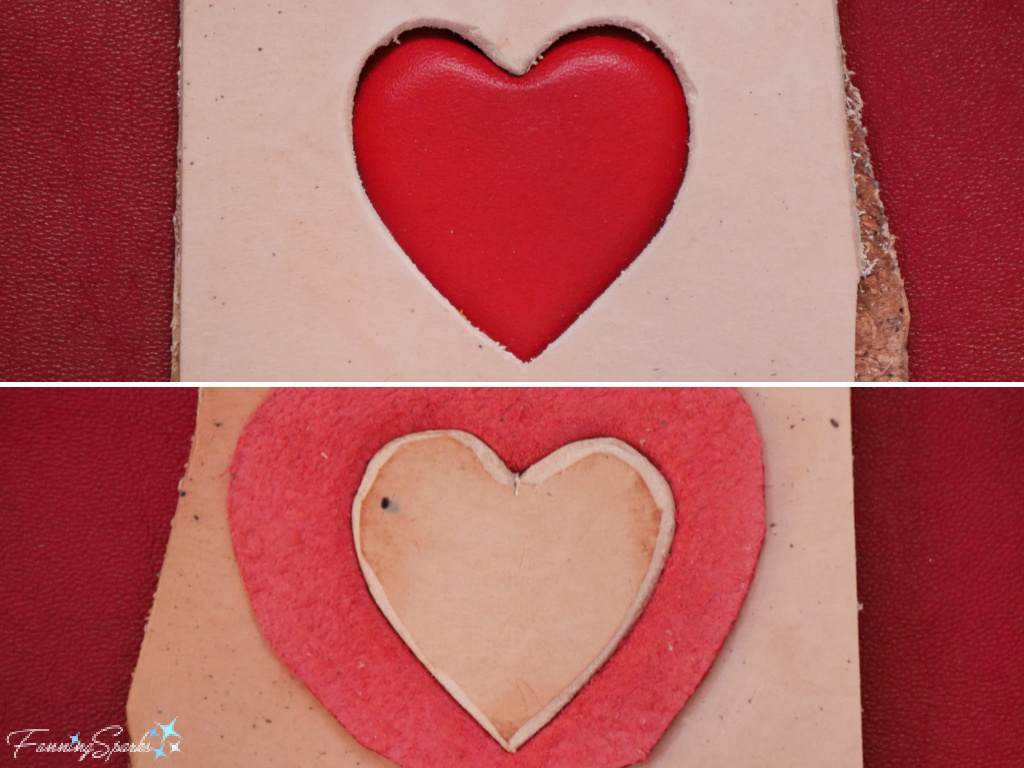
Test fit small inset heart inside the heart-shaped window mold again. The heart should be loose in the window with a small, consistent gap around the entire outside edge. It should look like the below version. Adjust, if needed.
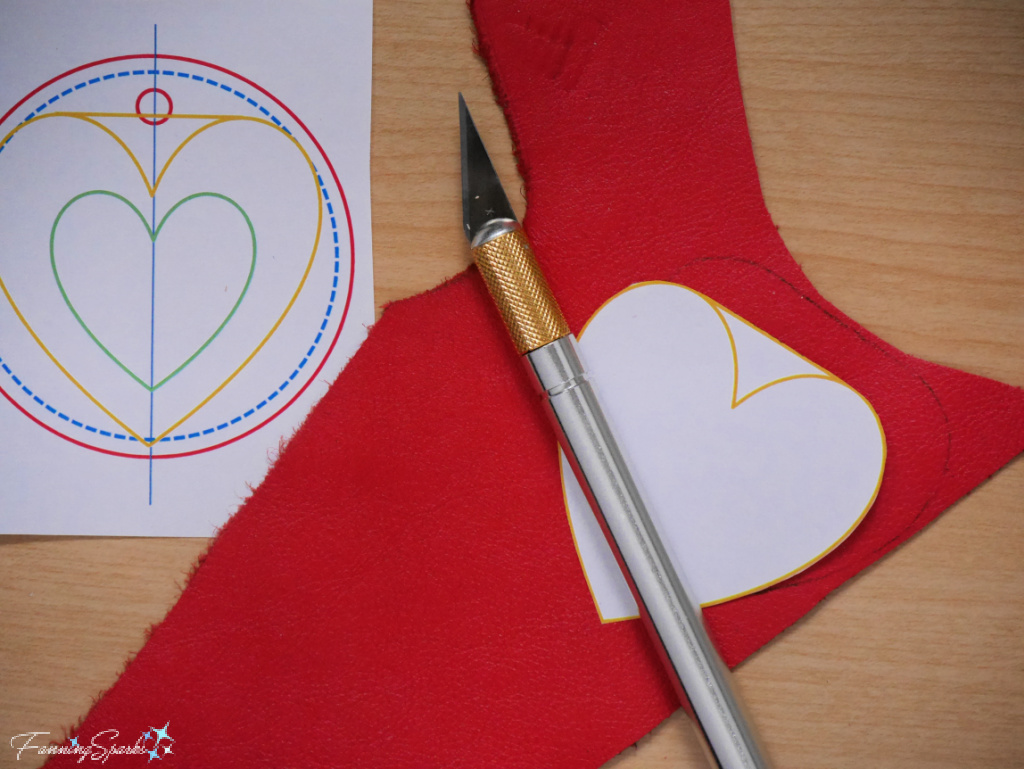
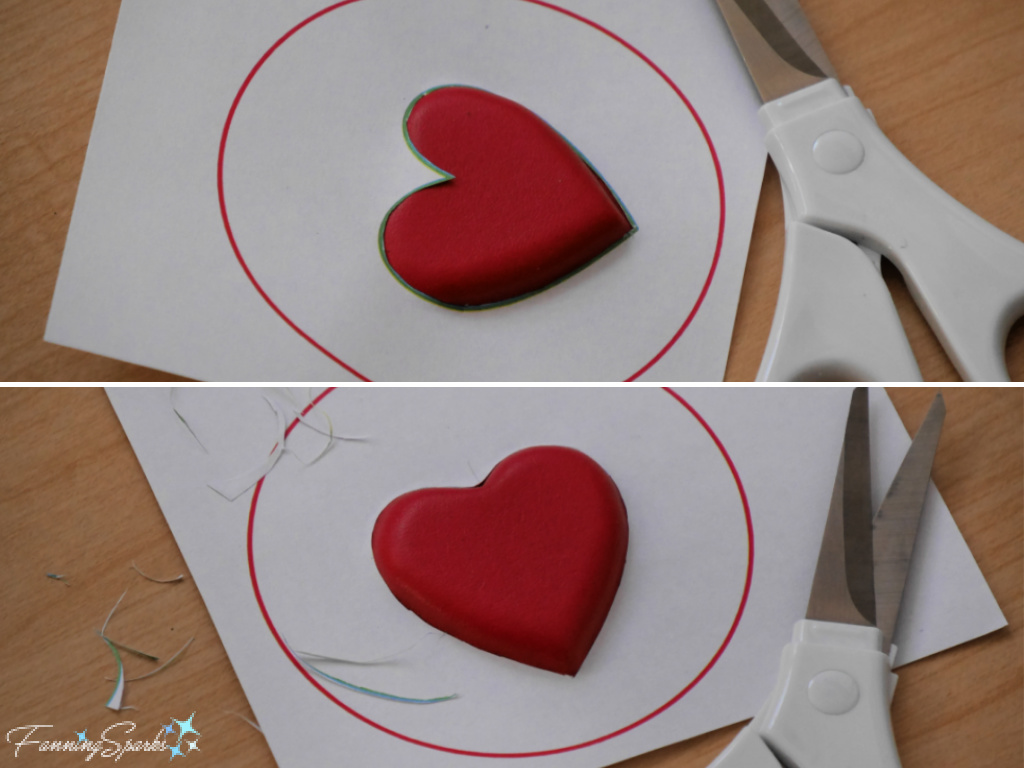
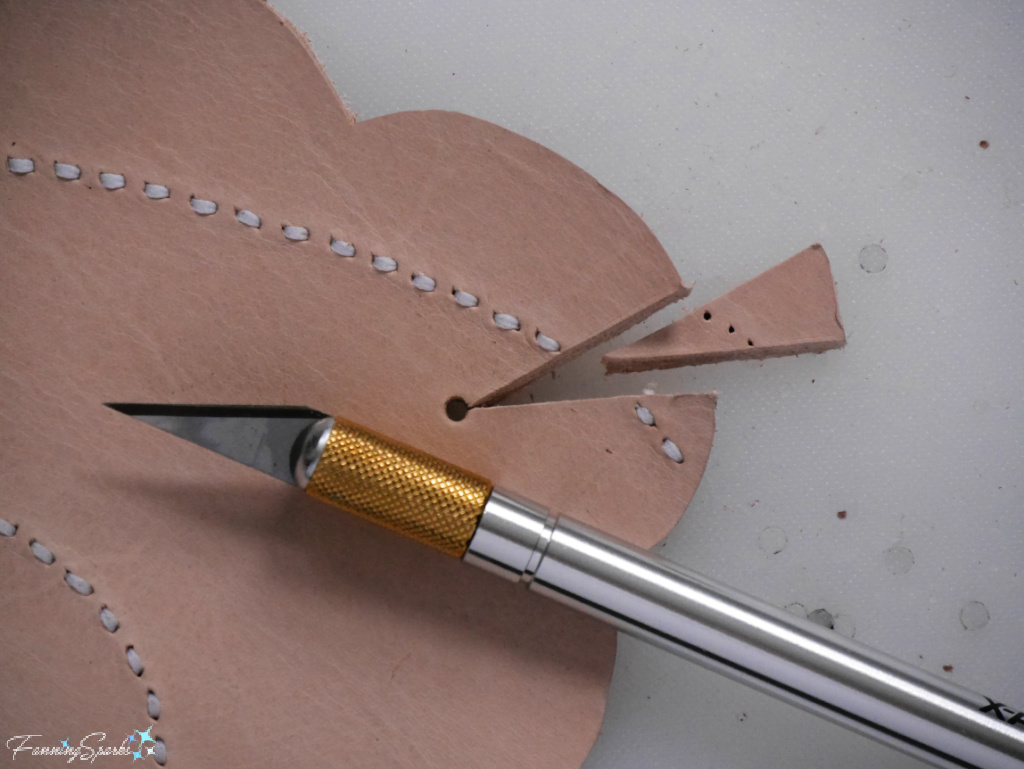
Step 3 Cut Heart Use B-Large Heart template, a scratch awl (or marker) and an X-ACTO knife to mark and cut a large heart from red leather.
Test fit again—this time with the red leather heart. Place red leather heart over the small inset heart. Press the heart-shaped window mold over the small inset heart sandwiching the red leather heart in between. It should fit snuggly and the heart-shaped window should sit evenly on the working surface all around the inset heart. Adjust if needed.
Step 4 – Mold Heart Prepare to wet mold the red leather heart by immersing it in water for a few minutes. Place the small inset heart on a water-resistant working surface. Remove the red leather heart from the water and dry off any excess water.
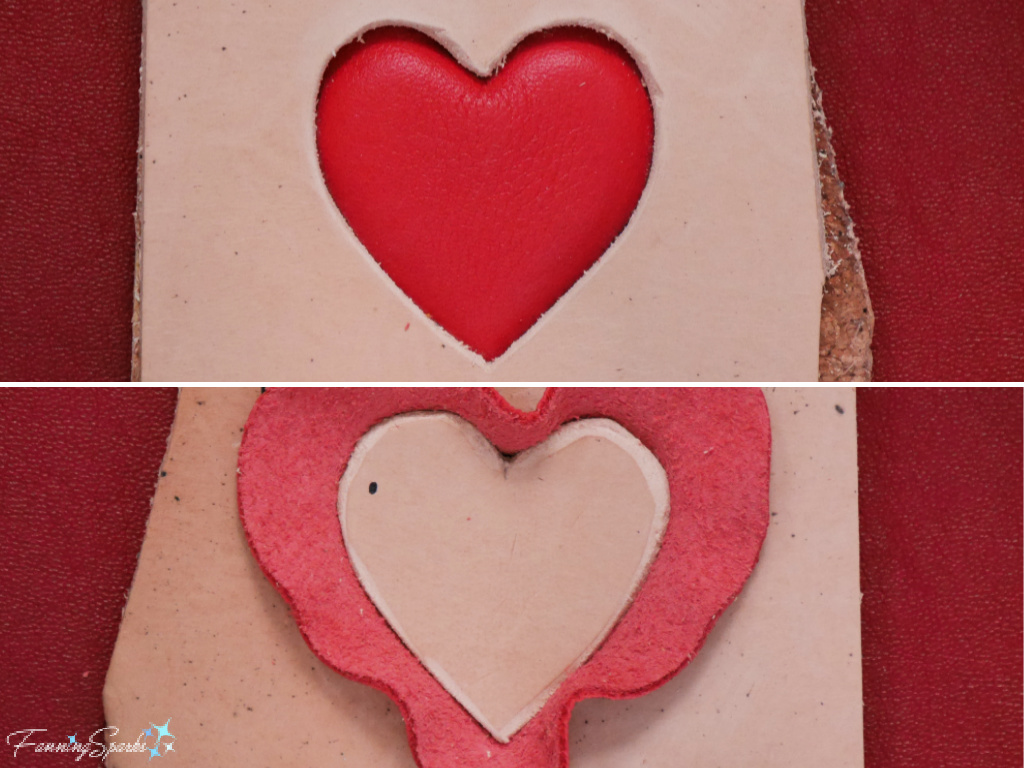
Carefully center the red leather heart over the small inset heart, ensuring there is an even border all around the outside edges. Use a bone folder or similar tool to press the red leather heart around the small inset heart. Repeat several times, gradually pressing the leather closer and closer to the curves and further and further down into the corners. Take care to accurately form the leather into its new shape.

Press the heart-shaped window mold over the red leather heart locking it into position over the small inset heart. Press firmly. To protect the red leather heart, place a smooth piece of paper or thin cardboard on the working surface. Turn the piece over with the red heart leather facing down on the paper. Weigh down the entire piece with a heavy object and allow the leather to dry. After drying, it should look as shown below.
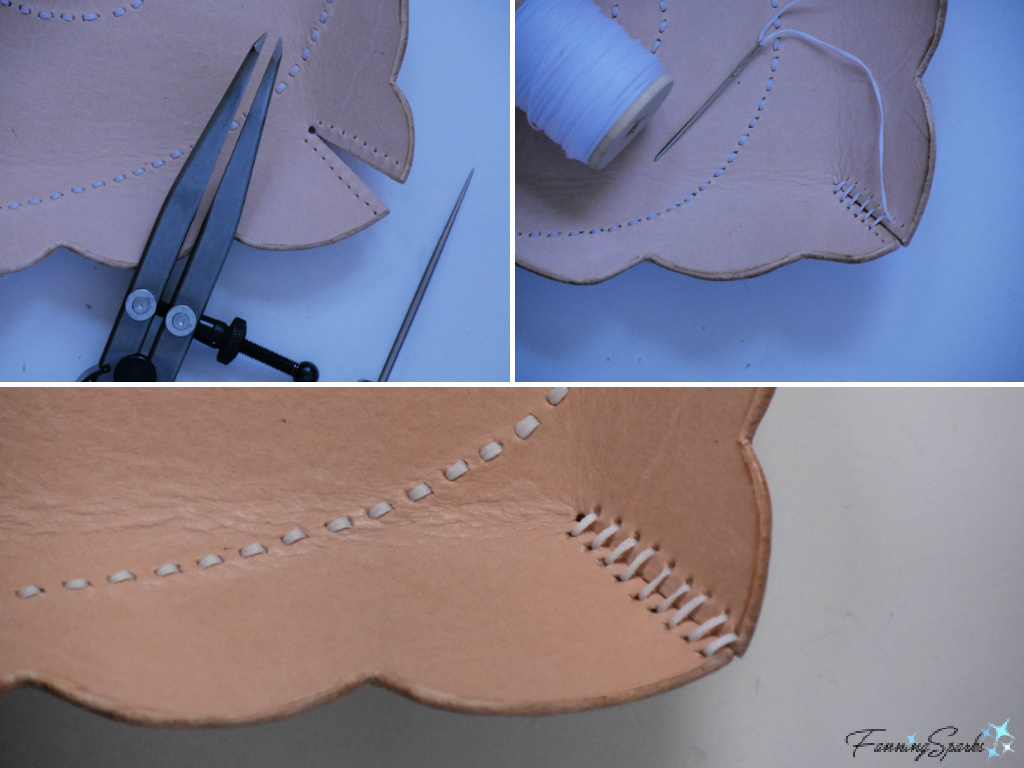
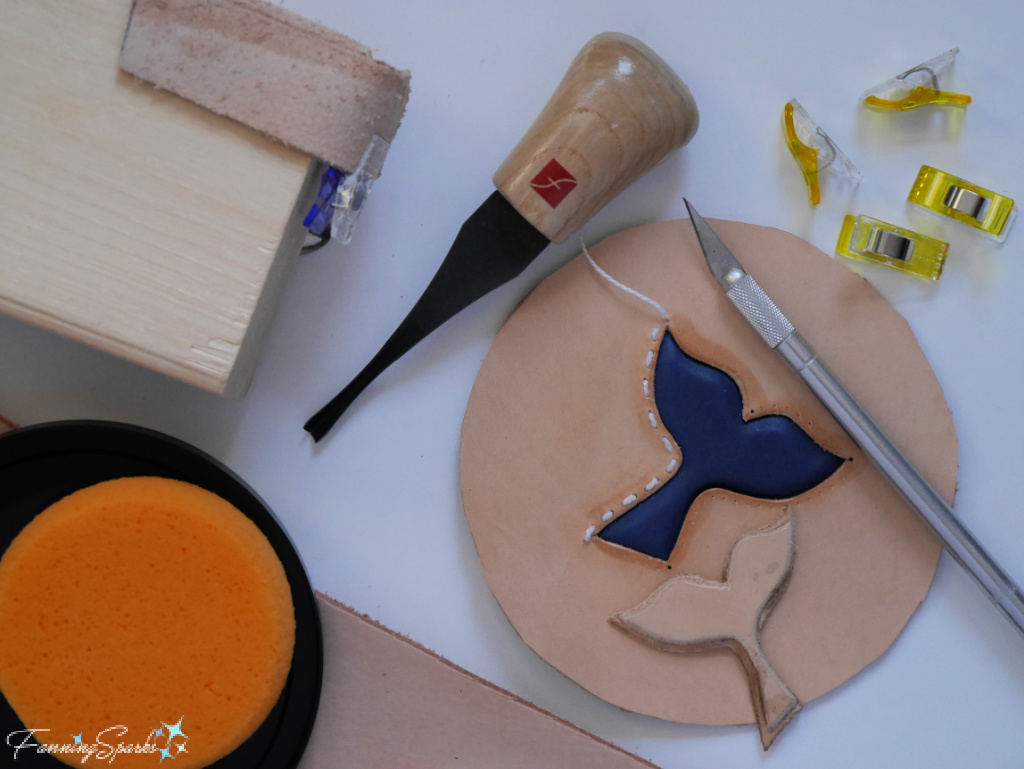
Step 5 – Cut Circles Use C-Circle template, a scratch awl and an X-ACTO knife to mark and cut TWO circles from black leather. The scratch mark was difficult to see on the textured surface of my leather so I used a blue tailor chalk pencil on the back side instead.
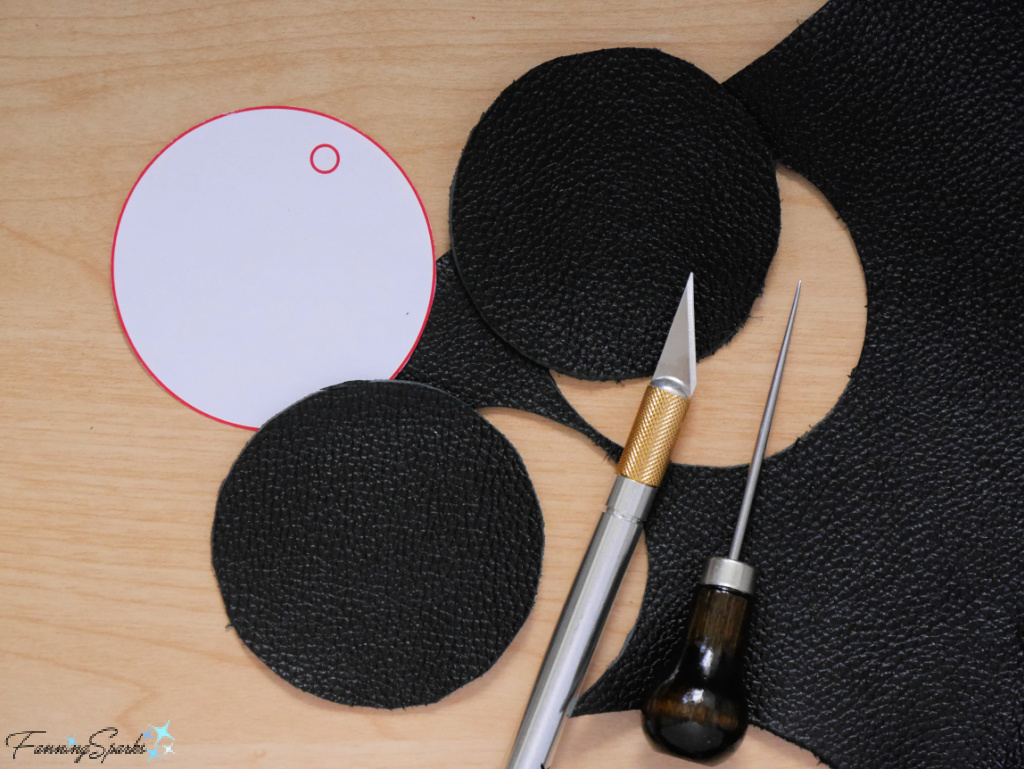
Use the D-Inner Support template, a scratch awl and an X-ACTO knife to mark and cut the inner support circle from the 4-5oz natural, veg-tan leather.
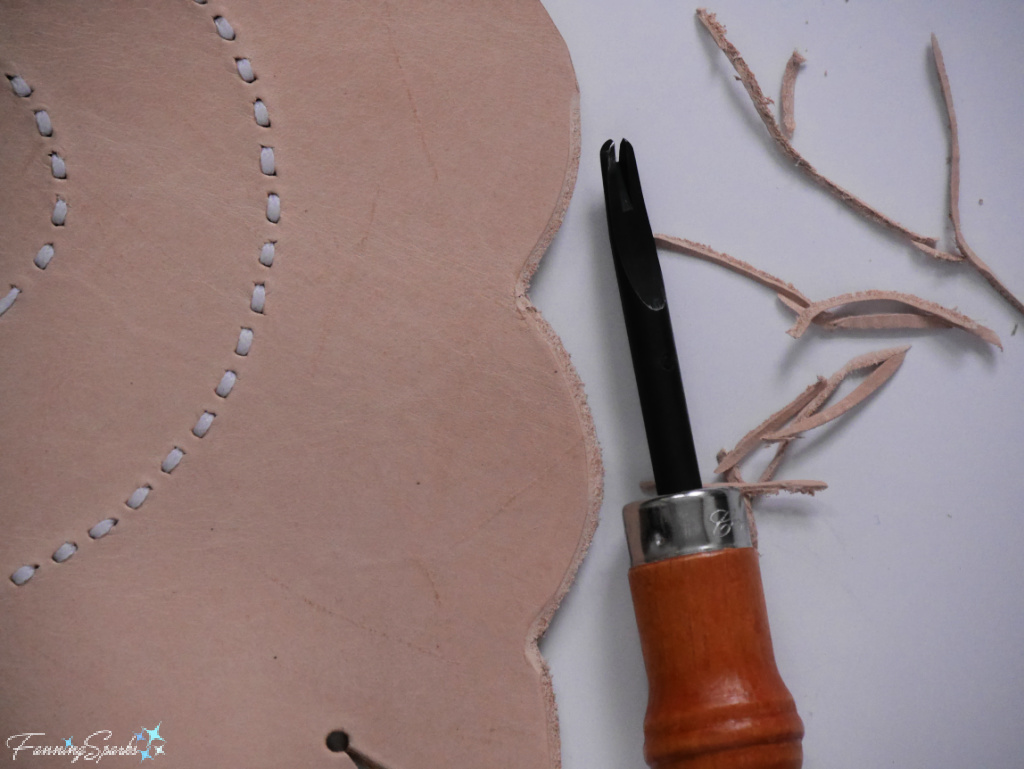
Step 6 – Prepare Heart Window The next step is to cut a heart-shaped window in one of the black leather circles. Use scissors to cut the heart out of the paper E-Heart Window template. Test fit the paper template by placing it over the molded red leather heart. The paper opening will likely be a little too small. Use the scissors to gradually enlarge the heart-shaped opening matching it as closely as possible to the actual molded red leather heart.
Use the modified template, a scratch awl (or tailer chalk pencil) and an X-ACTO knife to mark and cut a heart-shaped window into one of the black leather circles.
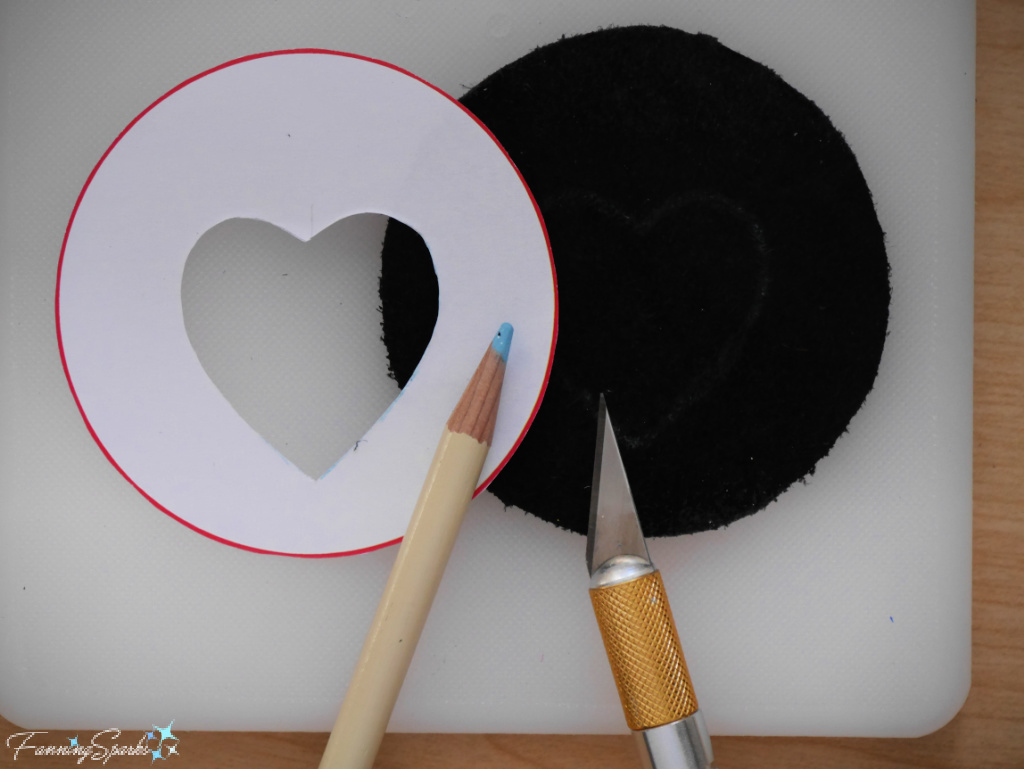
Test fit to ensure the molded red leather heart will fit inside the heart-shaped window. Keep the small heart inset inside the molded red leather heart. The heart should slip into the window smoothly and fit snuggly. Adjust the heart-shaped window if needed.
Prepare to burnish the inside edges of the heart window. Bevel the cut edges with an edge beveler. Use medium and then fine grit sandpaper to smooth the edges. Apply a small amount of Seiwa Tokonole burnishing gum to the edges. Rub the Tokonole with a wood slicker, or a piece of canvas, to seal and polish the edges.
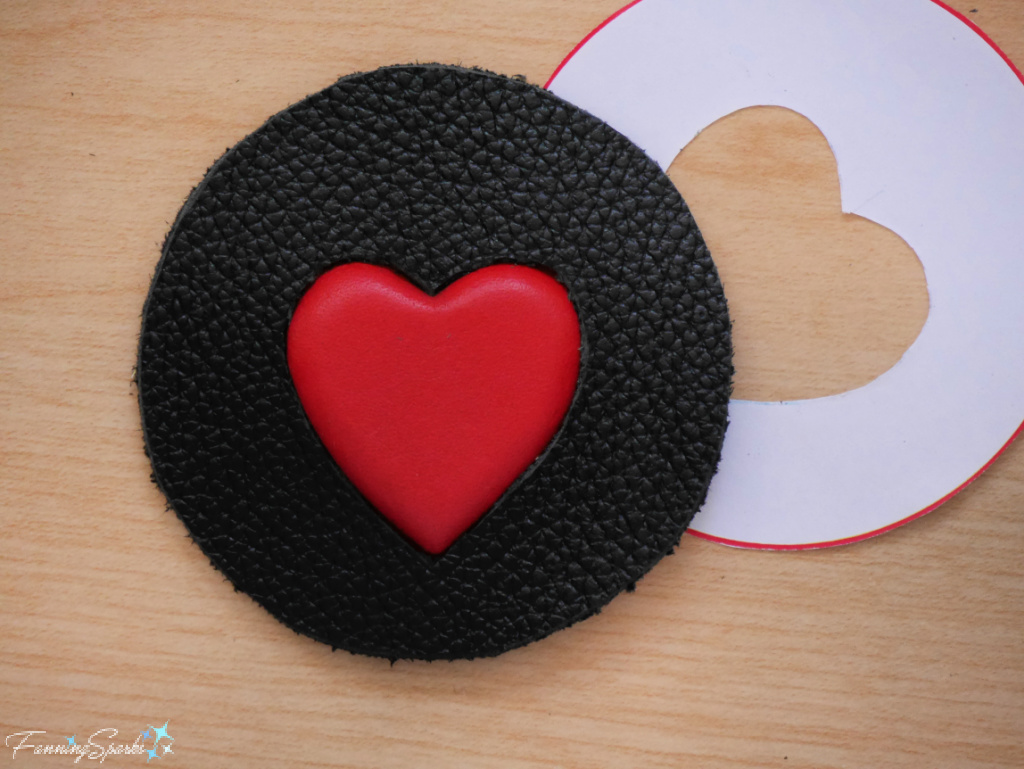
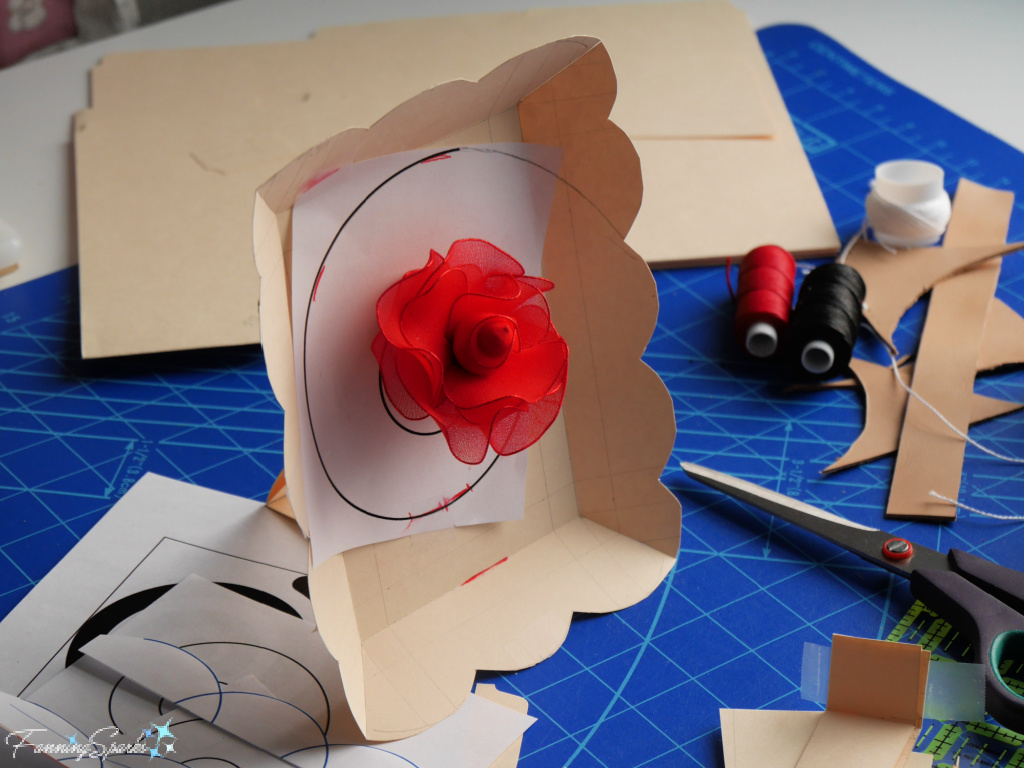
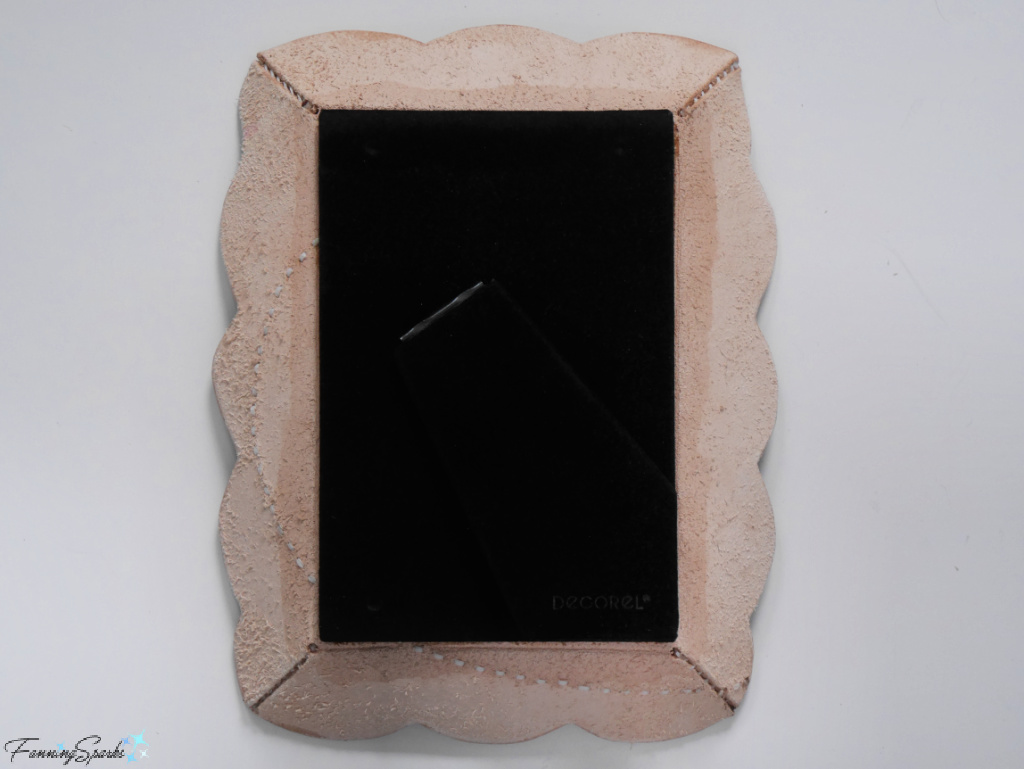
Step 7 – Assemble Front and Back of Bag Charm Prepare to assemble the front and the back of the bag charm. The front will include the black leather circle with the heart-shaped window, the molded red leather heart and the small inset heart. The back will include the black leather circle and the inner support circle.
Start with the front of the bag charm. Glue the small inset heart inside the molded red leather heart. Allow glue to dry. Then prepare to glue the molded red leather heart into the heart-shaped window of the black leather circle. Take care to apply glue to only the outside borders of the molded heart (right side of leather) and the corresponding area around the window in the black leather circle (back side of leather).
For the back of the bag charm, simply glue the inner support circle to the back side of the other black leather circle.
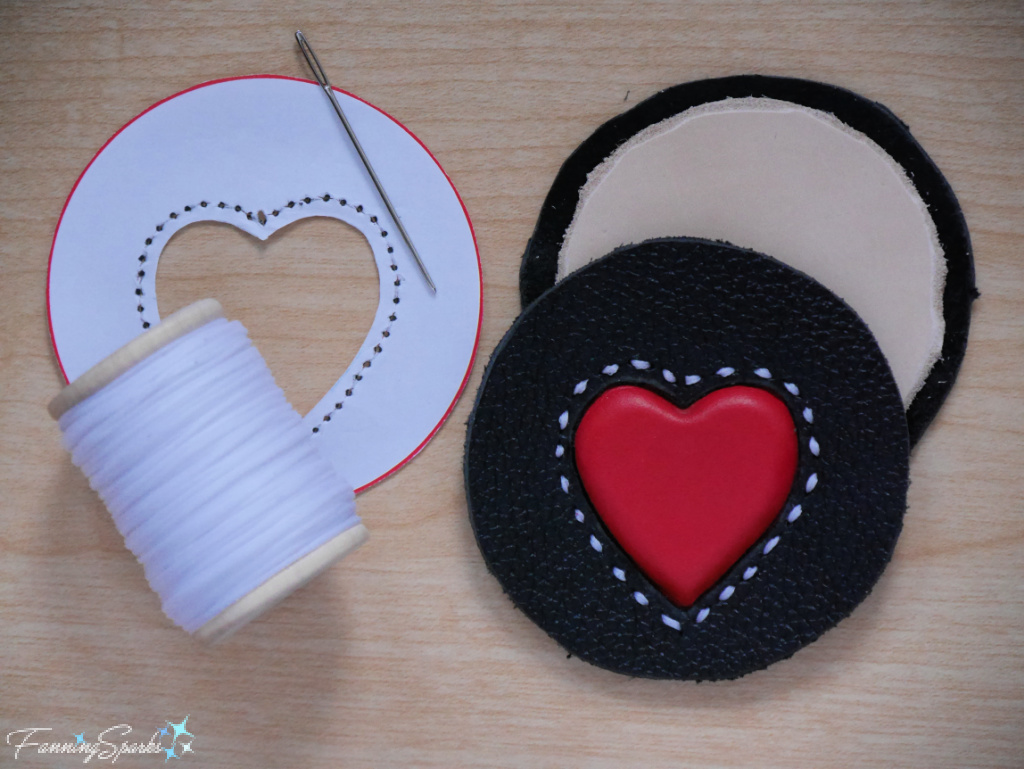
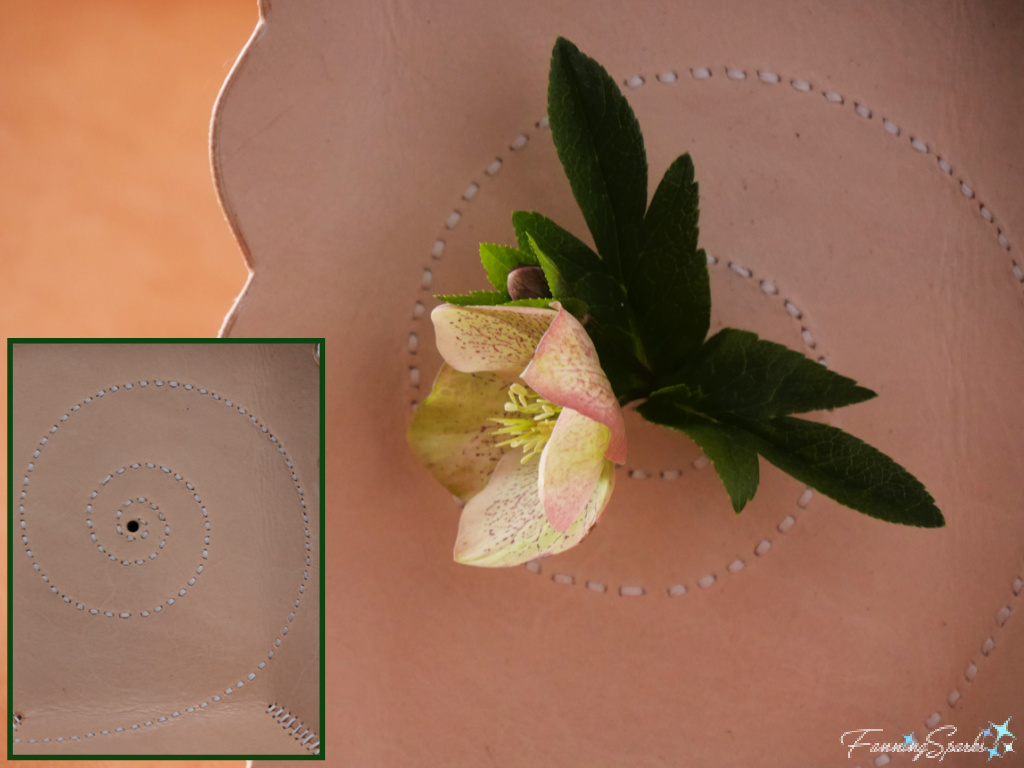
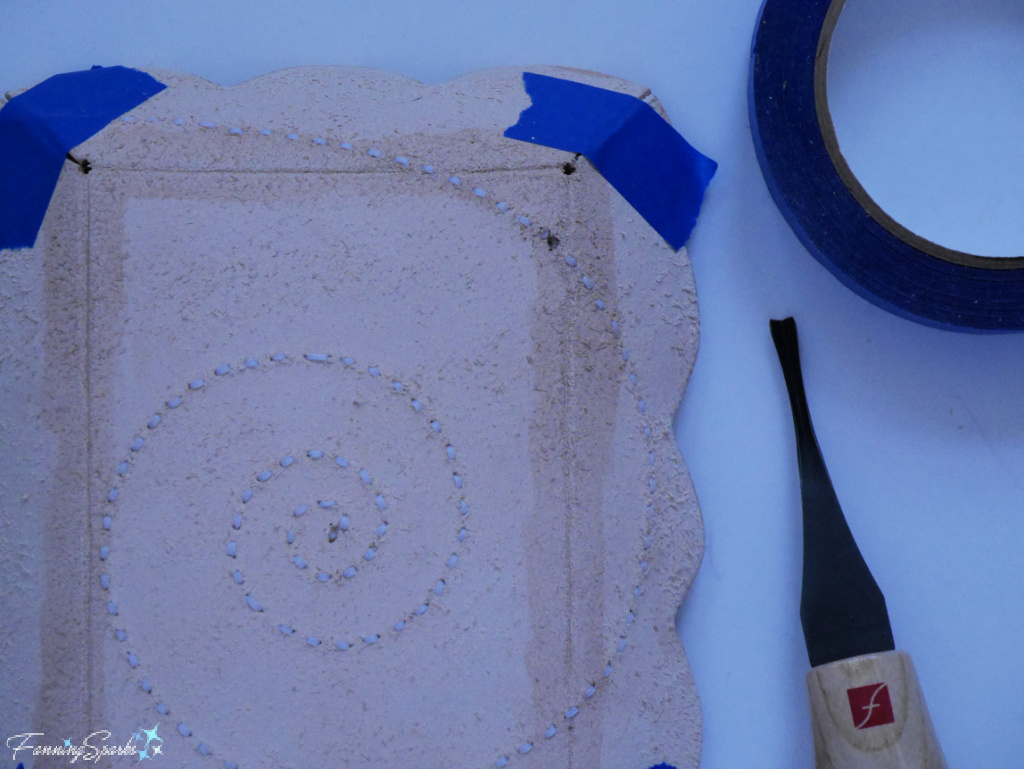
Step 8 – Stitch Around Heart A line of decorative running stitches will surround the molded red leather heart. Prepare a paper template to plan the stitching holes using the modified paper template developed in Step 6. The stitching line will be about ⅛” from the inside edge of the heart. Wing dividers are very helpful for marking this line on the paper template. The next step is to mark a dot for each of the holes along the stitching line. Mark holes for the bottom tip and top indent of the heart first. Then measure and mark ⅛” spacing around the rest of the heart. The objective is to have an even number of holes so you will be able to start stitching at the back, stitch through all the holes and finish on the back. To check that the stitches will be even, connect the dots with a pencil. If needed, change the number of holes by either adding a hole or removing a hole and adjusting the spacing to hide this change.
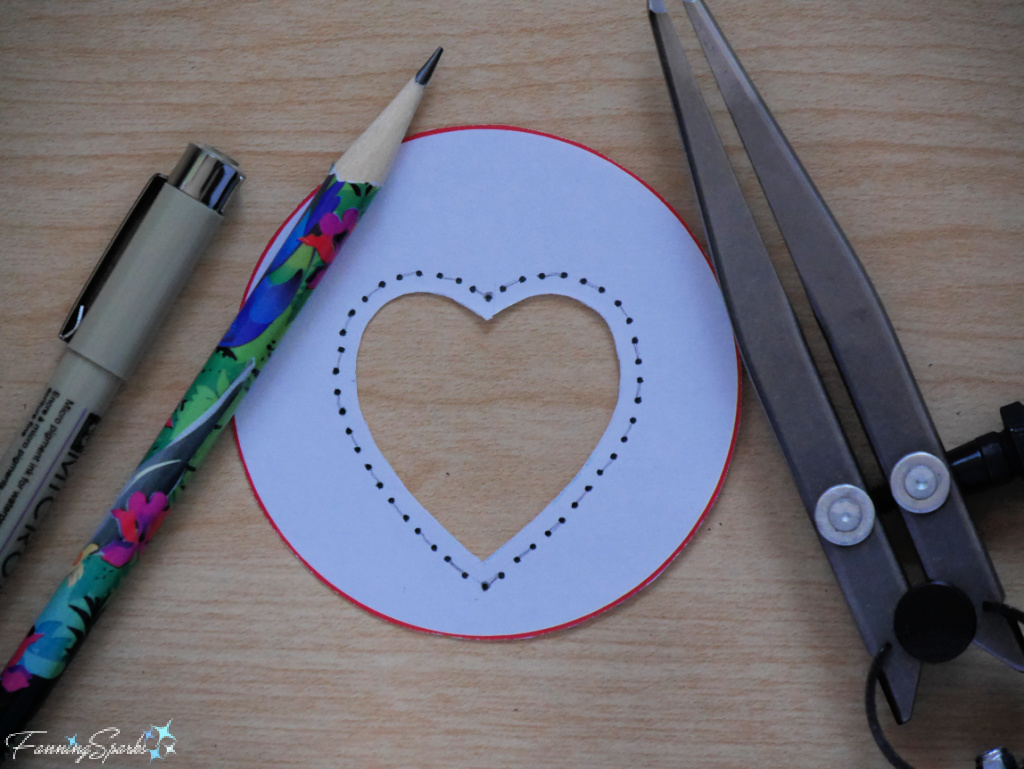
Use the paper stitching template and a single hole punch (I used a diamond 1 prong punch) to punch the stitching holes through the black leather circle and the red leather below it. I found T-Pins (typically used for upholstery) were helpful for keeping the template in place while punching.
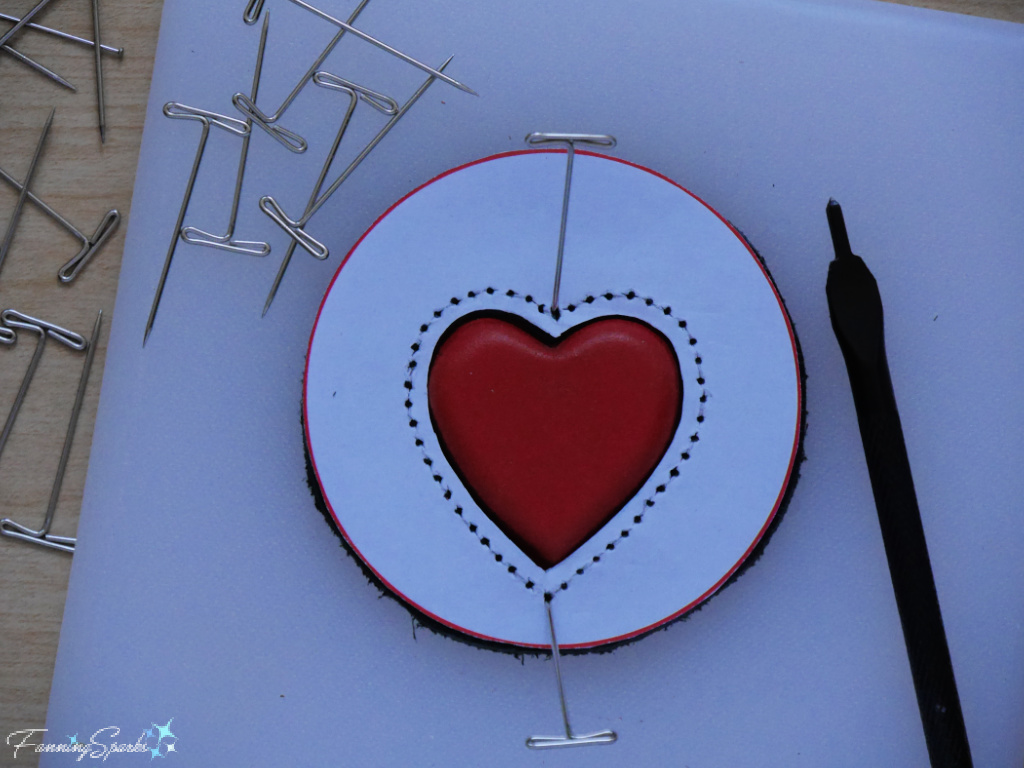
Use a leather stitching needle and about 20” of white Tiger thread to sew a running stitch around the molded red leather heart.
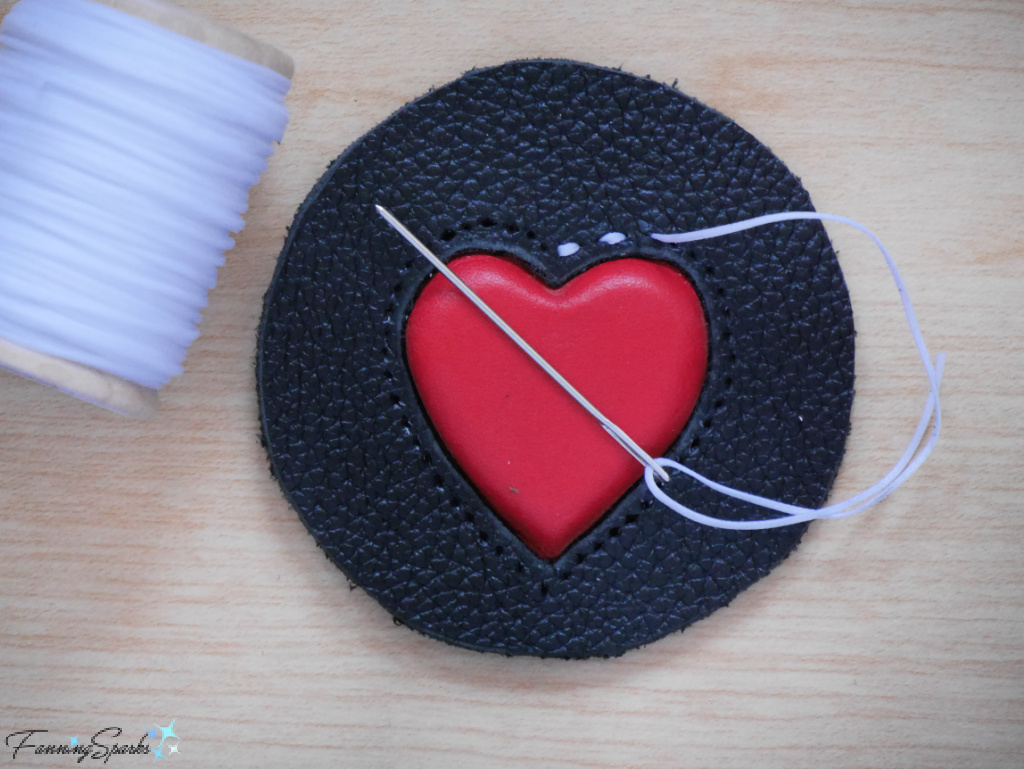
Secure the ends of the thread by carefully melting them with a flame and flattening them with a scrap of leather. Then lightly hammer the stitching to lock it in place.
Step 9 – Assemble Bag Charm Prepare to attach the front and back of the bag charm. Glue the front leather circle with molded heart onto the back leather circle with the inner support. Allow glue to dry.
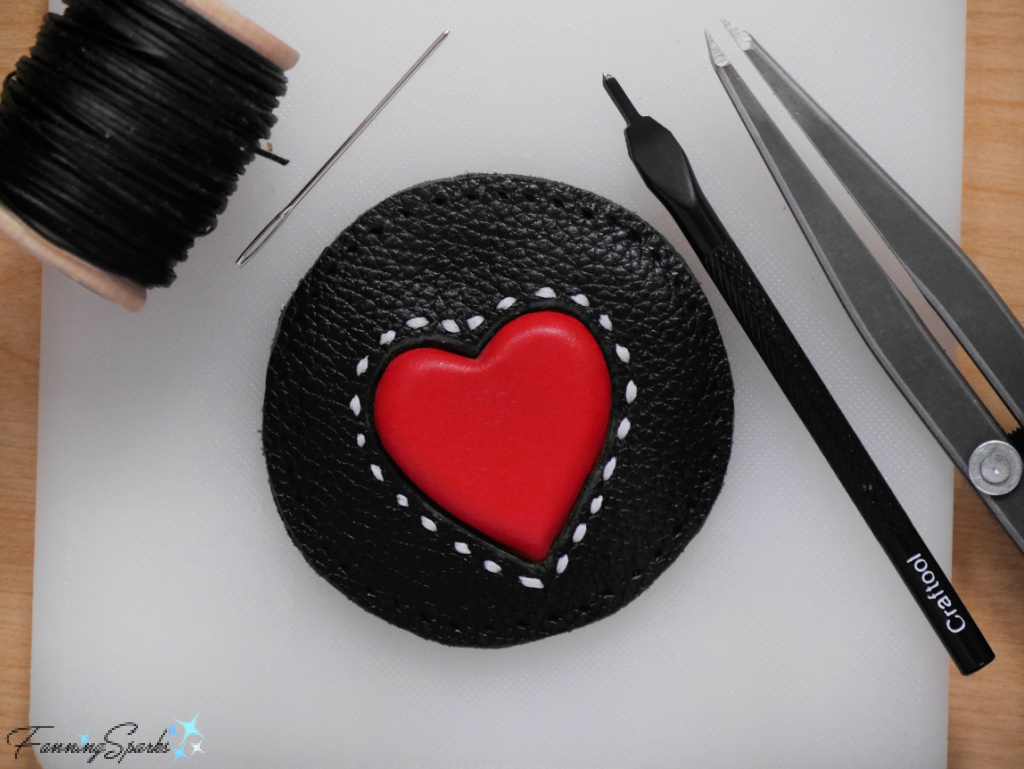
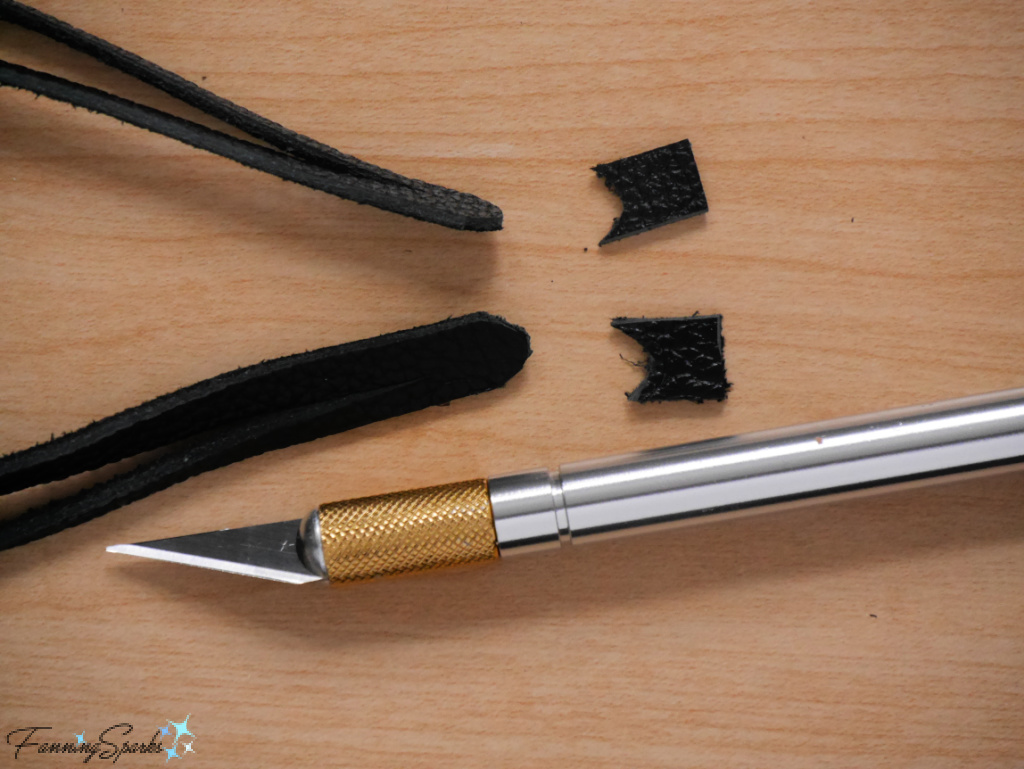
Use an X-ACTO knife to trim the outside edges evenly.
Determine the placement of the outside stitching line. Mine was ⅛” from the edge but, in hindsight, I’d recommend something a little wider… say ³⁄₁₆” or ¼”. Set the wing dividers and mark around the outside edge of the black leather circle. Use a single hole punch (I used a diamond 1 prong punch) to punch the stitching holes through all the layers of the bag charm. Use the wing dividers to ensure the holes are spaced consistently.
Cut about 40” of Tiger thread to stitch around the outside edge of the black leather circles. I chose to use black Ritza 25 Tiger thread to match the leather. Alternatively, you could use contrasting thread for this row of stitching. Use a saddle stitch for this row of stitching. (Since I’m still learning myself, I won’t try to explain how to do the saddle stitch. Instead I’ve added my favorite resource in the More Info section below).
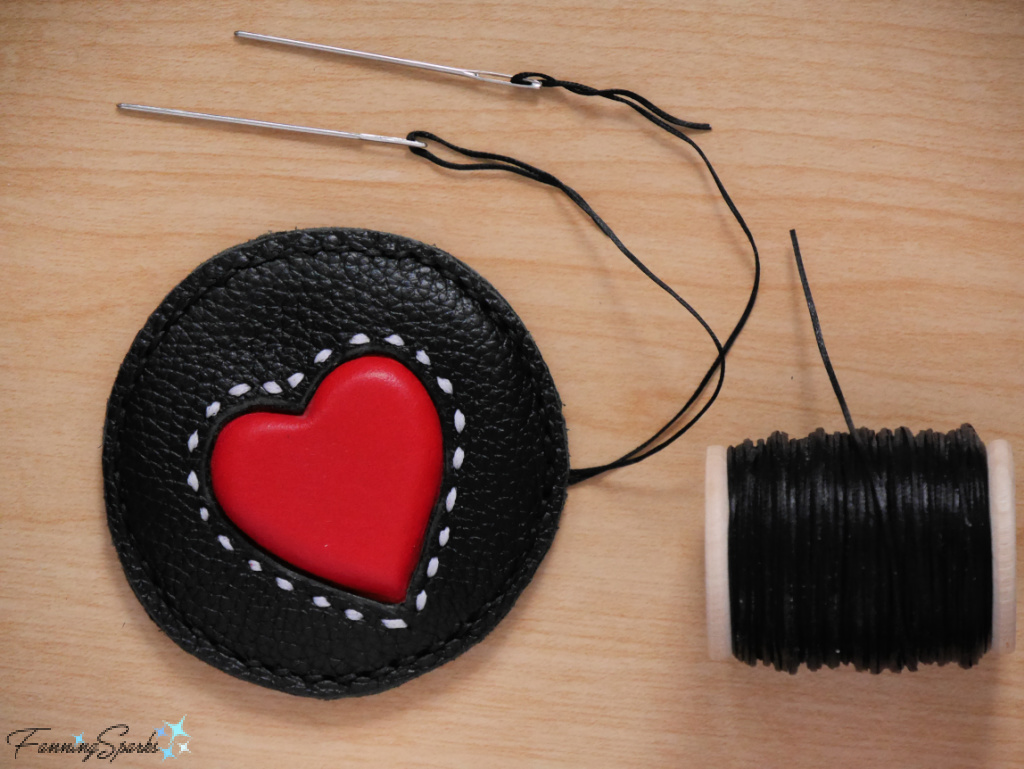
Secure the ends of the thread by carefully melting them with a flame and flattening them with a scrap of leather. Then lightly hammer the stitching to finish the seam.
Burnish the outside edges of the black leather circles. See Step 6 for a review of the process.
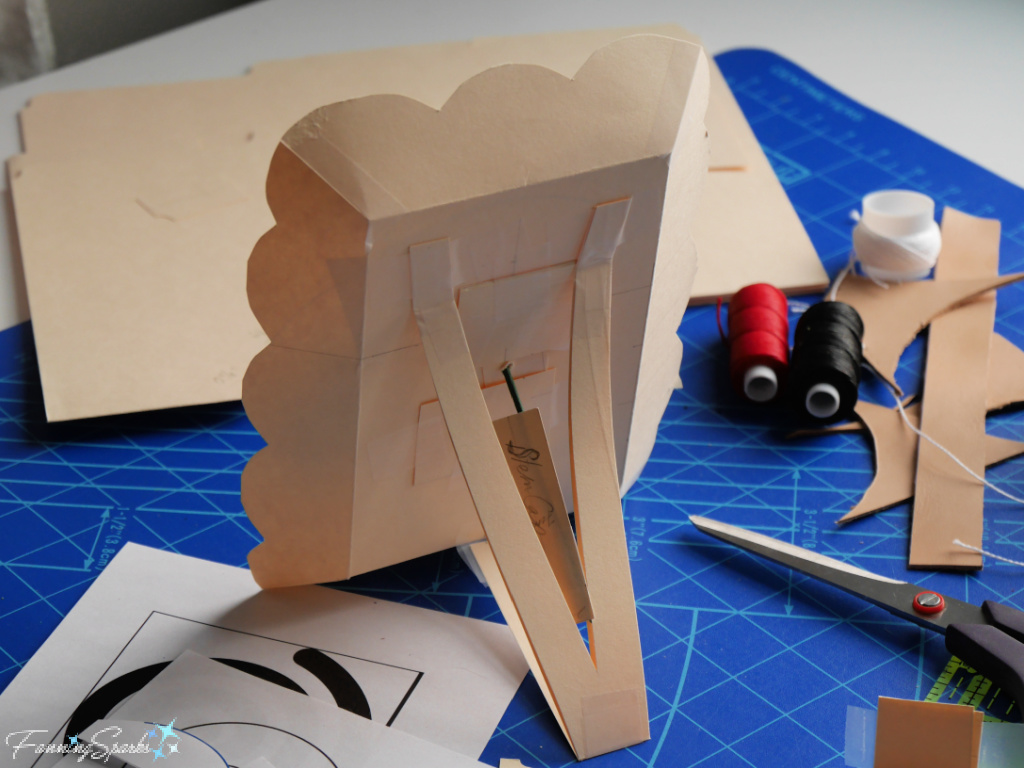
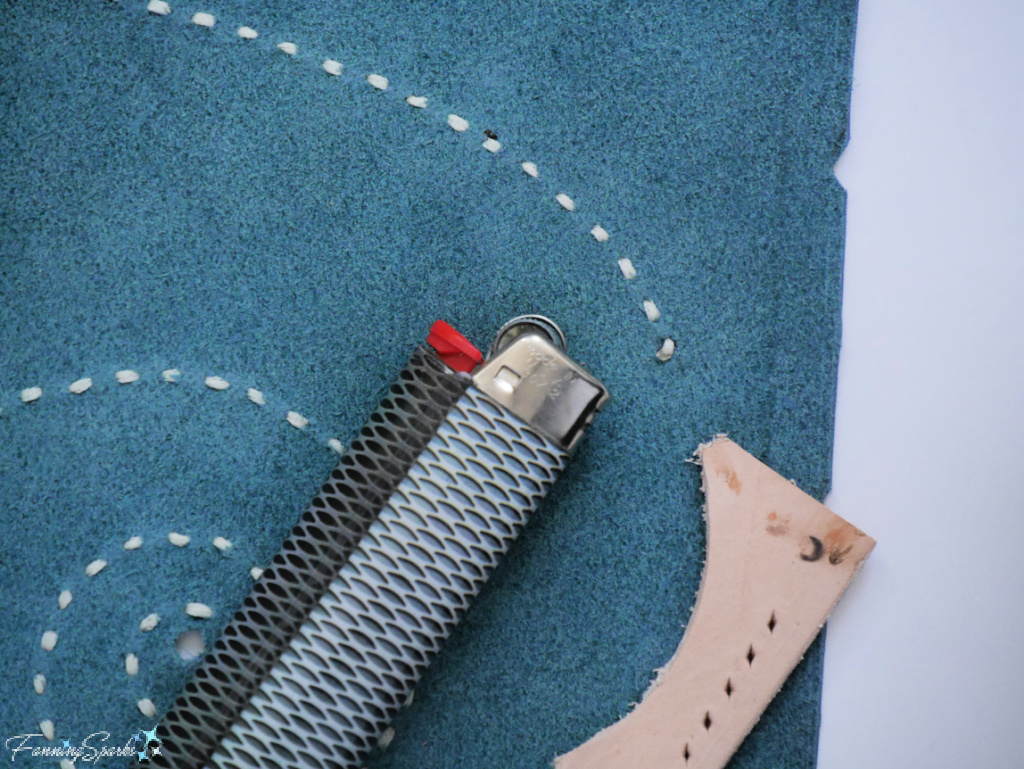
Step 10 – Attach Strap The final step is to make and attach a strap to the bag charm. My finished strap is about 9” long by ⅜” wide. Alternatively, it could be made about 2” shorter and still function as needed.
Use an X-ACTO knife and ruler to cut a long narrow strip of black leather. Cut a straight slit down the center of the strap starting and ending ½” from each end. Round off the ends with the X-ACTO knife.
Finish the edges of the strap, along the outside edges and along the inside slit, with Tokonole burnishing gum.
Use a round punch to make a hole for the strap in the bag charm. Take care to center the hole above the heart and away from the edge stitching. I used a ³⁄₁₆” punch but a slightly larger hole might work better.
To attach the bag charm, pull one end of the strap through the hole and pull the rest of the strap through that end of the slit. Repeat with the other end of the strap. Loop the strap around the bag’s handle (or intended attachment point), slide the entire bag charm through the slit and pull the loop tight.
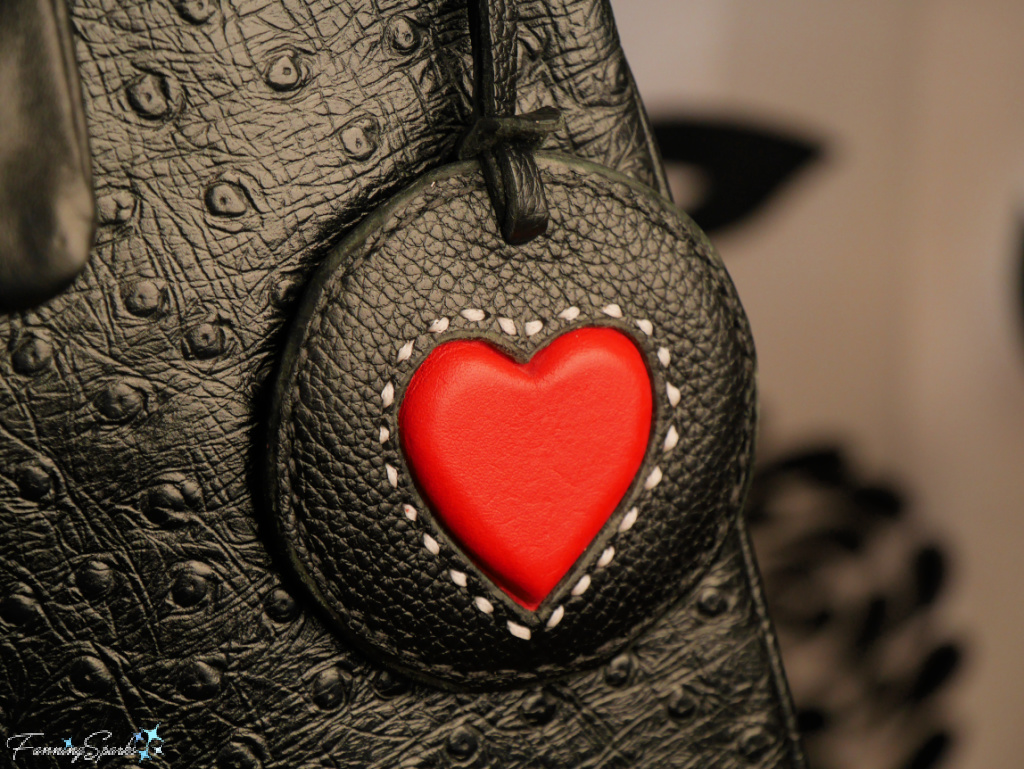
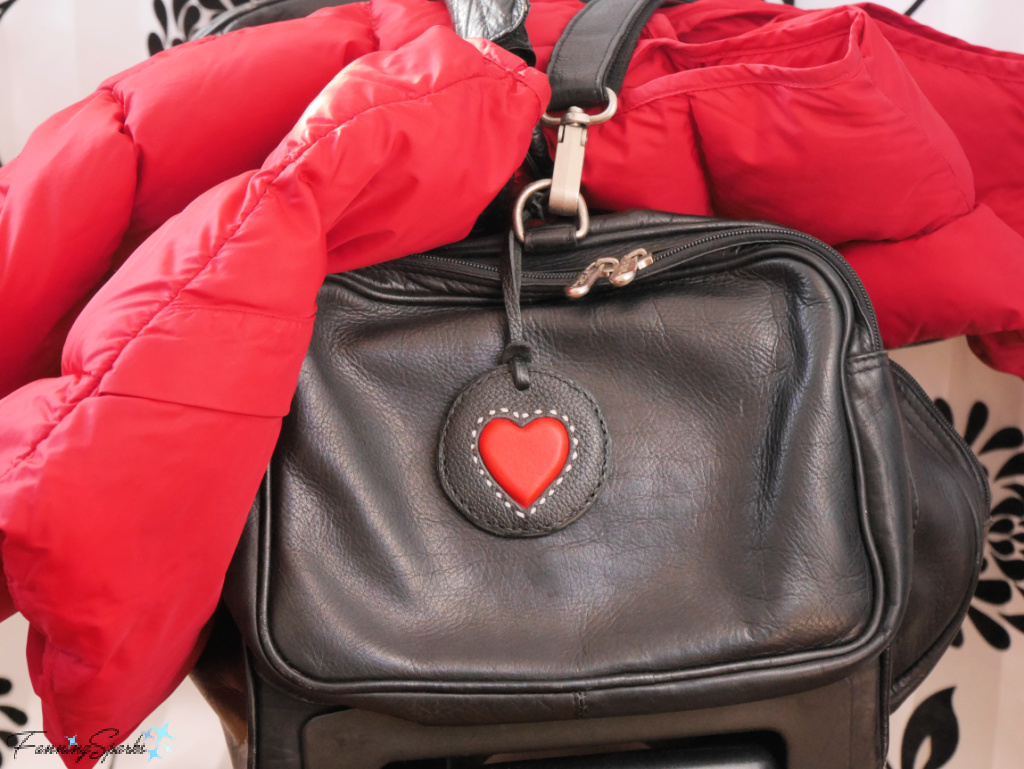
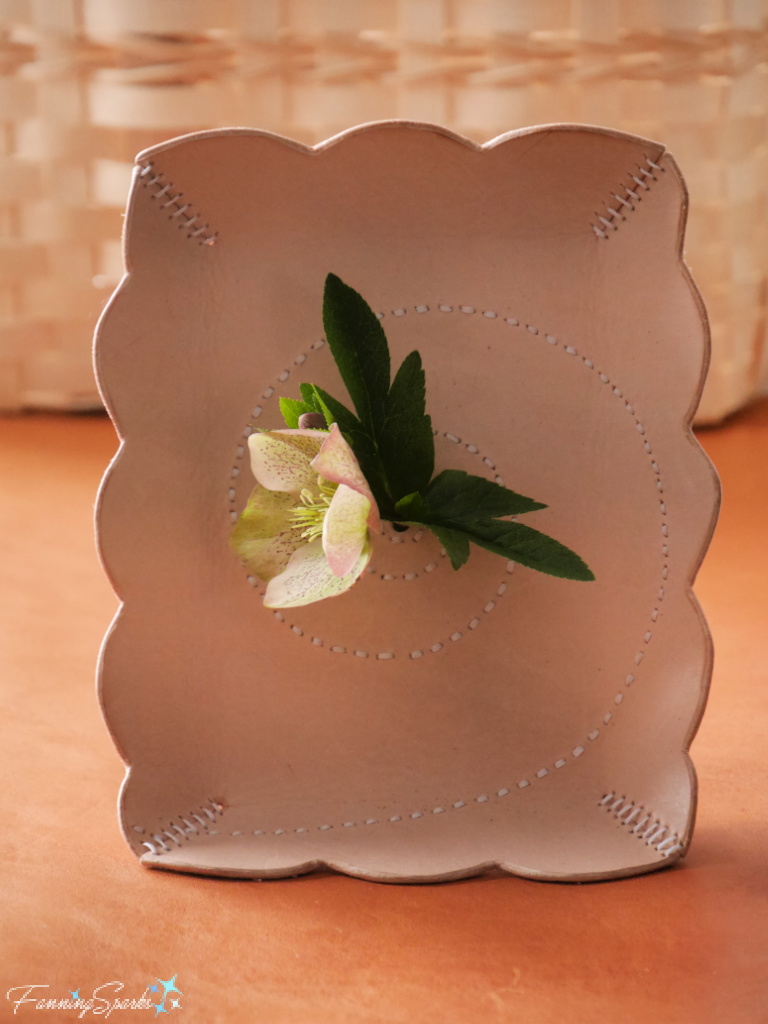
Voilà! Your new charming leather heart bag charm is done!
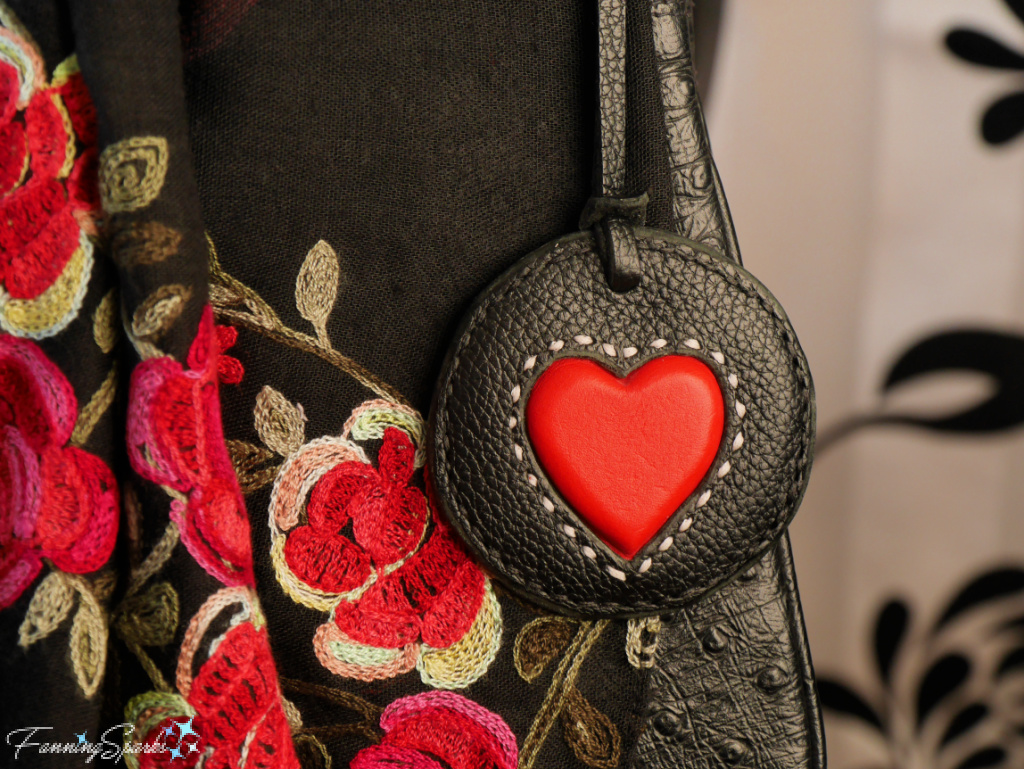
This bag charm is equally…well… charming on a shoulder bag or a casual duffel bag.
More Info
You can download the project template here: Charming Leather Heart Bag Charm – Complimentary Download.
Please pin this image to share or save for future reference.
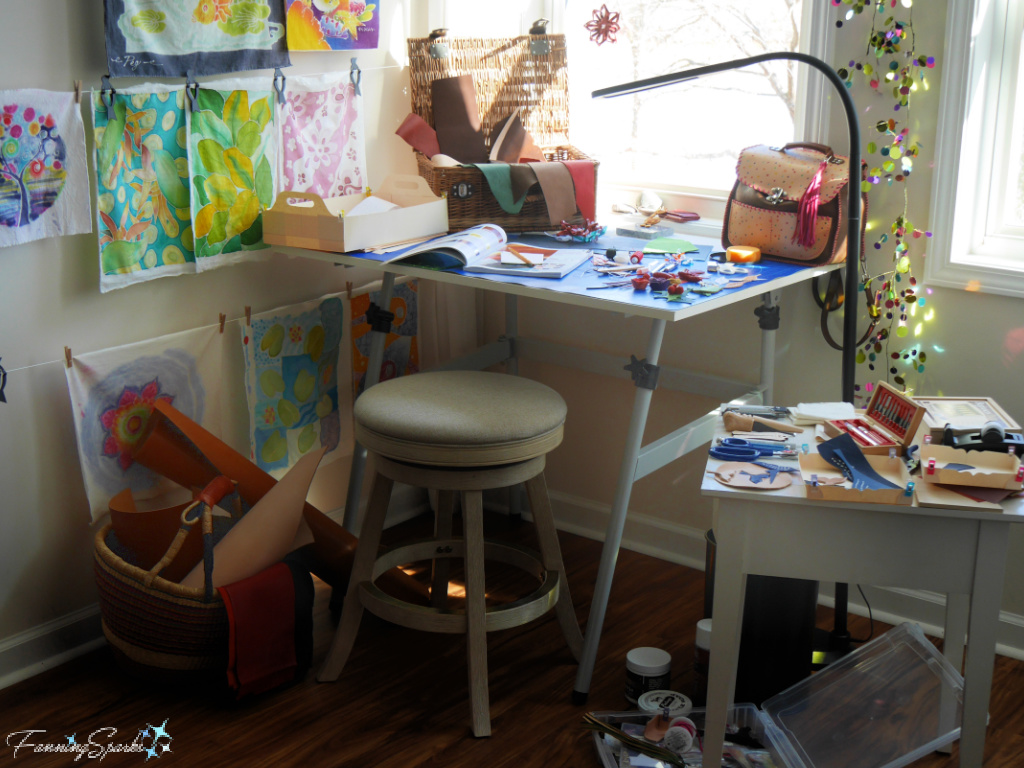
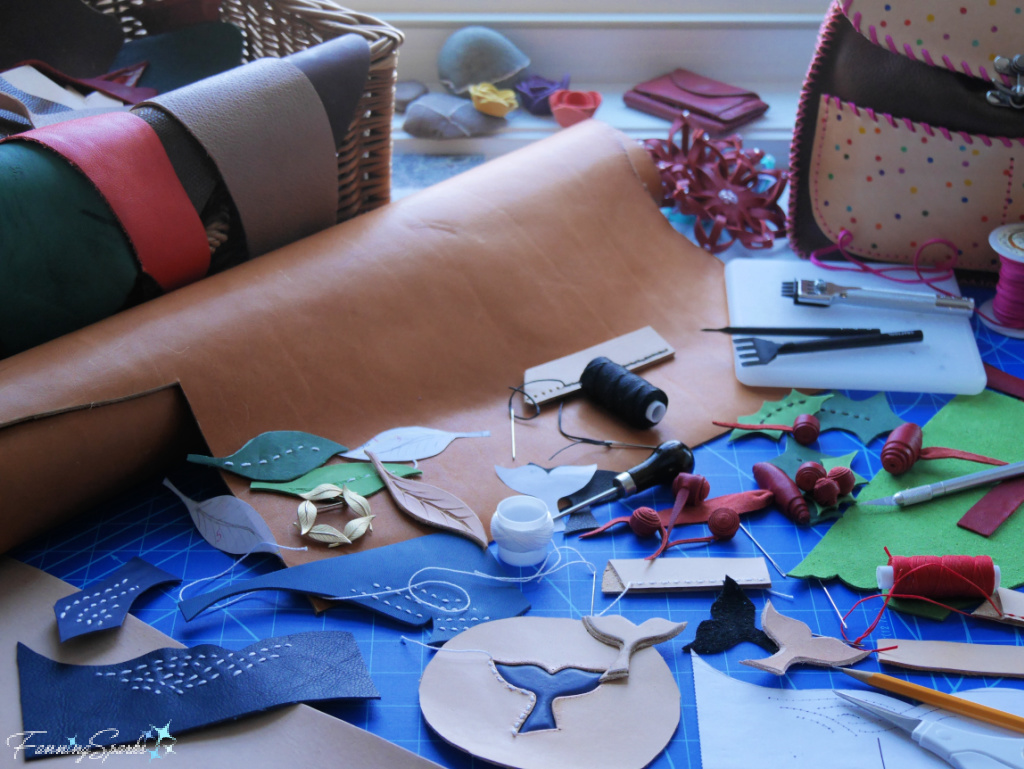
I’ve embarked on a creative journey to learn all I can about working with leather. It started with a week-long leathercraft class at the John C Campbell Folk School and it has progressed one project at a time. I’ve been sharing my journey here on the blog.
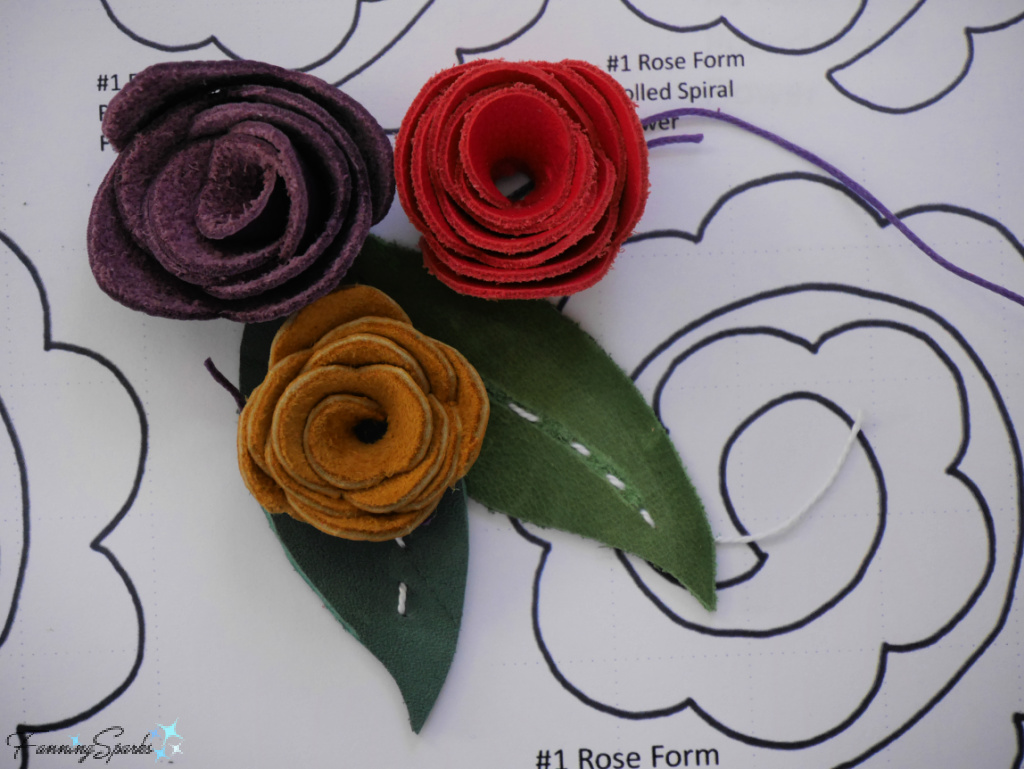
. My First Leathercrafting Project
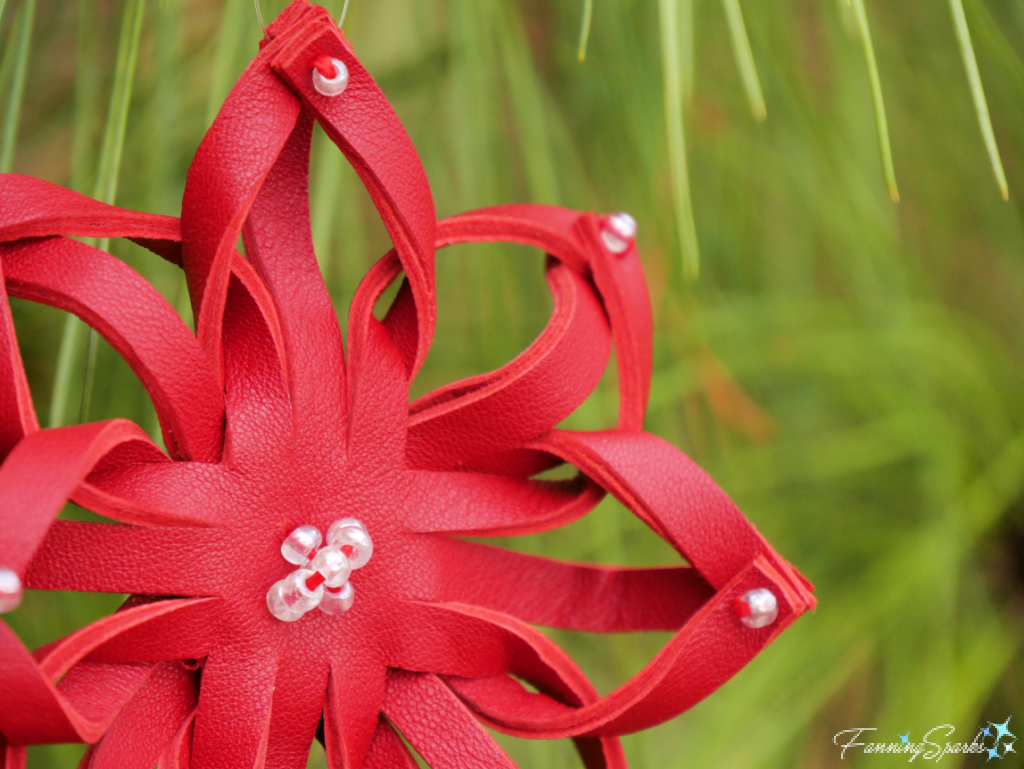
. Red Leather Snowflake Ornament – DIY Tutorial
. All-in on Leathercraft
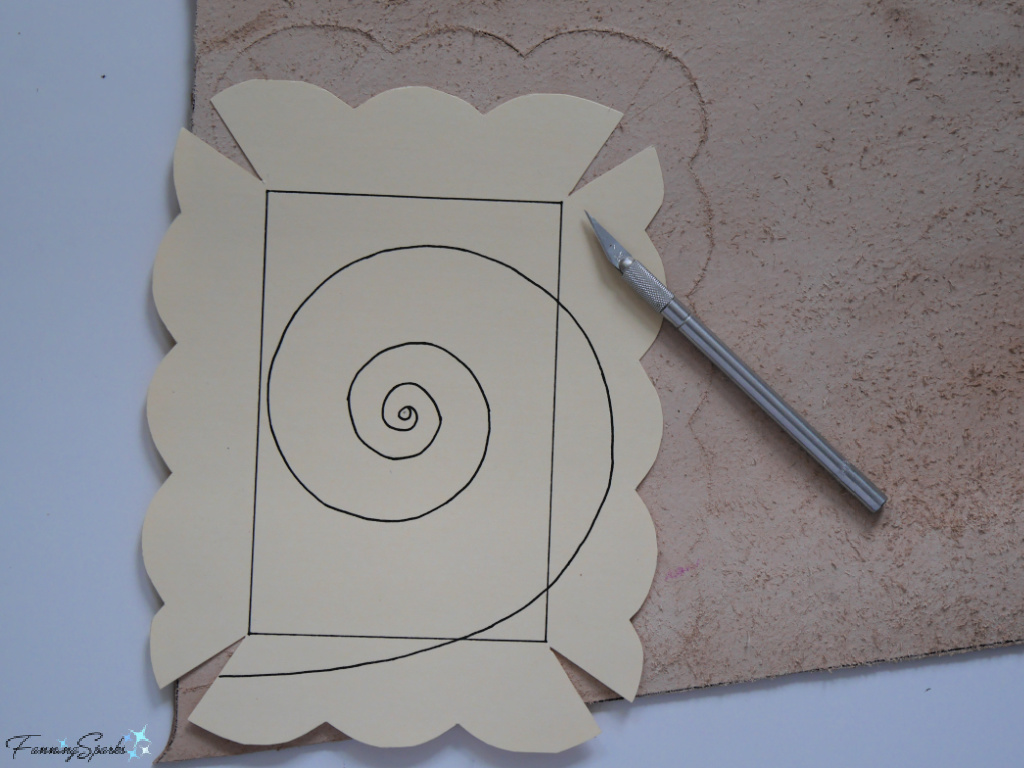
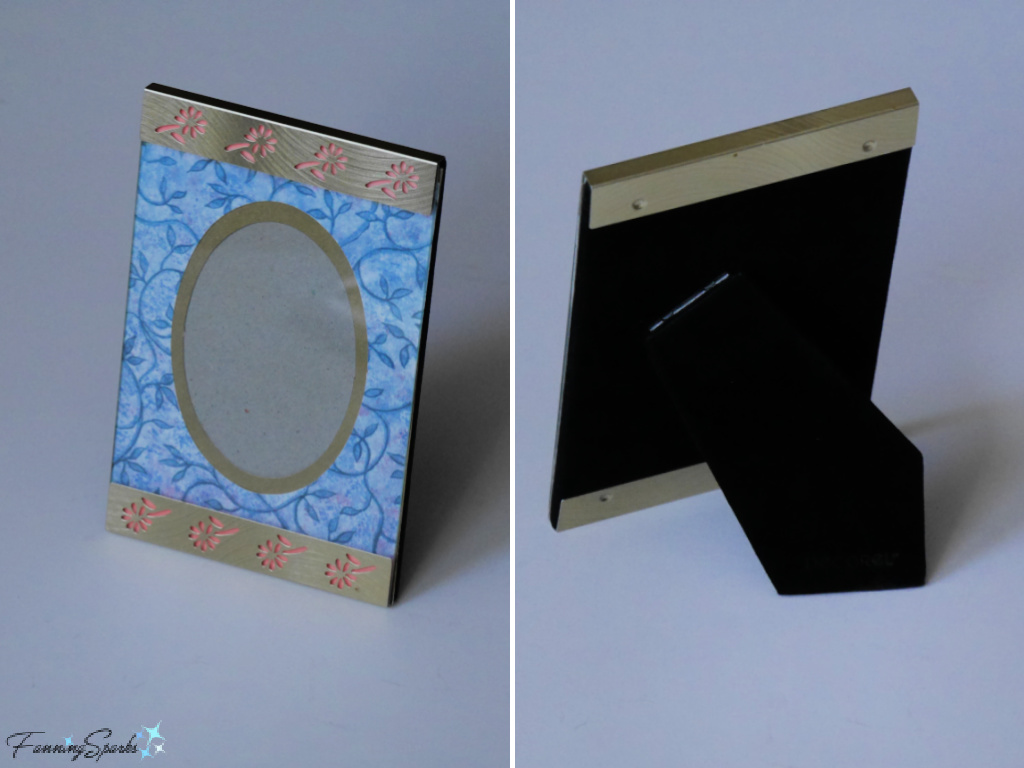
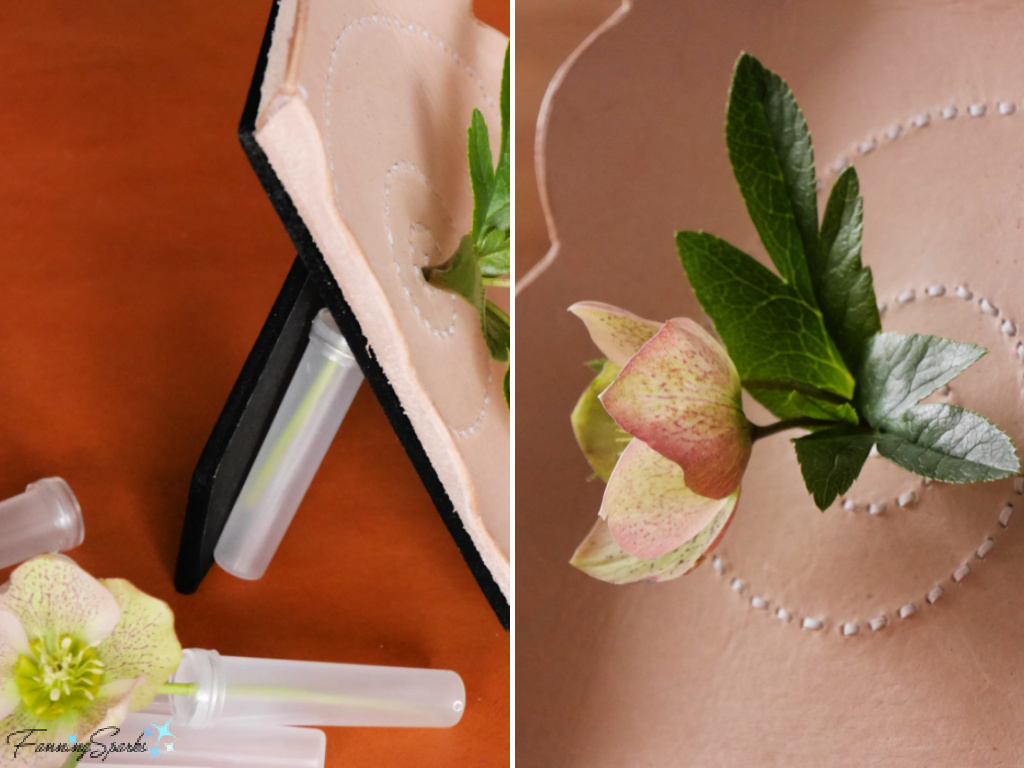
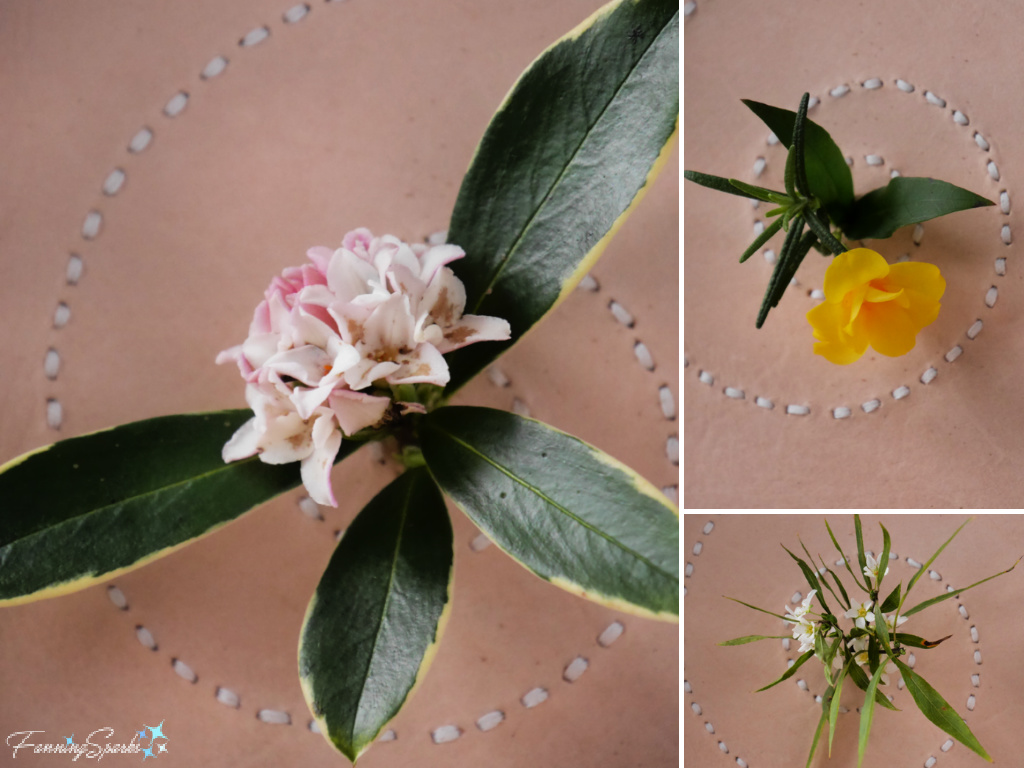
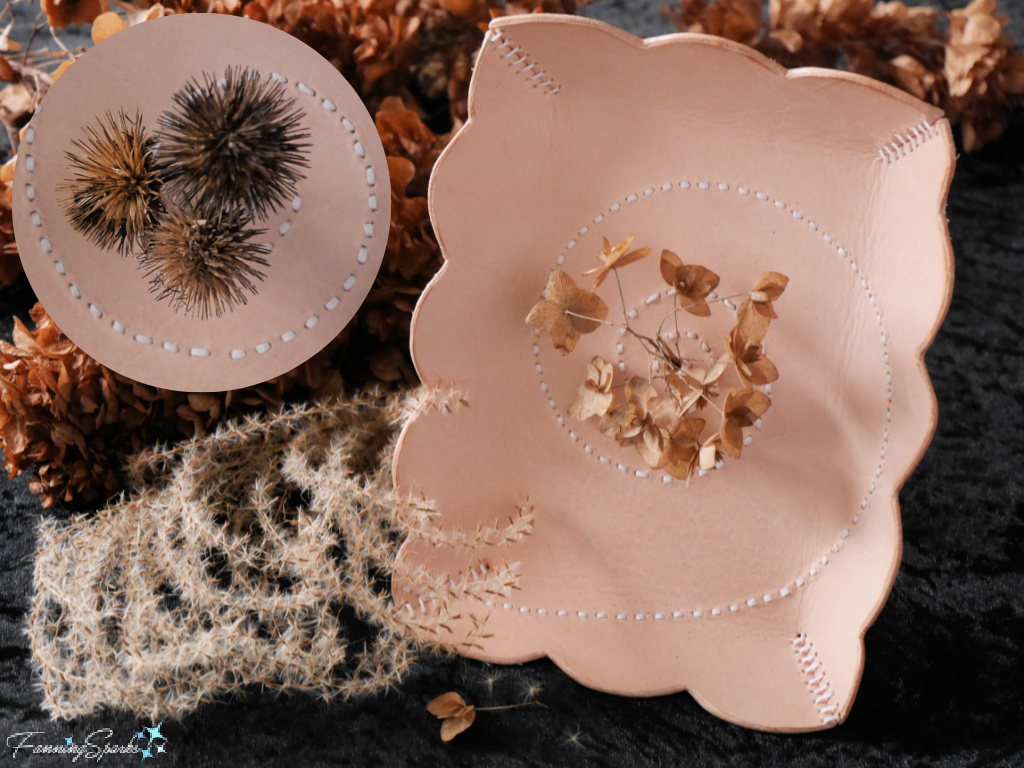
. A Leather Flower Frame to Set the Stage
I’ve been leveraging online resources such as Corter Leather’s video series on YouTube. His episode on saddle stitching, Saddle Stitch Leather WITHOUT a Stitching Pony?, is particularly helpful.
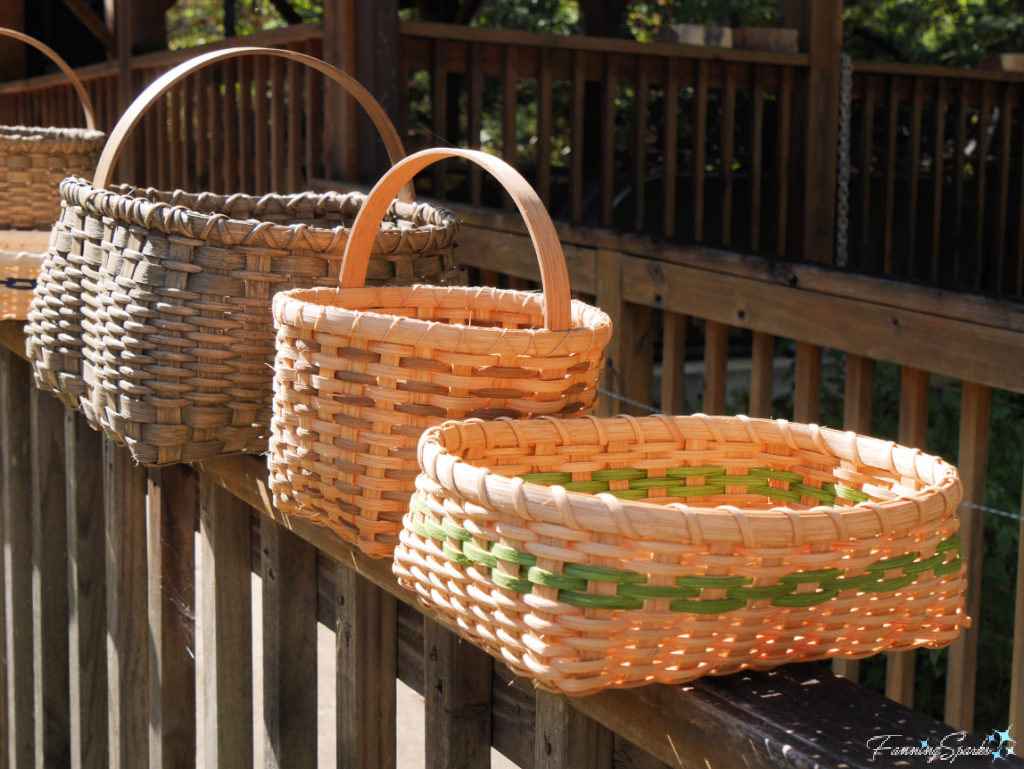
My Pinterest board, Leather – FanningSparks Favs, contains a collection of inspiring ideas featuring leather. I’ve been adding ideas and the collection has grown to over 280 pins including a variety of cool leather bag charms.
If you’re curious about the Hermès bag charm that caught my eye, you can find the Hermès Oran Nano Charms here.
Today’s Takeaways
1. Bag charms are fun bag accessories which can add personality, style and interest.
2. Leather is the ideal material for bag charms.
3. Consider making your own charming leather heart bag charm.


 It’s fun to look back through my photos and remember the highlights of the year. But the thing that makes this activity really special is rediscovering shots I’d forgotten about—like this Northern Cardinal (Cardinalis cardinalis) enjoying the water in our birdbath. Did you know the name of these birds refers to the cardinals of the Roman Catholic Church who wear distinctive red robes and caps?
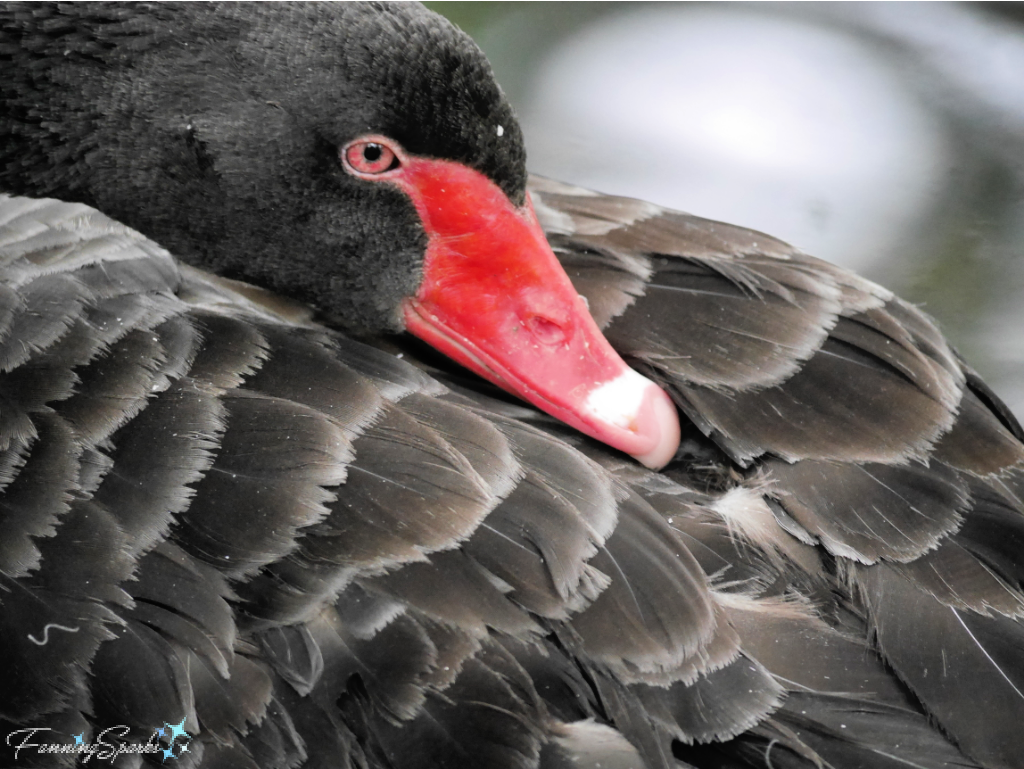
 In keeping with the bird theme, the below photo was my favorite from a visit to Swan Lake Iris Gardens back in May. This park, in Sumter, South Carolina, is home to all eight known species of swan. This is a Black Swan (Cygnus atratus). There’s a fascinating story about black swans that I first shared in my blog post