
Every so often, a DIY project works out so well it practically demands an encore. The first time around is all about figuring out the steps, developing specialized skills and, inevitably, learning through trial-and-error. The second or third time, though, the stakes are lower. Instead of worrying about costly materials or wondering if the finished piece will work out, the focus is on improving your process and perfecting the results. At least, that was my experience with my DIY diamond-tufted upholstery projects.
The furniture industry divides furniture into two categories. One category is case goods, which could be described as “hard” furniture, and includes solid-material items like dining tables, dressers and bookshelves. Here’s an example of case goods ― an outstanding Art Nouveau cabinet designed by Joan Busquets i Jané which is part of the Art Nouveau Broham Museum collection in Berlin, Germany.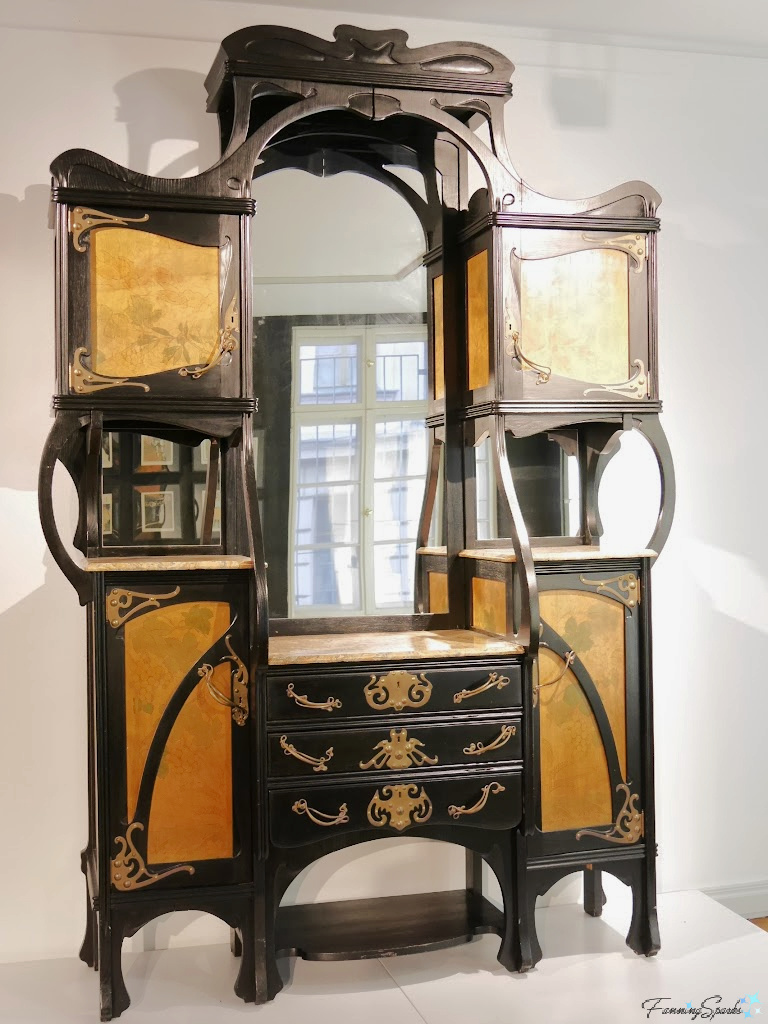
Upholstery, or “soft” furniture, is the other major category. Upholstery pieces are typically padded and covered in fabric or other textiles. Examples include sofas, armchairs, ottomans and upholstered headboards. This striking chair and ottoman were designed by Gaetano Pesce, a renowned, Italian architect, urban planner, and industrial designer. Described as the “feminist armchair” and named La Mamma Armchair and Ottoman, these upholstered pieces are part of the collection at the Montreal Museum of Fine Arts.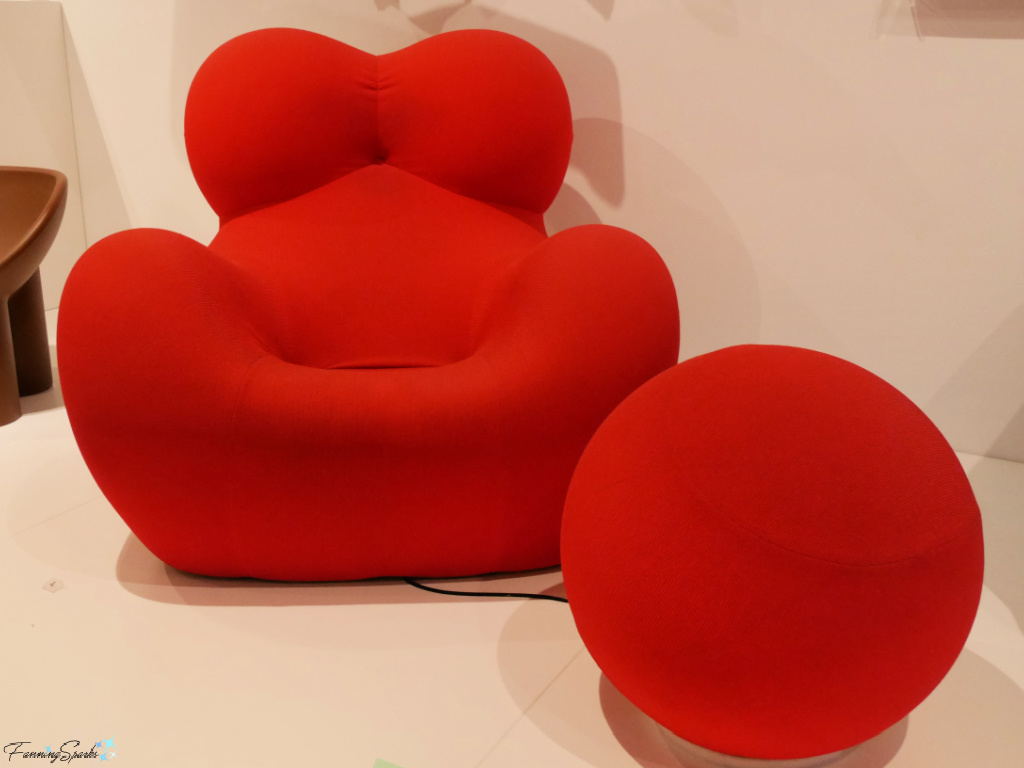
Upholstered furniture is available in a variety of styles including, for instance, “smooth back” like these dining chairs and this ottoman or, “loose back”, like this sofa with its removable cushions. 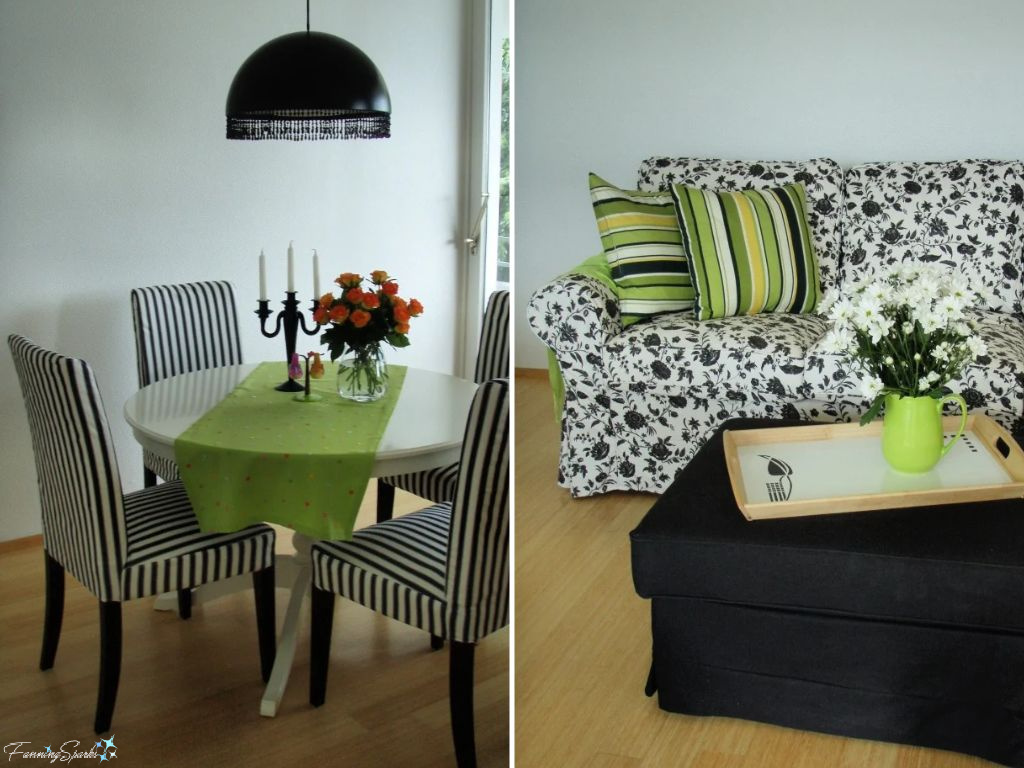
Smooth back upholstery can be enhanced with a technique known as tufting. To achieve this look, the upholstery fabric is tightly stitched into a pattern of depressed points or lines resulting in a design of raised sections known as “tufts”. Here’s an example of a tufted seat on a porch swing. This tufting design, which features a square grid of tufts, is known as “biscuit” or “bun” tufting.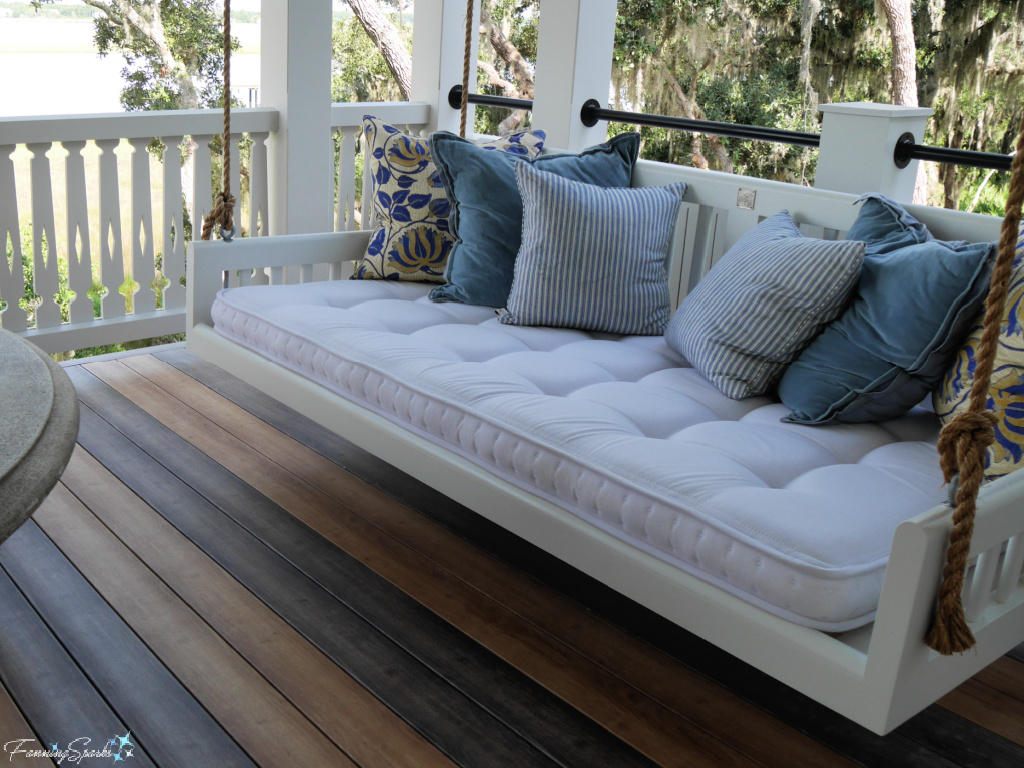
Diamond tufting is similar except the depressed points are offset resulting in a grid of diamond shapes like this.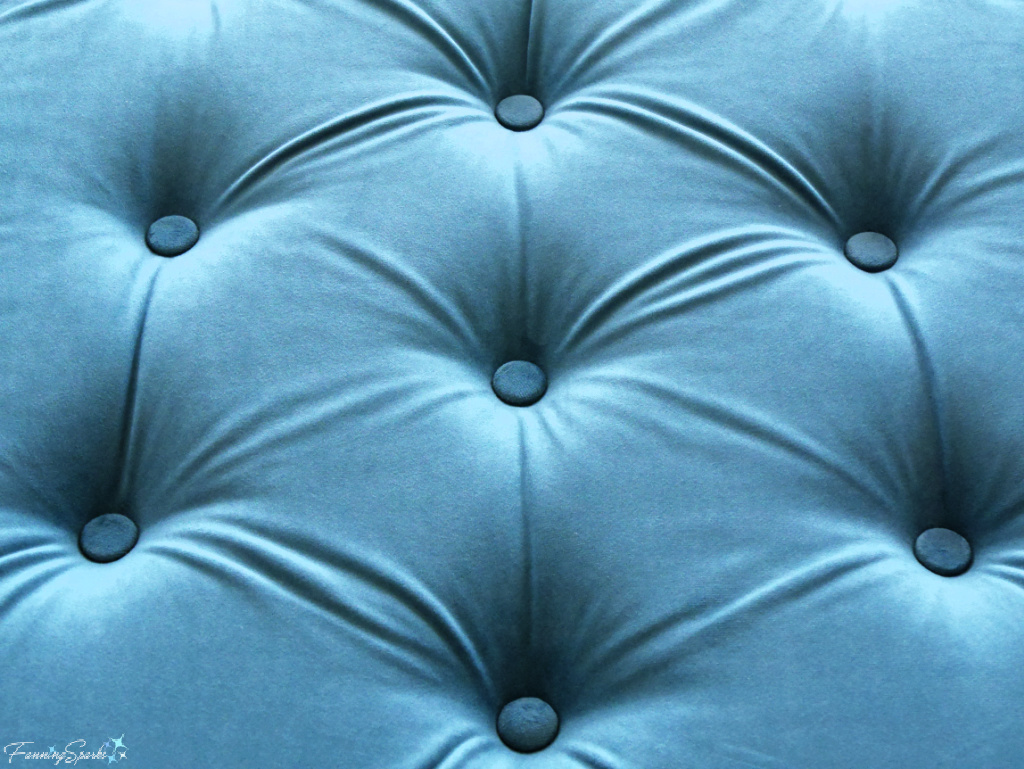
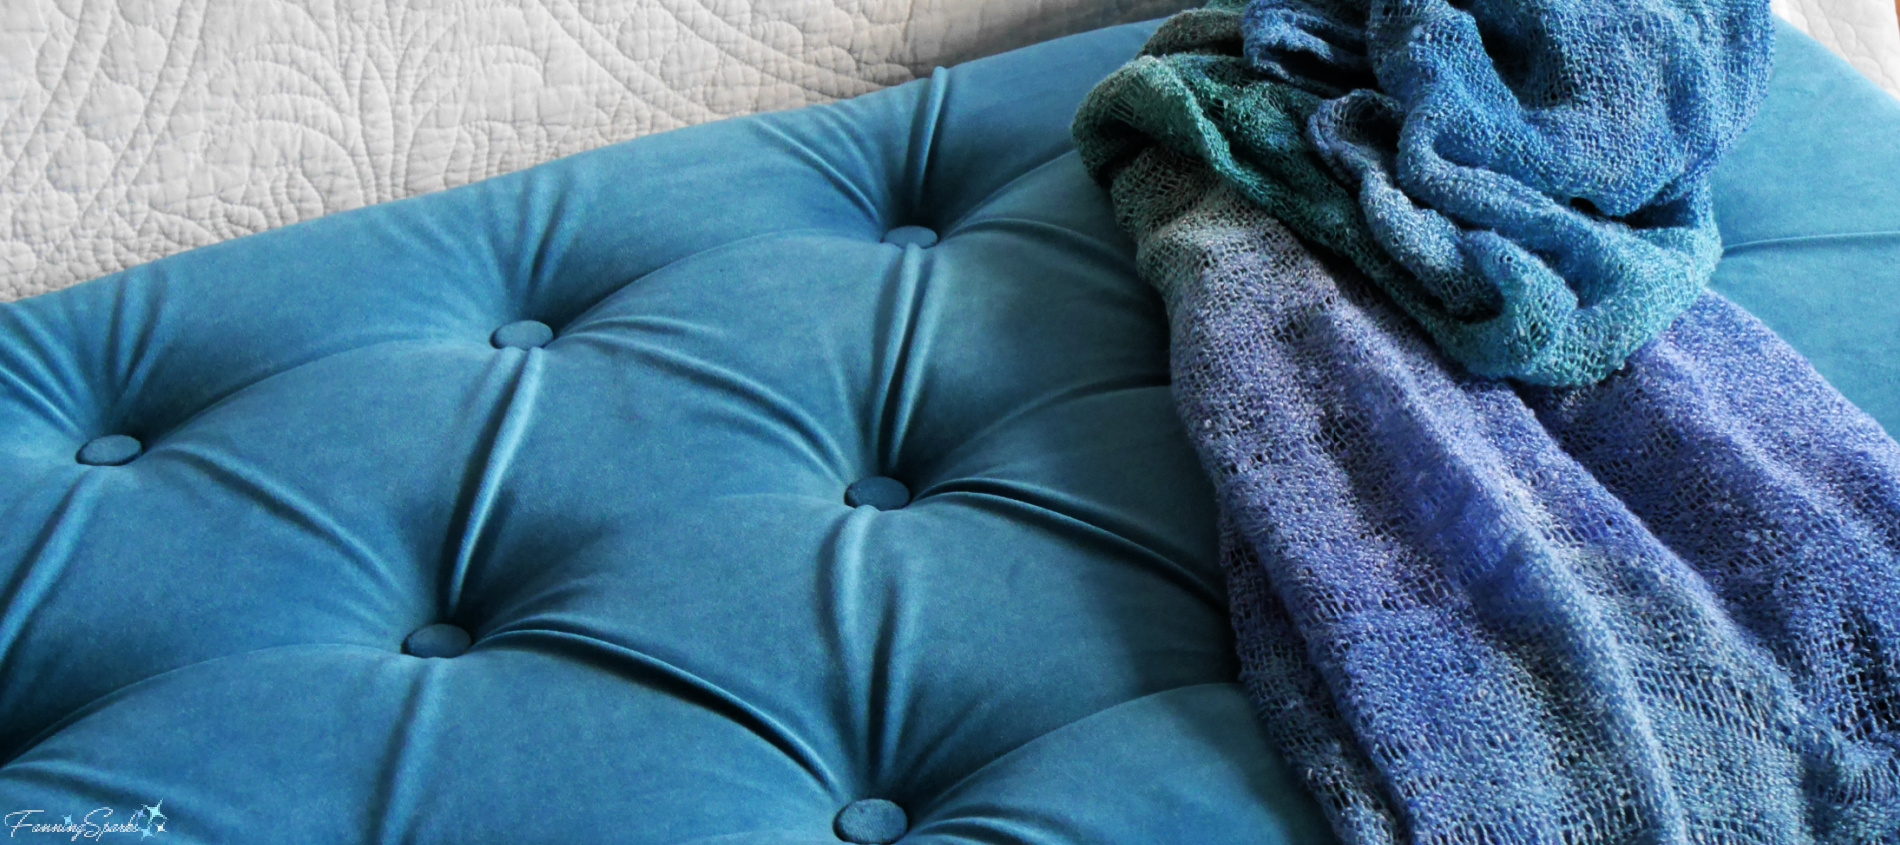
Tufting creates an intriguing visual contrast between the soft curves of the tufts and the tight tension of the indentations. I’m partial to a diamond tufting pattern, especially when it’s done in a rich, textured, solid-coloured fabric. The gorgeous turquoise velvet upholstery fabric shown here is especially beautiful in natural light when the tufts are highlighted and the pockets are cast in shadow.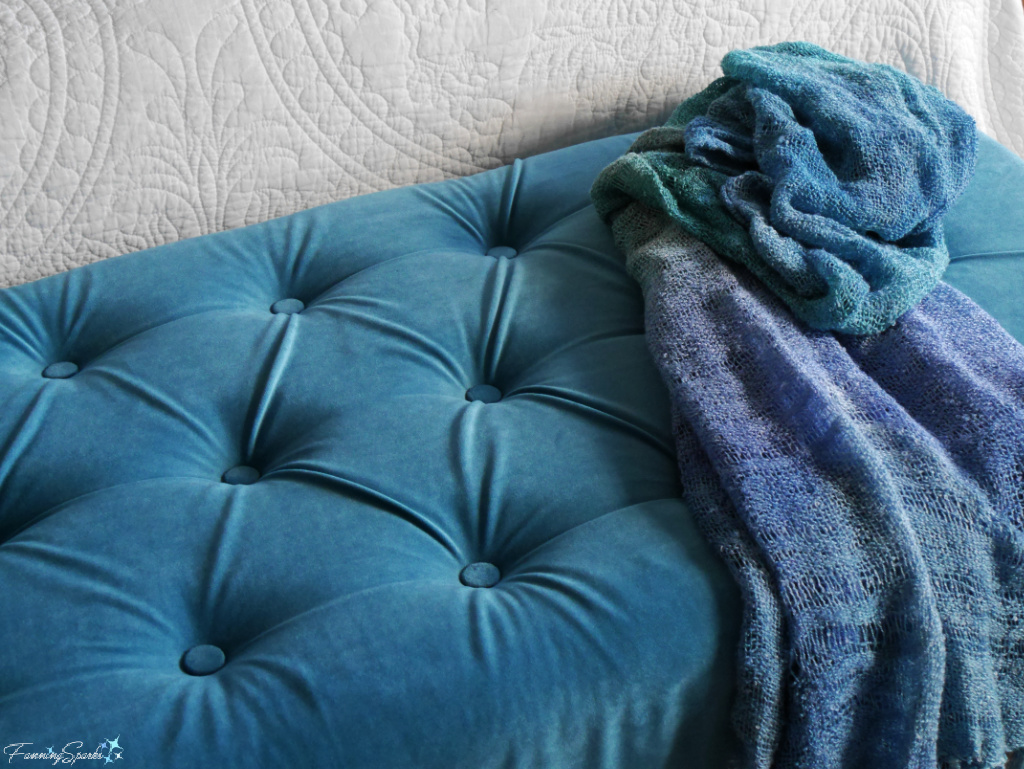
As mentioned at the top of this blog post, I’ve tackled a few DIY diamond-tufted upholstery projects. They include a headboard, a window seat and a bed bench. All these projects feature flat surfaces making them ideal for a beginner. Upholstering the rounded surfaces of a sofa or an armchair would be considerably more difficult.
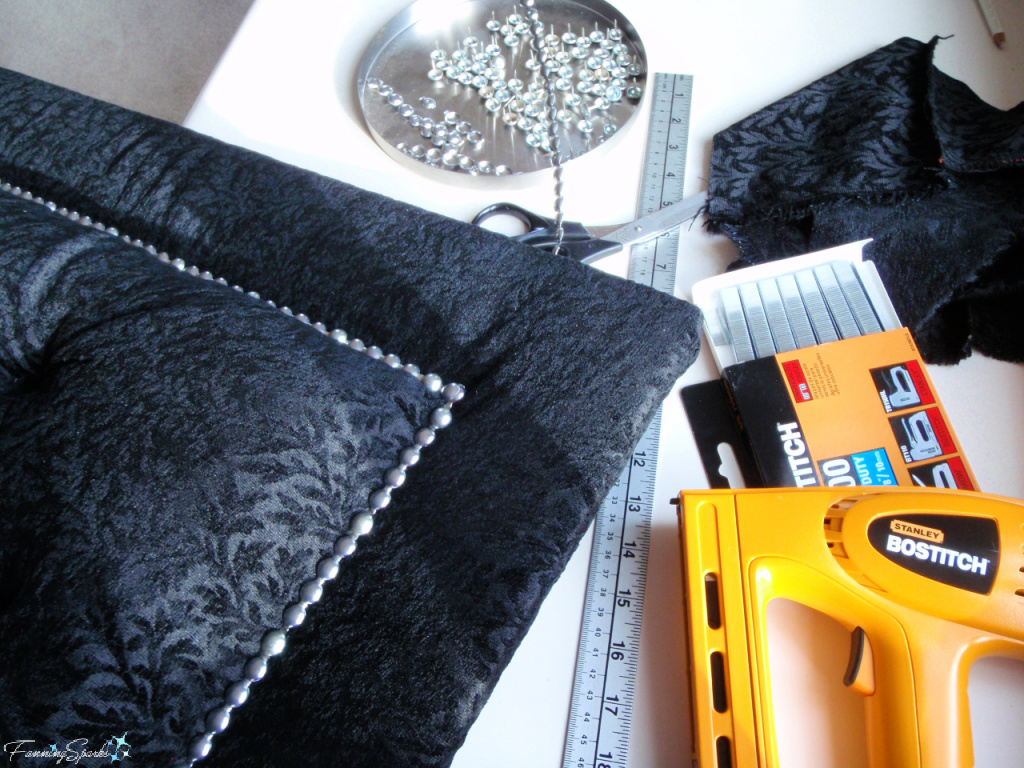
It’s hard to believe that my first tufted upholstery project was completed over ten years ago. Here’s a look at the nailhead-trimmed, diamond-tufted, upholstered headboard I made for our queen-sized bed. It was covered in a deep black, embossed velvet, upholstery fabric.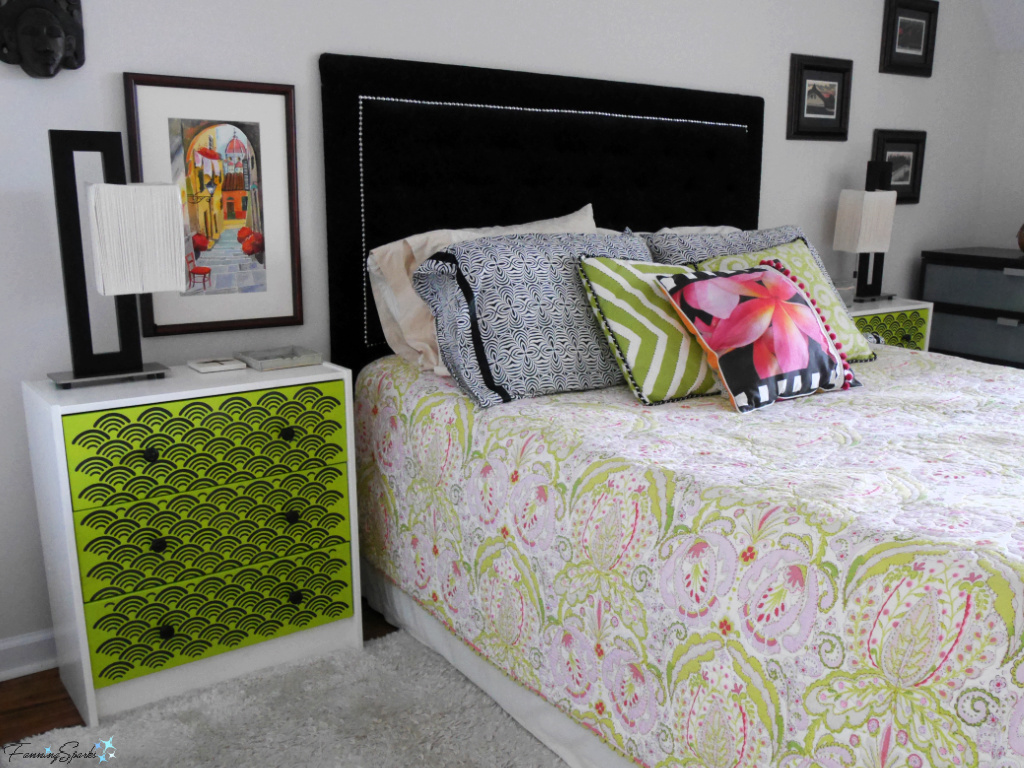
The original inspiration came from a blog post by Kristi Linauer of Addicted 2 Decorating (link in More Info below). She posts a wealth of great DIY projects and always shares valuable advice and guidance. Thank you, Kristi! I didn’t deviate much from her instructions when making this headboard. Shown below are a couple of shots of the work in progress. 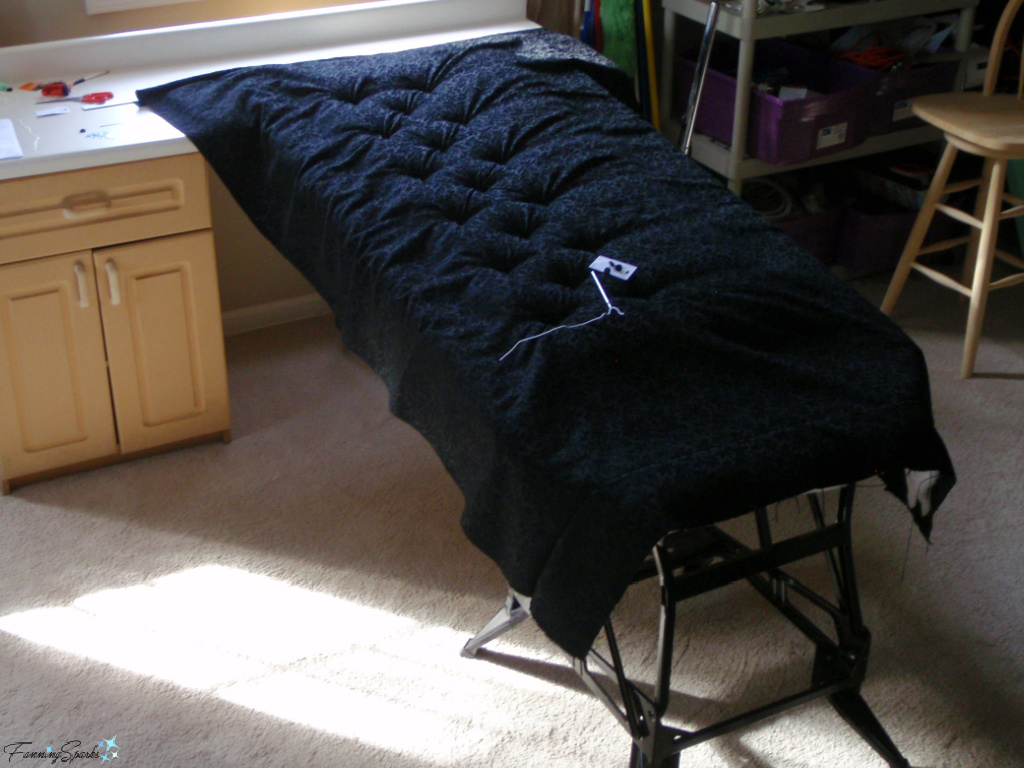
My second diamond-tufted upholstery project was a custom-fit cushion for a window seat. It was covered in a heavily-textured, teal-coloured, upholstery fabric. It turned out beautifully. 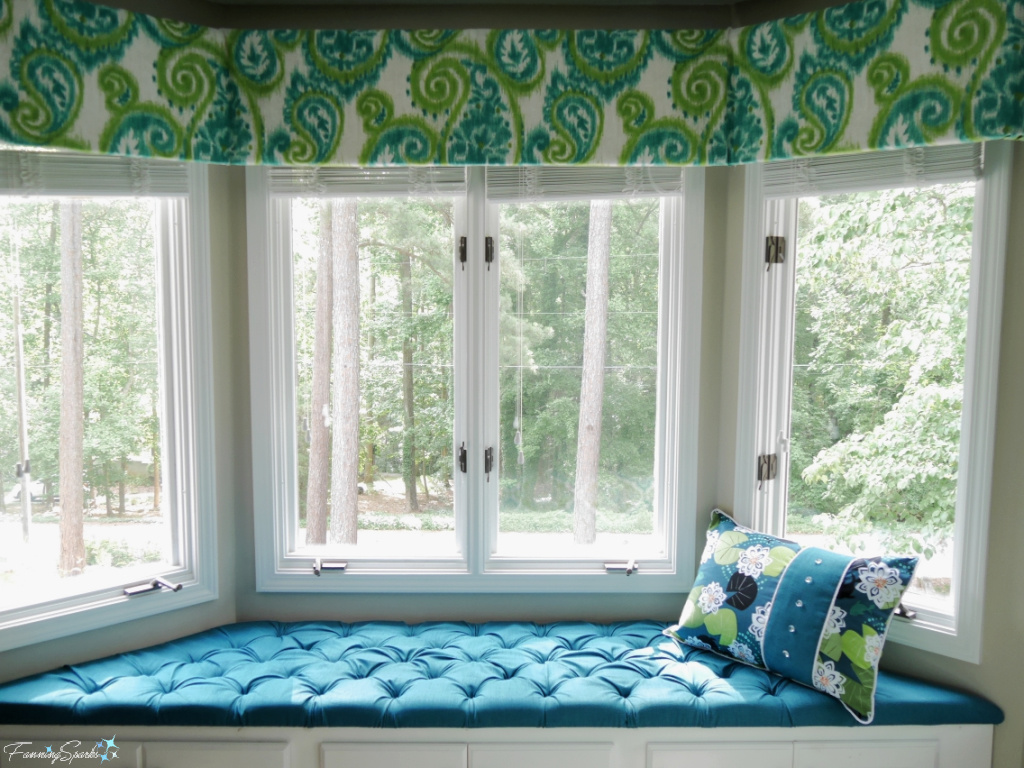
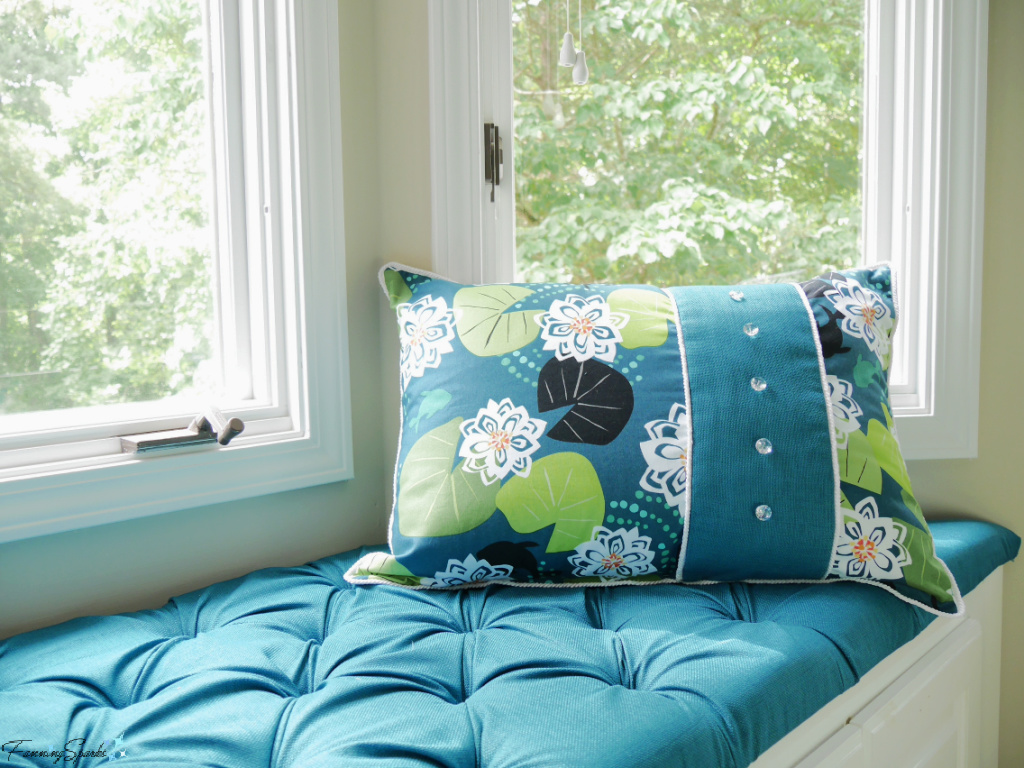
This brings me to my most recent effort ― a super-thick cushion for a bench to sit at the end of the bed. The rattan bench base is actually repurposed from a coffee table I found at the local Habitat ReStore shop. 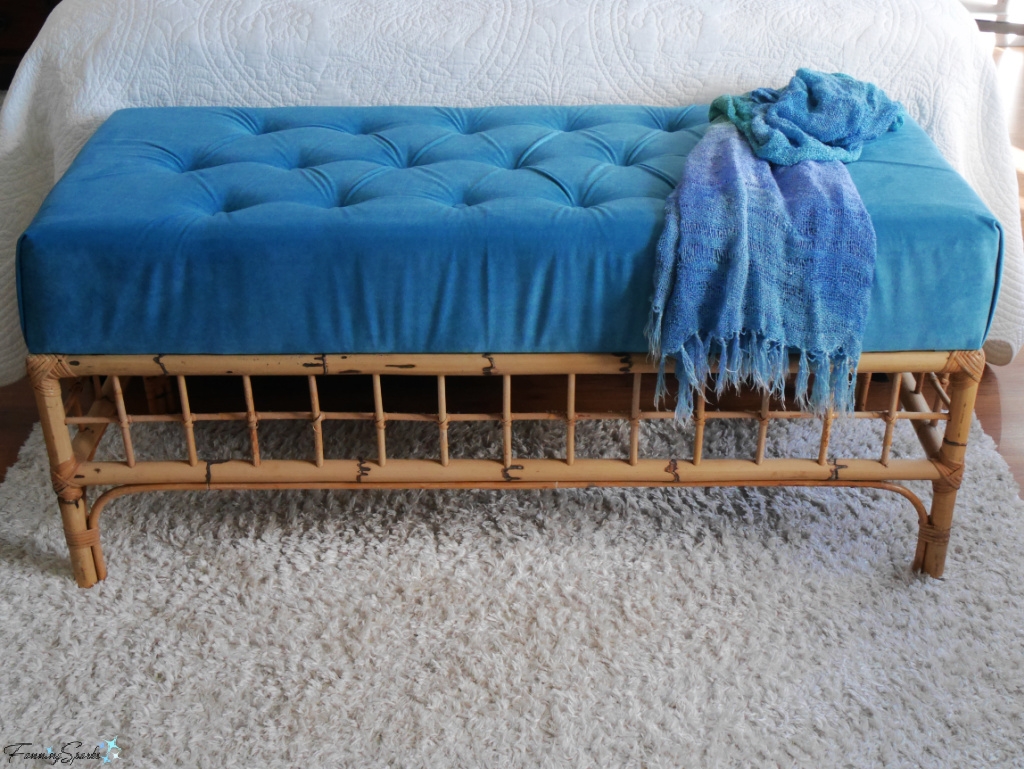
Here’s how it looks with a little more of the room revealed. 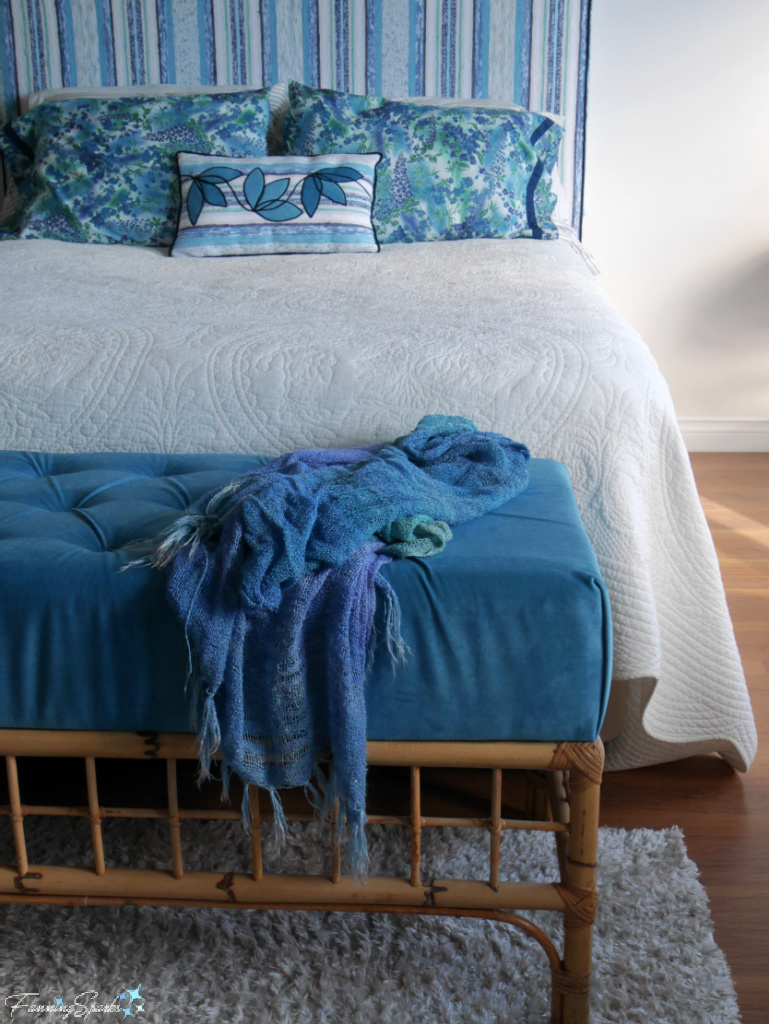
Regular readers may recognize the lumbar pillow from last week’s blog post, Is it Couch Stitching or Couching Stitch?. The fabric used to appliqué these leaves was left over from covering the bed bench. 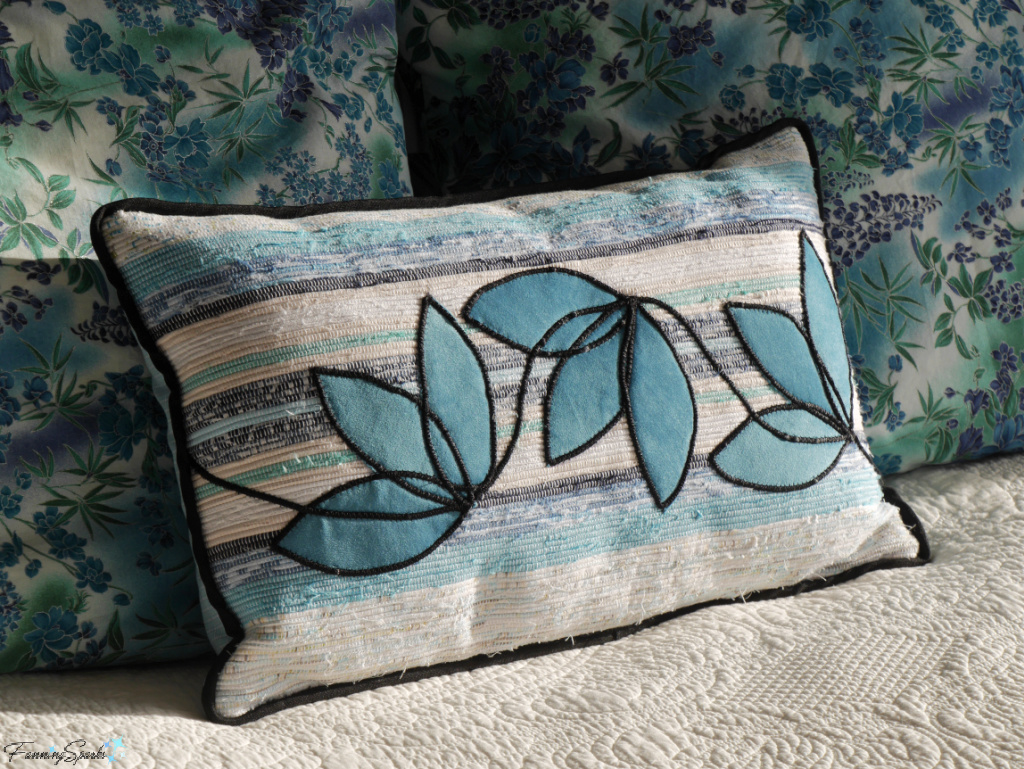
The basic construction process for all three of my diamond-tufted upholstery projects was the same. There’s no point in repeating the detailed instructions from the Addicted 2 Decorating blog but here are the main steps: 1) Begin with a flat wooden surface (usually plywood) cut to size. 2) Add and secure foam. 3) Drill a grid of holes through the wood and the foam. 4) Cover the surface with batting and top with upholstery fabric. 5) Working from the back, thread buttons through the drilled holes piercing all the layers. 6) Tighten and secure all the buttons to create even indentations and tufts. 7) Carefully smooth and wrap fabric down over the sides. 8) Staple to the back. 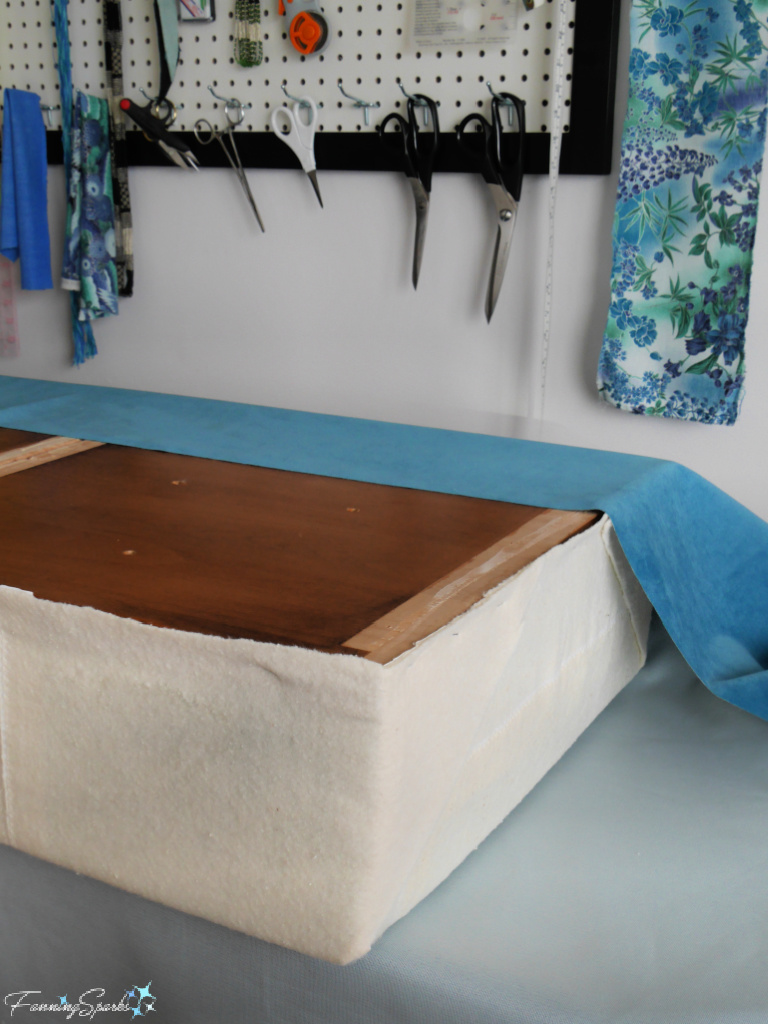
I’d like to wrap up with a few tips I learned from my diamond-tufted upholstery projects. Hopefully, sharing these tips will help anyone tackling a similar project — and documenting them will help me remember them for next time!
TIP: Cut foam with an electric carving knife.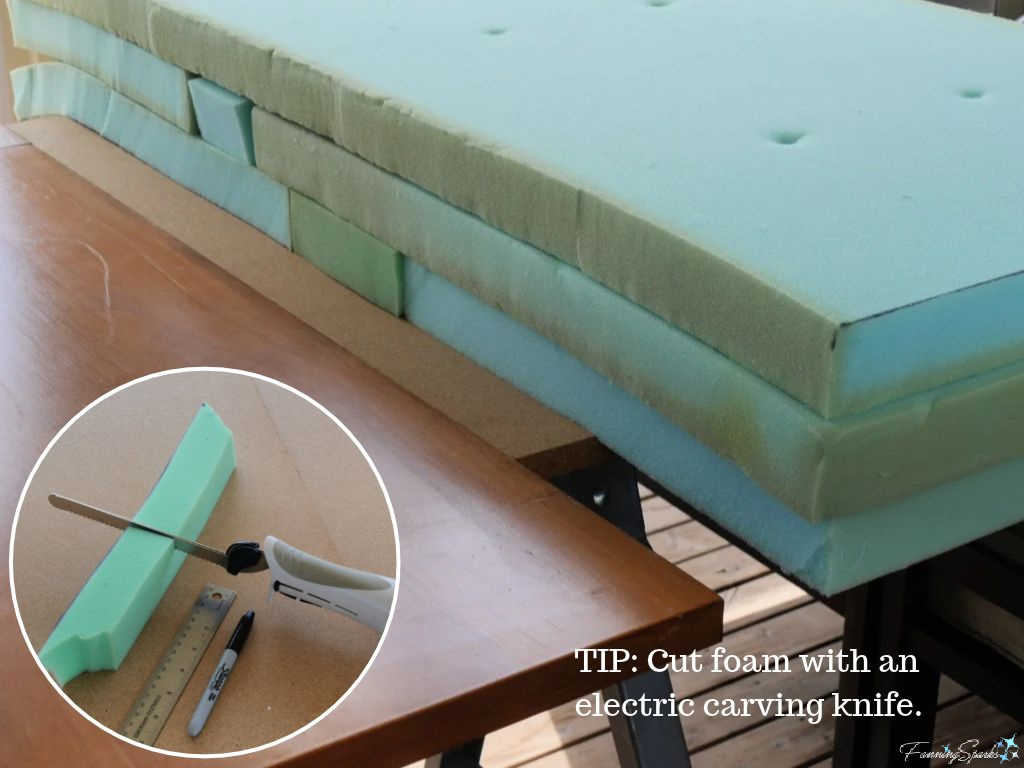
At least three rows of indentations are needed to create diamond-shaped tufts. Measure carefully for an evenly-spaced offset.
TIP: Plan the diamond grid pattern in advance. 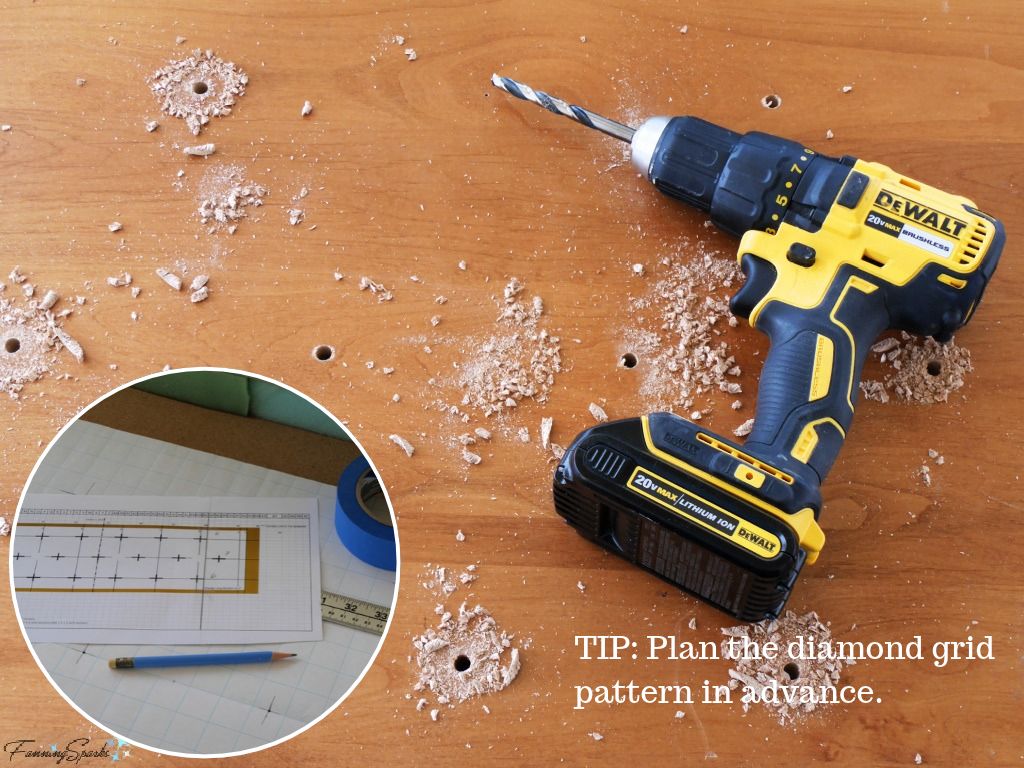
TIP: Drill holes in foam with a handheld, tube apple corer.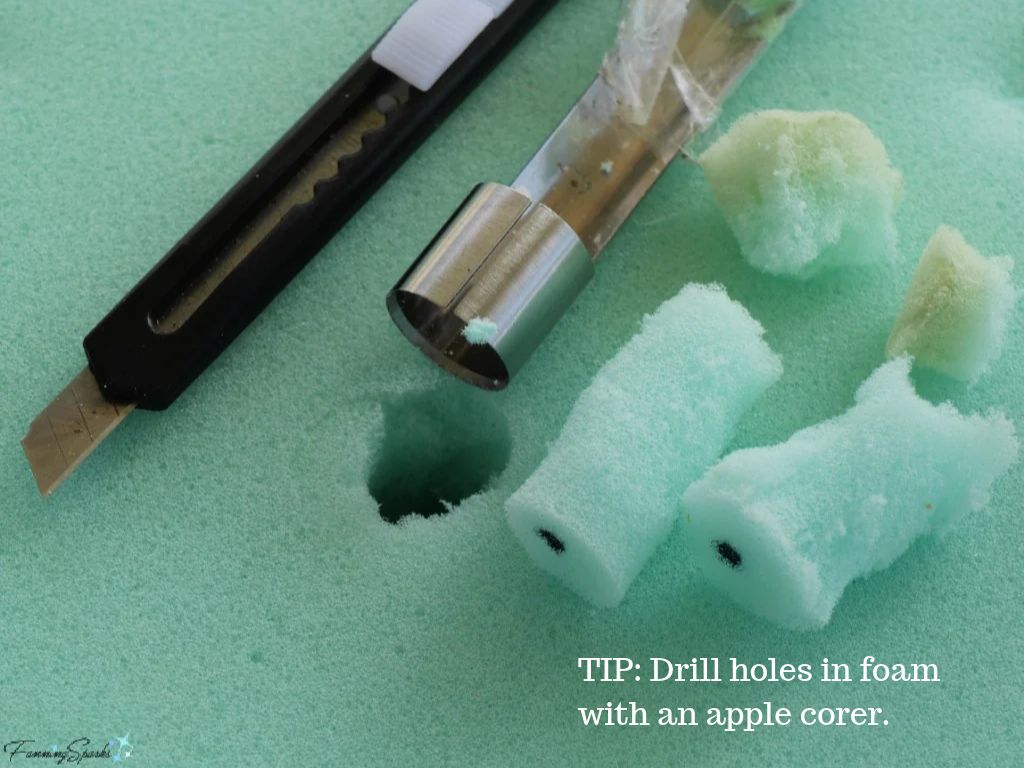
TIP: Set up your project for easy access to both the front and the back.
I was able to suspend my piece between my working table and a Workmate portable workbench.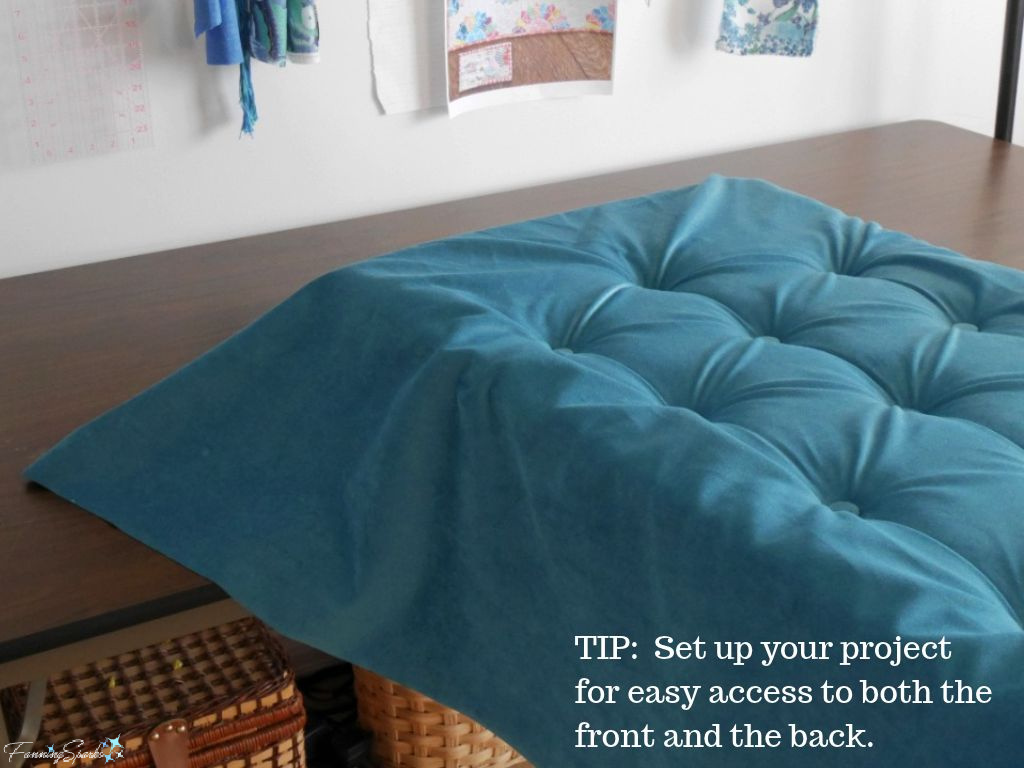
Moulded garment buttons, like those pictured below, may look nice, but they’re not strong enough for this project. When I pulled on my cords to tighten the indentations, the shanks on these buttons snapped off and the buttons went flying!
TIP: Use fabric-covered, upholstery buttons not garment buttons.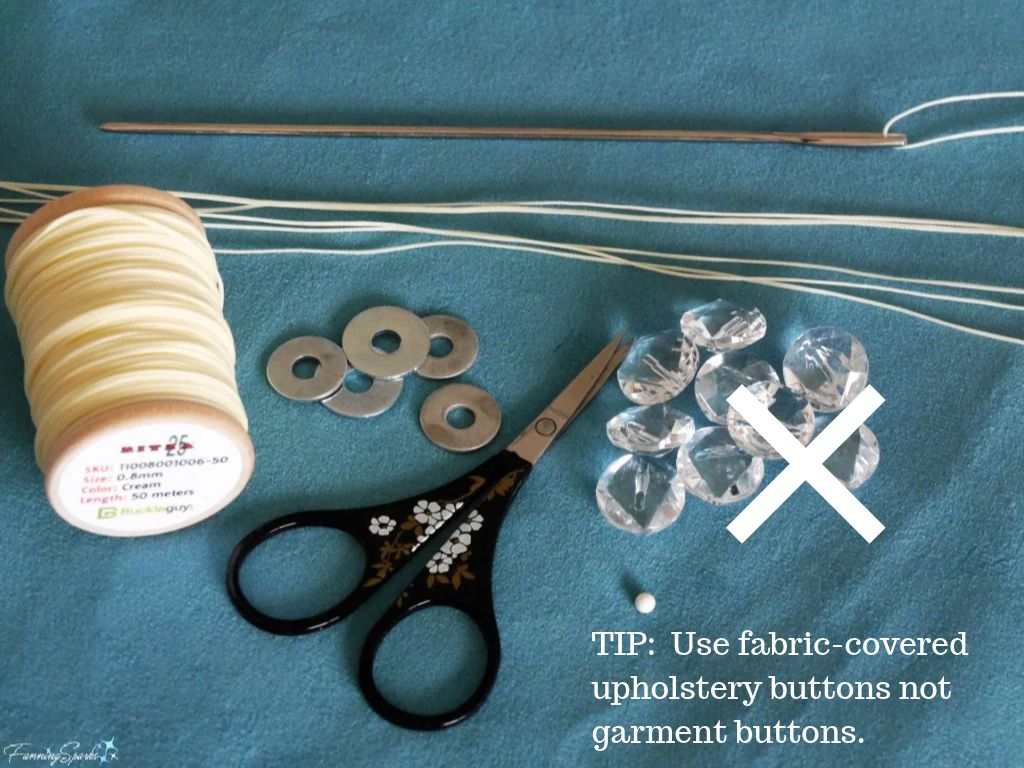
Creating even tufts takes patience ― each button must be tightened gradually to maintain equal tension across all the indentations. I found inserting a flat, metal washer into a slip knot made adjustments easier. Once satisfied with the tufts, I locked them in with square knots and zigzag stapling.
TIP: Use a slip knot with a metal washer while adjusting the tension. Then lock in with square knots and zigzag stapling.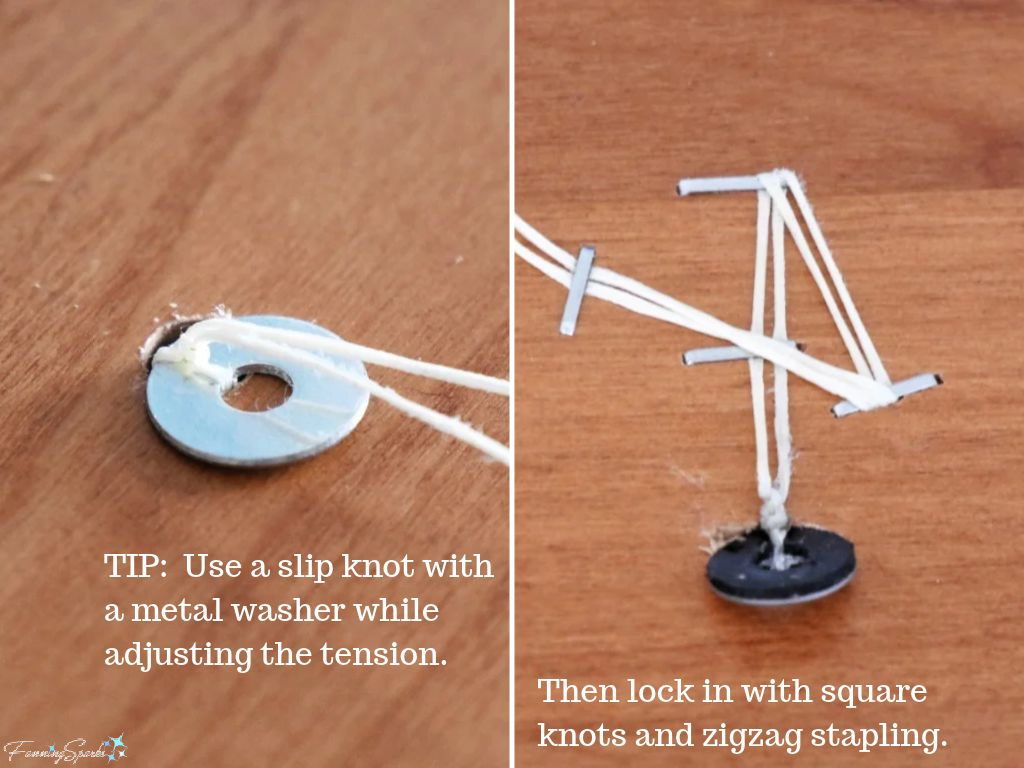
I’ll close this post with one final photo to support my cheeky headline claim that diamonds ― well, more accurately, diamond-tufted upholstery ― are a DIYer’s best friend!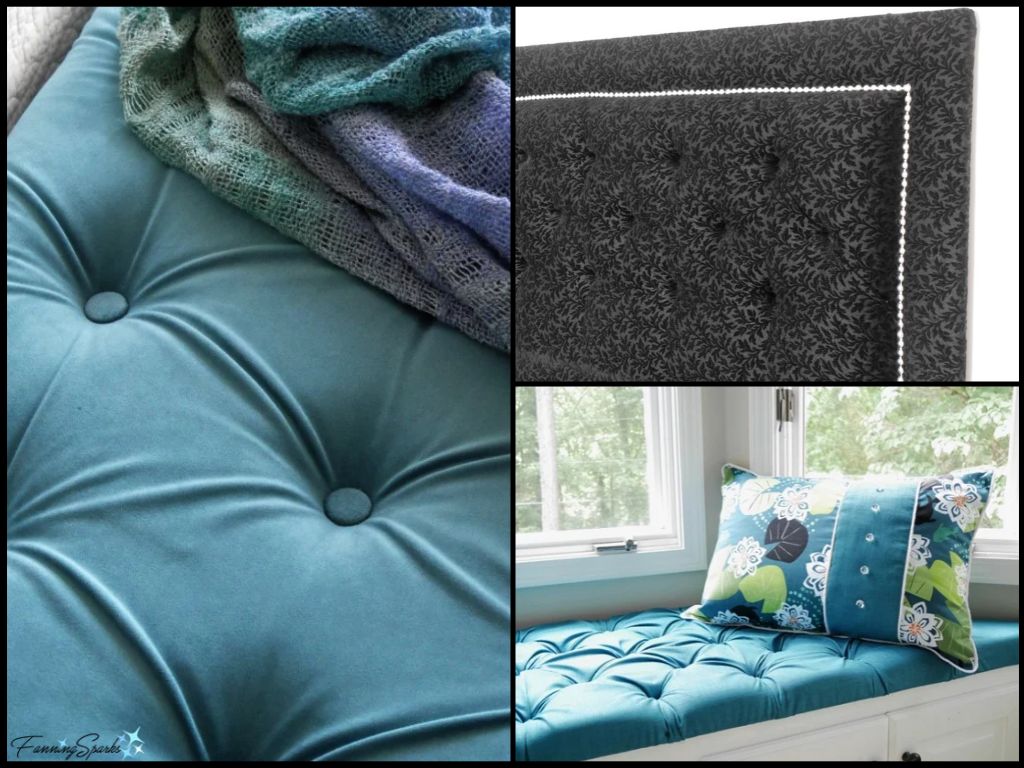
More Info
Previous blog posts mentioned in this blog post include:
. Is it Couch Stitching or Couching Stitch?
For comprehensive, detailed instructions on how to make diamond-tufted upholstery, see Kristi Linauer’s Addicted 2 Decorating blog. She shares several projects (search with “diamond-tuft”) including this Diamond-Tufted Upholstered Headboard. Thank you, Kristi for generously sharing your many, inspiring DIY projects!
Today’s Takeaways
1. Repeating a DIY project lowers the learning curve allowing you to focus on improving your process and perfecting the results.
2. The furniture industry divides furniture into two categories ― case goods and upholstered furniture.
3. Tufting upholstery creates an intriguing visual contrast between the soft curves of the tufts and the tight tension of the indentations. 
Comments are closed.