Week-long classes at the Folk School provide a great opportunity to learn a new skill or hone an existing one. They also afford sufficient time to get to know your instructor and your fellow students. In my experience, all the Folk School instructors have been great; they are knowledgeable experts who care about helping their students learn. But some instructors stand out from the crowd‒Harley Refsal is a case in point. Harley is the kind of instructor students come back to study with again and again. He’s a highly regarded, talented woodcarver. But what makes him special is his manner and approach‒he teaches with patience, attentiveness and caring.
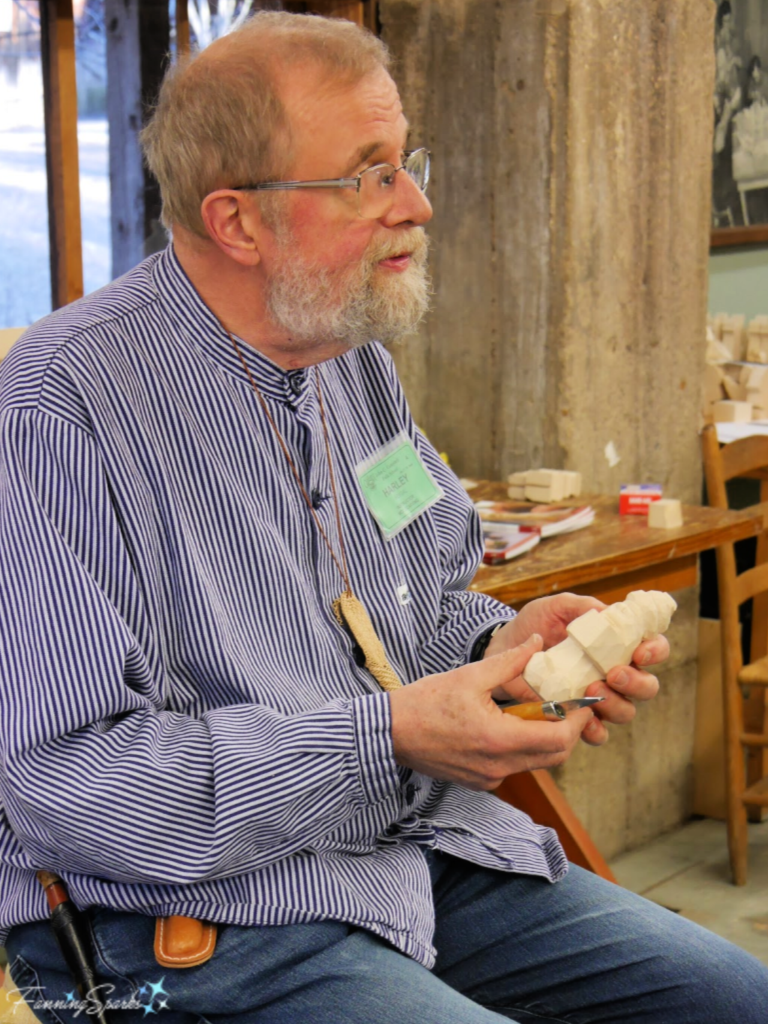
My class was fortunate to have a second instructor, Frank Boyd, who is also a talented woodcarver and shares Harley’s easy-going, caring manner. The mutual respect and admiration between Harley and Frank was obvious throughout the week. Add in Frank’s crazy sense of humor, a great group of students, the rich heritage of the Folk School Carving Studio, and you have the perfect recipe for an unforgettable week.
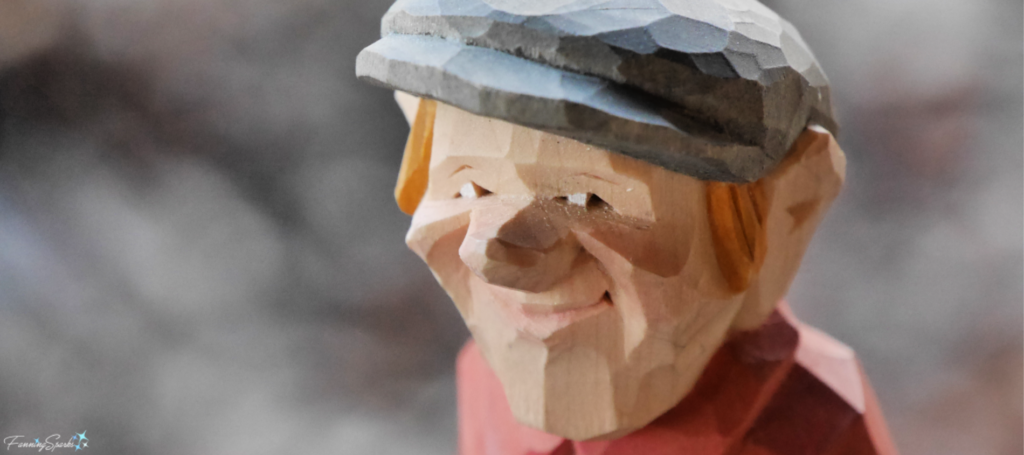
Harley specializes in flat-plane figure carving which is a style of woodcarving with Scandinavian roots. Flat-plane carving is a minimalist style, with strong, simple cuts that leave the tool marks exposed. It’s all about bold, flat facets designed to catch the light and cast shadows. I heard Harley state several times that he aims to make as few cuts as possible using only his carving knife. That is not a simple matter. I know from my own, limited beginner experience, that it’s easier to control multiple small, safe cuts. So flat-plane carving may look simple but it’s not. Harley calls it “the difficult art of simplification”.
The Folk School course description for Scandinavian-style Figure Carving promises “No experience required-if you can peel potatoes, you can do this!”. Yet it’s still surprising when Harley starts off the class by teaching how to carve a carrot! Note Harley always wears a carving glove; he only removed it for this demo so we could see his hands more clearly.
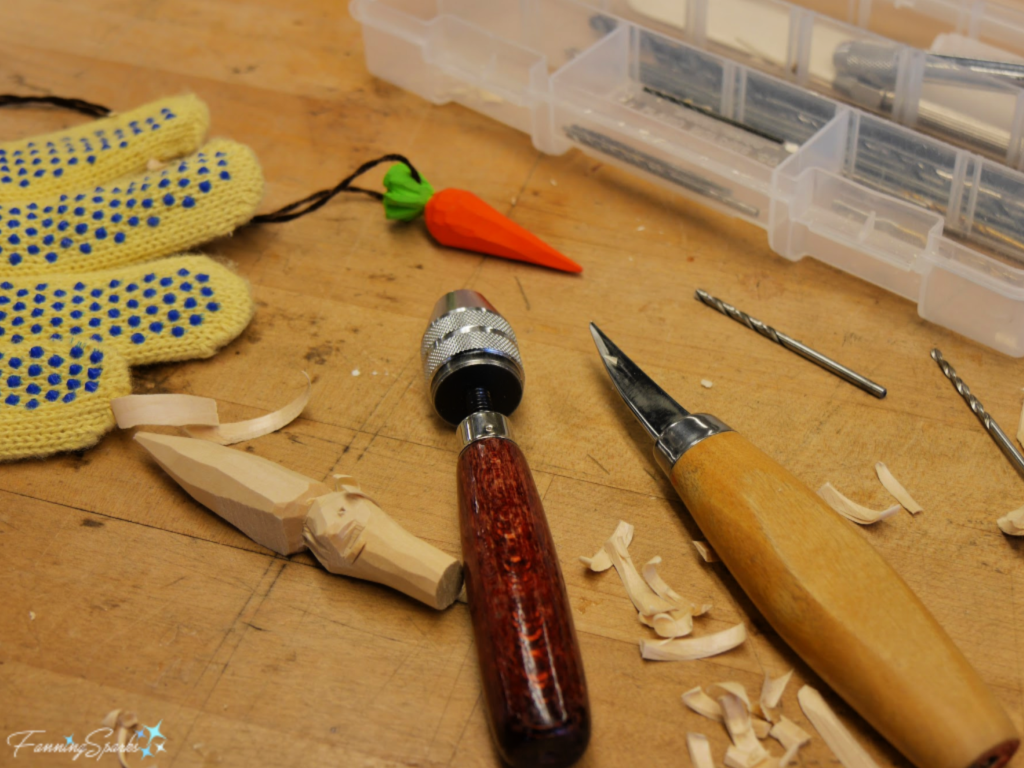
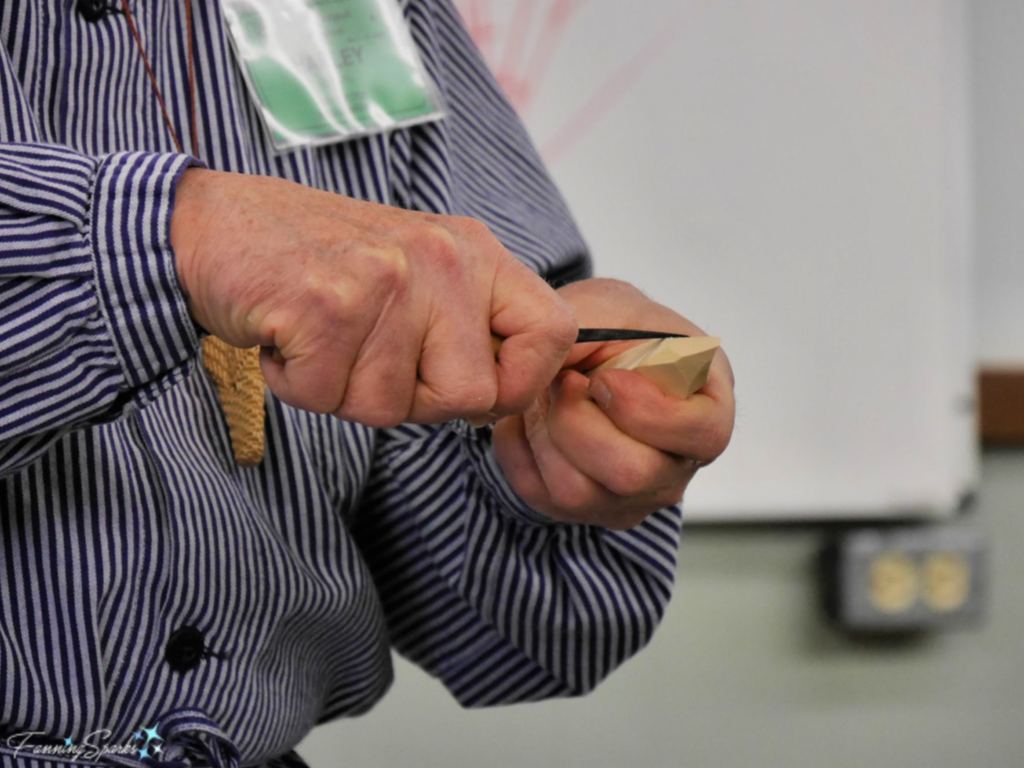 After carving the simple carrot form, we drilled a small hole at the top of the carrot with a hand drill. Here’s my carrot (bottom left) about to be drilled.
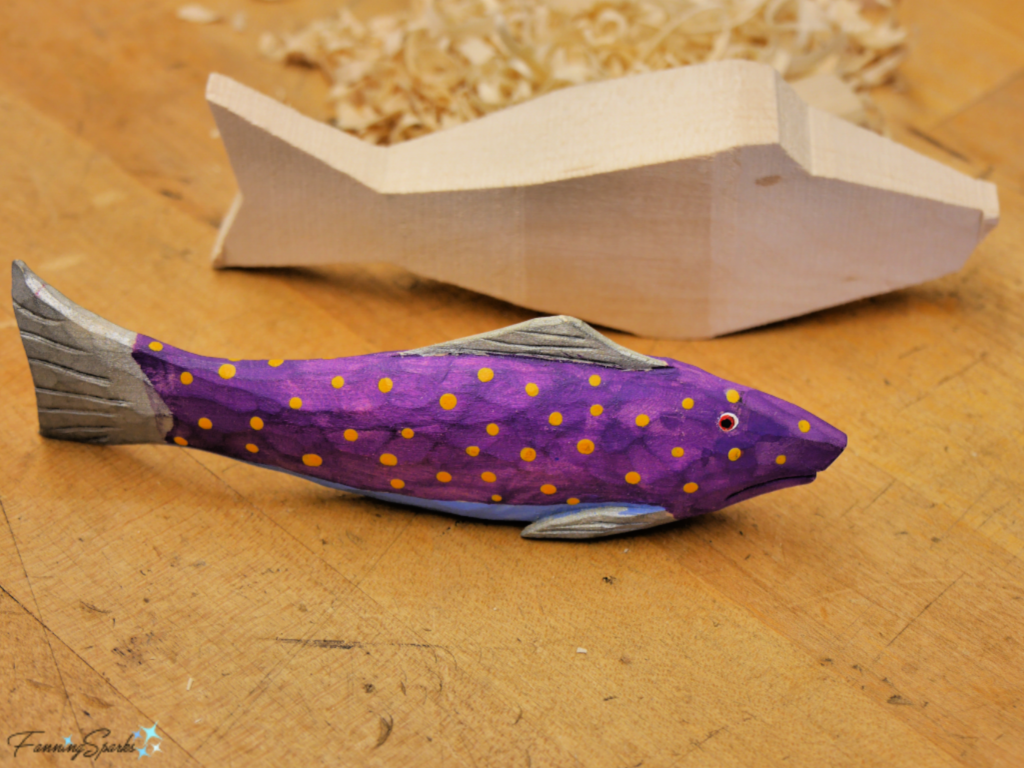
 The class progressed from carrots to fish. Harley uses a fish figure to introduce the topic of wood grain and how to adjust your cutting technique according to the direction of the grain. He uses a simple phrase “Always ski downhill” as a reminder to push the knife in the same direction as the wood grain. Here is a finished fish, often referred to as the “go by”, in front of my fish carving blank.
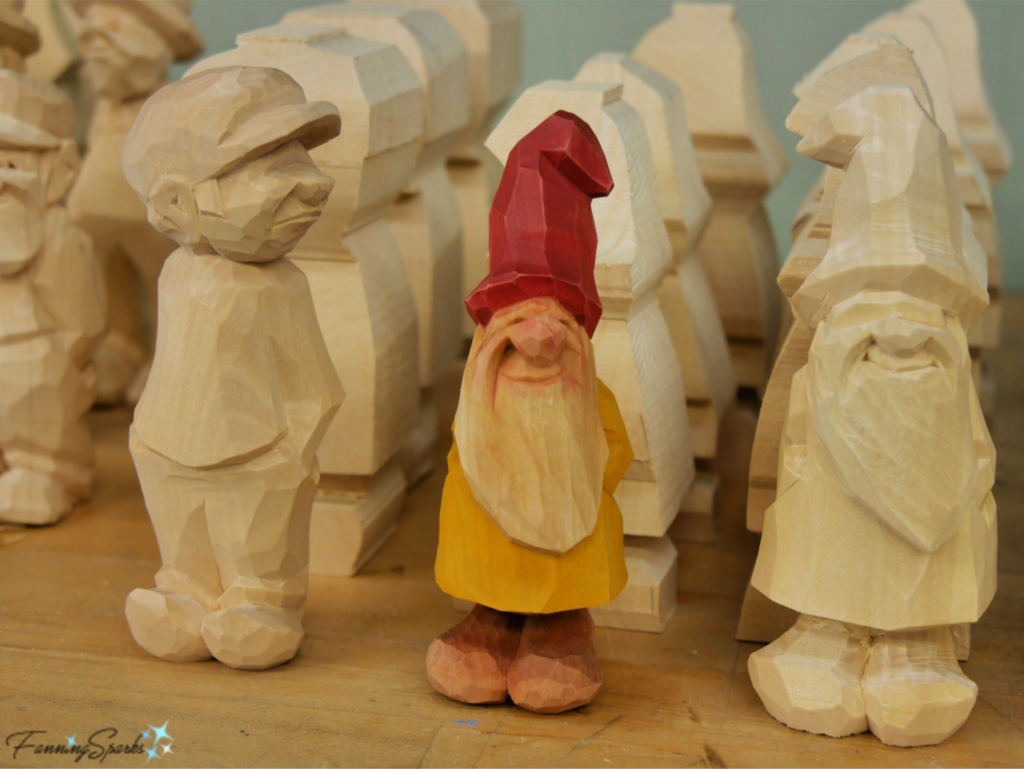
 Harley brought a variety of figures and carving blanks to give the students lots of options.
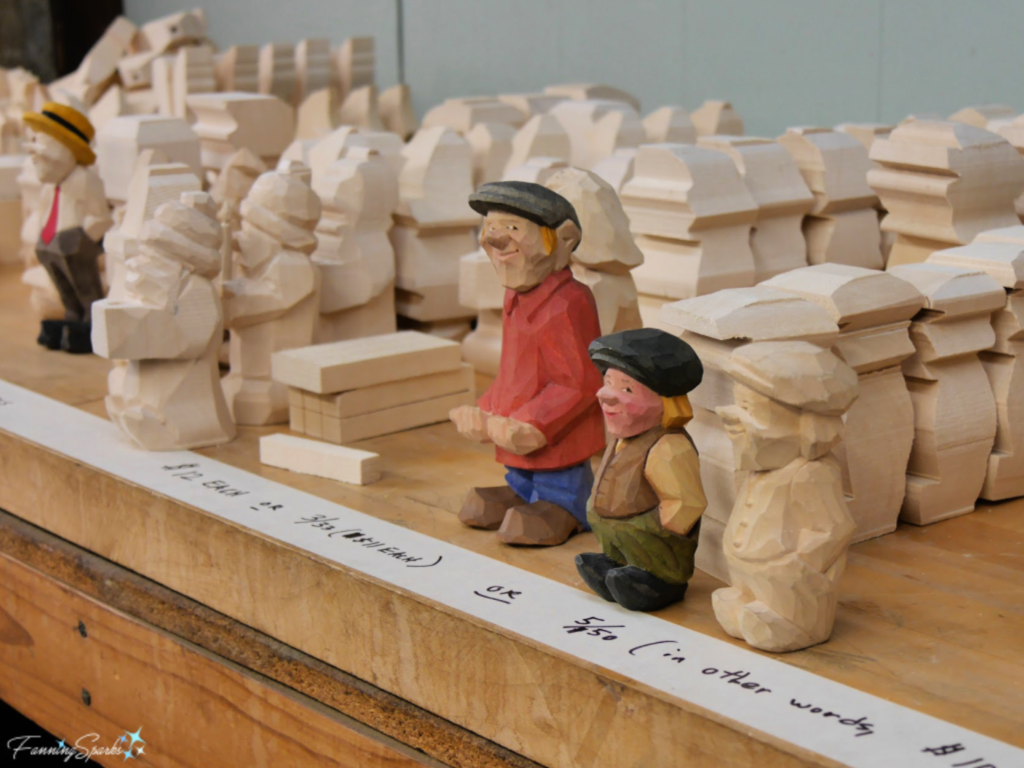 The tomte, a figure inspired by the work of painter/illustrator Jenny Nyström (1854-1946) creator of the Swedish image of the Jultomte, is one of Harley’s favorites.
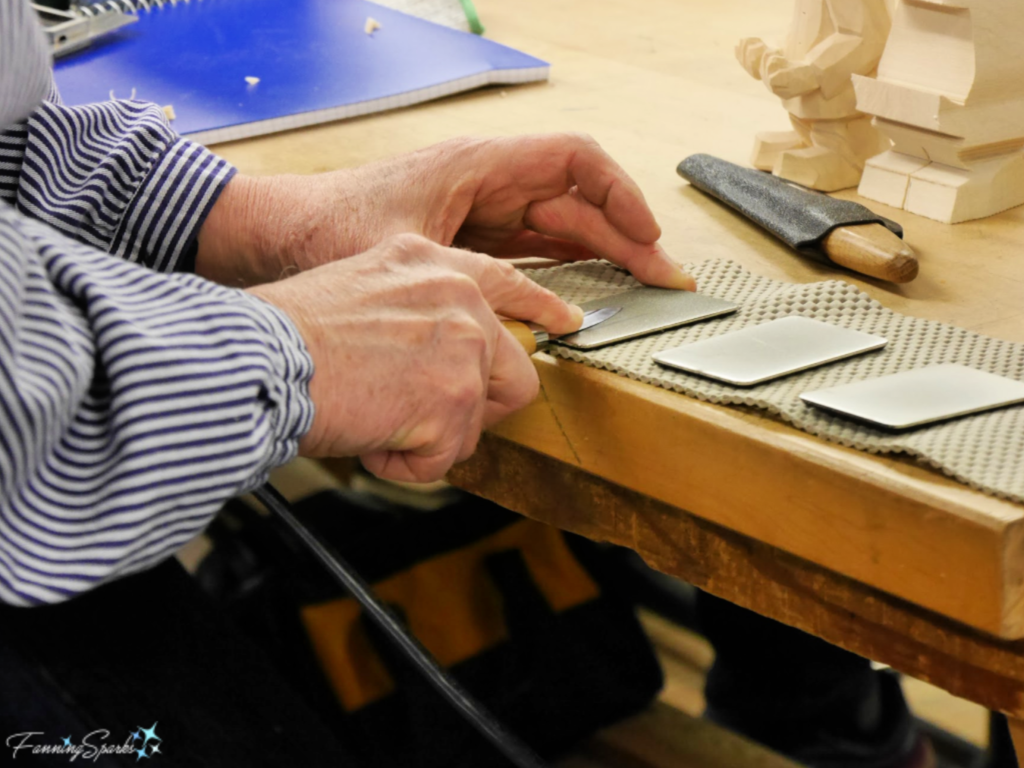
 Harley emphasized the importance of a sharp knife and demonstrated knife sharpening techniques. Here he is using a series of credit card-sized Dia-sharp sharpeners from DMT (Diamond Machine Technology).
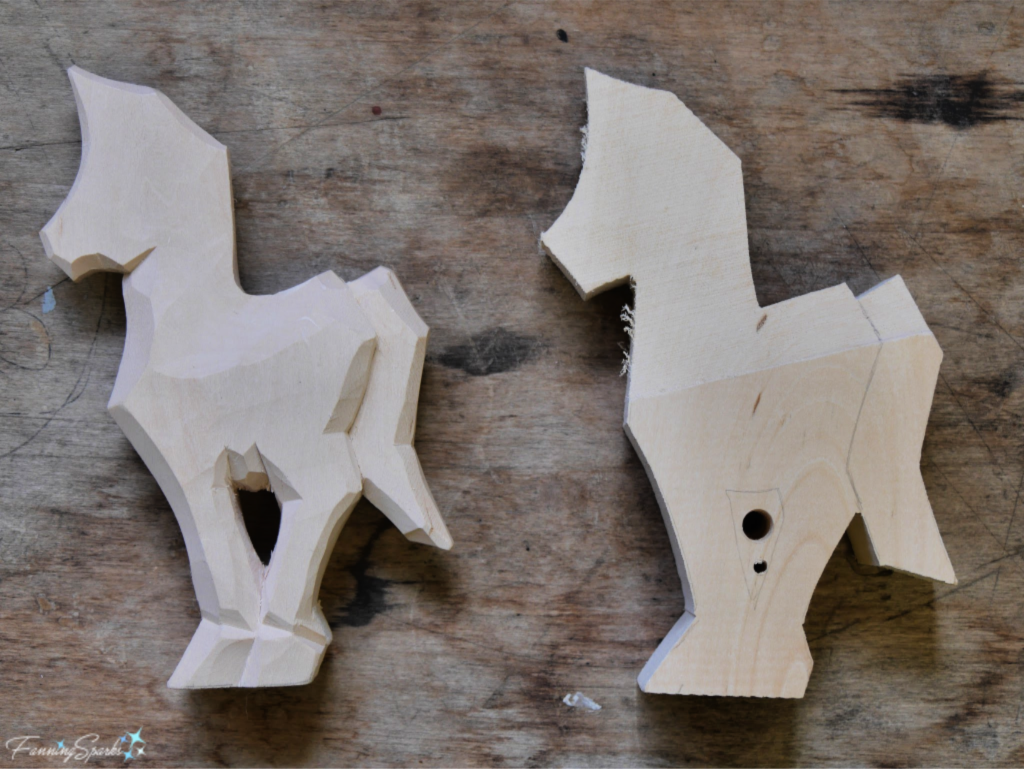
 I decided to tackle a horse figure next. Here’s the go by with my carving blank.
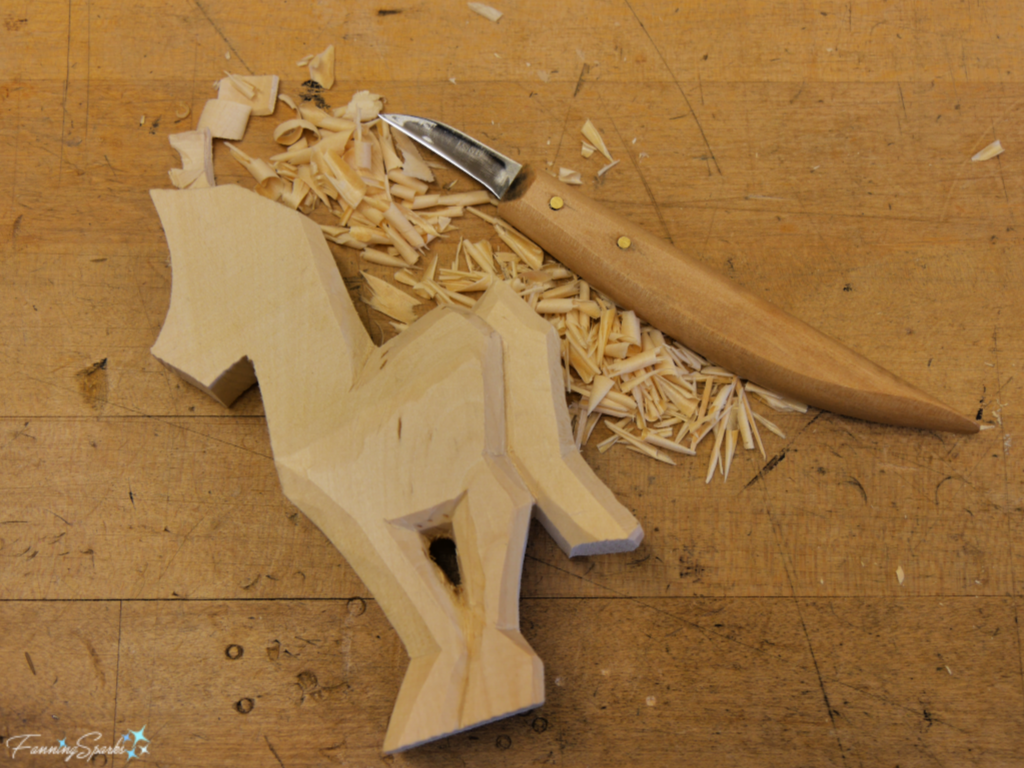
 This horse figure lends itself to the flat-plane style. I was pleased with my progress.
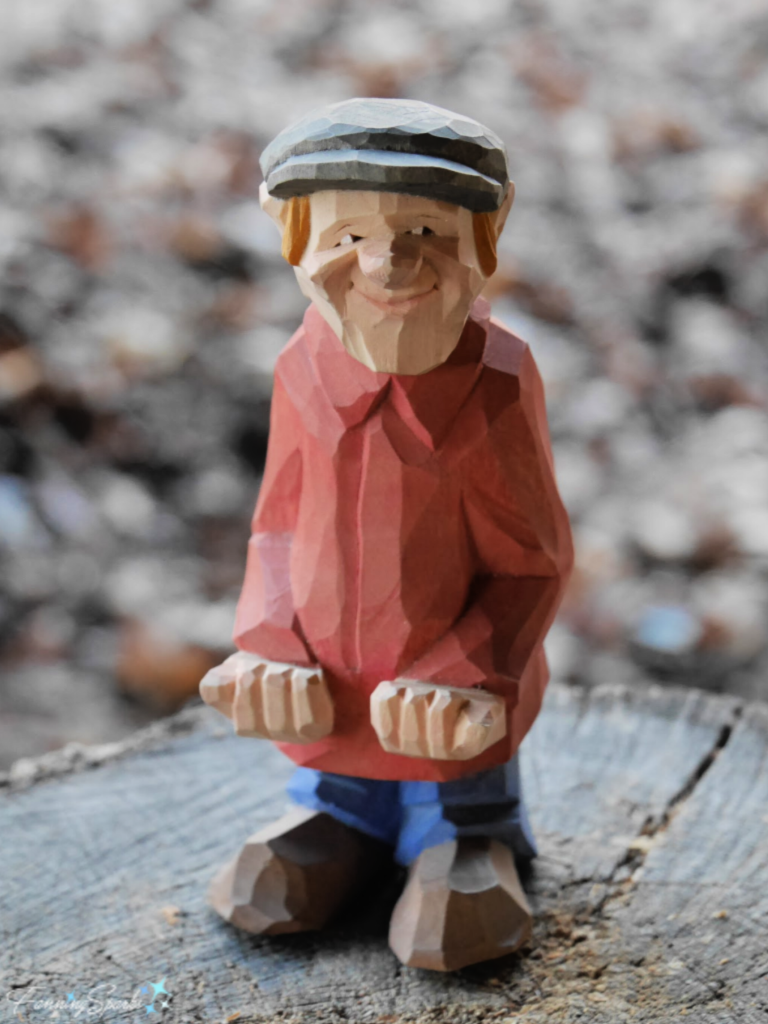
 Then for my biggest carving challenge to date, I decided to take on a figure of a man designed to hold a sign. This is the go by model carved by Harley.
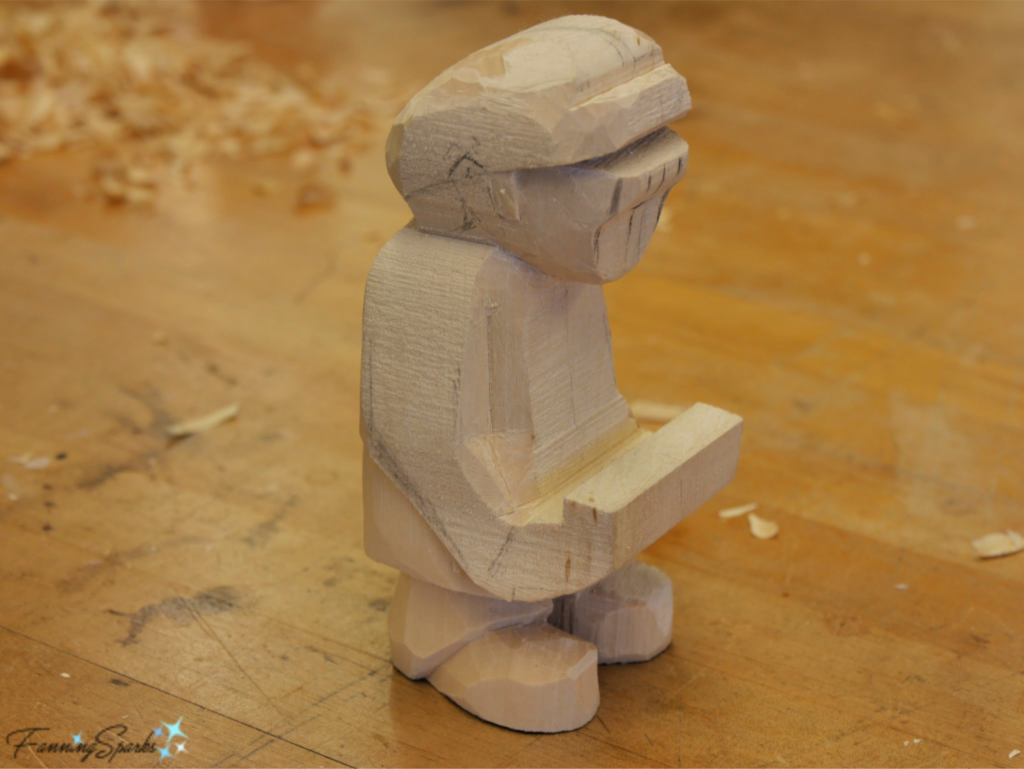
 Here’s my carving blank with the first section carved out around his left shoe.
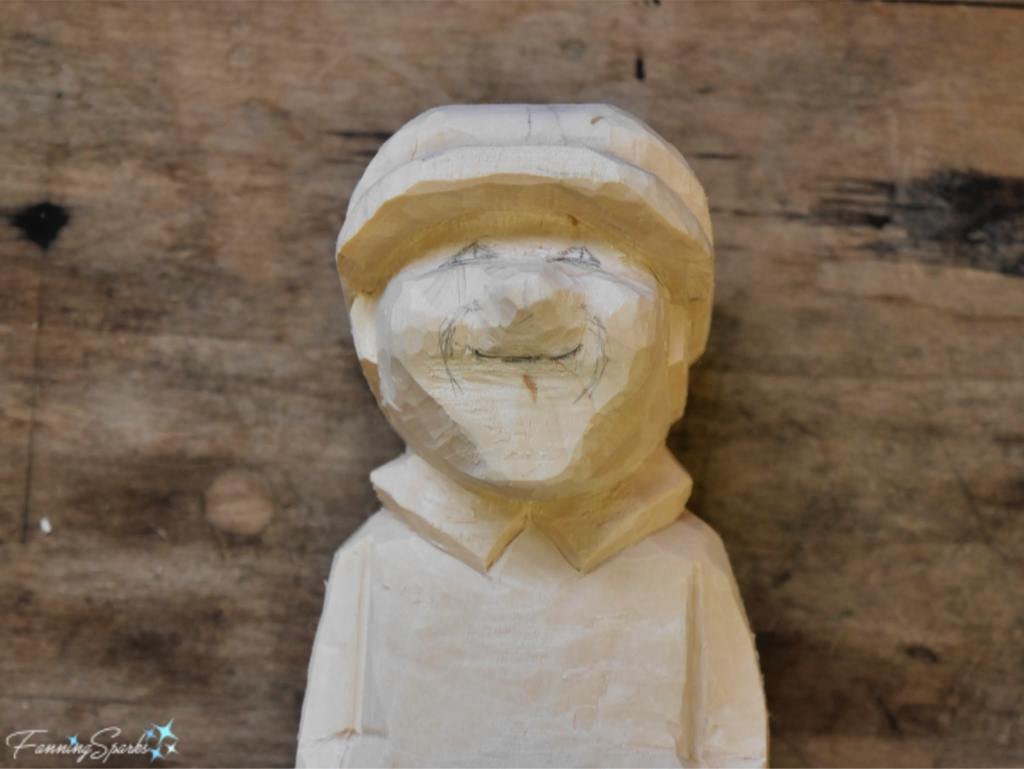
 I worked on this figure for several days with lots of assistance from Harley and Frank. In the below photo, I’m about to tackle the face. One lesson I learned is the importance of marking your cuts. A pencil is indeed a critical tool for woodcarving.
 Although I decided to leave my figure natural, we learned how to paint and finish our pieces. Harley thins water-based acrylics to paint his carvings.
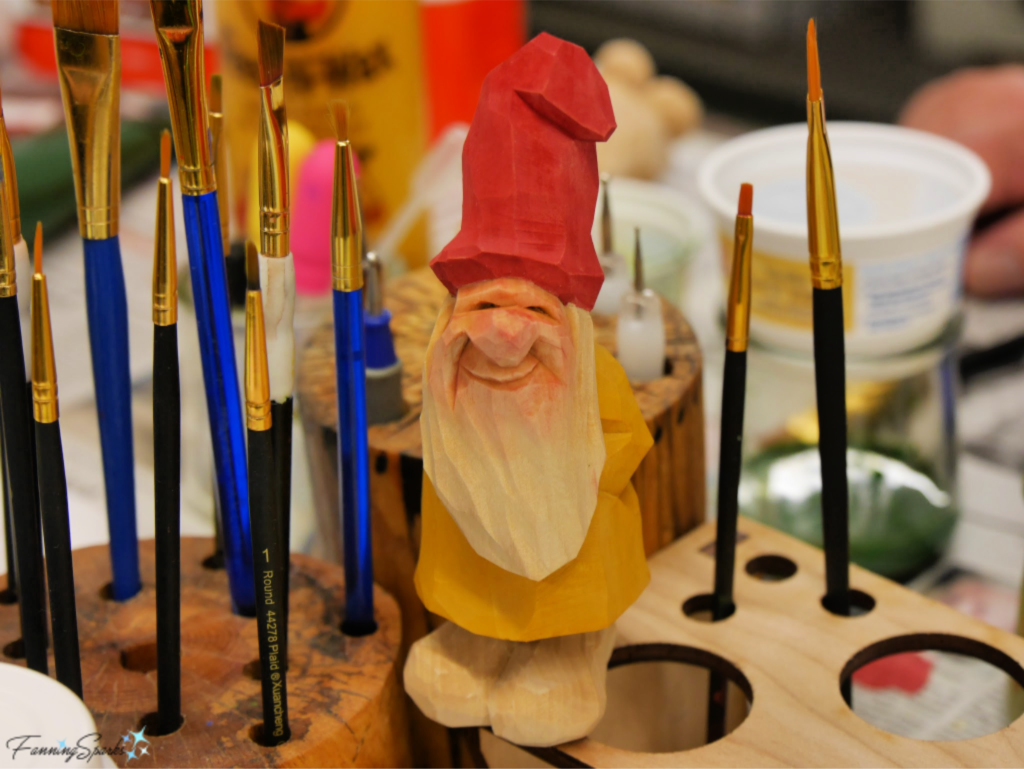 Then he finishes them with a matte finish wax such as Watco Satin Wax.
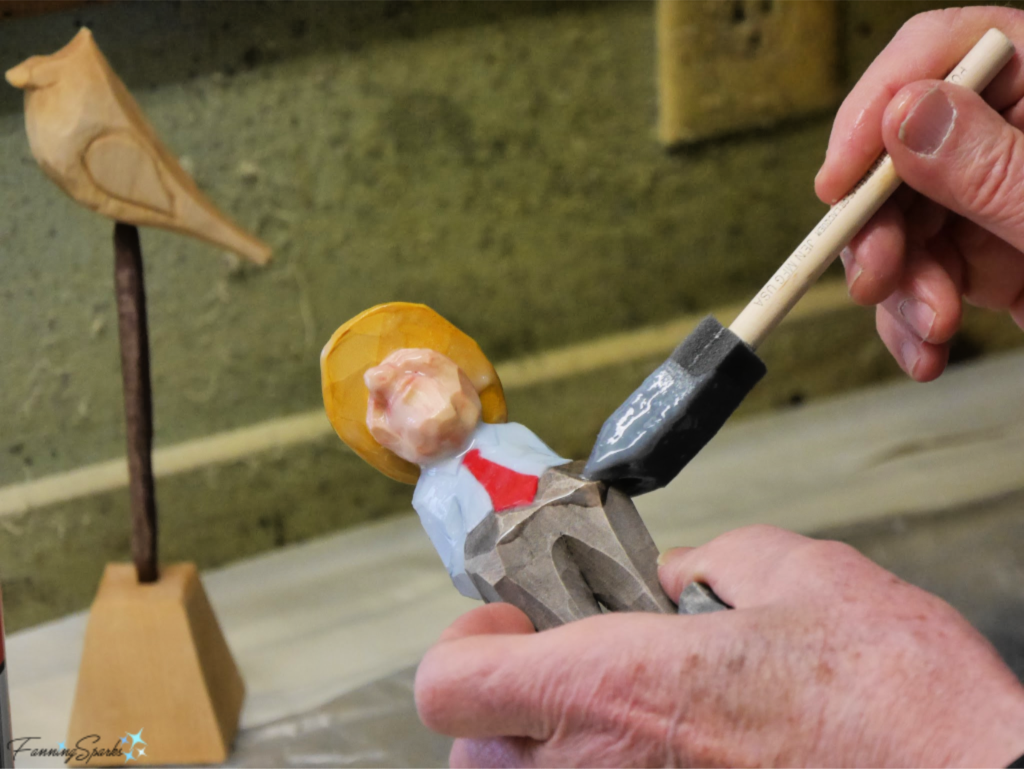 I chose the sign holder figure because it’s functional. But as I looked for the perfect spot to place it in my home, I realized it’s so much more than just a sign holder-it’s a delightful reminder of the joy of creating and wonderful days spent carving with Harley, Frank and my new carving friends.
More Info
You can see Harley Refsal in action in this Craft in America video: Wood carver Harley Refsal & John C. Campbell Folk School from the December 2013 holiday episode.
Harley has authored several books, which are available online, including:
. Whittling Little Folk
. Carving Flat-Plane Style Caricatures
. Scandinavian Figure Carving: From the Viking Era to Doderhultarn, Trygg and Modern Carvers.
In addition to teaching at the John C Campbell Folk School, Harley teaches at the North House Folk School in Minnesota and the Vesterheim Folk Art School in Iowa.
I participated in the Work Study Program at the John C Campbell Folk School. You can learn more about the program in my post First Impressions as a Work Study Student. Or check out the following posts to learn about the Folk School experience.
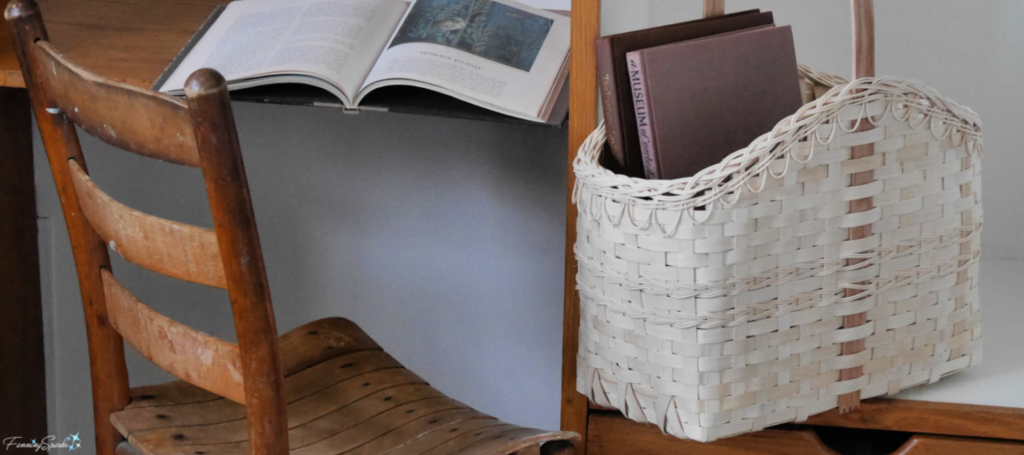
. Weave a Market Basket
. Artistic Details Around Campus
. Carving in Brasstown
. Getting Started with Woodcarving
. Work Study Program FAQ
. From Sheep to Shawl.
You can learn more on the John C Campbell Folk School website, their Facebook page or Instagram account. Information about the Work Study program is found here.
Today’s Takeaways
1. Consider trying a “high touch, low tech” activity such as woodcarving to offset today’s technology driven world.
2. Explore different styles within a chosen craft or medium.
3. When you find an instructor you admire, support his/her efforts by spreading the word, purchasing their pieces, attending their classes, and so on.

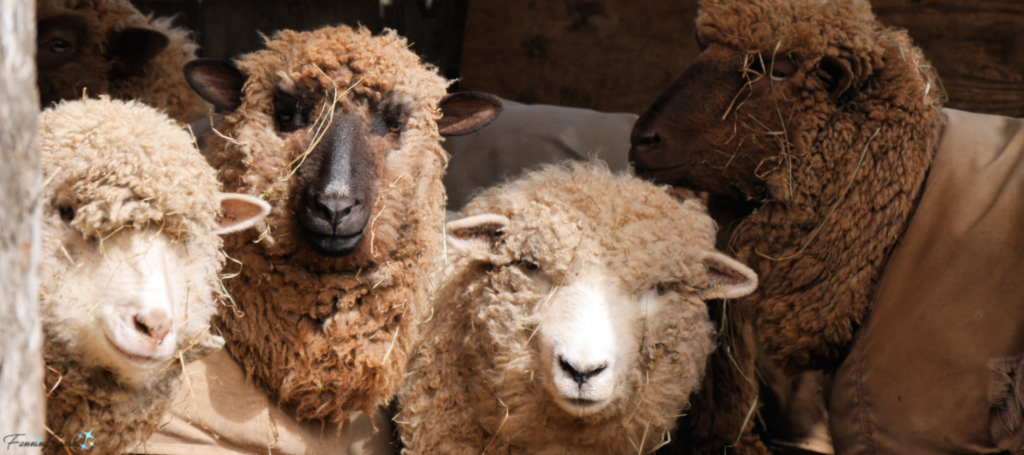
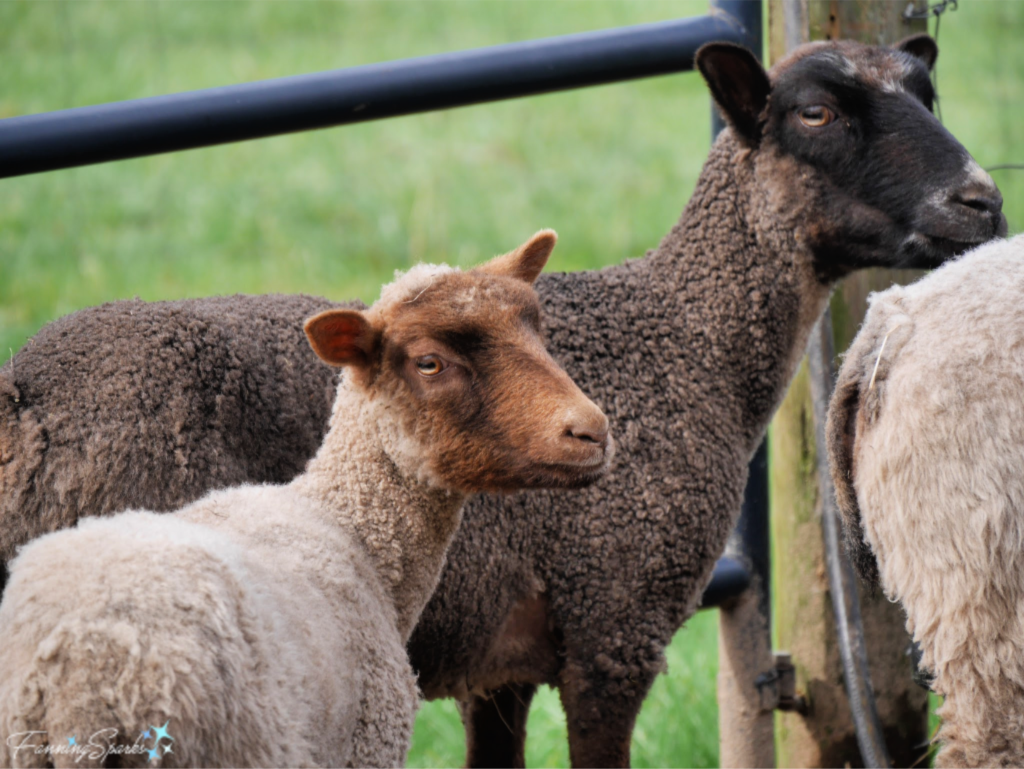
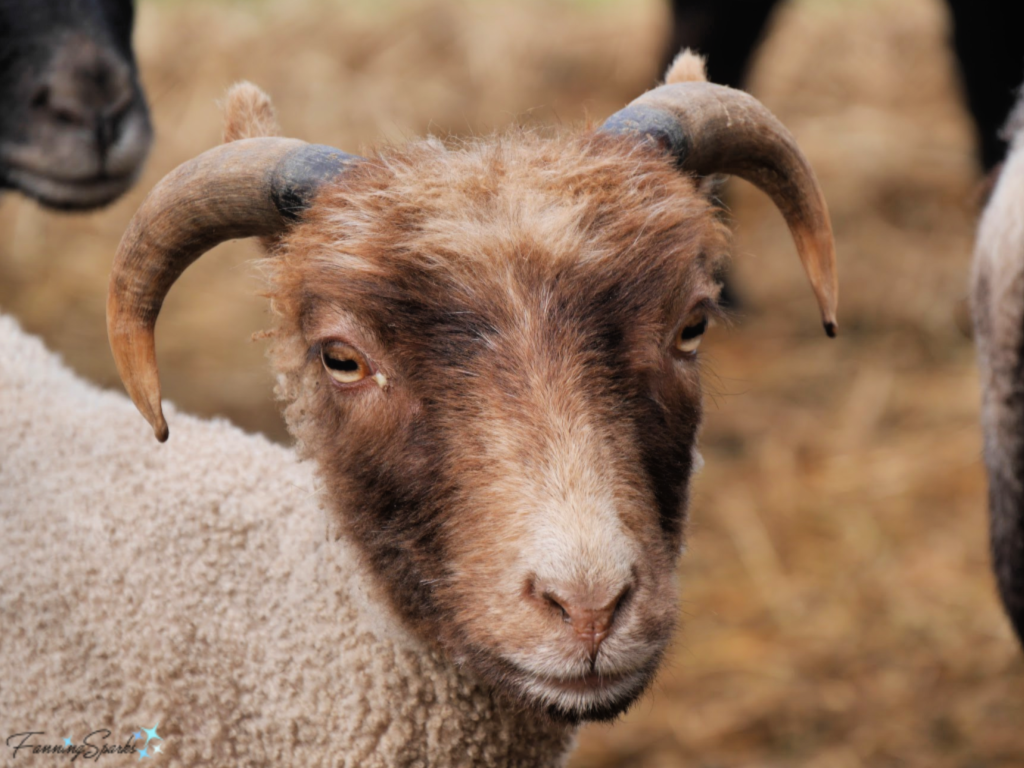
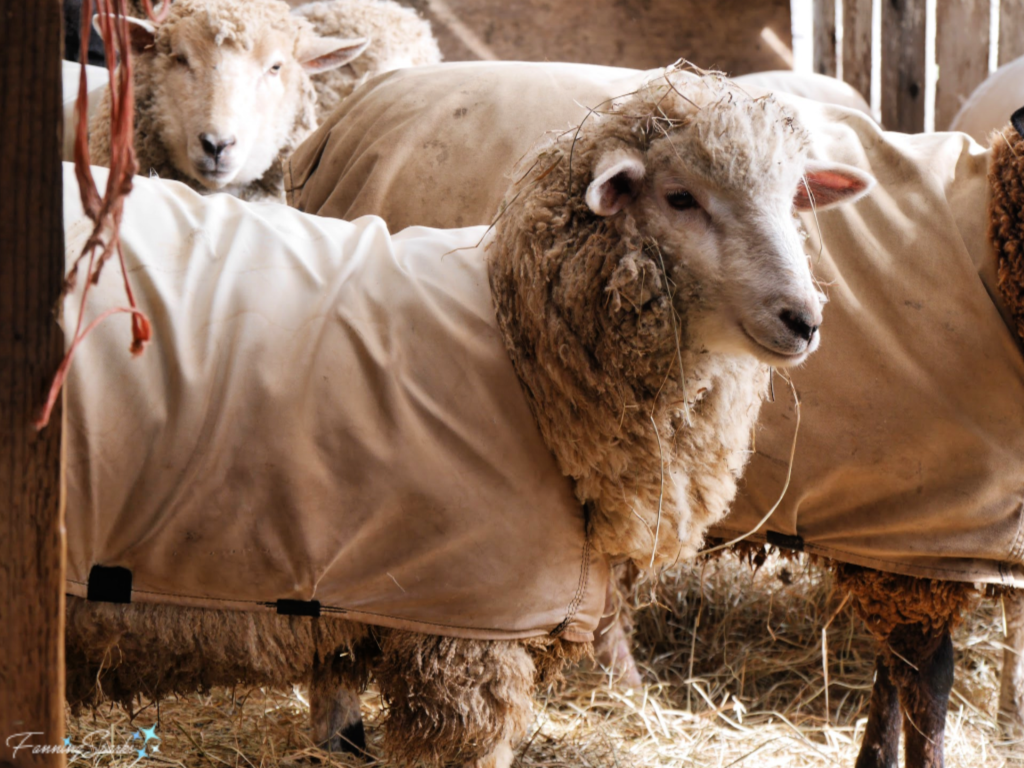 We capped off the week with a visit to Martha’s sheep farm. There we saw two different herds of sheep, the Corriedales and Romneys; and the Shetland sheep. Seeing the sheep “up close and personal” definitely brought the information to life.
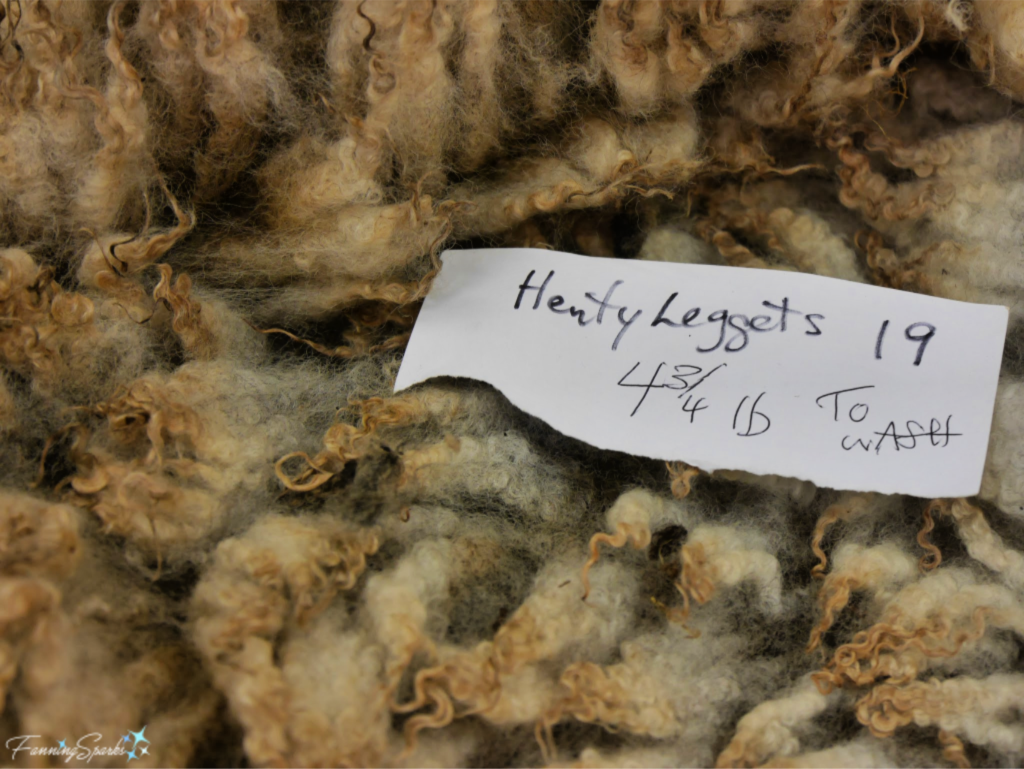 We washed the fleece and hung it to dry overnight.
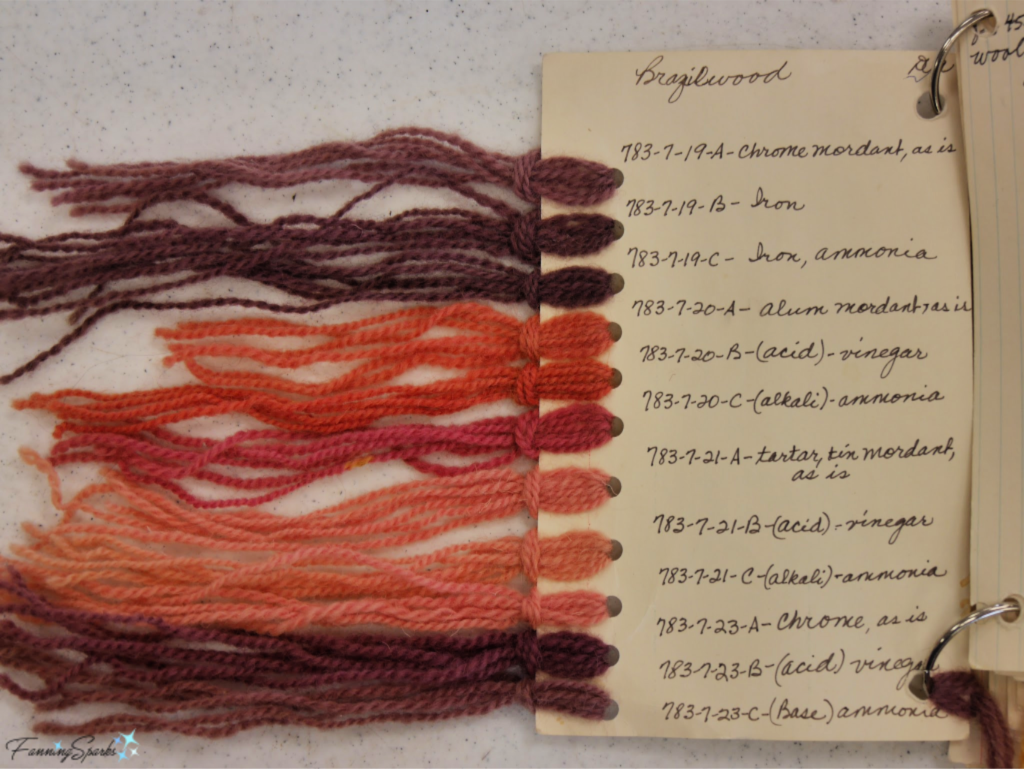
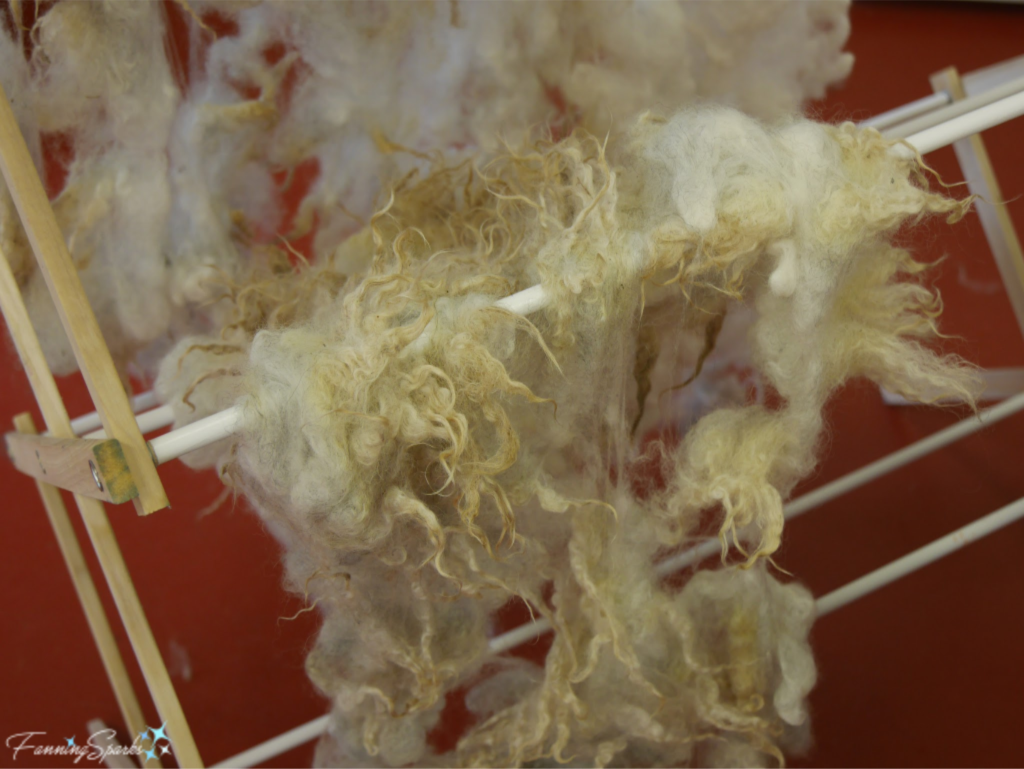 The next day, we skirted the fleece meaning we removed all the nasty bits and vegetable contamination. Then it was time to start discussing natural dyeing… one of my favorite subjects! First we mordanted the wool with alum and cream of tartar to ensure the dyes would fix in the wool.
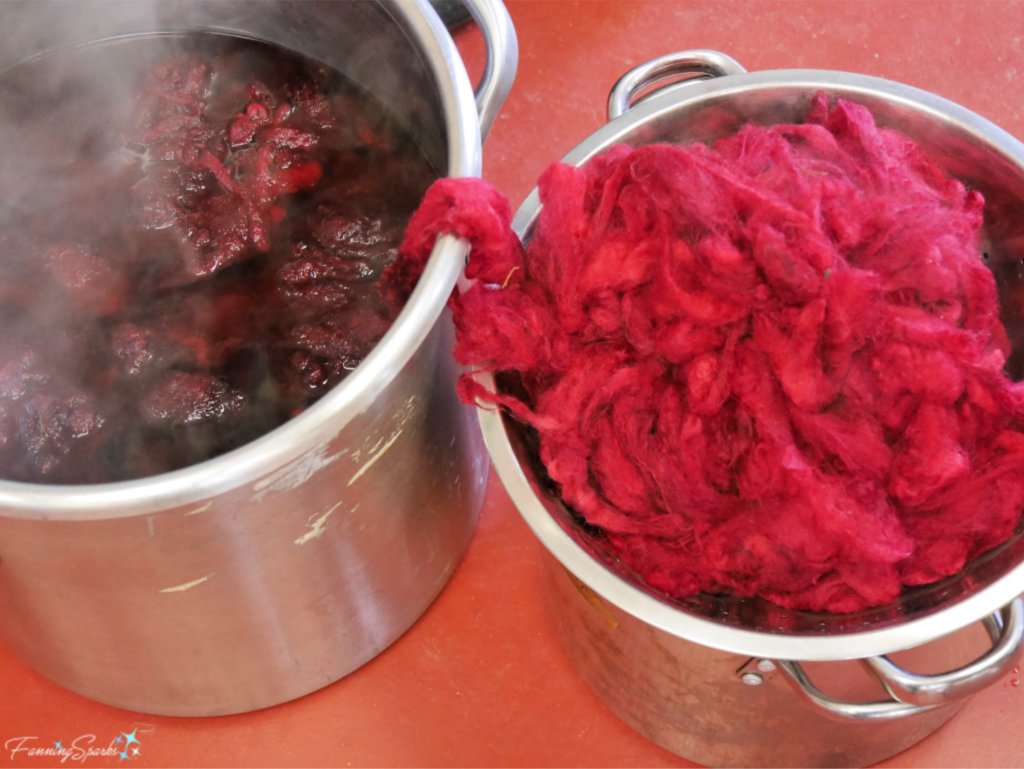
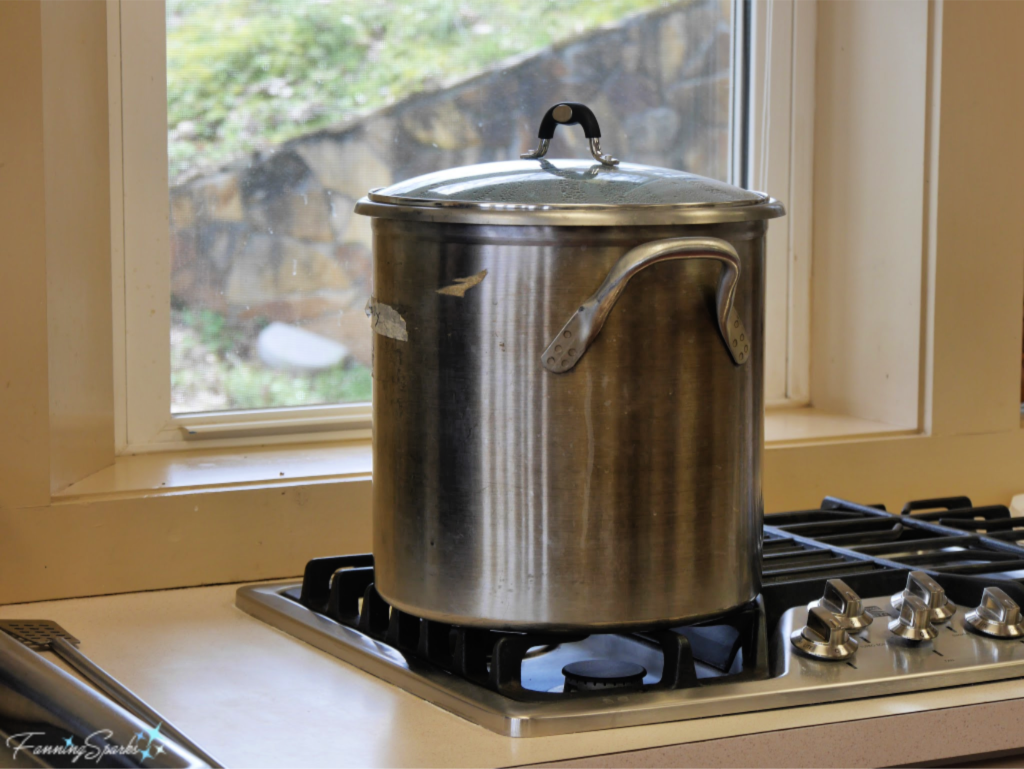 We started experimenting with various dyestuffs. We filled separate dye pots with marigolds, onion skins and cochineal. Then we doubled our options by adding iron or overdyeing. We were pleasantly surprised every time wool was pulled out of a dye pot. The below dye is cochineal‒a natural red dye prepared from the dried bodies of the cochineal insect.
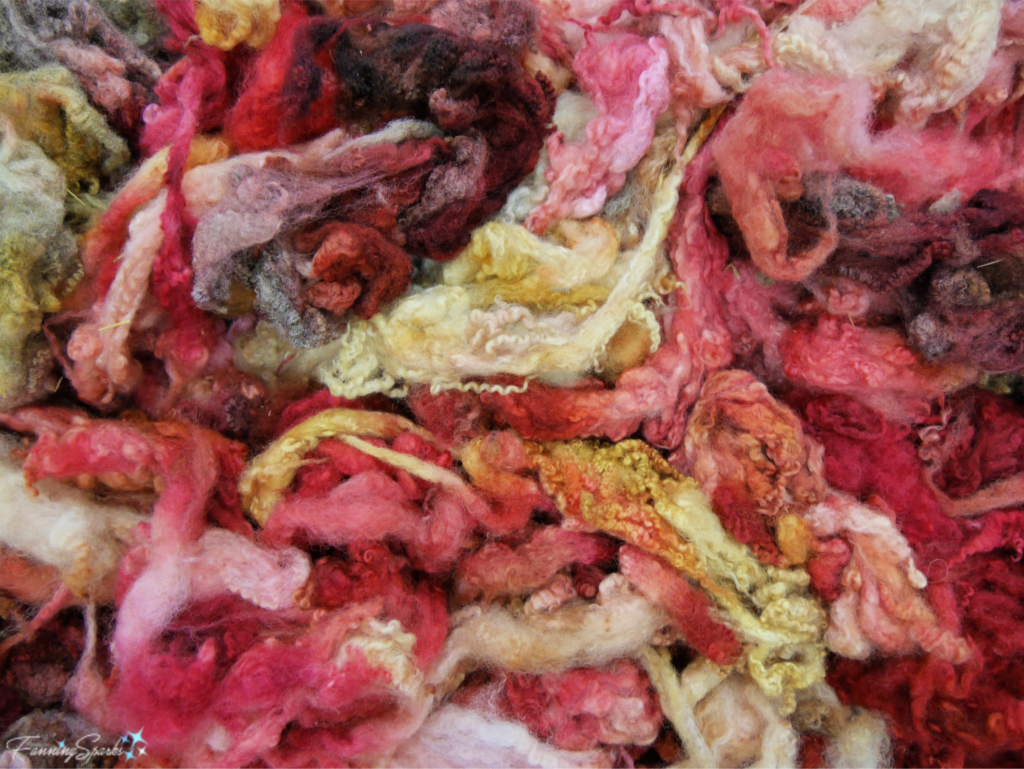
 We also made a “rainbow pot” by layering the various dyestuffs, cheesecloth, and wool. Here’s how that wool turned out. Isn’t it pretty?
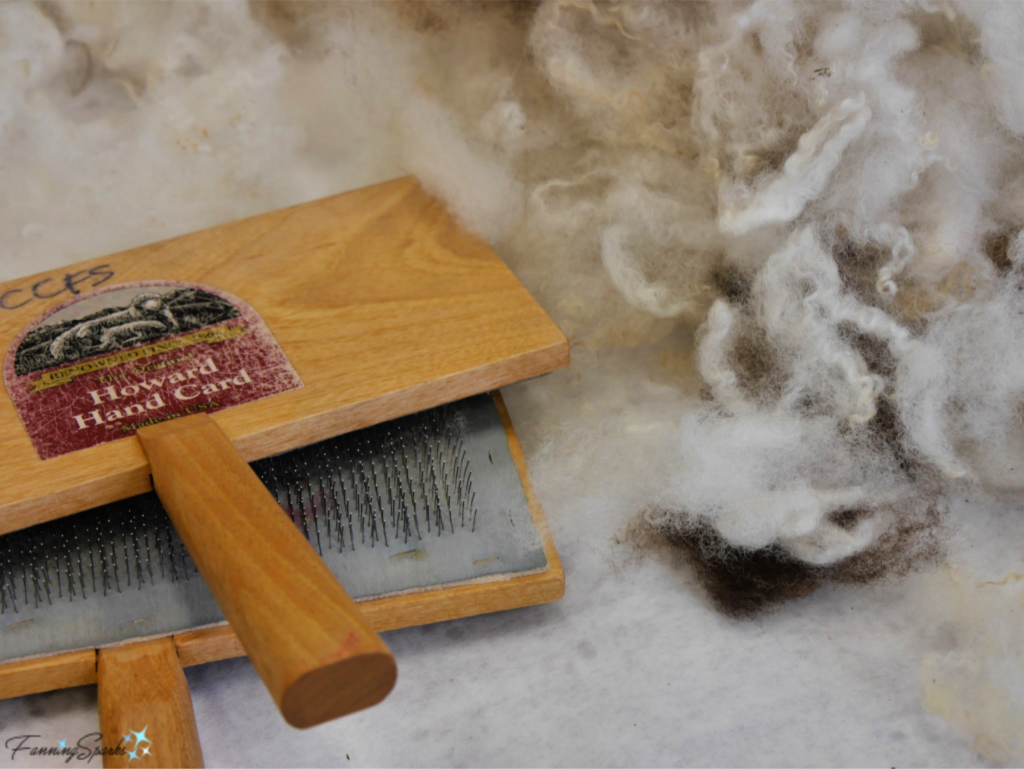
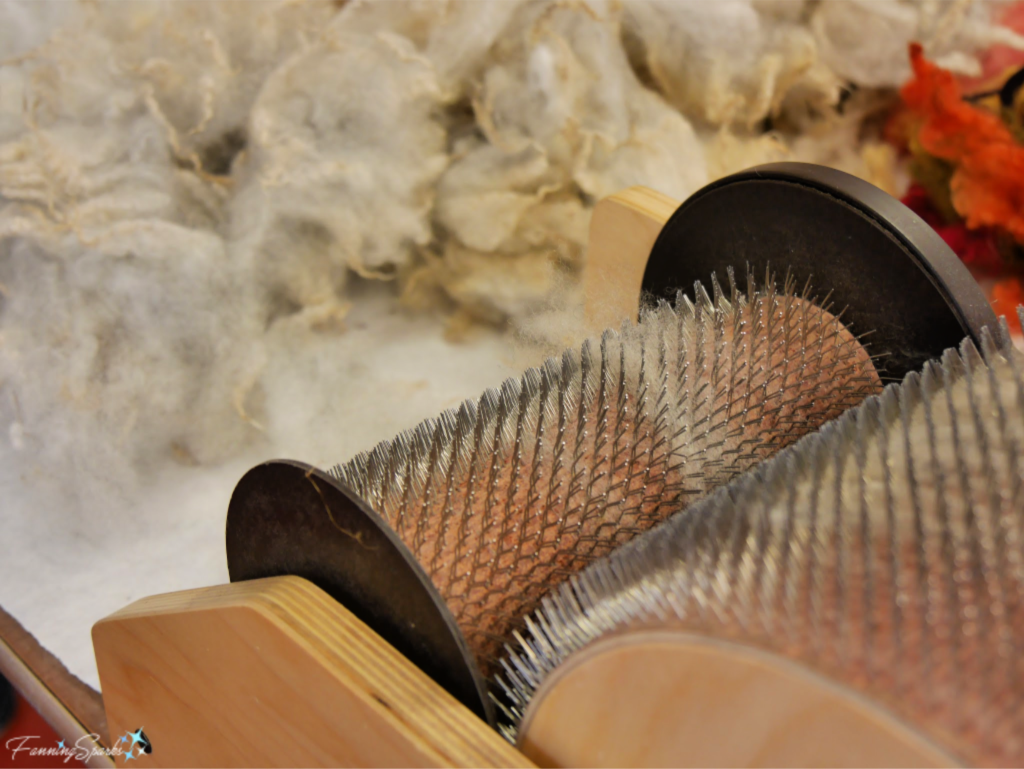
 As our dyed wool dried, we shifted back to preparing the wool. We learned to card wool, first with hand carders then with a drum carder.
 As you might expect, the drum carder was much faster and easier.
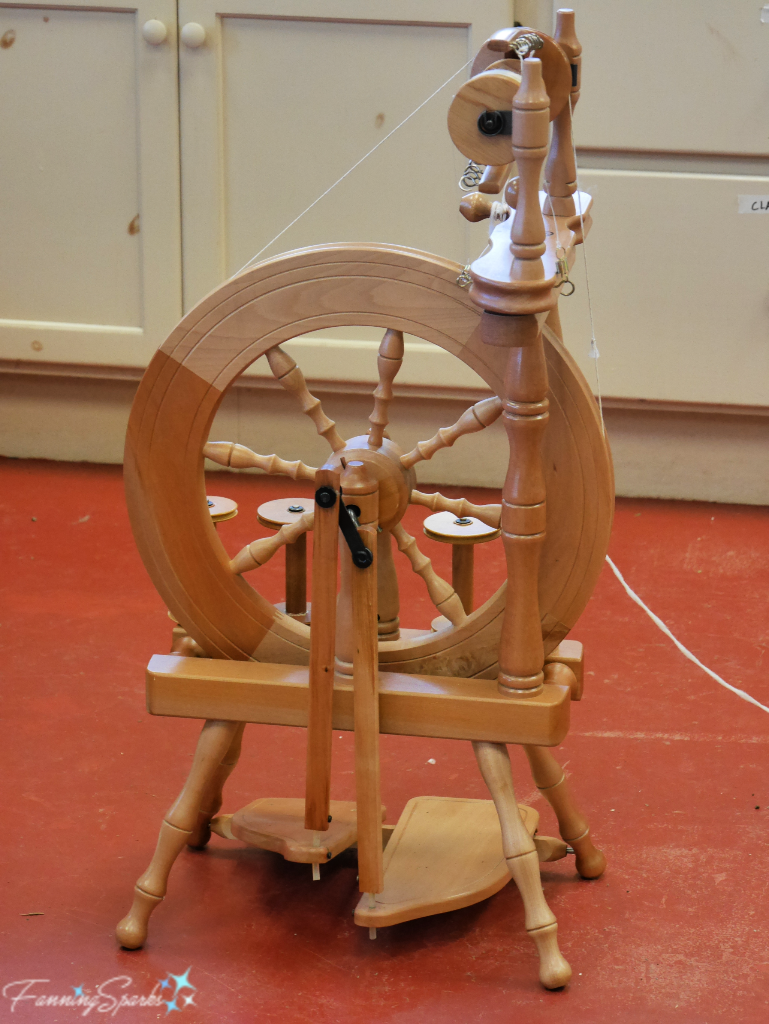
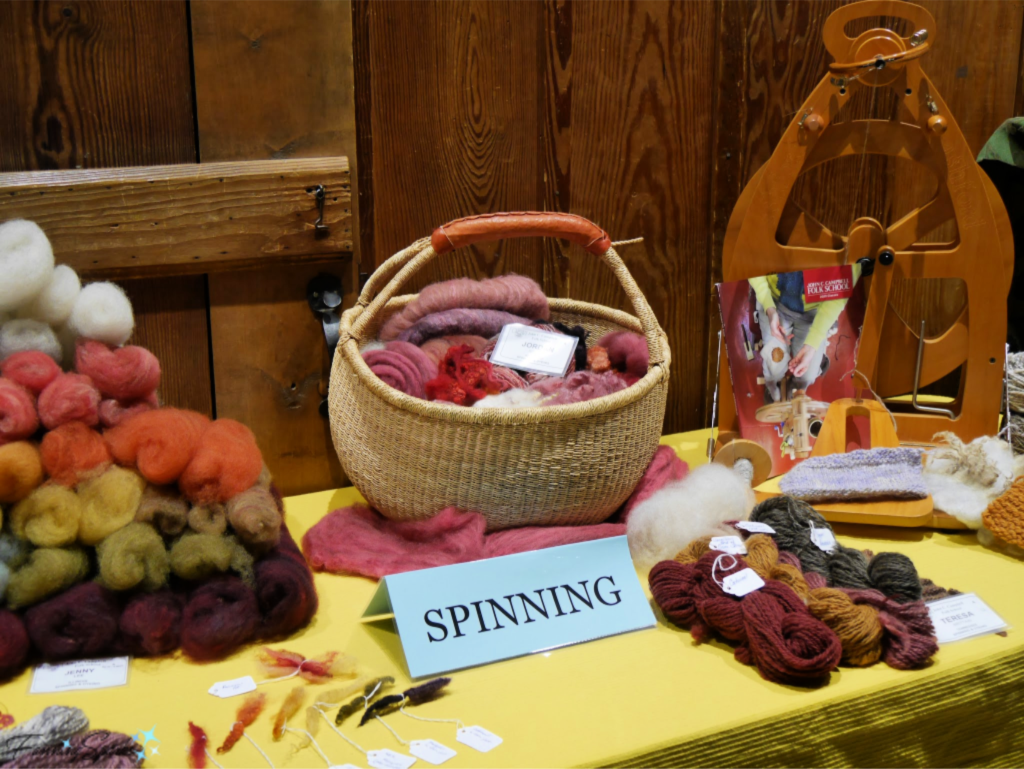
 We did a bit of combing. But the bulk of our time was spent learning to spin. Here’s the spinning wheel I attempted to use.
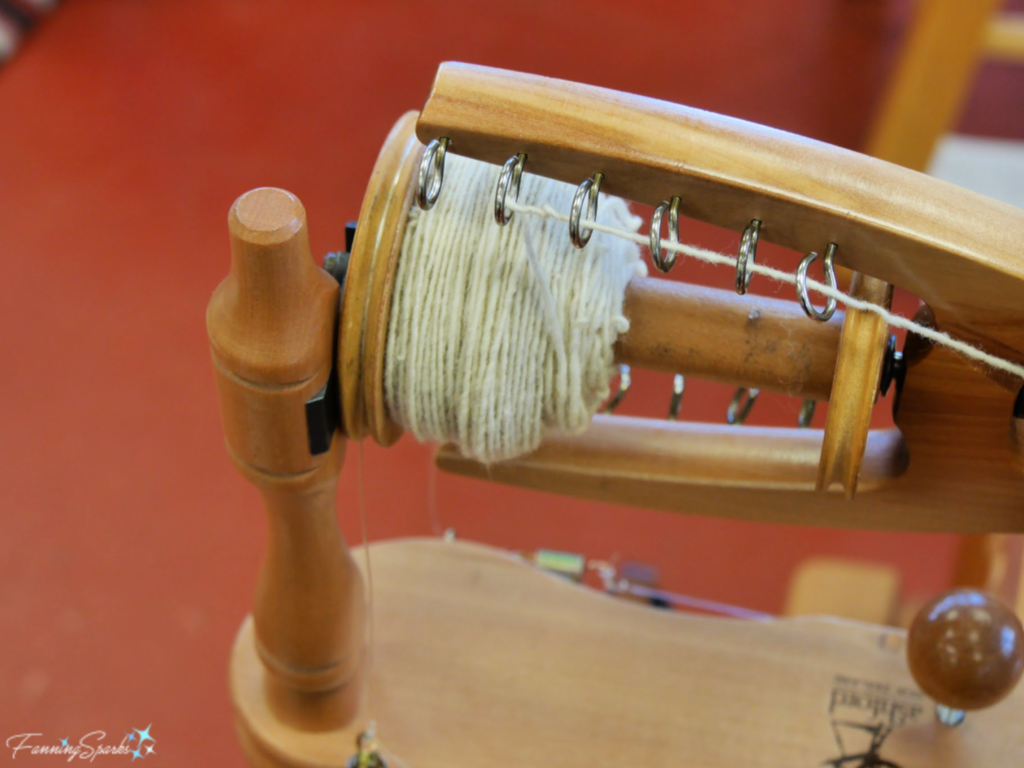 I should add the rest of the class did catch on and lots of beautiful yarn was spun. Here’s the class display for the Student Exhibit at the end of the week.
 I learned a variety of new skills and have a new appreciation for the journey wool makes from sheep to shawl. Special thanks to Martha Owen and my fellow students for a great week!
 Q7. Do classes have to be at a specific time?
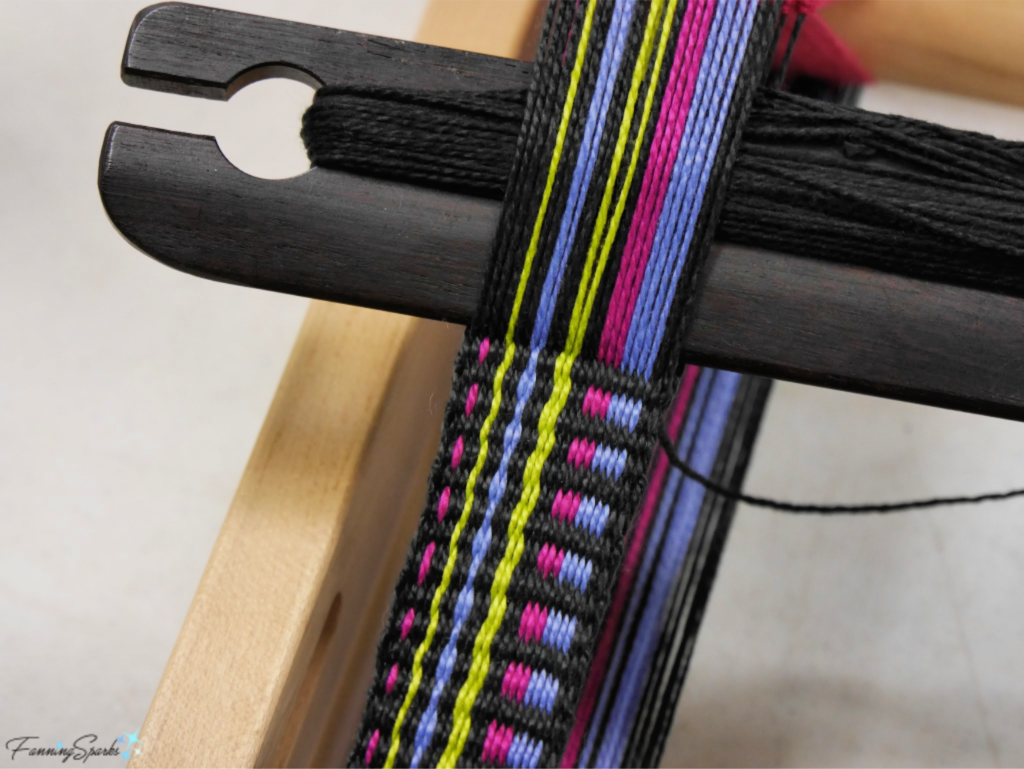
 Here’s my in-progress strap in the Inkle Weaving class.
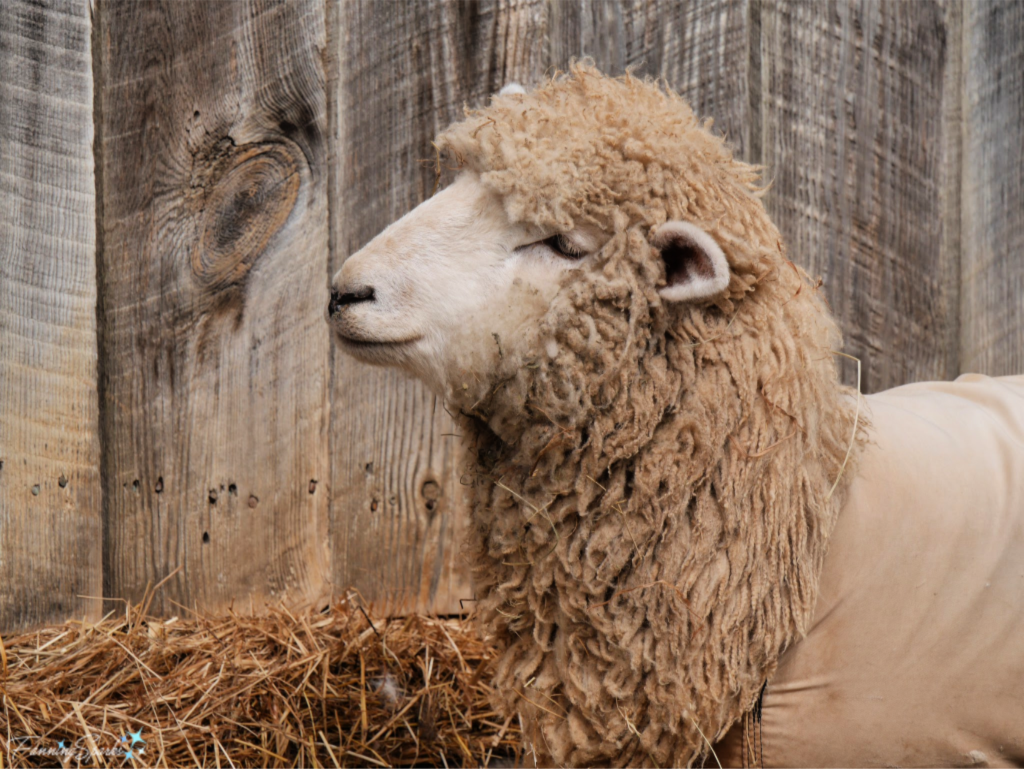
 Here is a young Shetland sheep on Martha Owen’s farm tour which was part of the Sheep to Shawl Spinning and Dyeing class.
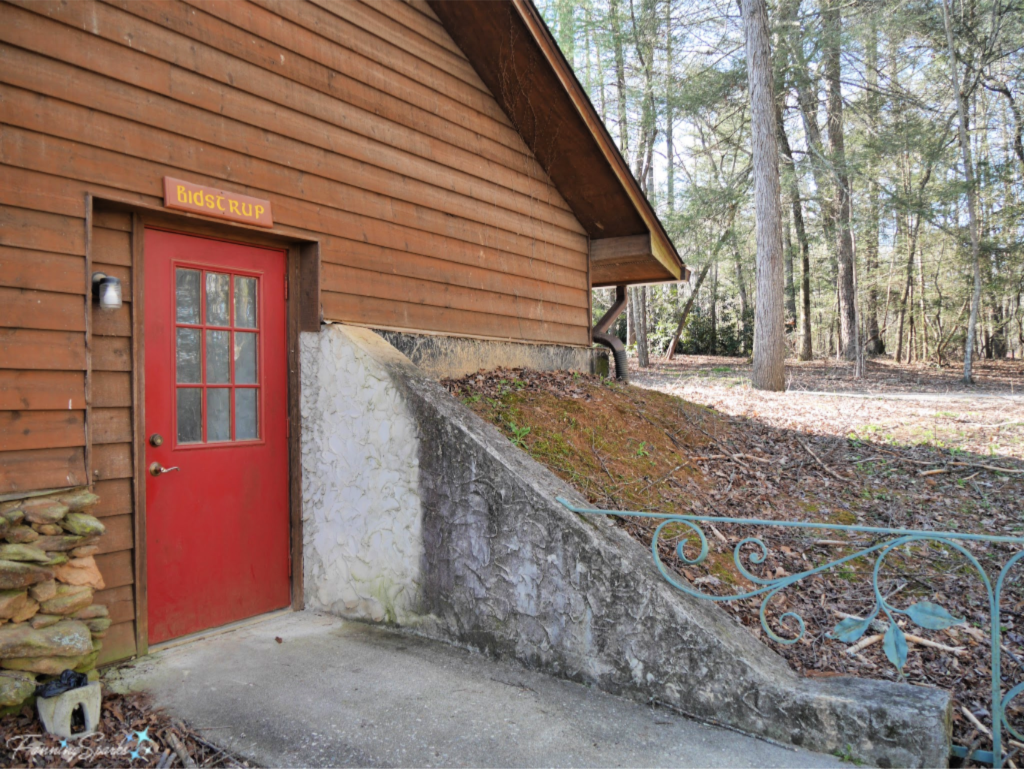 Q11. Do you have your own room?
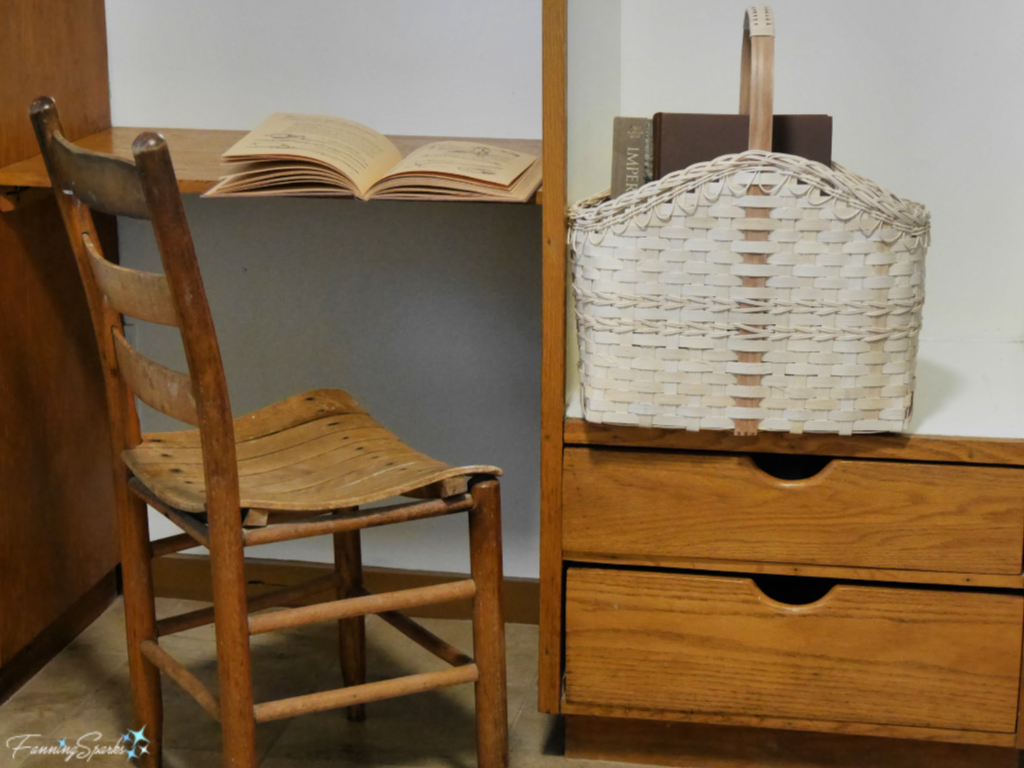 Q12. What is the work?
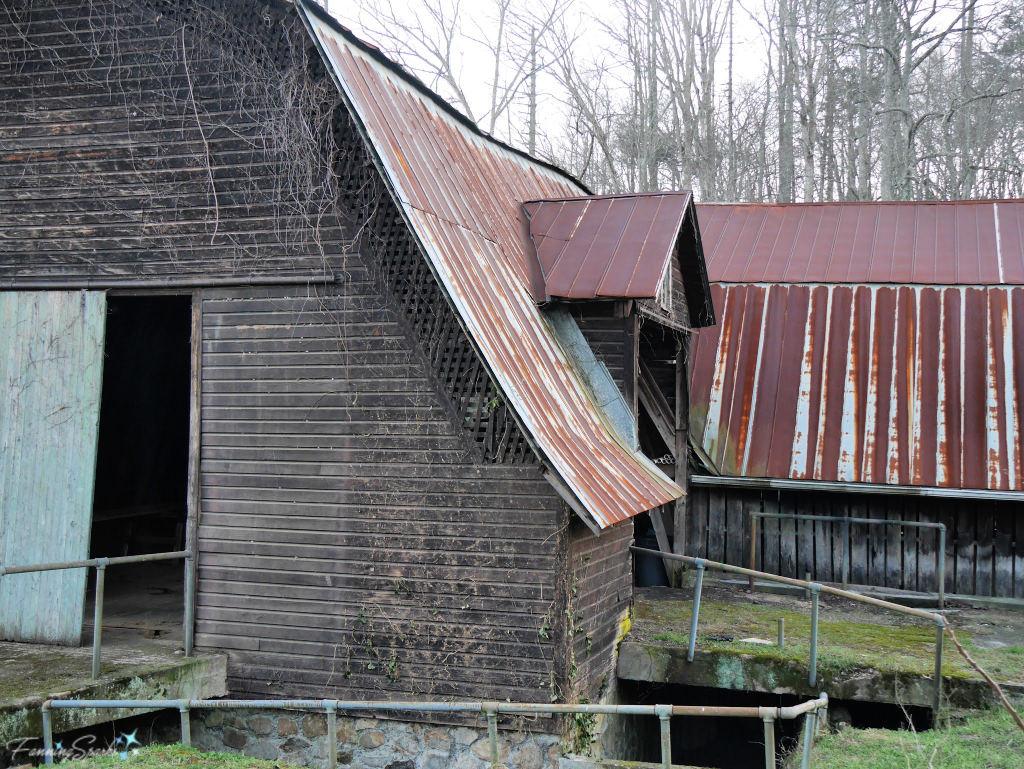
 Our team also had an unusual assignment to clean out the Big Barn beside the Blacksmith Studio. We had to remove and dispose of the debris that had been collected over the years.
 Q13. Is the work difficult?
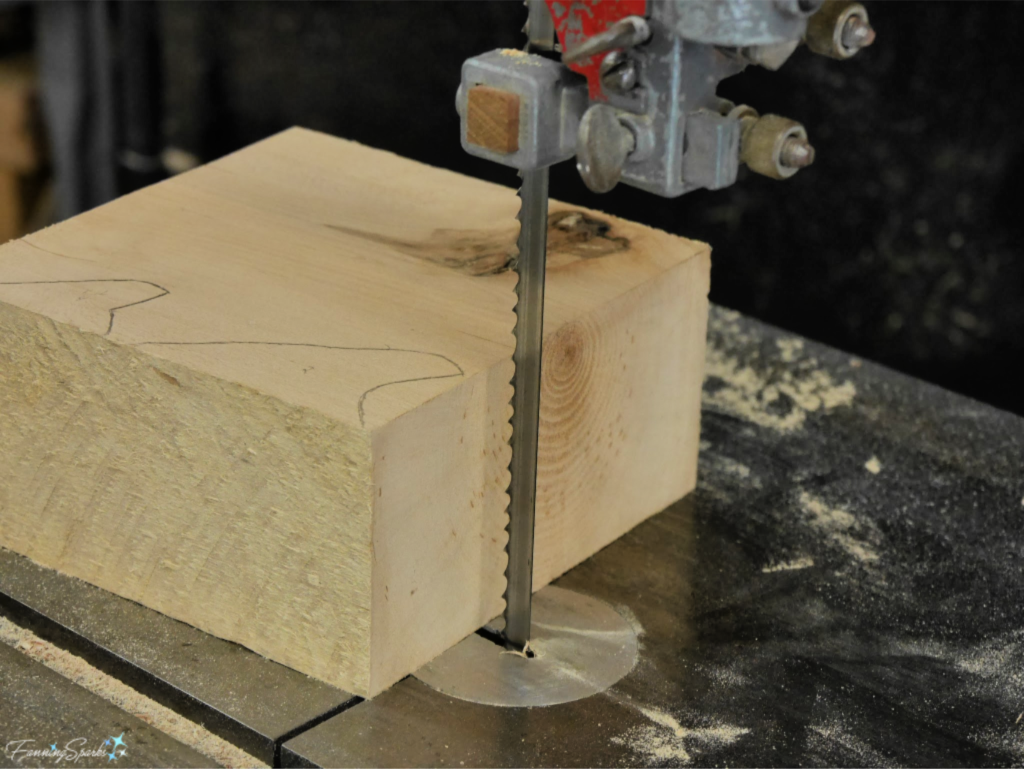
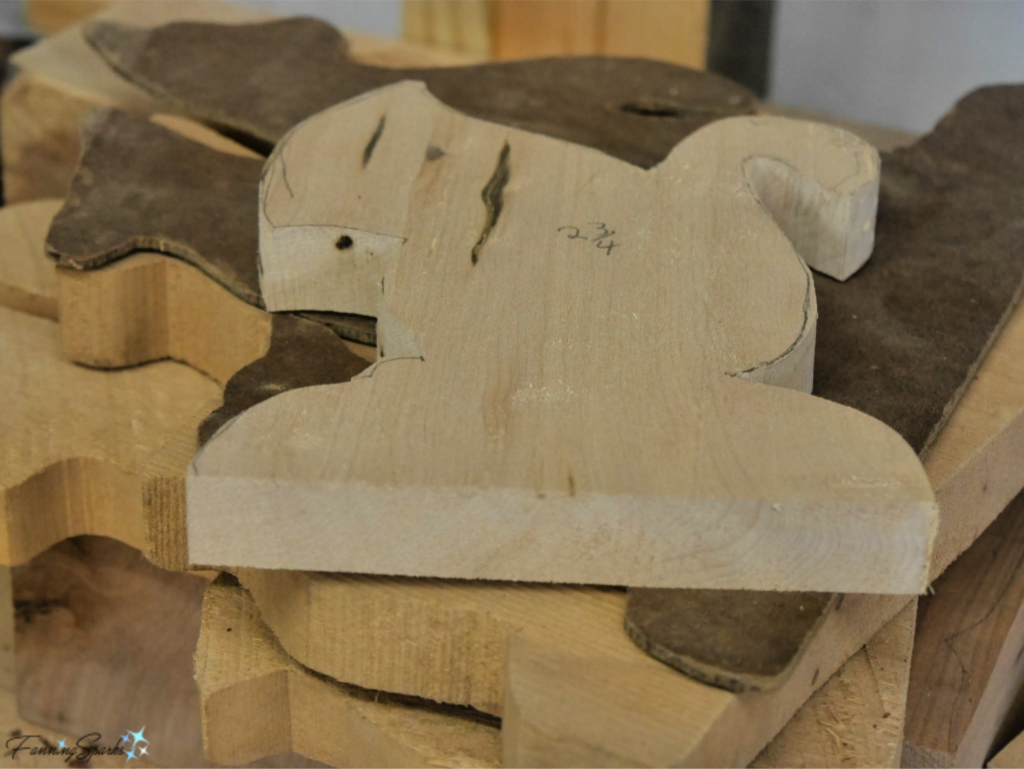 We use basswood because it is soft, has a fine grain and is easy to carve. The wood is light colored with a creamy tint. Richard uses a band saw to cut the basswood shapes.
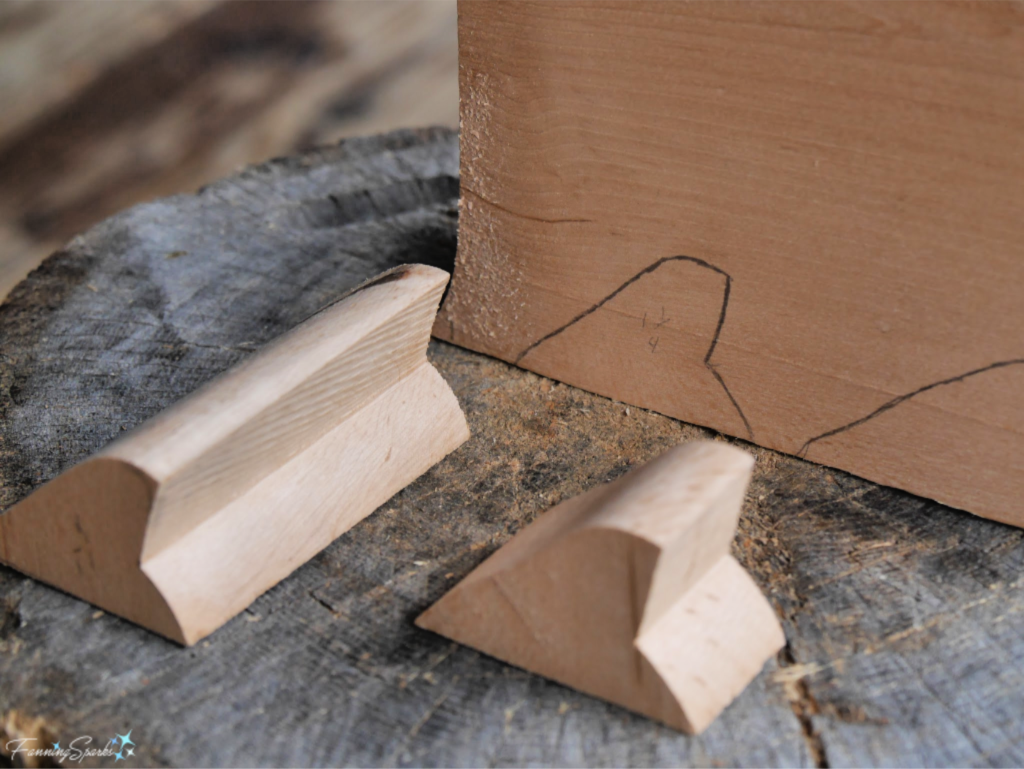
 Because he’s been doing this a long time, Richard has some short cuts to make this process as efficient as possible. For instance, he typically uses extra thick wood for the first cuts and then “slices off” several figures with the table saw. Pictured below is a roughed out shape (on the left) which will be sliced into 3 small frogs (on the right).
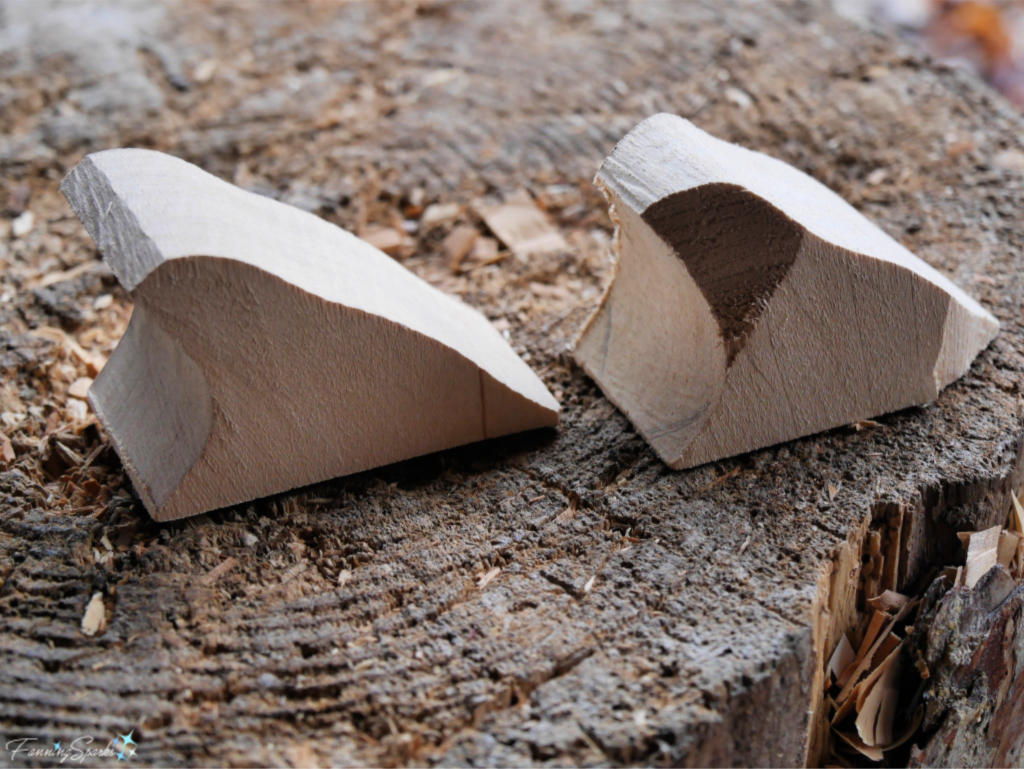
 Next a coping saw can be used to trim off sections of the wood. In the photo below, the roughed out frog on the left is the result of band and table saw cuts while the roughed out frog on the right has also been trimmed with the coping saw. This is the shape the woodcarvers will start carving.
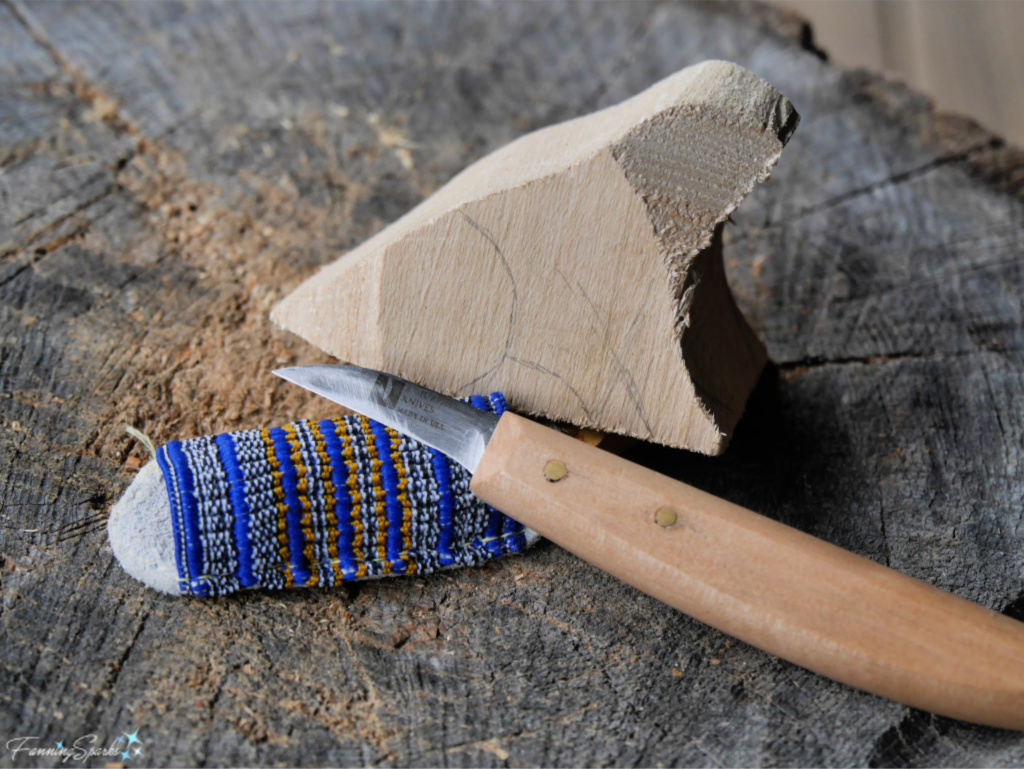
 Richard helps us get started by sketching out our cuts and carvings with a pencil. According to a Brief Introduction to Woodcarving by the Charlotte Woodcarvers (see More Info below): “A Sharp Pencil Is An Essential and Indispensable Woodcarving Tool! Before you start to carve, mark center line(s) on the wood. … Using a center line as a reference you can divide halves into quarters, quarters into eighths, etc. Pencil lines will serve as an aid in orienting or laying out the pattern for the carving and will help maintain symmetry. Also mark the outline of the design on the wood to show where you want to make stop-cuts, remove excess wood, or indicate intricate details that you want to carve. Pencil marks are temporary; knife cuts are permanent! You can make and erase pencil marks until you have laid out the figure or design you desire before making any permanent cuts.” The roughed out frog, in the below photo, has the initial sketched lines.
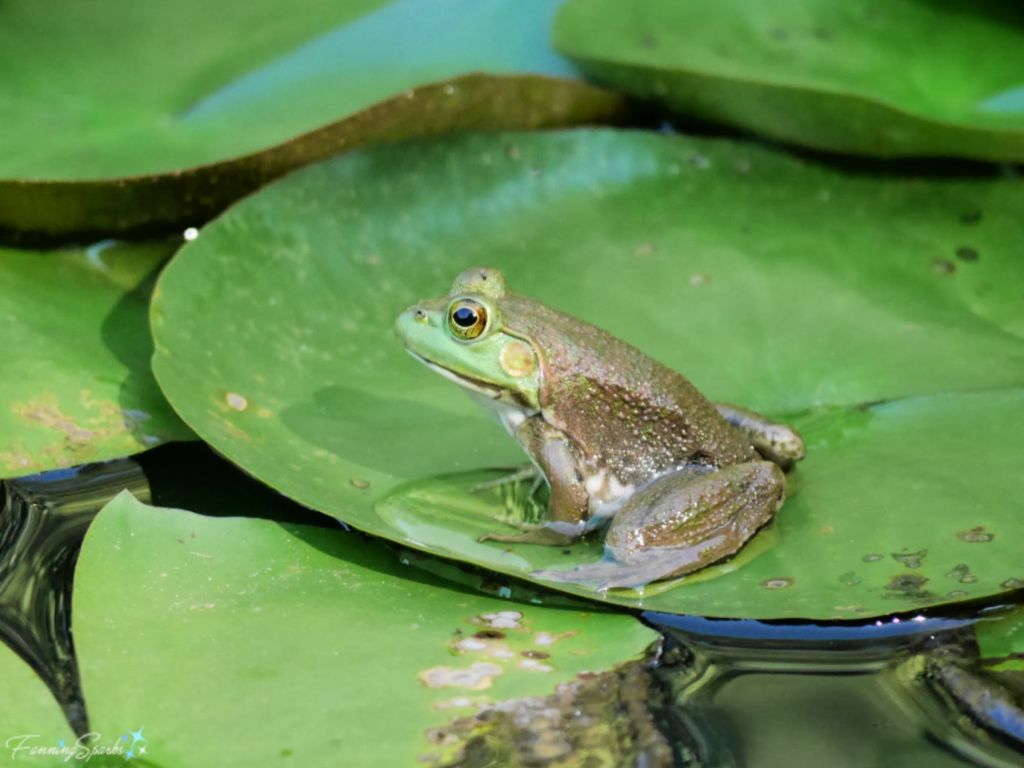
 Use the carving knife to slowly remove the unwanted wood. There are many techniques but beginners usually start with a simple straight push cut. This is where the magic happens as a (hopefully) recognizable shape emerges from the wood. It’s also the most challenging part. Richard advises us to look to real life for guidance. If you’re carving a cat, for instance, watch a cat, study its shape, and notice how it moves. Photographs or design sketches are also helpful to guide the carving. Richard intuitively knows how much to carve and where but someone like me might find a photo like this helpful.
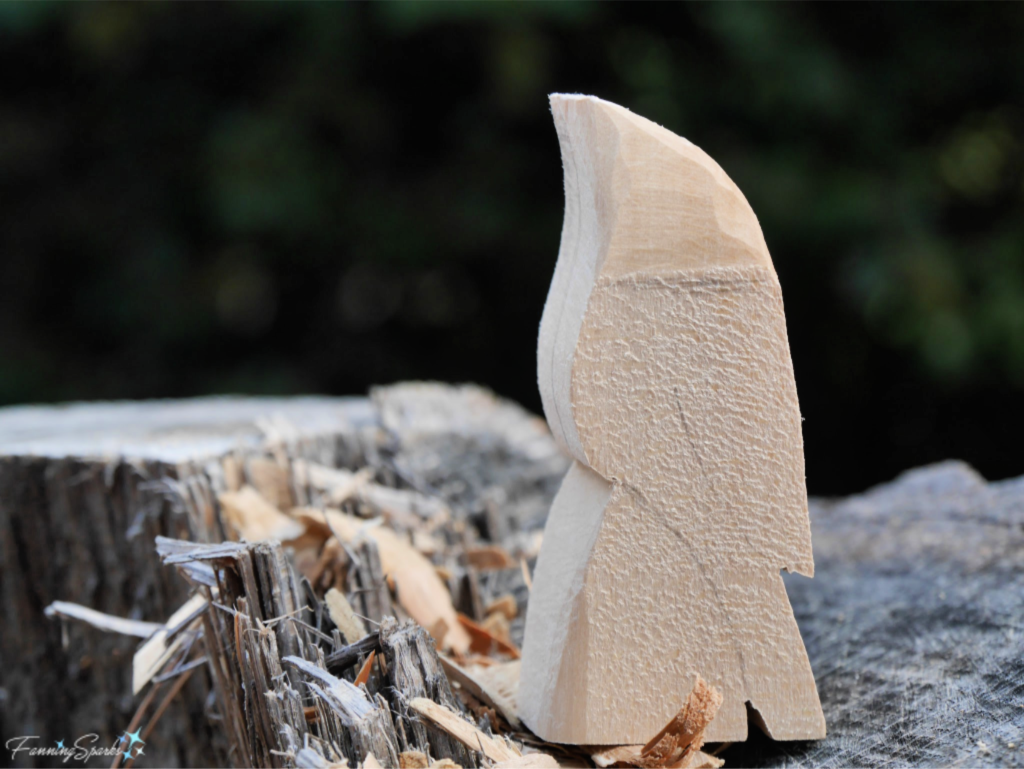
 I’m currently working on my second woodcarving. You can see where I’ve started shaping the bird’s head. I just take it slow, being careful to work with the grain and remove small sections at a time.
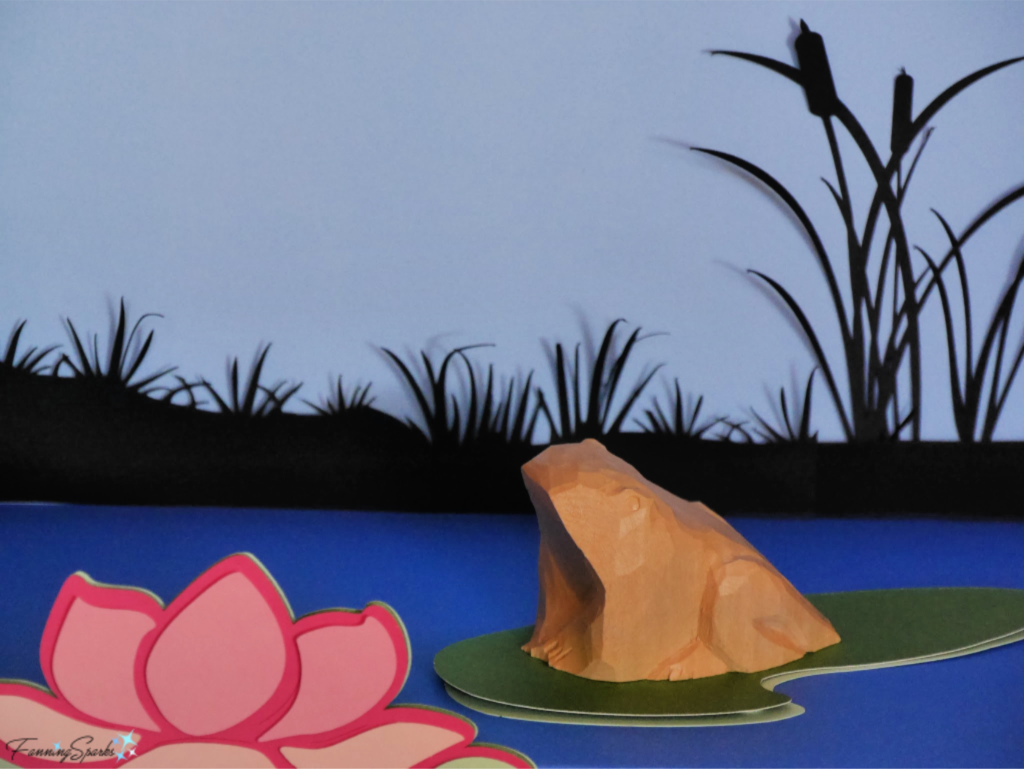
 Carving is done from rough to fine; finishing with the details such as eyes, faces, feathers, etc. These details, especially the faces, are often the most difficult to get right. Carving styles vary. Brasstown Carvers’ carvings are typically either rustic where the tool marks remain visible or sanded with a shiny smooth finish. Here’s Richard’s finished frog in a little shadow box setting I made for it.
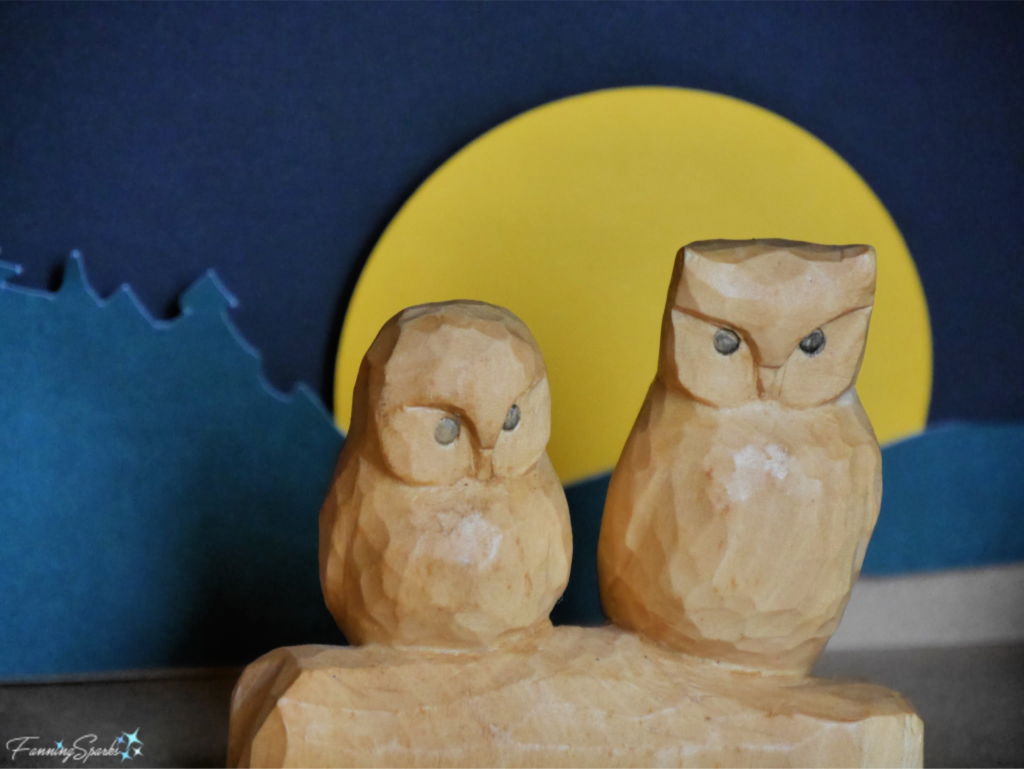
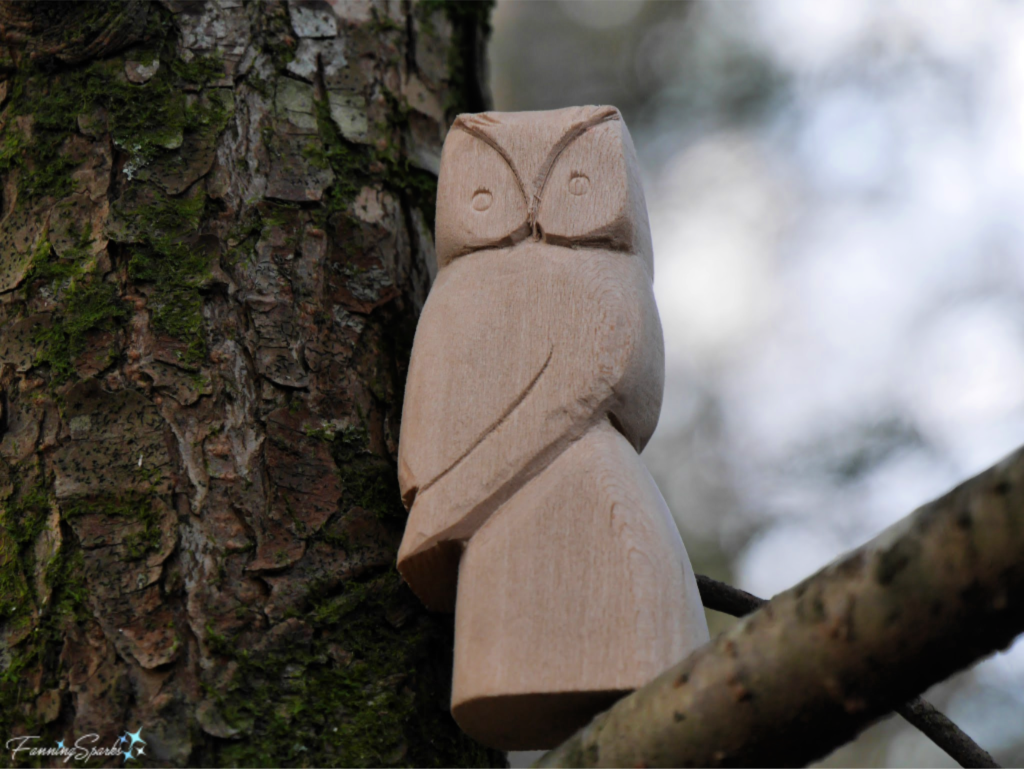
 I love the way woodcarvings look in shadow box settings. The setting showcases the carving and gives it presence. I can envision it in a small frame hanging on the wall. You may have noticed I used a similar technique with the Brasstown Carvers’ pieces in my last post. Here’s a pair of owls from Sue McClure.
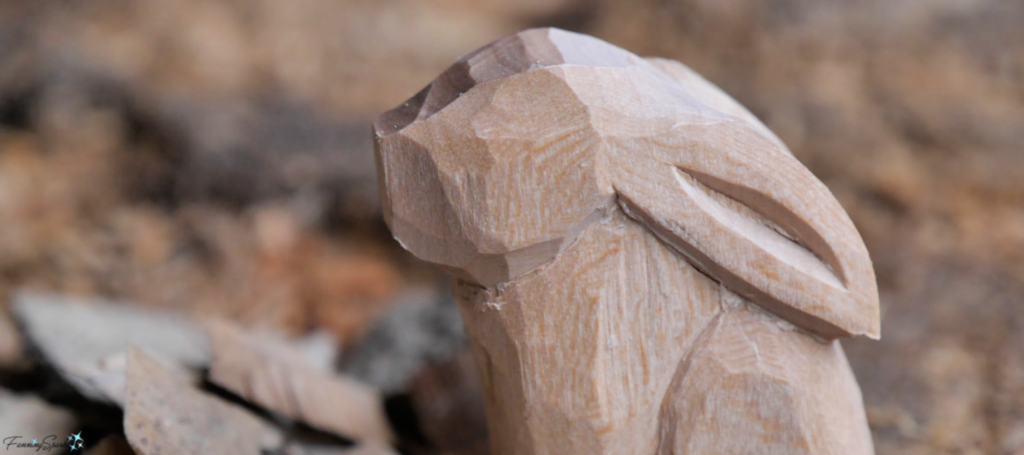
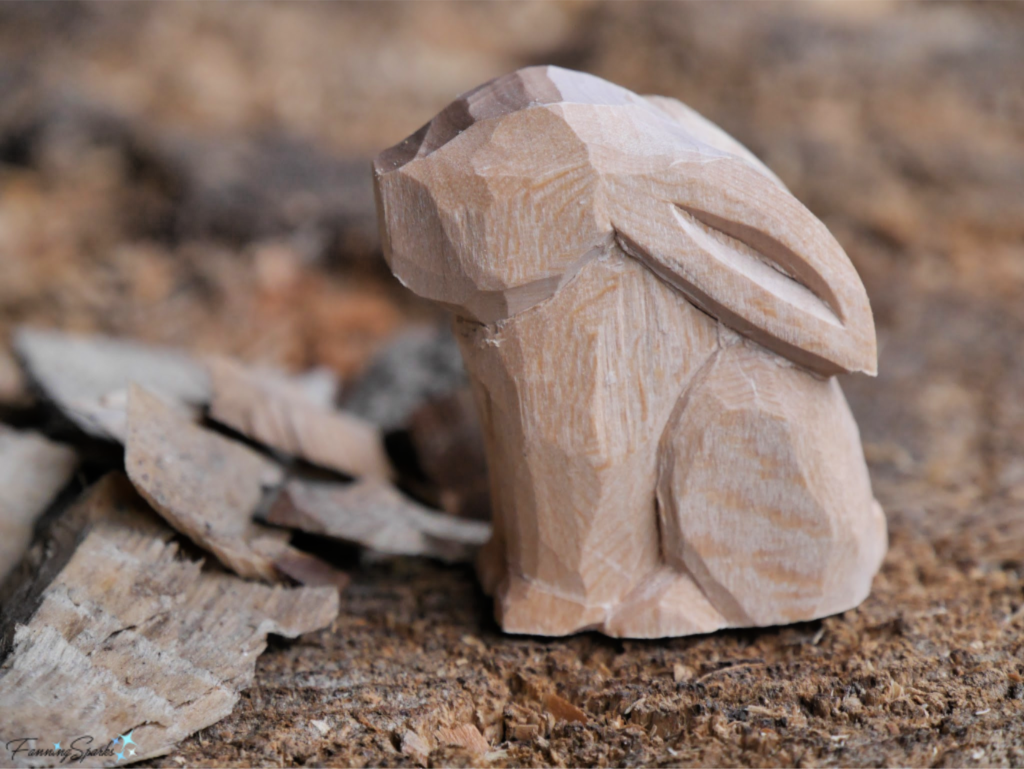
 Richard hasn’t quite finished this adorable little rabbit …
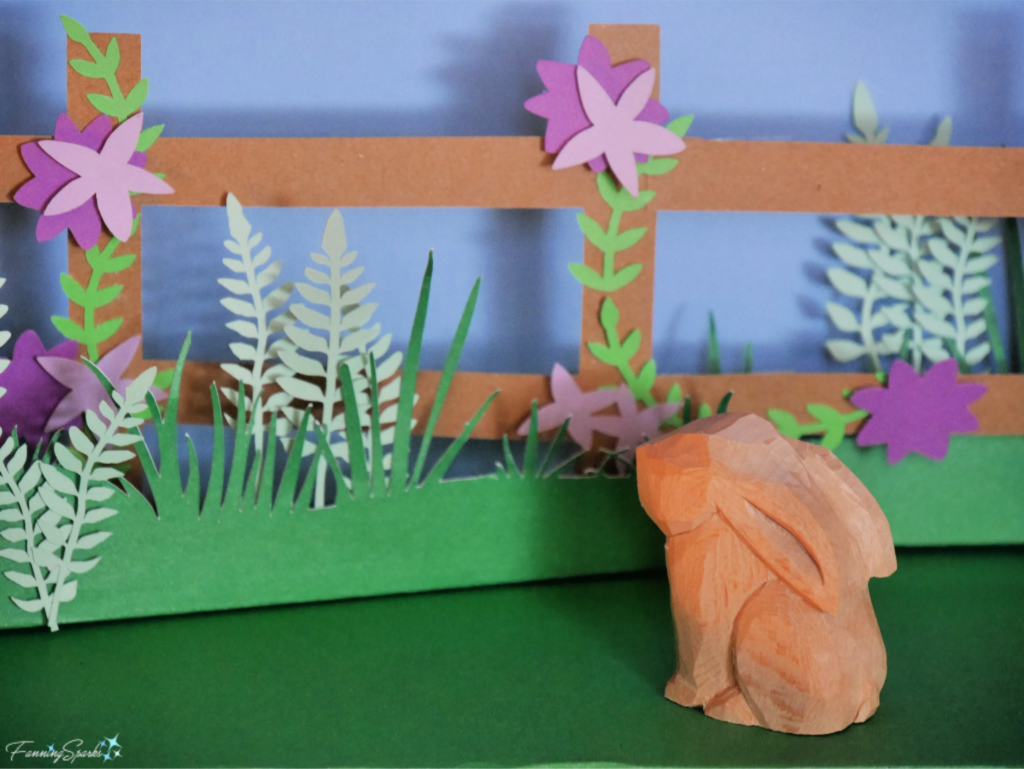
 …but it looks right at home in this garden scene.
 I’ll wrap up with a shout out to Richard Carter. Many thanks for your help with this post, Richard! I know your woodcarving fans (and there are many of us) appreciate your kind and gentle guidance.
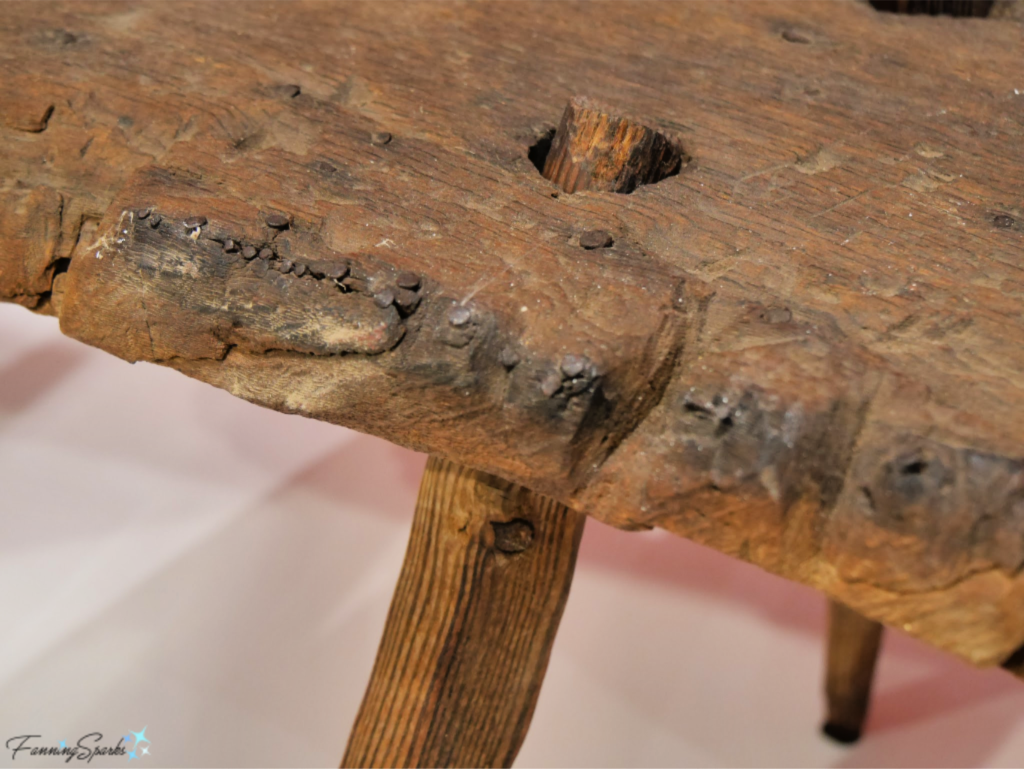
 The traditional craft of woodcarving has a special place in the Folk School’s history. A number of experimental programs were put in place when the Folk School was first established in 1925. Back in the day, a group of local men would gather on a wooden bench on the porch of Fred O. Scroggs’ general store in Brasstown. These men would whittle wood with their pocket knives to pass the time. When they ran out of wood, they started carving the wooden bench on which they sat. Scroggs tried to stop this activity by driving nails into the bench but the local men simply carved around the nails. The original bench, known as the Carving Bench, is on display at the Folk School History Center today.
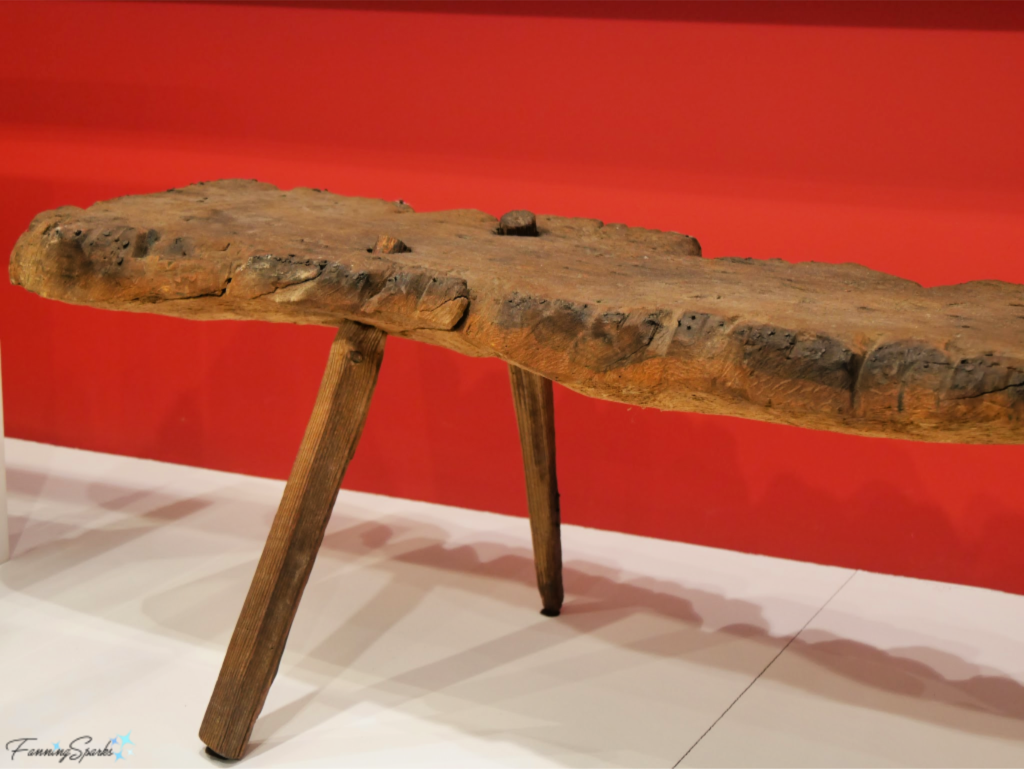 You can still see the nails that Fred O. Scroggs used in his attempt to deter the local men from carving away his bench.
 As the story goes, Olive Dame Campbell (co-founder of the Folk School) noticed the local carvers and asked them what they were making. “Shavings” they replied. She saw past their response and recognized the potential of their woodcarving skills. She proposed a woodcarving class to teach these men how to create shapes with their knives. In this program, the Folk School provided the men with blocks of wood, equipment, instruction and bookkeeping. In turn, the men would carve wooden figurines and bring them back to the Folk School to sell. Over time, the program evolved to a weekly routine whereby the carvers would come to the Folk School every Friday morning to deliver their finished carvings, meet with the carving staff and fellow carvers, and pick up new blocks of wood. This illustrious group of carvers became known as the Brasstown Carvers.
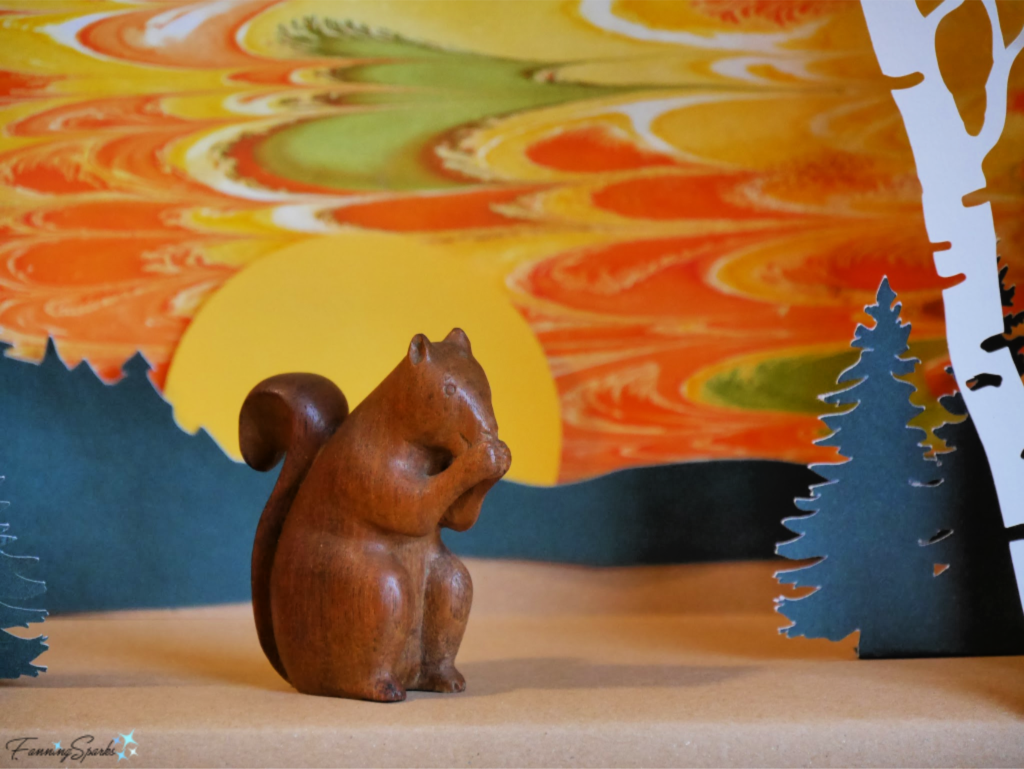
 Ben Hall carved this squirrel. Ben was one of Brasstown’s most prolific carvers. At a time when opportunities to earn a cash income were scarce, Ben Hall and his brothers John and Elisha chose to stay put and carve. “In 1936 Ben Hall reported that he would rather carve than work at building a TVA dam and noted that carving enabled him to buy glasses for his son. … By the 1940s, 45 carvers received pay for their work. … A 1942 roster lists their income for the year. Ben Hall was paid the most—$758.00.”
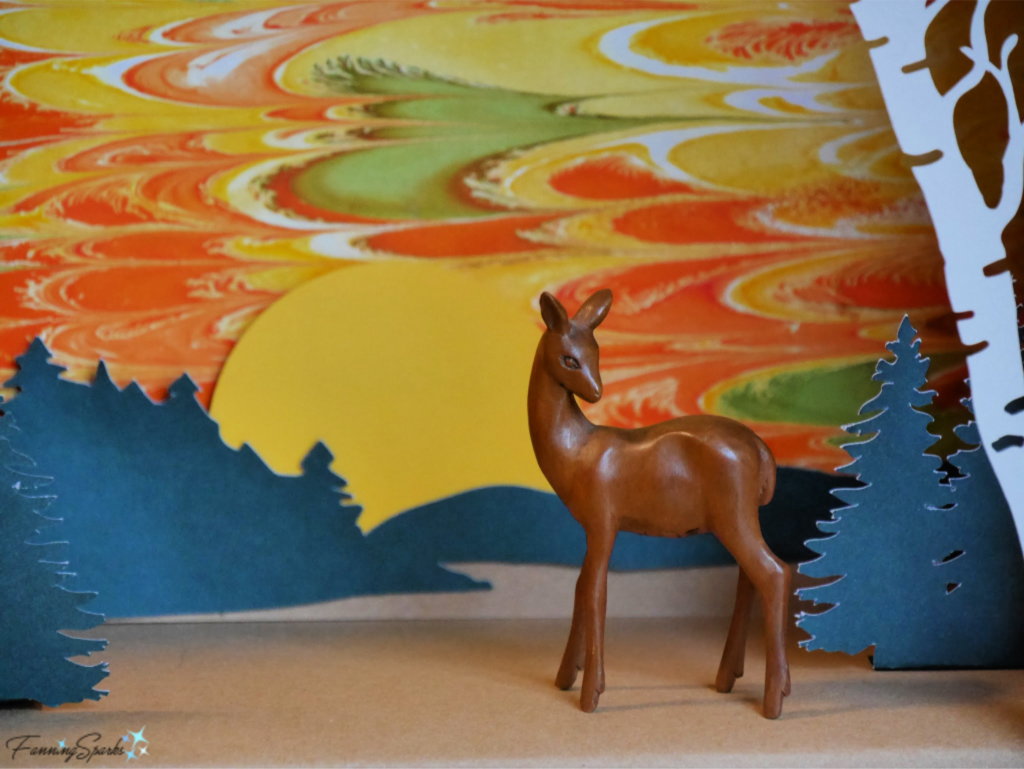
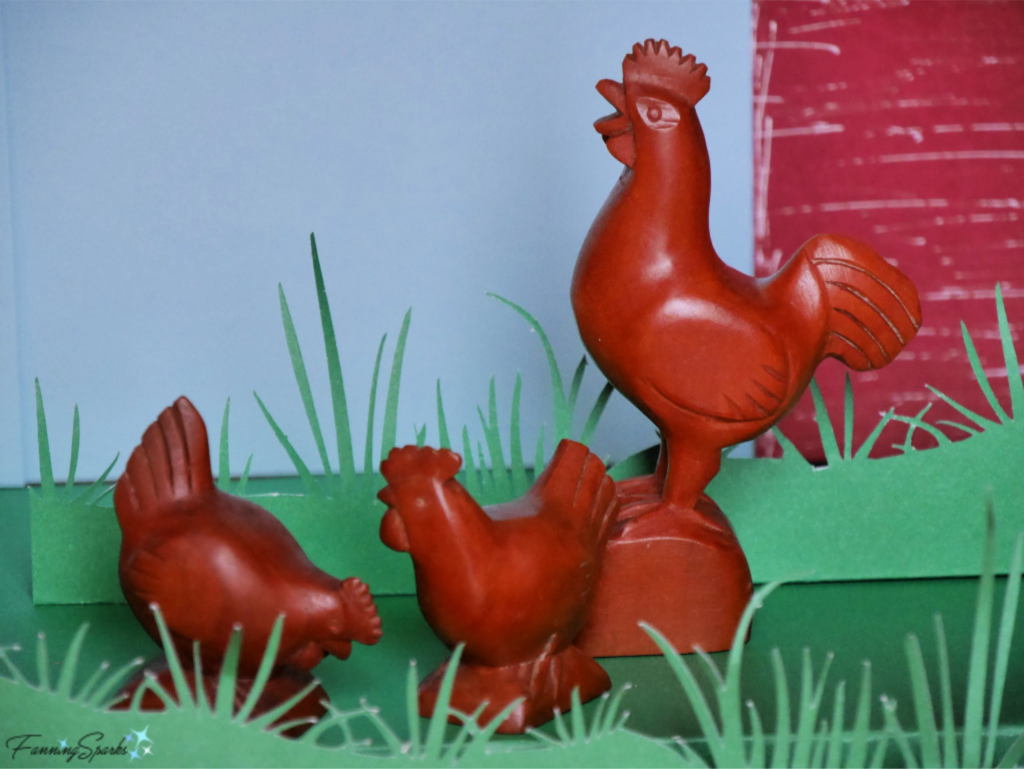
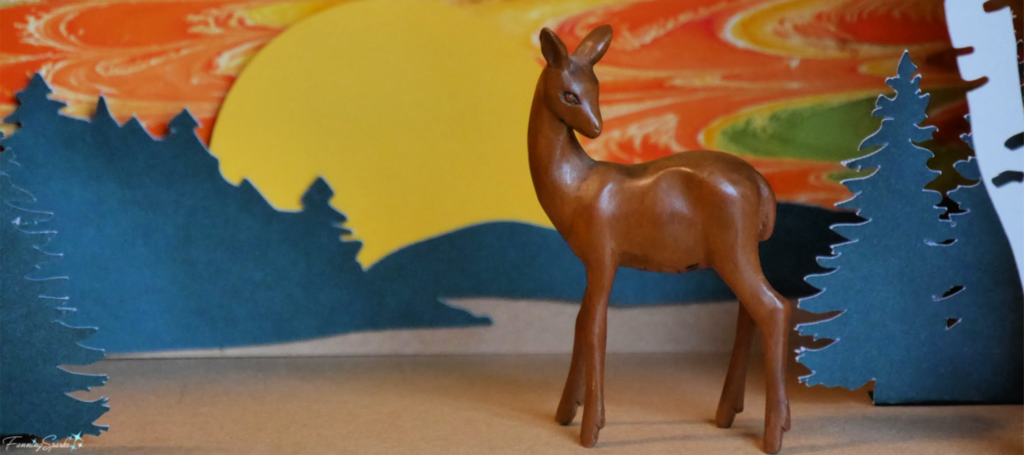
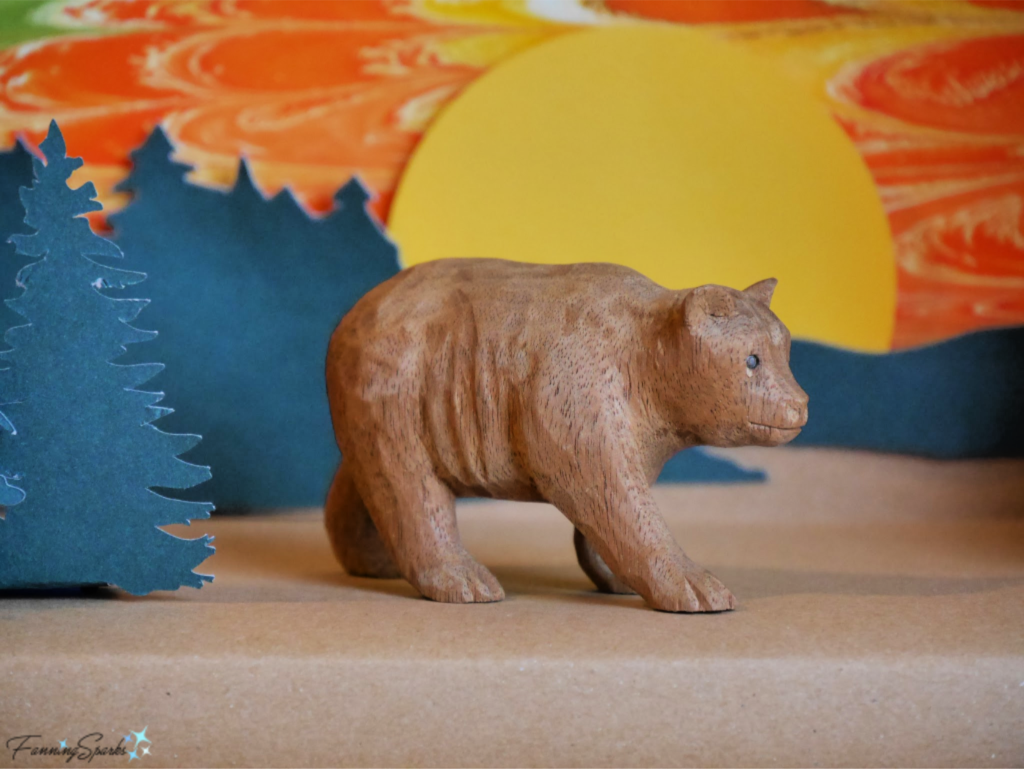
 These next two carvings, the doe and the pair of owls, were carved by Sue McClure (1916-1994). Sue was known for her wide range of subject material including bears, deer, and chicken. In a Dec 1, 1947 letter, from Sue to Murray Martin, the carving instructor at the John C. Campbell Folk School, she wrote:“… seams as though I haven’t seen you all in a very long time and it has been over 3 weeks you see how much I think of you all and my carving when I hatfo stay away for only 3 week I think it is years…”. Sue went on to say that carving was the most enjoyable work she’d ever done.