The more time I spend making mosaics, the more I want to know about their history and traditions. I’ve had the good fortune to see many mosaic works, including priceless ancient masterpieces, during my travels. I’d like to share a few highlights in today’s post.
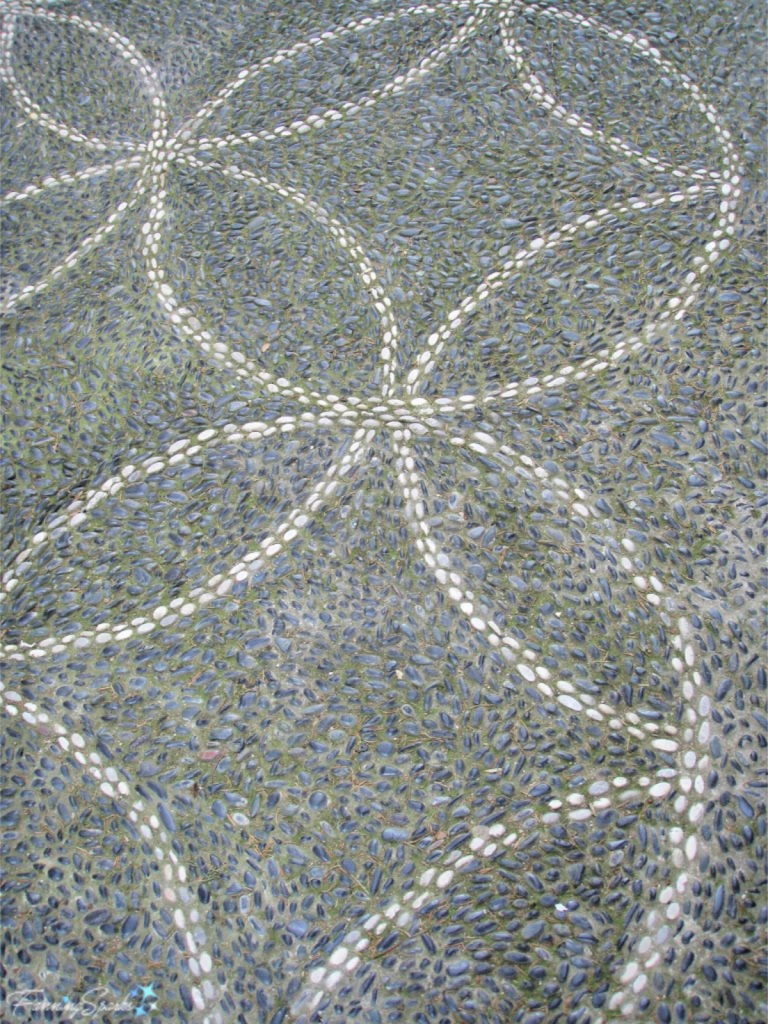
The first mosaic works were made of water-smoothed pebbles in black and white. The designs were primarily geometric shapes and patterns. These mosaics were generally used on pavements and floors. I don’t know if the below floor from the Topkapi Palace in Istanbul, Turkey is original but it’s a great example of a pebble mosaic. Simple, yet beautiful!
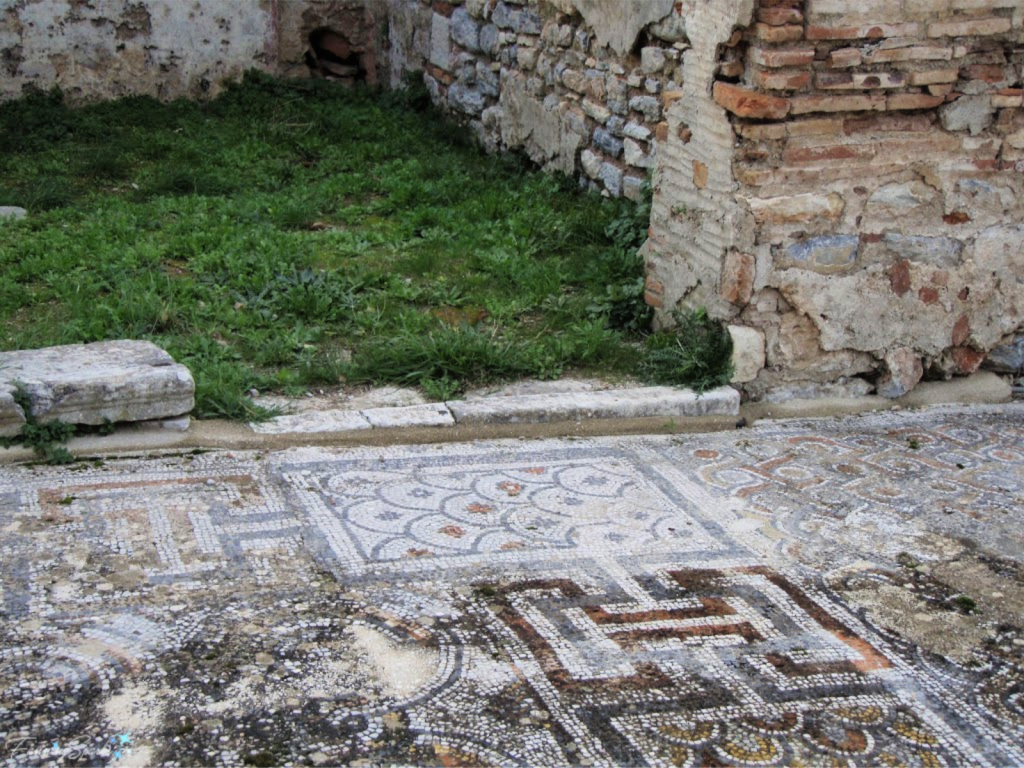
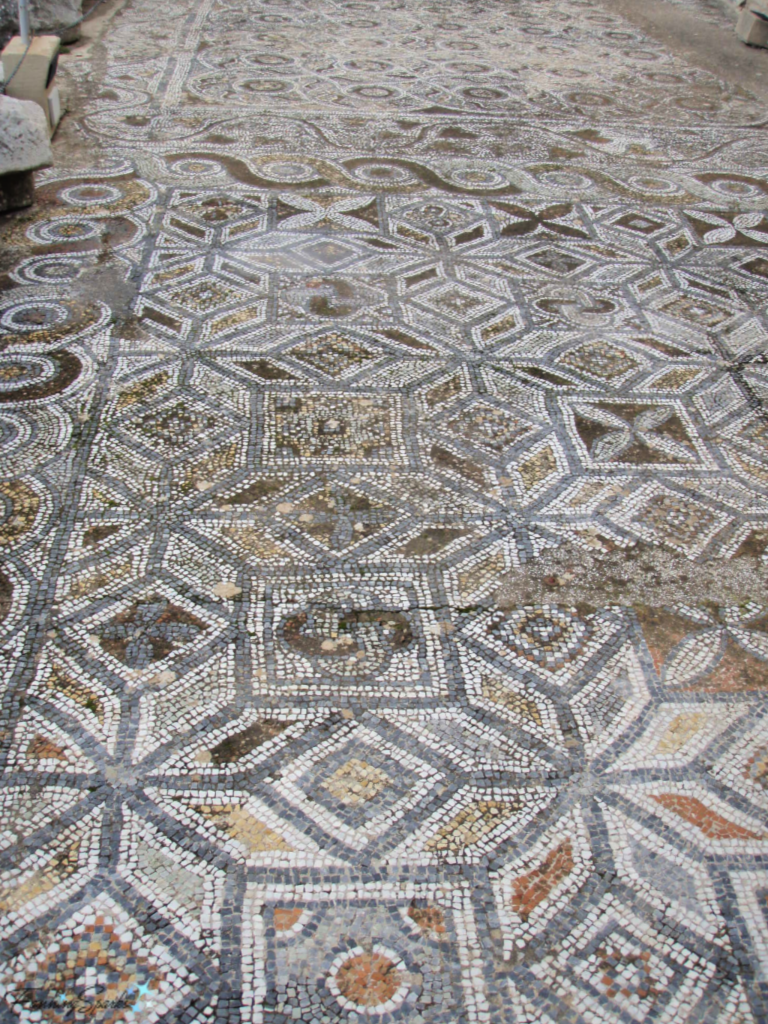
Over time, craftsmen started cutting the pebbles into pieces which evolved into cubed pieces of stone (aka tesserae). They also expanded the types of stone being used to introduce more colors. Here’s an example of a mosaic floor uncovered in the ancient ruins of Ephesus. Ephesus, an ancient Greek city dating back to 6000 BC, is located in present-day Turkey. Just imagine, these mosaic floors have survived for over 8000 years!
As the art of mosaics continued to evolve, tesserae got smaller and mosaicists created more detailed designs. Here’s an extraordinary example from the National Archaeological Museum in Naples, Italy where many of the treasures from the ancient city of Pompeii are displayed. This mosaic, titled the Battle between Alexander and Darius III, is from between 125 and 120 BC.
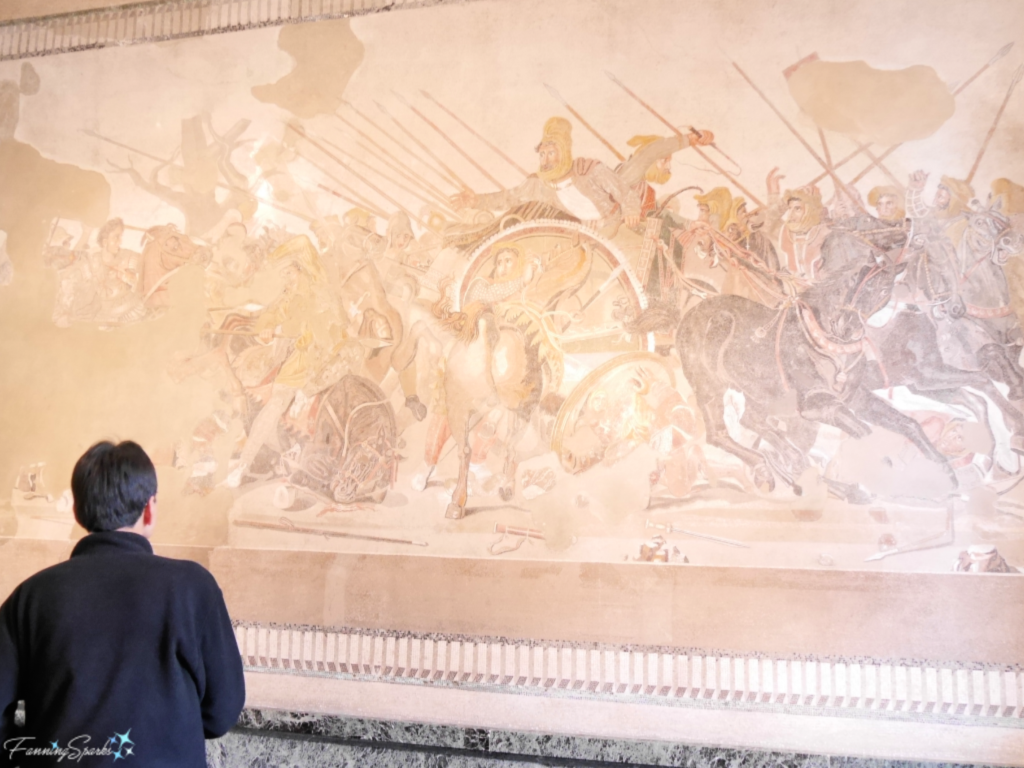
According to the exhibit card, “This mosaic represents the moment in which Alexander the Great (to the left) attacks the chariot of Darius king of Persians. The scene is commonly identified as one of the decisive battles in the conquest of the East… , even if an alternative hypothesis is that it brings together episodes from various battles so as to exhalt the figure of Alexander and his undertakings against the Persian king. …The mosaic is probably a copy … of a famous Greek picture painted by Philoxenos of Eretria … at the end of the fourth century B.C. … This makes this mosaic the most significant documentation of this type of painting, the originals of which are now totally destroyed.”
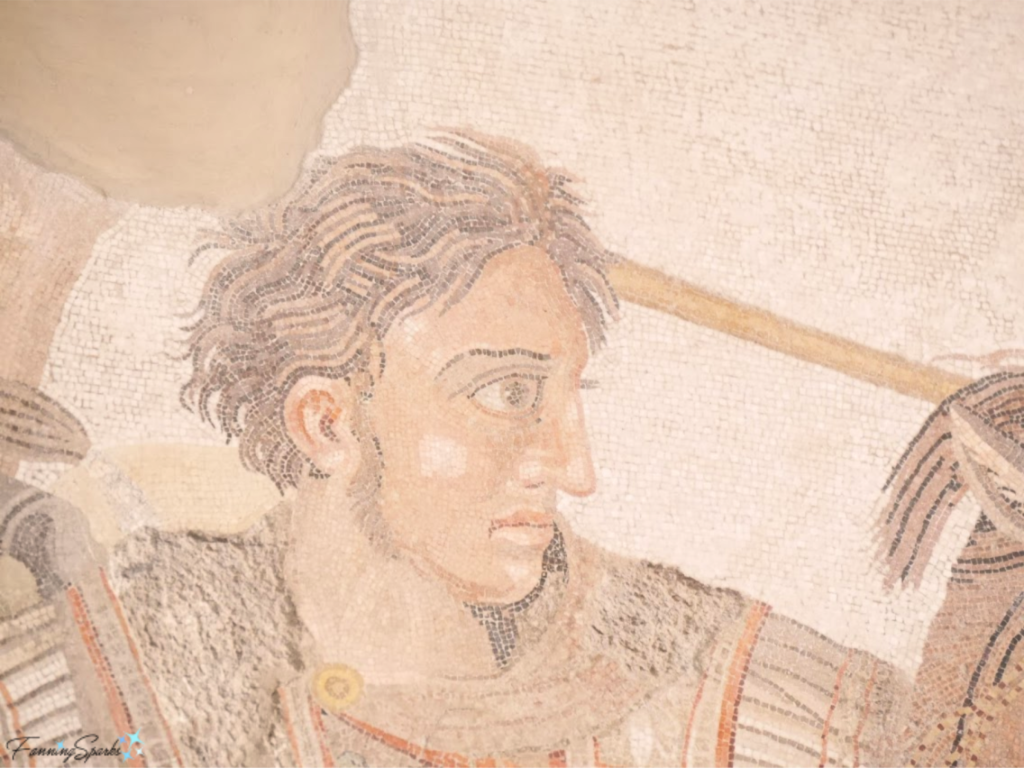
Here’s a closer look at our hero, Alexander the Great. Notice the amazing detail of his hair, eyes, eyebrow and other facial features.
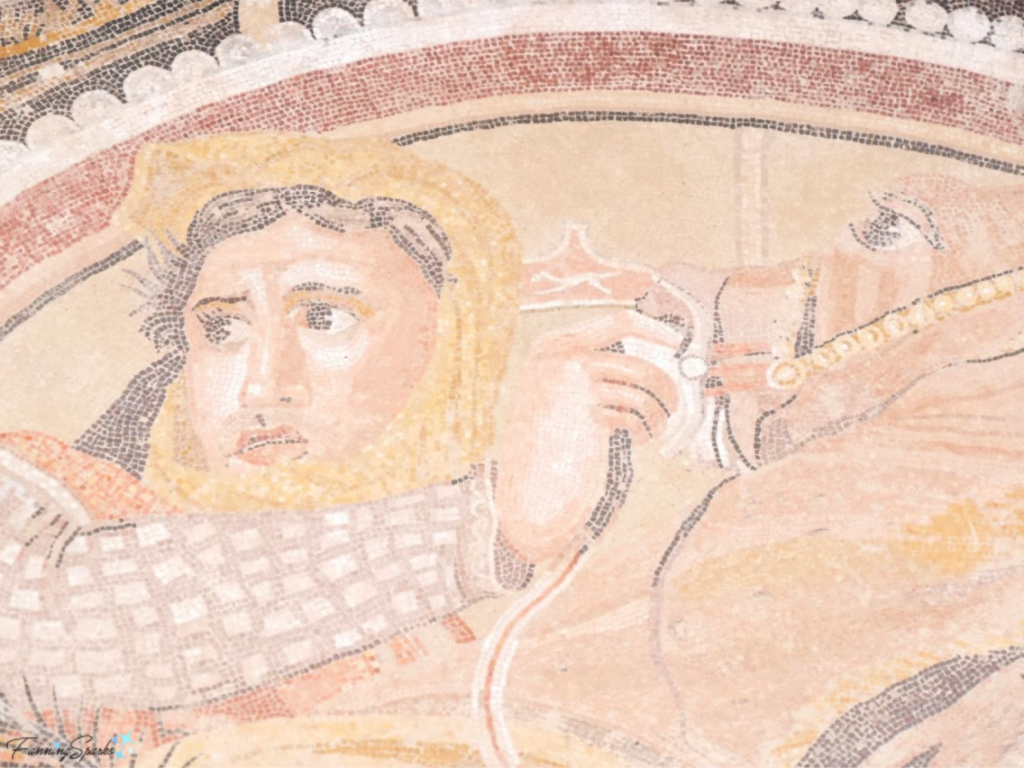
Here’s a doomed soldier offering his own horse to the retreating Darius III.
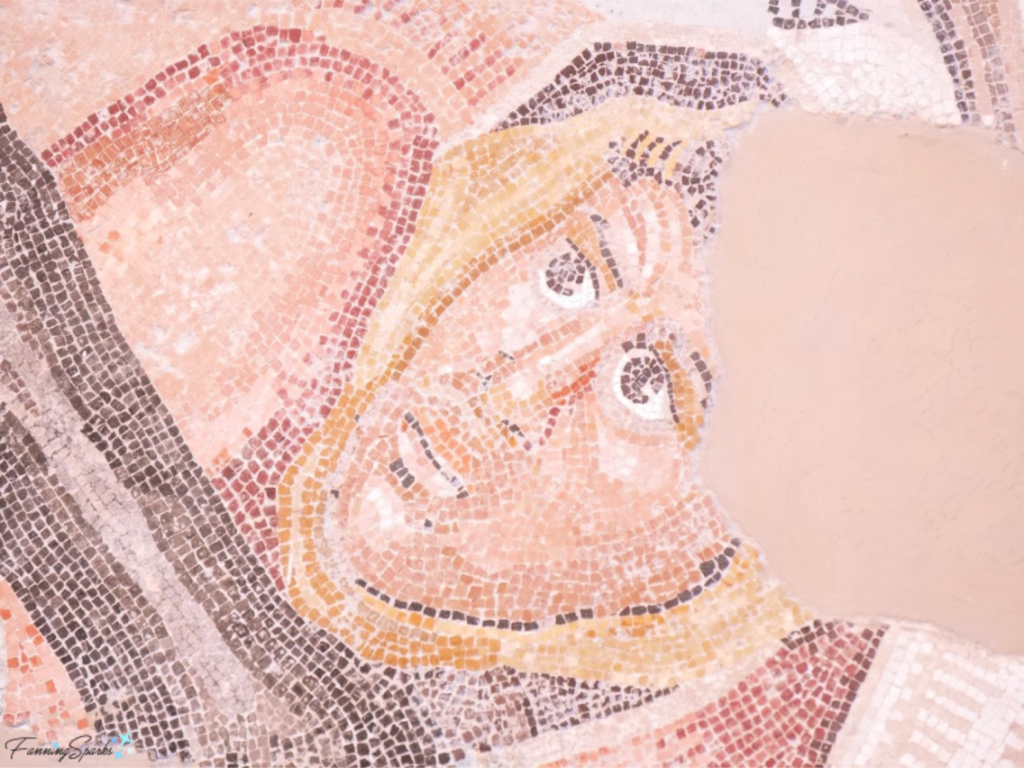
Here’s a closeup of another unidentified soldier. Notice how skillfully tesserae are used to outline and shade his face.
Mosaicists continued to tell stories via their artwork‒sometimes on a grand scale. Here’s a restored section from the Great Palace Mosaic in Istanbul, Turkey which dates back to around 306-337 AD. As stated on the exhibit card: “Nowhere else in antiquity can we find a tessellated floor of quite the size and quality of the Great Palace Mosaic in Istanbul. This unique masterpiece also provides us with the single reference that we have of the furnishings of the Imperial Palace of Constantinople. At the time of its making, the mosaicist craft, rooted in Anatolia and artistically perfected in Greece and Italy, could draw on a long-established tradition. The best artists from all corners of the Empire were employed to lay this splendidly ornamented floor.” This floor required an astonishing 75-80 million tesserae! Each tessera is about 5mm in edge length.
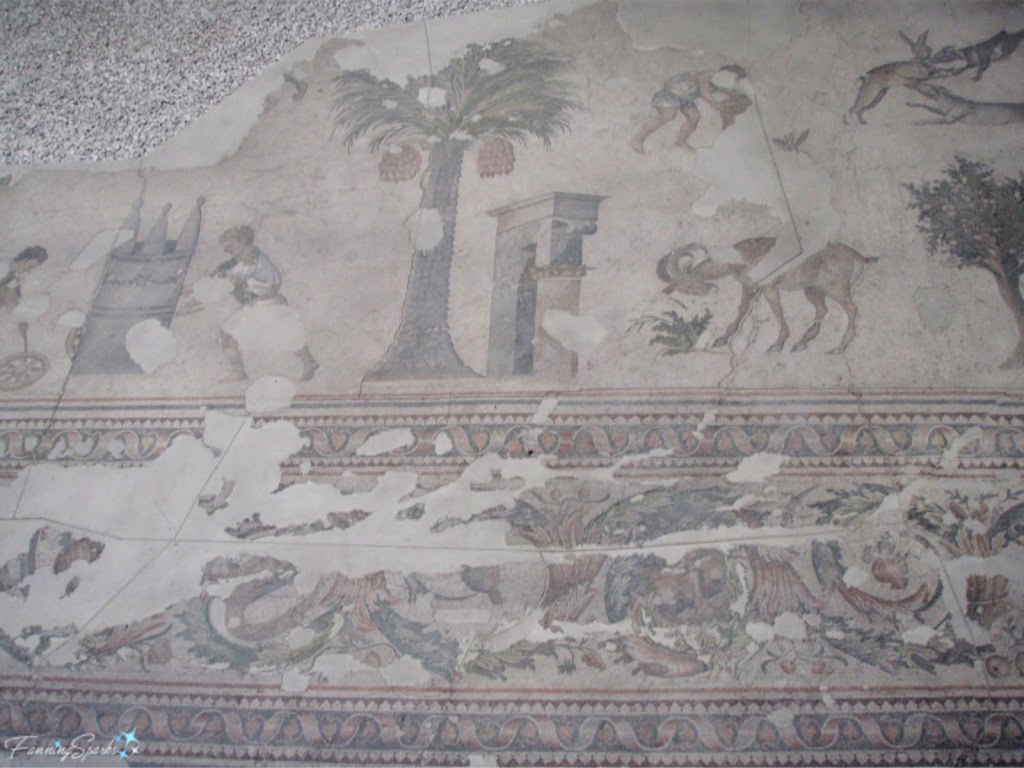
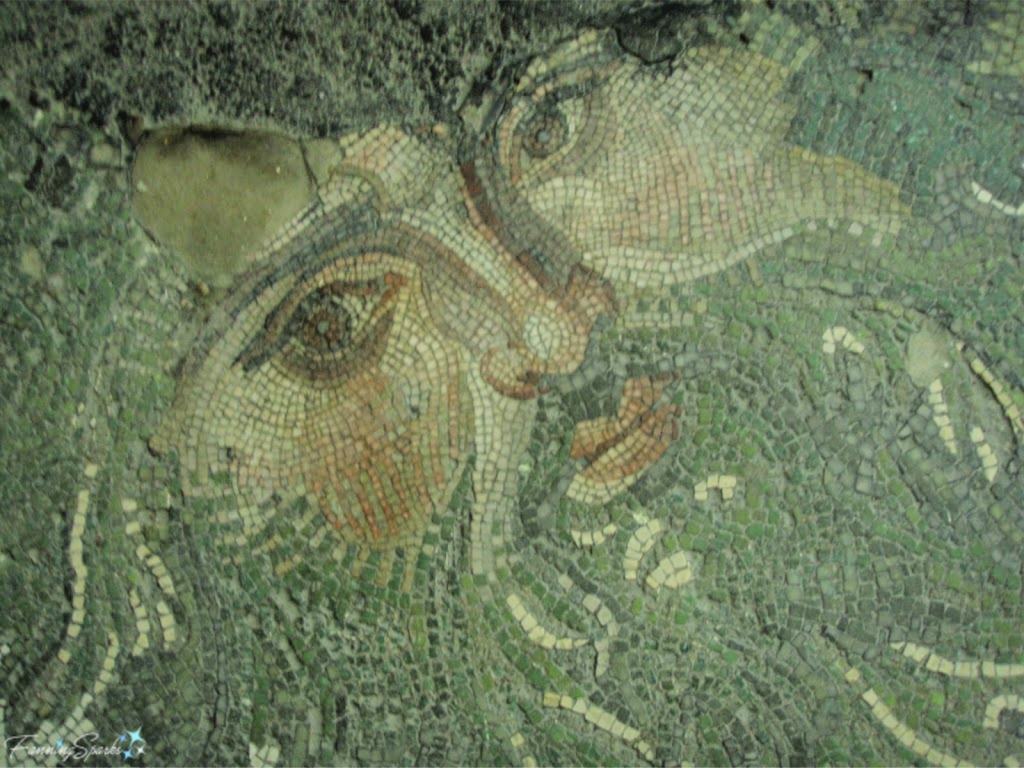
Unfortunately, only about 1/8 of the original floor survived but it is rich with elaborate design elements and details including 150 human and animal figures. This is my favorite!
This donkey is also outstanding.

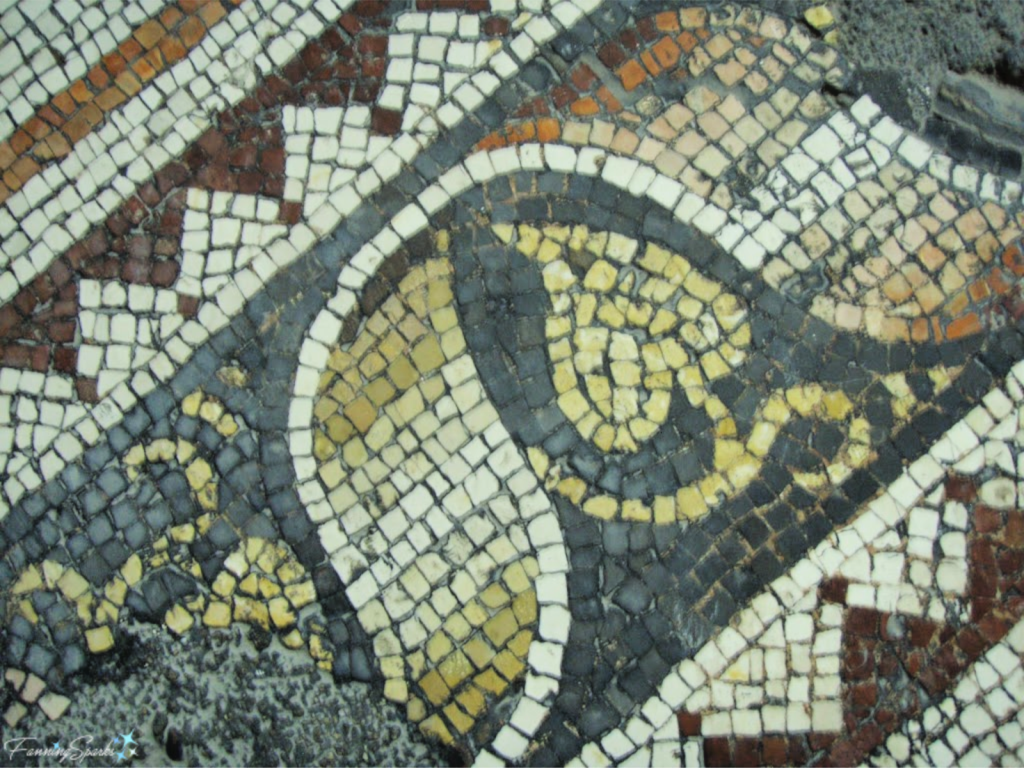
Here’s an example of a beautiful border.
A few years ago, I attended a Roman Mosaic Workshop while visiting Rome, Italy. It was a unique opportunity to see an authentic mosaic studio and to learn from a professional master mosaicist. The workshop was hosted by Studio Cassio where mosaics have been the Cassio family business for the past two centuries. The studio restores artwork at archaeological sites and monuments. They have restored mosaics to their former splendor in more than 300 churches, museums, cemeteries, fountains and other buildings worldwide. See More Info below.
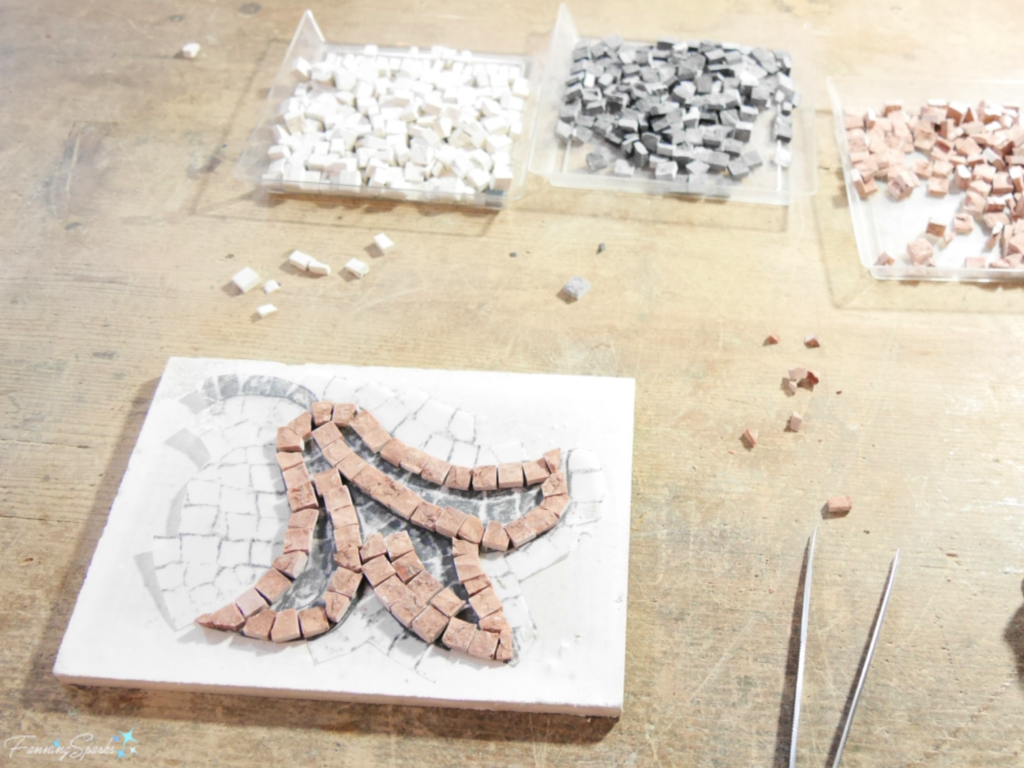
In addition to learning about traditional methods, materials and tools, I was able to make a small mosaic picture from local marble tesserae. Here’s my project in progress. Notice how similar the tesserae are to those from the Ephesus ruins.
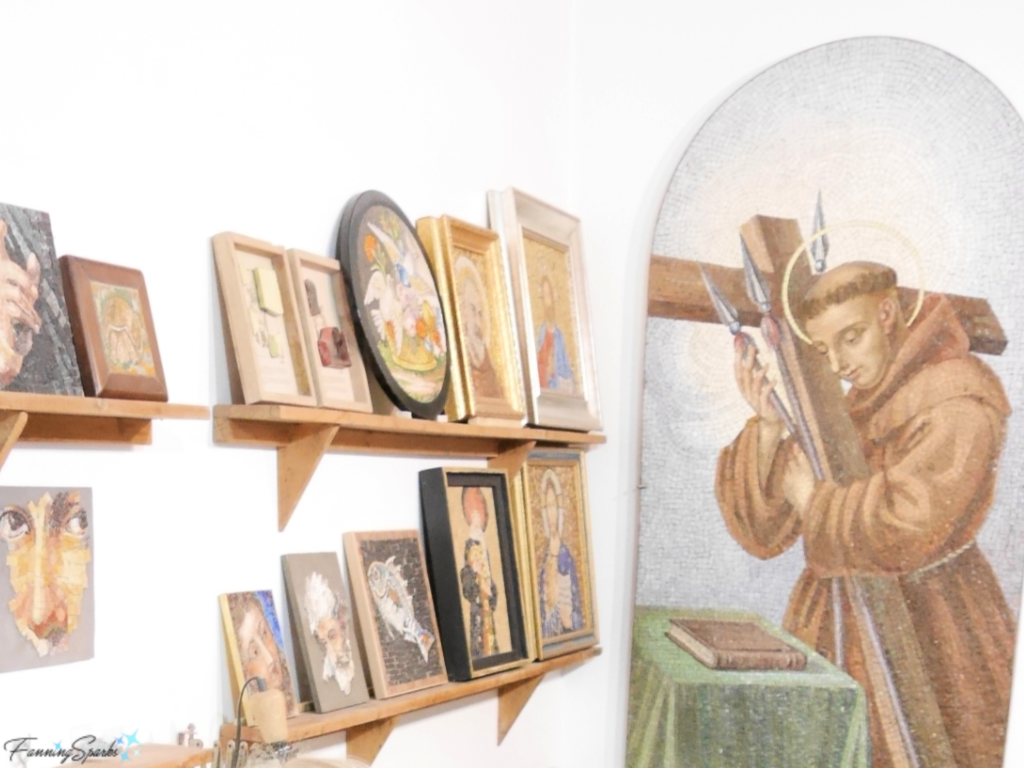
Studio Cassio had a number of sample, reproduction works available for us to examine and study.
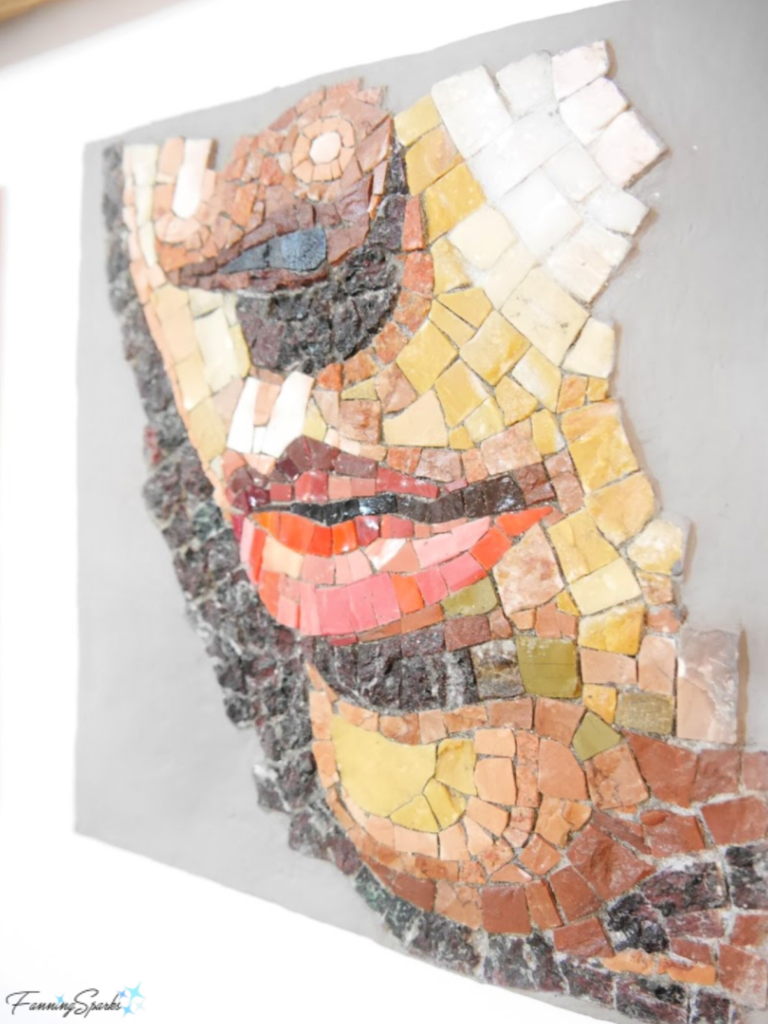
One of the challenges of working with mosaics is using small, individual pieces to create a pleasing, larger image. Looking closely, the individual pieces don’t look like much but, looking from a normal viewing distance, the individual pieces meld together to create an overall image. It’s similar to working with the individual pixels versus an overall photograph. The added difficulty of working with a limited color palette and with materials which are not easily shaped increases the challenge.
In the below photo, the color and shape of the individual tessera are clearly visible and, frankly, not all that appealing.
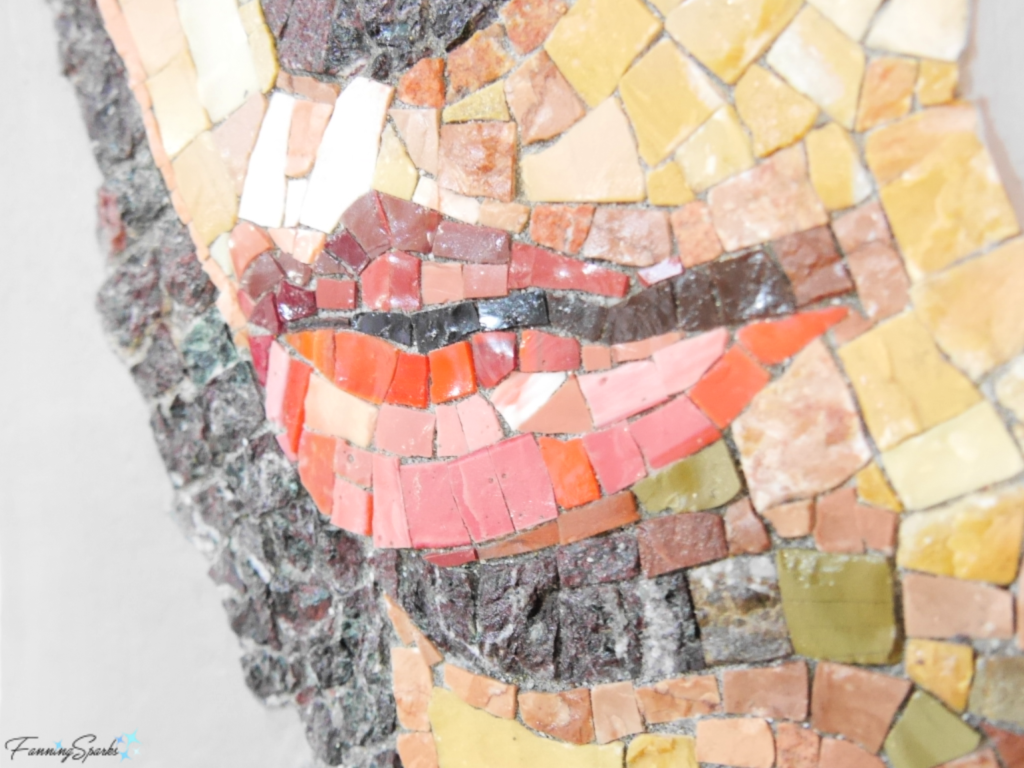
But when you step away, the overall image is revealed. It’s fascinating to me that this combination of colors and shapes could create such a beautiful set of lips!
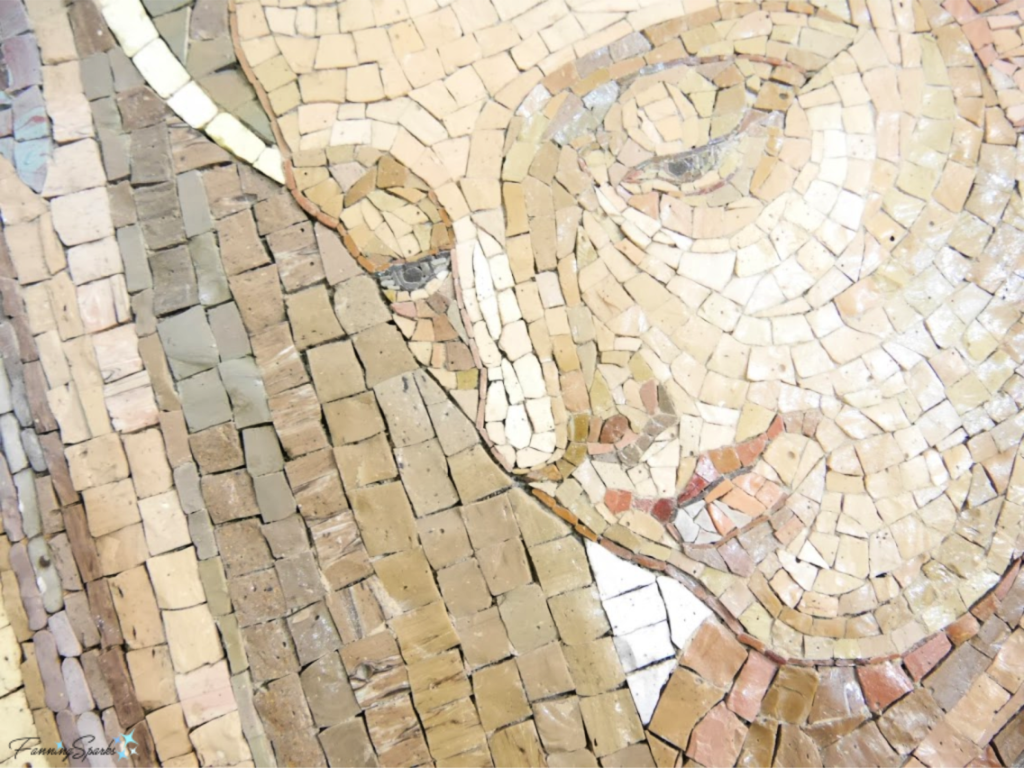
Here’s another example from Studio Cassio. Notice how the monk’s head stands out from the background.
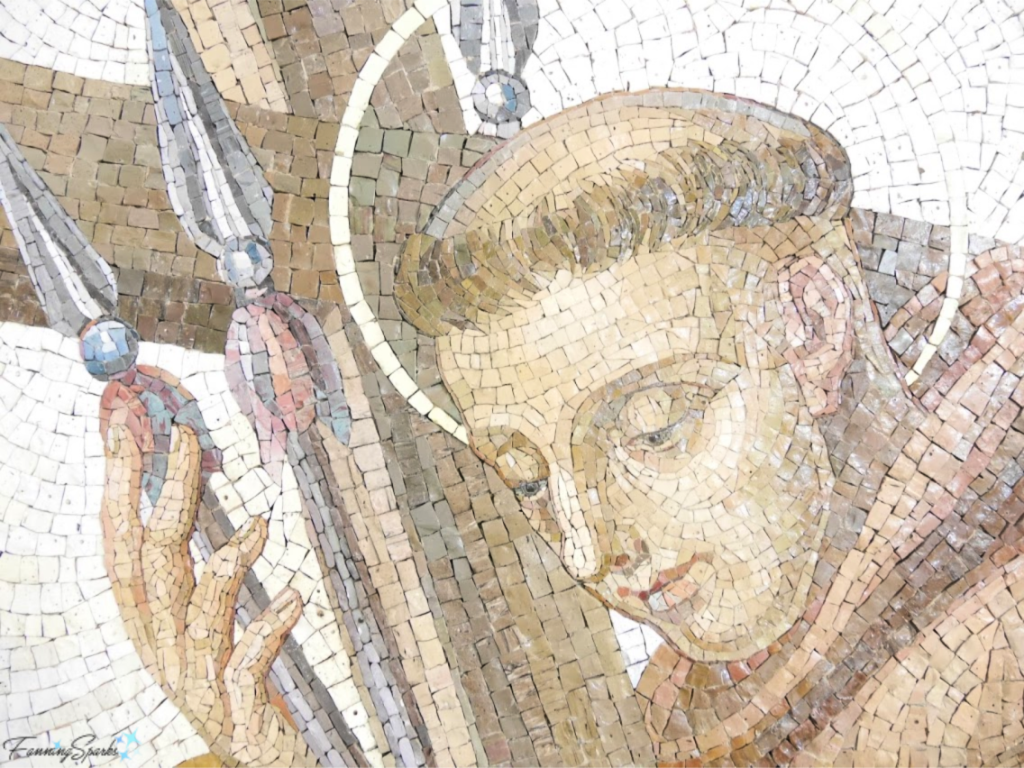
The mosaicist has masterfully applied several techniques to accomplish this delineation. A very narrow, outline has been applied along the monk’s face‒with a combination of darker-colored tesserae and a perfectly placed intersection line. In addition, the tesserae is deliberately placed in a different pattern on the surface of the face versus the cross behind it. The face is laid in small, odd-shaped tesserae following the contours of the face while the cross is laid with angular, rather large tesserae in a regular linear pattern.
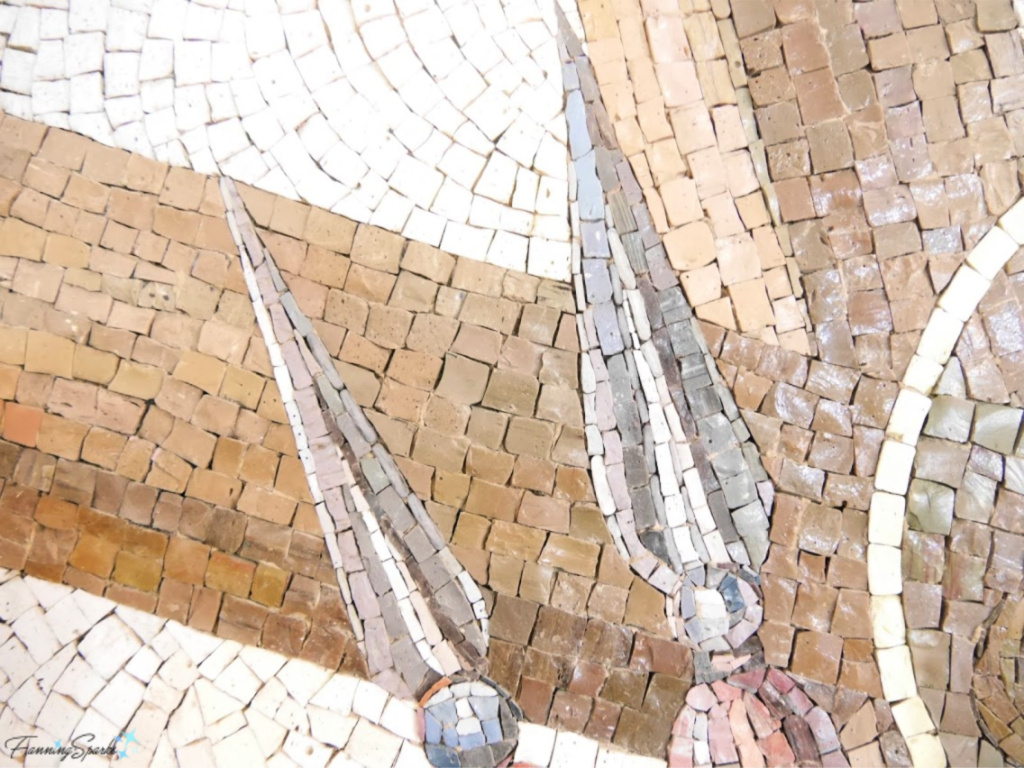
This close-up of the lance heads provides another example of how varying the color, size and pattern of the tesserae can effectively delineate elements of the overall image.
This is just a glimpse into the history and tradition of mosaics. There is much more to be learned from the accomplished mosaic masters from the past.
More Info
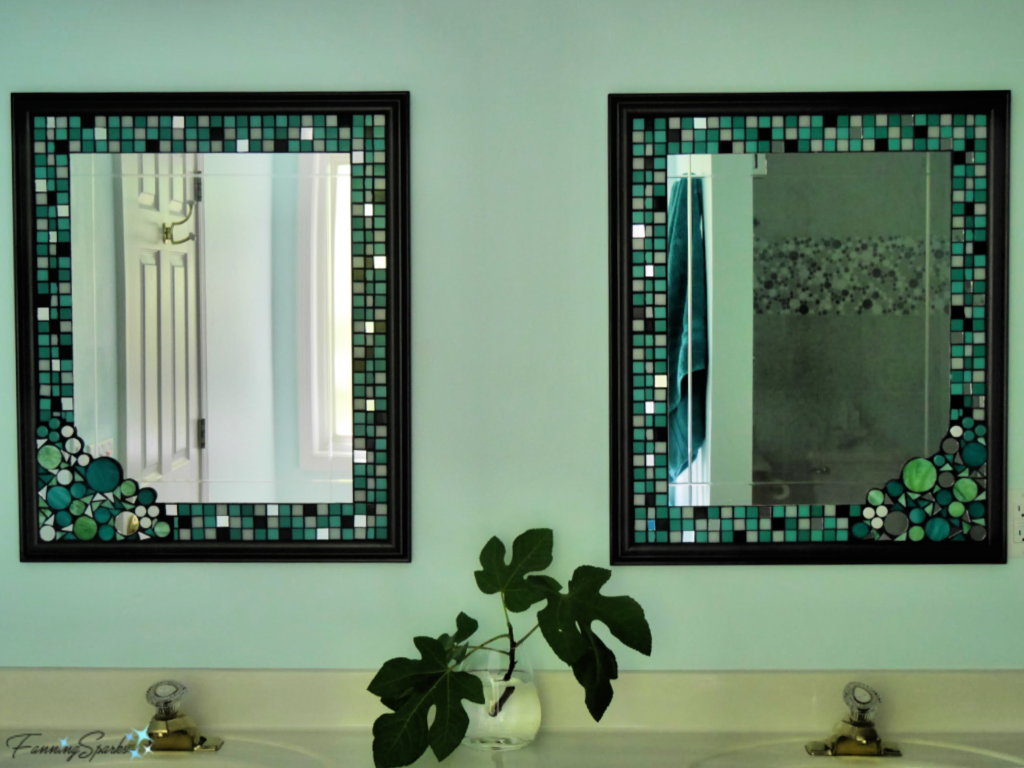
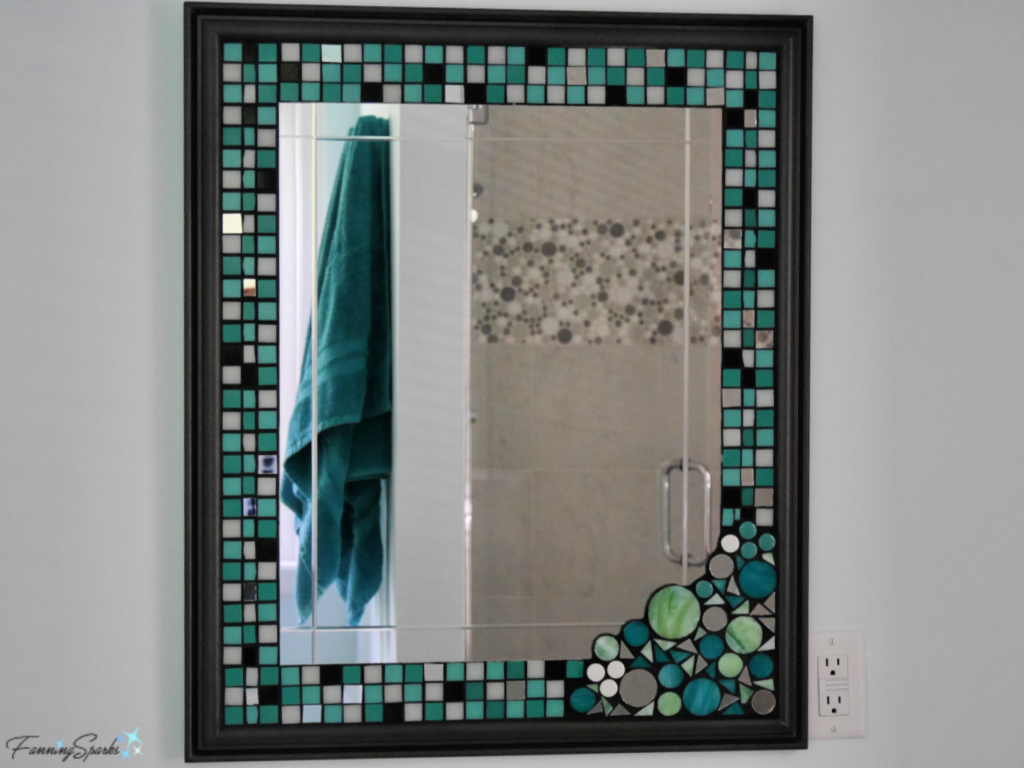
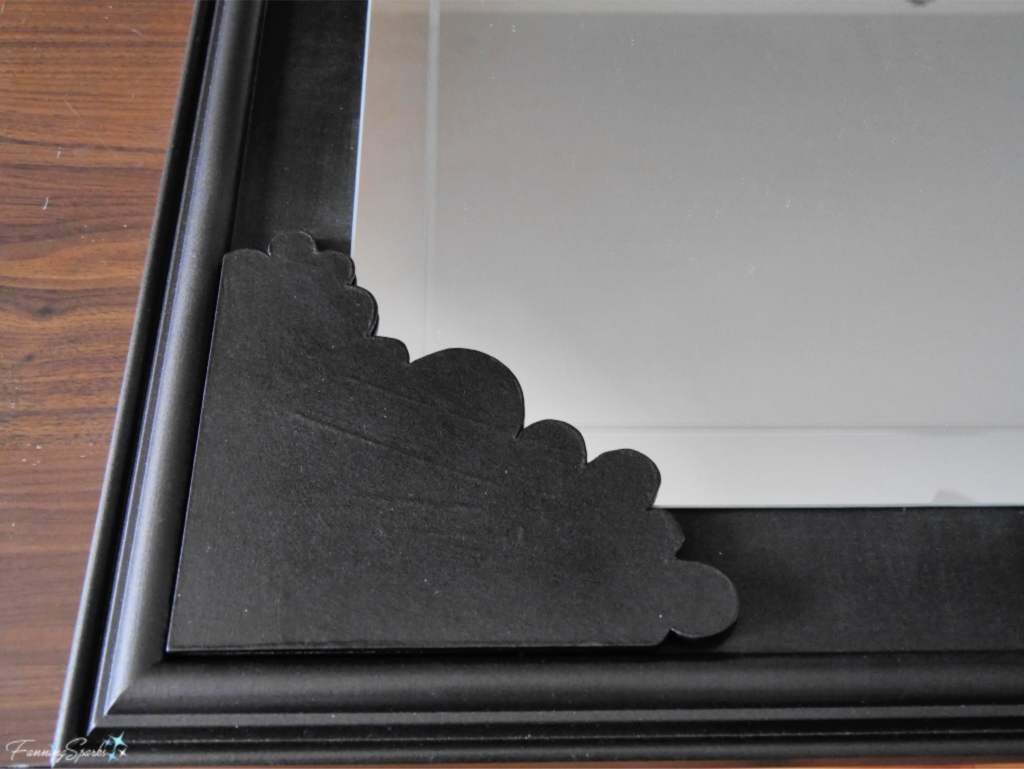
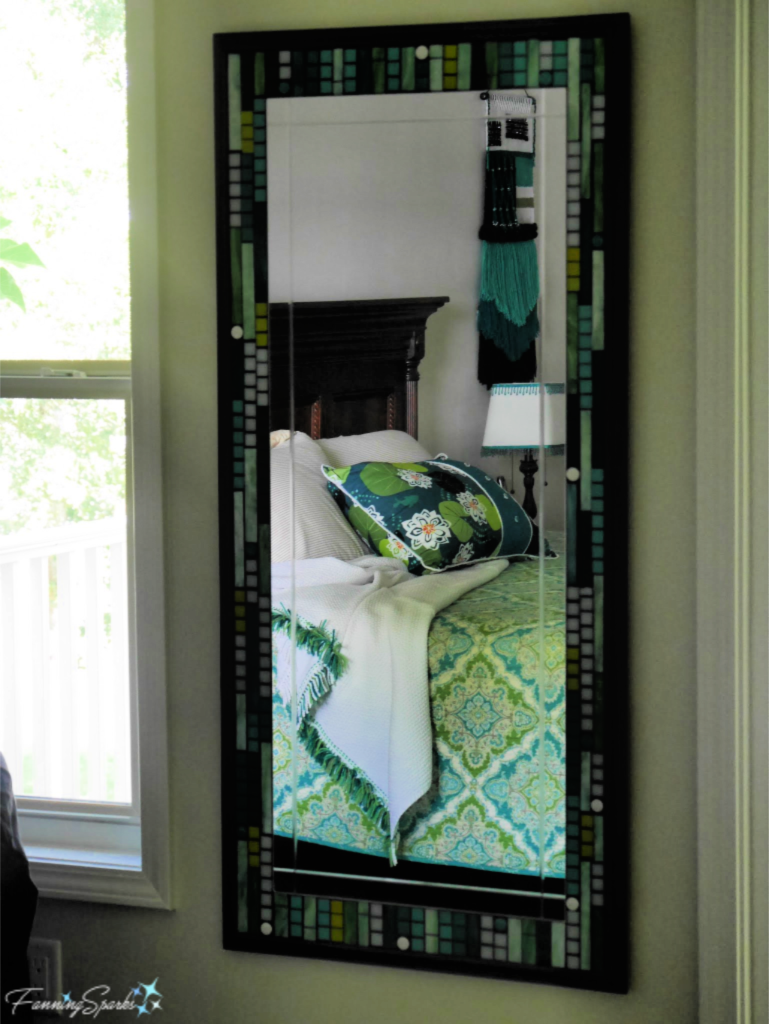
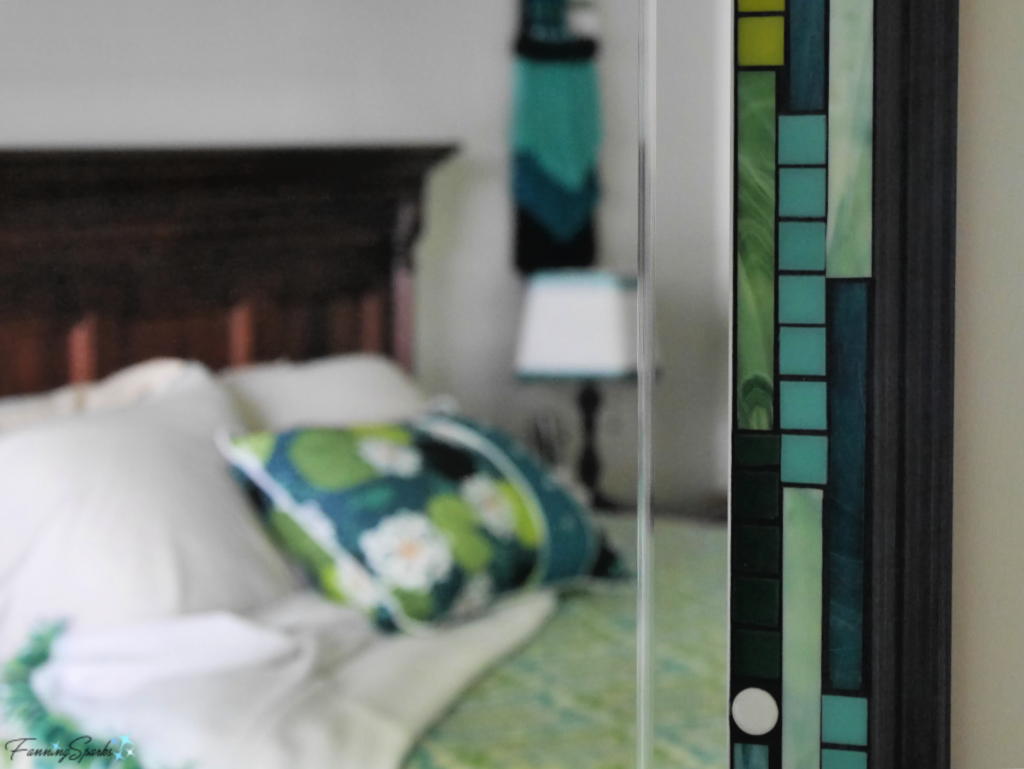
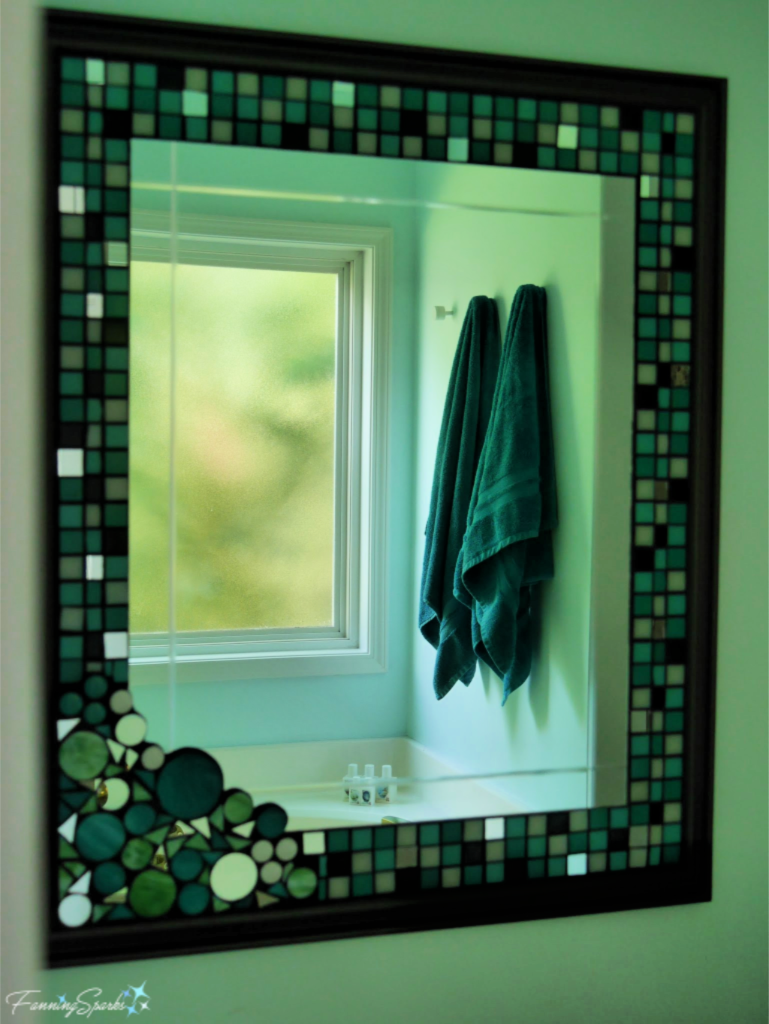
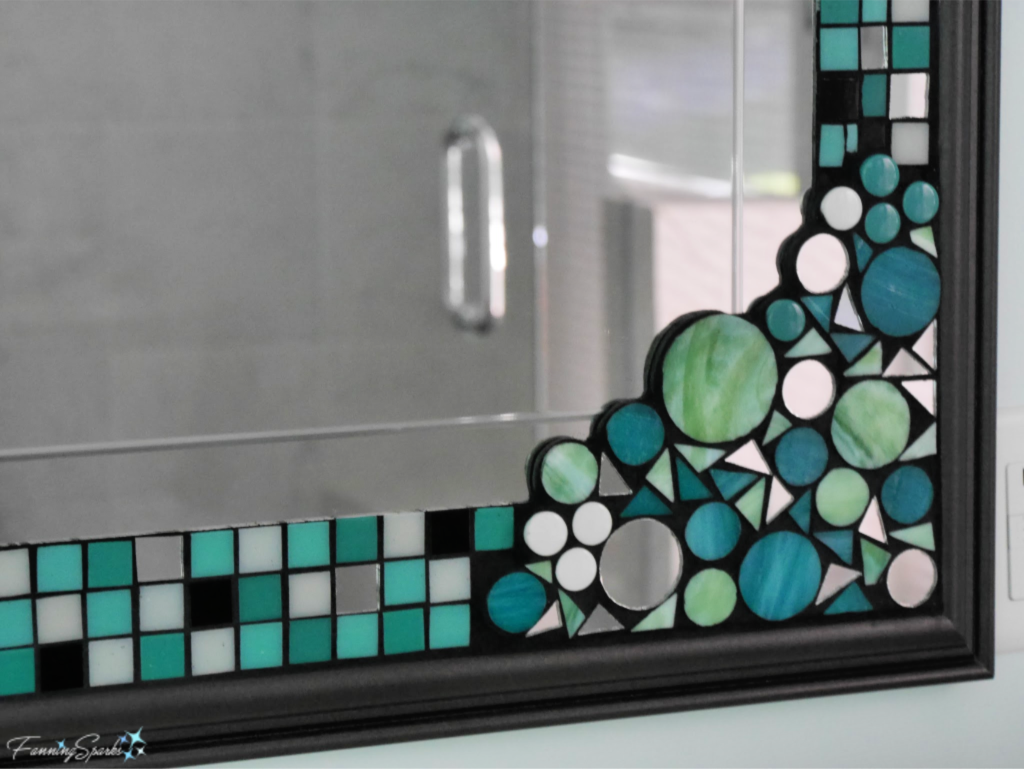
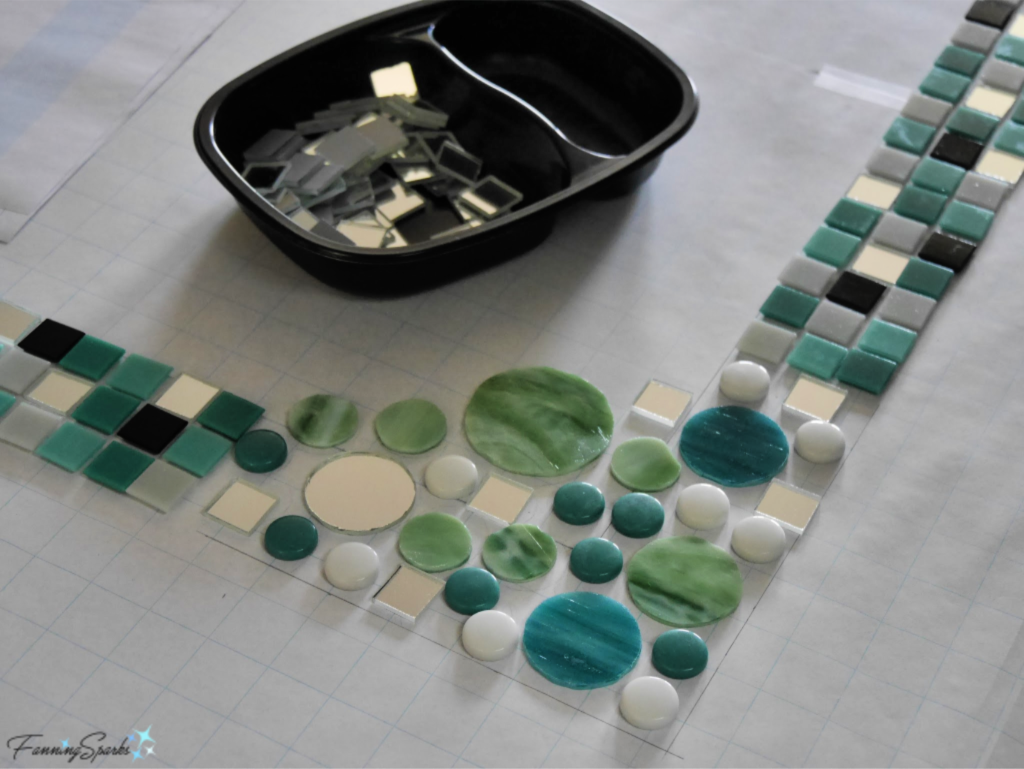
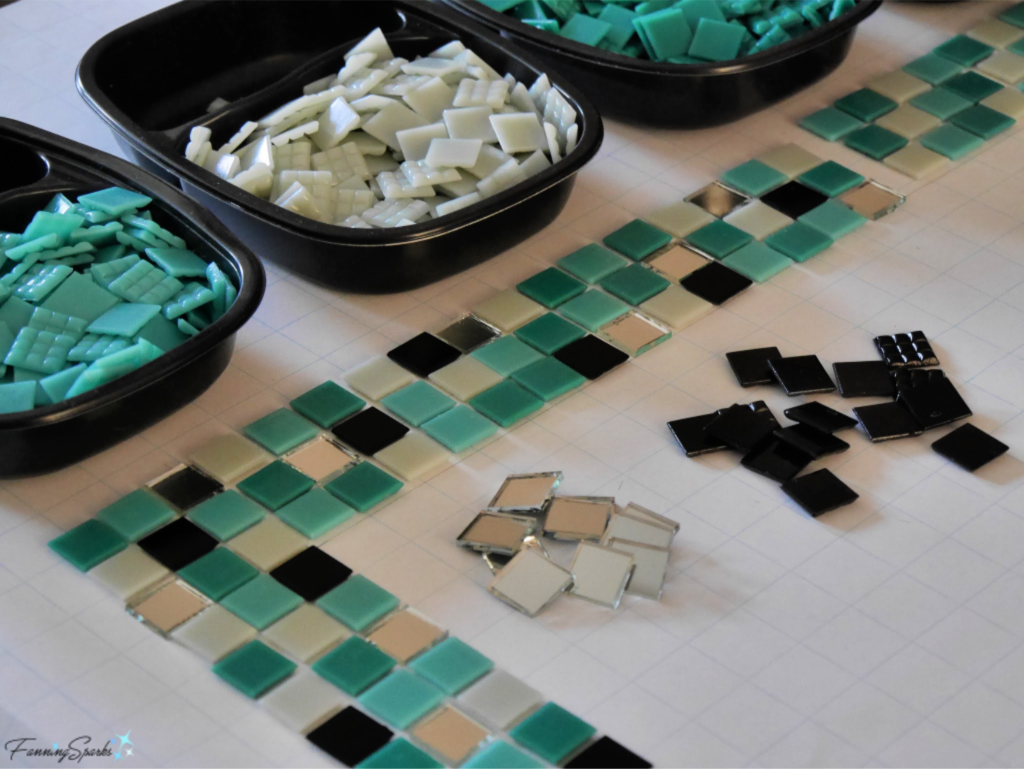
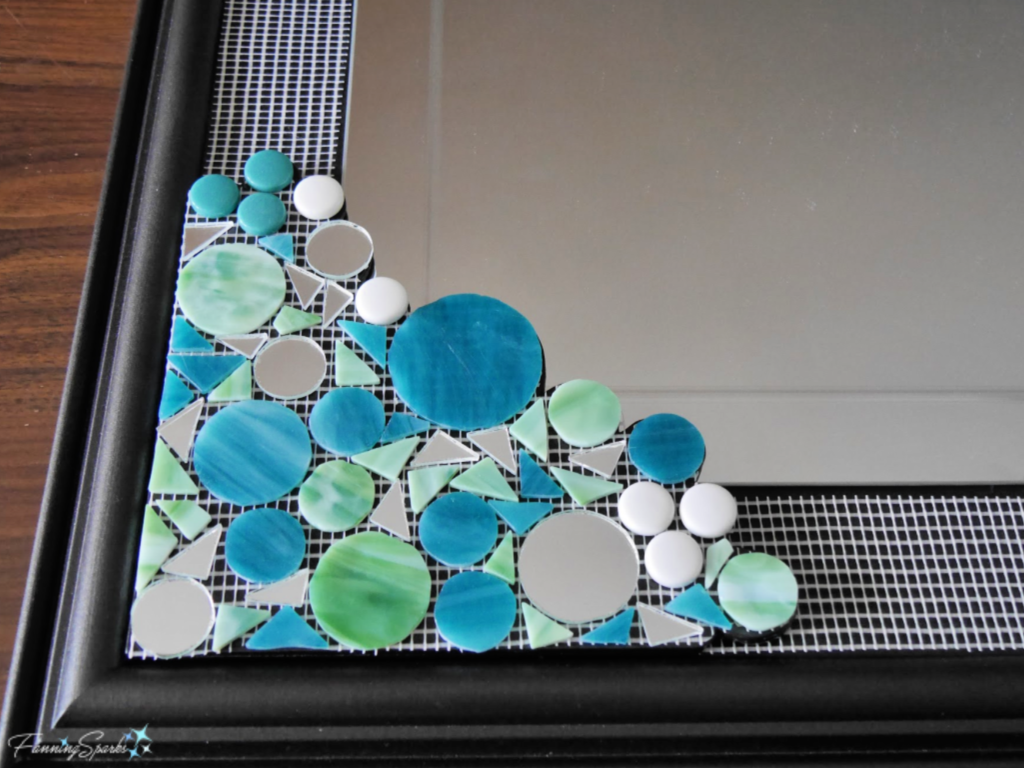
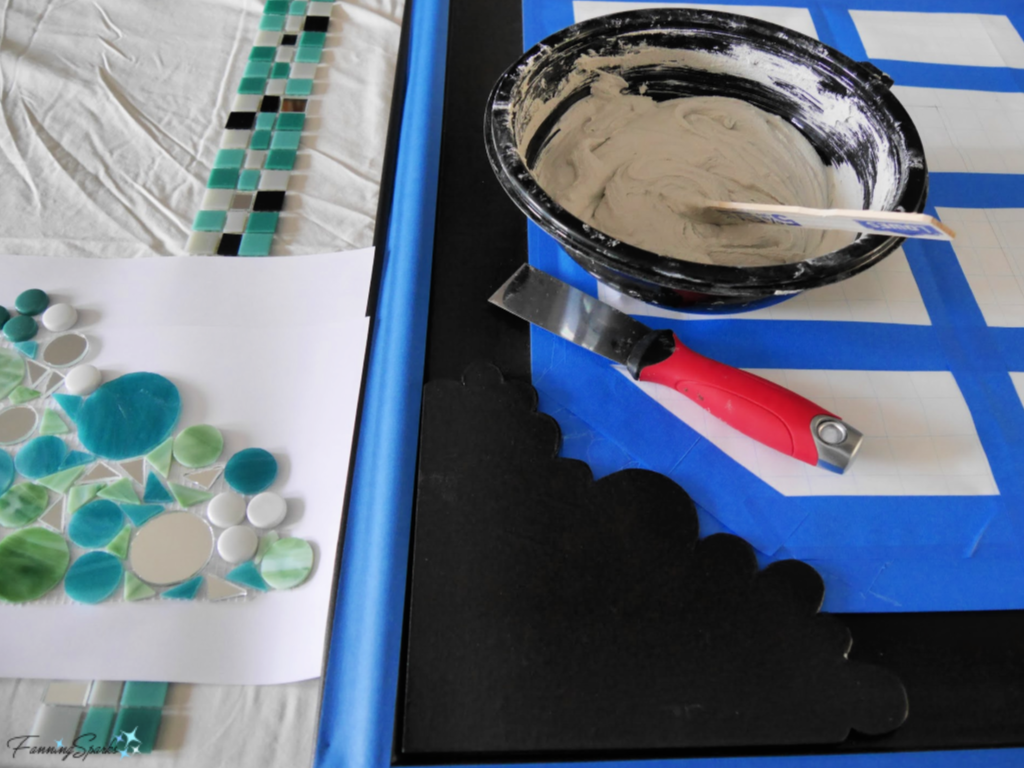
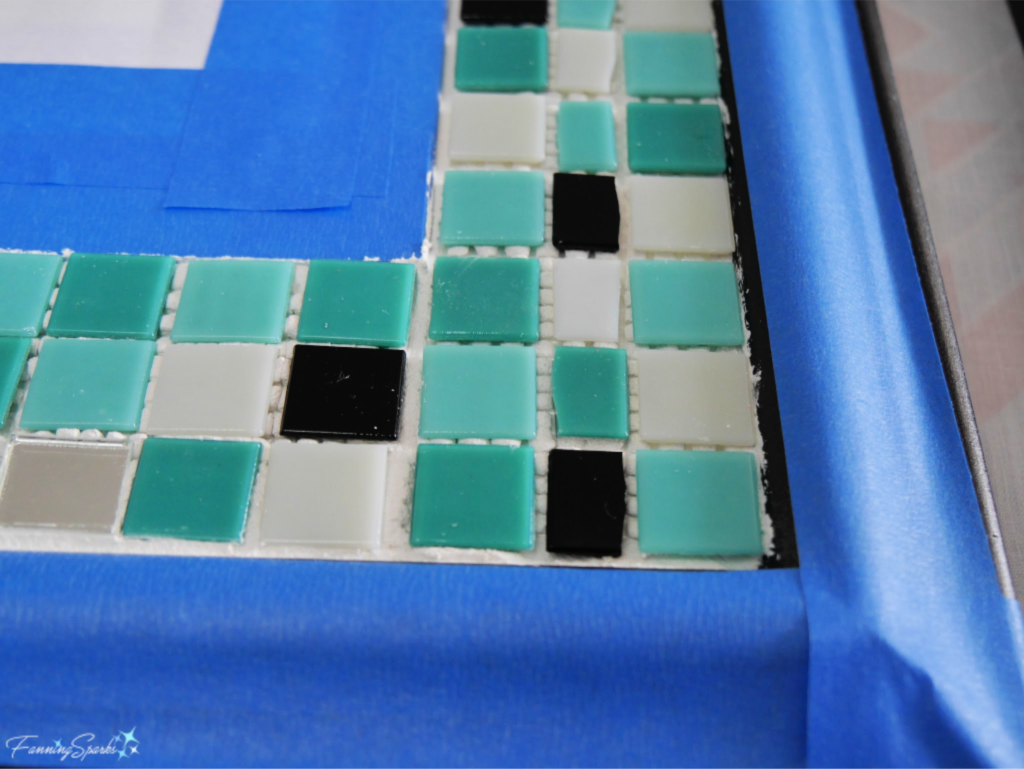
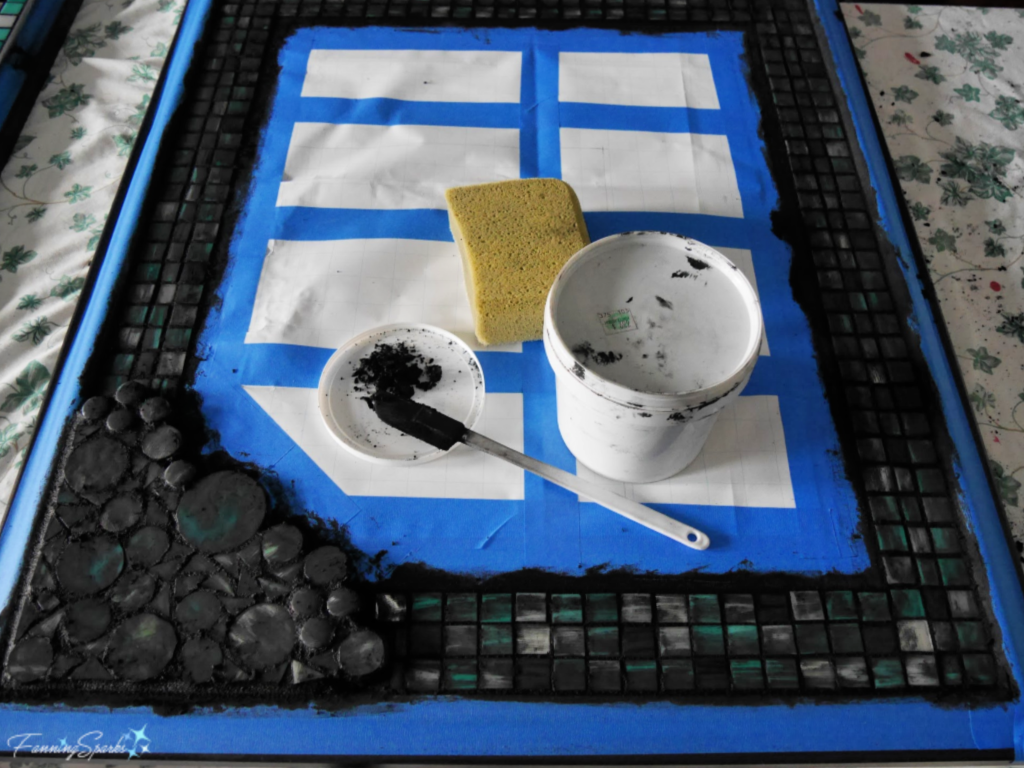
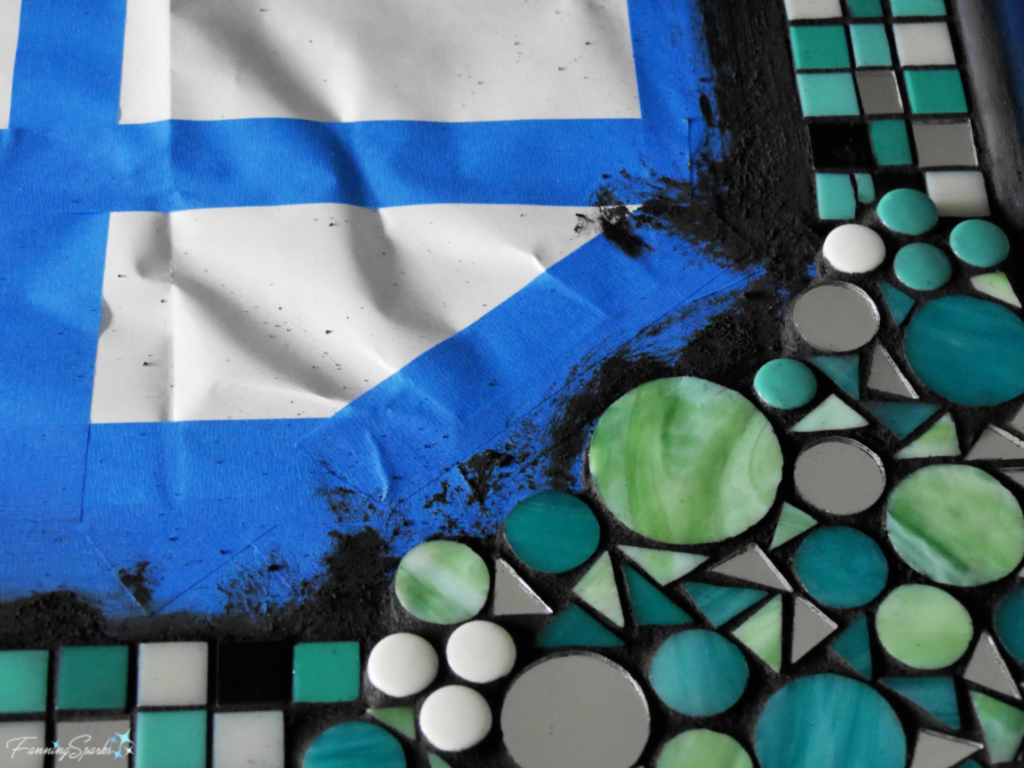
Check out my previous post, Pair of Mosaic Mirrors Completed, to see a contemporary mosaic project I completed recently.
The 8000-year-old Golden City of Ephesus was the capital of the ancient world. It’s no surprise, then, that Ephesus is on the list of UNESCO World Heritage sites. You can learn more on the Visit Ephesus website.
The National Archaeological Museum in Naples Italy or, Museo Archeologico Nazionale di Napoli in Italian, has an amazing mosaic collection including a number of important mosaics recovered from the ruins of Pompeii. You can find info on their website under Routes & Collections > Rooms & Exhibition Spaces > Mosaics. This includes the Alexander Mosaic, which depicts a battle between the armies of Alexander the Great and Darius III of Persia.
The Great Palace Mosaic Museum in Istanbul, Turkey exhibits magnificent mosaics dated to 450-550 AD. You can learn more on the Go Turkey Tourism website.
I’d highly recommend Studio Cassio where I attended the Roman Mosaic Workshop in Rome, Italy. More information is available on the Studio Cassio website or under Things To Do in Rome on TripAdvisor.
Today’s Takeaways
1. Mosaics have a long and rich history.
2. Consider attending a workshop relevant to your travel destination.
3. Evaluate the work of experts in an art form or media that interests you.


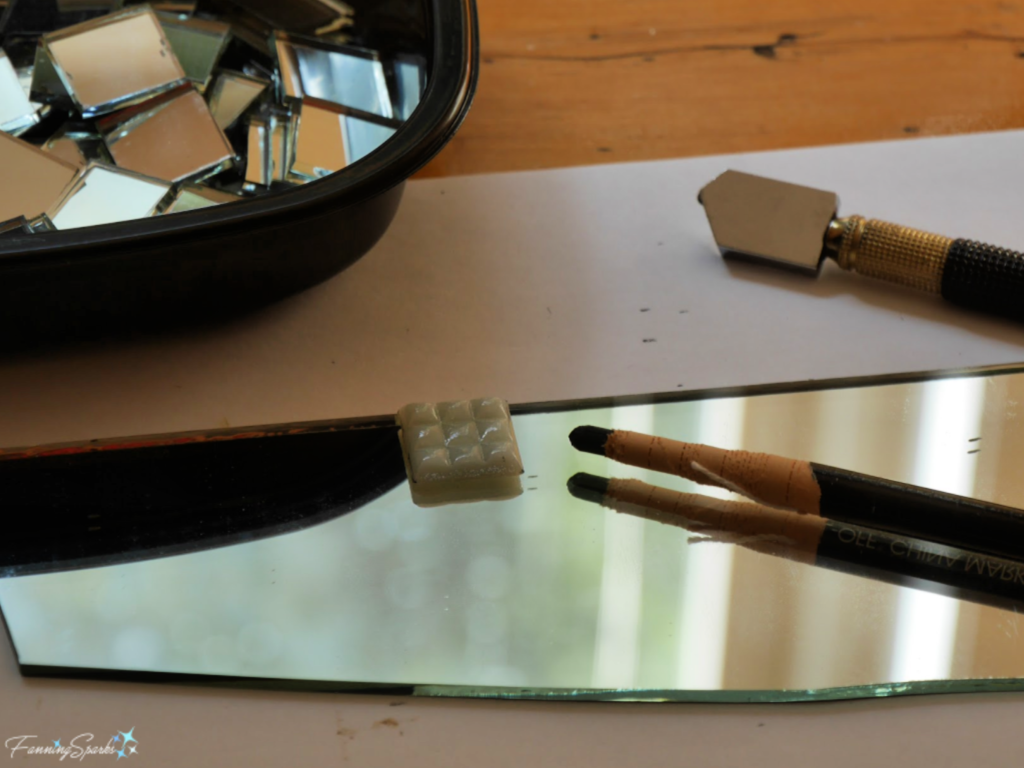
 Here’s a closeup showing the bottom of the tiles‒they are formed into 9 quadrants for good adherence but that also makes them easy to cut with a pair of tile nippers.
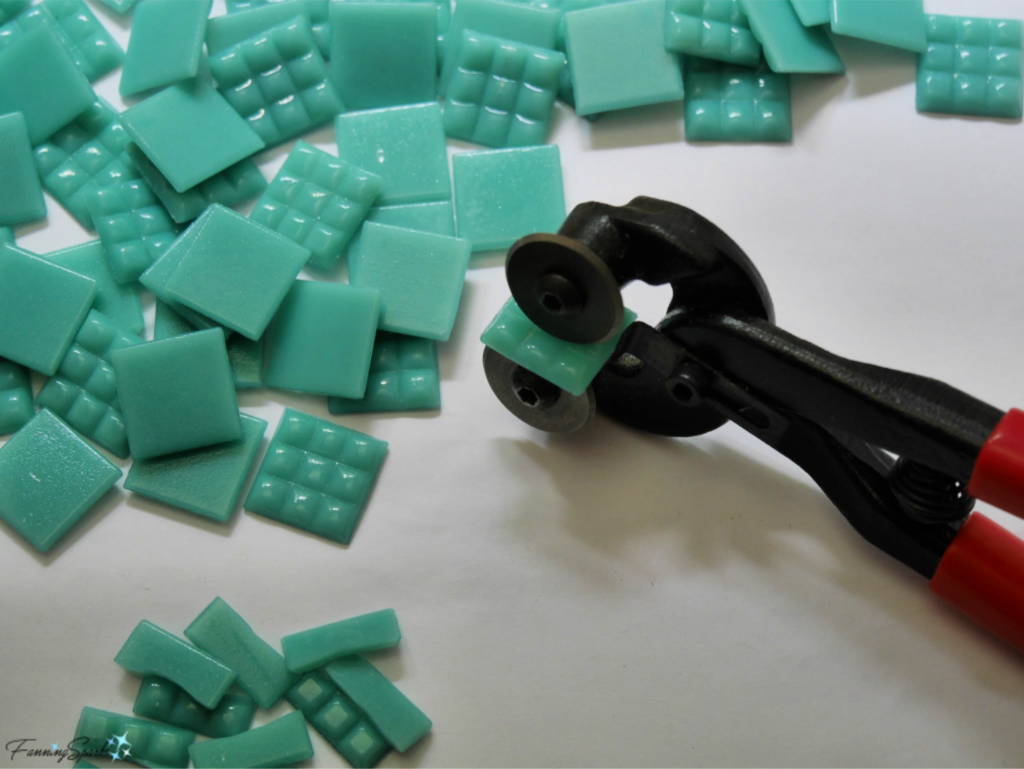


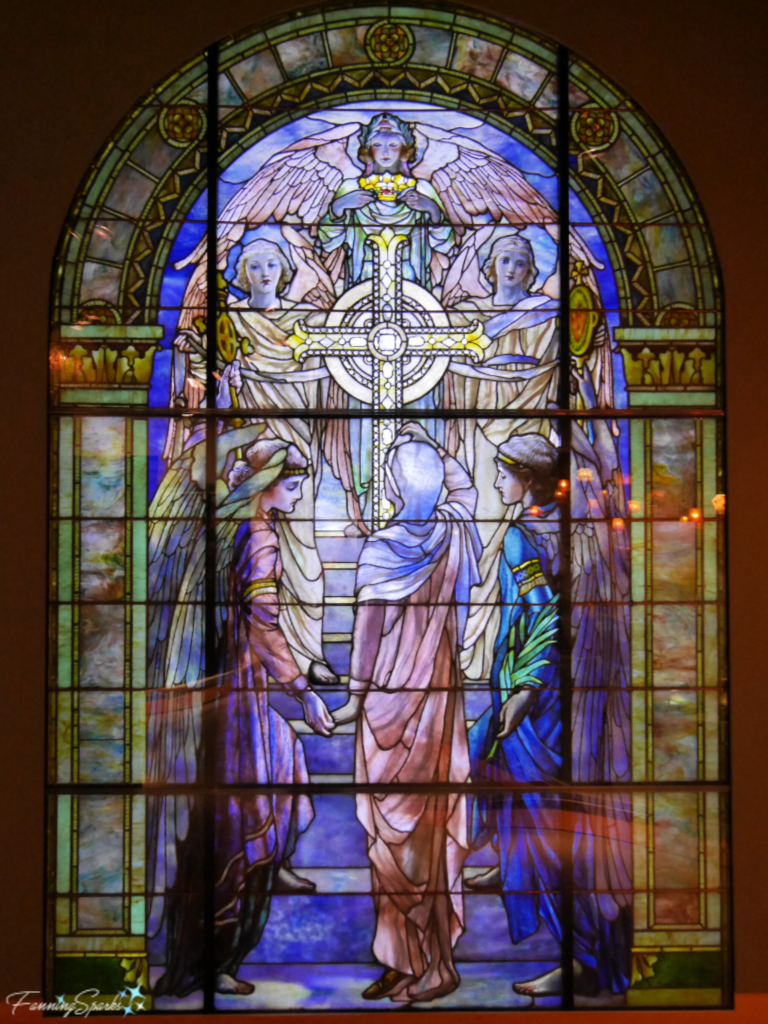

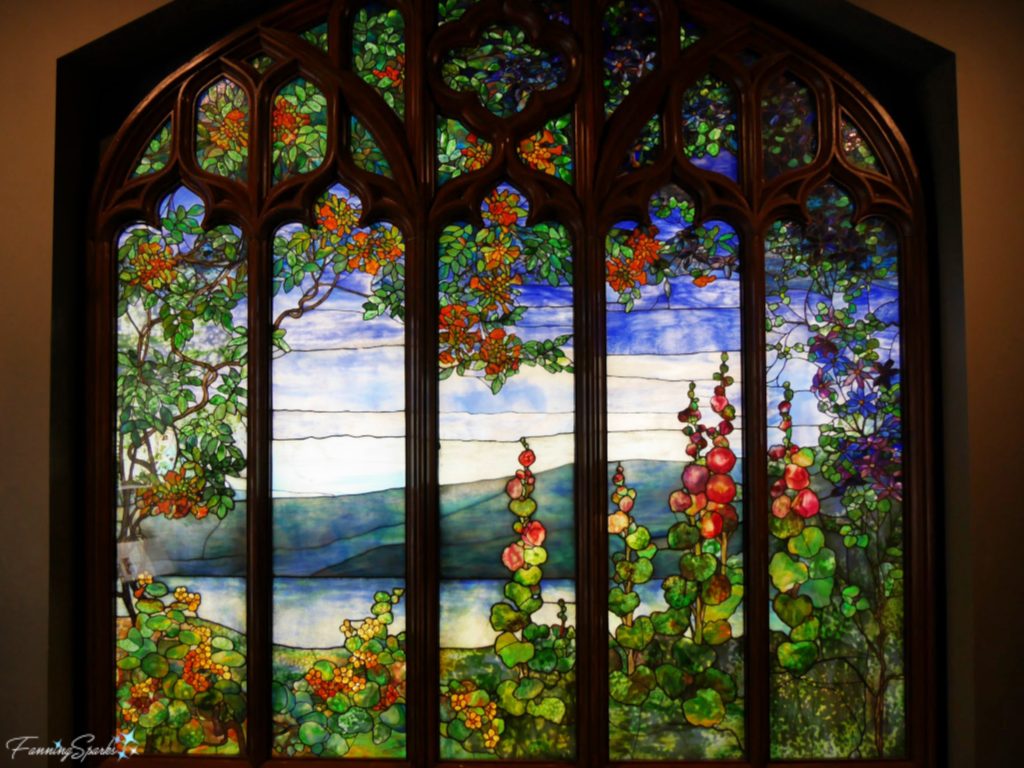
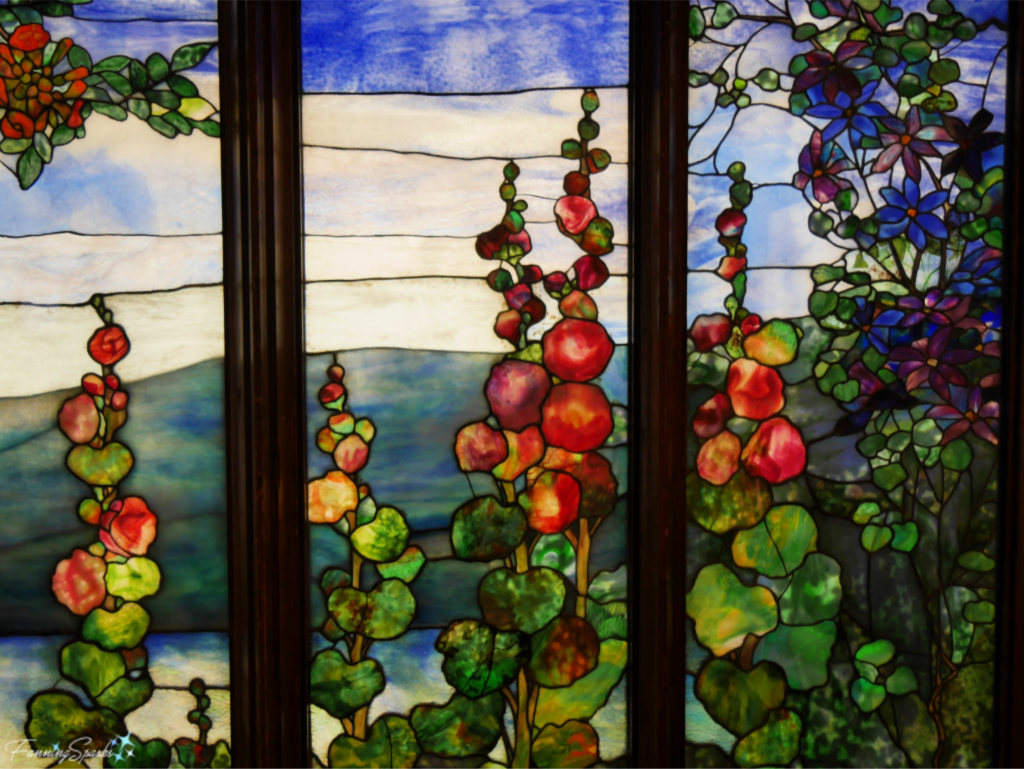
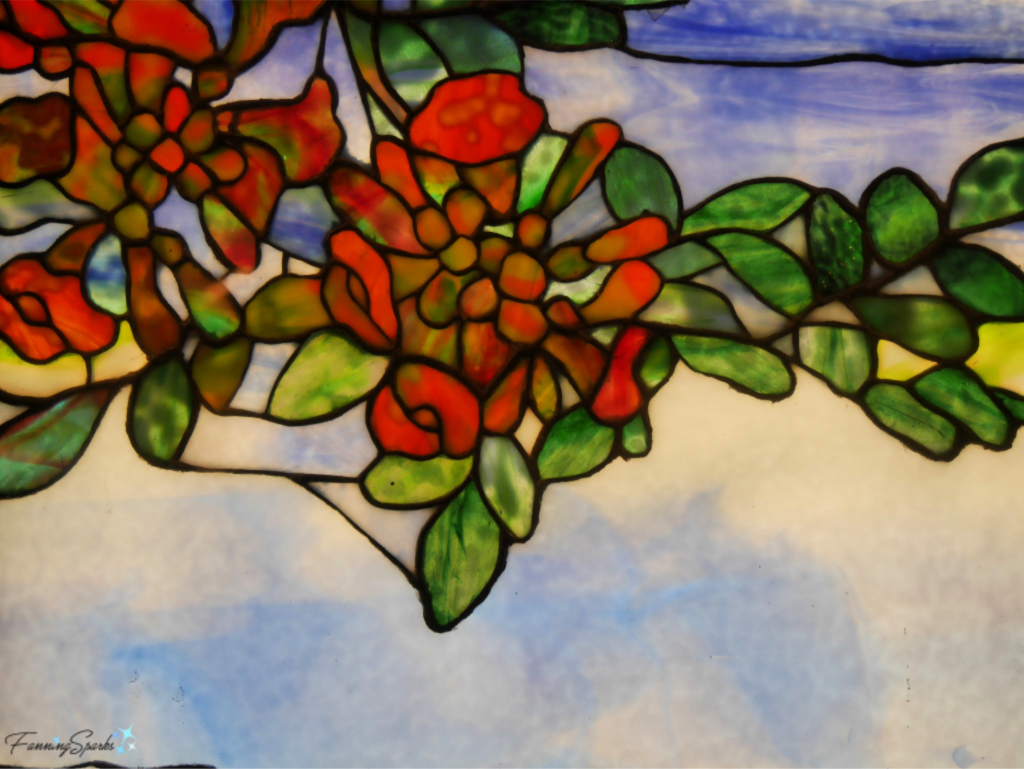
 Below is an example of a Tiffany glass window made with techniques described in Clara and Mr Tiffany. The Hudson River landscape window was commissioned for a Gothic Revival Music Room at Rochroane Castle, Irvington-on-Hudson, New York. It was recognized by International Style magazine in 1905 as one of the most important residential commissions of its day. The exhibit card explains “Tiffany did not use paints or stains in the execution of the window. The rich colors, details, and illusionistic effects are produced with different types of textured glasses, and by layering pieces of colored glass – a technique called plating – on the front and back of the window.”