
Re-imagining the lowly running stitch in new ways.
One of my favorite things about “making” is the challenge of studying a traditional art or craft and coming up with ways to do it differently. Could I change the technique? What would happen if I switched one of the traditional materials? Or used an entirely different set of materials? How would this look if it were a different scale (eg bigger, smaller, wider, narrower)? The possibilities are endless. The running stitch (also called the straight stitch) is a great case in point.
The below photo shows an example of the lowly running stitch (stitches in green). If you’ve had a chance to read my About page, you might recognize this as the embroidery sampler I made as a child. The running stitch is the simplest sewing stitch… merely a line of over and under stitches. Just the fact that it is included in this child’s sampler, puts the running stitch in the realm of the “basics”. This stitch is, admittedly, a little lackluster… there’s nothing fancy about a running stitch. Or so it seems.
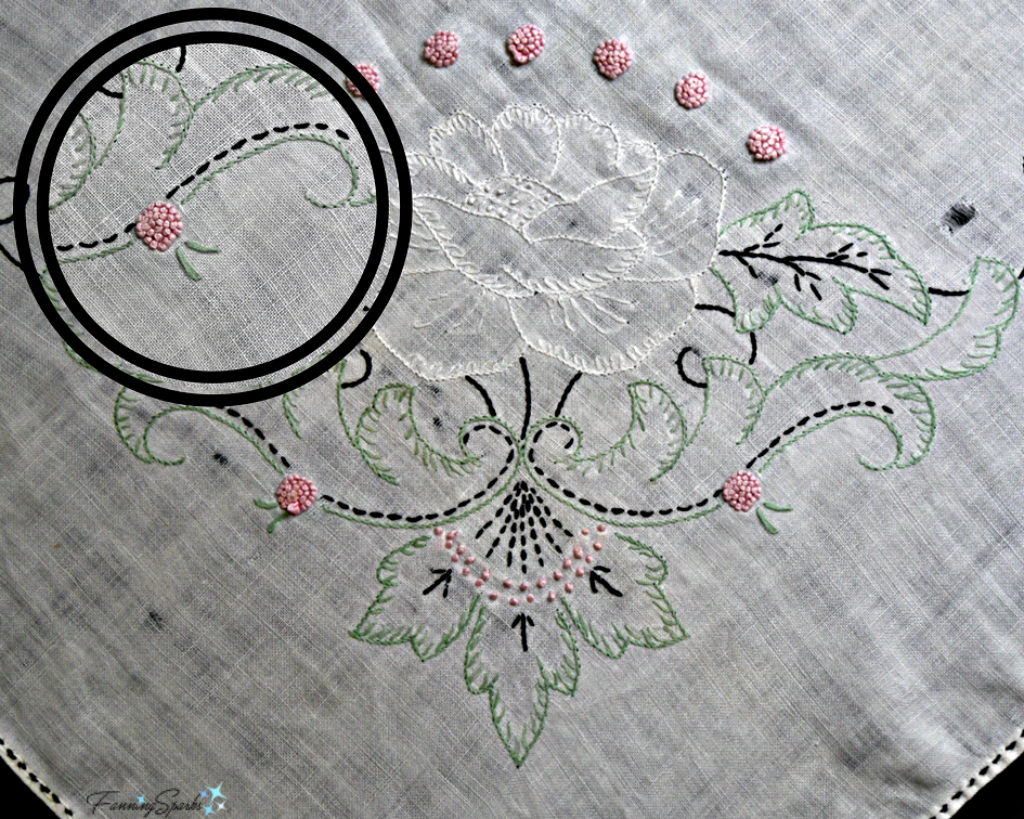
The running stitch is traditionally used to embroider or embellish fabric. Below is a great example of the running stitch used in the traditional way. This vintage tablecloth is embroidered with a lovely design. The materials are embroidery floss on a plain cotton fabric. Notice how the simple running stitch (in black) sets off the more elaborate stitches in the floral design.
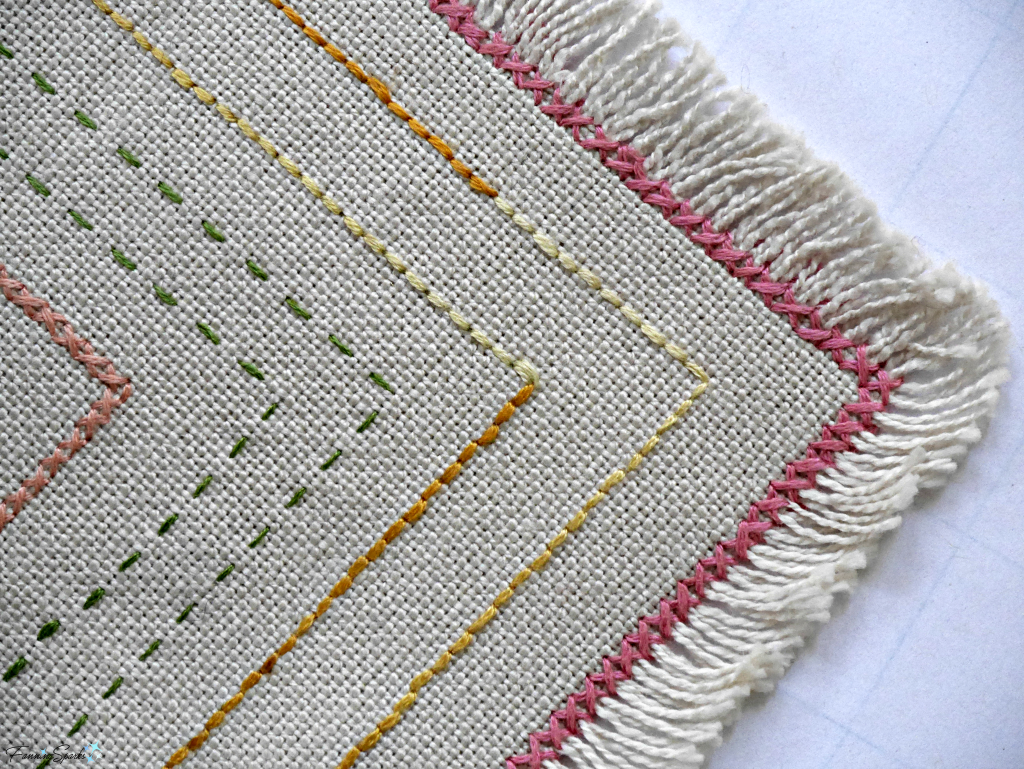
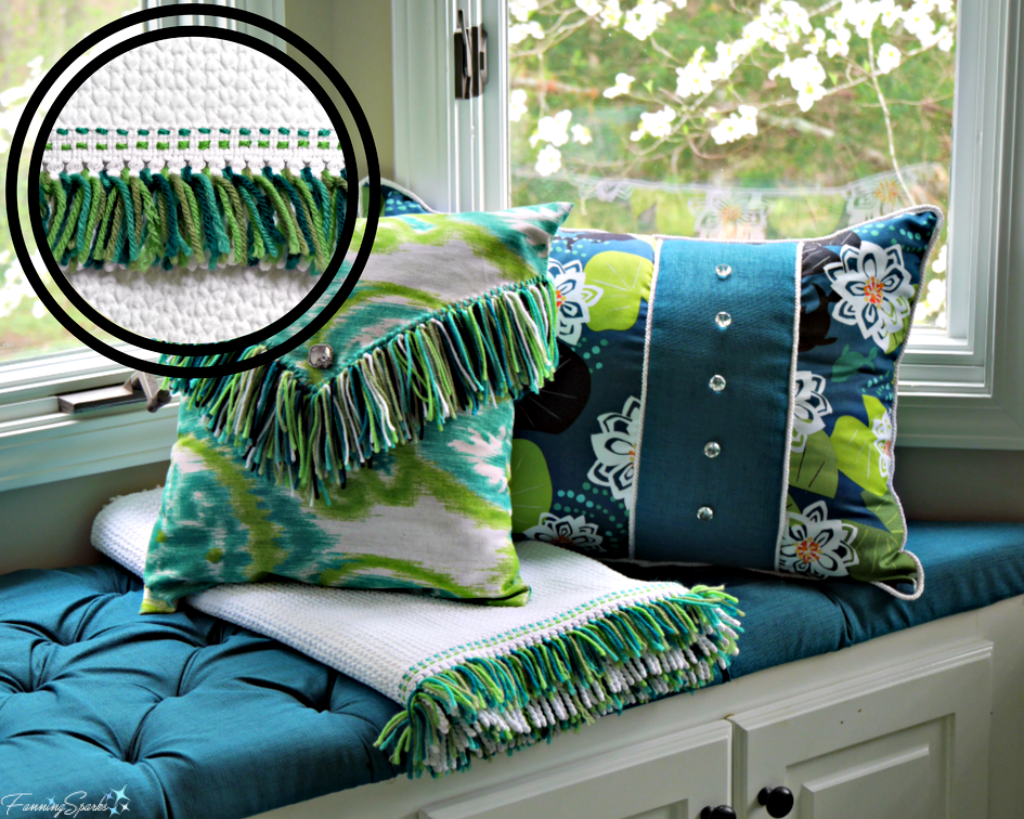
In this next example, I used a series of running stitches to jazz up a cotton blanket. The materials have been altered from the traditional embroidery floss and cotton fabric to yarn and a textured cotton blanket. I used 2 colors of yarn to match the colors in my bedroom décor. Then I simply stitched along the edge of the blanket. Lucky for me, there is a row of trim along that edge which has a very obvious grain line. It was easy to create a neat, uniform row of stitches. I finished it off by adding some colored yarns to the fringe.
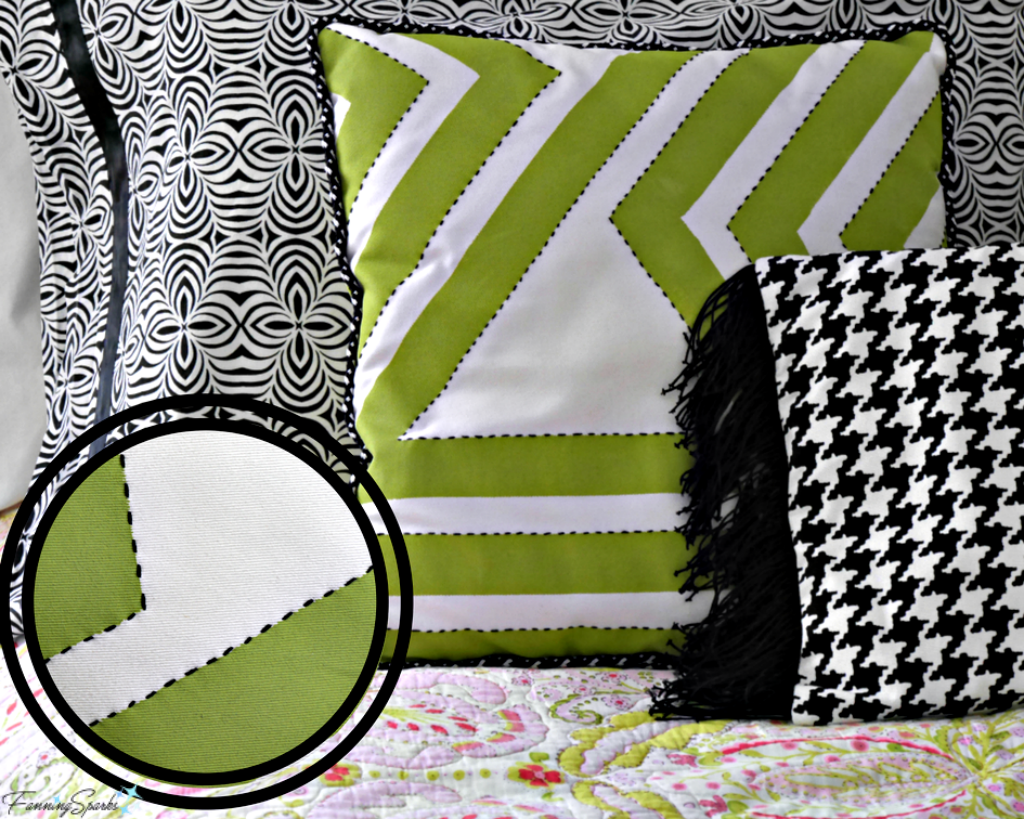
Here’s yet another example of the running stitch in a slightly different application. The below pillow was painted and then highlighted with a running stitch. I created the design and used painters tape to mark the design on the fabric. Then I mixed textile medium into paint and applied the design to the pillow cover. I used black embroidery floss to sew a simple running stitch along some of the painted stripe edges. I think this delicate black running stitch adds interest and provides the perfect finishing touch. As you can see in this example, the traditional methods and materials have been altered by incorporating painted fabric.
Here’s another example I’d like to share. It is, in fact, a work in progress so I can’t yet show the final product. I’ve been playing with “stitched paper” whereby you stitch paper, or in my case photos, with thread. This is a more obvious alteration of the traditional materials… instead of stitching on cotton fabric, I am stitching on paper. Once again, the lowly running stitch is used in a fresh and non-traditional way.

The running stitch is also integral to an embroidery technique called reverse applique. Here’s an example of reverse applique that I made to showcase the FanningSparks color scheme. In this example, the running stitch plays a supporting role. It is used to sew the different fabrics together but it is the layering and cutting of the fabrics which bring the design to life.
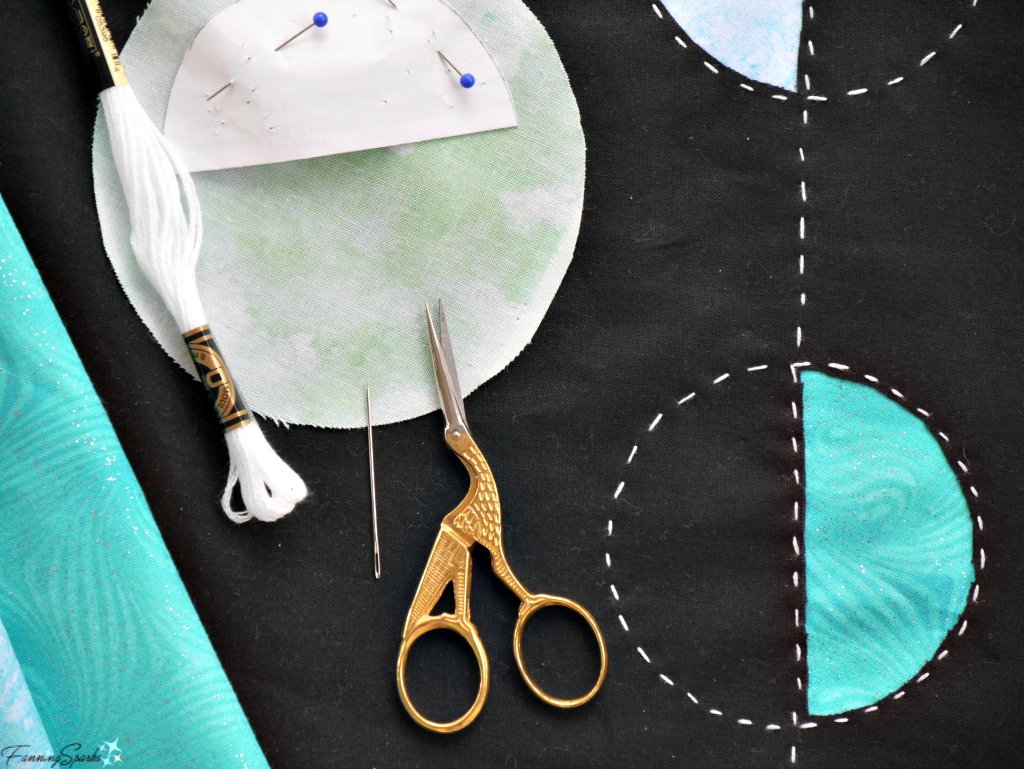
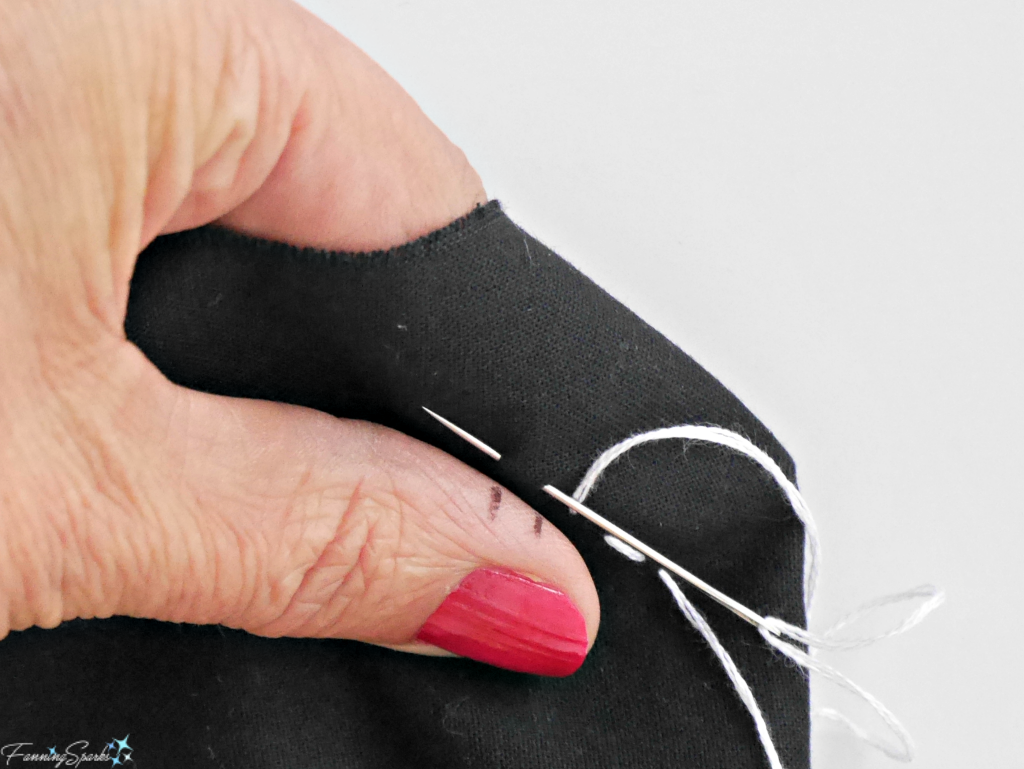
You may have noticed that the running stitch is typically very uniform. Sometimes, you can rely on the actual fabric grain to guide you like I did with the blanket above. Other times you have to monitor the stitch length yourself. Here’s a great trick I learned for keeping your stitches nice and even. You simply mark your thumb or finger with the stitch length using a ball point pen. You’ll want to play around with this a little to determine the best place to make your marks. I found marking my thumb was the best because that’s where I hold the fabric as I bring the needle in and out of the fabric.
More Info
I recently learned about a great book called “The Geometry of Hand-Sewing”. It is written by Natalie Chanin, the award-winning designer behind Alabama Chanin. This book includes detailed instructions for 100+ stitches with lots of diagrams and photos. But the best part is the pull-out templates or stitching cards. You simply use a FriXion marking pen to mark dots on your fabric so you can make perfectly spaced stitches. The pen marks disappear with the heat of an iron. Genius!
Today’s Takeaways
Here are a few thoughts that may spark an idea:
- Vintage textiles provide great insight on traditional needlework arts.
- Re-imagine traditional needlework art by altering the various aspects of the materials, techniques, scale, application and design.
- Take time to experiment and just see what happens.

4 Comments
@Cora – thanks for checking out the post. You’ll have to experiment to find the best place to mark your thumb/finger 🙂 Peg
@Marian – It doesn’t get any easier than the running stitch! Peg
Your techniques are wonderful and instructions easy to follow.
But not sure where to put the marks on my older crooked fingers.
Cora
Wonderful fresh insight to make a simple, maybe easy to do, stitch interesting.
Thanks for the inspiration.
Marian