
Admiring the work of others and seeking advice from experts is all well and good but diving in and doing it yourself is the best way to learn. At least, that’s been my experience with the numerous creative endeavors I’ve tackled over the years. And it proved to be true once again with my most recent effort―textile collage.
I’d read in Gerald Brommer’s book Collage Techniques: A Guide for Artists and Illustrators that “Collage artists often spend much time deliberating over arrangements of papers [or fabrics, in my case], lines, shapes, and colors. Many adjustments and placements are tried before the various parts are finally adhered [or stitched] to the support.” That’s exactly how it played out for me as you’ll see in this blog post. I experimented with various compositions, arrangements, fabrics and embellishments before finally settling on a design.
If you missed my other blog posts about textile collage, please check A Barrage of Textile Collage for examples of textile collage from well-known textile collagists and How to Kick Off a Textile Collage for suggestions on how to start a collage by focusing on its composition.
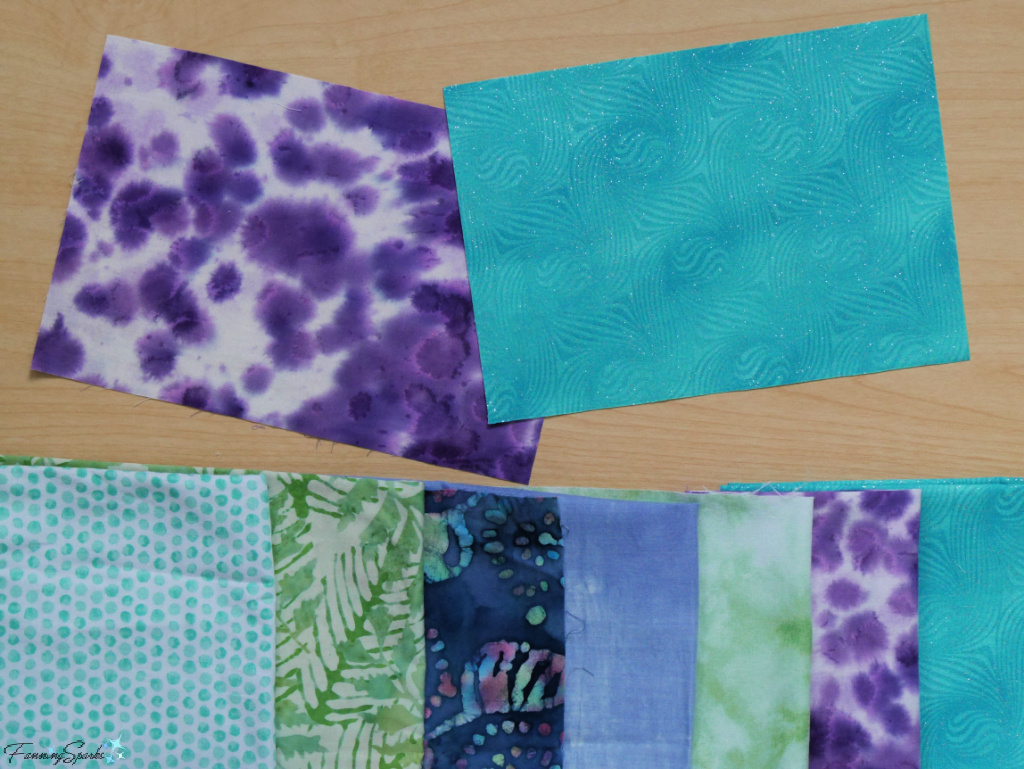
My first step was to gather potential materials from my, admittedly, extensive fabric stash.
There were quite a few cotton fabrics in my stash which were suitable for the background. But I chose one with a dramatic ice tie dye pattern in a purple and white palette because it looked interesting enough to carry the main body of the work without overpowering it. I decided on a 6” x 9” horizontal rectangle for the base.
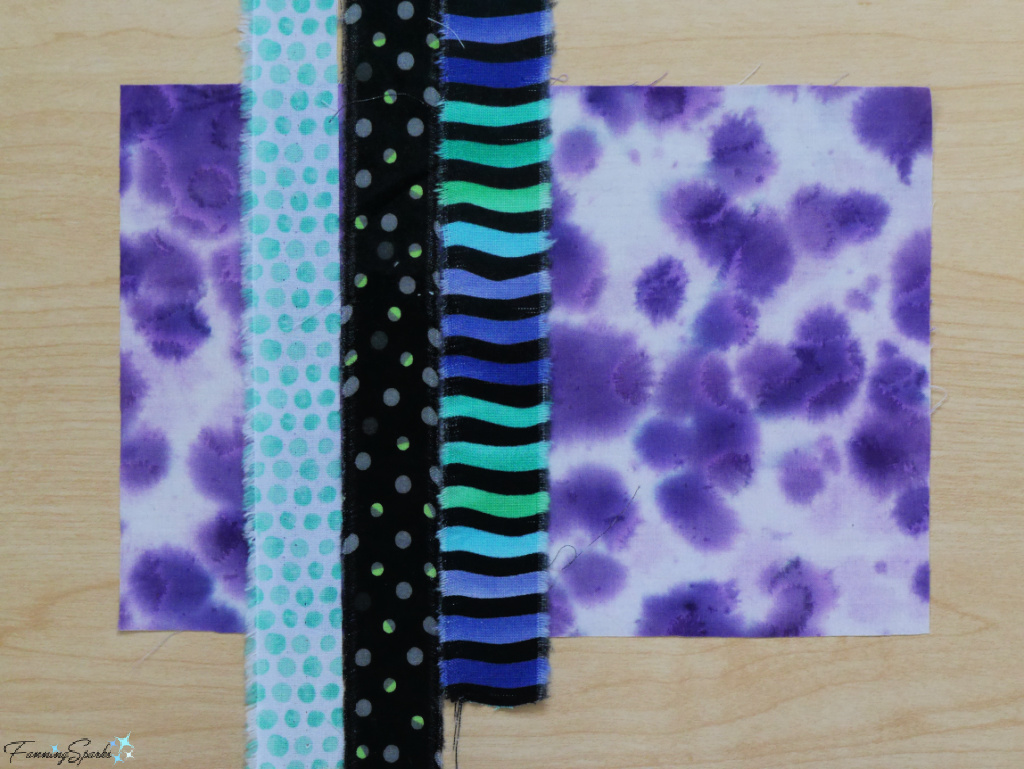
Next, was the underlying structure―a vertical basic design format was a good starting point. I tried a few different fabrics with varying colors and patterns to see which might work as a vertical stripe.
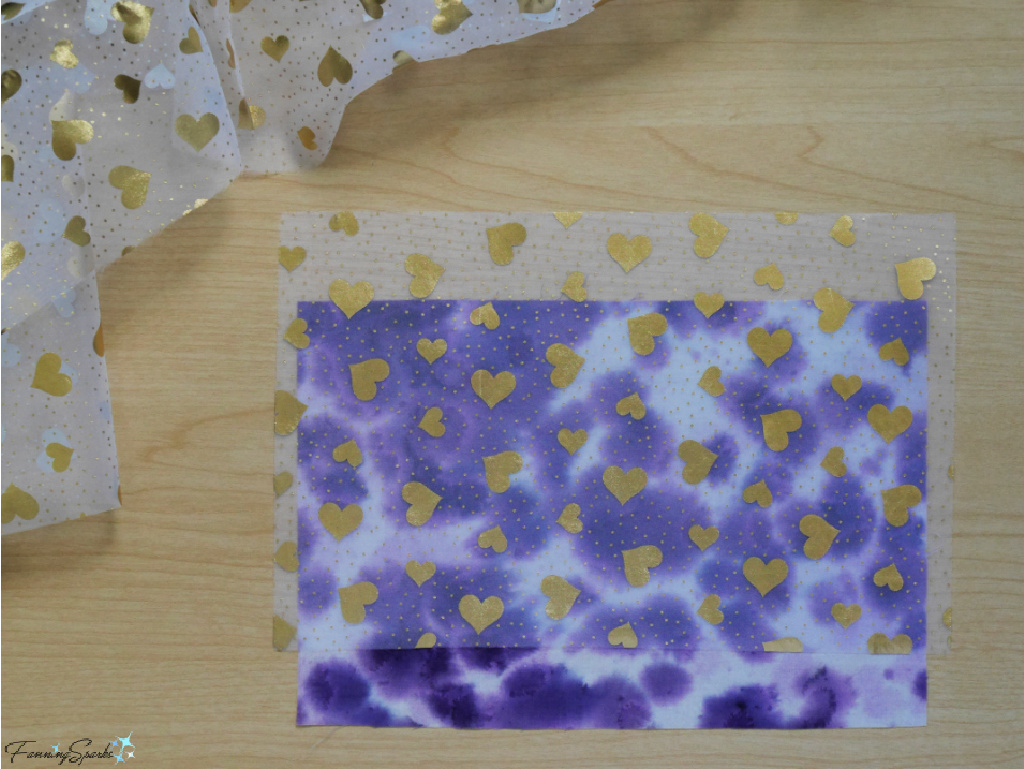
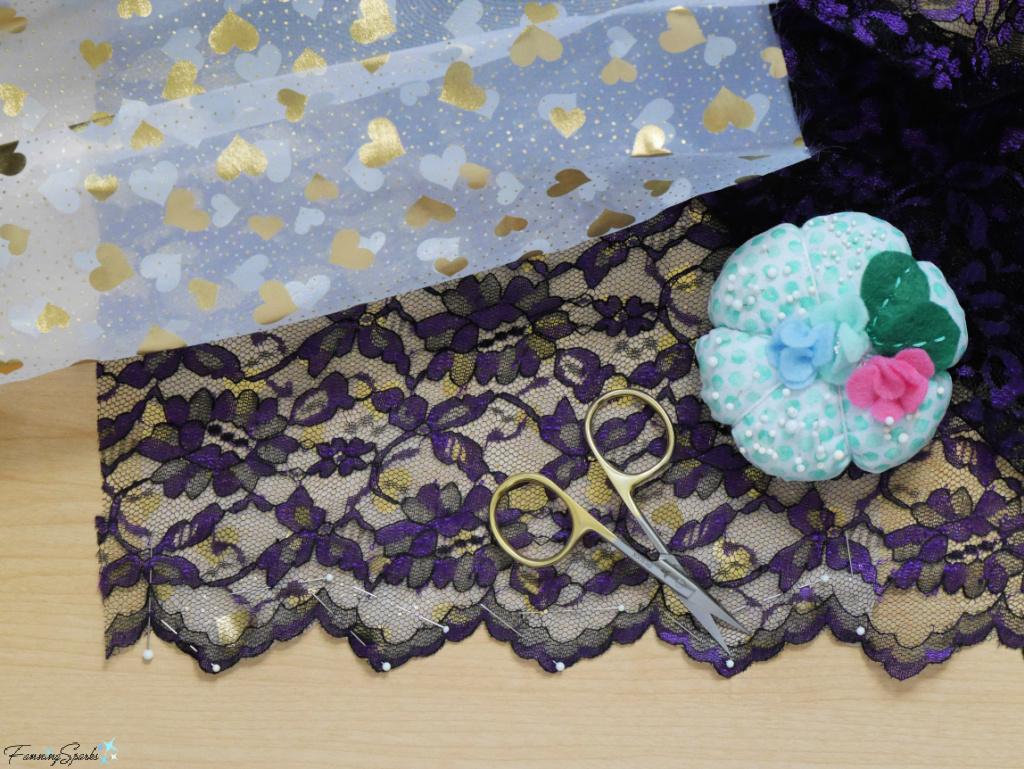
I also tried layering on some fancy fabrics like this white sheer covered in gold foil hearts…
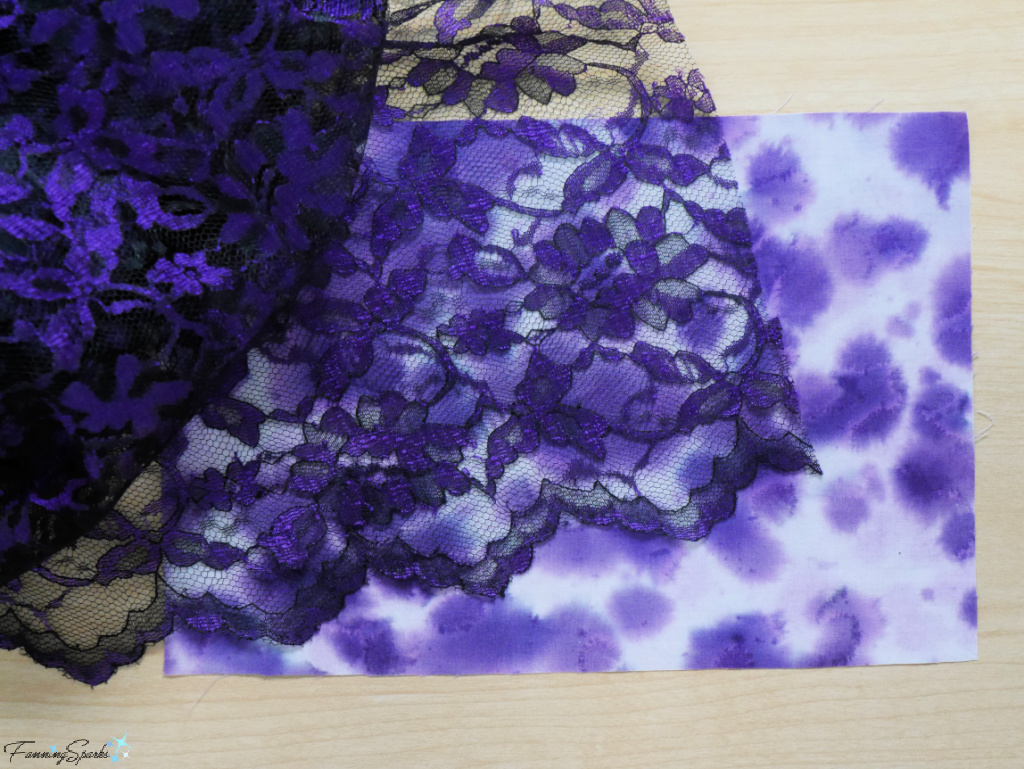
… and this black and purple floral lace.
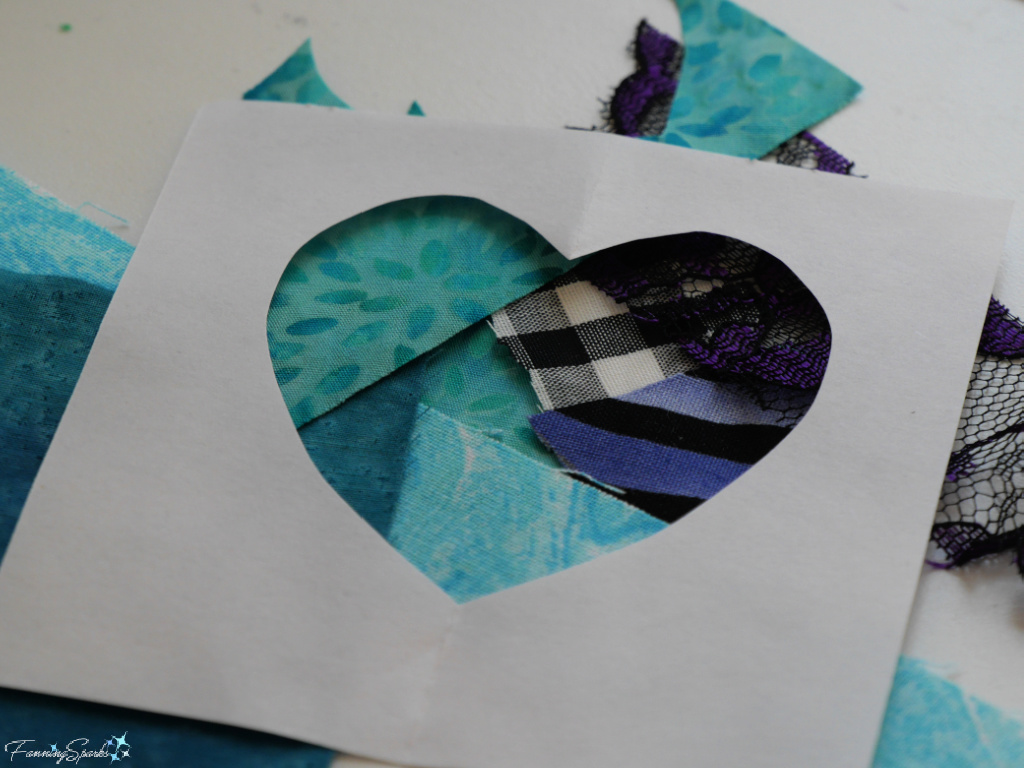
Some experts recommend laying a paper frame over the work to help visualize the results. This technique was quite helpful. The frame helped me decide to add a 2/3 layer of sheer white and a 1/3 layer of black-purple lace over the purple-white background.
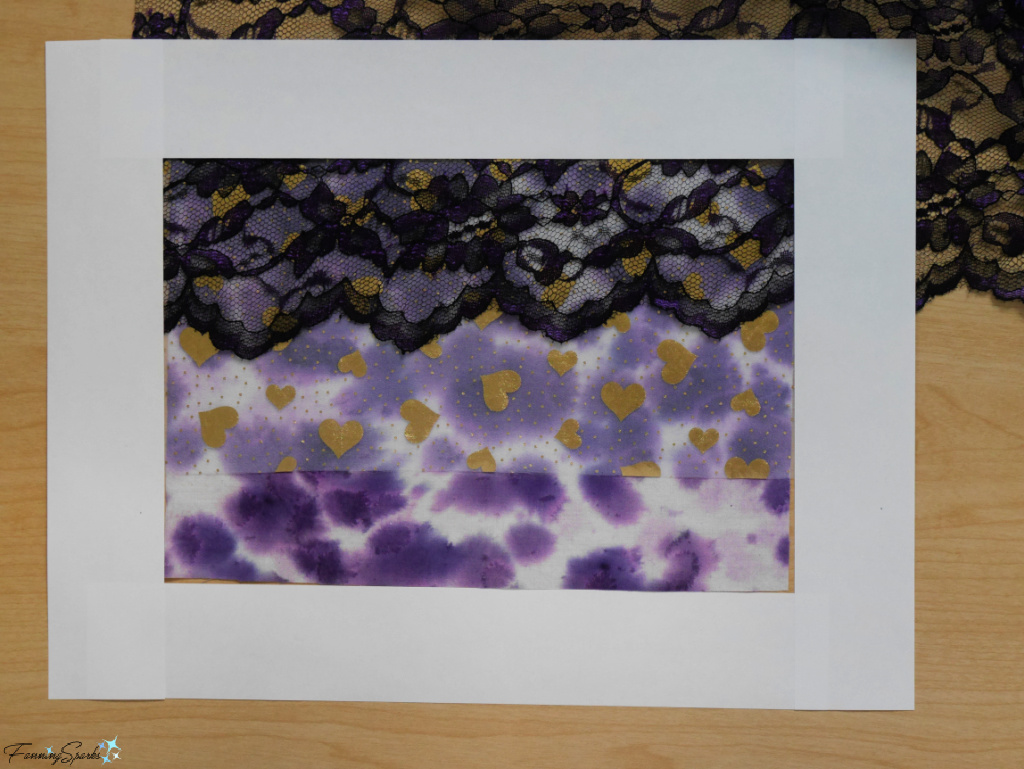
The scalloped edge of the black-purple lace added such a pretty wavy line that I decided to duplicate it on the edge of the sheer white.
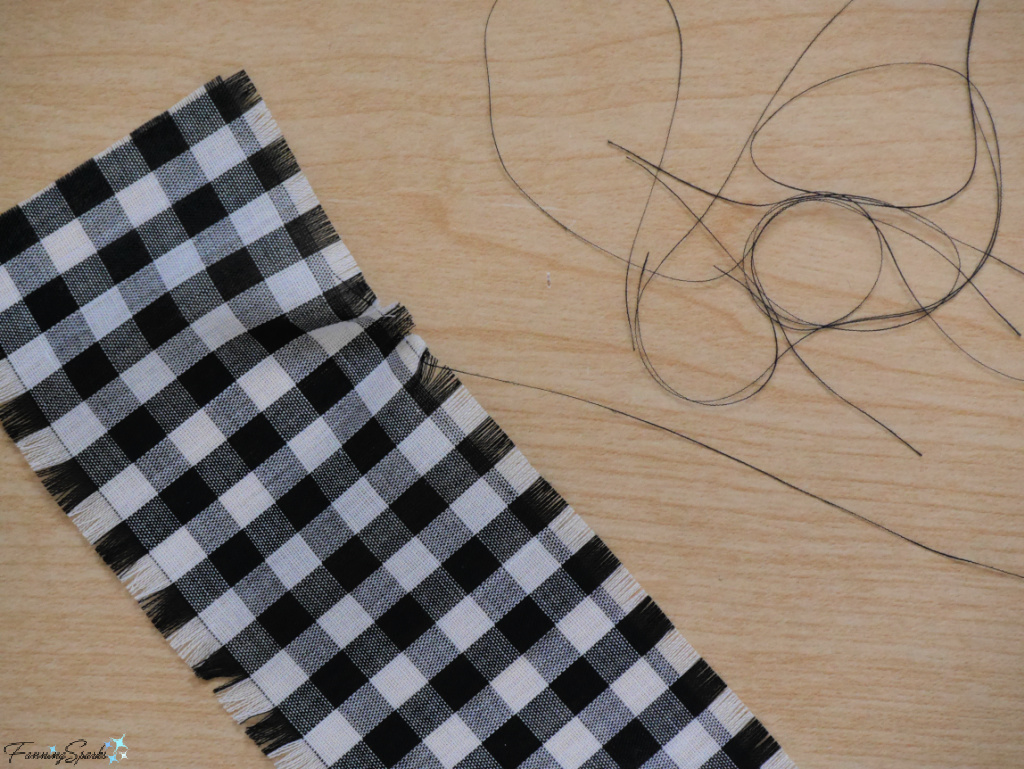
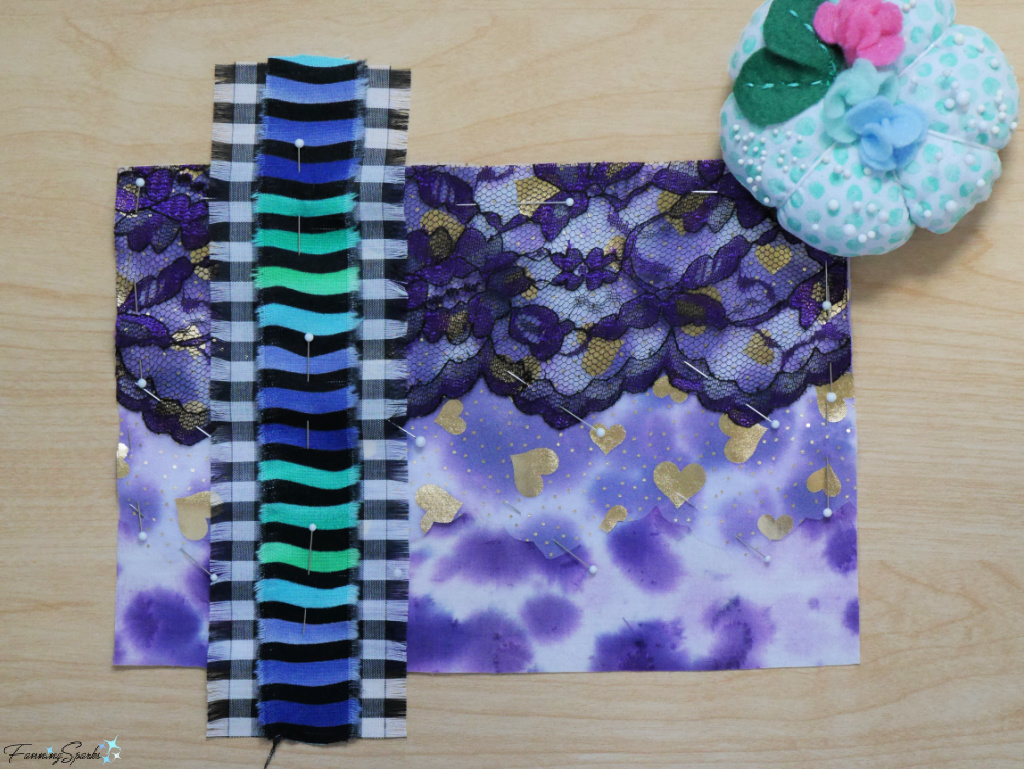
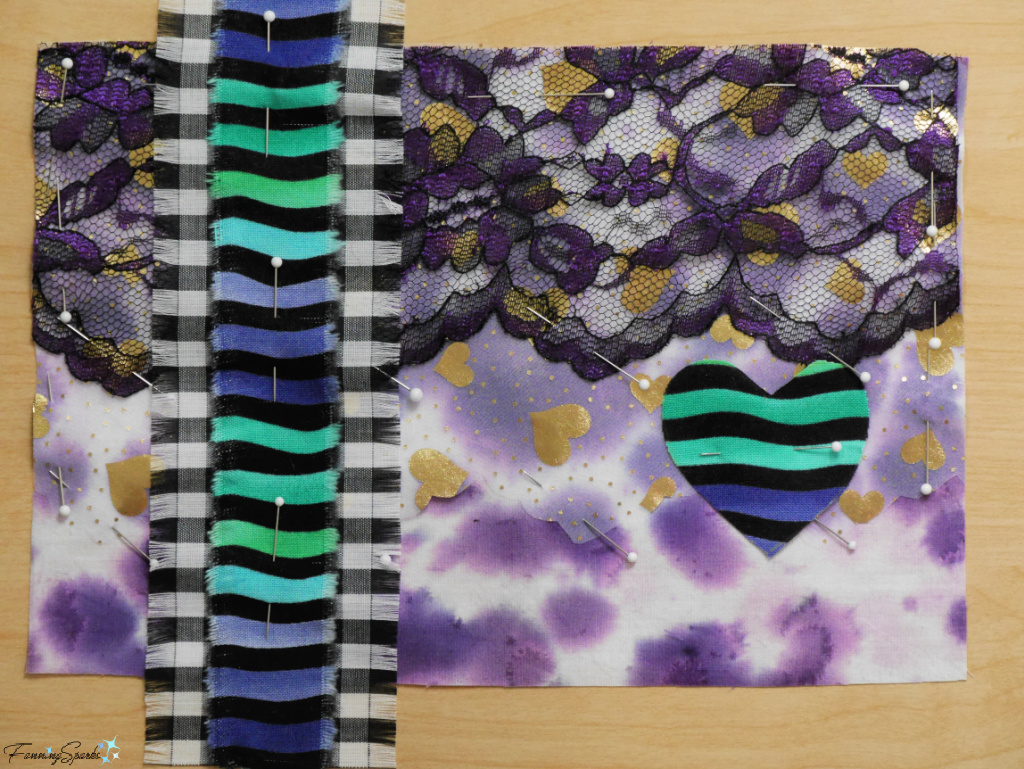
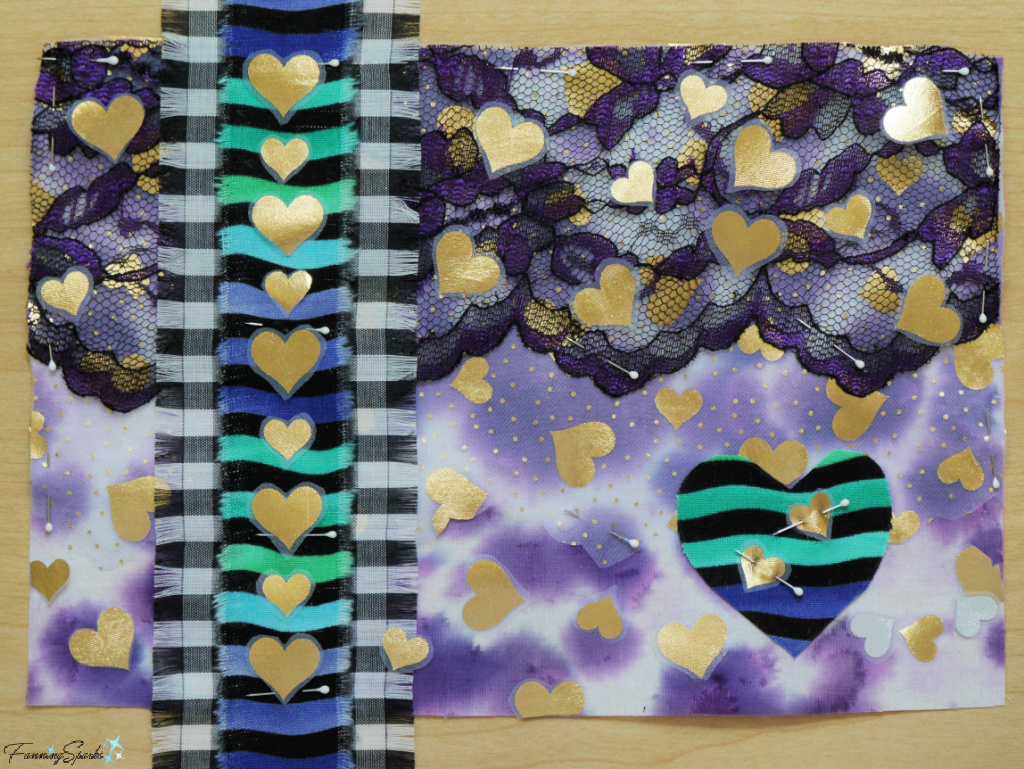
With the new layered background in mind, I went back to try a few more options for the vertical stripe including a black-and-white gingham with frayed edges.
Topping the black-and-white gingham with a purple-green stripe created an interesting combination.
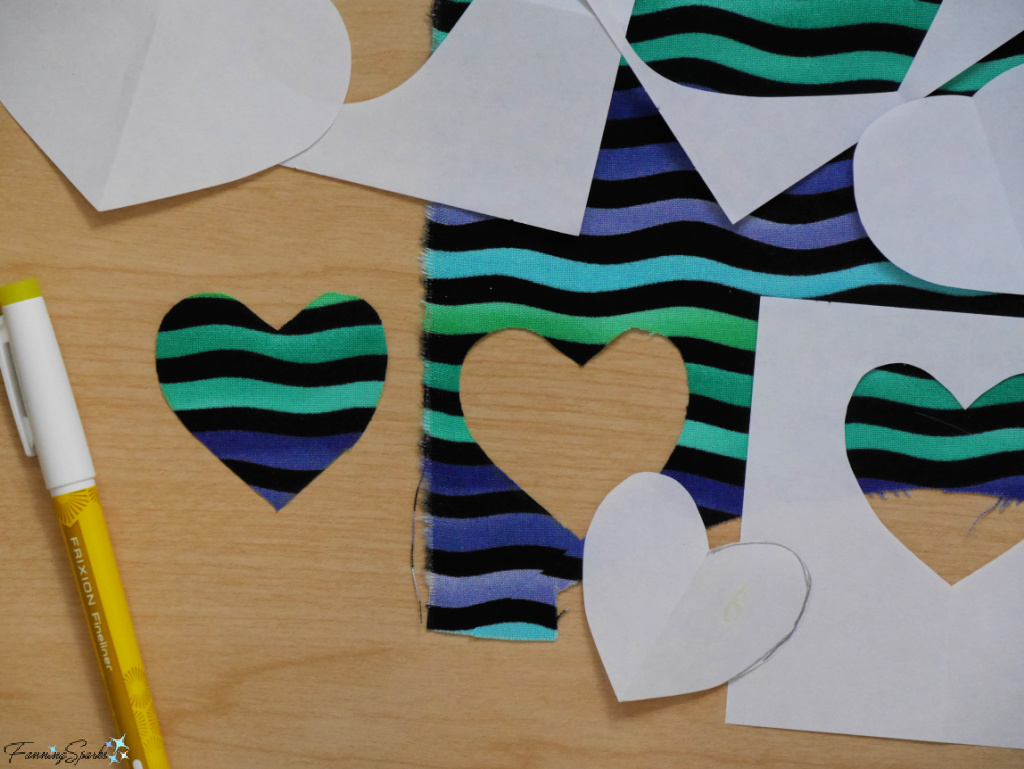
At this point, it became apparent the piece lacked a focal point and that the bottom right might be just the place to add it. So, I tried playing off the gold hearts in the sheer white fabric and created a heart applique.
My first attempt was OK but rather predictable and lackluster.
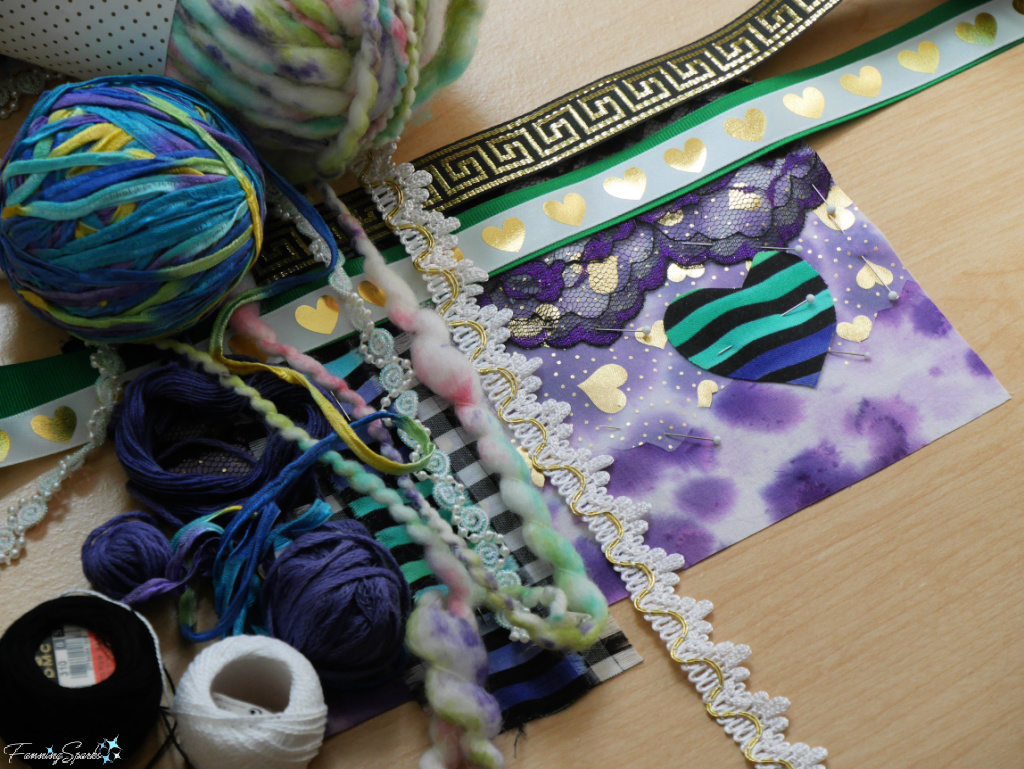
So, I pulled out some pretty trims and fancy yarns to see how they might impact the piece.
Next, I tried cutting some of the little gold hearts out of the white sheer fabric and placing them around the collage.
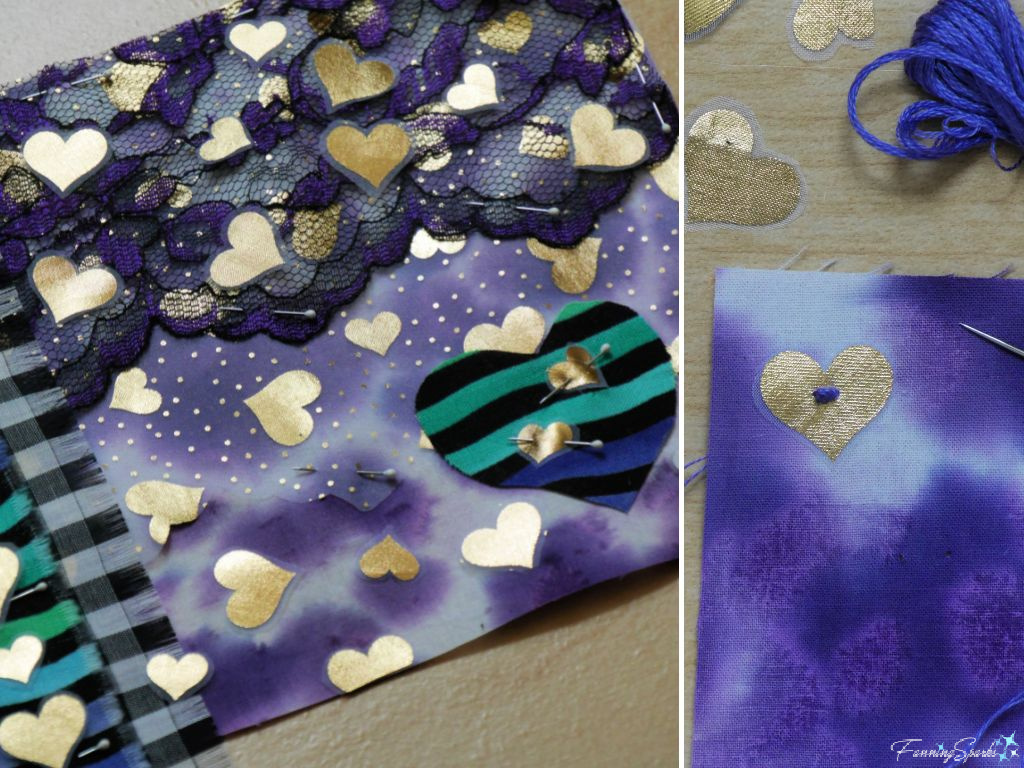
This version looked more interesting…
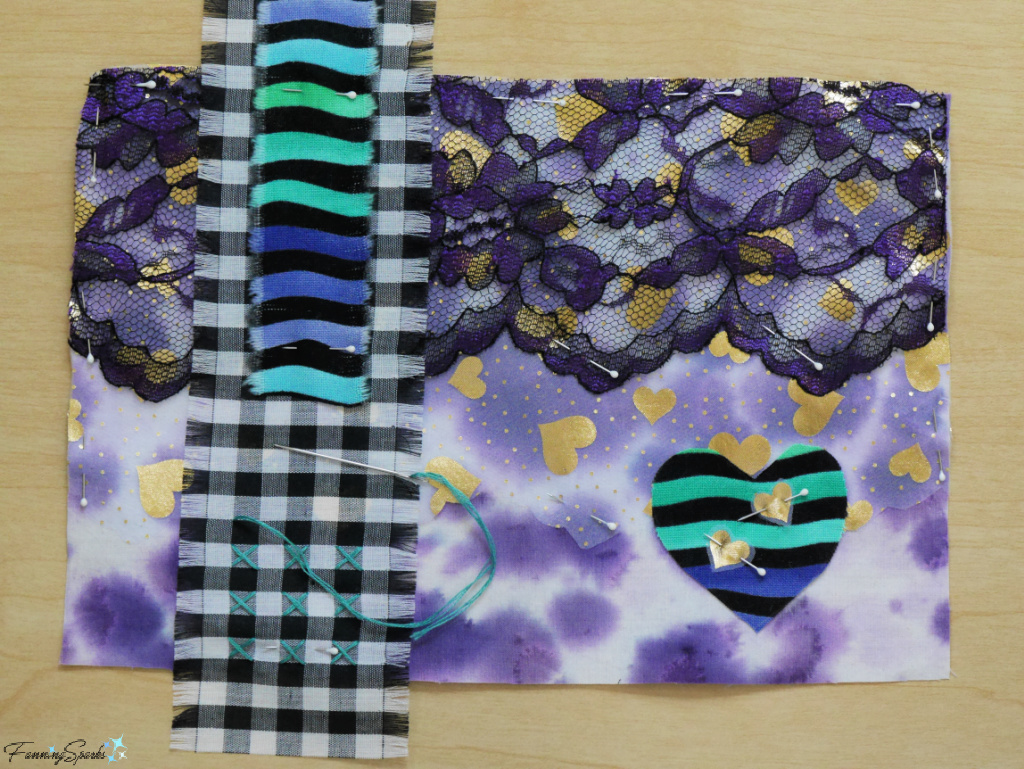
… but I decided to try a few other variations. I cut off half of the purple-green striped piece and added some embroidery to the black-and-white gingham piece placing cross stitches inside the little squares.
Here are a few of the other possibilities I considered for the heart applique.
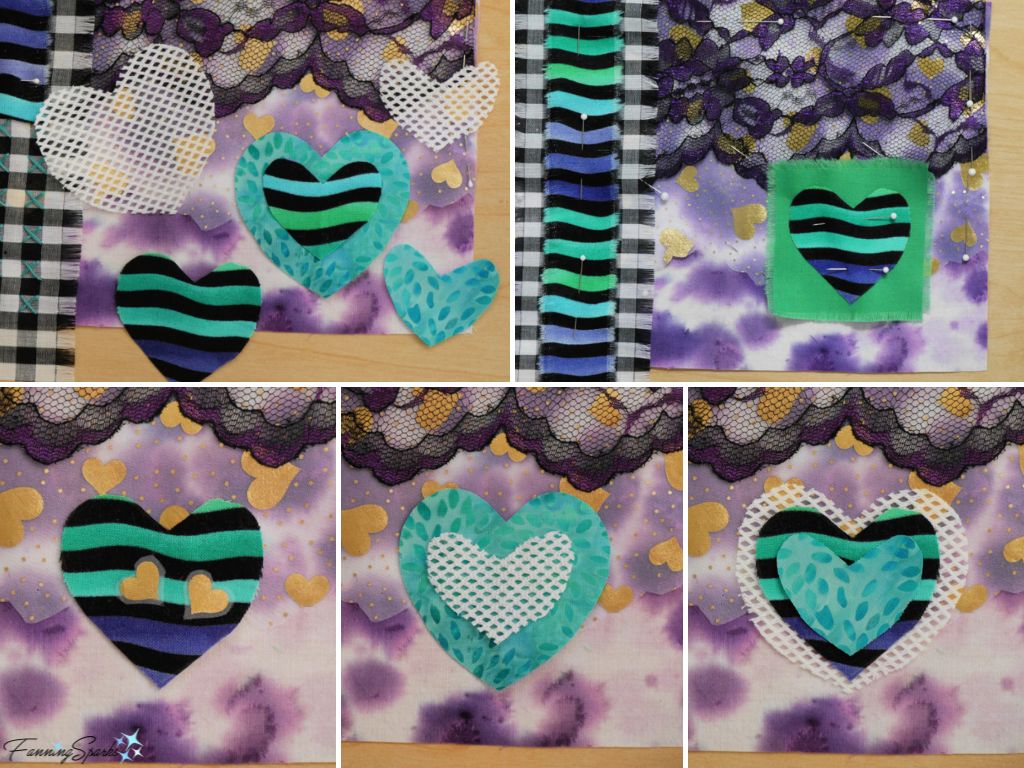
It seemed to me, a heart made with a combination of fabrics was more interesting than one made with a single fabric or one layered with a few fabrics. This patchwork version looked promising―especially since it introduced a few more fabrics into the collage.
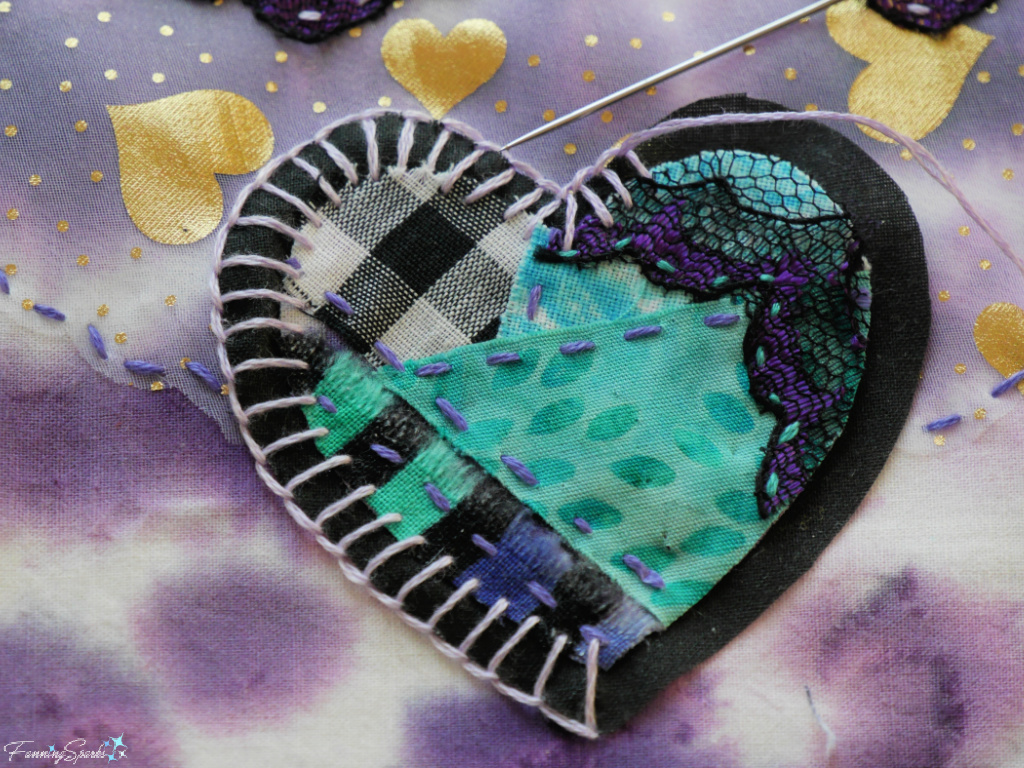
This next photo shows the patchwork heart applique after the pieces have been stitched together and while it’s being attached to the collage base. The narrow black edge and the blanket-stitched border, done in lilac-colored embroidery floss, really make the heart stand out.
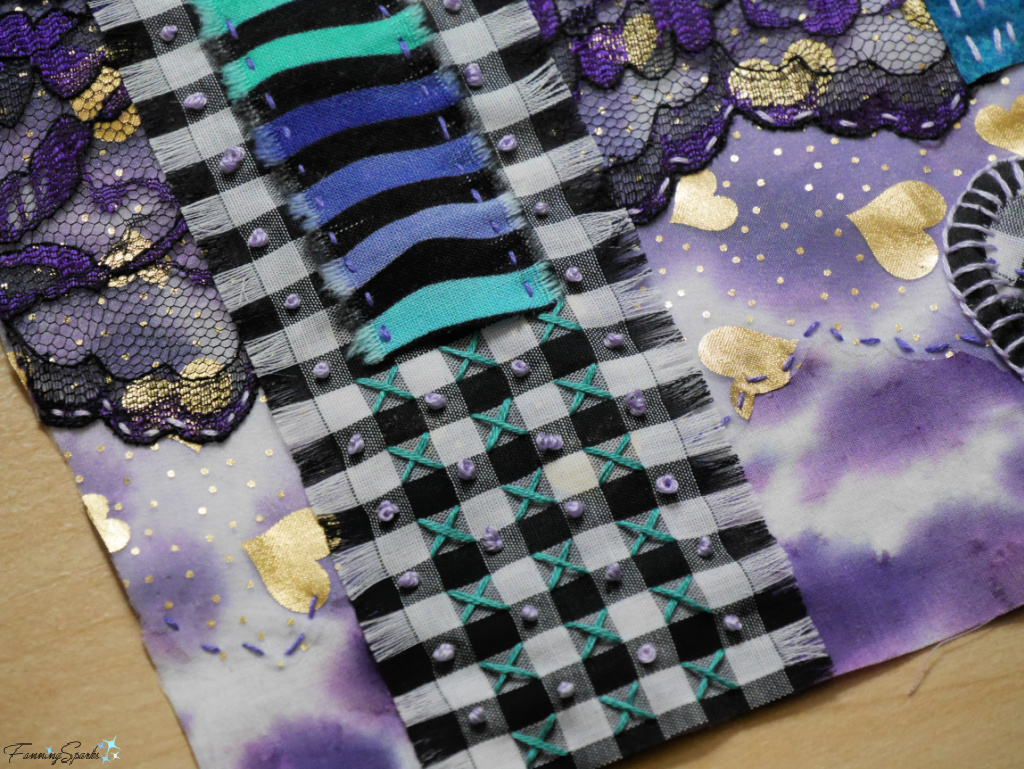
Using the same lilac-colored floss, I added French knots around the turquoise-colored cross stitches on the black-and-white gingham for a little more punch.
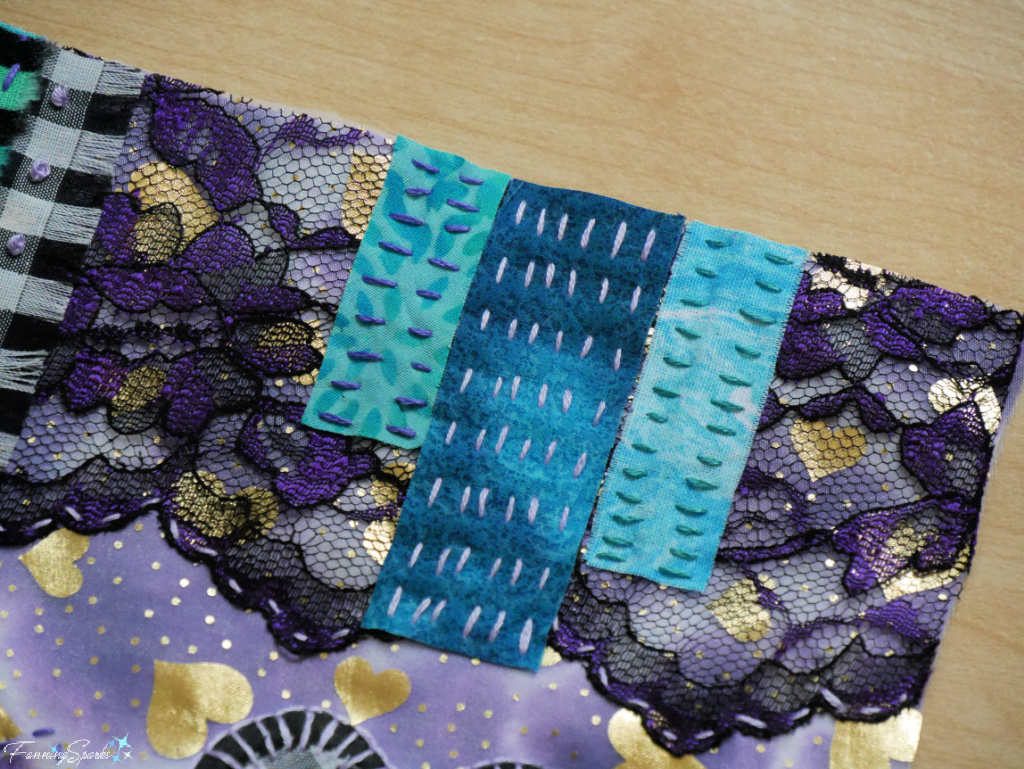
Adding a few rectangles with the same blue and turquoise fabrics from the patchwork heart provided a nice repeat. Embroidering these pieces with simple running stitches also added impact and interest.
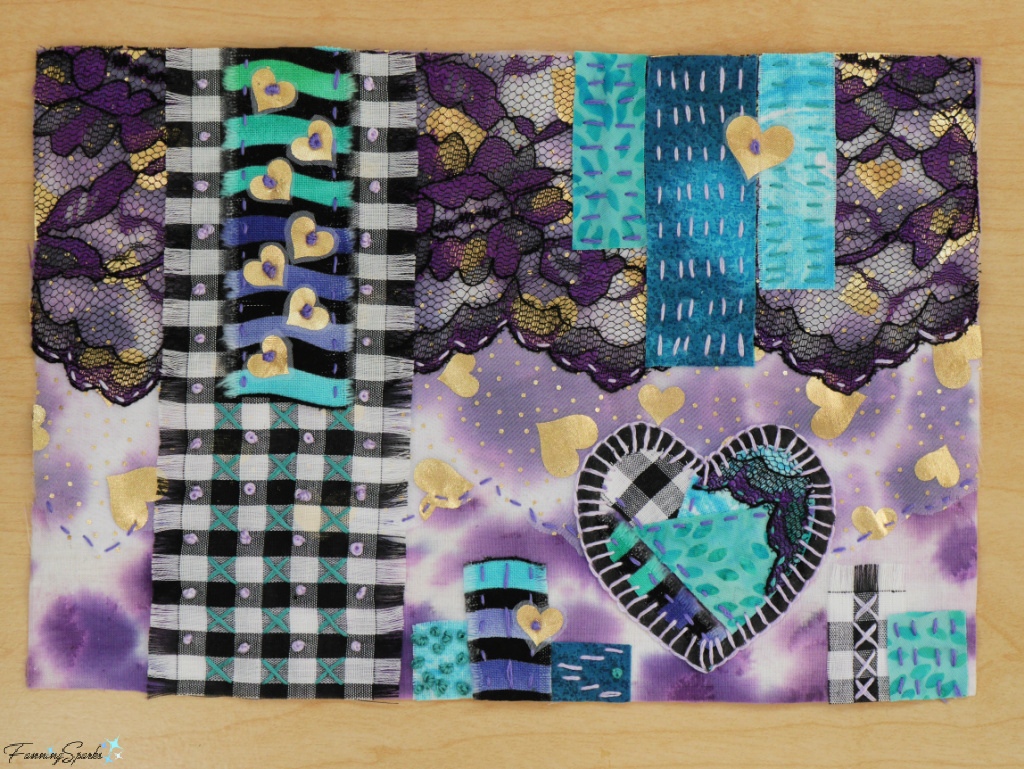
And here’s the collage at this point… getting better but not quite done.

The bottom edge looked too plain so I added a few blocks of fabric and embroidery. Then I circled back to the little gold hearts which I’d cut from the sheer white fabric and sprinkled them over a few areas. It seems to me these final additions were just what my patchwork heart textile collage needed.
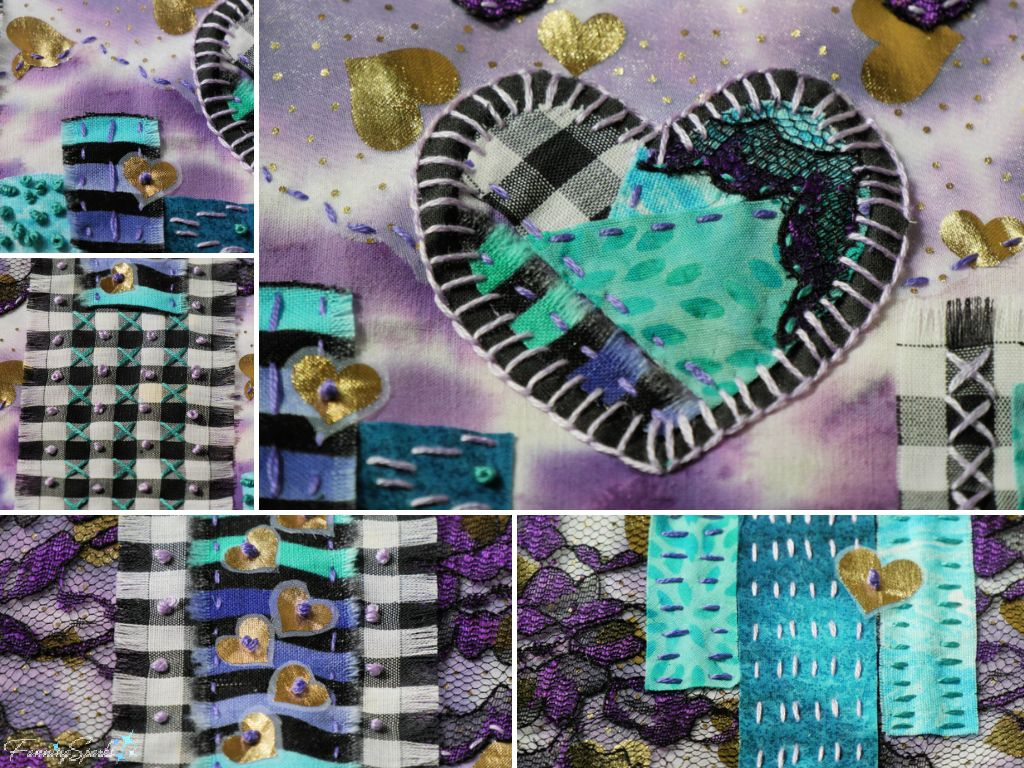
Here’s a closer look at some of the details.
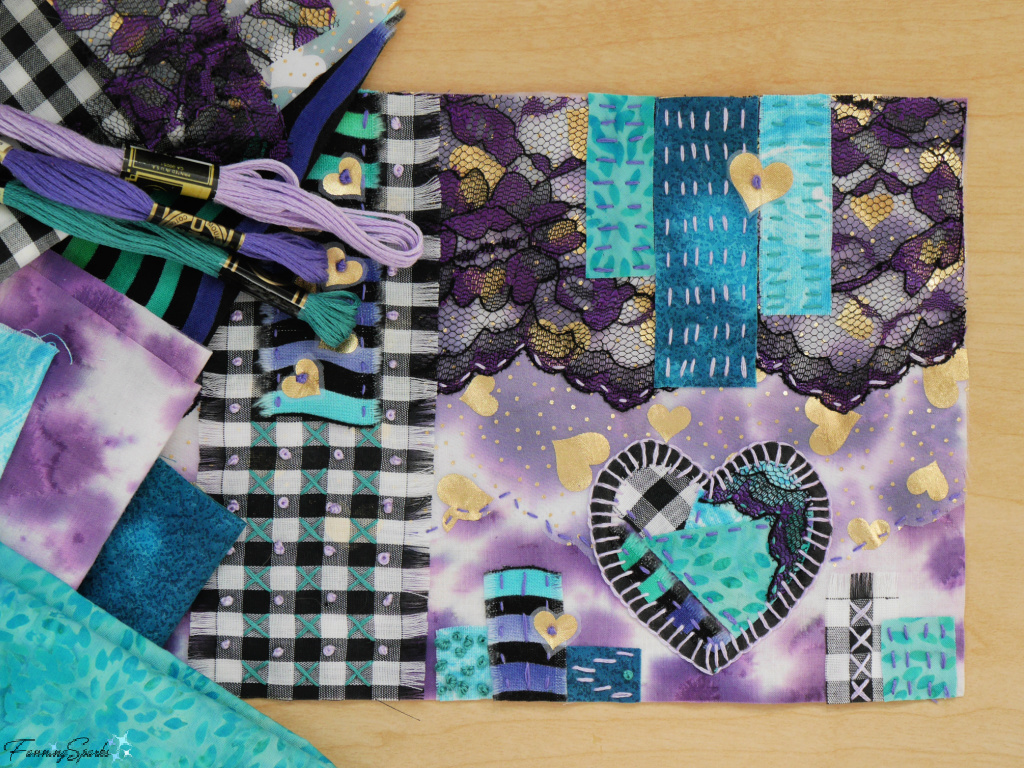
Here it is―my first textile collage pictured with the materials used to create it!
More Info
Previous blog posts mentioned in this blog post include:
. A Barrage of Textile Collage
. How to Kick Off a Textile Collage.
The following book was consulted in the writing of this blog post:
. Collage Techniques: A Guide for Artists and Illustrators book by Gerald Brommer which is available here on Internet Archives.
Today’s Takeaways
1. Admiring the work of others and seeking advice from experts is all well and good but diving in and doing it yourself is usually the best way to learn.
2. It’s easy to get lost in the process of creating a collage―arranging and rearranging the design until you find a composition that pleases you.
3. “Collage artists often spend much time deliberating over arrangements of papers, lines, shapes, and colors. Many adjustments and placements are tried before the various parts are finally adhered to the support.” Gerald Brommer


Comments are closed.