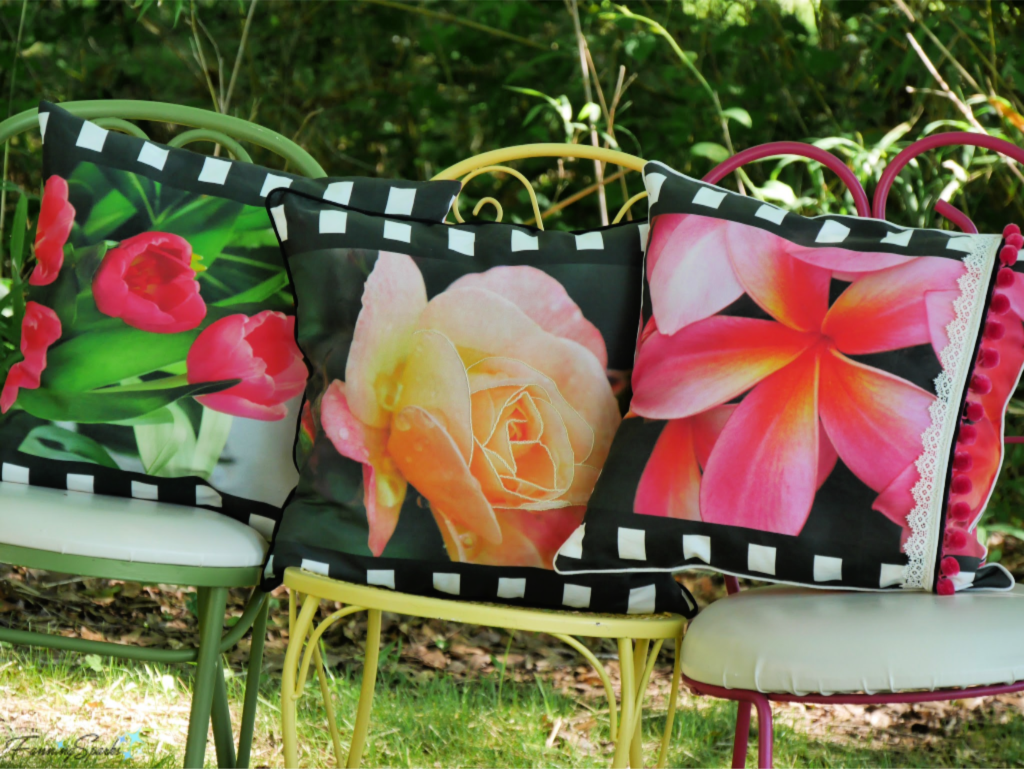
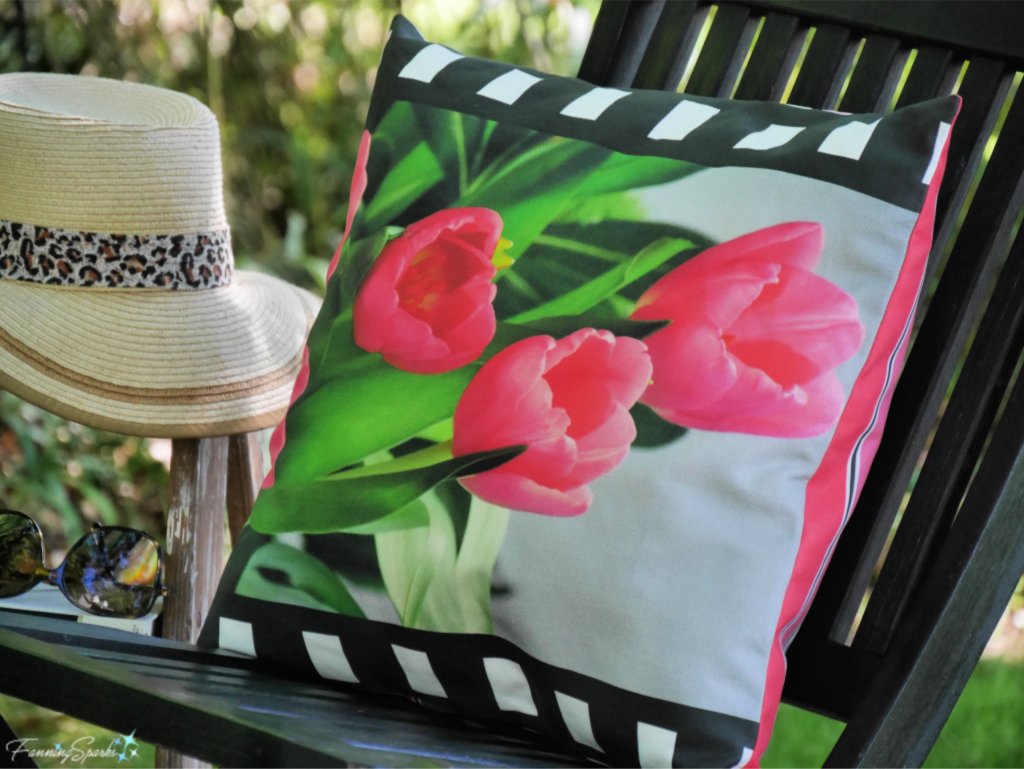
In my last post, I announced my new Spoonflower shop featuring the Floral World Tour – Warm Colors Collection. This is a unique collection of cut-and-sew 18” square pillow covers featuring photos of beautiful flowers. Each pillow design is a thoughtful pairing of flower and country designed to add impact and interest. There are 3 design options (from left to right as shown below):
. Tulip + Netherlands – showcasing bright and cheerful reds, pinks and greens reminiscent of the tulip fields of the Netherlands.
. Rose + England – showcasing soft pinks, peaches and yellows reminiscent of a summer day in an English country garden.
. Frangipani + Singapore – showcasing gorgeous pinks and oranges reminiscent of Singapore’s lush nature and sultry climate.
In today’s post, I’d like to share a tutorial for sewing one of these pillow covers. The step-by-step instructions describe a simple 18” x 18” pillow cover with an envelope opening. It is intentionally basic. Only rudimentary sewing skills are required—the construction is straightforward, the seams are straight and thanks to the envelope closing there’s no fussing with zippers or buttonholes. If you’ve dusted off your sewing skills to sew face masks recently, this would be the perfect next project. There are, also, a number of opportunities to tailor these pillows with your own personal flair. I’ve shared a few suggestions for customization or embellishment at the end of the tutorial.
Supplies Needed
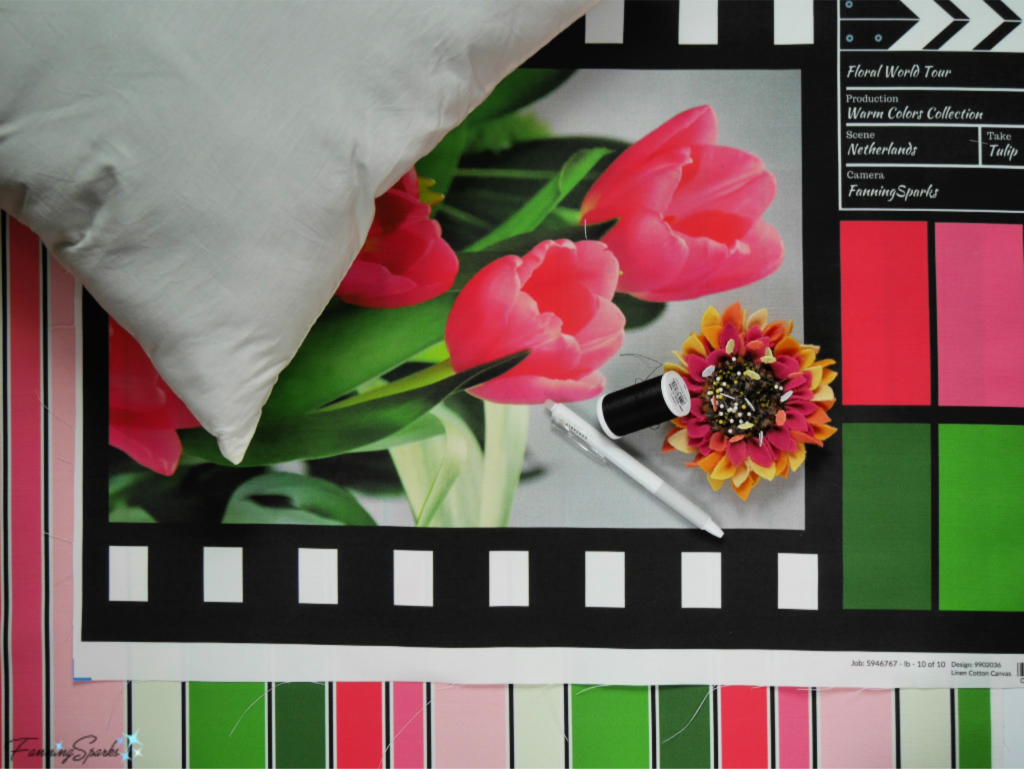
The following supplies are needed:
. Fabric for Pillow Front: One fat quarter of decorative fabric. Choose and order one of the designs from the Floral World Tour – Warm Colors Collection in the FanningSparks shop on Spoonflower. See Announcing the Floral World Tour Collection post for tips on ordering via Spoonflower. The design has been tailored to fit on 54” wide fabric (vs 45” width). I recommend the Linen Cotton Canvas fabric; it’s a versatile blend of linen and cotton which is perfect for home décor textiles such as pillows, table linens and tea towels. I chose the Tulip + Netherlands design for this tutorial.
. Fabric for Pillow Back: One fat quarter of decorative fabric. Choose and order the coordinating striped fabric from the Floral World Tour – Warm Colors Collection also available in the FanningSparks shop. I recommend the Linen Cotton Canvas fabric.
. Pillow Insert: 18” square
. Thread
Tools Needed
The following tools and equipment will be needed:
. Measuring Tape or 24” Ruler
. Scissors or Rotary Cutter with Mat
. Iron
. Sewing Machine with simple straight stitch and zigzag or satin stitch
. Small Scissors or Snips for cutting threads
. Fabric Marker I love the Pilot FriXion Marker because the marks are clearly visible until I’m ready to make them disappear with the touch of my iron.
. Straight Pins
. Seam Turner or craft/popsicle stick.
Step 1 Prepare Fabric. If you expect to be washing the pillow cover, pre-wash the fabric as per the instructions provided with your Spoonflower order. Press the fabric to remove all creases and shipping wrinkles; a light misting or steam may be needed. Pictured below is a fat quarter of Linen Cotton Canvas with the Tulip + Netherlands design printed on it.

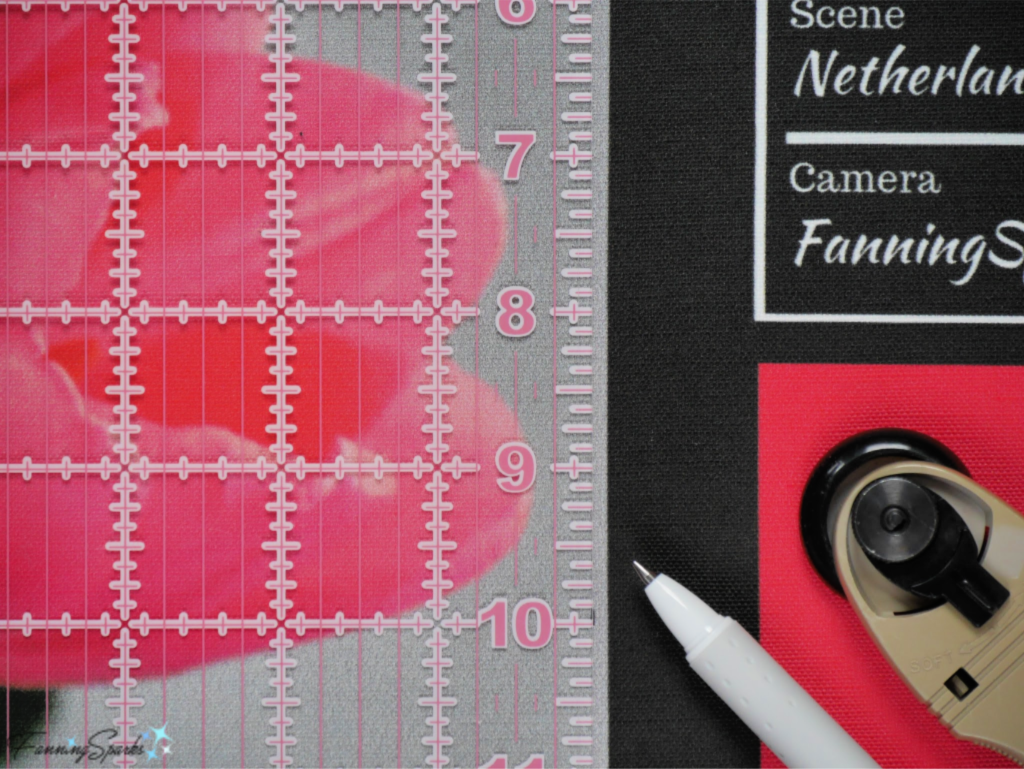
Step 2 Cut Pillow Front. The Pillow Front requires a square of fabric measuring 18” x 18”. This means the 18” pillow insert will fit snugly resulting in a full, plump pillow. As printed, the fat quarter from Spoonflower is 27” x 18”. You’ll need to trim off the extra fabric from the sides, top and bottom. After cutting the Pillow Front, use the fabric marker to indicate the top edge.
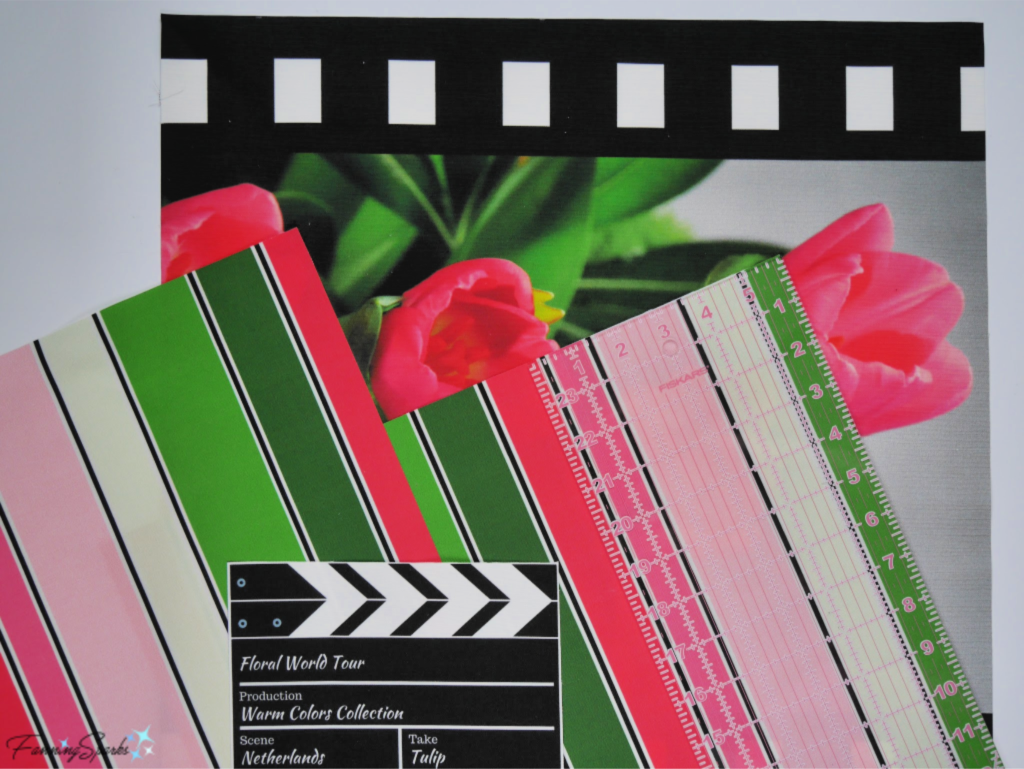
Step 3 Cut Pillow Backs. Use the striped fabric, with stripes running vertically, to cut 2 sections for the Pillow Back. Cut Left Side Pillow Back to 11” wide by 18” high. On the back of the fabric, use the fabric marker to indicate the top left. Cut Right Side Pillow Back to 16” wide by 18” high. On the back of the fabric, use the fabric marker to indicate the top right.
Step 4 Cut Label. The clapper board Label, which is printed beside the pillow front, is intended to be sewn on the Pillow Back. It is optional. Cut out the Label around the outside edge of the white border. It will be about 5” x 6”.
You should have 4 pieces of cut fabric at this point: Pillow Front, Right Side Pillow Back, Left Side Pillow Back and Label.
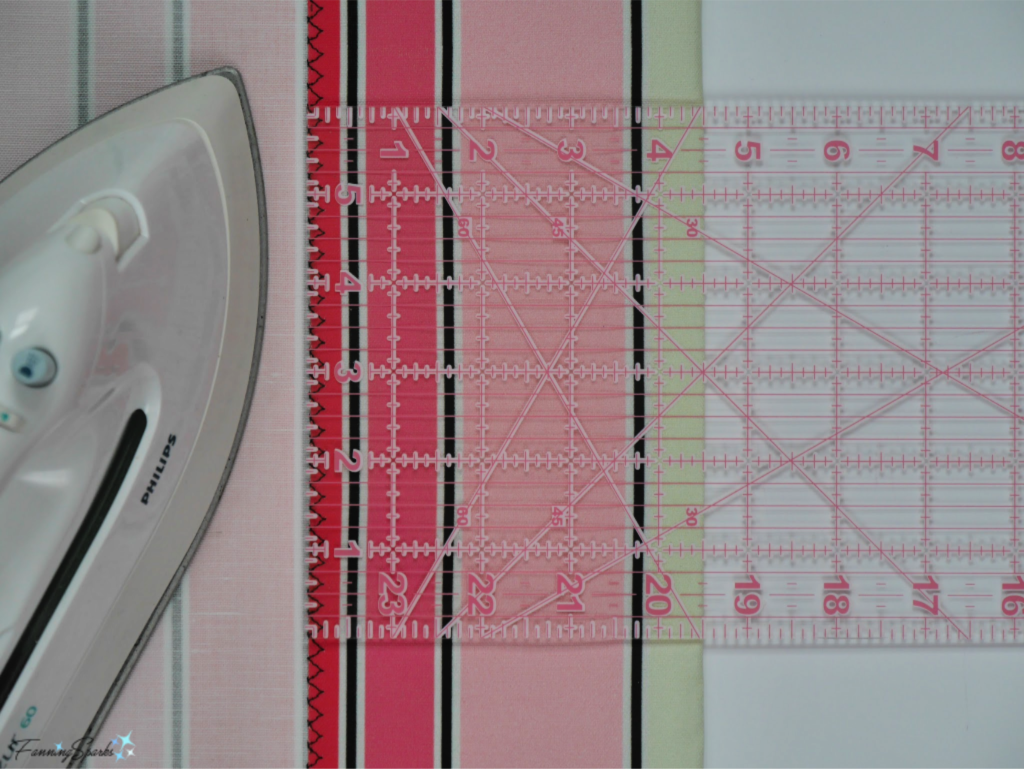
Step 5 Prepare Pillow Backs. Finish right edge of Left Side Pillow Back with a simple overcast or zigzag stitch. Finish left edge of Right Side Pillow Back with a simple overcast or zigzag stitch. On same left edge of Right Side Pillow Back fold under 4 ½” and press.
Step 6 Attach Label to Right Side Pillow Back. On Right Side Pillow Back, measure 2“ up from the bottom edge. Mark with fabric marker. Measure 2” in from the right edge. Mark with fabric marker. Position Label on Right Side Pillow Back with bottom right corner aligned to marked lines. Note the left edge of the Label will be over the folded side of the Right Side Pillow Back. Pin in place taking care to pin through all layers. Stitch seams taking care to sew in the same directions (ie top and bottom sewn left to right; right and left edges sewn top to bottom).
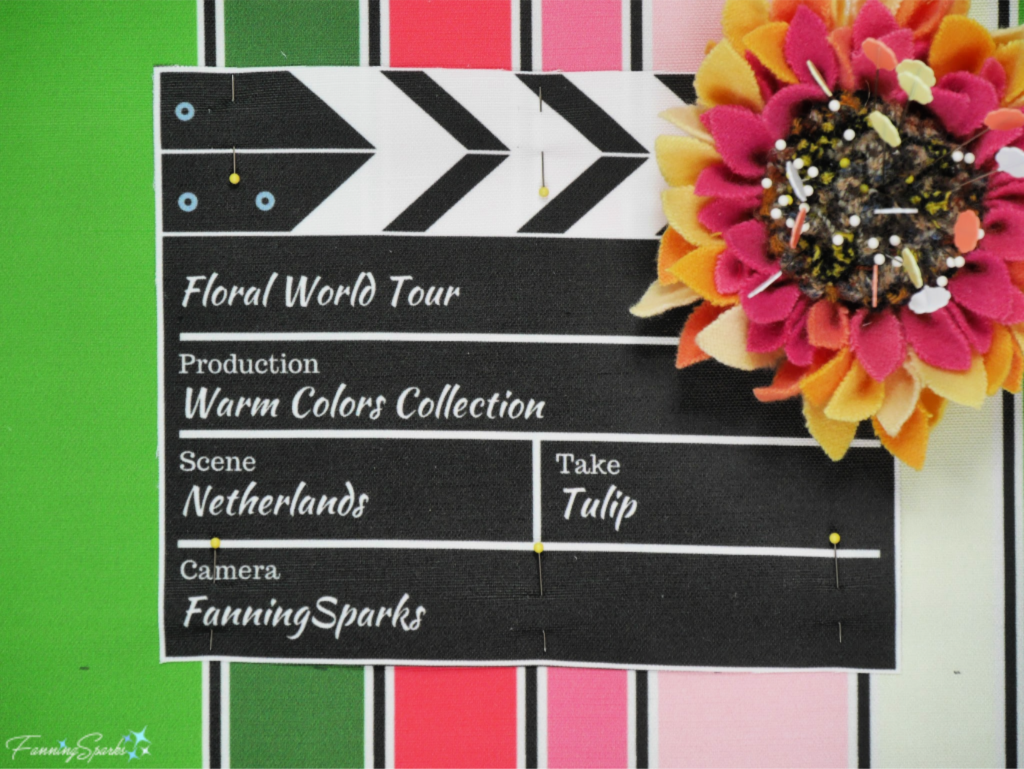
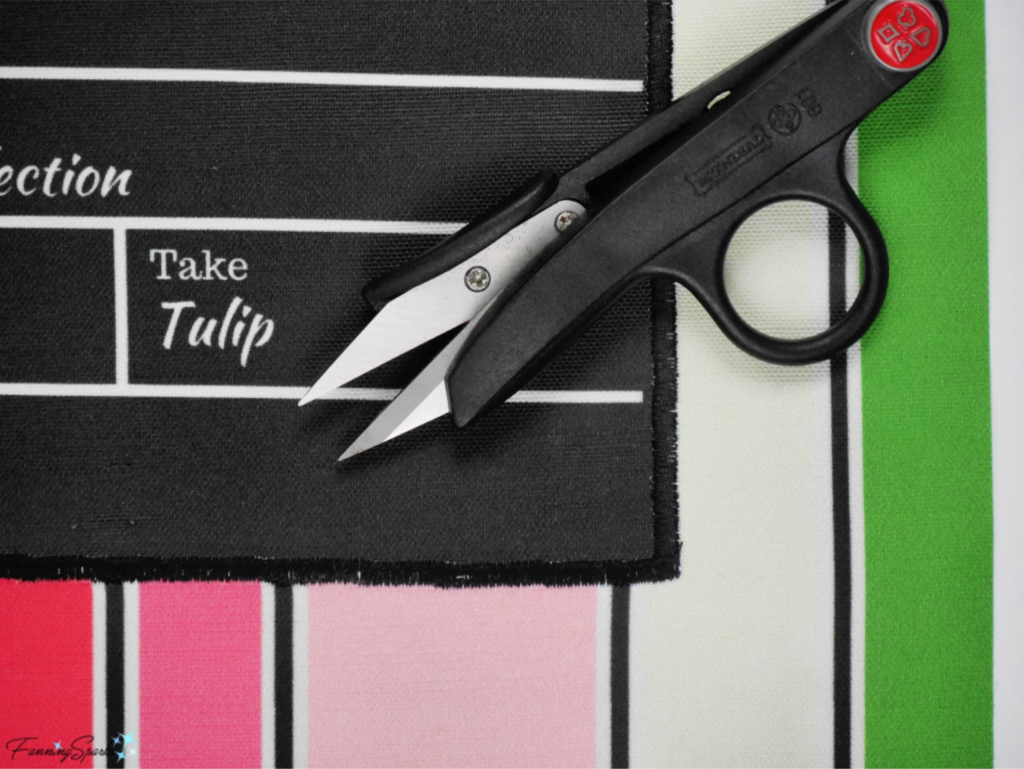
Step 7 Finish Label Edges. After stitching the label into place, the raw edges must be finished to prevent the fabric from fraying and to give it a professional appearance. The easiest way to accomplish this is to sew over the raw edges with a smooth overcast or satin stitch. Stitch the seams in the same directions as described in the previous step. Take care to finish corners neatly.
Step 7 Assemble Pillow Back. Place Left Side Pillow Back on work surface facing up. Lay Right Side Pillow Back over the Left Side Pillow Back overlapping by 4 ½ “. Ensure the edges marked as top, on both pieces, are along the same side. Pin along top and bottom overlapping edges.
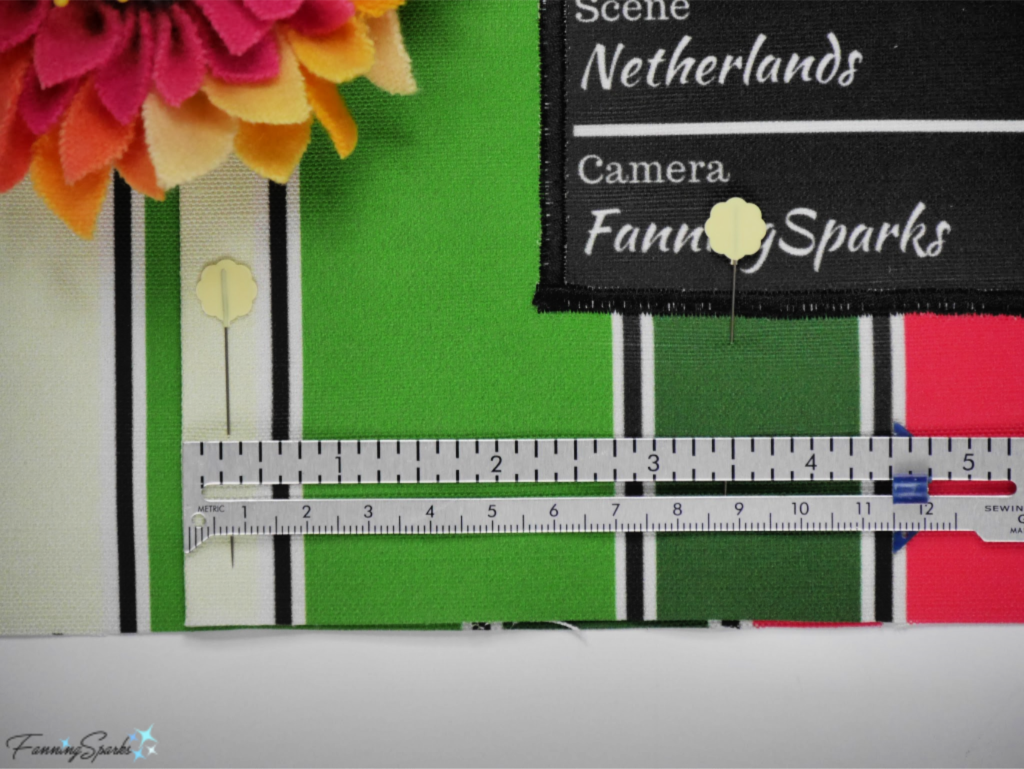
Measure outside edges of pinned Pillow Back to confirm it is 18” x 18” square. Adjust if necessary. Stitch along top and bottom overlapping edges with a ¼” seam allowance. Press. The overlapping, folded vertical edges of the 2 pillow backs are left open to allow for the pillow insert.
Step 8 Attach Pillow Front to Back. Place Pillow Back on work surface facing up. Lay Pillow Front facing down over the Pillow Back. Ensure the edges marked as top, on both pieces, are along the same side. Align all 4 sides. Pin in place. Stitch all edges with a ¼ “ seam allowance taking care to stitch seams in same directions (ie top and bottom sewn left to right; right and left edges sewn top to bottom). Overcast all seams. Being careful not to cut the seams, trim off the tip of the corners and make small snips on either side of corner.
Step 9 Turn and Stuff Pillow. Turn pillow right side out. Use seam turner to push out seams and corners. Press for a crisp finished seam. Slide pillow insert into pillow cover. Adjust to distribute pillow stuffing evenly. Smooth out folds in pillow back. Your pillow is ready!
Customization/Embellishment Suggestions
As noted above, there are a number of opportunities to tailor these pillows with your own personal flair. Here are a few suggestions to consider.
The Pillow Front can be embellished with hand embroidery. I used embroidery floss to emphasize the lines of the rose petals on the Rose + England design. The below shows the Pekinese stitch embroidery in progress.
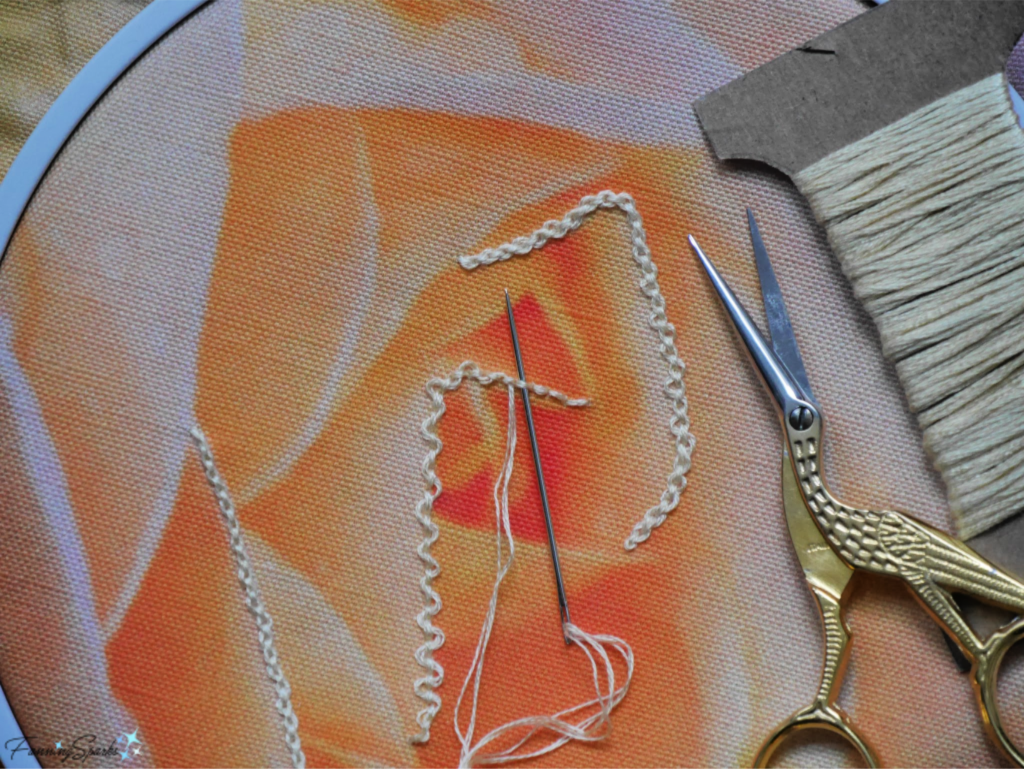
The embroidery emphasizes the rose petals on the finished pillow.
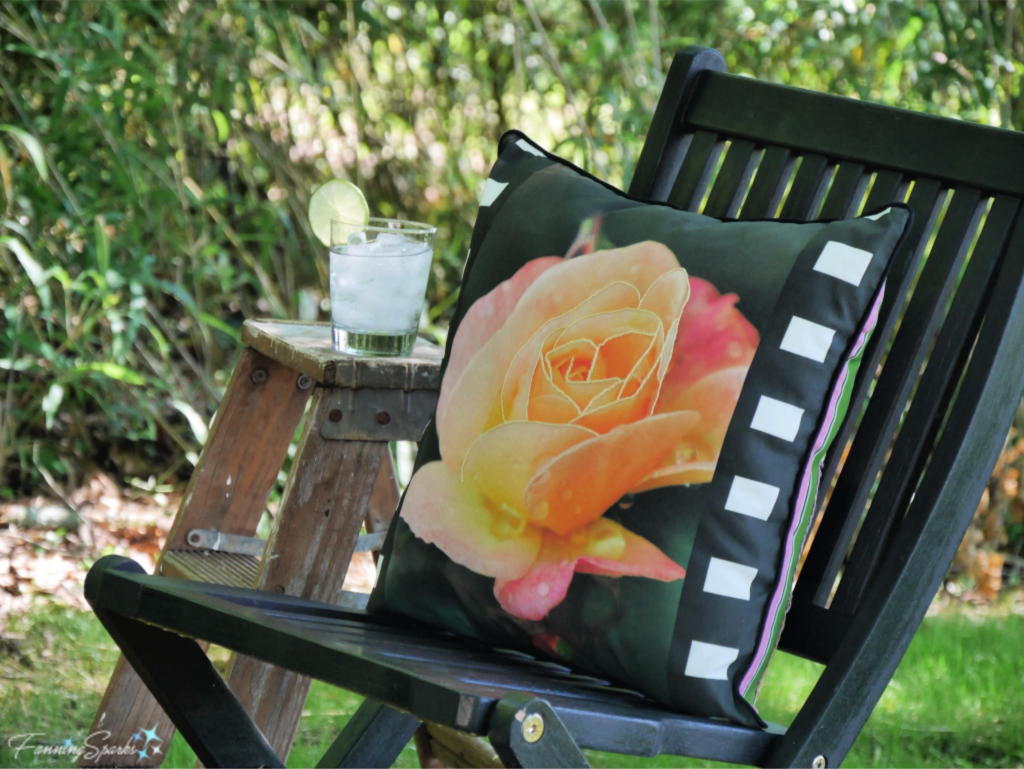
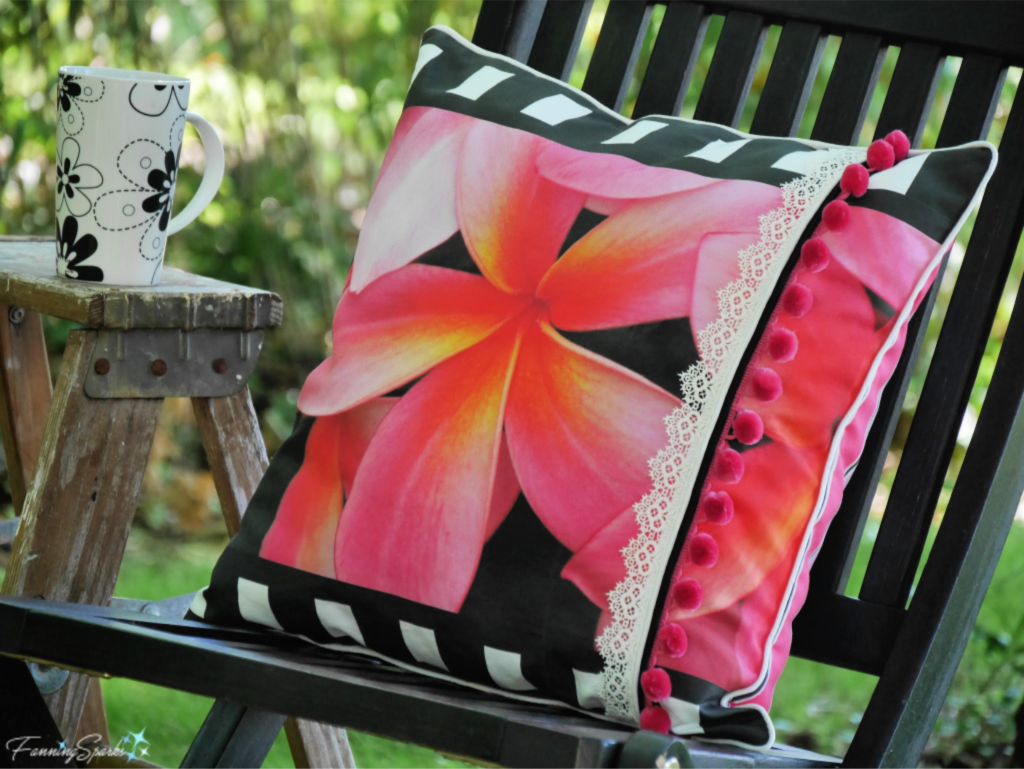
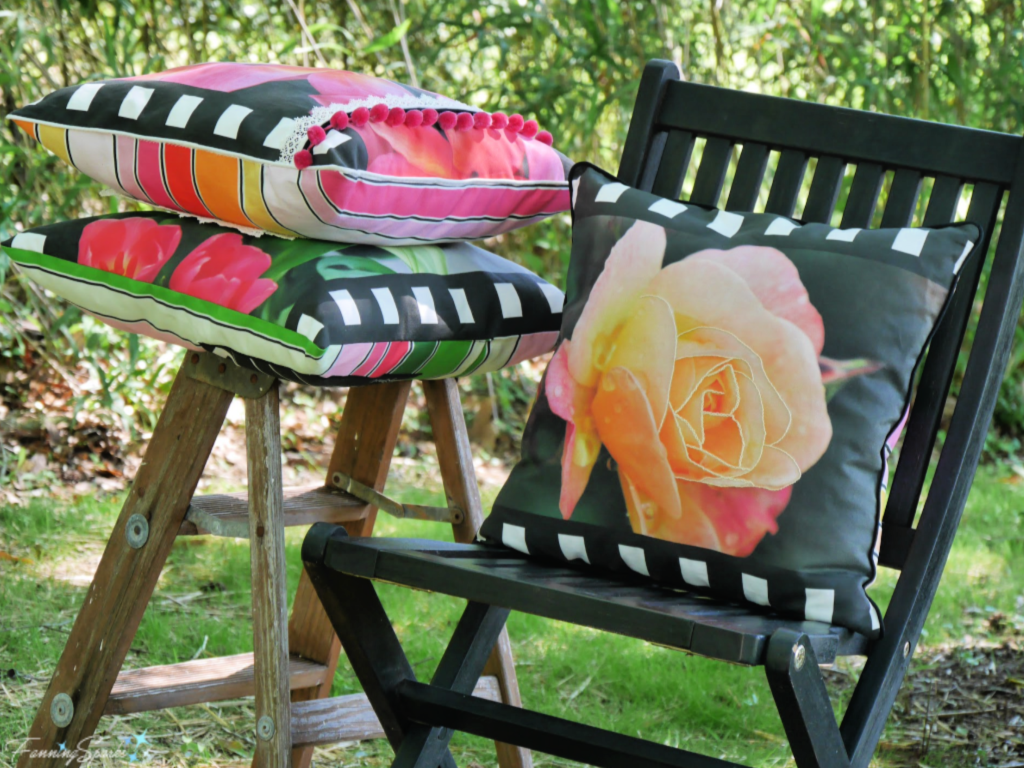
You may also notice the outside edges of the above pillow have been finished with black piping. The same technique was used with white piping on the Frangipani + Singapore design (shown below). I prefer the crisp edge formed by the white piping. I’ve also added a few rows of trim, including white lace, white piping, black piping and fuchsia pompoms, to add a little interest and texture to this pillow.
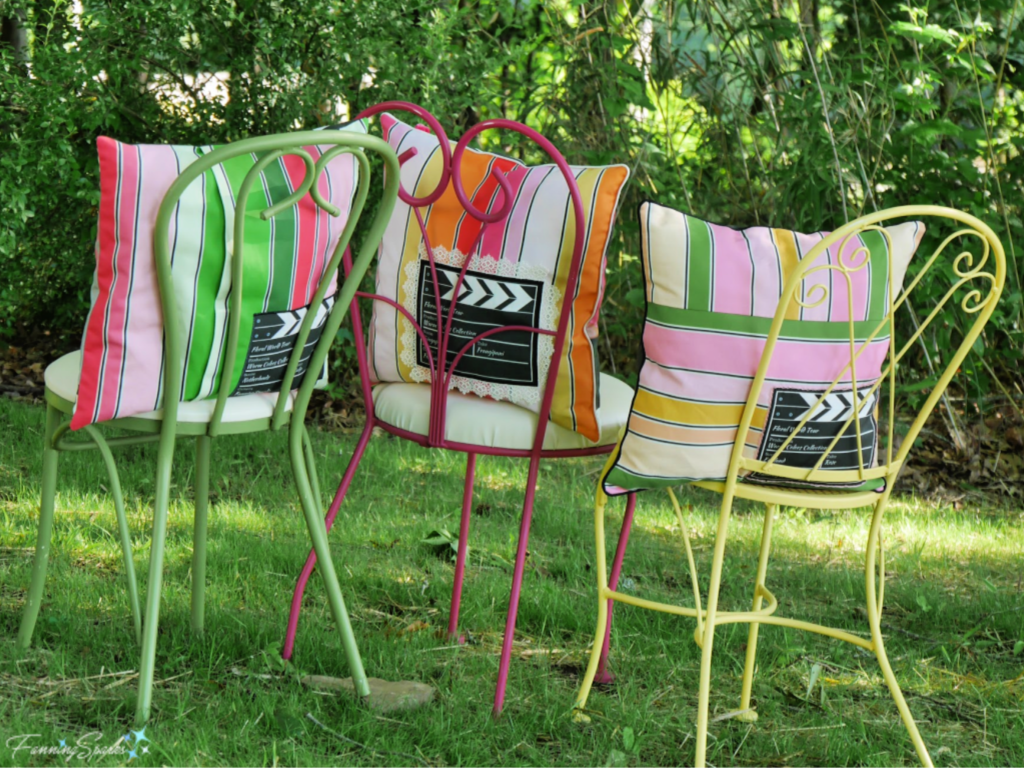
 The back of the pillow can also be customized. If you simply sew the back closed (ie instead of making an envelope closing), less fabric will be needed. The extra striped fabric can be used to change the direction of the stripes; instead of running the stripes vertically, they can be turned horizontally or sewn in a combination of horizontal and vertical (as shown on the pillow on the right).
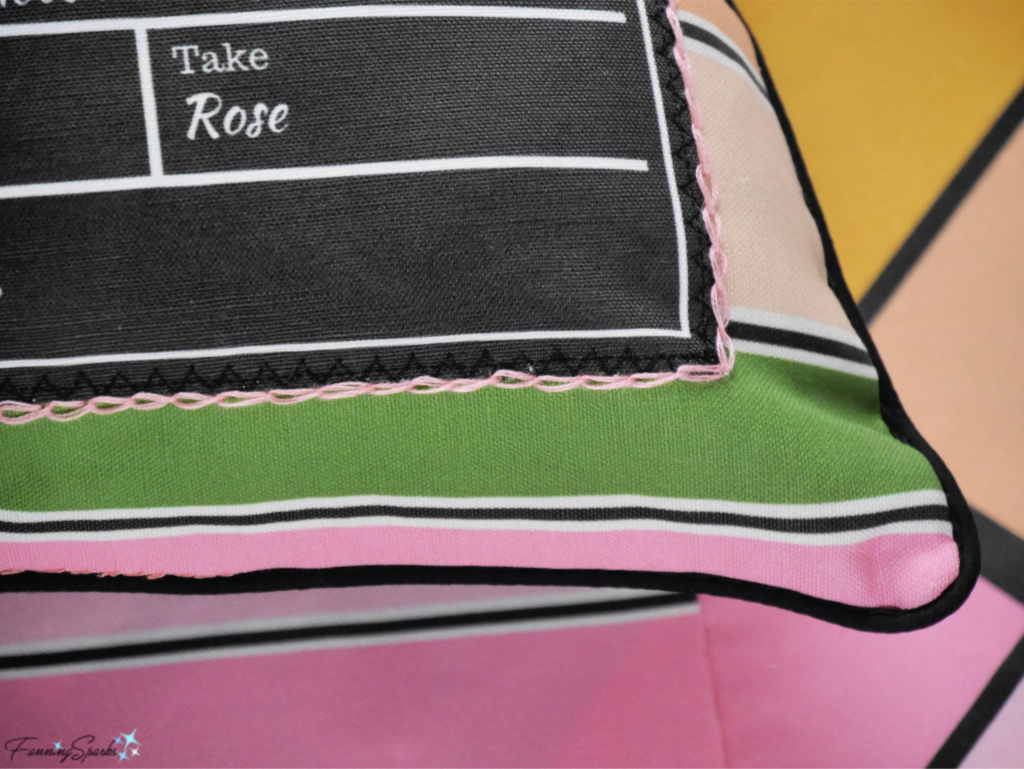
Adding trim or embroidery around the label is another opportunity to personalize. I stitched a border using chain stitch in pink embroidery floss around the label as shown in the below photo.
With all these possibilities, you may be tempted to make all 3 of the pillows in the Floral World Tour Collection including the Tulip + Netherlands, Frangipani + Singapore, and Rose + England designs!
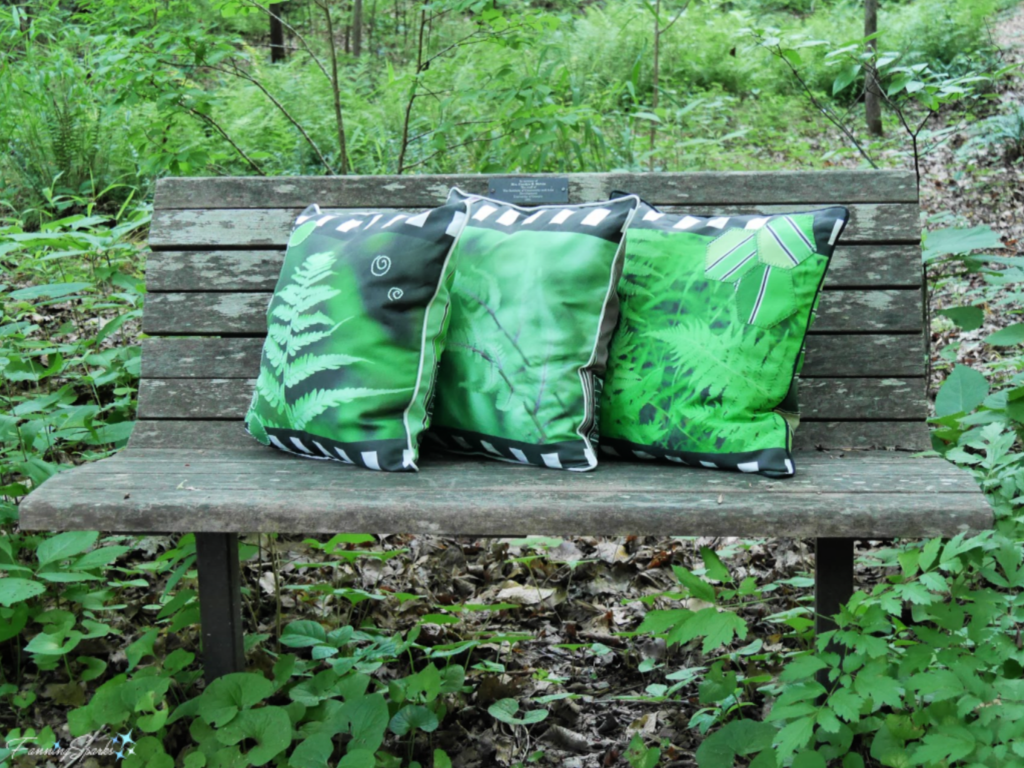
UPDATE June 16, 2020: Alternatively, you may want to consider the designs from my second collection of decorative photo pillows Bring In the Outdoors – Fern Collection featuring this set of beautiful ferns. Check out the post for more customization and embellishment ideas.
More Info
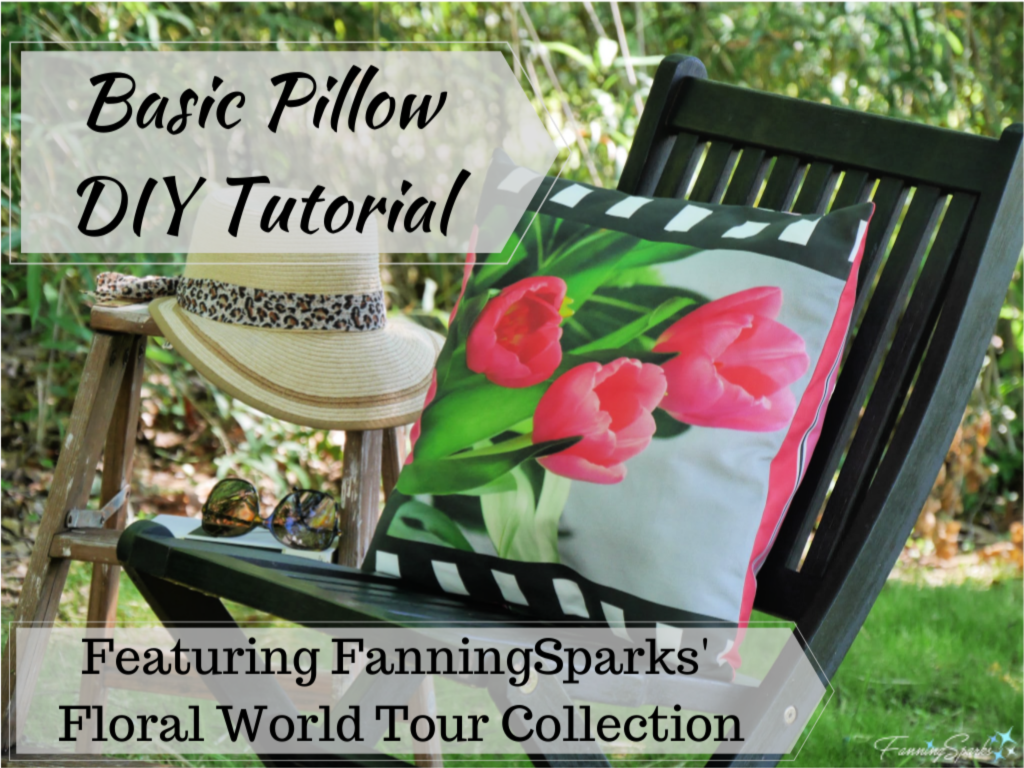
Please pin this image for future reference.
This is the link to the FanningSparks shop on Spoonflower.
My previous post, Announcing the Floral World Tour Collection, explains how the collection came about as well as providing some helpful information for ordering from Spoonflower. I’ve added a second collection of decorative photo pillows featuring ferns. Check it out in the post Bring In the Outdoors – Fern Collection.
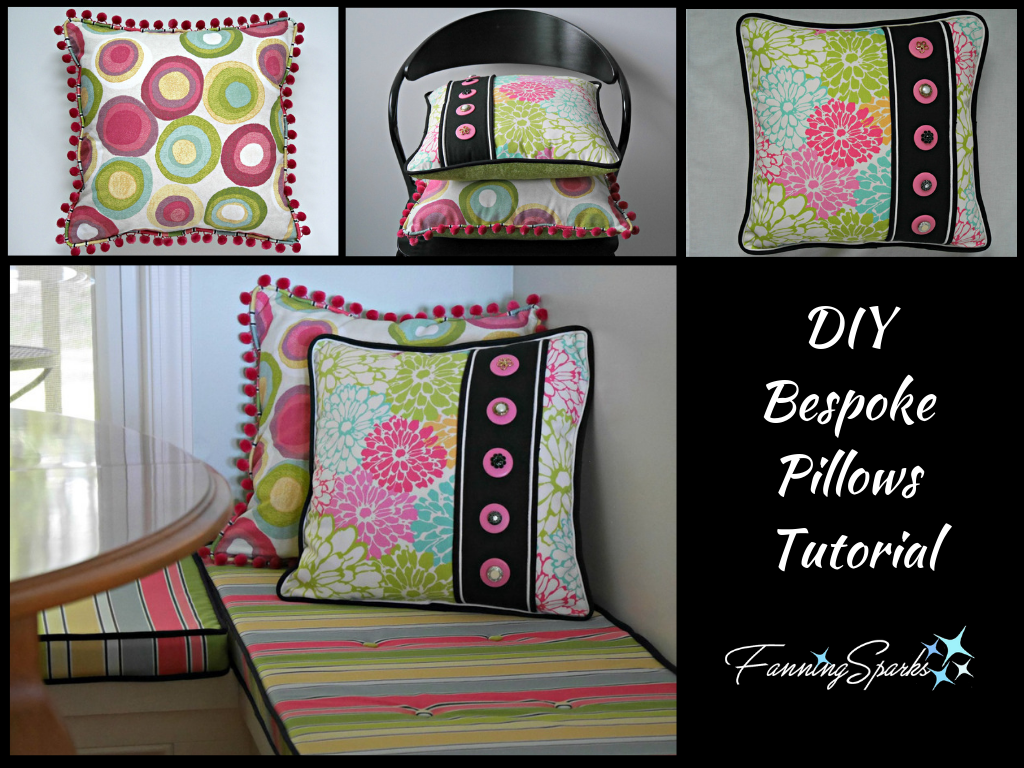
I also shared instructions for decorative pillows in the post DIY Bespoke Pillows Tutorial. These pillows were a little more challenging than today’s basic pillow but you may find the tutorial helpful for adding trim or piping.
Today’s Takeaways
1. A basic pillow, with straight seams and an envelope closing, is a great beginner sewing project.
2. Consider purchasing a cut-and-sew pillow cover from FanningSparks’ Floral World Tour Collection on Spoonflower.
3. Imagine customizing your own decorative pillow with embroidery, trims, piping and other embellishments.




Comments are closed.