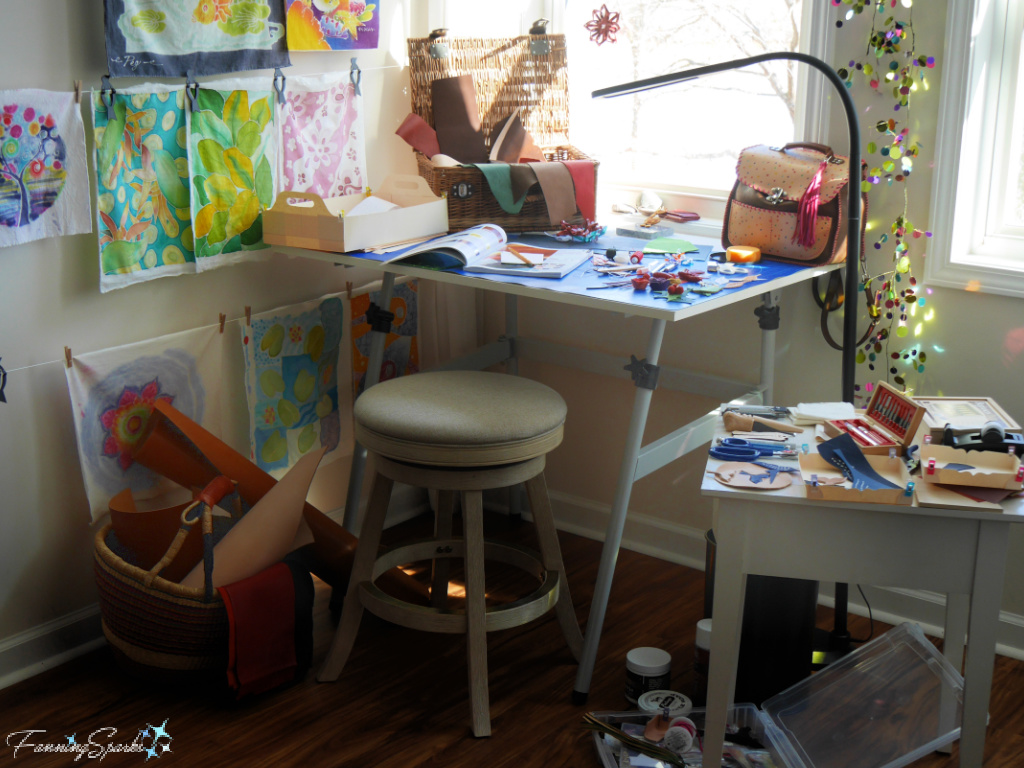
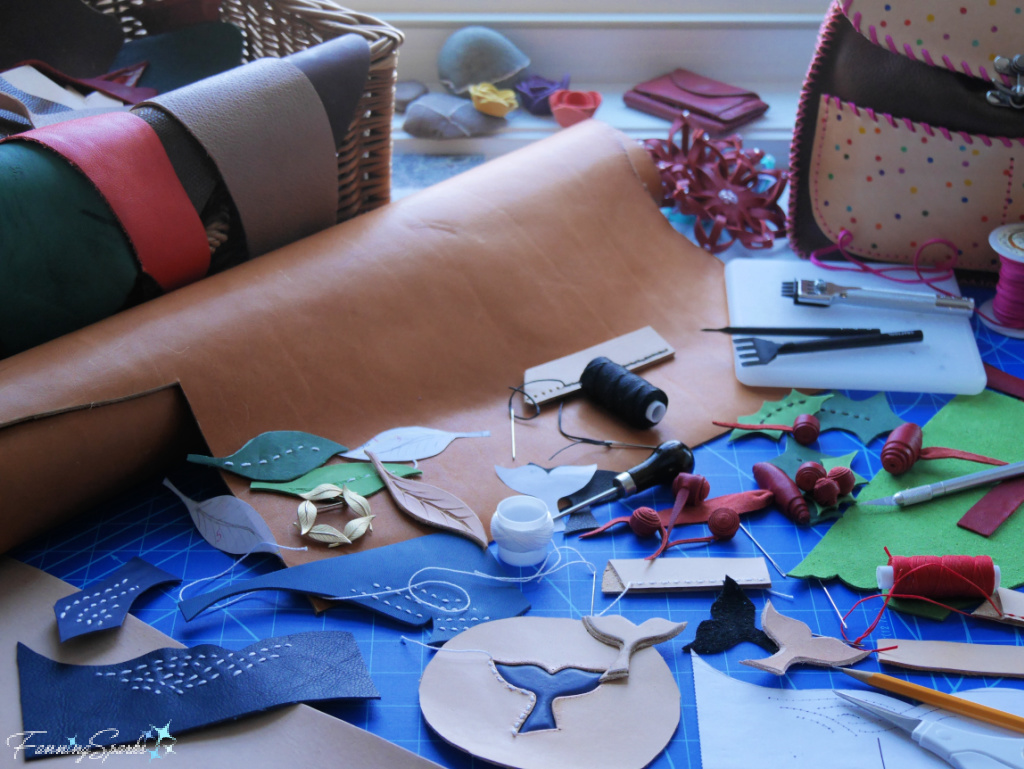
My studio has been taken over by leather. There are pieces of leather in different colors, sizes and weights. There are punches, knives, gouges, scissors, needles, awls, pounding boards and an array of other leathercraft tools. There are leather supplies like waxed cords, rivets, buckles and finishing products. There are little tests and experiments. There are templates and models. There are samples and inspiration pieces. There are leather supply catalogs with half the pages marked. There are leathercraft videos playing on my laptop. It’s a big, cluttered, inspirational mess—just the way I like it!
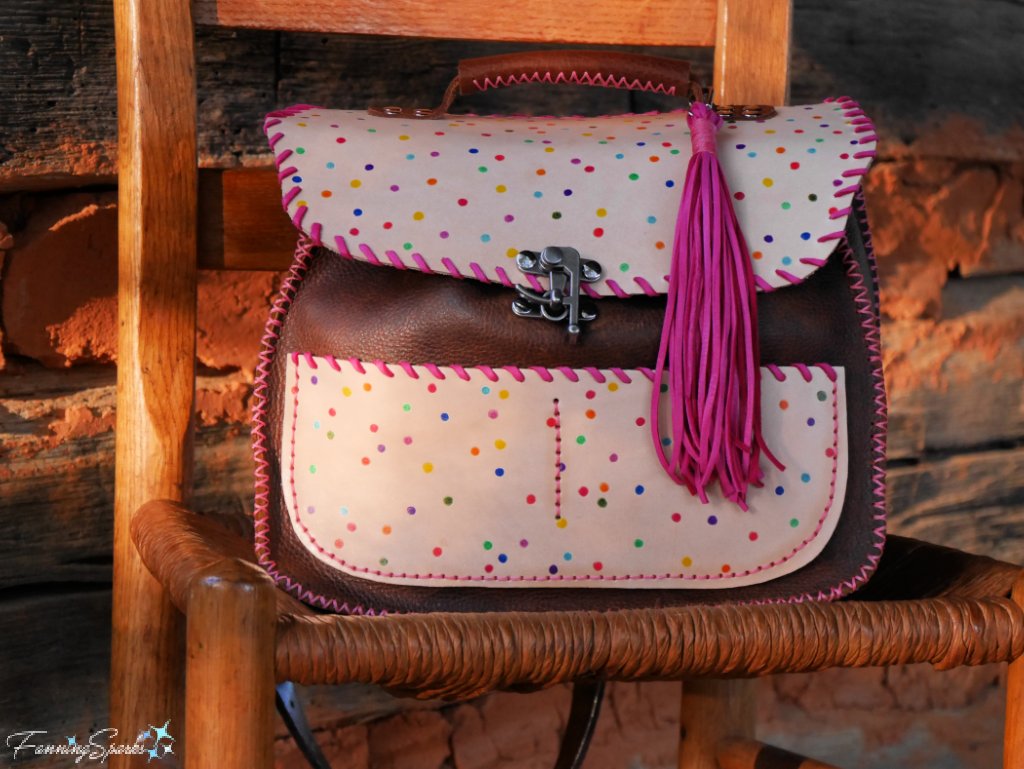
Since my introduction to leatherwork, when I made the camera bag pictured below (see My First Leathercrafting Project), I’ve been focused on learning all I can about working with leather.
Online resources, such as instructional videos, blog posts, leather supplier reference materials and archived reference books, have been invaluable. My favorite is Corter Leather’s video series on YouTube (see More Info below). In fact, it was Corter Leather’s How to Start Leather Crafting video that helped me get rolling at home. He recommends practicing basic leathercraft tasks before starting any leather projects. It’s good advice. When faced with new materials and new tools, and no instructor to guide the work, it makes sense to take it slow and build the foundational skills.
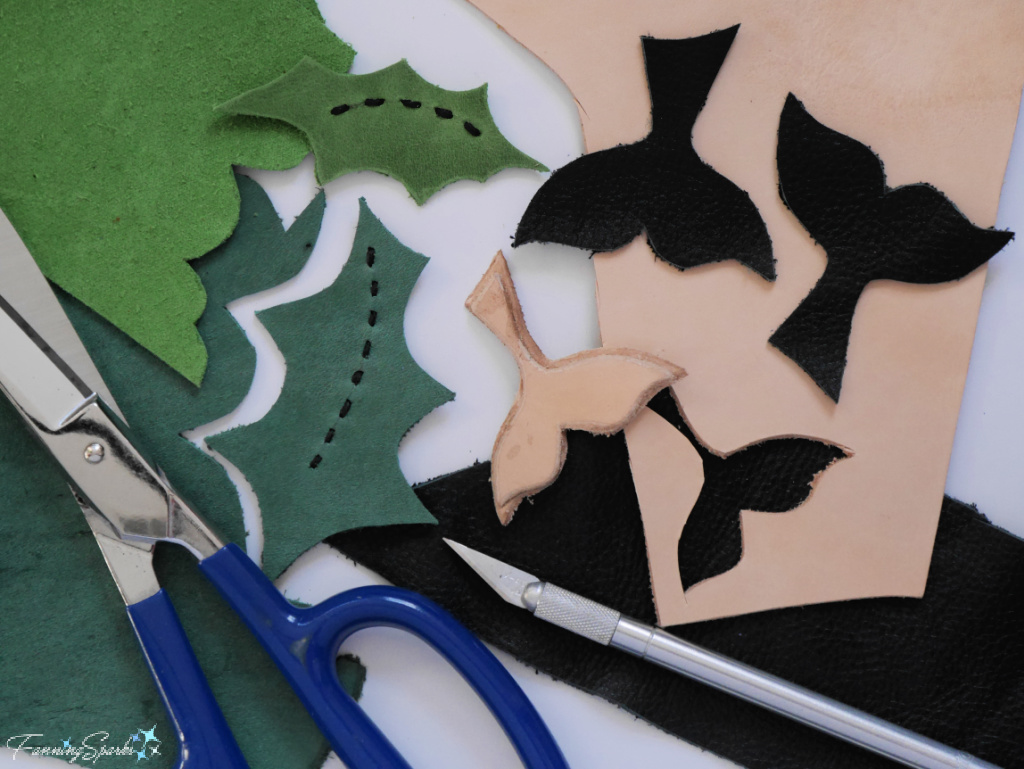
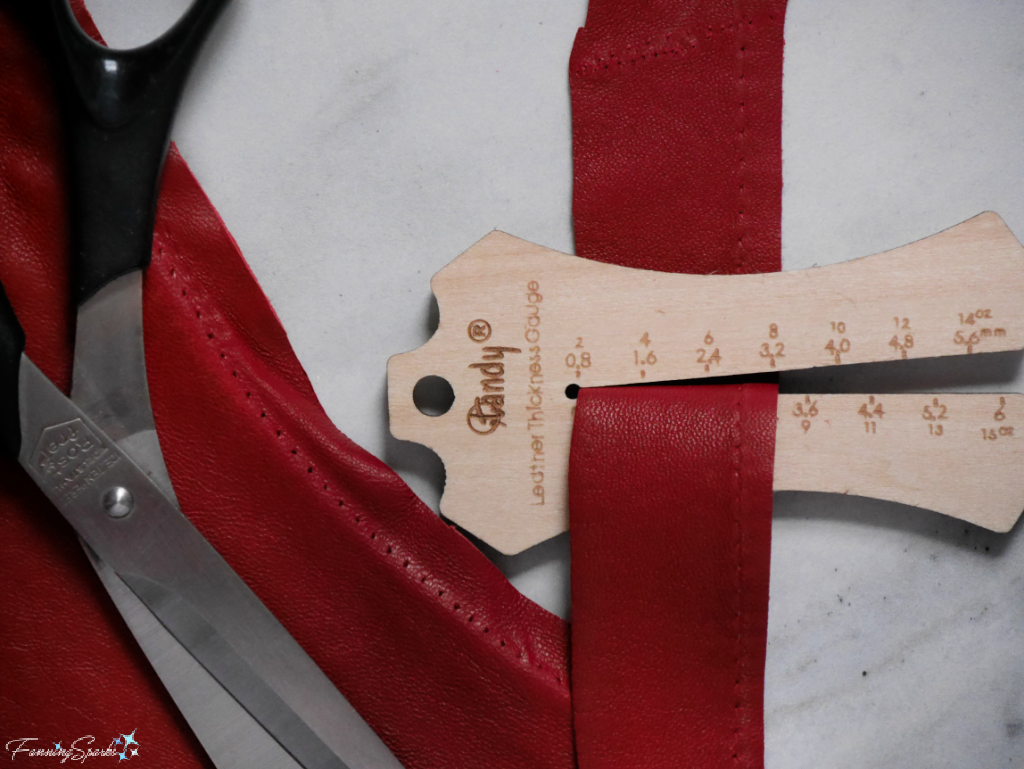
Cutting leather, precisely and reliably, is one of those basic skills. I’ve learned different types and weights of leather behave differently. Leather scissors work well but a sharp X-Acto knife is more versatile and gives me the best results.
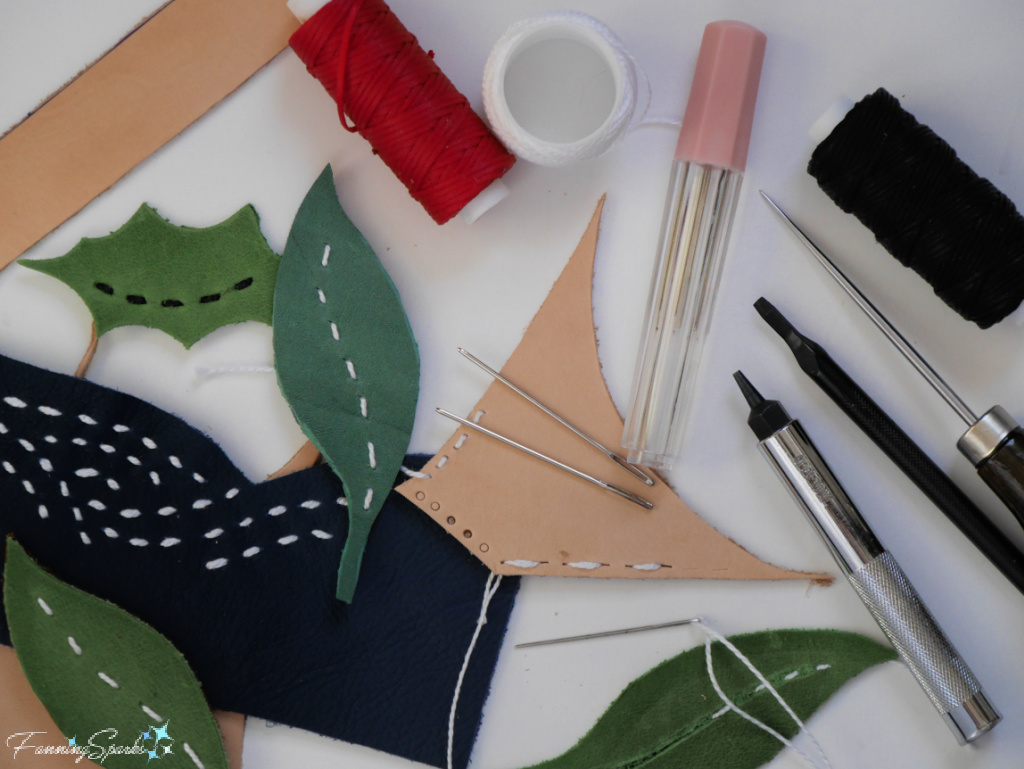
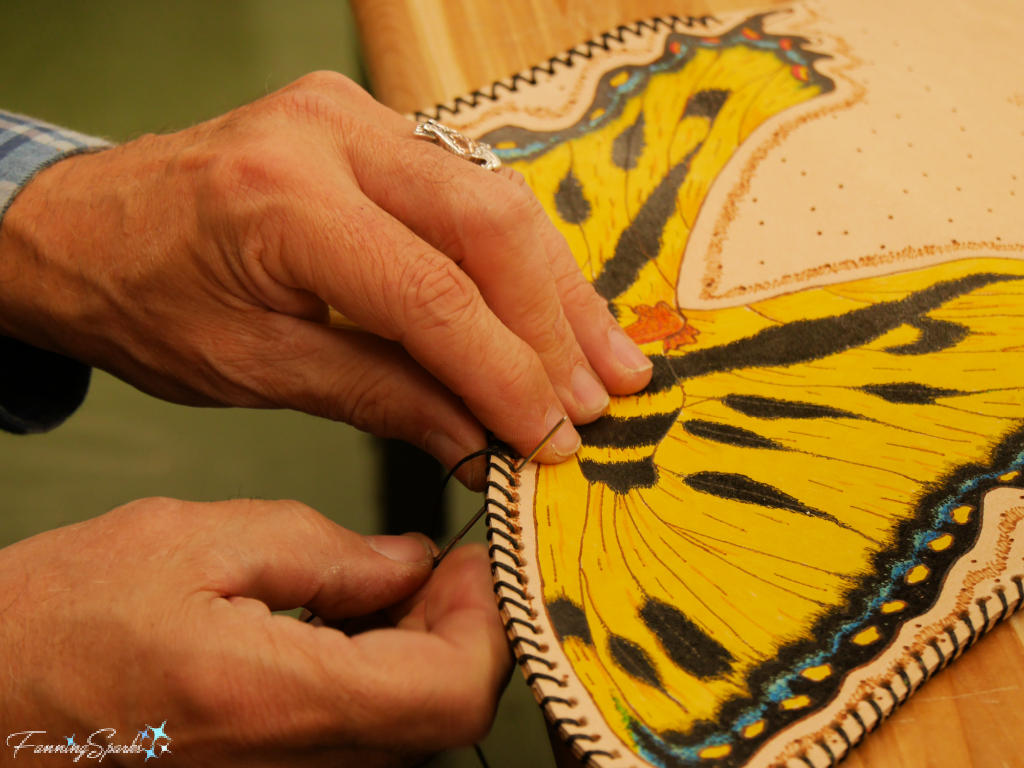
Stitching is another important basic skill. Hand stitching leather entails punching holes and using a needle to pull cord through those holes. Various types of stitches can be used to stitch leather but a saddle stitch is usually recommended. Saddle stitching is done with two threaded needles, one at each end of the cord, being worked through the holes simultaneously. The resulting double seam is strong and durable. It’s a little tricky at first but gets easier with practice.

I’ve discovered there are many similarities between working with fabric and leather. This means I can draw upon my fabric sewing experience. At a high level, the approach is the same—parts are cut out and sewn together. There are also some significant differences. For one, fabric is a woven material but leather is solid. The weave in fabric makes it easy to manipulate—it can be stretched and compressed to fit. But leather has barely any give. For the same reason, once a hole is punched in leather it is permanent. So, unlike ripping out a fabric seam, you can’t start over with leather stitching.
On the flipside, there are advantages to working with leather. For instance, there’s no need to overcast seams and edges. Leather edges are finished to give them a more polished look not to prevent them from fraying. There are a number of different techniques that can be used depending on the type of leather and the situation. The most common technique is to burnish the edges by beveling, sanding, moistening and rubbing. My attempt to burnish the edges of this leather leaf yielded so-so results.
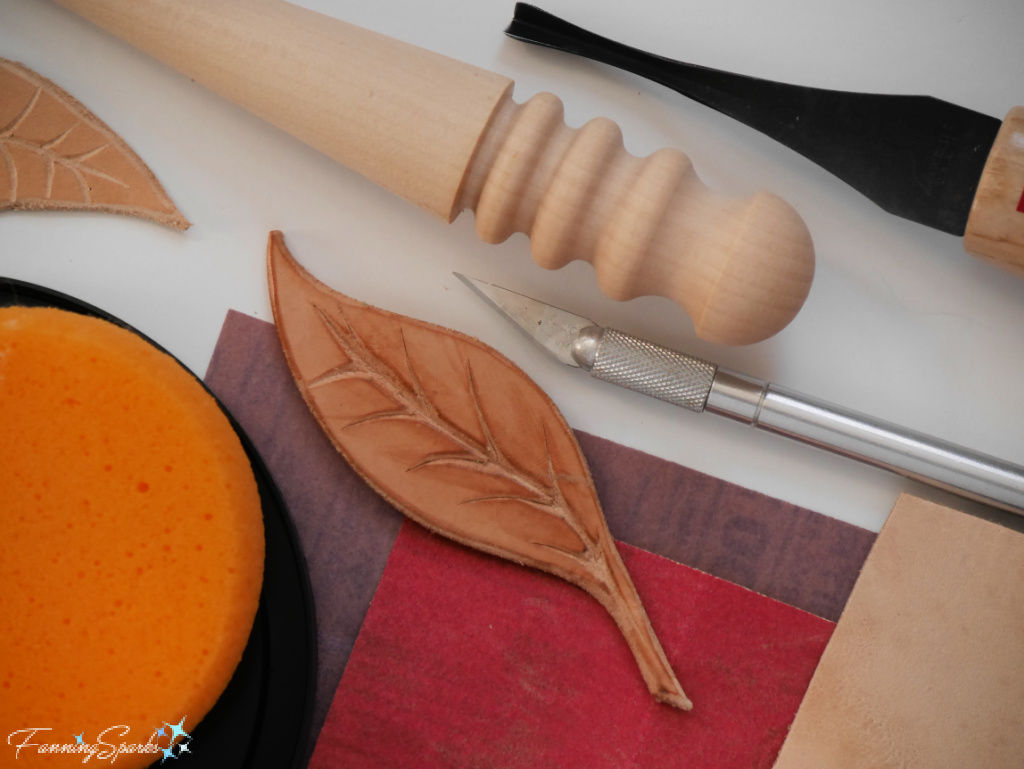
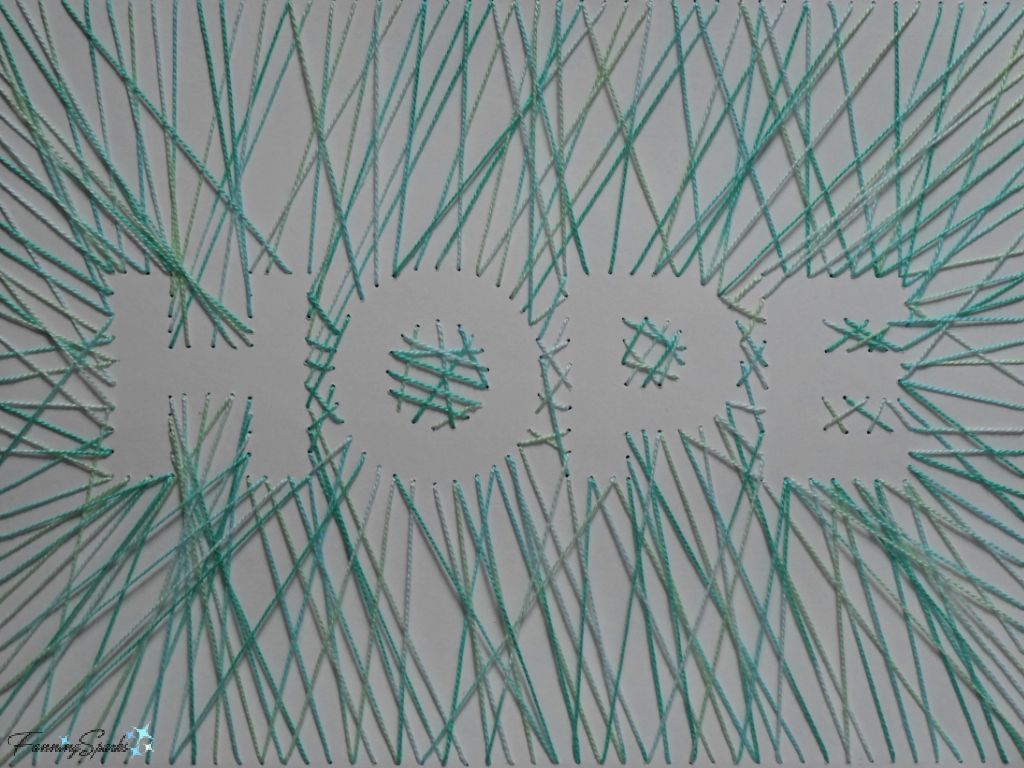
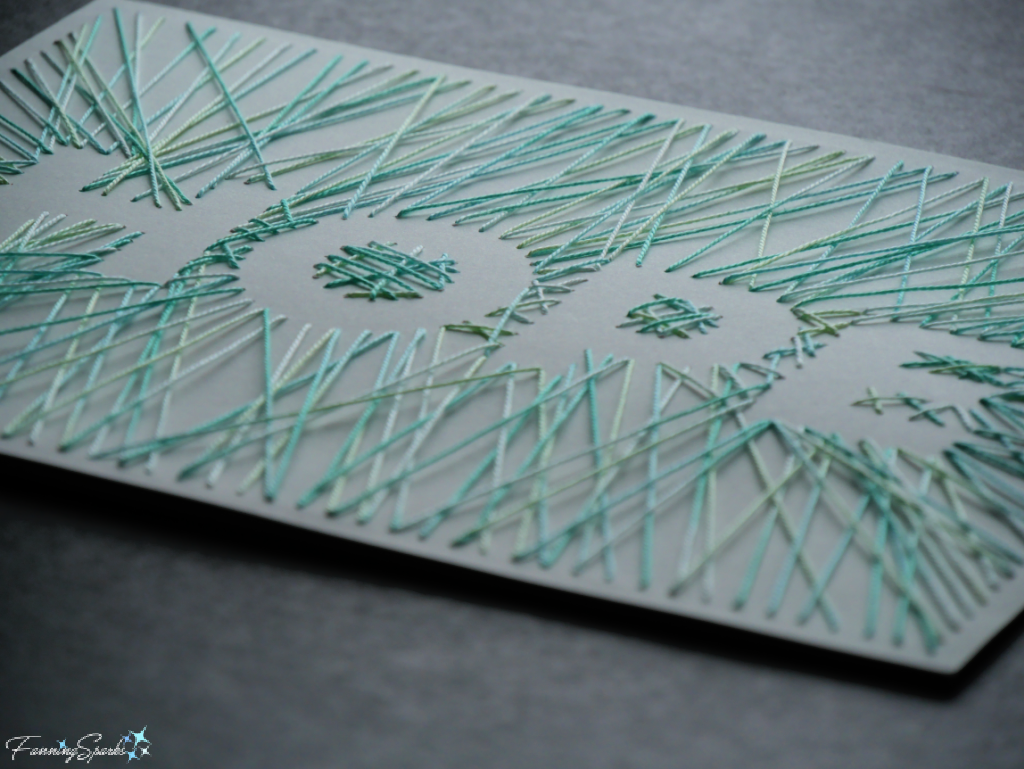
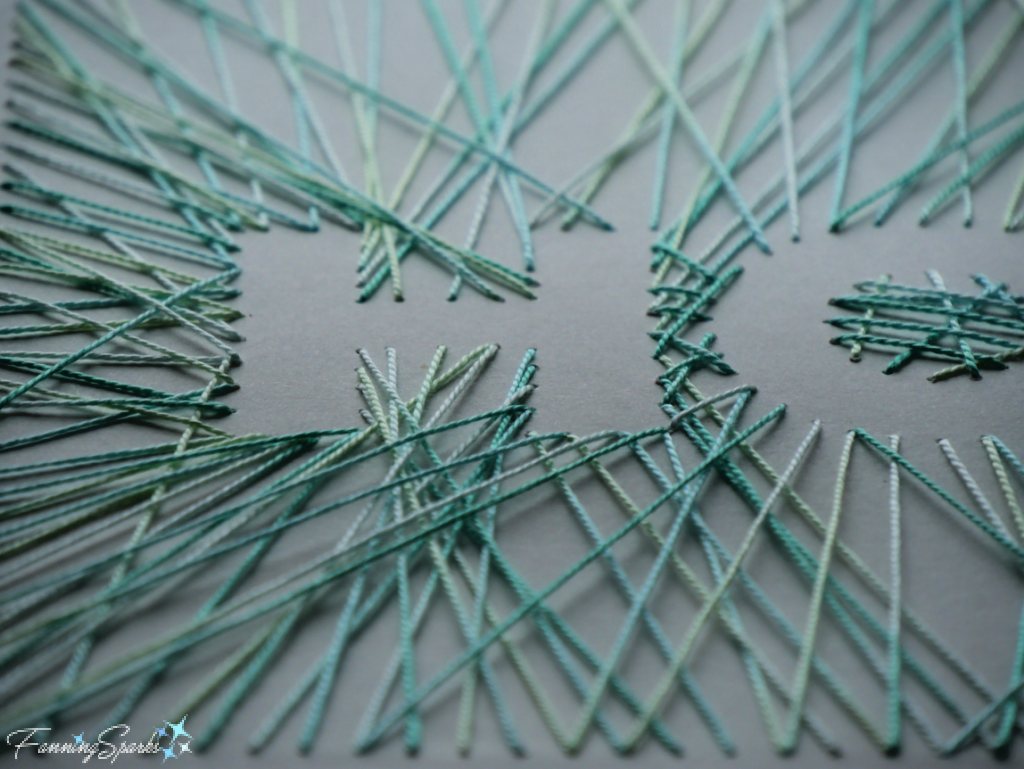
Leather can be used to make a broad range of functional items. But what’s most exciting to me is the opportunity to embellish and customize those items. Carving, called tooling in the leather world, is one possibility. I tried tooling the veins in the leaf shown in the previous photo. Another technique I’d like to try is embroidery. I couldn’t find any guidance for embroidering leather so I just gave it a shot. My preliminary tests, shown below, are quite promising.
We learned how to make leather roll buttons in the Create Your Perfect Leather Bag class I attended (see My First Leathercrafting Project). Since then, I’ve had fun experimenting with different shapes and sizes of rolled buttons.
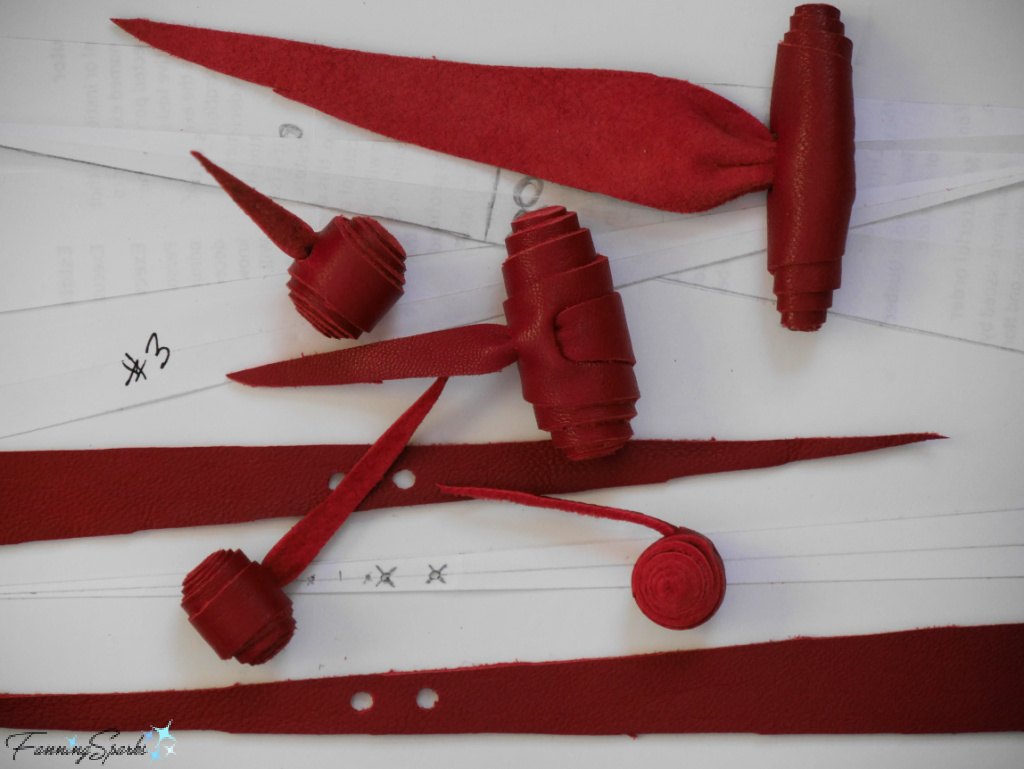
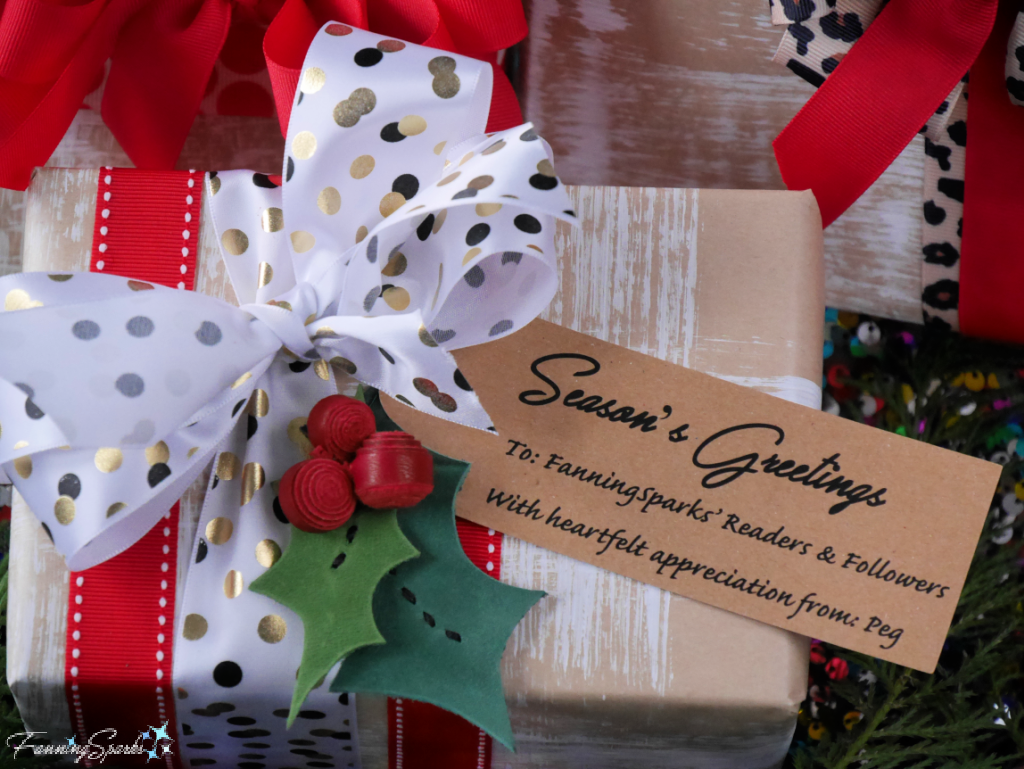
I was able to make berry-like spheres by rolling small, round buttons from red leather. A couple of green leather leaves were all that was needed to turn them into a sprig of holly. Regular readers may recognize this leather holly from my Season’s Greetings 2021 blog post.

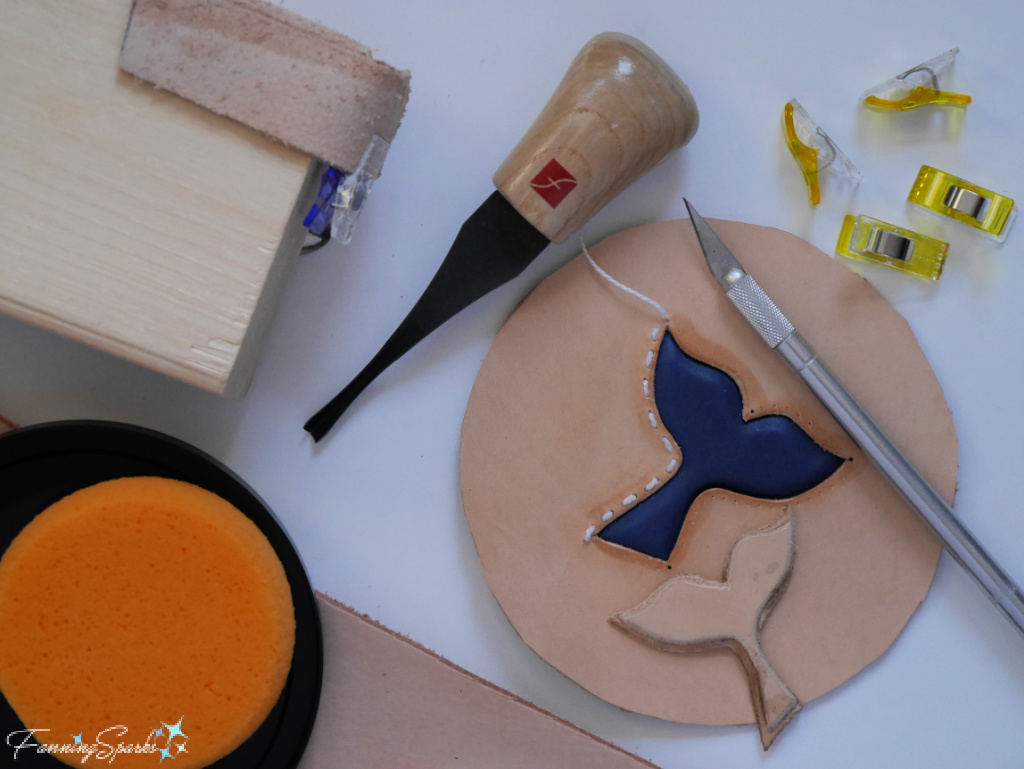
Another intriguing technique is molding leather. Water is used to wet the leather. Then the wet leather is pressed or clamped into shape and allowed to dry. Here are a few of my early experiments with this technique. The sample in the top left was molded around a wooden block to make a right-angle corner. The blue leather whale tail was molded over a stacked leather template to add dimension and depth.
In addition to building my basic leatherworking skills, I’m been scouting for inspiration. A quick scan around the house revealed quite a few leather items to study and examine. Each of the items pictured below has its own story. The cute, little giraffe was purchased in a small shop in Rome, Italy several years ago. It is made of suede and attached to a key chain. The purple leather, on the right, is a gorgeous leather-covered journal also found in Italy. The little reindeer, made by a local leather artist, caught my eye because of its unusual construction. Now, I know it was wet molded. The beading, shown on the left, is a toe of the fantastic new moccasins I received for Christmas (Thank you Marian!). These moccasins are made by a Canadian Aboriginal Company called Manitobah Mukluks. They are beautiful and very comfortable. The sculpted black leather is the flap of my day-to-day crossbody bag—it was made by the leather artist Vicki Love in a style she calls Bohemian Chic. Finally, the worn-out red leather wallet is my all-time favorite for its size, shape and function.

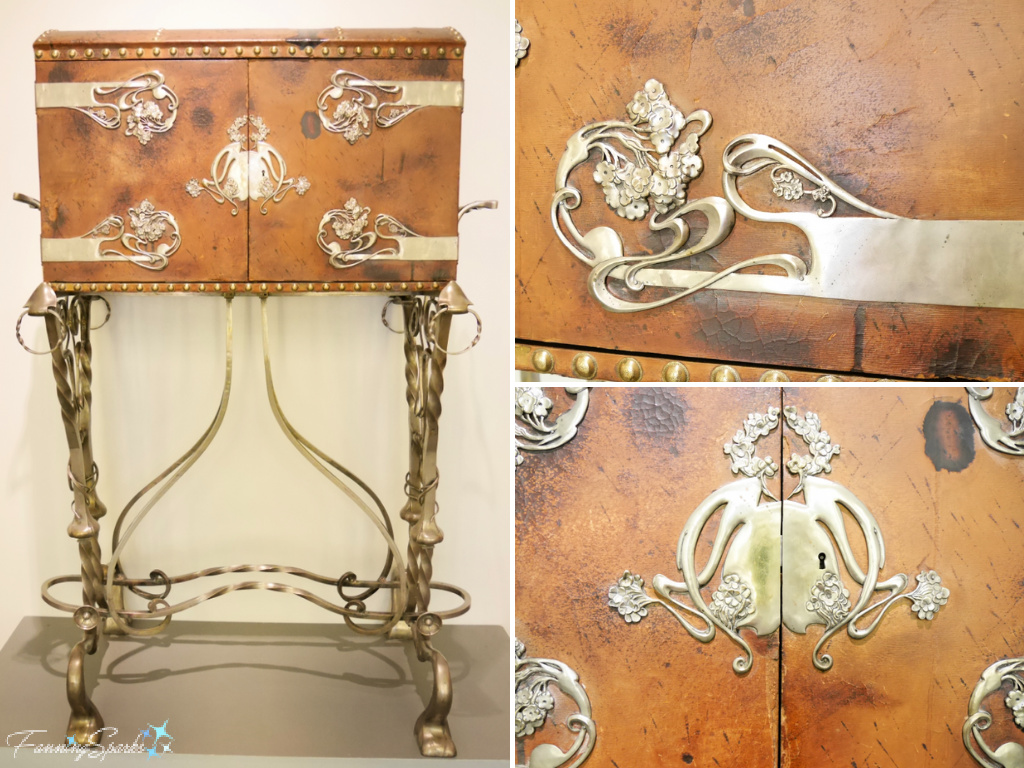
I’ve also seen some interesting leather pieces on my travels. This jaw-droppingly beautiful secretary, or writing desk, was displayed at the Museum of Catalan Art Nouveau in Barcelona. It is made of leather and metal work.
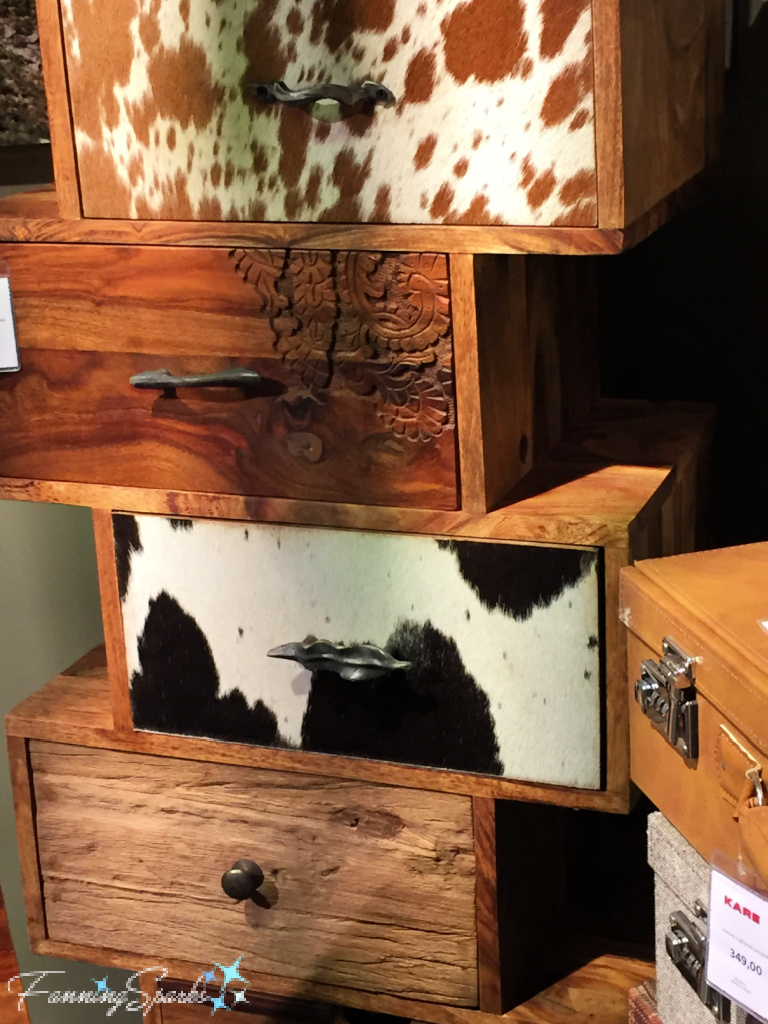
This next piece, also spotted in Barcelona, seems to use a similar technique. Two of the drawer fronts are covered in what appears to be “hair-on cowhide”. It certainly makes for a stunning piece of furniture!
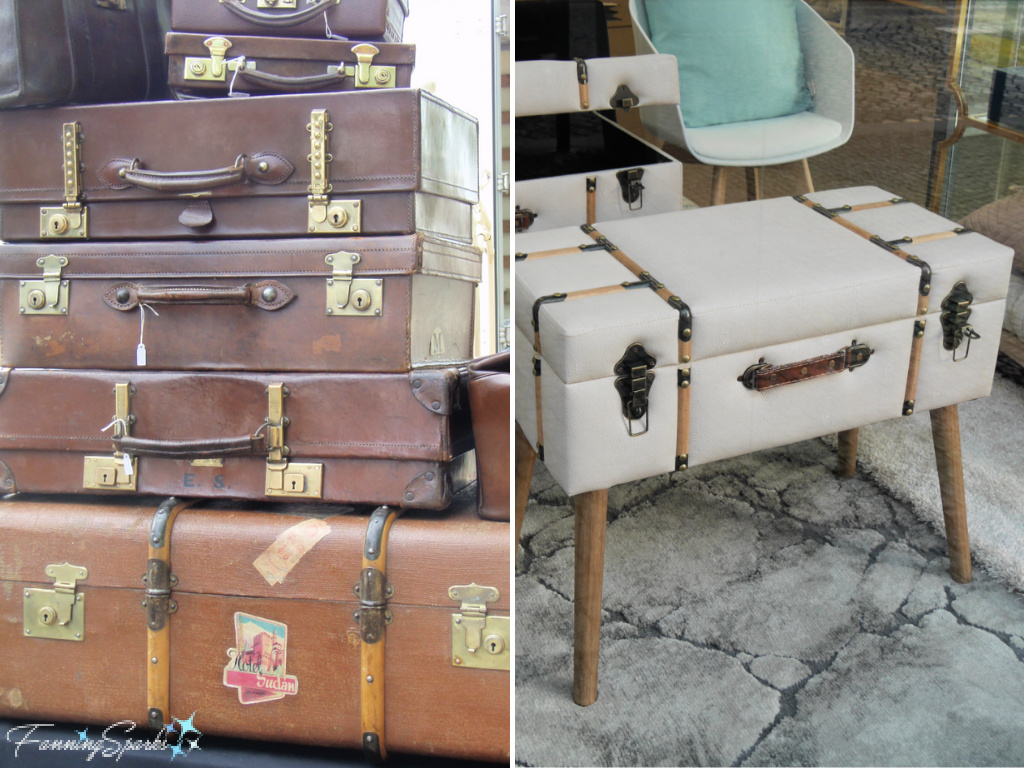
The unusual coffee table on the right was spotted in Porto, Portugal. For comparison, I’ve included a photo of some vintage leather luggage from an Antique Market in Tongeren, Belgium.
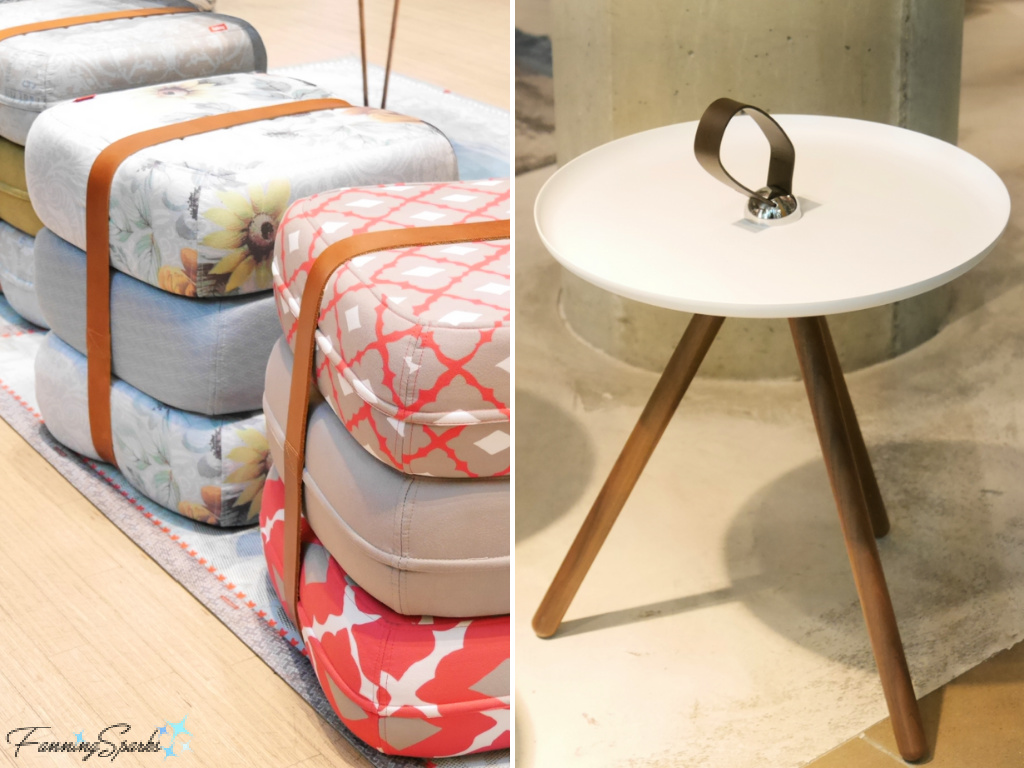
Another popular way to use leather is as a strap or handle. Here are two examples spotted in Berlin at the Stilwerk Design Center. On the left, a leather strap is used to hold together a set of floor cushions. On the right, a leather strap serves as a clever handle on a small side table.
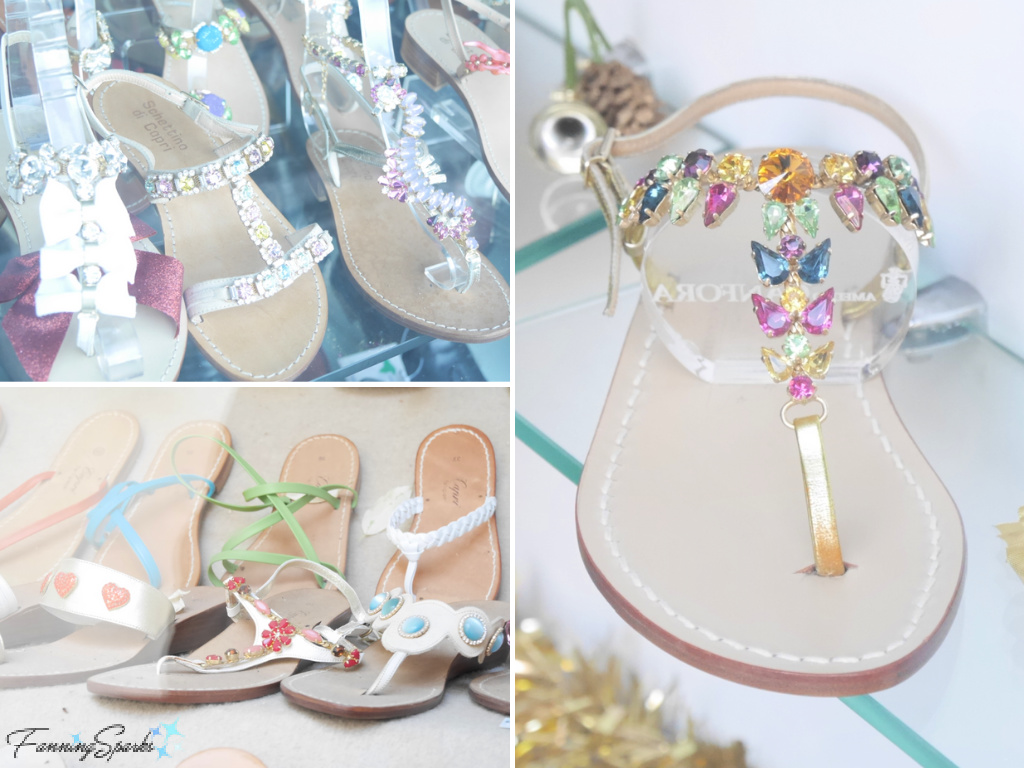
Most people probably associate leather with handbags and footwear. There is an endless variety of ways in which leather is used to make these items. One of these applications, named for the Italian island, is the Capri sandal. These simple, handmade leather sandals are available in traditional and jeweled styles. Here are a few eye-catching designs I spotted while window shopping in Capri.
All of these ideas have been pinned on my new Pinterest board, Leather – FanningSparks Favs. This board has grown quickly and already has over 200 leathercraft ideas.
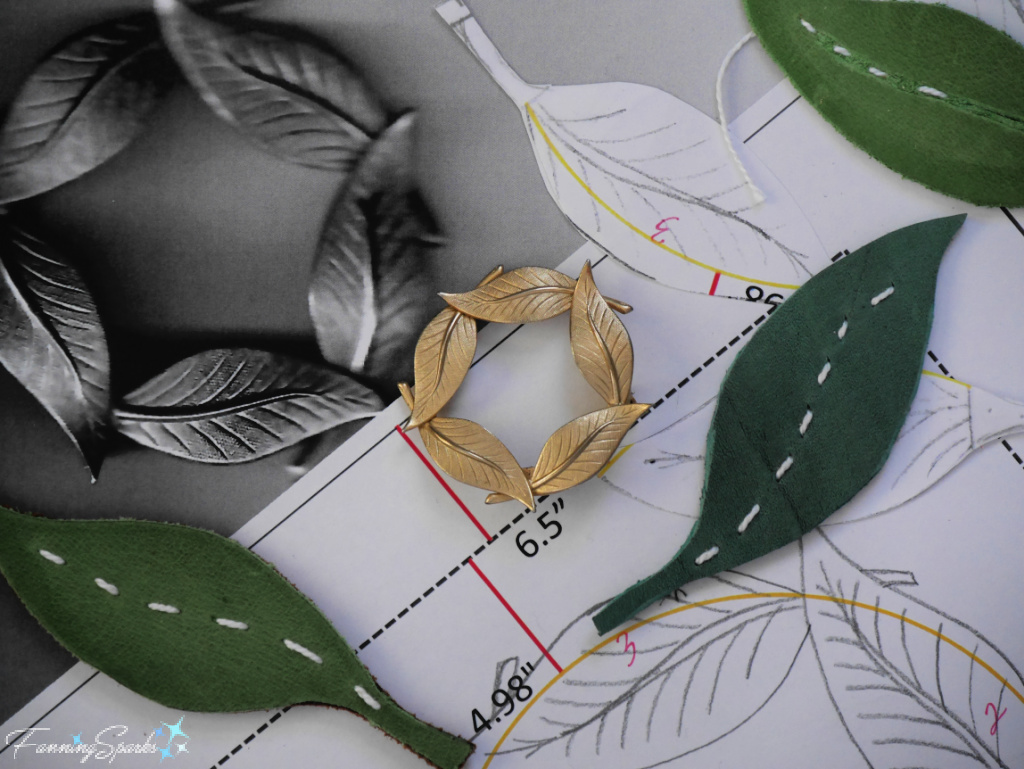
Of course, inspiration isn’t limited to items made of leather. The below circle brooch, with its charming design of five interwoven leaves, came from a local thrift store. I tried enlarging the brooch on my copier and making it from leather. The leaves, cut from green leather and highlighted with a white running stitch, came together nicely. But they’re on the back burner while I figure out how to incorporate them into an actual project.
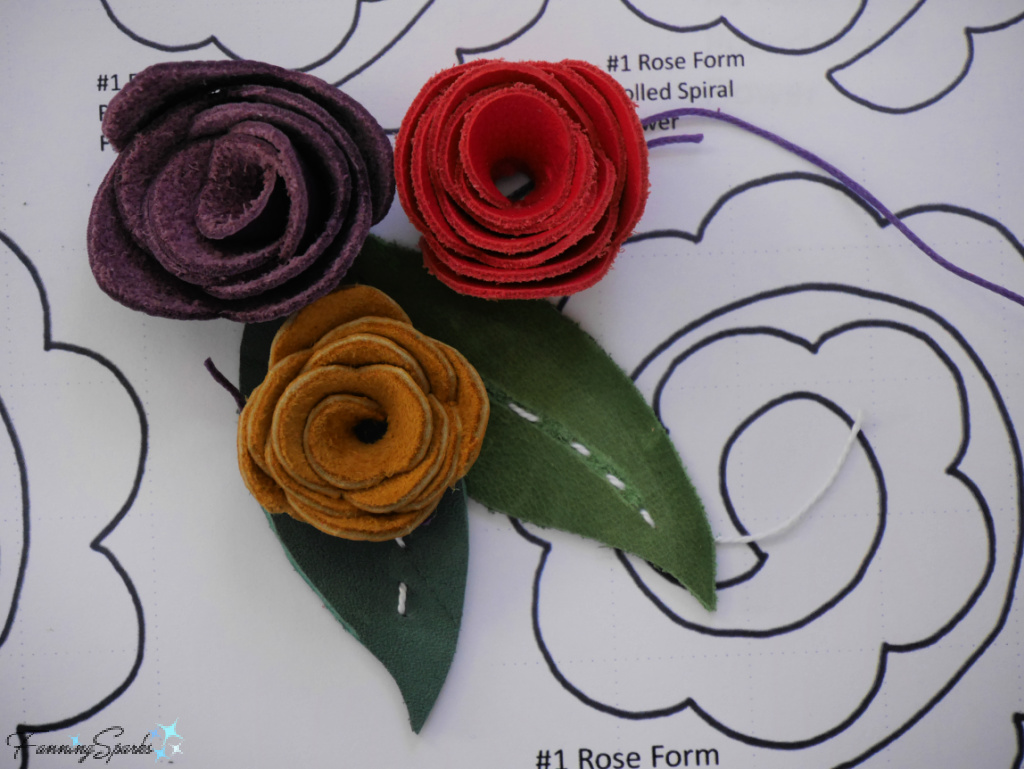
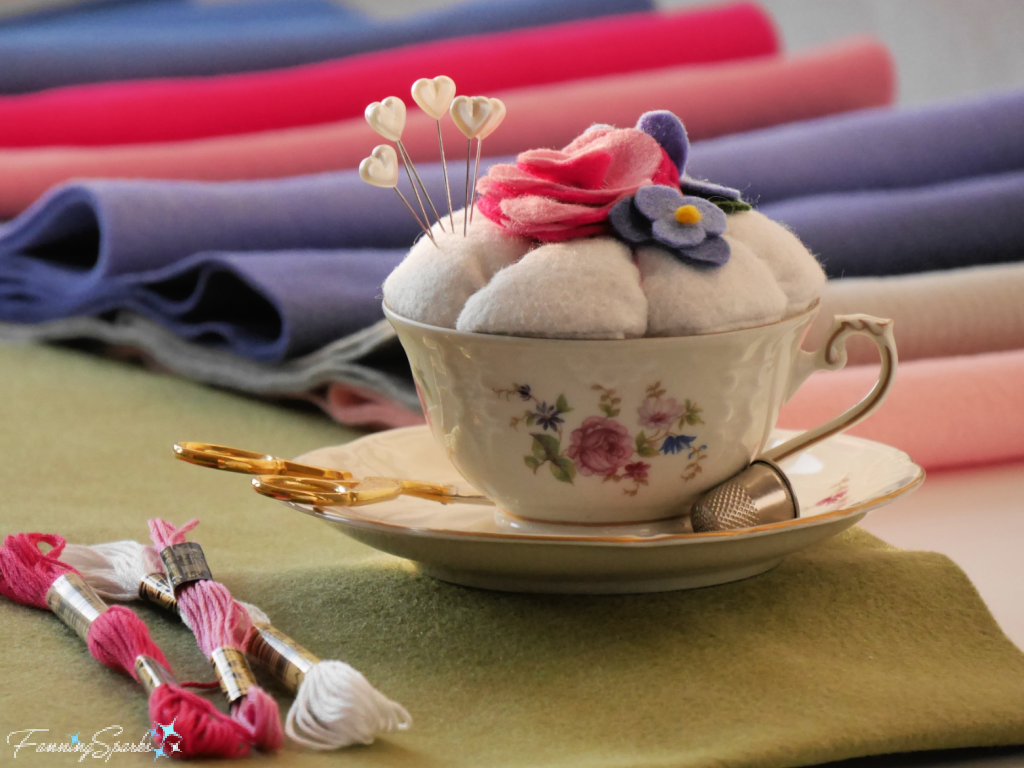
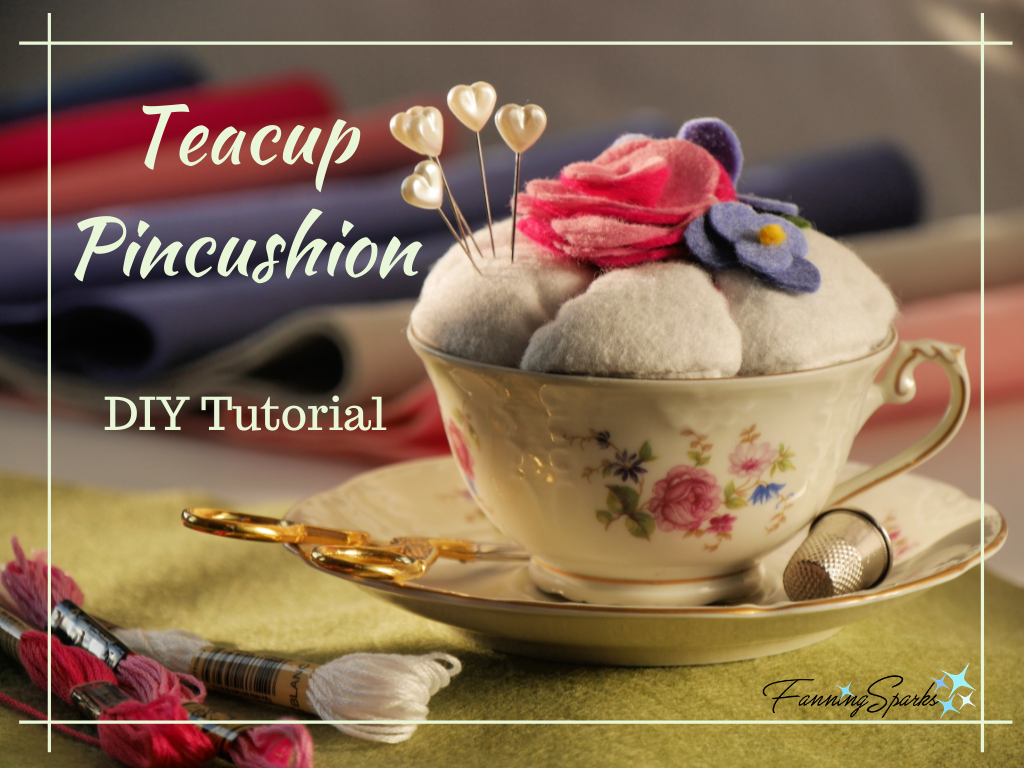
Some of my best ideas come from cross-pollination. For instance, many of the techniques used to manipulate wool felt can also be applied to leather. Shown below are a set of rolled roses made from leather with the template from my previous blog post Teacup Pincushion – DIY Tutorial.
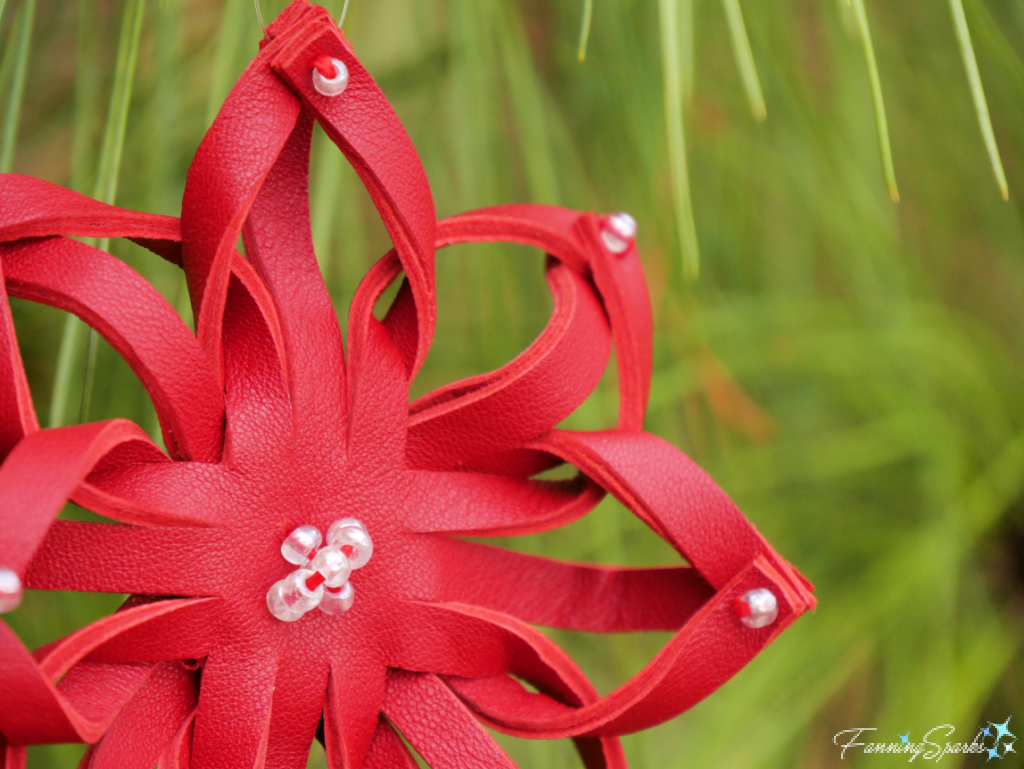
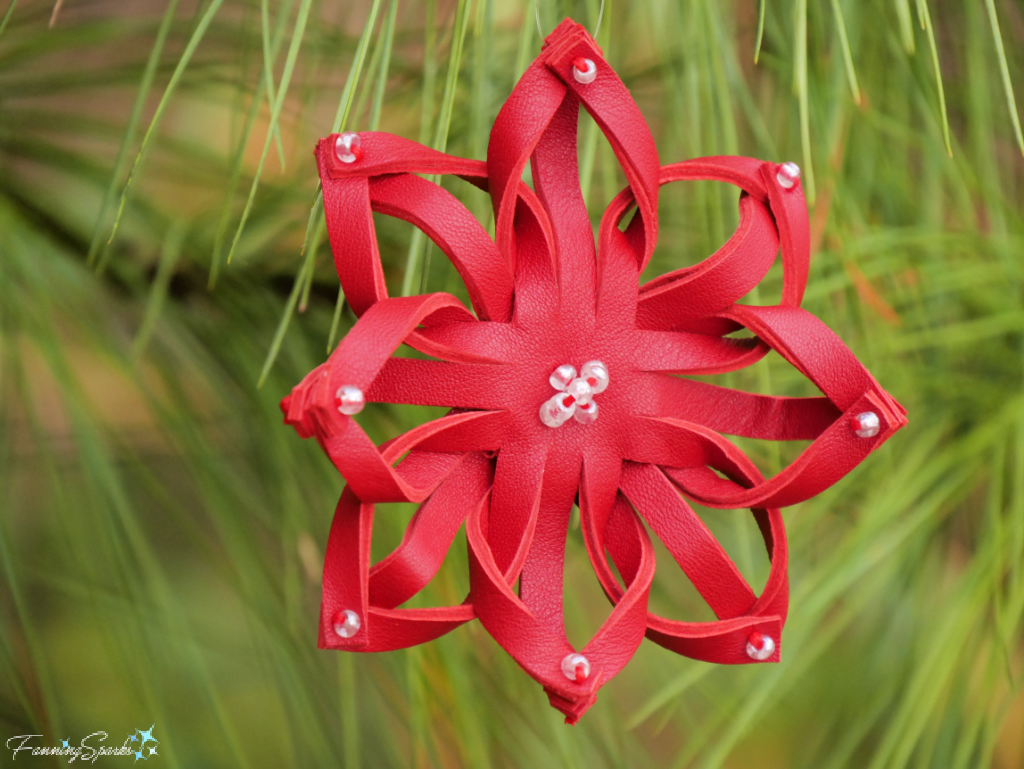
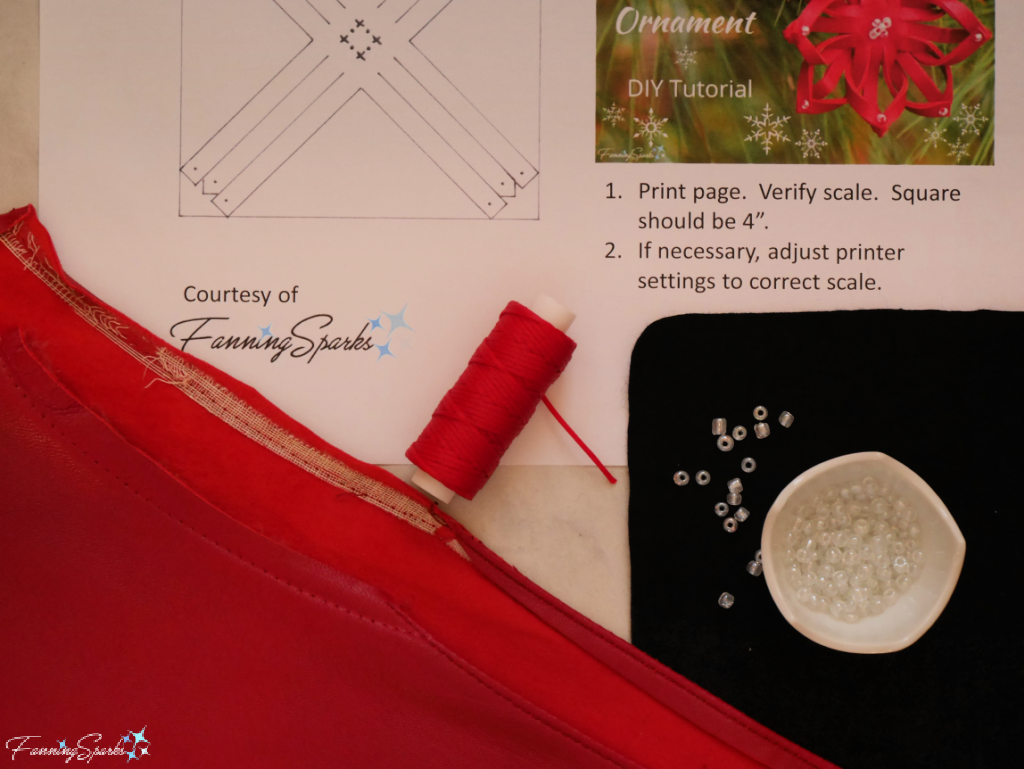
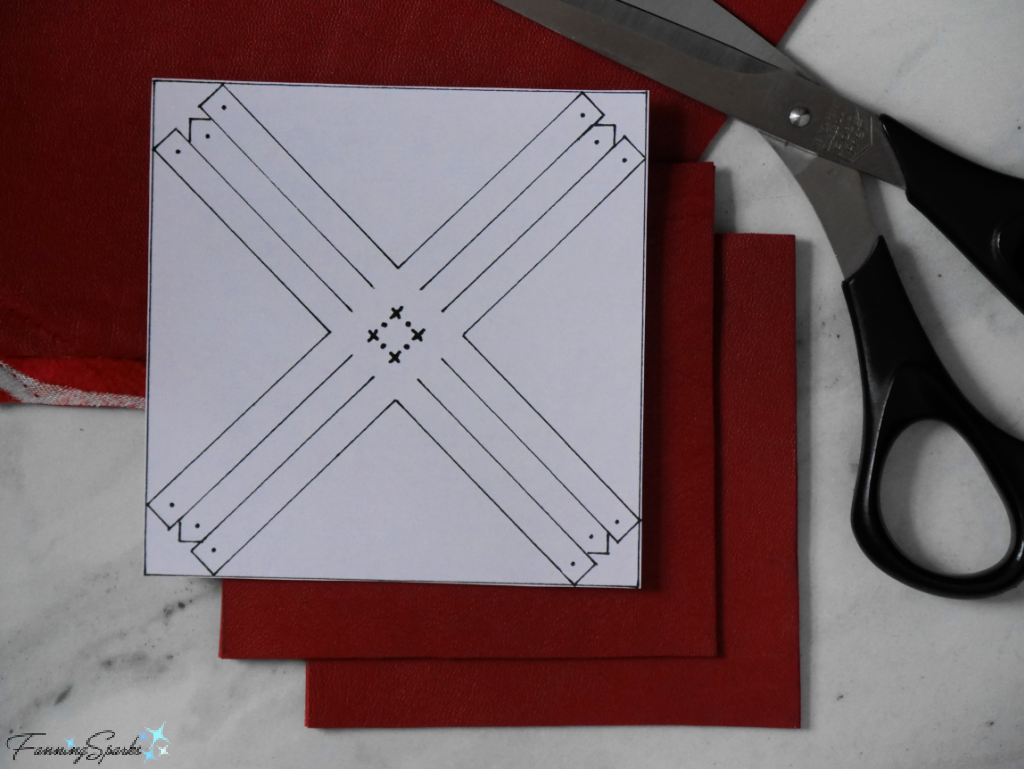
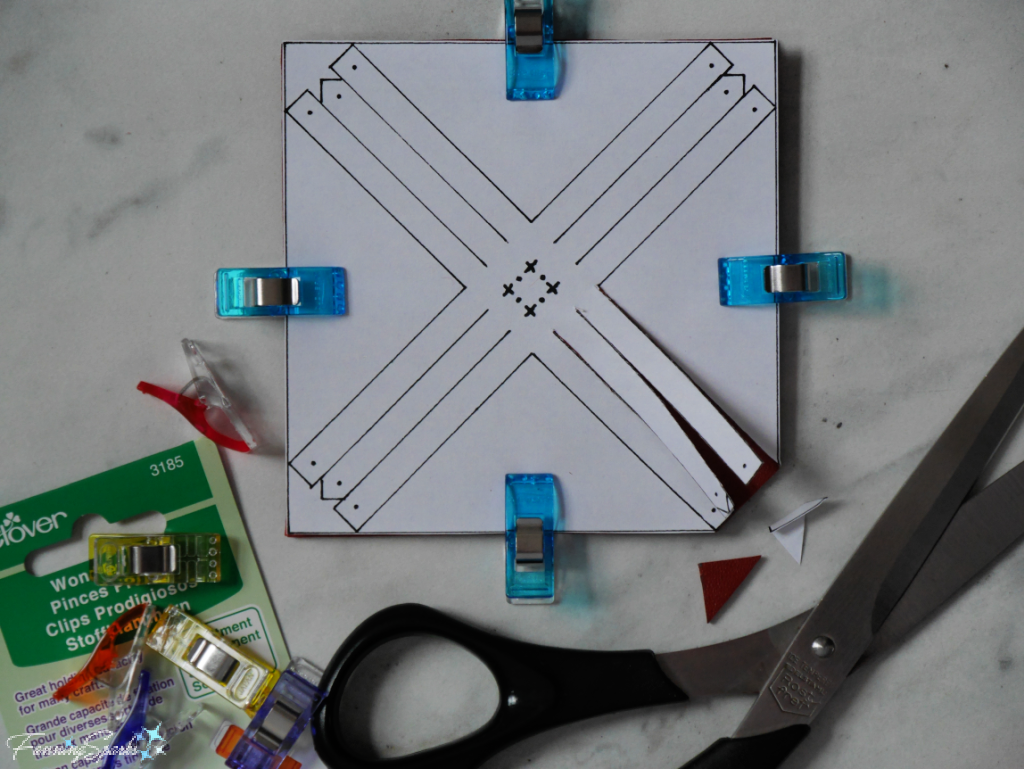
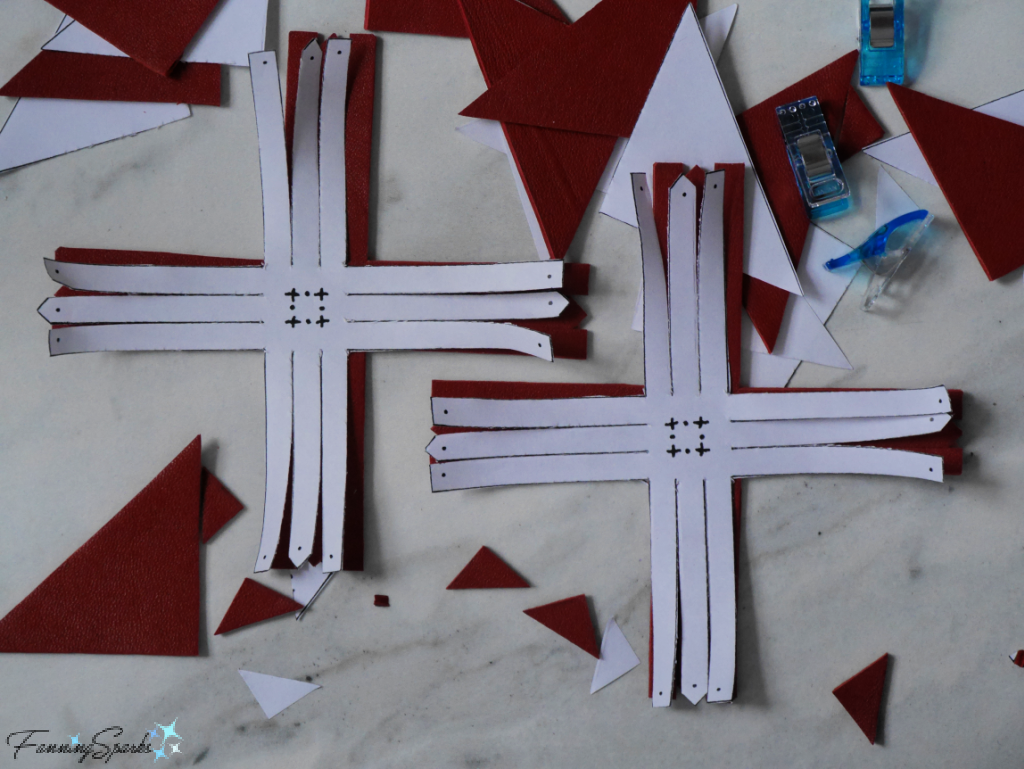
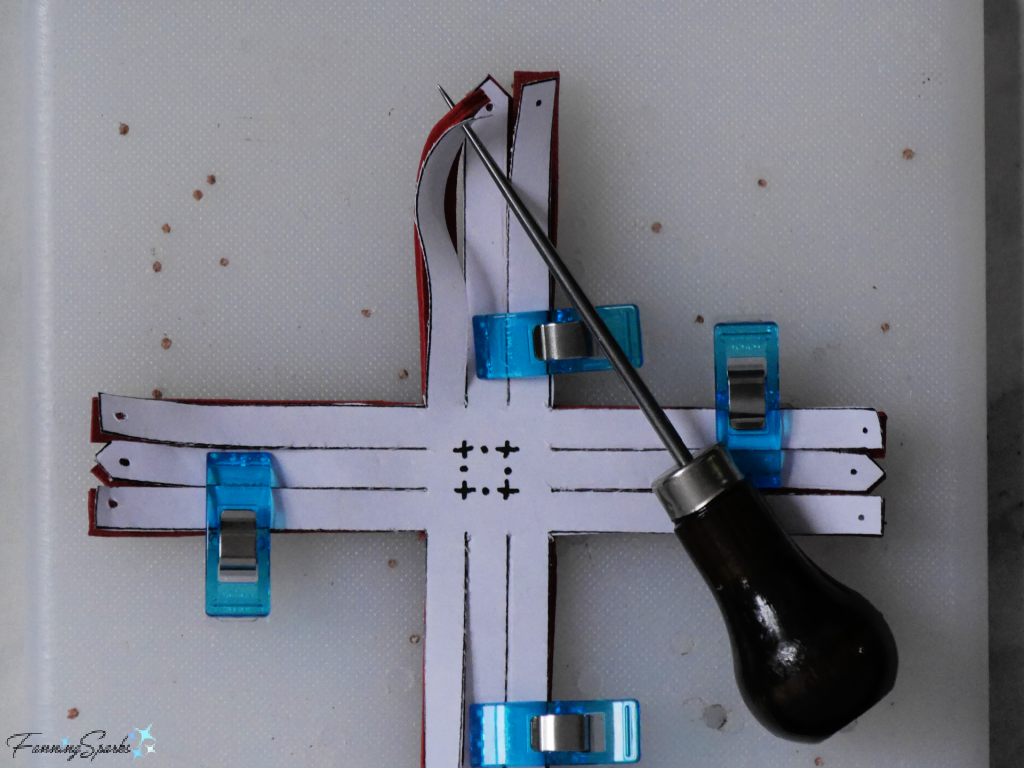
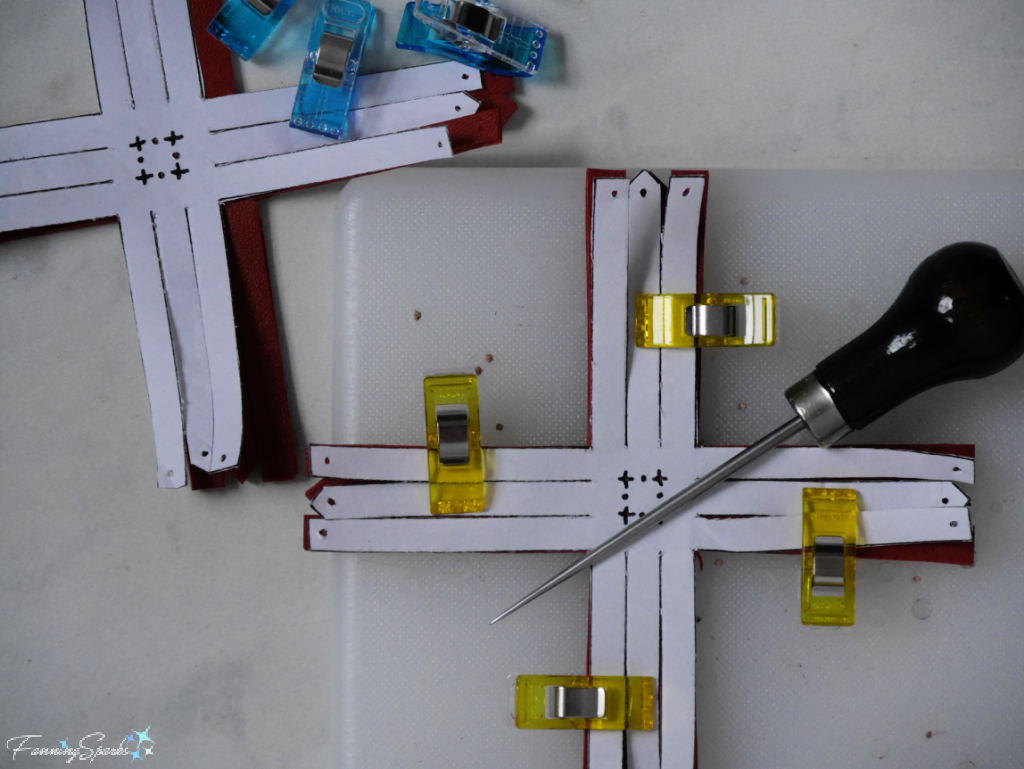
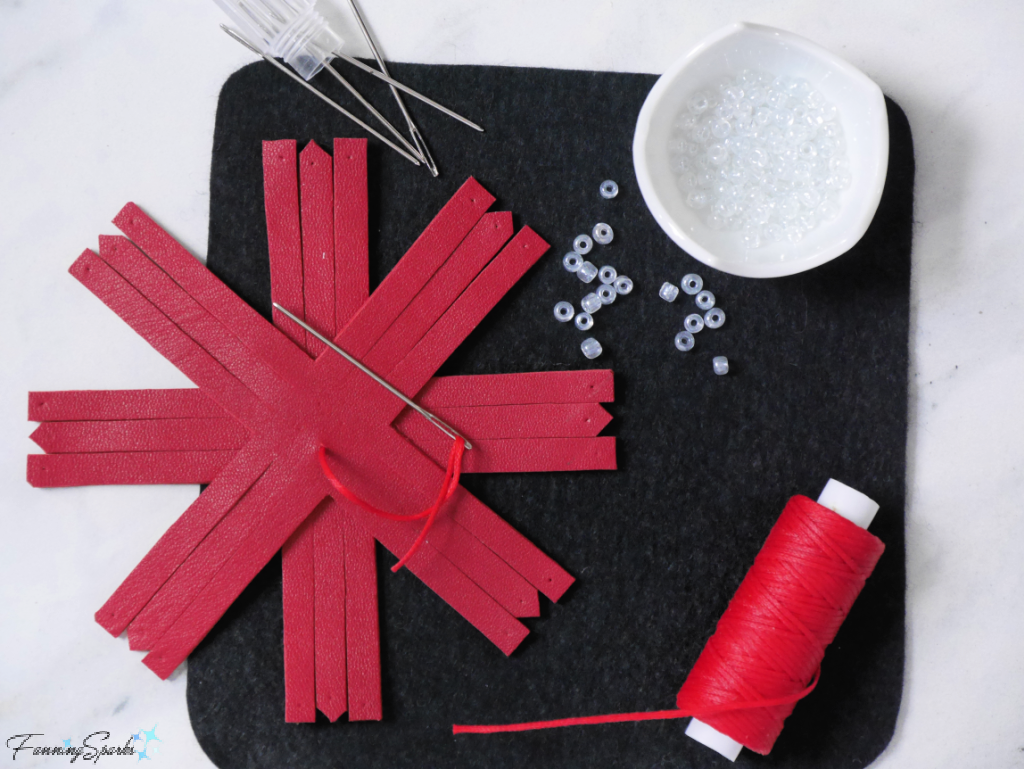
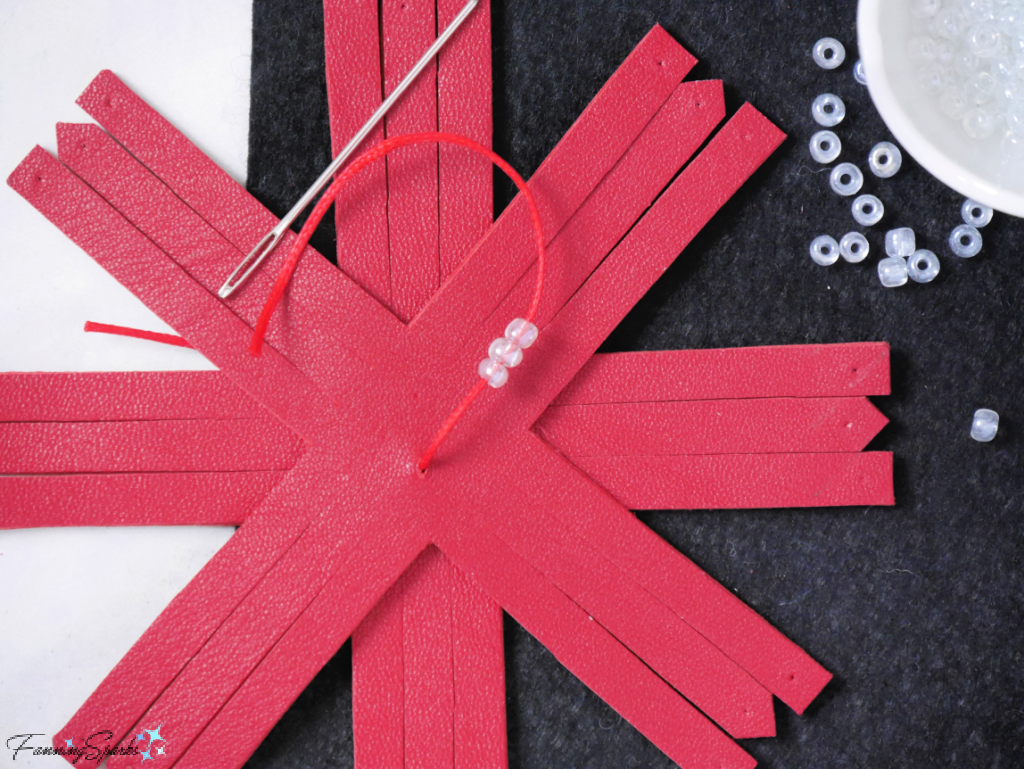
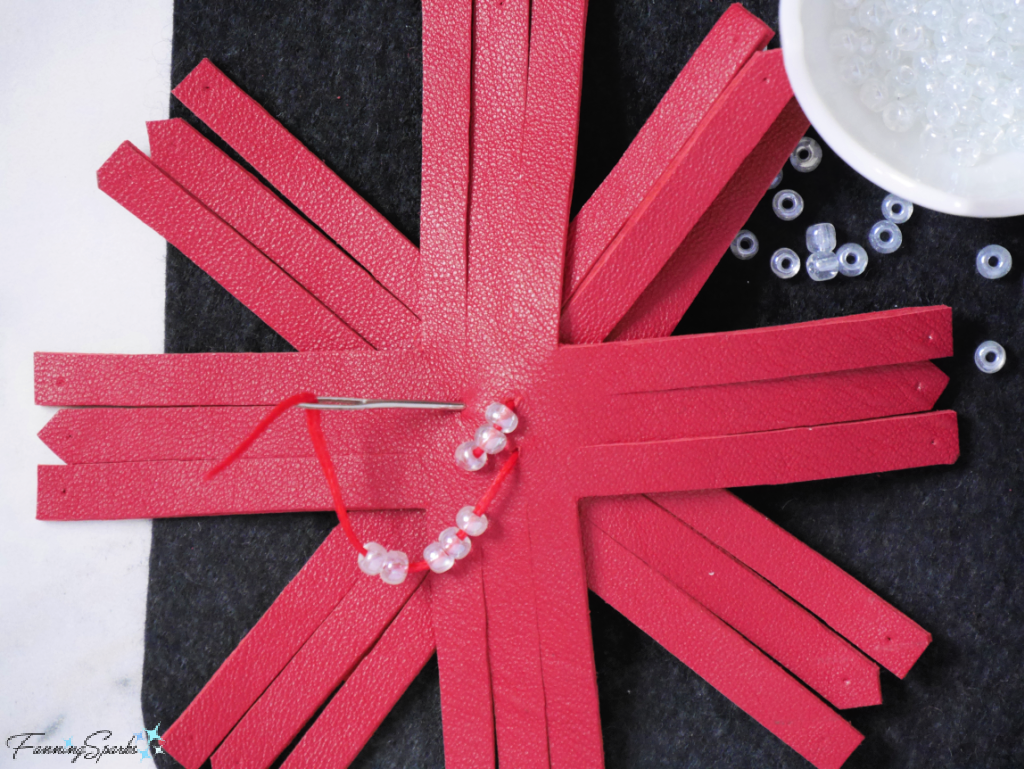
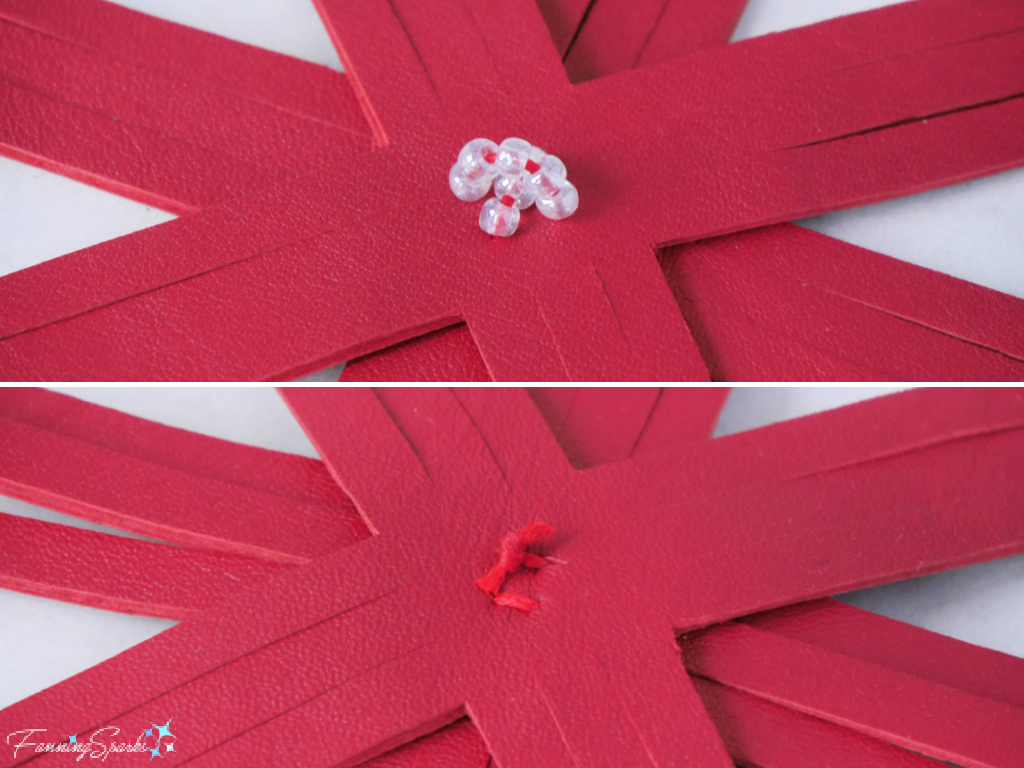
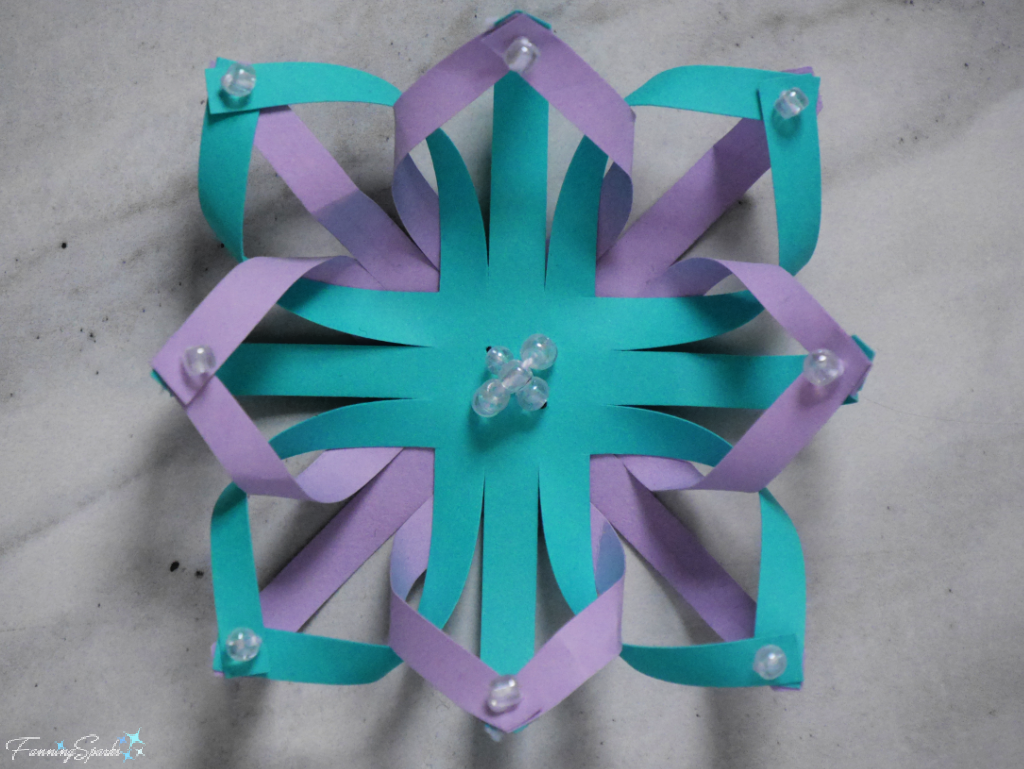
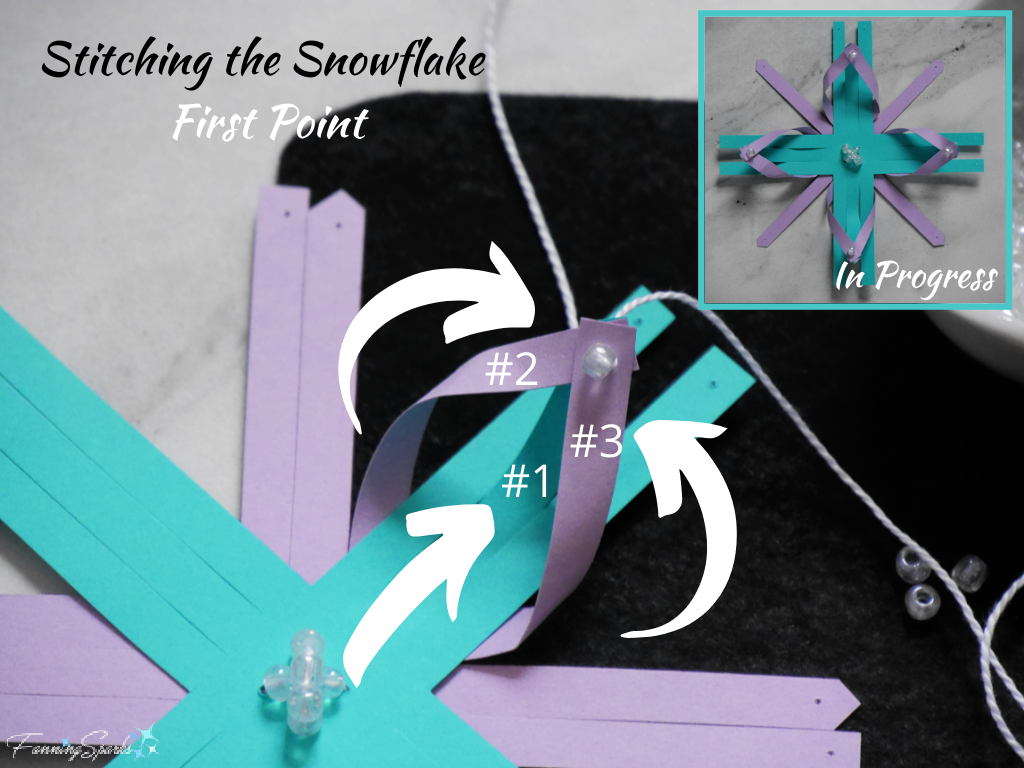
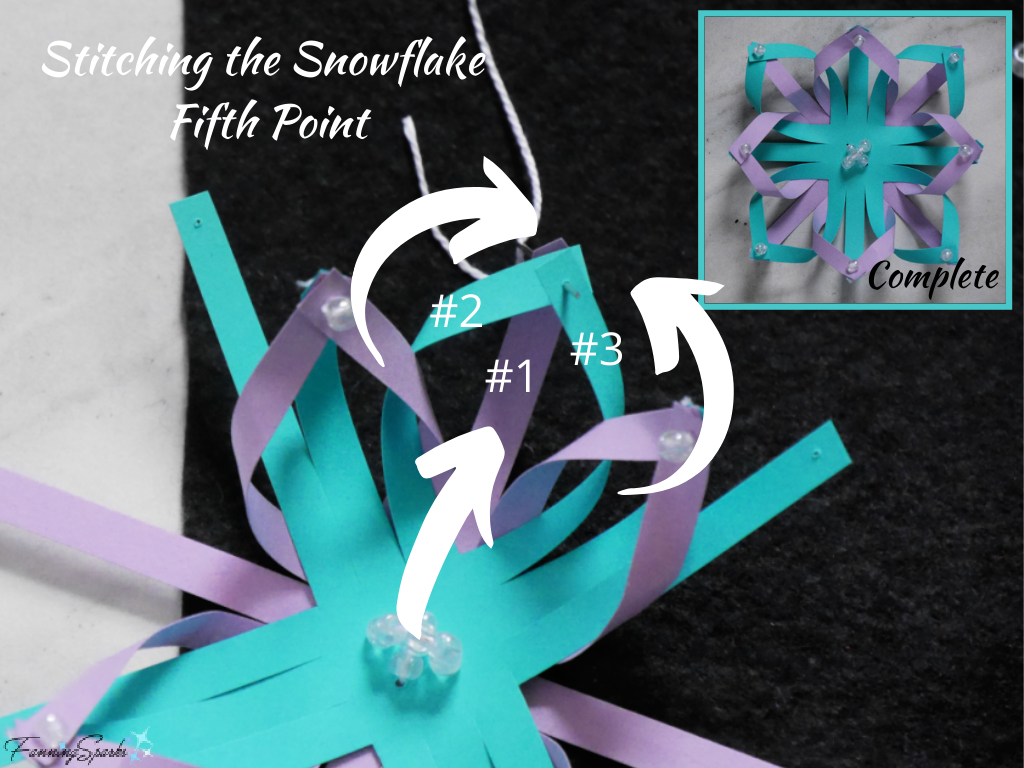
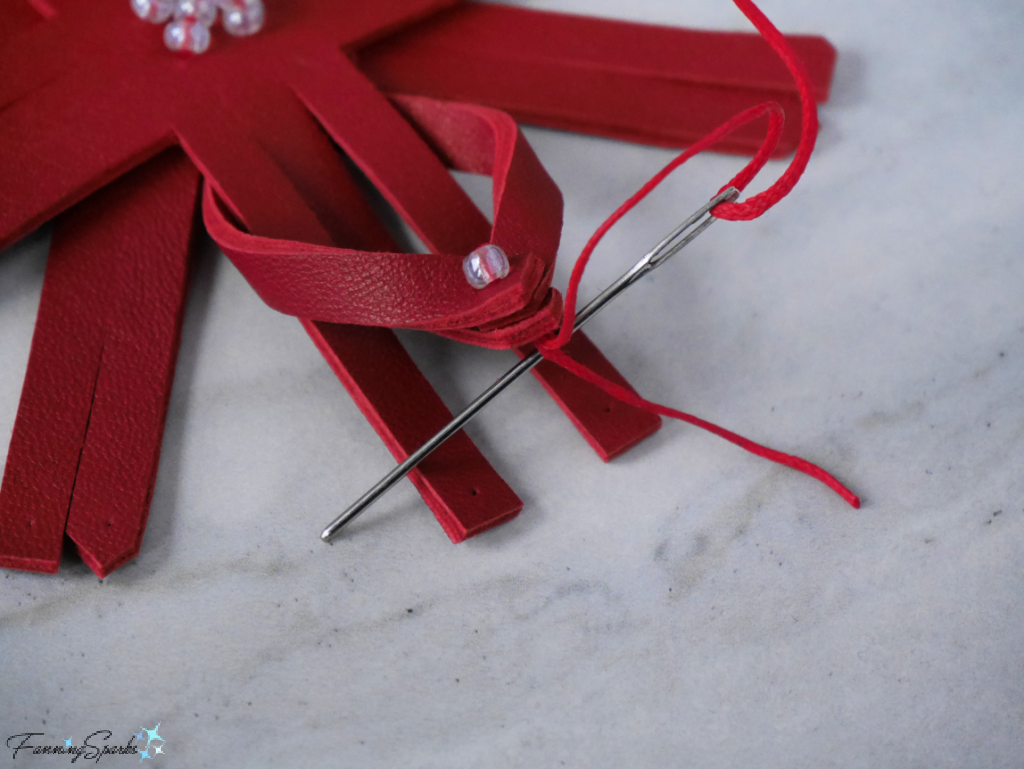
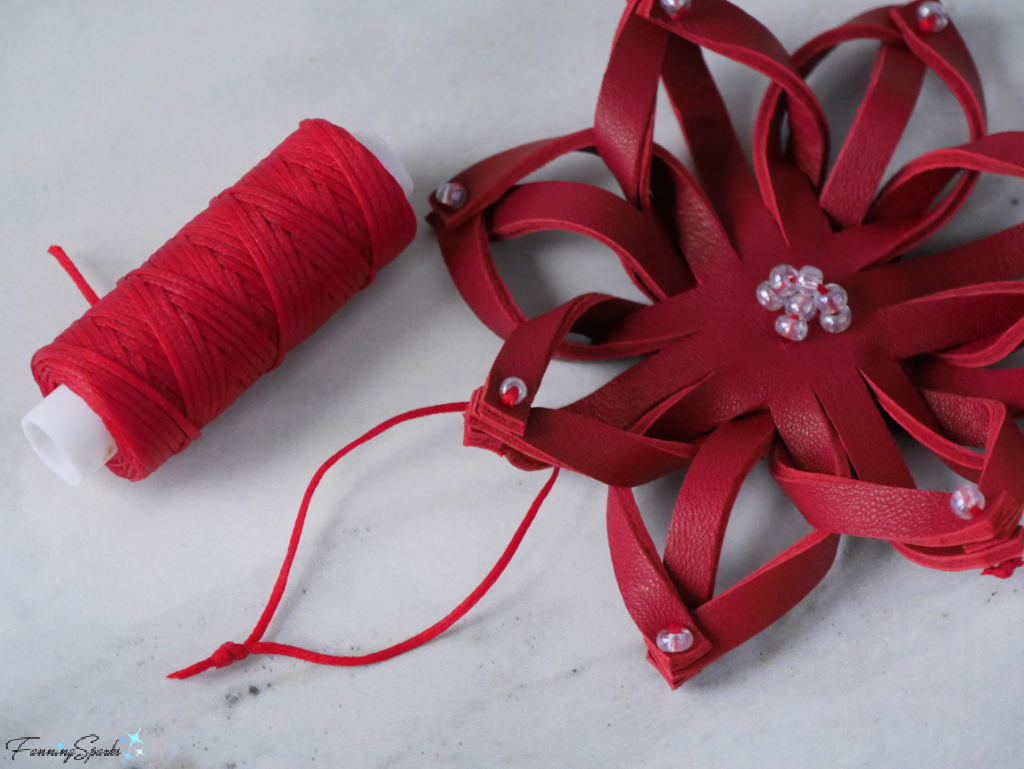
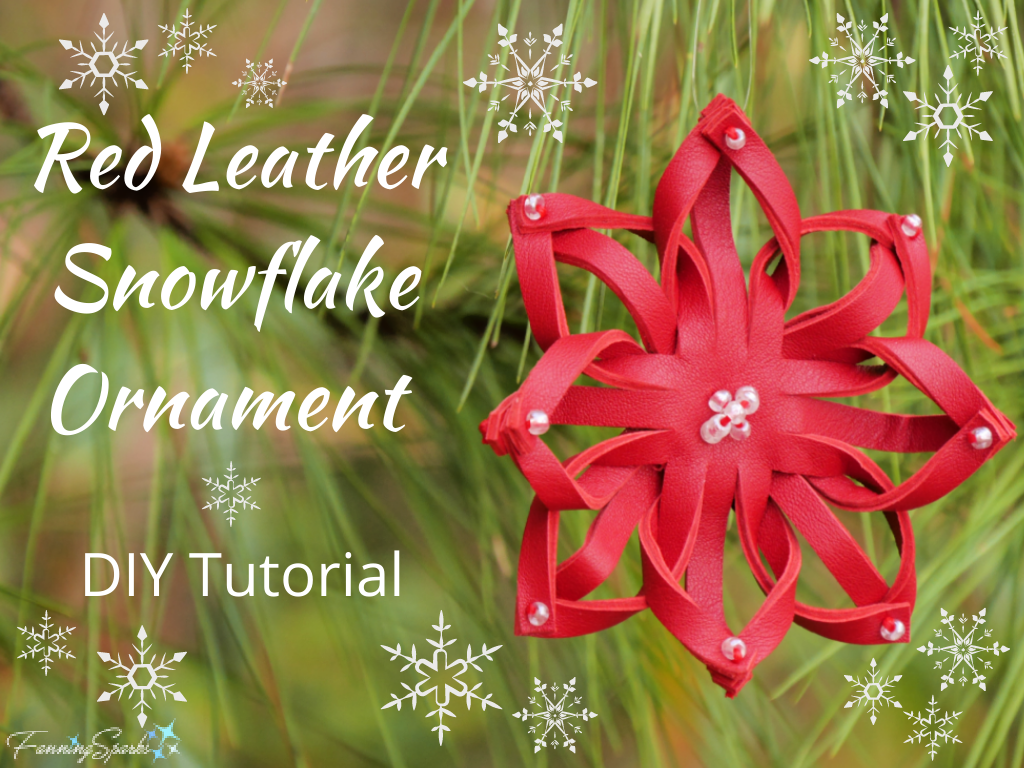
Here’s another example of cross-pollination—this red leather snowflake ornament leverages techniques borrowed from paper crafting and beading. There’s a full tutorial in the blog post Red Leather Snowflake Ornament – DIY Tutorial.
I’ll wrap-up this peek into my studio with one last photo of the madness. Now, I must get back to work—the leather is calling!
More Info
Check out my new Pinterest board, Leather – FanningSparks Favs, which has over 200 leathercraft ideas.
See the blog post My First Leathercrafting Project for the full story about my experience attending a week-long leathercraft class at the John C Campbell Folk School.
Corter Leather’s video series on YouTube is a great resource for beginners. I found the episode, How to Start Leather Crafting, particularly helpful.
Check out the gorgeous boots, mukluks, moccasins, slippers, mittens and gloves and other goods offered by the Canadian Aboriginal Company, Manitobah Mukluks, on their website. Don’t miss the one-of-a-kind works of art in the Story Boot section.
You can find more information about Vicki Love and her Bohemian Chic Leather Bags on her website Vicki Love Designs.
See my blog post, Teacup Pincushion – DIY Tutorial, for a complimentary download template for rolled roses and other felt flowers.
Check out the blog post, Red Leather Snowflake Ornament – DIY Tutorial, for step-by-step instructions and a complimentary download template.
Note regarding Leather Tanning: I’ve learned there are primarily two tanning processes for leather: vegetable tanning (veg-tan) and chrome tanning. Veg-tan leather is reported to be more environmentally friendly so I am focusing on this type of leather. This explanation by Buckle Guy is very helpful: Vegetable Tanned Leather vs Chrome Tanned Leather
Today’s Takeaways
1. Consider surrounding yourself with a cluttered mess to spark creativity.
2. When learning a new craft, start by building the basic foundational skills.
3. Scout for inspiration by scanning your physical environment as well as online resources.


 It’s fun to look back through my photos and remember the highlights of the year. But the thing that makes this activity really special is rediscovering shots I’d forgotten about—like this Northern Cardinal (Cardinalis cardinalis) enjoying the water in our birdbath. Did you know the name of these birds refers to the cardinals of the Roman Catholic Church who wear distinctive red robes and caps?
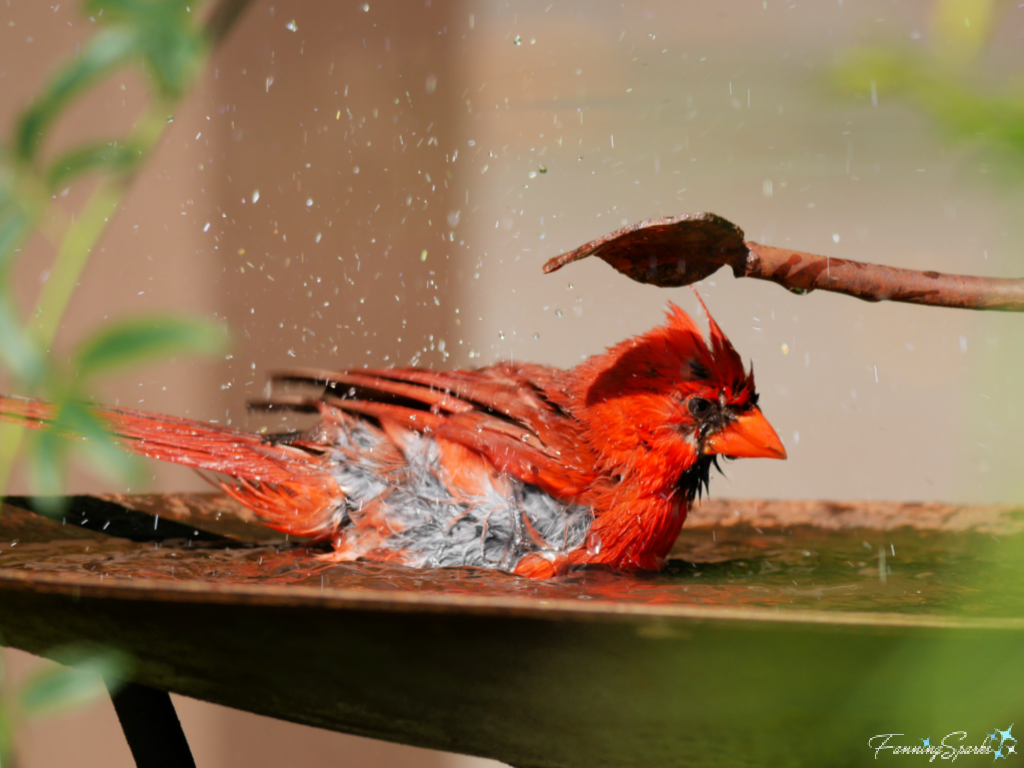
 In keeping with the bird theme, the below photo was my favorite from a visit to Swan Lake Iris Gardens back in May. This park, in Sumter, South Carolina, is home to all eight known species of swan. This is a Black Swan (Cygnus atratus). There’s a fascinating story about black swans that I first shared in my blog post
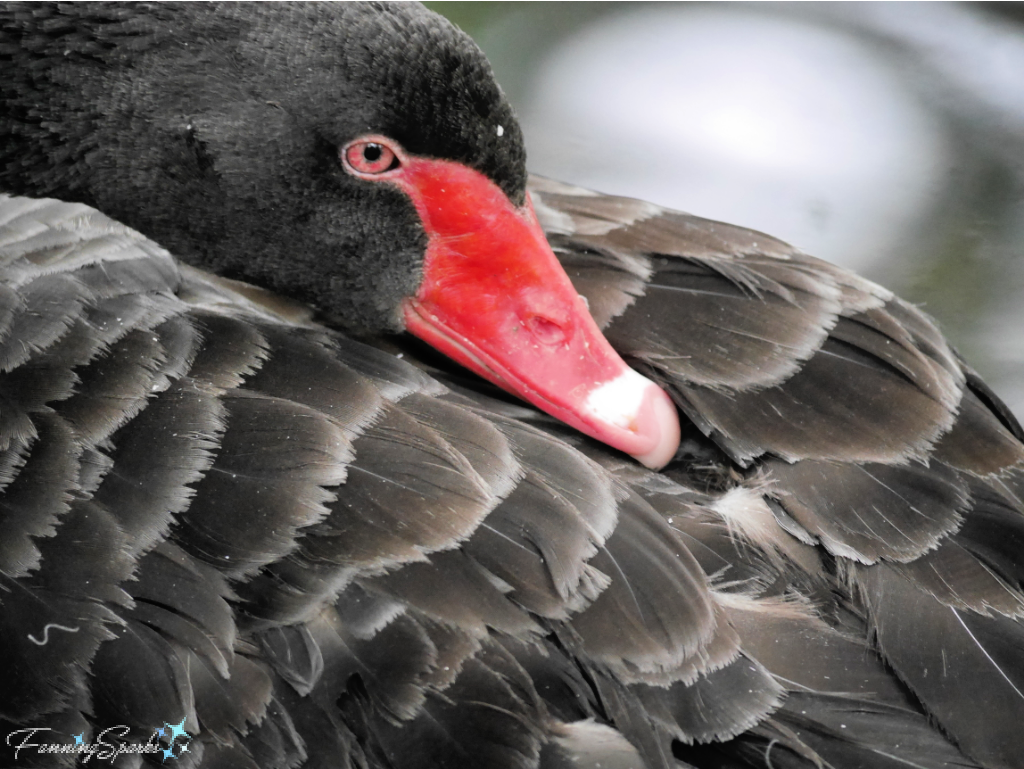


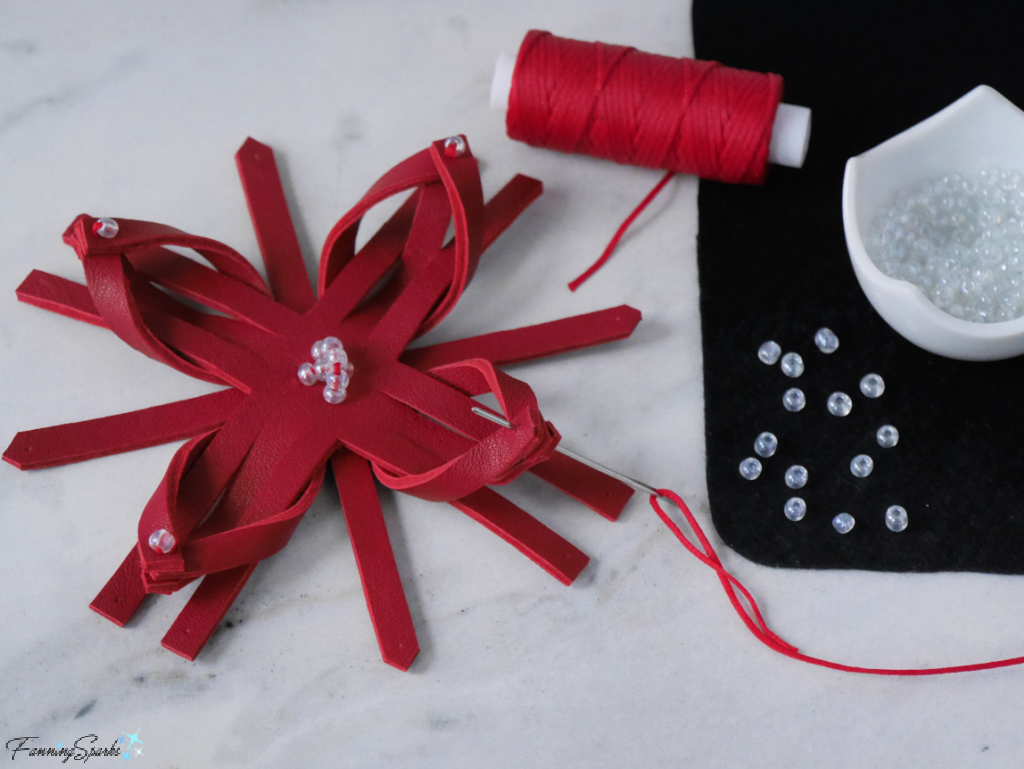
 Your new leather snowflake is ready! It looks lovely on the Christmas tree but it would also make a gorgeous gift topper.
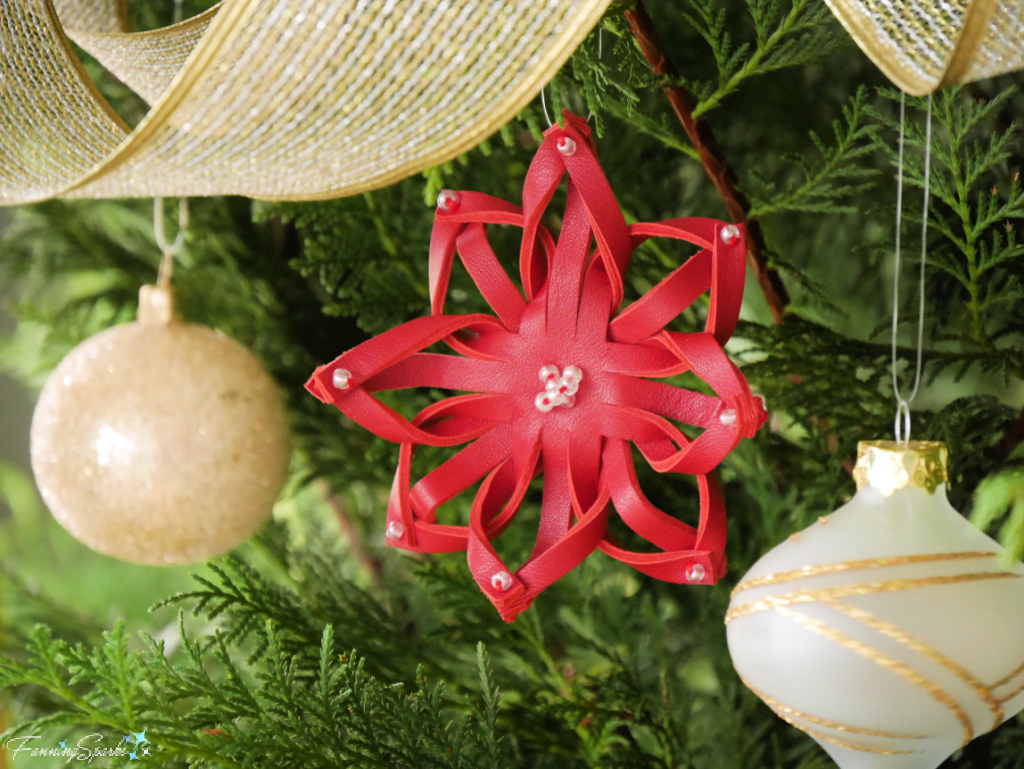
 You can learn more about working with leather in my previous post
 3.
3. 


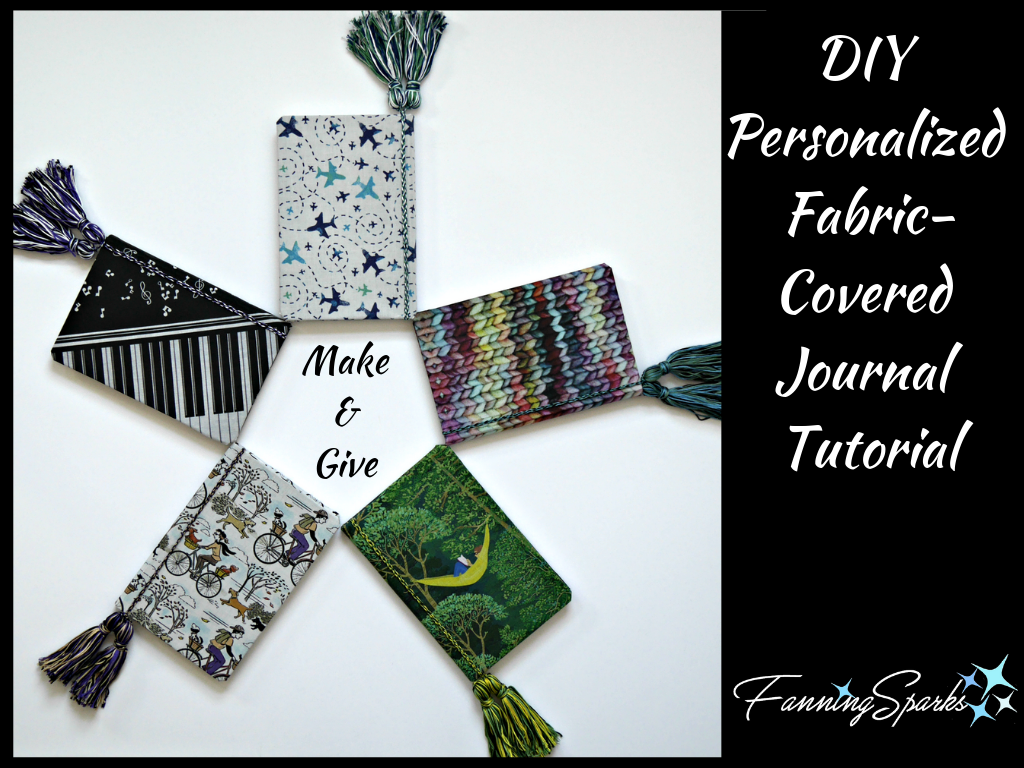
 If I were to choose only one make-and-give project from 2019, it would be the fabric-covered journals. I’ve given several to family members and they were well received. It’s an easy project that requires only basic crafting skills. Simply select fabric that reflects the interests of the recipient and then follow the step-by-step instructions provided in the