Of all the wonderful things I discovered on my trip to Portugal this was the biggest surprise. I did not expect to find the world’s largest collection of René Lalique jewelry in a museum in Lisbon. René Lalique, was a French artist renown for excellence and innovation in two significant mediums‒jewelry and glass art‒at the height of the Art Nouveau movement. The René Lalique Collection owned by the Calouste Gulbenkian Museum in Lisbon, Portugal includes over 100 of his outstanding works.
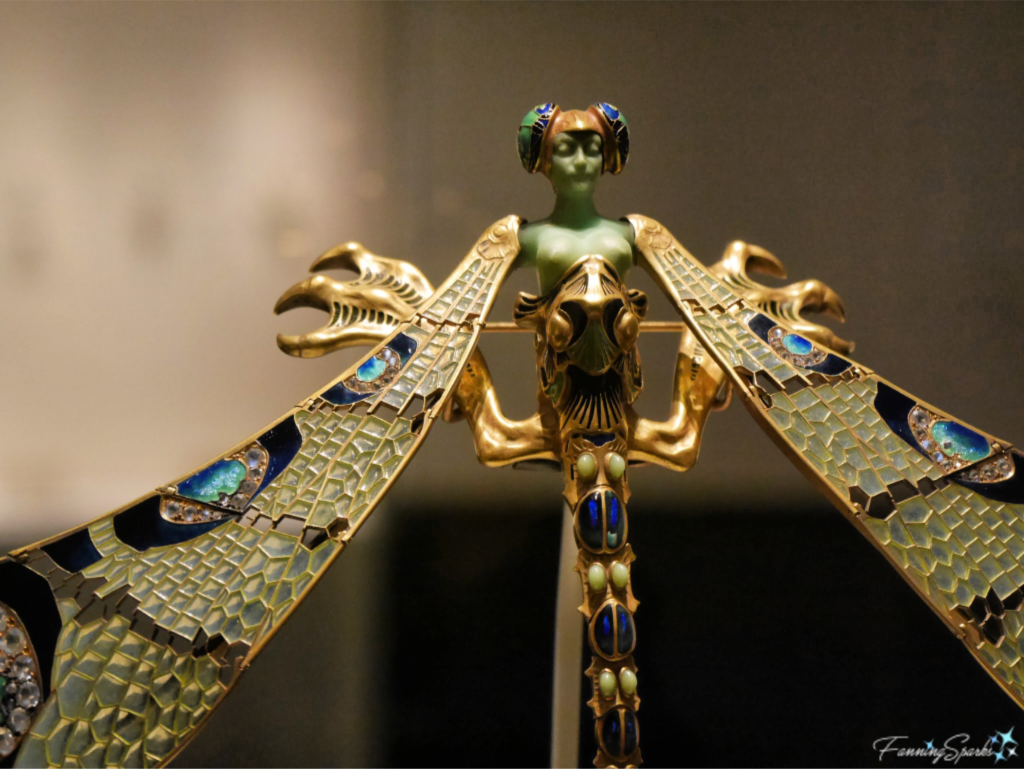
To set the stage for this post, I’ll start with what the Museum calls “Without doubt one of the most spectacular pieces of jewellery ever created by René Lalique”. That’s saying a lot because Lalique created numerous extravagant pieces. Pictured below is the astonishing “Dragonfly-Woman” corsage ornament. It is described as a hybrid figure “at once beautiful and horrible … which attracts and repels at the same time.”
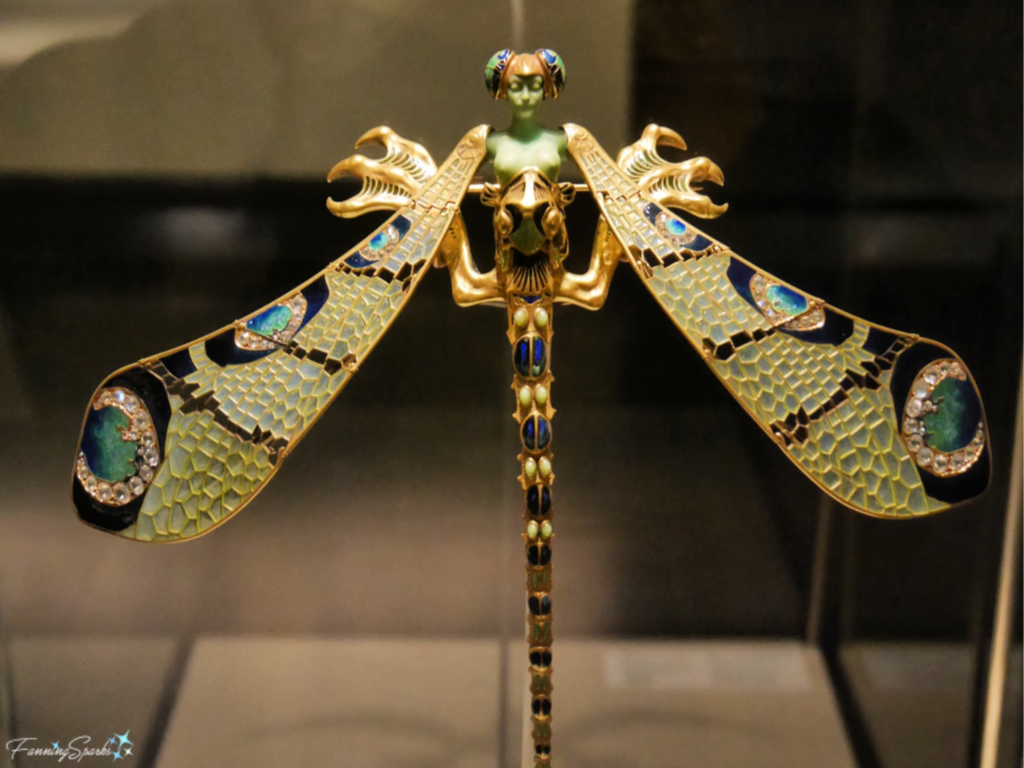
Looking closely, the two parts of the hybrid figure become clear. There’s a women’s body with sweeping dragonfly wings emerging from the gaping mouth of an insect with ferocious griffin claws and a long slender body. The piece is quite large at 23 cm high by 26.5 cm wide. It is made of gold, chrysoprase, enamel, diamonds and moonstones.
This extraordinary piece of jewelry may not be to everyone’s taste but when Lalique presented it at the 1900 Paris Universal Exhibition, where it was seen by roughly 50 million visitors, it caused quite a sensation and was met with great acclaim. In her book “DK Collector’s Guides: Art Nouveau”, author Judith Miller uses the term “fantasy jewelry” and notes “This was jewelry as it had never been imagined or seen before….”. The website, RLalique.com, which calls itself a “gathering place for R. Lalique enthusiasts, collectors and admirers”, states that “By the end of 1900, René Lalique was recognized as the premiere jeweler of his day, and as a decorative artist of the highest order by both the public and his contemporaries.”
So what was it about René Lalique and his jewelry that led to this dazzling success? Let’s consider the contributing factors and look at some examples of his work.
Innovative Approach At the time, most jewelry served to showcase precious, costly gemstones especially diamonds. Lalique took a different approach. As the RLAlique.com authors puts it, his jewelry creations were “not just holders for high value stones, they were artwork in their own right” Lalique’s jewelry included gemstones but only if they enhanced the piece artistically.
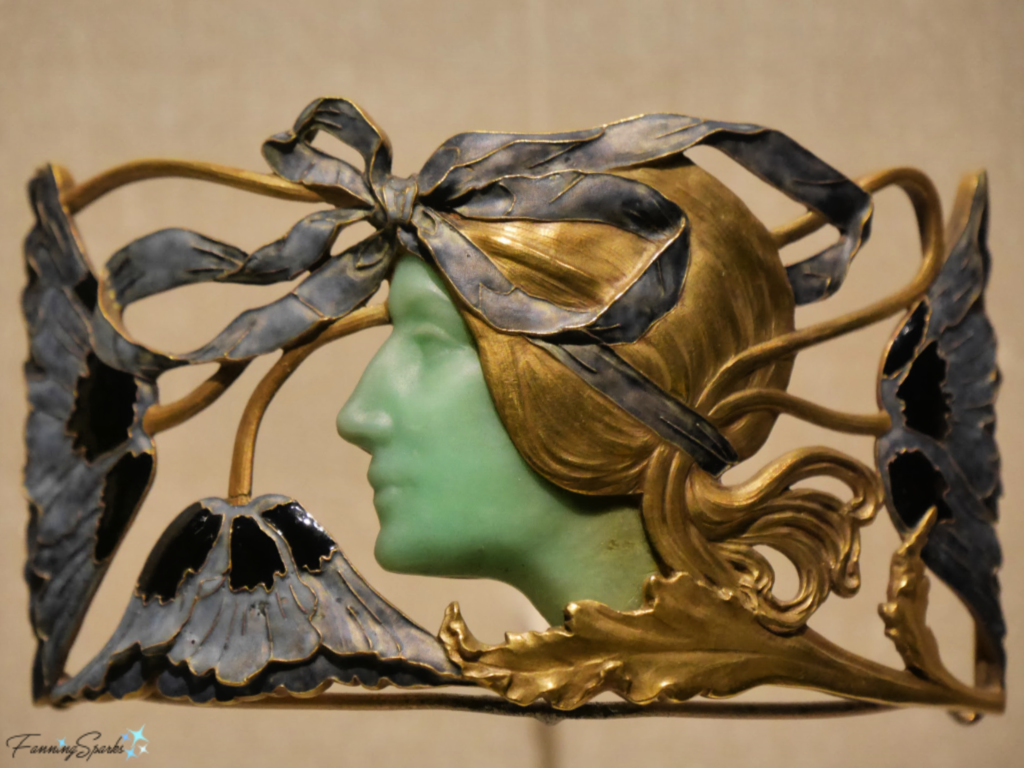
Judith Miller identifies Lalique’s trademarks as “featuring sculptural figurative or nature-inspired motifs, rendered in gold and embellished with subtle enamel colors”. The below piece, labelled “Female Figure Neck Collar”, is a great example of Lalique’s innovative jewelry. This neck collar is made of gold and lavender-blue enamel. The rectangular piece is beautifully composed with a delicate frame of ribbons, bows and poppies surrounding a female profile. The woman’s face is carved out of chrysoprase which is a green-colored gemstone. Obviously, this is not merely a holder for diamonds.
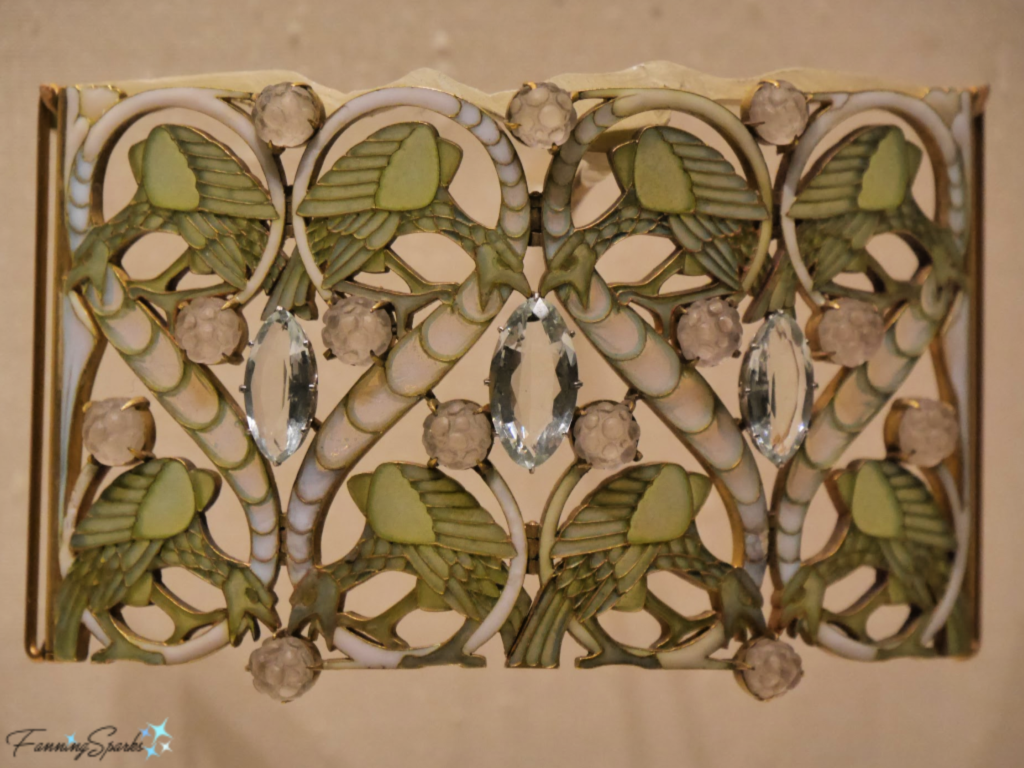
Here’s another lovely example. This choker plaque, “Eagles in Mulberry Branches”, is made of glass, enamel, aquamarine and gold. The design is typical of Art Nouveau with its natural subject matter and sinuous, flowing lines.
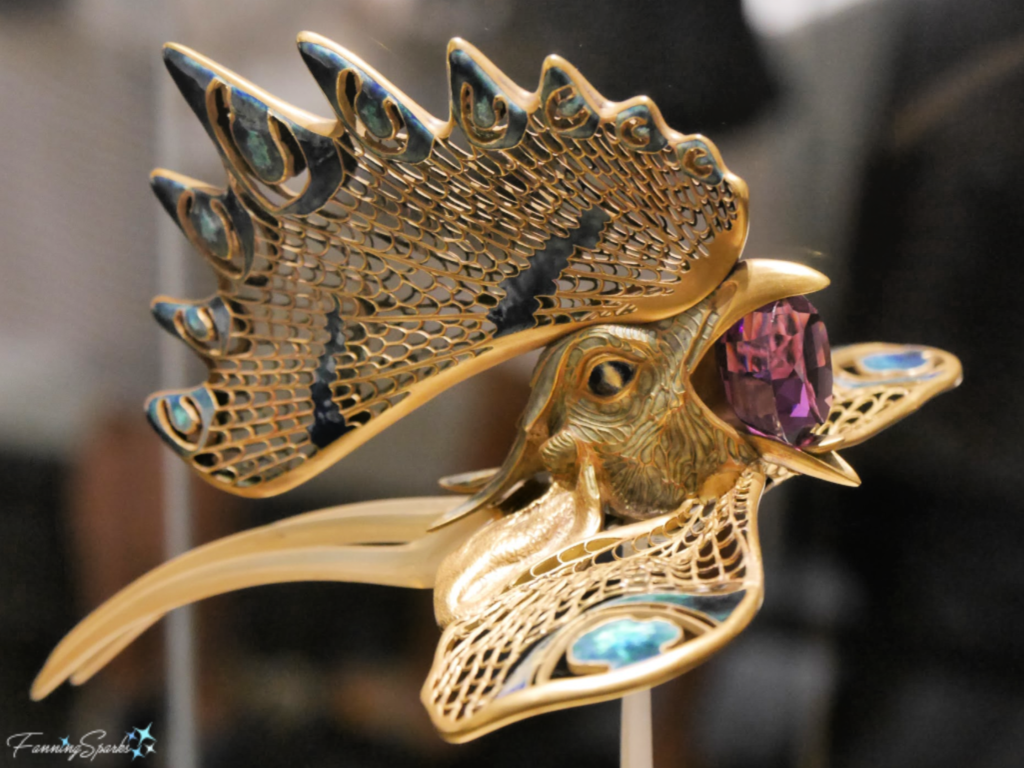
Technical Mastery The spectacular piece shown below is the “Cockerel” diadem. A diadem, by the way, is a jeweled crown or headband typically worn by royalty. The Museum provides a great explanation of how this piece demonstrates Lalique’s technical mastery. “The Cockerel diadem demonstrates René Lalique’s technical skill in the exquisite modelling of the gold on the head of the freestanding cockerel. This piece of jewelry commands attention due it its sculptural dimensions and the attention paid to every detail. The delicately sculpted gold mesh of the comb and wattle are particularly impressive. The green and blue enamel which is so characteristic of the artist’s jewelry combines elegantly with the gold which predominates in this piece. The harmonious combination of elements and structural lines draws our eyes to the cockerel’s beak, which holds a purple amethyst of considerable size.” I’m not in a position to comment on Lalique’s technical mastery but I can confirm this piece does indeed “command attention”.
Reinvention of Traditional Techniques Lalique is credited with reinventing outmoded traditional techniques such as champlevé and plique-à-jour enameling. Enamelwork is the art of fusing glass to a metal such as gold, silver or copper.
In champlevé enameling, the design is executed by cutting troughs or indentations into a metal plate. Each depression is then filled with specially formulated glass powders and fired.
In plique-à-jour enameling, the artist executes the design by creating a delicate network of cells with fine metal wire. Each individual cell is then filled with enamel powders and fired. This technique is considered particularly difficult because the artist is filling an open framework with no backing for support.
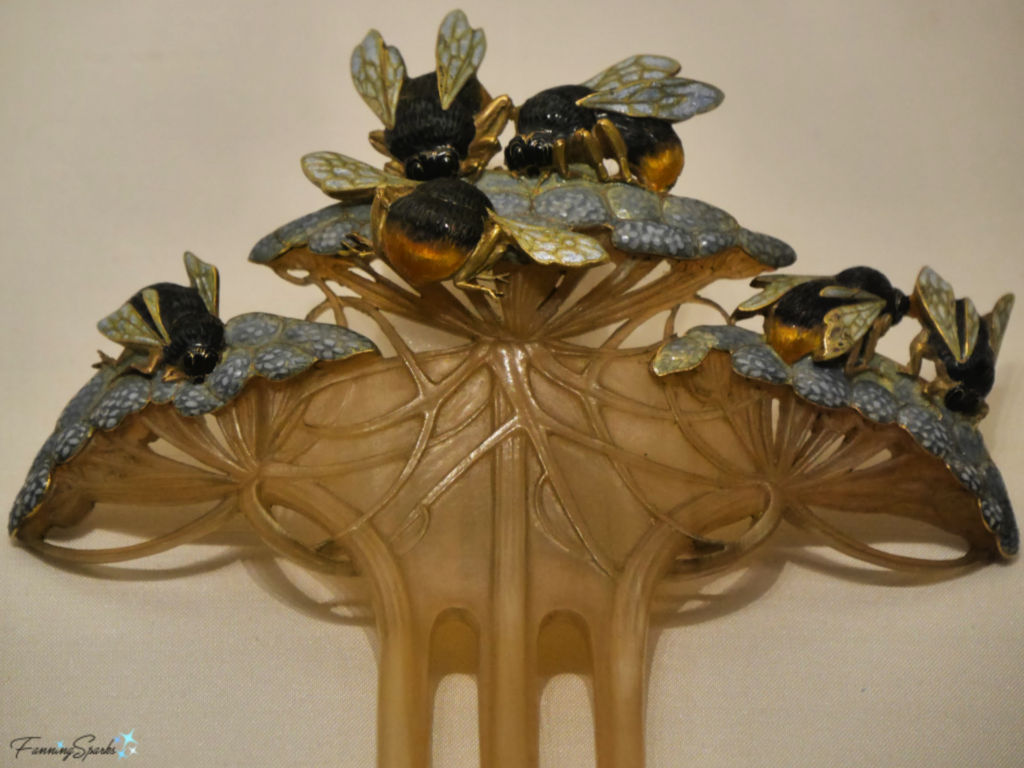
Both plique-à-jour and champlevé enameling are used in the Dragonfly-Woman shown earlier. Here’s another example of exquisite enameling. This is a hair comb called “Drone and Umbels”. The piece is made of horn, gold and enamel.
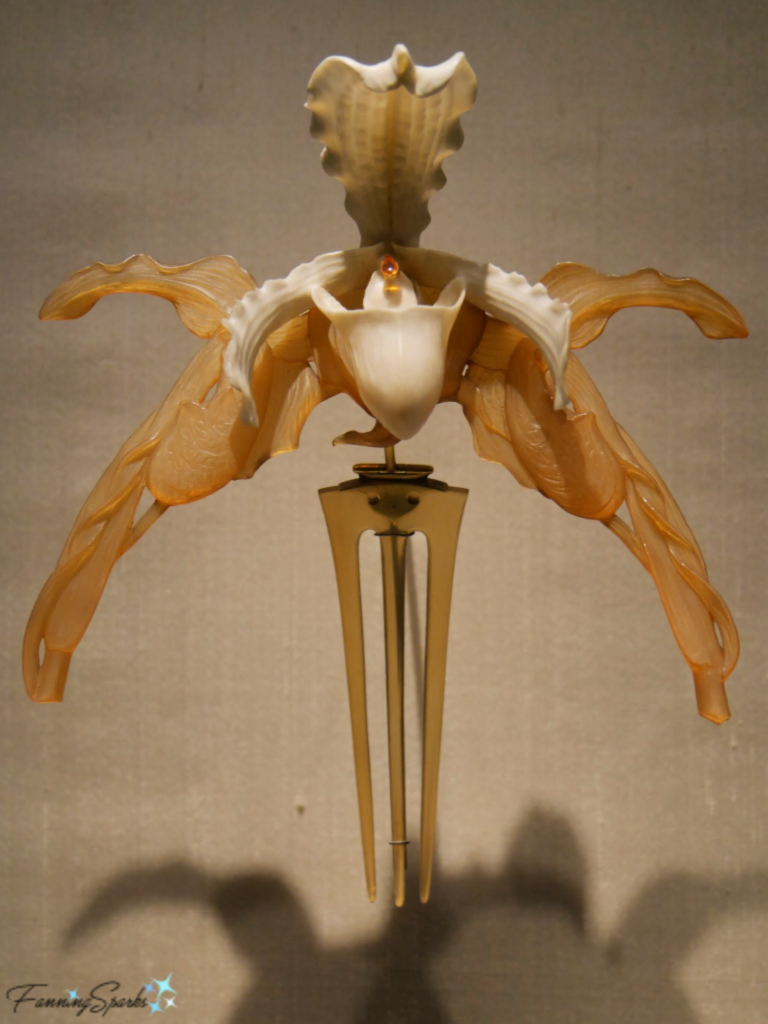
Innovative Choice of Materials Lalique incorporated many unconventional materials into his jewelry including glass, horn, pearls, semi-precious stones, enamel, and ivory. These materials were also less expensive than the materials more typically used in high end jewelry. The Museum explains ‘Lalique was highly knowledgeable about the properties of each material, and began to use horn in his jewelry: the use of this material was previously unthinkable”. “Previously unthinkable”—I love that!
He used horn and ivory for the carved and sculpted details on his jewelry pieces. The “Orchids” diadem is an outstanding example. As described by the Museum, “The body of this beautiful diadem consists of two orchids [one] in horn and one in ivory, while a small drop-shaped topaz appears in the centre of the ivory flower. The three-pronged comb is also in horn and connected to the diadem by a gold hinge.”
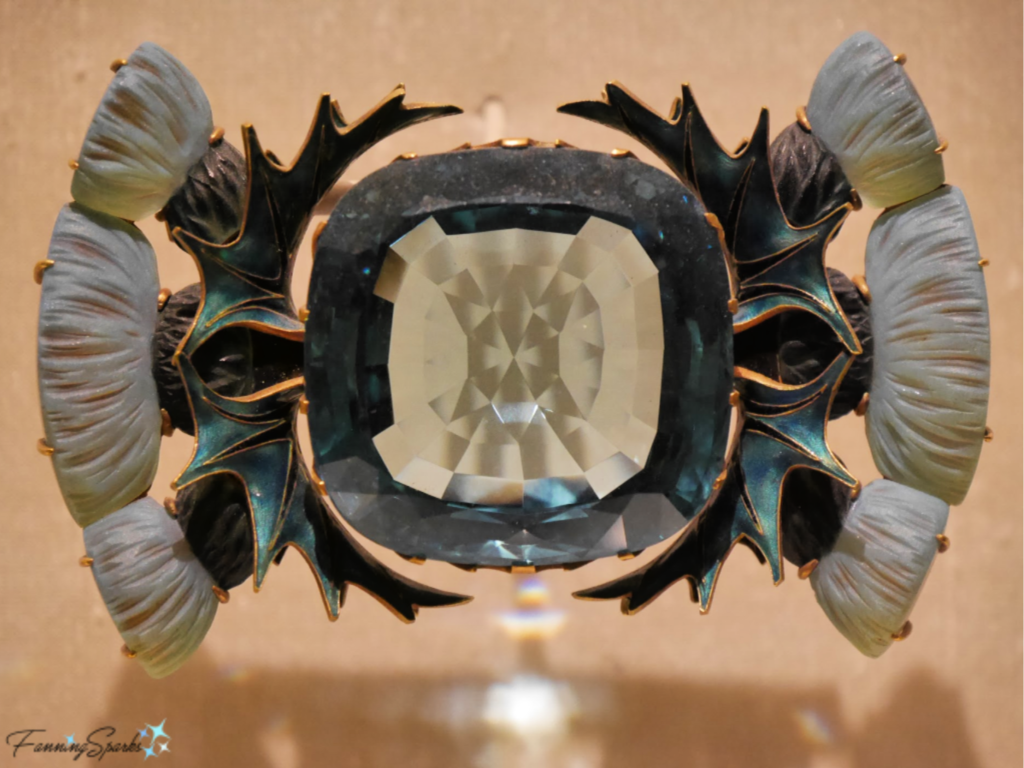
In this next example, the “Thistle Stalks” brooch, Lalique used a semi-precious stone to dramatic effect. The large aquamarine stone is stunningly framed by the intricate thistle blooms and leaves. Gold, enamel, glass and diamonds are also used.
 Inspiration from Nature The beauty of nature lies at the heart of the Art Nouveau style. Furniture makers, textile artists, glass makers, sculptors and other master artists drew inspiration from the natural world. But Lalique was the first jewelry maker to incorporate natural motifs such as females, flowers, butterflies, birds, snakes and insects in such a profound way. He was heavily influenced by his surroundings and the French countryside.
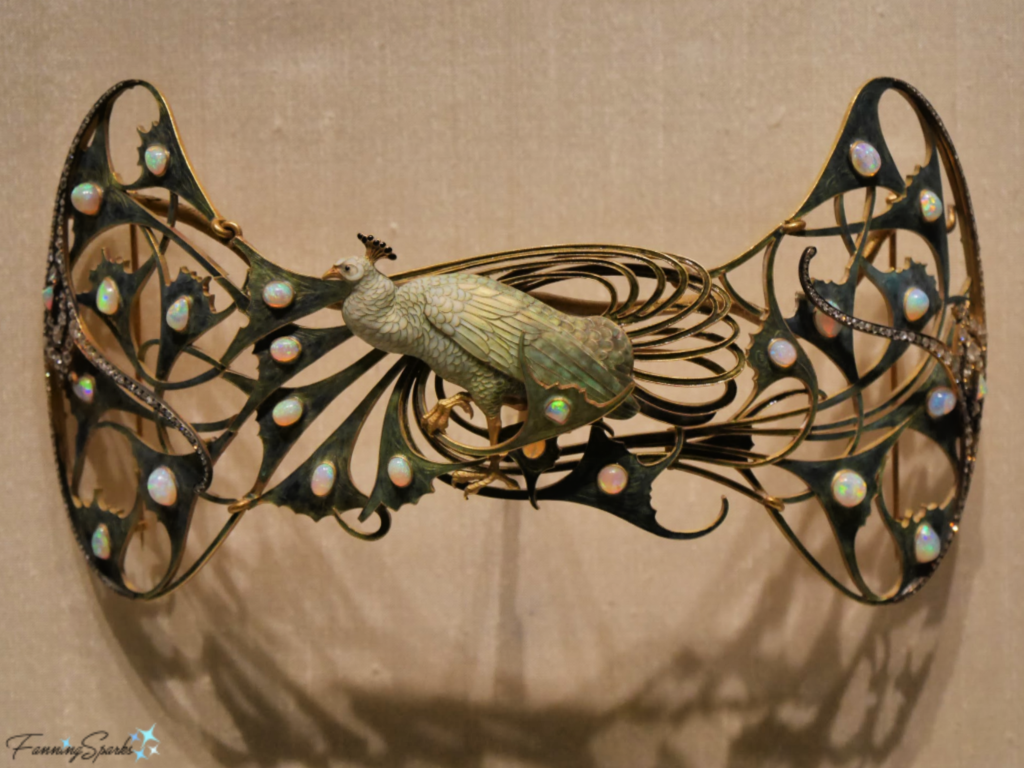
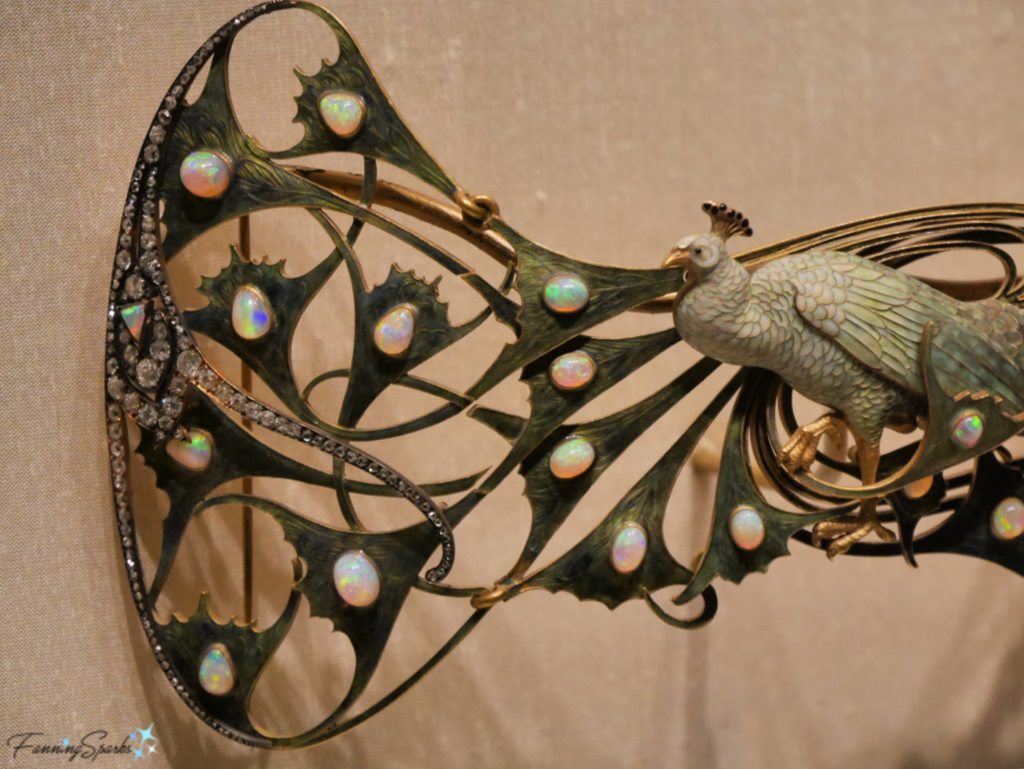
The below piece, the “Peacock” pectoral is a case in point. A pectoral, by the way, is similar to a brooch but larger. It is sometimes called a “breast pin”. Here’s how the Museum describes this work “Of all the animals reproduced in the work of Lalique, the peacock is perhaps regarded as the most emblematic of the spirit of Art Nouveau, and it is a recurring theme in the artist’s work, whether isolated as here or in pairs in other jewels. The theme is again very representative of Symbolist painting, as a symbol par excellence of natural beauty in all its splendour. This pectoral is made up of an enormous, articulated peacock in enamelled gold in tones of blue and green simulating the feathers of the bird which have small cabochon-oval opals set here and there. Sinuous movement of the feathers in the tail, turned to the left, is enriched by a balanced composition of diamonds, of various sizes, that finish off the piece on both sides.”
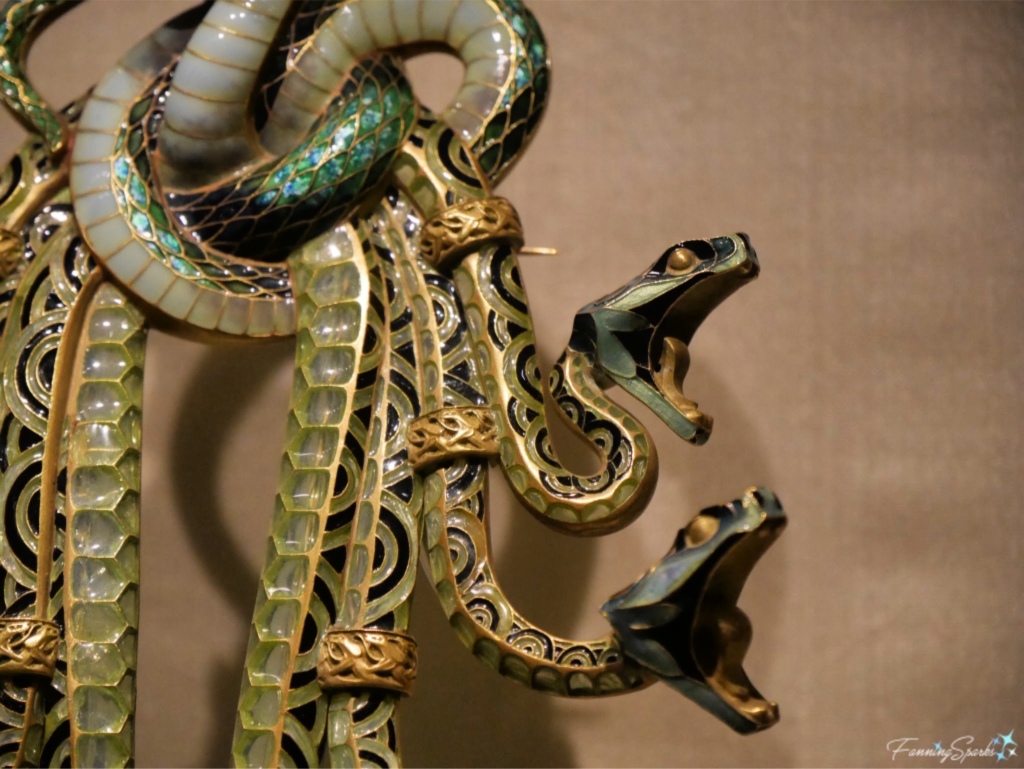
This next piece is another jaw-dropper. It is the “Serpents” pectoral. The Museum provides this description “This pectoral is one of the paradigms of René Lalique’s jewellery production, not only for the mastery of its execution, as for the theme chosen. Reptiles were a source of inspiration to which Lalique returned throughout his life not only for jewellery, but also for his glass, bronzes, etc. The pectoral is made up of nine serpents entwined to form a knot from which the bodies of the other eight fall in a cascade, the ninth rising in the centre, at the top of the jewel. The reptiles, in the attack position, have their mouths open from which strings of pearls were hung as was apparently the case with a similar pectoral (the whereabouts of which are unknown), which was highlighted at the Paris Universal Exhibition in 1900 and reproduced in a publication of the period. From Judith Miller “Extraordinary gold “Serpents” breast pin, resembling the hair of Medusa with nine serpent heads and sinuous interwoven bodies picked out in vivid green enamels”.

In summary, there were many factors which contributed to René Lalique’s stellar success including his innovative approach, technical mastery, reinvention of traditional techniques, innovative choice of materials and inspiration from nature. I’ll wrap up with a quote from Judith Miller “Breathing life into a dying craft, the leading light of Art Nouveau jewelry design was René Lalique, who overturned traditions to create a new language and elevated jewelry to the realm of fine art.”
More Info
The René Lalique Collection at the Calouste Gulbenkian Museum is a little difficult to find. Several buildings and a beautiful garden comprise the Calouste Gulbenkian museum campus. The René Lalique Collection is part of the Founder’s Collection and found in the building labelled “Museu Calouste Gulbenkian” (vs the Modern Collection building, the Foundation auditorium, the interpretation center, the library or the gardens). Once you find the correct building, the René Lalique Collection is the very last stop in the Founder’s Collection exhibition tour. The museum opens at 10:00am which is an ideal time to arrive. If you go directly to the René Lalique Collection and you’re as lucky as I was, you’re likely to have the exhibit to yourself. Then you can take your time viewing the rest of the exhibits.
Judith Miller’s book “DK Collector’s Guides: Art Nouveau” is a great reference book for all things Art Nouveau.
The website, RLalique.com which calls itself a “gathering place for R. Lalique enthusiasts, collectors and admirers” is jam-packed with information about René Lalique including an impressive gallery of his work.
As I confessed in a previous post, I’m a sucker for all things Art Nouveau. Read My Art Nouveau Love Affair to see why plus there are lots more Art Nouveau Jewelry examples on my Pinterest board.
I was so inspired by my recent trip to Portugal that I wrote a series of blog posts about what I learned and experienced. Check out:
. Tied in Knots in Portugal about the bobbin lace traditions of Vila do Conde.
. Following the Yellow Arrows which recaps my first 110+ km Camino walk.
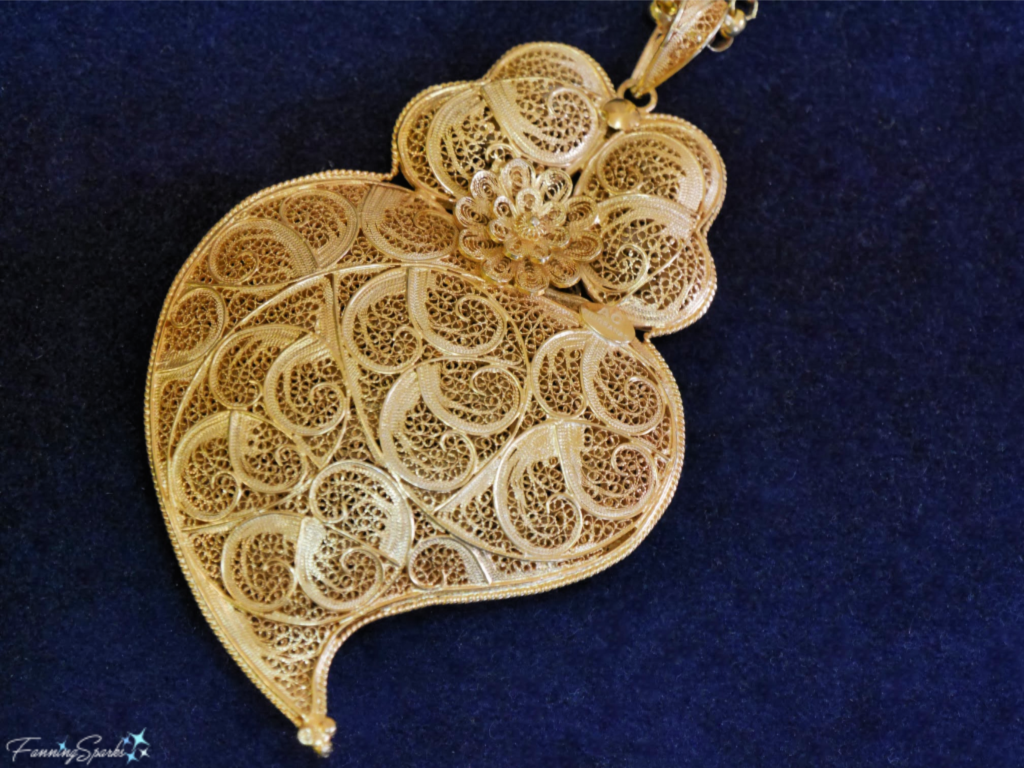
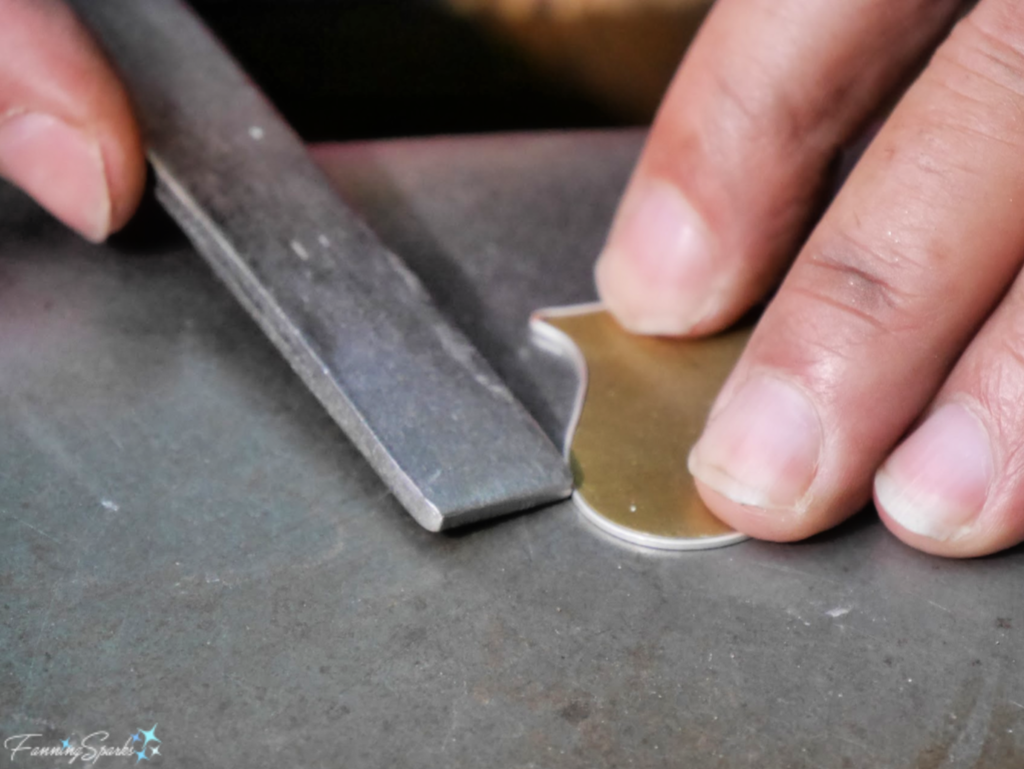
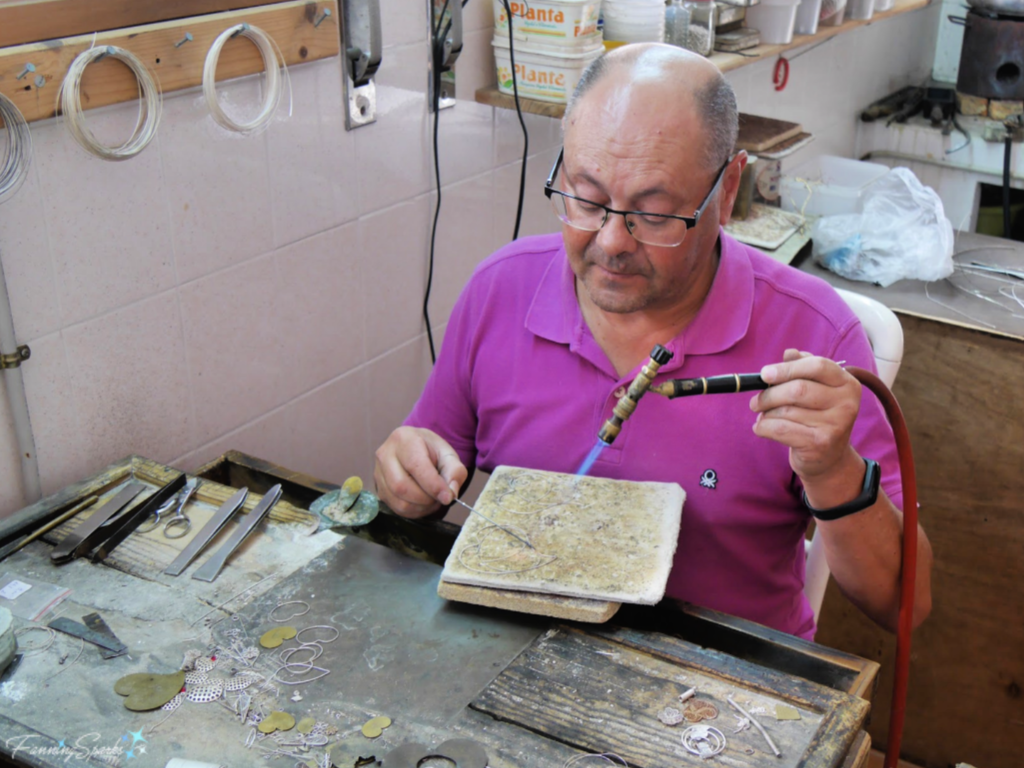
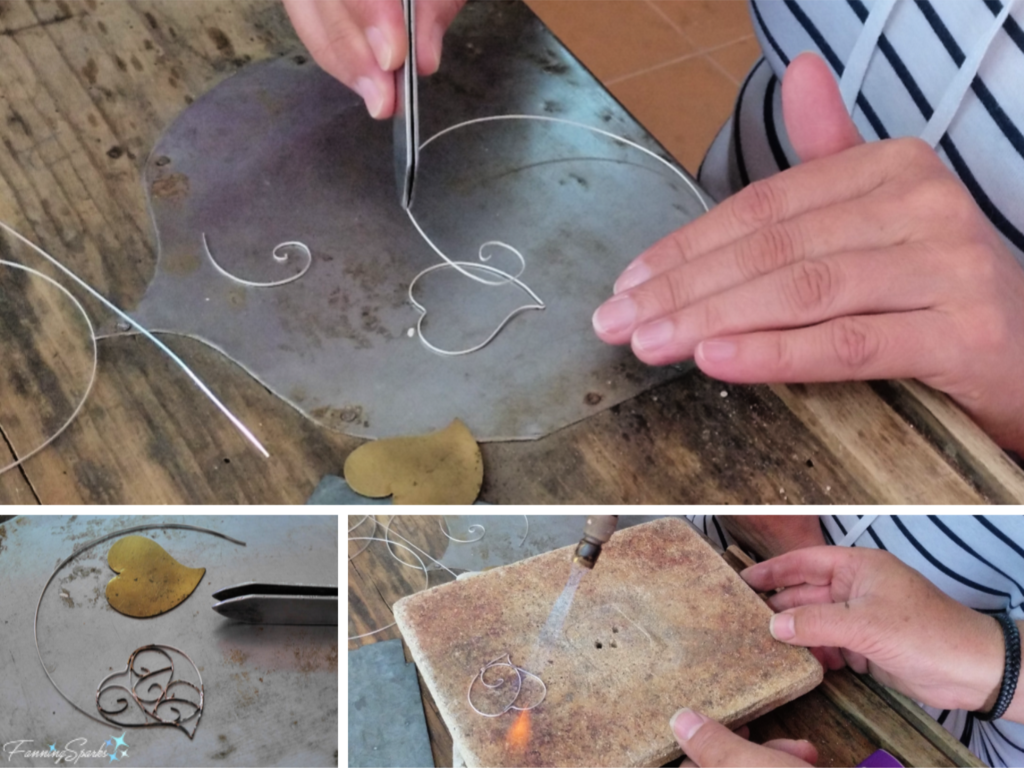
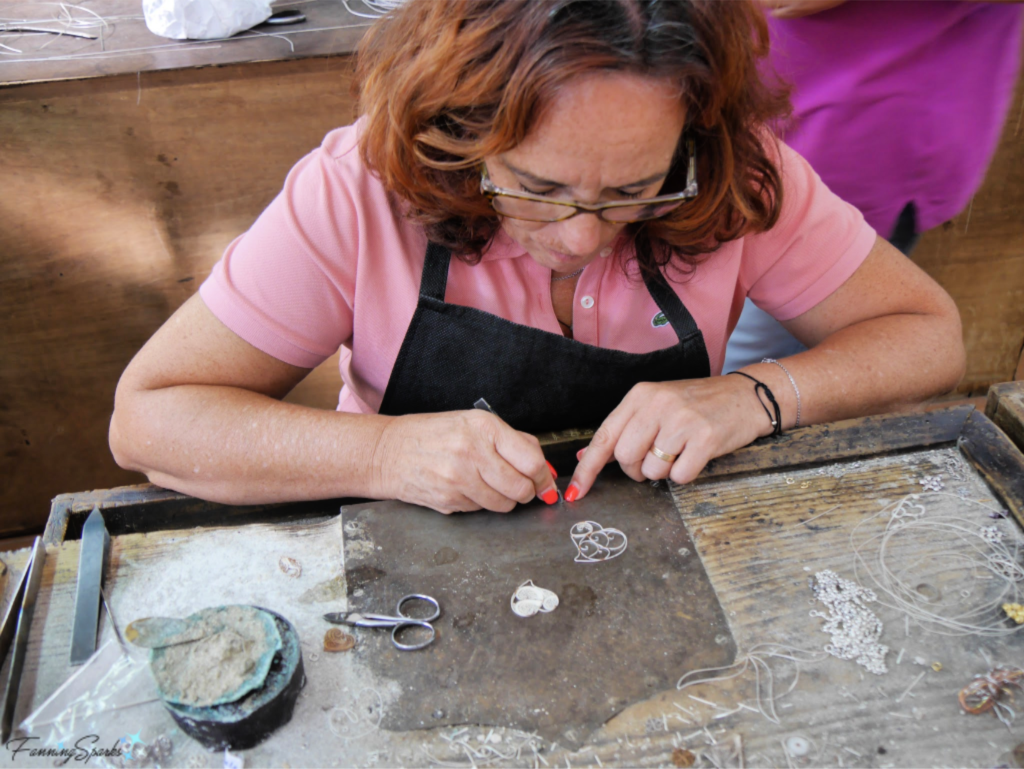
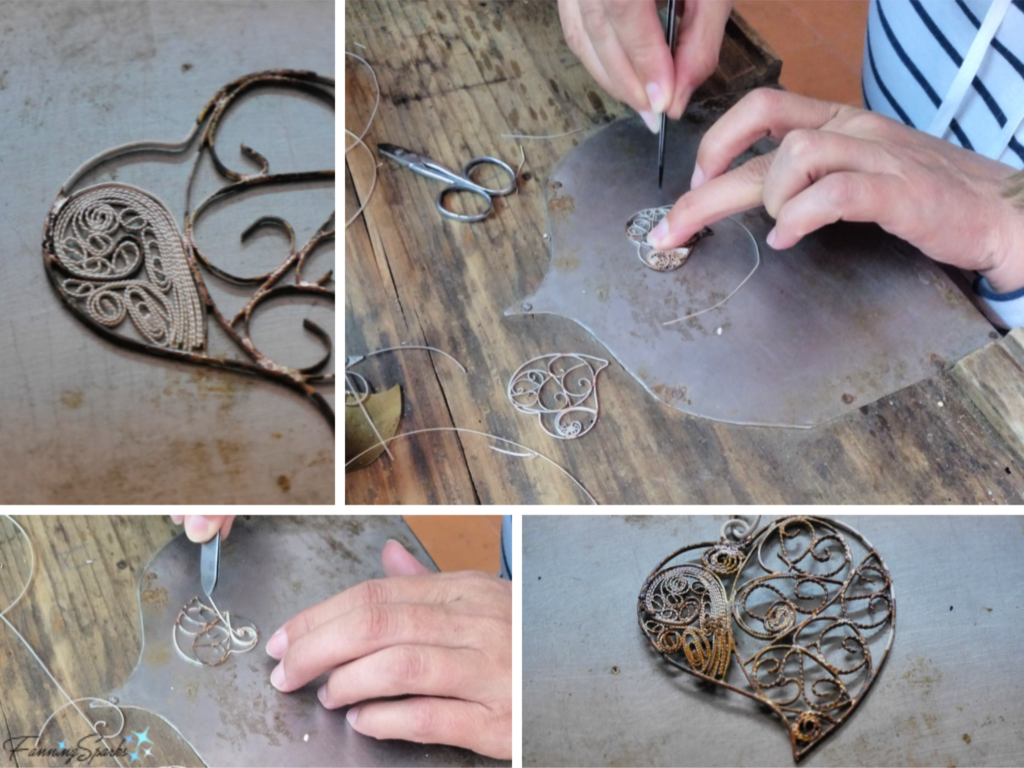
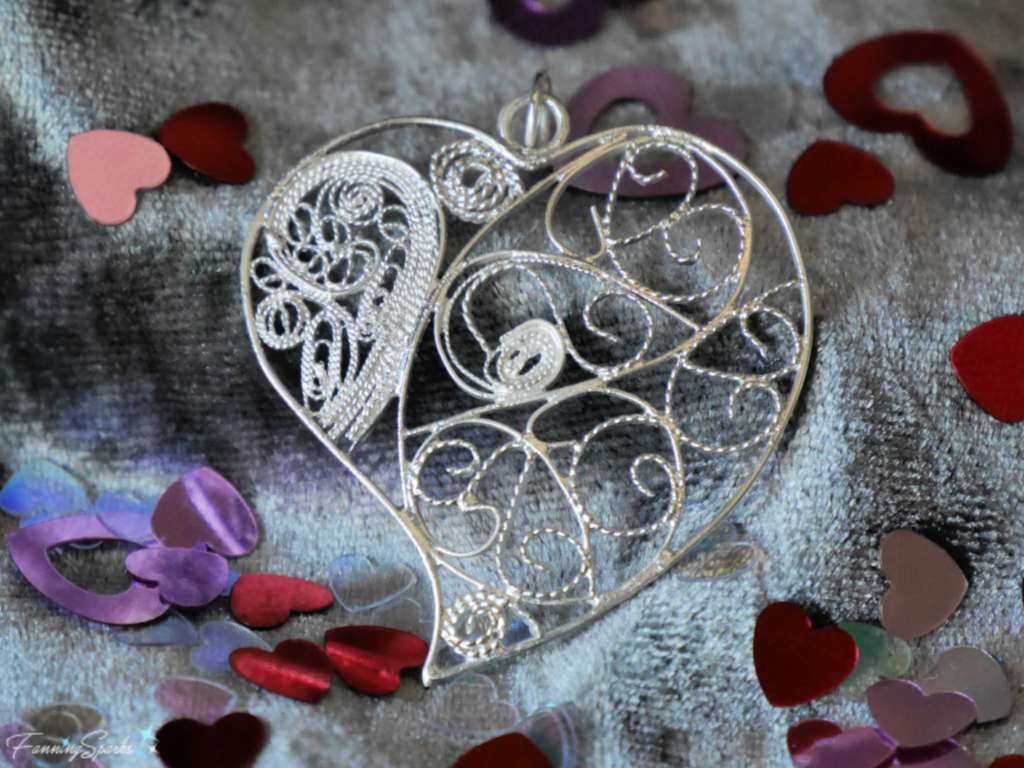
. Making Curls and Swirls with a Filigree Master about my experience making a traditional Portuguese filigree heart.
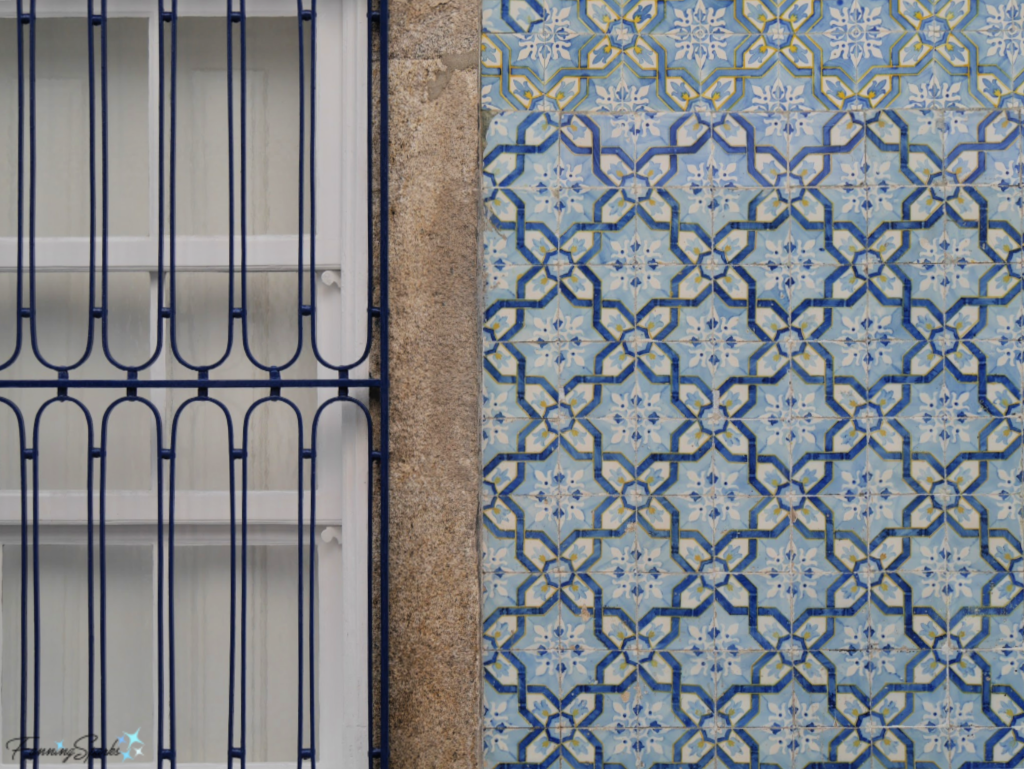
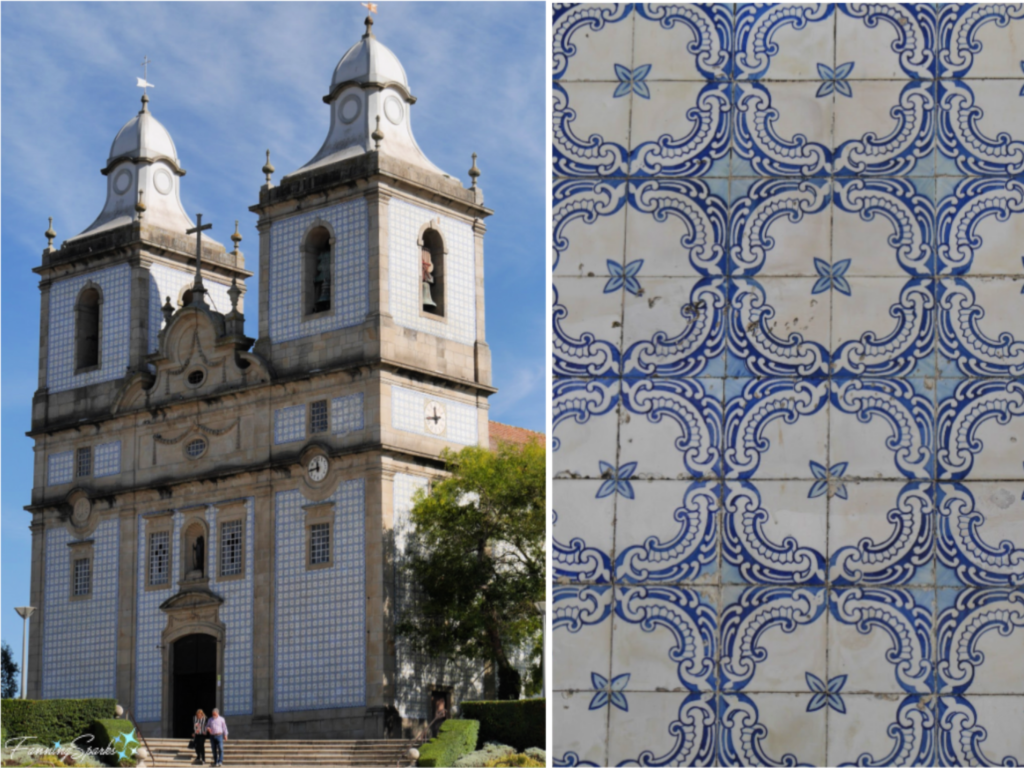
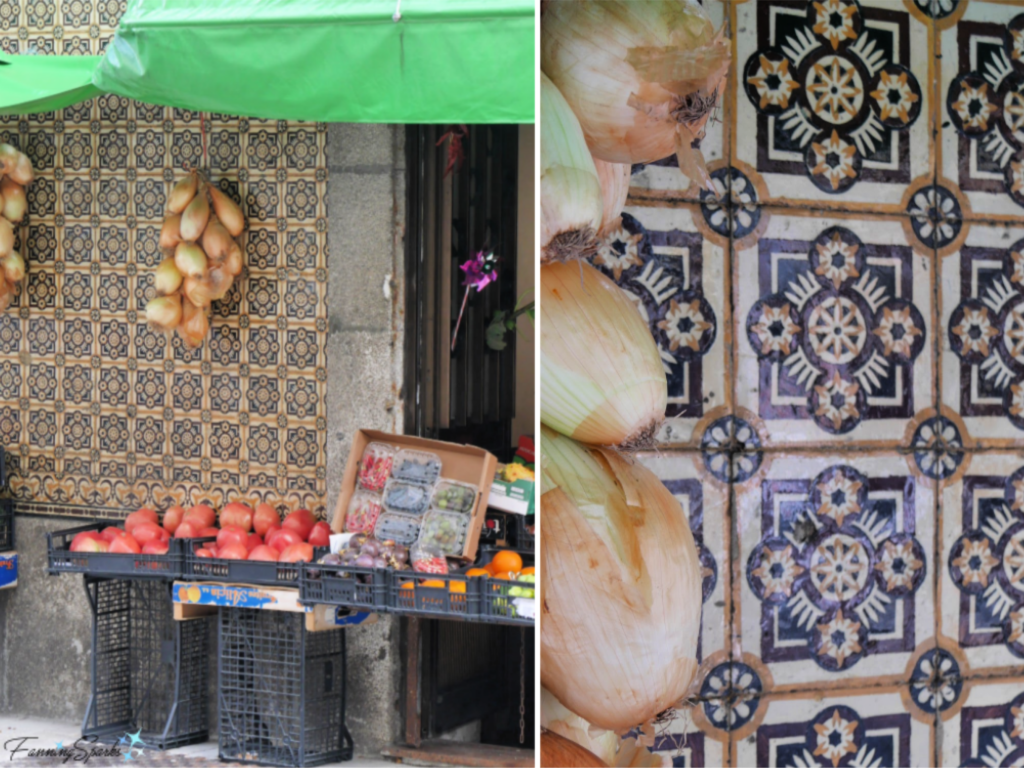
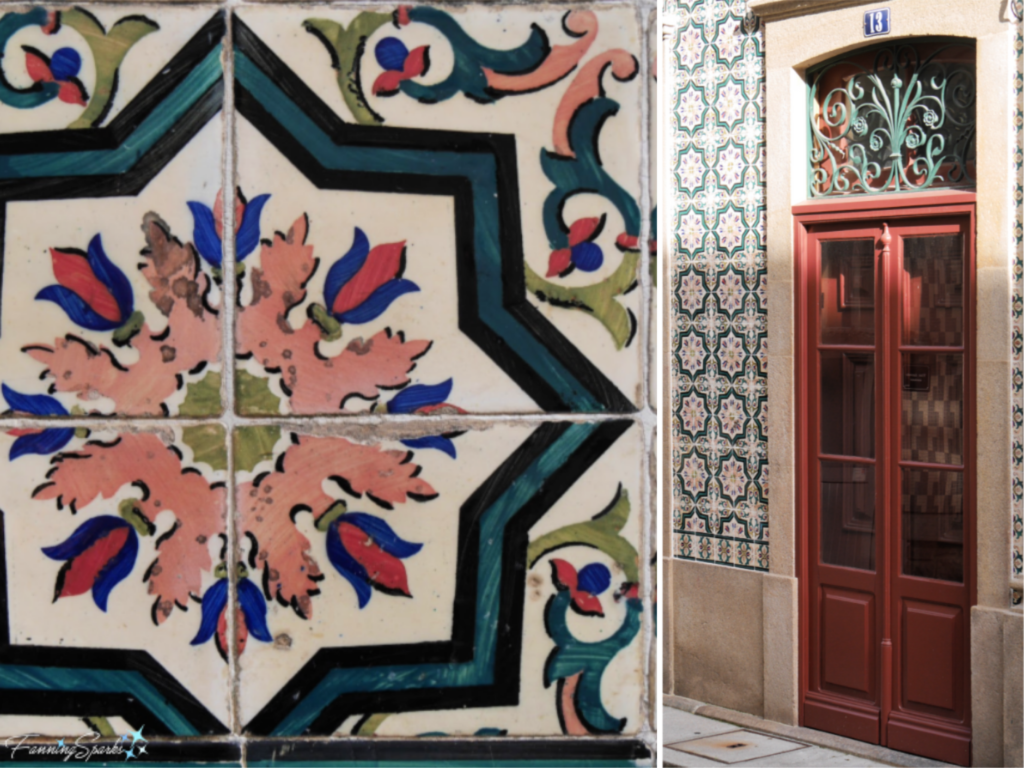
. Talk About Tiles! which features the beautiful tiles (azulejos) so prevalent in Portugal.
. Lavish Lalique in Lisbon (this post).
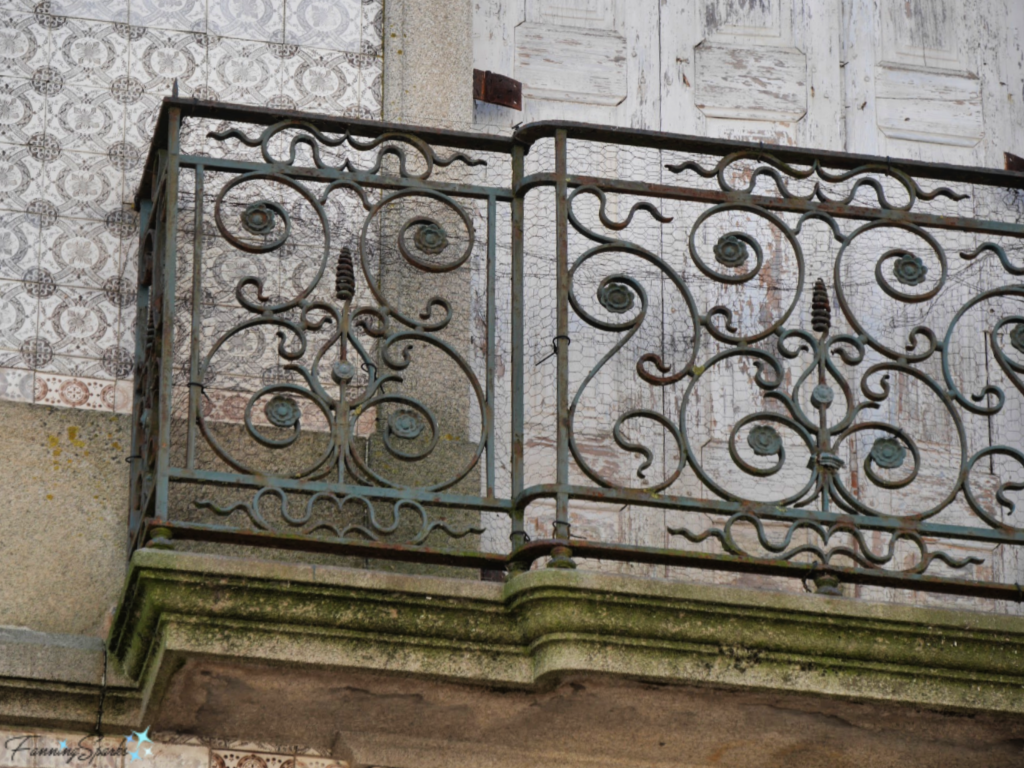
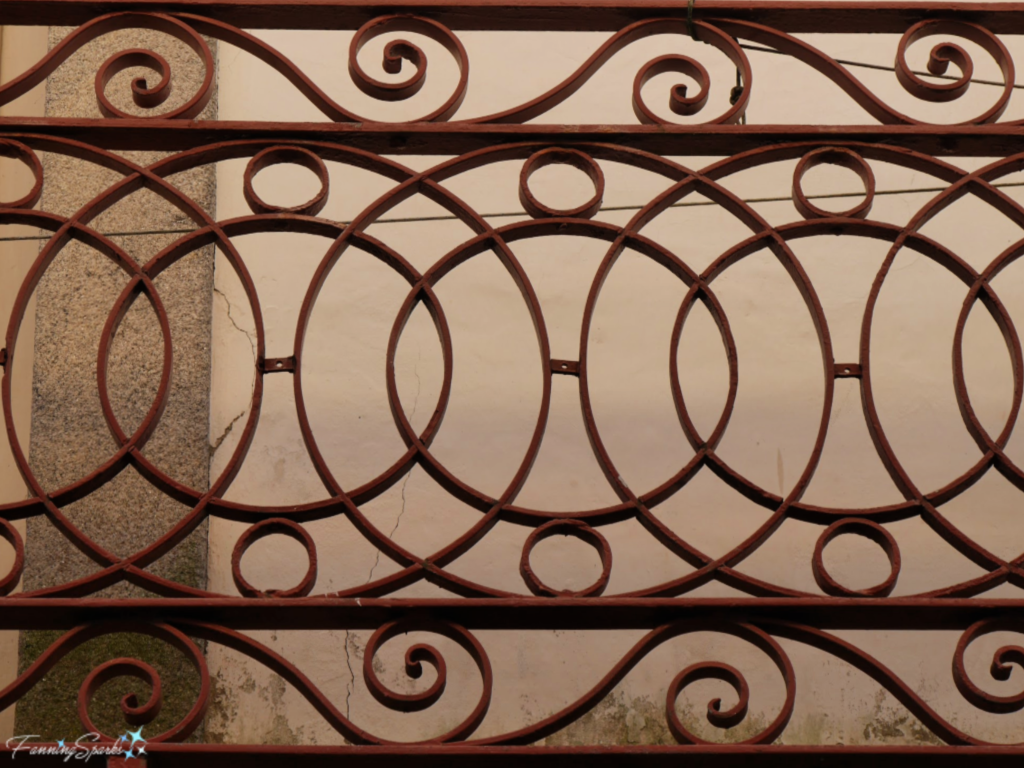
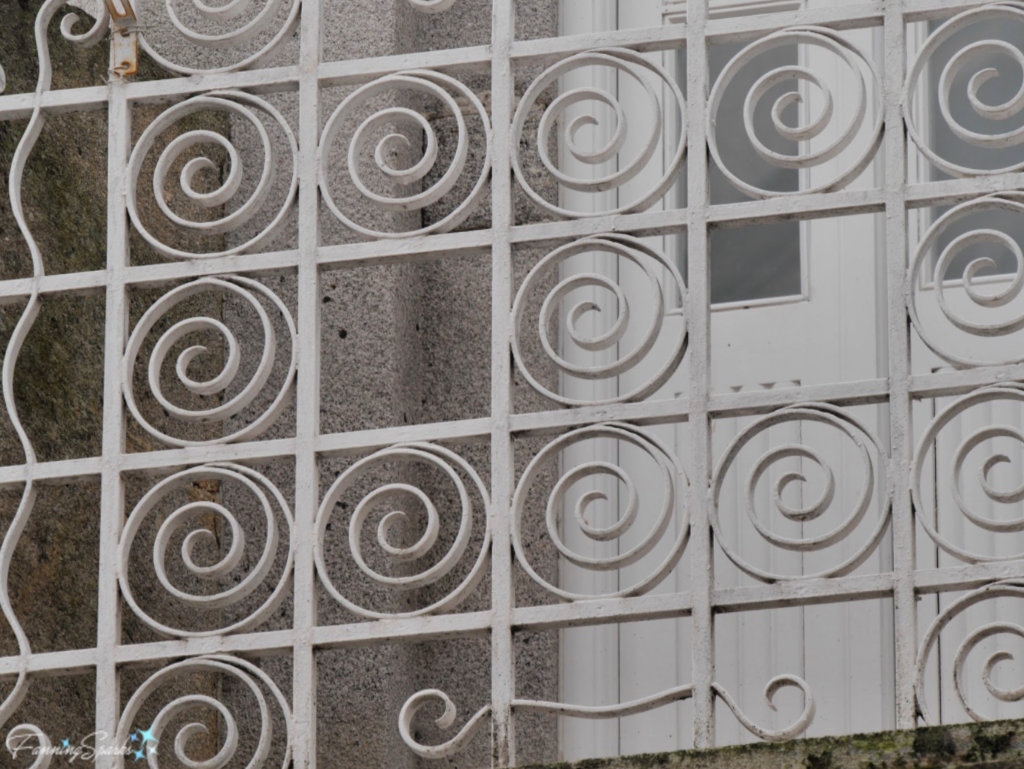
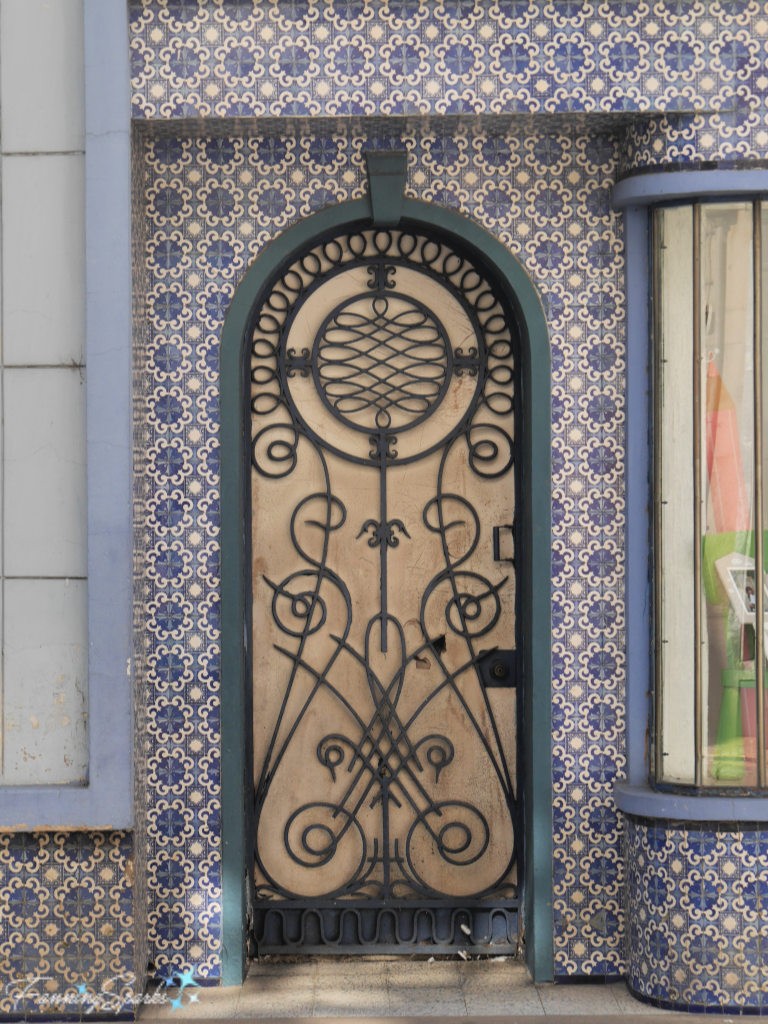
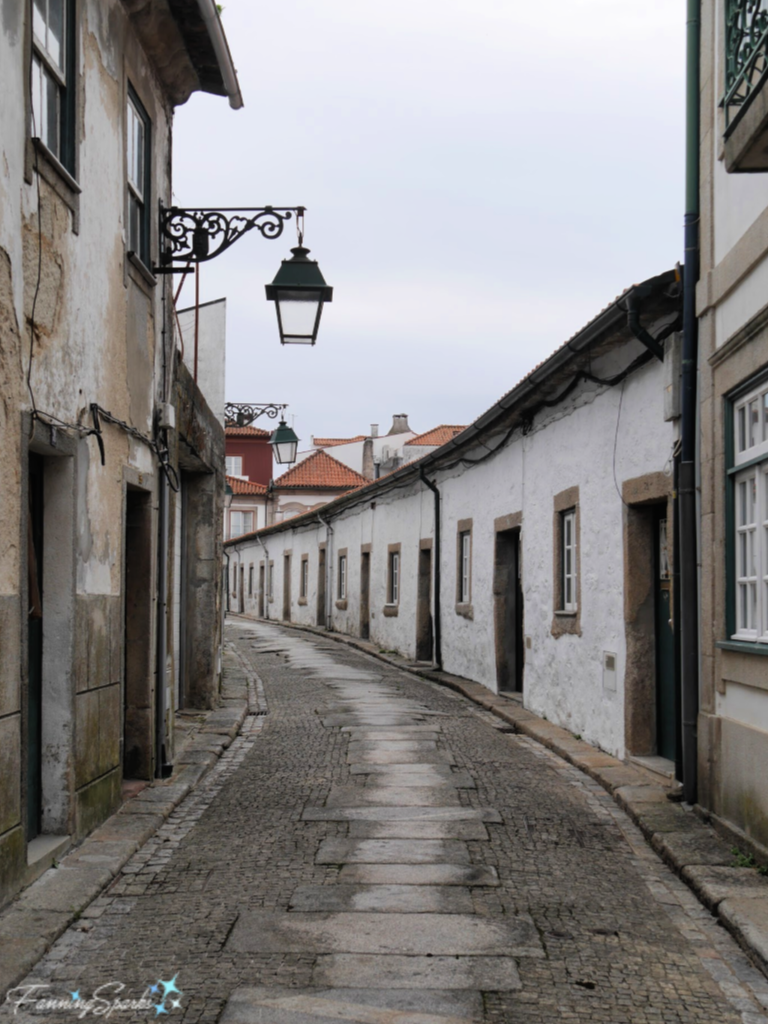
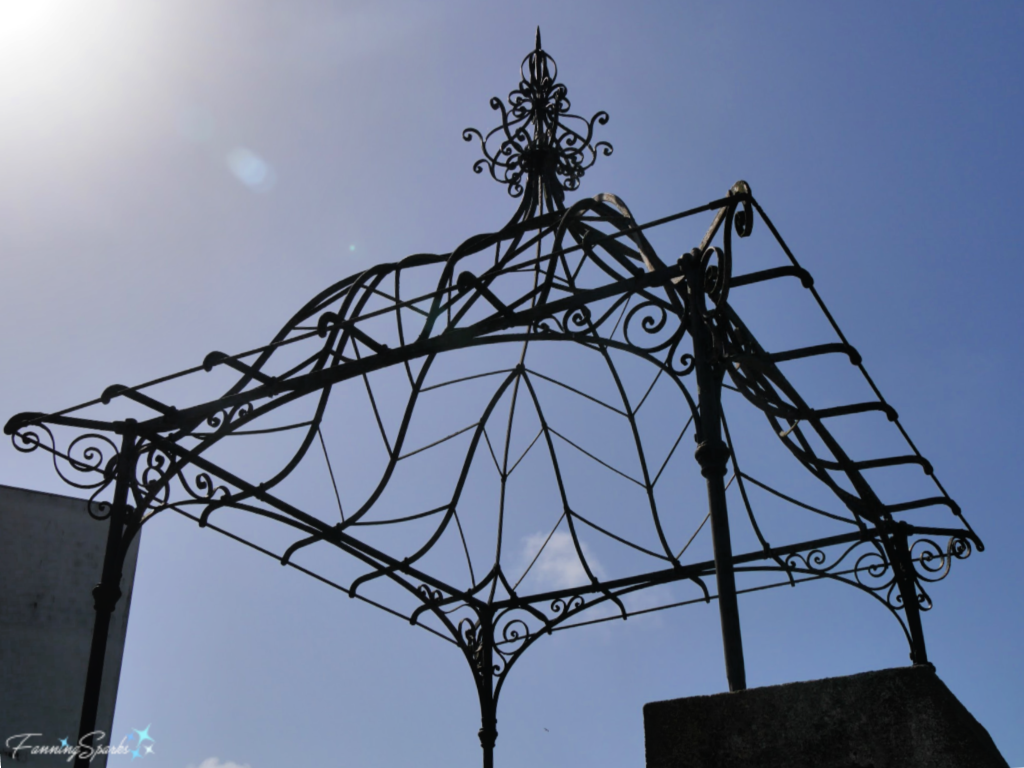
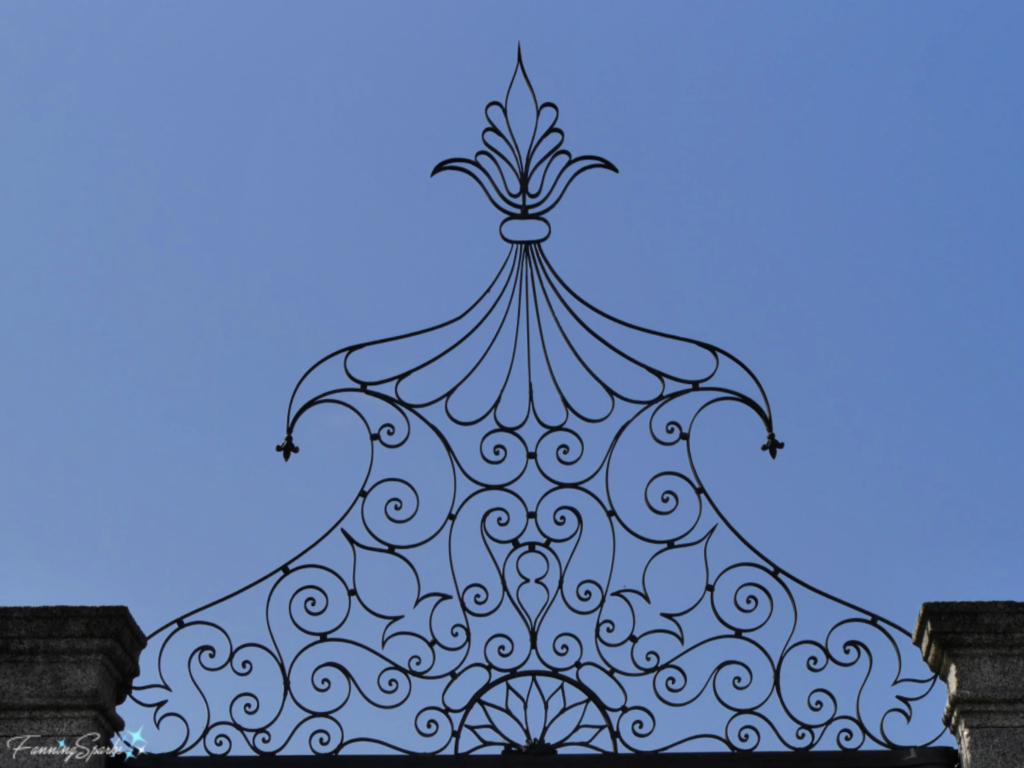
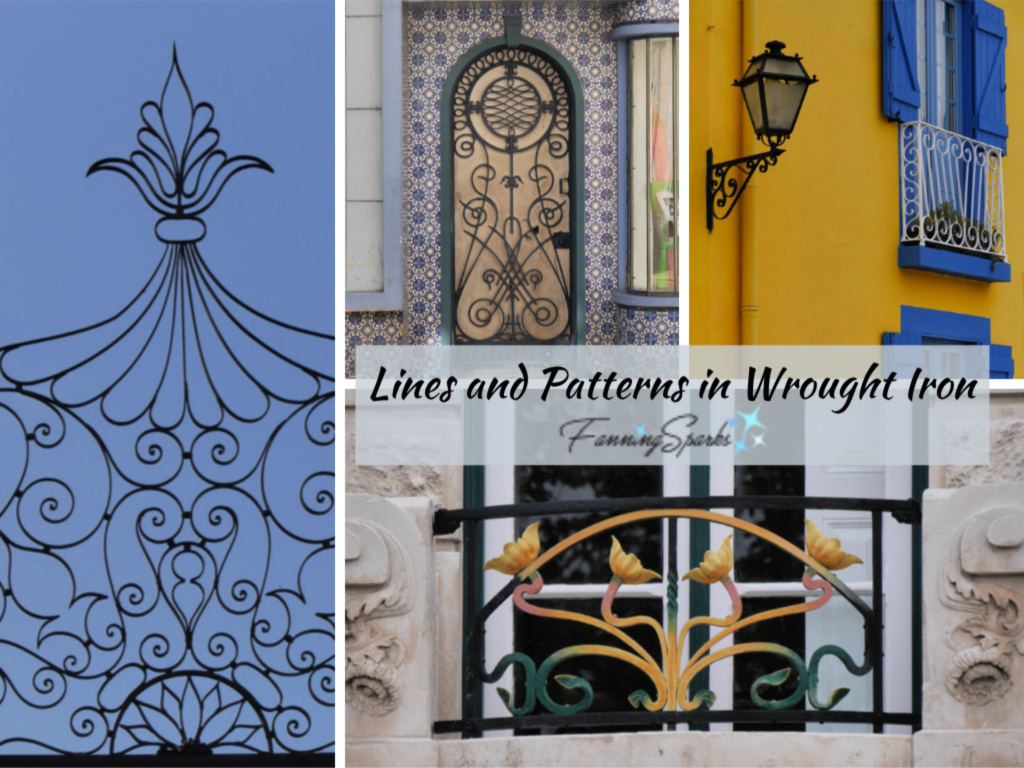
. Lines and Patterns in Wrought Iron shares a variety of wrought iron designs spotted in Portugal.
Today’s Takeaways
1. Consider innovative ways to employ traditional techniques.
2. Imagine using materials in ways that were “previously unthinkable”.
3. Strive to make your artwork “command attention”.


 This sponge holder, called “Mr Sponge”, is by PELEG DESIGN from Israel. This design studio encourages the viewer “to discover that beyond the products’ functionality there is a surprising game of enchantment and humor”.
 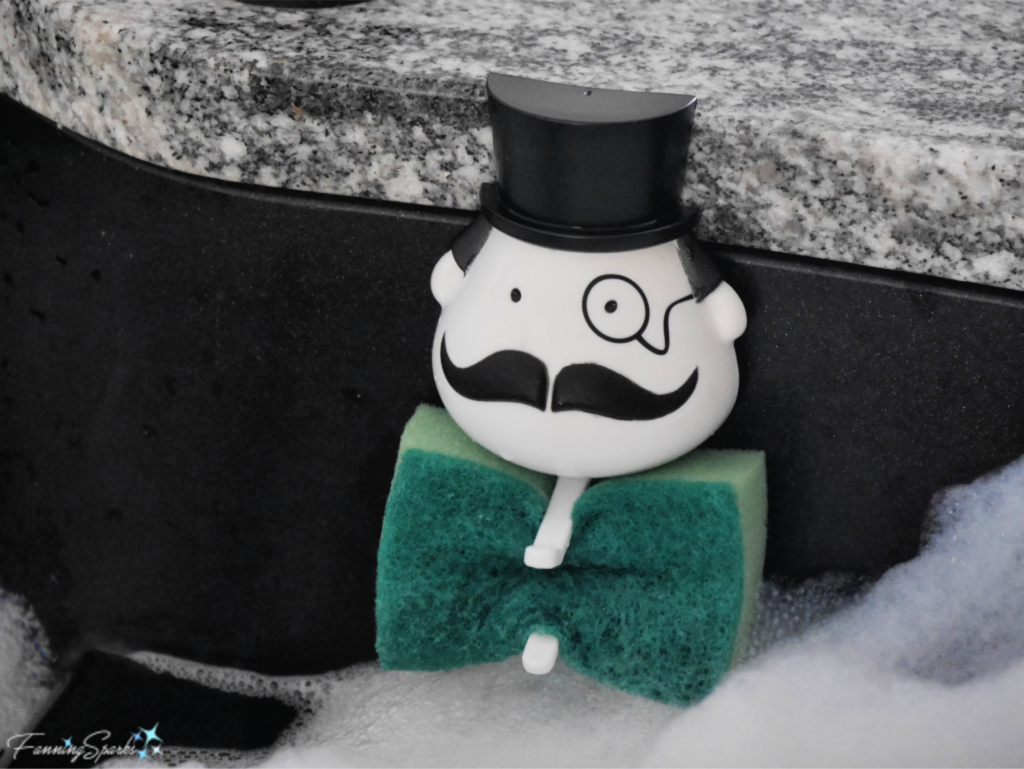 Moving on to entertaining. Who would have thought to make ice cubes in the shape of guitars? Apparently, designer Liz Goulet Dubois from US-based Fred Studio did. These groovy guitar ice cubes are promoted as “Cool Jazz”.
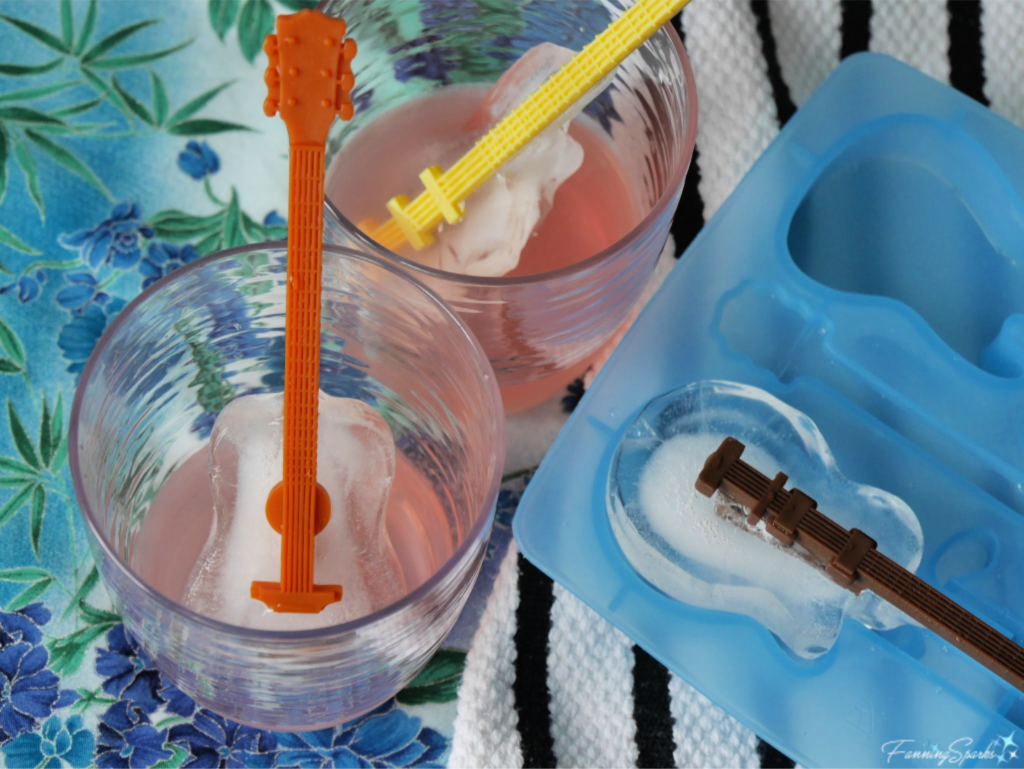 This next item is my favorite. Honestly, these salt and pepper shakers don’t hold much but those little birds hanging from that little tree are just so bright and cheerful. They add instant character to the dinner table. This item, from Italian design firm A. di Alessi, was designed by S. Giovannoni with R. Takeda in collaboration with the National Palace Museum of Taiwan.
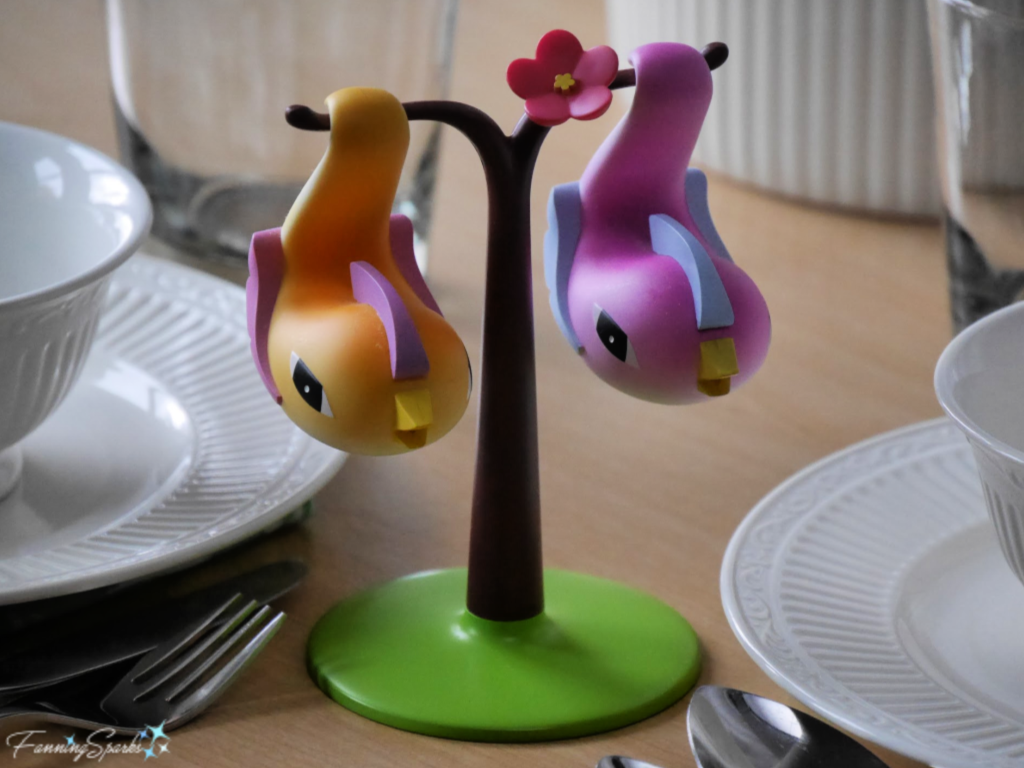 Bath items seem to be another popular subject. This bath sponge adds character and personality to a space that’s typically very utilitarian. It was designed and made by Pylones, a French design firm.
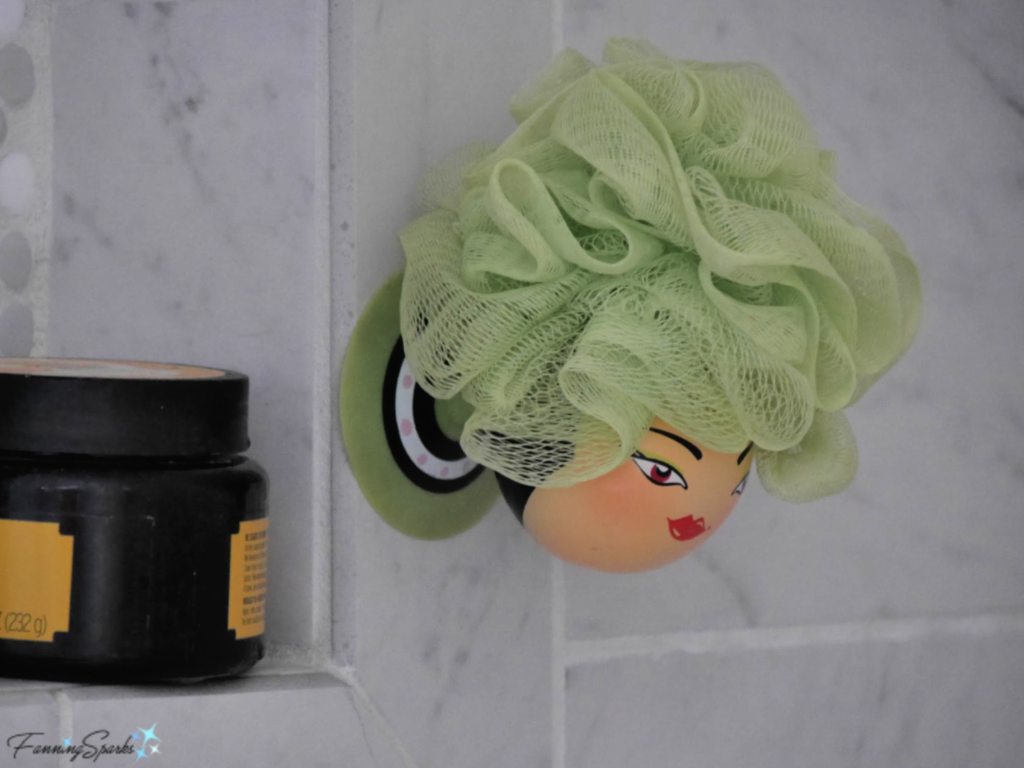 Is there anything more mundane than a nail brush? But look what US-based Kikkerland did with this one. It’s the cutest little whale!
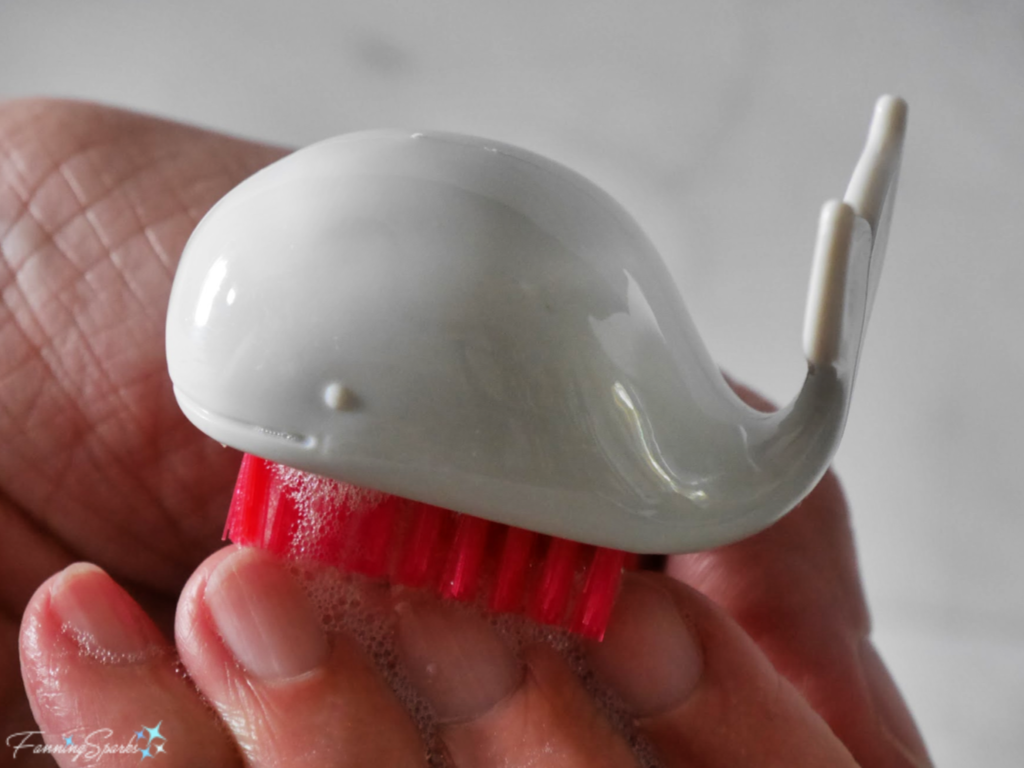 The office, whether at home or at work, is another area with lots of functional items. Here’s an interesting take on a memo holder. He’s called “Morris” and designed by Studio Yaacov Kaufman for Monkey Business. These days we’re more likely to record a note on our phones but it’s always handy to have paper and pen nearby.
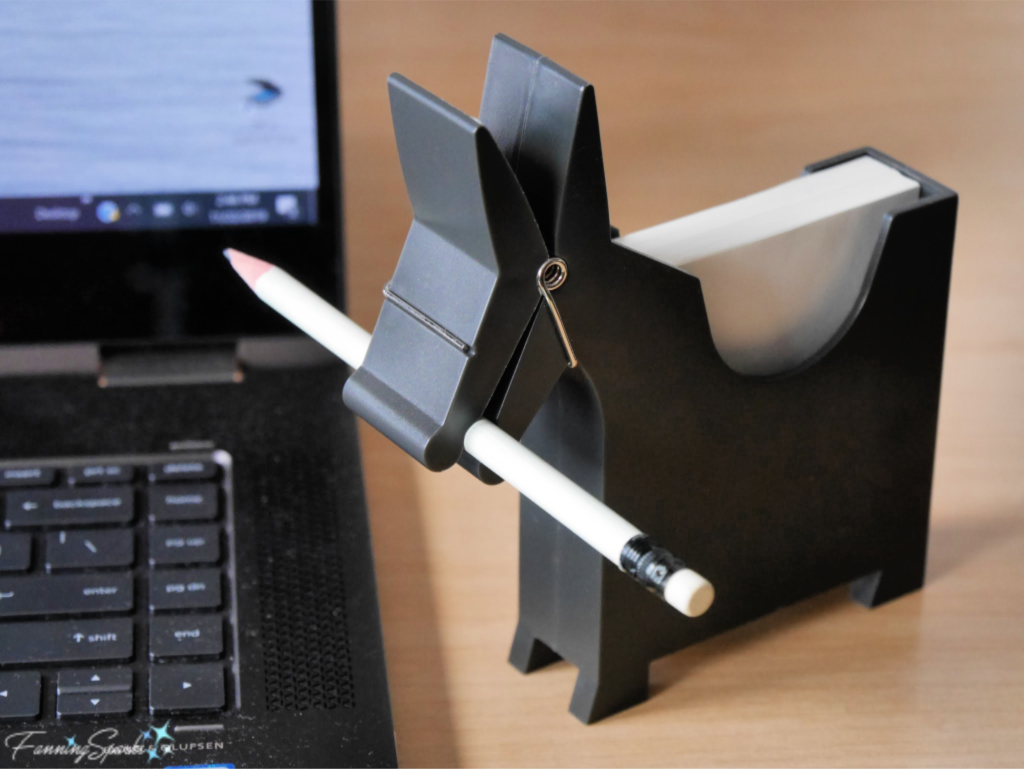 This Ninja flash drive is the coolest one I’ve ever seen. It’s made by Bone Collection from Taiwan. Interestingly, this product received the Red Dot Design Award in 2011. Red Dot Award is an international design competition for product design, communication design and design concepts. It’s always fun to see what products have been recognized by this prestigious award.
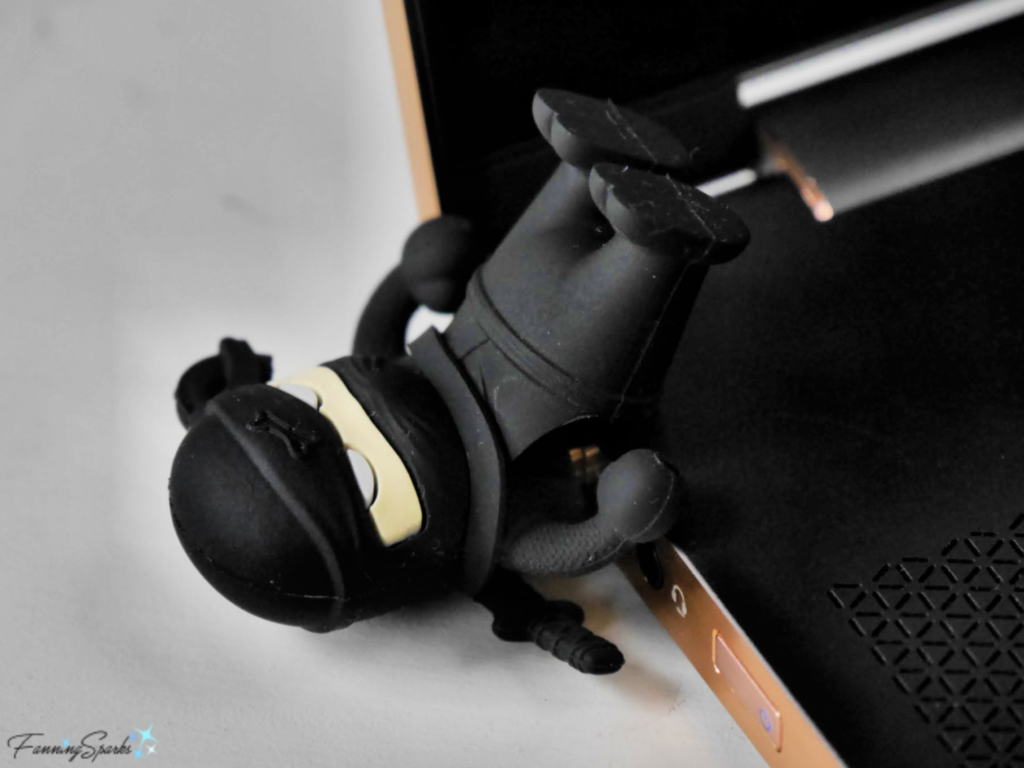 In the category of general household items, this high-heeled shoe from Fred is the perfect door stopper.
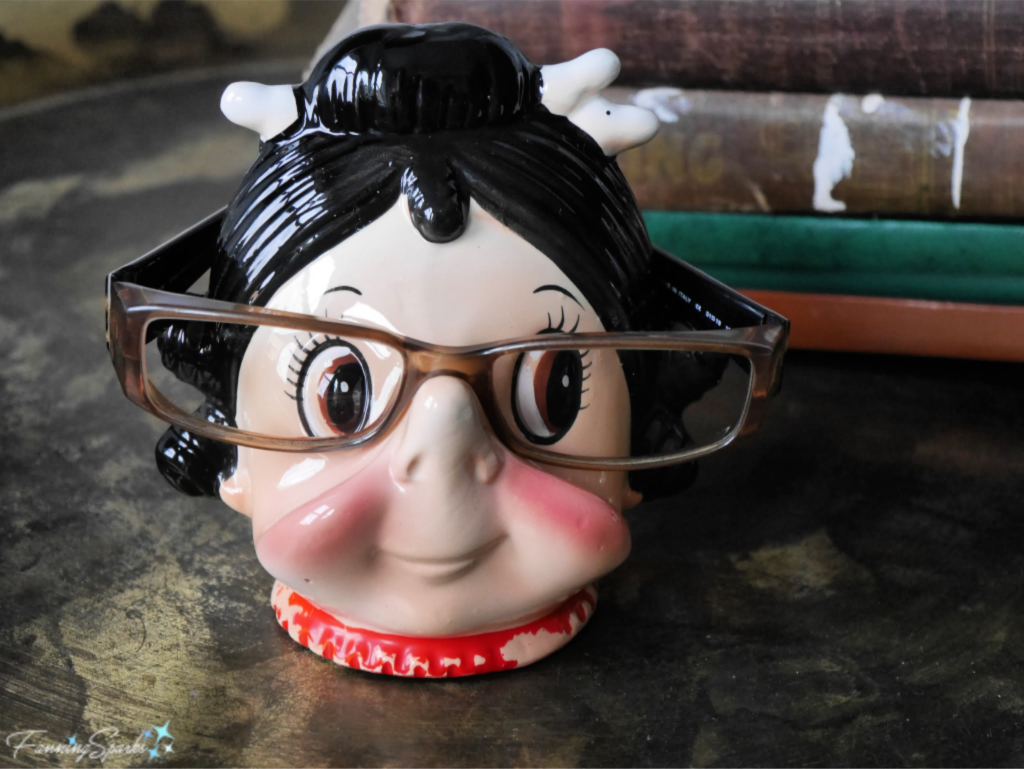
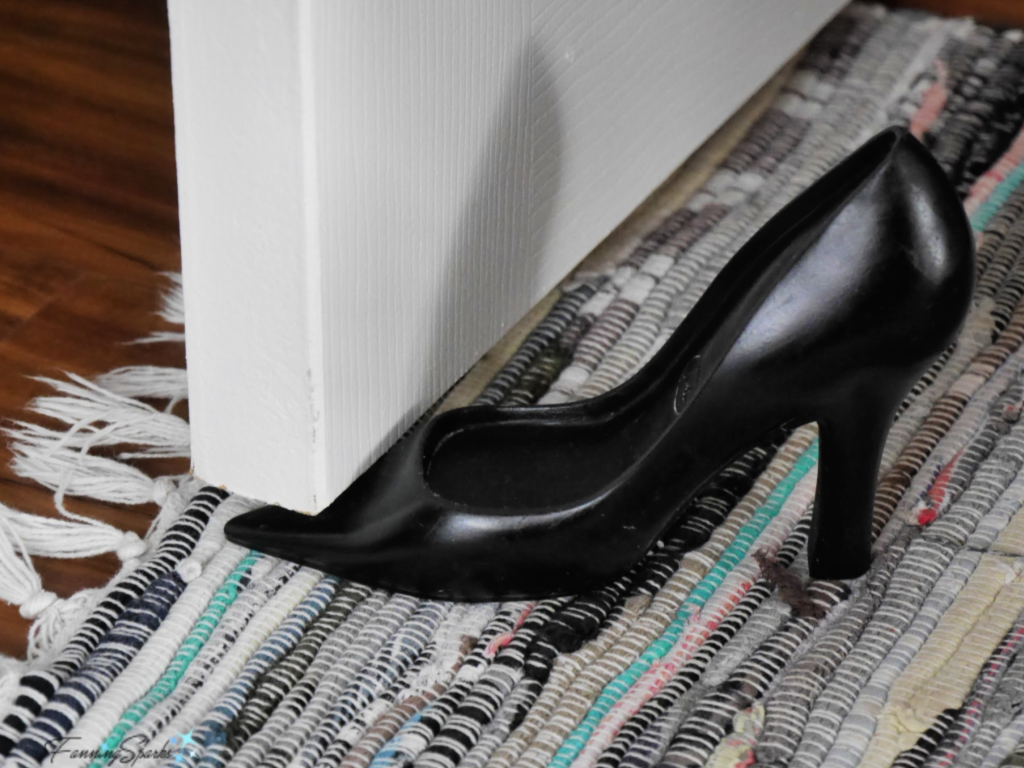 Most of the unusual functional items in this post were found in gift and museum shops. But another great source is vintage and antique shops. Here’s an example of a recent vintage purchase that adds personality to the boring job of keeping track of my sunglasses…
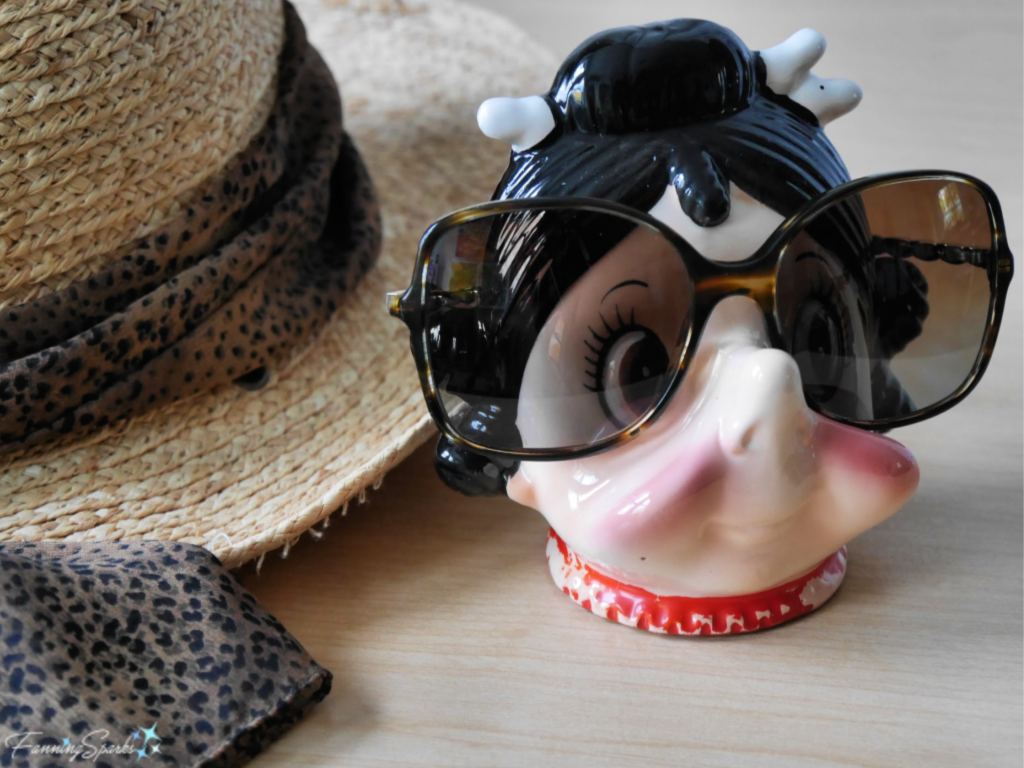
 Art and gift galleries are another source for unusual functional items. This sunflower pin cushion was designed and made by Linda Bell from North Carolina. It’s shown with a cute little snail tape measure from OTOTO, a design firm from Israel. I like this quote from the OTOTO website “The OTOTO team believes humor to be an important part of their design process. They try to infuse that whimsy and playfulness into every product, alongside its functionality.”
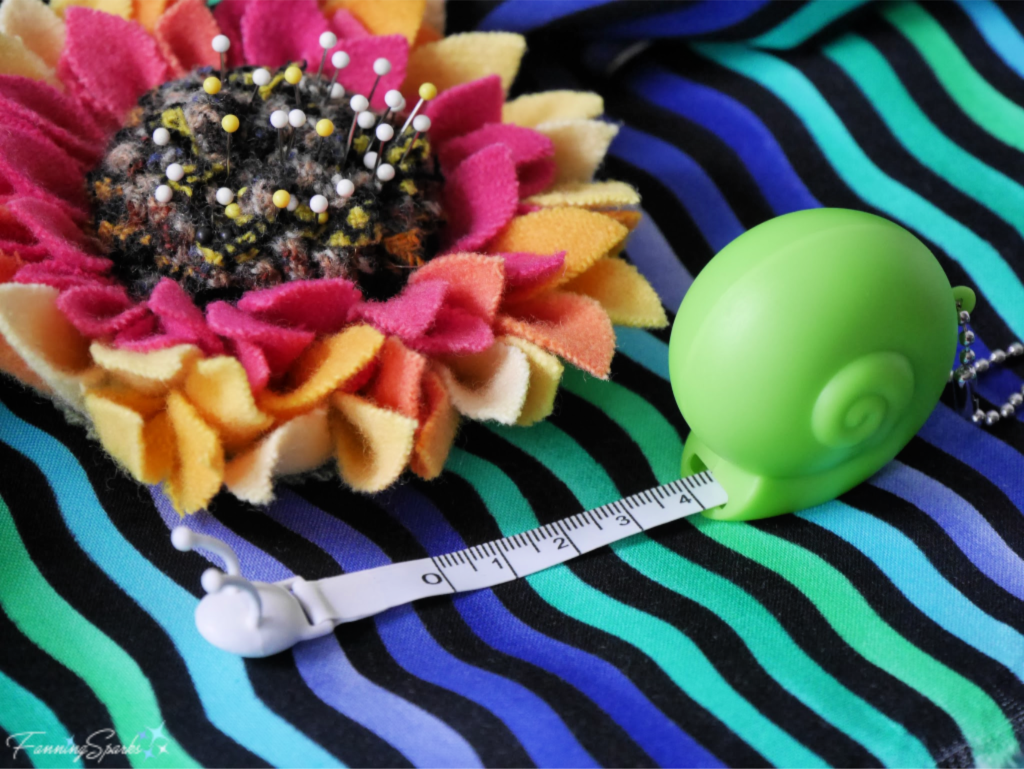 Here’s another example of combining whimsy, playfulness and functionality. You may recall potter Sandy Culp’s “Blueberries: Teapot” from a recent post on the Georgia Pottery Invitational Perspectives show (see Admiring Evidence of Process). Amazingly, it’s a functional teapot which you open by lifting the center leaf and you pour through the stem spout.
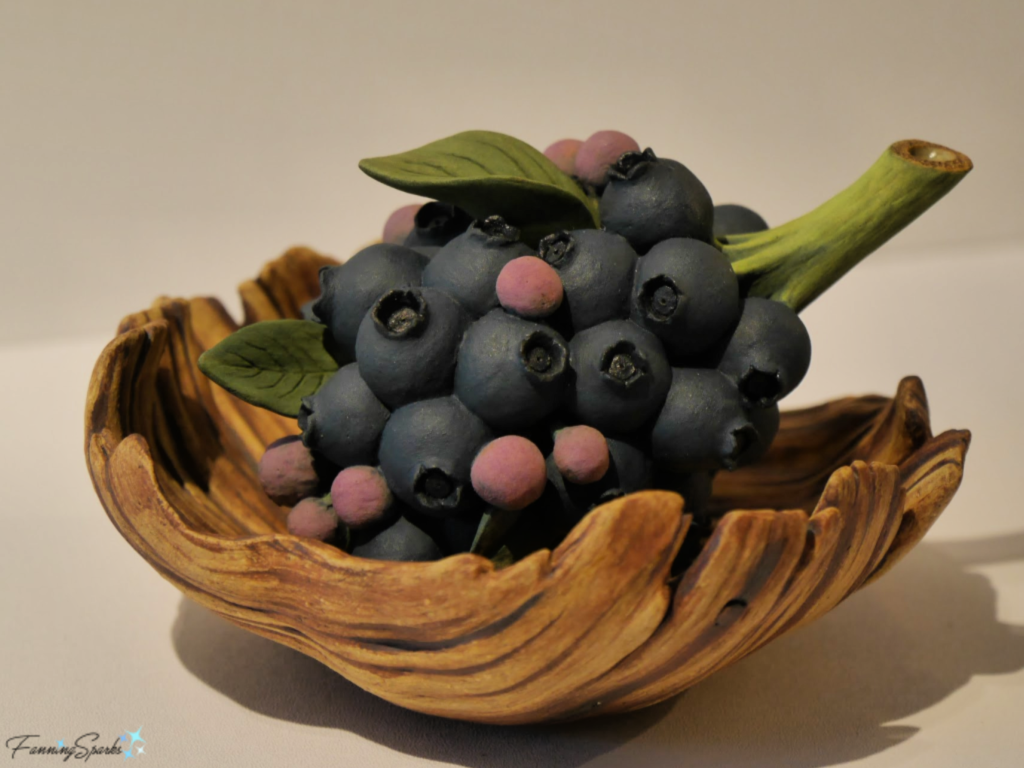 I hope today’s post has sparked a few ideas for injecting a little fun into your everyday things.
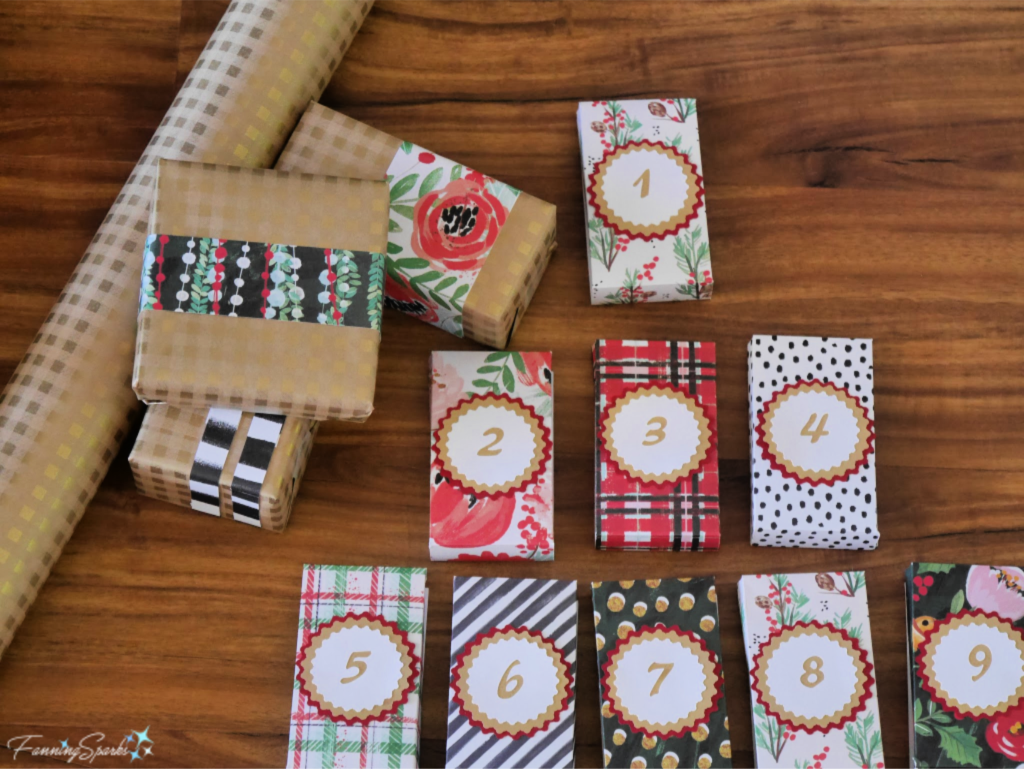
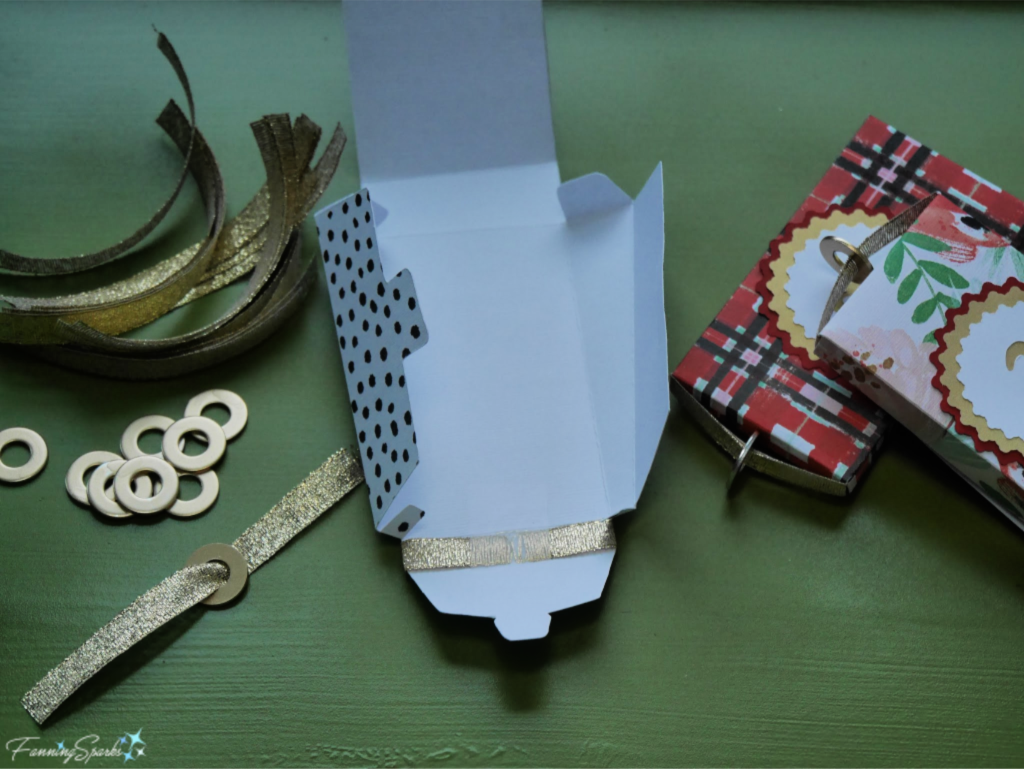
 Assembly
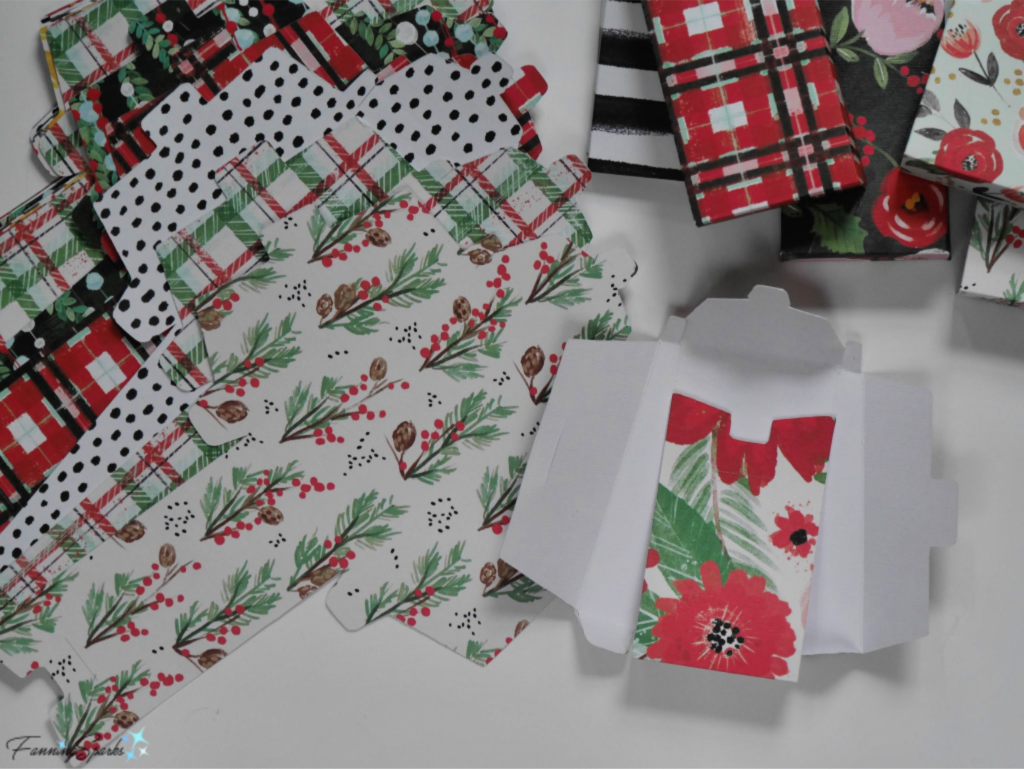
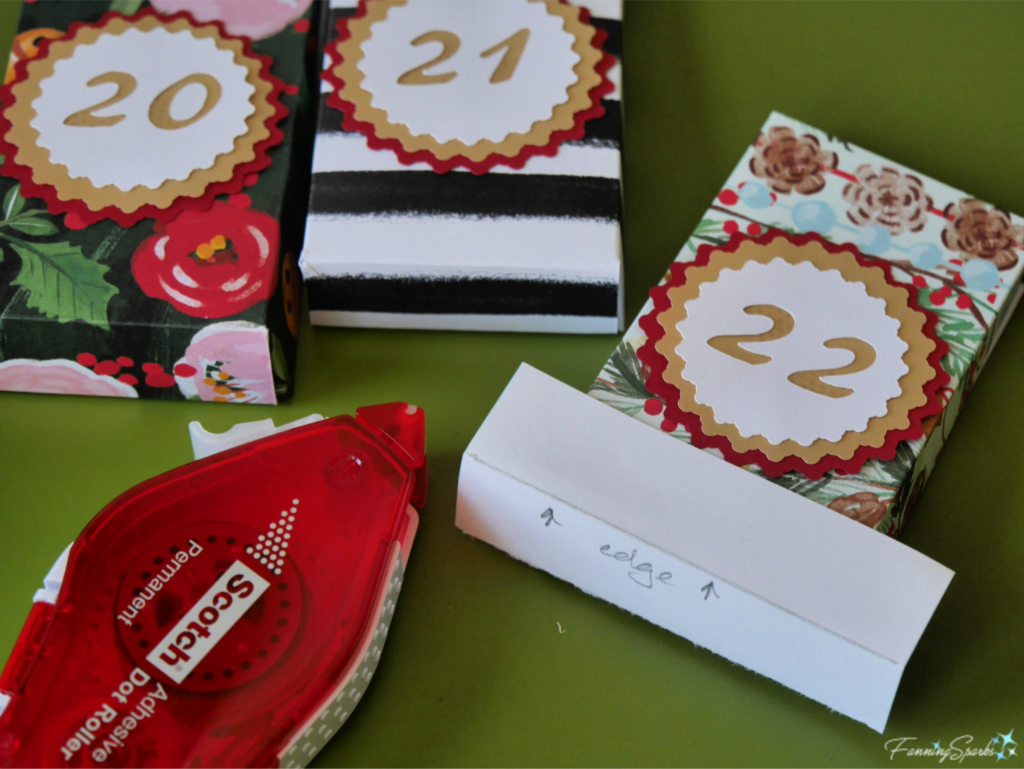
 Instructions for Gift Packets