
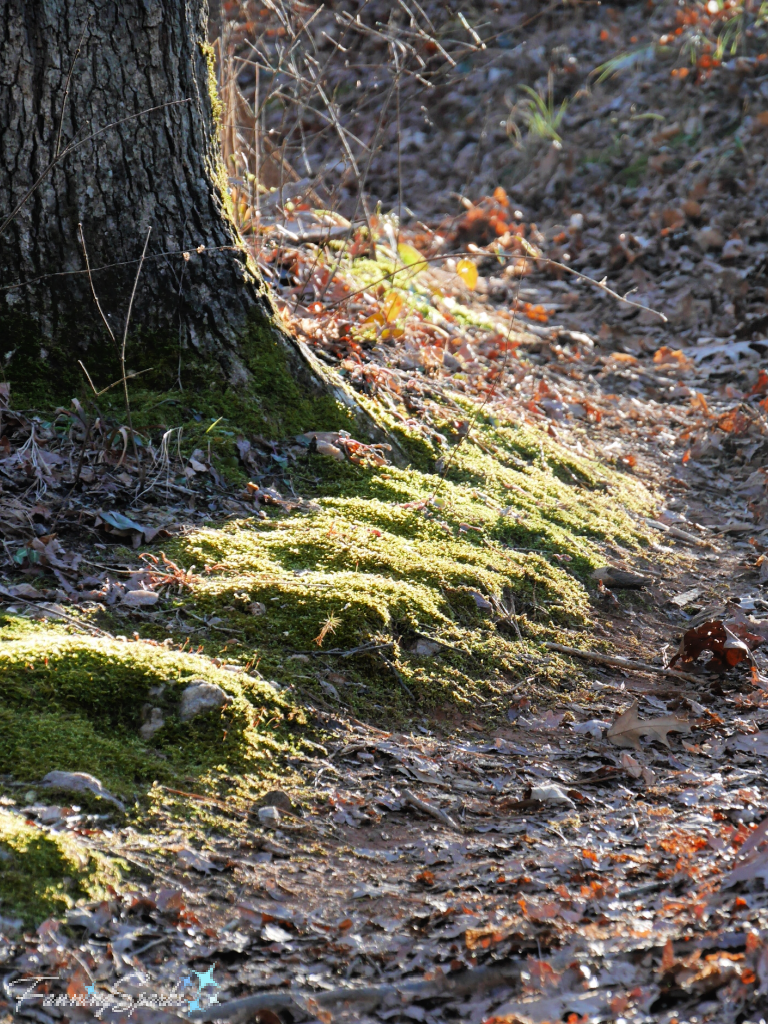
Moss, those small, puffy cushions of rich greenery at your feet, are easy to overlook. Moss can be as short as 1/16 of an inch and is often hidden away in shaded areas. Moss doesn’t have true roots, it doesn’t have stems, it doesn’t have leaves and it doesn’t have flowers. Yet, in the right circumstances, moss can be quite impressive.
Japanese gardeners have known this for centuries. Moss is included in the Japanese garden as a symbol of harmony, age and tradition. Here are a few examples from some of the fabulous Japanese gardens I’ve had the privilege to visit.
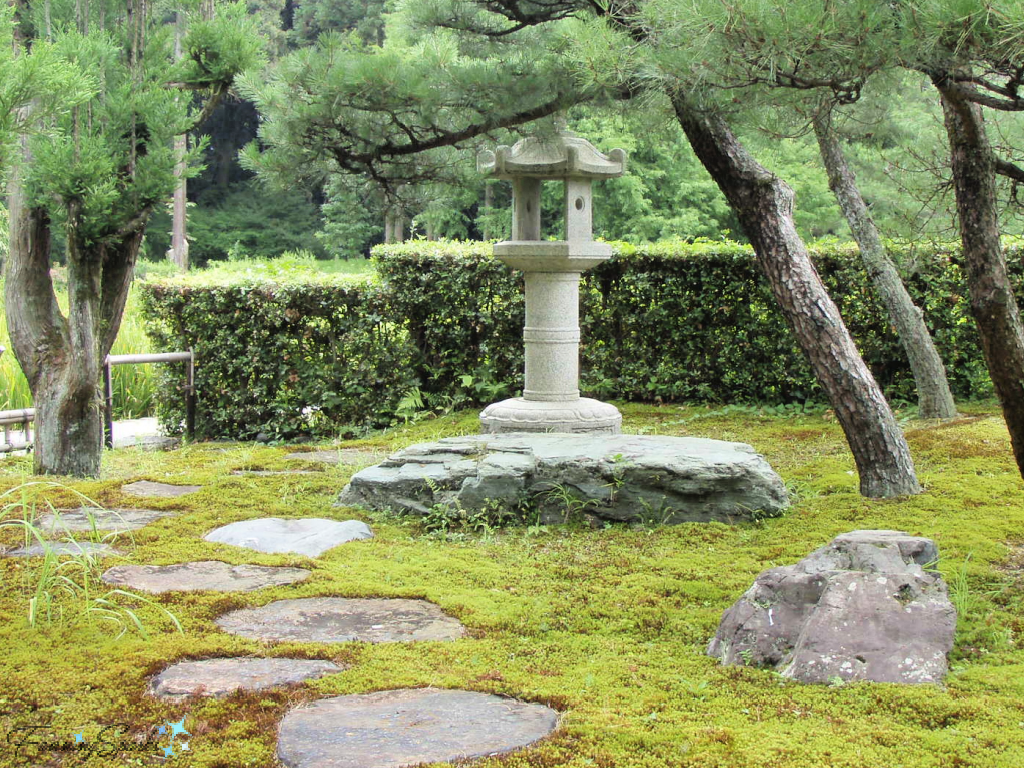
In this beautiful scene, at an ancient garden in Kyoto Japan, moss serves as a ground cover. Its velvety surface is the perfect complement to the aged, grey stone.
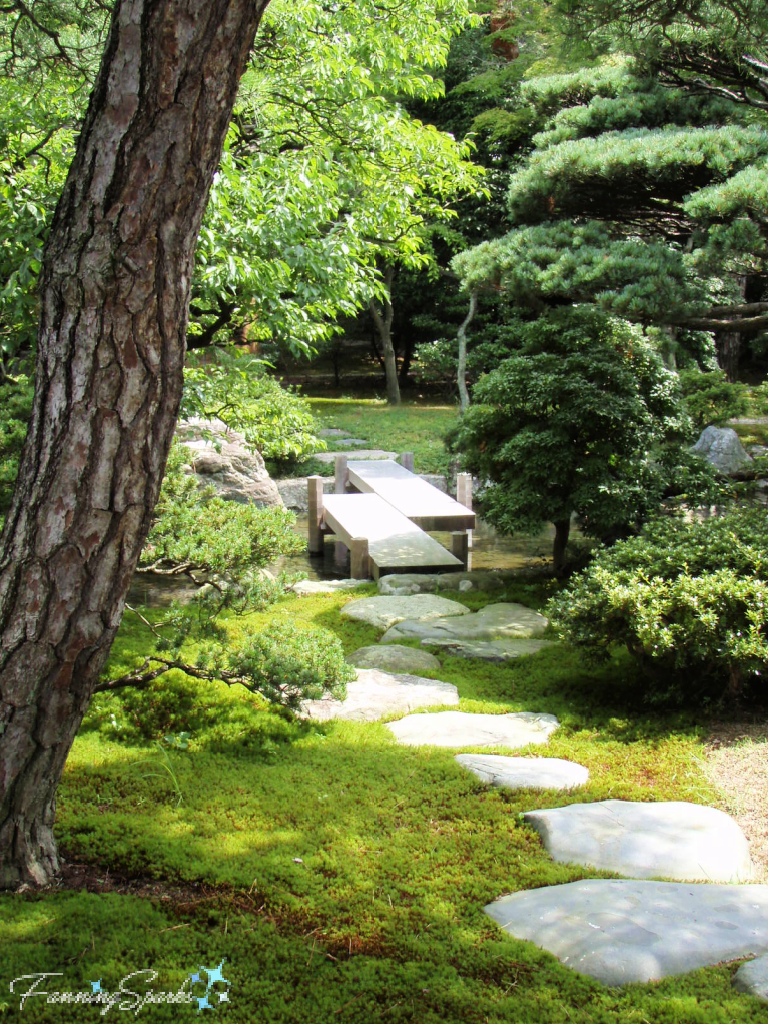
This pretty stone path is surrounded by a rich, green moss carpet in the gorgeous Kyoto Gyoen National Garden.
Moss isn’t limited to the ground. Over time, moss can attach to stones, walls and structures. It is able to attach with its anchoring systems (called rhizoids) and is able to survive by absorbing water and nutrients directly into its plant body. In contrast, other plants move these elements through a vascular system of roots, stems and leaves.
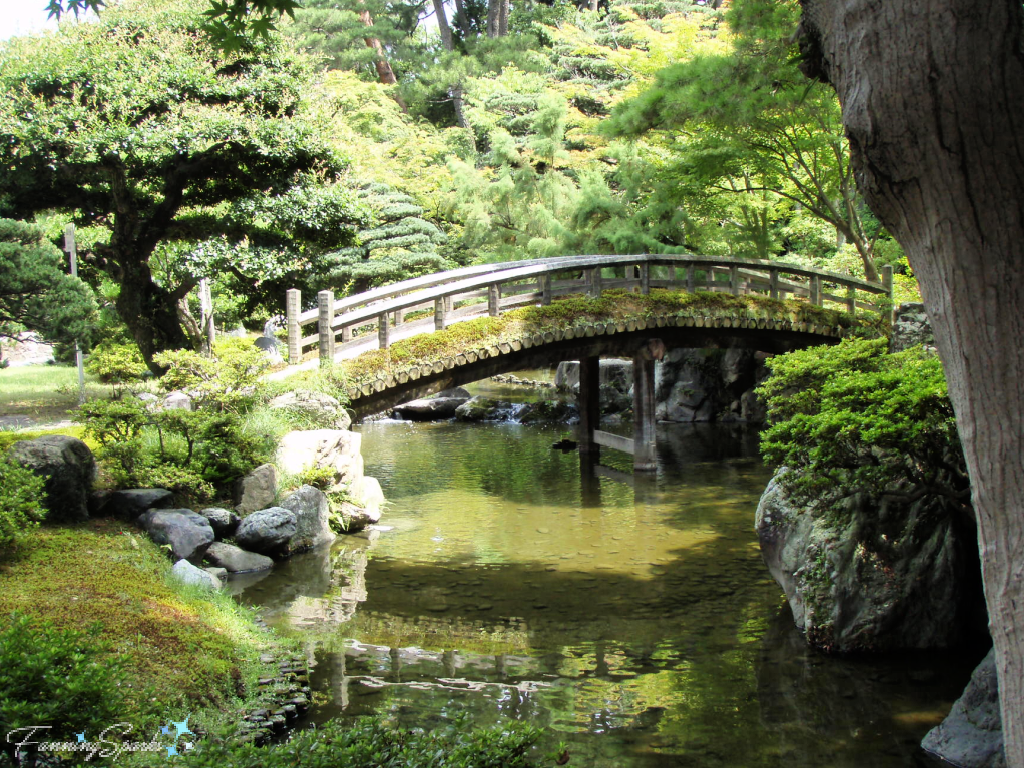
This breathtaking scene at the Kyoto Gyoen National Garden features an ancient stone bridge. Notice how the sides of the bridge are cloaked in a coat of moss.
In the below photo, moss caps the beautiful stone lanterns at the UNESCO World Heritage Site Shrines and Temples in Nikkō, Japan. It was early March when I visited and there was snow on the ground but the moss was still green. Moss photosynthesizes year-round and is evergreen.

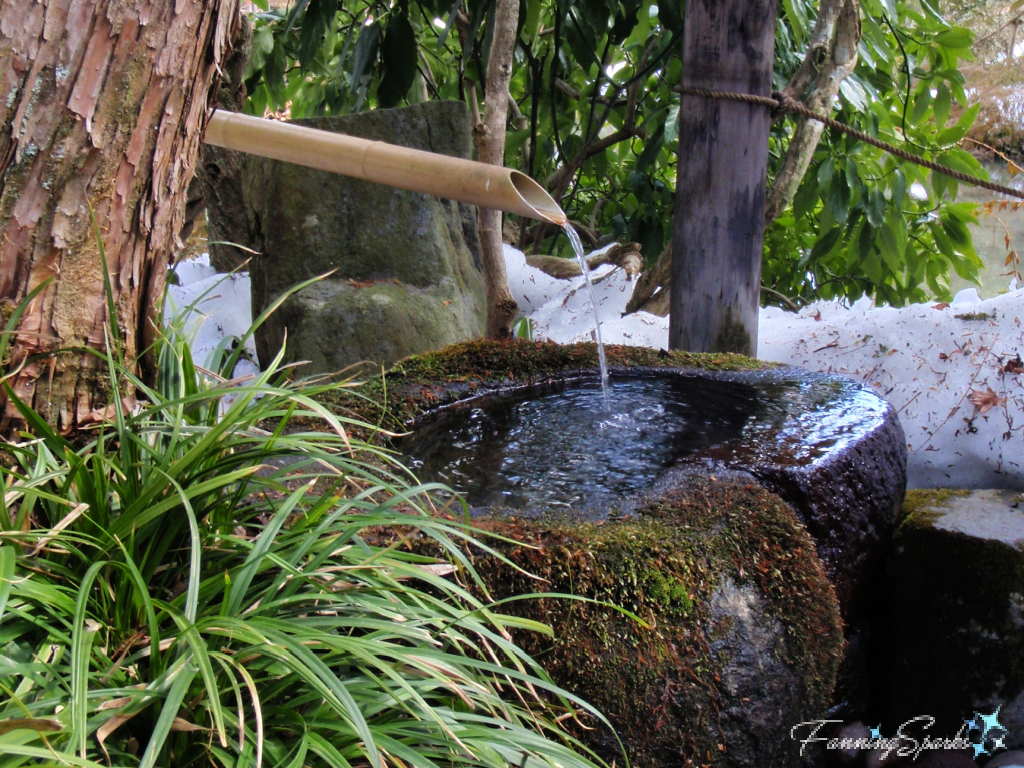
Here’s another example from the Nikkō site. This is a tsukubai which is a traditional washbasin located at the entrance to a holy place for ritual cleansing. Notice how the bronzy-green moss coat enhances the harmony of the setting.
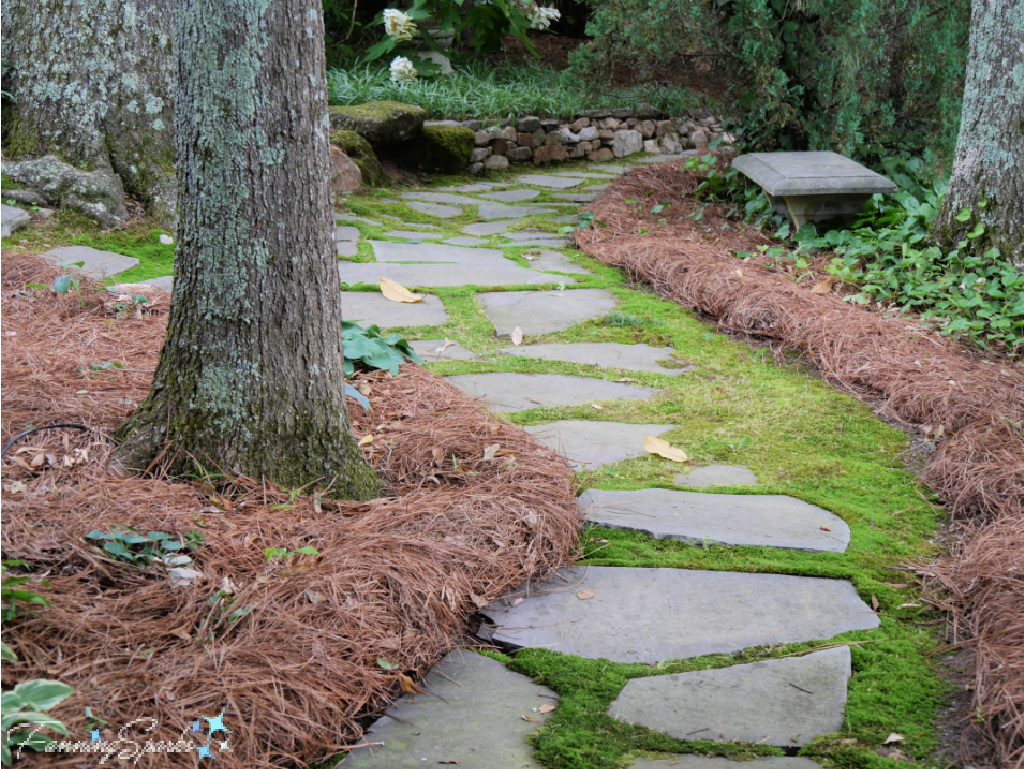
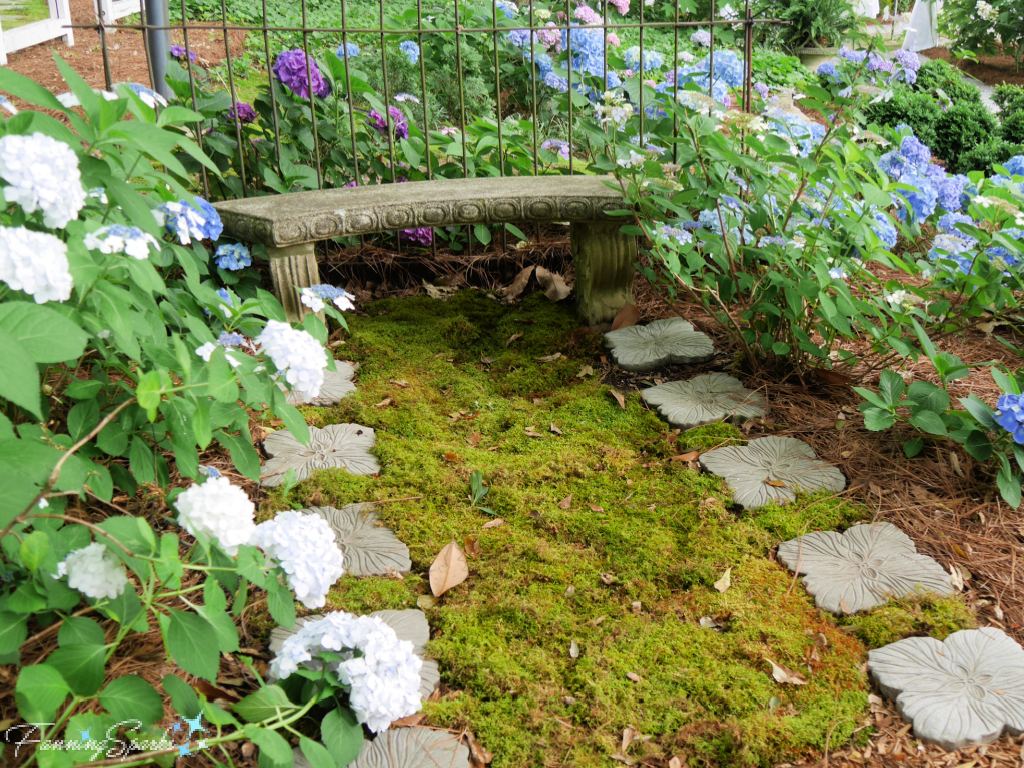
Japanese gardeners are not the only ones to enjoy moss gardening. The use of moss in public and private gardens has been gaining popularity. Recently, while enjoying a local tour of private gardens in Georgia, I noticed the gardeners had incorporated carpets and coats of green moss in their gardens. In one garden, this beautiful stone path was nestled in a bed of moss.
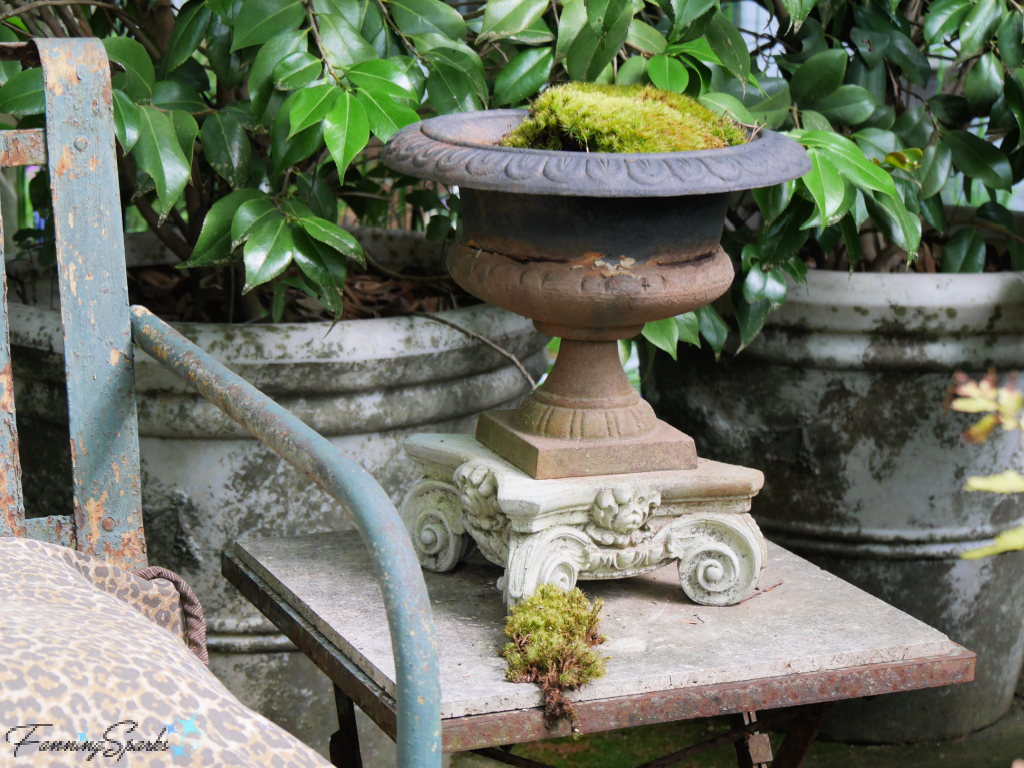
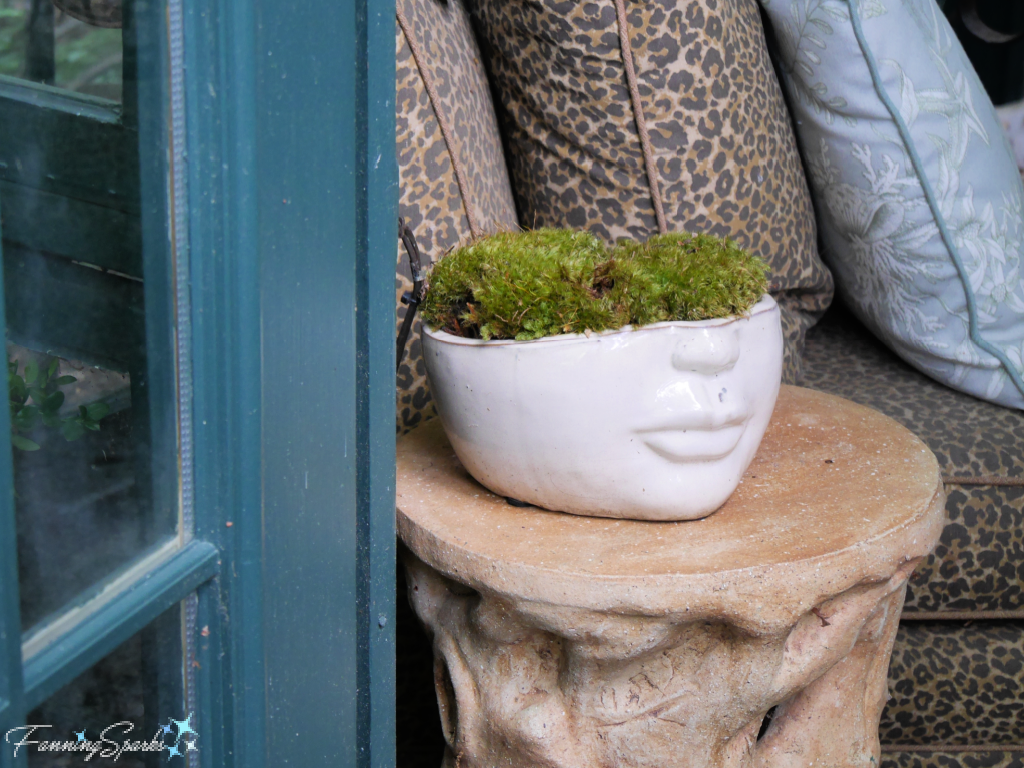
In another garden, several carefully-selected planters were topped with cushion mounds of rich green moss.
Intrigued… I decided to do a little research on moss gardening.
How to Create a Moss Carpet
Turns out, it’s not difficult to add a patch of moss to a garden. The biggest challenges seem to be growing conditions and patience. Here are the primary steps I gleaned from my research:
Prepare Planting Area
. Select an area away from direct sunlight such as under a shade tree.
. Prepare the area for the new moss patch. Clear the area removing all weeds. Create a shallow layer of soil and pack it down. Use a rake to gently scratch the surface.
. Ensure the soil’s acidity is appropriate for the selected moss. The easiest way to do this is to use soil from the area where the moss is currently growing. If that’s not an option, test the soil for acidity and amend as needed. Most moss prefers acidic soil with a pH between 5.0 and 6.0.
. Soak the new area with water for about a ½ hour—the soil should be visibly moist without any puddles.
Collect Moss
. Most experts recommend transplanting moss from an existing patch. However, beware, it is illegal to remove moss from protected areas such as state and national parks and public lands.
. It is possible to collect and plant moss at any time of the year but fall and spring are recommended. The ideal time is during the early spring immediately after a rain.
. To avoid overharvesting, take only small amounts of moss from the source patch—ideally no more than 3” squares from each square foot of moss.
. Lightly loosen the moss squares and keep them flat. A wide putty knife or an old kitchen spatula can be used.
. Keep the collected moss damp.
Plant Moss
. Transfer the collected moss to the new planting area. Place the moss on the soil and press firmly to remove any air pockets. The objective is to establish close contact with the surface of the soil. Some experts recommend pinning the moss in place with landscaping pins or small rocks.
. Mist the moss to keep it moist. One expert recommends using a spray bottle to mist the moss twice a day for the first 3 weeks. Other experts are a little less rigorous and simply recommend keeping the moss moist for the first few weeks.
Maintain Moss
. Water consistently to keep the moss slightly damp. Moss should not remain soggy.
. Remove fallen leaves and other debris preferably with a leaf blower.
. Pull out weeds and unwanted plants.
. One expert recommends always walking on the moss after watering it to help set the rhizoids. Another one recommends limiting foot traffic to stepping stones or paths. I assume the right answer is somewhere in the middle—walk on the moss sparingly.
. Wait. Experts predict growth should be visible within a few months and the patch should double in size within a year or so. An expansive carpet can be achieved within a couple of years.
This same technique could be used to transplant moss from an existing patch into a large container such as this lovely blue vessel which I spotted at the Chelsea Flower Show a few years ago.

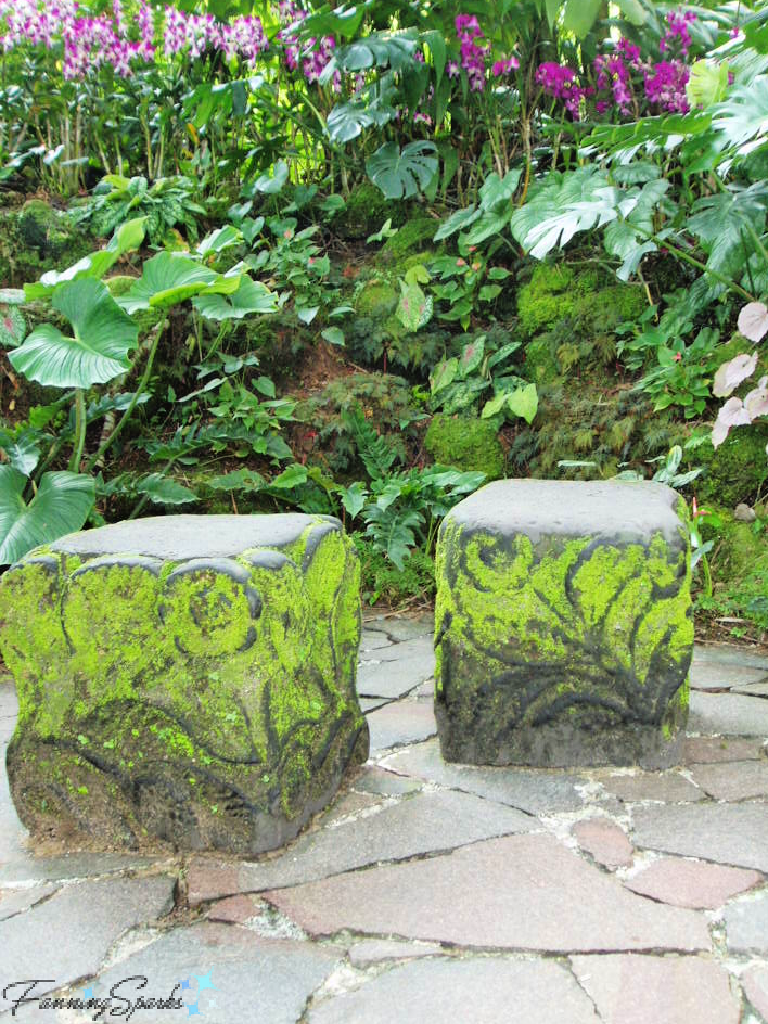
How to Create a Moss Coat
A different technique is used to grow a coat of moss on a rock or brick structure. Here’s a great example of moss-covered garden stools spotted at the Singapore Botanic Gardens.
Prepare Surface
. Select a rock, brick or concrete surface away from direct sunlight.
Make Moss Slurry
. Collect moss in the same way described above.
. Make a moss slurry with moss and buttermilk. Experts differ on the specifics of making this mixture. One recommends making the slurry in a blender with approximately 1 handful of moss and 1 cup of buttermilk. Another recommends combining about 2 cups of buttermilk or yogurt with 1½ cups chopped moss in a bucket. The mixture should be spreadable; add more moss to thicken or water to thin.
Apply Moss Slurry
. Paint the moss slurry onto the targeted surface. A paintbrush can be used.
. Mist twice daily until new growth appears.
Maintain Moss
. Water consistently to keep the moss slightly damp. Moss should not remain soggy.
. Wait. The moss should begin to grow vigorously within 6 weeks.
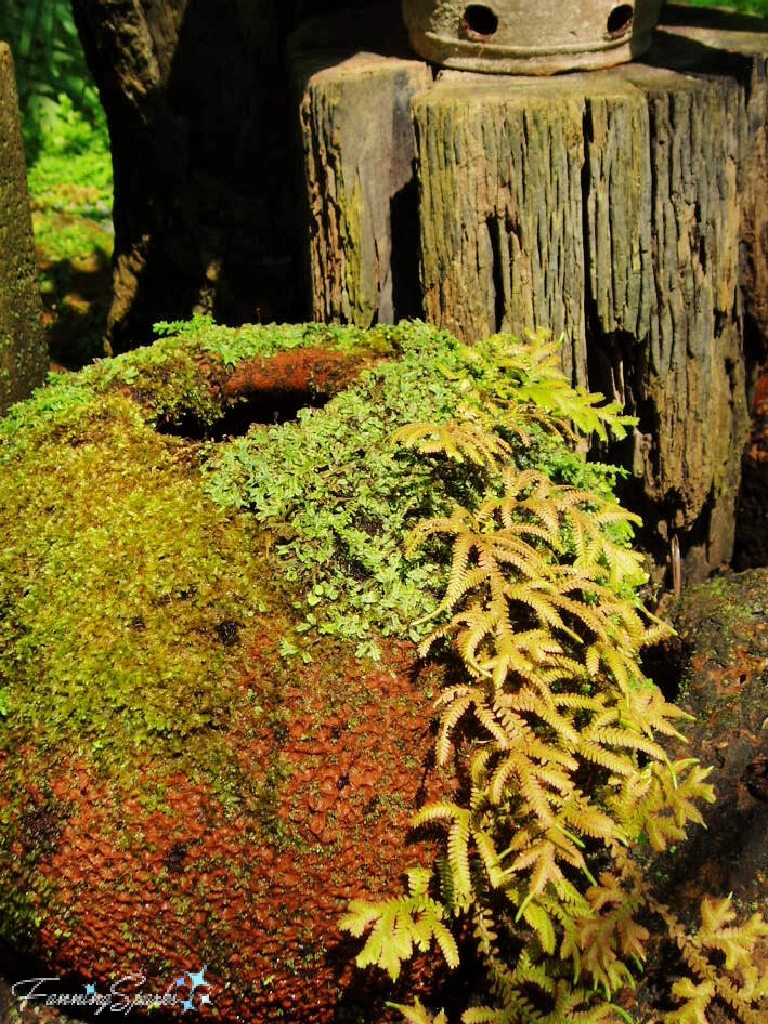
I don’t know how long it took to establish the moss and ferns on the below garden jar but I think the wait would be worth it. This beautiful scene was spotted at Fern Paradise in Chiang Mai, Thailand.
Although, moss is typically grown on stone, brick or concrete, I have seen it planted on some unusual surfaces. The below upholstered easy chair, which I spotted at a private home in Madison Georgia, is a case in point. I don’t know how the gardener accomplished this but I think this chair is amazing!

More Info
Moss is classified as Bryophyta. Some moss grows vertically and resembles strands of hair while others grow horizontally in a close-cropped manner. In total, there are approximately 12,000 species worldwide. The iNaturalist website and their Seek app are very helpful tools for identifying moss.
The following two reference books about moss gardening were mentioned frequently in my research:
. Moss Gardening by George Schenk
. The Magical World of Moss Gardening by Annie Martin. See her Mountain Moss website for lots of great information.
To learn more about the gardens mentioned in this post, check out the following links:
. Kyoto Gyoen National Garden in Kyoto, Japan
. UNESCO World Heritage Site Shrines and Temples of Nikkō in Nikkō, Japan
. The RHS (Royal Horticultural Society) Chelsea Flower Show in London, England
. Singapore Botanic Gardens in Singapore
. Fern Paradise in Chiang Mai, Thailand.
Garden tours are a great way to view private gardens. Check out these FanningSparks’ blog posts for more garden photos and ideas.
. Spring Into a Garden Tour
. Madison in May – 15 Favorite Fotos
. A Virtual Stroll in Ticehurst
. Sculpture for the Home Garden.
Today’s Takeaways
1. Moss is included in the Japanese garden as a symbol of harmony, age and tradition.
2. Consider adding moss to your garden by growing a moss carpet in a shady area…
3. …or creating a moss coat on a stone or brick structure.


Comments are closed.