
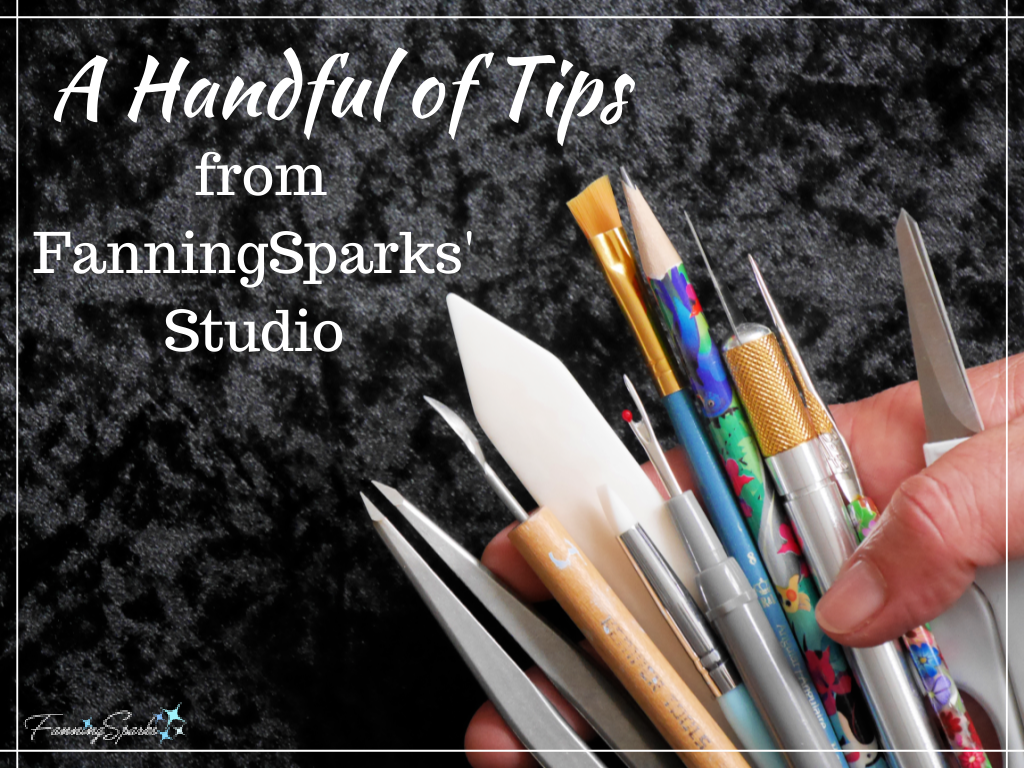
Who doesn’t like to save a little time or make a task a little easier? In this week’s blog post, I’d like to share a handful of my best tips for makers. Nothing earth shattering—just a few suggestions that may make your next project go a little smoother.
Tip #1 – Find Center by Folding Instead of Measuring
Instead of measuring an edge to calculate the center point, align a piece of paper with the edge and fold it in half.
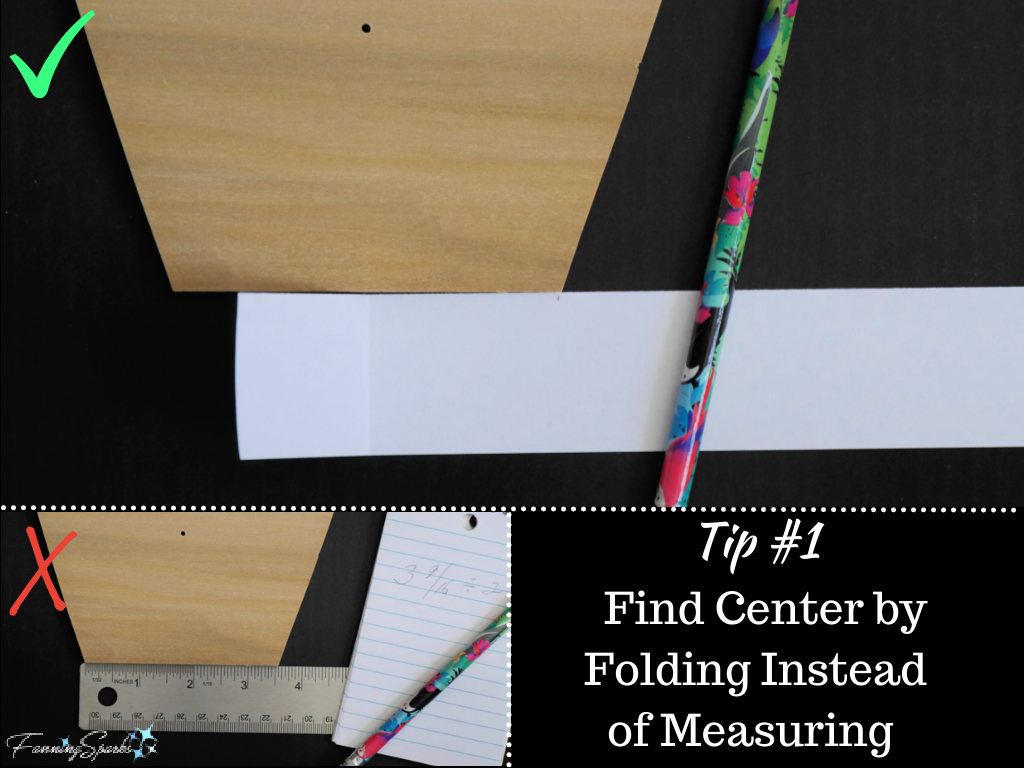
This approach lets you skip the measuring step—there’s no need to determine the length, calculate the midpoint and then find the correct point on the ruler or tape measure. Simply align the straight edge of a piece of paper, make a small tick mark at the end, and fold the paper in half. The fold is the center point. This technique is especially helpful for short, precise, fractional measurements. It’s also helpful on surfaces which aren’t flat such as this glass globe from my Turkish-style glass mosaic candle holder (see DIY Turkish Mosaic Candle Holder Tutorial). This technique would not be helpful for parts longer than a foot or two.
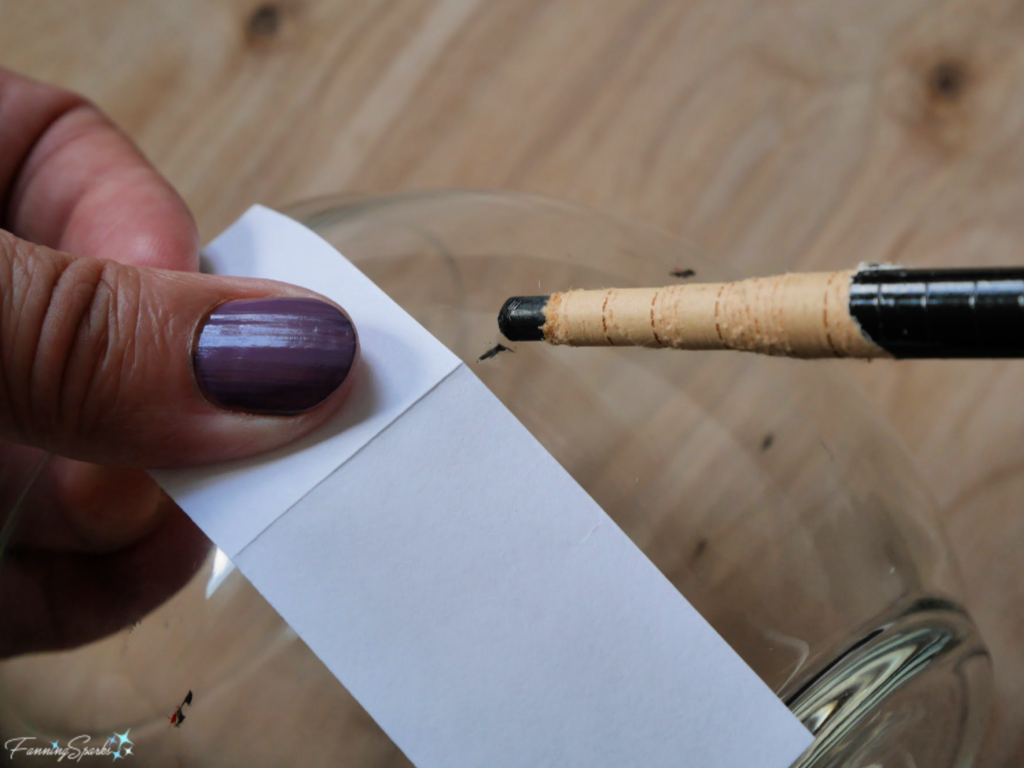
To take it one step further, I also use a piece of paper to measure something that I need to match. For instance, if part 1 and part 2 need to be the same length, I use a piece of paper to mark the size of part 1 and then transfer that mark to part 2. It’s faster than determining the actual measurement and there’s less room for error. I used this technique to create a string of beads for the top and bottom edges of the mosaic candle holder.

Tip #2 – Fold Under Corner to Save Tape End
Instead of just letting the end of the tape stick to the roll, fold under a corner to save the end.
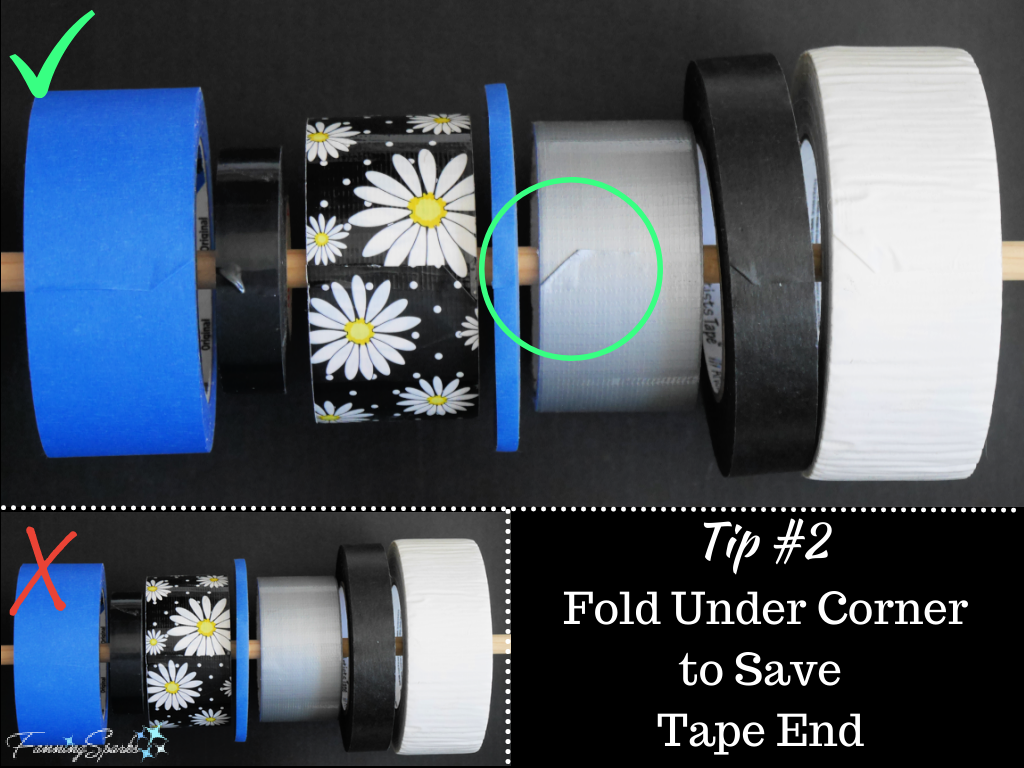
If you’ve ever spent more than a minute trying to find the end on a roll of tape, this is the trick for you! Get in the habit of always folding under a small corner of the tape before letting the tape stick back on the roll.
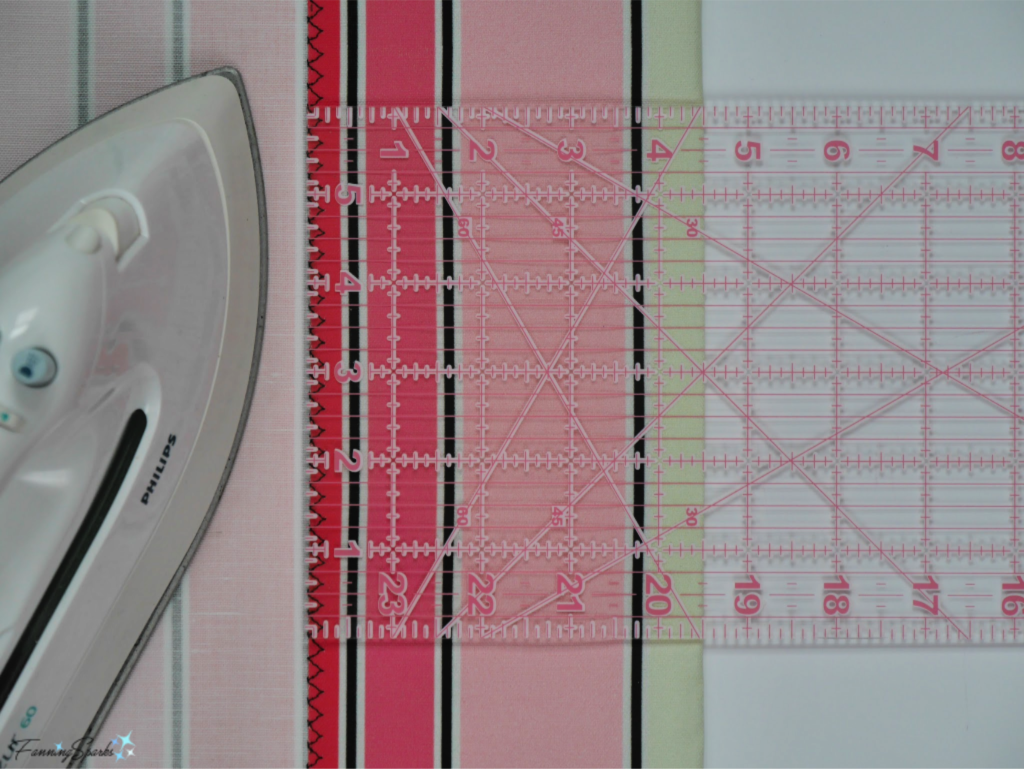
Tip # 3 – Replace Ironing Board with Padded Surface
Replace your conventional ironing board with a padded surface for pressing.
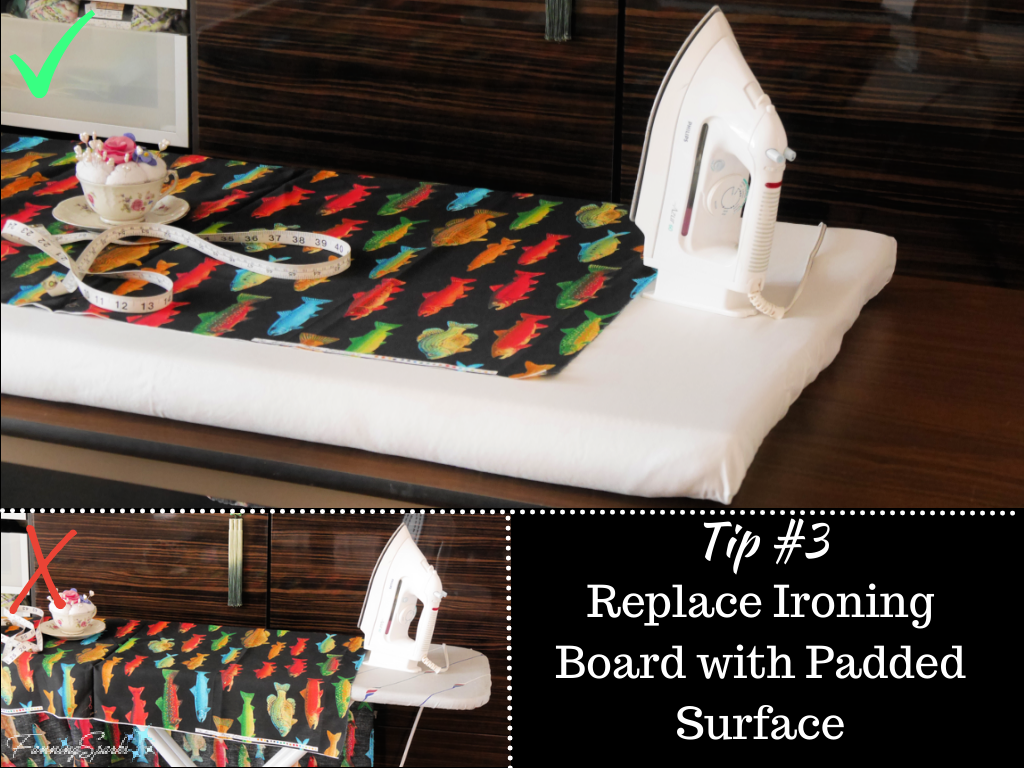
Conventional ironing boards may be good for ironing shirts but they’re less than ideal for most pressing projects. A more convenient surface can be made with a large piece of flat wood (such as plywood) padded with quilting and covered with plain cotton fabric. I made mine from a 4-foot piece of laminate countertop. The quilt batting and cotton fabric are stretched over the board, folded into place and held with safety pins. My padded surface can be placed on a table when in use or leaned against a wall for storage. The actual surface is much larger than a conventional ironing board so it’s easier to press large pieces of fabric and maneuver rulers and other tools.
Tip # 4 – Elevate Work Surface with Bed Risers
Use bed risers to safely and securely elevate your work surface.
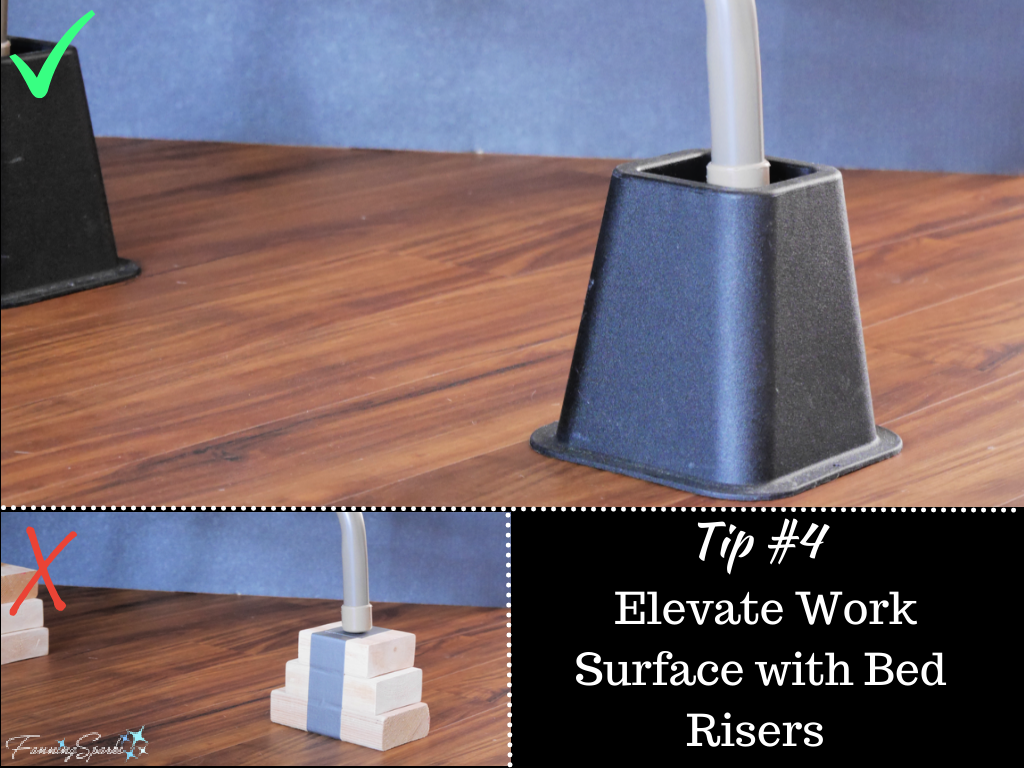
Different tasks can require different working heights. For instance using a sewing machine is most comfortable at standard, table height but piecing together a mosaic is more comfortable on an elevated surface. Bed risers, those sturdy plastic blocks typically used to add storage under a college dorm bed, are ideal for raising a work table by 5-6 inches. They’re easy to slip under the table legs and sturdy enough that you can forget about them once in place.
Tip # 5 – Organize with Labelled Scrapbook/ Project Cases
Use plastic scrapbook/ project cases to organize your equipment and materials and label the contents for easy retrieval.
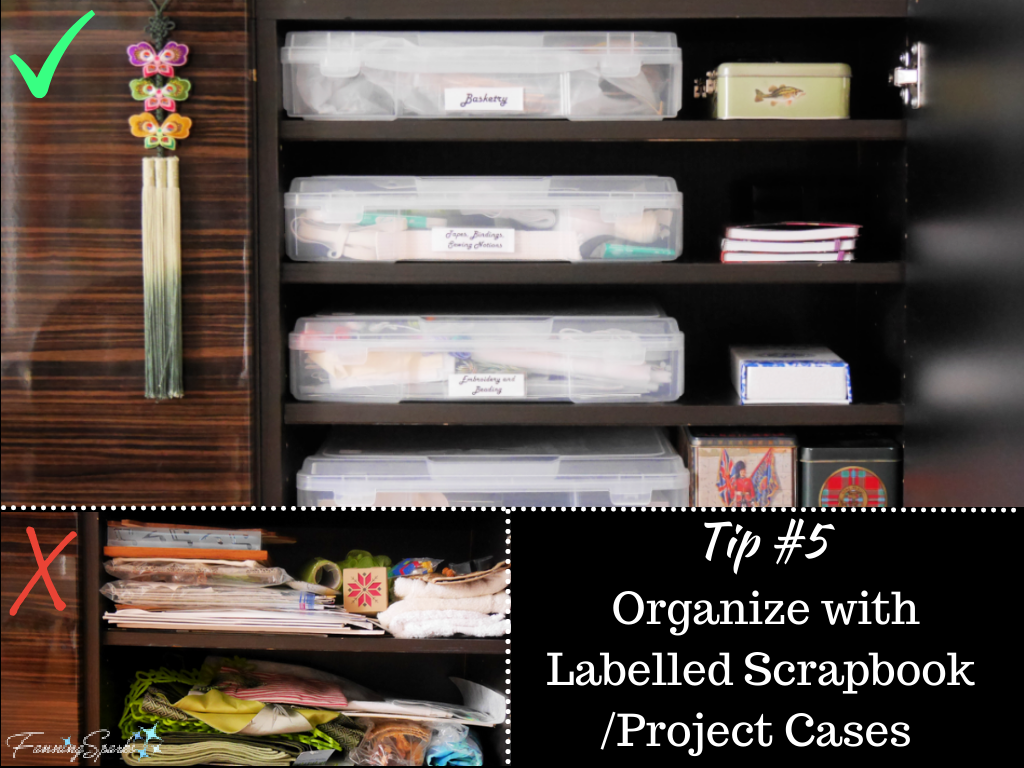 No set of tips for makers would be complete without some mention of organization and storage! My favorite storage method for the myriad of projects, supplies and tools I have hoarded in my studio/ craft room is the 14” square plastic scrapbook/ project case. These cases are specifically designed to hold 12”x12” scrapbook pages so they’re a generous size. They’re big enough to hold most craft items but not so big that they become a bottomless pit. Plus they’re transparent so you see what’s inside. The cases stack neatly making them easy to store. They’re available from most major craft stores like Michaels and Joann as well as from online suppliers like Amazon.
I mentioned these plastic trays in my previous blog post about The Ultimate Maker’s Cabinet when I used them instead of drawers in my storage cabinet. They’ve worked out perfectly!
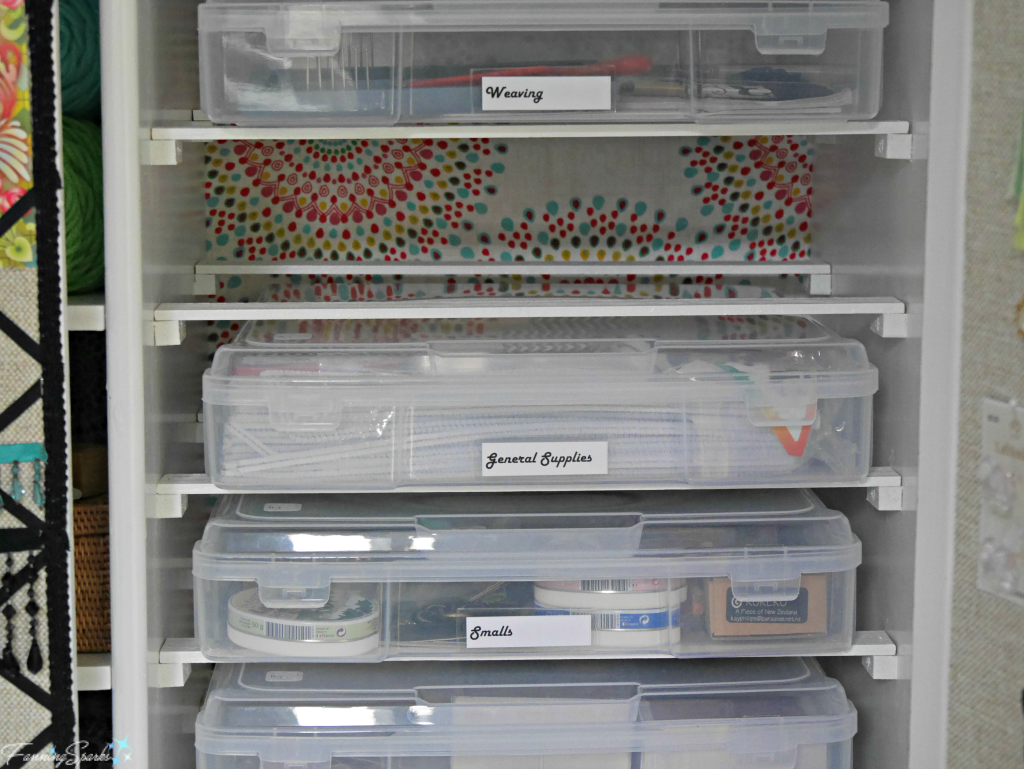
The lids open and close effortlessly and can easily be propped open when in use.
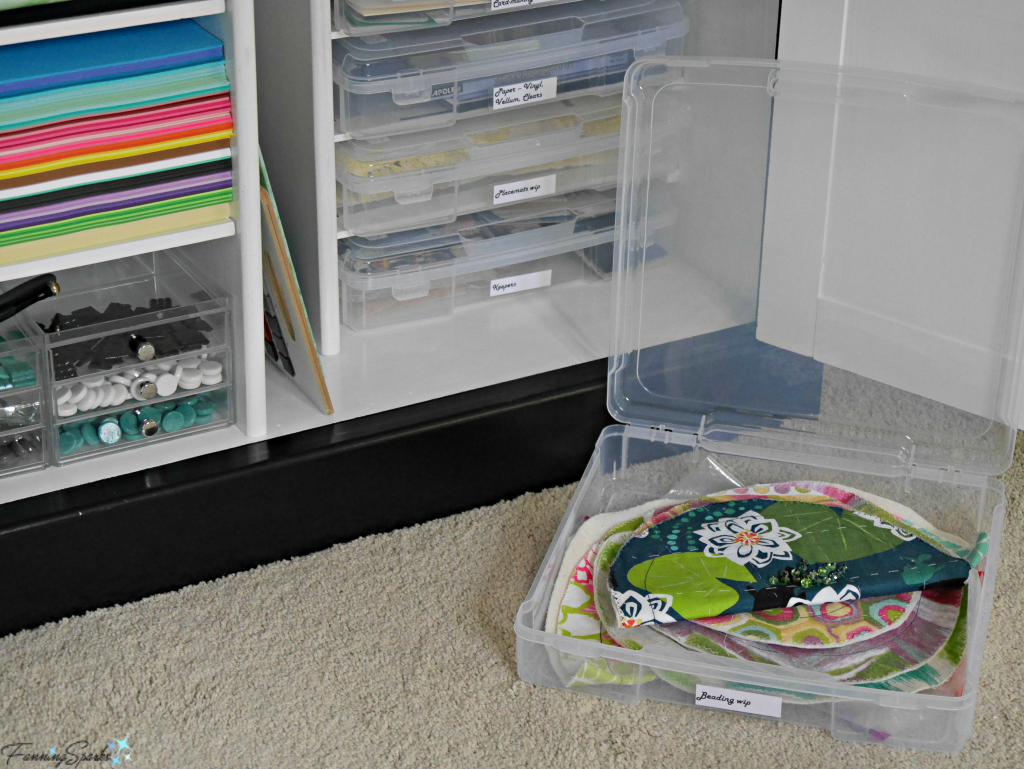
The labels, purchased separately, are clear plastic with a slot for the printed tag. Adhesive-covered backs make it easy to attach the labels to the storage cases.
So there you have it—a handful of tips from the FanningSparks’ studio! I hope you’ll find them helpful.
More Info
Please pin this image to share or save for future reference.
The following FanningSparks blog posts were mentioned in this post:
. DIY Turkish Mosaic Candle Holder Tutorial
. The Ultimate Maker’s Cabinet
You may also enjoy the previous blog post 10 Tips from our Gussied Up Workshop.
Today’s Takeaways
1. Be on the lookout for time-saving maker techniques.
2. Optimize equipment and tools for common tasks.
3. Consider ways to streamline and simplify processes.


Comments are closed.