Working with clay, as is the case with most media, has its own terminology. You can hand build or throw clay. Within hand building, you can use coil or slab construction. Throwing is done on a potter’s wheel. Typically, the wheel is used to shape round ceramic ware such as spheres, disks, cylinders, cones and tubes. We threw clay to make bowls, mugs, vases, and similar forms during a recent week-long class called Round and Round We Throw at the John C Campbell Folk School.
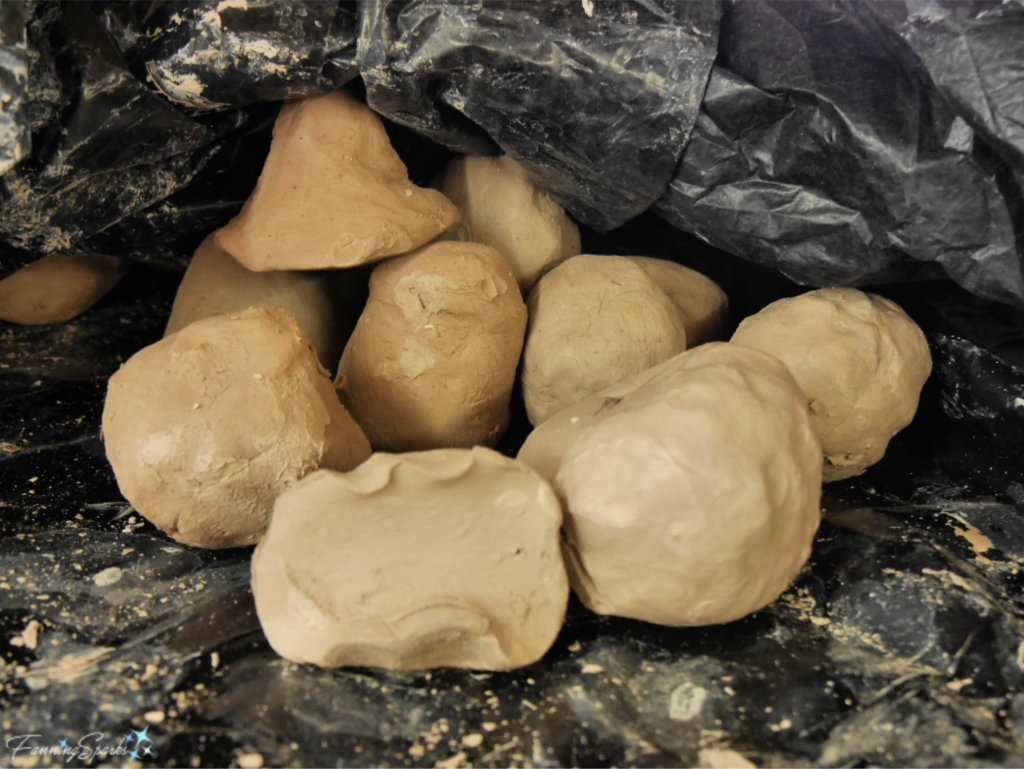
Every reference I’ve checked starts by emphasizing the importance of wedging the clay. We did the same in our class and spent Sunday evening learning to wedge clay. Wedging is the process of removing air bubbles and ensuring the clay forms a homogeneous mass. There are different wedging techniques but we used the one commonly called “ram’s head” which entails using our hands to knead the clay into a shape resembling a bull’s nose or ram’s head before patting it into a ball.
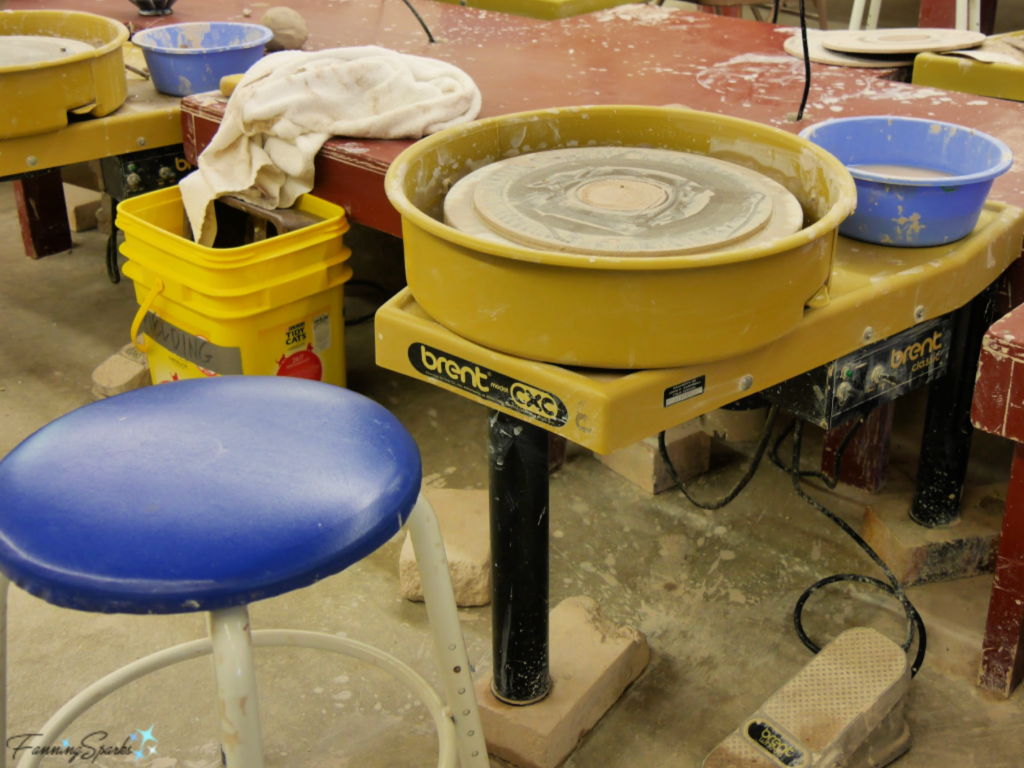
 On Monday morning, instructors, Steve Fielding and Mike Lalonde, started with an information-packed demonstration. We learned about the potter’s wheel‒to set the direction and control the speed. We learned the importance of body position and posture at the wheel. Here’s a photo of my working station.
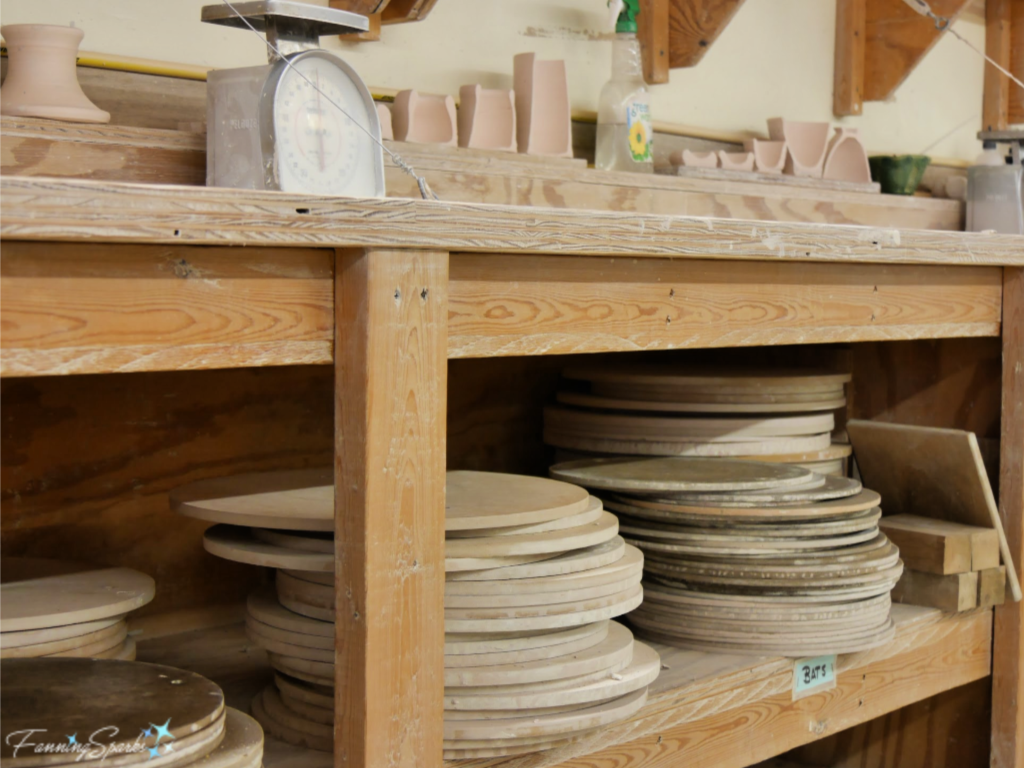
 We learned about bats, which are the removable platforms on top of the wheel head, and other pieces of equipment.
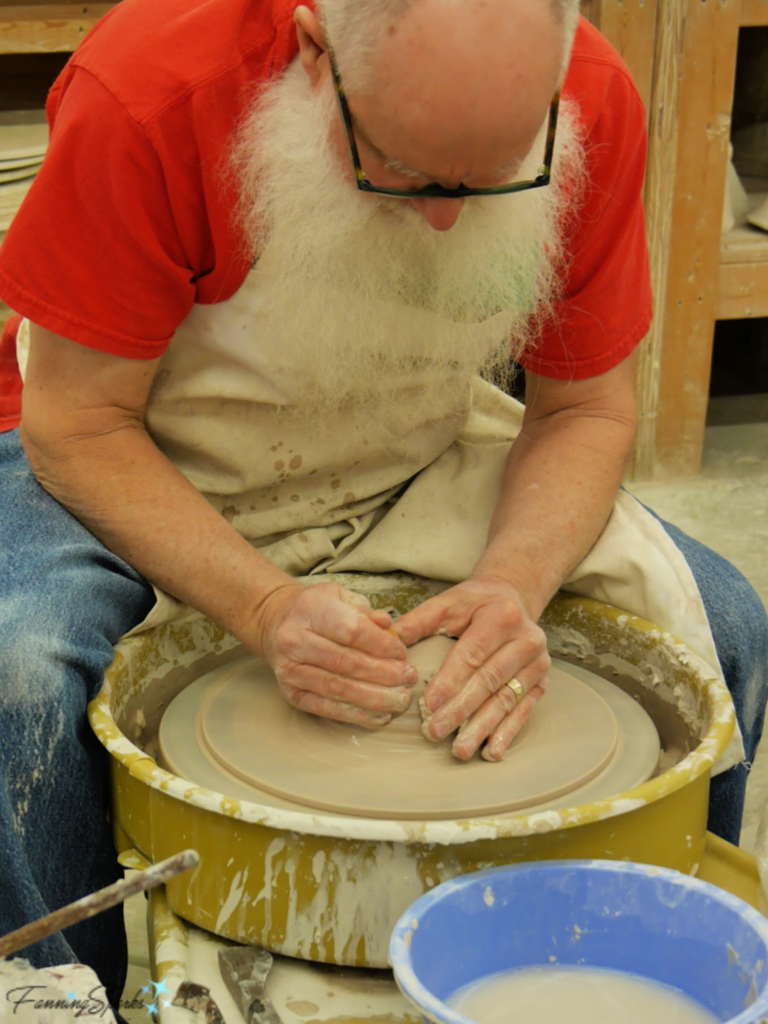
 We learned about applying water to lubricate the clay without getting it too wet. Then we watched the essential steps to center, open and pull the clay. This is Steve demonstrating how to center.
After centering, he demonstrates how to open.
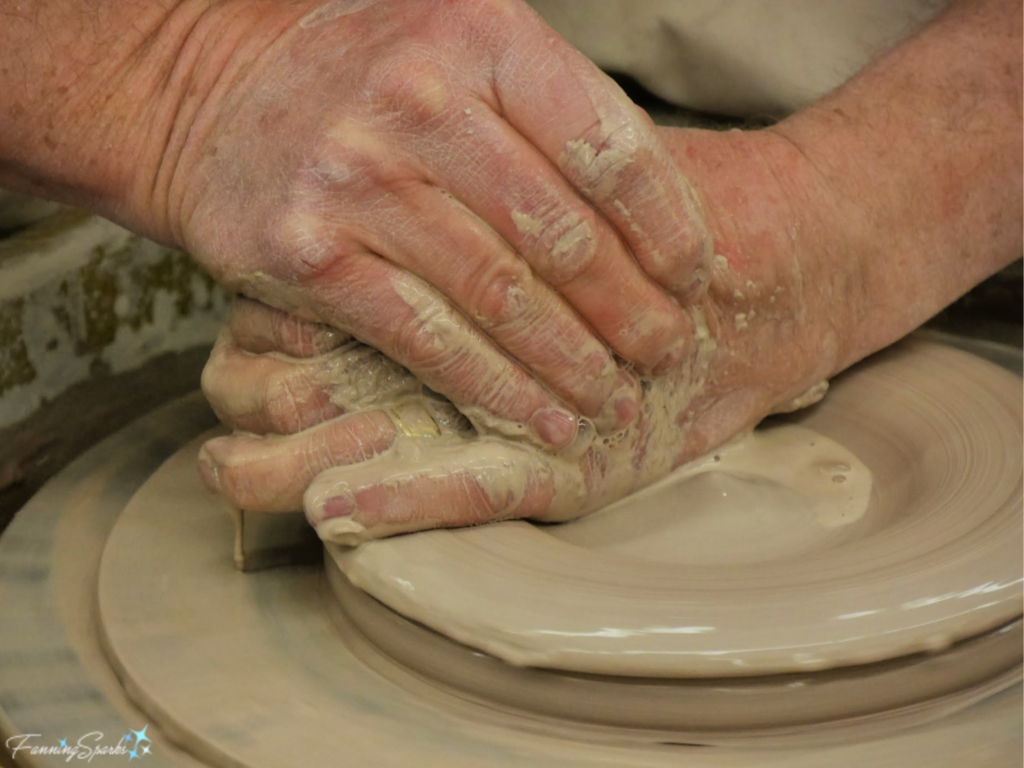 After opening, he demonstrates how to pull. “Center, Open, Pull” quickly became our mantra.
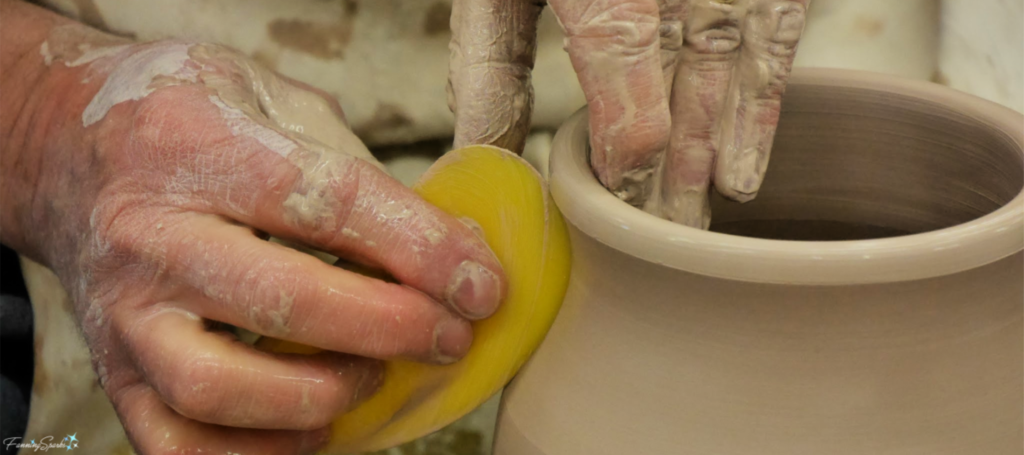
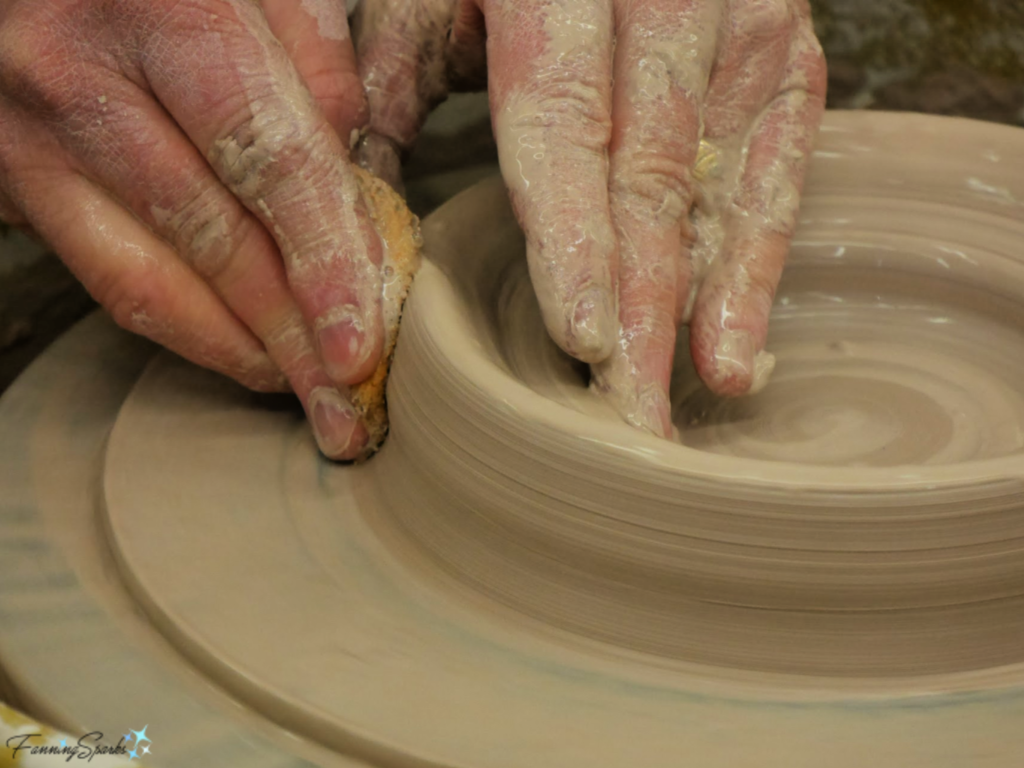 We learned about checking the thickness, compressing the rim, shaping, and various other steps. Here Steve refines the shape of his piece.
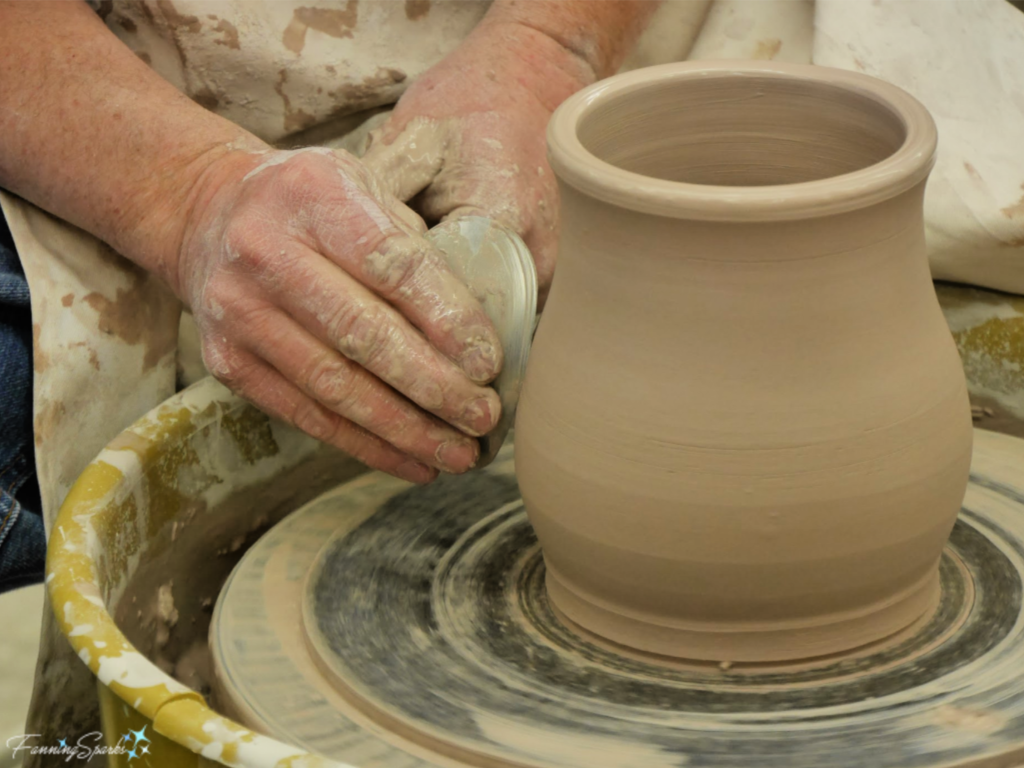 We learned about trimming the bottom edge and the importance of a “BOLD undercut” (an instruction delivered with such force that none of us will ever forget it!).
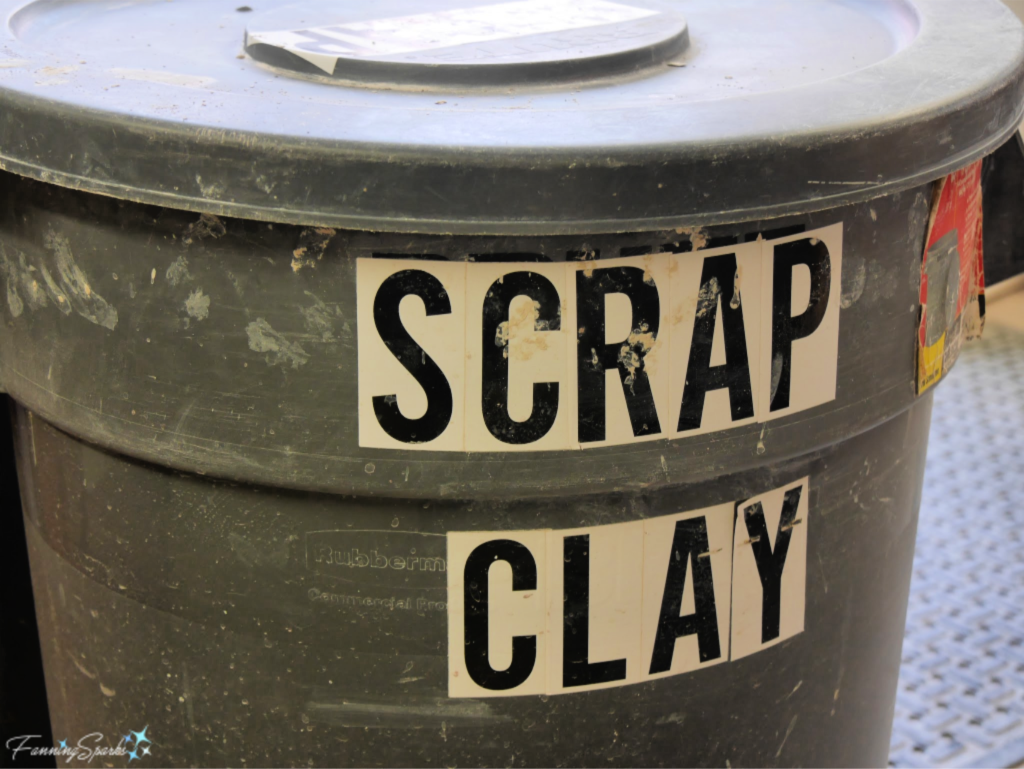
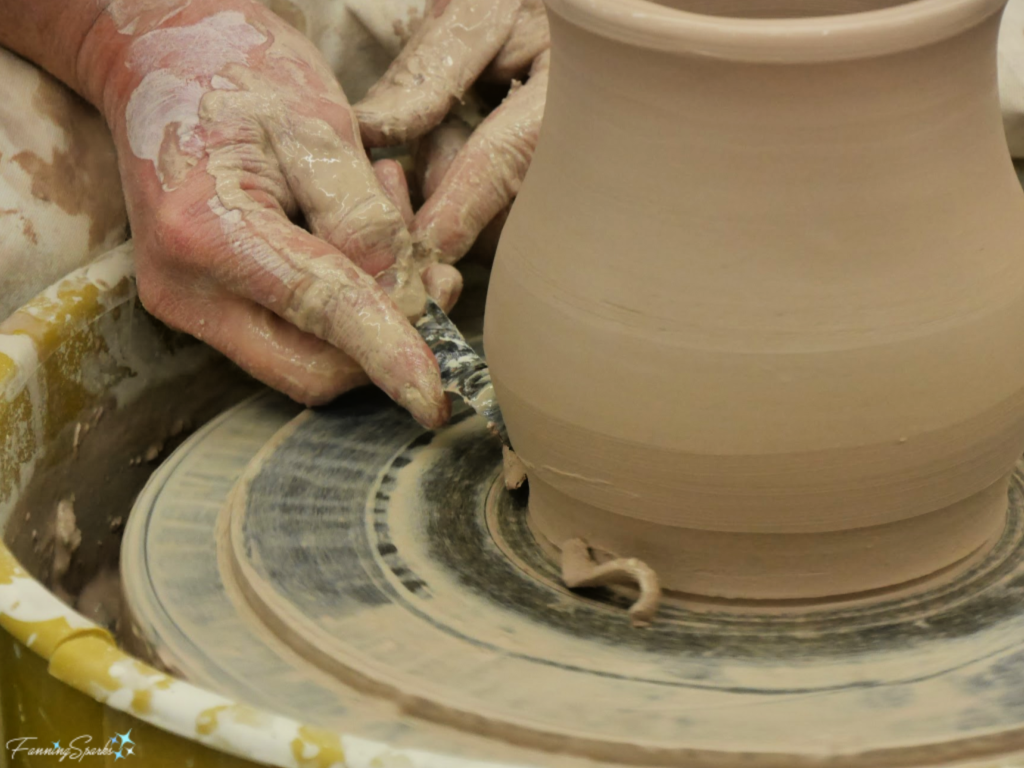 Then it was our turn to give it a try. And try and try and try. Vince Pitelka puts it this way in his book Clay A Studio Handbook: “When learning to throw, always sit down at the wheel with at least a dozen balls of clay. You must abandon the preciousness of the individual piece. Starting with only a few balls of clay encourages an unconscious determination to make every piece a success and thus an unproductive tendency to overwork the clay. Keep working on a piece if things are going well, but the instant it starts to go bad, scrap it and start another. You will accelerate the learning curve and accomplish far more.” I wish I’d realized this from the get-go. Abandoning the preciousness of each piece is not something that comes naturally to me! But I did become very familiar with the Scrap Clay bucket where we abandoned our precious pieces.
 The instructors told us about the importance of a slow and steady touch‒to always apply and release pressure on the clay slowly. But experience was the best teacher on this point. Clay is very responsive which means you have total control over how the clay is shaped but it also means one, small misplaced movement can quickly ruin the piece. Developing the right touch can only be accomplished through a great deal of practice.
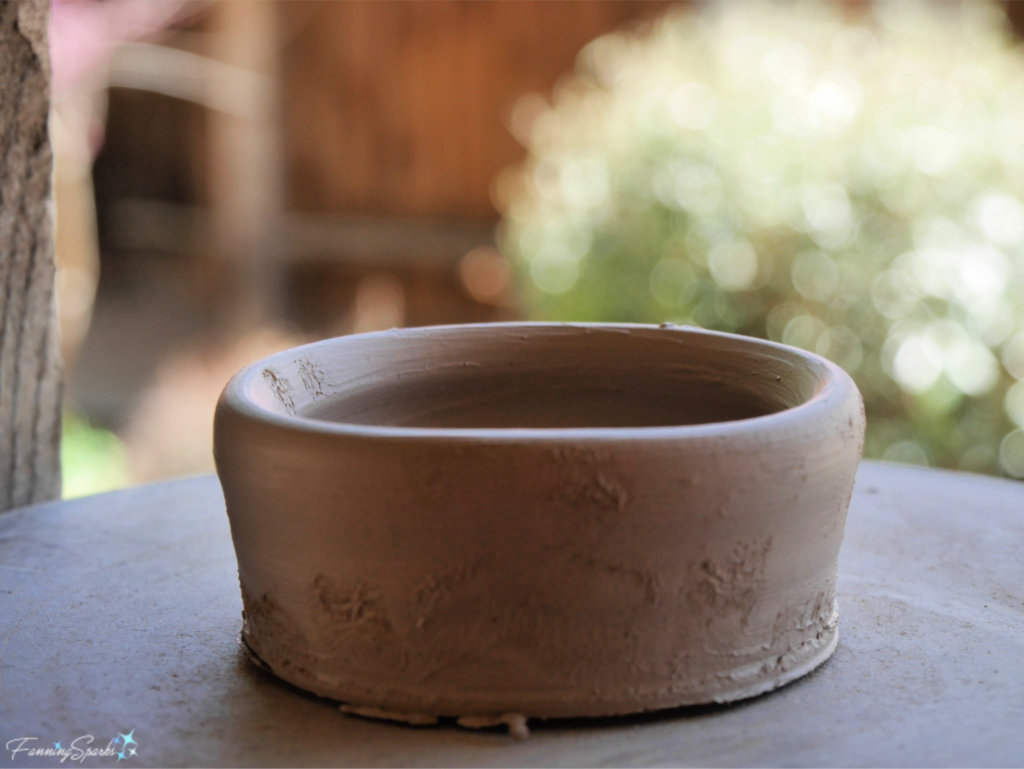
Before the end of the first day, we had thrown our first successful pieces and placed them outside to dry. Here’s one of my first bowls.
 Some of the students were more experienced as evidenced by the beauty of their first pieces.
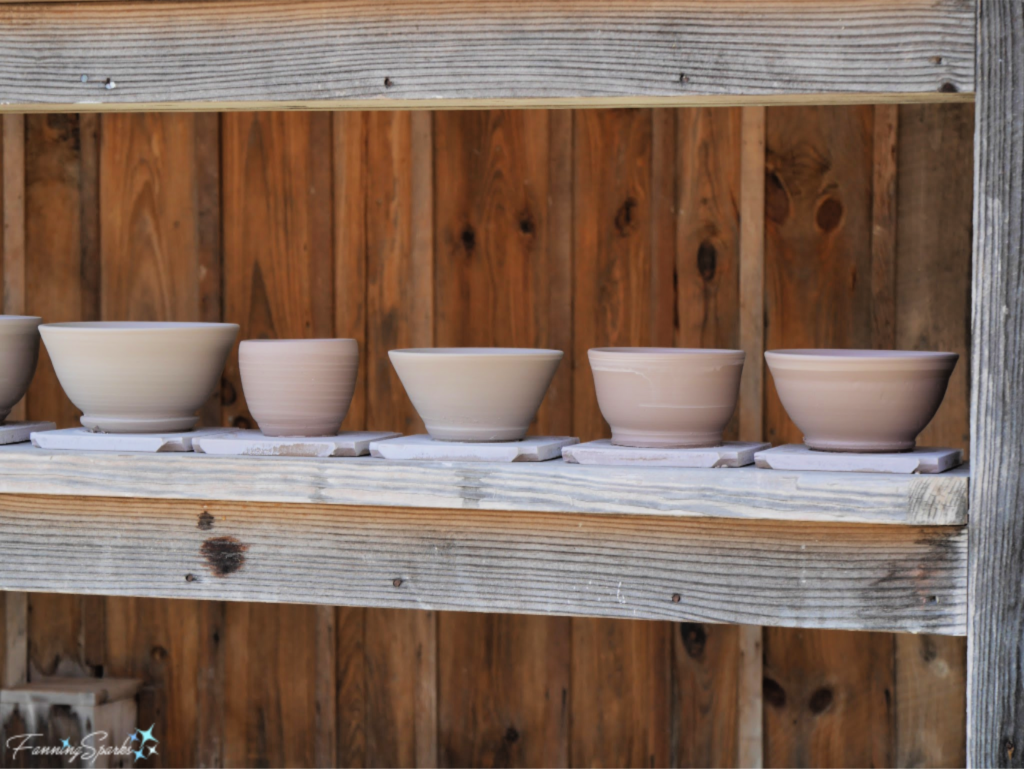 Throughout the week, we witnessed the process to center, open and pull multiple times. We learned about drying and firing clay. We learned the steps to complete at each stage from wet, leather-hard, bone-dry to bisque. We started with bowls and then progressed to cylinders and mugs. We had fun experimenting with glazes trying different colors and combinations.
My favorite piece turned out to be a spoon rest. I wanted to try a motif design and got the idea to carve my own stamp from basswood. After a little trial and error, I got the stamp to the right depth and was able to get a clean impression.
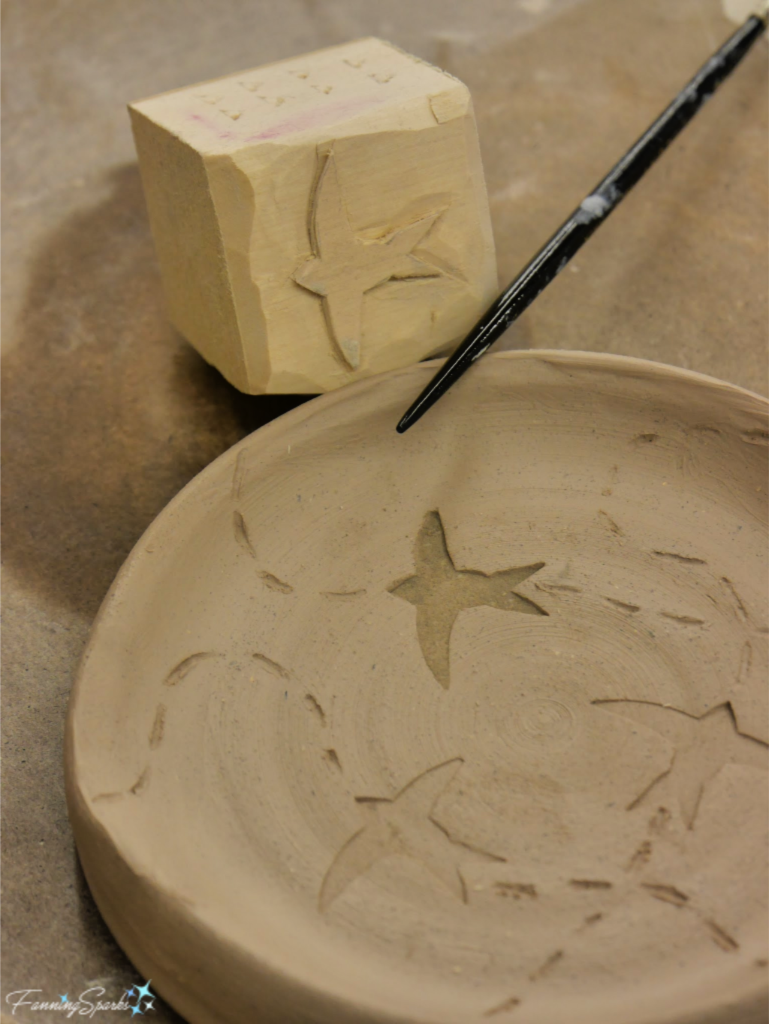
To be on the safe side, I made 3 of these spoon rests. One cracked during firing but 2 were successful. Here’s how my favorite new spoon rest looks in my kitchen.
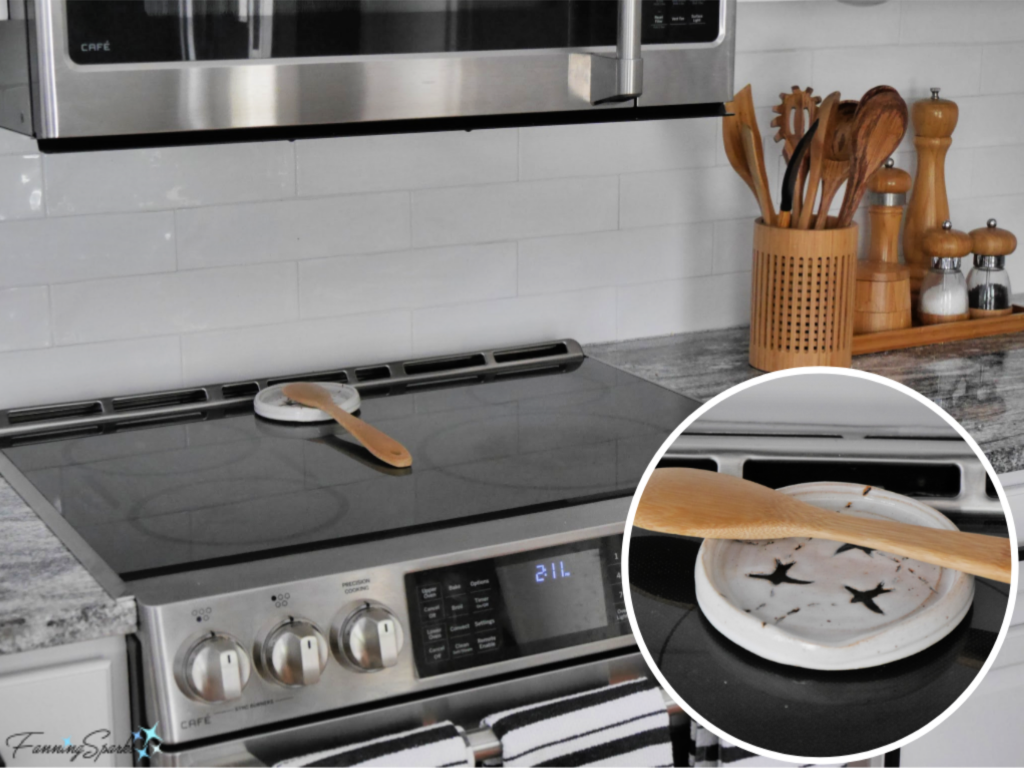 I love this spoon rest! I love that it’s functional and serves a purpose in my daily life. But most of all, I love that it is a combination of two new skills I learned at the Folk School‒woodcarving and clay throwing. It is one of a kind and truly unique to me.
More Info
The American Ceramic Society hosts the CeramicArtsNetwork which is an online community serving active potters and ceramic artists worldwide, as well as those who are interested in finding out more about this craft. I learned about Vince Pitelka’s book Clay A Studio Handbook on this website.
Check out my previous post, called Event Expands Pottery Proficiency, which I wrote after visiting the Perspectives Georgia Pottery Invitational held in Watkinsville, Georgia in the fall of 2018.
I participated in the Work Study Program at the John C Campbell Folk School. You can learn more about the program in my post First Impressions as a Work Study Student. Or check out the following posts to learn about the Folk School experience.
. Weave a Market Basket
. Artistic Details Around Campus
. Carving in Brasstown
. Getting Started with Woodcarving
. Work Study Program FAQ
. From Sheep to Shawl
. Flat-Plane Carving with Harley.
You can learn more on the John C Campbell Folk School website, their Facebook page or Instagram account. Information about the Work Study program is found here.
Today’s Takeaways
1. Consider learning the terminology of a medium that interests you.
2. Nothing beats hands on experience to deepen your appreciation of an art or craft.
3. Explore the possibilities of combining media into a single piece.




Comments are closed.