Thursday is my favorite day of the week. It’s clay play day—the day I go to the clay studio and get to play with clay for several hours! Clay play day involves a lot of experimentation and a fair bit of persistence. I’m still a beginner so every project teaches me something new.
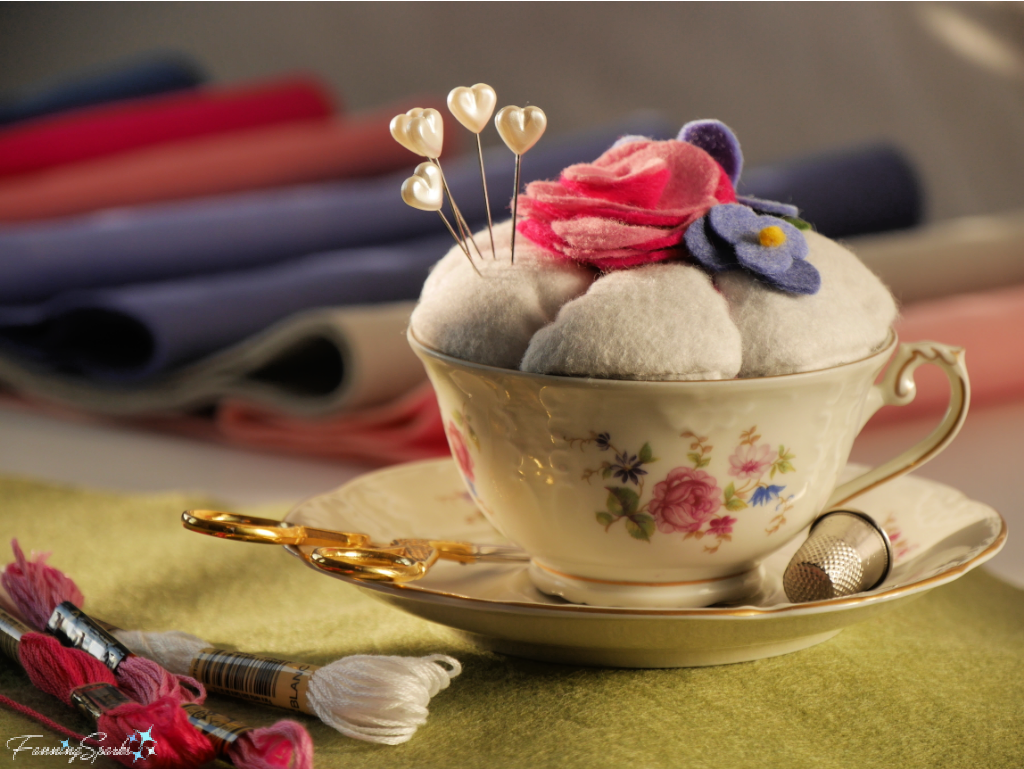
For instance, I wondered if rolled roses could be made from clay in the same way they are made from felt. The felt technique was covered in a previous FanningSparks’ blog post, Teacup Pincushion – DIY Tutorial. The flower in question, the pink felt rose, is visible on the teacup pincushion below.
That blog post included a template (see Felt Flowers for Teacup Pincushion – Complimentary Download) and these illustrated instructions.
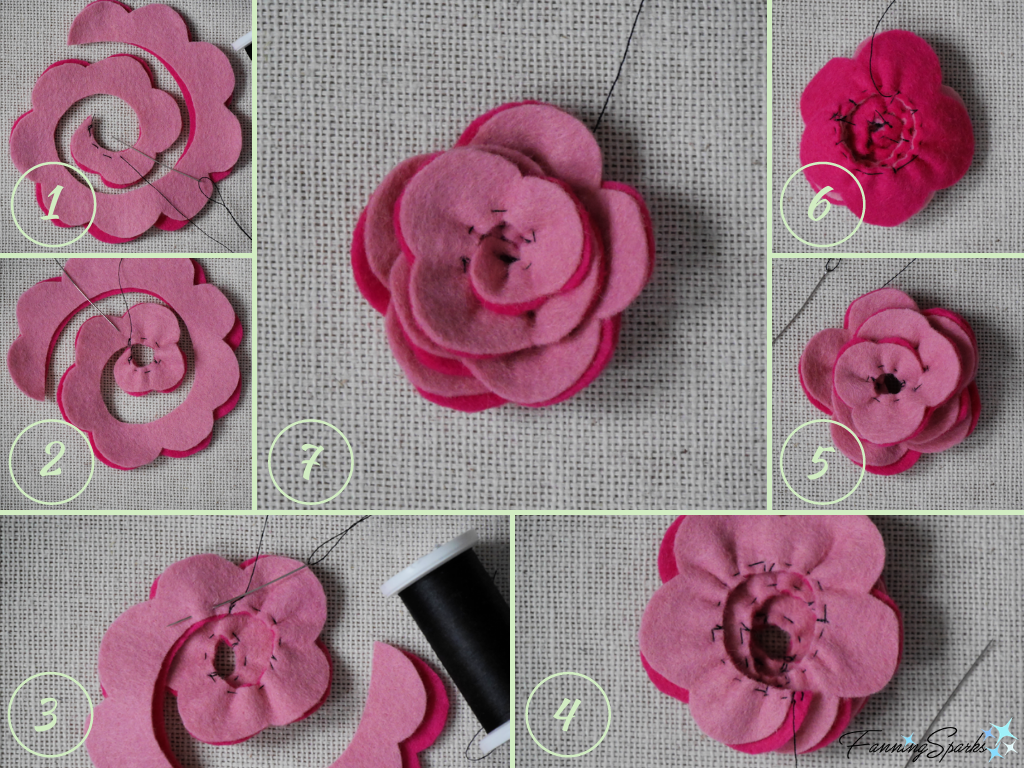
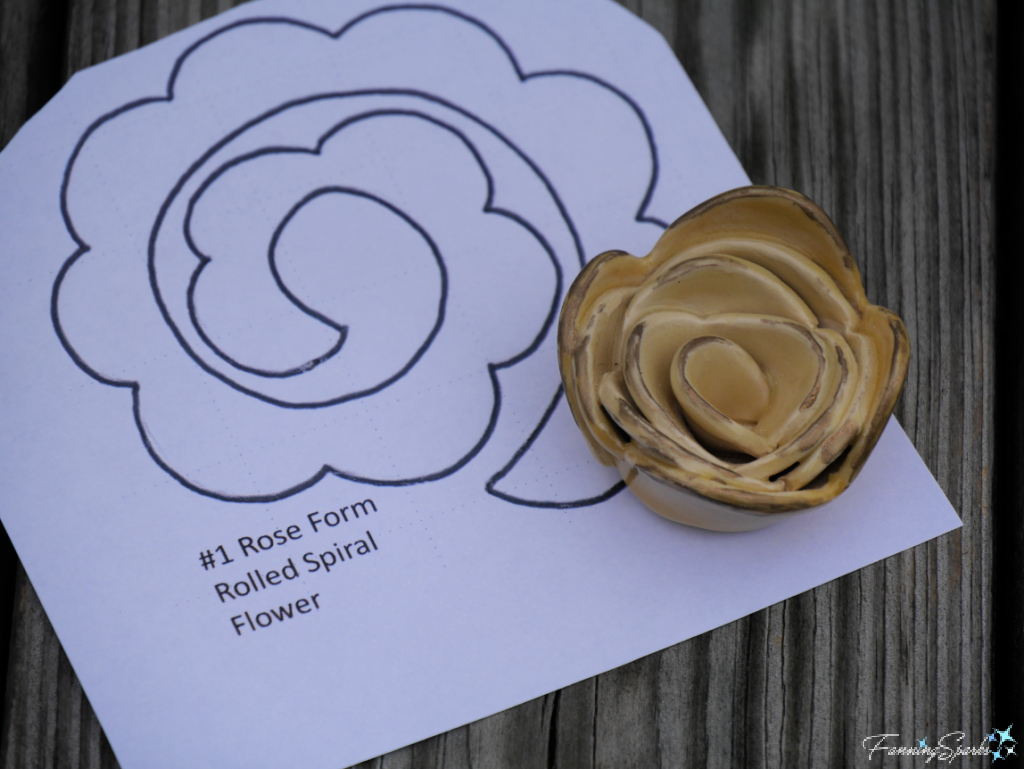
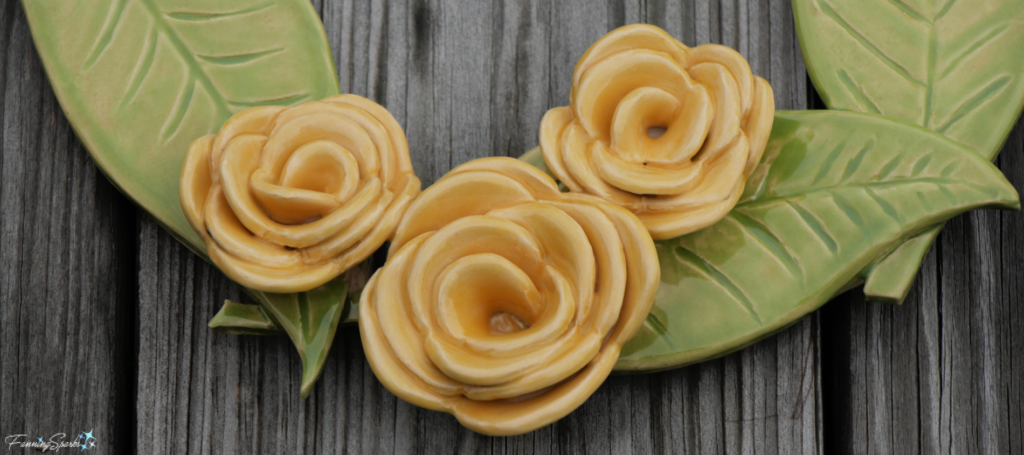
I’ve learned the same template and technique can be used with clay. Obviously, there’s no need to sew with a needle and thread—instead the rolled clay is attached by scoring and slipping. Here’s how my first ceramic rose turned out.
Eventually the idea to make a small wreath with rolled roses came to me. This is the final result—I love it!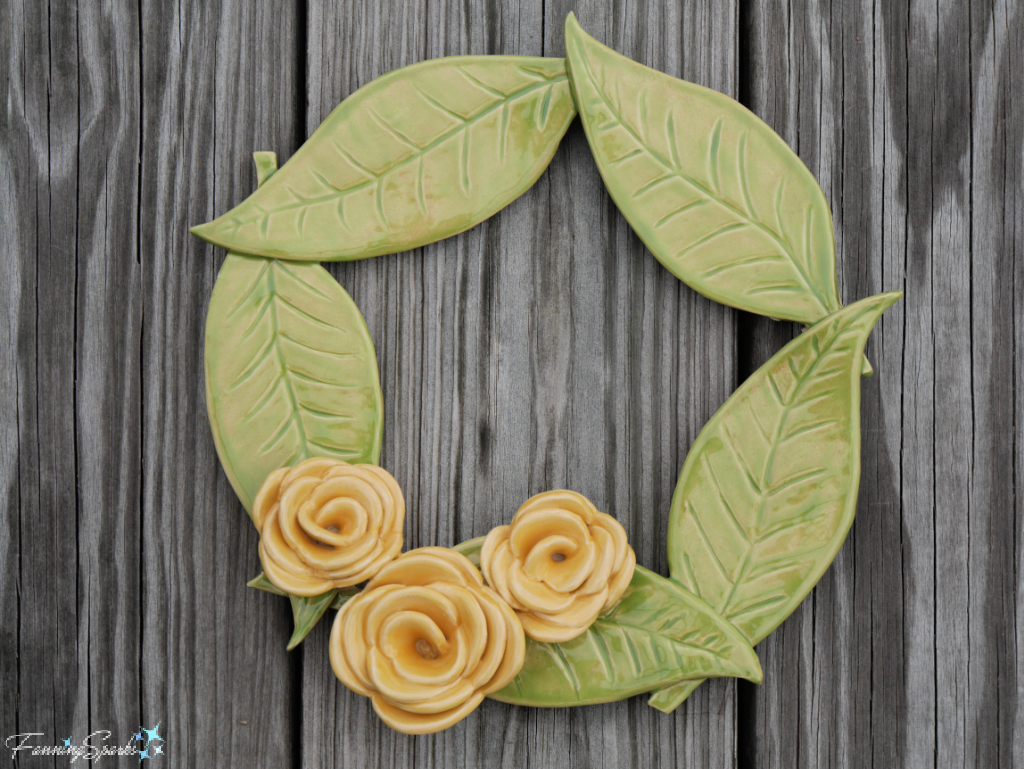
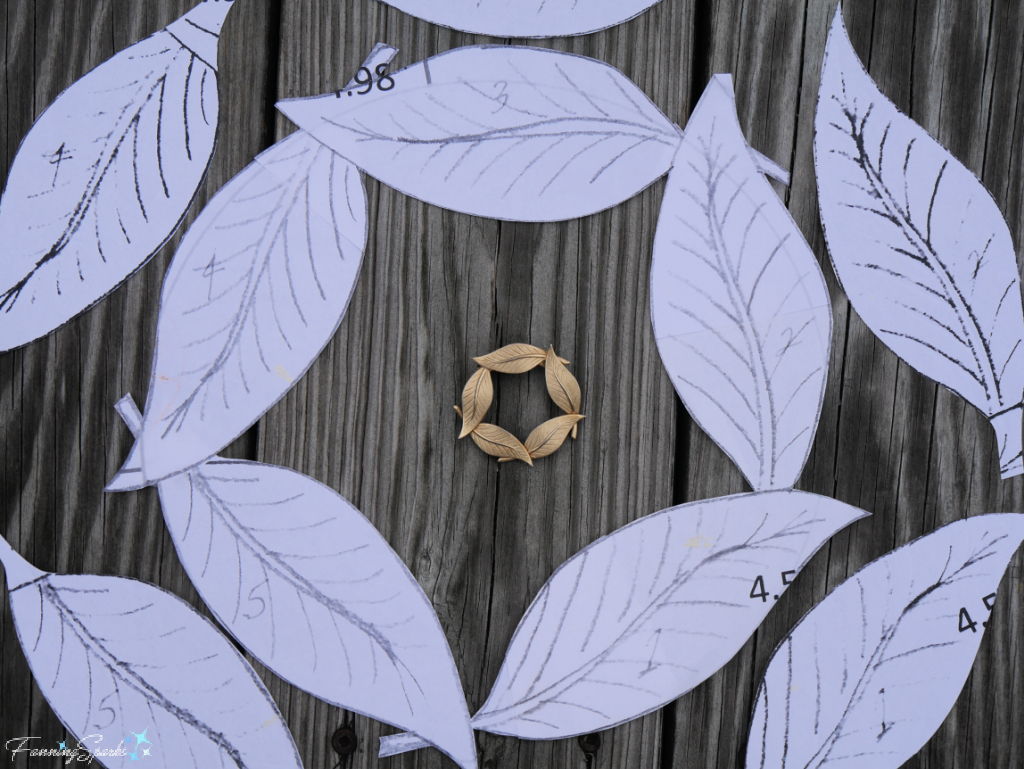
The interwoven leaf form was inspired by a circular brooch I found at a local thrift store. The brooch is less than 2 inches in diameter but it scaled up beautifully to a 10-inch wreath. Paper templates were used to cut each piece separately.
The idea for this project translated into a design quite easily. What was not so easy, was the functional execution! My first, failed, attempt is shown below. It looked great when I put all the leaves and roses together. But then the leaves broke and the whole thing fell apart. The issue was twofold 1) the roses were too heavy and 2) the interwoven leaf structure wasn’t strong enough to support all the pieces.
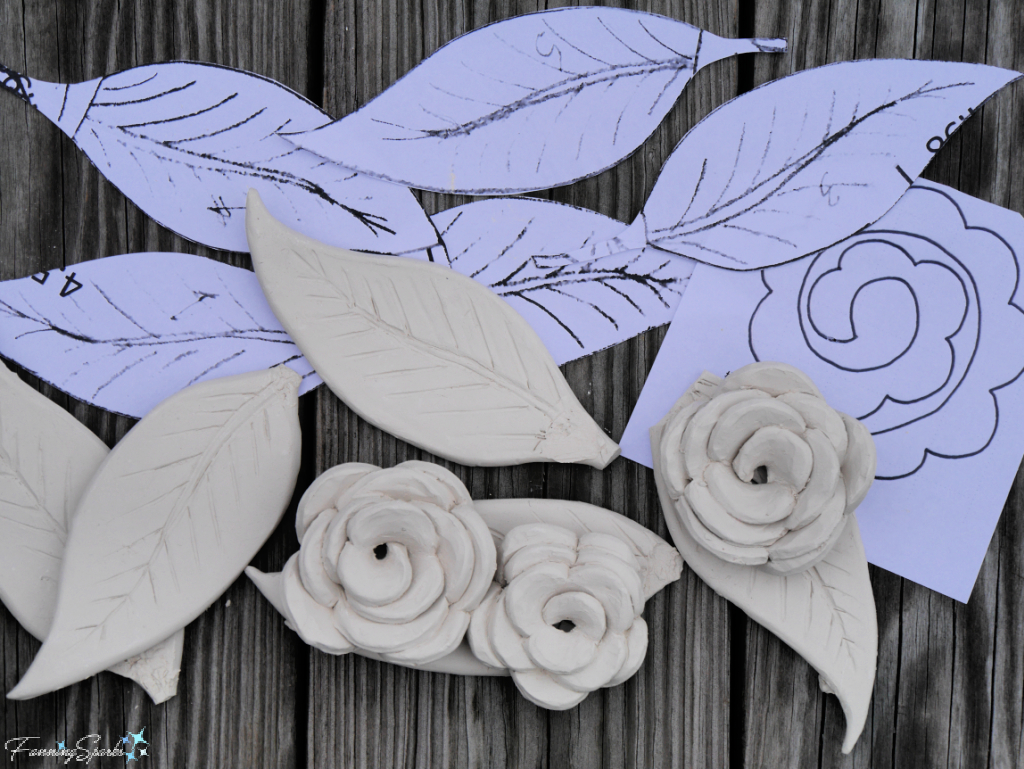
In my second attempt, I made the clay slab thinner so the roses would be lighter. Then I added a narrow, circular ring of clay underneath the leaves to reinforce the fragile leaf connections and support the assembled structure. The final version held together nicely.
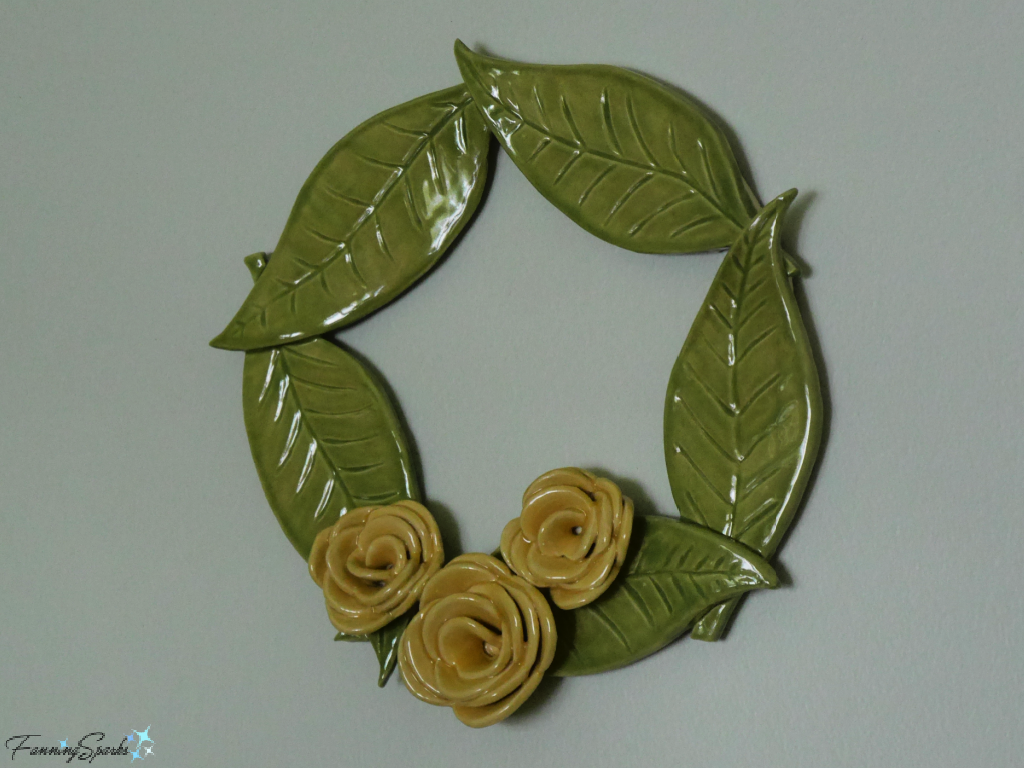
This piece is finished in the same AMACO Celadon glazes, in Marigold and Wasabi, as my collection of handmade ceramic tiles (see Still Talking About Tiles!) and looks lovely hung nearby.
 Another recent clay project was inspired by an intriguing flying insect—the dragonfly.
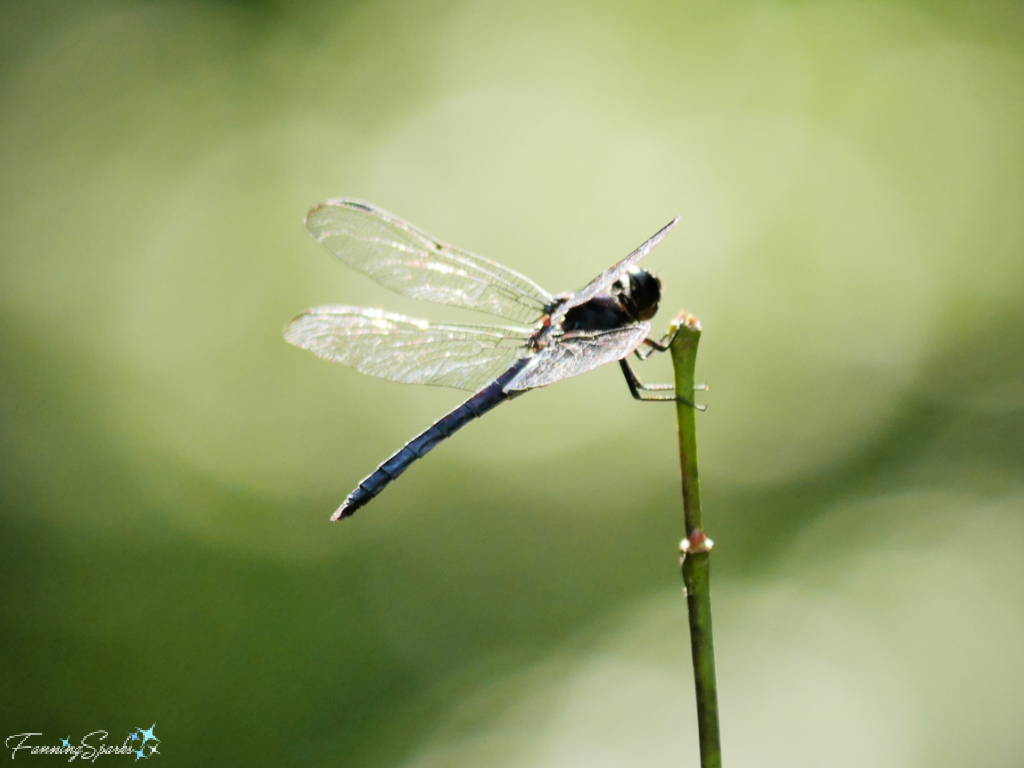
Dragonflies are rather fascinating. Did you know, for instance, that “dragonflies are masters of flight. Dragonflies are able to move each of their four wings independently. They can flap each wing up and down, and rotate their wings forward and back on an axis. Dragonflies can move straight up or down, fly backward, stop and hover, and make hairpin turns—at full speed or in slow motion. A dragonfly can fly forward at a speed of 100 body lengths per second (up to 30 miles per hour).” as reported in a ThoughtCo article (see More Info below).
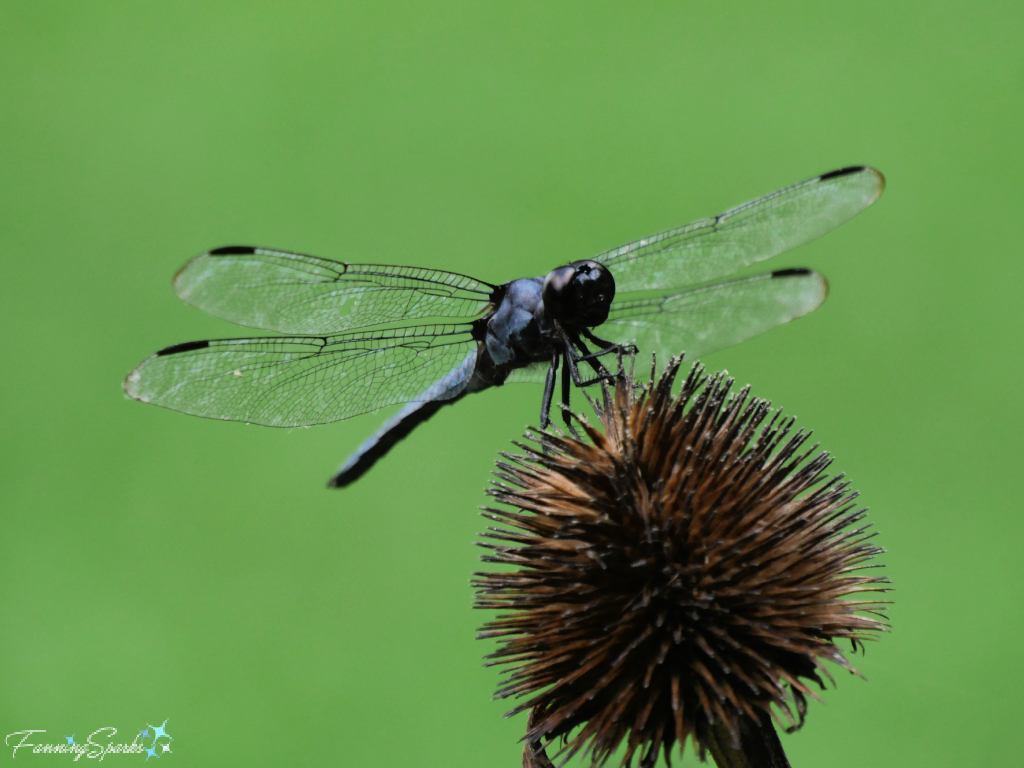
Since dragonflies are usually found near water, I decided to make a waterlily to complement the dragonfly. The two pieces were made separately.
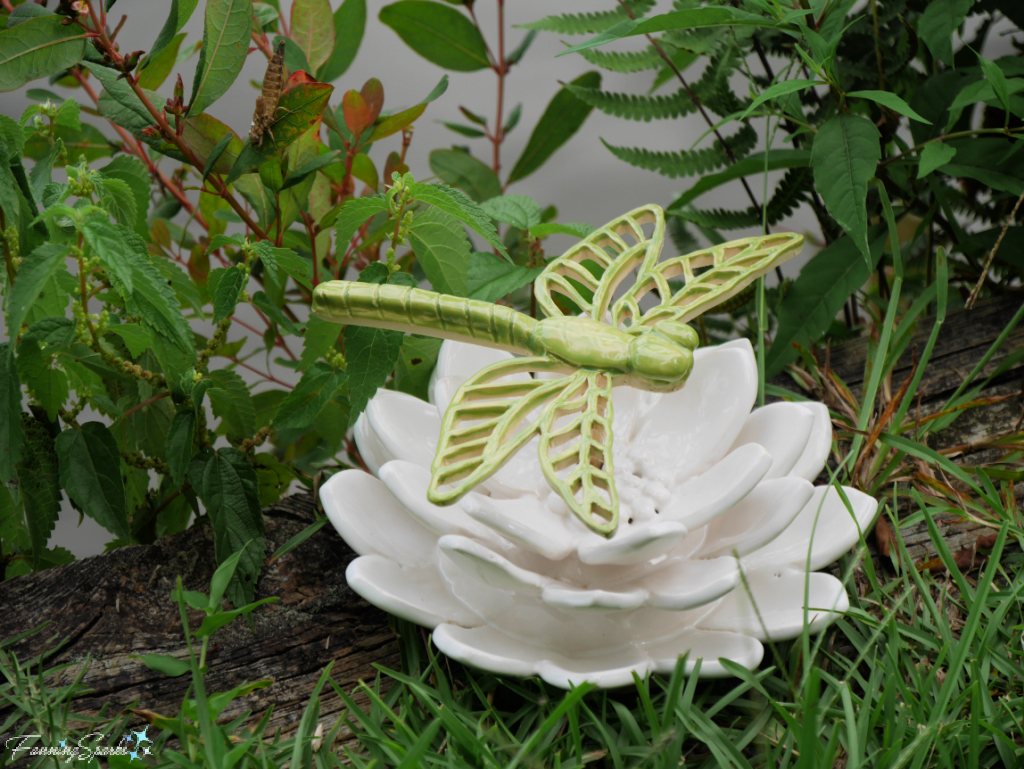
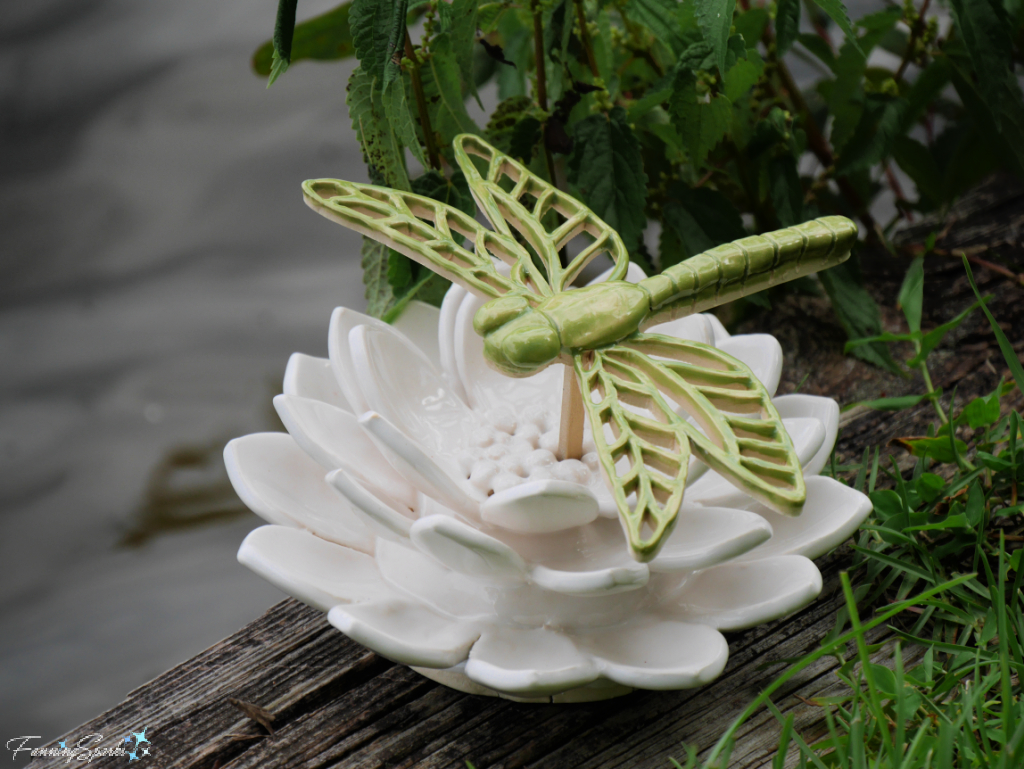
The dragonfly hovers over the flower petals on a small, wooden stick.
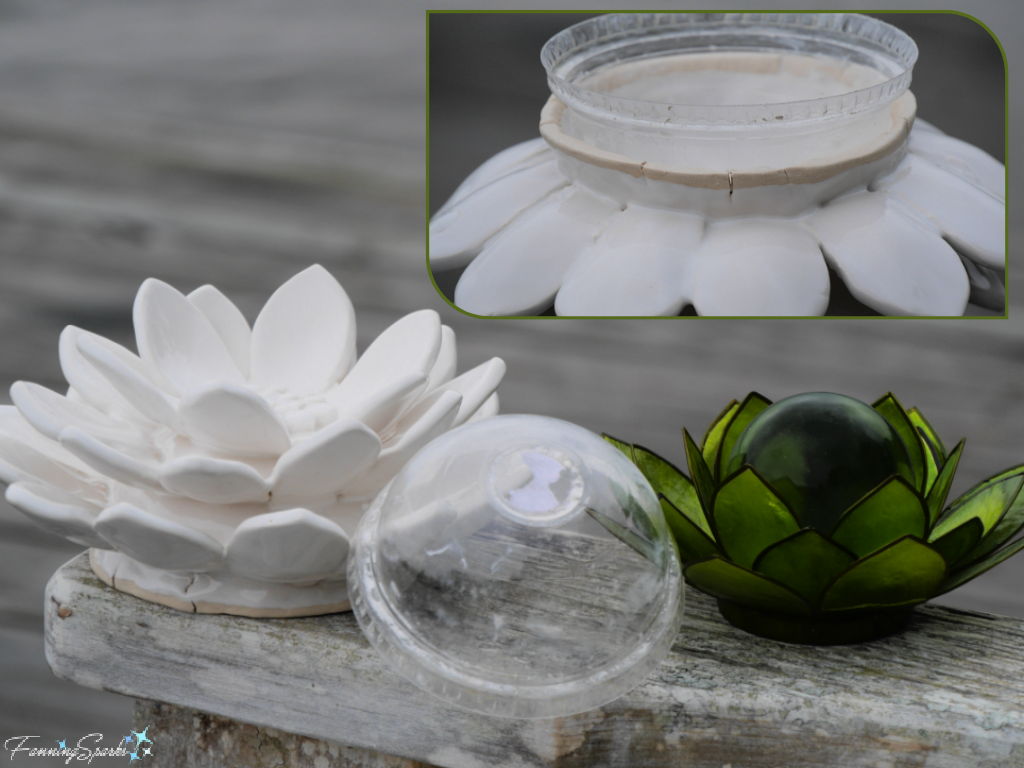
A cute, petaled candleholder inspired the ceramic waterlily (shown below on the right). A simple plastic food container lid provided the perfect form for the waterlily base. I found cornstarch worked well to keep the clay from sticking to the plastic. Once the rounded base was formed, I applied the individual petals by scoring and slipping each one in place. The trick, I learned, was to keep the clay at the right moisture level—wet enough to form by hand but dry enough to retain its shape.
Unfortunately, I left the plastic lid inside the clay while it dried causing a few cracks along the bottom edge (shown in the inset photo below). This type of mold, where the clay is draped over the mold forming a convex shape, is called a hump mold. Alternatively, a slump mold forms a concave shape when the clay is placed inside it. This project drove home the fact that clay shrinks as it dries and hump molds should be removed before drying. Luckily, the resulting cracks are small and more or less hidden by the bottom row of petals.
The dragonfly was a bigger challenge—I had to make it twice. I used a paper template to cut the dragonfly body and wings from a clay slab. Then carefully cut and removed sections of clay to form the veins in the wings. Yes, it was a slow and tedious process!
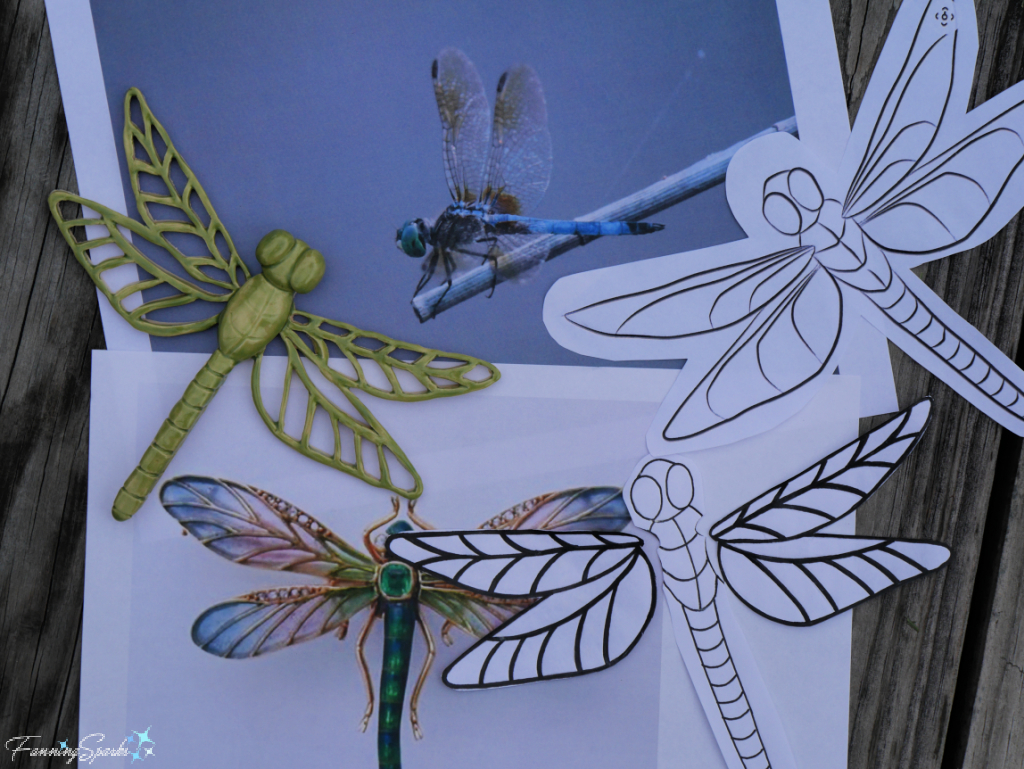
When I made the first dragonfly, I made the body and wings separately and attached the wings to the body in the final step. As it turns out, this was not ideal—the connection points weren’t strong enough and one of the wings snapped off after drying. In my second attempt, I cut the body and wings as one piece and built up the body with additional clay to form the head, eyes and abdomen. This gave the piece the needed stability and strength.
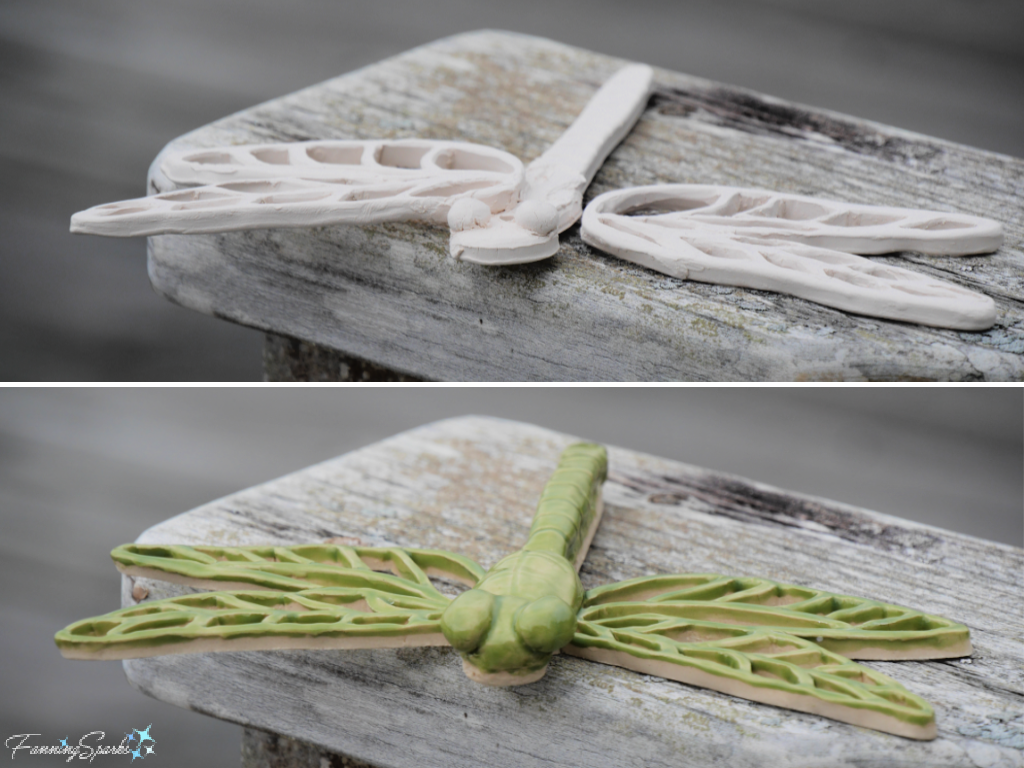
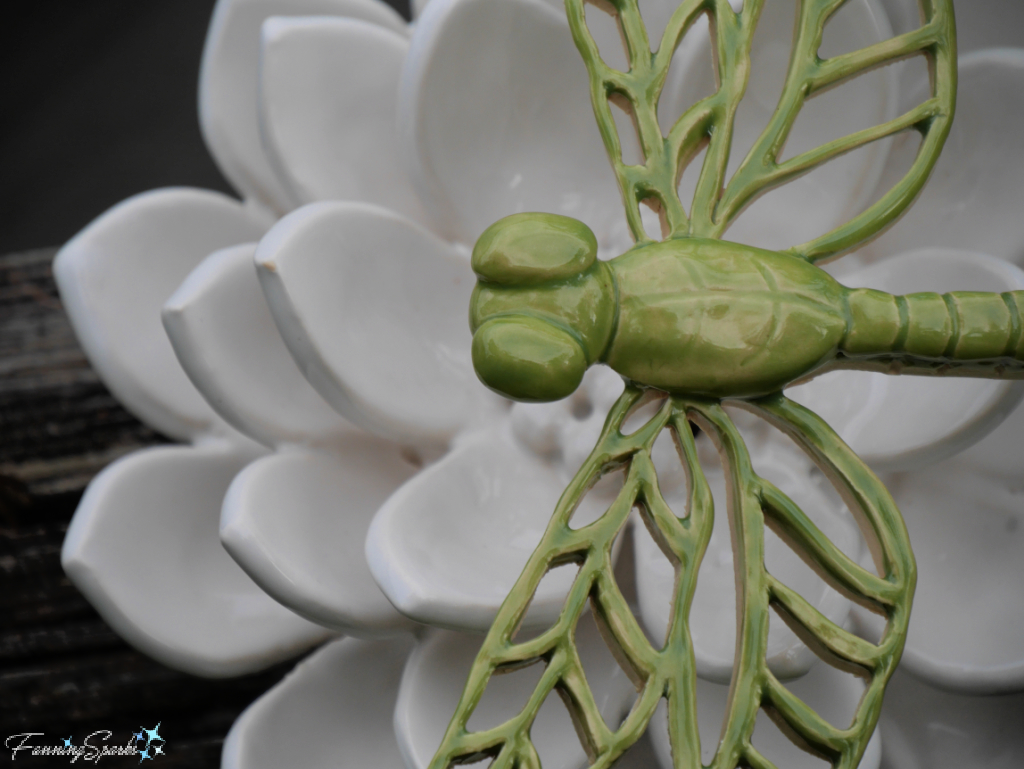
Here’s a closer look at my lovely ceramic dragonfly and waterlily.
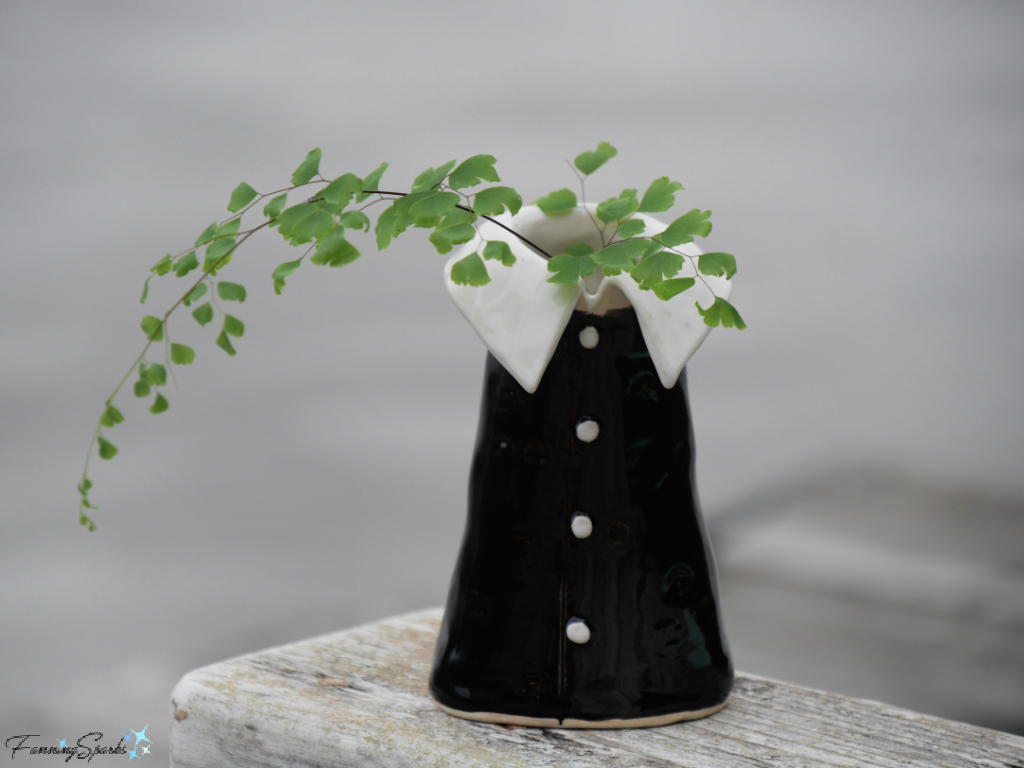
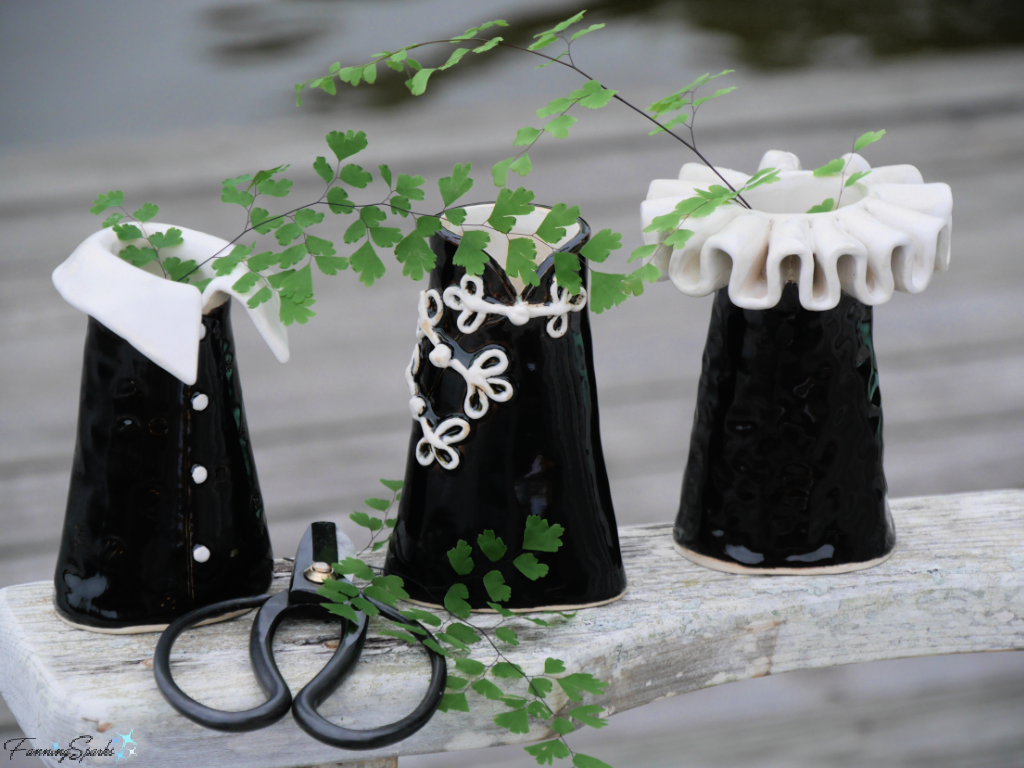
The final clay project I’d like to share in this blog post is a set of three collared vases. My goal was to create a vase that would be attractive and interesting with or without flowers or greenery.
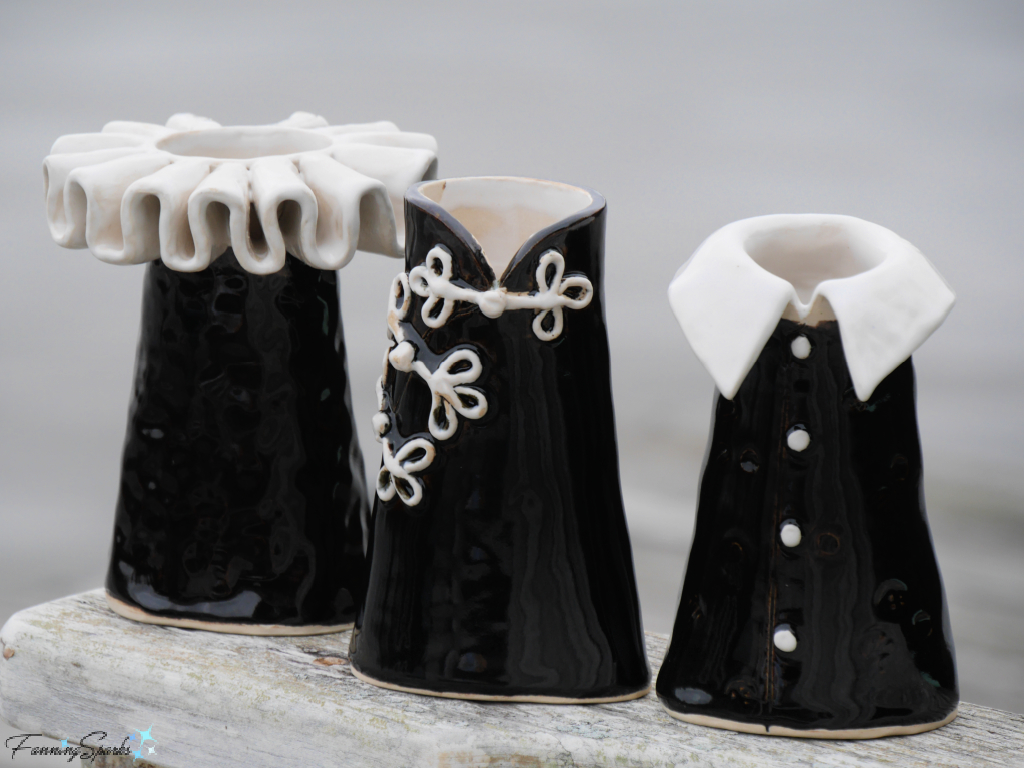
I made the first vase with an exaggerated shirt collar and a simple row of buttons down the front.
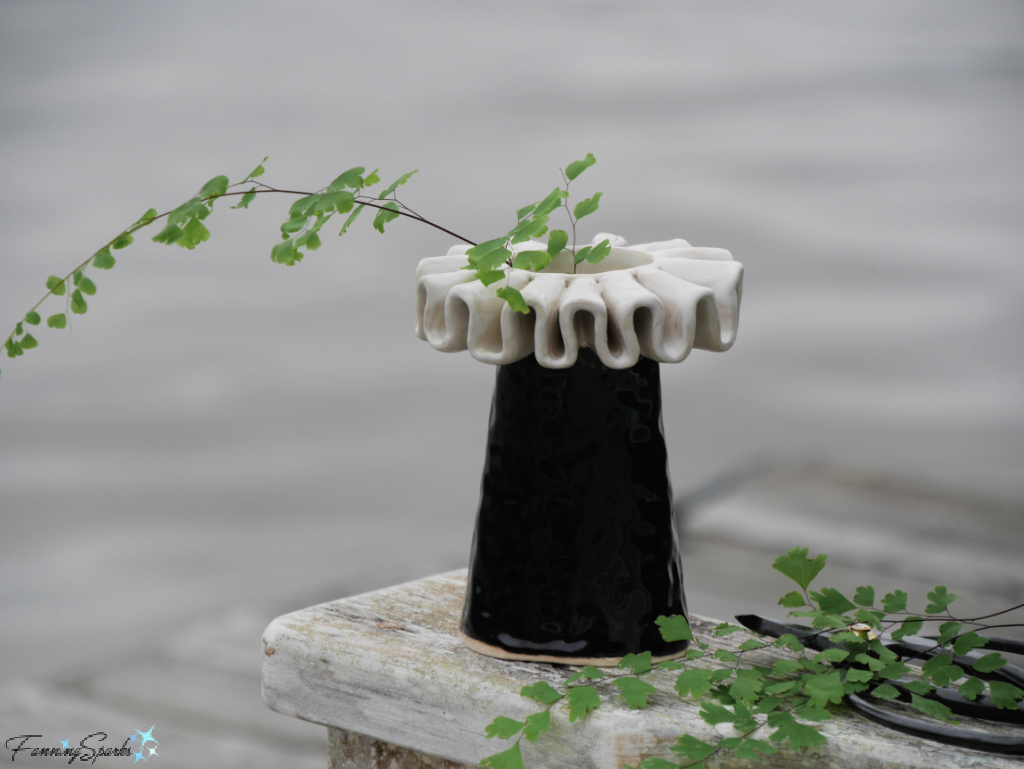
The second vase has an elaborate ruffle collar. This one was a little tricker to make. I started by researching how ruffle collars, or Elizabethan ruffs, are sewn from fabric. Then used a similar technique with clay.
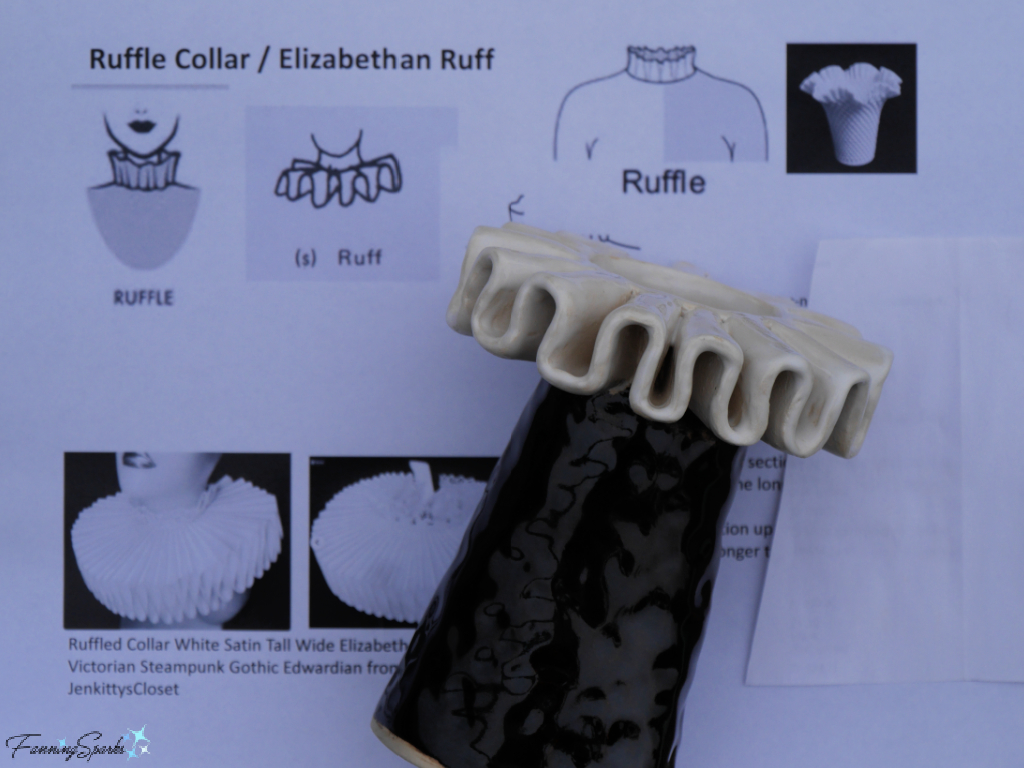
Setting the vase upside down to let the clay dry worked well. The finished vase looks a little unwieldly but is surprisingly stable.
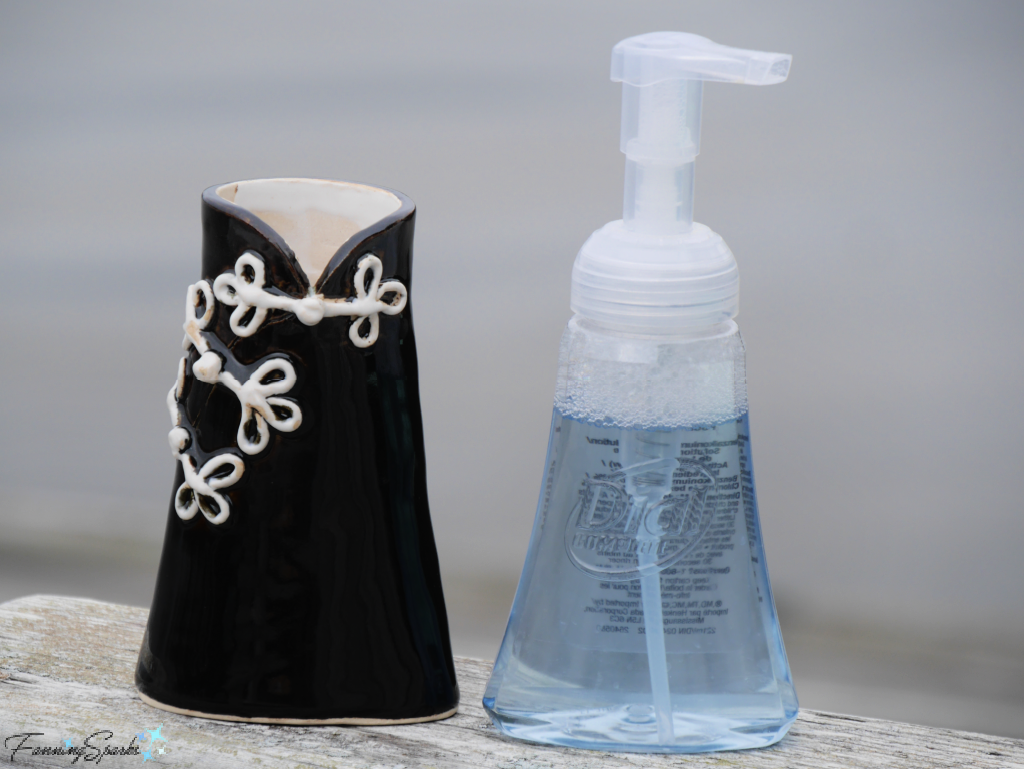
The third vase, featuring a cheongsam collar, is my favorite. It is the most detailed—each small frog fastener is shaped from coils of clay.
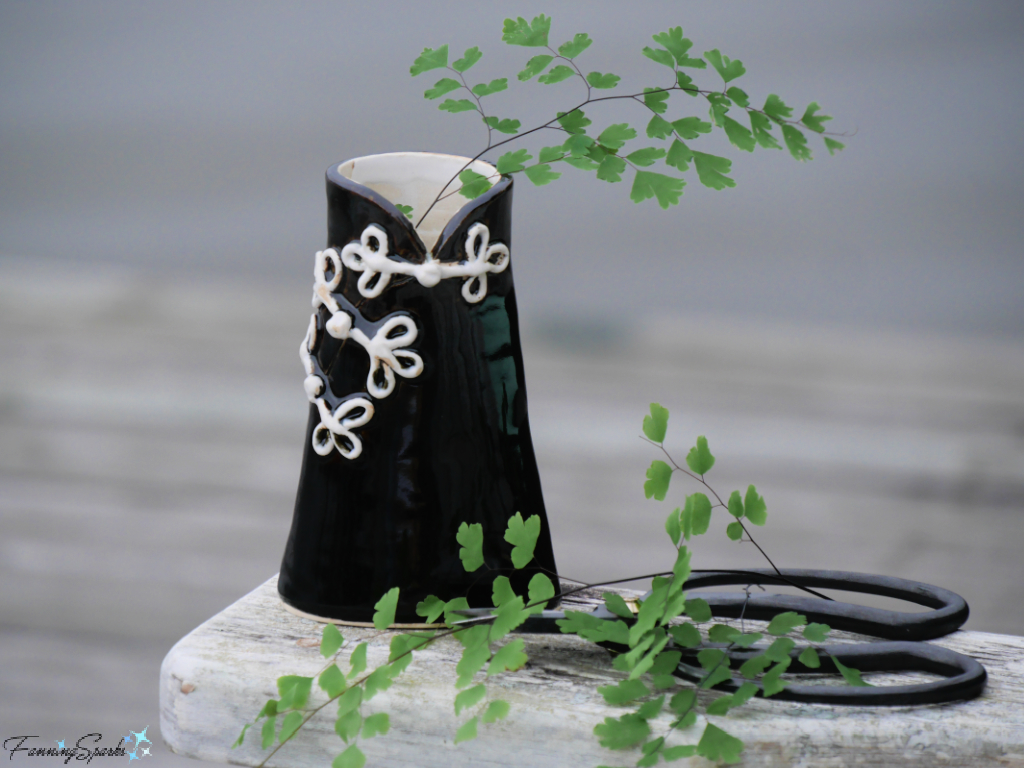
The secret to making these vases is the underlying form. To my eye, it gives the illusion of an upper torso. The surprising source? A bottle of foaming soap. I’m starting to see ceramic projects everywhere I look!
Here’s a final look at my trio of ceramic collared vases. Tres chic!
One of the things I love about working with clay is the versatility of the medium. There is an endless variety of techniques to try and there’s always something new to learn. And best of all, you can make almost anything!
More Info
My clay play days take place at the Oconee Cultural Arts Foundation (OCAF) School Street Pottery Studio. The studio is located in Watkinsville, Georgia, USA. You can learn more on the OCAF website.
I’ve mentioned the studio in a few previous blog posts about ceramic projects:
. Still Talking About Tiles!
. I Spy Something White
. Pinch Pot Bunny
If you’re in the US Southeast and interested in beautiful pottery you may want to take in OCAF’s upcoming Perspectives show. “Fifty of the top potters from across Georgia will display their work during Pottery Perspectives 2022, a huge exhibition and sale on view in the Oconee Cultural Arts Foundation’s (OCAF) 1902 building from August 27 through September 11, 2022. … Upwards of 4,000 pieces of pottery created by some of the most gifted ceramic artists in Georgia will be for sale.” Get the details on the OCAF Perspectives website page. You may also want to check out these blog posts about previous Perspectives shows:
. Admiring Evidence of Process
. Event Expands Pottery Proficiency
To learn about the surprising qualities of dragonflies, see the ThoughtCo article 10 Fascinating Facts About Dragonflies.
Today’s Takeaways
1. Clay is a surprisingly versatile medium.
2. Creative inspiration can spring from unexpected sources.
3. Experimentation, and a willingness to try again, are necessary to learn new skills.




4 Comments
@Gina, Thank you so much! Peg
Your art is lovely!
@Mary, Thanks so much for the kind words! Peg
Peg, you are an amazing artist with a keen eye for detail and the unusual!