
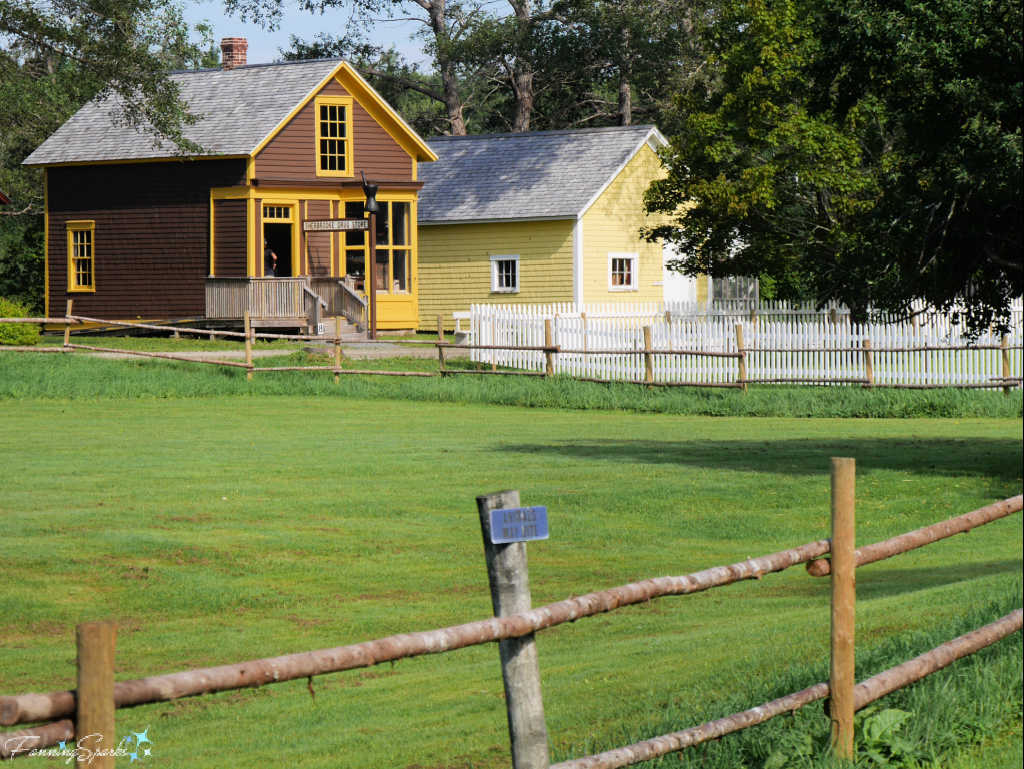
They say you can never go back. But at Sherbrooke Village you can go back—all the way back to 1867. That’s the year depicted by this living museum on the Eastern Shore of Nova Scotia. Set in a beautiful country setting, the village has 25 heritage buildings surrounding a village green.

This is the Sherbrooke Drug Store viewed across the village green.
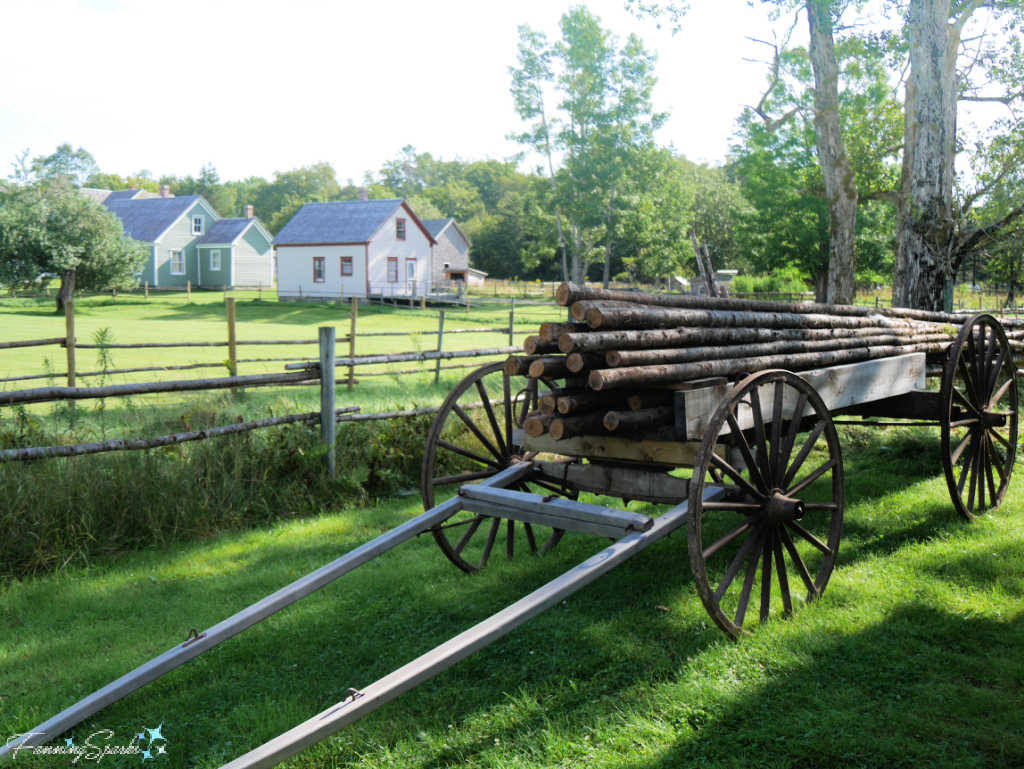
A wagonload of small logs sits ready.
The Jordan Barn houses horses and other farm animals.

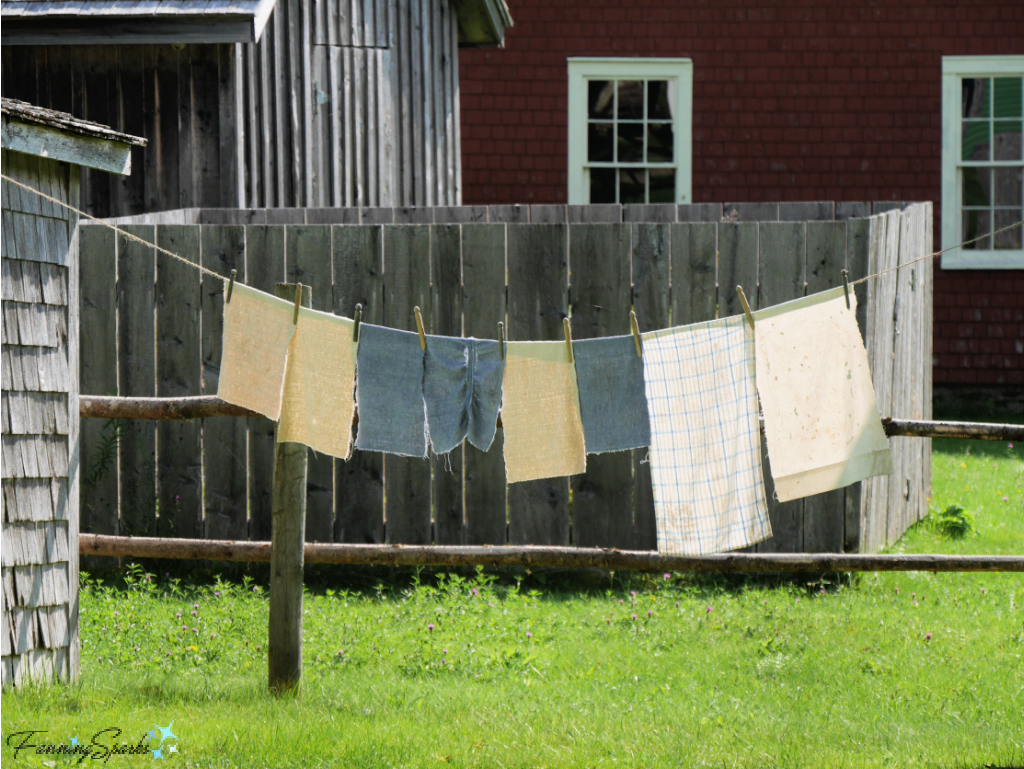
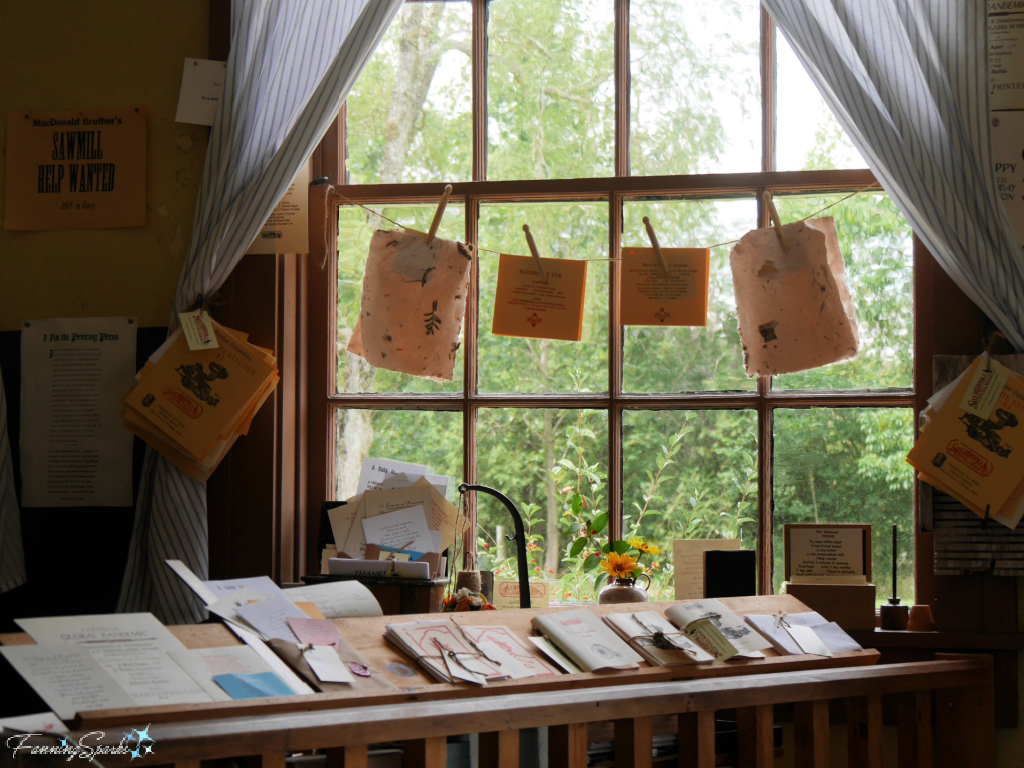
Clotheslines are the norm.
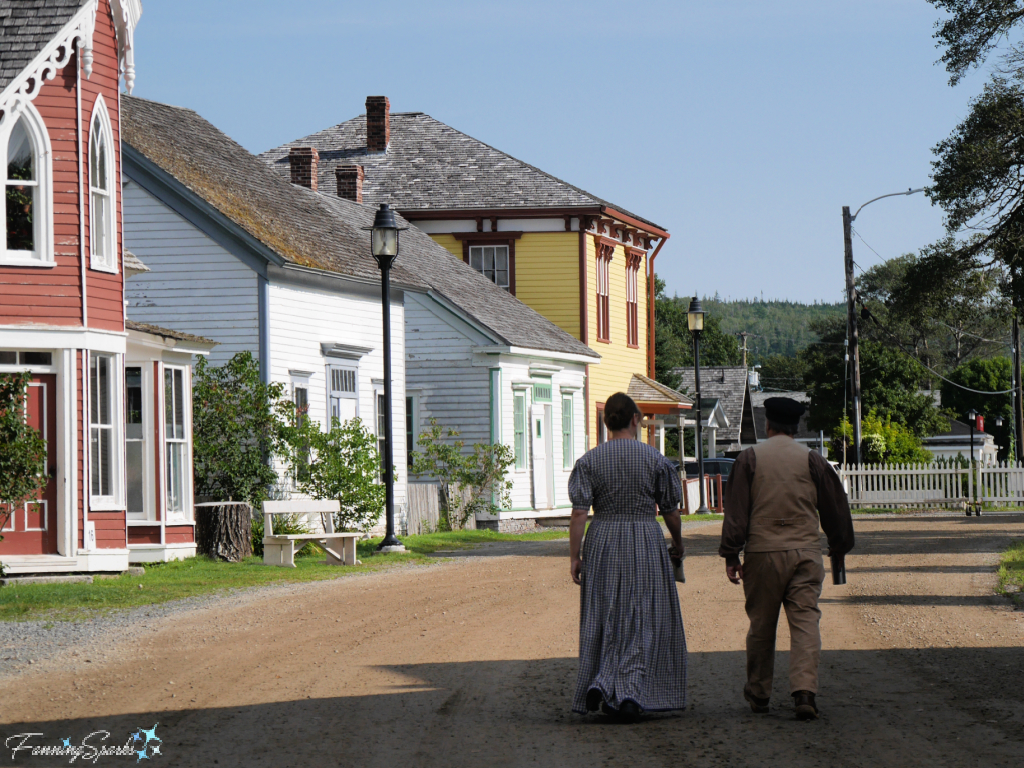
It’s fun to stroll down the street with heritage interpreters in period dress.
To truly experience life in 1867, I highly recommend taking part in a Sherbrooke Village premier experience. It’s possible to dress in period attire and become a part of the village story—as these ladies did, …

…or spend a day in the Woodworking Shop to learn about traditional woodcarving and wood turning, …
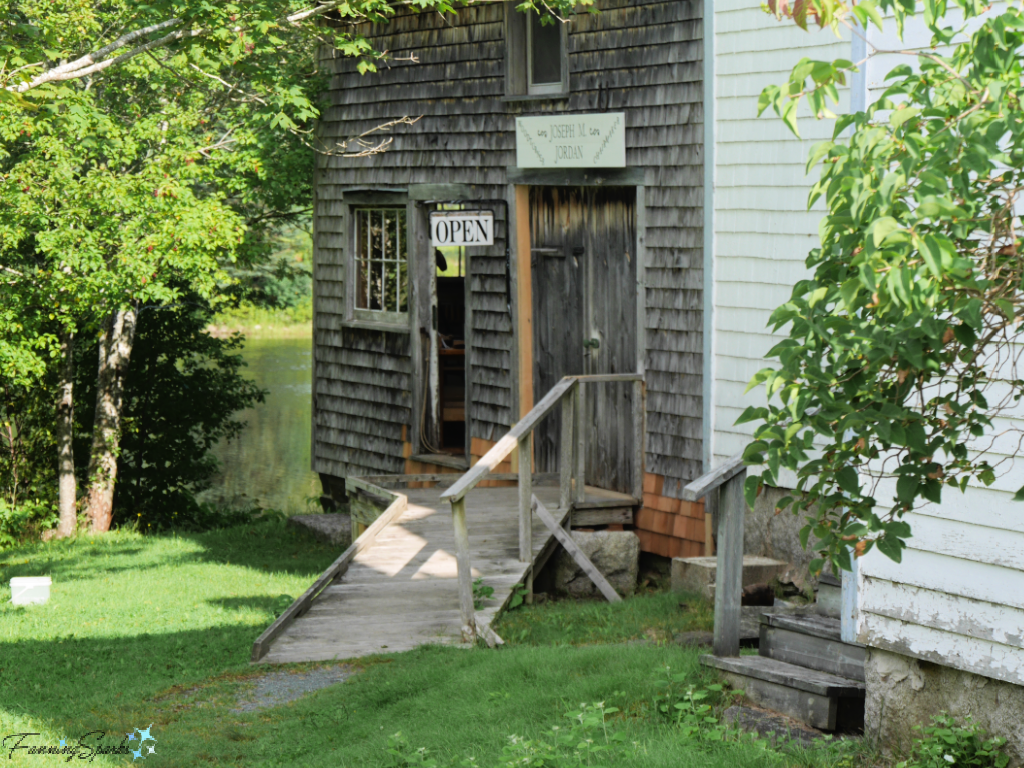
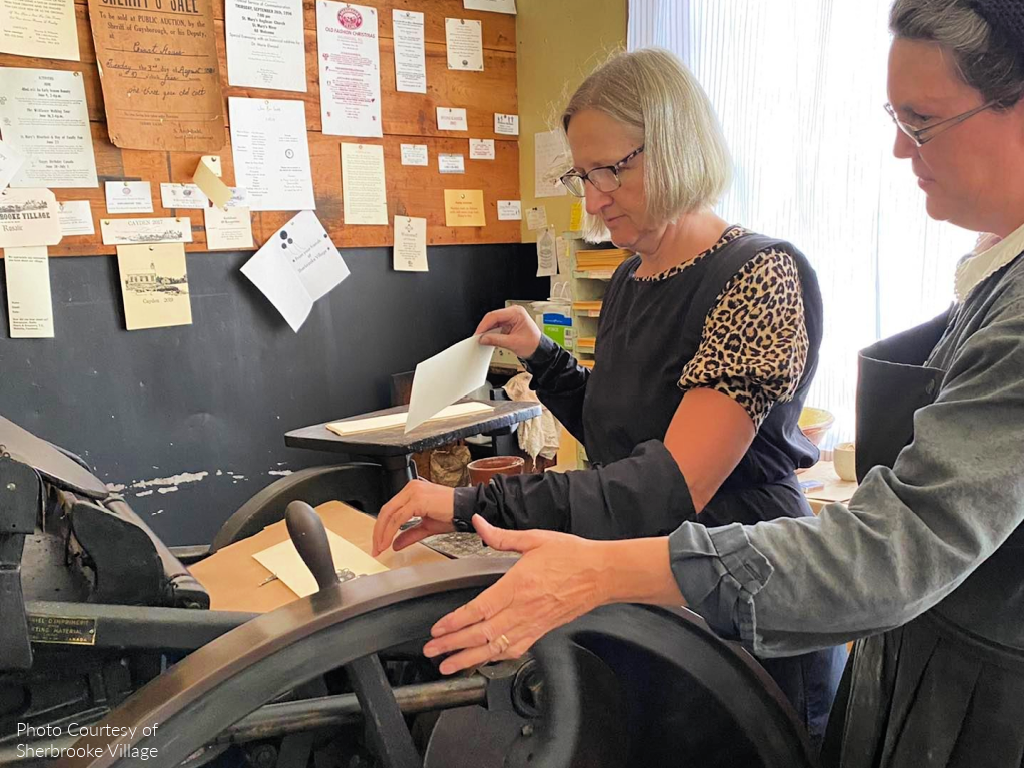
…or spend a day as a Printer’s Devil in St. Mary’s Printery—as my sister Marian and I did. The authentic Print Shop is managed by Master Printer Patty Lou. Here they are setting type.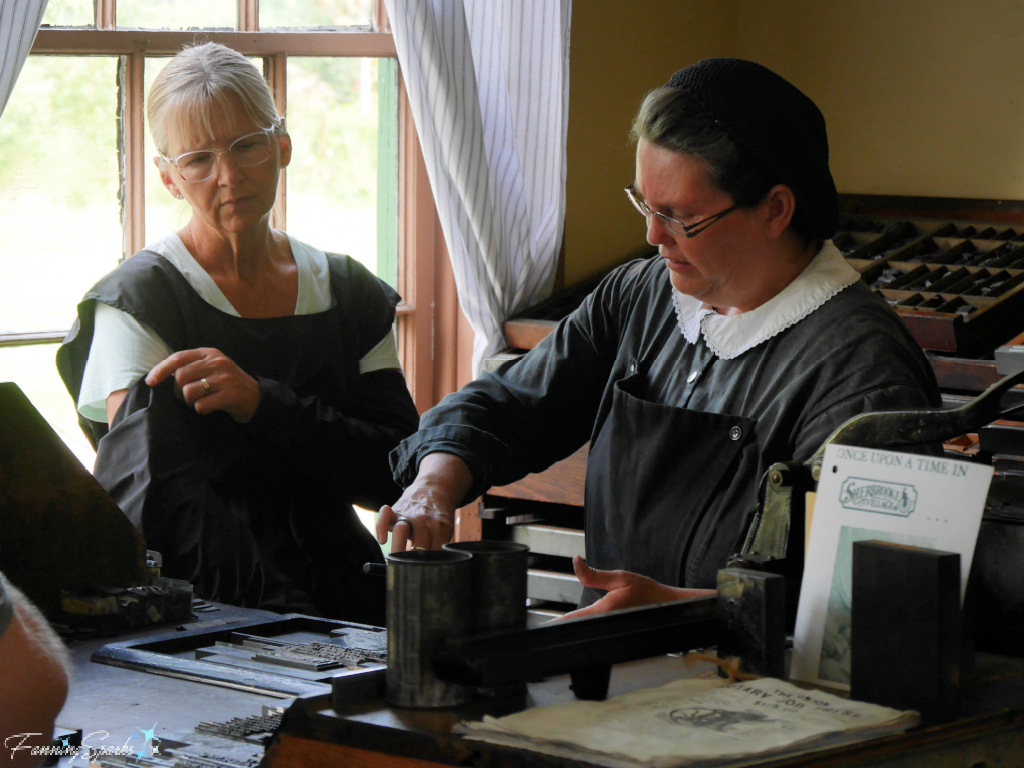
In the Victorian era, apprentices to the Master Printer were often called “Printer’s Devils”. They were responsible for a number of low-level tasks, such as mixing tubs of ink, removing paper from the press, fetching type, and sorting the contents of the “hellbox“. The hellbox contained used, worn, or broken metal type which they either cleaned and put back in the job case, or melted and recast. These tasks resulted in the young apprentices’ hands and skin being stained black with ink, thus, the title “printer’s devil”. Luckily, we didn’t have to deal with hellboxes or ink-stained hands! Instead, Patty Lou walked us through the various processes involved in a print job while we designed and printed our own projects.
We started by learning about the cast metal type. Type is stored in cabinets with large, shallow drawers.
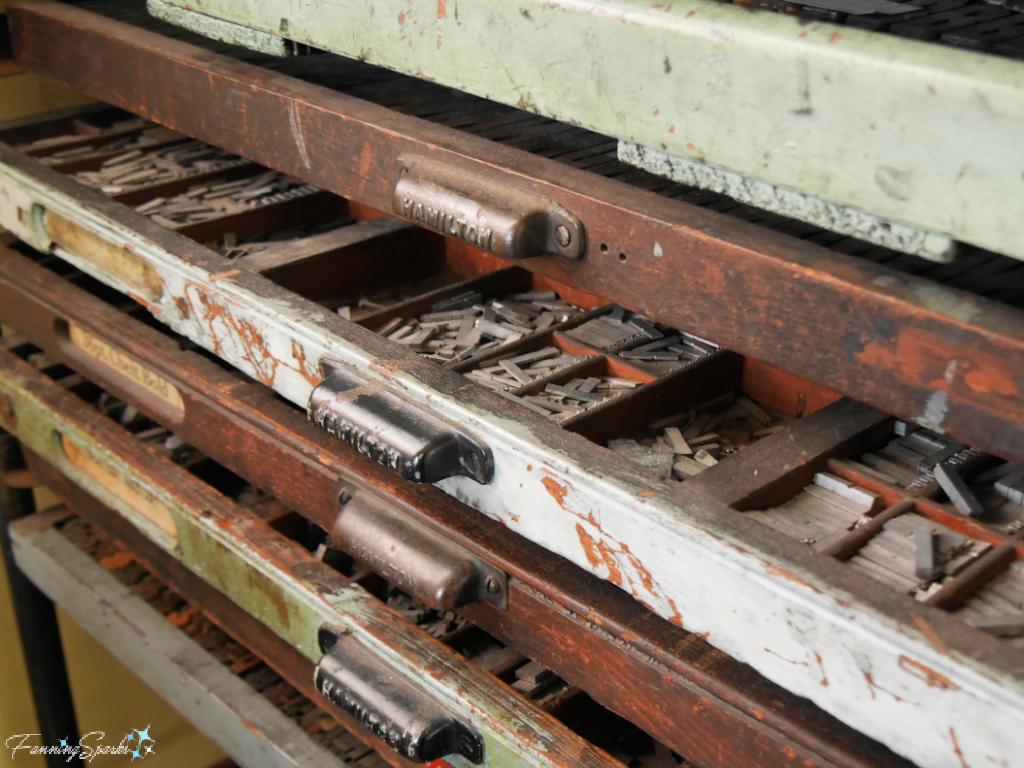
Every font and size is stored in a separate drawer. The drawers are removed from the cabinet for use. Every drawer is partitioned into multiple, small compartments or “boxes”. Every letter, number, symbol or space is a separate piece of type which is sorted into its own box. The individual pieces of type are called “sorts“. If there weren’t enough sorts or they were stored in the wrong boxes, the printer was said to be “out of sorts”. Nowadays, when someone is out of sorts, they’re more likely to be feeling irritable, upset or unwell.
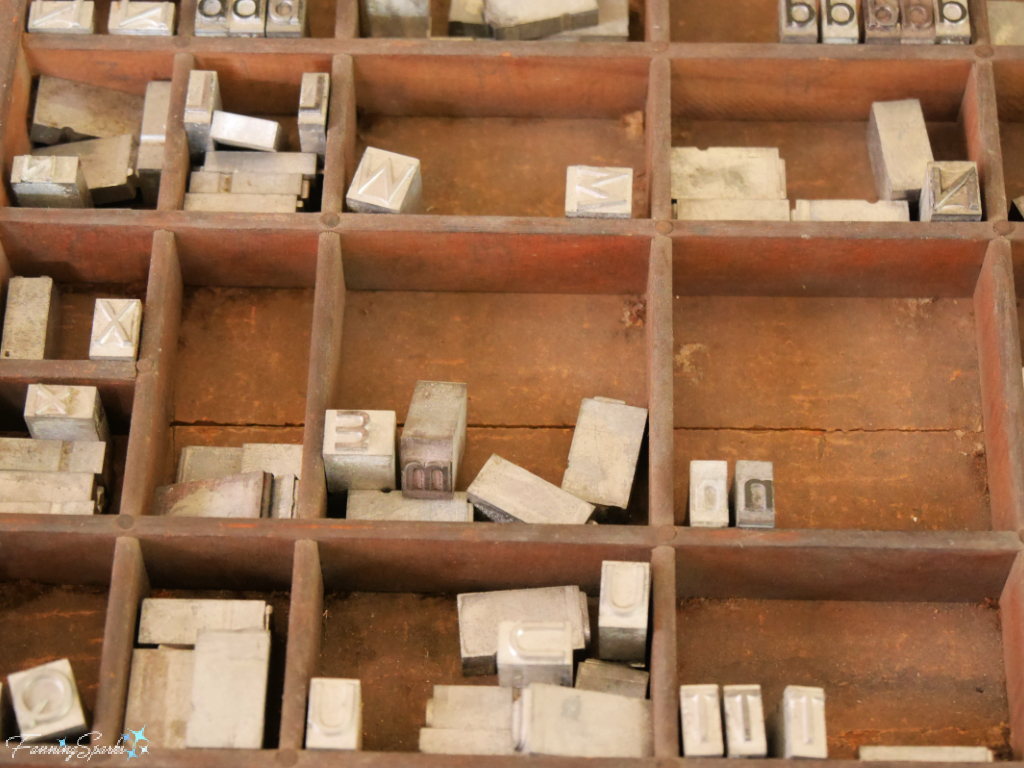
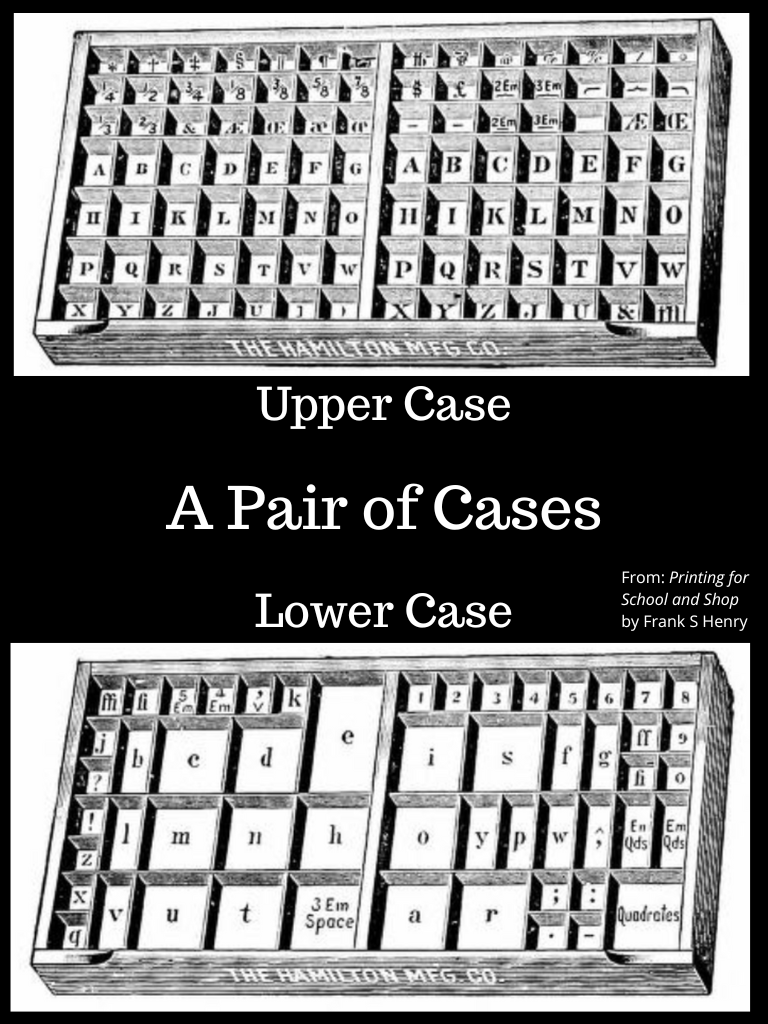
The partitioned drawers are called “type cases”. Every case is carefully organized for efficient retrieval. The below graphic shows how a pair of cases is used to hold the capital letters (ie upper case) and the small letters (ie lower case). Interestingly, the upper case letters are in alphabetical order but the lower case letters are arranged according to usage—most frequently used letters are in the center. So, the mystery of where the term “upper and lower case” comes from is now solved!
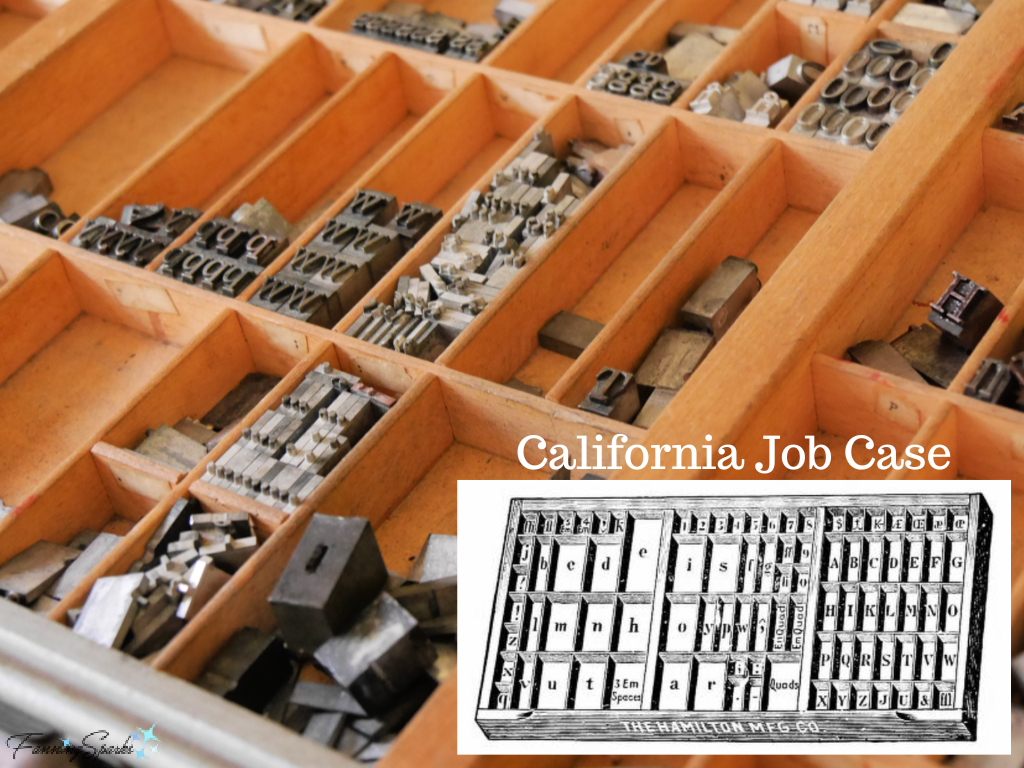
This sorting system was eventually replaced with the California job case system which includes both upper and lower case. The type case I used at the Print Shop was set up in this manner.
After deciding on the wording and style for our printing projects, we pulled out the appropriate type case and started setting the type. The type pieces were assembled into words and lines on a small tray-like tool called a “composing stick”. I used the composing stick pictured below to assemble the sorts for my project. Selecting the correct metal type pieces for a print job is tricky because the letters are backwards. An experienced printer selects type from the cases based on the type’s location—sort of like touch typing on a keyboard.
In his book The Practice of Printing, which was considered to be the authoritative textbook for young printers in 1952, author Ralph W. Polk states “It is impossible for the beginner to acquire either speed or accuracy in composition until he is able to read type. Type is read from left to right as are the lines on a printed page, but the characters are upside down. With a little practice, the reading of type will become comparatively easy.”
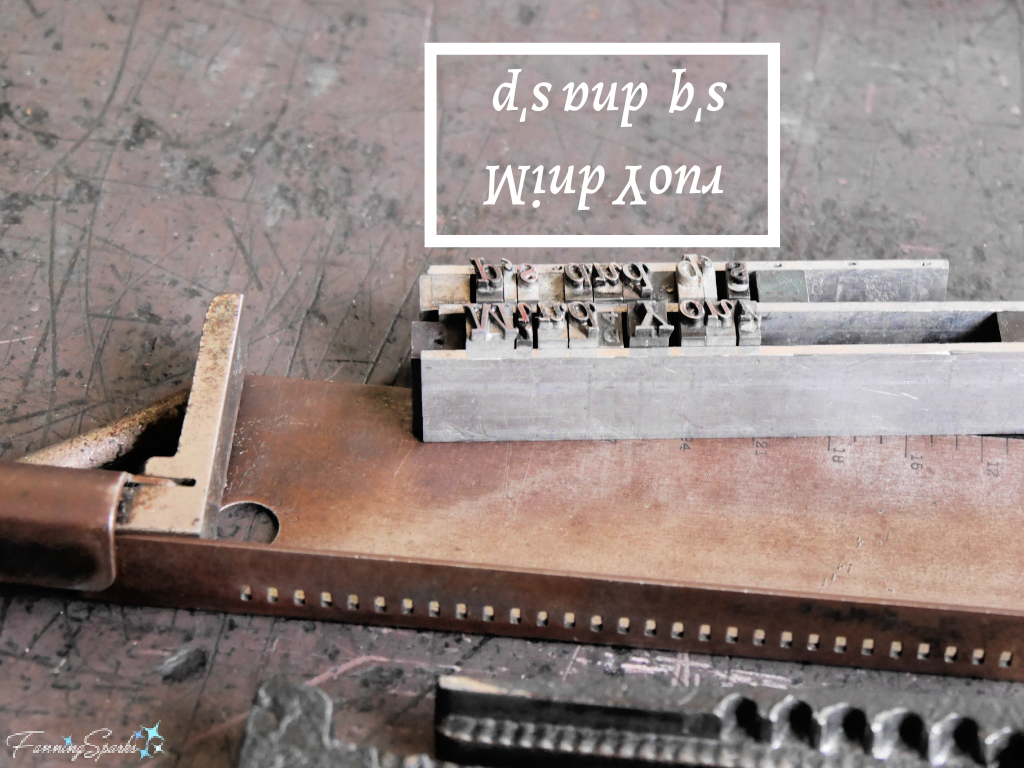
Polk goes on to describe what he calls “the ‘four demons’. Four letters which prove somewhat confusing to a beginner, and which may cause him some difficulty unless he gives special attention to their forms are the letters b, d, p, and q. … If one will keep in mind that the nick of the type is at the foot of the letter, and that, when held upside down, the letter reads from left to right, there will be little difficulty in recognizing any of them.”
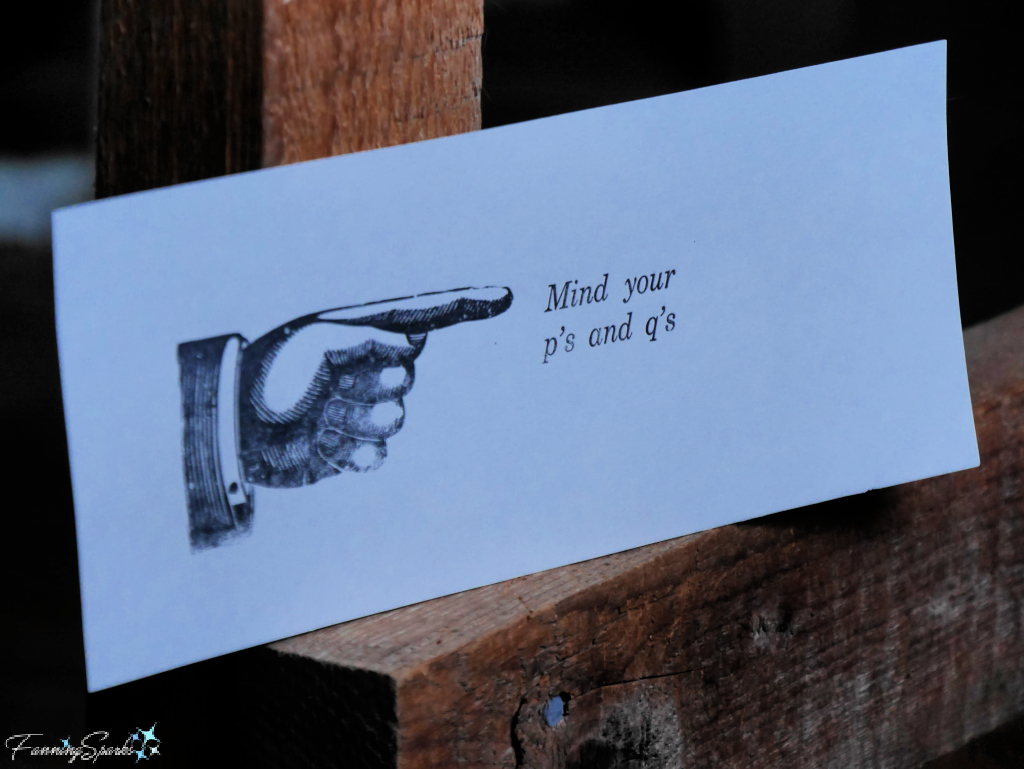
The old timey warning to “Mind your p’s and q’s” originates from this very situation. It’s meaning has, however, evolved into a reminder to be polite and well behaved and to mind one’s manners. I chose this saying for my printing project.

But there were a few more steps to finish typesetting before the printing could begin. The selected type was assembled inside a metal frame called a “chase” and filled in with wooden filler blocks called “furniture”. Then the form was locked in place with “quoins”, a wedge-shaped device tightened with a key.
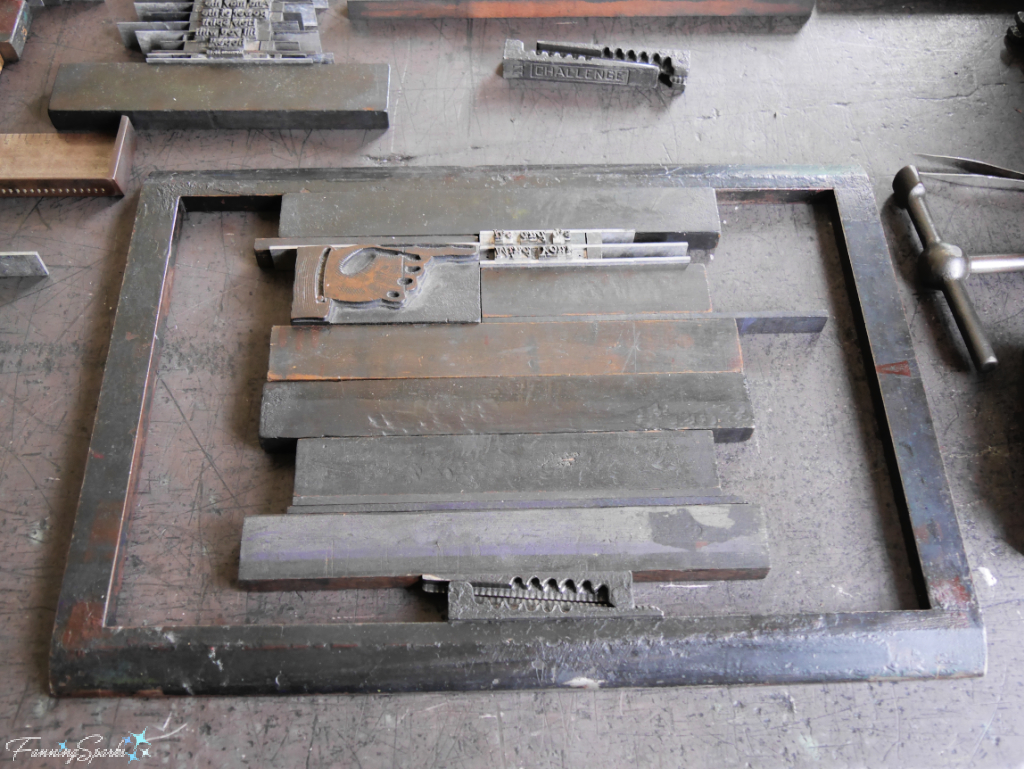
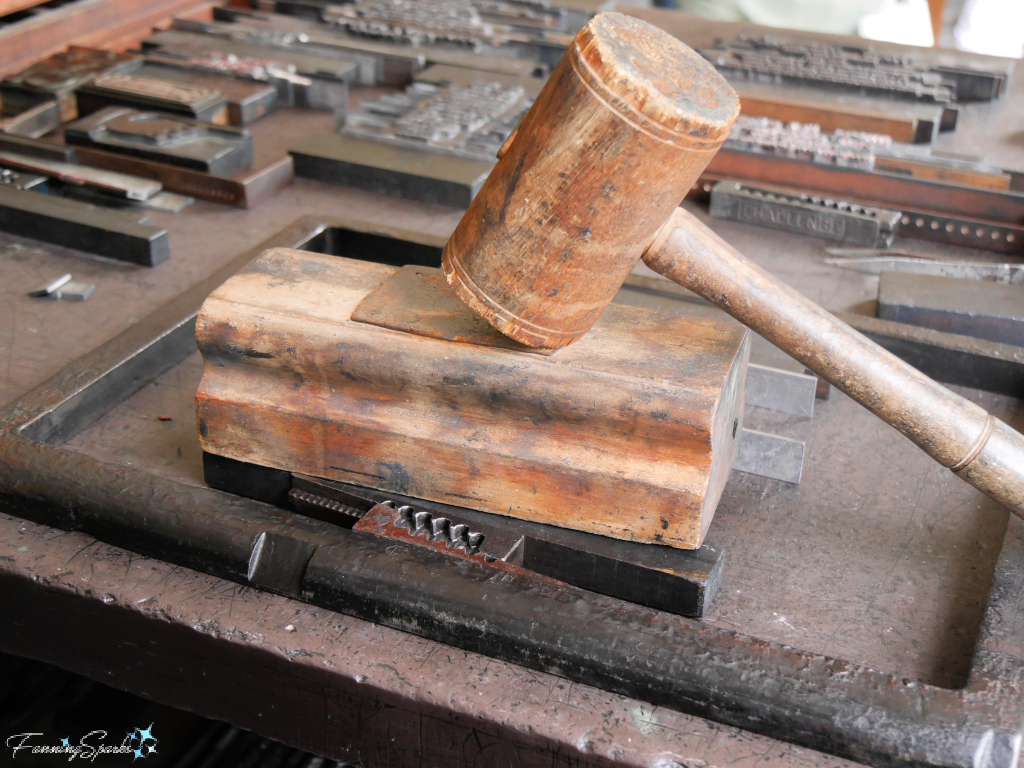
The final typesetting step was to level the pieces with a form-planer and mallet.
My locked form was ready for the printing press at this point. St Mary’s Printery has an 1880 Chandler & Price Platen Printing Press manufactured in Cleveland, Ohio. The press is an example of the basic letterpress technology that was used for the first 500 years of printing (ca. 1450–1950). This is Apprentice Fred working the press.

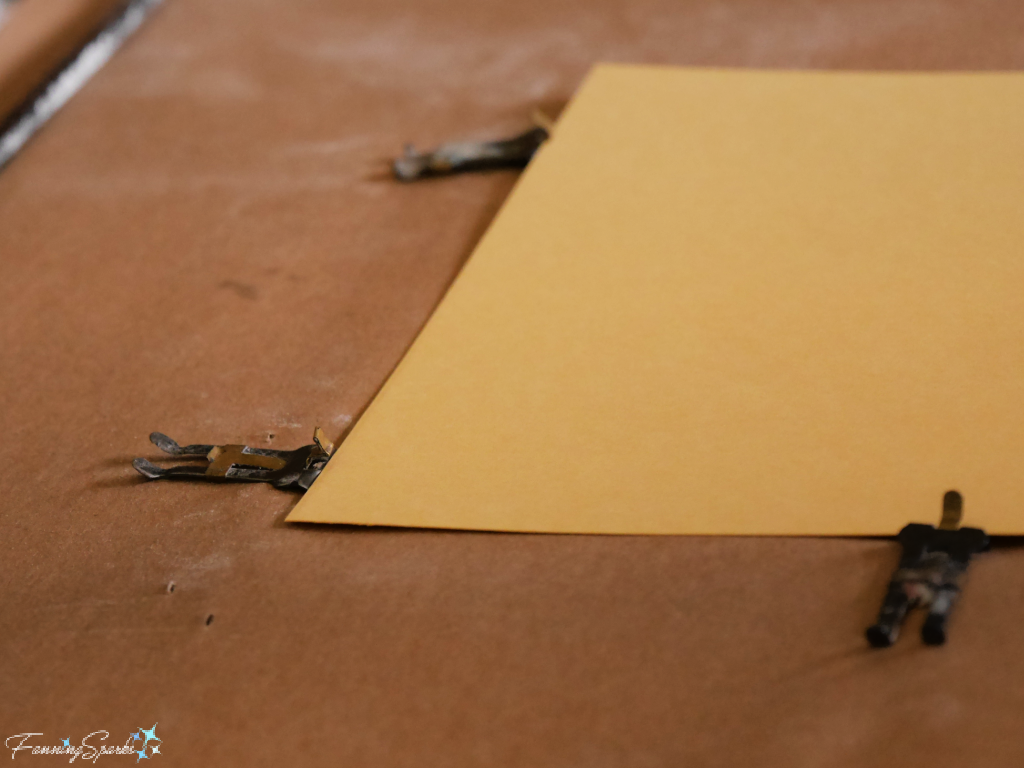
As explained in the 1917 textbook, Printing for School and Shop, by Frank S Henry, “A platen printing-press is one in which the form is locked up against a bed and the impression is delivered against a flat, smooth, level plate called a platen.” The Practice of Printing textbook goes on to explain “Upon the platen is clamped a packing of paper… known as the tympan, and the top sheet is called the tympan sheet or drawsheet. The paper to be printed is laid on this drawsheet, into which gauge pins have been inserted to hold it in proper position.” Here are the gauge pins I inserted on the tympan for my printing.
The below labeled diagram from The Practice of Printing helps explain the workings of a platen printing press.
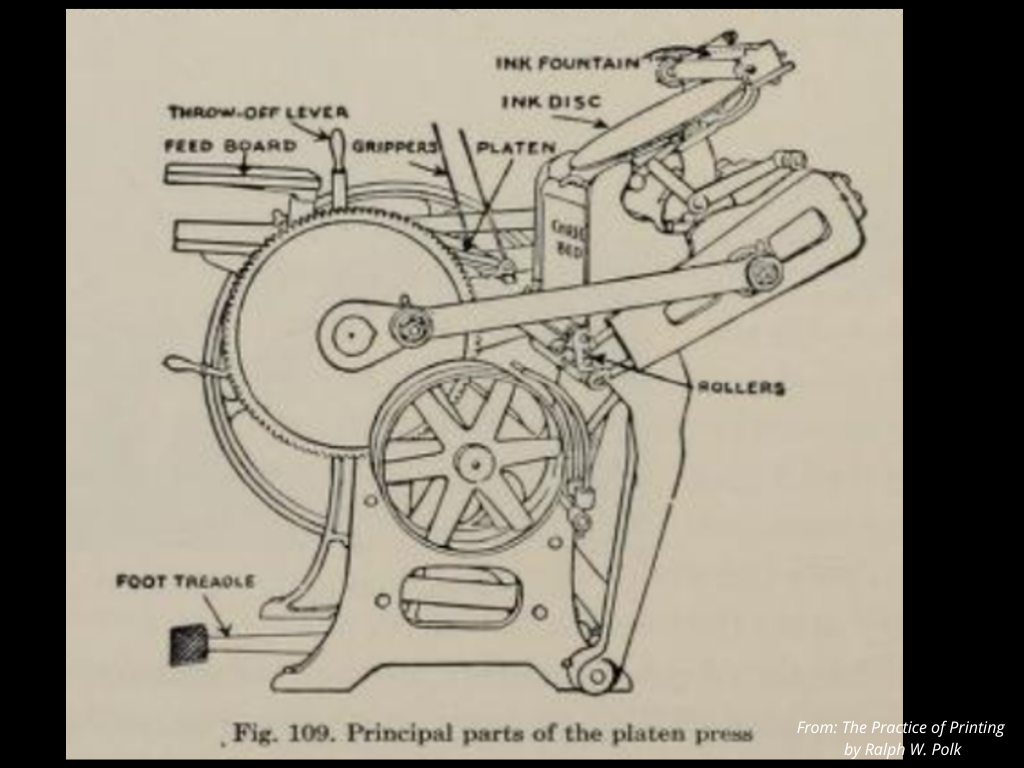
Ink is placed on the round ink disc. The sheets of paper to be printed are piled on the feed board on the right side of the press. Once everything is set up correctly, the operator starts the fly-wheel to put the press in motion and works the foot treadle to keep it moving. This sounds much easier than it is—achieving the right speed in a smooth, steady movement takes practice!
But it gets even more challenging! The operator uses the throw-off lever, situated on the left side of the press beside the fly-wheel, to control when an imprint is made. In its normal position, the throw-off lever is placed forward causing the platen to strike the form at every revolution of the press. In other words, the paper is pressed against the inked type resulting in a printed sheet every time the wheel goes round. The operator has to quickly remove the printed sheet and replace it with a fresh sheet—while keeping the press rolling in a steady rhythm with the foot treadle. Beginners, like me, frequently use the throw-off lever to skip printing a sheet. Here I am trying to get the hang of feeding the press.
As noted above, I chose to typeset and print the saying “Mind your p’s and q’s”. I’m quite pleased with the results—it’s the perfect reminder of my day as a Printer’s Devil.
Being a Printer’s Devil at the St Mary’s Printery in Sherbrooke Village was a great experience. Honestly, it makes me grateful for today’s printing technologies. Instead of pulling out a case of type, I can simply select my font from a dropdown list. Instead of picking out and positioning every character correctly, I can press keys on a keyboard (backspacing to correct on the fly). Instead of composing in a metal frame with blocks of wood to lock everything in place, I can compose on an electronic screen with a few keystrokes. Instead of reworking my locked form when I find an incorrect letter, I can let the software correct my spelling and grammar. Instead of meticulously readying my form for the press, I can simply load sheets of paper into my printer’s paper tray. Instead of manually working a fly-wheel and foot treadle while simultaneously feeding sheets of paper onto the platen, I can click on a PRINT button.
It is all much faster and easier and ideal for everyday printing… and, yet, it lacks something! To print something special—a one-of-a-kind creation that’s uniquely yours—the charm and beauty of hand-printing can’t be beat!
More Info
Sherbrooke Village is located on the Eastern Shore of Nova Scotia. Check out the Sherbrooke Village website to learn more about this living museum and their premier experiences. We loved the Print & Press One Day Experience. Special thanks to Master Printer Patty Lou and Apprentice Fred—you made our day!
Two vintage textbooks were consulted for this blog post—both are available on www.Archive.org:
. Printing for School and Shop by Frank S Henry (published 1917)
. The Practice of Printing by Ralph W. Polk (published 1952).
Today’s Takeaways
1. Consider visiting a living museum for a deeper appreciation of life in the past.
2. A hands-on experience provides a deeper appreciation than reading about a subject or seeing someone else do it.
3. There is beauty and charm in the art of hand-printing.


2 Comments
Thanks, Angie!
Wonderful!