Dr Seuss, the iconic children’s book author, is quoted to have said “Read. Travel. Read. Ask. Read. Learn. Read. Connect. Read.”. That’s advice I’m happy to follow. Reading is one of my favorite pastimes. Typically I read fact-based fiction, such as Daughters of the Dragon and The Dragon Queen by William Andrews two great books based on the history of Korea, which I just finished. But I like to mix it up a little with thought provoking nonfiction. Today I’d like to share my top 3 nonfiction reads from 2018.
I thoroughly enjoyed these books and highly recommend all three:
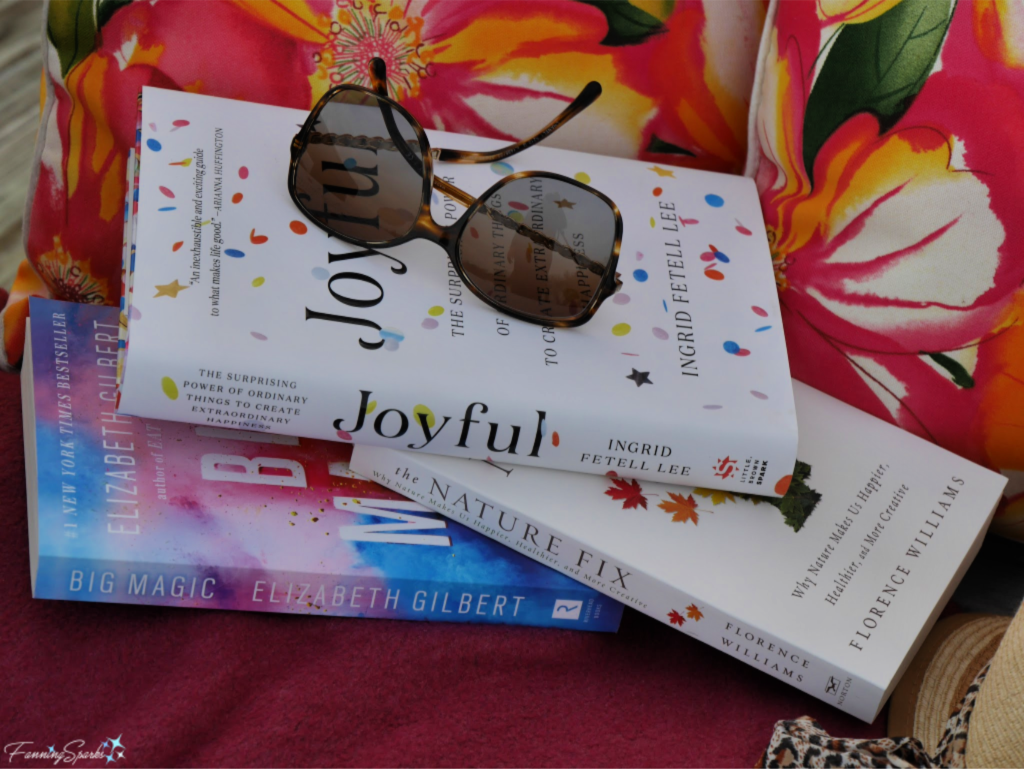
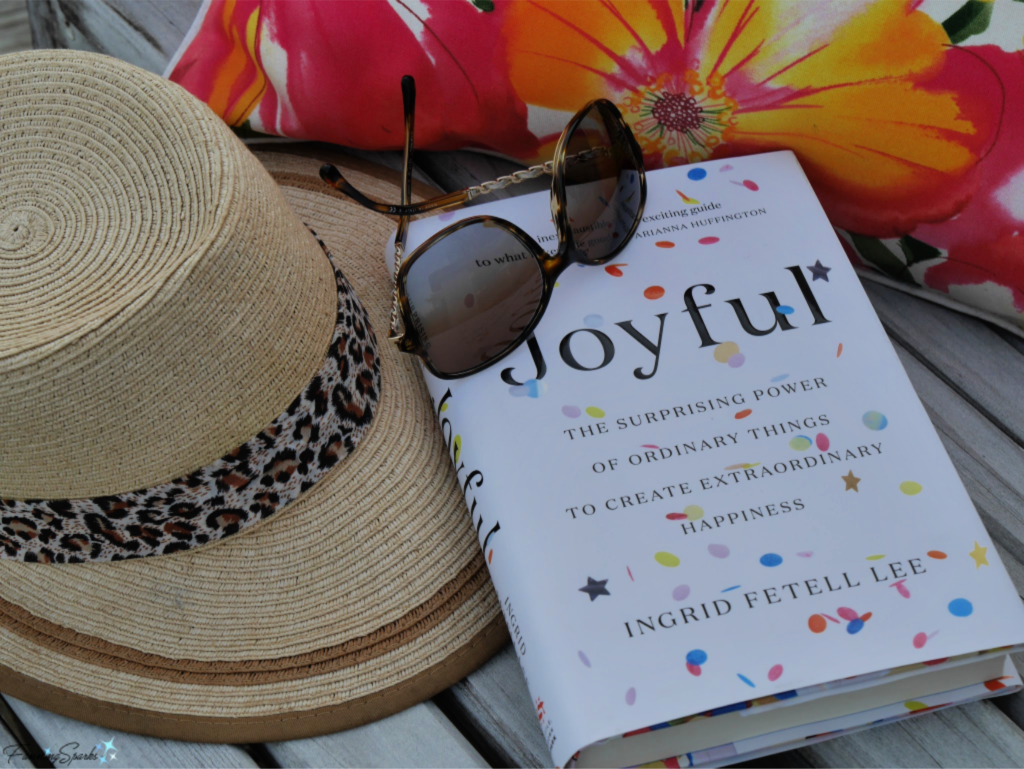
. Joyful: The Surprising Power of Ordinary Things to Create Extraordinary Happiness by Ingrid Fetell Lee
. Big Magic: Creative Living Beyond Fear by Elizabeth Gilbert
. The Nature Fix: Why Nature Makes us Happier, Healthier, and More Creative by Florence Williams
Rather than try to write my own summary, I’ll share what the experts have to say.
Joyful: The Surprising Power of Ordinary Things to Create Extraordinary Happiness by Ingrid Fetell Lee
“A groundbreaking investigation that turns everything we think we know about happiness on its head.”
“Have you ever wondered why we stop to watch the orange glow that arrives before sunset, or why we flock to see cherry blossoms bloom in spring? Is there a reason that people — regardless of gender, age, culture, or ethnicity — are mesmerized by baby animals, and can’t help but smile when they see a burst of confetti or a cluster of colorful balloons.
We are often made to feel that the physical world has little or no impact on our inner joy. Increasingly, experts urge us to find balance and calm by looking inward — through mindfulness or meditation — and muting the outside world. But what if the natural vibrancy of our surroundings is actually our most renewable and easily accessible source of joy?
In Joyful, designer Ingrid Fetell Lee explores how the seemingly mundane spaces and objects we interact with every day have surprising and powerful effects on our mood. Drawing on insights from neuroscience and psychology, she explains why one setting makes us feel anxious or competitive, while another fosters acceptance and delight — and, most importantly, she reveals how we can harness the power of our surroundings to live fuller, healthier, and truly joyful lives.”
Big Magic: Creative Living Beyond Fear by Elizabeth Gilbert
“A must read for anyone hoping to live a creative life.” – PopSugar
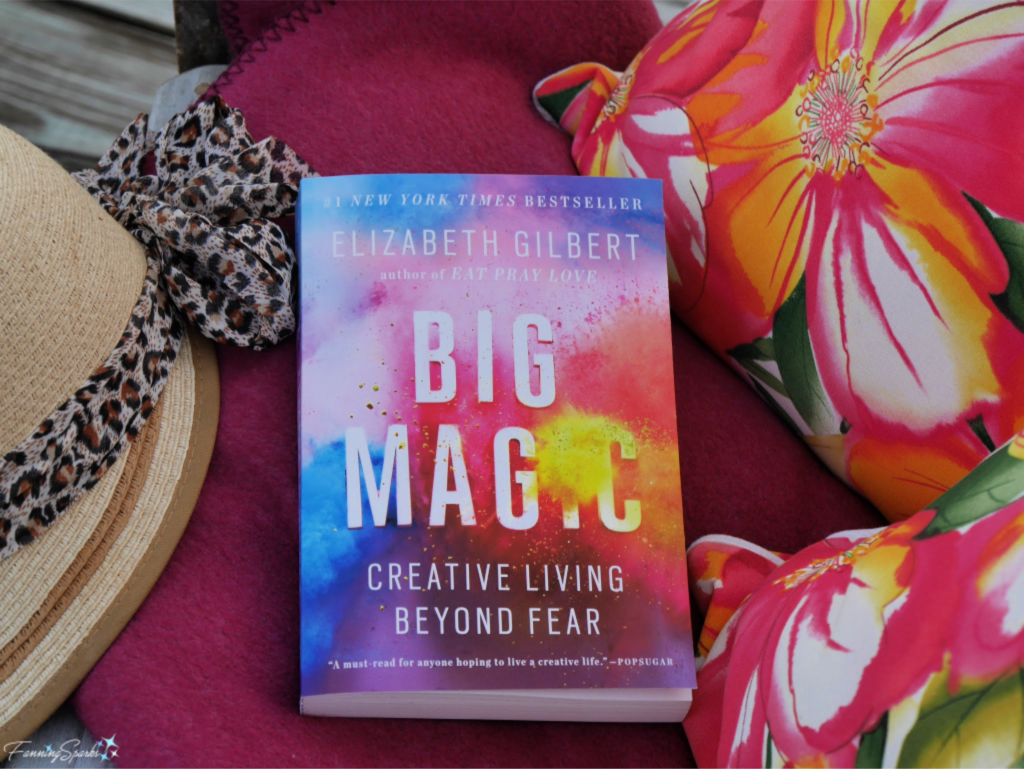
“Readers of all ages and walks of life have drawn inspiration and empowerment from Elizabeth Gilbert’s books for years. Now this beloved author digs deep into her own generative process to share her wisdom and unique perspective about creativity. With profound empathy and radiant generosity, she offers potent insights into the mysterious nature of inspiration. Whether we are looking to write a book, make art, find new ways to address challenges in our work, embark on a dream long deferred, or simply infuse our everyday lives with more mindfulness and passion, Big Magic cracks open a world of wonder and joy.”
The Nature Fix: Why Nature Makes us Happier, Healthier, and More Creative by Florence Williams
“[A] lively exploration of what modern research has to say about the myriad health benefits of the great outdoors.” – Wall Street Journal
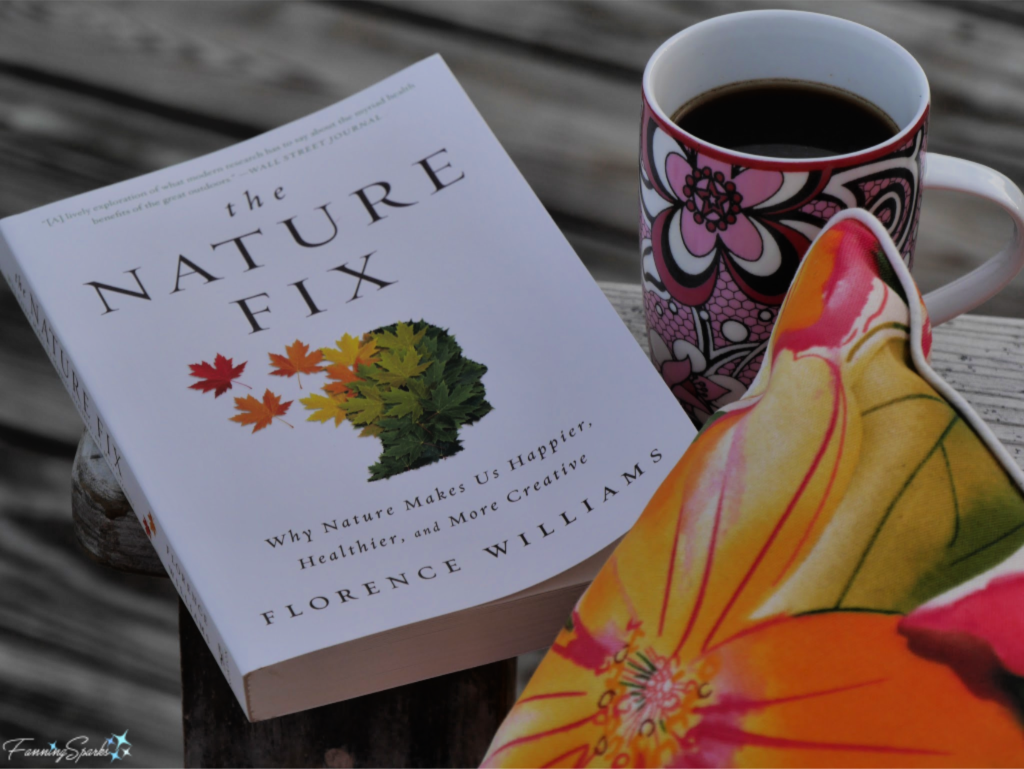
“From forest trails in Korea, to islands in Finland, to eucalyptus groves in California, Florence Williams investigates the science behind nature’s positive effects on the brain. Delving into brand-new research, she uncovers the powers of the natural world to improve health, promote reflection and innovation, and strengthen our relationships. As our modern lives shift dramatically indoors, these ideas―and the answers they yield―are more urgent than ever.”
I found Joyful and The Nature Fix to be well-researched―often pulling in scientific studies to foster understanding. Big Magic also draws from the opinions and experiences of others but not in sciential way. The authors are masterful story tellers weaving their personal experiences and observations around their research. The resulting stories are charming and delightful. Many ideas and concepts resonated with me. Here are a few of my favorites:
From Joyful: “…. the drive toward joy is synonymous with the drive toward life. From the first revelation of the ancestral link between bright color and ripeness to the simplicity of the S curve, this correlation has held true. Joy evolved for the express purpose of helping to steer us toward conditions that would encourage us to flourish. It is our inner guide to the things that animate, stimulate, and sustain us. Put more simply, joy is what makes life worth living.”
From The Nature Fix: “nature deficit disorder… what happens when people, particularly children, spend little or no time outside in natural environments resulting in physical and mental problems including anxiety and distraction”. There are “two dominant theories that attempt to explain why our brains need nature” The first theory is being studied by researchers in Japan who “are quantifying nature’s role in lowering stress and boosting mental health using a framework based on the biophilia hypothesis, the idea that we feel most ‘at home’ in nature because we evolved there”. The second theory, being studied by American neuroscientists, focuses on “how nature helps restore our attention-addled brains to a state of sharper cognition.”
From Big Magic: “Most of all, be ready. Keep your eyes open. Listen. Follow your curiosity. Ask questions. Sniff around. Remain open. Trust in the miraculous truth that new and marvelous ideas are looking for human collaborators every single day.”
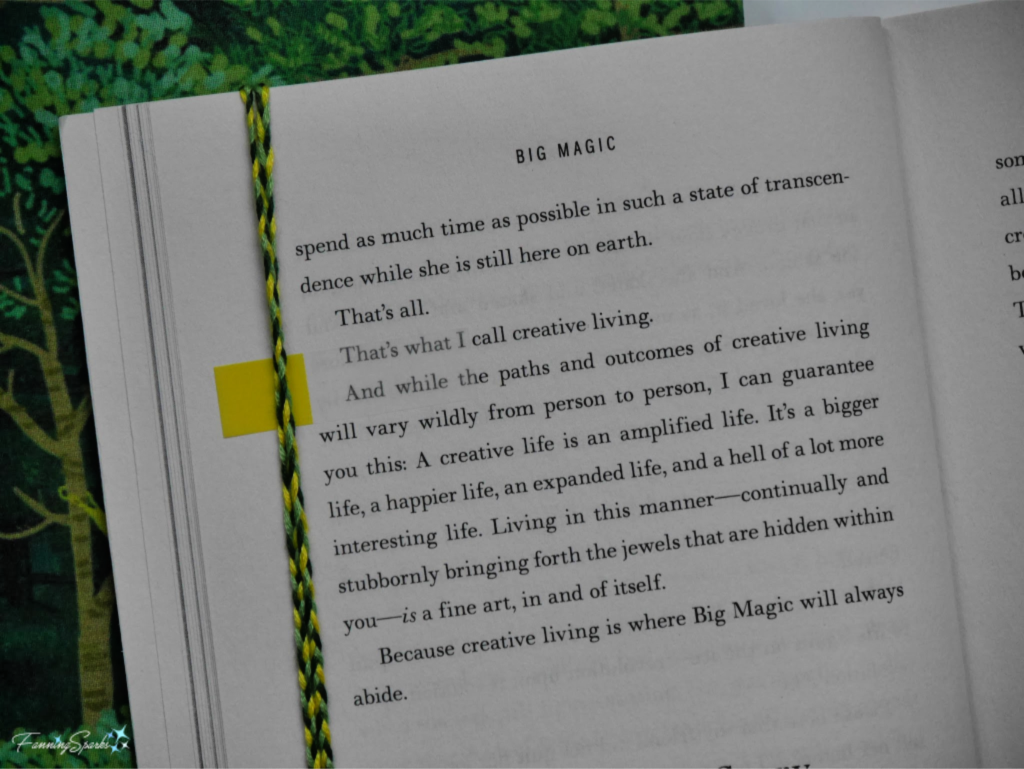
“I can guarantee you this: A creative life is an amplified life. It’s a bigger life, a happier life, an expanded life, and a hell of a lot more interesting life. Living in this manner–continually and stubbornly bringing forth the jewels that are hidden within you–is a fine art, in and of itself. Because creative living is where Big Magic will always abide.”
These books address 3 different topics; joy, creativity and nature. Yet as the authors explore their chosen topics, they cross into the other topics. For instance, in Joyful, Ingrid Fetell Lee identifies freedom as one of the ten aesthetics of joy. She reveals a distinct connection between the feeling of joy and the tangible qualities of freedom including nature, wildness and open space. She interviewed James Corner, the lead designer of the High Line (the famous public park in New York City) to explore the power of modest green spaces. She attributes Corner with observing that “the delight of a landscape is less about what we see and more about what we feel. … Plants. Scent. Color. The effects of light and shadow. Water. The sounds of water. Ambient humidity. Texture. …”
The Nature Fix author Florence Williams noted that when she moved from Boulder, Colorado to Washington, D.C., she “noticed some dramatic things about my mood, creativity, imagination and productivity in different environments, and I started to ponder it.”
When discussing enchantment in Big Magic, Elizabeth Gilbert describes the feeling we commonly think of as “flow” or “being in the zone”. She says “It’s the feeling you get when you’ve made something wonderful, or done something wonderful, and when you look back at it later, all you can say is: ‘I don’t even know where that came from.’” She uses words like change, delight, surprise twists and unexpected endings to describe the advantages of having the courage to live a creative life.
Nature impacts joy‒nature impacts creativity‒creativity impacts joy. It’s a fascinating, engaging web of interrelated ideas.
I’m on the lookout for equally thought-provoking reads for 2019. What books would you recommend?
More Info
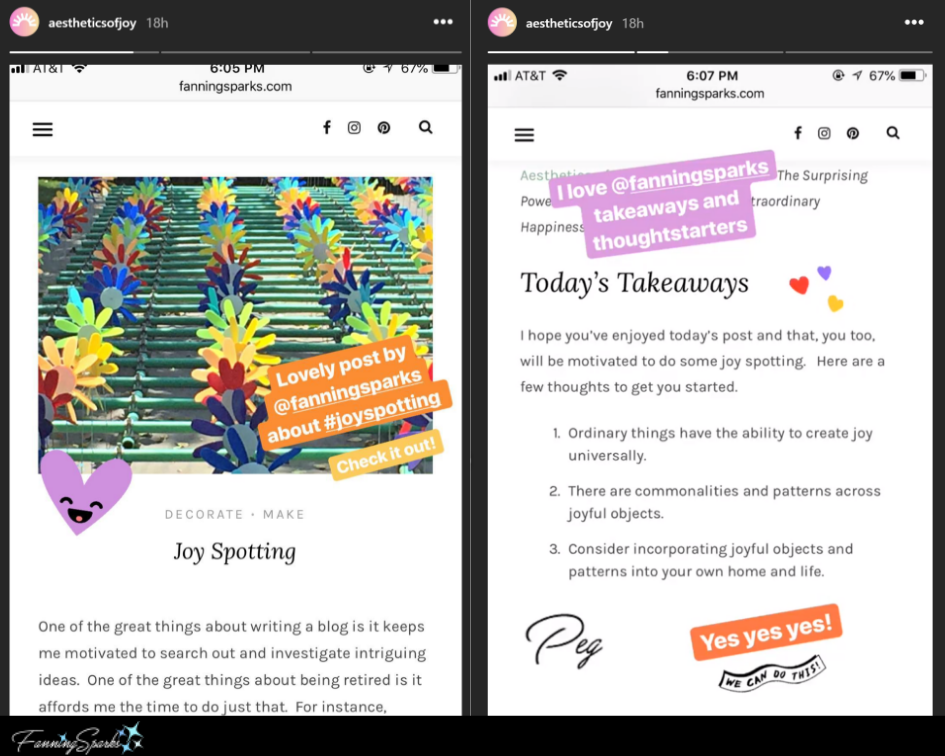
I originally introduced Ingrid Fetell Lee’s ideas about the aesthetics of joy after hearing her TED talk. Check out my post on Joy Spotting to see examples of where I’ve spotted joy. I was thrilled when she called out my post in her Instagram story.
The books are available on Amazon. Here are the links:
. Joyful: The Surprising Power of Ordinary Things to Create Extraordinary Happiness by Ingrid Fetell Lee
. Big Magic: Creative Living Beyond Fear by Elizabeth Gilbert
. The Nature Fix: Why Nature Makes us Happier, Healthier, and More Creative by Florence Williams
If you like to read electronically, you may want to check out Amazon’s Kindle Unlimited service which allows you to borrow an unlimited number of selected books for about $10.00 USD/month. Since not all books are available via Kindle Unlimited, I supplement this service with my local library’s online borrowing service. They use Libby by Overdrive which gives me easy online access to hundreds of titles for free. The combination of these two services gives me access to a huge selection of books at a very affordable cost.
Today’s Takeaways
1. “Put more simply, joy is what makes life worth living.” Ingrid Fetell Lee
2. “…our brains need nature.” Florence Williams
3. “A creative life is an amplified life. It’s a bigger life, a happier life, an expanded life, and a hell of a lot more interesting life.” Elizabeth Gilbert
Happy Reading!