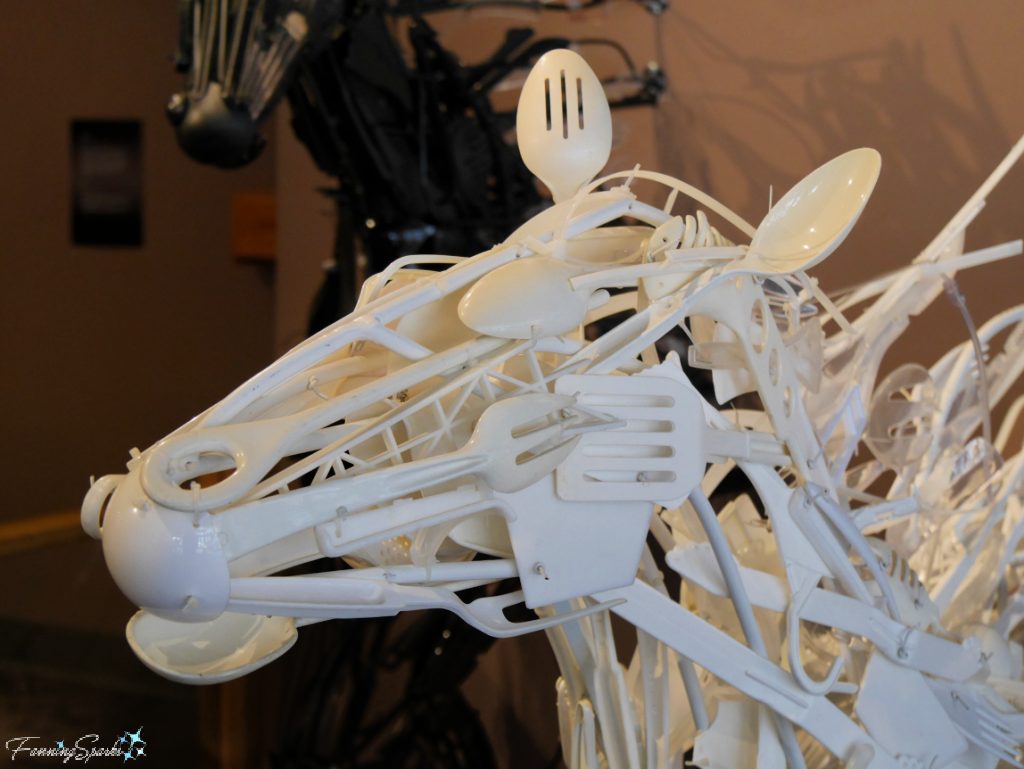
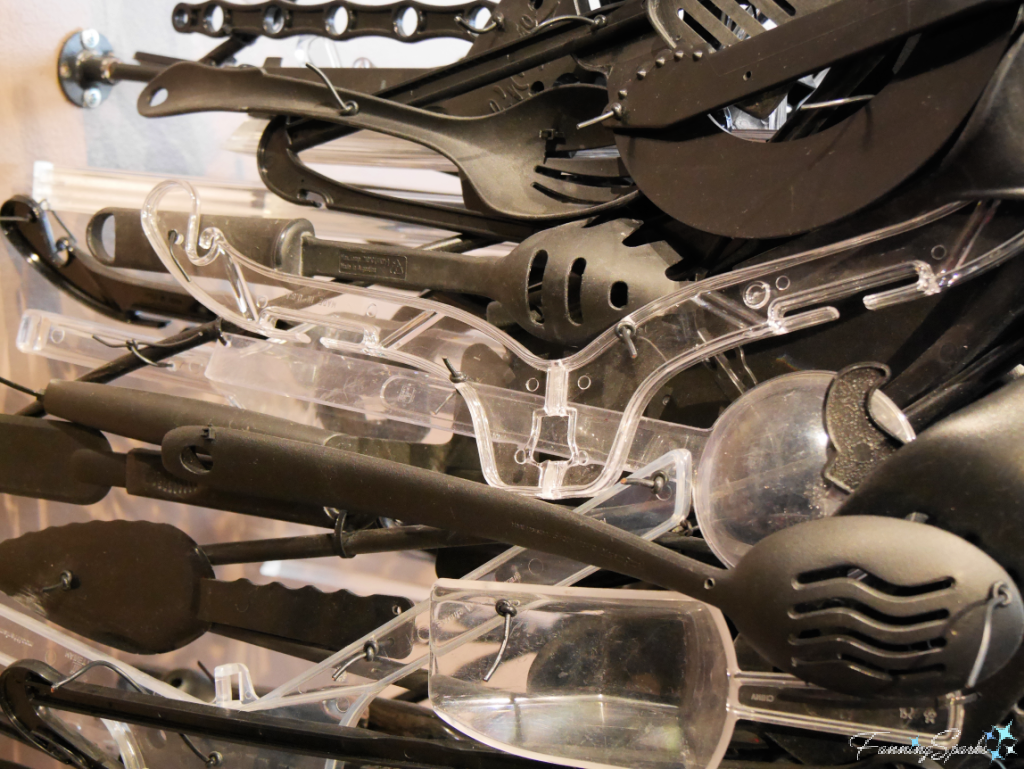
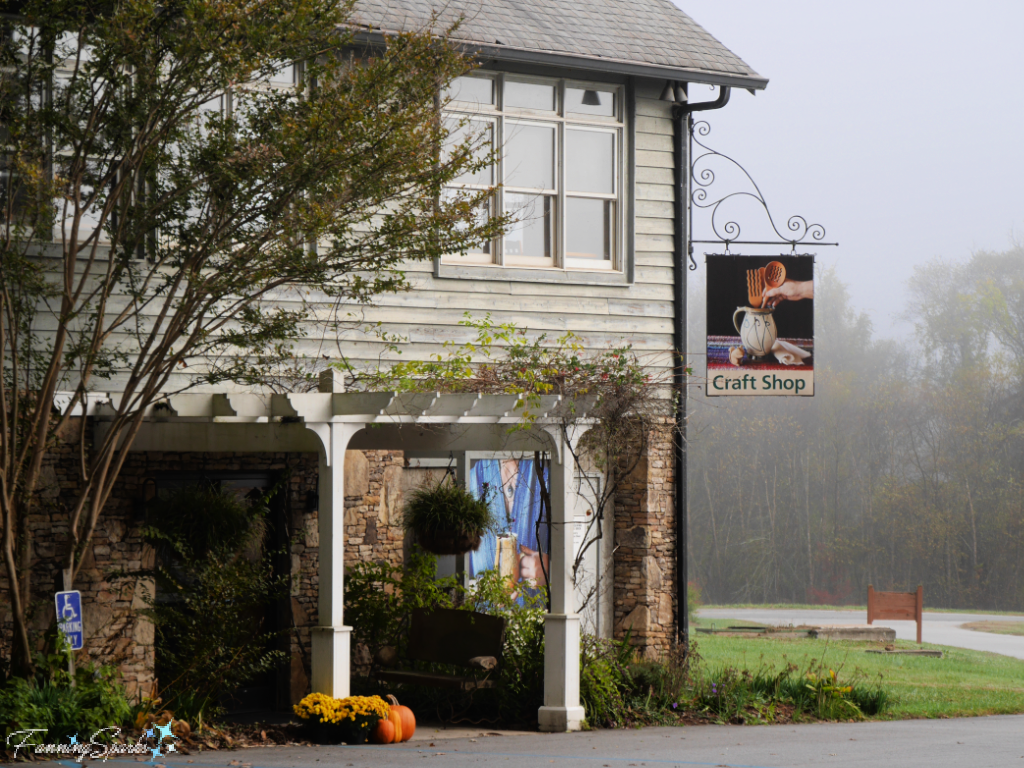
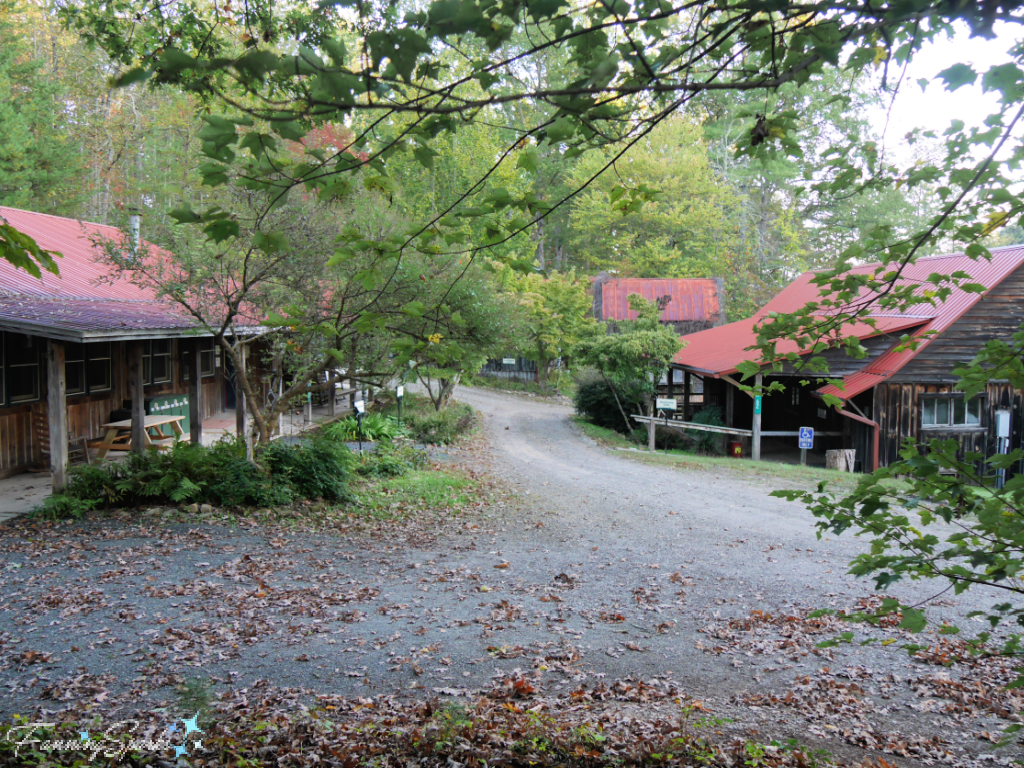
A visit to the John C Campbell Folk School isn’t complete without a leisurely stroll through the Craft Shop. The knowledgeable staff have curated a wide variety of handcrafted items made by talented regional artists. In fact, they’ve packed this cozy gallery with an endless supply of beautiful inspiration!
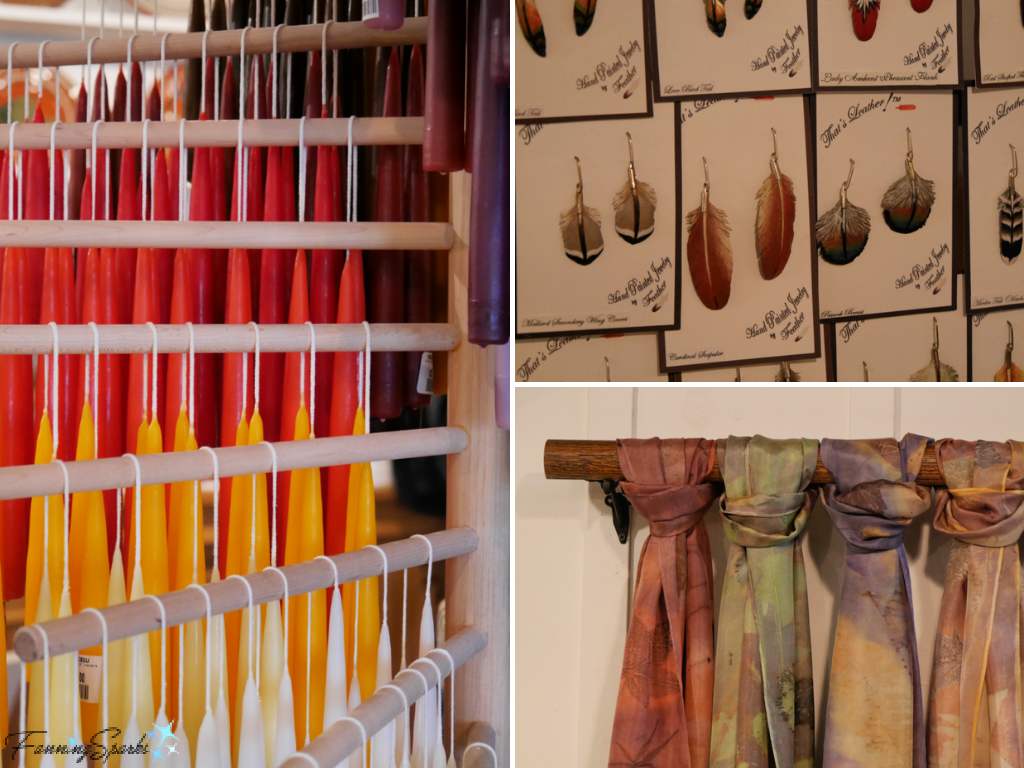
Many of the artists represented at the Craft Shop also teach or demonstrate at the Folk School. It’s always fun to see what these talented folks have created. Handcrafted items are beautifully displayed in carefully arranged exhibits like those shown below.
Being on site for 6 weeks gives me the opportunity to visit the Craft Shop multiple times. But for those who can only visit once, I recommend strolling down the main aisle before circling around the outside perimeter then retracing your steps in the opposite direction. It’s amazing how many new things you’ll discover on that second pass!
For those who can’t visit the Folk School Craft Shop in person, I’ve curated my own short list of favorite items. All the objects in the Craft Shop have already passed exacting jury standards—all are handmade and demonstrate excellence in design and craftsmanship—so I couldn’t go wrong with anything on offer. But to narrow down the options I decided to focus on functional art. I love incorporating handcrafted items into ordinary, everyday tasks and rituals. All these items are reasonably priced ranging from $5.00 to $54.00. Keep in mind, these are handmade items so the Craft Shop’s inventory does vary.
Listed below are FanningSparks’ top 12 functional art picks from the Folk School Craft Shop.
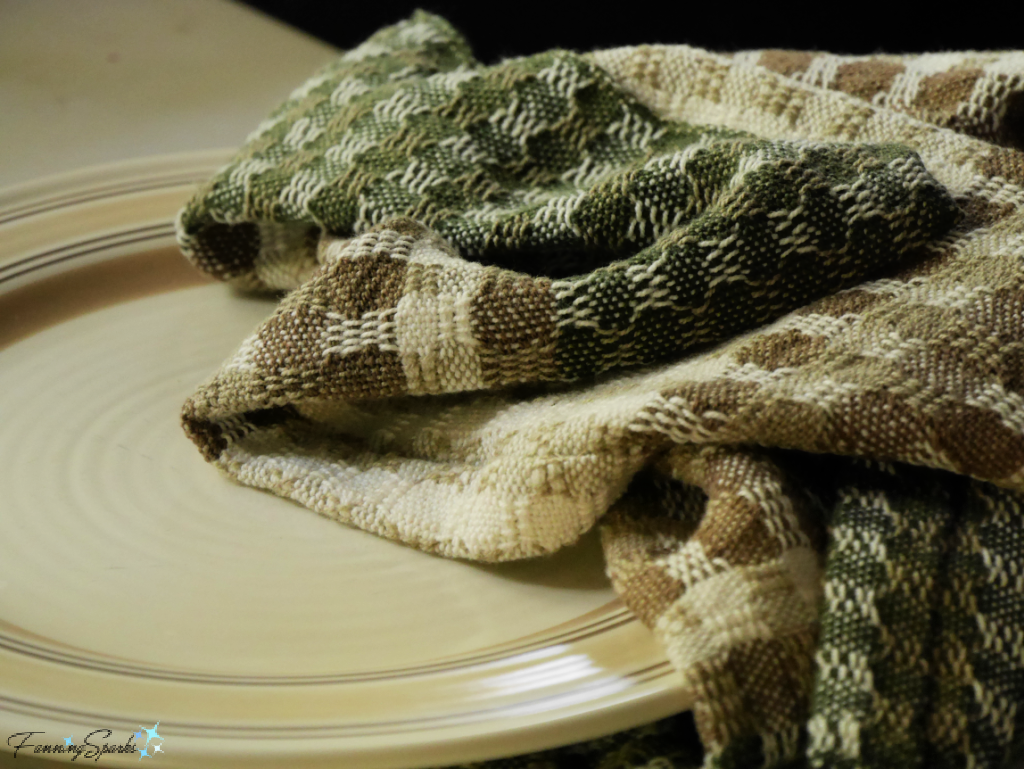
1. Tea Towel by Betty Johnson
Betty Johnson is a fiber artist from Dahlonega, Georgia. She loves to create one-of-a-kind products and weaves, knits or sews every day. This tea towel is woven in an intricate pattern of brown, cocoa and natural colors.
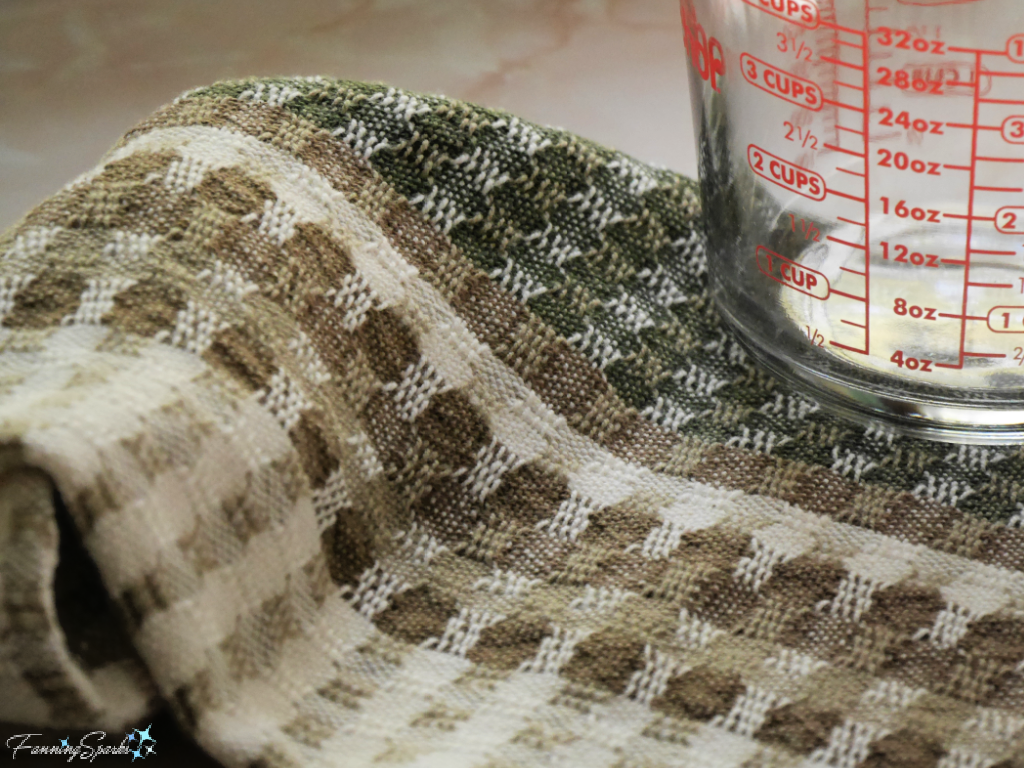
These tea towels are not only pretty they’re also amazingly soft and absorbent. Pretty, serviceable tea towels are a great way to dress up the kitchen.
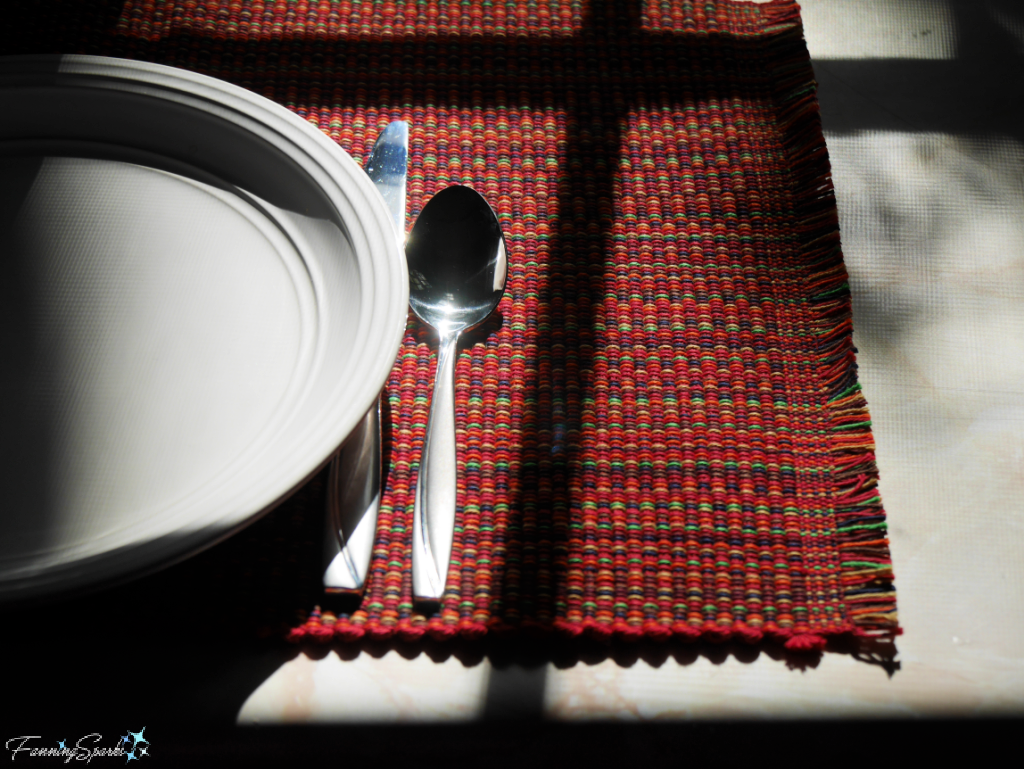
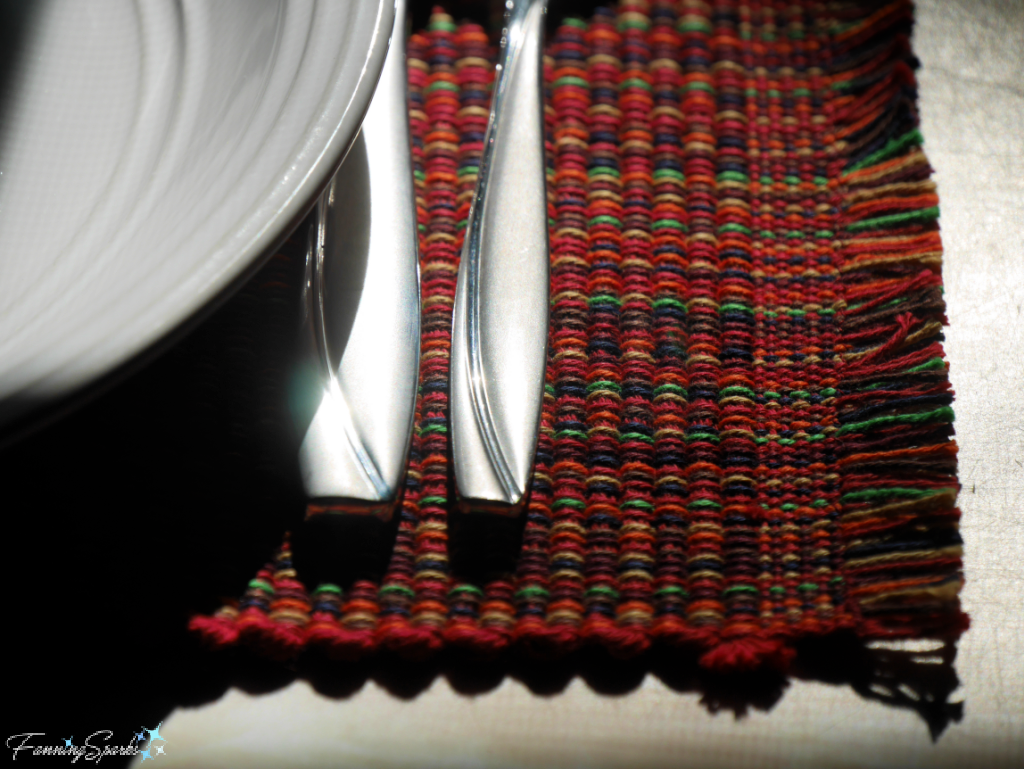
2. Placemat by Crossnore Weavers
Speaking of dressing up the kitchen, hand woven placemats are the perfect way to dress up the dining table. These placemats are made by Crossnore Weavers from Crossnore, North Carolina. “Crossnore Weavers was created to preserve the Appalachian art of hand-weaving, to give an economic opportunity to women, and to promote Crossnore Communities for Children through the sale of beautiful hand-woven goods all over the world.”
Crossnore Weavers’ placements, shown below in the multiple colors of fall, are sure to add a touch of class to mealtime. Plus they’re well-made, substantial and generously sized.
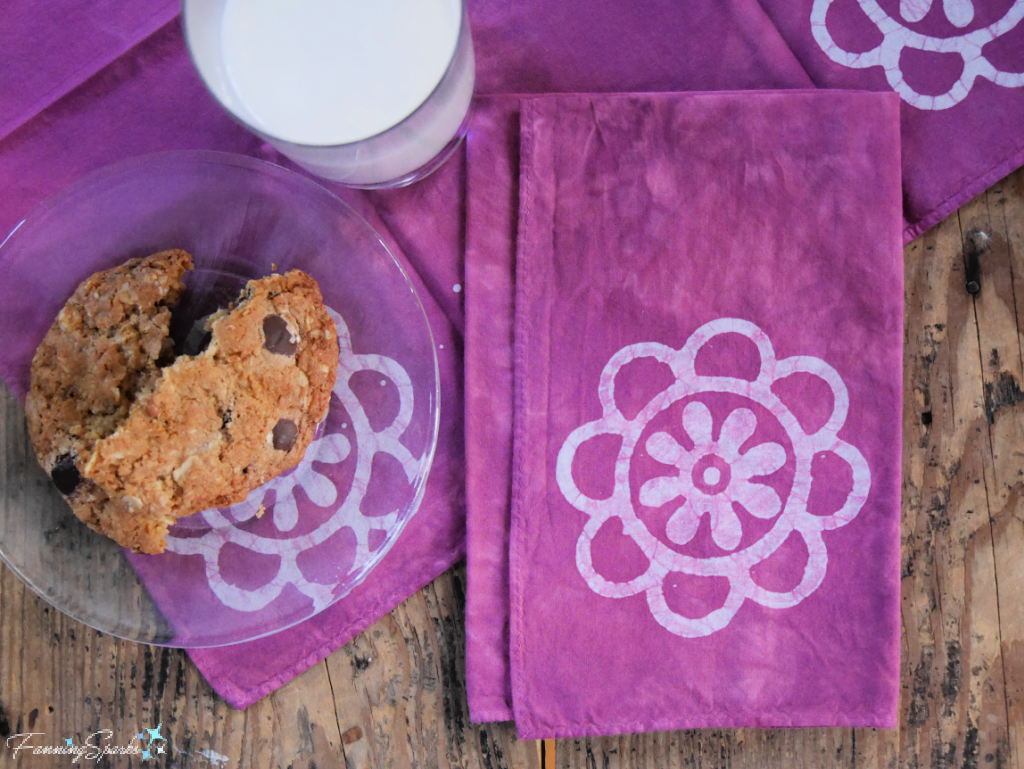
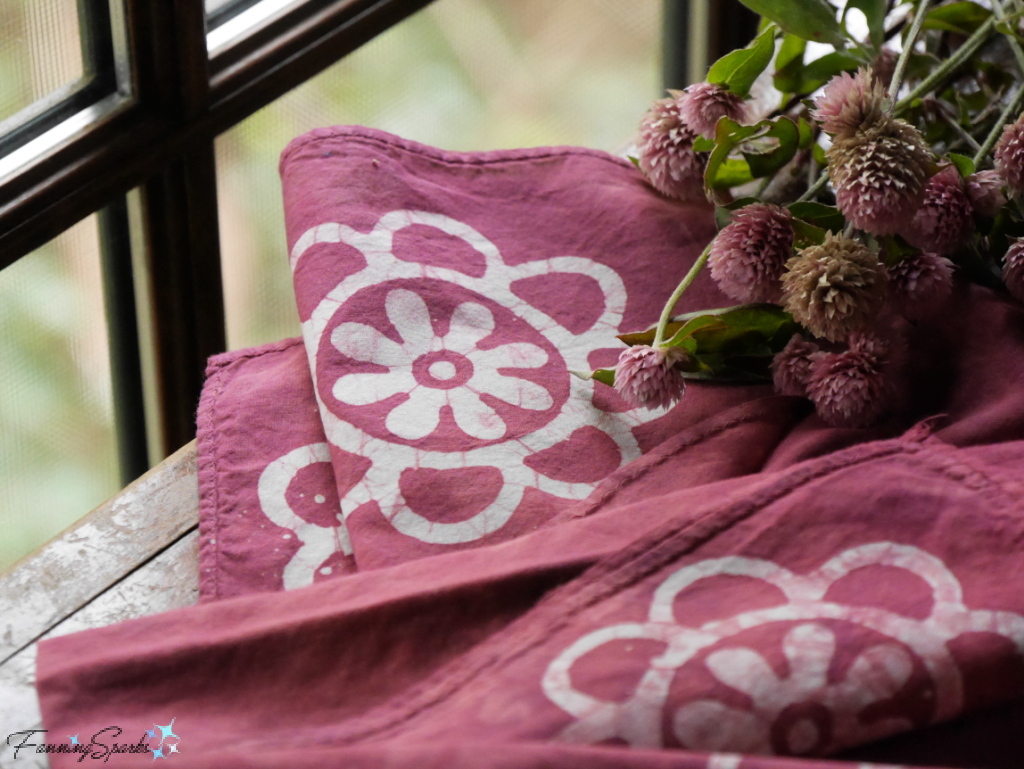
3. Napkins by WAXON Batik & Dye Studio
These vibrant, cotton napkins are ideal for anyone making the switch from paper to cloth napkins. They are custom designed, handmade and hand-dyed by Jess Kaufman of WAXON Batik & Dye Studio in Asheville, North Carolina. The unique batik designs are created with hand-carved wooden blocks. A variety of designs and colors are available. The napkins shown below are the Indian Flower design in Amethyst.
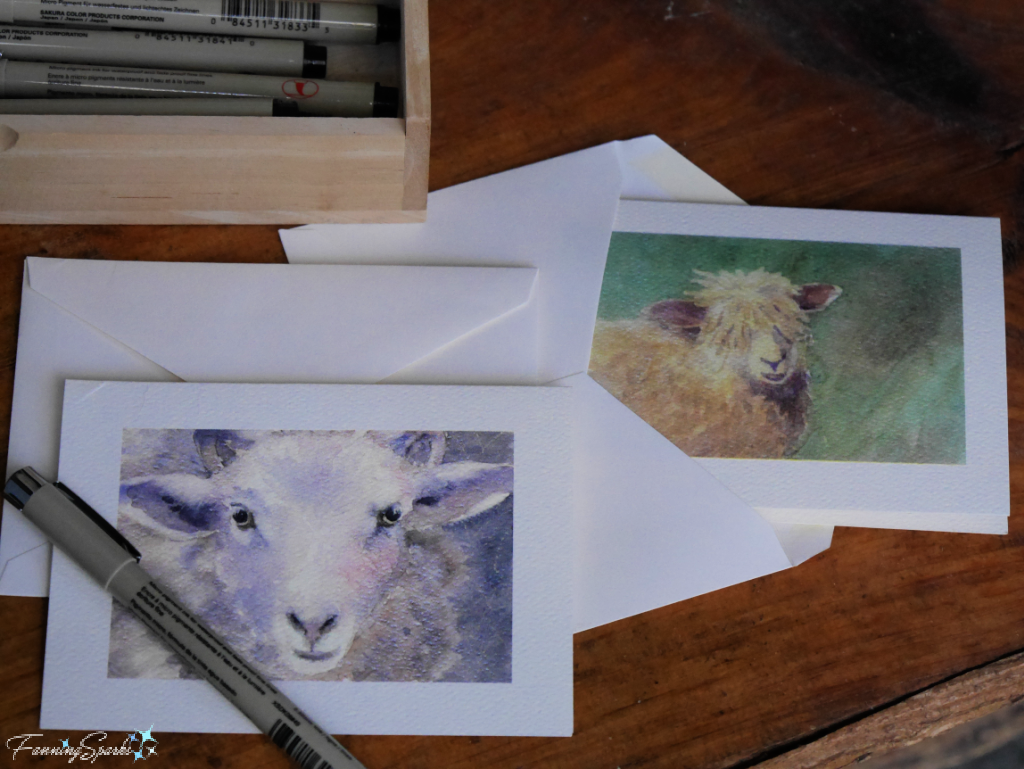
4. Notecards by Jane Voorhees
Jane Voorhees is a talented painter from Asheville, North Carolina. She works in watercolor, pastel, book arts, wood engraving, and letterpress printing. In her Etsy shop, Jane shares this perspective: “I love making my art available as cards & prints. I love that a greeting card can be a small bit of art to remember a time or place; that it can be framed or just placed on a bookshelf. I love the art of letter writing; the giving and receiving of a handwritten note. I love that my art can connect folks and brighten someone’s day in a small way like this.” I couldn’t agree more! The thoughtfulness of sending a hand-written note is a gift in and of itself. The notecards pictured below are printed from Jane Voorhees’ original watercolor paintings. Angel Face is on the left and Maggie is on the right.
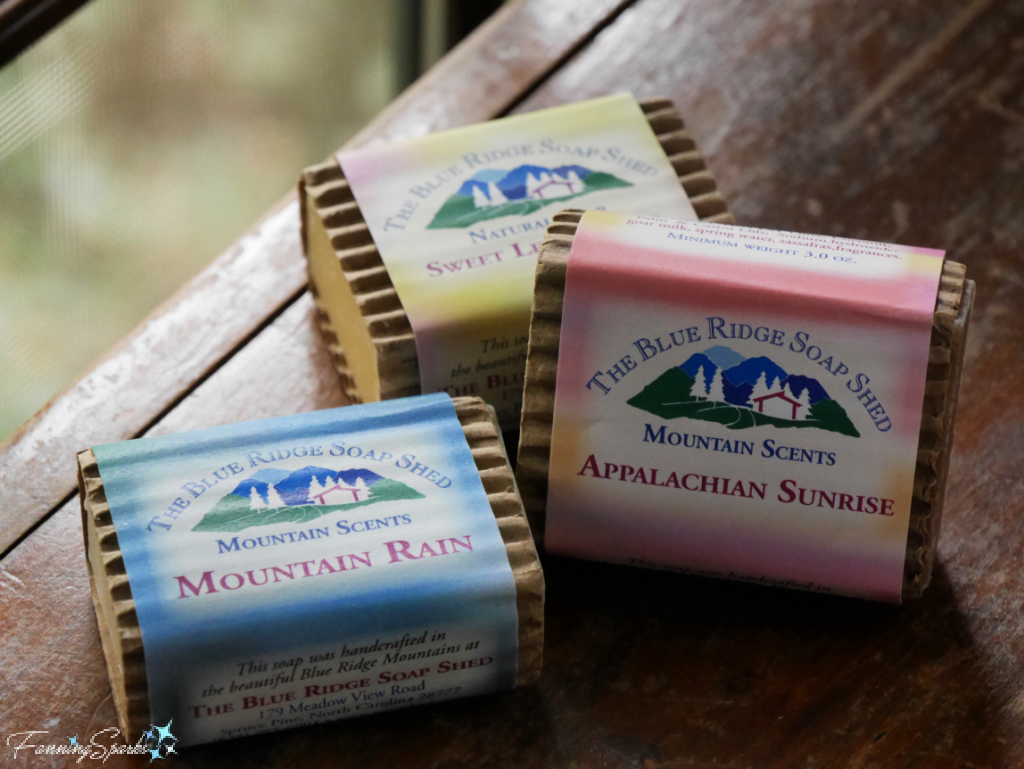
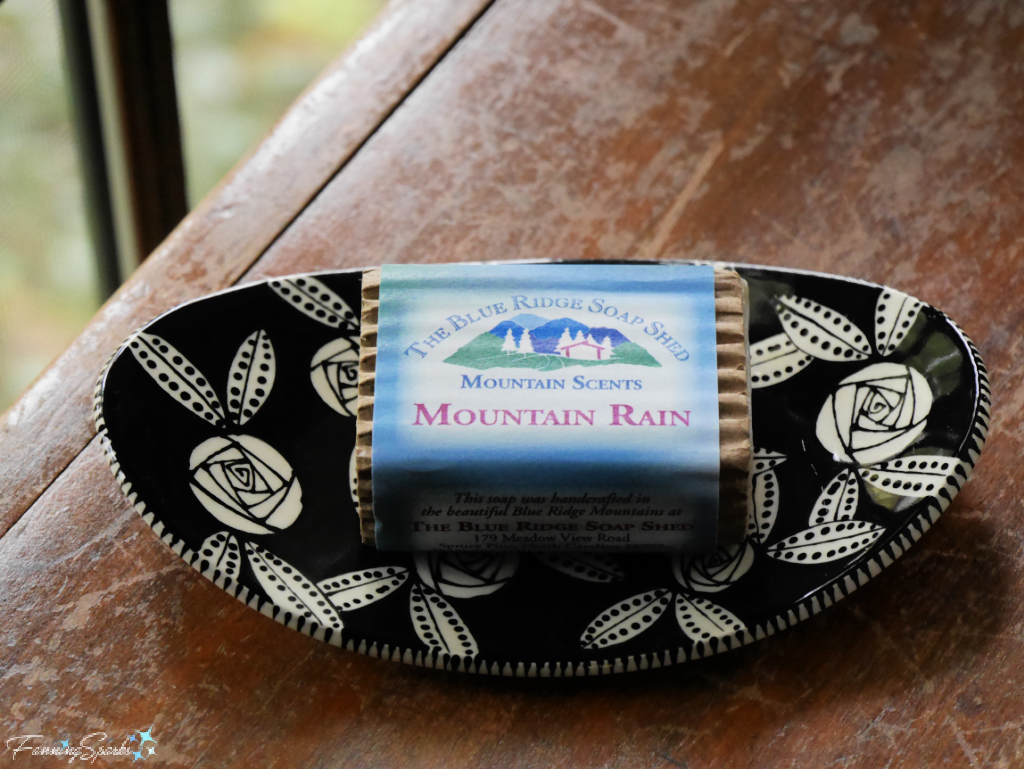
5. Soap by The Blue Ridge Soap Shed
The Blue Ridge Soap Shed is a handcrafted soap business based in Spruce Pine, North Carolina. As explained on their website: “We make our soap completely from scratch using the cold process method, with raw ingredients and recipes we created. Every one of our soap bars are hand made, hand poured and hand cut. We offer moisture levels and scents for every member of the family. We make 40 vegetable oil soaps, 65 scents of goat milk soap, 30 scents of shea butter soap, four types of 100% Olive Oil ‘Castile’ Soap, Grandma’s Lye Soap as well as Pine Tar Soap, and unscented versions of every moisture level we make.”
The Blue Ridge Soap Shed soap products are ideal for those switching to solid soaps in an effort to reduce disposable plastics. They even offer a special selection of soaps called Mountain Scents which are custom-designed as aromatic souvenirs of the Blue Ridge Mountains. Pictured below are two scents from this line, Mountain Rain and Appalachian Sunrise, along with Sweet Lemongrass from the Natural Soap line. All are beautifully packaged and smell heavenly.
Find a pretty dish, like the striking black-and-white plate from Susan Bach pictured below, to hold The Blue Ridge Soap Shed Mountain Scents soap and, suddenly, frequent hand washing becomes a pleasant ritual.
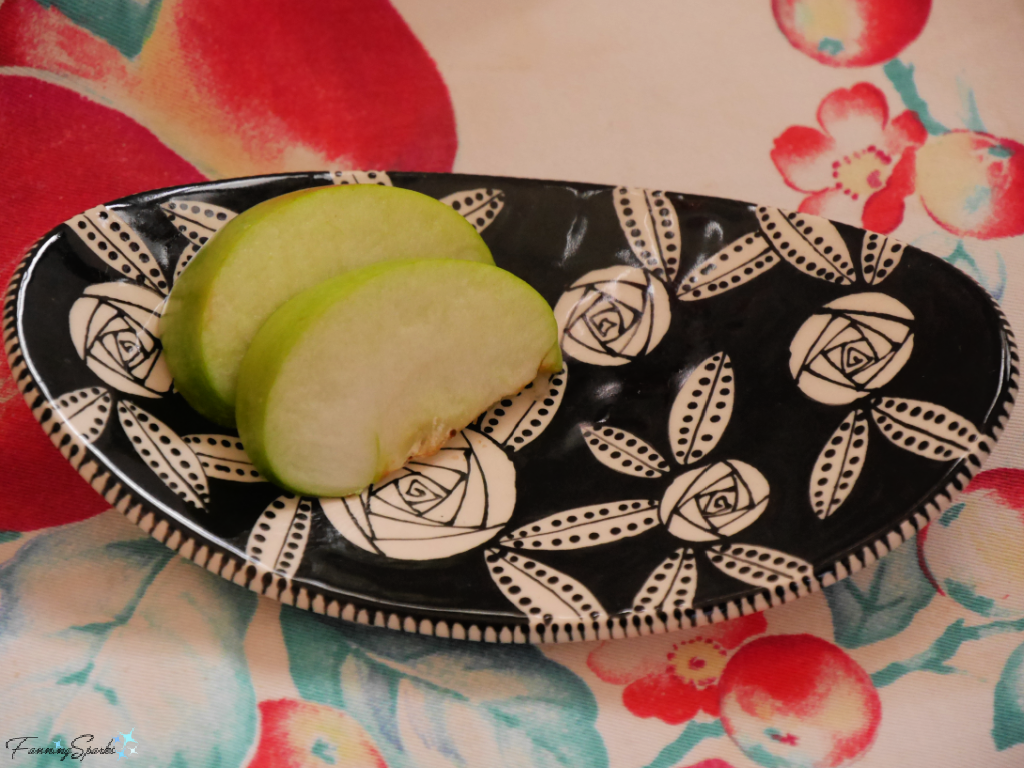
6. Plate by Susan Bach Pottery
Susan Bach is a full-time studio potter from Orlando, Florida. She works with “a traditional craftsman’s material, clay, in a non traditional way, [creating] highly patterned, decorative vessels and sculptures. Each piece is fashioned from white earthenware or terra cotta and finished with lustrous glazes.” Her love of pattern is obvious in her one-of-a-kind vessels, teapots and plates. Her 6 inch oval dessert plate can serve many purposes. It can, for instance, hold a bar of soap as pictured above or serve a simple snack as pictured below.
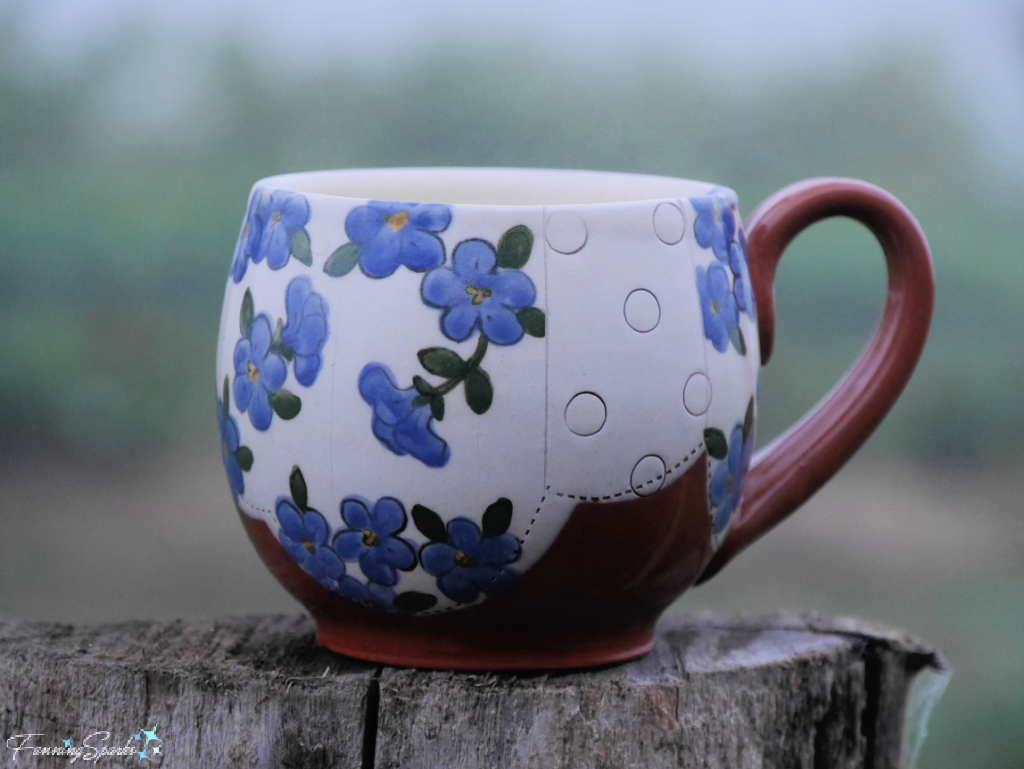
7. Mug by Jenn Cole Ceramics
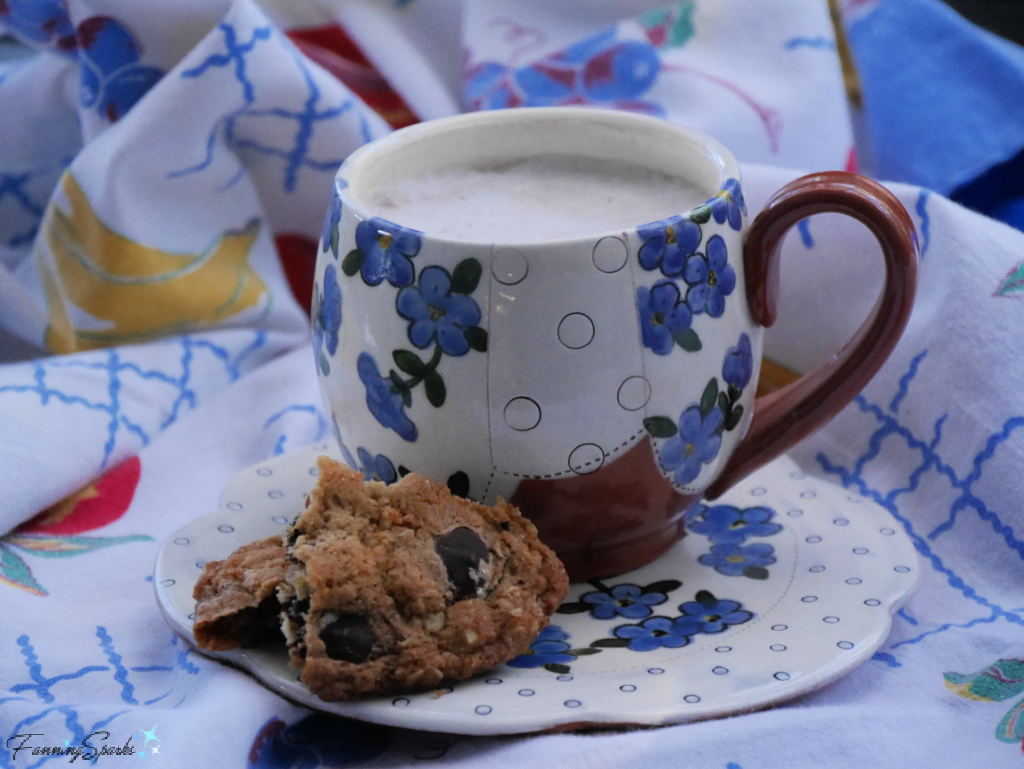
Jenn Cole is a ceramic artist, curator and full-time potter from Cookeville, Tennessee. In her artist statement, she expresses her belief that “functional pottery should beautify everyday rituals and be a pleasure to use … Familial connections, antiquity-inspired imagery, and creating a dialogue between the past and present are at the foundation of my work. I am inspired by a quilt meticulously crafted by my great grandmother and stories of the past.” The mug pictured below features delicate blue flowers, subtle stitching lines, and gentle shapes. Its old-timey charm is enhanced by the shape and feel of the mug itself. This is a mug that could easily become a favorite for morning coffee.
Paired with the coordinating lunch plate, this mug turns ordinary snack time into a special occasion.
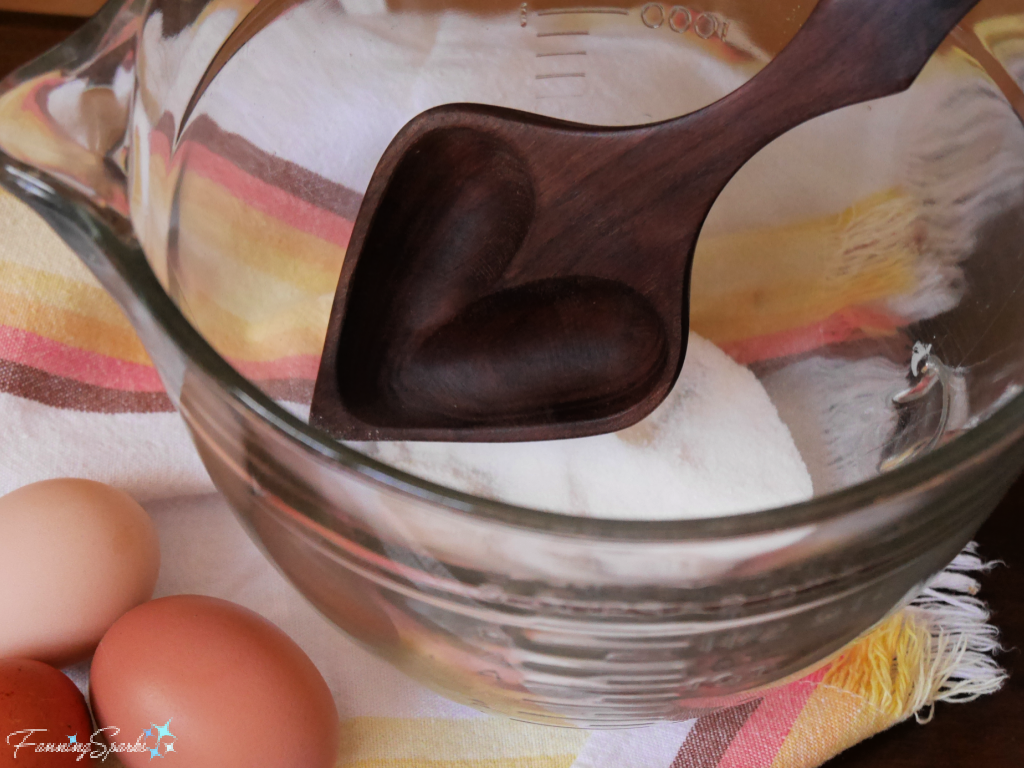
8. Spoon by Allegheny Treenware
Allegheny Treenware, owned and operated by Stan and Sue Jennings, is located in Evansville, West Virginia. They specialize in handmade wooden kitchen utensils such as stirring spoons, serving spoons, paddles, flippers, measuring spoons and tongs. Every item is shaped by hand giving it that special one-of-a-kind quality. These beautiful items can serve as hard-working cooking utensils in every day food preparation and as treasured serving utensils for special occasions. Pictured below is the Allegheny Treenware 11 inch Fancy Heart Shaped Spoon.
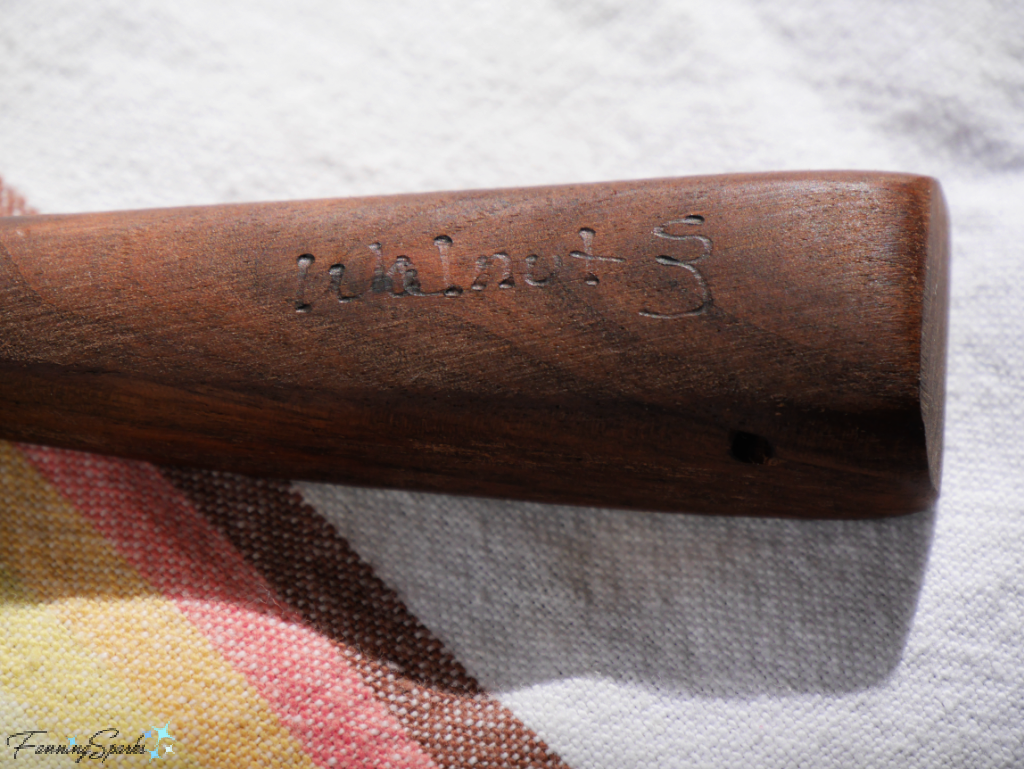
As noted on their website, every Allegheny Treenware item “has been wood burned on the back of the handle, which will include the species of wood, [and] our shop signature”.
9. Scoop and Seam Ripper by Alan Leland
Alan Leland, of Leland Studios in Durham, North Carolina, is an accomplished woodturning artist and instructor. Early in his career, he chose to differentiate himself from other turners by focusing on items that had a practical use. I’m really glad he did! I chose two of his items, both with gorgeous turned wood handles, because of their practicality. This Alan Leland scoop elevates the pleasure of dishing up a bowl of delicious ice cream or anything else that needs to be scooped.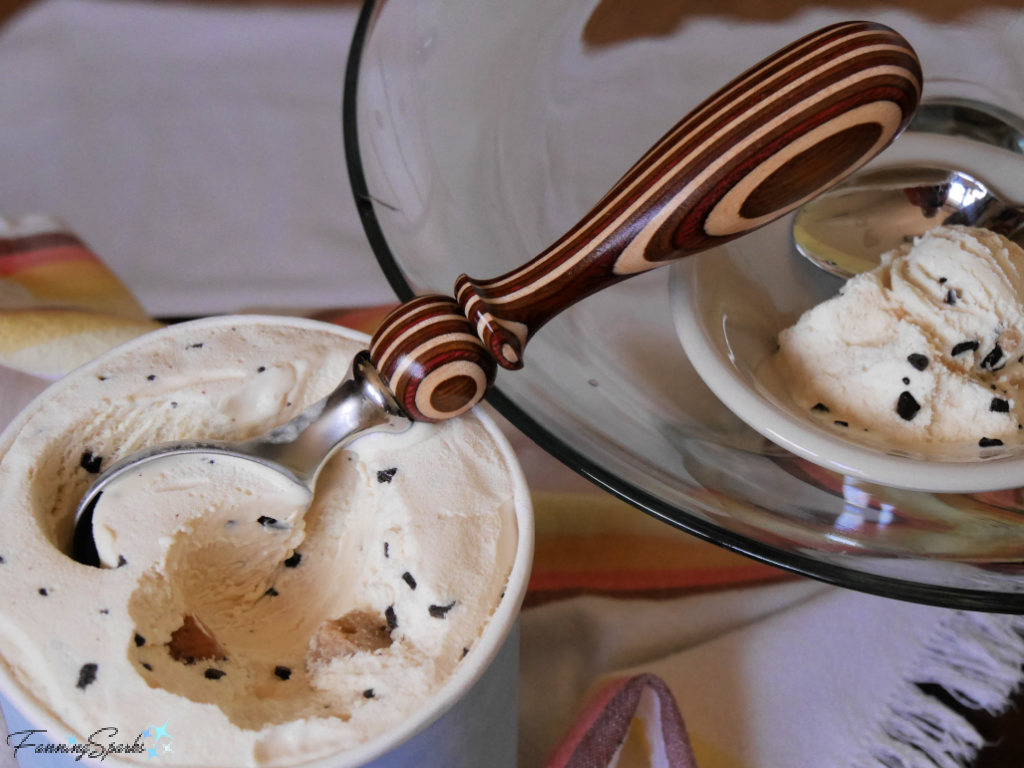
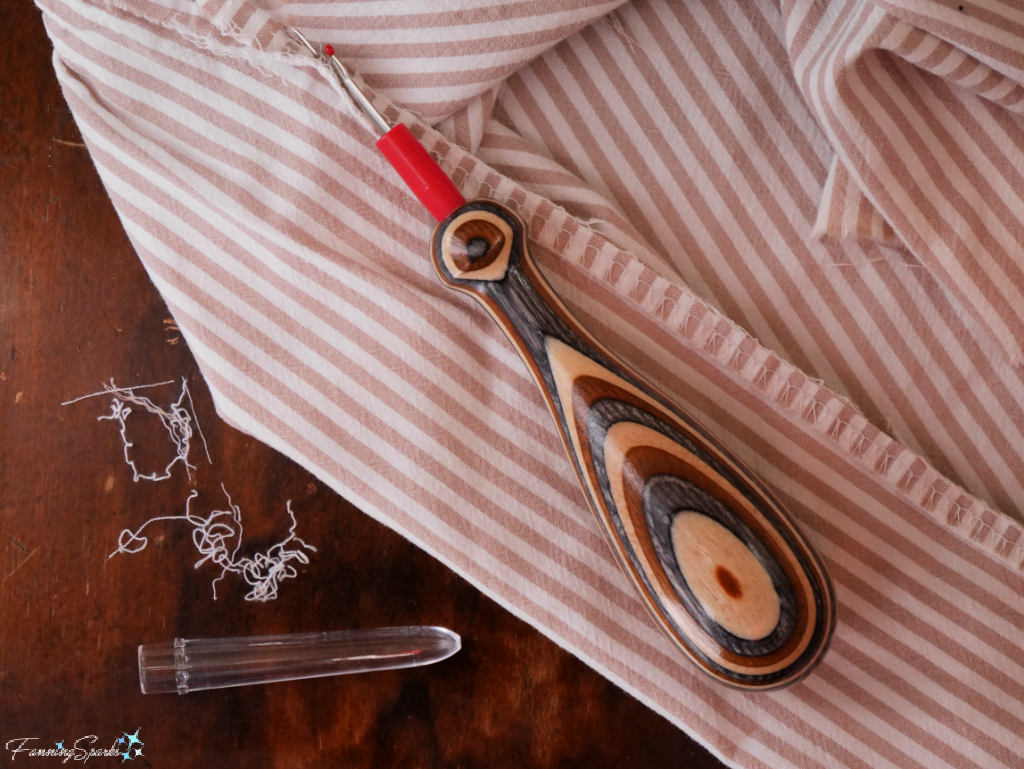
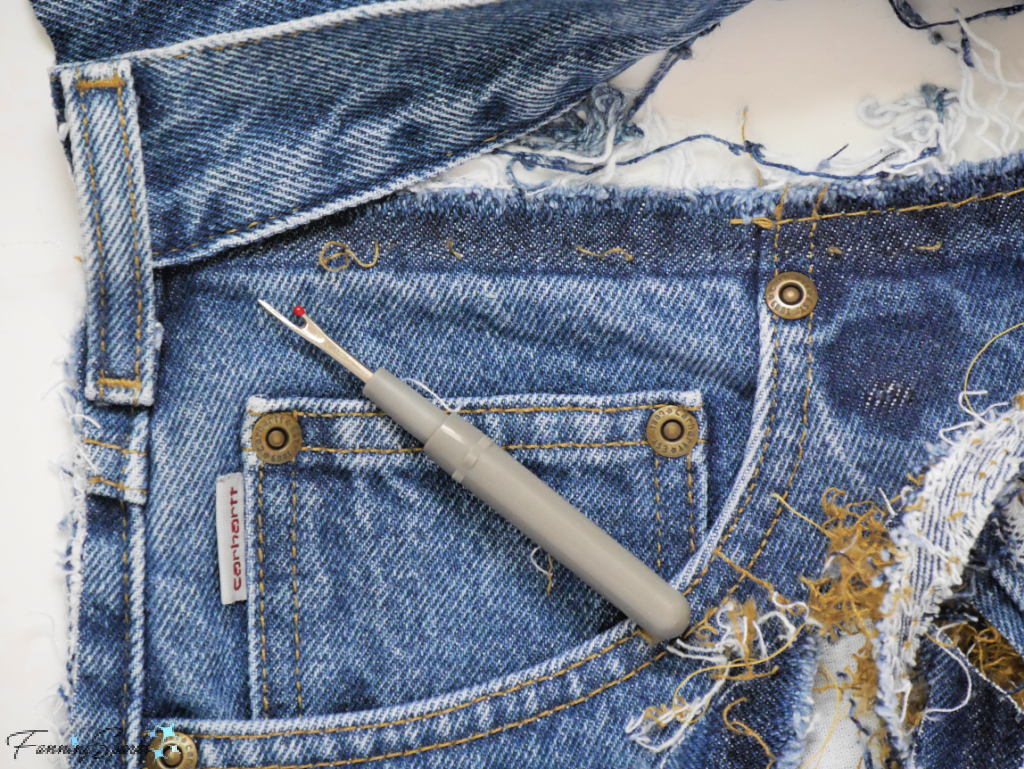
Anyone who sews knows a seam ripper is necessary for the unpleasant task of removing stitching. So why not make it a little more enjoyable by choosing a seam ripper with a pleasing, sturdy wooden handle?
10. Bottle Sponge Stick by MoonSpoon
MoonSpoon, by Jonathan and Julia Simons, designs and makes wooden spoons and utensils. Their inventive products and unique designs stand out from the crowd. I love the story of how it all started “Working as an apprentice to a furniture maker, Jonathan Simons opened his lunch bag to discover he was missing a spoon. Using scrap wood and the shop tools, he made his own spoon. This simple act of necessity planted the seed.” The Folk School Craft Shop offers a variety of beautiful MoonSpoon products but I chose to share the Bottle Sponge Stick for its practicality. This rather simple tool—a long 13 inch stick holding a small sponge—is perfect for cleaning bottles and jars. It would also be ideal for reusable water bottles or narrow-necked flower vases which can be difficult to clean.
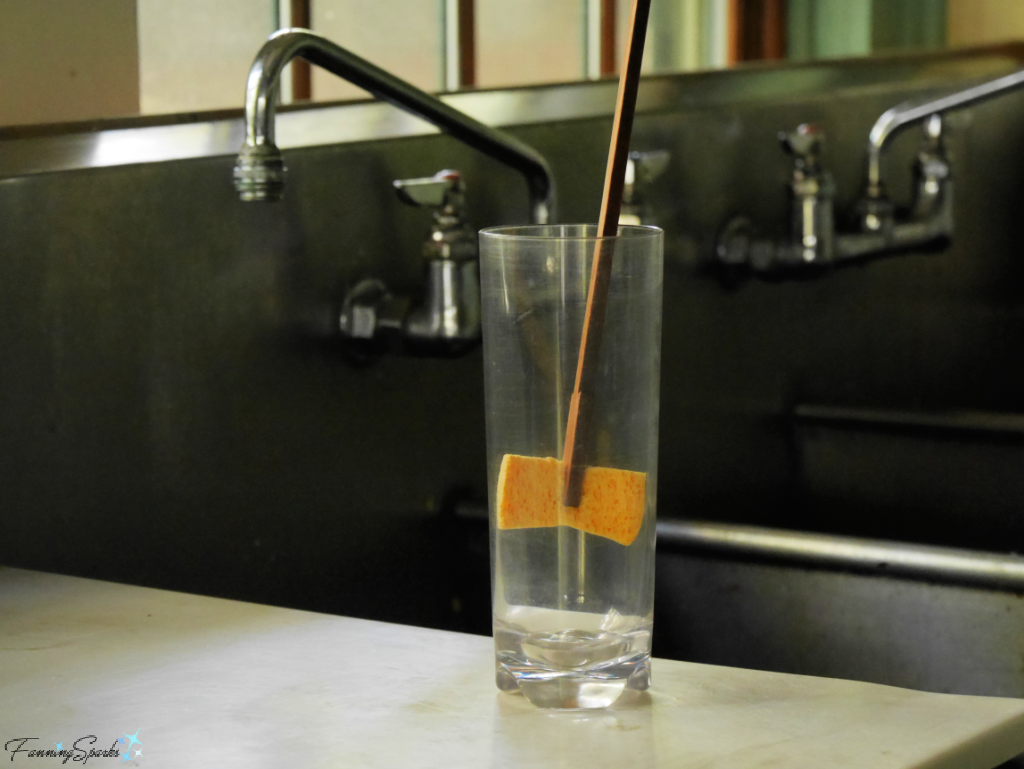
The Bottle Sponge Stick may serve a less-than-glamorous purpose but it’s beautiful nonetheless. Notice the thoughtful, intricate design on the wooden handle shown here with Betty Johnson’s tea towel.

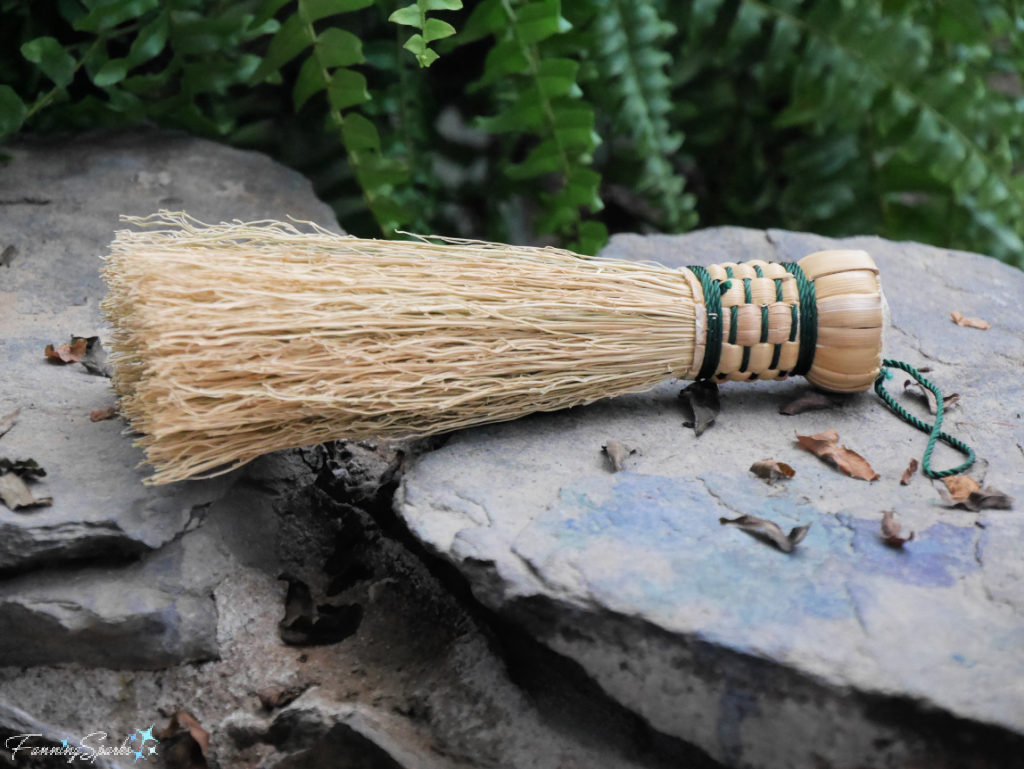
11. Whisk by Friendswood Brooms
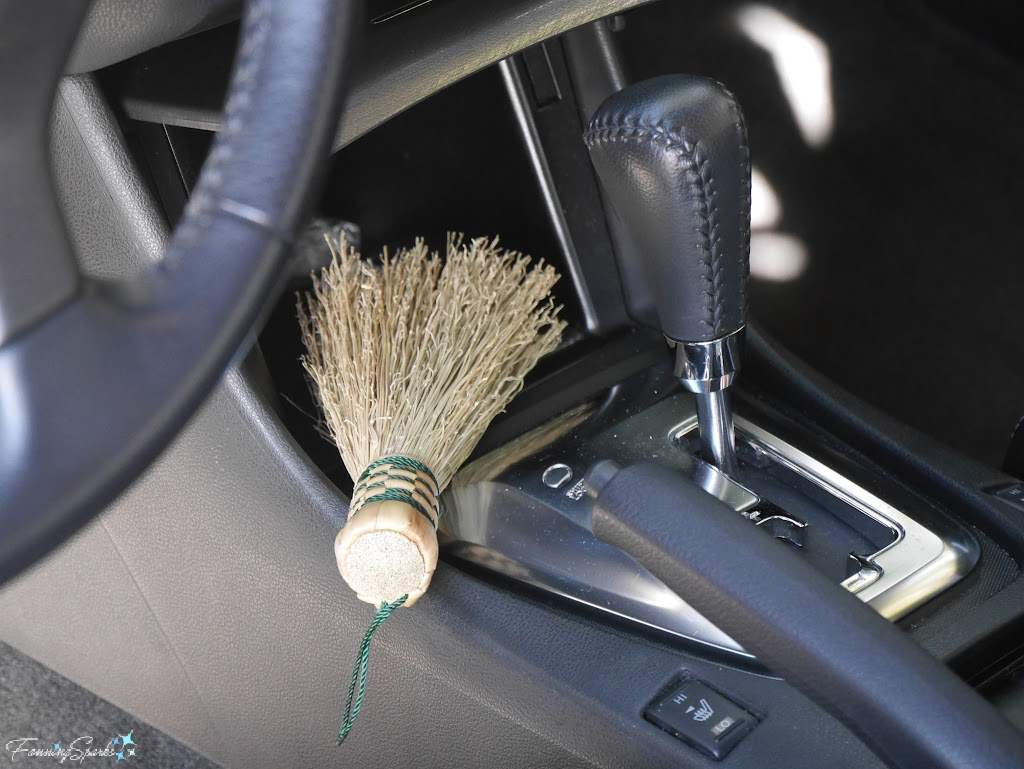
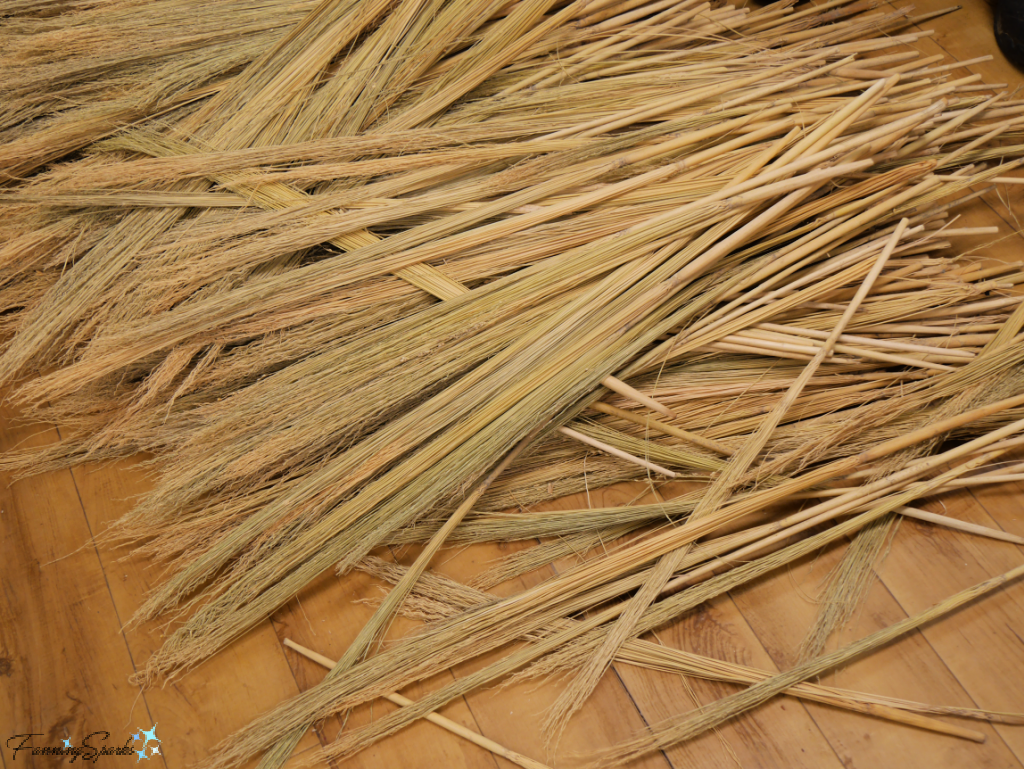
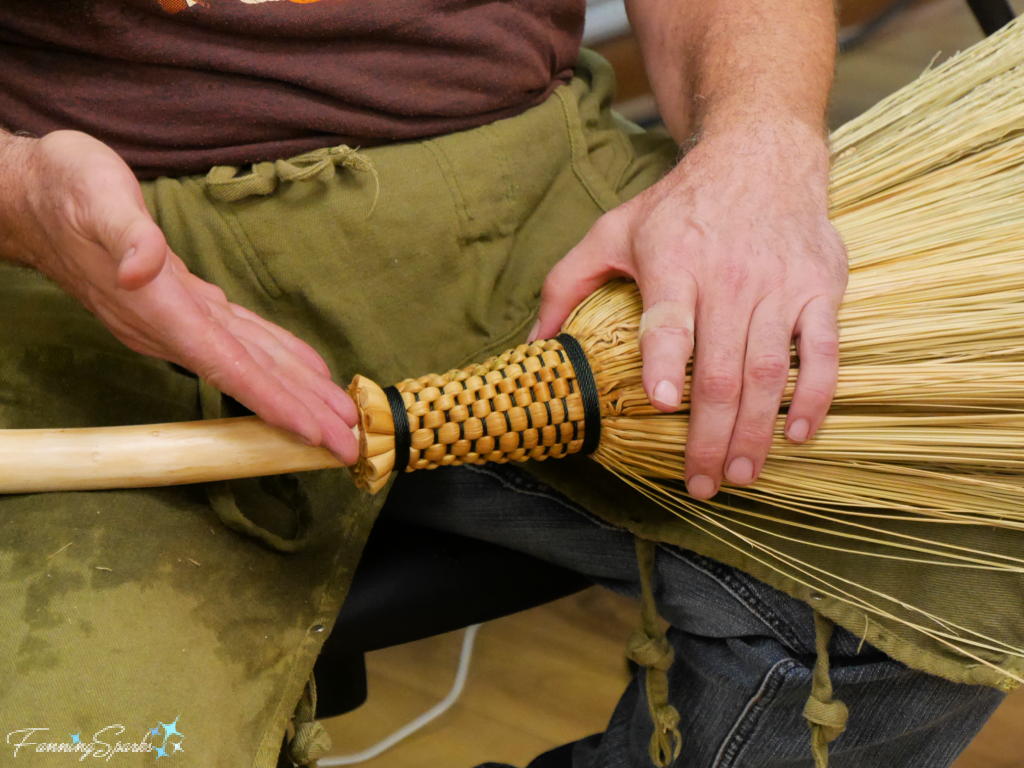
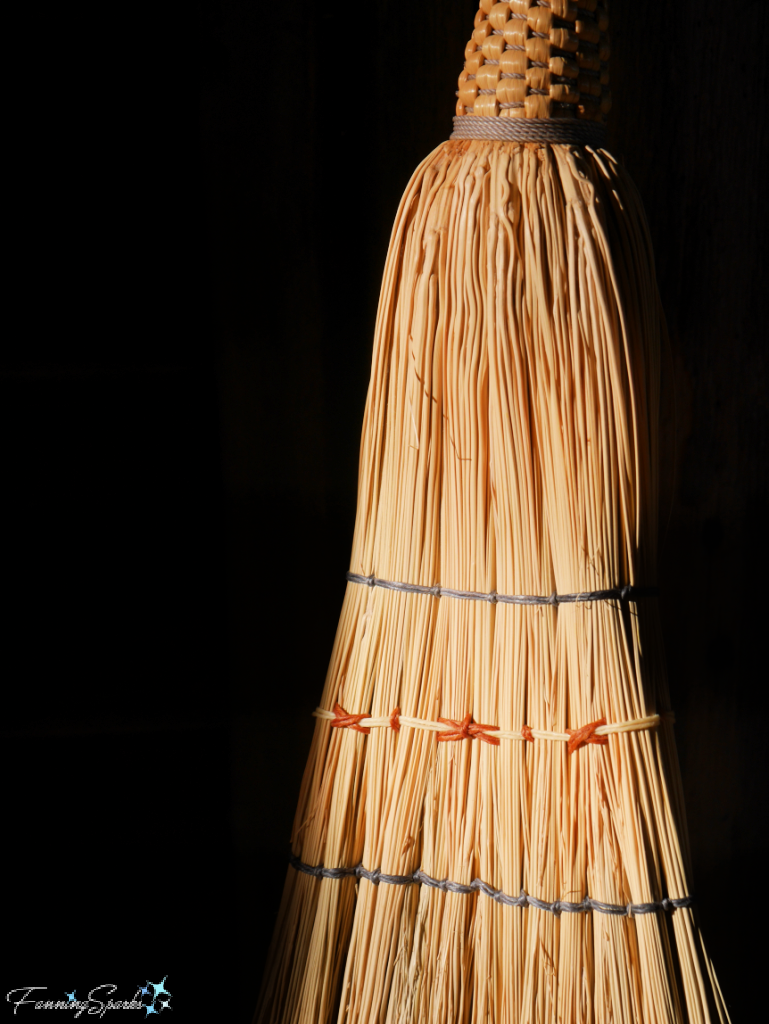
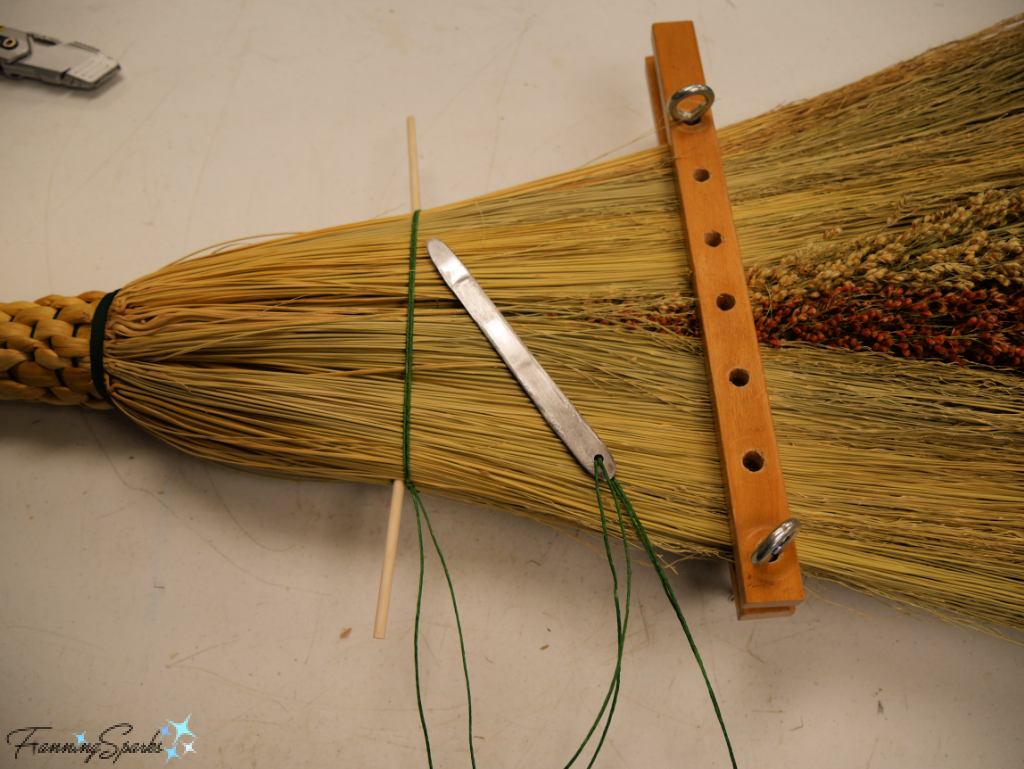
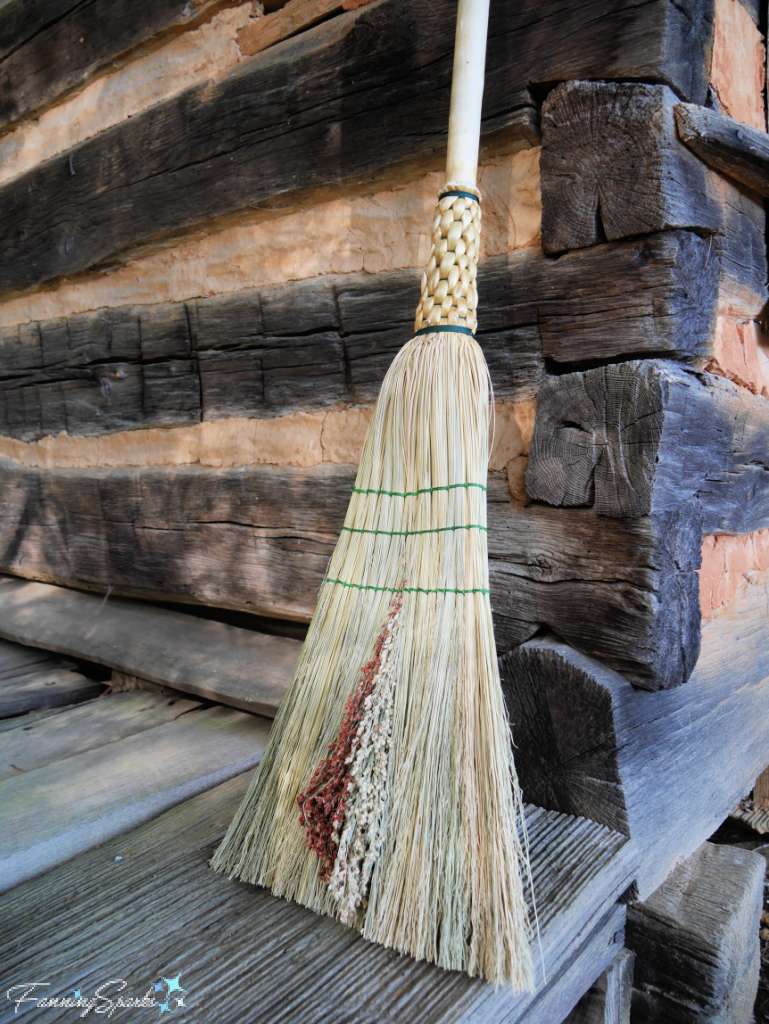
Marlow and Diana Gates are the broom makers behind Friendswood Brooms in Big Sandy Mush, North Carolina. They explore the broom as an art form creating unique, functional pieces of sculpture. They use natural wood handles and broomcorn. Every broom, whether utilitarian or decorative, incorporates traditional Appalachian strength and longevity. (You can learn more about broom making in the post, Swept Away by Broom Making, where I share my own experience of learning to make brooms.) I chose to feature Friendswood Broom Whisk here for its versatility and usefulness. This 8 inch whisk is perfect for a multitude of small cleaning jobs from sweeping away crumbs, to removing pet hair, to clearing away plant leaves…
…to removing the mysterious detritus that seems to multiply inside a vehicle.
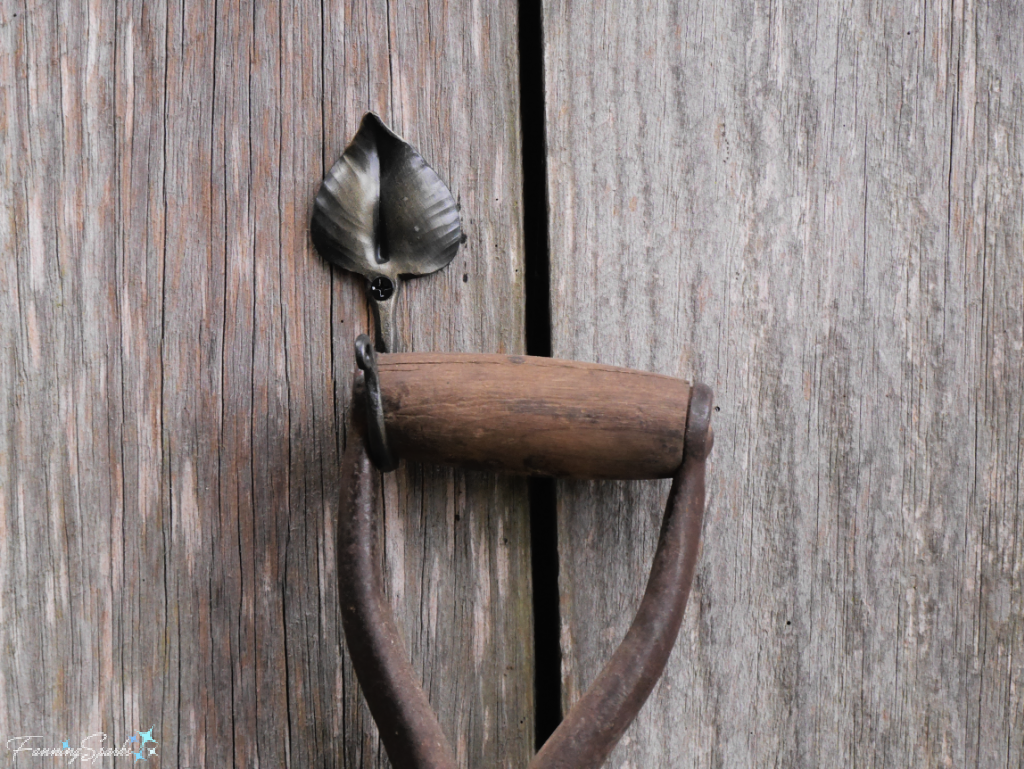
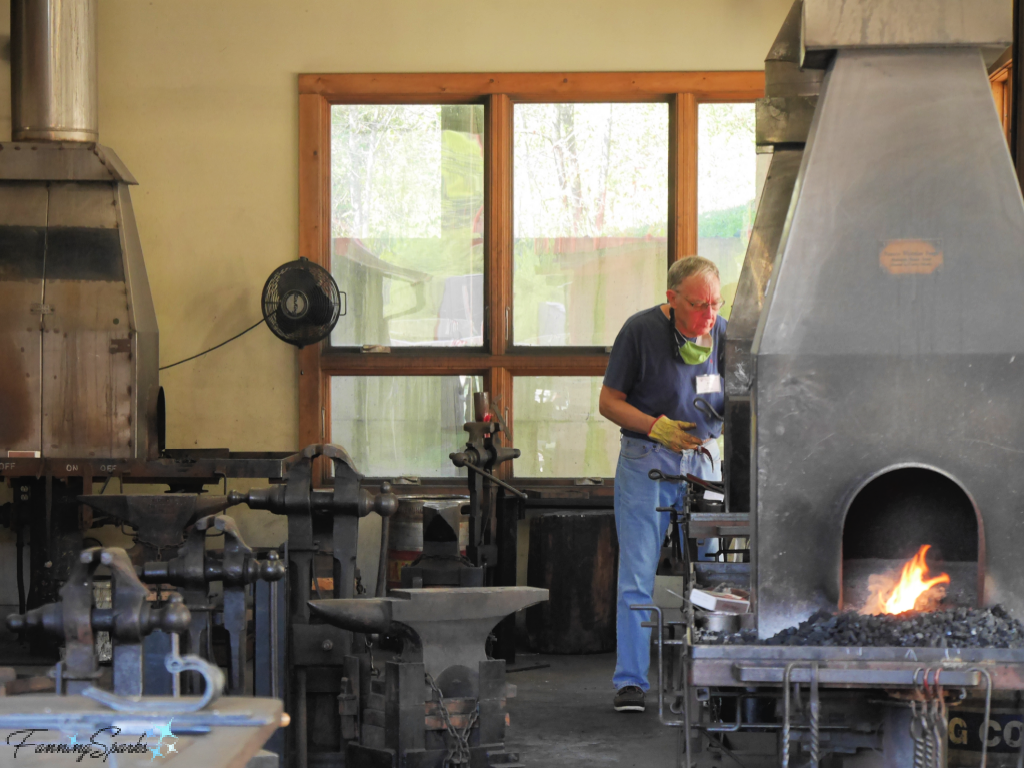
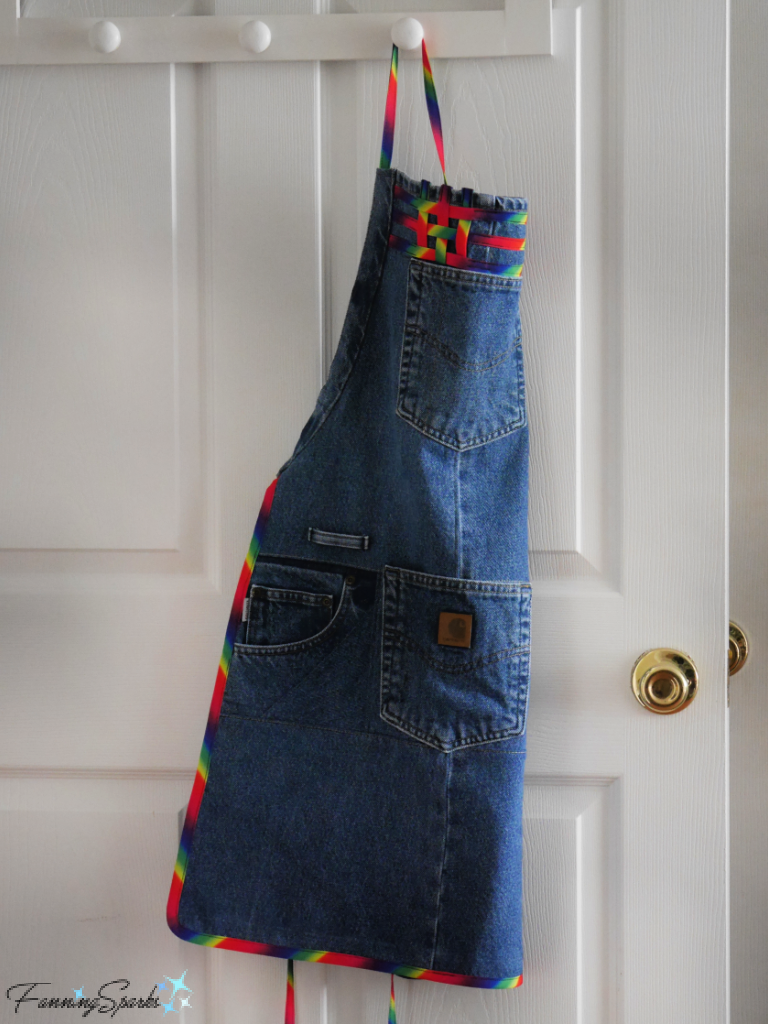
12. Forged Hook by Chestnut Oak Forge
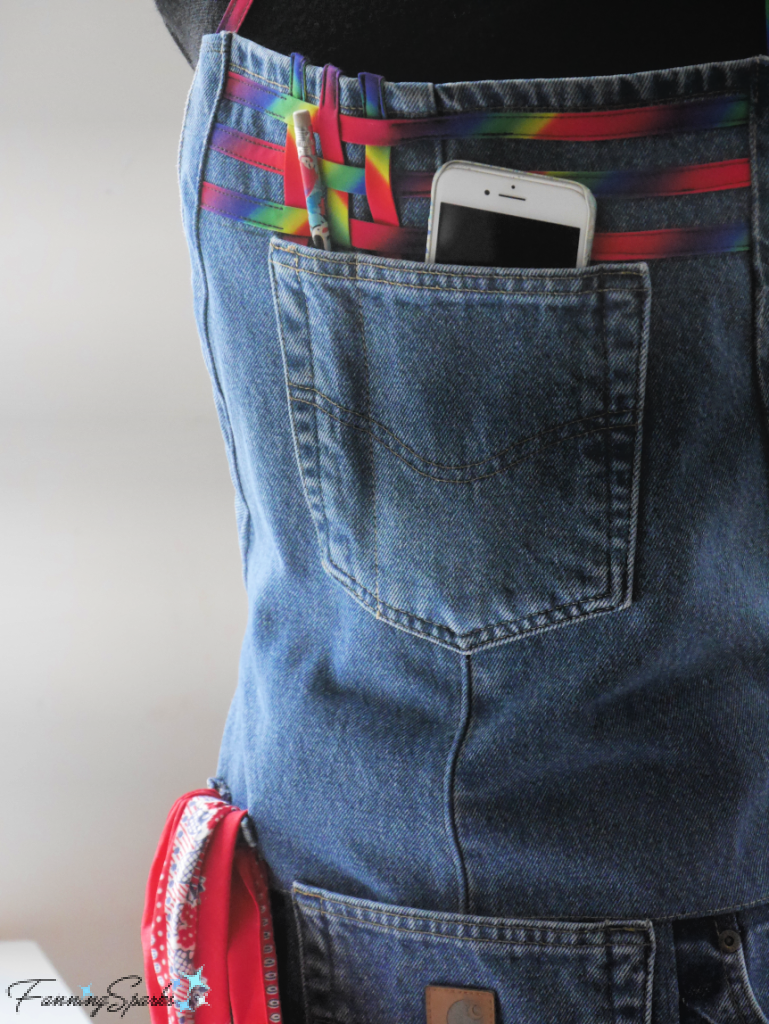
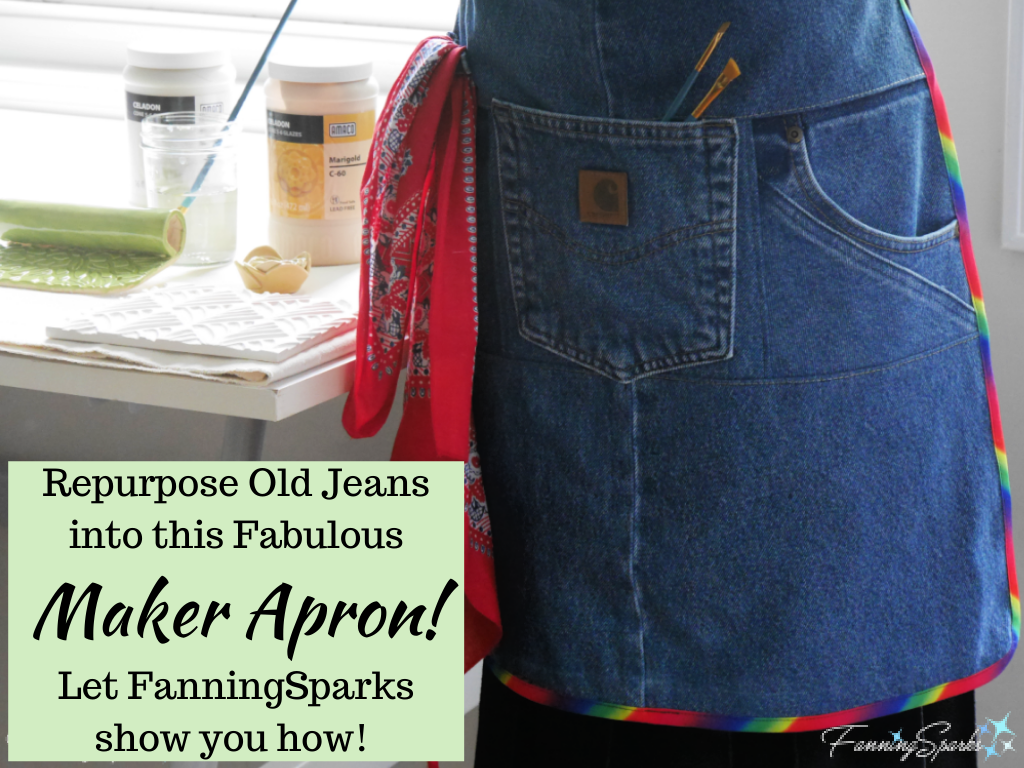
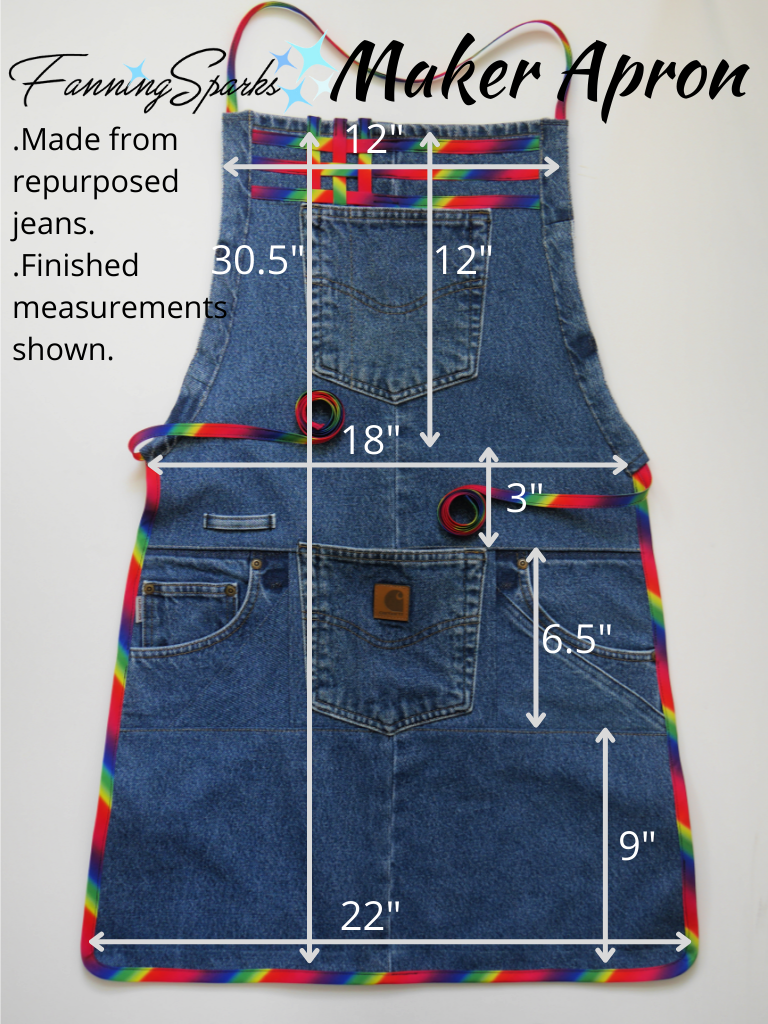
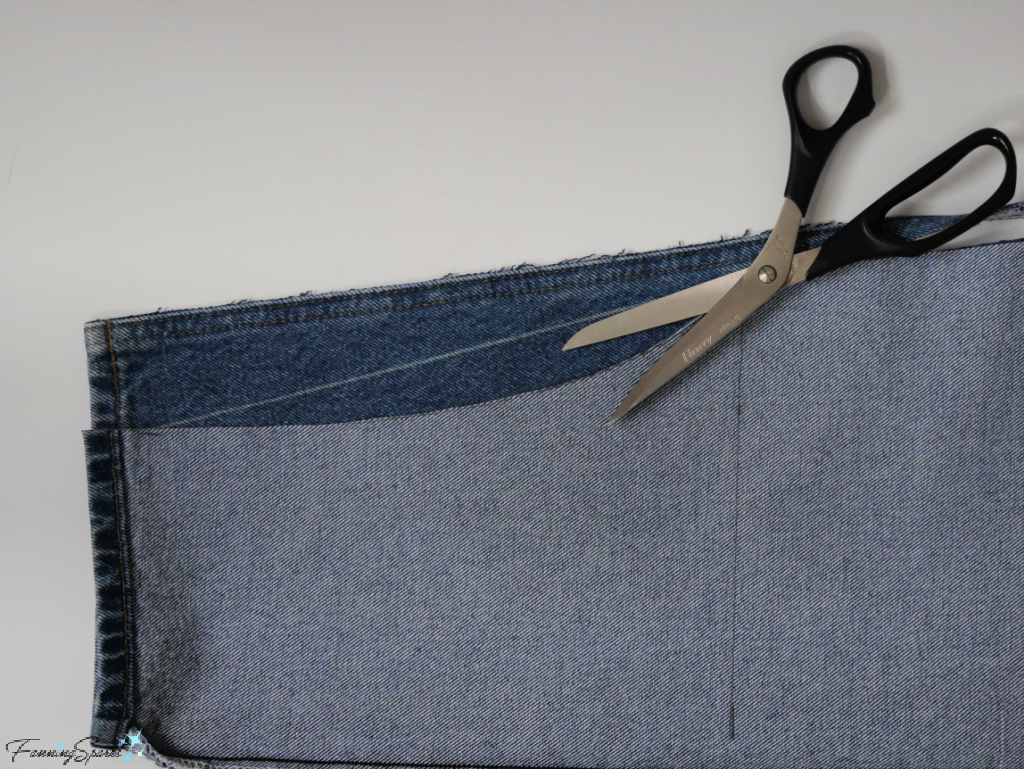
Ron Howard, of Chestnut Oak Forge, makes functional items for the home and hearth in Brasstown, North Carolina. He uses a coal-fired brick forge along with the traditional hammer and anvil to create most of his metal work. I selected a forged leaf hook—perfect for a myriad of uses around the house and garden. It is pictured here holding the new Maker Apron I made recently (see Maker Apron – DIY Tutorial for details). The hook is simple, strong and beautiful.
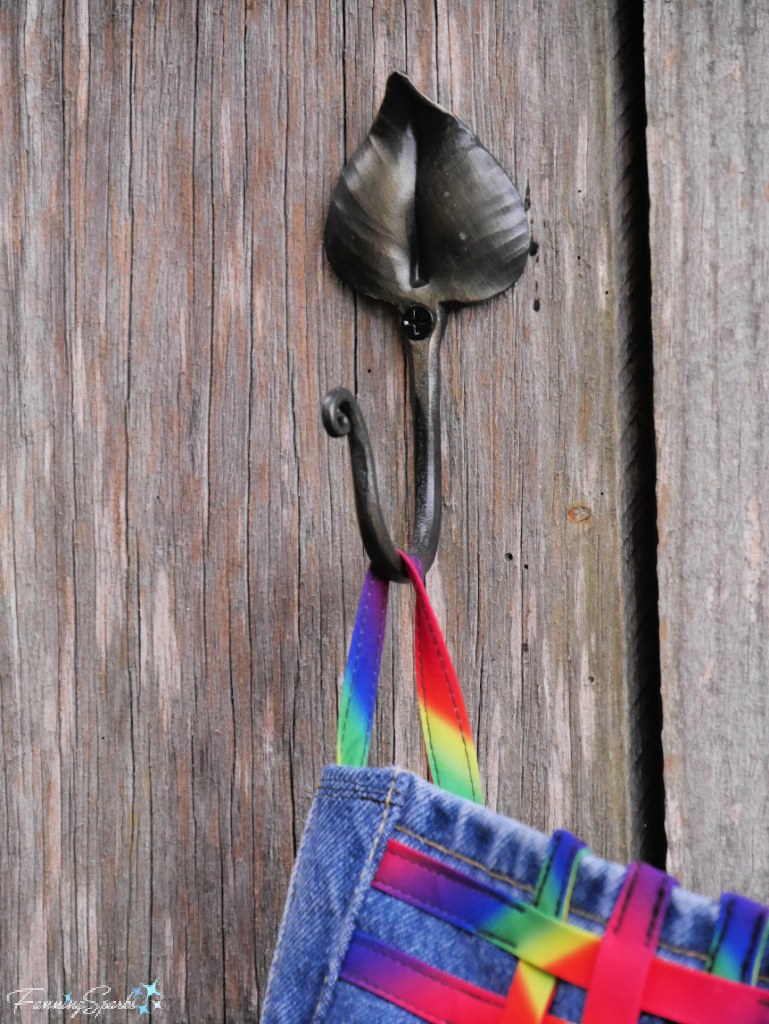
The Chestnut Oak Forge forged leaf hook could also add a pretty decorative touch to the garden shed while keeping garden tools in order.
 That wraps up my top 12 functional art picks from the Folk School Craft Shop. Many of these splendid handmade items would make excellent gifts for the upcoming holidays. Simply reach out to the Folk School Craft Shop (see more info below) to make a purchase. It’s a great way to support talented artists as well as the John C Campbell Folk School.
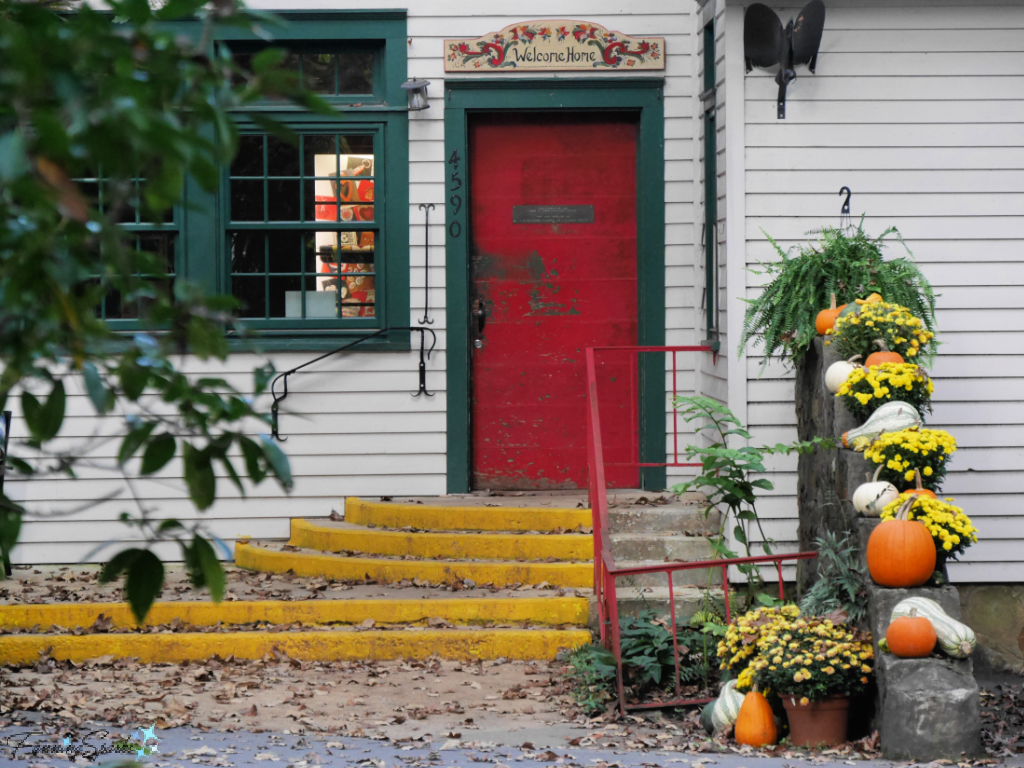
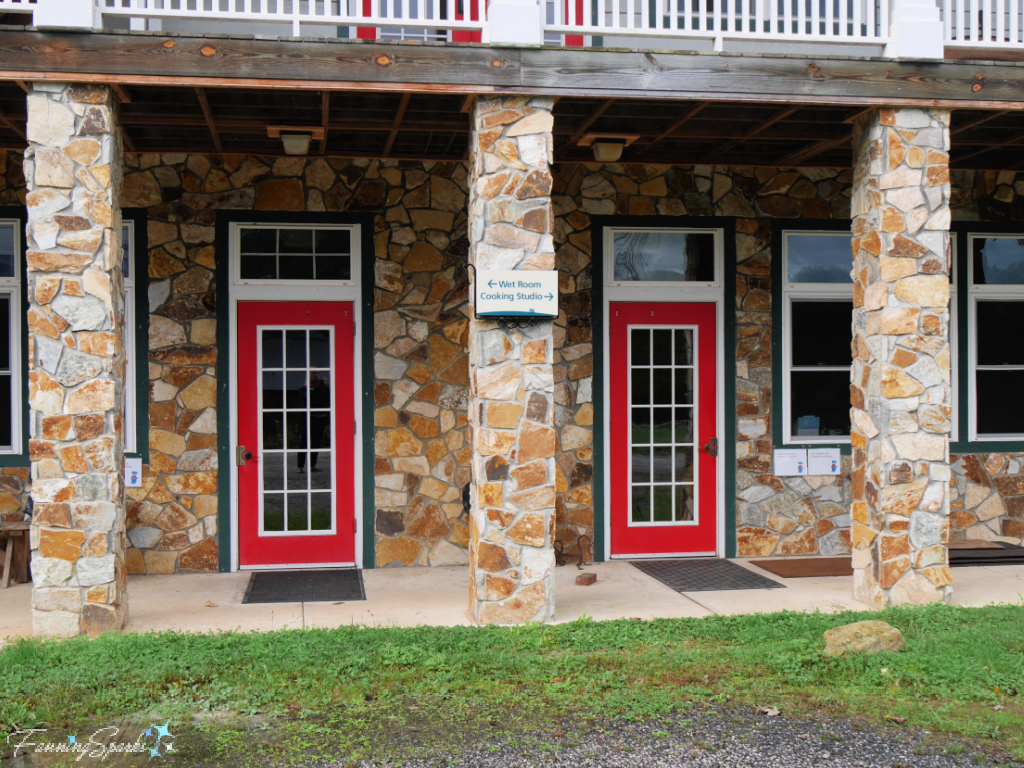
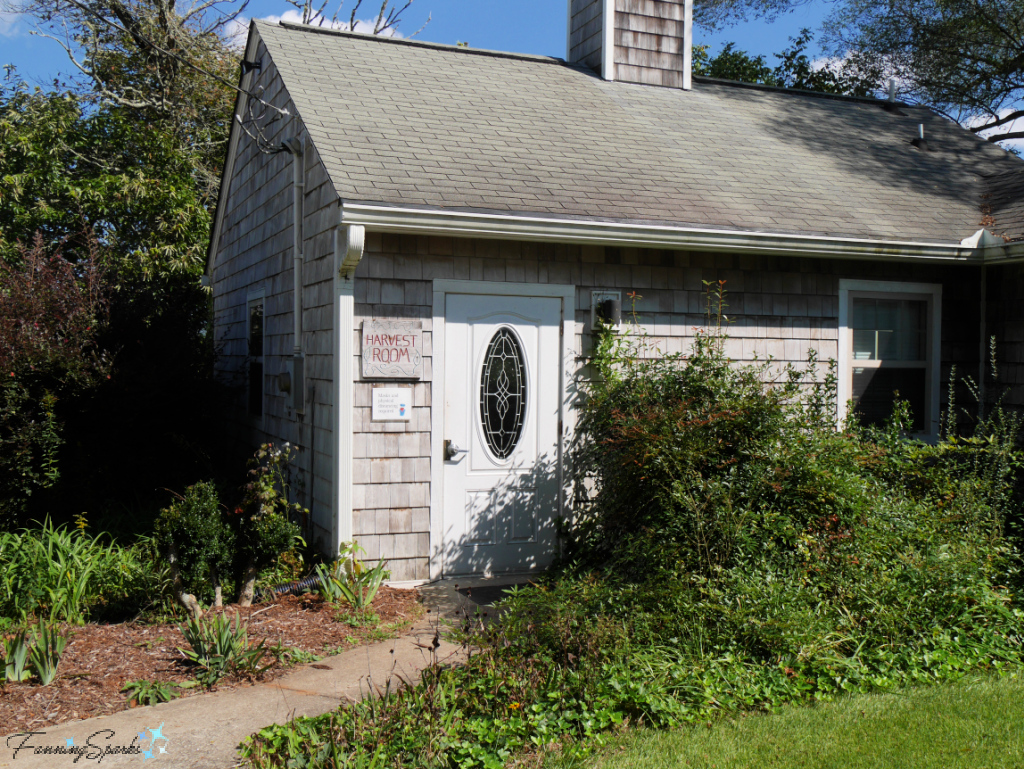
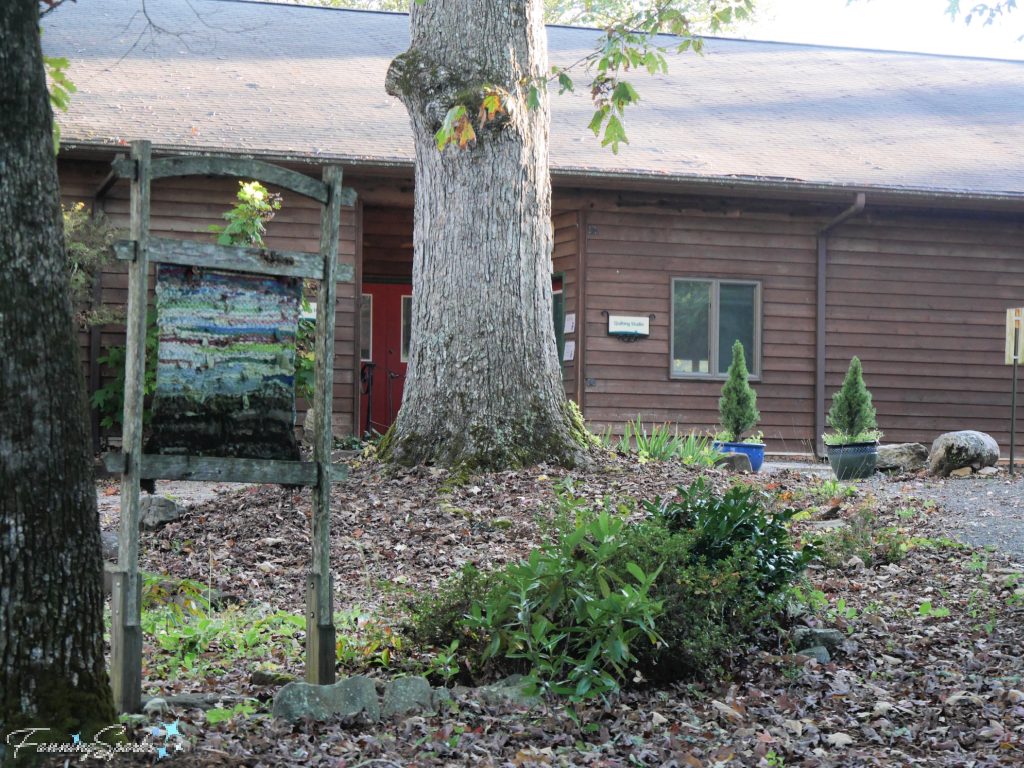
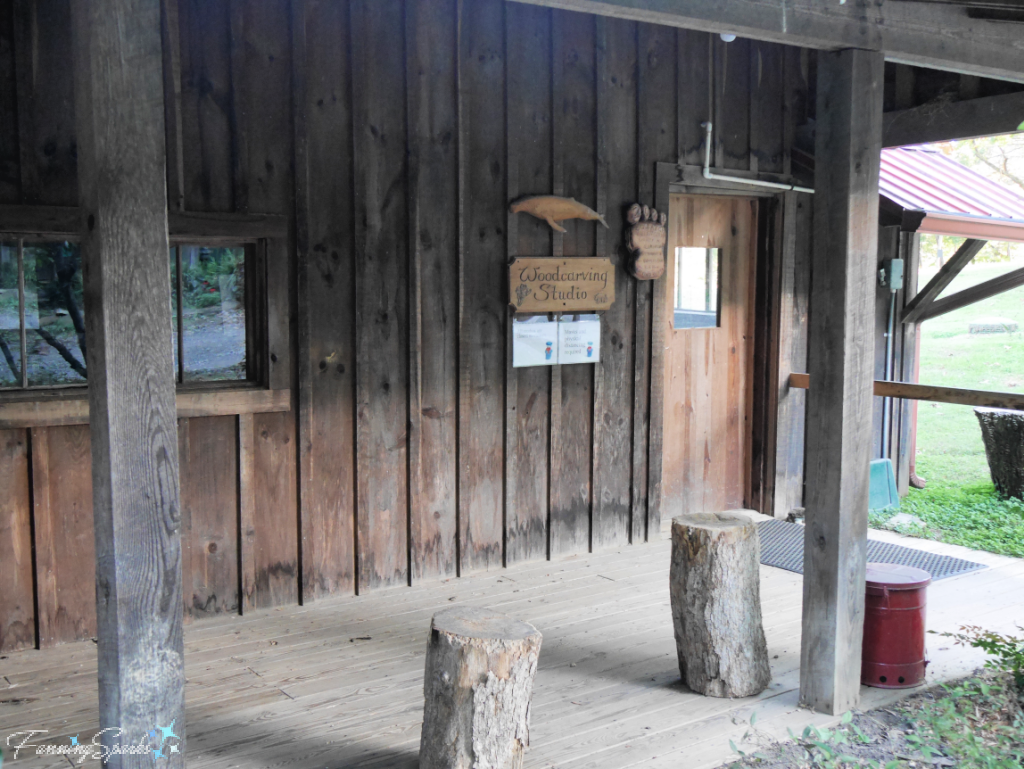
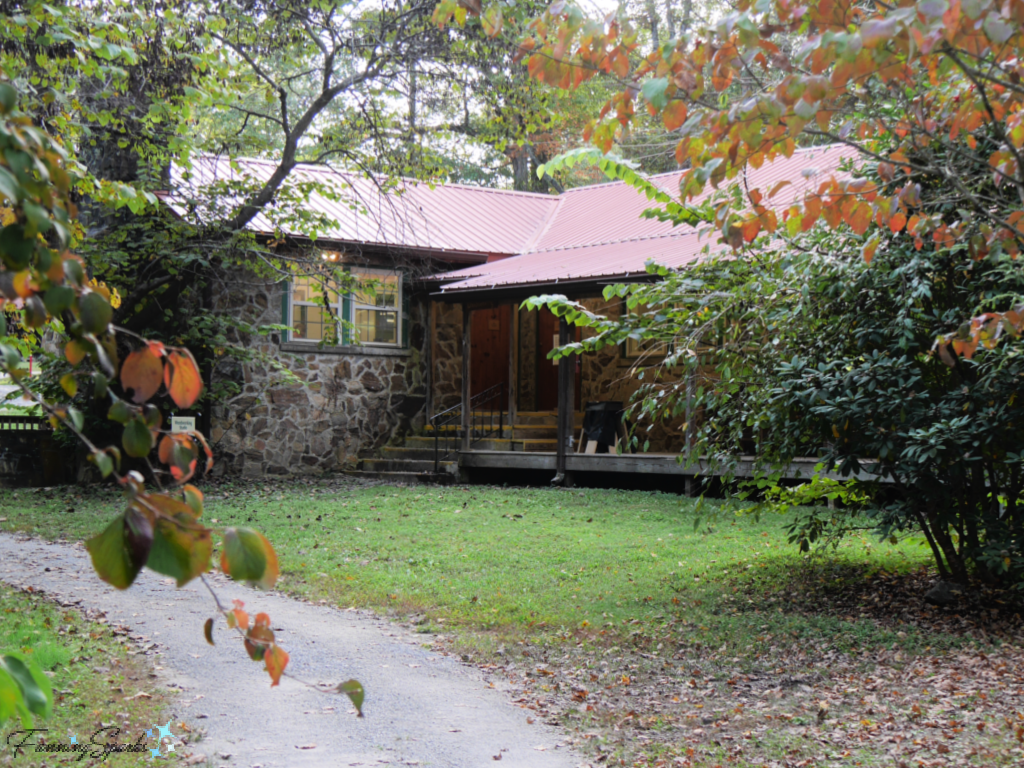
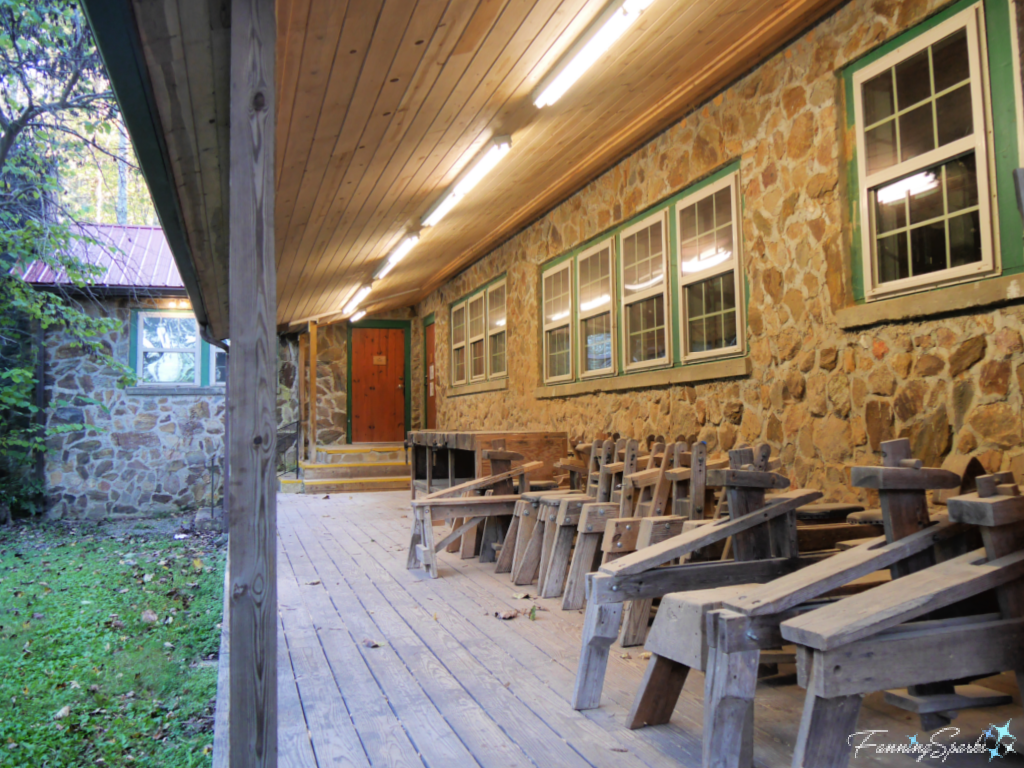
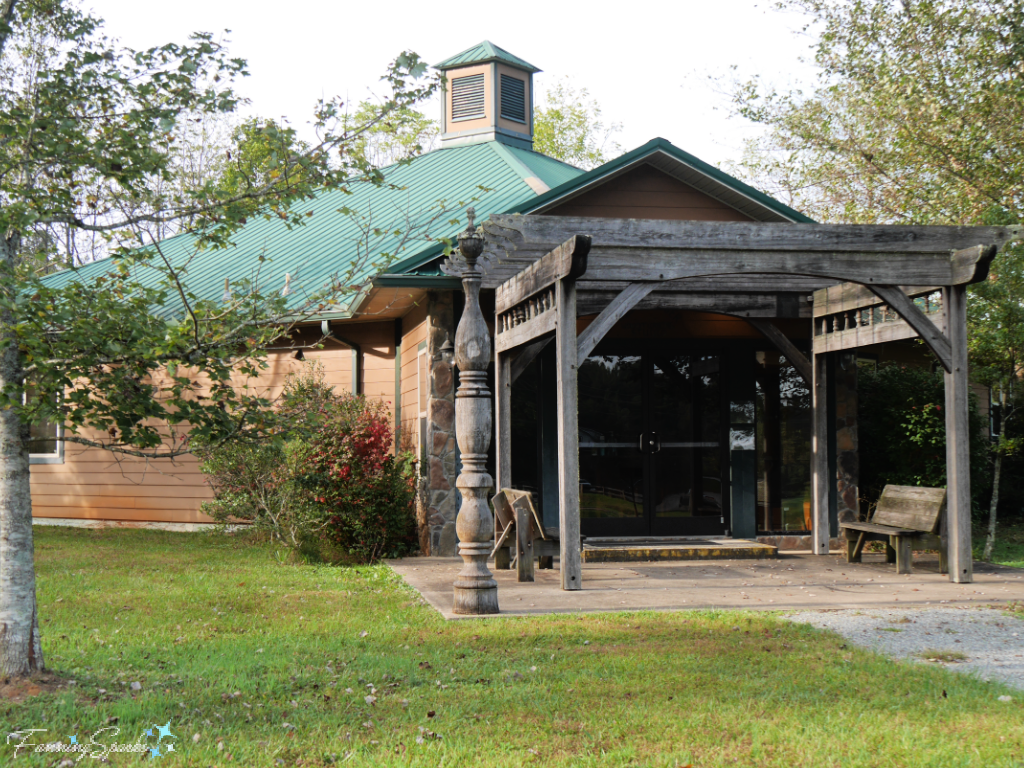
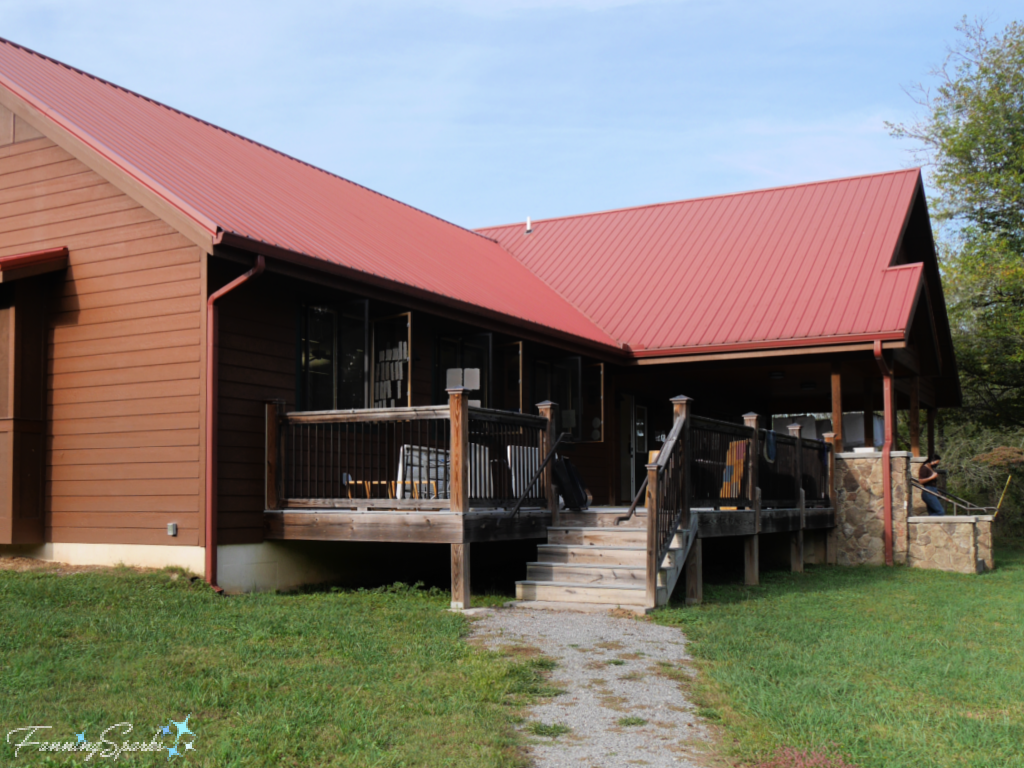
By the way, most of the photos in today’s post were staged in the historic Keith House. The Keith House was the first building constructed by the school and served as the center for all activity during the early years of the school. Pictured below are the main doors of the Lower Level of Keith House. This area housed the Folk School’s original dining room. 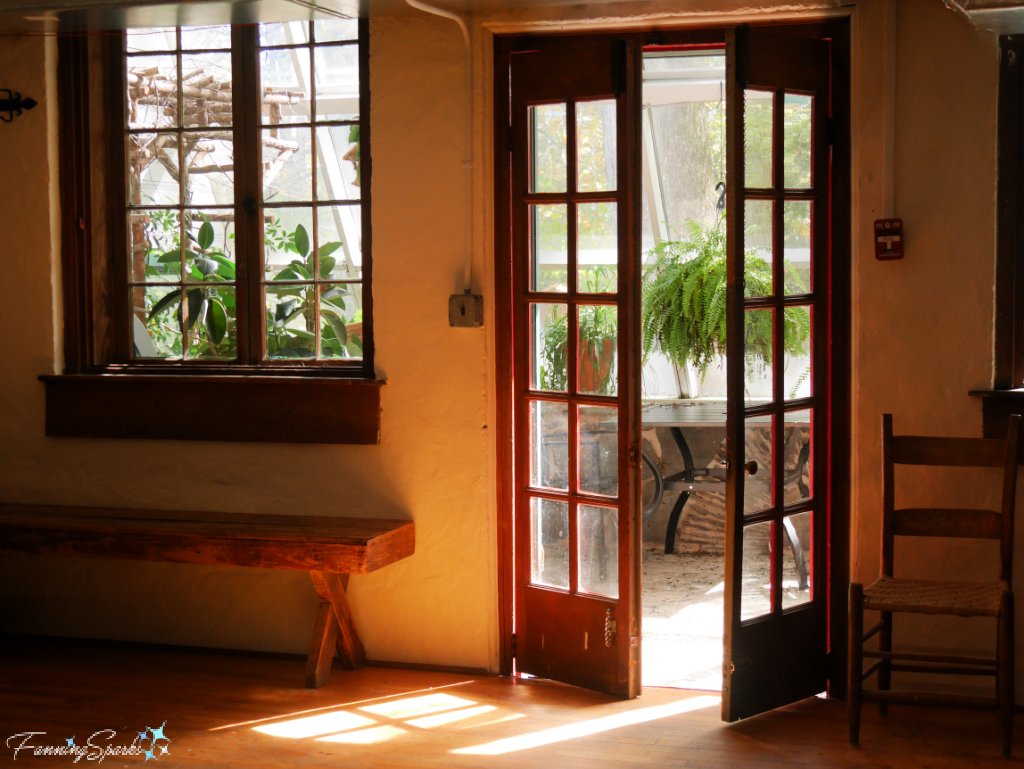
More Info
The Craft Shop at the John C Campbell Folk School is located in Brasstown, North Carolina. If you can’t visit in person, visit their online store to shop virtually. Please note not all items are listed in the online store but you can contact the friendly folks at the Craft Shop directly by calling 828-837-2775, Ext. 125. As of this writing, the Craft Shop hours are: Monday-Saturday from 10 a.m. to 5 p.m. and on Thursday from 10 a.m. to 6 p.m. Special thanks to Corryn Reynolds, Tammy Elwell and the rest of the Craft Shop team for your patient and generous assistance with this post!
Check out the links below for more information about the artists featured in today’s post:
1. Tea Towel by Betty Johnson – The Royal Fleecery on Etsy
2. Placement by Crossnore Weavers
3. Napkins by WAXON Batik & Dye Studio
4. Notecards by Jane Voorhees Art
5. Soap by The Blue Ridge Soap Shed
6. Plate by Susan Bach Pottery
7. Mug and Plate by Jenn Cole Ceramics
8. Spoon by Allegheny Treenware
9. Scoop and Seam Ripper by Alan Leland
10. Bottle Sponge Stick by MoonSpoon
11. Whisk by Friendswood Brooms
12. Forged Hook by Chestnut Oak Forge – by Ron Howard
I’m currently participating in a 6-week Work Study Program at the John C Campbell Folk School. Look for Work Study on the Folk School website for more info or check my FanningSparks’ blog posts about my Work Study Program experience.
Today’s Takeaways
1. Think about giving handmade artwork in the upcoming holiday season.
2. Functional art is a great way to incorporate handcrafted items into ordinary, everyday tasks and rituals.
3. Consider shopping at the Folk School Craft Shop to support the School as well as the talented artists they represent.


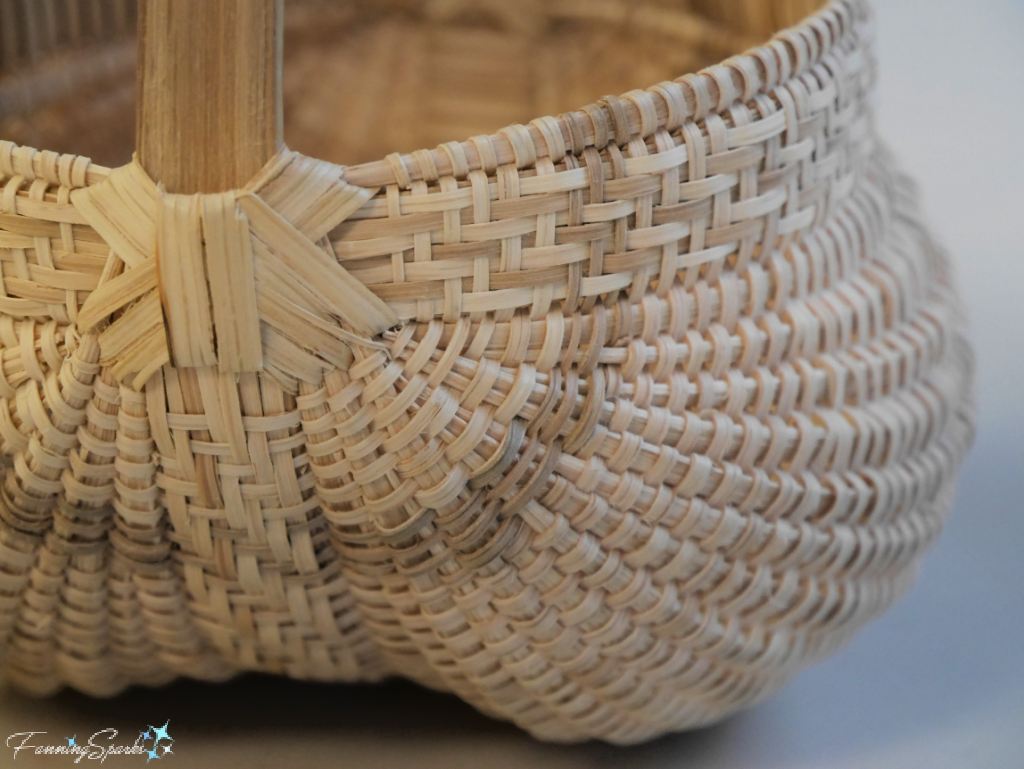

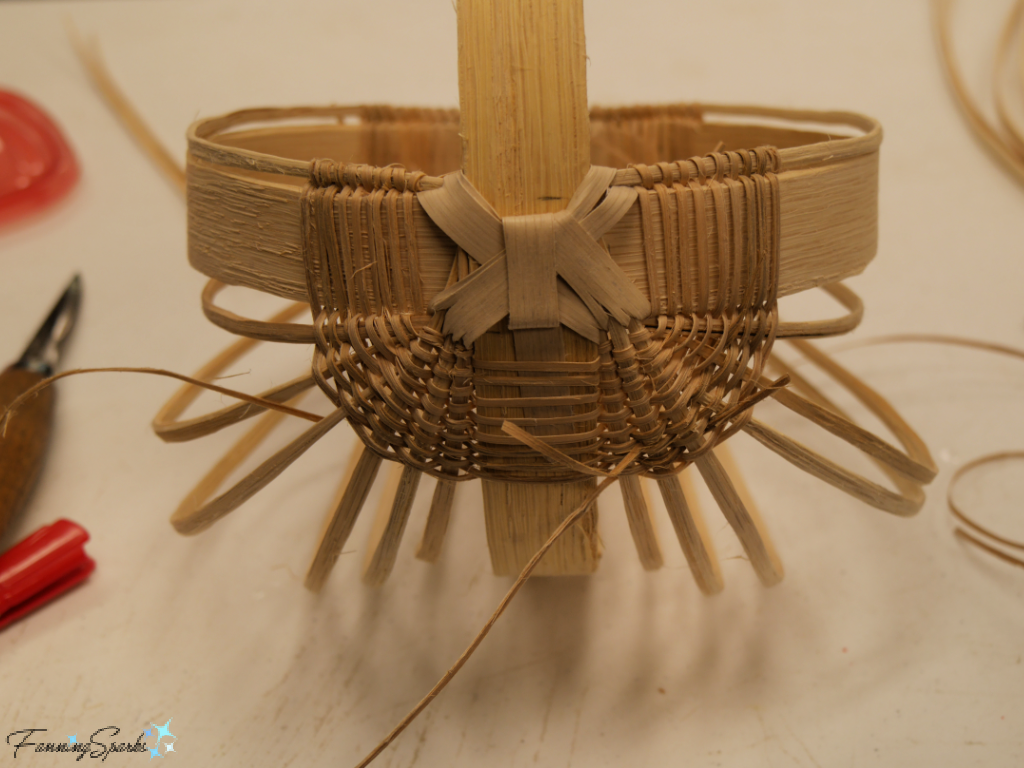

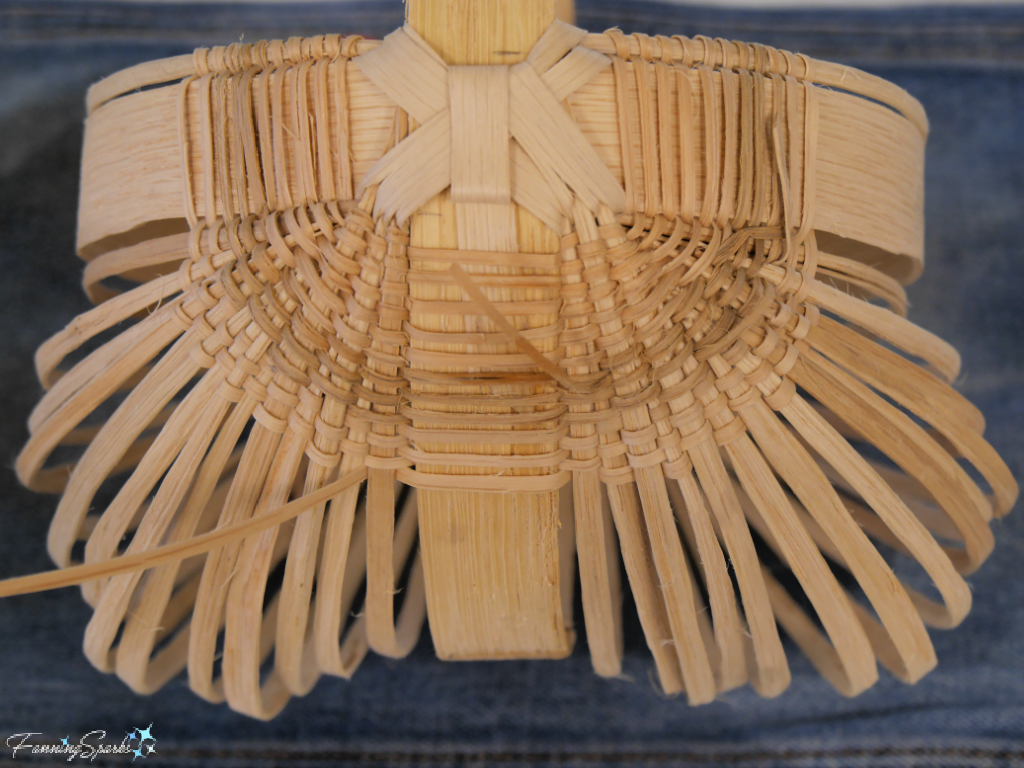
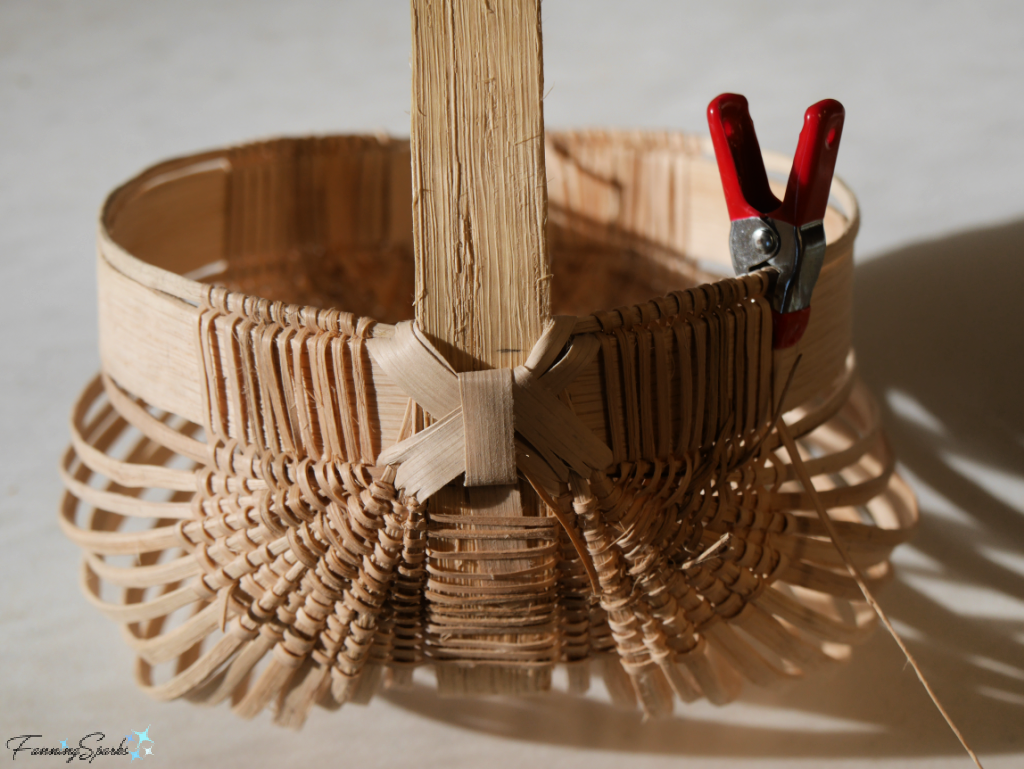
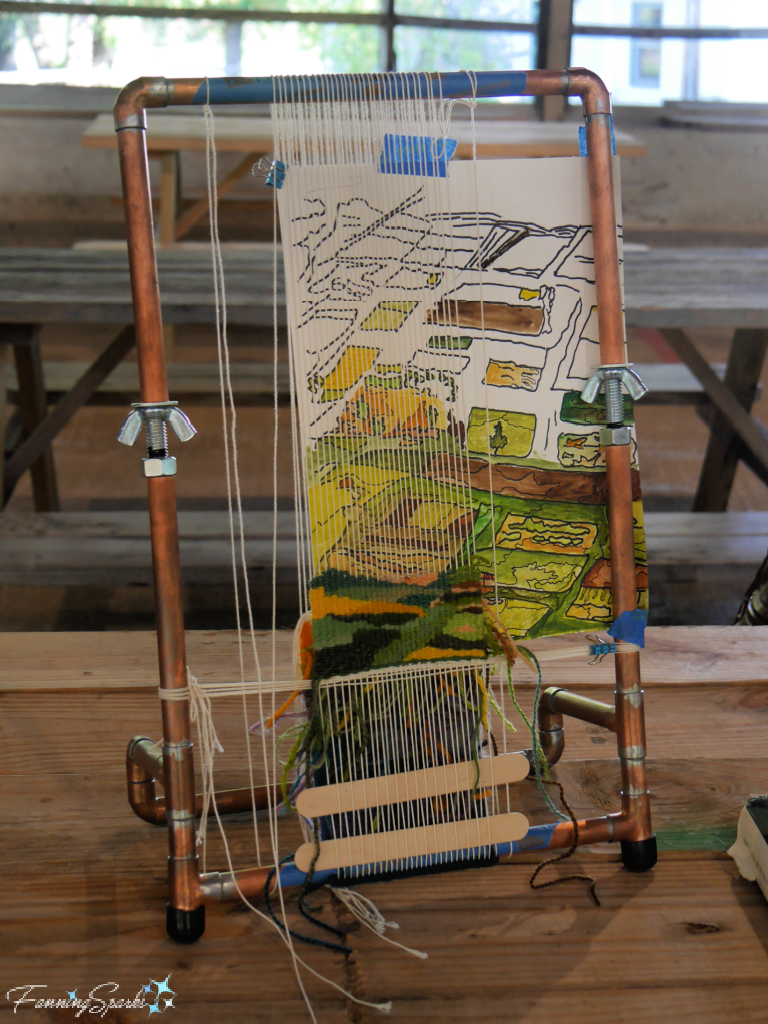
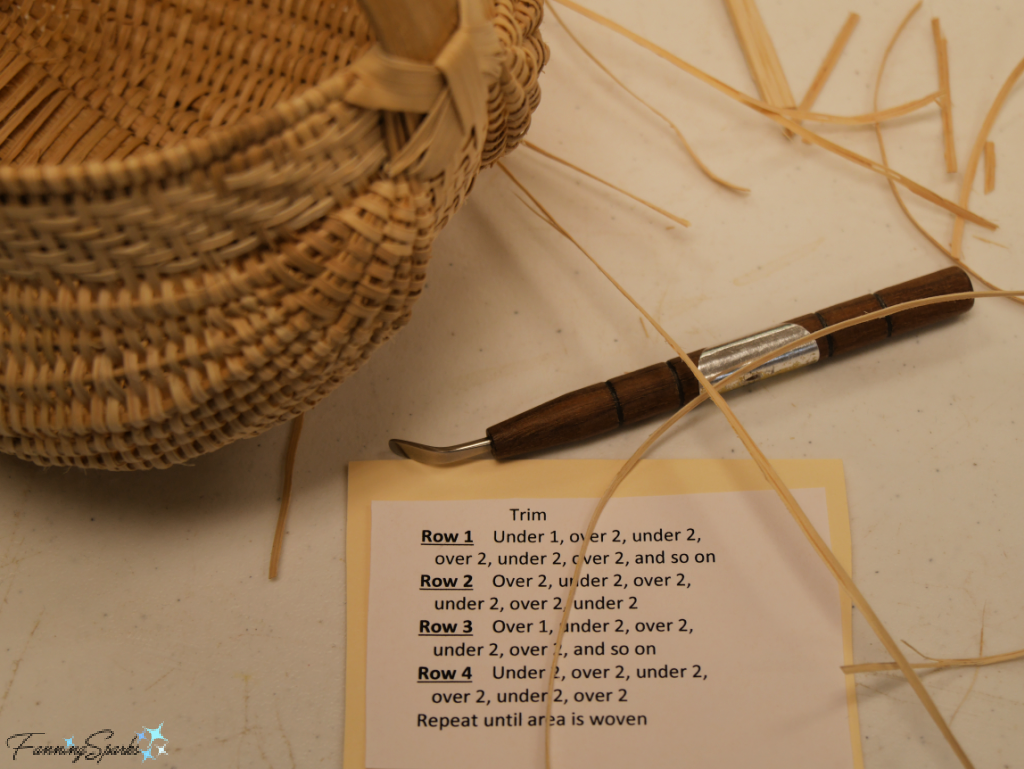 Keeping track of the pattern to ensure the right number of overs and unders was not easy and I found myself removing almost as much as I’d woven. But I persisted and here’s how my bottom twill pattern looked with only one more row to weave.
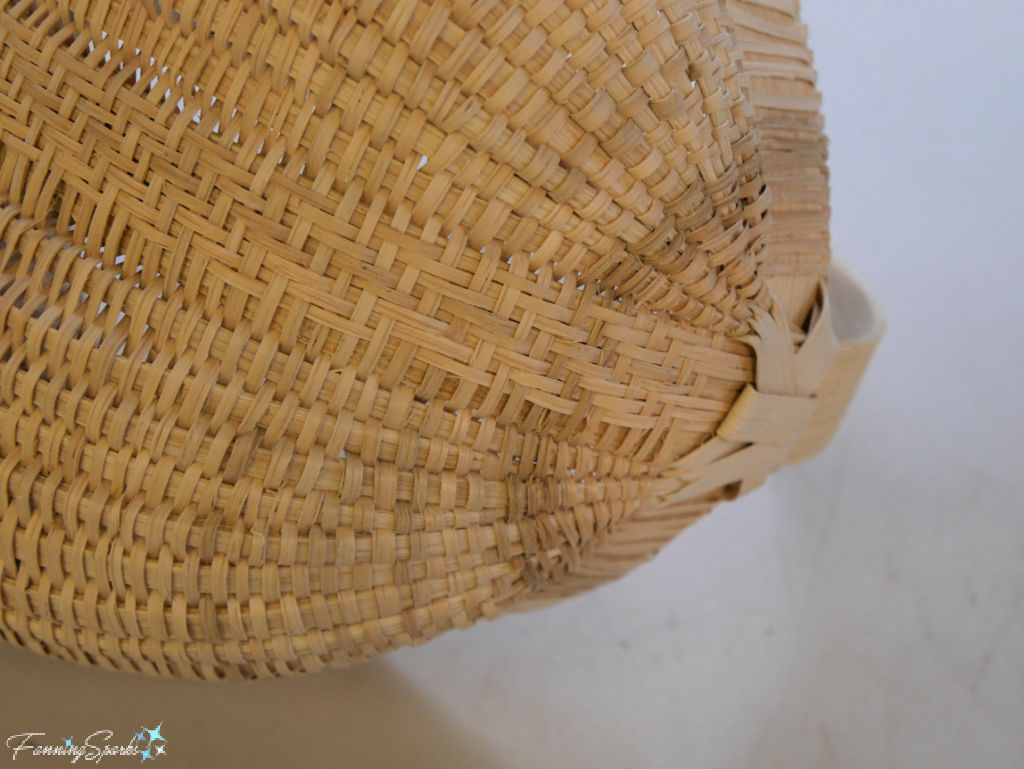

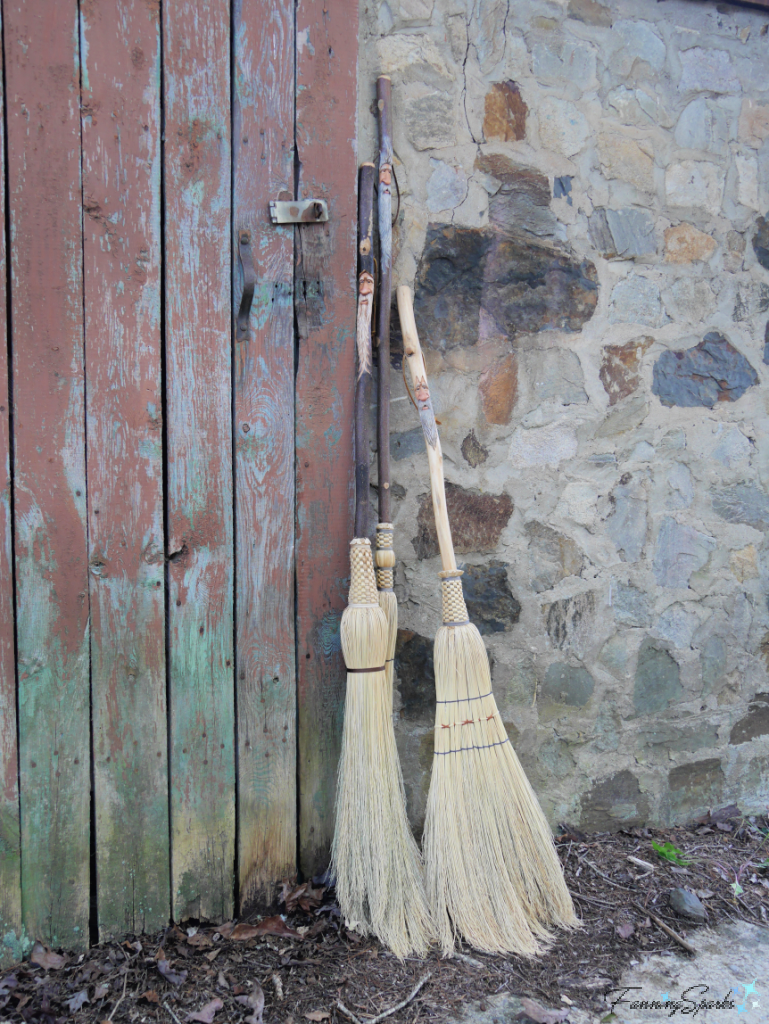
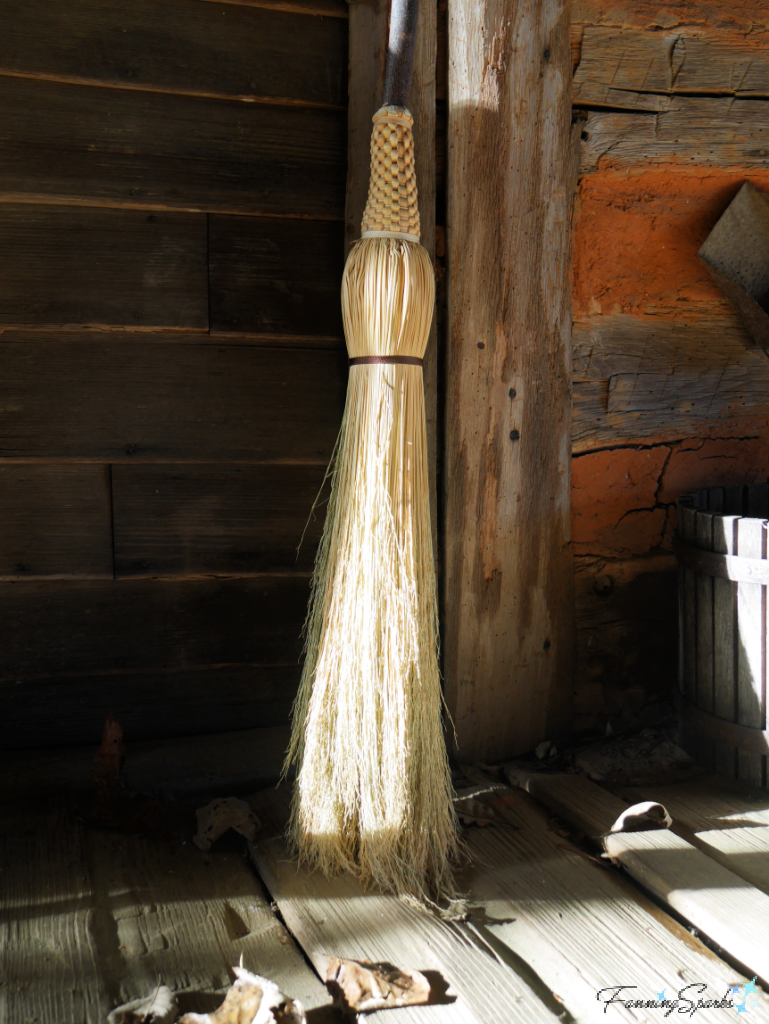
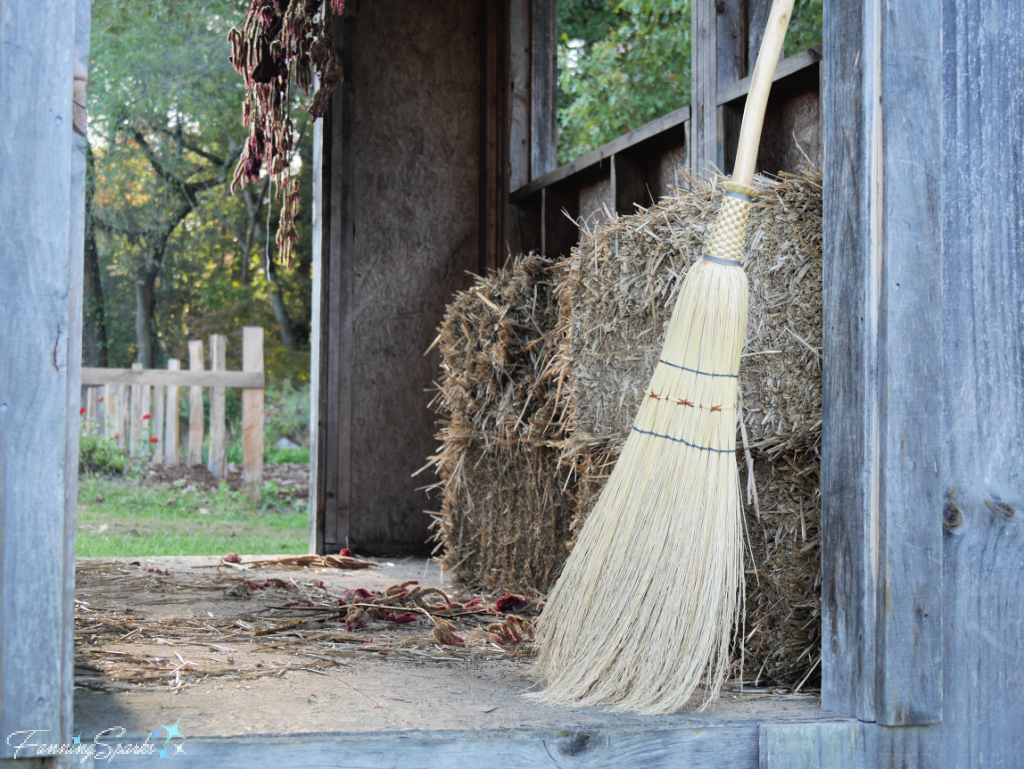
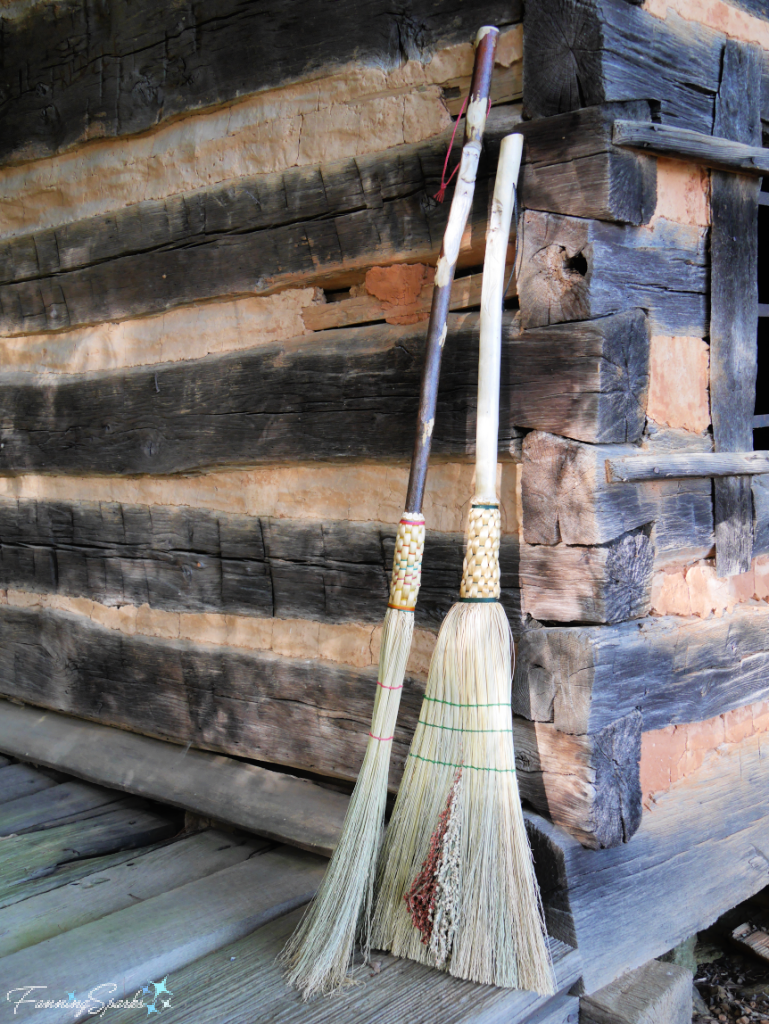
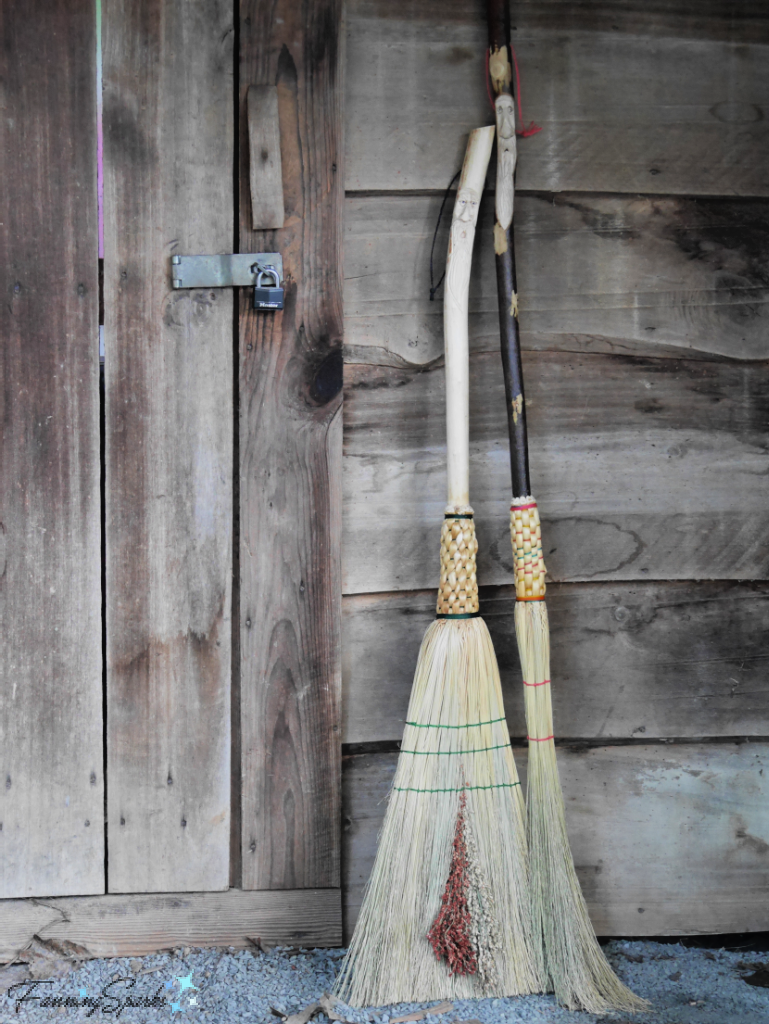
 These brooms have hand-plaited natural sorghum (Sorghum vulgare) sweeps. This is the outstanding work of Mark Hendry, a full time artisan and instructor specializing in Brooms & Basketry.
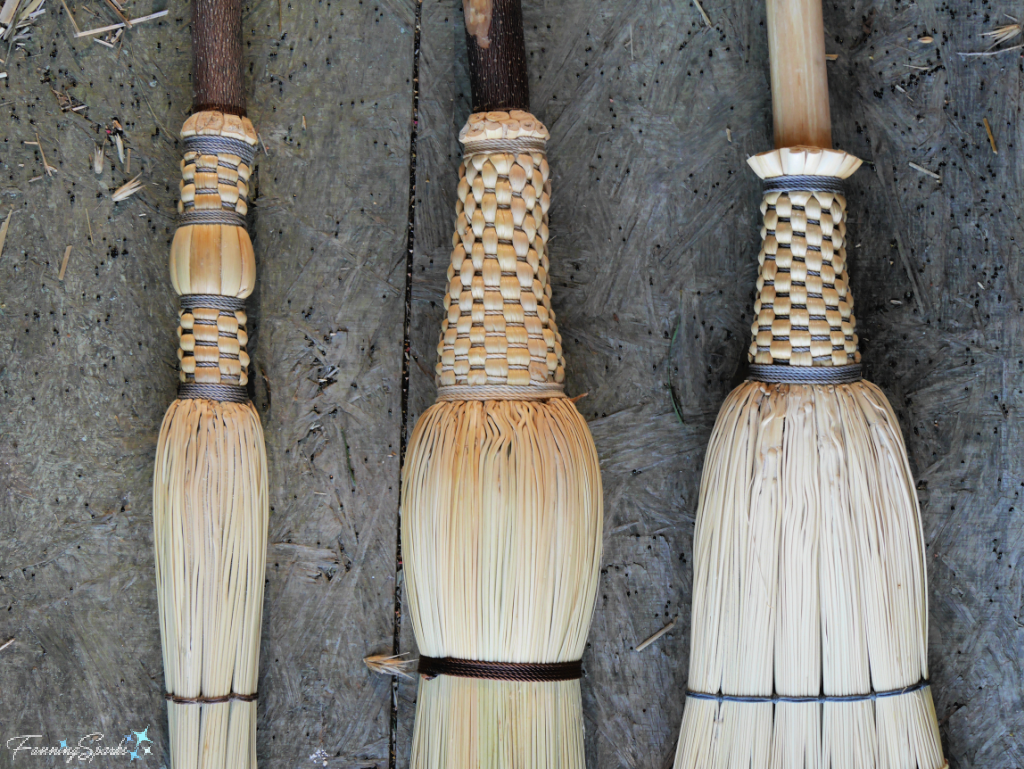
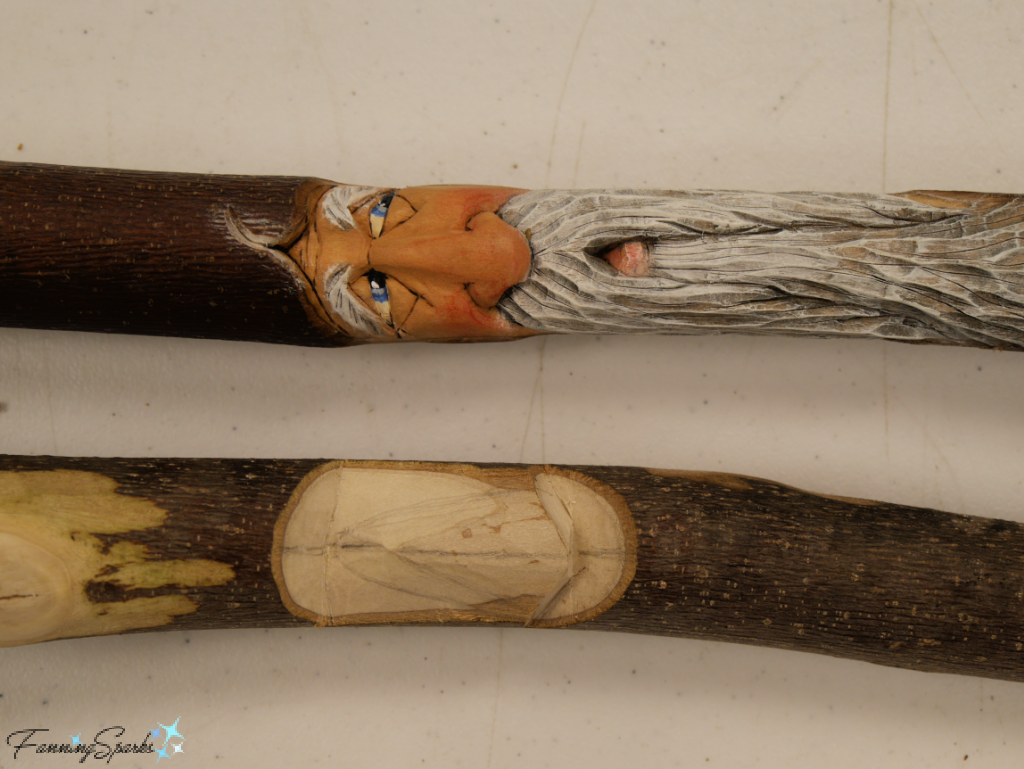
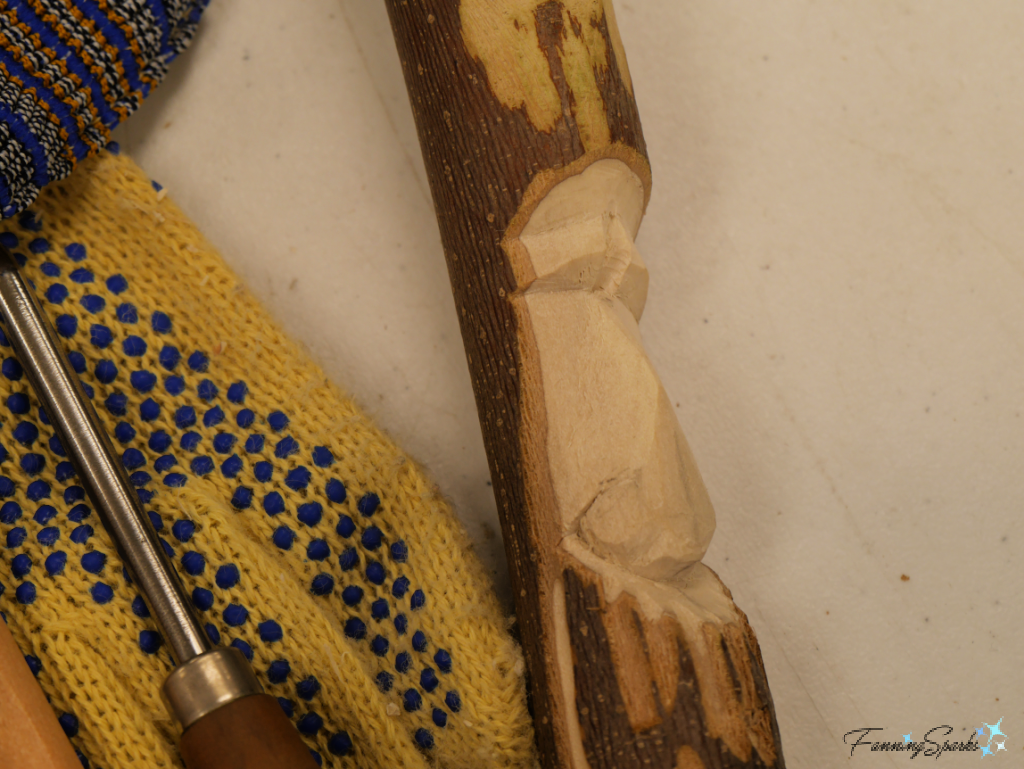
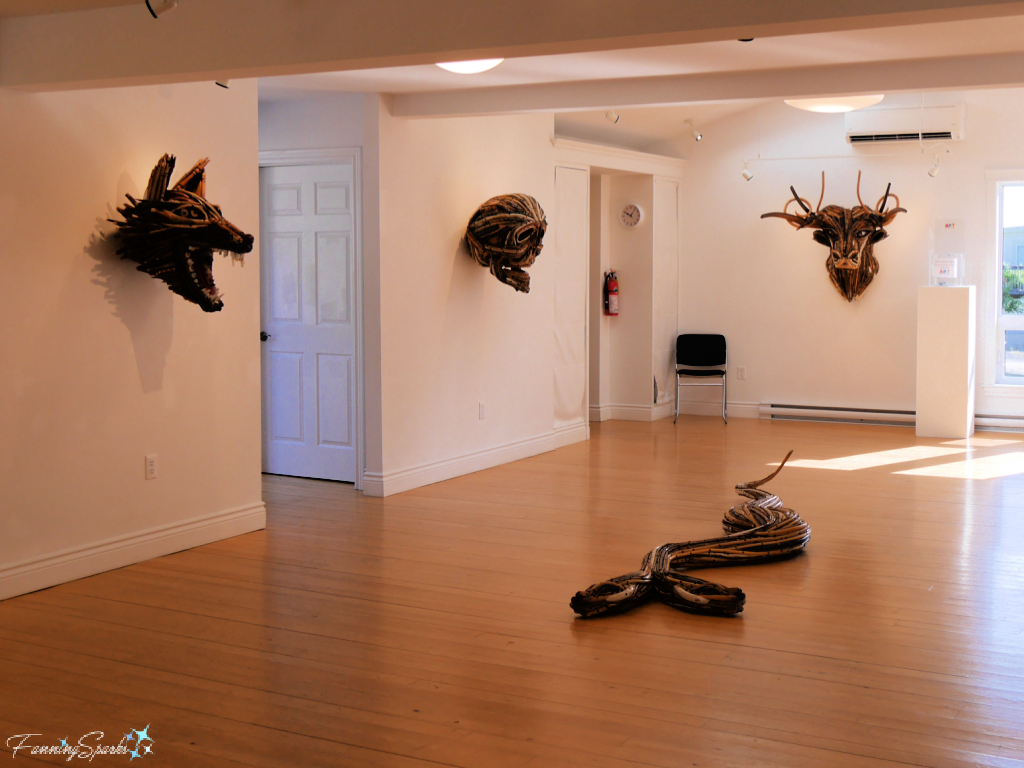
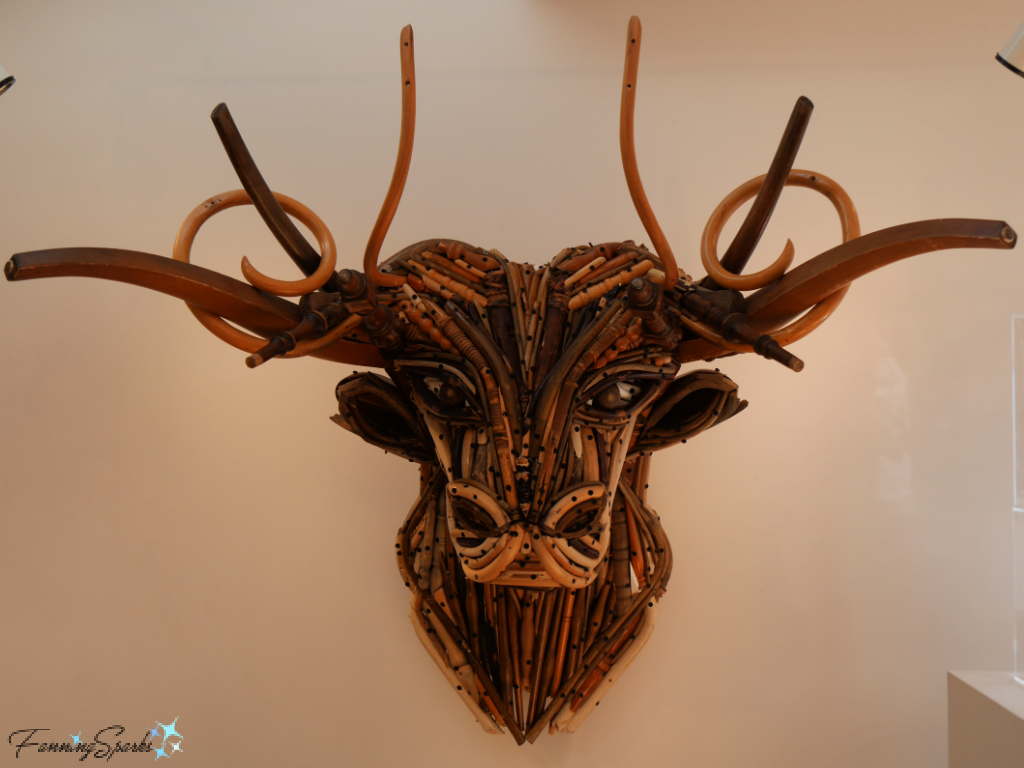
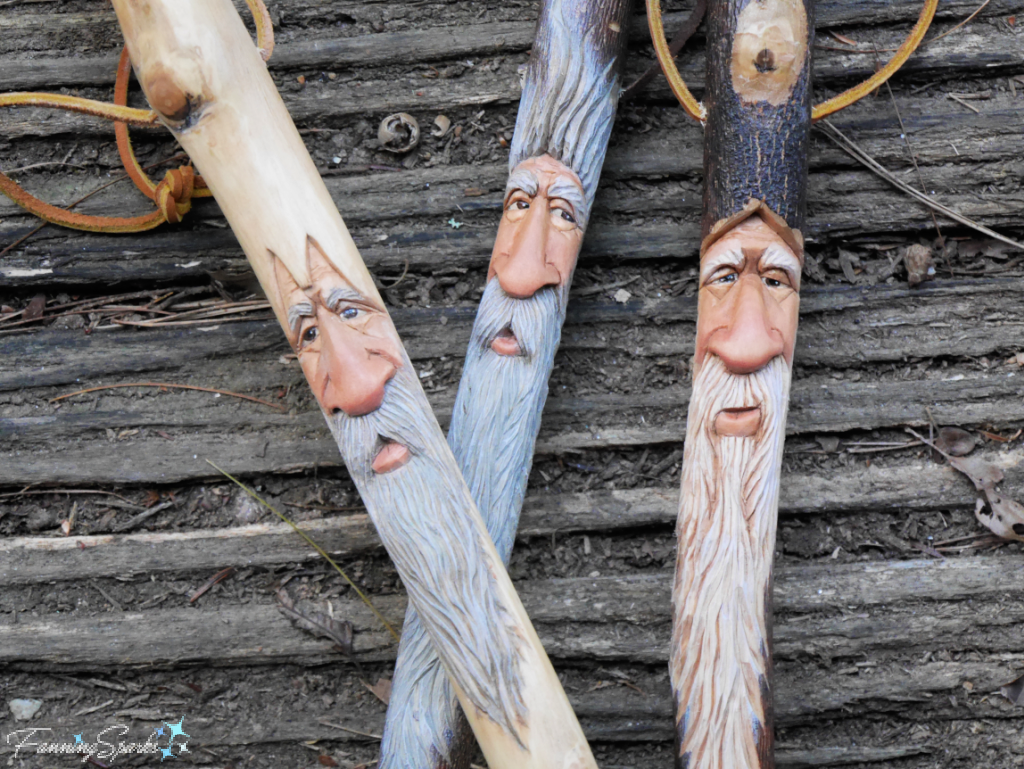
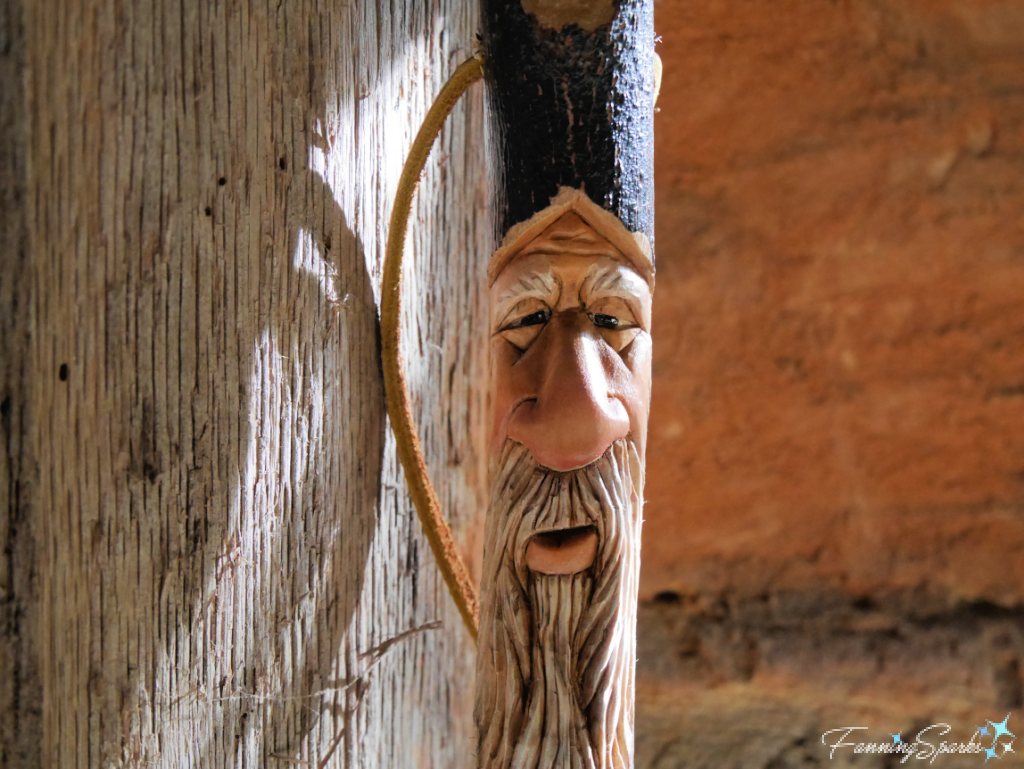
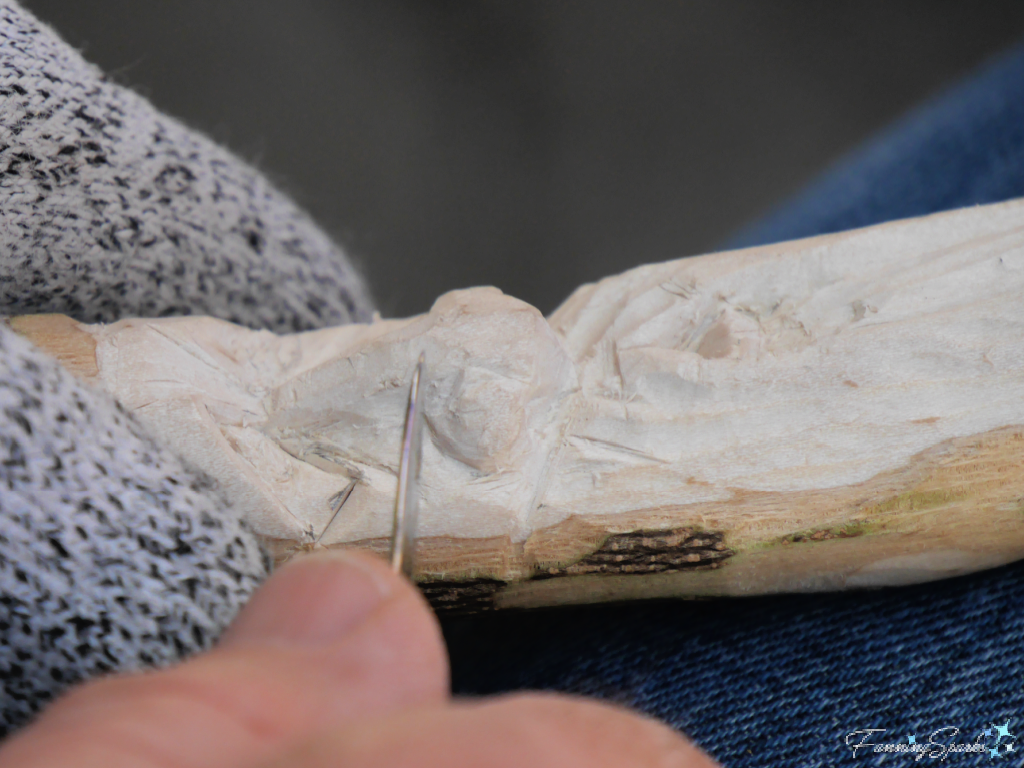 Marvin finishes his wood spirit faces by lightly accenting the features with wood burning lines and then subtly painting with acrylics. This is Marvin’s steady hand with the wood burning tool.
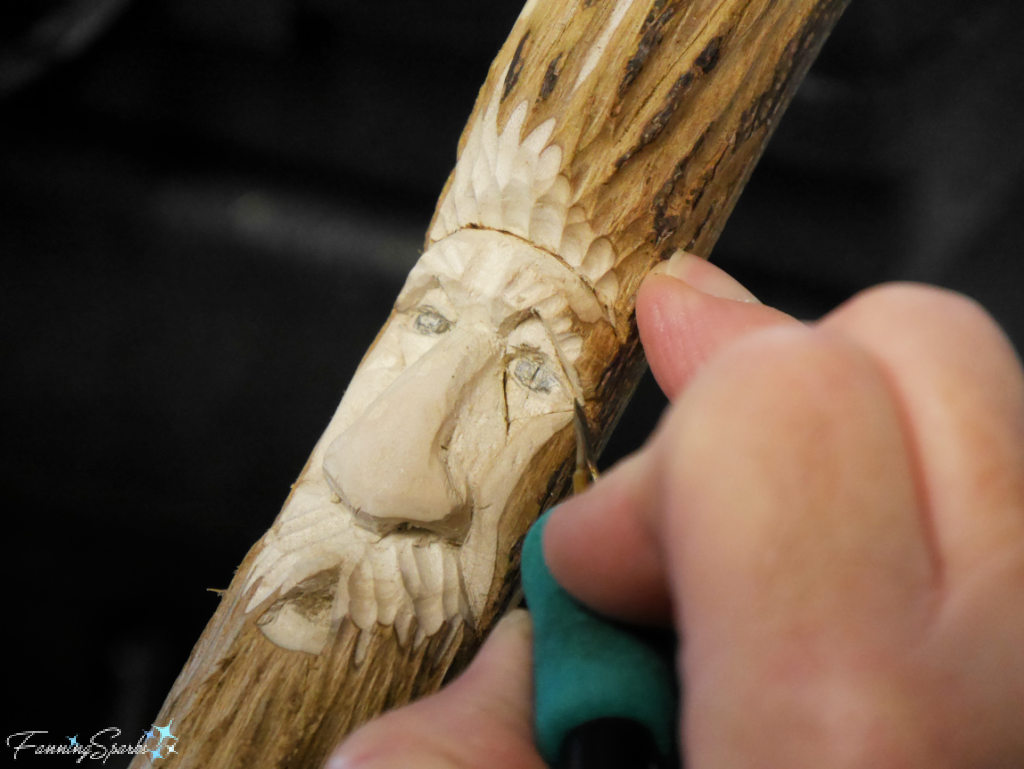


 Here’s a student project from a recent Hat Racks, Coat Racks and Pot Racks class.
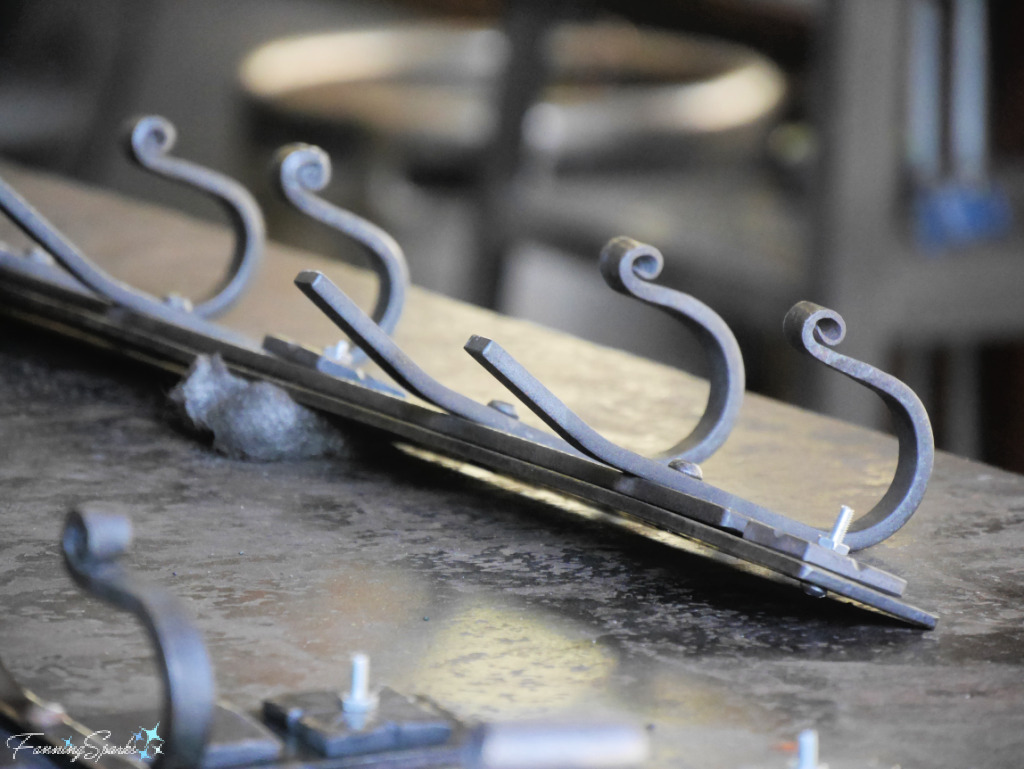
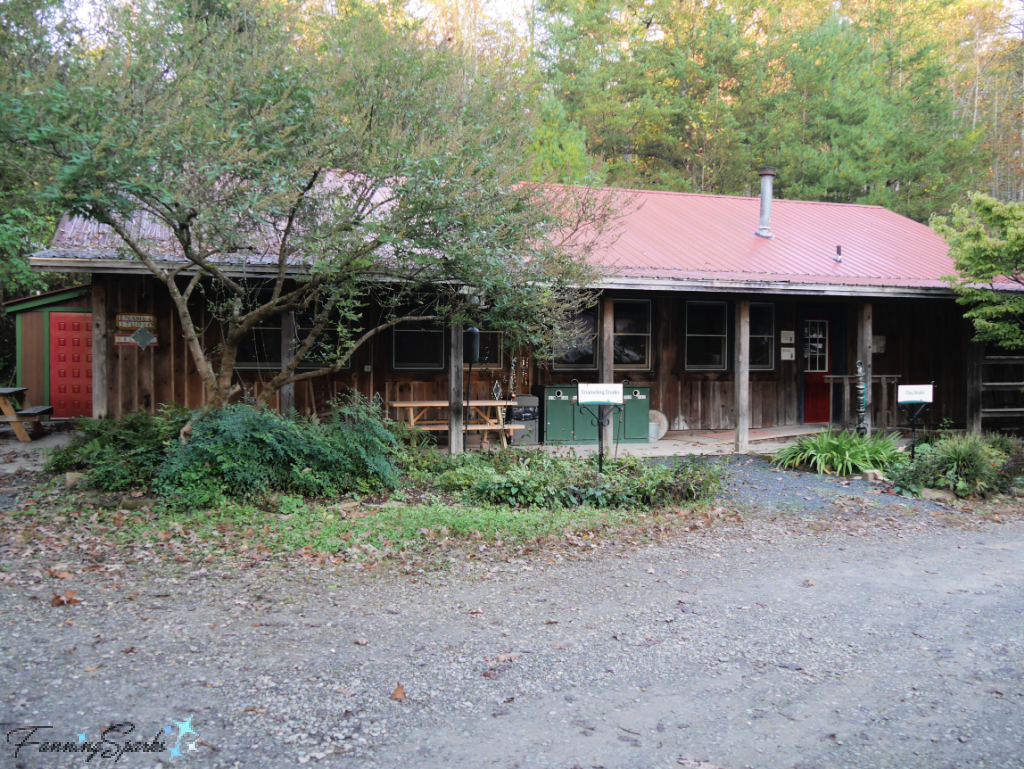
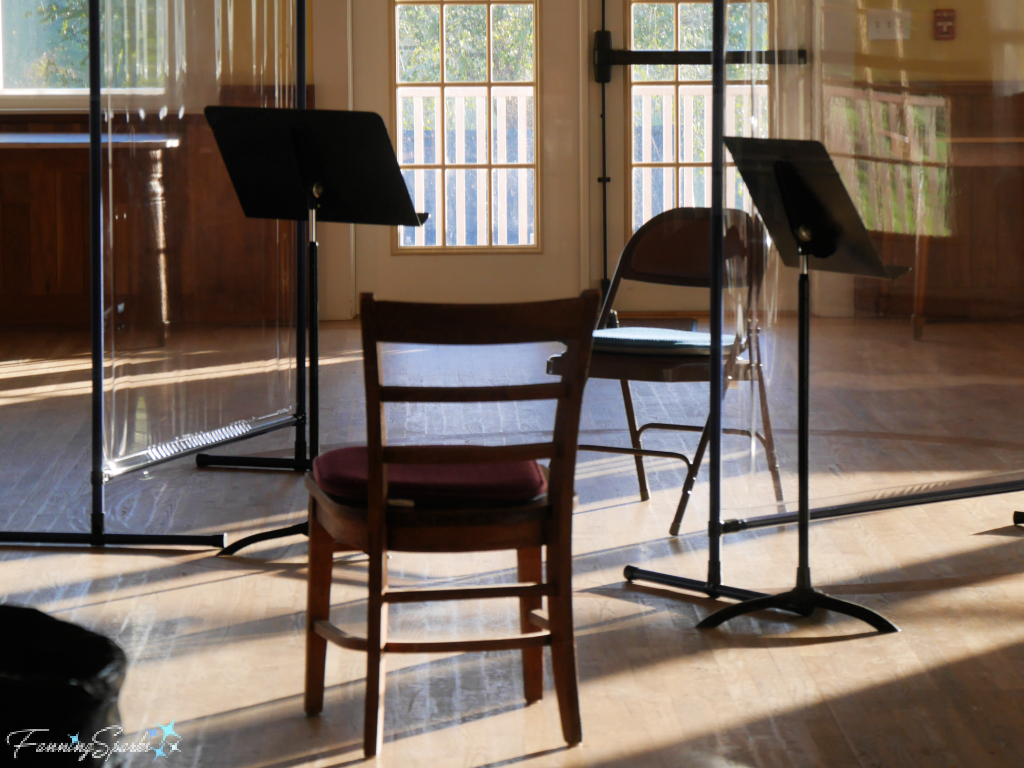
 This is a peek into the D.X. Ross Jewelry and Metals Studio which hosts classes in jewelry-making, metalsmithing, kaleidoscopes and stained glass.
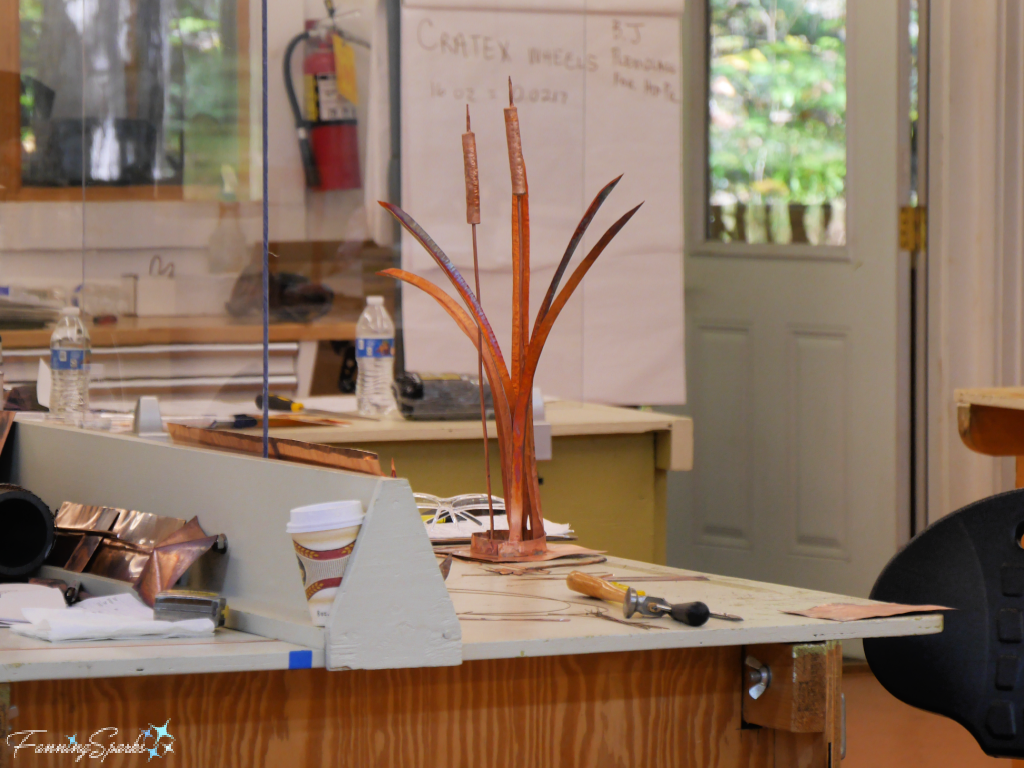

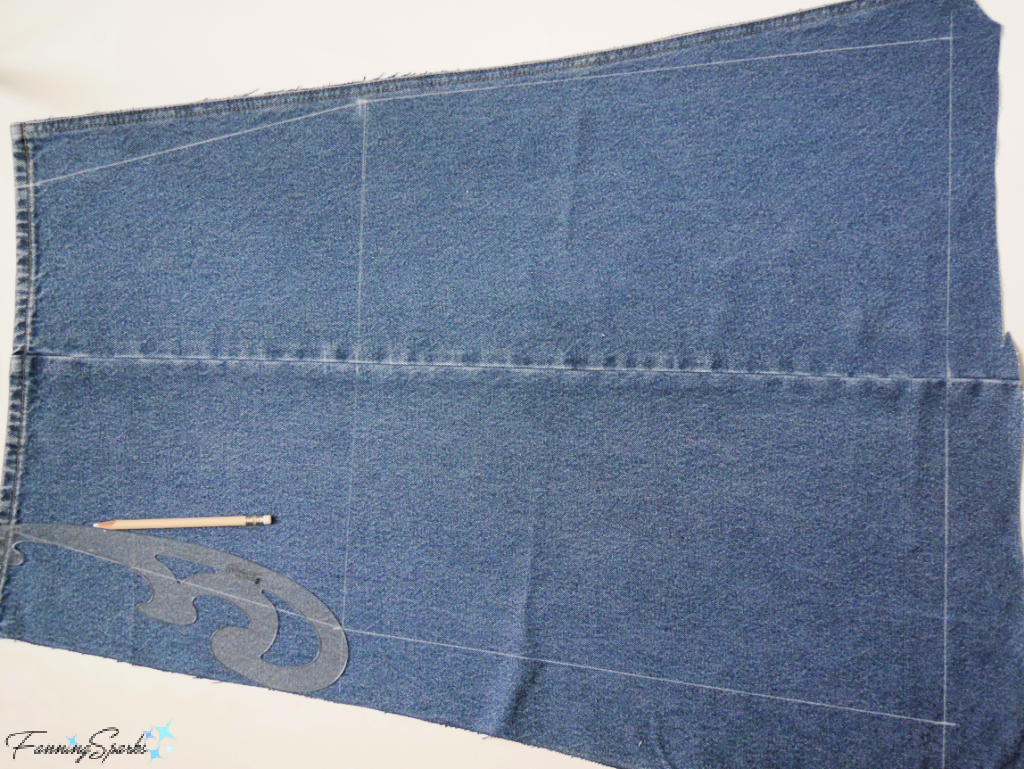


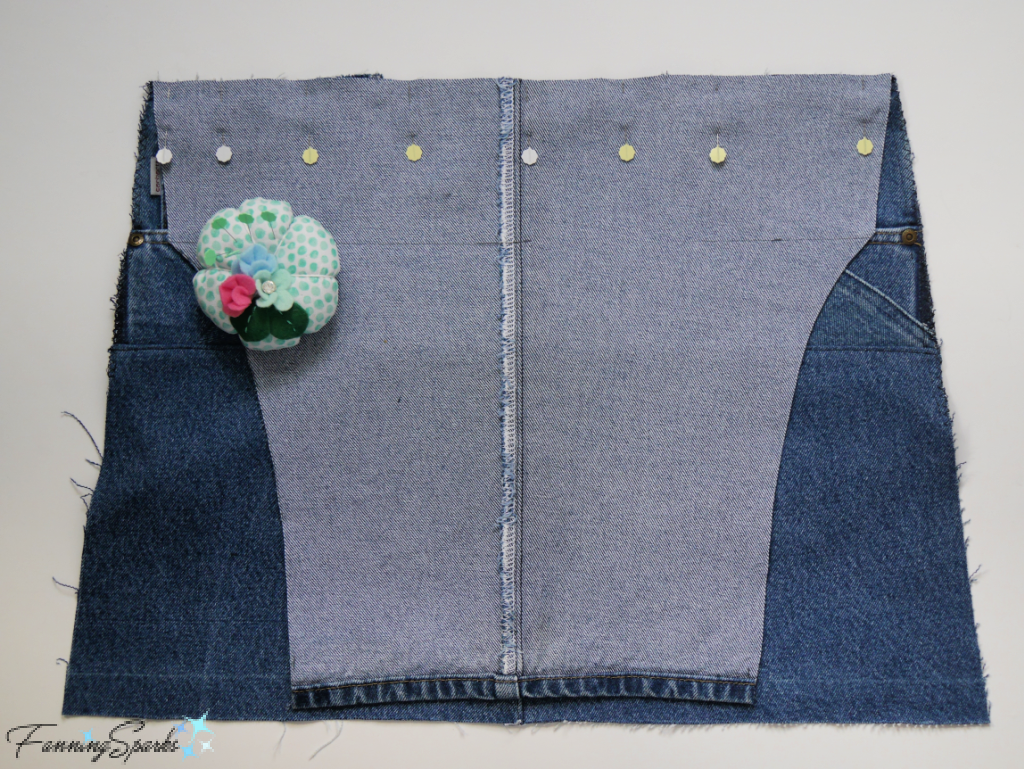
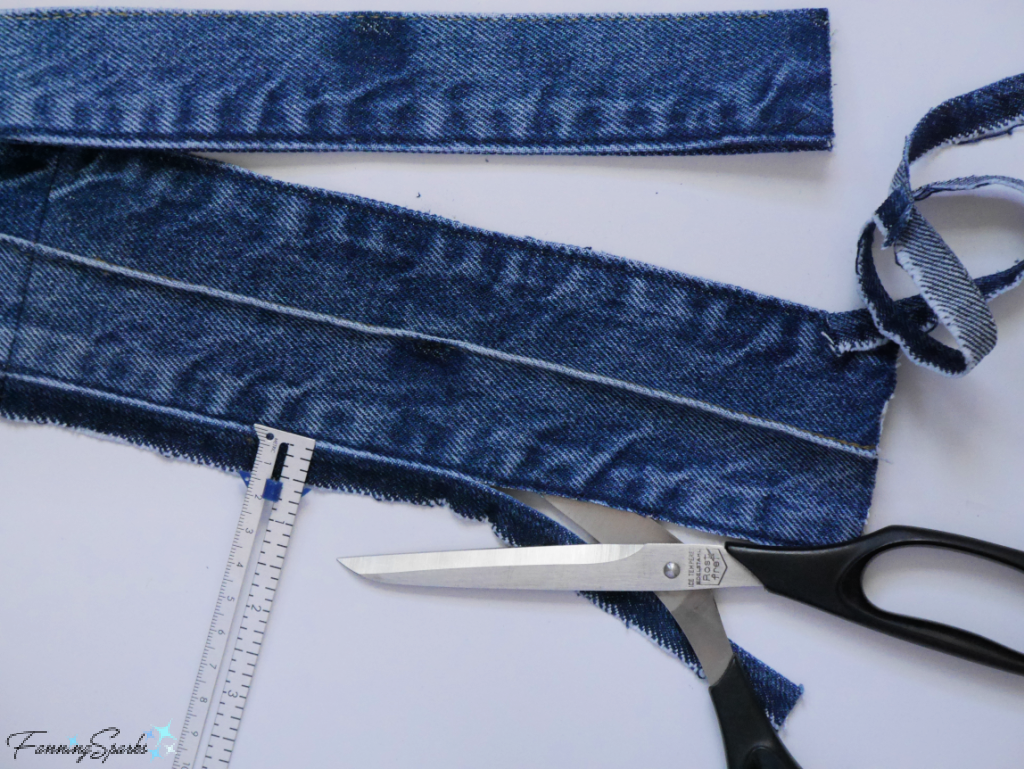 Fold under ½” along each long edge. Press. The new finished width will be 1”. These waistband sections will be repurposed to cover and finish the curved edges so I’ll refer to them as “facings” going forward.
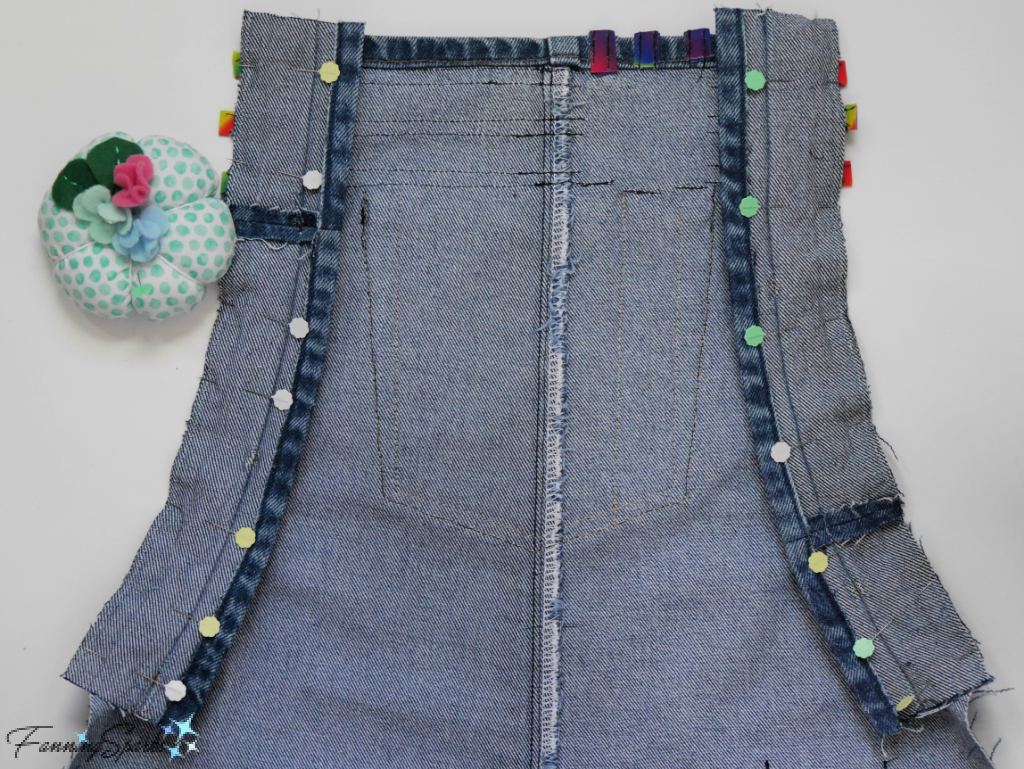
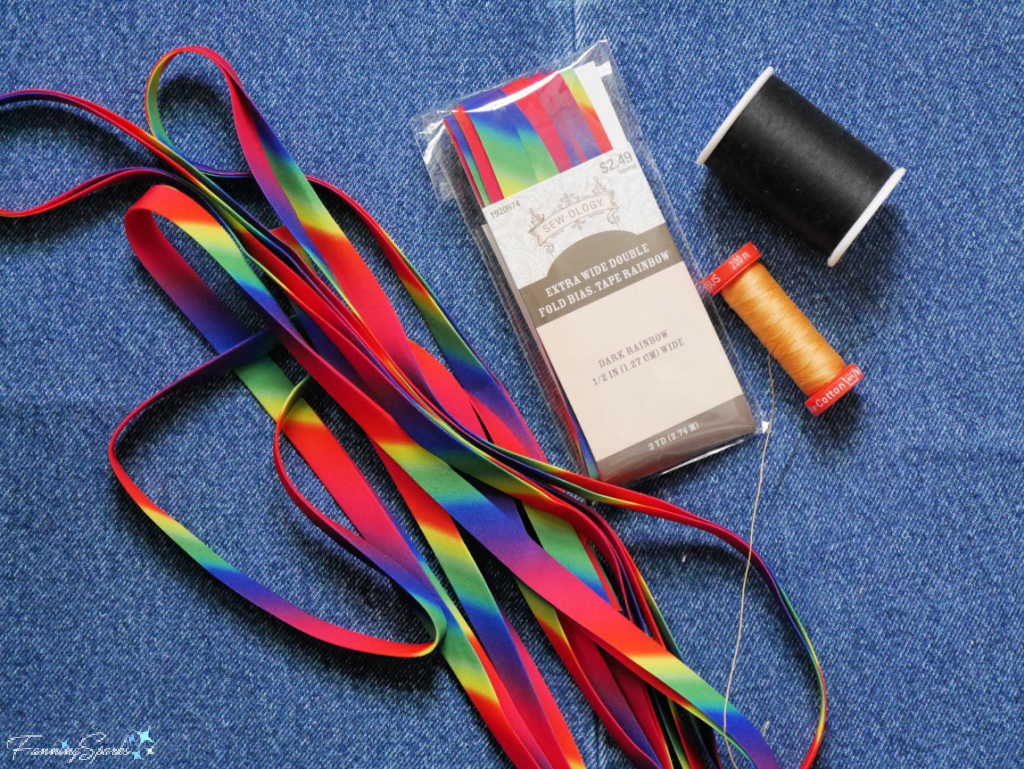
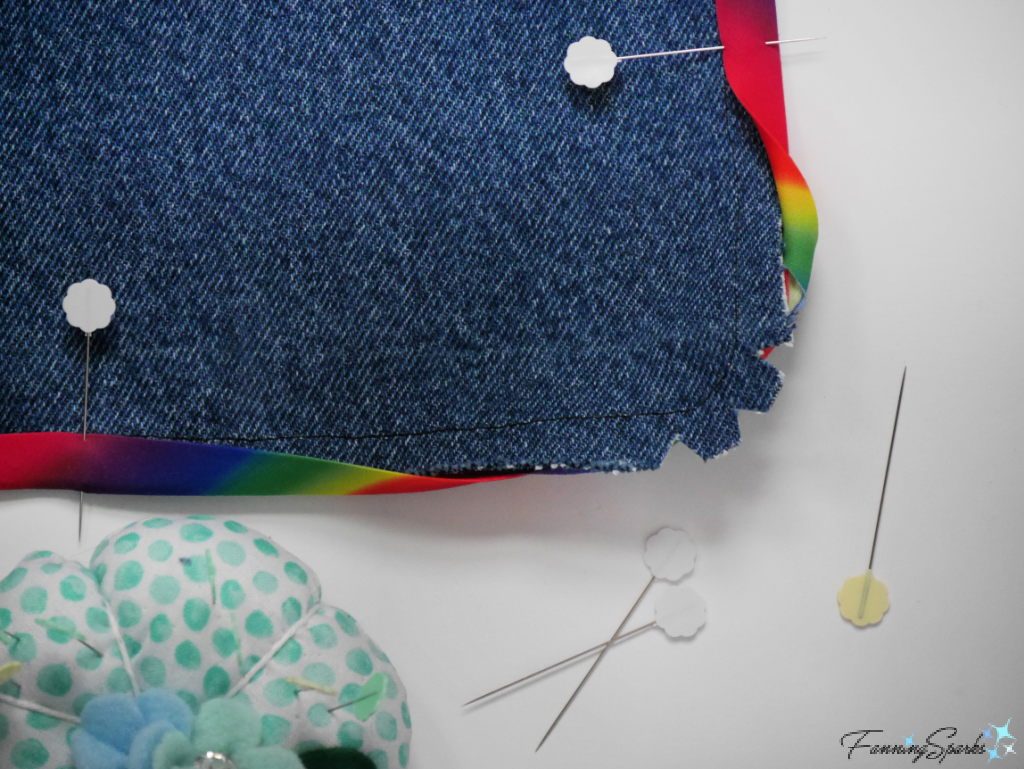
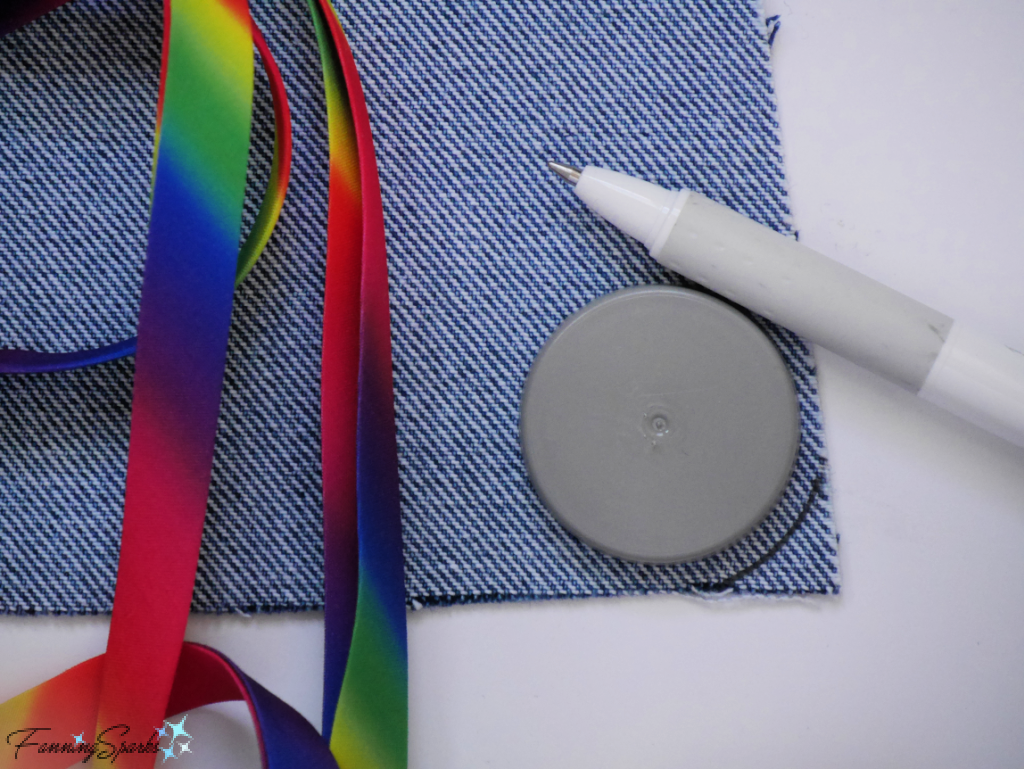 Press the bias tape to remove the creases from the packaging. I used extra wide double fold bias tape in dark rainbow colors. Lay apron skirt with wrong side facing up on work surface. Unfold bias tape, align the edge with the apron skirt and pin in place. Continue all the way around the apron skirt.
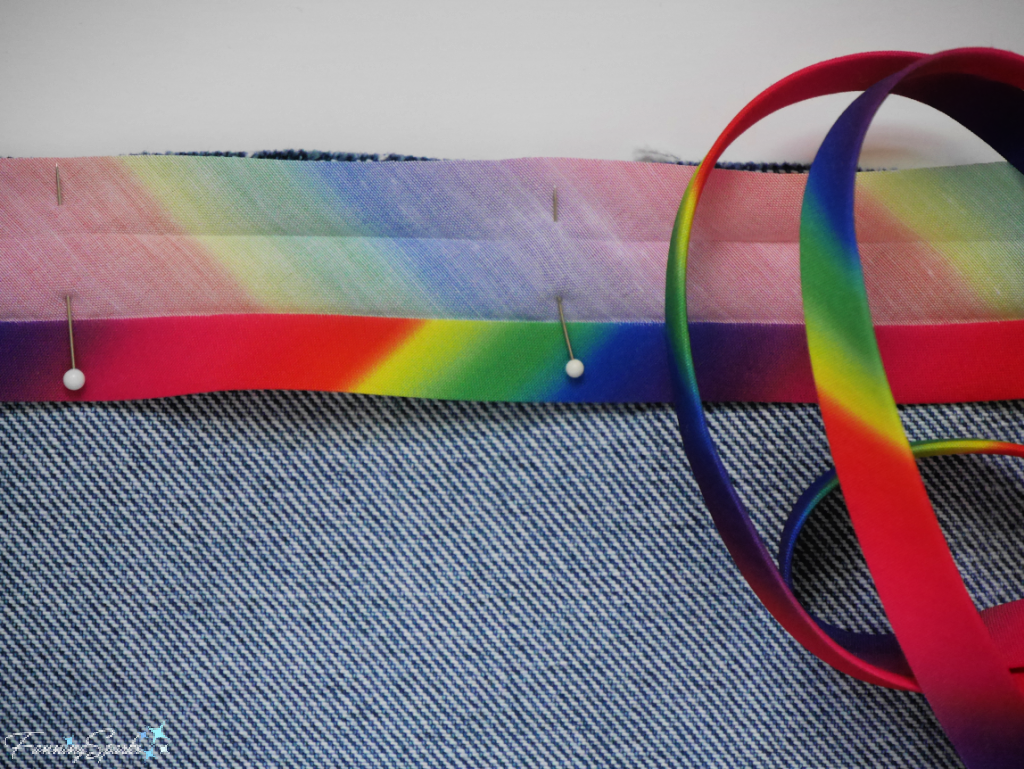
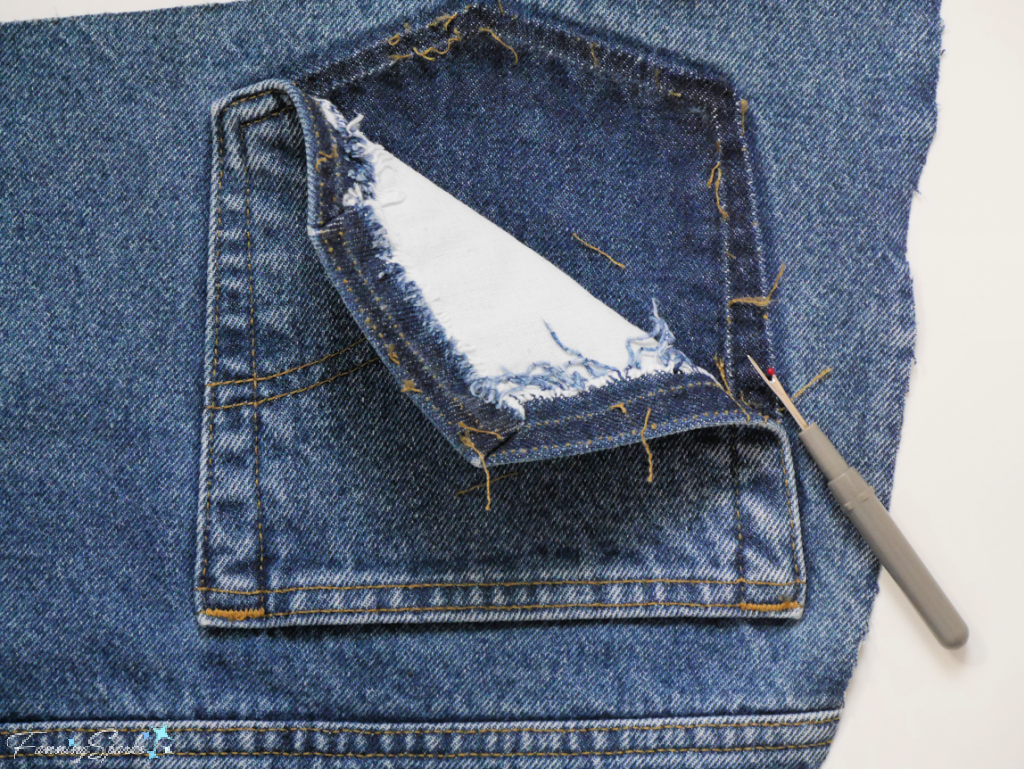
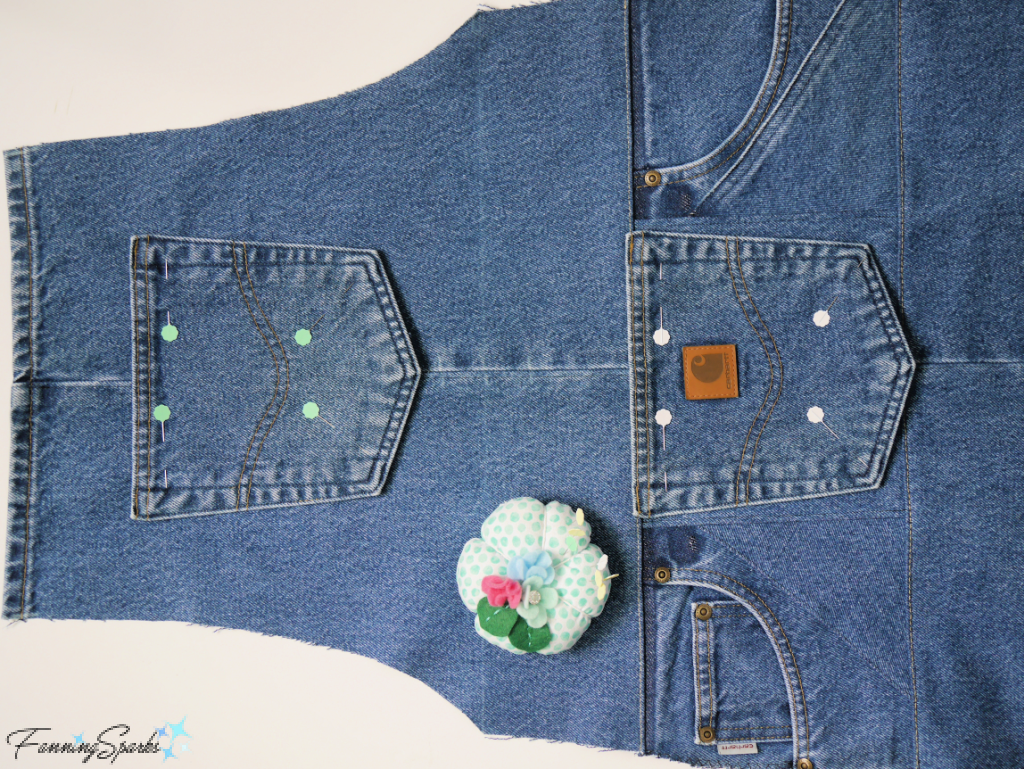
 Step 13 Finish Facings With the bias tape sewn around the apron skirt, the facings around the apron bib can be finished. Select one of the facing ends and open out flat. It may be necessary to remove a few of the topstitches. Fold the raw end to the inside of the facing so it is even with the edge of the apron bib.
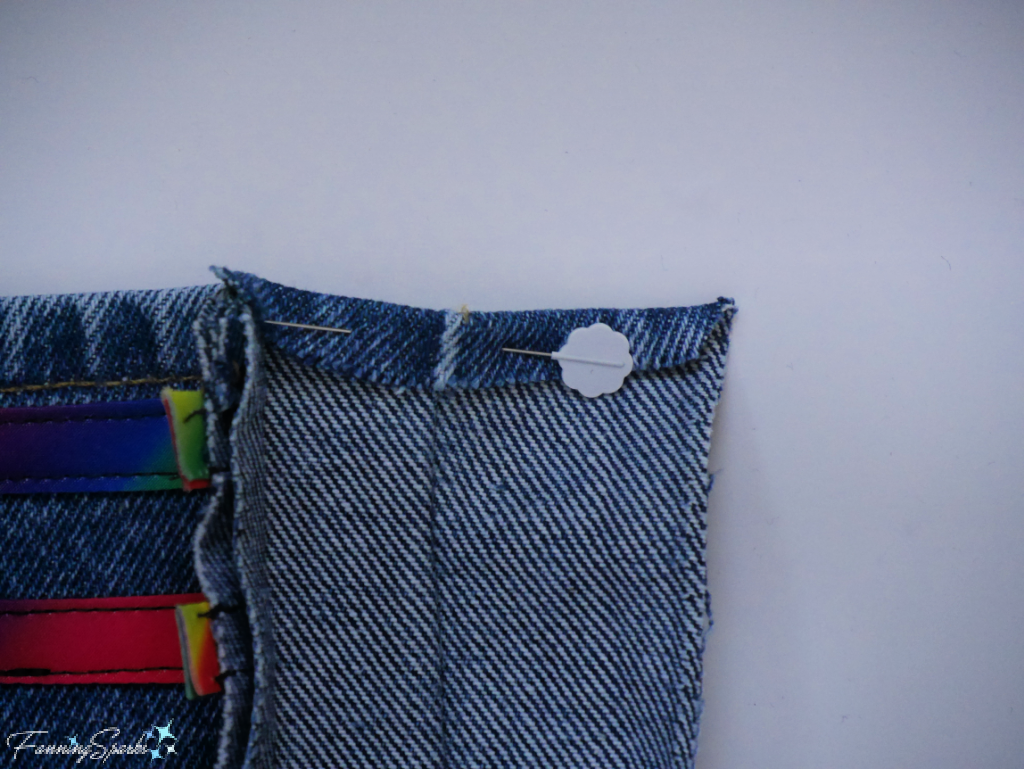


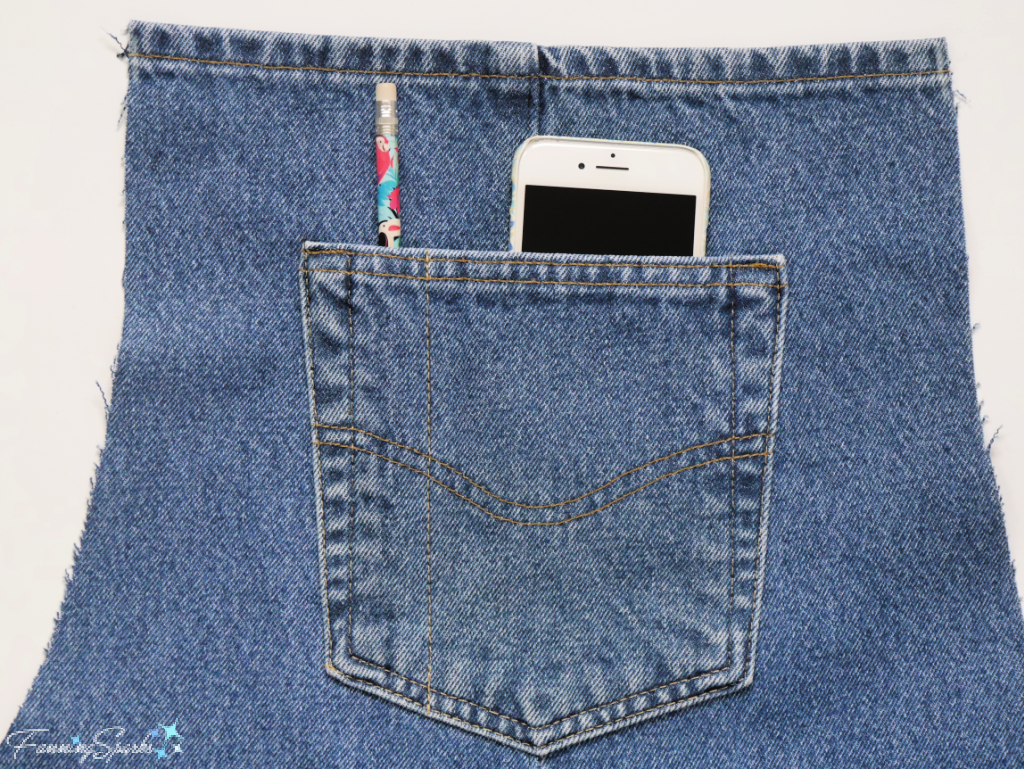
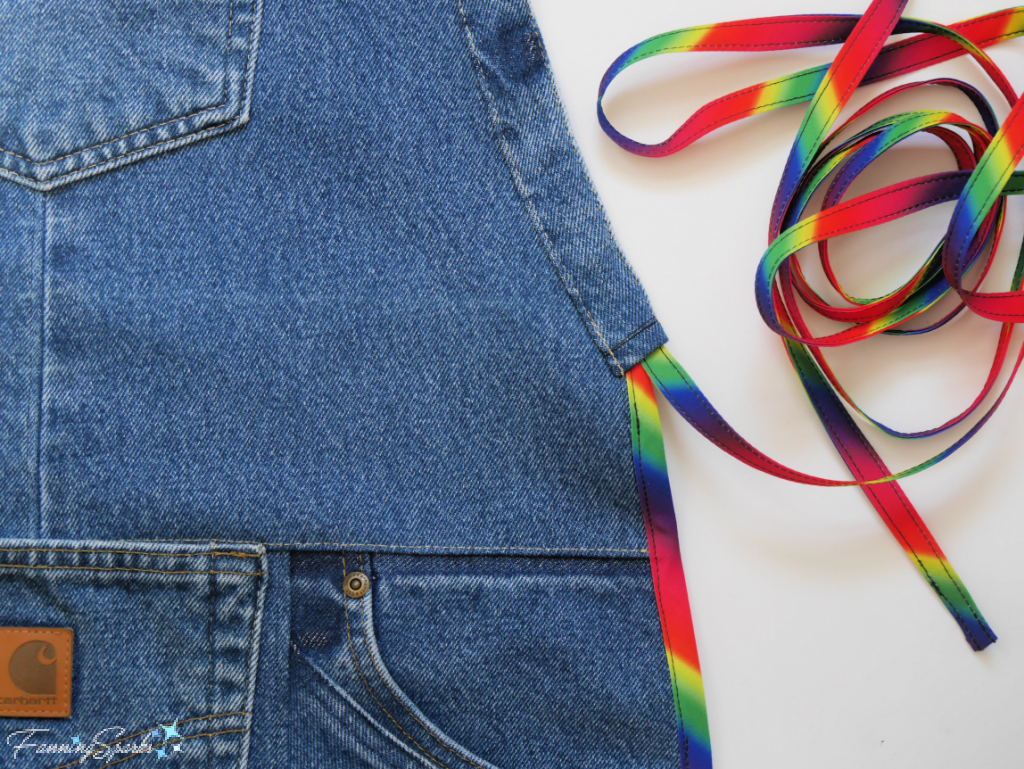 Your new Maker Apron is finished! To wear the apron, simply slip the neck loop over your head and tie in the back. Just load up your essentials and start making!