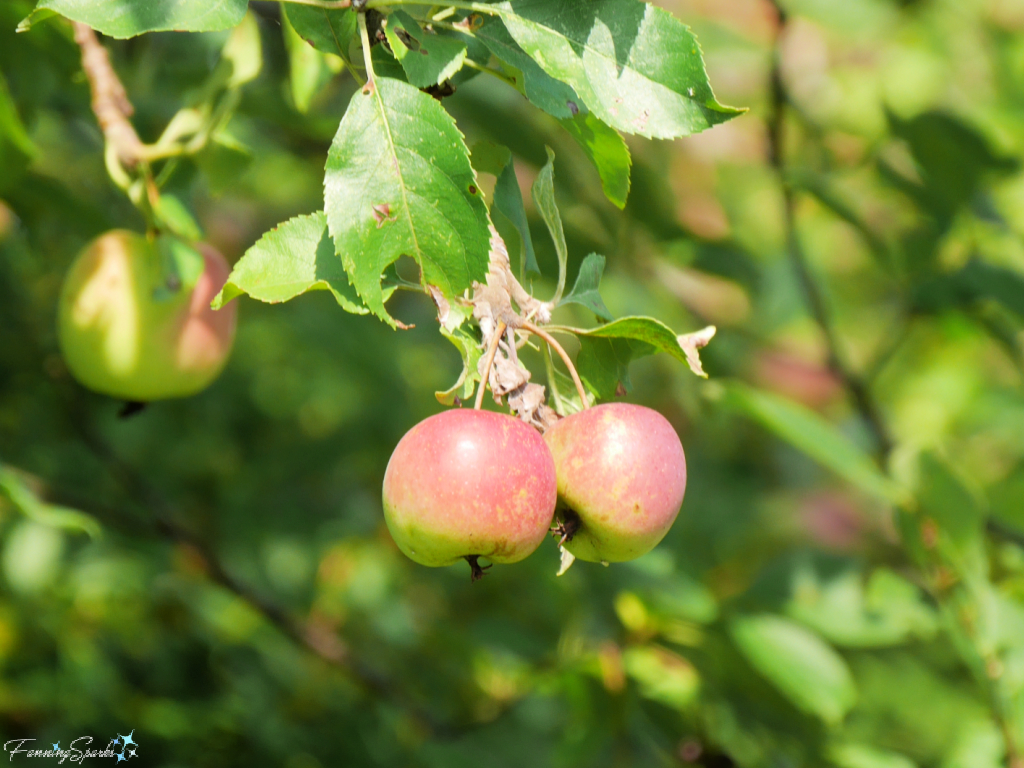
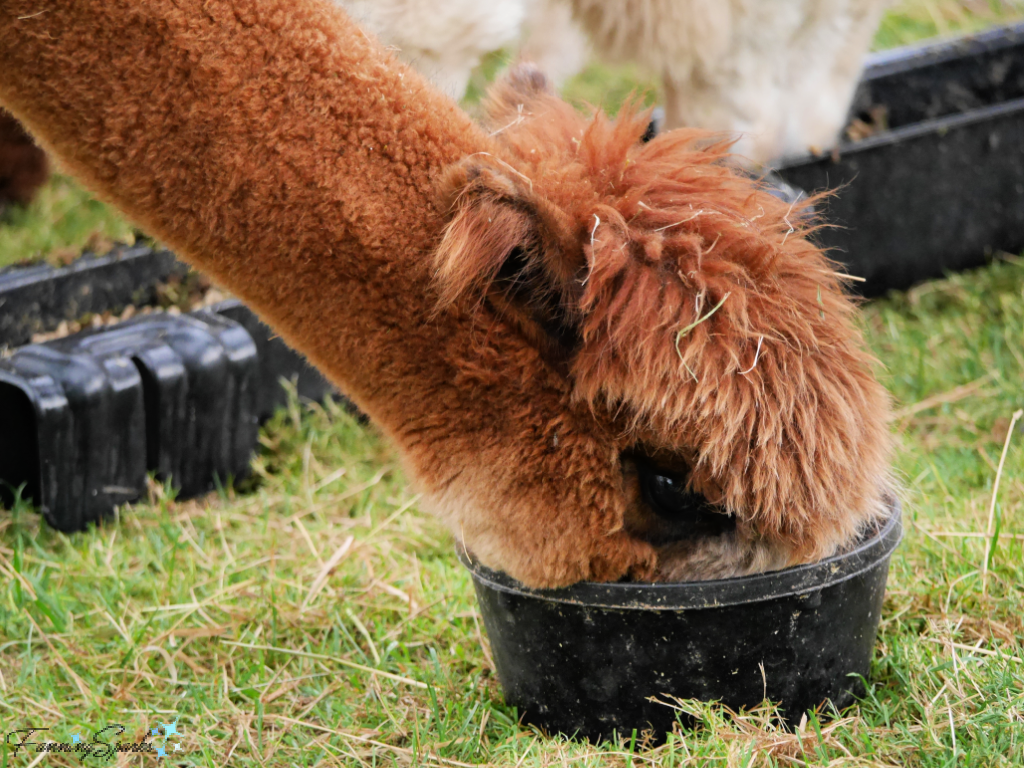
Fifteen minutes into a 3-day, 63-km long-distance walk, a pungent, overripe, fruity scent brought me to a halt. What was that familiar aroma? A quick visual scan revealed the source—a cluster of wild apple trees, covered in ripe apples, lined the roadside! This abundance of wild apples became a recurring theme on my recent Island Walk.
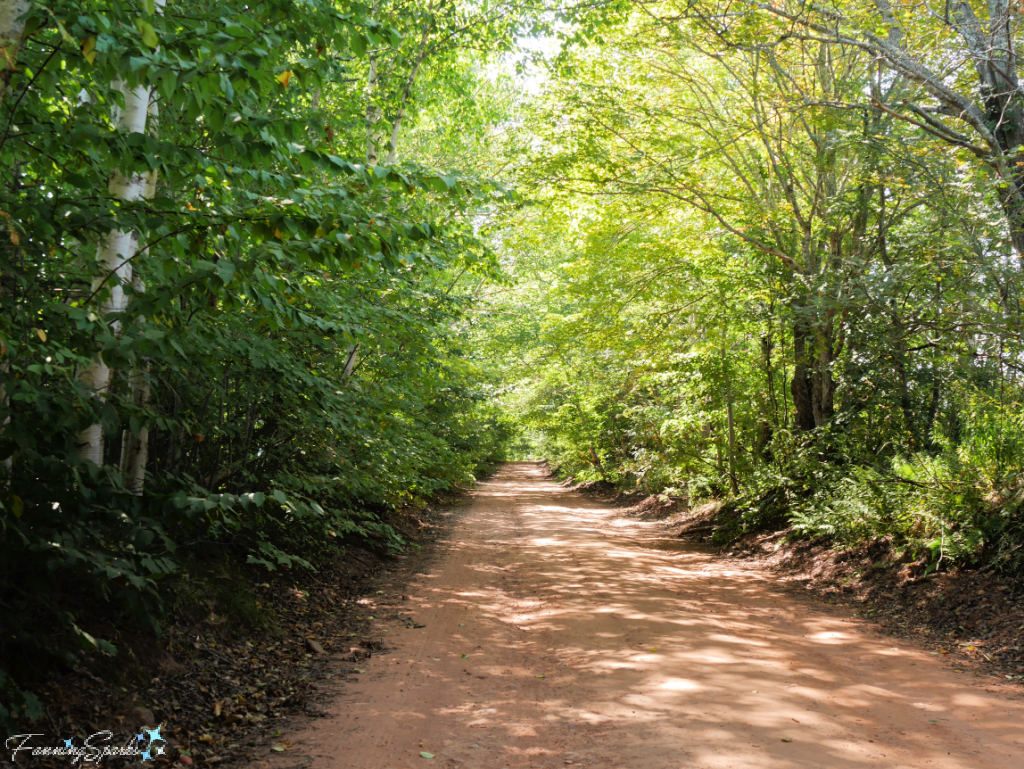
The Island Walk is a long-distance walk around the Canadian province of Prince Edward Island. It builds upon the rail-to-trail infrastructure of the Confederation Trail by stitching together dirt roads, secondary highways and walking trails into a circular route. For instance, this pretty, tree-canopied, red dirt road is part of the Island Walk. It is MacEachern Road near Dunedin.
The Island Walk is 700 kilometers (435 miles) long enabling walkers and cyclists to circumnavigate the Island. Signposts mark the way either via the purple-coded signs of the Confederation Trail or the Island Walk’s distinctive, colorful signage.
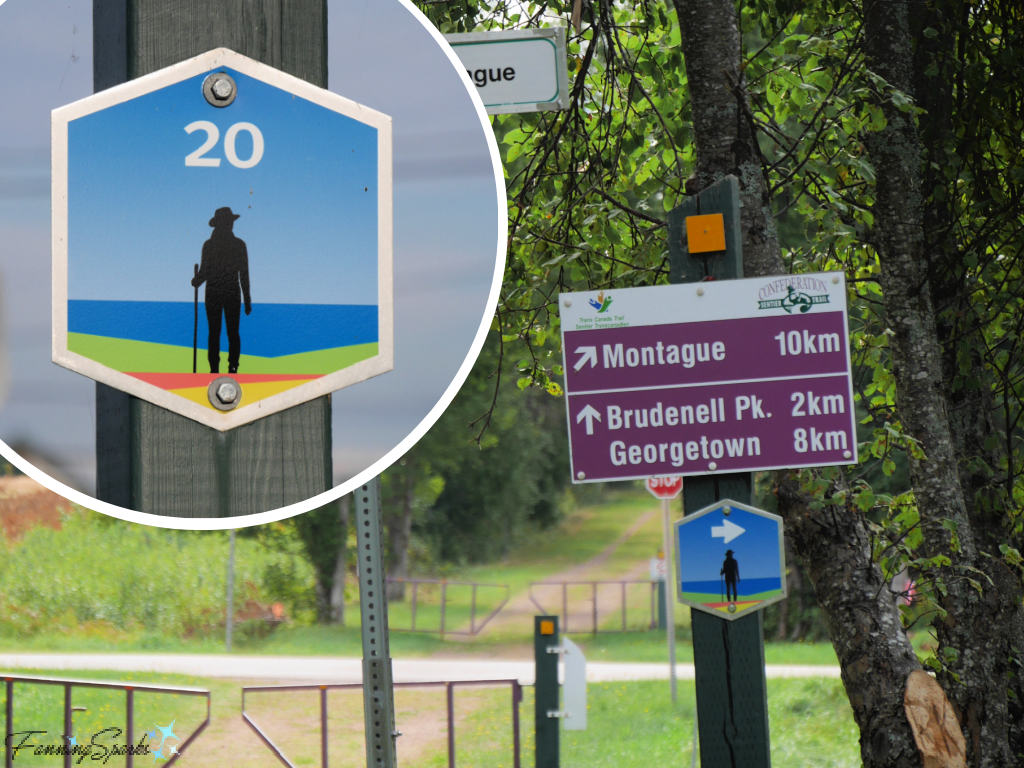
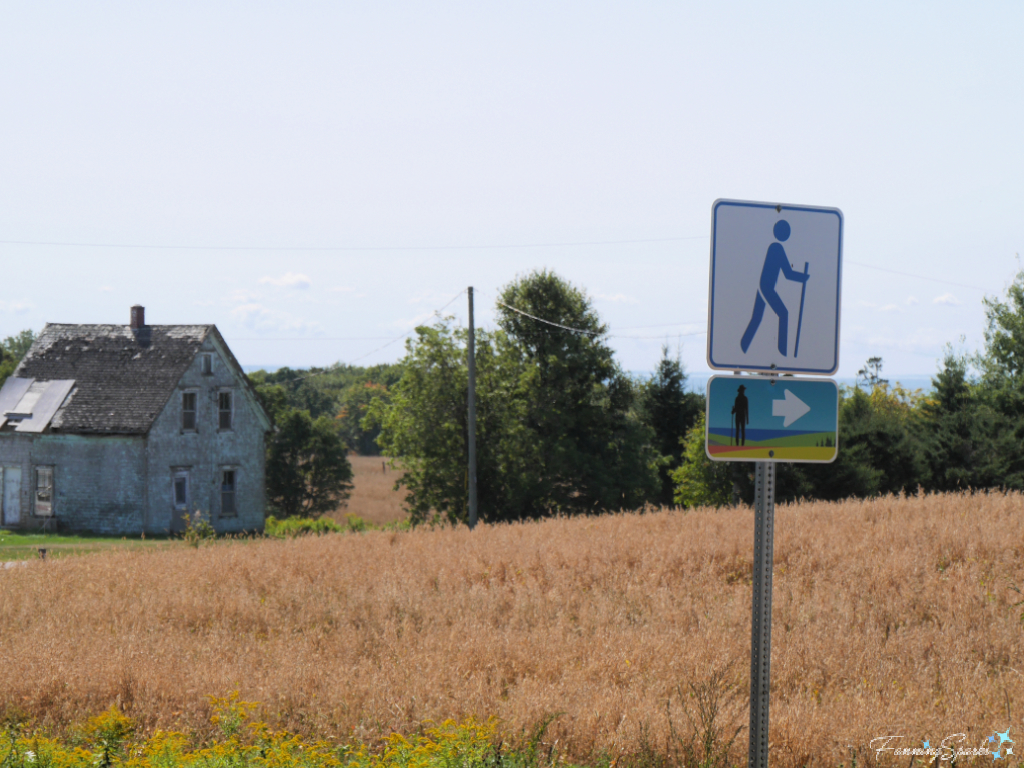
The Island Walk is conveniently mapped into 32 sections. Each of the sections is designed for a day’s walk from a designated starting point, typically over 20-25 kilometers of trail, to a designated end point. These “waypoints” are numbered and identified with Island Walk signs. The sections and waypoints are defined for the convenience of walkers—trail users can, of course, walk or cycle the trail in any way they wish. Here an Island Walk sign directs the way near the New Argyle Road.
My sister and I recently walked three of the Island Walk’s sections—I walked and she biked. I’m married to a native Islander so I’m familiar enough with the Island to have cherry-picked our route! With our personal vehicle and a family home at our disposal we had the ultimate flexibility. We chose three sections for their coastal views, wooded paths, country farms and seaside towns:
1. Dunedin (waypoint 1) to Victoria (waypoint 2) – 24 km (15 miles) / 5 hrs
2. Mt Stewart (waypoint 19) to St Peters (waypoint 20) – 27 km (17 miles) / 6.5 hrs
3. Cardigan (waypoint 26) to Montague (waypoint 27) – 12 km (7 miles) / 2.5 hrs
The Island Walk did not disappoint. We saw beautiful coastal views—like these on the approach to Victoria…
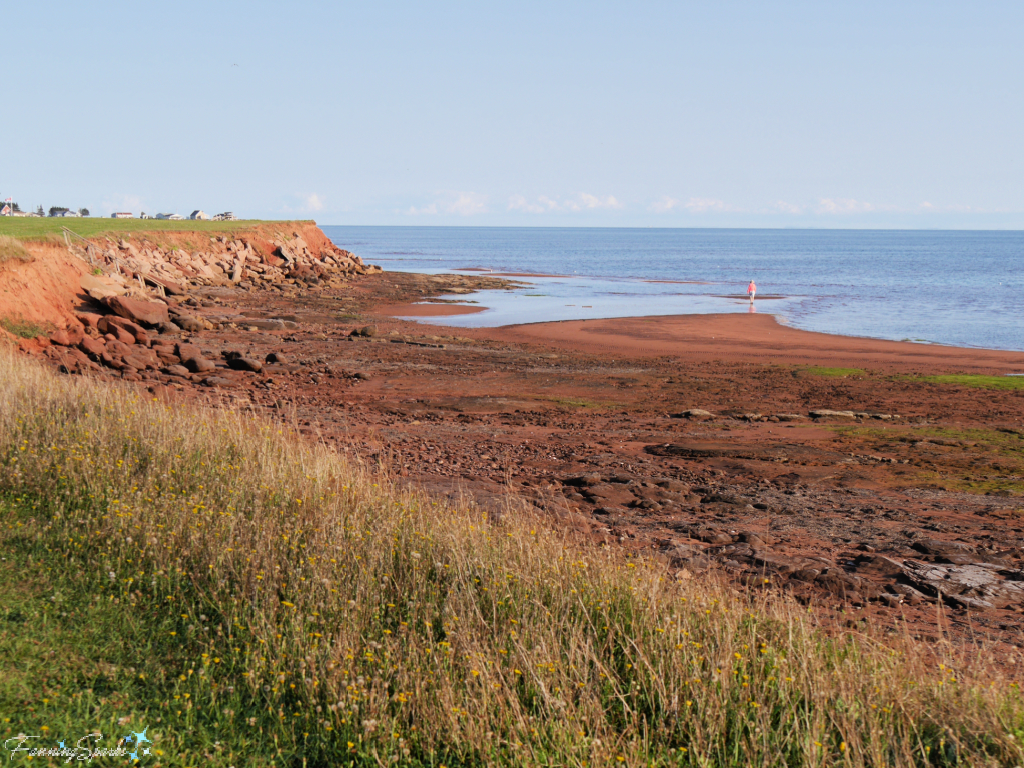

… and these at St Peters.


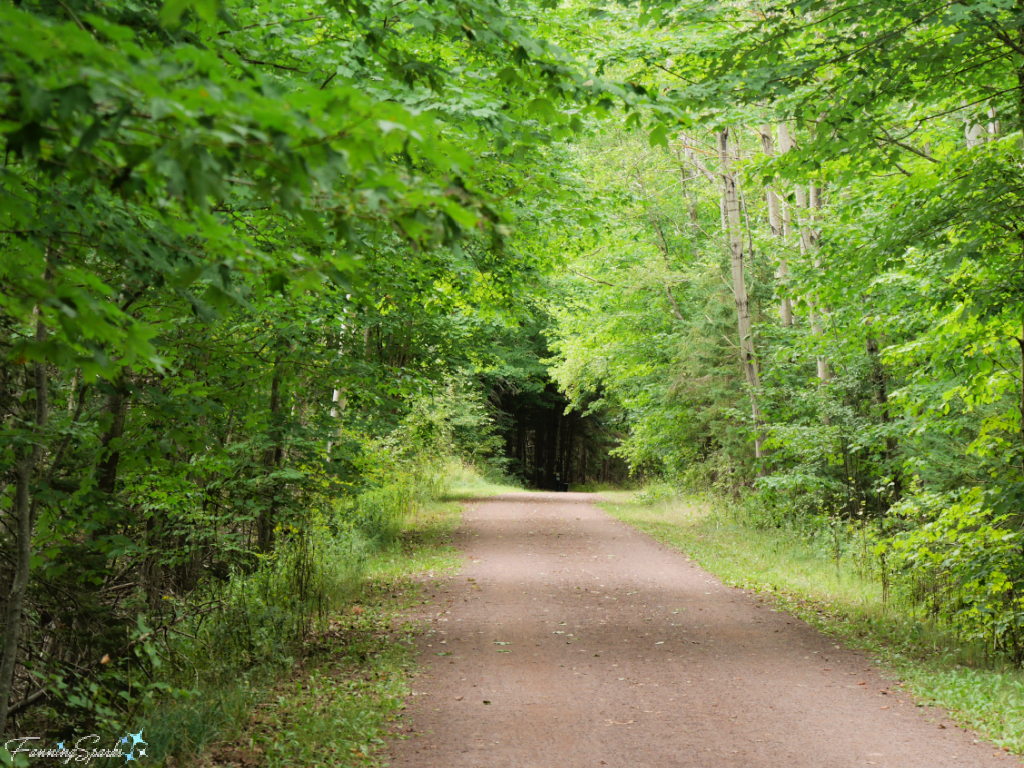
We saw miles and miles of wooded paths, mostly groomed rail-to-trail sections like this path near Montague ….
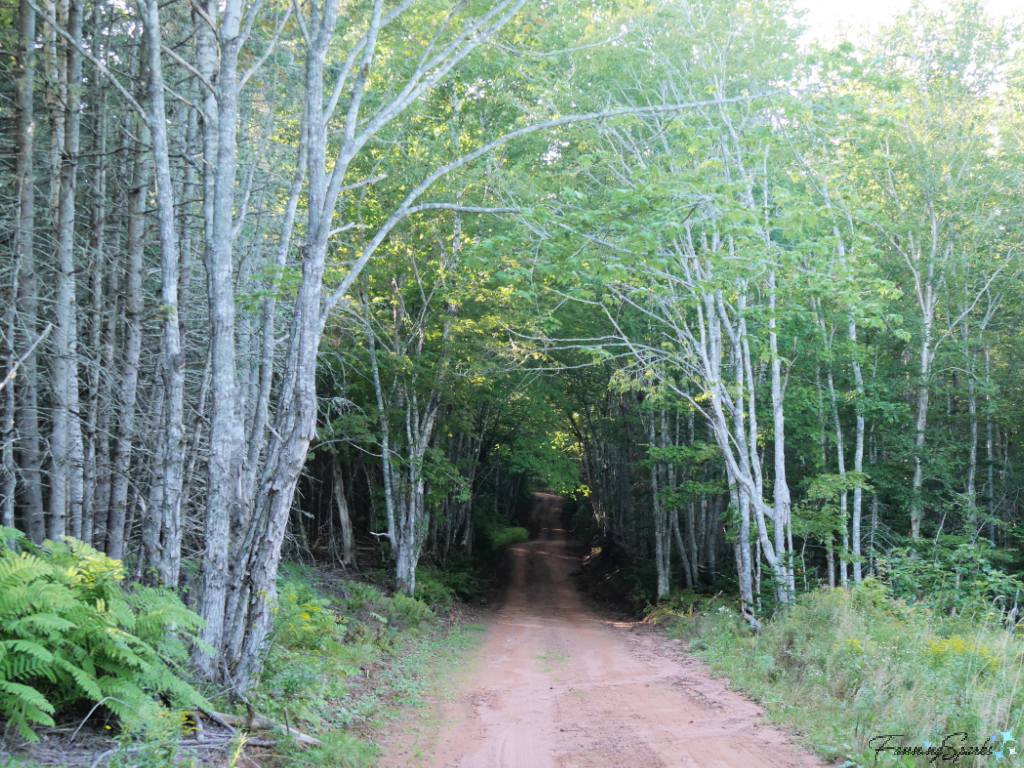
… but also some quiet, red dirt roads like this lovely birch-lined section of Ferguson Road (near Victoria).
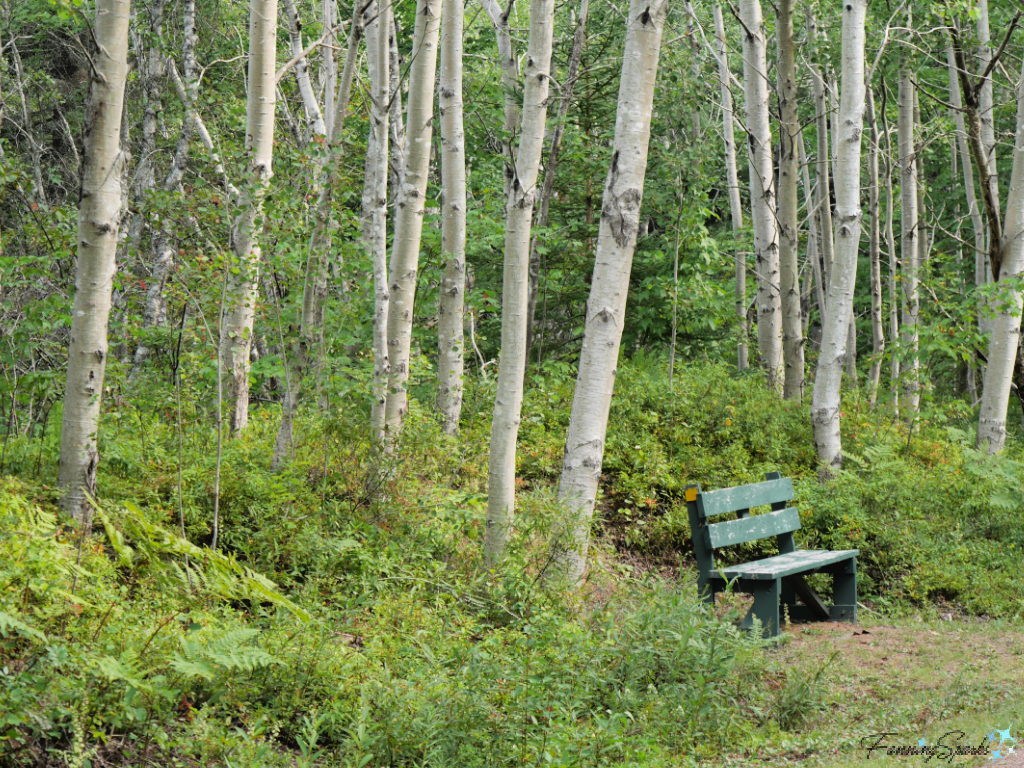
Speaking of birch trees, the bench pictured below was one of my favorite spots. It’s located on the Confederation Trail between Mt Stewart and Morell and perfectly situated in a magical grove of birches.
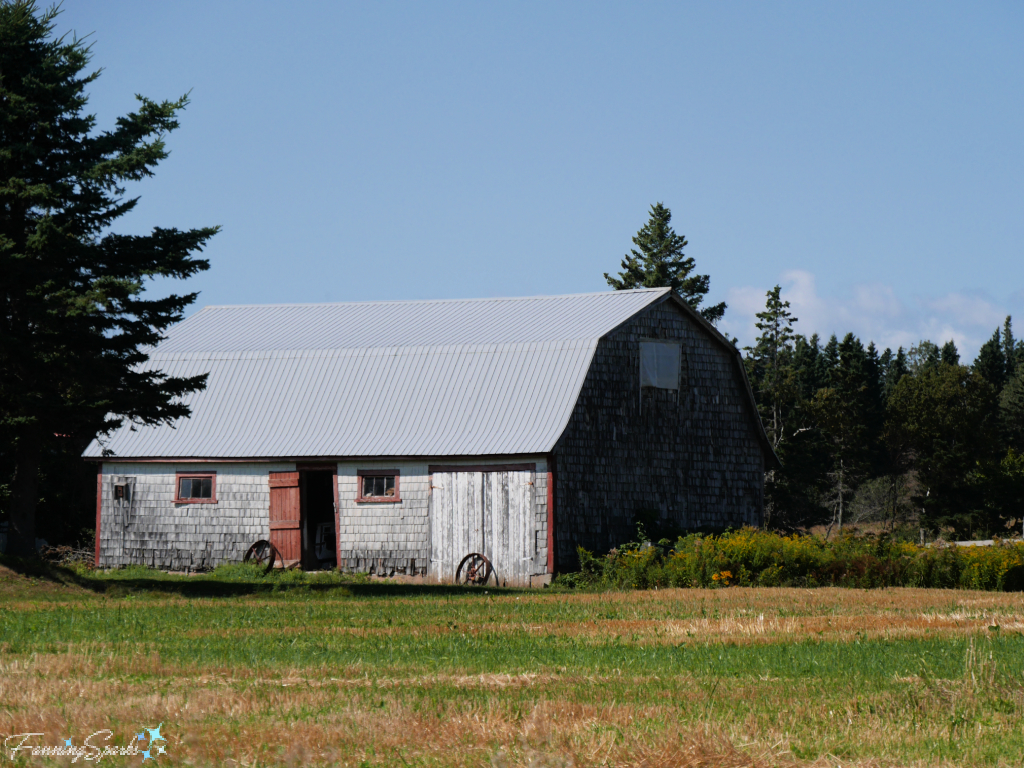
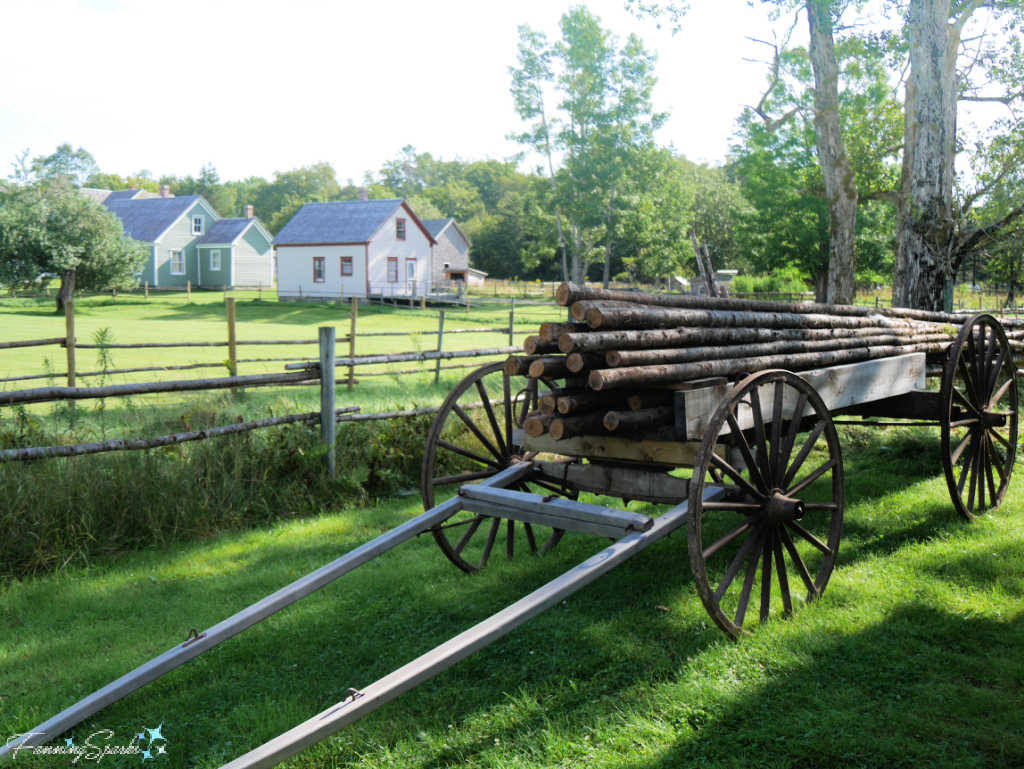
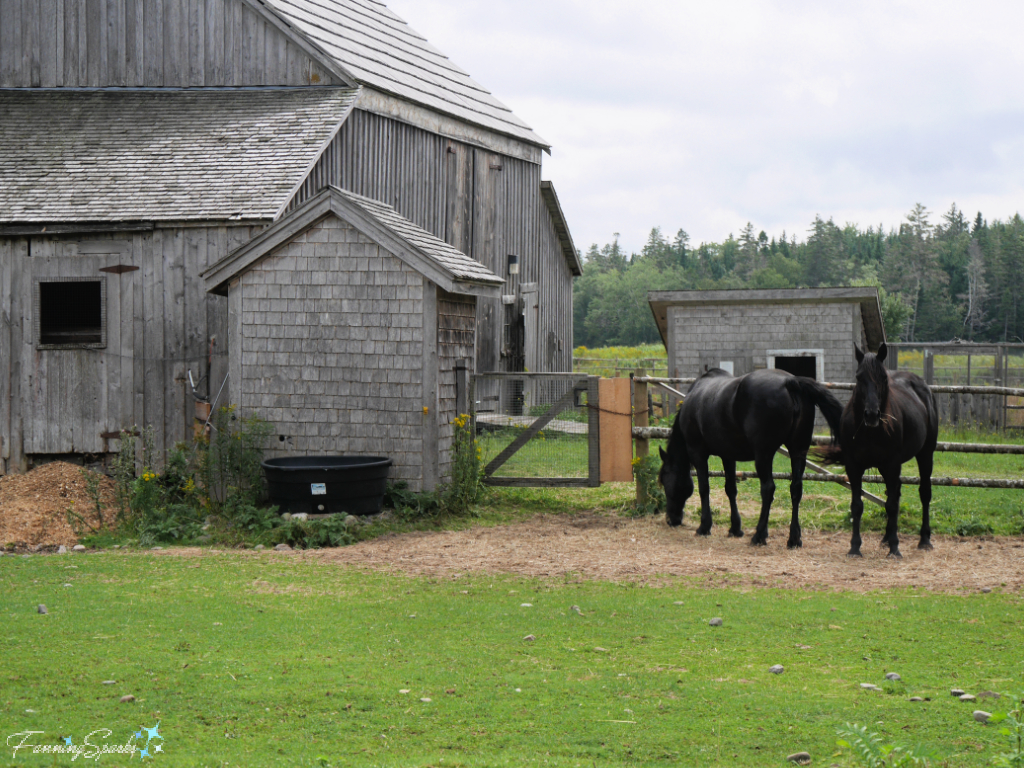
We saw the country farms we’d hoped to see. There were weathered barns…
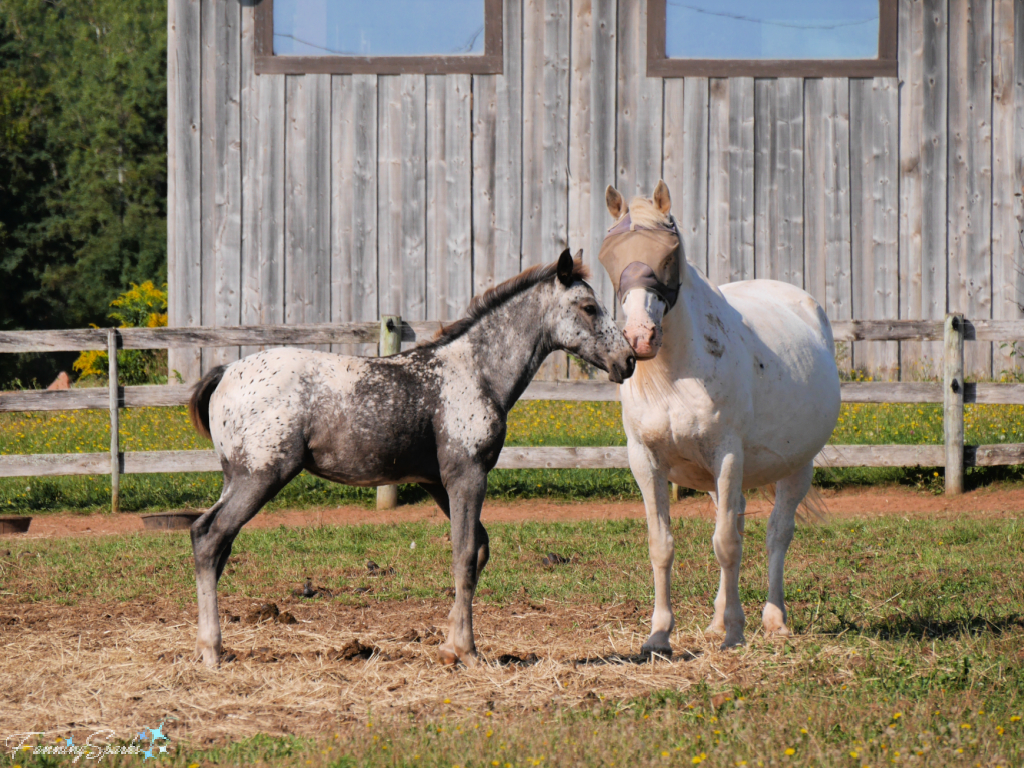
… splendid horses…
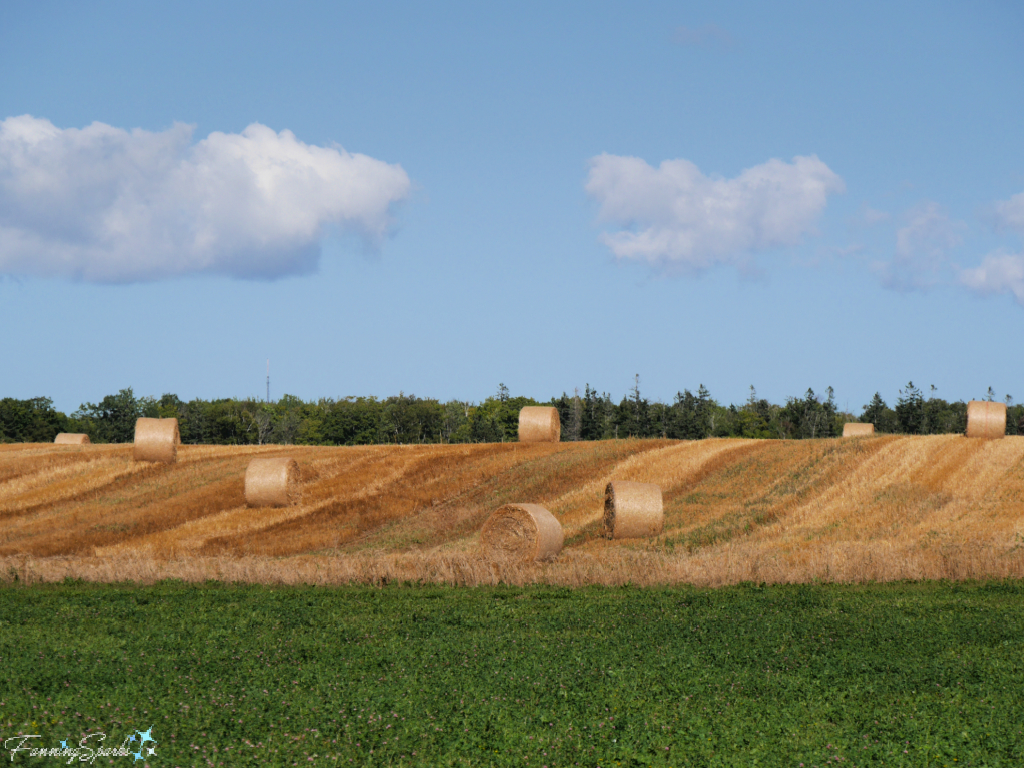
… fields of hay bales…
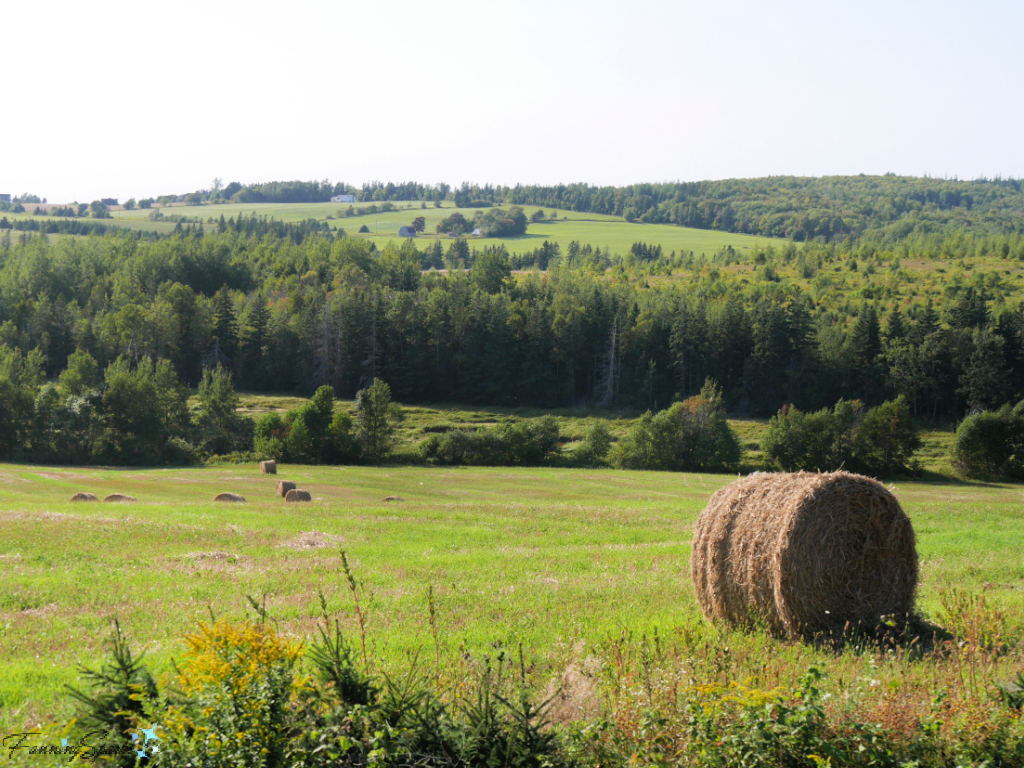
… stunning rolling hills…
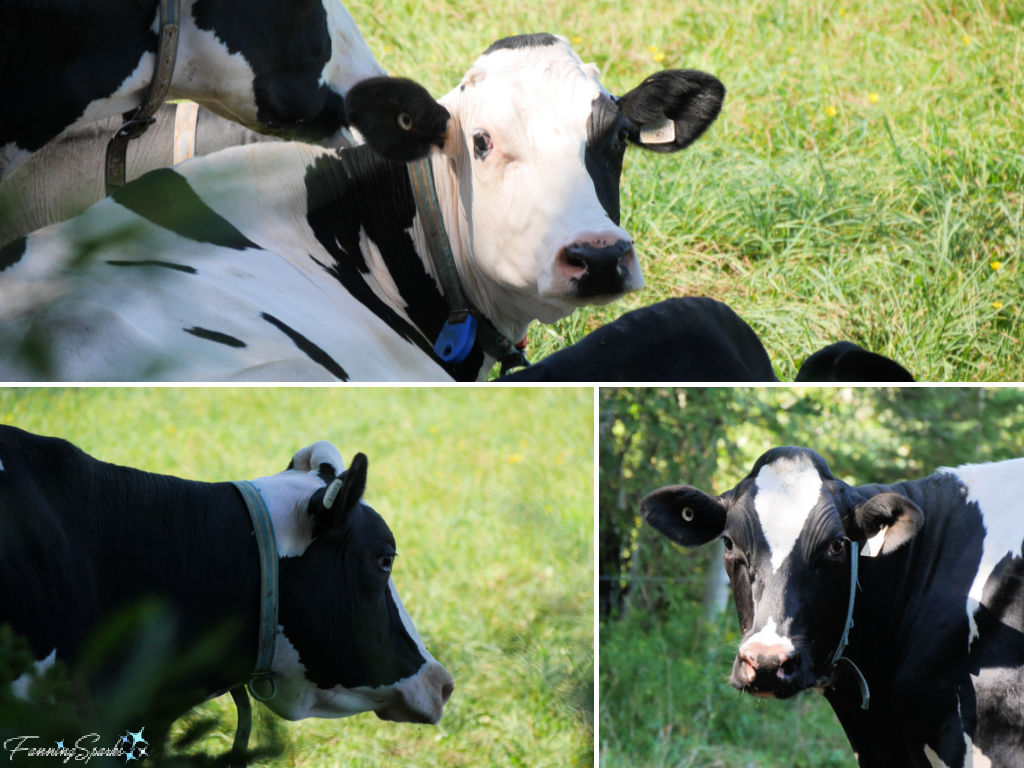
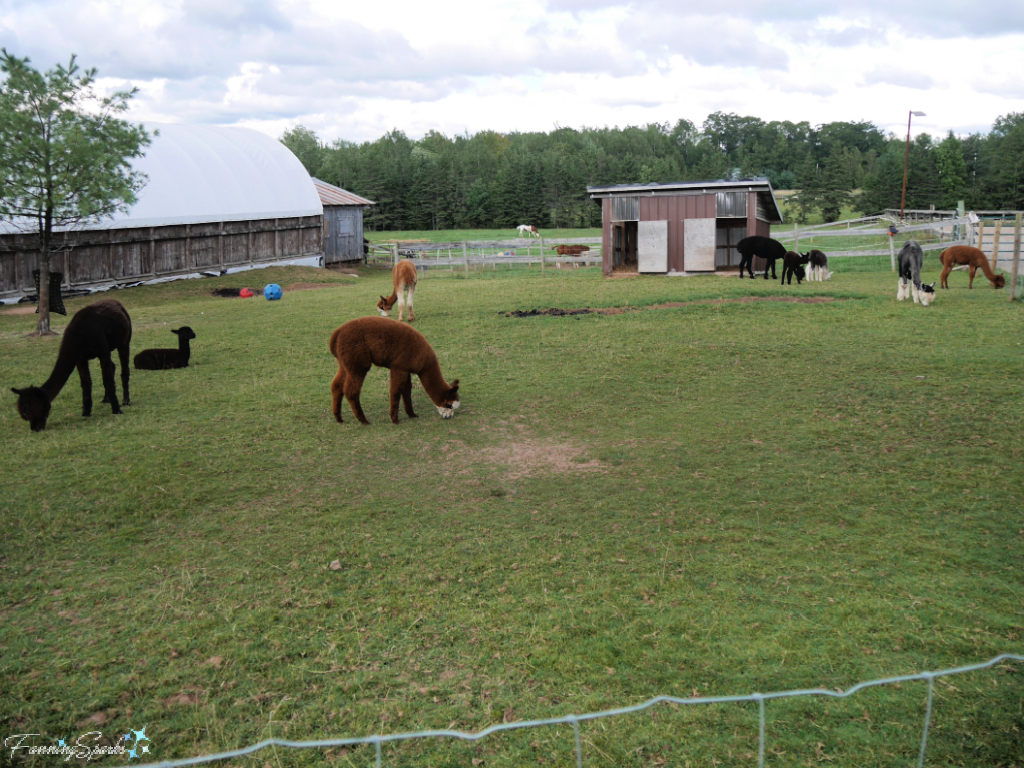
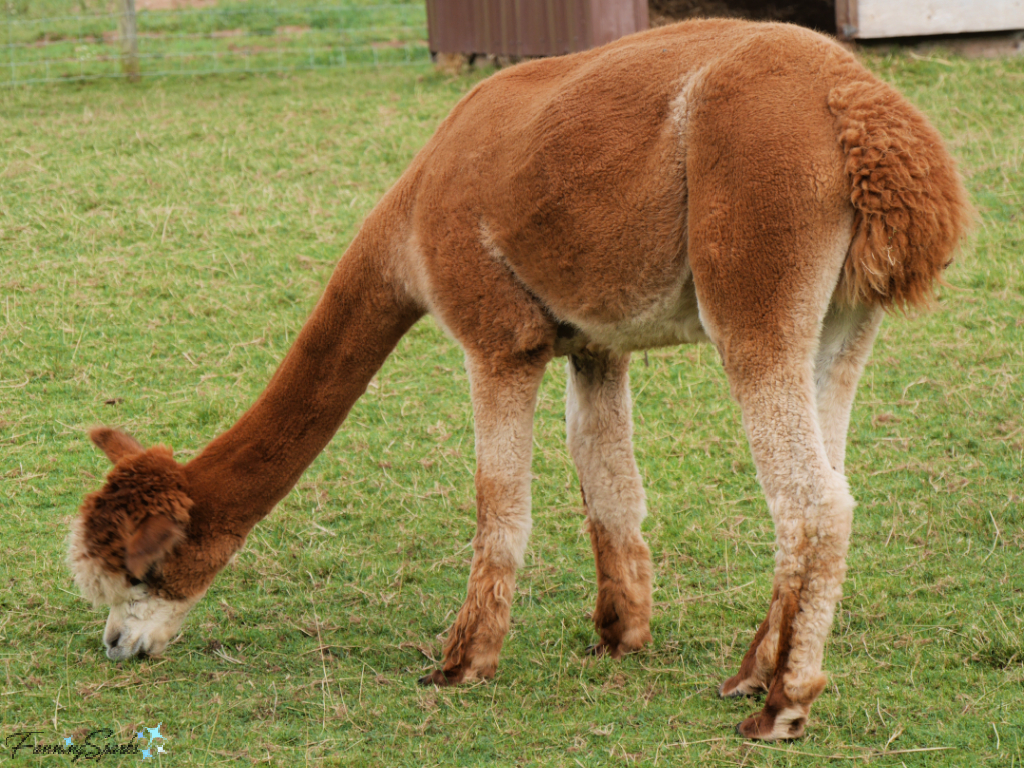
… and cows!
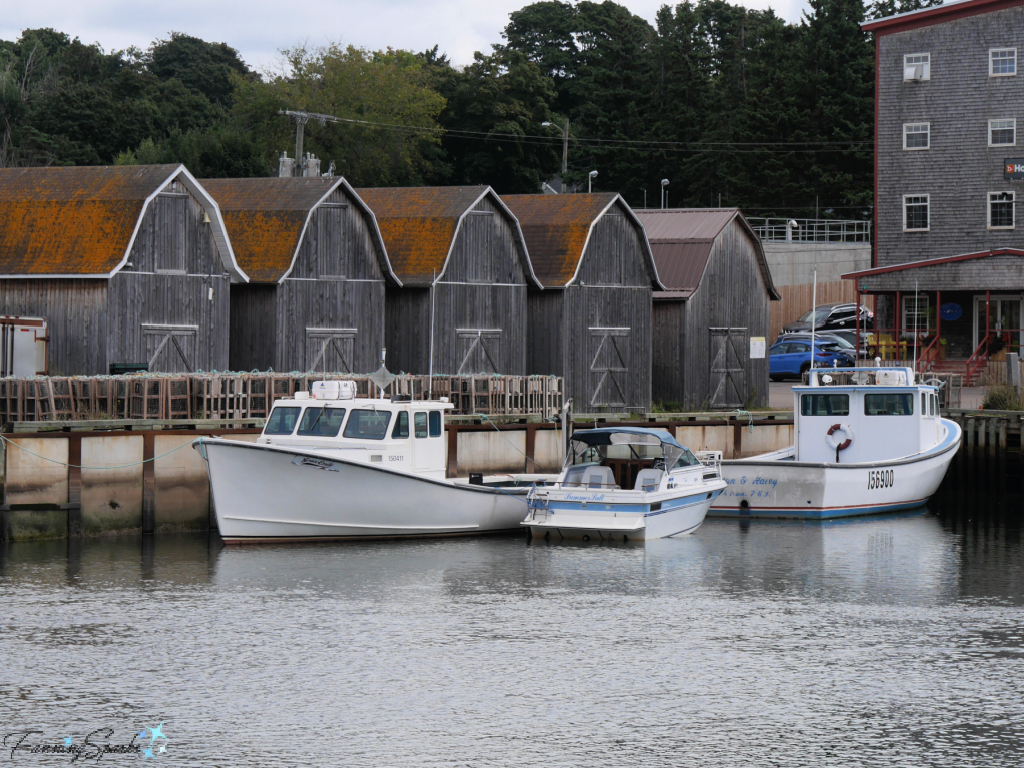
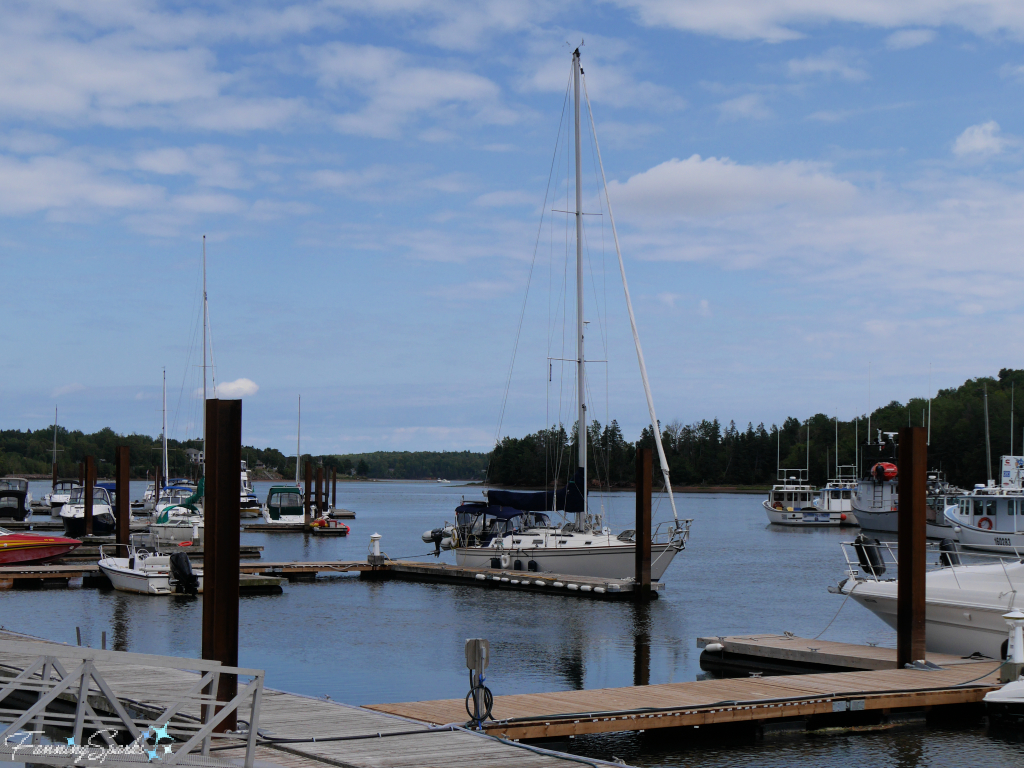
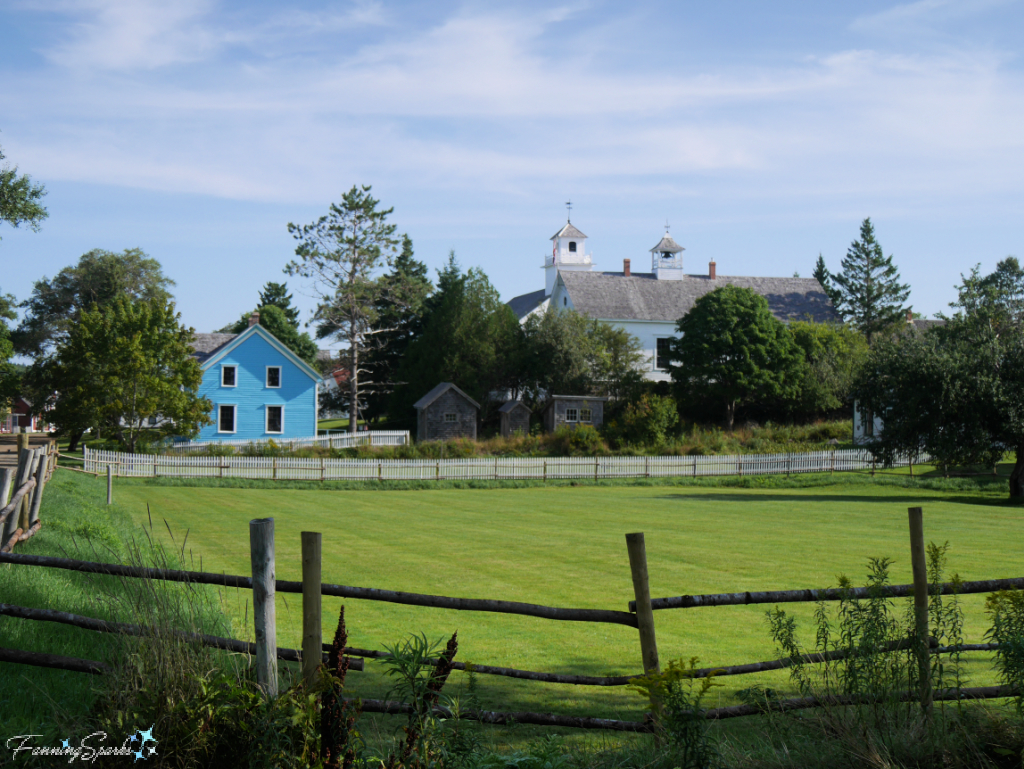
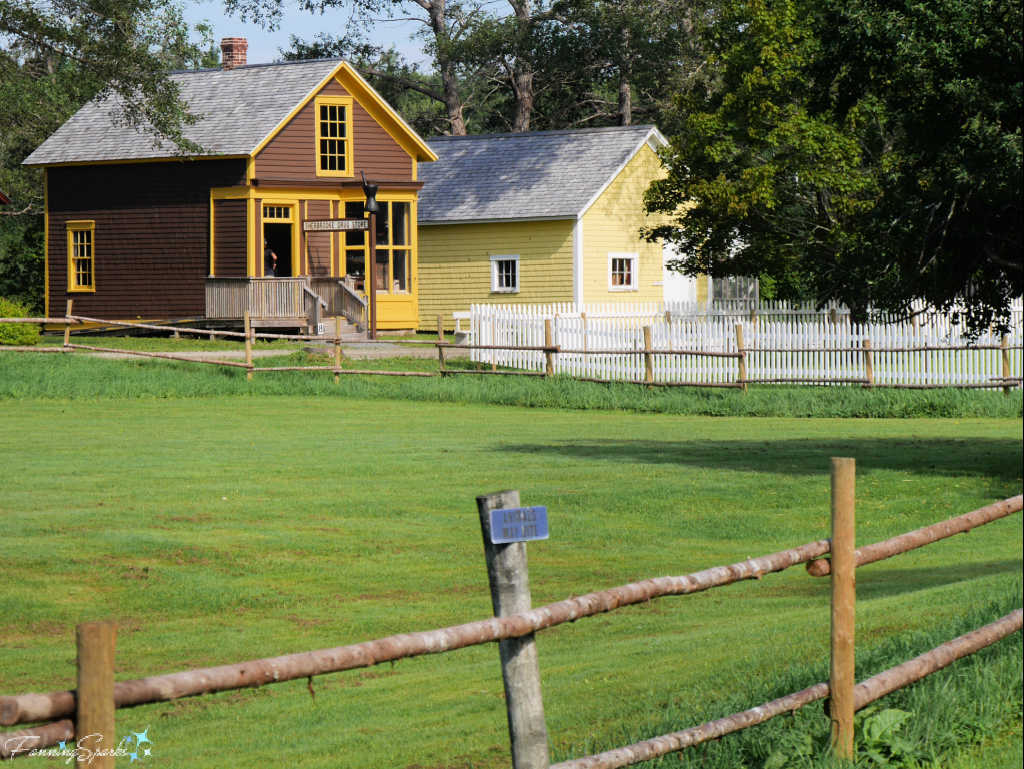
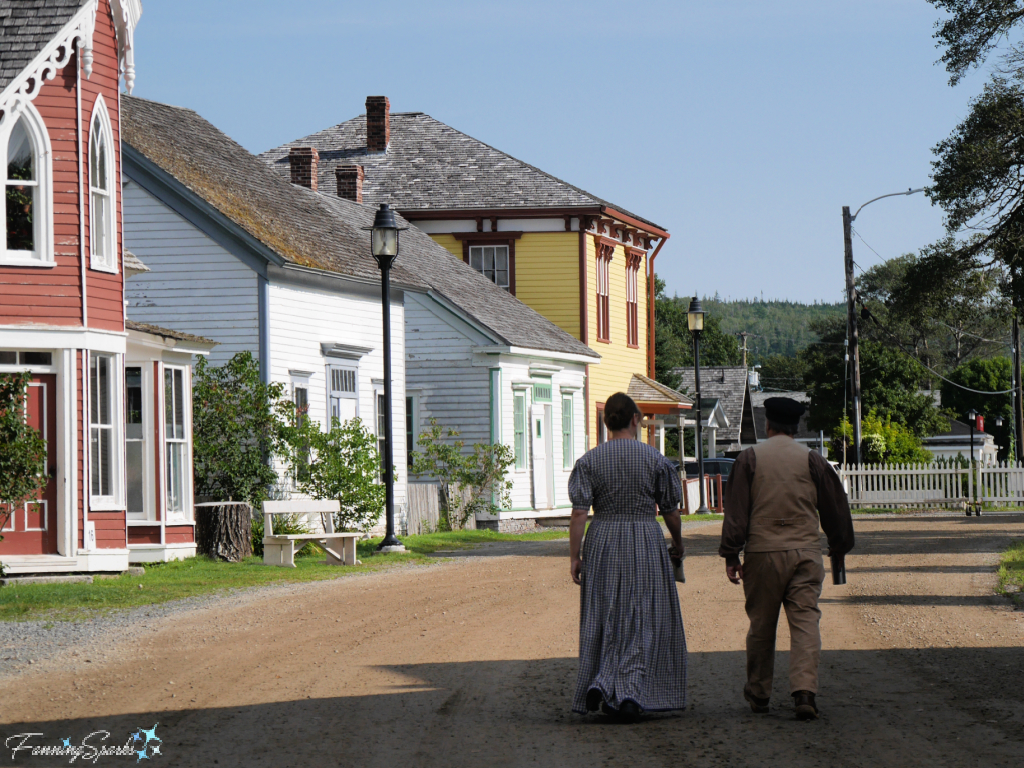
We saw several charming seaside towns including Victoria, St Peters, Cardigan and Montague (pictured below).
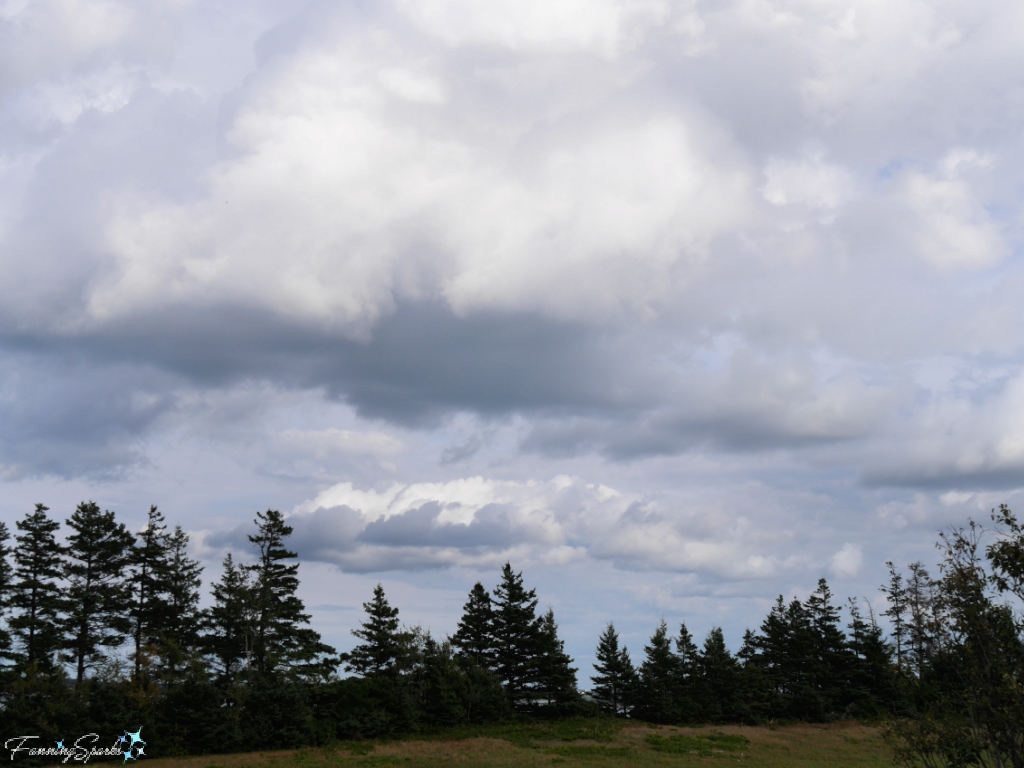
Thankfully, we had perfect weather for our three days on the Island Walk. The temperature was ideal and the skies were blue. At one point, these amazingly beautiful clouds rolled in and threatened rain but the fine weather prevailed.
Travelling on foot provided plenty of opportunity to examine the local flora and consider the signs of the season including, you guessed it, more wild apples!

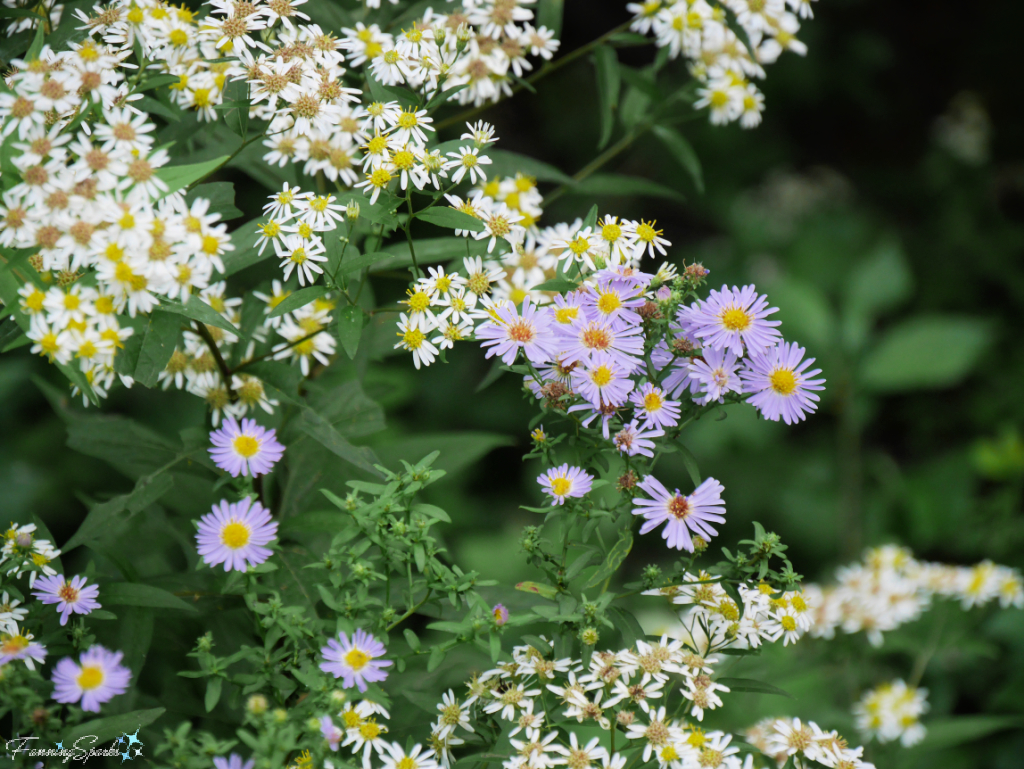
Autumn bloomers, like these purple and white asters, were also in beautiful abundance.
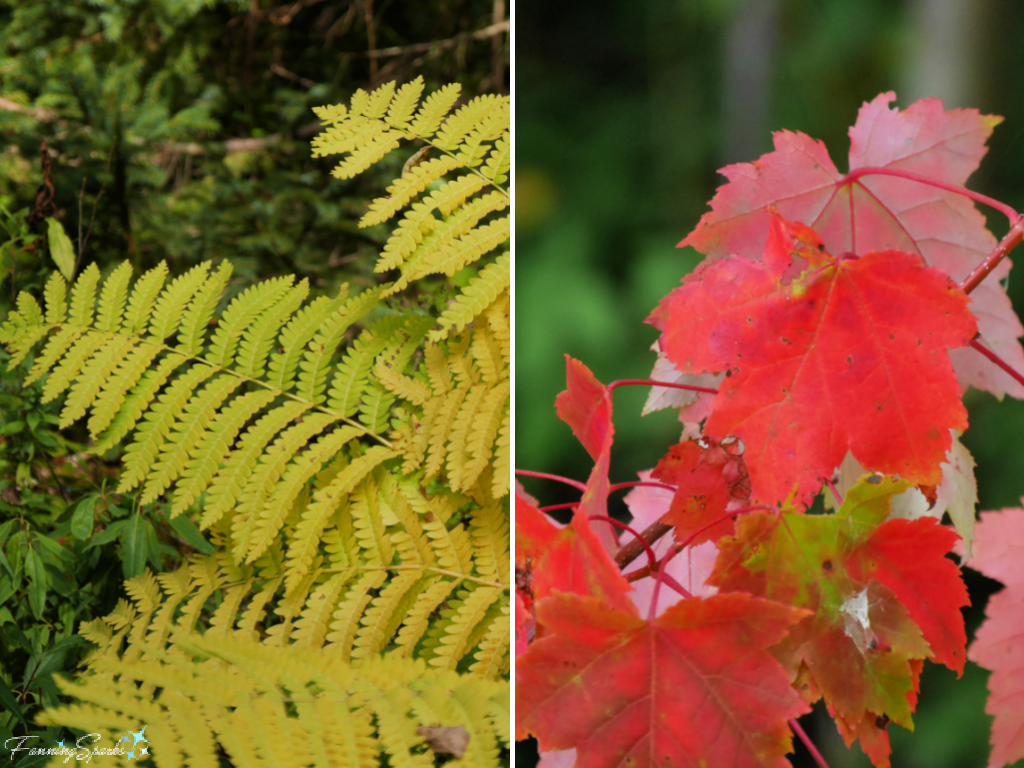
We spotted a few colored leaves such as these yellow fern fronds and red maple leaves.
On the final day, the mystery of why there were so many wild apples was finally solved. “At one time every farm had an orchard or at least a couple of trees of different varieties. By the mid-1800s, apples were a part of the rural culture. They were stored for the winter in cold rooms, or dried or preserved like valuables. They were not only good for you but were also tasty … Being home-grown, they were inexpensive and thus appeared daily in lunch bags taken to school and work. They were an obvious choice also for lunch baskets taken on the reliable but sometimes slow trips by train. Cores went out the window. It would seem that both rail workers and passengers are the most likely culprits responsible for the proliferation of apple” trees along the trail, reports a Confederation Trail interpretive panel near Cardigan.
Smells are known to have an exceptional ability to trigger memories. I wonder if in the future the smell of ripe apples will automatically bring to mind my experience on the Island Walk. I rather hope it does!
![]()
More Info
The Island Walk was not my first long distance walking experience. Regular readers may recall I had the opportunity to experience a Camino de Santiago pilgrimage/walk a few years ago. I started in Porto Portugal and walked solo on the Camino Portuguese Coastal Route for a 110+ km journey to Camposancos Spain. You can read about that amazing experience in my blog post Following the Yellow Arrows.
The Island Walk is located in Prince Edward Island, Canada. Check out The Island Walk website for more information. “Island Trails has developed a new 700km walking trail called the Island Walk which loops around the perimeter of Prince Edward Island. The Island Walk is modelled after the famous long-distance walking trail, the Camino de Santiago in Spain.” announced a July 2020 press release.
The Camino de Santiago, which dates back to the 9th century, is a network of pilgrimages leading to the shrine of the apostle Saint James the Great in the cathedral of Santiago de Compostela in northwestern Spain. The Camino has developed an extensive support structure for its pilgrims over the years including walking routes, overnight accommodations, cafes, restaurants, water fountains and resting places. Nowadays, people walk the Camino de Santiago for a variety of reasons such as religious pilgrimage, spiritual retreat, physical fitness challenge or long-distance walking vacation.
Understandably, the Island Walk doesn’t yet have the extensive infrastructure nor the rich heritage of the Camino de Santiago, but it does have beautiful countryside, excellent trails and a determination to make it happen. Bryson Guptill, the driving force behind The Island Walk, puts it this way: “PEI has stunning ocean vistas and quiet country roads that have a beauty that’s comparable to anything we have seen in France, Spain and elsewhere. This new walking route will give Islanders and visitors the opportunity to experience our Island in a way that’s really up close and personal.” Many thanks and sincere wishes for ongoing success to Bryson Guptill and the other members of Island Trails!
As mentioned in this blog post, The Island Walk leverages sections of Prince Edward Island’s Confederation Trail. “The Confederation Trail runs tip-to-tip across Prince Edward Island and is best explored on foot or bicycle. Built on the decommissioned railway line, the main trail is 273 kilometres from west to east – Tignish to Elmira.” See the Confederation Trail section of the Prince Edward Island Tourism website for more information.
Today’s Takeaways
1. Consider taking an extended walk on the Island Walk or an outdoor trail near you.
2. Walking allows you to experience your surroundings up close and personal.
3. Long-distance walking may just be the ultimate experience-based, locally-sustainable, slow travel adventure.


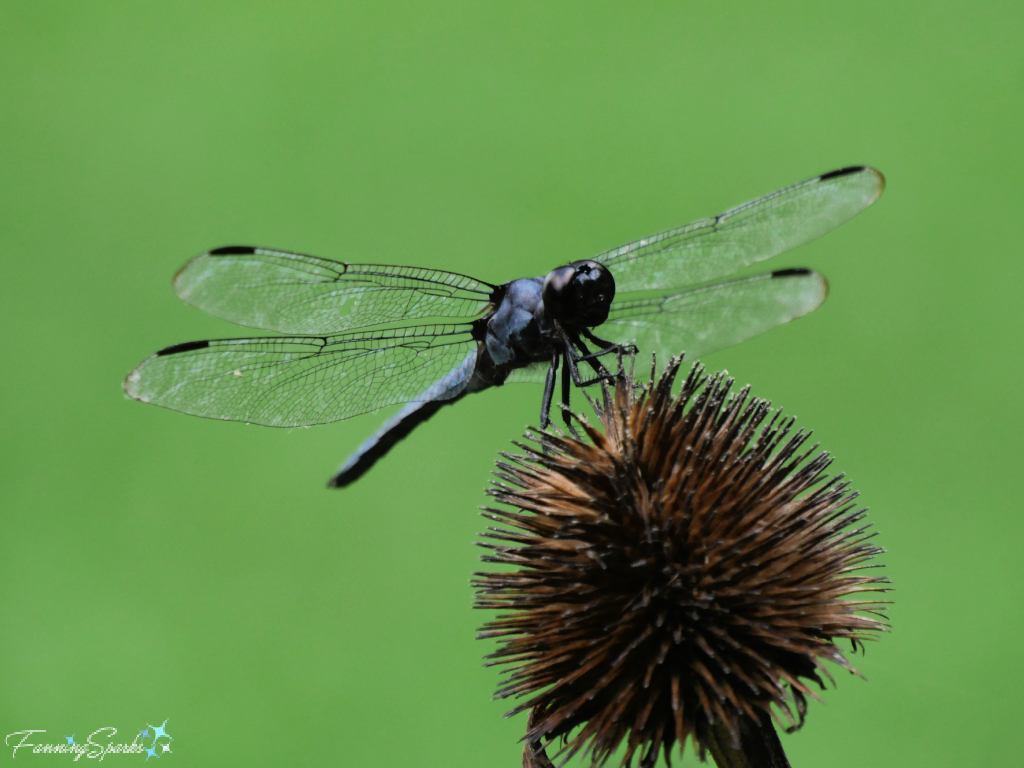
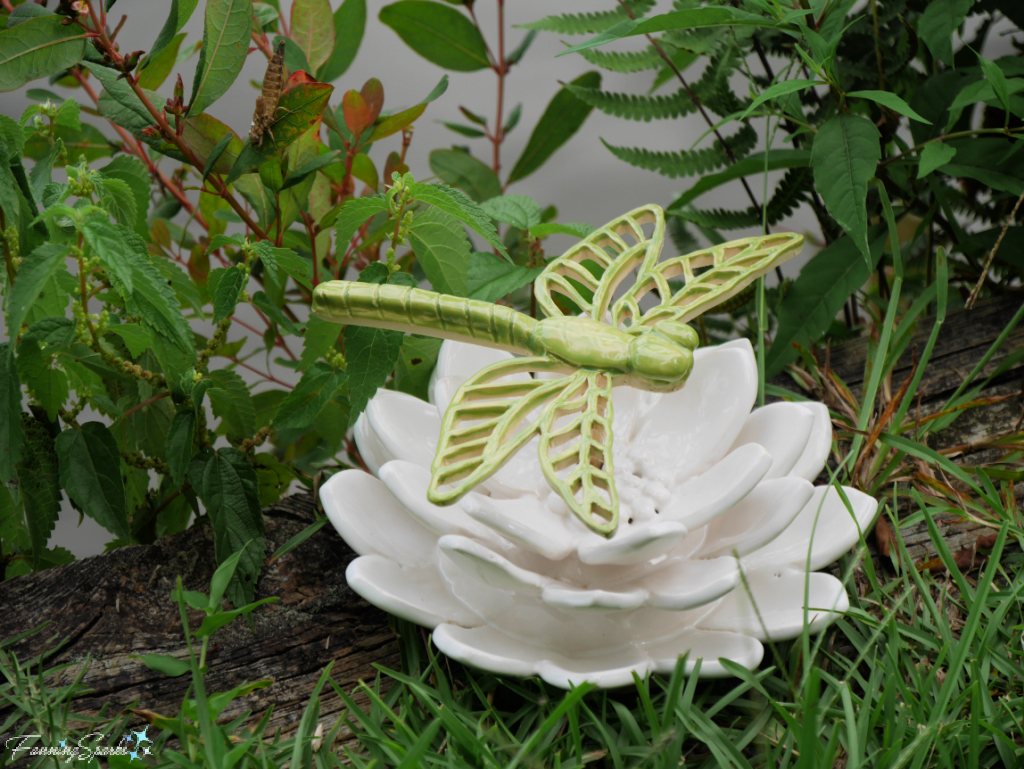
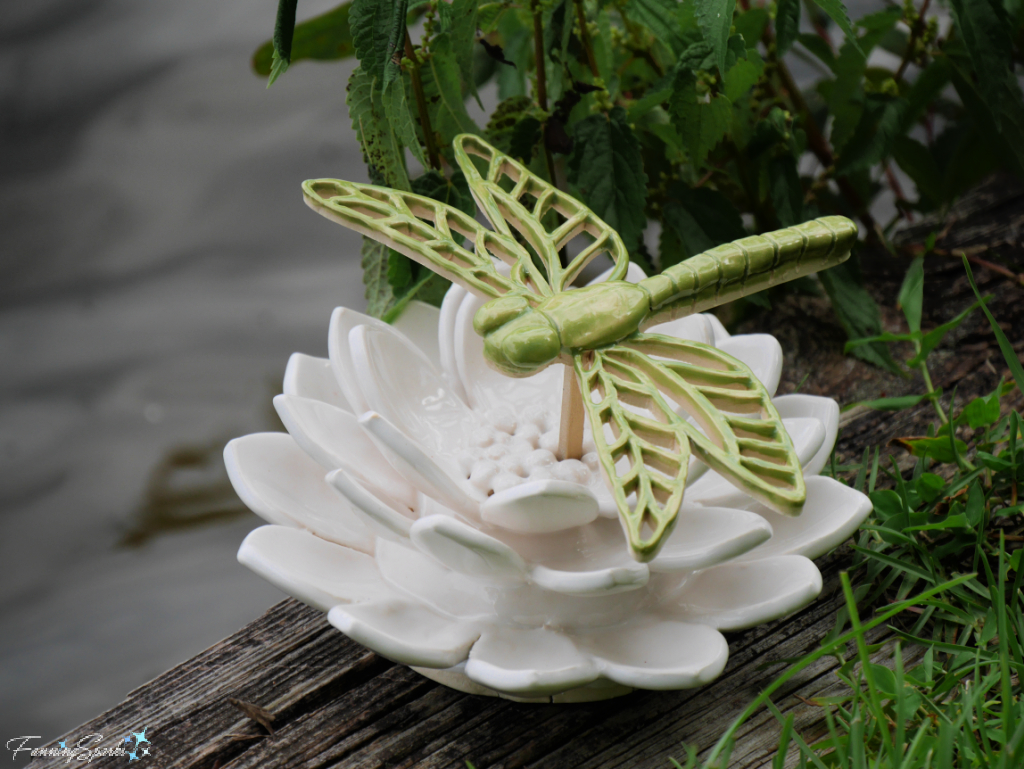
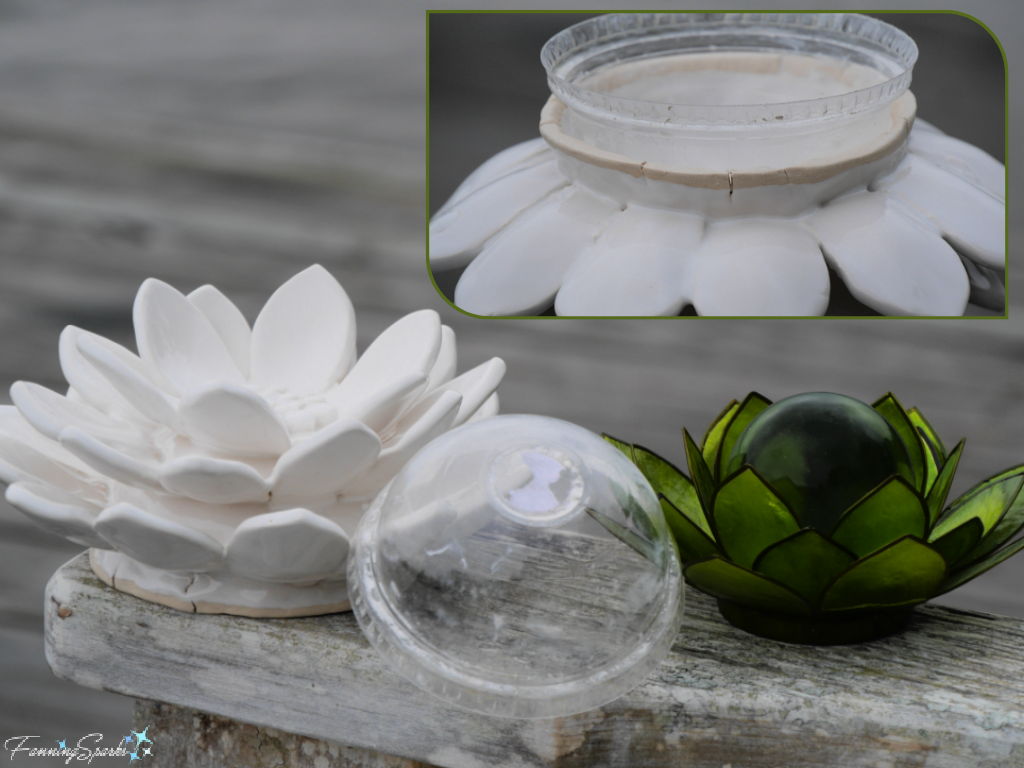
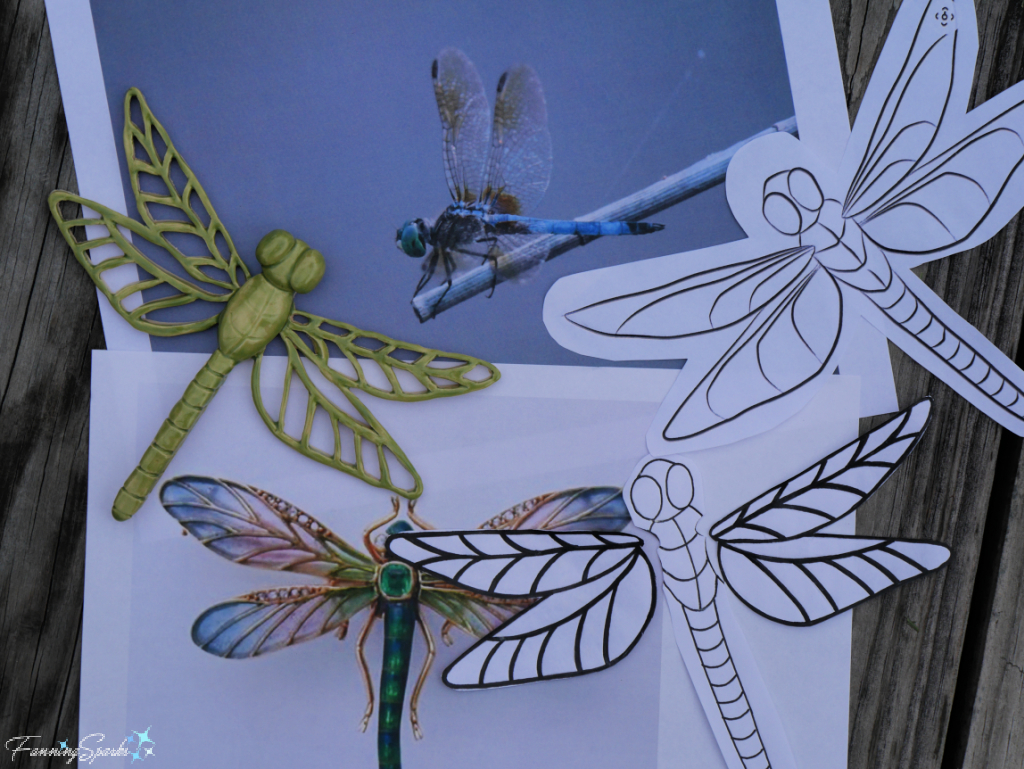
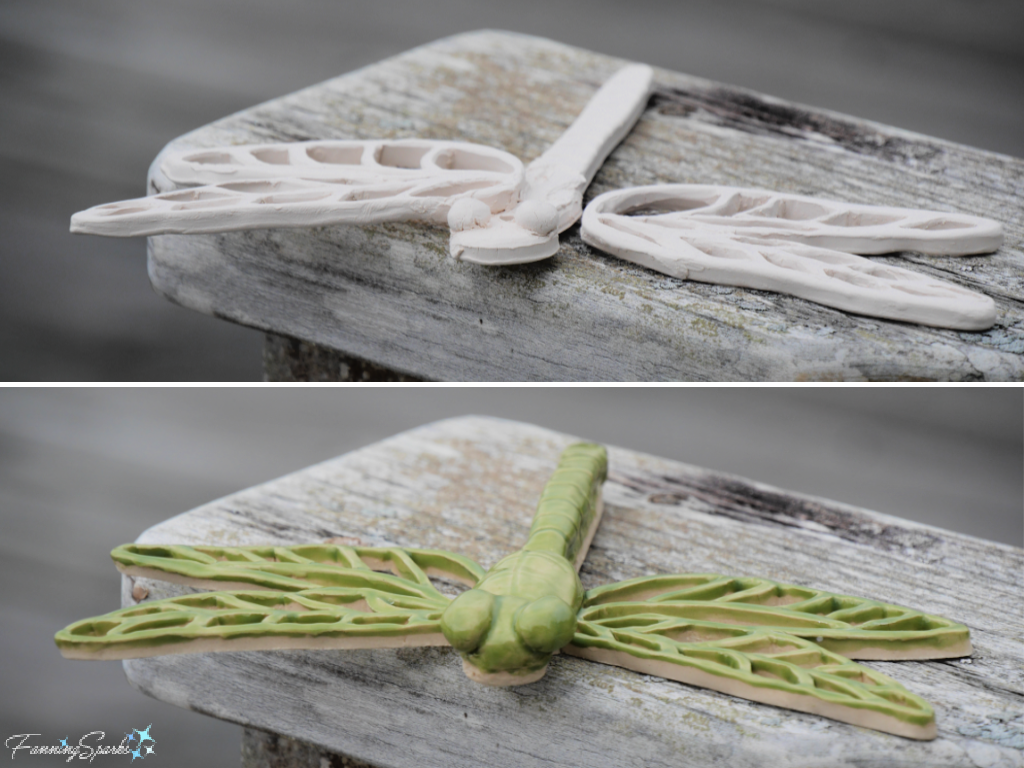
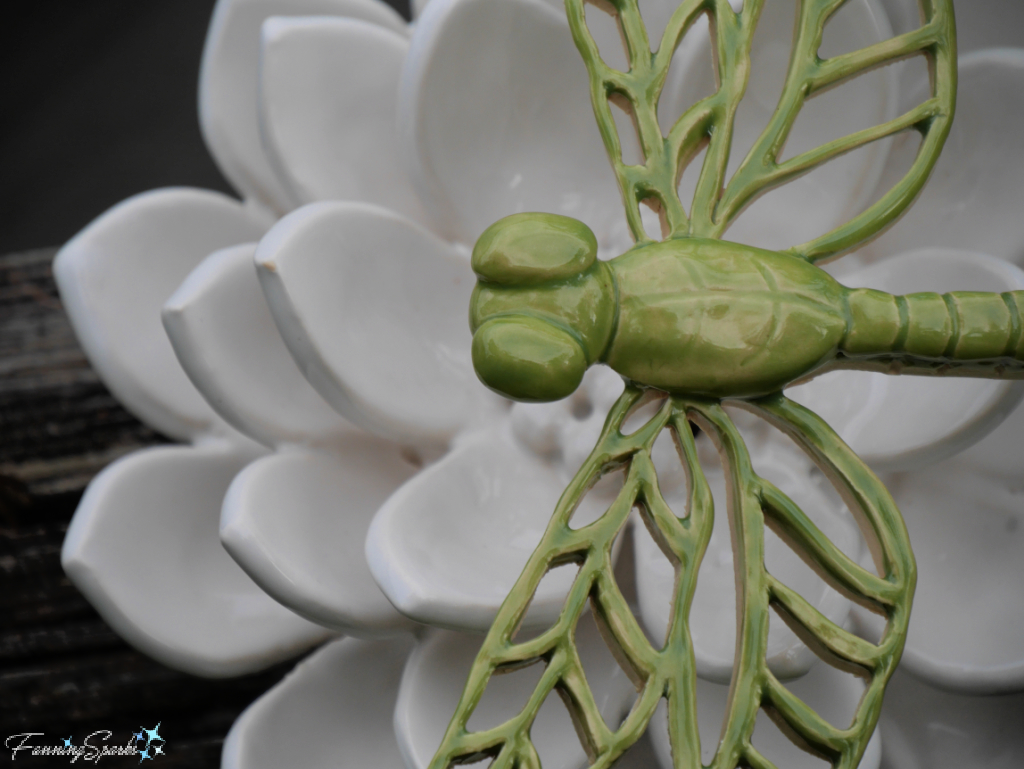
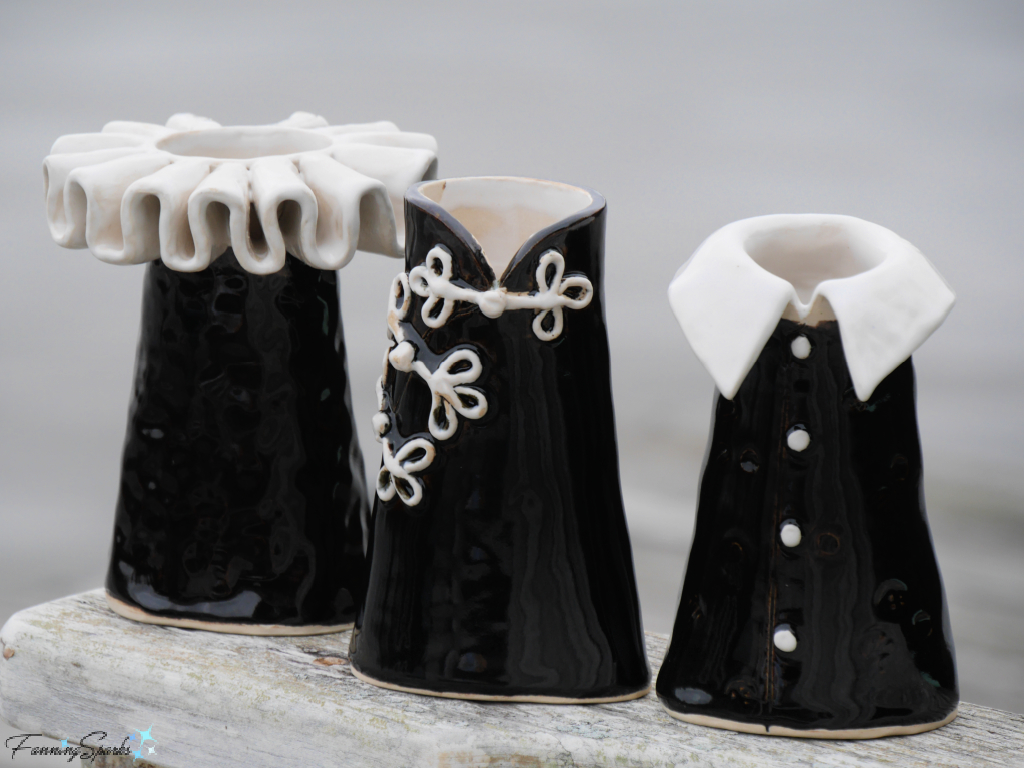
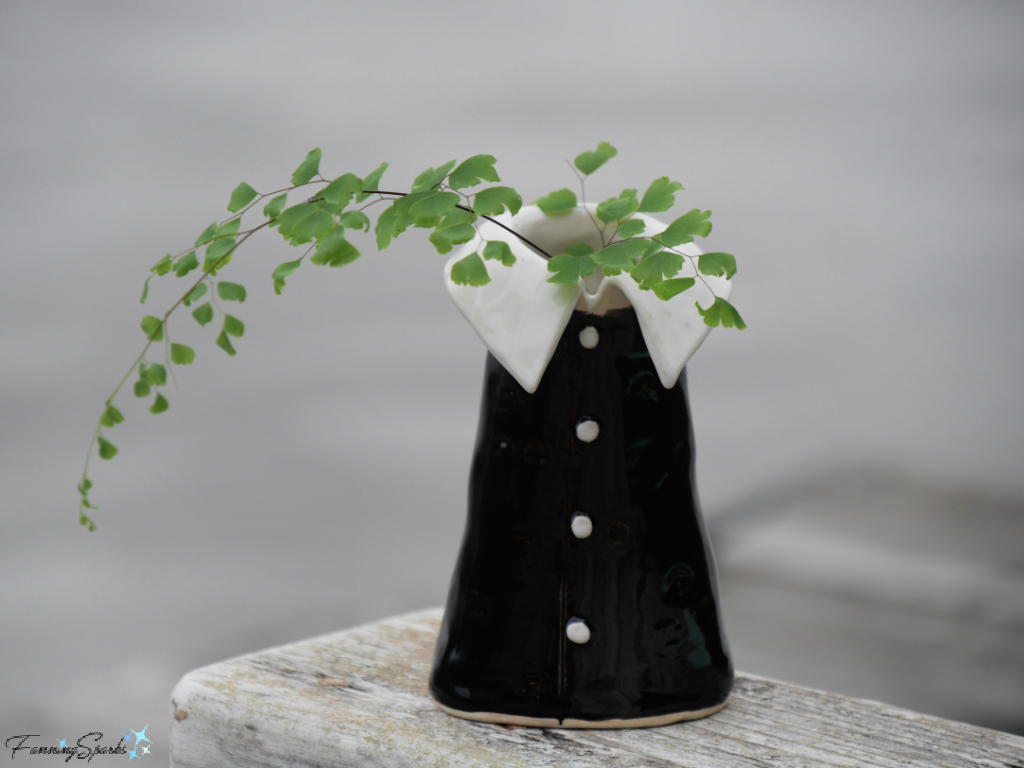
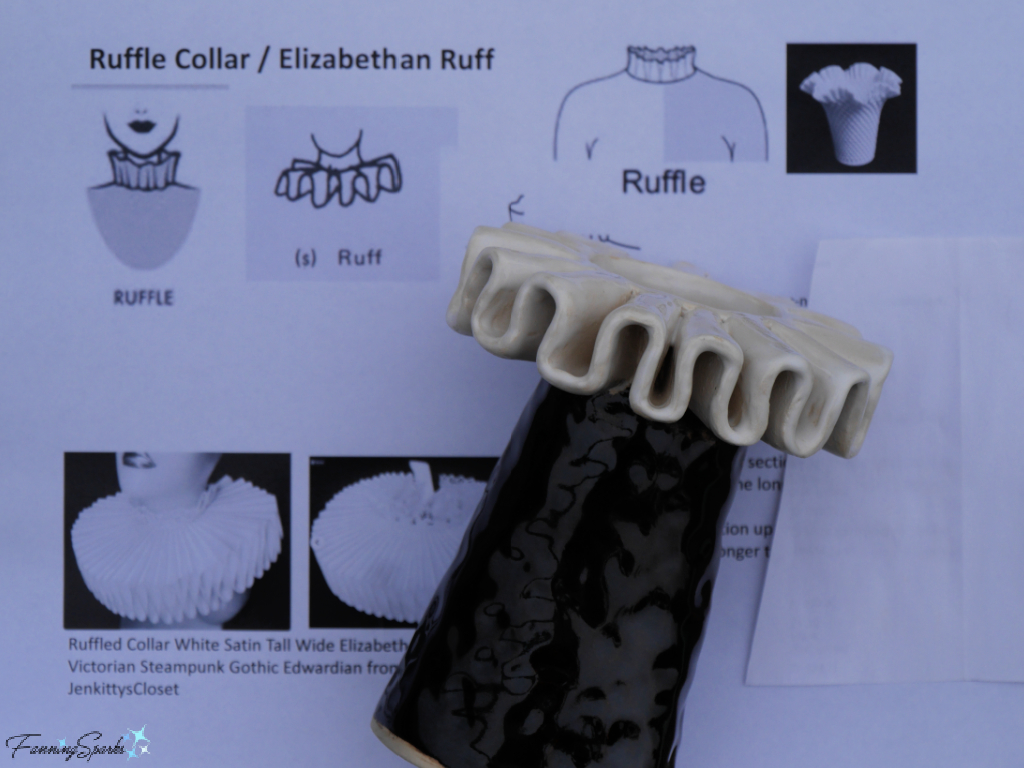
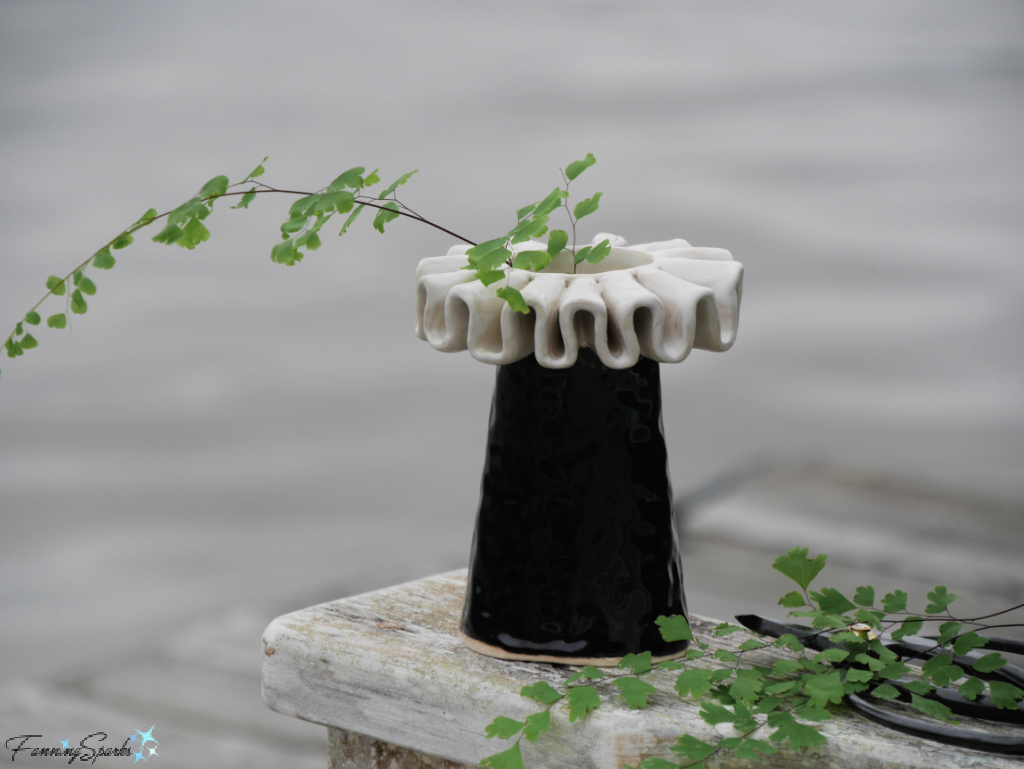
 Another recent clay project was inspired by an intriguing flying insect—the dragonfly.
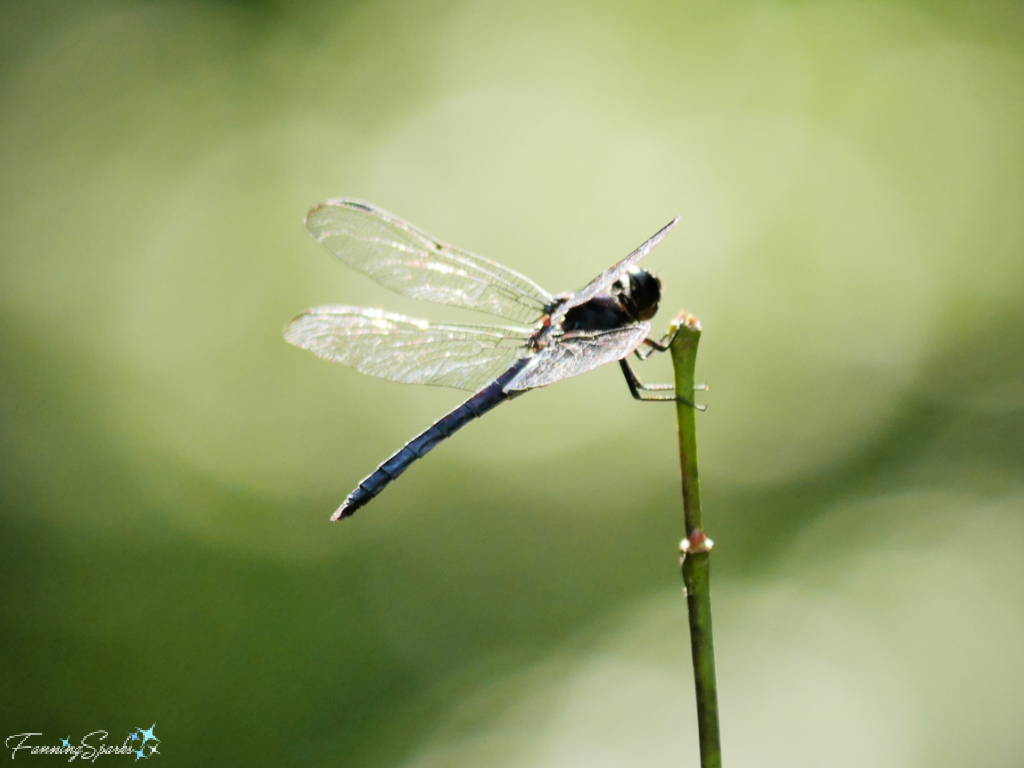


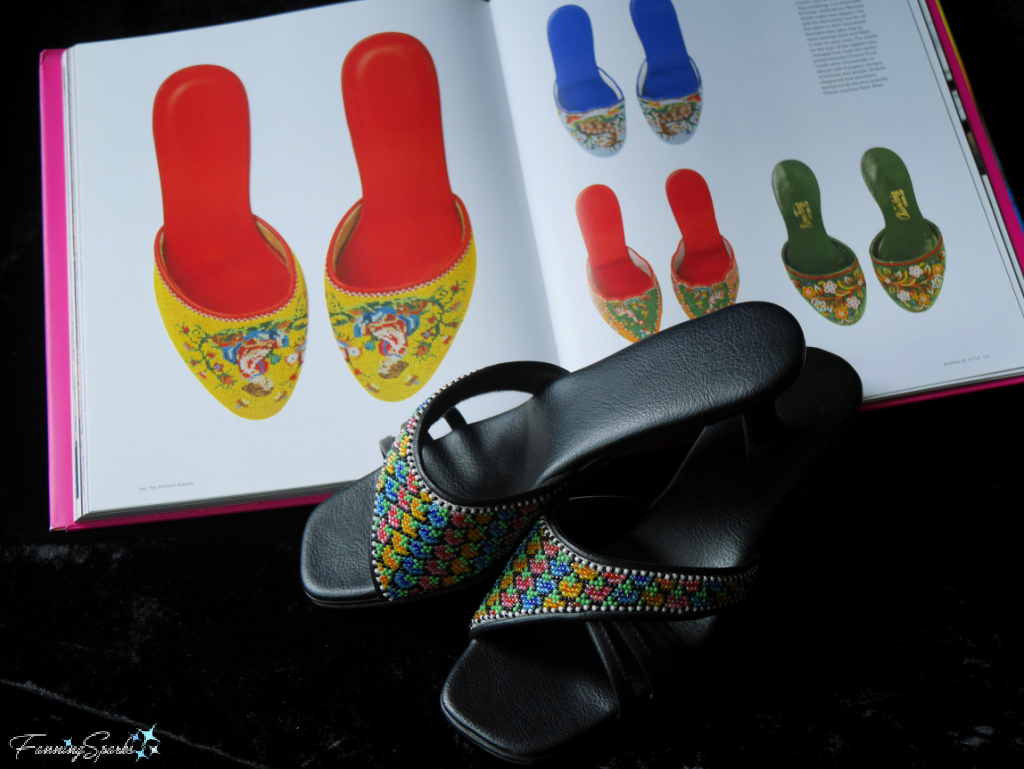
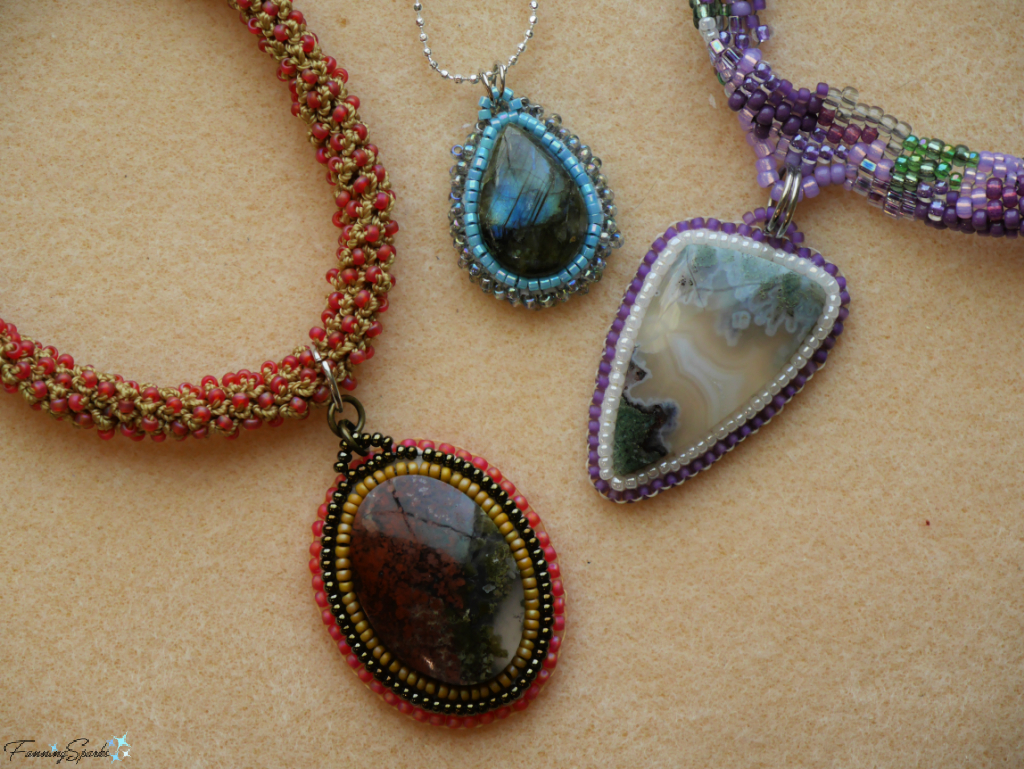
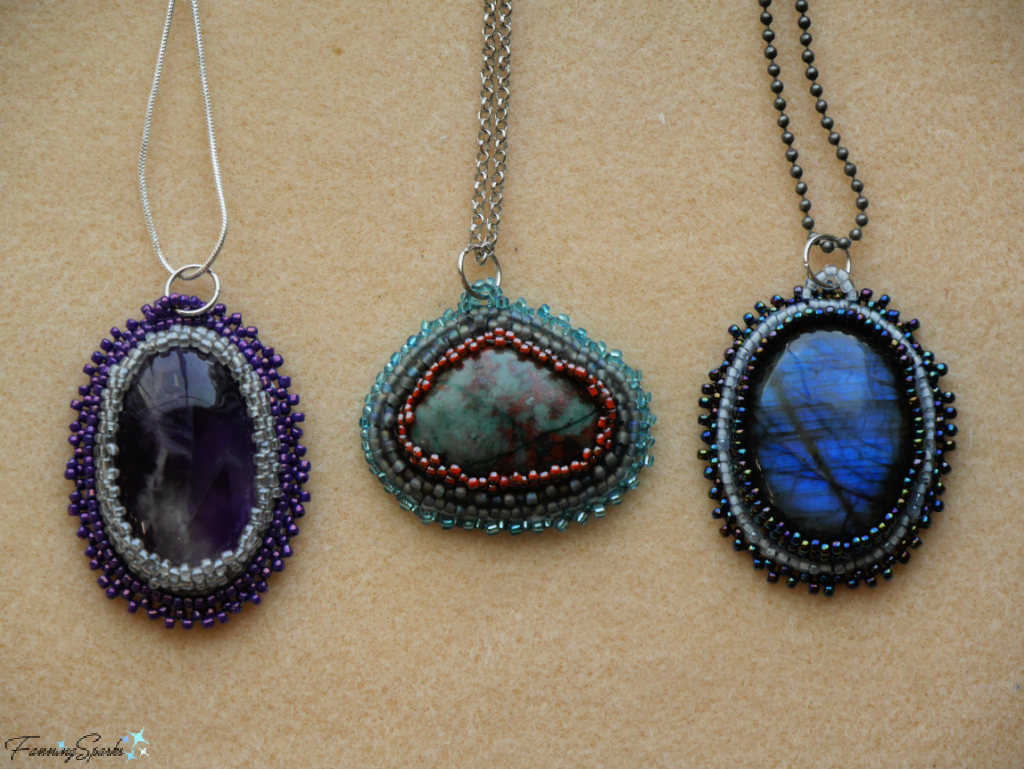
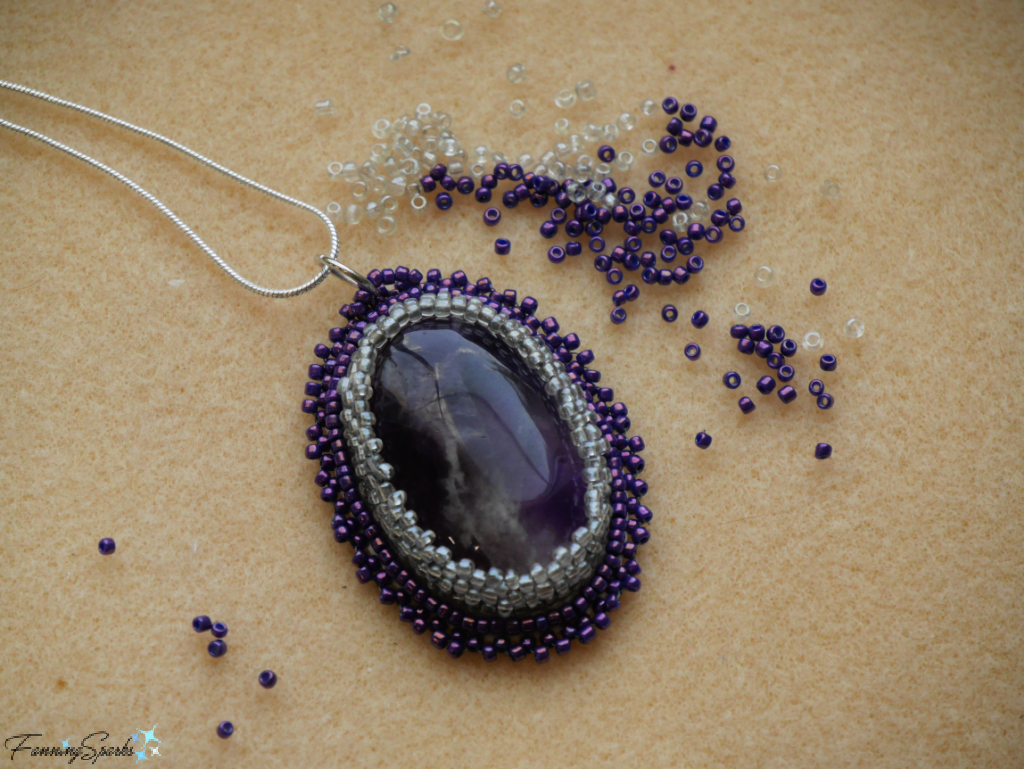
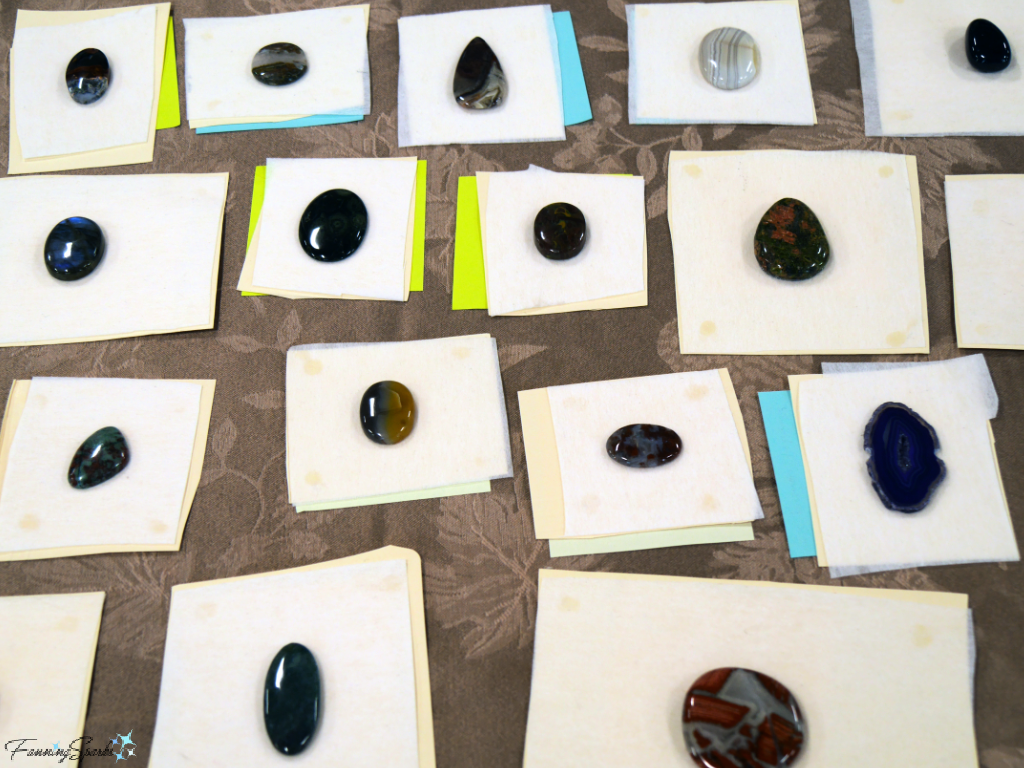
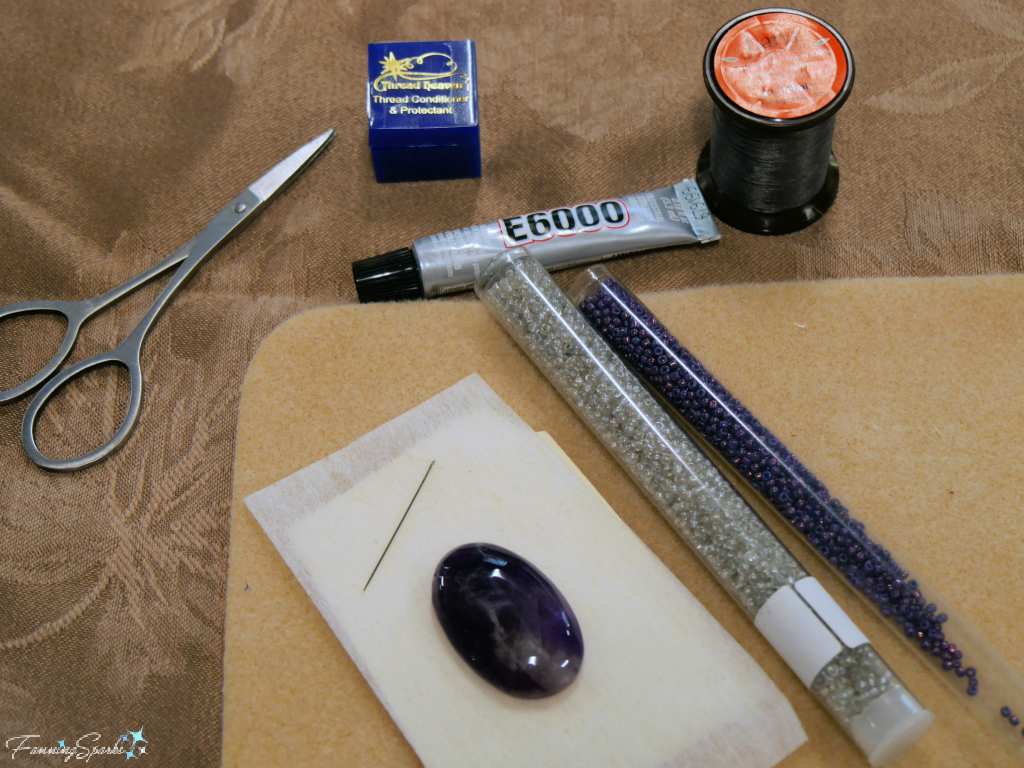
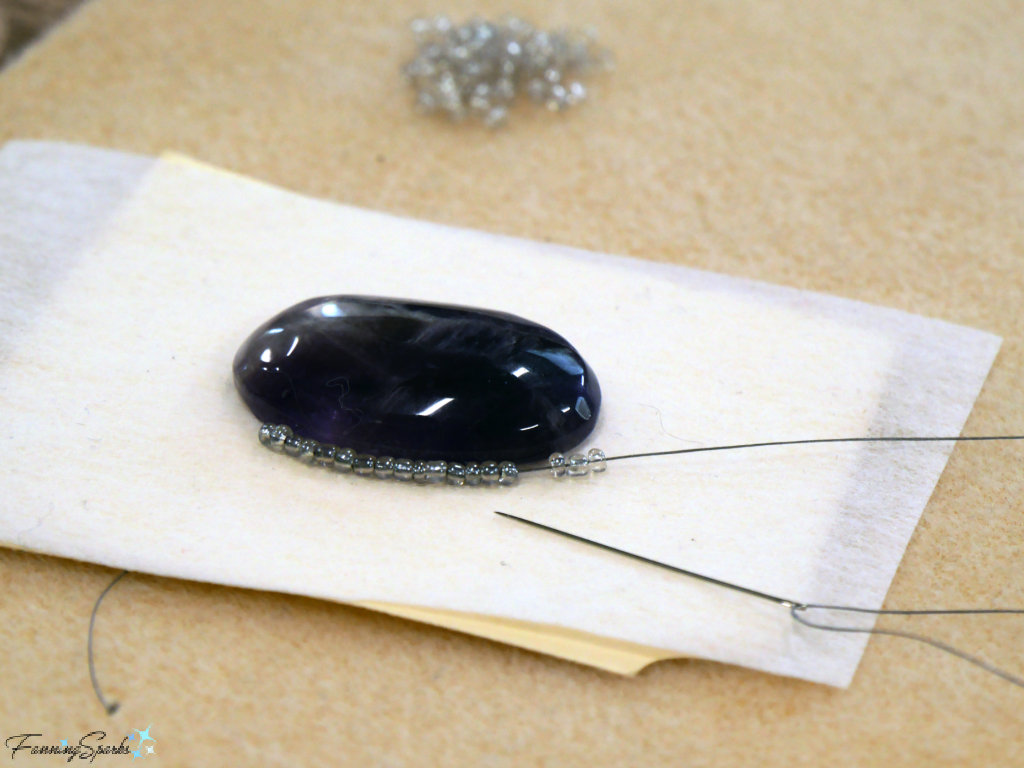
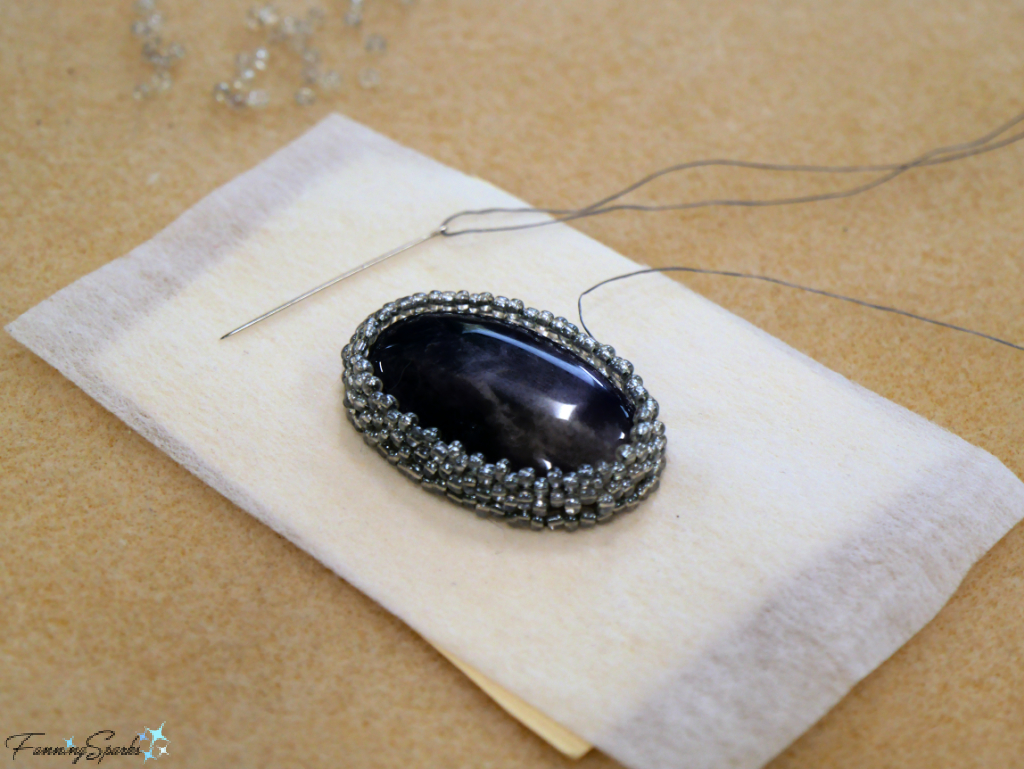
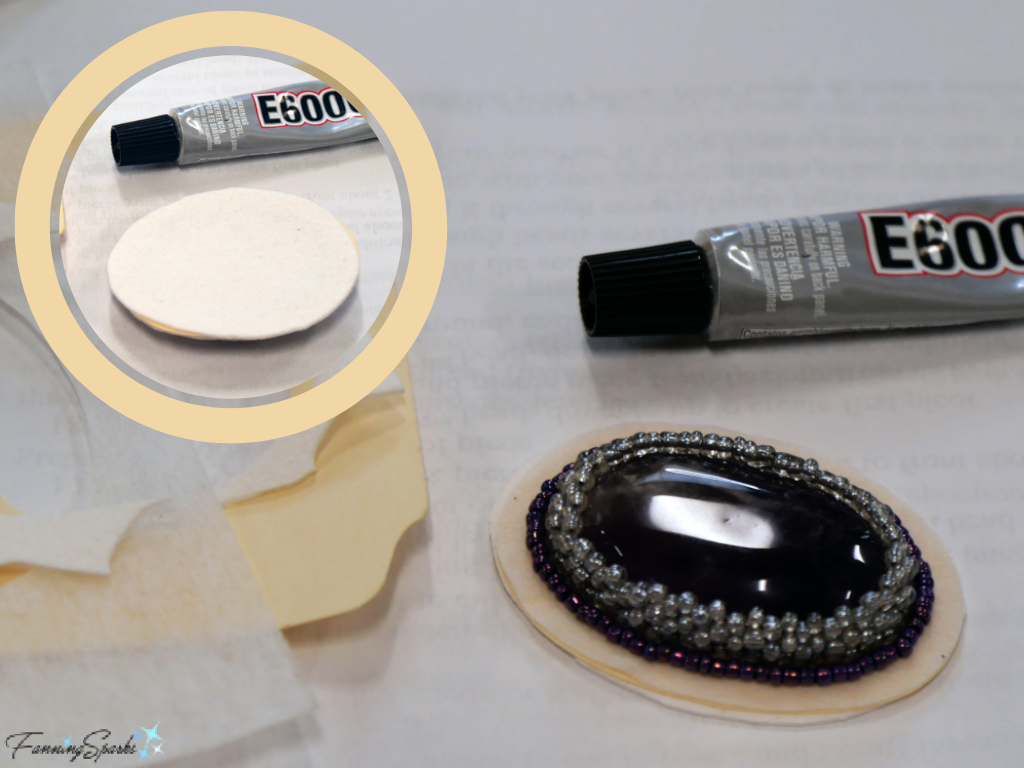
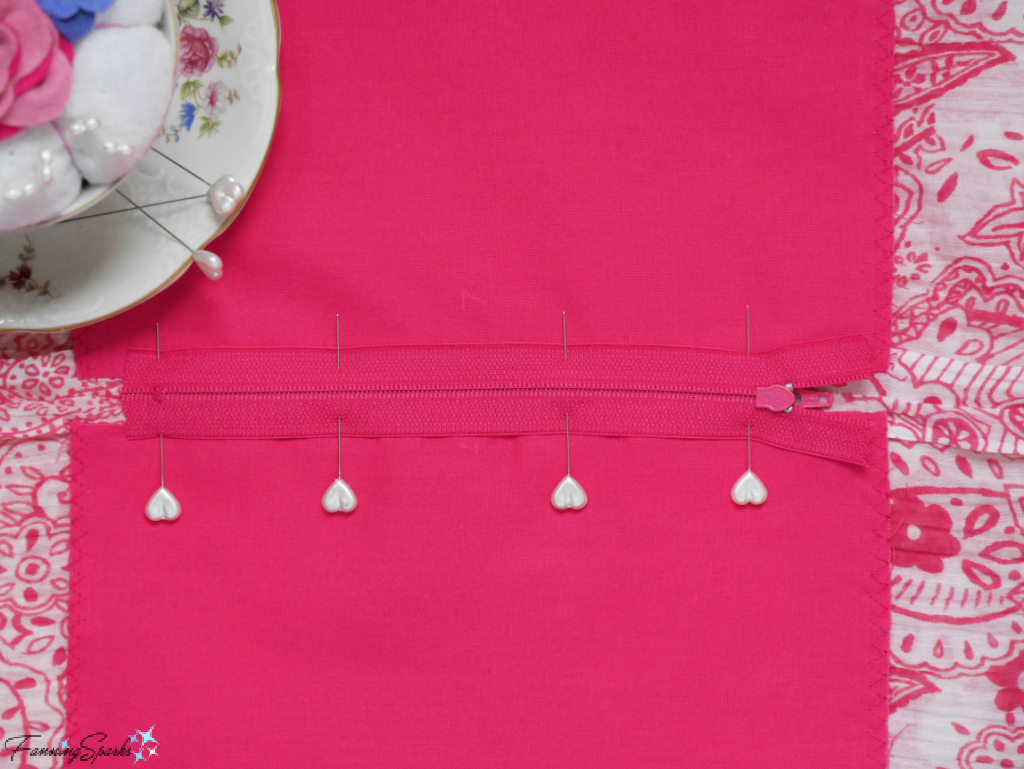
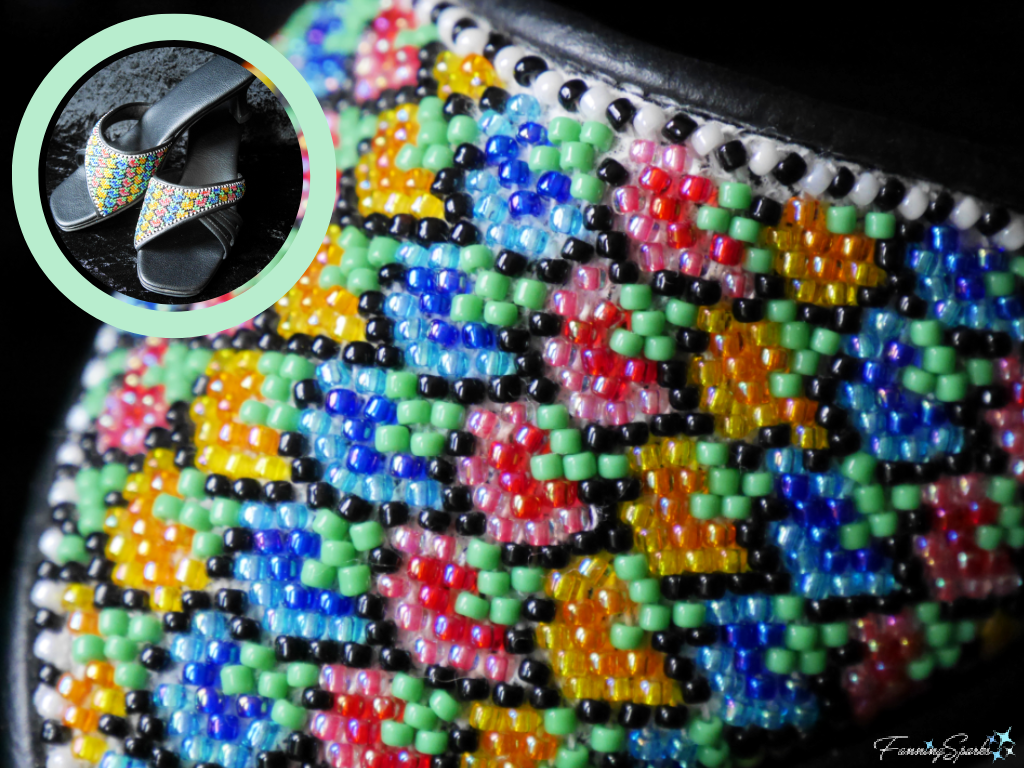 This beautiful beadwork has fostered an appreciation for and curiosity about the art of beading. So, when I saw a workshop called Bead-Embroidered Semi-Precious Stone Pendant listed amongst the many offerings at the recent Berea Festival of LearnShops, I signed up. I’m so glad I did!