
Some skills can easily be learned on your own or with the help of online resources. But other skills are best learned with in-person instruction or guidance. In my experience, linocut printing―especially printing on fabric, falls into the latter category. That’s why I was thrilled to attend a recent Block Printing and Pattern Design on Fabric workshop.
The workshop was hosted by the Atlanta Printmakers Studio. This community printmaking studio is located in Hapeville, Georgia which is an easy commute from my home. The Atlanta Printmakers Studio “offers access to a well-equipped studio and diverse educational programs that foster the development of printmaking as a vibrant and progressive art form” explains their website. “The studio supports a variety of printmaking processes, including screenprint, letterpress, intaglio, relief, monoprint, book arts, and paper making.”
 It’s an outstanding facility with a heartwarming backstory. Andrea Emmons, our workshop instructor, is one of the founding members of the Studio. She explained that after attending an evening class at a community venue, she and her fellow students began searching for studios where they could continue to explore the medium. When none were found, they took on the daunting challenge of setting up their own shared printmaking studio. A determined trio, Andrea, Kathy Garrou and Stephanie Smith, founded the Atlanta Printmakers Studio (APS) as a non-profit community arts center in 2005.
“The art form of printmaking is a little like ceramics or sculpture in that it is process-based and can require specialized and heavy equipment like presses and inks and chemicals you might not want to use in your living room!” explains co-founder Smith in a 2018 interview. “There is an inherent collaborative aspect … you have to share equipment which leads to sharing ideas, techniques and is a really rewarding experience.”
They found studio space in 2006 and set up shop at the Metropolitan Warehouses (now known as MET Atlanta), a popular mixed-use space in Atlanta’s West End. Fueled by a need for more space, combined with a desire for more natural light and a climate-controlled environment, the APS moved to their new location in downtown Hapeville in 2023.
The Hapeville Development Authority sponsored the move to Hapeville as part of their revitalization and economic development efforts. Located on the doorstep of the busy Atlanta airport, the City of Hapeville was able to raise the necessary funds through local hotel/motel taxes.
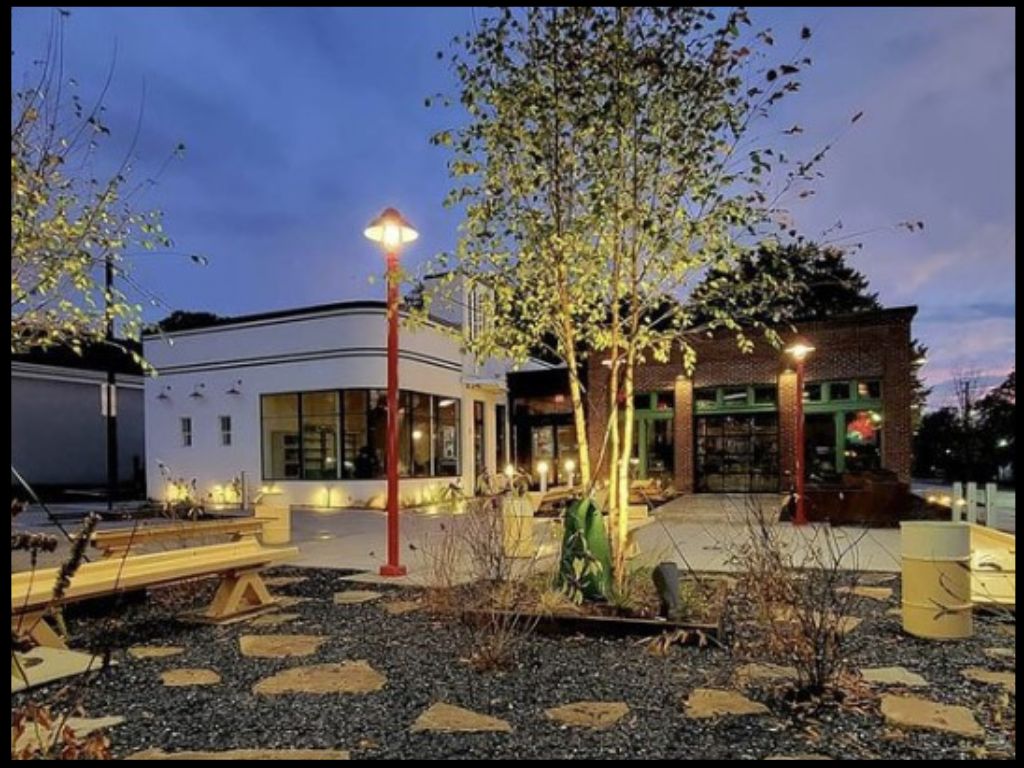
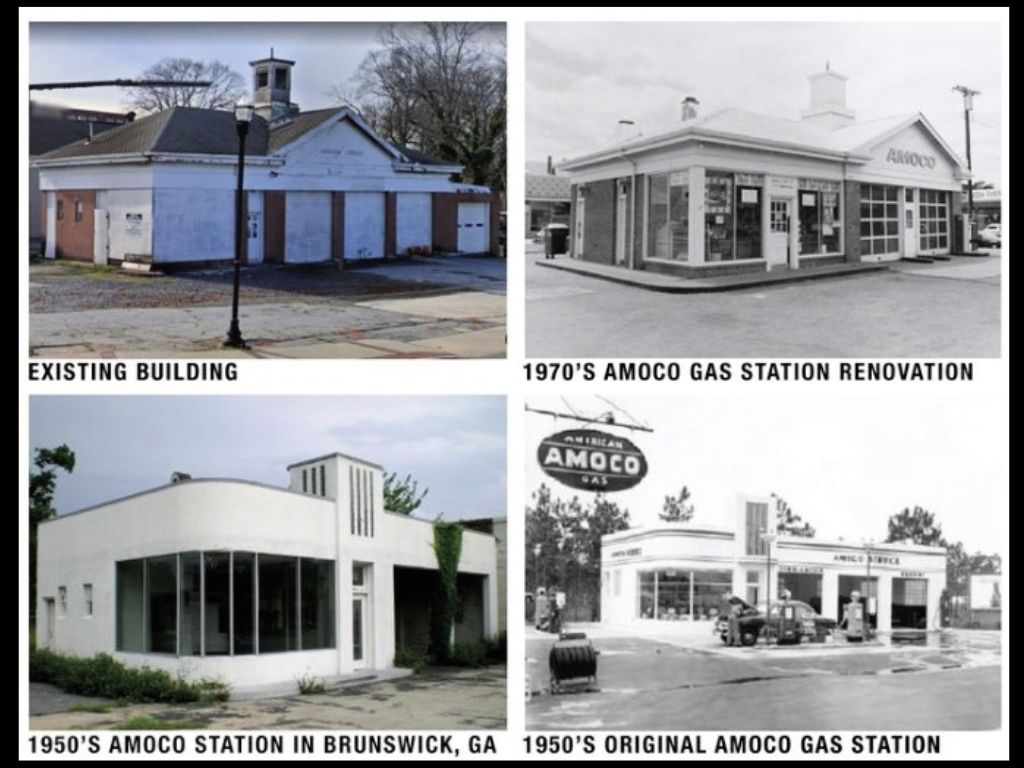
The new Studio, located in the heart of Hapeville, is amazing! It’s the result of a unique, adaptive-reuse project which completely transformed a neglected 1950s gas station. Here are a few photos of the building―from its neglected state at the beginning of the project around 2021 back to its original distinctive 1950’s style.
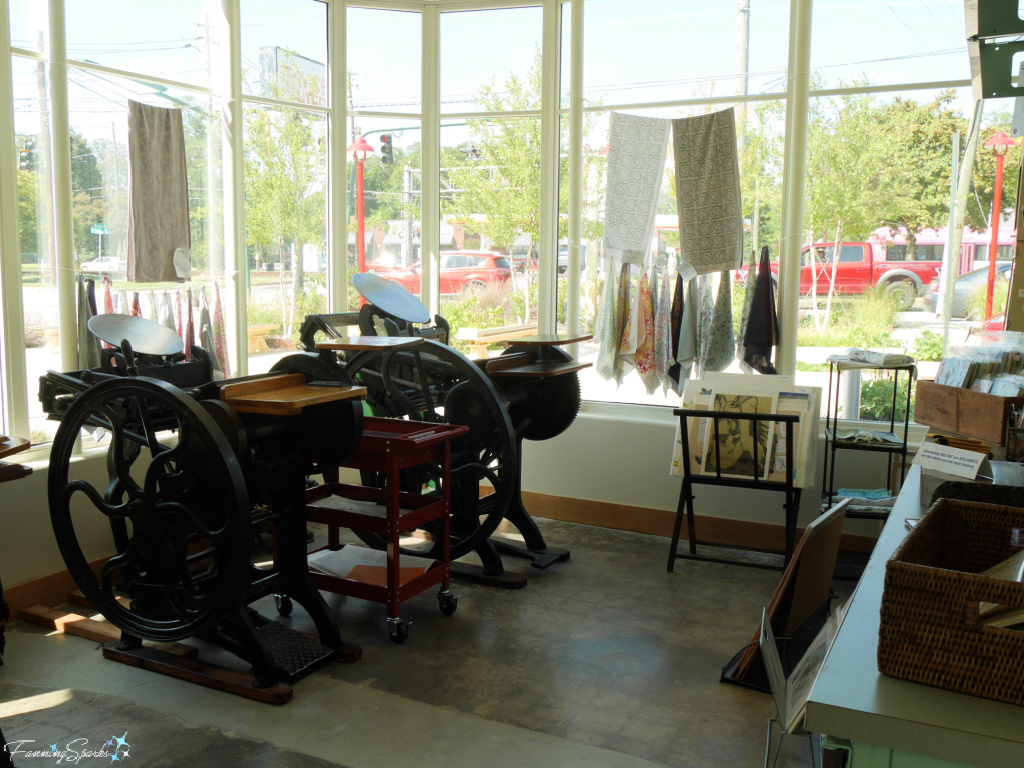
Inside the building is, what the APS members describe as, their “dream studio” consisting of 3000 sq ft of carefully-configured, light-filled working space. There are two large studio spaces, an art gallery and a store front where artists can sell their work. This is the view from inside the building’s unique curved window wall.
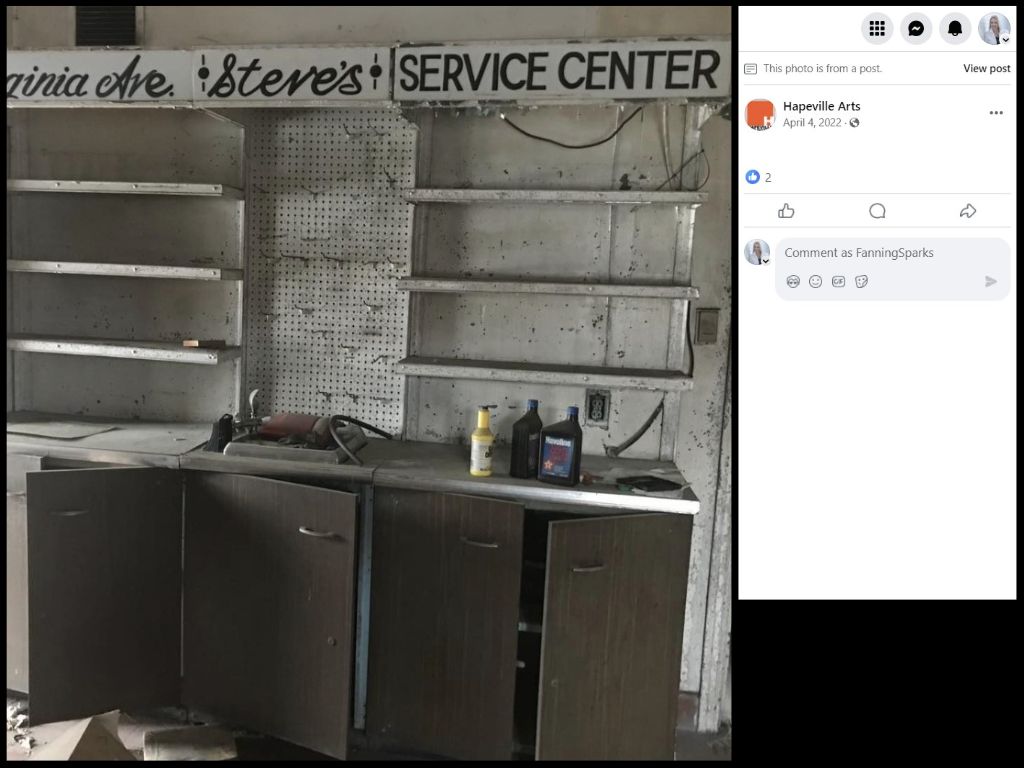
 Located along the shop’s main wall is an unusual display unit labeled “Virginia Ave. Steve’s Service Center”.
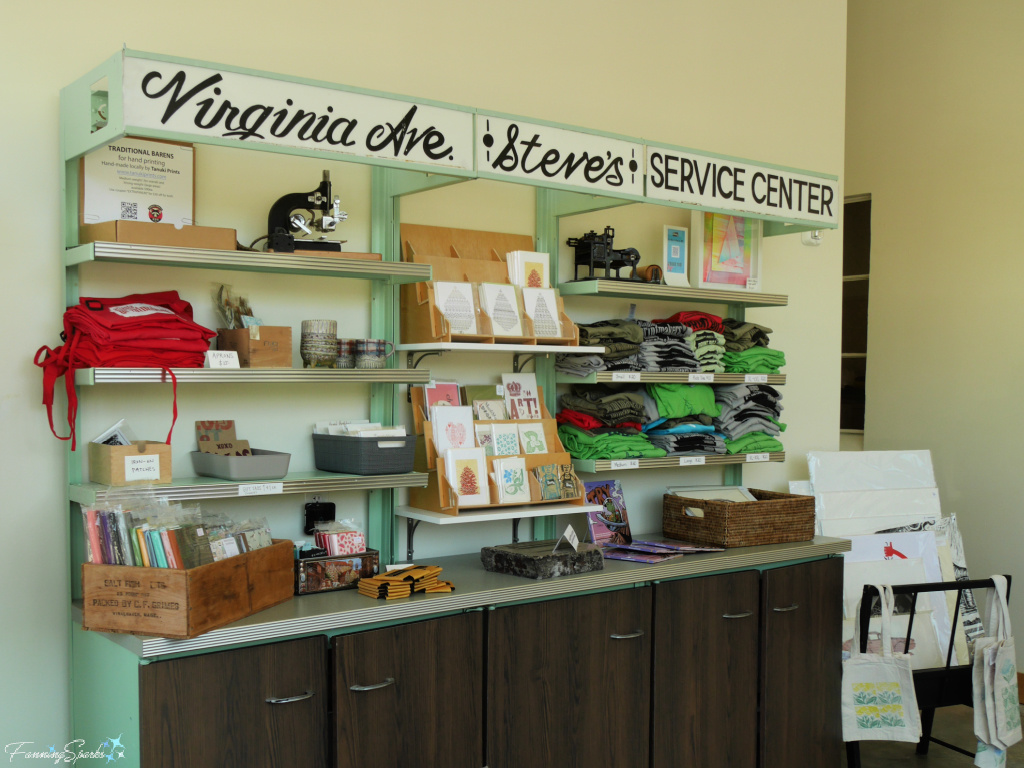
I didn’t understand it’s significance until I came across this photo on the Hapeville Arts Instagram page―the unexpected sign pays homage to the building’s origins.
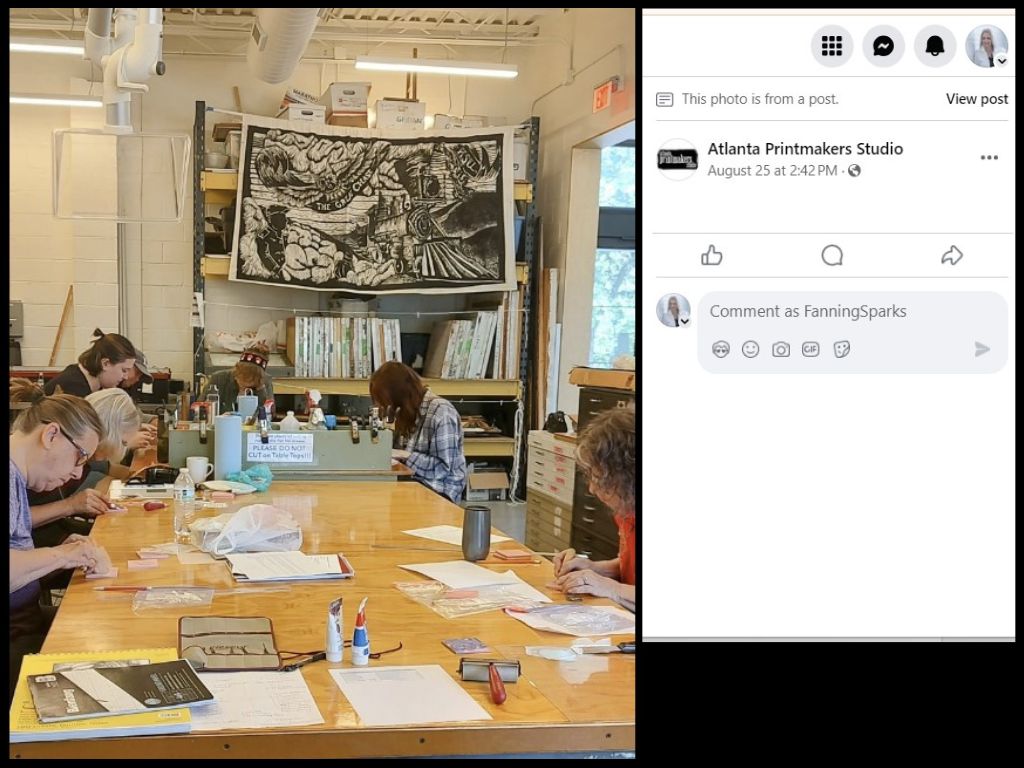
 Here’s a look at the new studio space. Andrea took the below photo during our workshop as we were carving our first linocut blocks. As you can see, there was plenty of space for everyone to work comfortably.
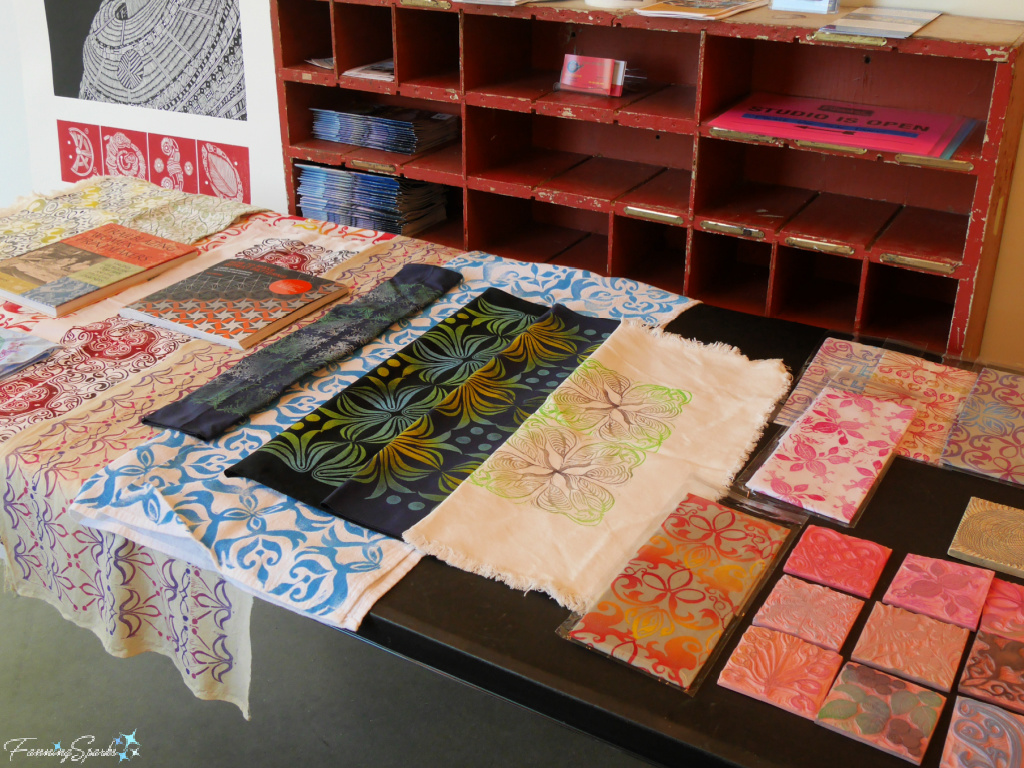
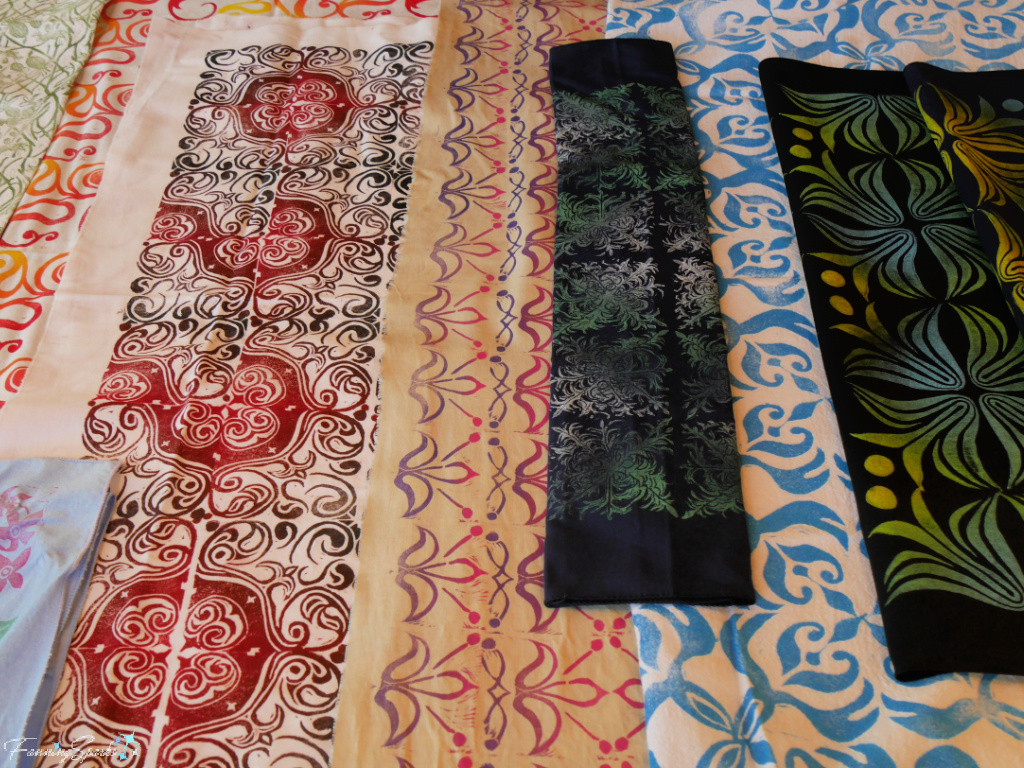
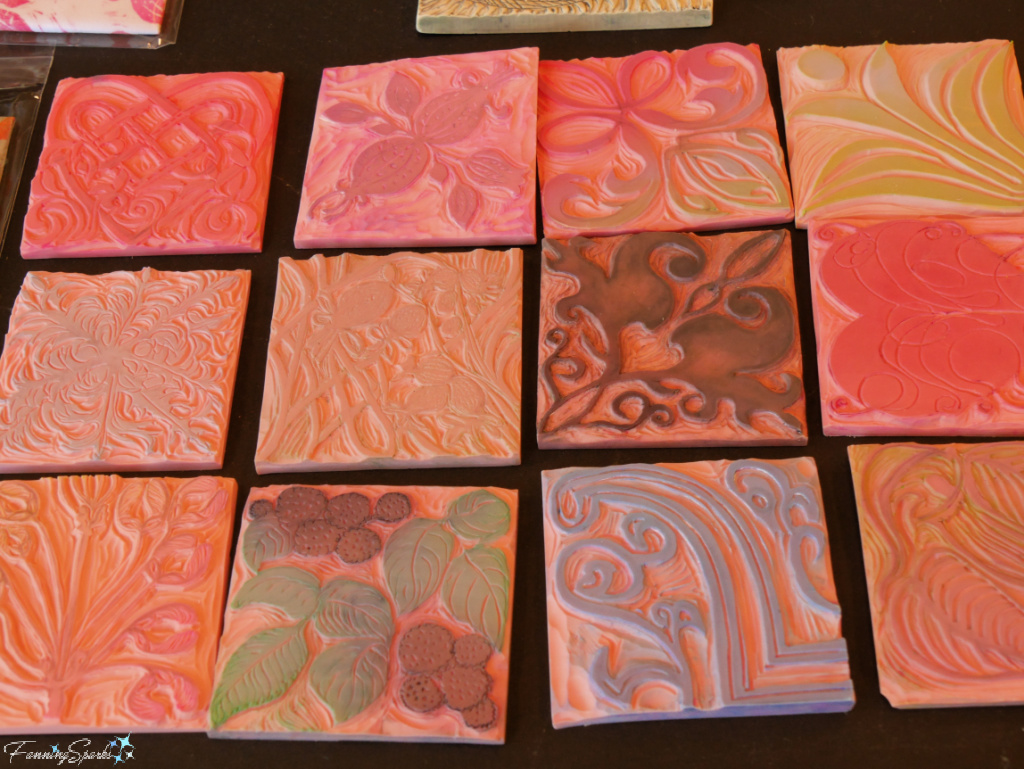
The workshop provided us the opportunity to create 3” square designs. Here are some examples of Andrea’s work which she generously shared with the class for inspiration.
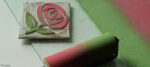
Here’s a closer look at the linocut blocks she used to print her fabric.
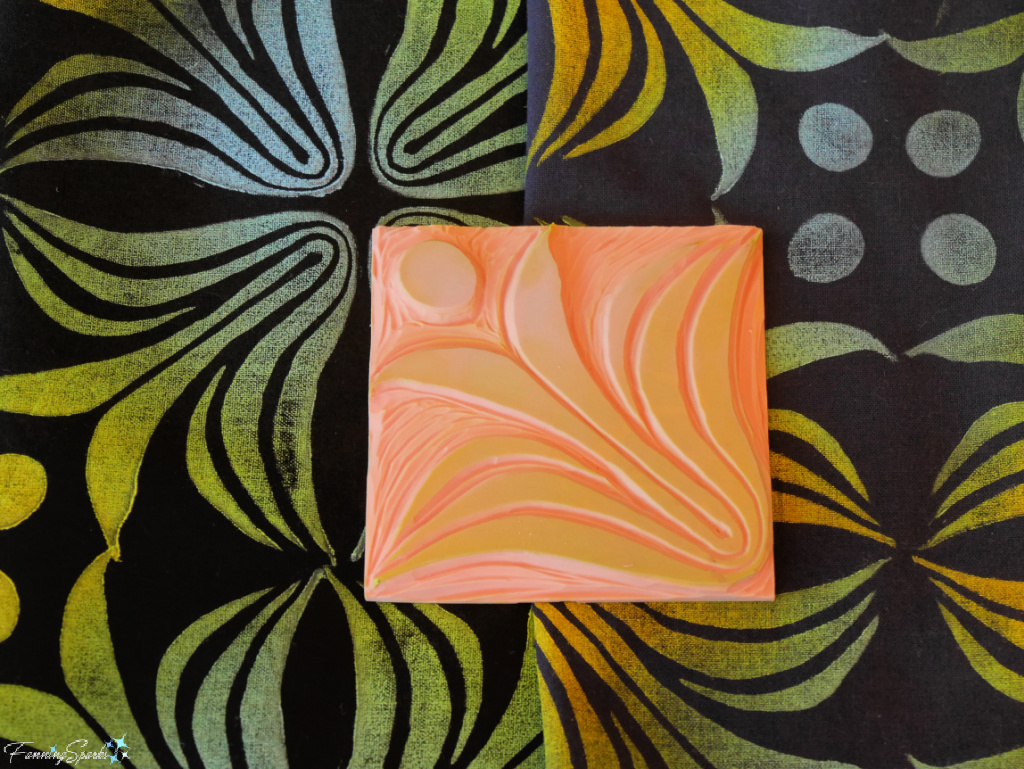
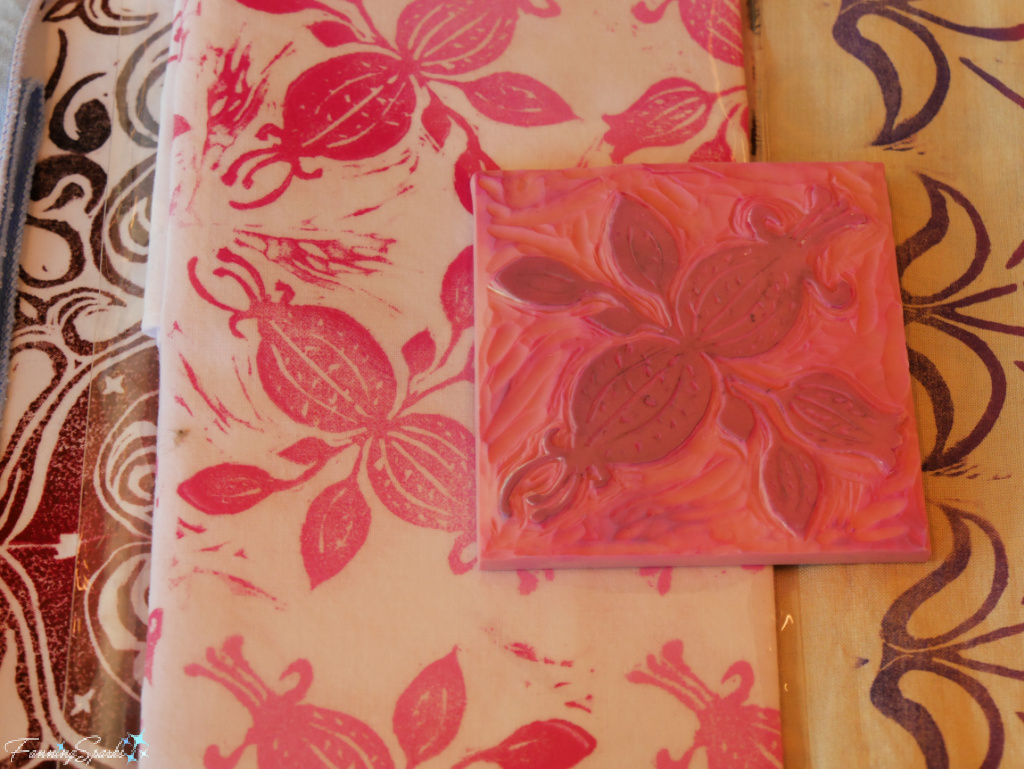
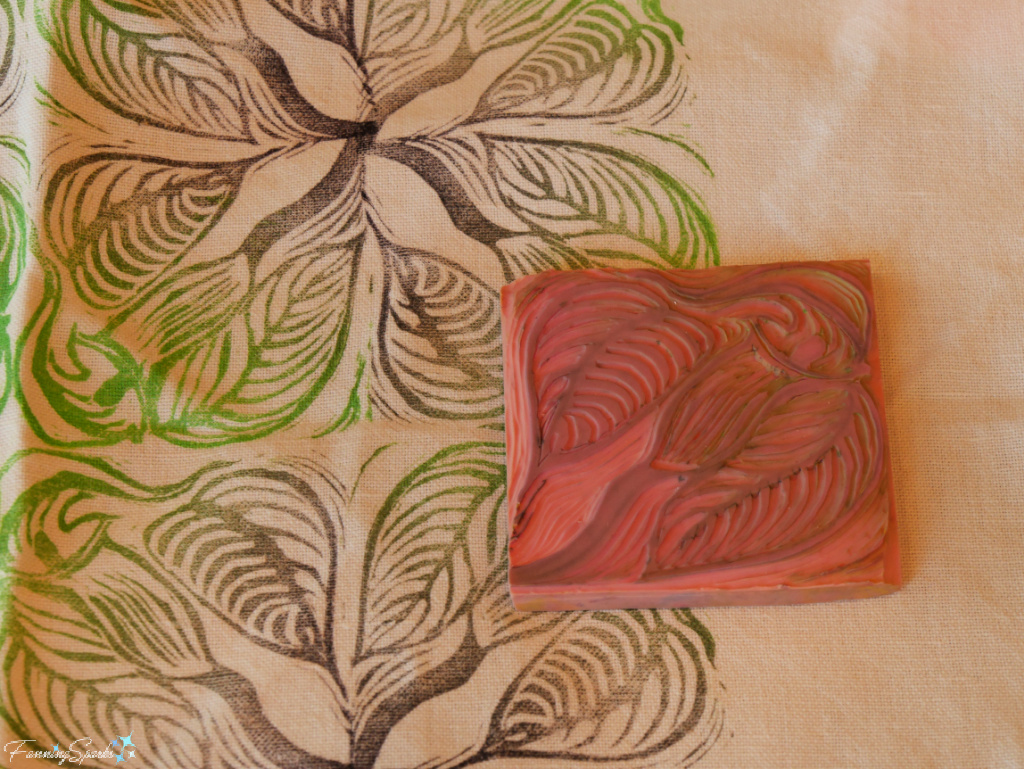
It can be a little difficult to visualize the resulting print so here are a few blocks matched up with the resulting prints.
We started our projects by preparing designs on 3” squares of paper. Then we transferred them to linoleum blocks using #2 pencils. As noted in my previous blog post, Gwen Frostic: Unconquerable Spirit, the linoleum used for printmaking is not the same linoleum that was used to cover floors in the late 1800s. Several new and improved varieties of materials, specifically designed for carving and printing, are now available. We used pink-colored, plastic-based, carving plates called “Speedy Carve” from Speedball.
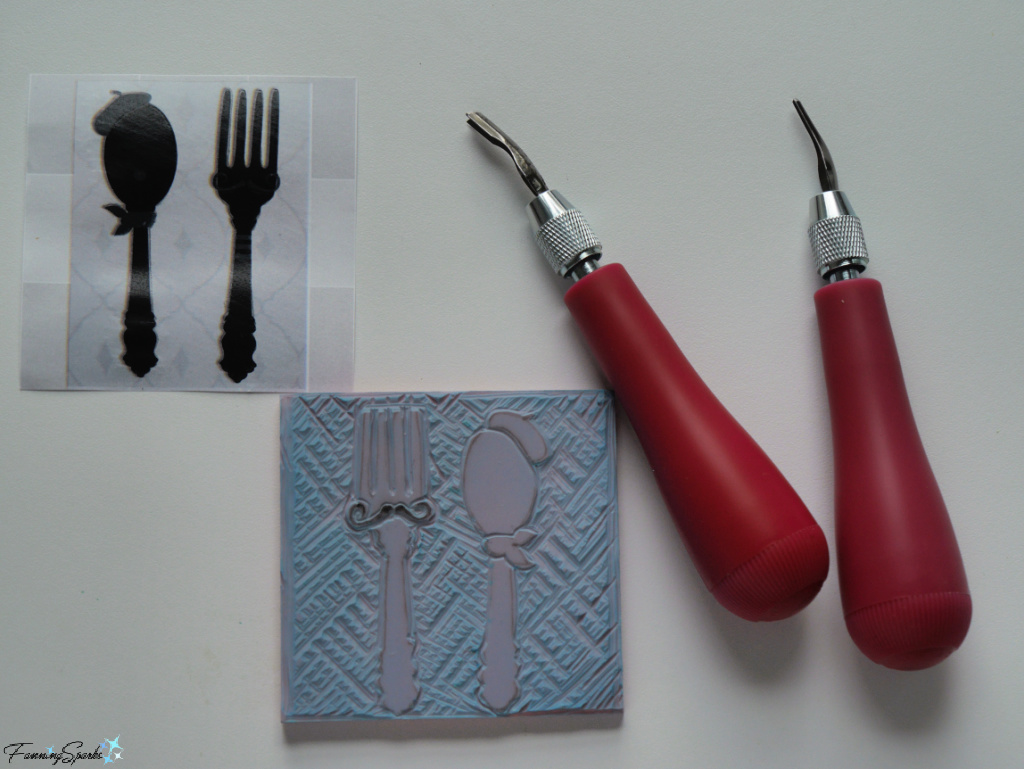
Carving tools specifically designed for this purpose are used to carve linocut blocks. I use a Speedball Lino Cutter Set which comes with five interchangeable cutters and a red, plastic handle. I purchased a second handle on the advice of an online expert―which turned out to be a great tip! Because I typically use only two of the cutters, having two handles means I rarely have to change my cutters.
The idea is to carve away the linoleum from any area where you want the paper/fabric to show through. Here’s my carving of a quirky spoon and fork motif. It looks blue because I took the photo after the block was printed.
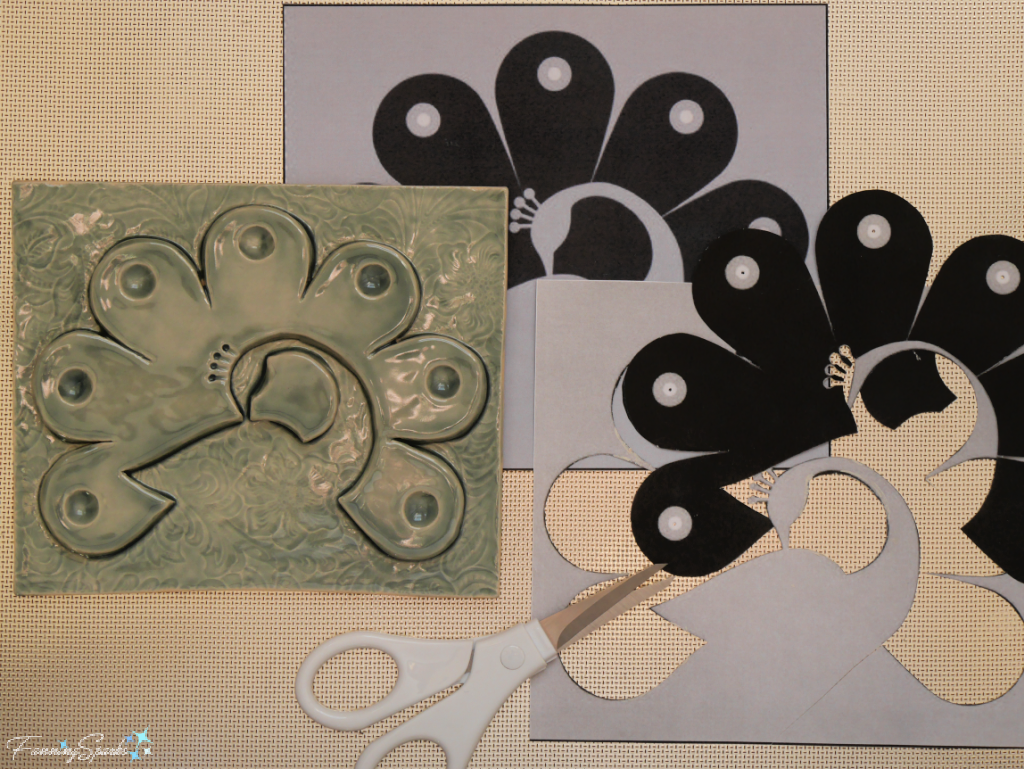
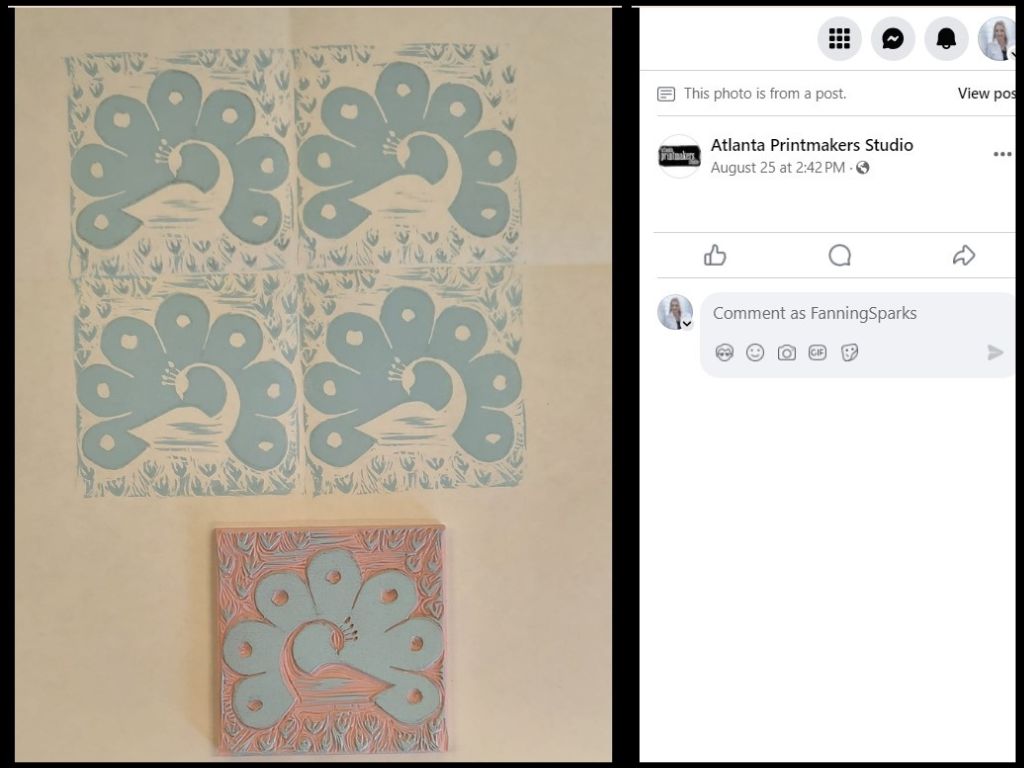
We were able to create three blocks during our workshop. For my second block I reused an old favorite design―a simple peacock with an interesting positive/negative treatment. It’s the same design I used for one of the ceramic tiles in my wall collection (see Still Talking About Tiles!)
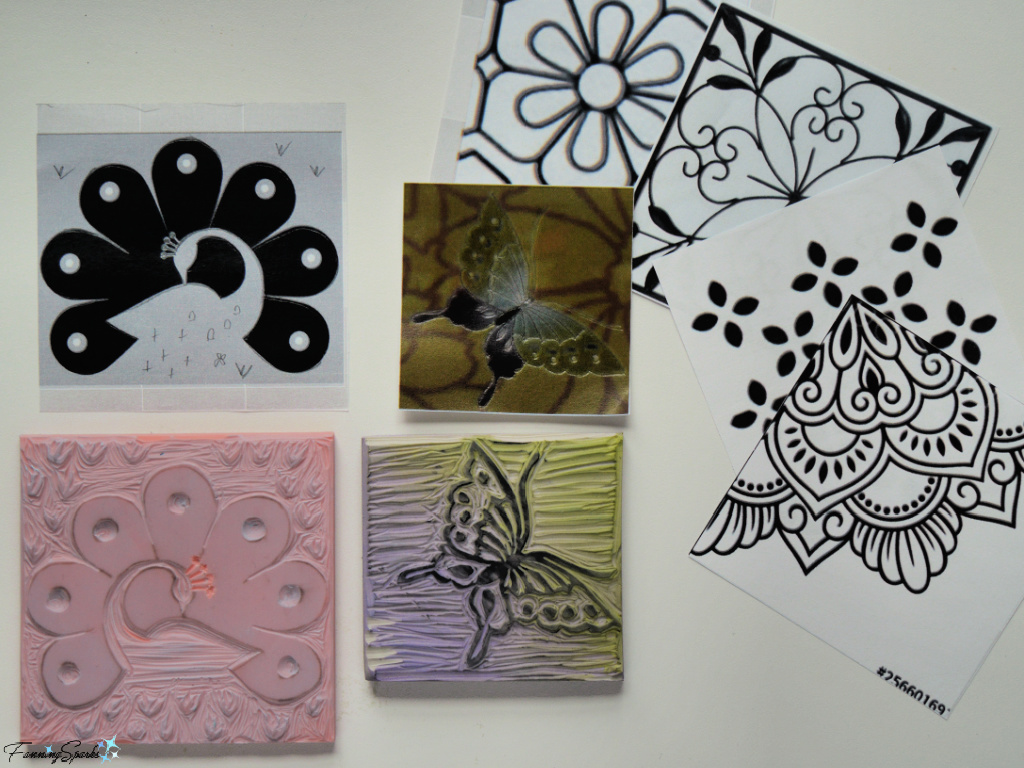
My third design was a butterfly―which, honestly, I carved in advance at home. Here are the carved peacock and butterfly linocut blocks shown with a few other potential design motifs.
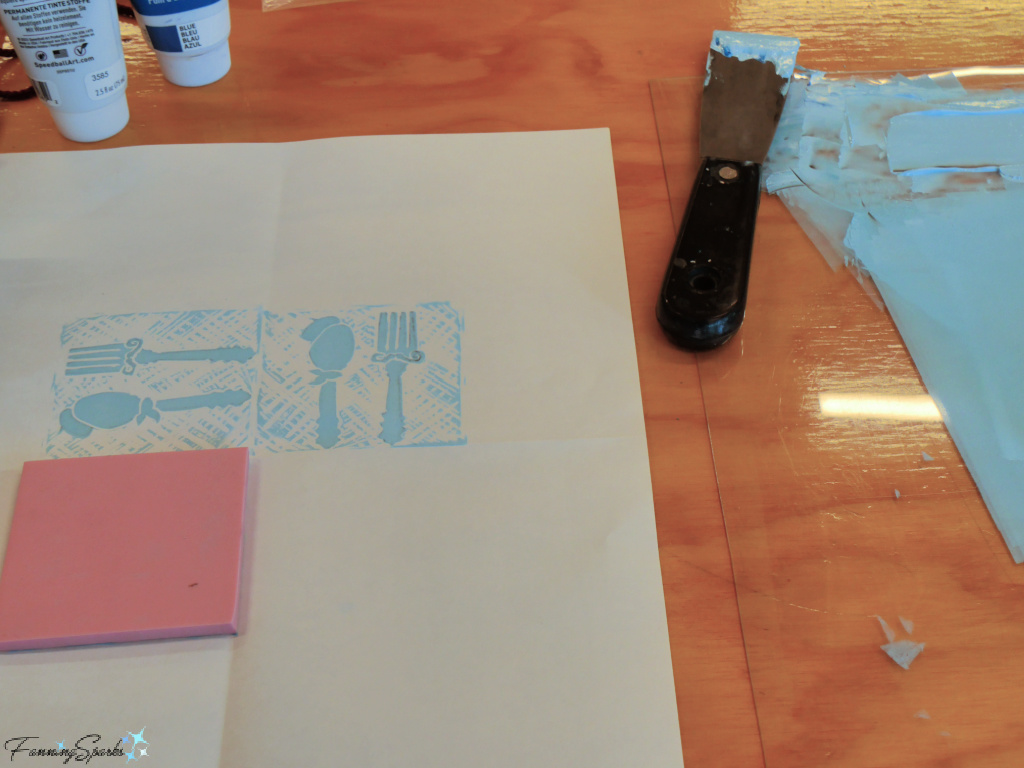
After we finished carving our blocks, Andrea helped us print them on paper for the big reveal!
 My peacock design even made it to Andrea’s post on the APS Facebook page!
 Seeing the printed image helped us identify any refinements that were needed. One area typically requiring further attention is the “chatter” which is the texture caused by shallowly carved areas of the block. We could, of course, only carve away more material since it’s impossible to replace material already removed. Chatter and other imperfections are, by the way, part of the appeal of linocut printing!
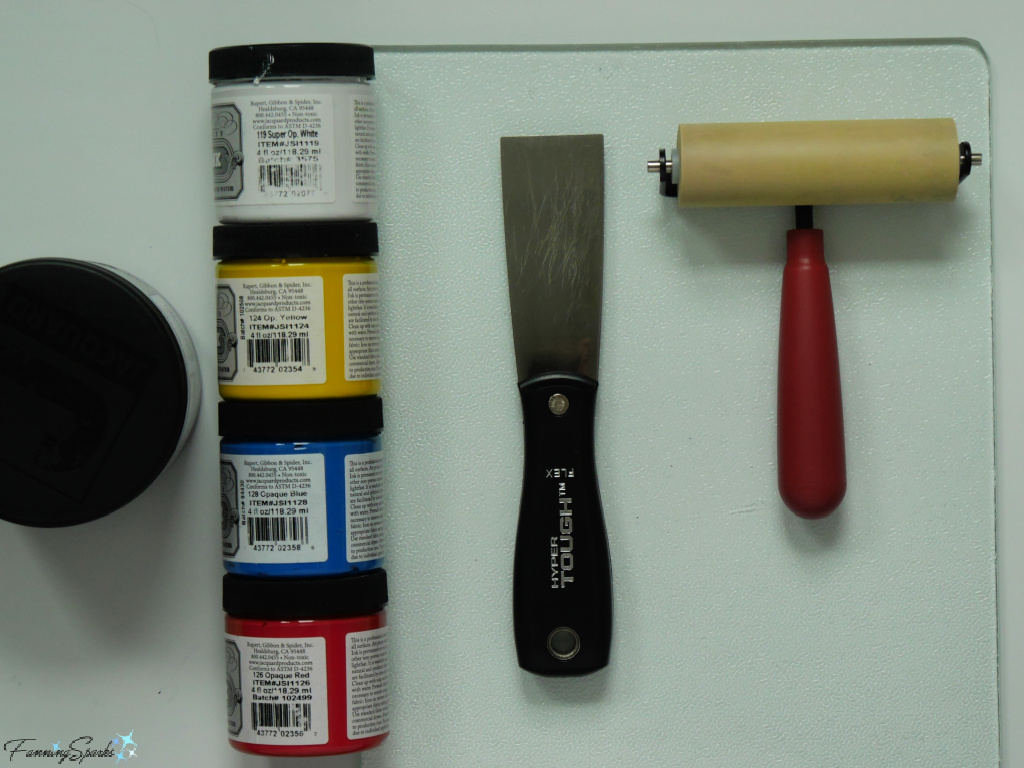
Next, we learned to print on our own. Each student had a flat acrylic working surface, a roller called a “brayer”, a 1½” putty knife and their choice of Speedball Fabric block printing inks. I copied this setup at home substituting a 9” x 19” sheet of tempered glass and a selection of Jacquard Screen Printing Inks.
 To prepare the ink, we squeezed out a line of white ink along the top edge of our working surface. Then mixed in a small amount of our chosen color(s) using the putty knife. After achieving the desired hue, we touched our brayer to the ink and rolled it up and down the working surface. We rolled the brayer both vertically and horizontally until we got an even coating of ink. The trick is to load the brayer with just the right amount of ink in a smooth even coat. Judging how much ink is the right amount takes practice. But we learned to listen for a soft “hiss” to indicate the ink was ready to be transferred to the block. Here again, the objective is to load a smooth, even coat of just-the-right-amount of ink.

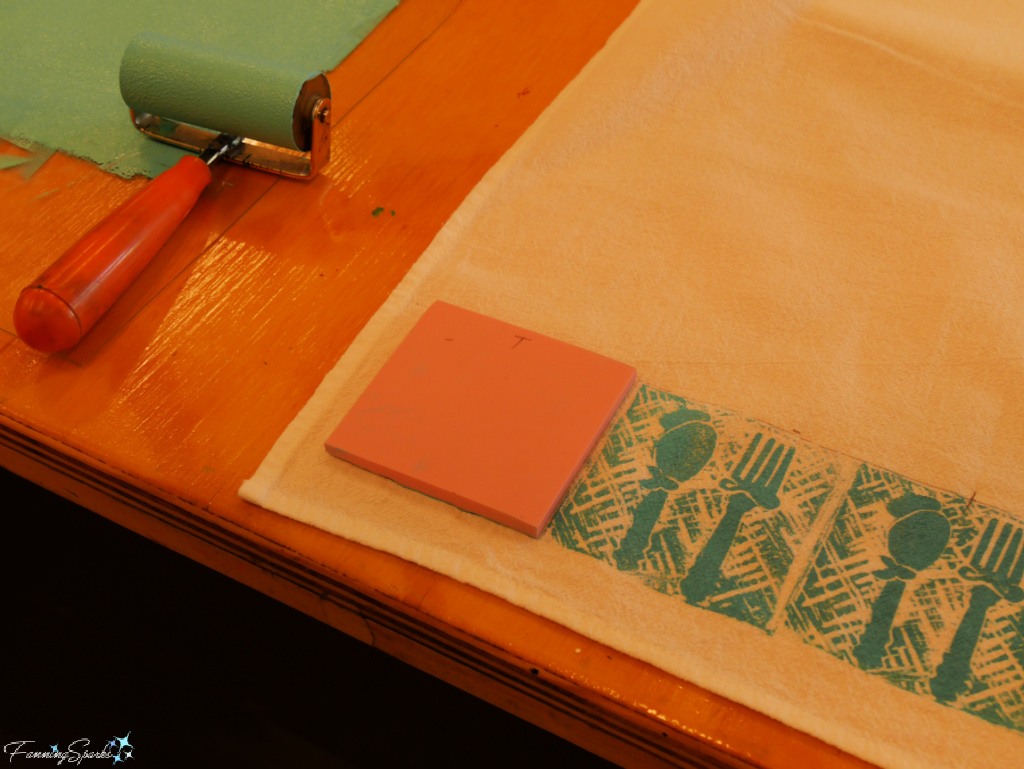
Before mixing our ink, though, we had to prepare our fabric. We used cotton tea towels and bandanas at the workshop. Both options offered a myriad of layout options such as an all-over pattern, a center design or borders. We learned it’s best to begin printing in the center. You can simply fold the fabric in half and then use the resulting crease as your center point. Or if you prefer to be more precise, you can measure and mark guidelines on the fabric. I found my trusty Pilot Frixion Erasable Marker Pen worked great. The pen marks disappear with heat and, since the finished projects have to be pressed to set the inks anyway, my marks were removed at the same time.
Another great tip from Andrea is to mark the top on the back of your stamp. I also found it helpful to mark the center points along all four sides.
We started printing with a single color but also had the opportunity to blend hues. This description, from the book Handmade Prints by Anne Desmet and Jim Anderson, accurately captures the technique we learned. “To make a blend, take a roller as wide or wider than your block. Place on the slab two blobs of ink, each of a different hue … on either side of the roller’s width. With two palette knives smear a line of ink inwards from each blob until the colours are just touching. Roll the ink back and forth until it is evenly rolled. Now ink the block. On both slab and block, be sure to roll in only one direction to maintain the blend.”
Shown below is my attempt to blend purple and yellow ink for my butterfly linocut block.
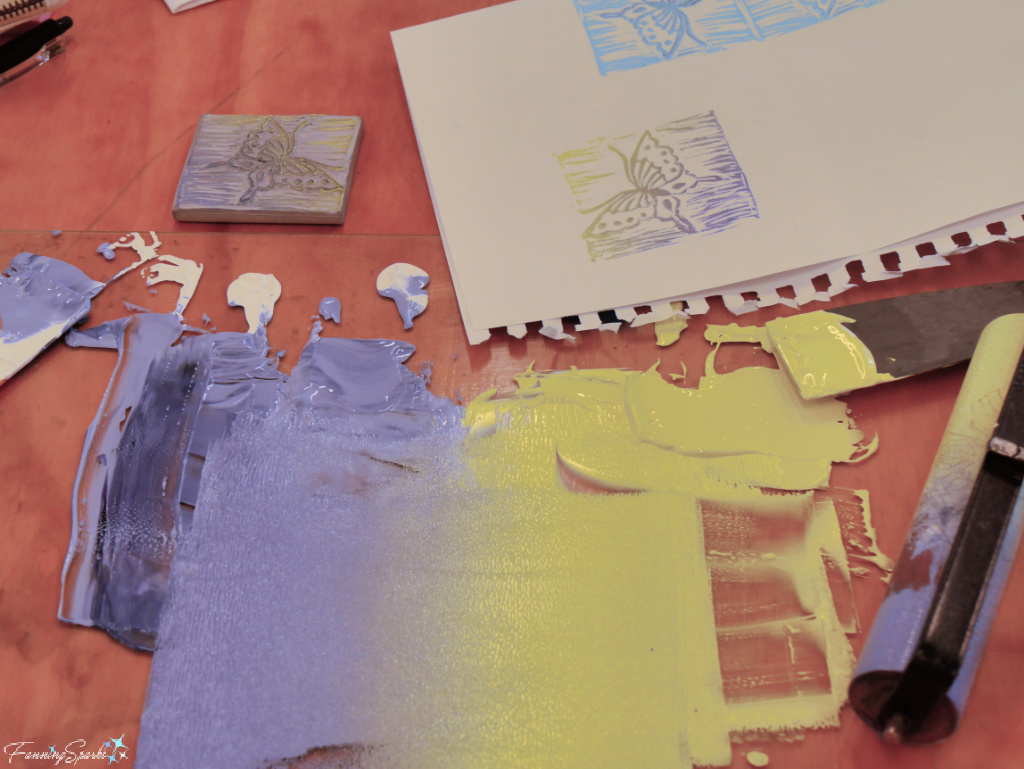
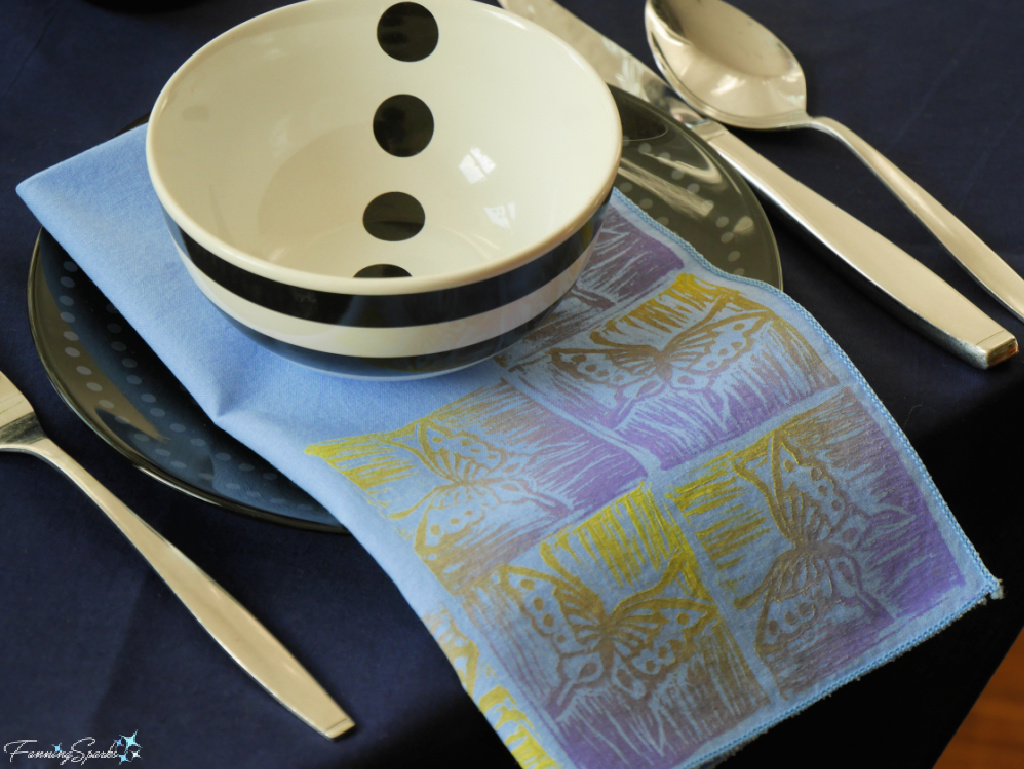
My first attempt was rather messy but the images got better after a few tries. Here’s how the purple-yellow blend looks on a blue cotton fabric―it’s a happy accident that the yellow became a rich gold.
 Returning to the point about loading just the right amount of ink, here are a couple of examples showing less than ideal results. Applying too much ink can result in a smudged, blotchy image while applying not enough ink can result in a faded, incomplete image. It takes practice to get it right.
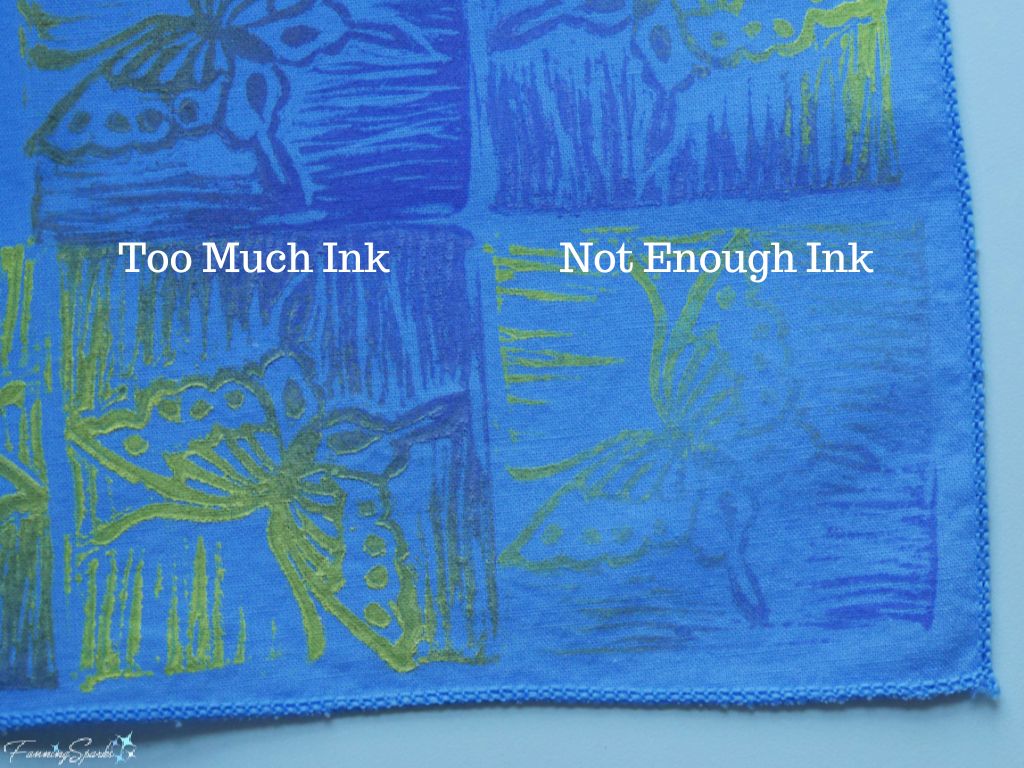
Luckily, when you take a step back, the images merge into a pleasing, overall pattern and the imperfections fade away. Plus, you can always fold a napkin to show the best ones!
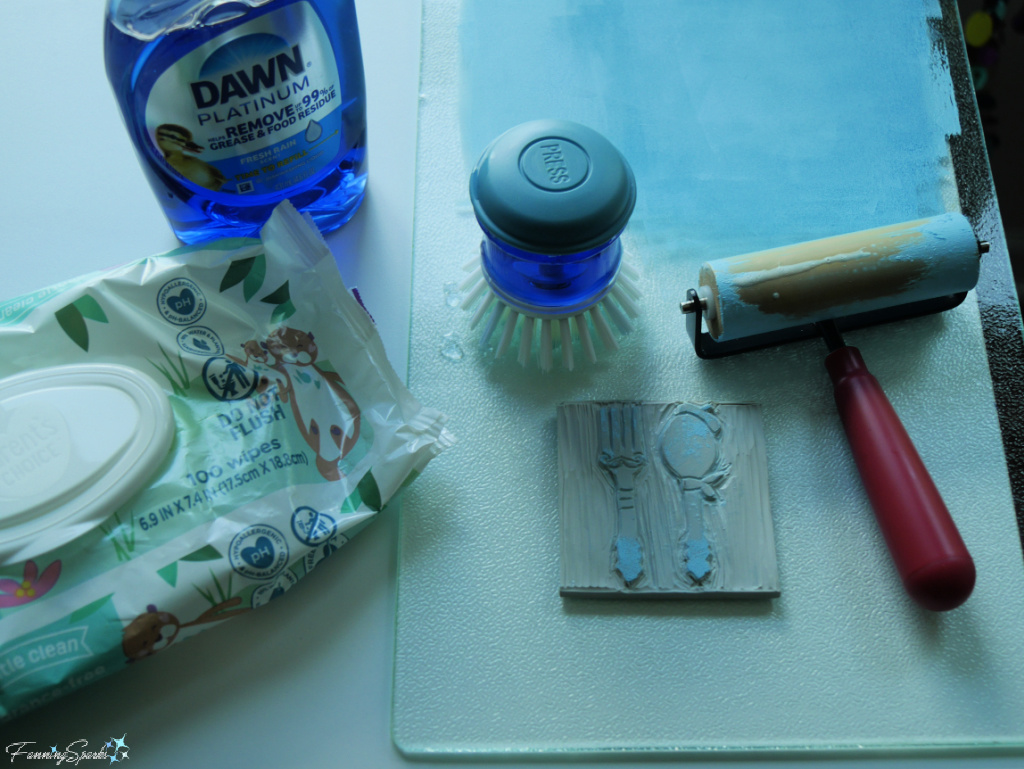
It’s important to cleanup in a timely fashion. We used water-based inks which means they can be cleaned up with soap and water. Some experts recommend using baby wipes or paper towel to remove ink from your blocks and tools. While this is a good way to wipe off excess ink, it doesn’t remove the ink from the crevices on the linocut blocks. At the workshop, we used a dish brush with a built-in soap dispenser filled with Dawn dish detergent. Using this brush under running water made it easy to clean my linocut blocks.
The final step is to heat set the ink on the fabric. Andrea recommends letting your printed fabric dry for at least four days. Then using an iron, set to the temperature suitable for your fabric’s content, to press on the wrong side of the fabric.
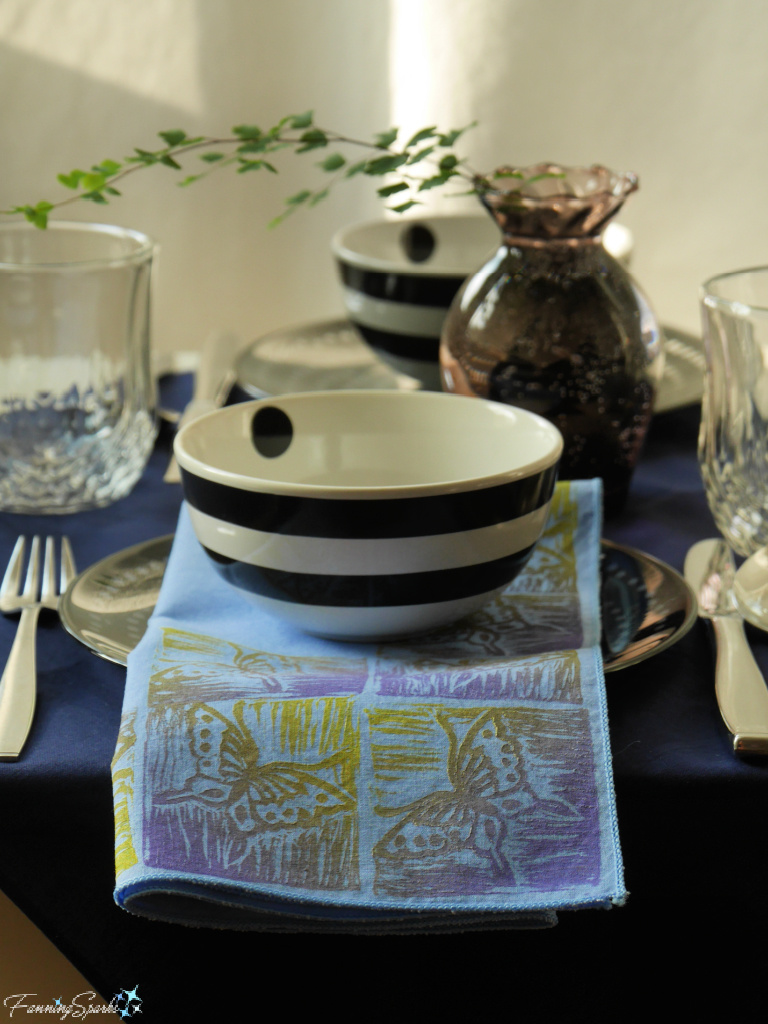
I’ll wrap up with a final look at my first successful linocut block printing project!
More Info
The Atlanta Printmakers Studio is located in Hapeville, Georgia― just minutes from downtown Atlanta. I thoroughly enjoyed my day at the Studio. Many thanks to Andrea Emmons and my fellow students for a fun-filled day of learning and making!
You can learn more on the Atlanta Printmakers Studio website, at ATL_Printmakers on Instagram or Atlanta Printmakers Studio on Facebook.
Previous blog posts mentioned in today’s blog post include:
. Gwen Frostic: Unconquerable Spirit
. Still Talking About Tiles!
The following resources were consulted in the writing of this blog post:
. Meet Stephanie Smith of Atlanta Printmakers Studio article by Voyage ATL July 2018
. Check Out this Amazing Rescue of ‘Hidden Treasure’ 1950s Gas Station Atlanta Urbanize article from Feb 2023
. Hapeville Arts on Instagram
. Hapeville Development Authority
. Handmade Prints: An Introduction to Creative Printmaking without a Press written by Anne Desmet and Jim Anderson and published in 2000. This book is available here on Internet Archives.
. From Block to Print: A Printmaking Daily Challenge with Katharine Watson, an online class available on CreativeBug.
Today’s Takeaways
1. Some skills can easily be learned on your own or with the help of online resources. But other skills are best learned with in-person instruction or guidance.
2. Never underestimate the impact a team of determined people can have on a community.
3. A community studio is a magical space where members and guests can share a workspace, equipment, supplies and, most importantly knowledge and ideas, to make art together.

Comments are closed.