
There’s a treasure trove of inspiration in my studio! Handmade creations are tucked away in every nook and cranny. Favorites are on display. Project materials and works in process cover every surface. It can get a little chaotic but I wouldn’t have it any other way! This week, with the holiday season just around the corner, I pulled out my favorite Christmas ornaments to spark some creative ideas.
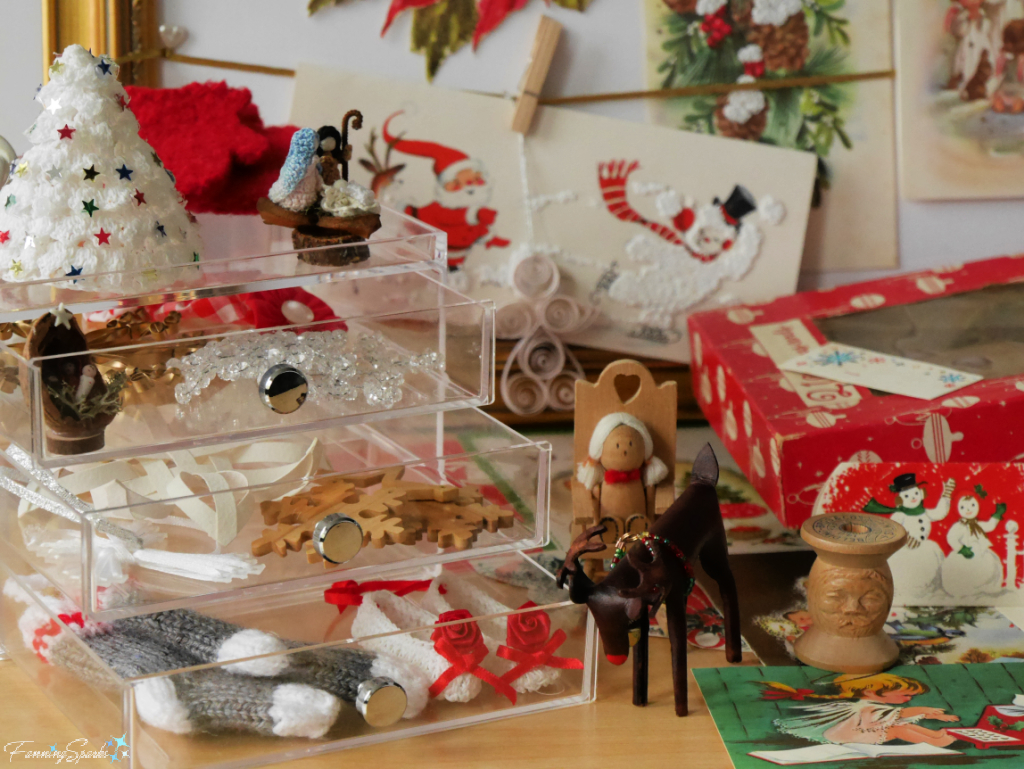
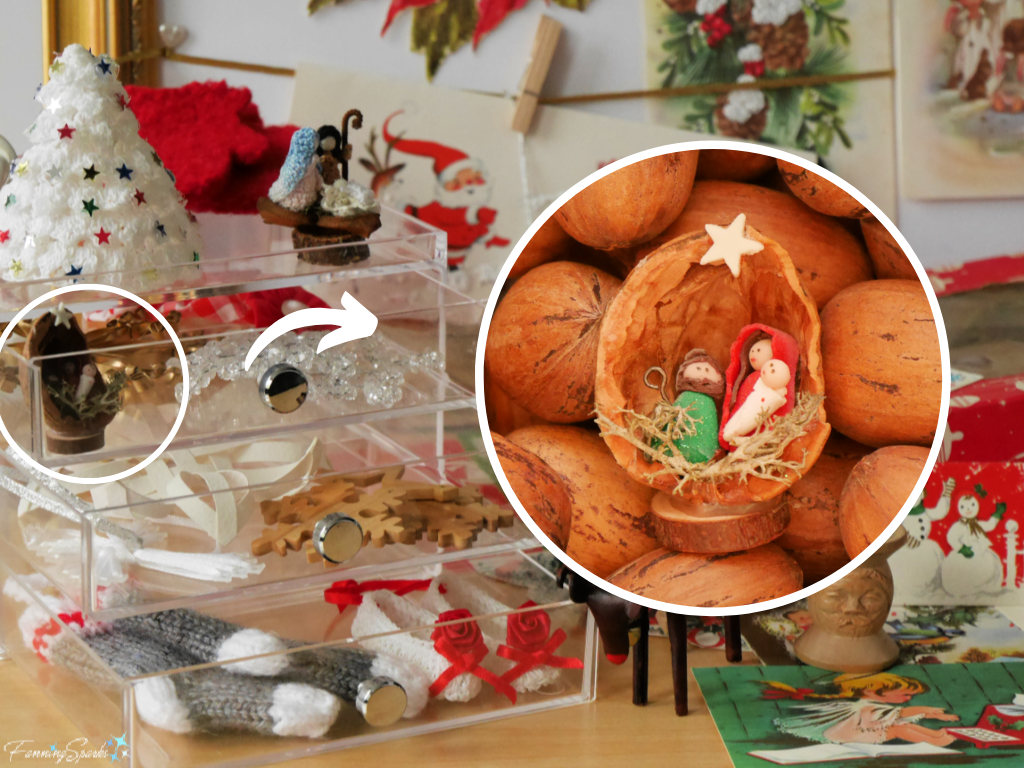
These ornaments are all handmade. They have been collected from a number of different sources including craft fairs, holiday markets and artist studios. Since they’re made by artisans, the materials and techniques vary greatly. For instance, there is a miniature nativity scene made with polymer clay figures built inside a nutshell. I found this delightful treasure at a street fair in Porto, Portugal.
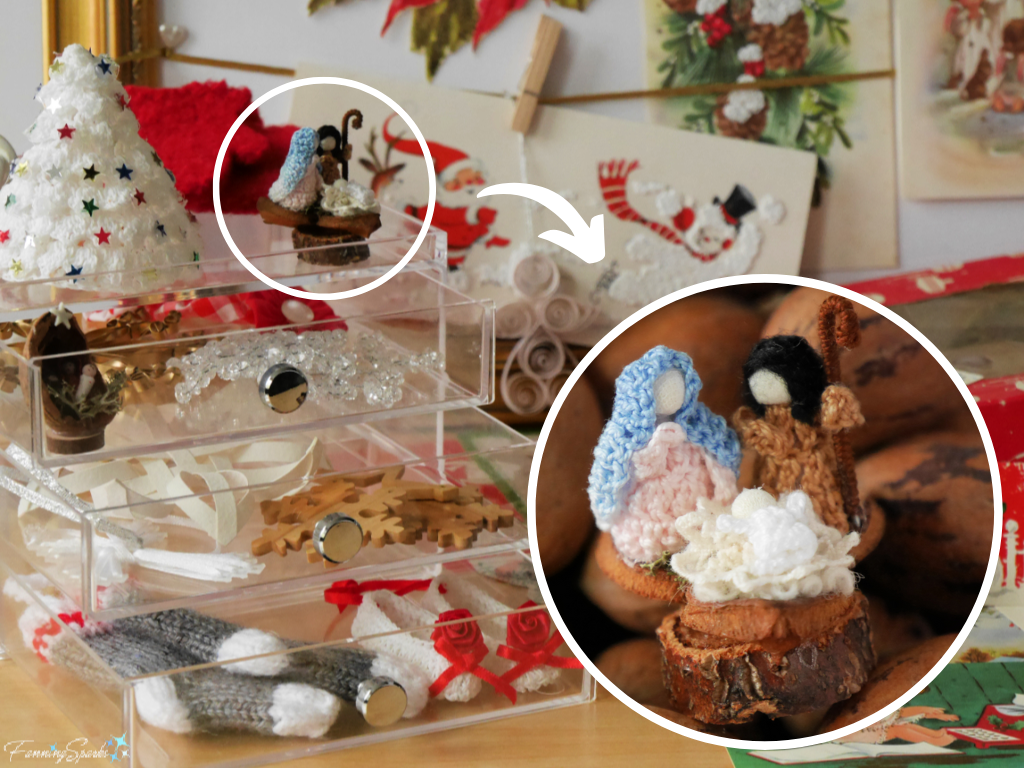
A second miniature nativity scene, this one with crocheted figures, was found at the same Portuguese street fair. This one has an artist signature—it’s a little difficult to read but it looks like “Açucena + Basery”. It’s very nicely done!
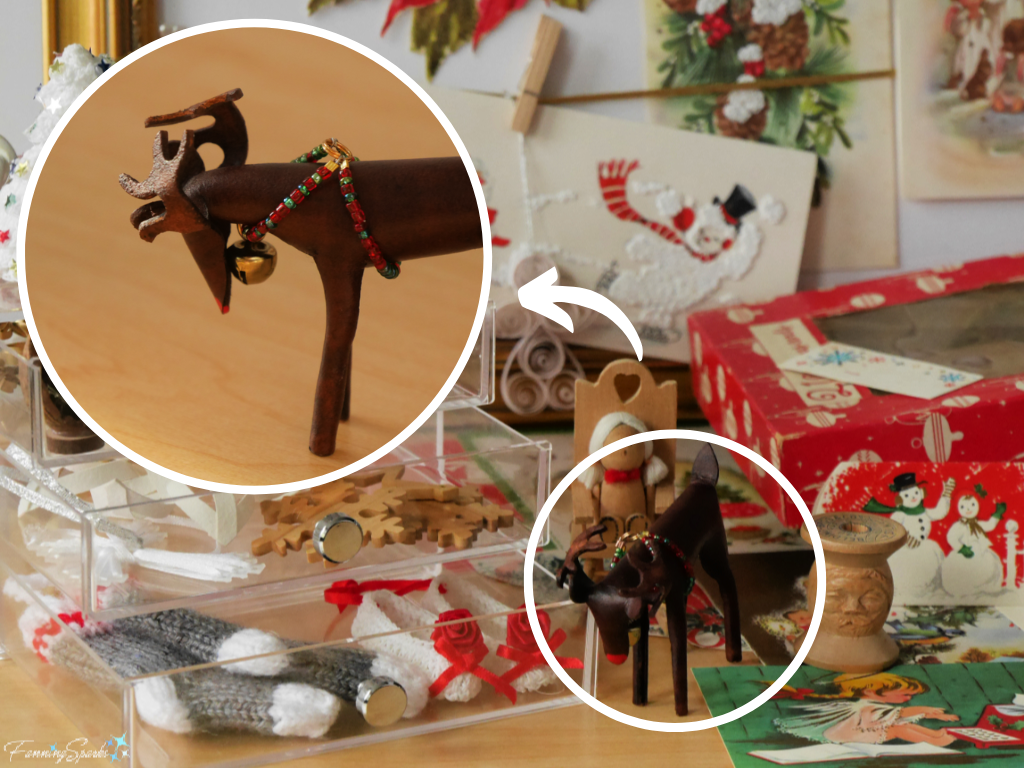
This festive reindeer, complete with beaded halter and shiny red, Rudolph-nose, is made of molded leather. It was found at a local Christmas market. Unfortunately, I don’t know the artist.
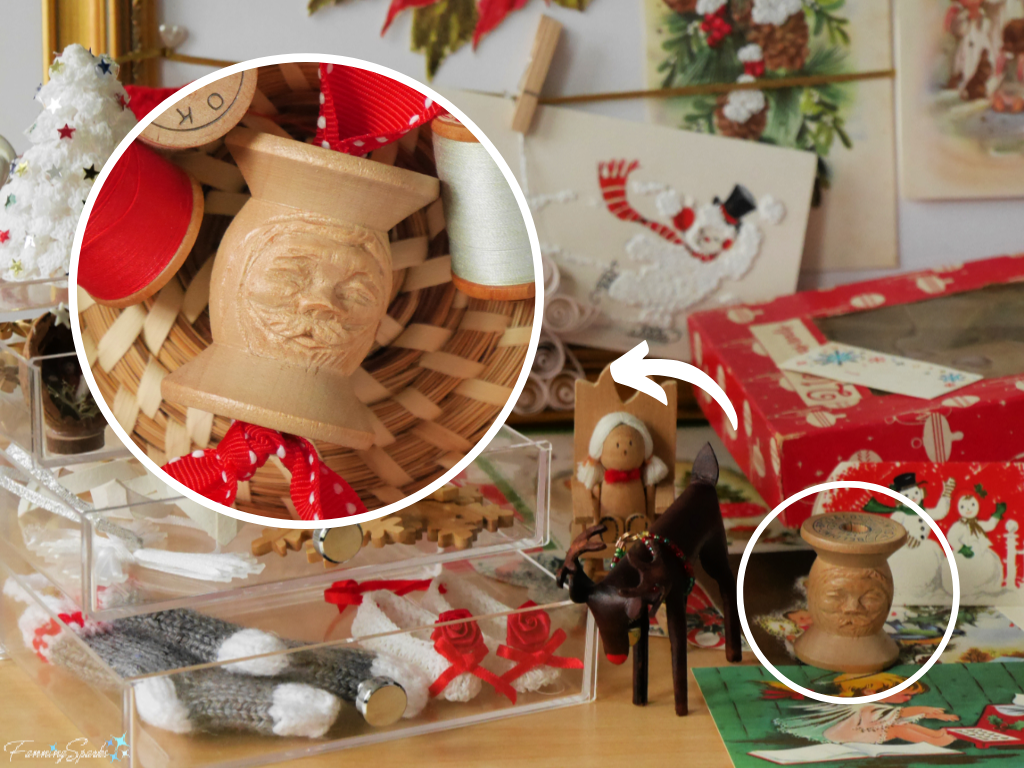
Accomplished woodcarver Carolyn Hall Anderson likes to carve charming Santa faces into vintage wooden spools. I had the pleasure of meeting Carolyn during the Thursday evening wood carving get-togethers (see previous blog post Carving in Brasstown) at the John C Campbell Folk School.
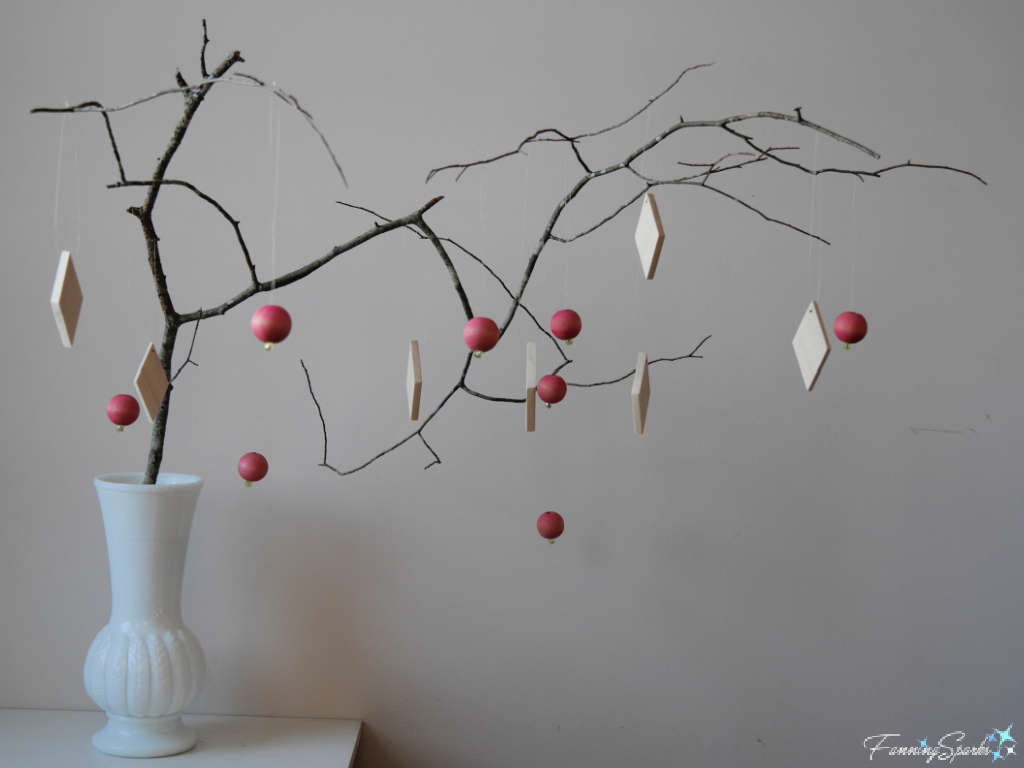
There are a few ornaments in the collection that I made myself. Regular readers might recognize a few of these ornaments from previous blog posts. For instance, the modest wooden ornaments, shown below, were included in the blog post Diamonds and Beads Wooden Wreath. It doesn’t get much simpler than wooden beads and diamond shapes!
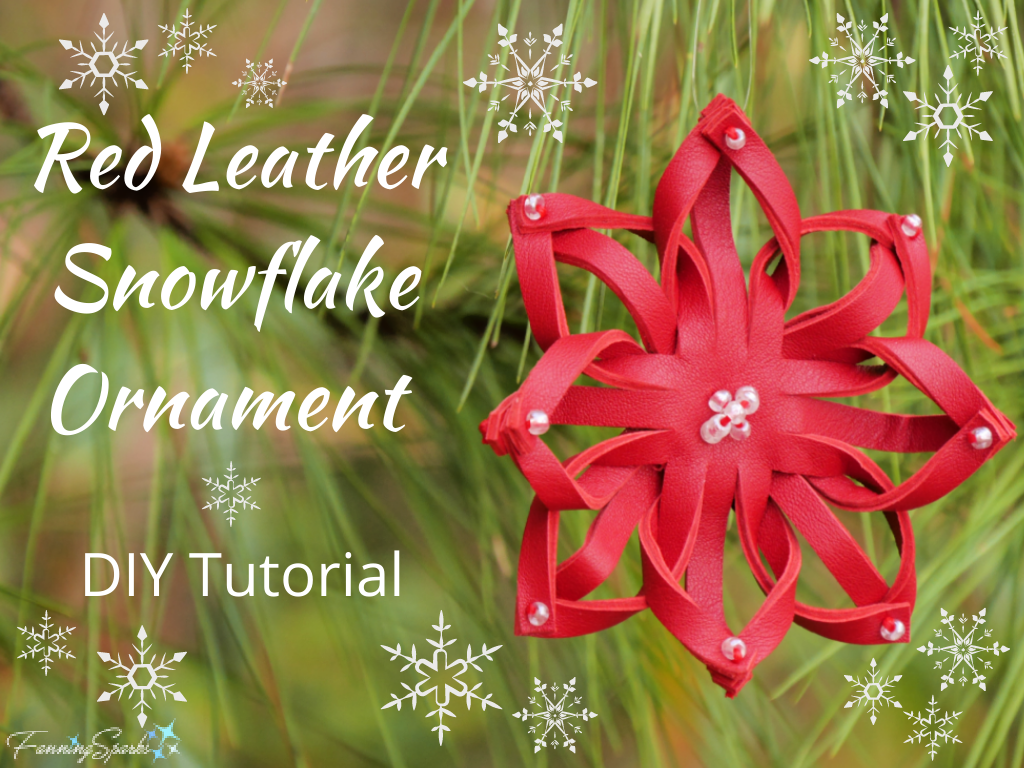
On the other hand, a series of complex twists and turns give the below snowflake its charm. It is made of repurposed leather—an unusual choice of material. Detailed step-by-step instructions, along with a complimentary download project template can be found in the blog post Red Leather Snowflake Ornament – DIY Tutorial.
Clay is a more common medium for figures and ornaments. Earlier this year, I made knotted ceramic birds to sprinkle around my flower gardens. I shared the steps to make this simple ornament in the blog post I Spy Something White. Here’s the complimentary download for the Knotted Ceramic Bird template. The knotted ceramic birds look great in my garden but they could just as easily be displayed on the Christmas tree.

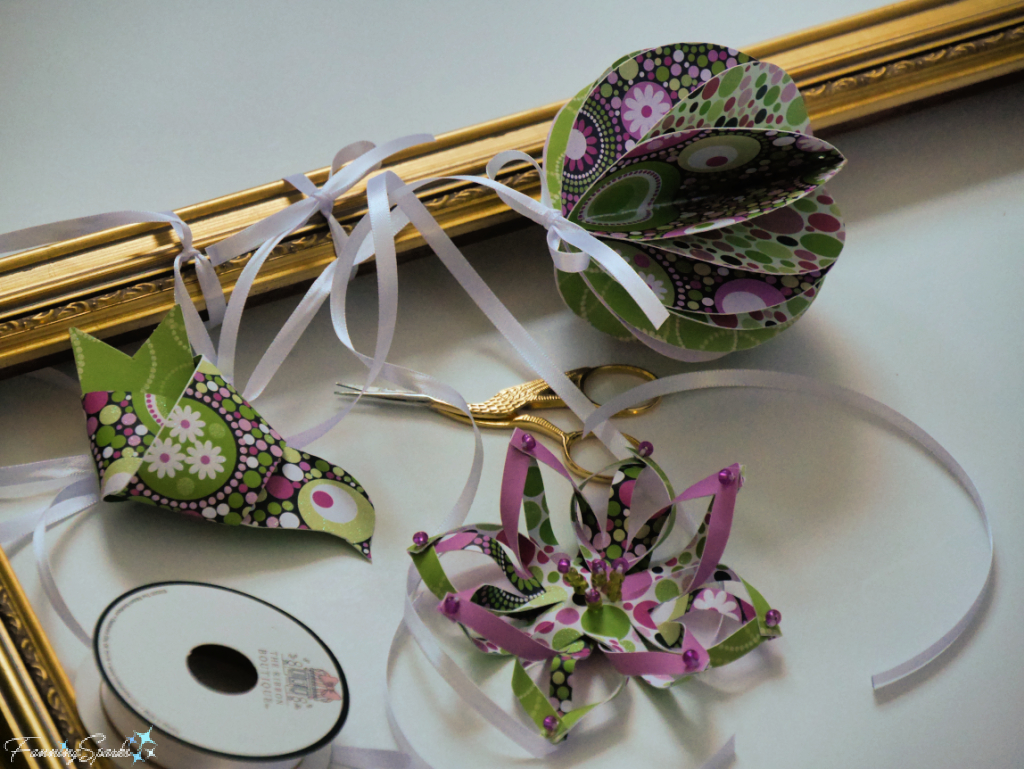
To jumpstart my creative play, I decided to make a few simple paper ornaments. I started by making a couple of knotted birds in pretty cardstock instead of clay. Here’s how they turned out.

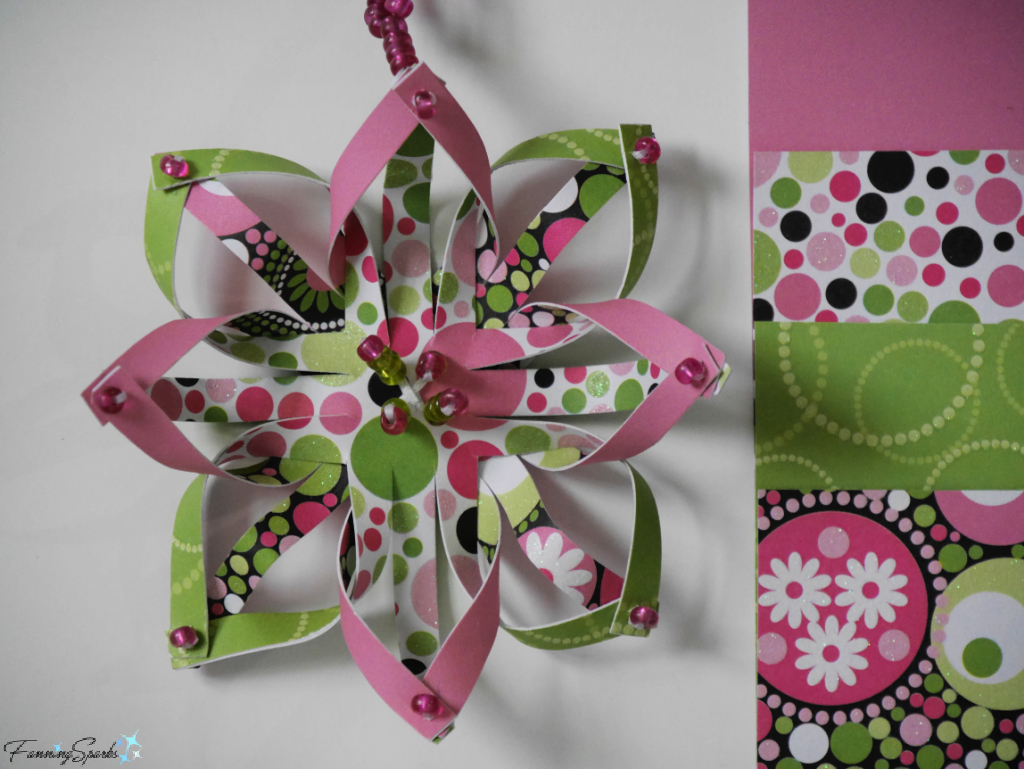
And here’s the snowflake in the same pretty cardstock.
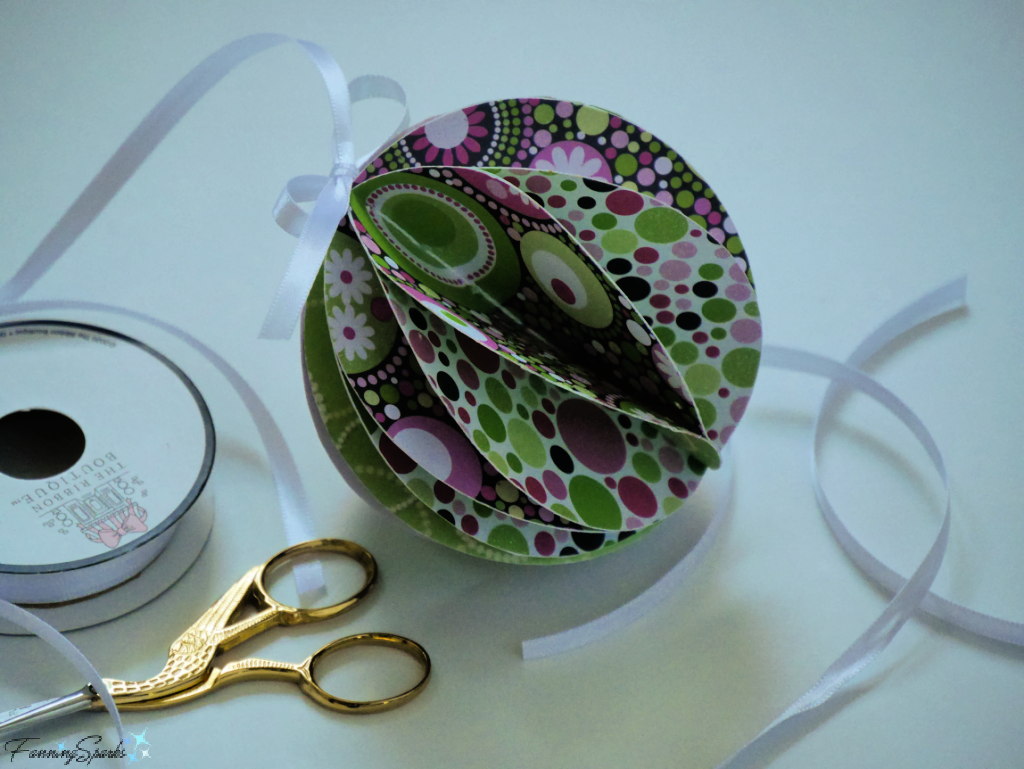
This led me to experiment with some new designs. I usually make a mockup from scrap paper to finetune the size, shape and assembly process for a new project. This design is an old classic—a half dozen circle shapes are glued together into a sphere with accordion folds.
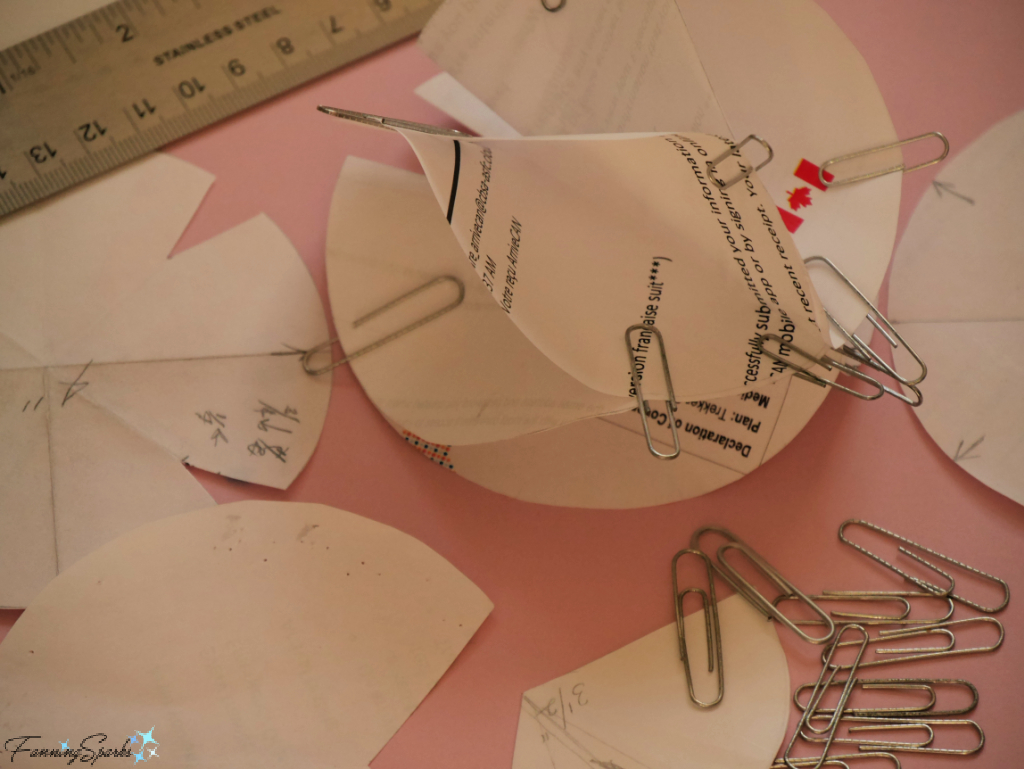
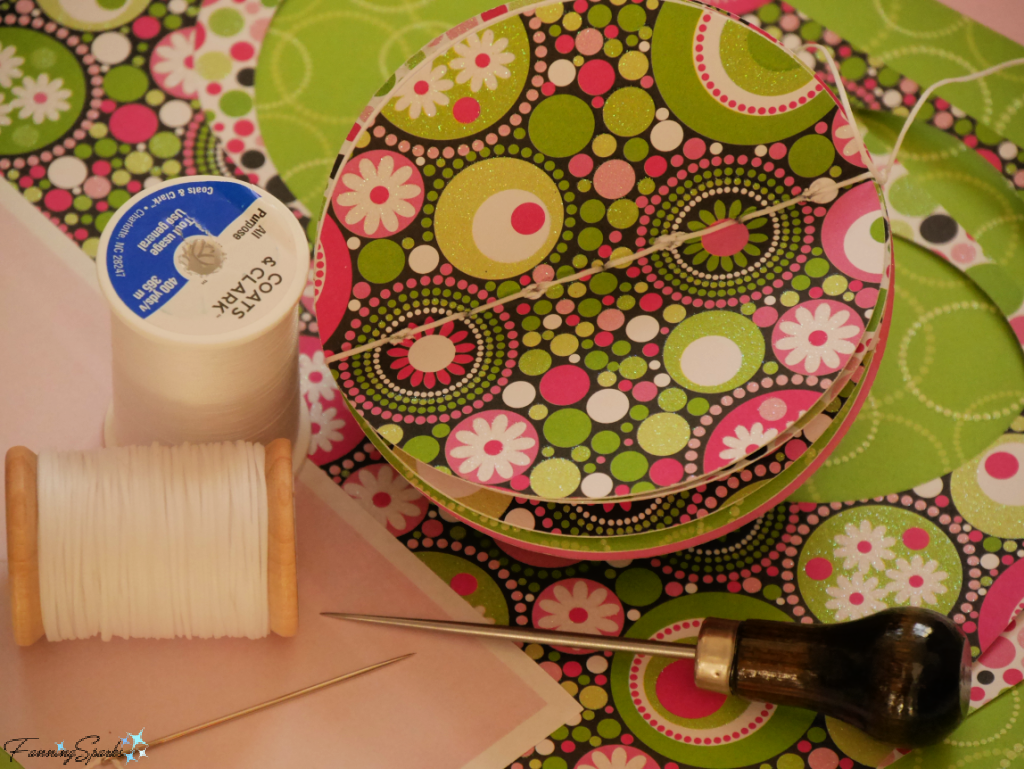
Choosing the ideal materials can require some trial and error. I chose to use the same pretty printed glitter cardstock as I’d used for the ornaments pictured above. I cut twelve 4” circles. The cardstock is only printed on one side so I glued the circles back-to-back. To begin the assembly, I stacked all six circles and stitched them together along the center. I found the Ritza Tiger thread I use for sewing leather worked best. This resulted in 12 half-circle flaps.
To form the sphere, the flaps are glued together along about one-third of the edge—alternating between the right and the left. The sequence is a) glue flap 1 right to flap 2 right b) glue flap 2 left to flap 3 left c) glue flap 3 right to flap 4 right and so on.
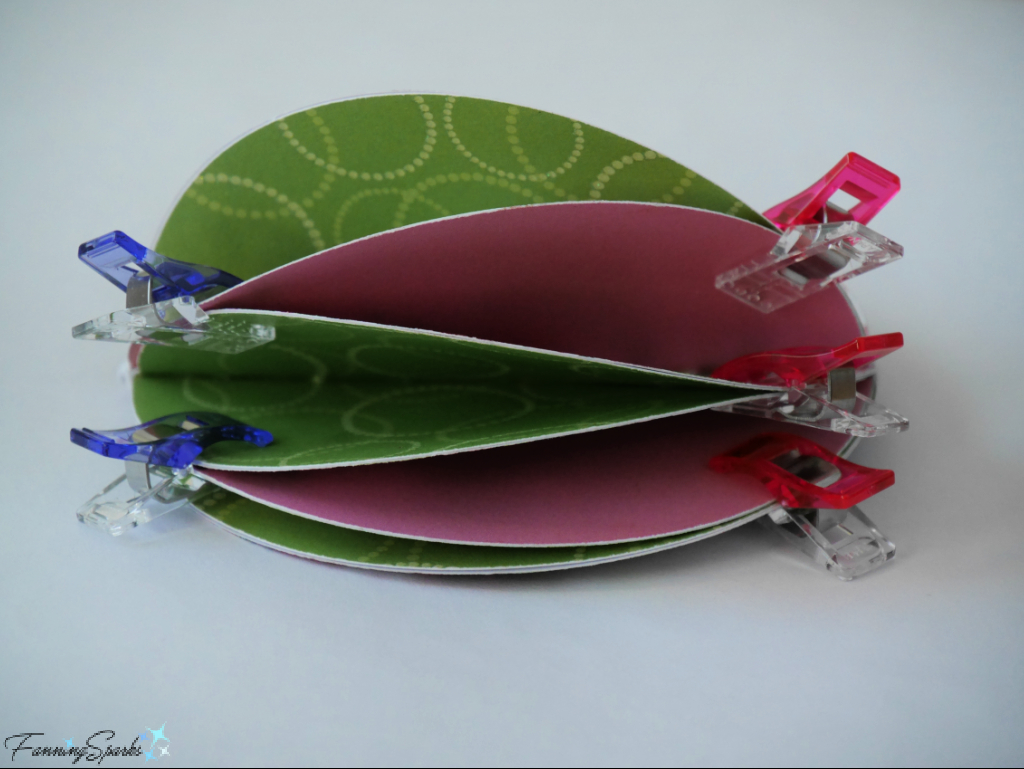
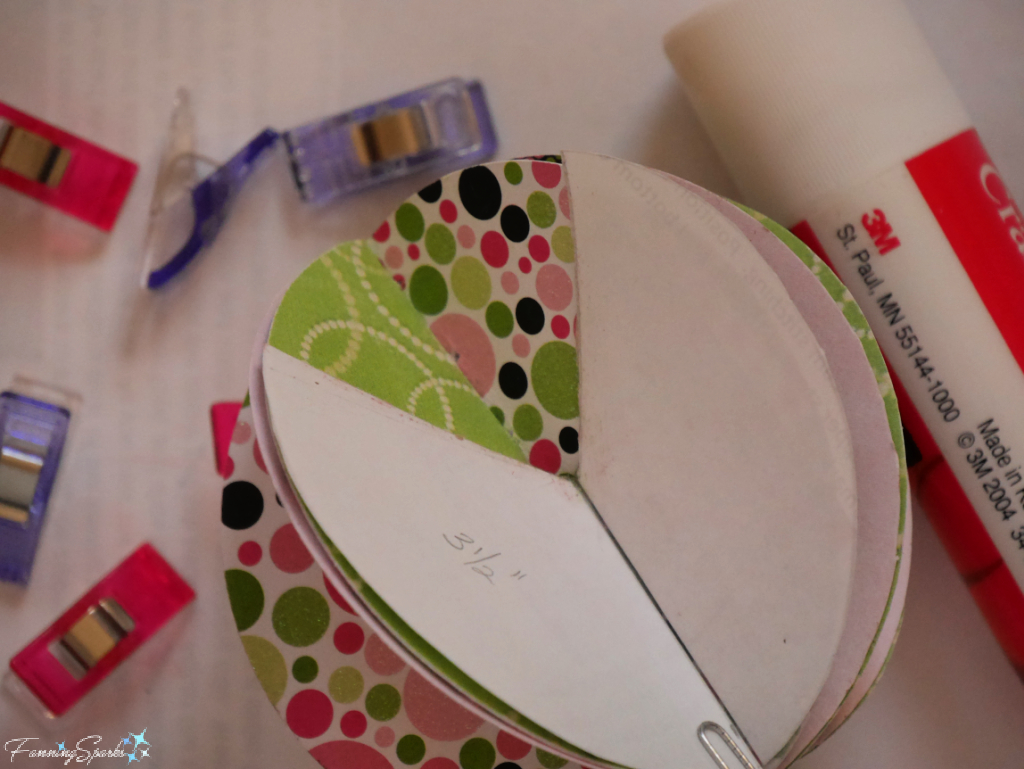
It quickly became apparent the double layered cardstock was too stiff—the flaps did not have enough flexibility to fan out into a full sphere. To fix this problem, I made a new set of circles. First, I copied two of the colored patterns onto regular printer paper. Then I cut four circles from cardstock and four circles from the printer paper. I glued the printer paper circles to the back of the cardstock circles. These circles were slightly smaller than the originals, 3.5” instead of 4″, and much more flexible. A small template from scrap paper made it easier to apply the glue accurately.
The second attempt was more successful. Here’s the finished accordion-folded paper sphere ornament.
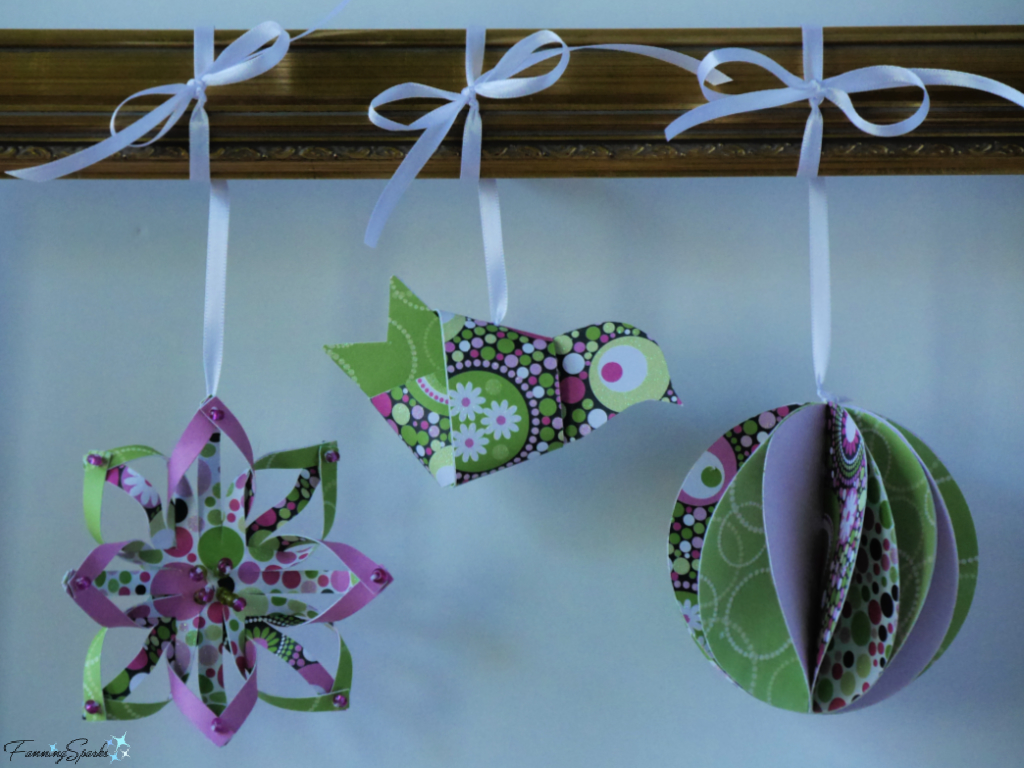
To display my little trio of paper ornaments, I hung them from ribbons on an empty picture frame.
Here’s the final outcome—not bad for a few craft supplies and an afternoon of creative play!
More Info
The following FanningSparks blog posts are mentioned in this blog post:
. Carving in Brasstown
. Diamonds and Beads Wooden Wreath
. Red Leather Snowflake Ornament – DIY Tutorial which includes complimentary download project template
. I Spy Something White which includes a complimentary download for the Knotted Ceramic Bird template.
Today’s Takeaways
1. Be on the lookout for handmade ornaments when traveling away from home.
2. Consider supporting local artists and craftspeople.
3. Make time and space for creative play.


Comments are closed.