
It may seem counterintuitive to suggest that creative endeavors follow a formula. But, it seems to me, they actually do. Creating handmade works of art typically involves a series of steps. The steps follow a logical sequence but are rarely executed in rigid, exact order. The creative process is a twisty, winding road. That’s the beauty of creating—you’re dreaming, mulling, experimenting, considering, refining, learning, discovering and a hundred other activities that are circular and fluid.
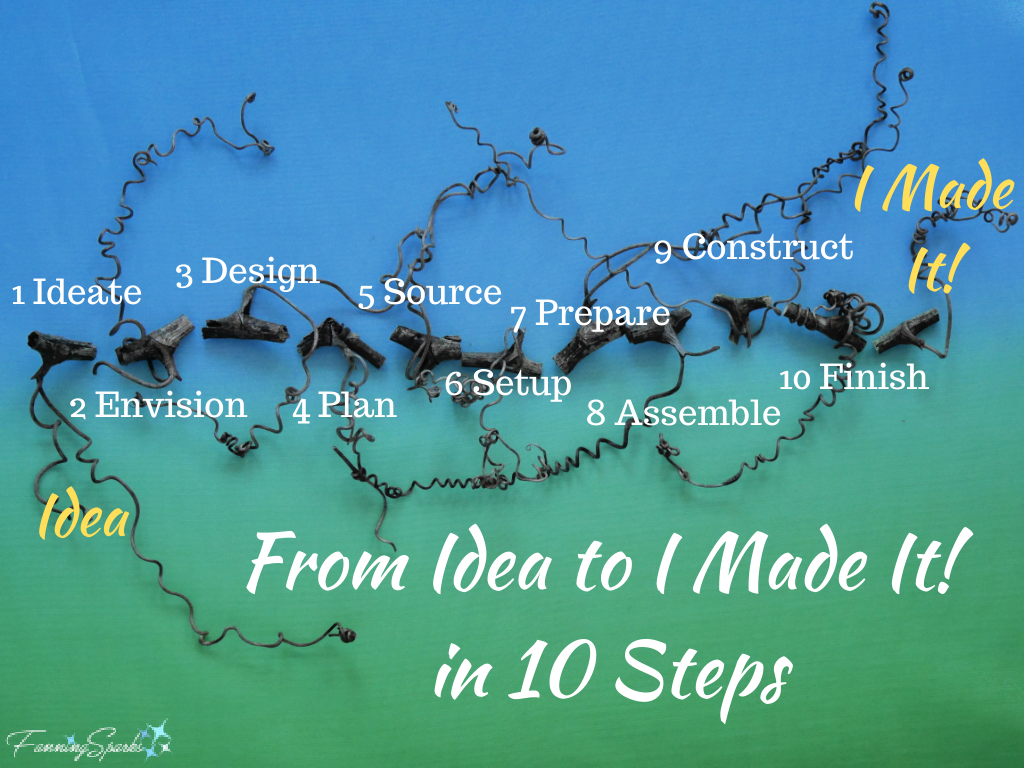
Today, I’d like to share my take on the steps to create something uniquely handmade. Here are FanningSparks’ 10 steps From Idea to I Made It!
Before I dive in, however, I’d like to point out that you don’t necessarily have to complete all the steps yourself. Many of the DIY tutorials available online, including those I share here on this blog, jumpstart the process by doing some of the upfront steps for you. And there’s nothing wrong with that—in fact, I encourage you to take advantage of these resources because the more you make, the more you can make! The more you experience for yourself, the more you can imagine, create and make on your own. At least, that’s been my experience.
STEP 1 – Ideate
It all starts with an idea. Inspiration can come from anywhere. There are countless sources online. But real life inspiration is richer and deeper. Nature is widely recognized as the ultimate source of inspiration. Travelling and visiting unfamiliar destinations is another rich source of inspiration. Scouting for ideas in museums, art galleries and design shops is one of my favorite activities.
Recording all these creative possibilities is the trick to being able to draw upon them later. Gather samples, take photos, jot notes, save references and create pins to help you remember all these lovely ideas. When it comes to original works of art, please respect the work of others and view it to inspire not replicate.
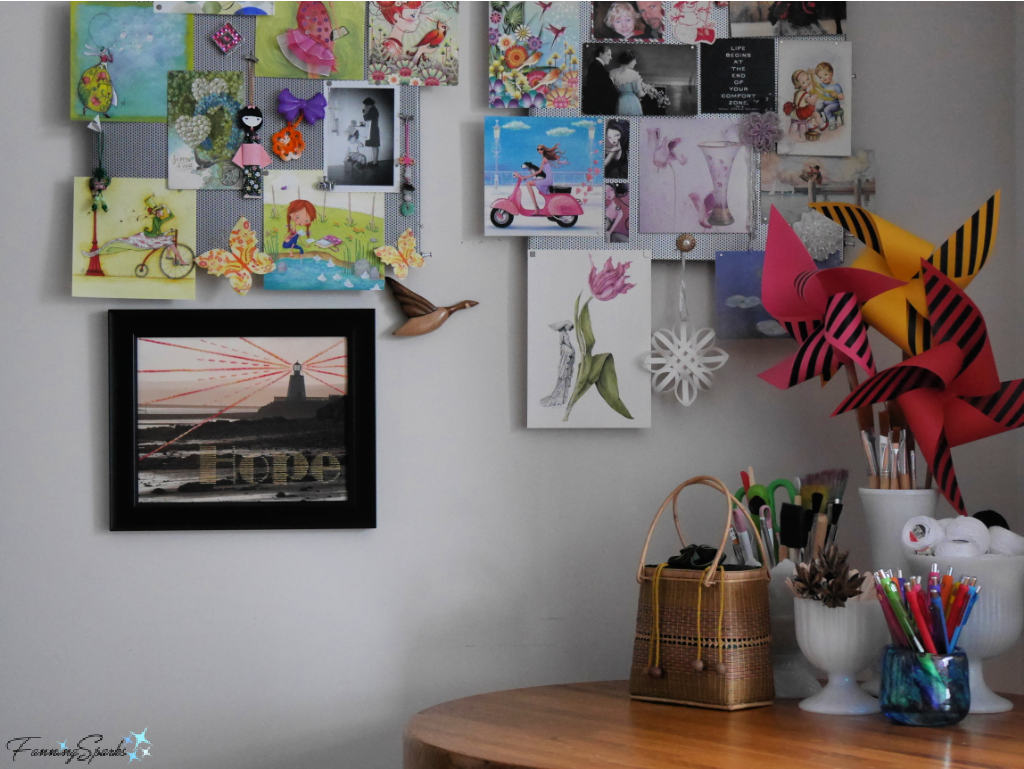
Organize your ideas for future reference. This could be via online photo albums, folders, Pinterest boards, or saved favorites. It could be a real life bulletin board or display. Don’t forget about the projects you have in flight or have already completed. The goal is to surround yourself with inspiration. This is a peek at the inspirational items I have displayed in a corner of my studio.
With inspiration in your line of sight and at your fingertips, give yourself time to mull over the possibilities. Let your imagination roam. Pick out favorites. Match ideas to needs, functions, events and interests. Give your ideas time to percolate.
STEP 2 – Envision
As you start to narrow down the options and zero in on a specific direction, flesh out the concept. Imagine the possibilities. Consider the materials that could be used. Think about the techniques that could be applied. Create sketches, build models, mockup samples and take photos. Play with physical materials and/or experiment digitally. Conduct research. Go back to your inspiration resources. Add depth and enrich your vision. This is definitely an iterative step. Enjoy the experience of imagining and reimagining how this creative endeavor could unfold.
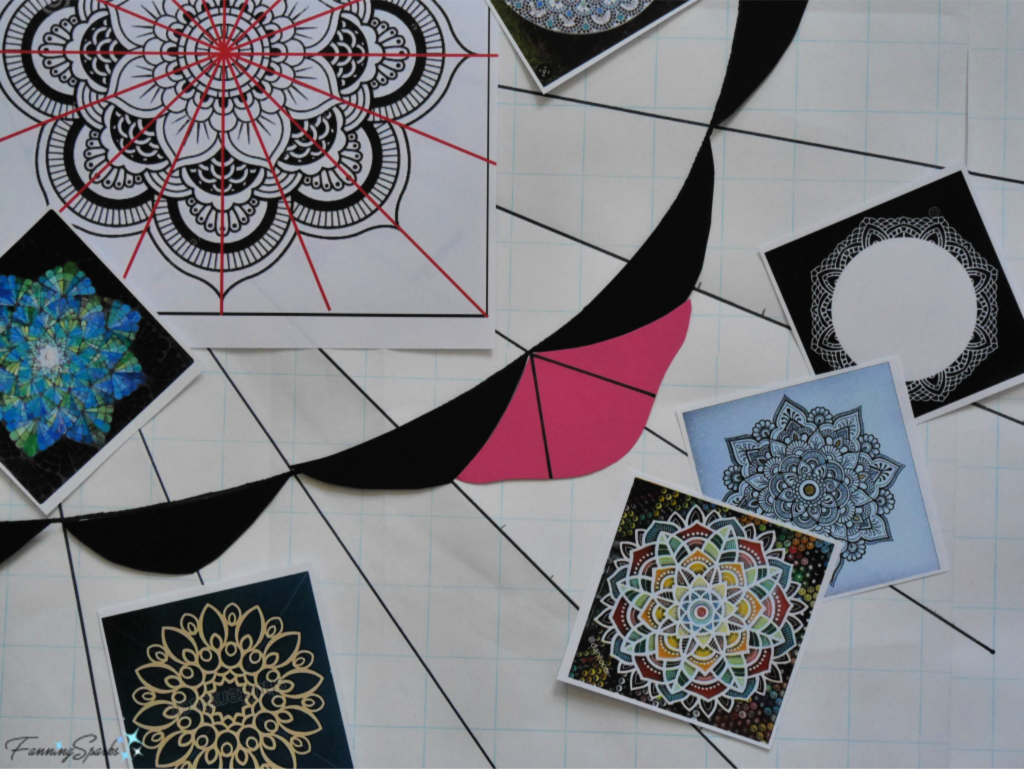
The below photo shows the envisioning stage of a mandala-inspired oval mirror frame I designed and made in mosaic glass. You can see the results in the post My Mandala-Inspired Oval Design.
STEP 3 – Design
At some point, your concept will become more concrete and it’s time to design the desired outcome. The level of design detail can vary greatly. Someone experienced with the targeted materials and techniques might proceed with only a rough sketch in their head. While someone with less experience might prepare a life-size mockup. Either way, give yourself time to experiment and play with options.
It’s not unusual to go back to the Ideate or Envision Steps. As ideas mature, they may need to be reworked or reconsidered. Feel free to bounce around between steps.
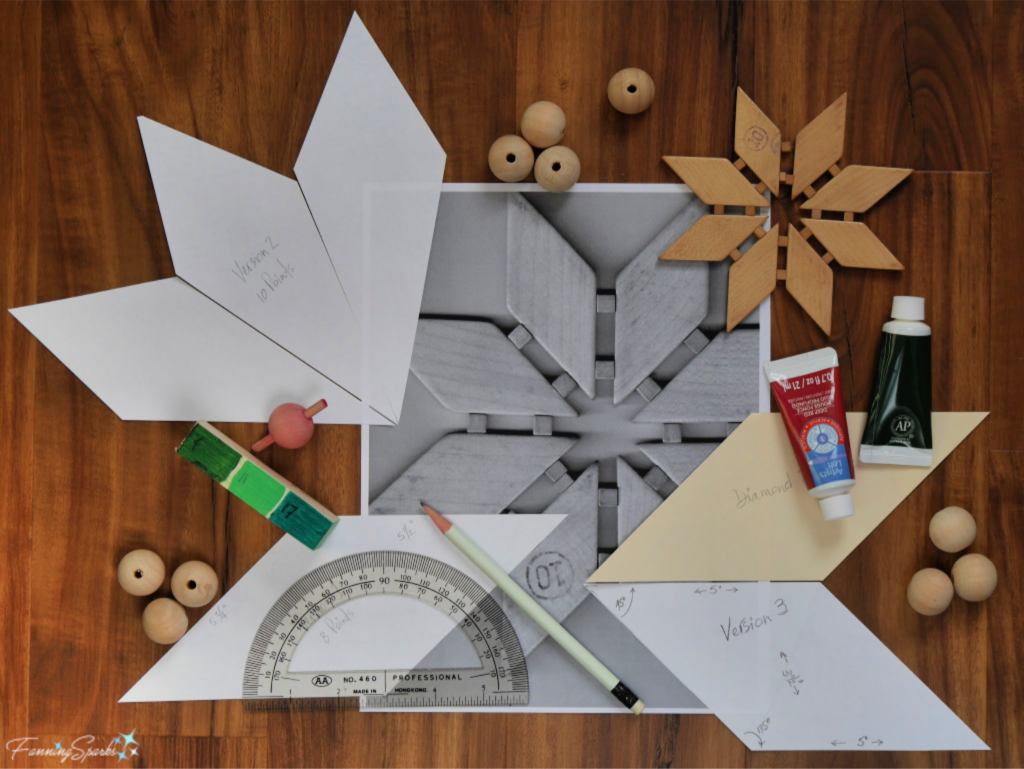
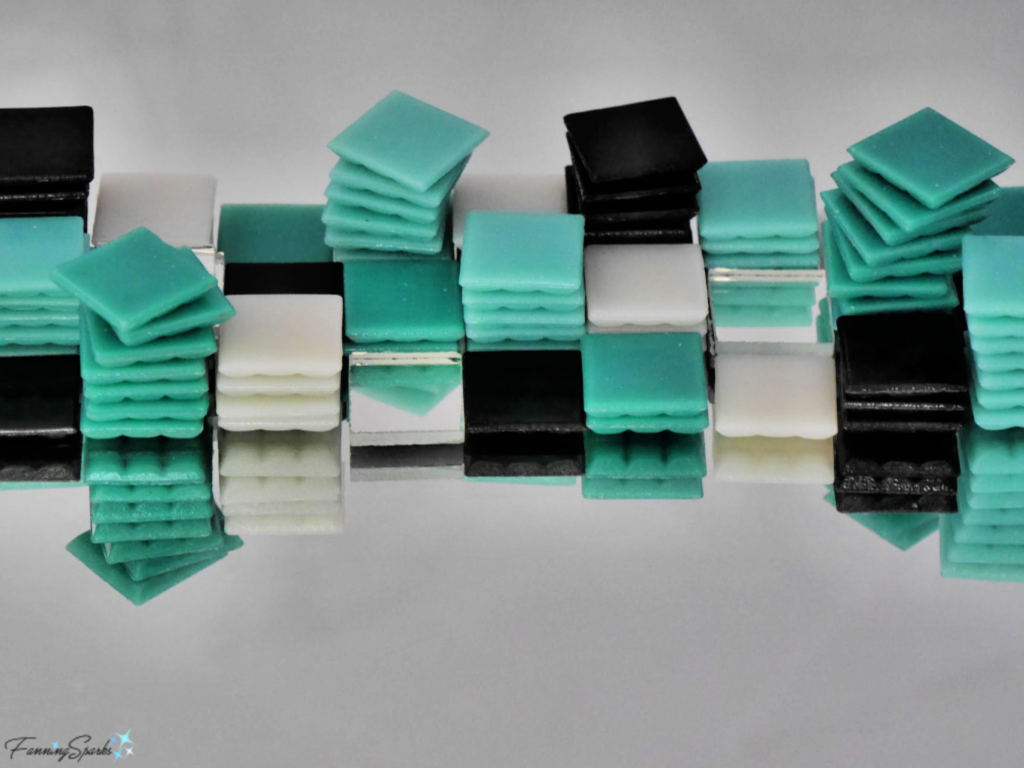
I like to gather together inspiration items, photos, sample materials and color options to inform and inspire my design. I was working on the design for a Diamonds and Beads Wooden Wreath in the photo below.
STEP 4 – Plan
The next step is to plan how you will achieve the desired outcome. What materials and supplies will you use? Will you need wood, paper, fabric, yarn, glass, paint, dye, etc? In what format and type? In what color(s)? In what size and quantity?
What equipment or tools will you use? What steps and actions will be needed to execute your design? It’s not necessary to build a detailed workplan with task dependencies but it’s helpful to define enough detail to support the next steps.
Some research may be needed at this stage to determine what’s even possible. There’s no point in planning an elaborate set of hand-thrown clay dinnerware without figuring out how to get access to a pottery kiln. Nor would you want to plan an outdoor structure with materials that can’t withstand the weather. Research might also reveal some new materials or techniques that you could leverage.
Once again, the process is not linear and you could find yourself going back to the previous steps or jumping ahead to subsequent steps from here. For instance, checking the materials you already have on hand might influence the plan. This was my experience when I was planning a Pair of Mosaic Mirrors for our master bathroom.
STEP 5 – Source
Using the details compiled during the previous Plan Step, find, gather, borrow, order, buy and/or rent what you need to complete the project. You may want to start by shopping at home. Do you have anything already available that can be used? Do you have anything that can be reused or repurposed? Could you adjust your design and/or plan to incorporate materials you already have on hand? You might also consider sourcing materials from thrift stores or vintage shops.
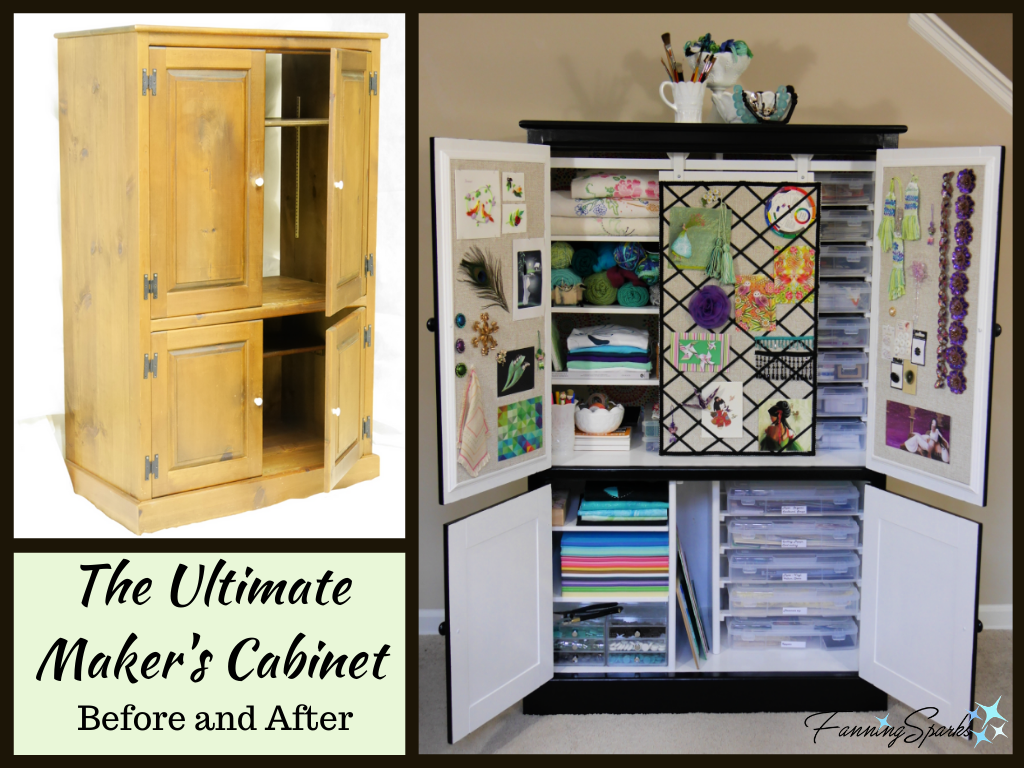
One of my favorite projects started with an old entertainment center I sourced from a thrift store. I was able to repurpose it into the Ultimate Maker’s Cabinet.
Don’t forget to source equipment and tools as well as supplies and materials. Ensure you have the appropriate type and size of accessories such as sewing needles, paint brushes, modelling tools, glass cutters, drill bits, saw blades, sandpaper, and so on.
If you decide to purchase in person or order online, take time to research your options. You may discover specialty suppliers or new products along the way.
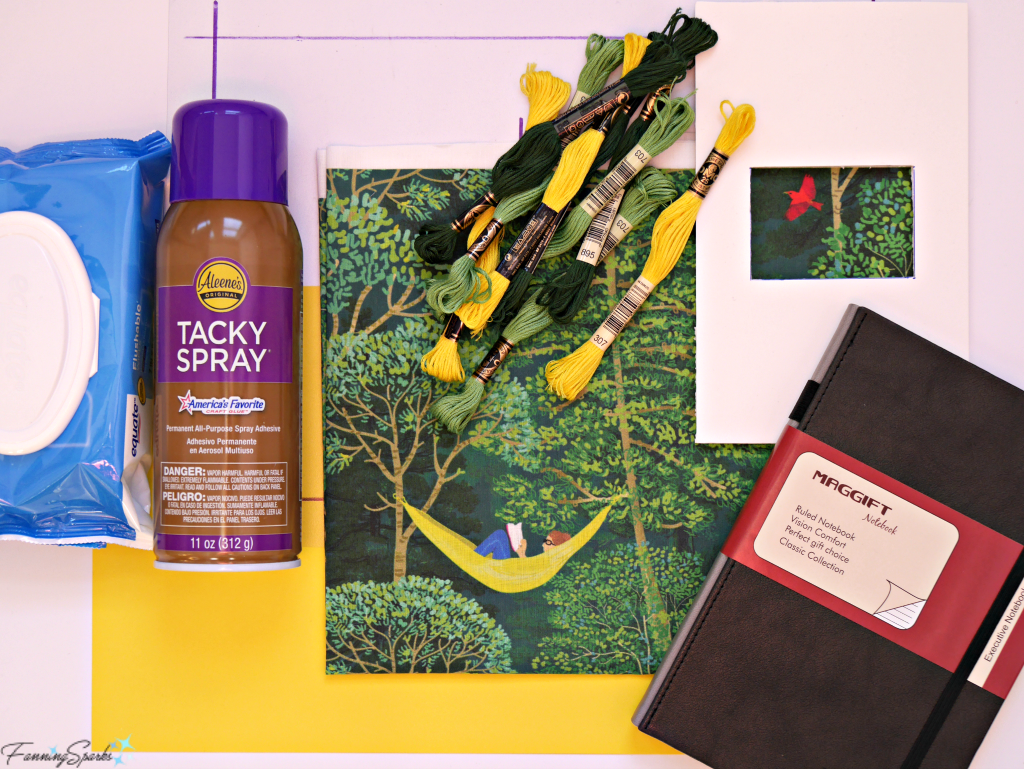
The below photo shows the supplies and materials needed to create a Personalized Fabric-Covered Journal.
STEP 6 – Setup
Take a little time to plan for and setup your work environment. Do you need to protect surfaces with drop cloths? Do you need additional task lighting? Do you need a large flat surface to work on? Do you need to plug in and set up equipment? Do you need ventilation and fresh air? It’s impossible to outline all the various working environments that might be needed. But some things will be common to all—safety and comfort. Please be sure to take appropriate safety precautions such as wearing safety glasses, hearing protection, respiratory masks, gloves and so on. You’ll also want to ensure your working surface is at a convenient height and any seating is comfortable.
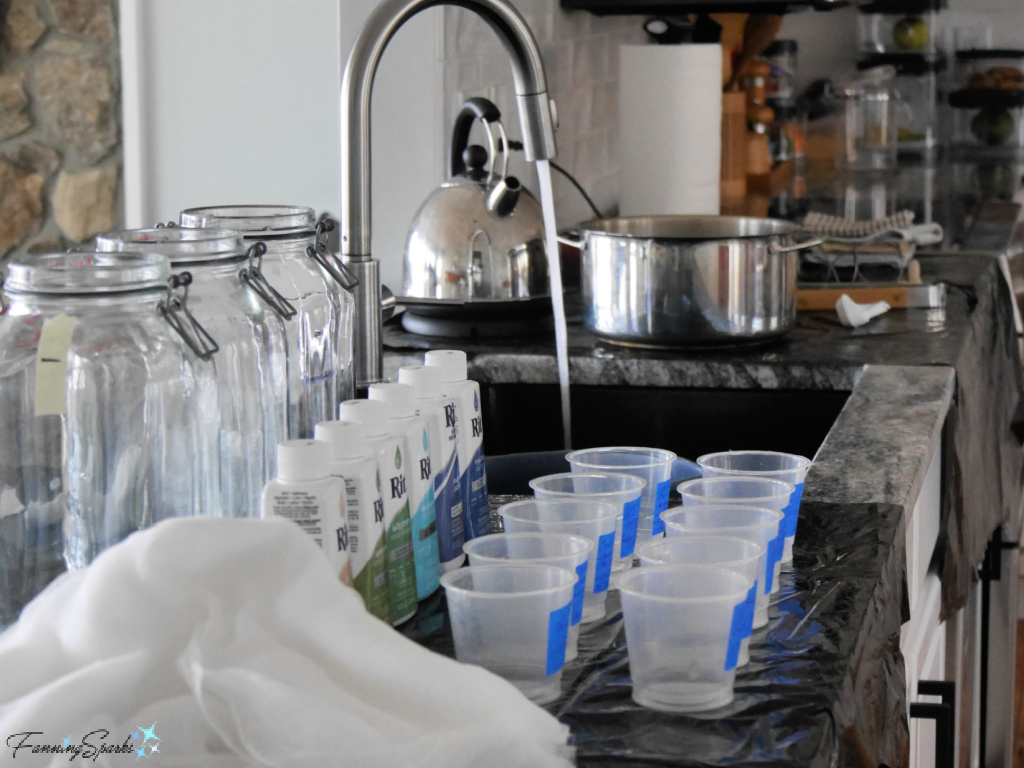
Another factor to consider is how long you’ll need the setup. Is it a one-time activity? Will the working area be temporary? Or will the activity stretch over time requiring the working area for an extended period of time? In the below photo, I setup a temporary area in my kitchen to Experiment with Fabric Dyes.
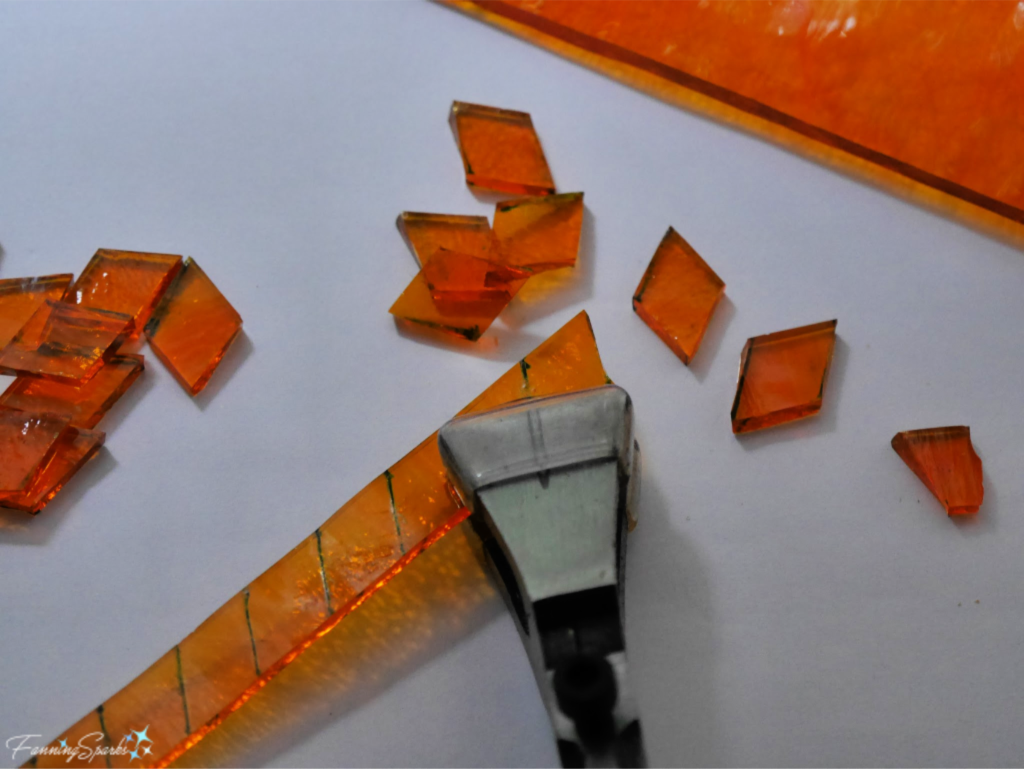
STEP 7 – Prepare Components
After you’ve finalized your design, mapped out your plan, gathered your materials, supplies, equipment and tools, and setup your work area, it’s finally time to actually start making. Hurray!
Often the first step is to prepare the parts needed for the project. This will likely involve measuring and marking your materials. It may involve cutting. It may involve tracing patterns or designs. It could be dyeing materials. Or it could even be pressing flowers to be used later. There are an endless number of ways this step could play out. I’m cutting diamond shapes from stained glass in preparation for making Turkish Mosaic Candle Holders in the photo below.
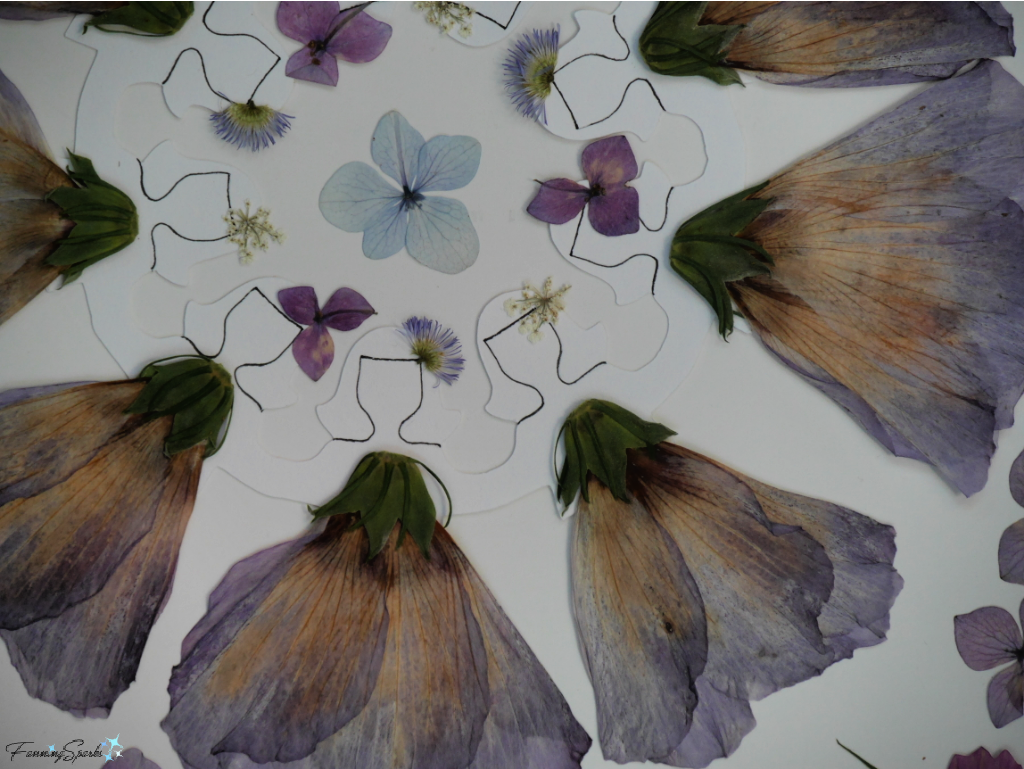
STEP 8 – Assemble
In this step, you start to pull components together. Sometimes, there’s experimentation involved as you seek the most pleasing arrangement or you make final selections for embellishments. The 3 steps—Prepare Components, Assemble and Construct—are closely related. It’s not unusual to bounce back and forth between the steps, skip a step, or to iterate through the steps multiple times.
In the below photo, I’m assembling pressed flowers into a pleasing arrangement for my Pressed Flower Girls Wall Art.
STEP 9 – Construct
At this stage the arranged components become permanent. A variety of techniques can be used to construct or build the final product. Fabric can be sewn. Yarn can be knit. Wood can be nailed. Clay can be molded. Mosaic tiles can be glued. And so on.
It’s a good idea to “dry fit” some projects meaning fit all the pieces together to check for fit before attaching permanently. I’m dry fitting my Bluebird-Approved Birdhouse in the photo below.

If something doesn’t fit or isn’t as expected, it may be necessary to go back to the previous steps to adjust the components or modify the assembly. It’s also possible to go all the way back to the Envision or Design steps at this stage—remember the creative process is a twisty, winding road!
STEP 10 – Finish
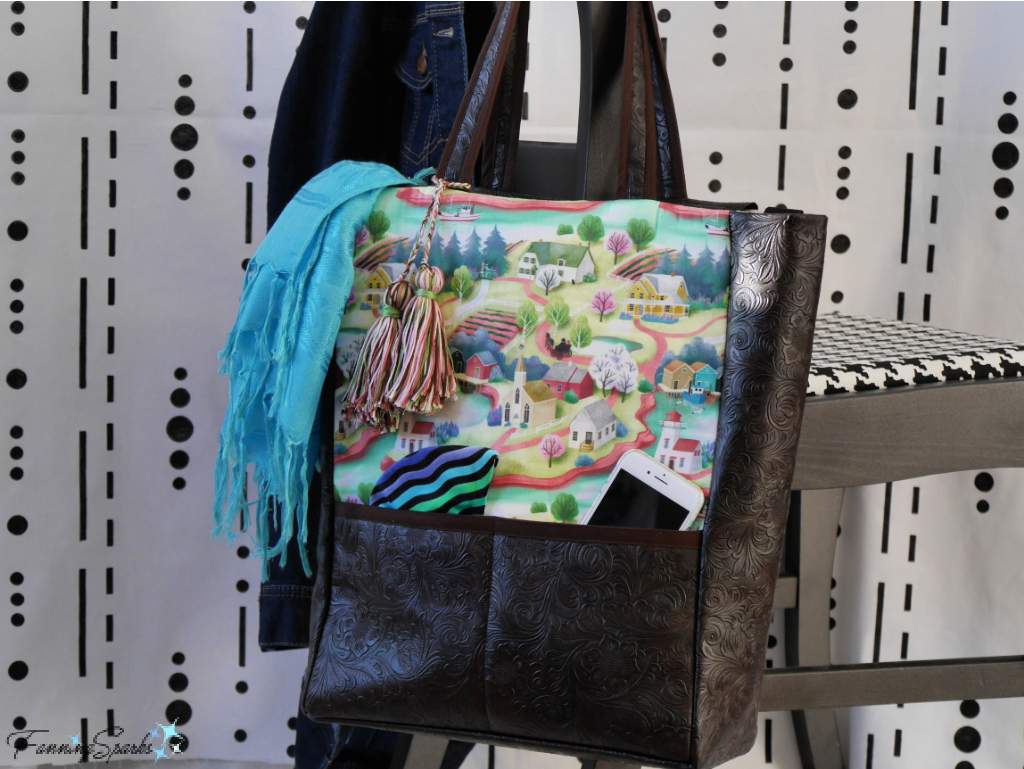
After your work of art is constructed, it’s time for finishing touches. This could involve sanding and smoothing. It could involve grouting. It could involve painting. It could involve sealing or protecting the work. It could involve glazing and final firing. It could involve adding final embellishments such as beads and accents. It could involve pressing. Regardless of the materials or techniques, it’s important to take your time with finishing. Attention to detail at this stage can make the difference between handmade and homemade!
Finishing could also involve installing your work of art. For instance, hanging art on the wall or mounting a birdhouse. It could be wrapping your work of art to give as a gift. Or it could be putting it into service as I did below with my new Kindred Spirits Tote Bag.
I Made It!
This brings us to the final stage in the process—enjoying the fruits of your labor! Hopefully, you’re pleased and satisfied with the results, you’ve learned something new and, most importantly, you’ve enjoyed the creative process itself. I trust the 10 steps I’ve outlined will give you the confidence to take on more and different creative endeavors. Enjoy the wonder of creating and the art of making!
More Info
Please pin this image to share or save for future reference.
For a variety of ideas and inspiration, check out the DIY Tutorials and How To posts available here on the FanningSparks’ blog or the inspiration boards on the FanningSparks’ Pinterest site.
Today’s Takeaways
1. The creative process is a twisty, winding road.
2. The more you make, the more you can make.
3. Consider following today’s 10 steps From Idea to I Made It! for your next creative endeavor.


2 Comments
Thanks!
Great Post!