
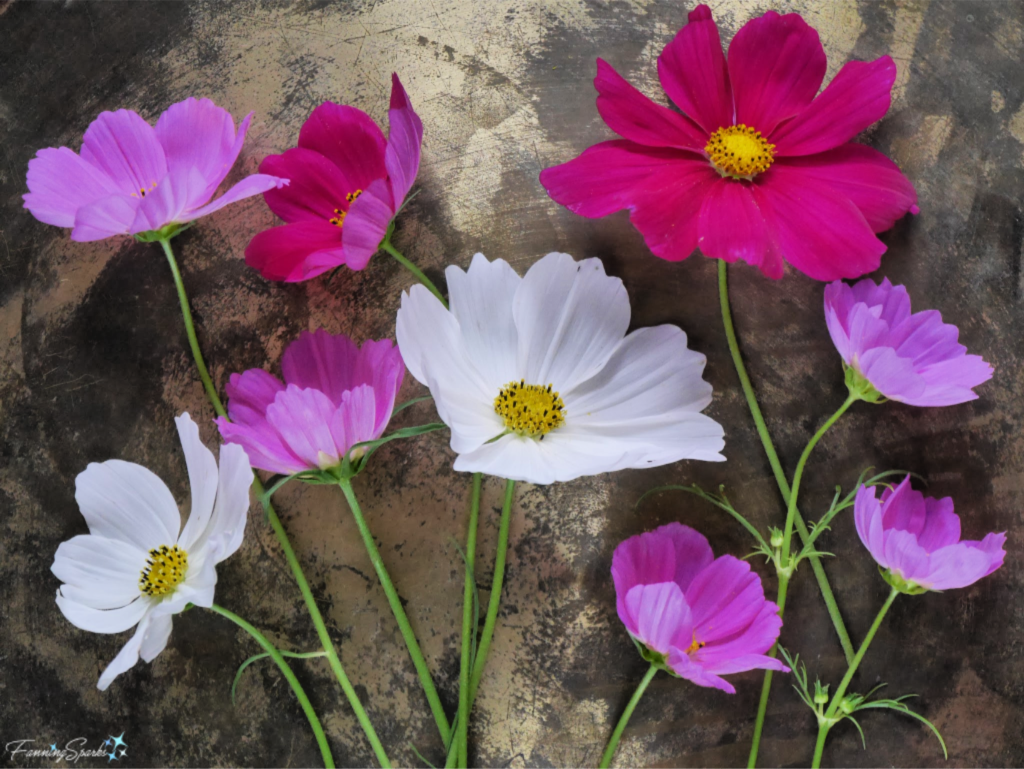
Mother Nature continues to work her magic as spring swings into summer. Foliage and greenery is everywhere—in flower beds, gardens, lawns, roadsides, fields, forests and so on. It’s the perfect backdrop for the profusion of flowers that are the highlight of the year. But flowers are ephemeral—here one day, gone the next. Little wonder, artists and makers strive to capture and preserve their beauty.
Arguably, the simplest way to preserve flowers is to press them. And the simplest way to press flowers is to insert them within the pages of a book, letting the paper pages absorb the moisture and the weight of the book press them flat.
Another simple option is a flower press. A press is preferable when drying large pieces or many elements. It’s also easier to position the elements accurately. That’s why I decided to make my own press. It all started with a desire to preserve fern fronds. Before I knew it, I was pressing all manner of flower blossoms, grasses, seed heads and wild flowers!
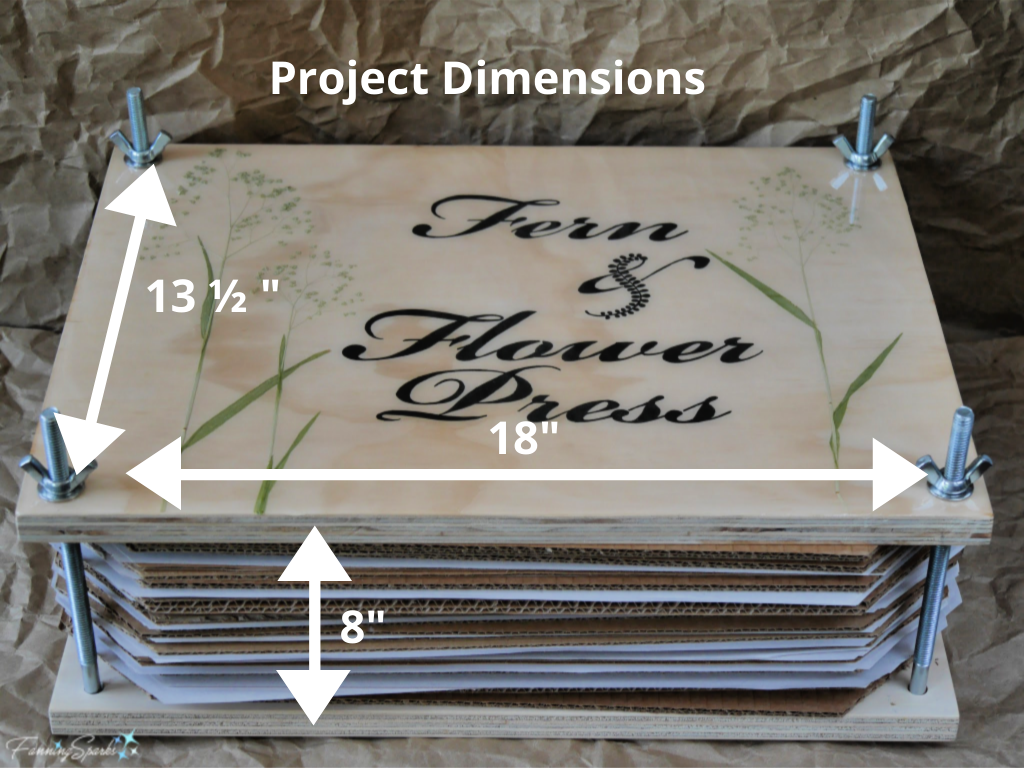
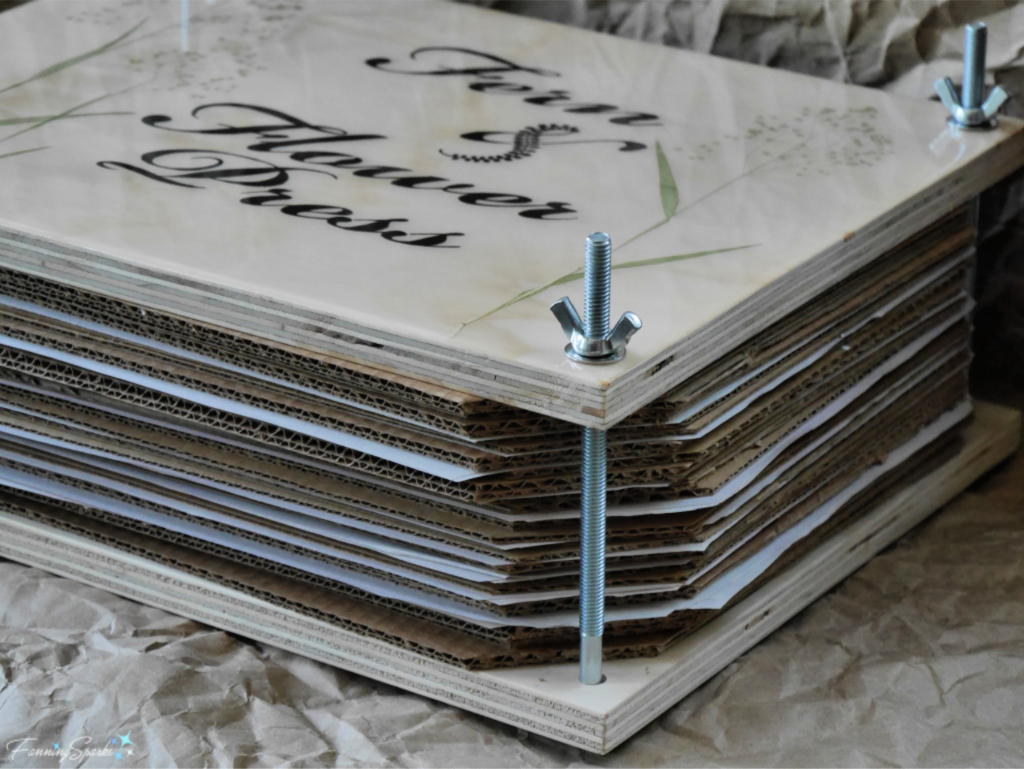
In today’s post, I’d like to share a DIY tutorial for making your own Fern & Flower Press. It’s straightforward and simple to construct. This is a generously-sized press specifically designed for large plant elements like fern fronds. It would be easy, however, to adjust the size if you prefer something smaller. Prior to making my own, I researched flower presses online and found that many are small 4-6” squares. The smallest ones are targeted to hikers and designed for collecting specimens while on the go. My Fern & Flower Press is 13½” x 18” x 8” and definitely not suitable for carrying on a hike!
Here are the step-by-step instructions to make your own Fern & Flower Press. It can be fun to decorate the Top Cover but it’s not necessary so I’ve shown the supplies, tools and instructions for decorating it separately.
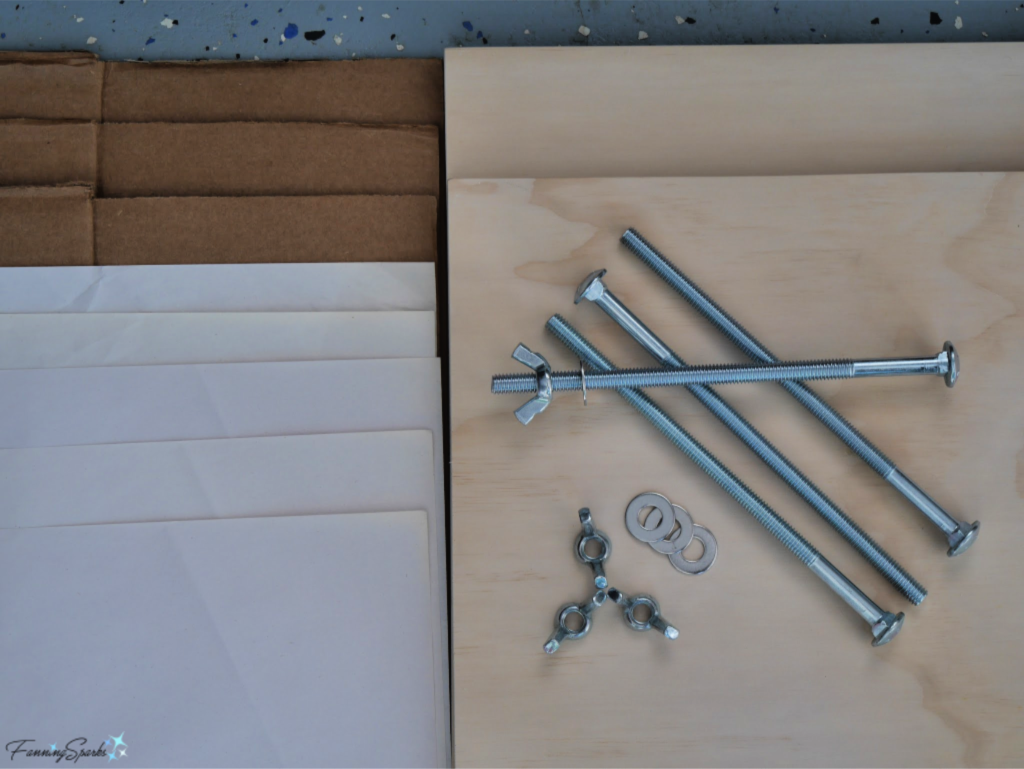
Supplies Needed – To Make the Press
. Plywood 2 pieces 13 ½” x 18” I used ¾” hardwood plywood because that’s what I had available. You may prefer to use smaller, thinner or less expensive plywood—it will work just as well.
. Carriage Bolts 4 – 3/8 inch x 8 inch long My press holds 5-6” of pressing materials (ie about 24 layers of cardboard). If you prefer to use less layers, select shorter bolts.
. Wing Nuts 4 – 3/8 inch
. Flat Washers 4 – 3/8 inch
. Sandpaper
. Corrugated Cardboard about 24 – 13 ½” x 18” sheets of corrugated cardboard. I simply cut up old moving and shipping boxes.
. Paper about 72 – 13 ½” x 18” sheets of absorbent paper. I used 24” x 24” sheets of packing paper. Blotting paper, printer paper and cardstock are common choices for flower presses. They would, however, be difficult to find in the size needed for this press. Paper towels might be an alternative but only if the surface is smooth and pattern-free since indentations will transfer to the pressed materials.
. Paint, stain or wax (if desired).
Supplies Needed – To Decorate the Top Cover
. Paper
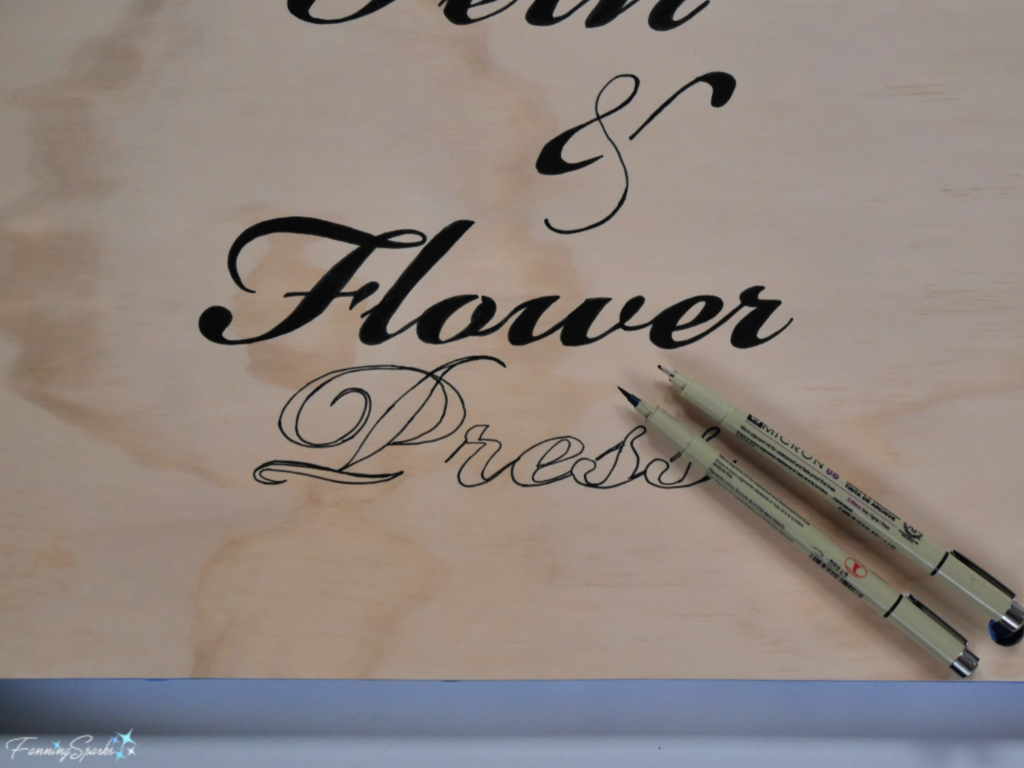
. Black Markers I used Sakura Pigma Micron waterproof markers in 08 and Brush.
. Pressed Plant Materials
. Waterbase Sealer I used Mod Podge Matte from PLAID.
. Epoxy Resin I used 8oz of ArtResin.
Tools Needed – To Make the Press
. Jigsaw (or whatever type of saw you prefer to cut wood)
. Square
. Tape Measure
. Sharp Point Used to indent the wood prior to drilling. A nail or screwdriver tip will work fine.
. Drill with 3 bits: ⅛”, ⅜” and ½”
. Pencil
. Utility Knife
. Scissors
Tools and Equipment Needed – To Decorate the Top Cover
. Computer and Printer
. Ruler
. Ball Stylus Clay Sculpting Tool or Dull-tipped Pencil
. Small Paint Brush
Instructions – To Make the Press
Step 1 – Cut Pieces Cut 2 identical rectangles of plywood. I cut mine to 13 ½“ x 18”.
Step 2 – Drill Holes Choose one of the plywood rectangles and place face up on work surface. At each corner, measure in ¾” from both edges. Mark at the crossing point and indent with the sharp point. Place second rectangle with face side up under the marked rectangle. Place on top of scrap wood to prevent tear out. Align edges and clamp together. I drilled all the holes with a ⅜” bit but the carriage bolts are rather tight for the Top Cover. If I had it to do over again, I would use this approach instead:
. Use ⅛” bit to drill through both layers of plywood keeping drill perfectly perpendicular to the surface. Unclamp.
. Use the ⅜” bit to enlarge the 4 drilled holes in the Bottom Cover.
. Use the ½” bit to enlarge the 4 drilled holes in the Top Cover.
Lightly mark top edge of both rectangles.
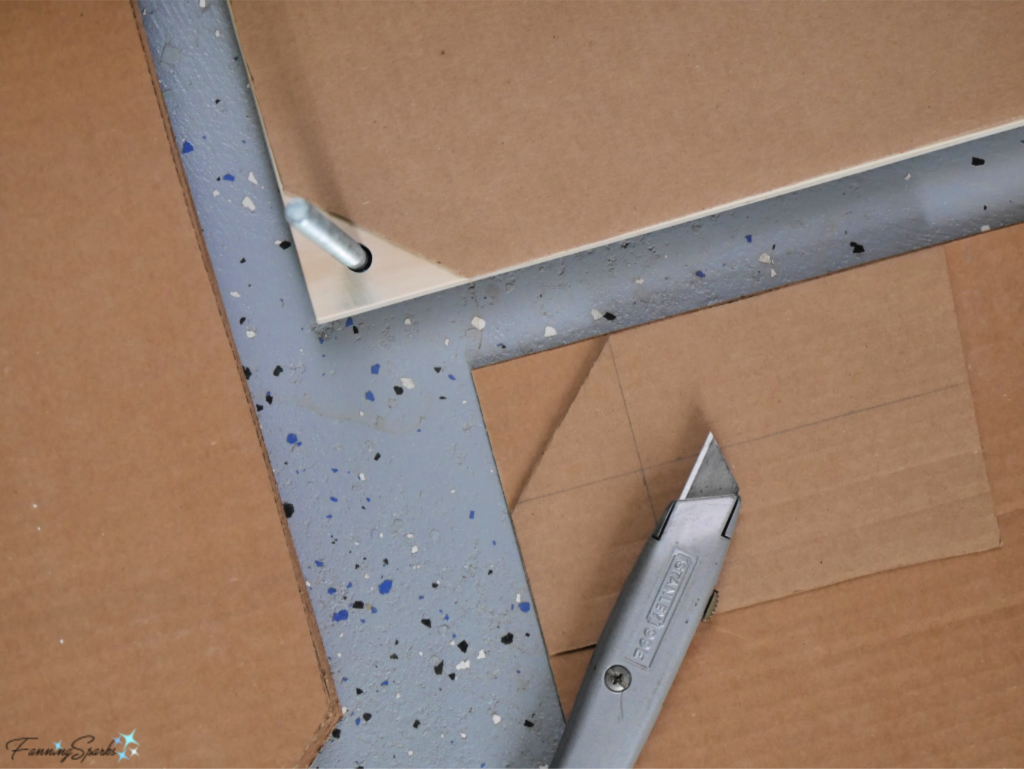
Step 3 – Cut Cardboard and Paper Simply place one of the covers on a piece of corrugated cardboard and cut around it with the utility knife. Make a template from a small piece of cardboard with a right angle corner. Measure in 2” from top and side of corner. Trim off corner diagonally (as shown below). Use this template to trim off all 4 corners. Cut 23 more cardboard sheets.
 Use one of the cardboard sheets to cut a piece of packing paper to the same size. I found it easiest to use scissors and cut multiple sheets of paper at once. Repeat to make 72 sheets of paper.
Step 4 – Finish Sand the top and bottom covers for a smooth surface. I chose to leave mine unfinished. Alternatively, you could paint, stain or wax the covers at this time.
Instructions – To Decorate the Top Cover
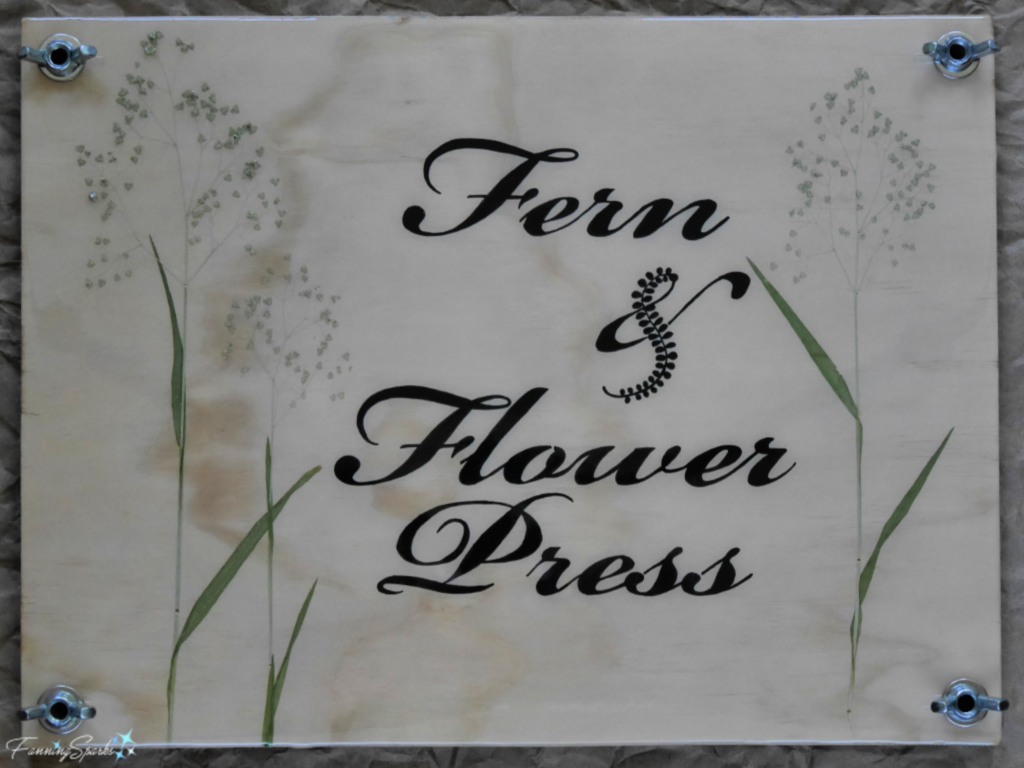
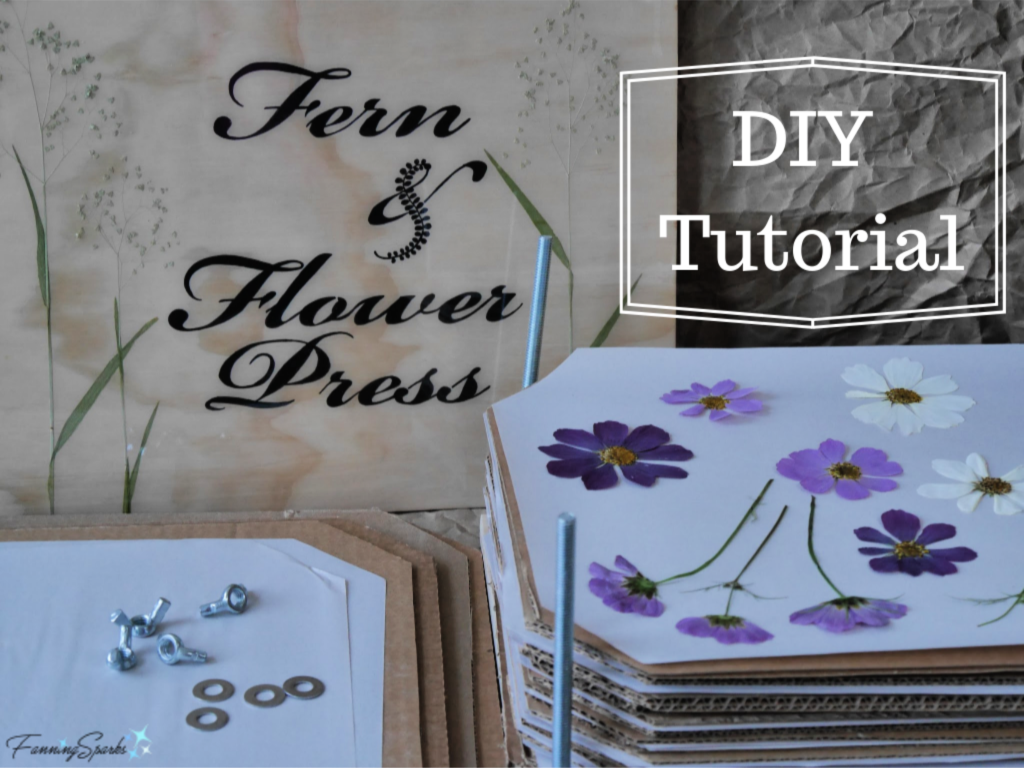
It isn’t necessary to decorate the top of the Fern & Flower Press but it adds a nice touch. It’s also a great opportunity to experiment with some of the plant material you’ve pressed. I chose to add a label in fancy script with some pressed grasses.
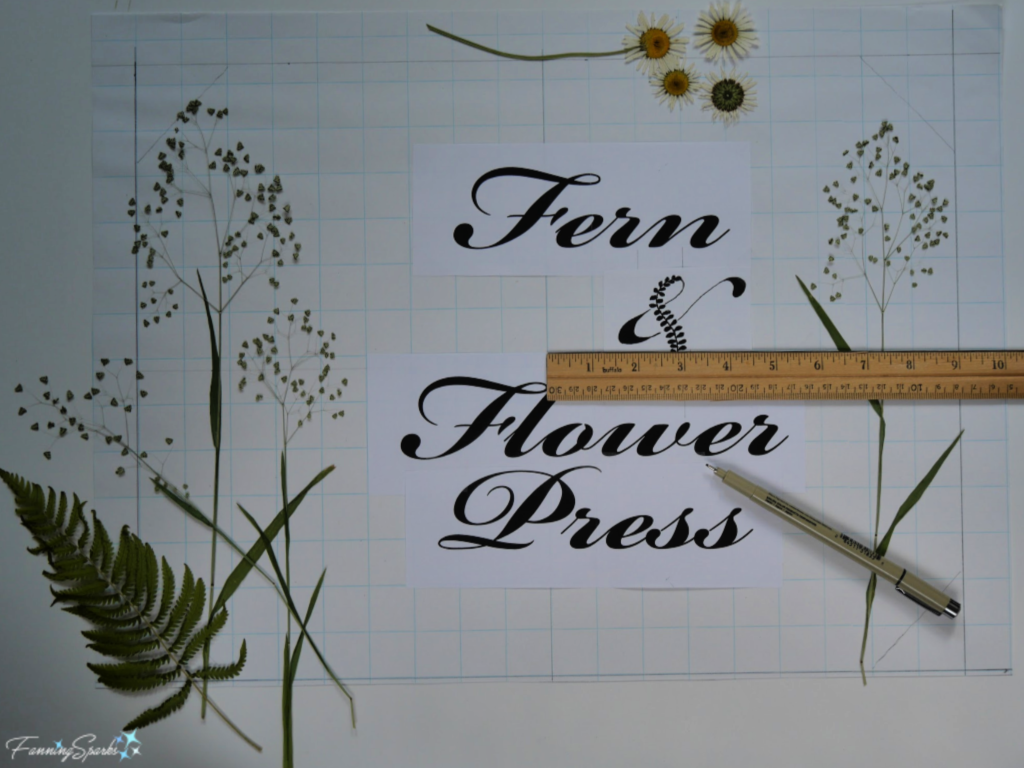
Step 5 – Prepare Top Cover Design Begin by selecting a font and mocking up the title on your computer. The lettering shown below uses Bickham Script Pro Regular in 287pt. After printing a copy, I used my black markers to dress up the ampersand. Lay out the components of your cover design on a piece of 13½” x 18” paper or directly on the Top Cover. I incorporated a few stems of Little Quaking-Grass (Briza minor) which I’d pressed in advance.
 Step 6 – Trace and Color Title on Top Cover Tape your final design to the Top Cover. Use a ball stylus tool or dull pencil to trace the letters pressing down to indent the surface of the wood. Check to ensure indentation is visible.
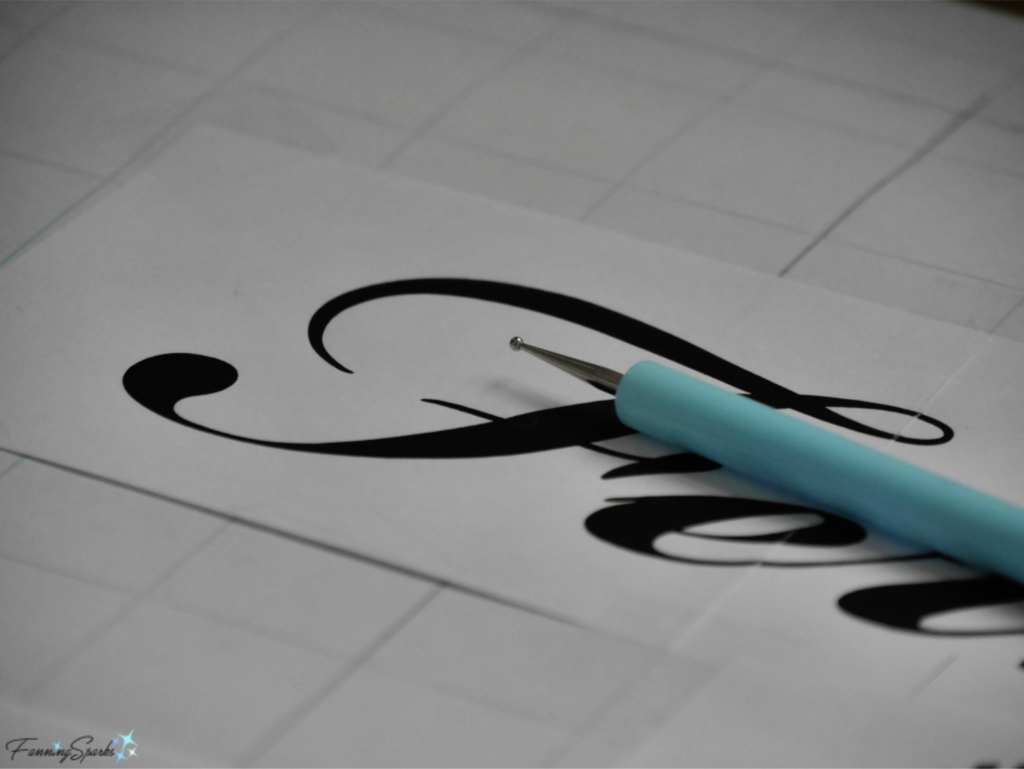 Use 08 black marker to trace along the indentations. Fill in letters with brush tip black marker.
 Step 7 – Seal with Mod Podge Use small paint brush to apply a thin coat of Mod Podge matte finish over the entire surface of the Top Cover. Start with the lettering. Then apply Mod Podge to the areas where the dried materials will be positioned. Carefully, place the dried materials on the Mod Podge pressing down to attach all stems, leaves, seeds, etc to the surface of the wood.
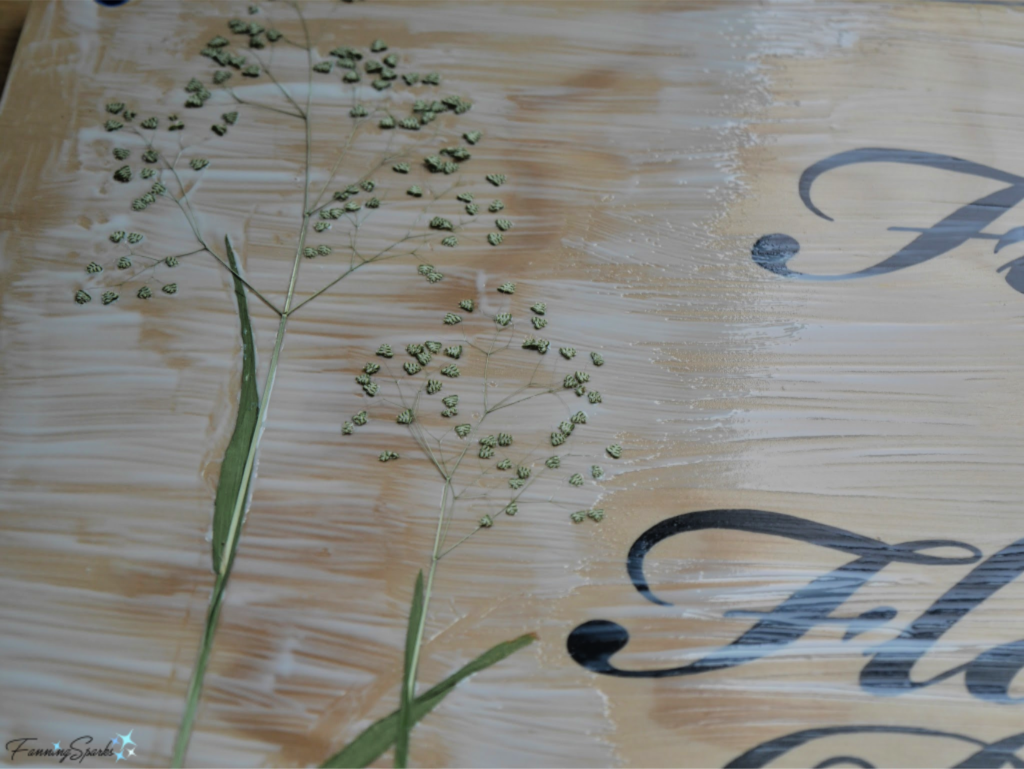 After placing everything as desired, prepare to apply a top coat of Mod Podge. The top coat can be thinned out with a little water if desired. The objective is to seal all the natural materials under the Mod Podge so everything stays in place when the resin coat is applied. Sealing also reduces the number of air bubbles in the next step.
Step 8 – Apply Resin Coat Apply a coat of epoxy resin over the Top Cover following the instructions provided by the resin manufacturer. This was my first resin project so I took care to study the process. I chose ArtResin and found their online guide and videos very helpful. The ArtResin instructions outline 6 steps: Prep, Measure, Mix, Pour & Spread, Finish and Wait. I’m really pleased with how the resin finish turned out—smooth and shiny—and am anxious to try a few more projects. I look forward to sharing the details as I learn more.
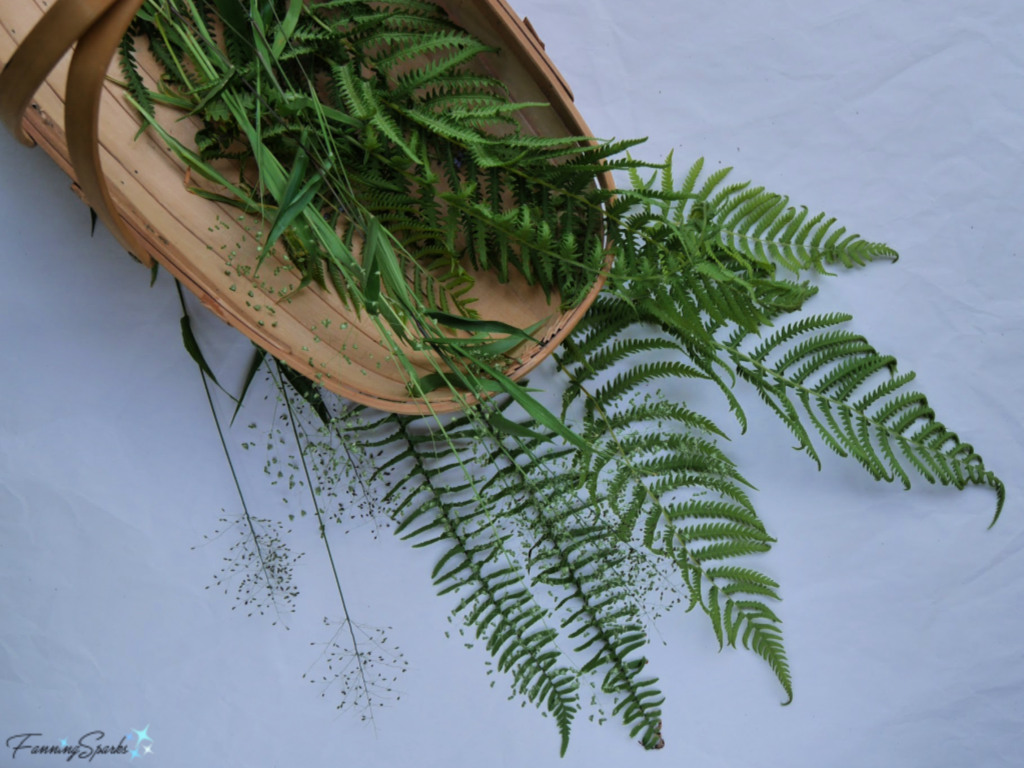
 Your new Fern & Flower Press is ready to use! Begin by gathering leaves, fronds, flowers, grasses, seed heads and any other plant materials you wish to dry and press. It’s best to cut plant materials early in the day as soon as they are dry. Avoid thick or dense elements such as roses or peonies. Work quickly to minimize drooping and wilting.
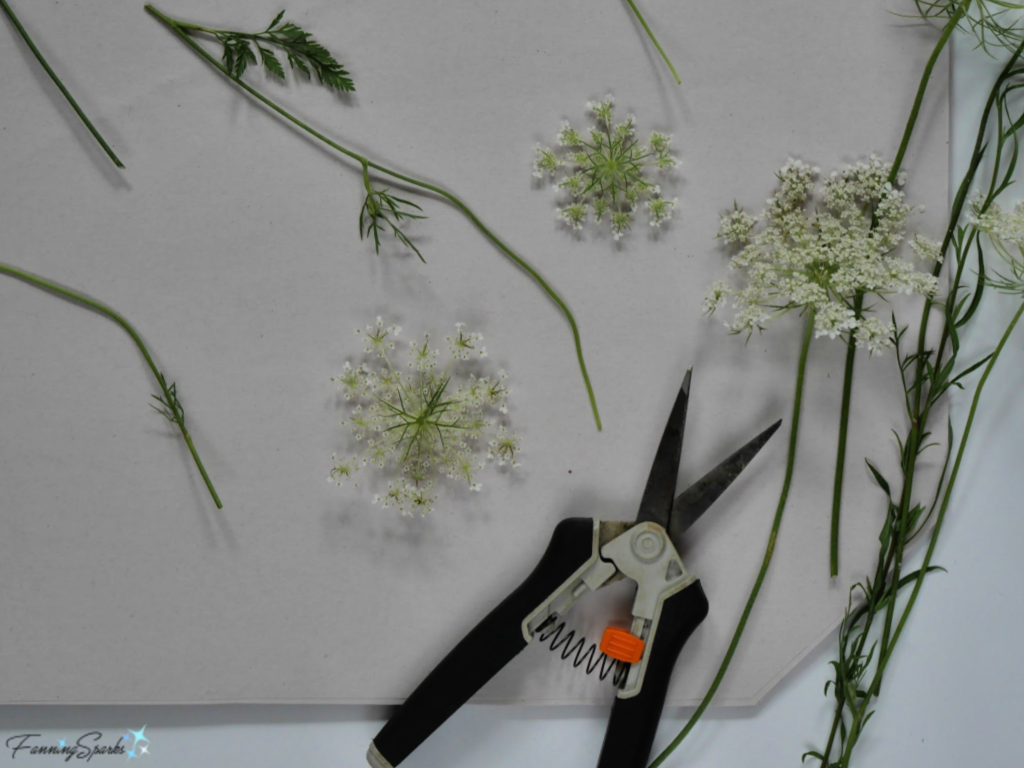
 Separate and trim the materials to be pressed.
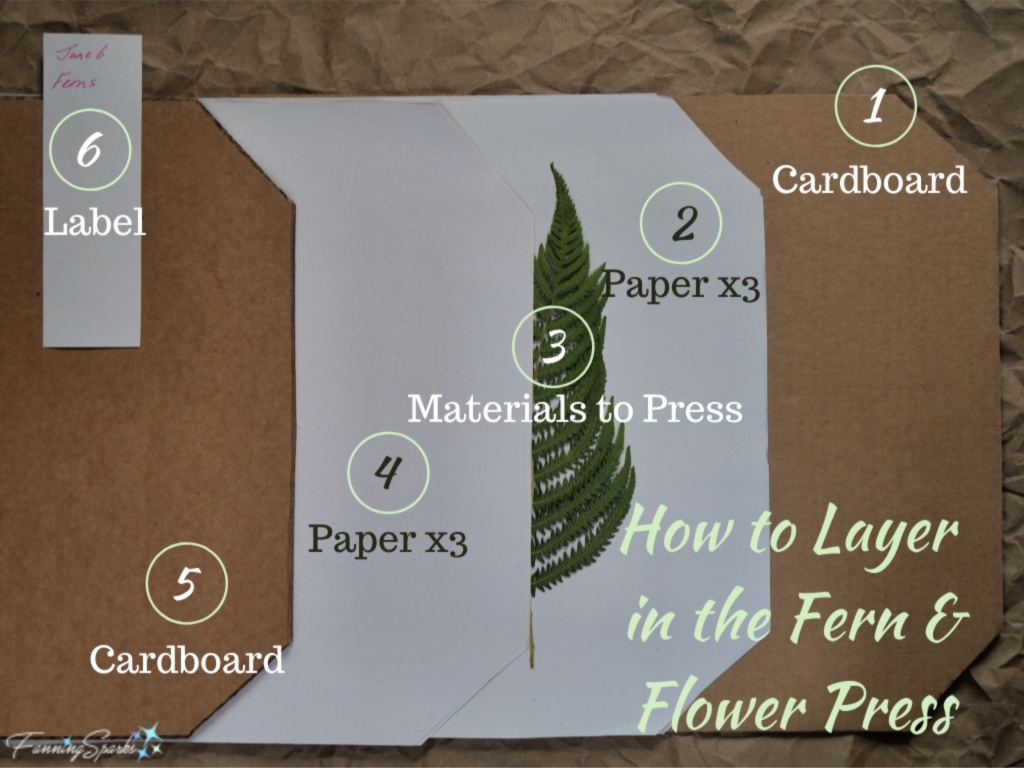
 To place plant materials in the press, layer the components as follows:
.1. Sheet of cardboard
.2. 3 sheets of paper
.3. Plant materials to be pressed facing down
.4. 3 sheets of paper
.5. Sheet of cardboard.
.6. Add a small label with the name of the materials and the date to track drying times.
 Insert the carriage bolts into the Bottom Cover. Continue to build layers stacking them on the bottom of the press. When all layers are ready, slip the Top Cover onto the carriage bolts, slide on flat washers and tighten with the wingnuts. Ensure all 4 wingnuts are tightened equally.
 Now it’s time to let the press do the work. Drying times will vary but most plant materials are ready in about 2 weeks. You may need to re-tighten the wingnuts as the materials dry. While you’re waiting, start planning how you’ll use your beautifully pressed plant materials!
More Info
Please pin the below image for future reference.
 You can learn more about epoxy resin on the ArtResin website or Instagram page.
Update Aug 11, 2020: Check out my pressed flower project in the post Pressed Flower Girls Wall Art
or my newest Pinterest Board packed with Pressed Flowers inspiration.
Today’s Takeaways
1. Pressing is a fun and easy way to preserve flowers and other plant materials.
2. Consider making the Fern & Flower Press featured in today’s post.
3. Imagine the many uses for pressed flowers, ferns, leaves, grasses and other plant materials.


Comments are closed.