
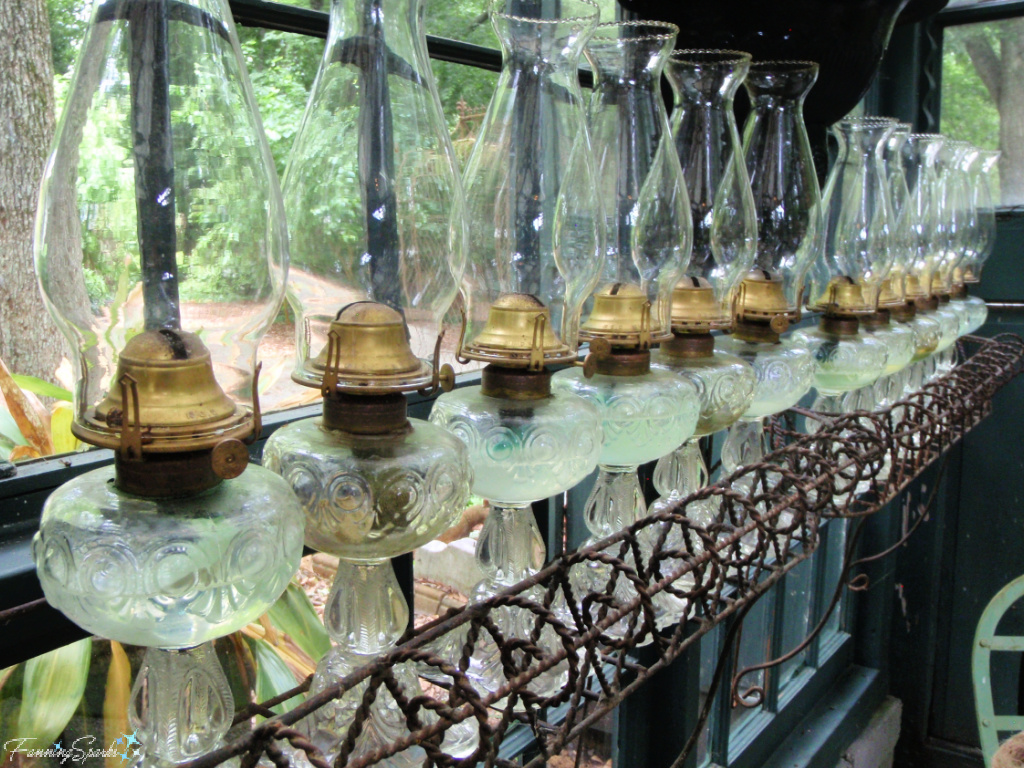
Building on last week’s Let’s Talk Shades blog post, I’d like to jump right into my latest upcycled maker project. This was a dramatic makeover—from dowdy, outdated, thrift-store discard to glamorous, look-at-me, decorative accent lamp. Here’s a quick look at the before and after.  As noted in my previous blog post, “It isn’t much to look at in its original state but it has a pleasing form. To my eye, it has potential just begging to be revealed”. It’s a small lamp—only 9” high by 5½” wide. The lamp’s form is reminiscent of the oil lamps that were common before electric lighting. Tall, barrel-shaped, glass chimneys, like those shown below, were used to protect the flame of the oil lamp.
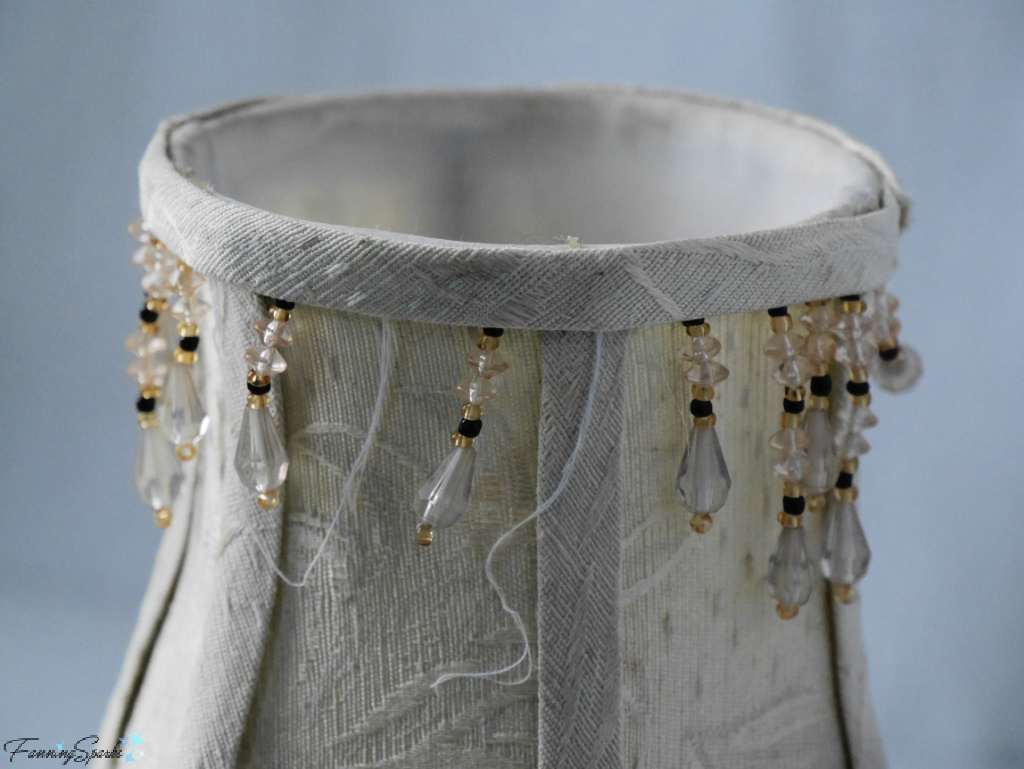
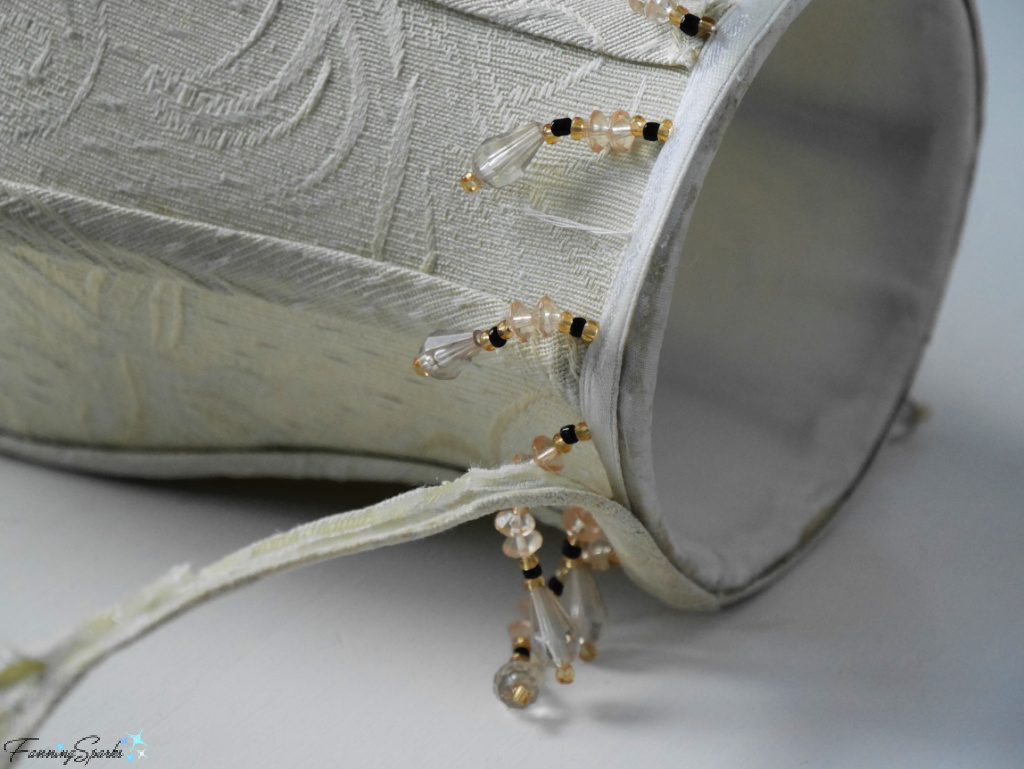
 Closer inspection confirmed the lamp base, lampshade wire frame and electrical components were all in good order although it needed a good cleaning and the beaded trim was damaged. Its biggest drawback, or should I say opportunity, was cosmetic—the uninspired fabric covering.
 The first step was to do some research—thus, last week’s blog post, Let’s Talk Shades. From this research I learned about soft, aka soft-backed, lampshades and discovered some great resources. For instance, Dannells, a British manufacturer specializing in lampshade making, shares a wealth of information on the subject (see More Info below).
The experts explained how to deconstruct an existing lamp. I find it helpful to take photos as I take things apart so I’ll know how to reassemble them later.
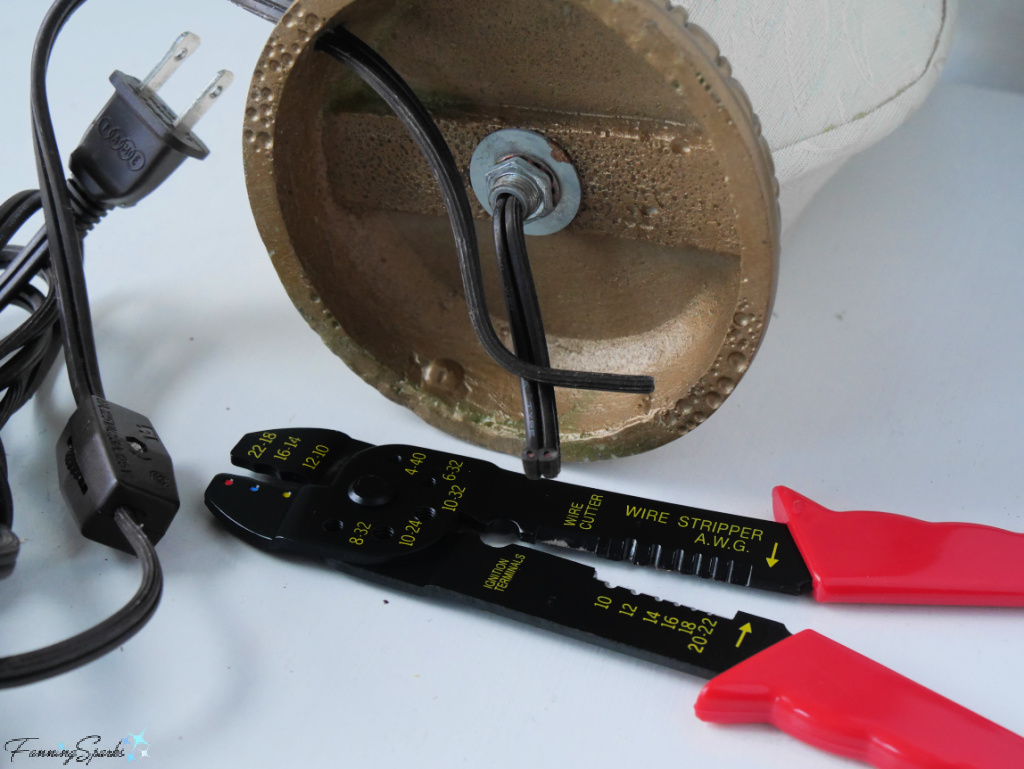
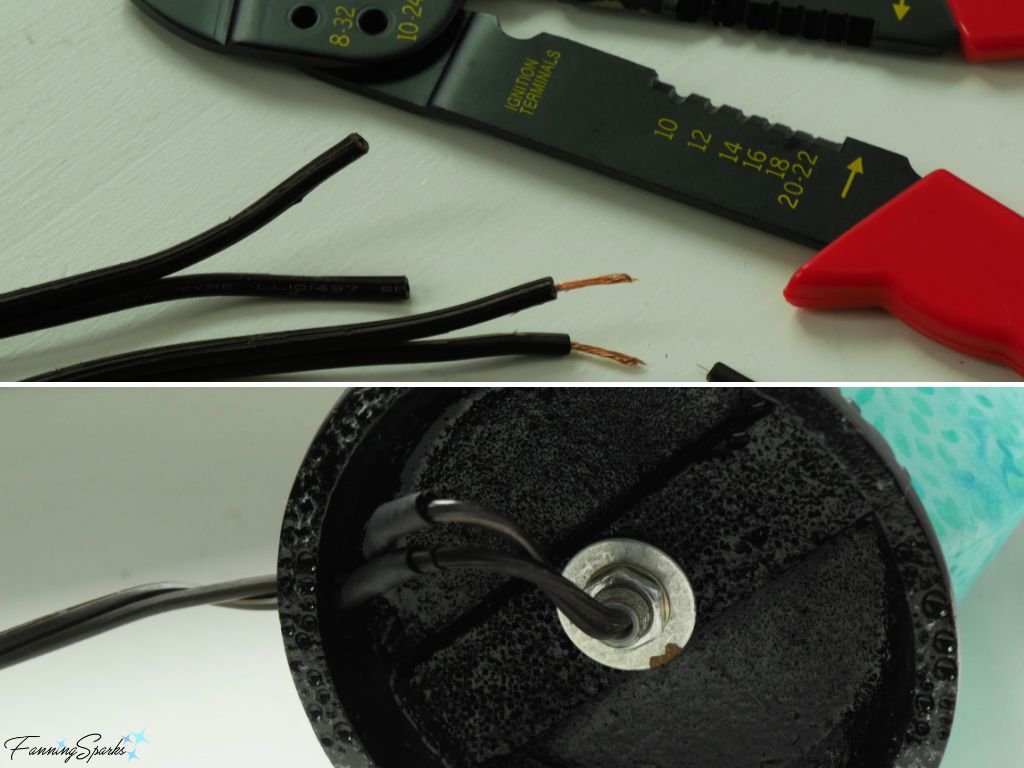
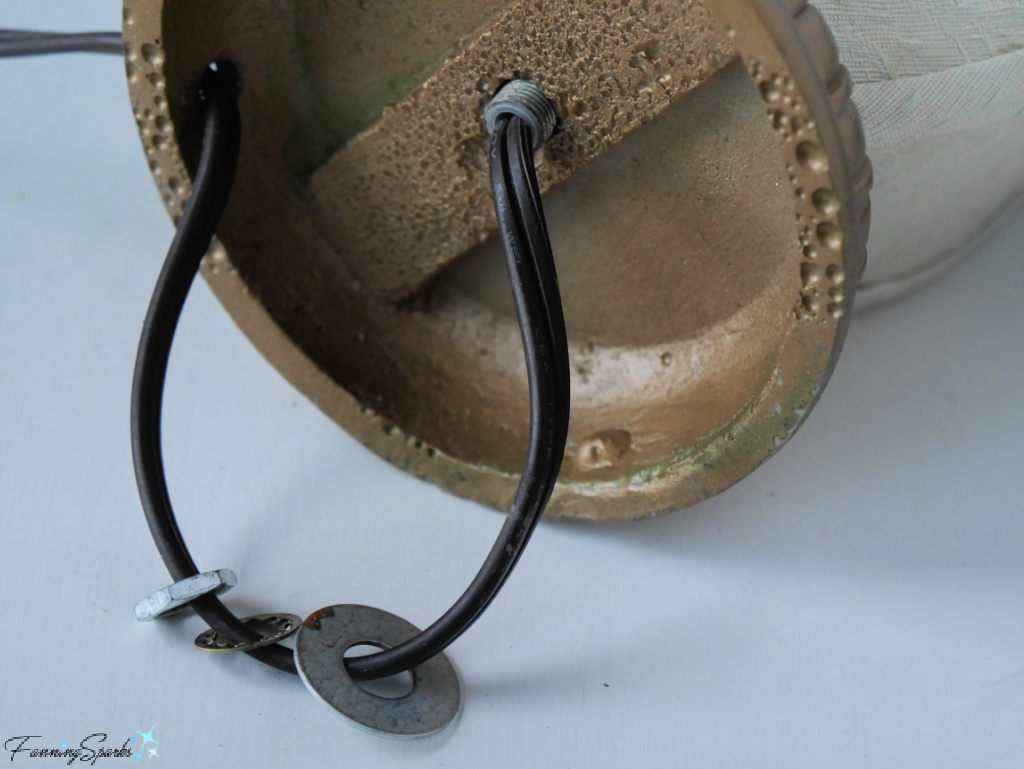 The most challenging part on this particular lamp was the electrical components. It uses a single candelabra light bulb held in a simple socket. In most cases, you disassemble these components by loosening the socket’s screws and disconnecting the wire lead. Unfortunately, this was not the case—there were no screws and the wire was permanently attached to the socket. So, I cut the wire to disassemble the lamp.
 The rest of the deconstruction was straightforward. When it came time to remove the fabric from the lampshade frame, I discovered everything was glued in place. It was surprisingly easy to remove each section of trim, decorative fabric and lining fabric.
 Originally, thinking I would reuse the fabric covering as a pattern, I diligently labeled each section of fabric and its corresponding location on the wire frame.
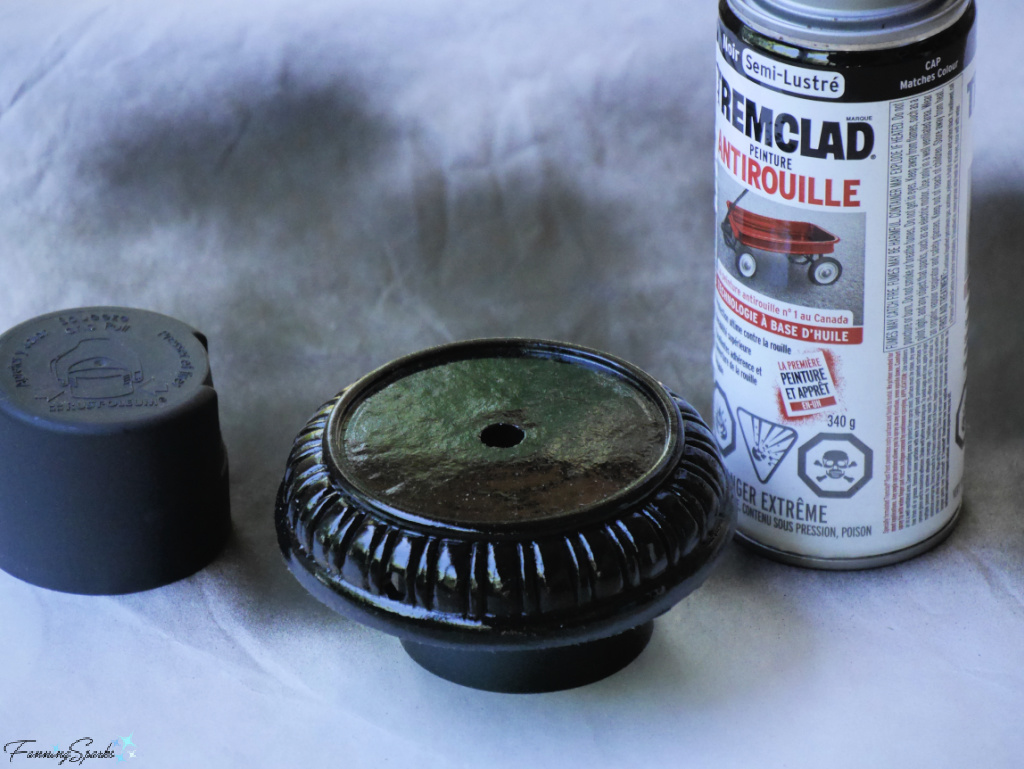
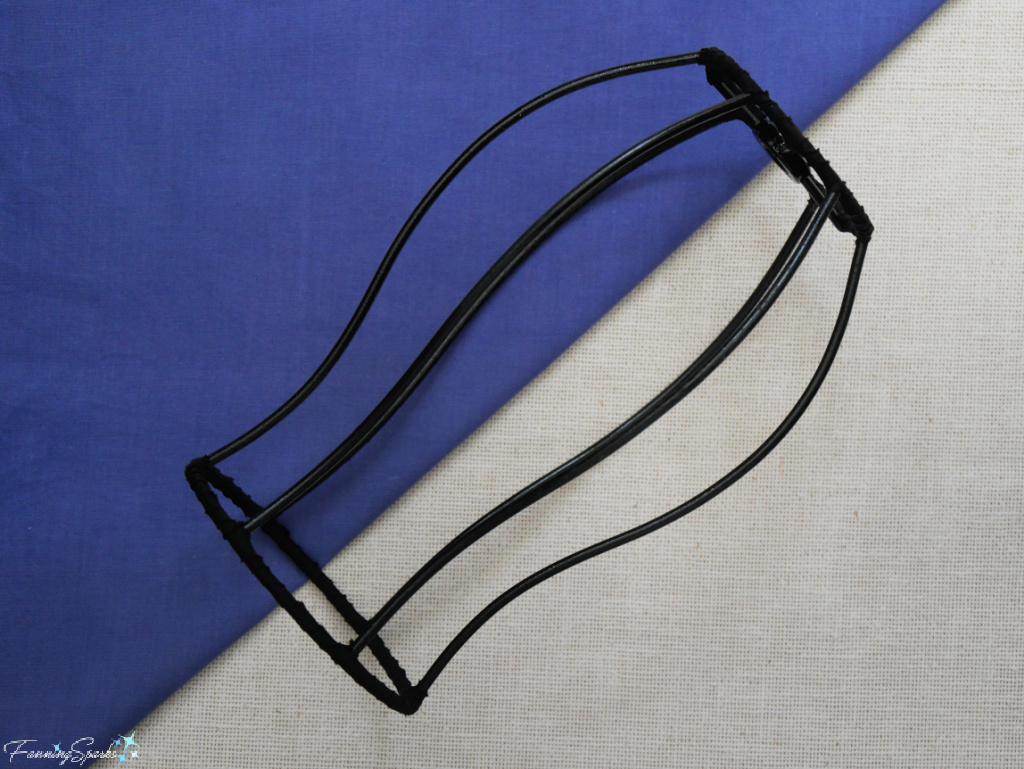
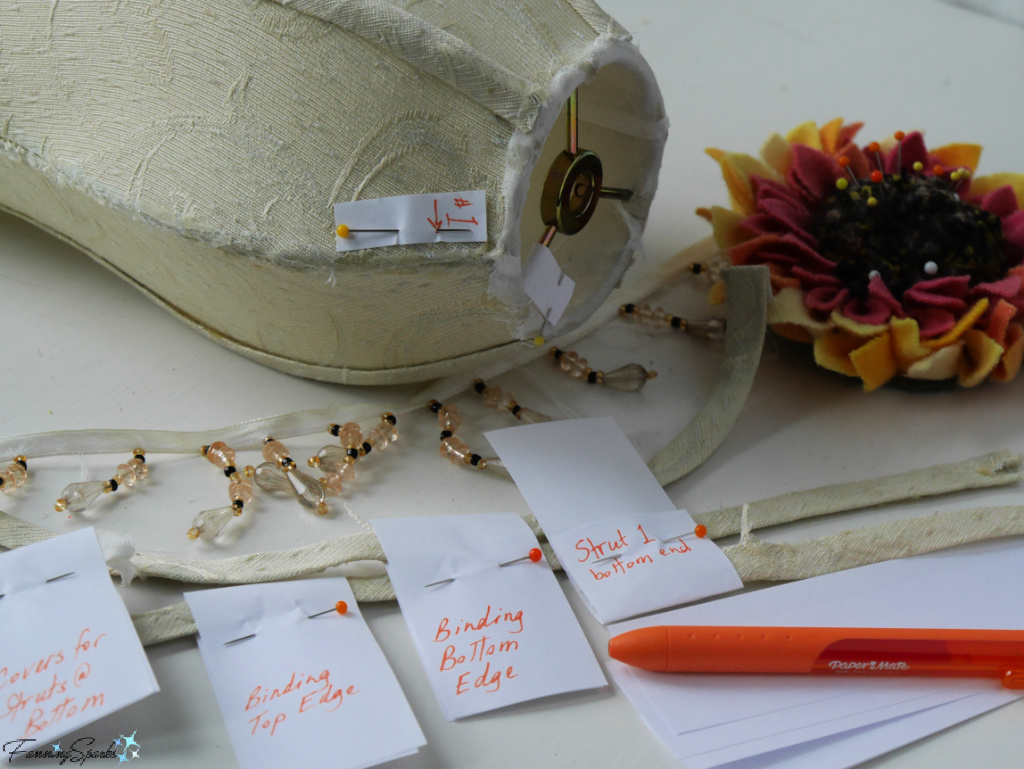 As it turns out, my careful labelling was unnecessary because I had better luck creating a new template than using the original fabric pieces. But first, you’ll want to prepare the wire frame and the lamp base. Mine had to be cleaned and re-painted. I chose glossy, black spray paint.
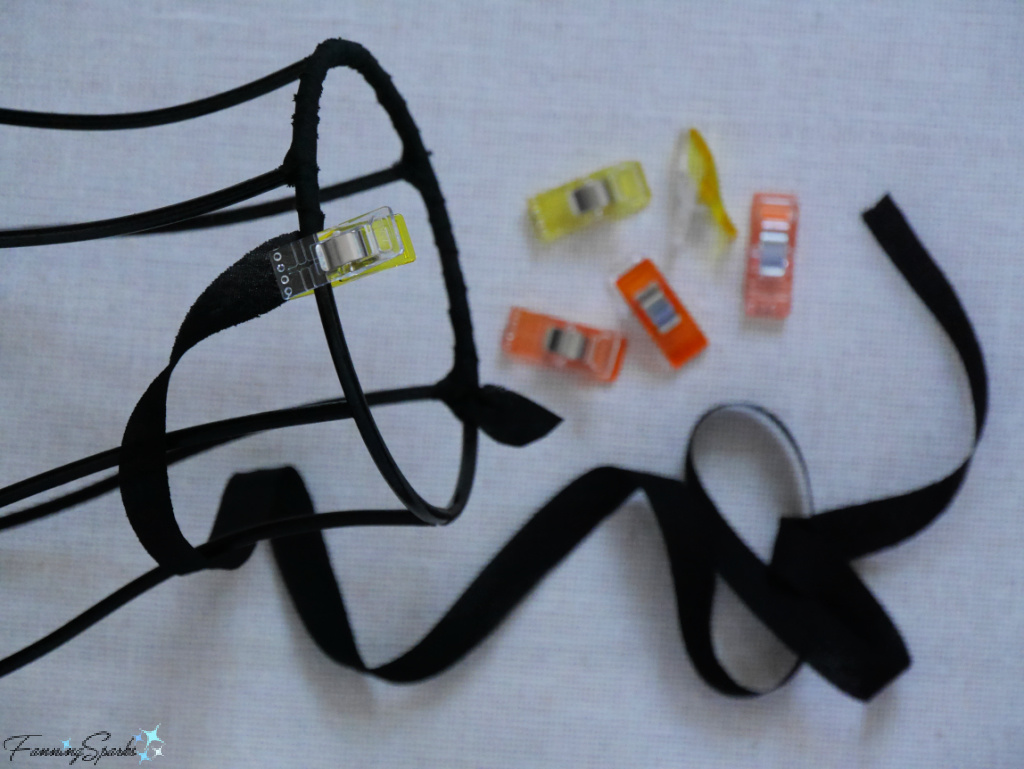
 Once the wire frame is ready, you’ll want to bind the top and bottom rings with narrow, cotton twill tape. The tape makes it easier to attach fabric to the frame.
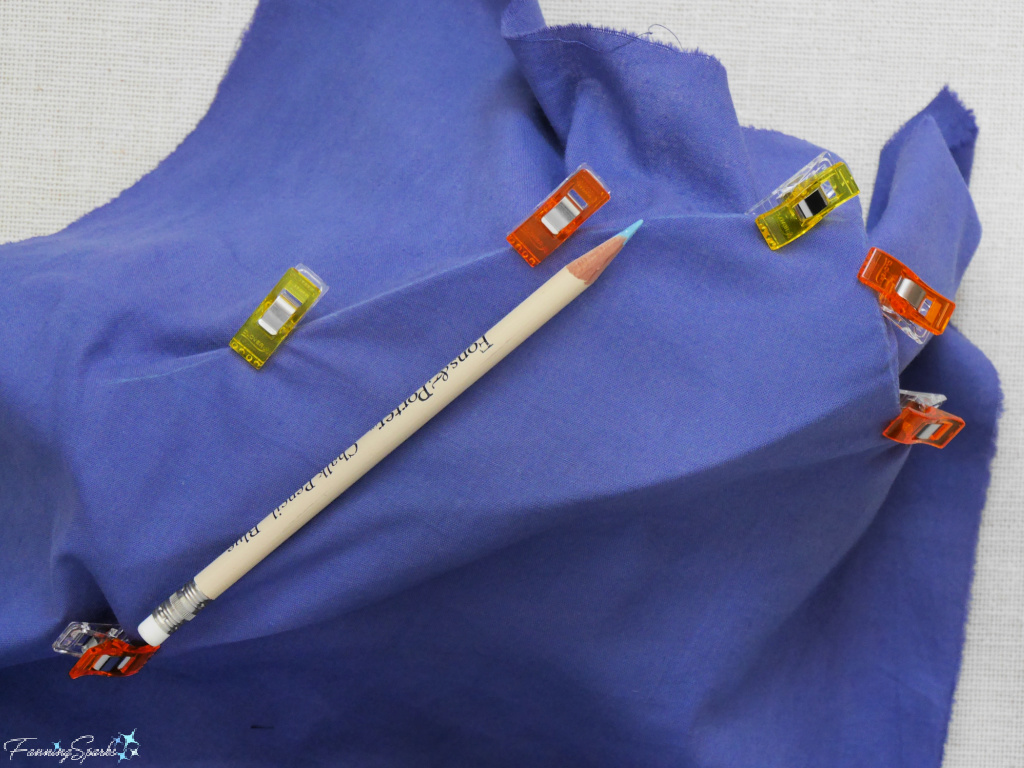
 Next, I used a scrap piece of blue cotton fabric to make a template. I decided to make my template cover half of the wire frame (ie 3 of the 6 panels) so I could make the new lampshade with only two sections of fabric. According to the advice I found online, it’s best to cut your fabric on the bias so it has more give and can stretch smoothly over the frame.
 Mini clips, such as the Clover Wonder Clips shown below, work well to hold the fabric in place as you stretch it taut and mark the edges.
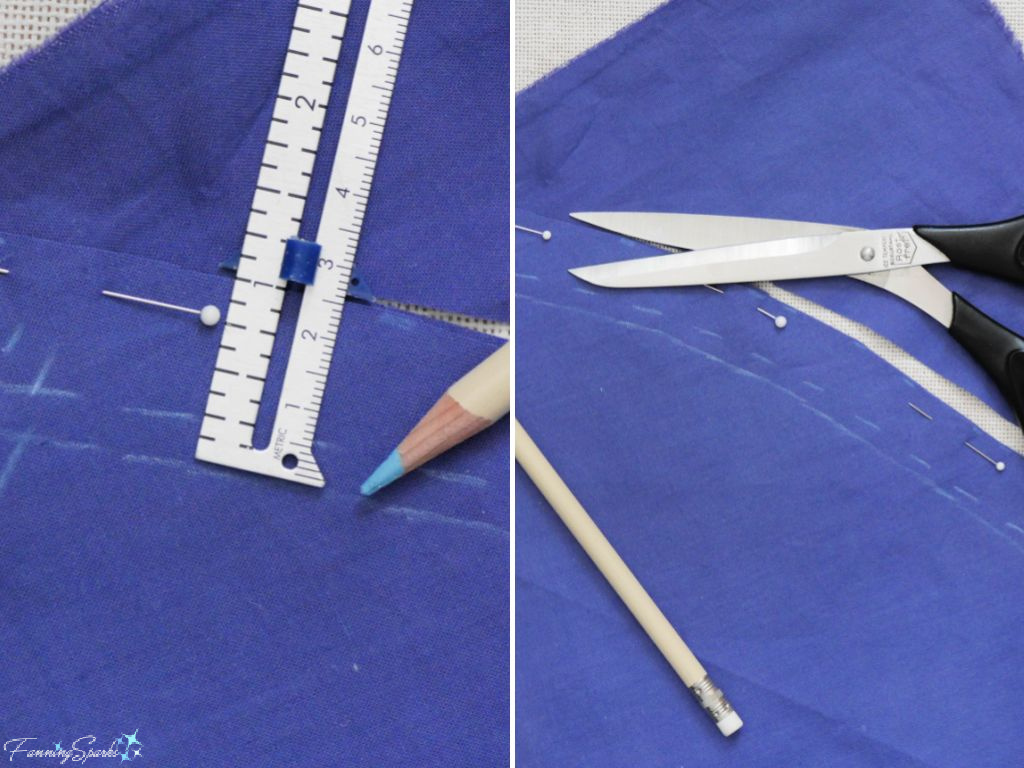
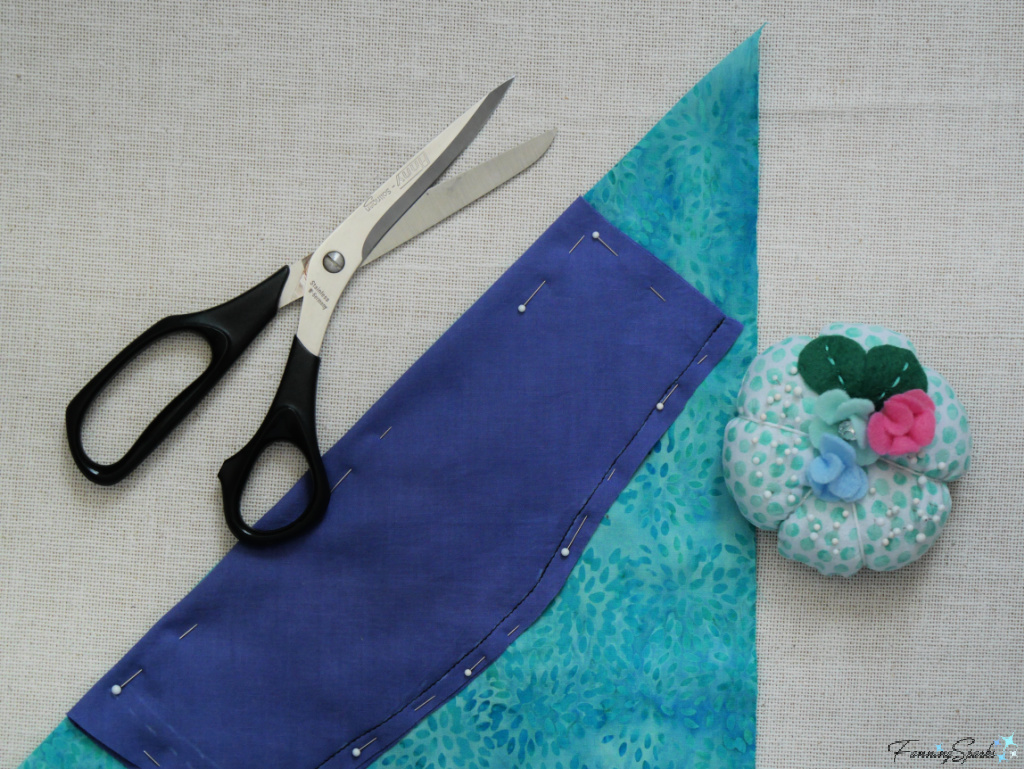
 Ensure you have the entire outline marked before removing the fabric from the wire frame. Then, lay the fabric flat to finalize the cutting lines. I added ¼” for seam allowances plus ¾” as a buffer all around the outline. Cut along the new cutting lines.
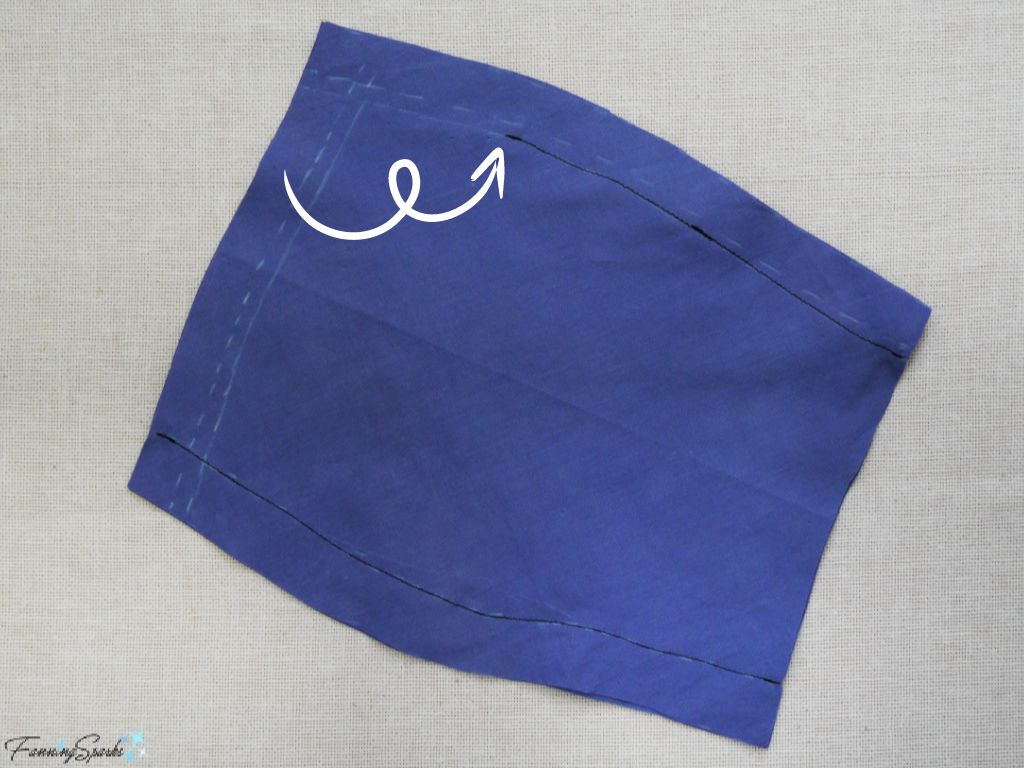
 Fold the cut fabric in half to check for symmetry between the right and left sides. Make any necessary adjustments. Cut a second piece of fabric to the same size and shape. Use a sewing machine to stitch the two pieces together along the vertical sides. This was the point when I discovered the shape of my lampshade would present an additional challenge. Most lampshades are wider on the bottom making it easy to slide a cover down onto the frame from the top. But this lampshade is widest in the middle which meant I had to leave a section of the side seam unstitched.
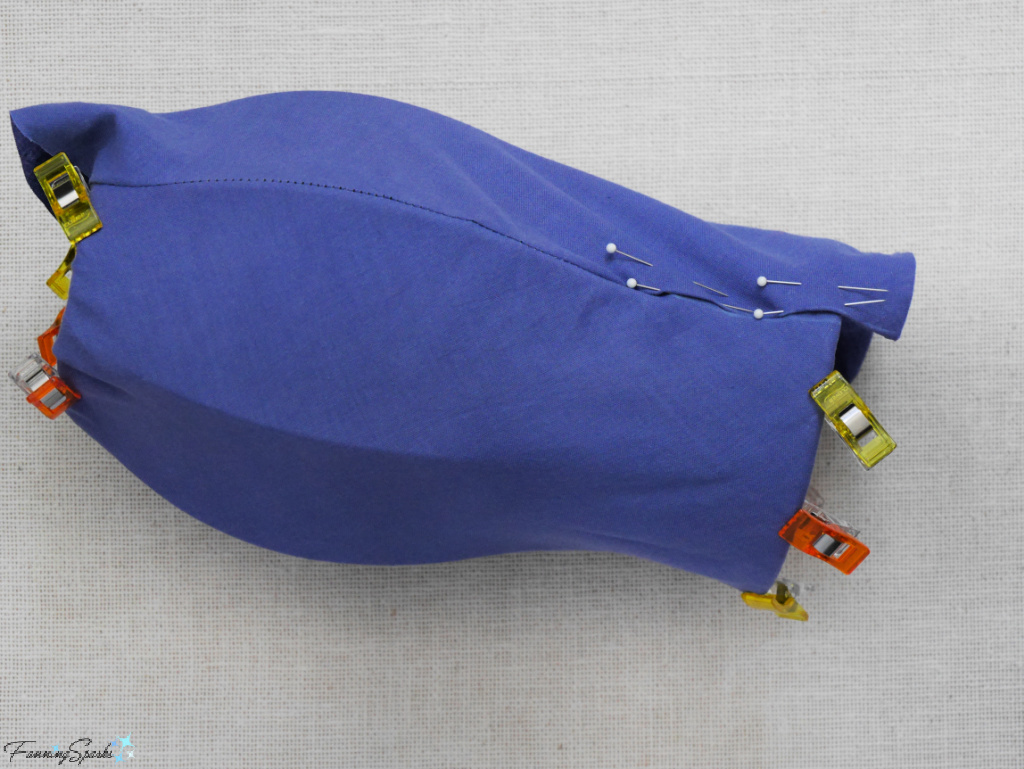
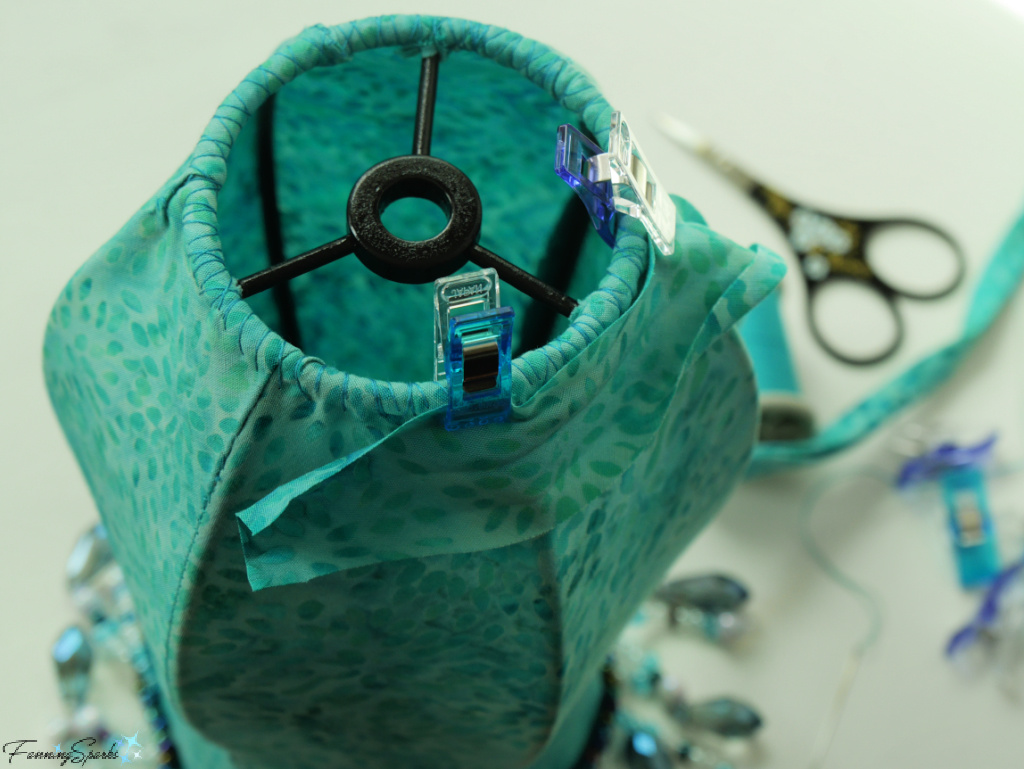
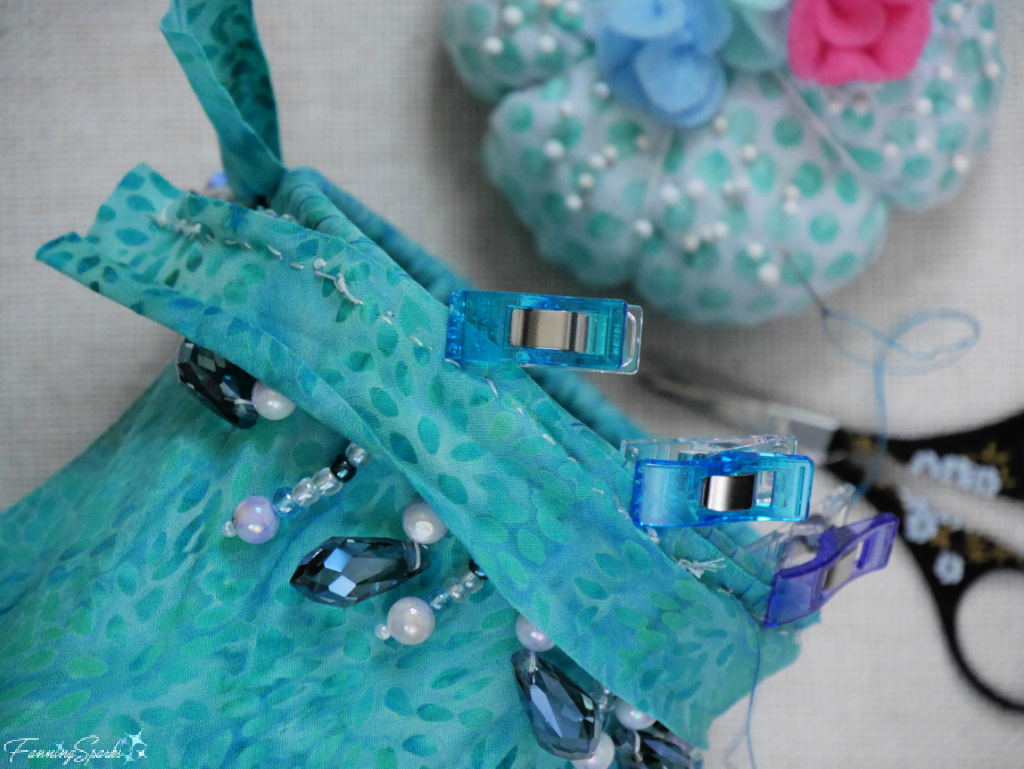
 Slip the template cover onto the wire frame and clip in place. Finetune the template for a smooth, snug fit along the vertical struts and the top and bottom rings. I had to pin my unstitched section together as can be seen in the below photo.
 After making any necessary adjustments, remove your fabric template and trim the seam allowances down to ¼”. Now the template can be used to cut the new, decorative fabric for the lampshade. It can also be used to determine how much fabric will be needed. In my case, I needed less than ½ yard (about 22½” x 20”) of fabric. I chose a teal-blue-green watercolor print with a very small leaf motif in 100% cotton for my new lampshade. I avoided designs with obvious horizontal or vertical orientations because the fabric is used diagonally. I also avoided large motifs that would be truncated and anything that would need to be matched.
 The next steps are the same as for the template—sew the side seams, press the seams flat, and slide the new covering over the wire frame. Then, if the shape of your lampshade is similar to mine and you had to leave an opening in the side seam, close the opening with hand stitching taking care to hide the stitches.
 Hold the fabric taut while rolling the raw edge over and around the top ring of the wire frame. Clip in place. Then hand-sew the fabric all around the top edge. Repeat this step along the bottom of the wire frame. It’s not necessary to hide these stitches as they will be covered with trim.
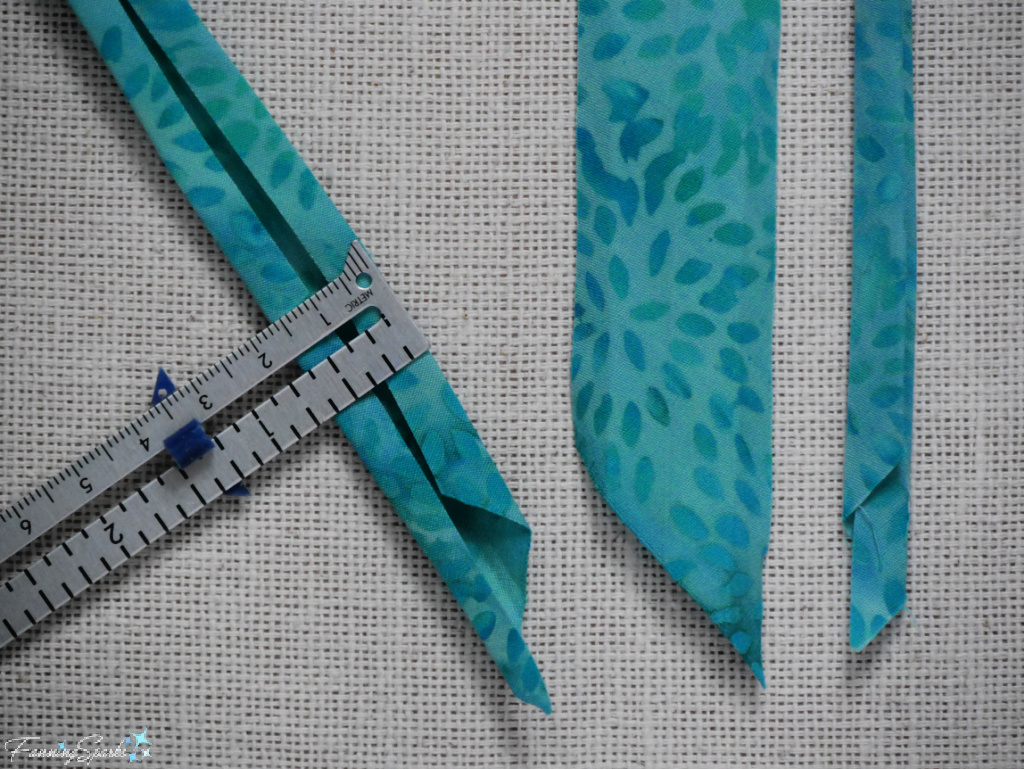
 Select a narrow trim to finish the edges of your lampshade. A variety of options are available including woven trim, ribbon or bias tape in matching or contrasting colors. I chose to make bias trim from the same decorative fabric. I cut 1¼” wide strips on the bias and then folded and pressed them to make a ⁵⁄₁₆” wide finished binding. A bias tape maker would simplify this step.
 Use a strip of trim to cover the bottom edge of the lampshade. I hand-sewed my bias tape in place but, admittedly, gluing would have been just as effective and probably easier.
 Now comes the fun part—designing and attaching the bead trim!
For tips and detailed instructions on designing and sewing a beaded trim, check out my previous blog post Alfresco Dining Beaded Cover – DIY Tutorial. Steps 5-7 in the tutorial, ie Step 5:Design Beading Trim, Step 6:Test Beading Design, and Step 7:Stitch Beading Trim, are the most relevant.
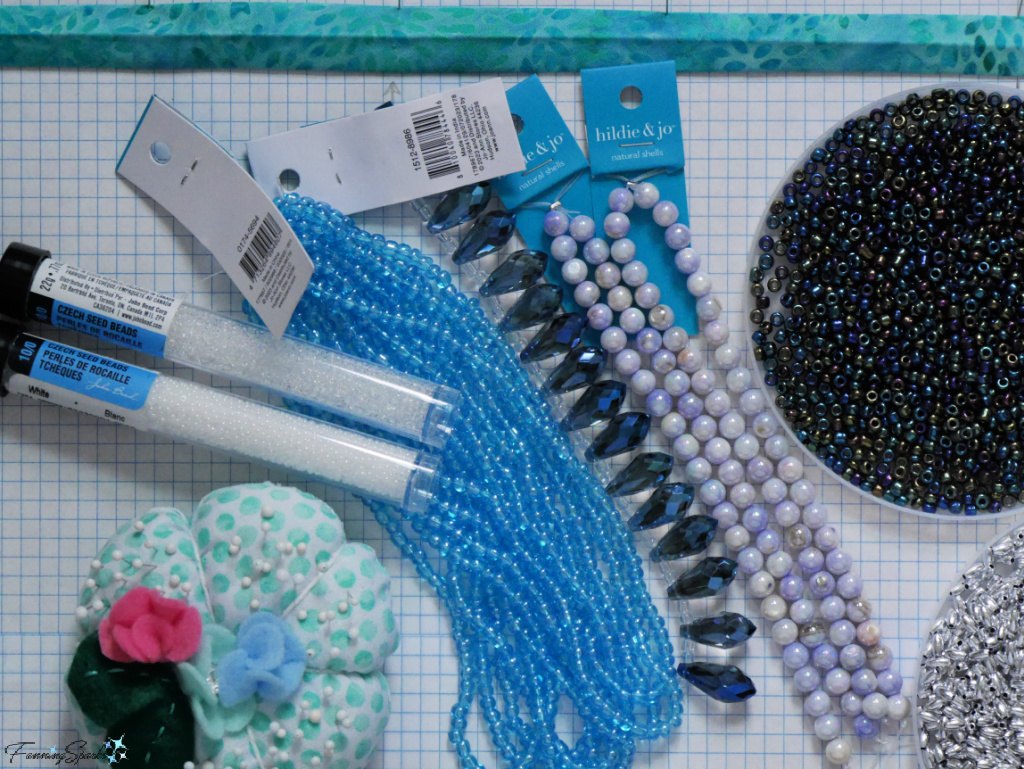
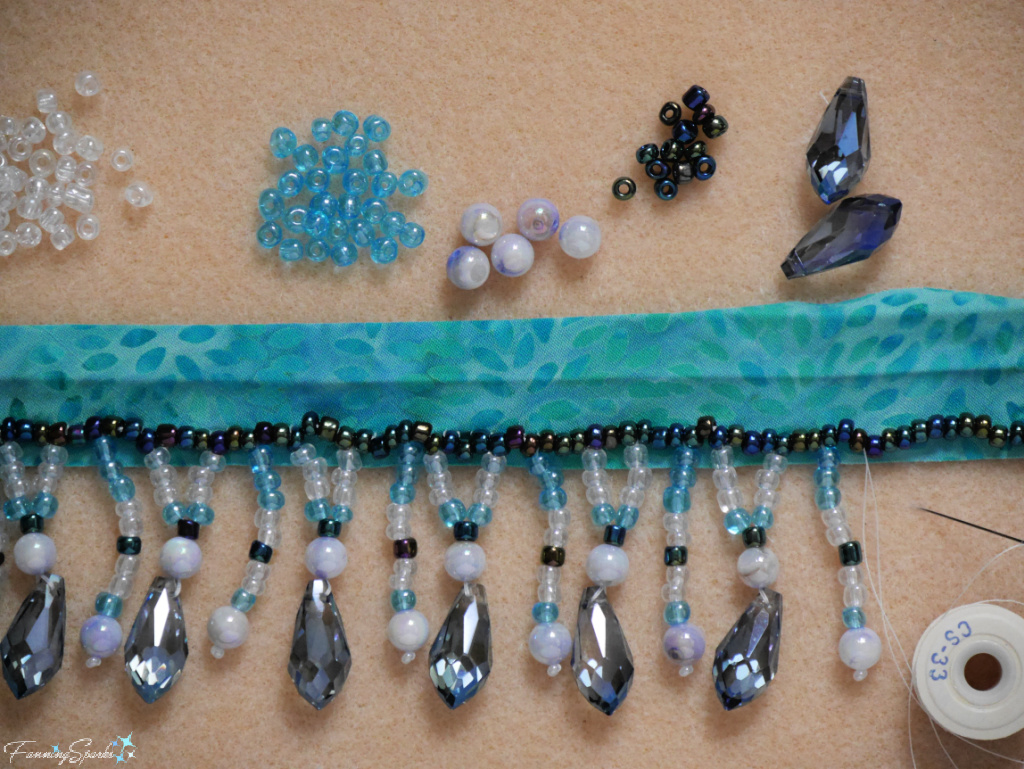
 I found it easiest to sew my beads to a piece of bias tape and then sew the assembled beaded trim to the top edge of the lampshade. Measure the bias tape to fit snuggly around the top edge of the lampshade and mark. You can see my bias tape at the top of the below photo along with the various beads I considered for my lampshade. You may recognize some of these beads from my Alfresco Dining Beaded Cover project.
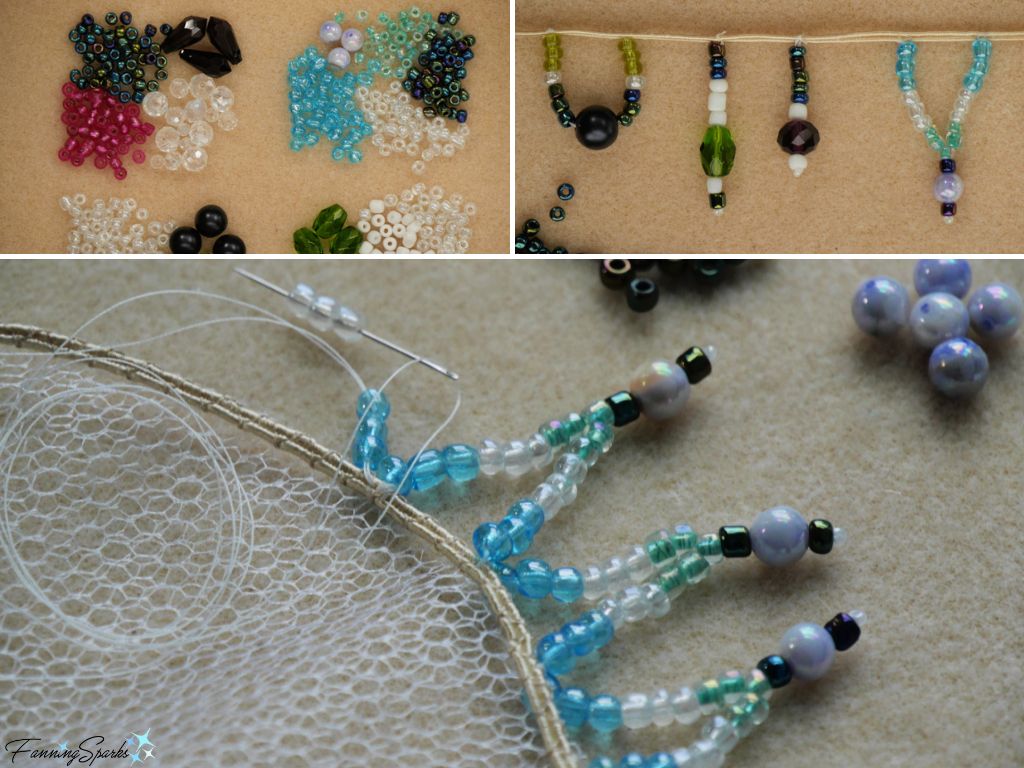
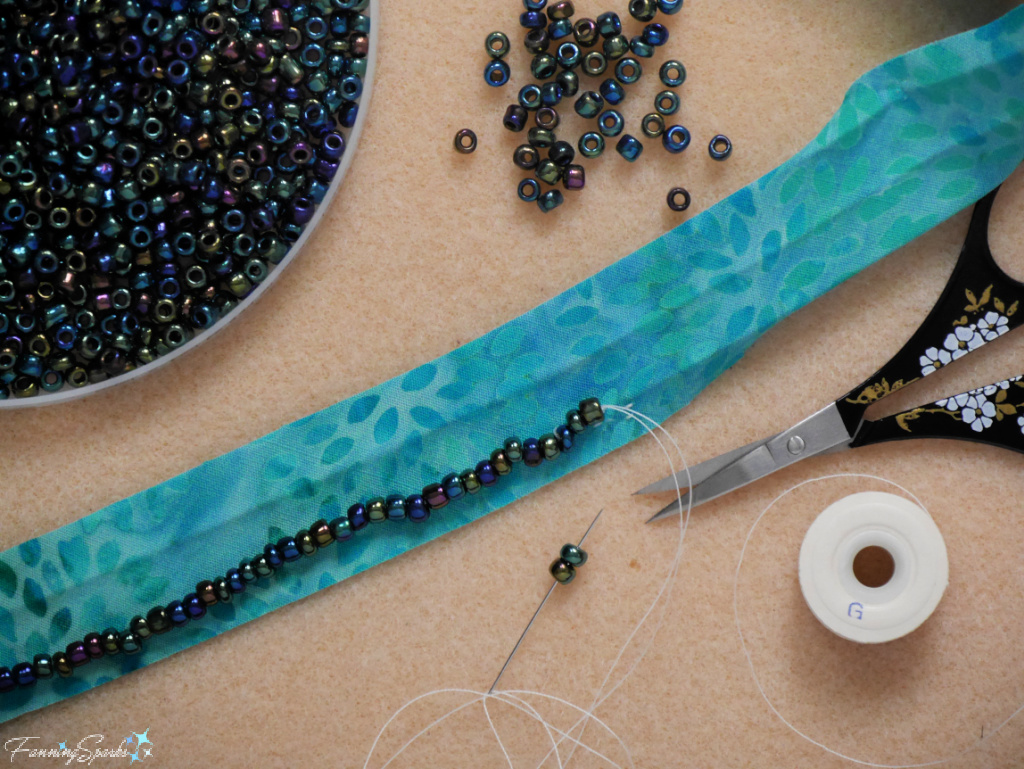
 Start by sewing a base row of beads along the bottom edge of your trim or, as in my case, along the fold of your bias tape. I used small dark iridescent 6/0 glass seed beads.
 Then, attach beads, in your selected design, all along the trim or bias tape.
 As you approach the end, check your beaded trim against the top edge of the lampshade. Make any necessary adjustments before finishing off the beaded trim. Clip the trim along the top edge of the wire frame with the right sides together and raw edges aligned.
 Hand-sew the beaded trim in place. Then fold the remaining edge of the trim, or bias tape, up and over the raw edges and the top ring. Hand-sew in place taking care to hide your stitching. As before, this trim could be glued instead of stitched.
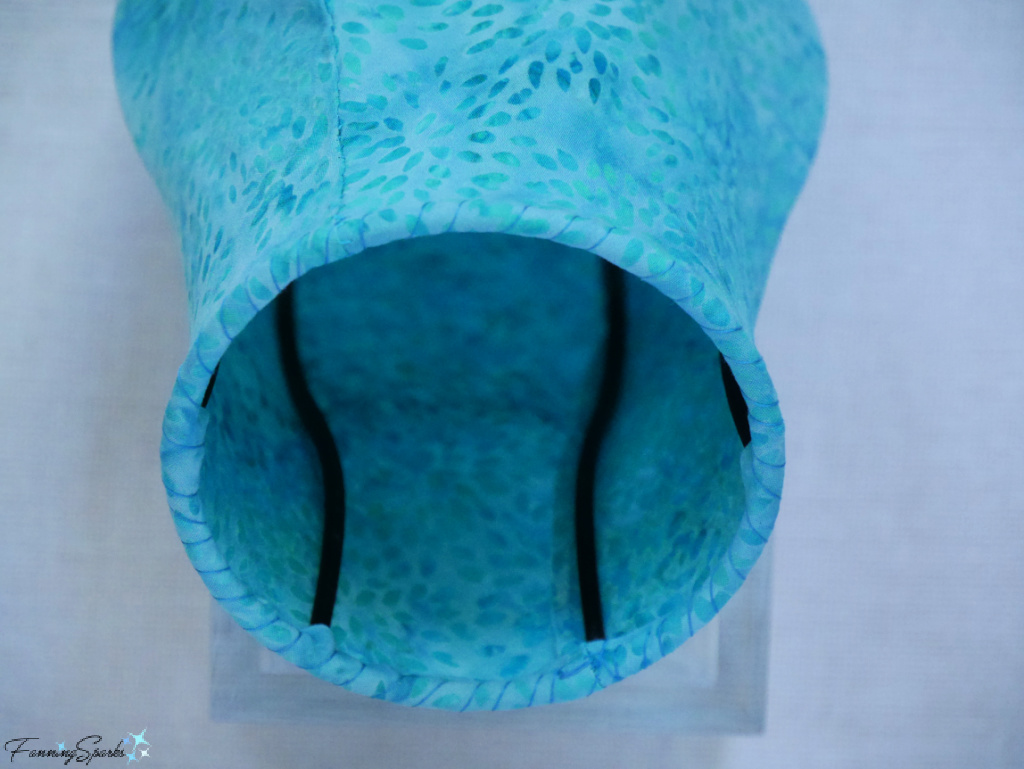
 After the decorative elements are completed, reconnect the electrical components and reconstruct the lamp. I chose to use heat shrink tubing to connect the wires. It is barely visible inside the lamp base as you can see below.
 You may notice my remade lamp no longer has a lining. I chose to leave it unlined so more light could shine through the lampshade. Eliminating the lining also allows more clearance between the fabric and the light bulb.
The experts at Lamps USA (see More Info below) point out that “light bulbs produce heat, no matter their wattage [and] if your new shade is too close to the bulb, it could discolor the shade or worse: start a fire!” They recommend leaving “at least 1-2 inches between the bulb and the shade [when] using a 40 or 60 Watt incandescent bulb [or] if using an LED bulb, it will run much cooler and requires even less space” but they still recommend leaving “at least 1-2 inches around the [LED] bulb just to be sure.”
The downside to an unlined lampshade is that the struts of the wire frame will be visible inside the lamp. As I understand it, this would not be considered acceptable in a professionally tailored lampshade. But it is a tradeoff I’m happy to make on my first custom-made lampshade.
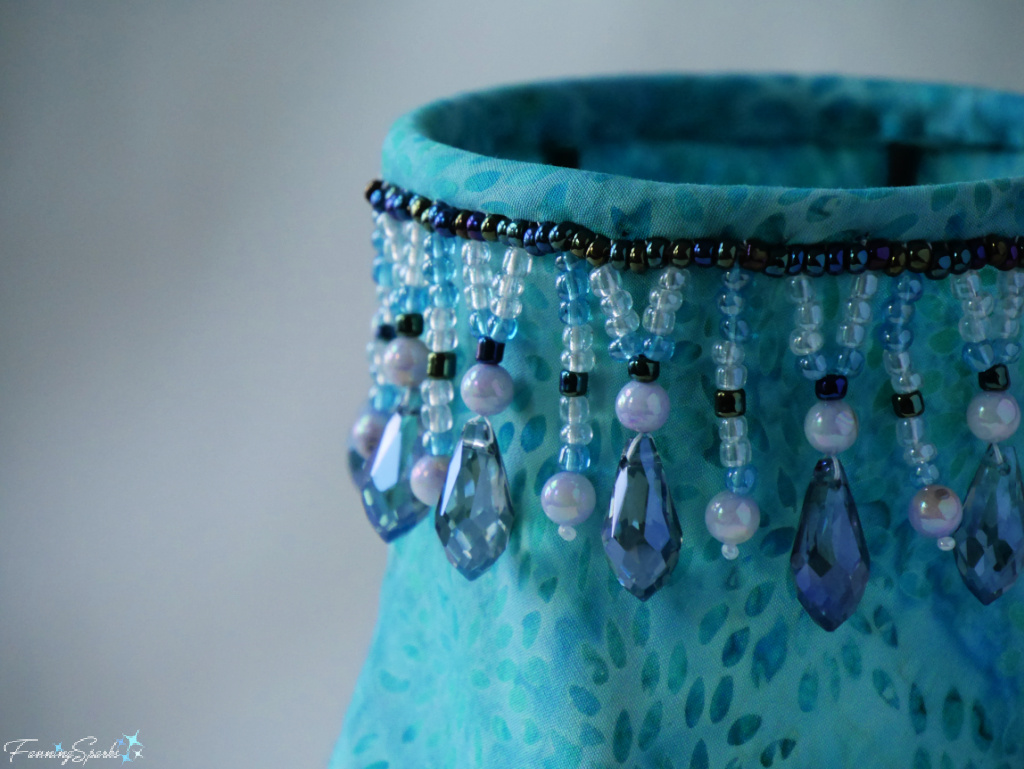
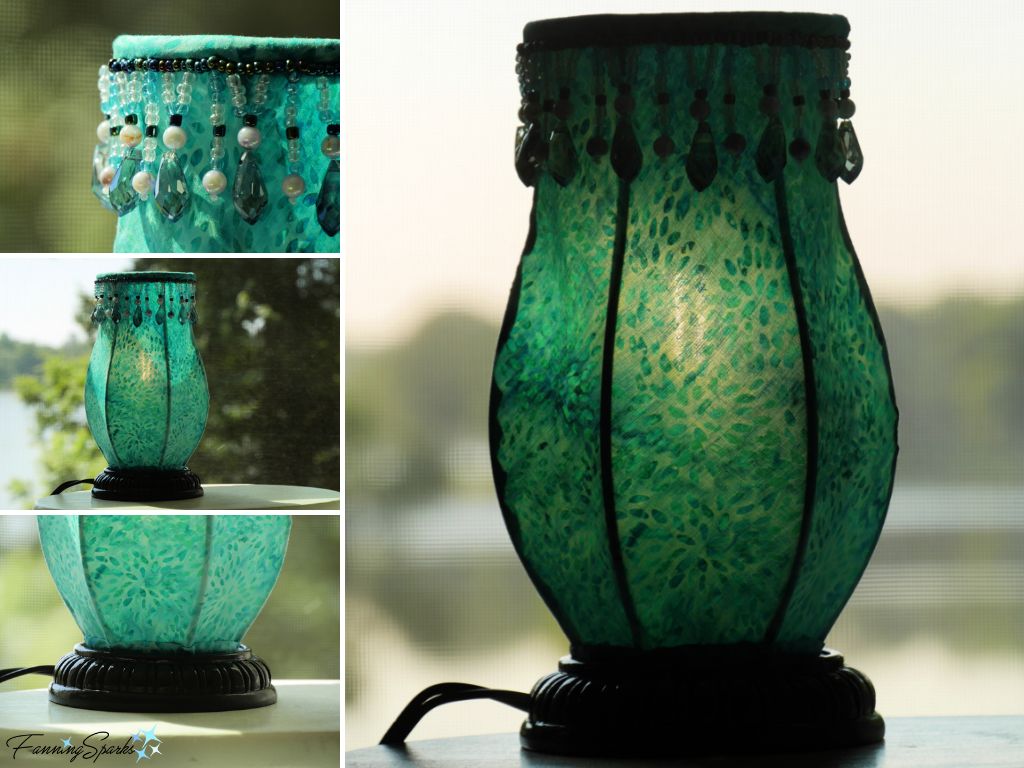
So, here it is… my upcycled accent lamp!
More Info
Previous blog posts mentioned in today’s blog post include:
. Let’s Talk Shades in which I share my findings about table lamps and their shades.
. Alfresco Dining Beaded Cover – DIY Tutorial for tips and detailed instructions on designing and sewing a beaded trim.
The following online resources were consulted for this project and the writing of this blog post:
. Soft Shade Making series of online tutorials by Dannells, a British manufacturer specializing in lampshade making.
. 5 Tips for Upcycling and Renovating a Second Hand Lampshade by Dannells.
. Various other articles and videos available on the Dannells website and blog.
. How to Wire a Lamp Socket Without Electrocuting Yourself by Makely.
. Lamp Shades: The Ultimate Buyer’s Guide LampsUSA article by Paul West.
Today’s Takeaways
1. Assess the underlying structure carefully when considering an object to upcycle or repurpose.
2. Leverage online resources when attempting a new craft or technique.
3. Consider designing and making a new, fabric lampshade to replace an old one.


Comments are closed.