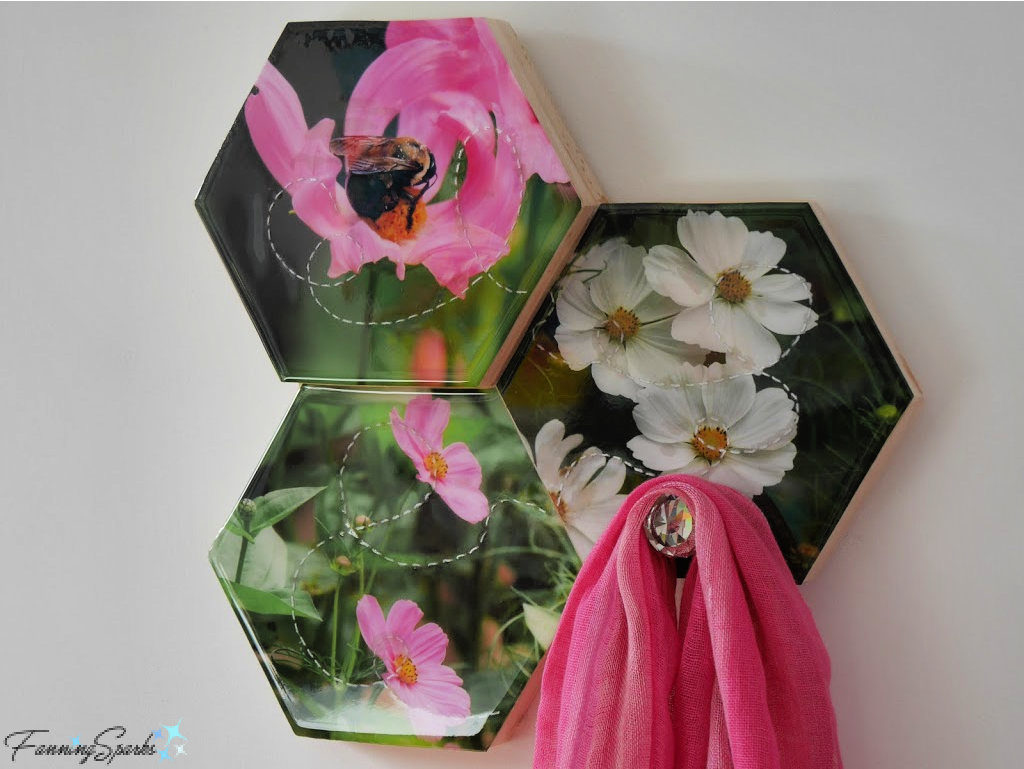
This project has been in the works for a while so I’m pleased to share it with you today. The Bee in Cosmos OOAK (One Of A Kind) Wall Hook is special for a few reasons. Most notably, it’s my first time participating in an artistic challenge. The fine folks at ArtResin (Thank you Rebecca!) invited me to use their product in a project and I was only too happy to accept! I’ve used ArtResin epoxy resin in a couple of other projects (see More Info below) and was eager to take it to the next level and share my findings.
Secondly, this project combines a very functional purpose with a decorative opportunity. This wall hook will be used to hold a hand towel next to the sink in our Half Bathroom. But it could be used to hold a variety of items such as scarves, hats, handbags, necklaces or keys. This project combines photography, woodworking and embroidery into a truly unique, mixed media piece of wall art. So without further ado, let’s take a closer look at my new Bee in Cosmos OOAK Wall Hook.
The star of the show is this Eastern Carpenter Bee (Xylocopa virginica) nestled inside a pink cosmos bloom.
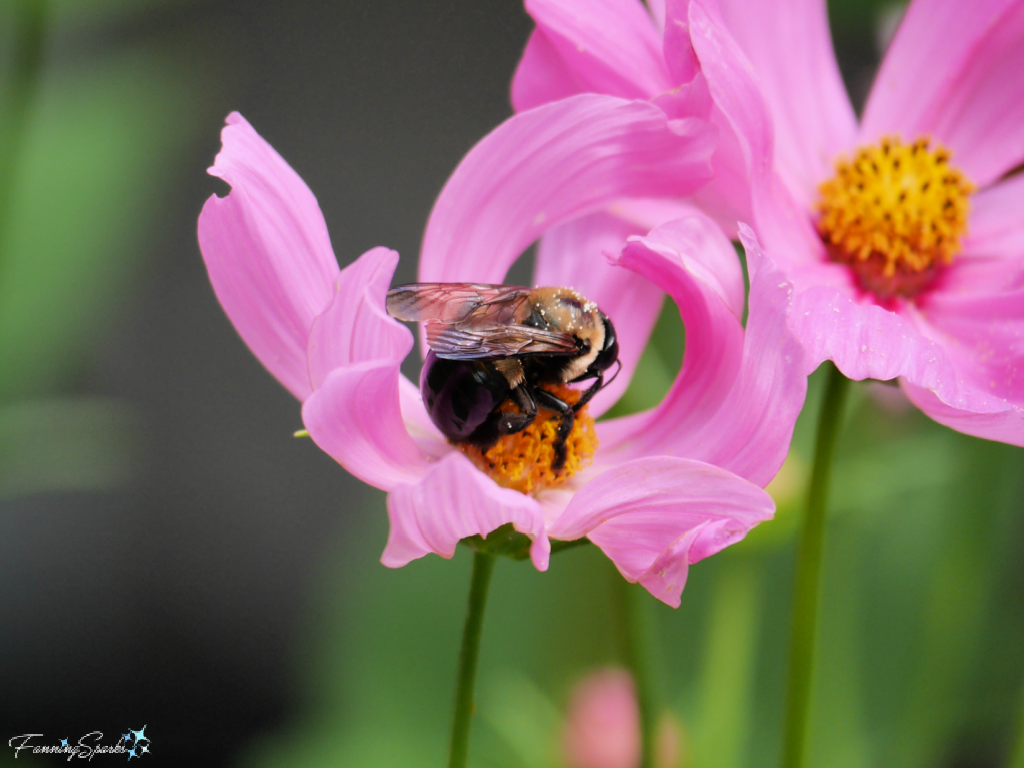
To tie it back to the steps of the creative process which I shared in a previous post From Idea to I Made It! in 10 Steps, this bee photo sparked Step 1 Ideate. The photo was the springboard for the entire design including the honeycomb and hexagon shapes and the abundance of flowers. The rich green and vibrant pink colors are the perfect complement to the mandala-inspired mosaic mirror frame I’d made for our Half Bath. The notion of adding a meandering flight path tied it all together. Here’s a sketch of the idea from that early stage.
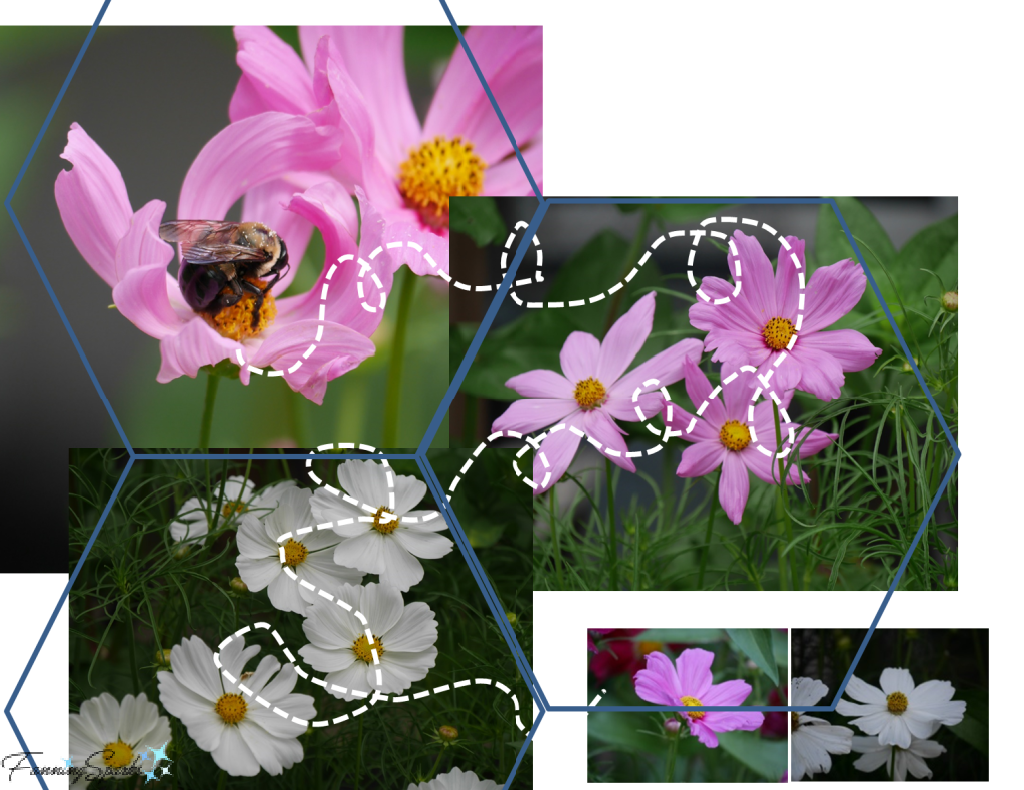
Regular readers know I like paper stitching and often embellish my photographs with hand embroidery. It seemed like the perfect way to add the bee’s flight path. If you’re new to this technique check out the step-by-step instructions in my previous post Hello Marvelous Photo Embroidery – DIY Tutorial.
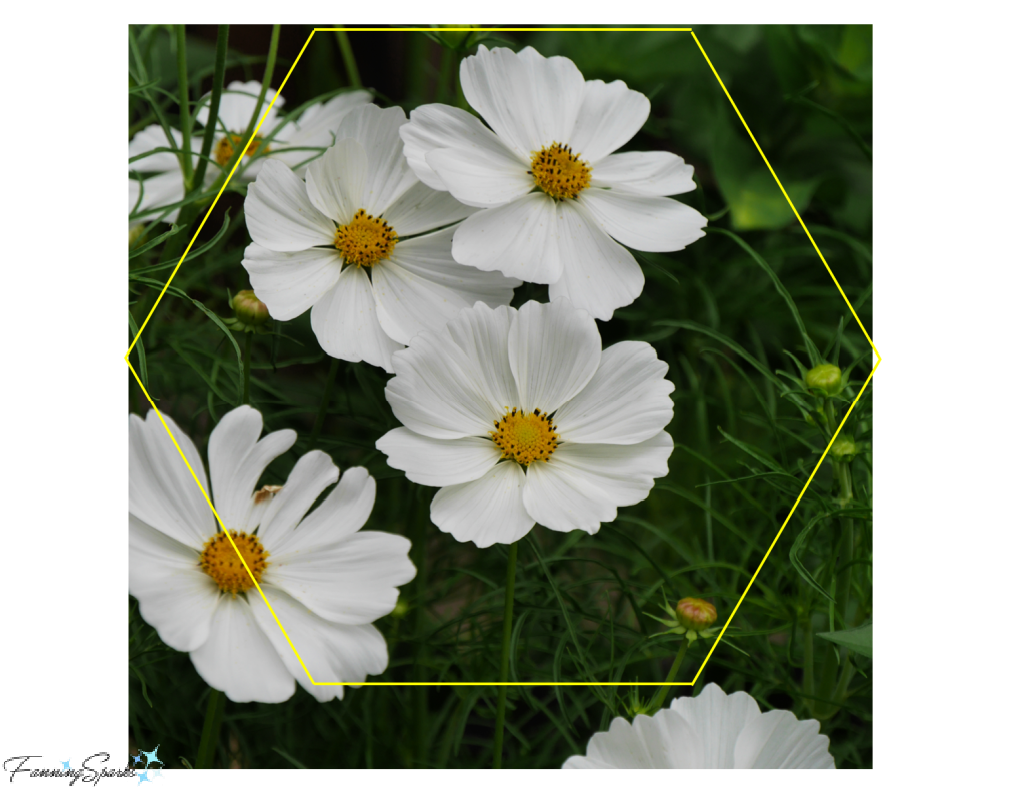
I decided to use three 8”x 8” square photos. Omni Calculator’s handy online hexagon calculator (see More Info) helped me determine the size of the hexagons and the honeycomb base. A simple overlay helped me see how the photos would look in the proposed shape.
At some point, I decided to add depth and dimension by raising one of the hexagons with a second tier. Three major components emerged as my design plan solidified: the wooden base, the embroidered photos and the resin finish. Each required its own source, setup, preparation and assembly.
The Wooden Base
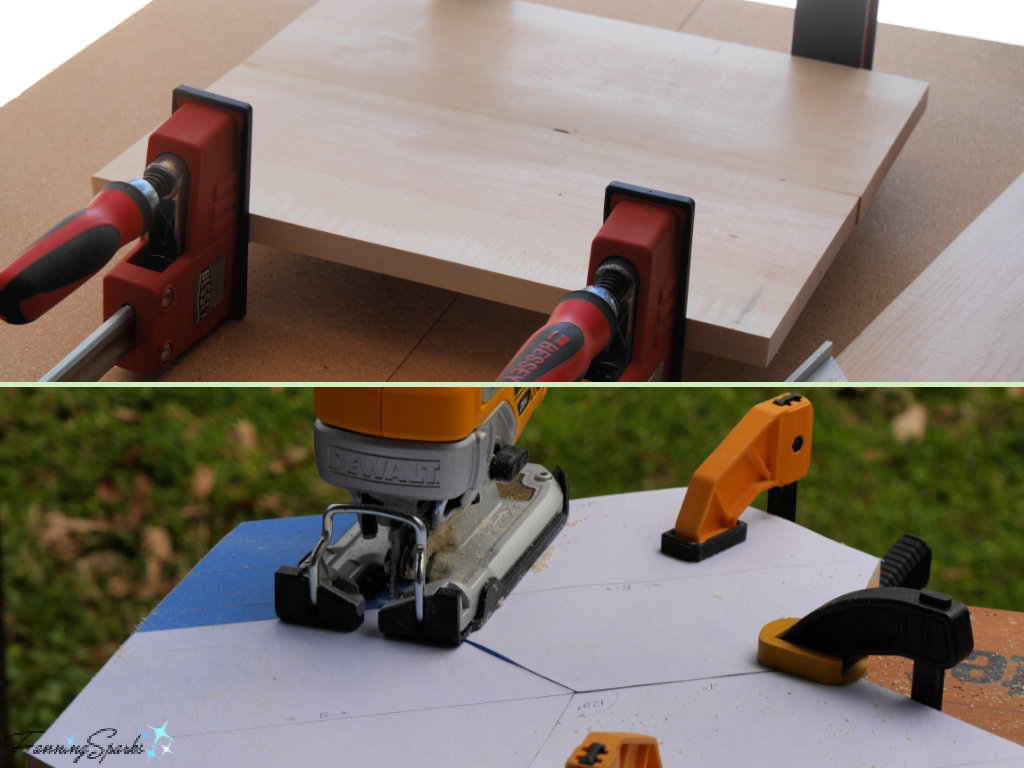
I made the honeycomb base with some 1” x 8” poplar boards I had on hand. Two 16” boards were glued together to make a 14” x 16” rectangle. Then I cut out the triple-hexagon shape with a jigsaw.
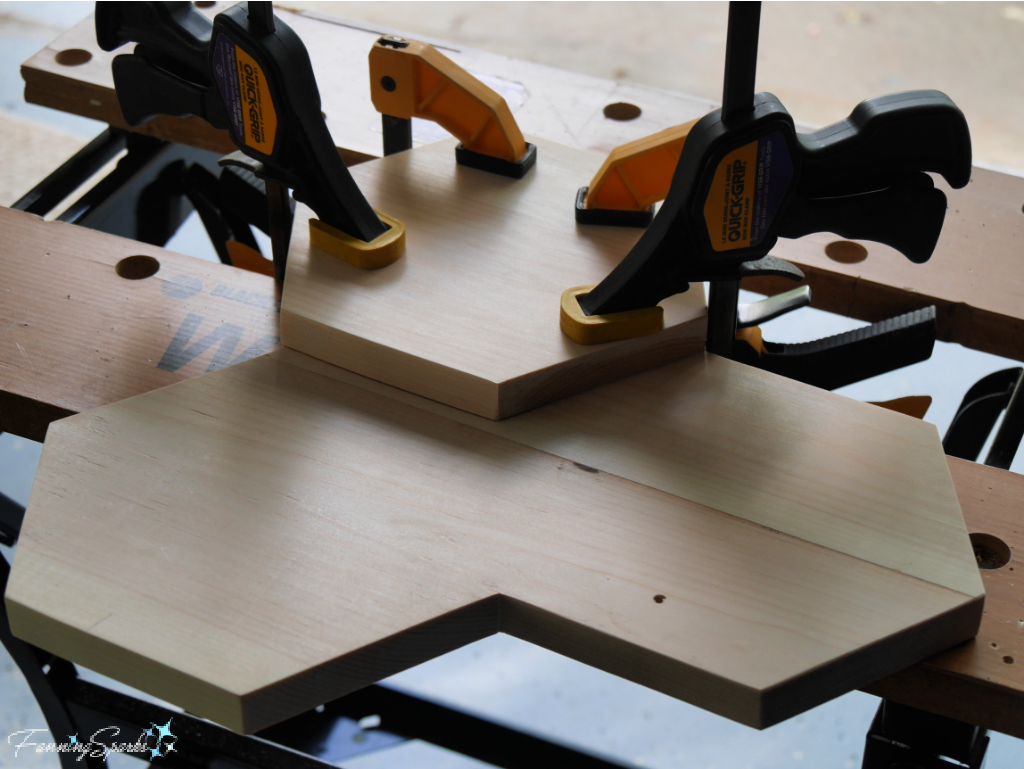
A single wooden hexagon was also cut from wood and then glued to the top left spot on the wooden honeycomb base.
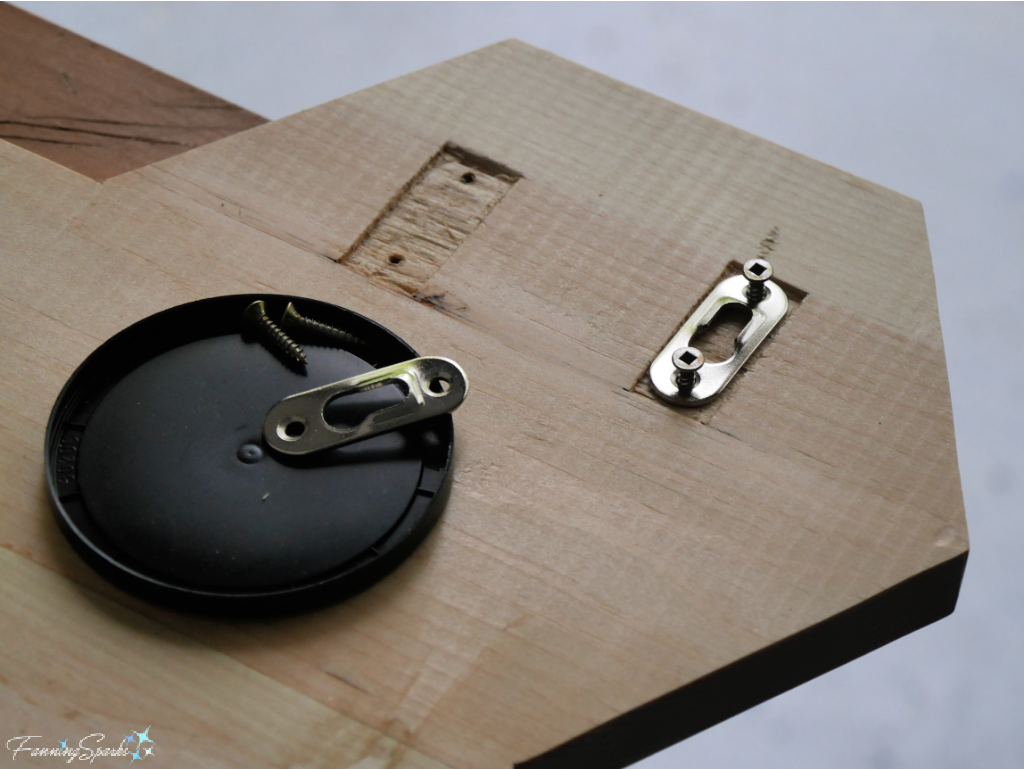
After a quick test for stability, I chose a pair of keyhole hangers to hold the piece on the wall. Here’s how the back was prepared for these hangers.
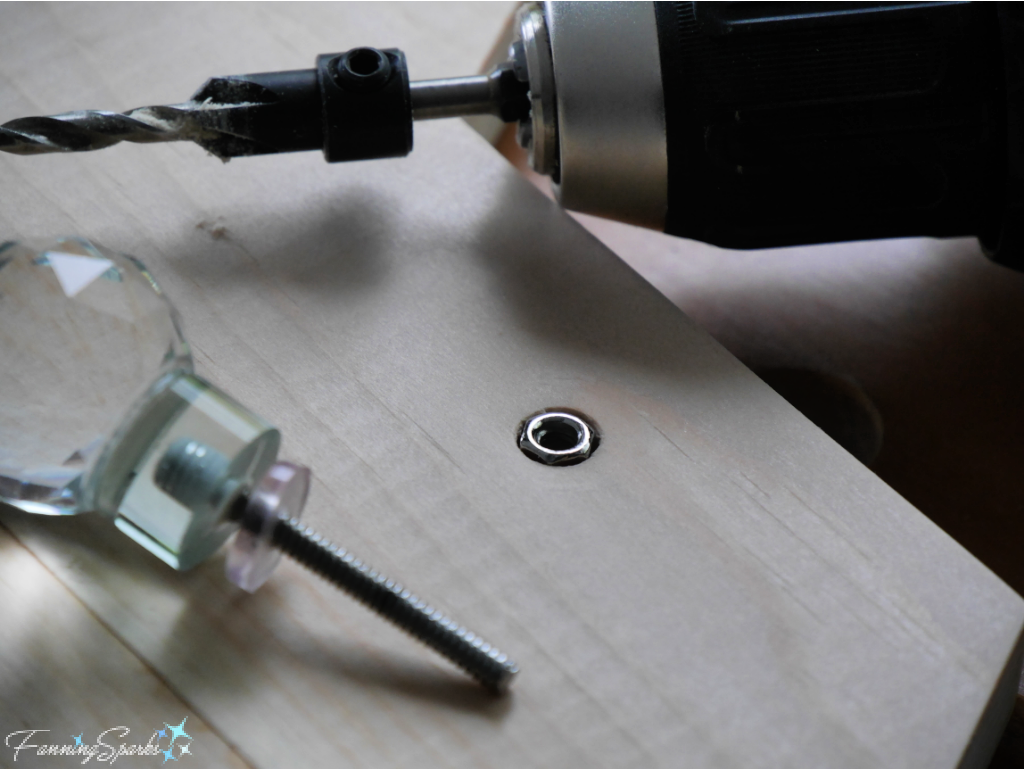
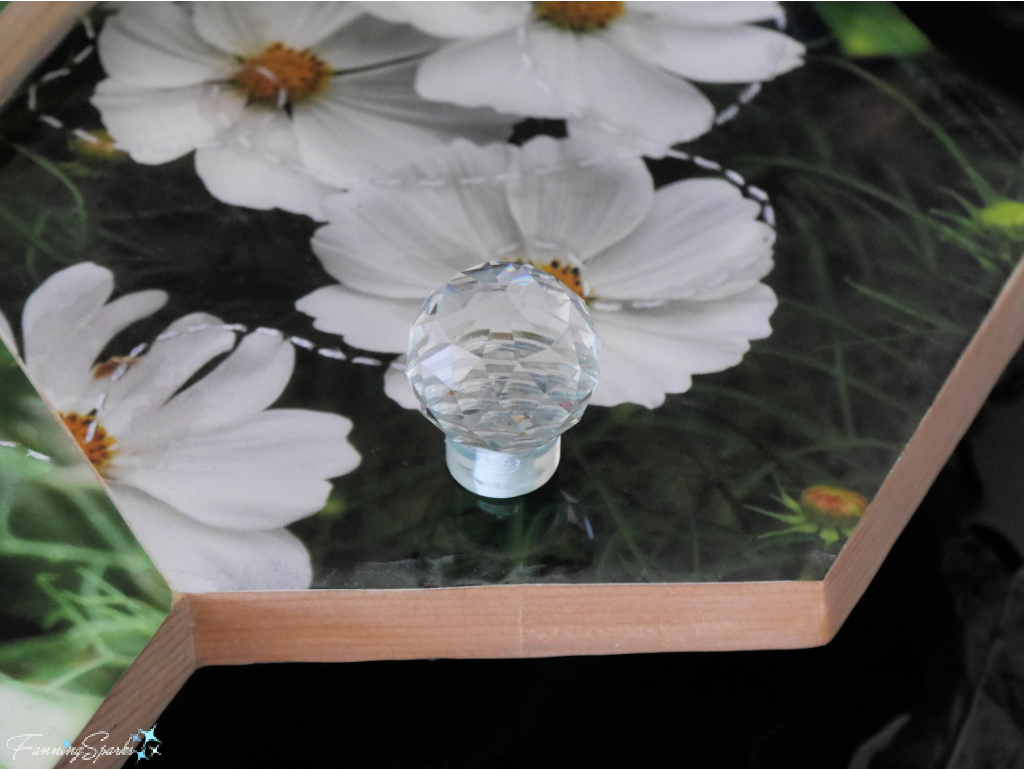
Finding the right hook was a bit of a challenge but when I came across a crystal sphere knob at Hobby Lobby I knew I’d found the perfect one. I pre-drilled a hole in the wooden honeycomb base for the knob and, to ensure it would sit flush against the back of the wooden base, I drilled a counterbore on the back and shortened the knob’s screw.
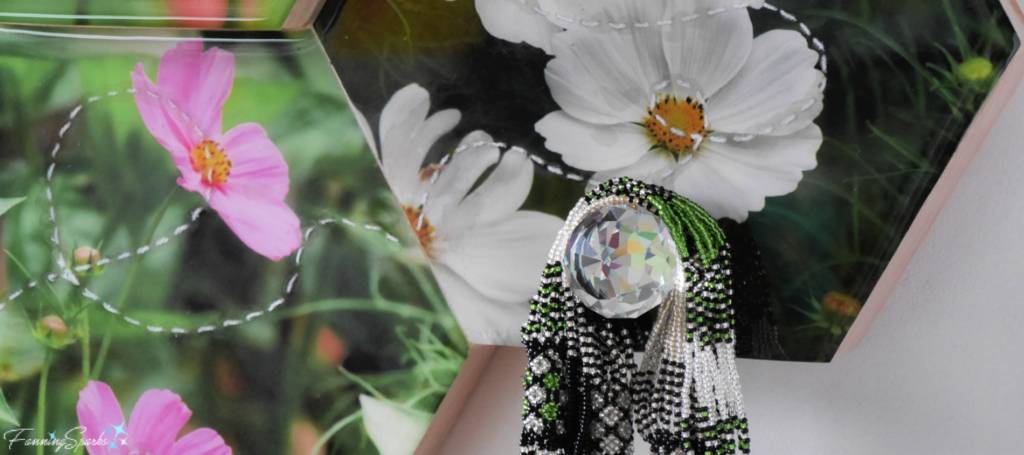
Here’s how the decorative crystal knob looks on the final piece.
The Embroidered Photos
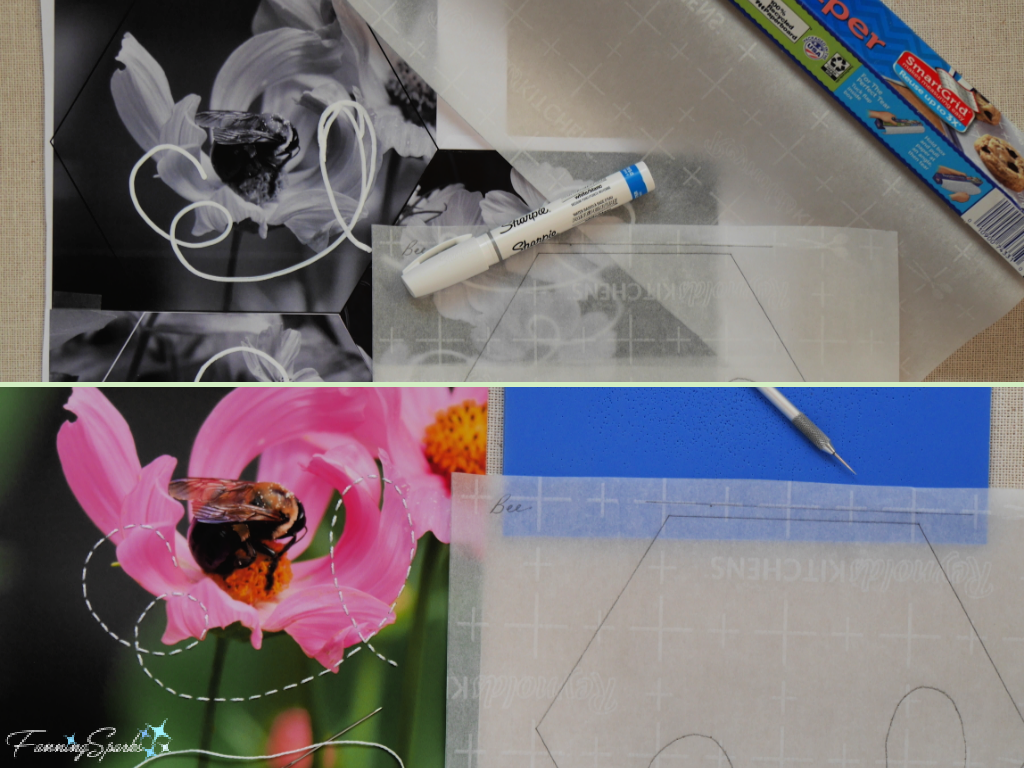
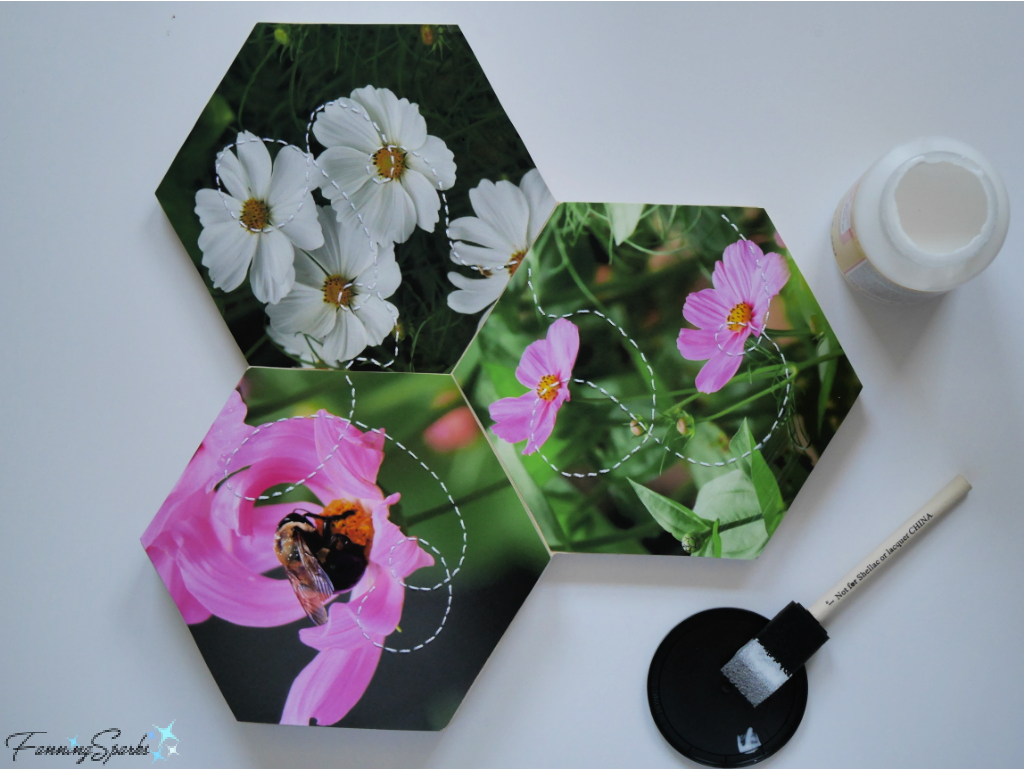
The 8” x 8” matte photo prints were ordered from SnapBox (see More Info). I’ve always had great results with their prints—the quality is excellent and the heavy matte paper is ideal for hand stitching. I used black and white photocopies along with a thick white marker to map out the bee’s flight path. Then I traced the design onto parchment paper. By laying the parchment paper design over the photos, I was able to use a piercing tool to puncture the photos for the stitching lines.
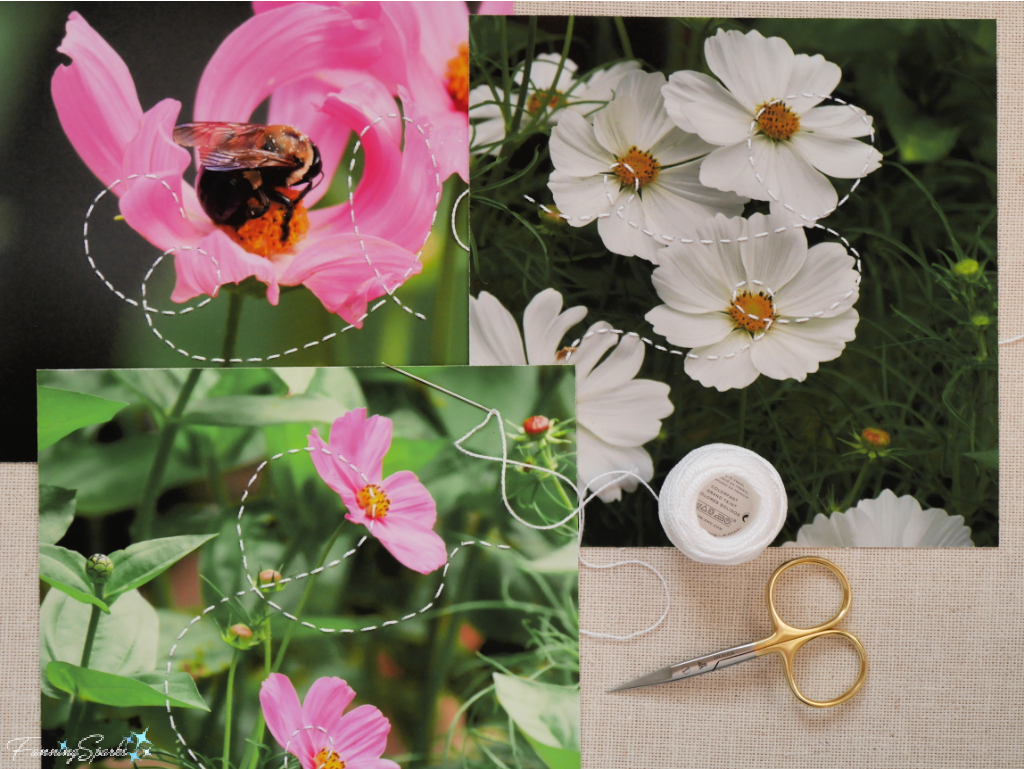
A long running stitch, done in white pearl cotton thread, created a nice, bold line for the bee’s flight path.
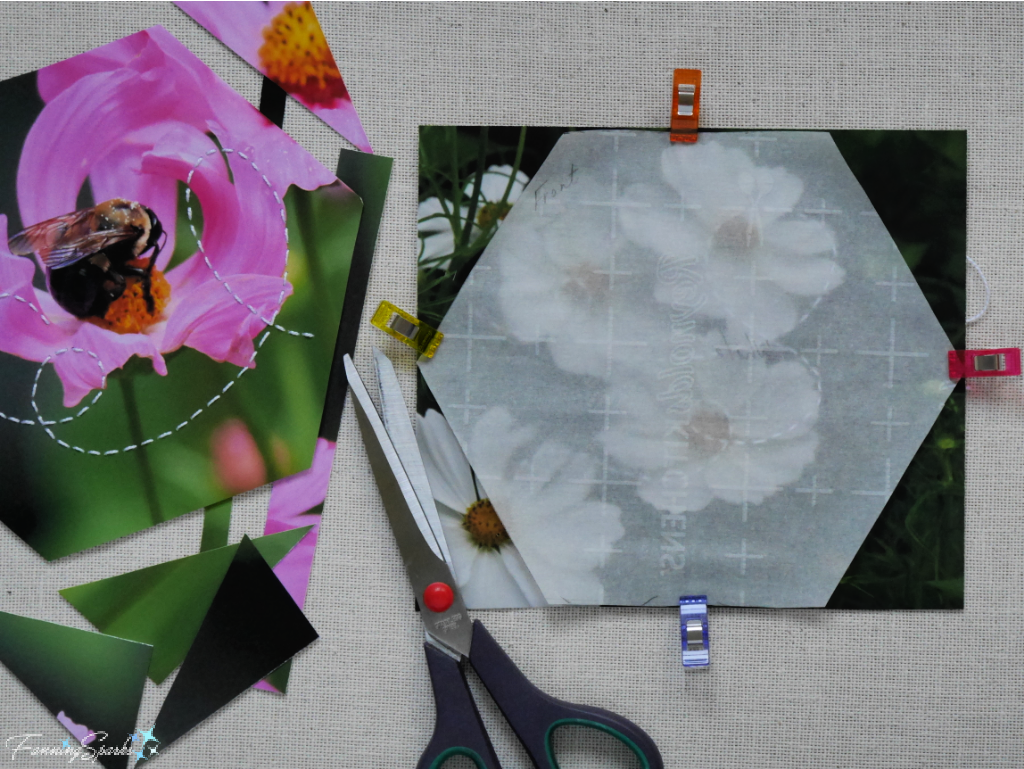
The photos had to be cut into hexagon shapes for the wooden base. To ensure the photos fit as accurately as possible, I made and used a specific template for each hexagon by tracing around the outside edges of the wood.
I used Mod Podge Matte to glue the photos to the wooden base. But I quickly discovered a water-based sealer is not ideal for heavy matte watercolor paper. The photos started to warp and buckle! I scrambled to cover them with wax paper and stacked a pile of heavy books on top. Luckily, that solved the problem!
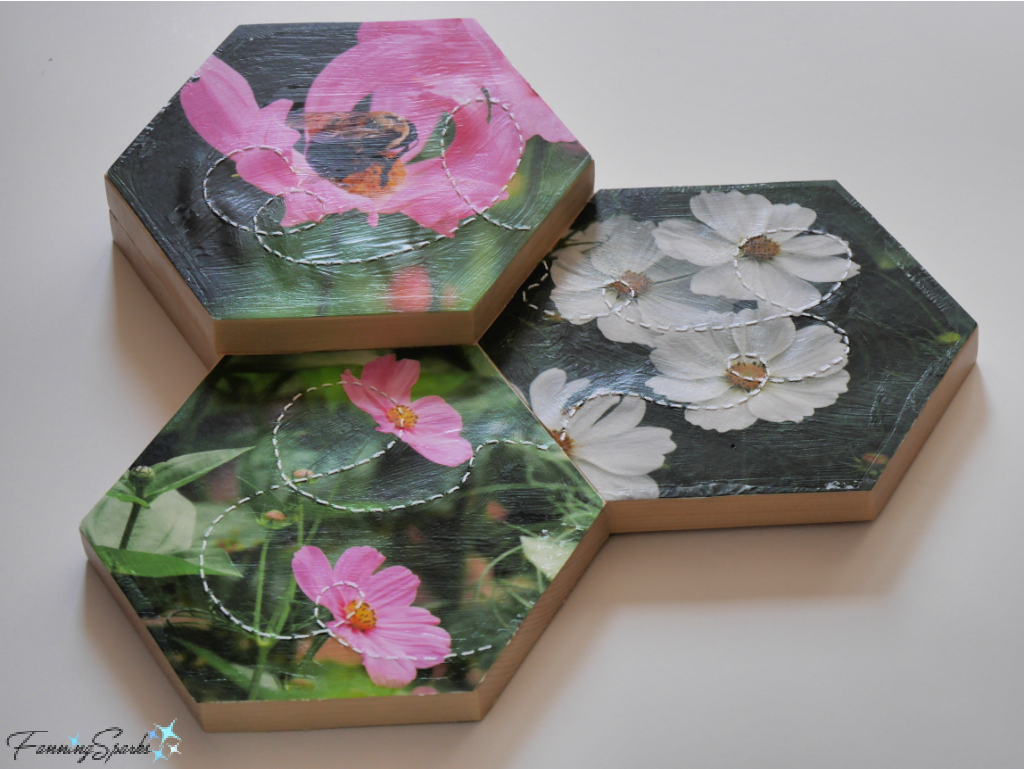
I also used Mod Podge Matte and more heavy books to seal all the surfaces and wooden edges. The below photo shows how the piece looked after sealing. The brush strokes and unevenness of the sealer, which are quite visible viewed from this angle, would disappear in the next step.
Resin Finish
At last, the piece was ready for the finish coat. I knew from using ArtResin epoxy resin on my Fern & Flower Press project that it would provide a lovely smooth, shiny finish.
ArtResin provides lots of great guidance, both in hard copy with their product and in a variety of formats online, on how to use their epoxy resin product. They carefully walk you through the steps to 1 Prep, 2 Measure, 3 Mix, 4 Pour & Spread, 5 Finish, 6 Wait and 7 Clean Up. Instead of repeating their instructions, I’ll just add a few key things I learned about using ArtResin’s epoxy resin.
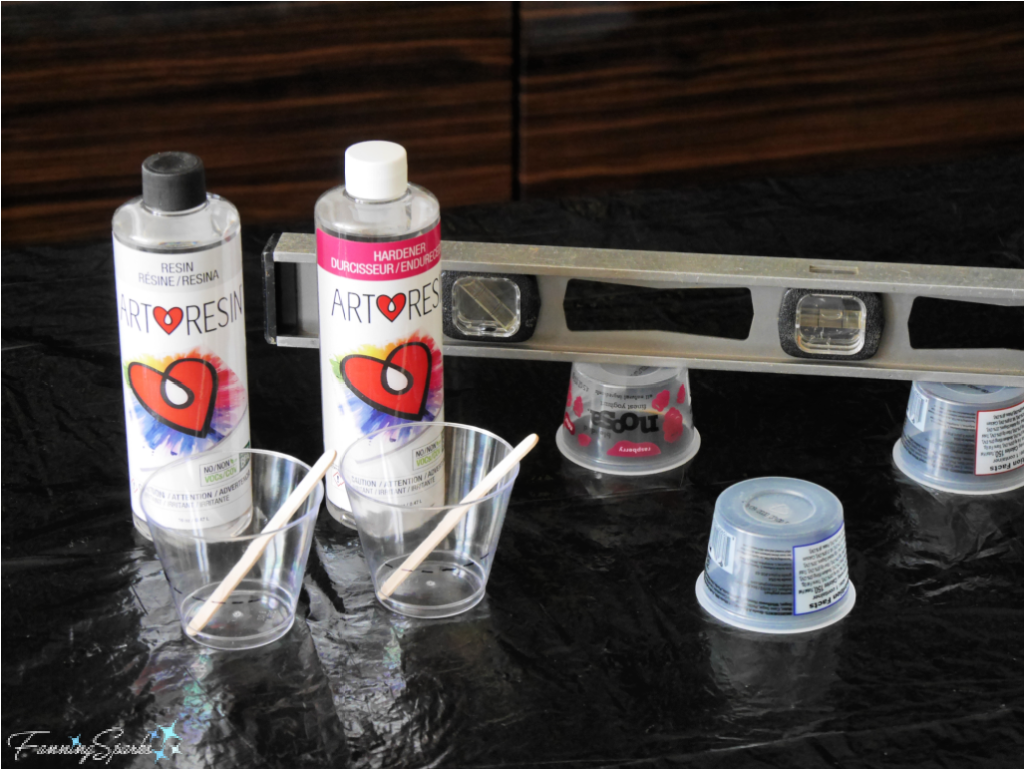
. Take time to prepare your working area in advance. Cover the work surface with plastic. You will be pouring the liquid resin onto the piece and letting it drip over the sides so be sure to elevate your piece. I used 3 identical, overturned plastic containers to prop up my piece. Ensure the surface is level—the resin is self-leveling so a level surface ensures your piece will have an even coat. I used an old school box level but you could also use ArtResin’s app.
. Prepare the piece to be resined. Cover the bottom edges with painter’s tape to catch drips and give a clean finish. You’ll also need to temporarily block any holes such as the one I pre-drilled for the decorative knob. This is trickier than it sounds because, by design, ArtResin epoxy resin adheres to nearly all surfaces. I knew from my experience with the Fern & Flower Press that blocking a drilled hole with painter’s tape and scrap paper does not work—the paper actually drew the epoxy resin into the hole and I had to re-drill it—oops!
So I ran a little test to find a better solution. I learned that blocking the hole with a plastic straw, roll of wax paper or blob of silicon caulking would not work especially when left in place too long. However, blocking the hole with a small piece of wax paper rolled around a nail AND carefully removing the plug about 1.5 hours later by slowing turning it upward worked perfectly.
Word of Caution: Take care to keep your torch away from the wax paper if you use one to remove air bubbles from your poured resin.
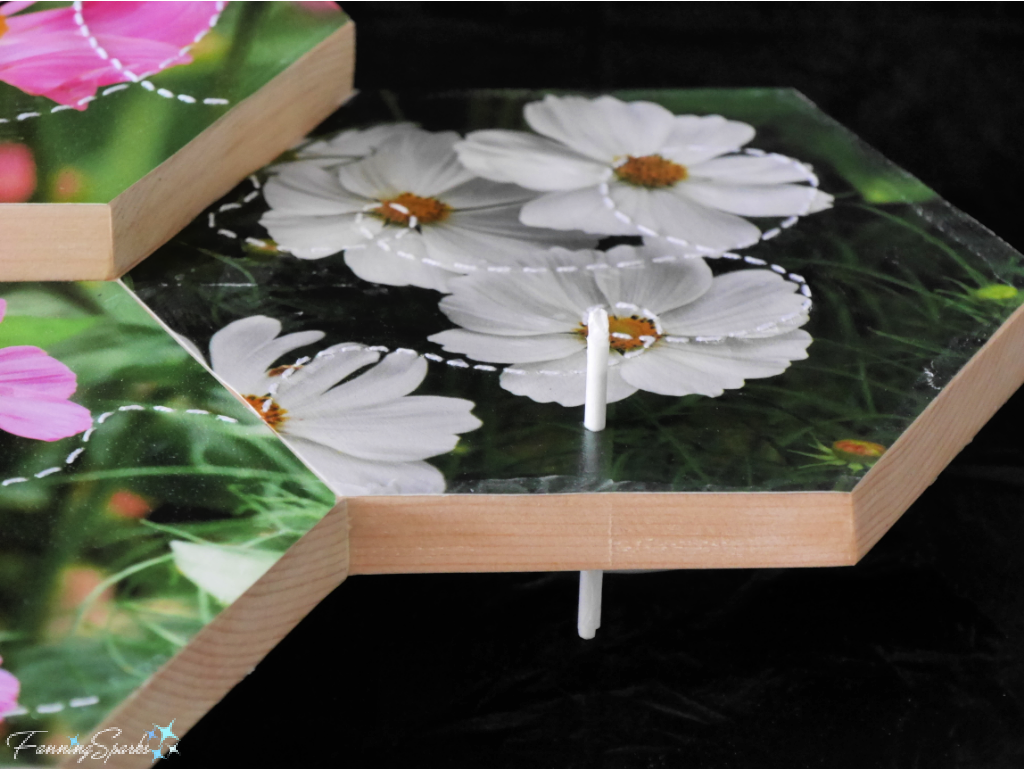
. Plan your approach. Deciding how to finish the side edges of the wooden hexagons required some advance planning. I decided to finish the edges with ArtResin so the wood sides would remain visible. I planned to follow ArtResin’s advice to “mask off the underside of the piece and allow the resin to drip over the sides, then spread it with a gloved hand.” But I was worried about disturbing the resin on the top of the hexagons when I spread the interior edges (ie the 2 sides of the single hexagon which sits on the base honeycomb). To avoid this situation, I used my gloved hand to spread resin onto the 2 interior side edges BEFORE pouring the resin on the main surfaces. Then I poured the resin over the top of the photos and let it drip over the sides. Finally, I used my gloved hand to spread the resin onto the exterior side edges.
I’m really pleased with how the ArtResin coat turned out. The surface is clear, smooth and glossy. The edges of the photos are nicely domed. Even the wooden side edges look good.
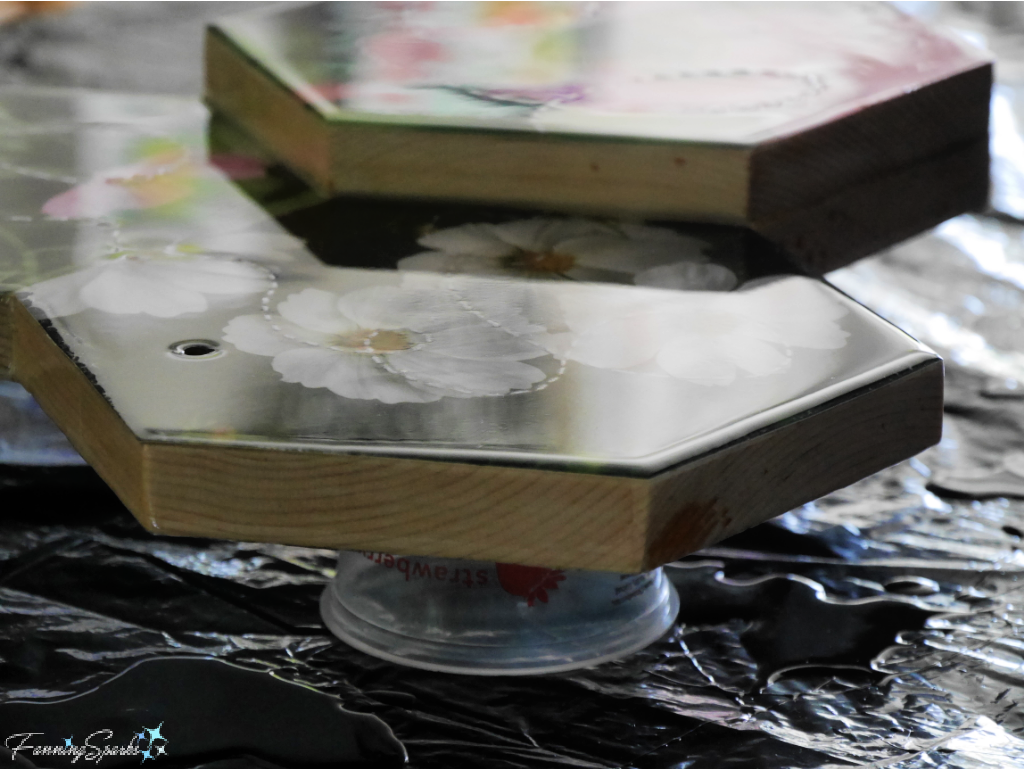
One thing I would do differently next time is apply a second coat of Mod Podge to better seal my piece. The epoxy resin seeped into a few spots along the cotton thread stitching and on the cross-grain wood edges causing some mild discoloration. It’s not a big deal but it is something worth pointing out.
And here it is—in all its glory—my Bee in Cosmos OOAK Wall Hook. Many thanks to the folks at ArtResin for including me in the artistic challenge!
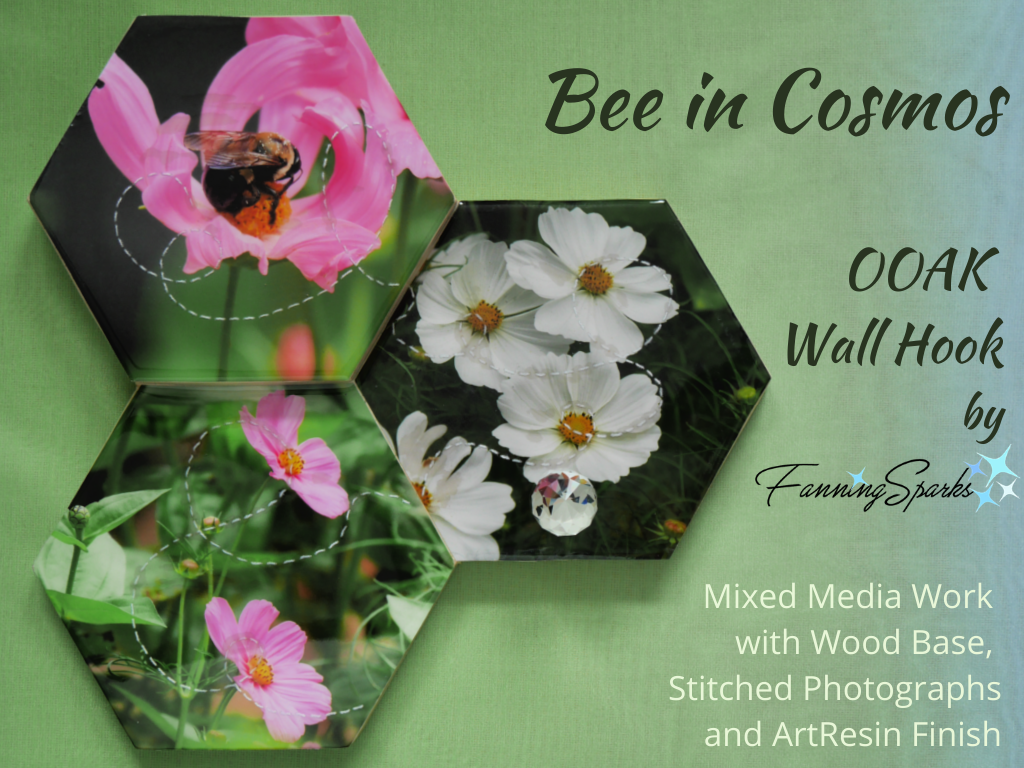
I admit I got a little carried away with this project and made several different wall hooks. I’ll share those, along with a full DIY Tutorial, in my upcoming posts.
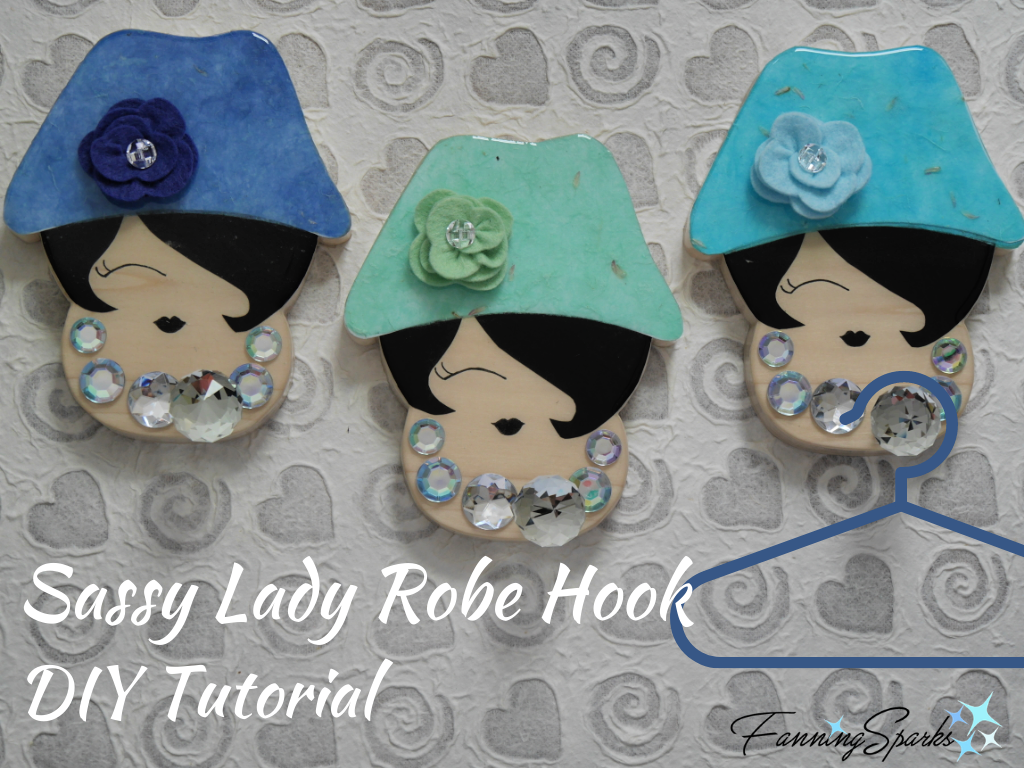
UPDATE May 11, 2021: Check out these Sassy Lady Robe Hooks in my next post. Full step-by-step instructions are included.
More Info
There are three posts in this series about turning the mundane wall hook into interesting and beautiful wall art:
. Bee in Cosmos OOAK Wall Hook (this post)
. Sassy Lady Robe Hook – DIY Tutorial
. A Flutter of Butterflies in the Closet.
Visit the ArtResin website to learn more about or shop for ArtResin epoxy resin. Check out ArtResin’s Instagram account where they actively share and promote the work of artists using their products.
I used ArtResin epoxy resin in two other projects. Check out the posts Fern & Flower Press – DIY Tutorial and Thrifted Frame to Small Tray.
To learn more about paper stitching and photo embroidery, check out my previous post Hello Marvelous Photo Embroidery – DIY Tutorial.
SnapBox offers a suite of professional photo products including matte photo prints which are ideal for stitching. Check out the SnapBox website.
Omni Calculator offers over 1750 online calculators across a dozen different categories such as Conversion, Everyday Life, Food, Finance and Math. I used their Math Hexagon calculator for this project.
Today’s Takeaways
1. Look for items that are both functional and decorative.
2. Consider making a mixed media project.
3. Never miss an opportunity to experiment with new materials and techniques.




2 Comments
@Marian – Thanks! I’m really pleased with how it turned out. But, you’re right, it wasn’t a simple project. As I mentioned at the end of today’s post, I’m working on a couple of alternative designs. They’re simpler and I plan to share step-by-step instructions. Simpler… and looking good so far! Peg
Simply (no, not simple to make) beautiful!