Fun fact: a group of butterflies is called a flutter. They can also be called a kaleidoscope, swarm or flight. Another fun fact: there’s a flutter of butterflies in our coat closet!
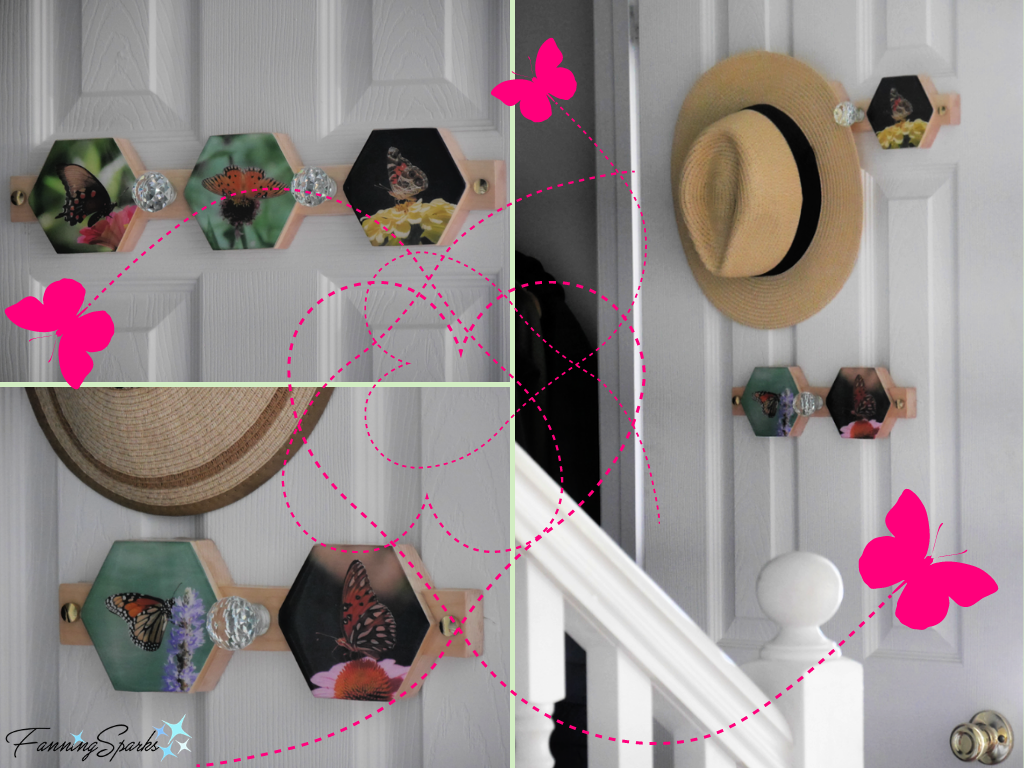
This is the final post in a series about turning the mundane wall hook into interesting and beautiful wall art. I’m always on the lookout for interesting ways to incorporate photos into my home décor and today’s project lets me do just that! It showcases a flutter of butterflies while serving to hold my hats and caps.
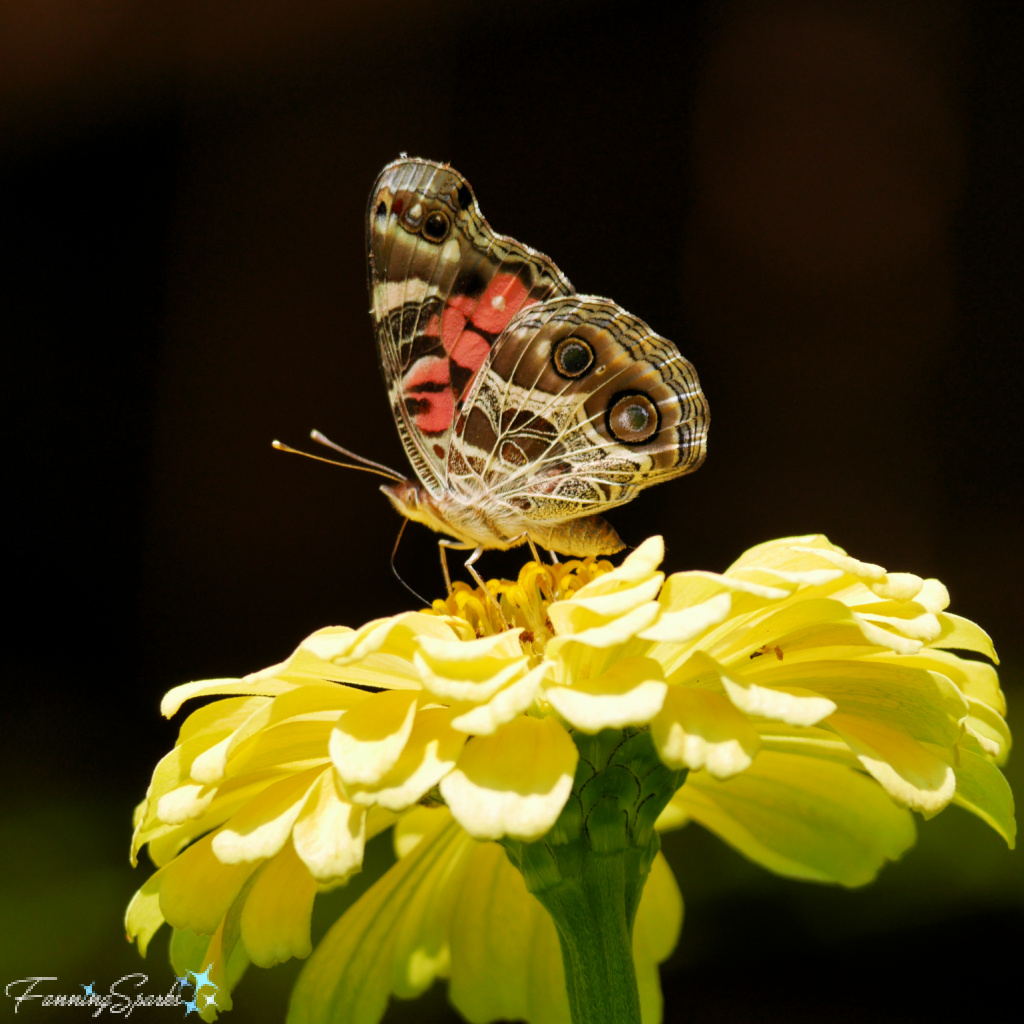
I selected five of my favorite butterfly photos to adorn this piece. Most of these beauties were spotted in our cutting garden last summer. This stunning American Lady (Vanessa virginienis) was caught in the morning sunshine on a yellow zinnia bloom.
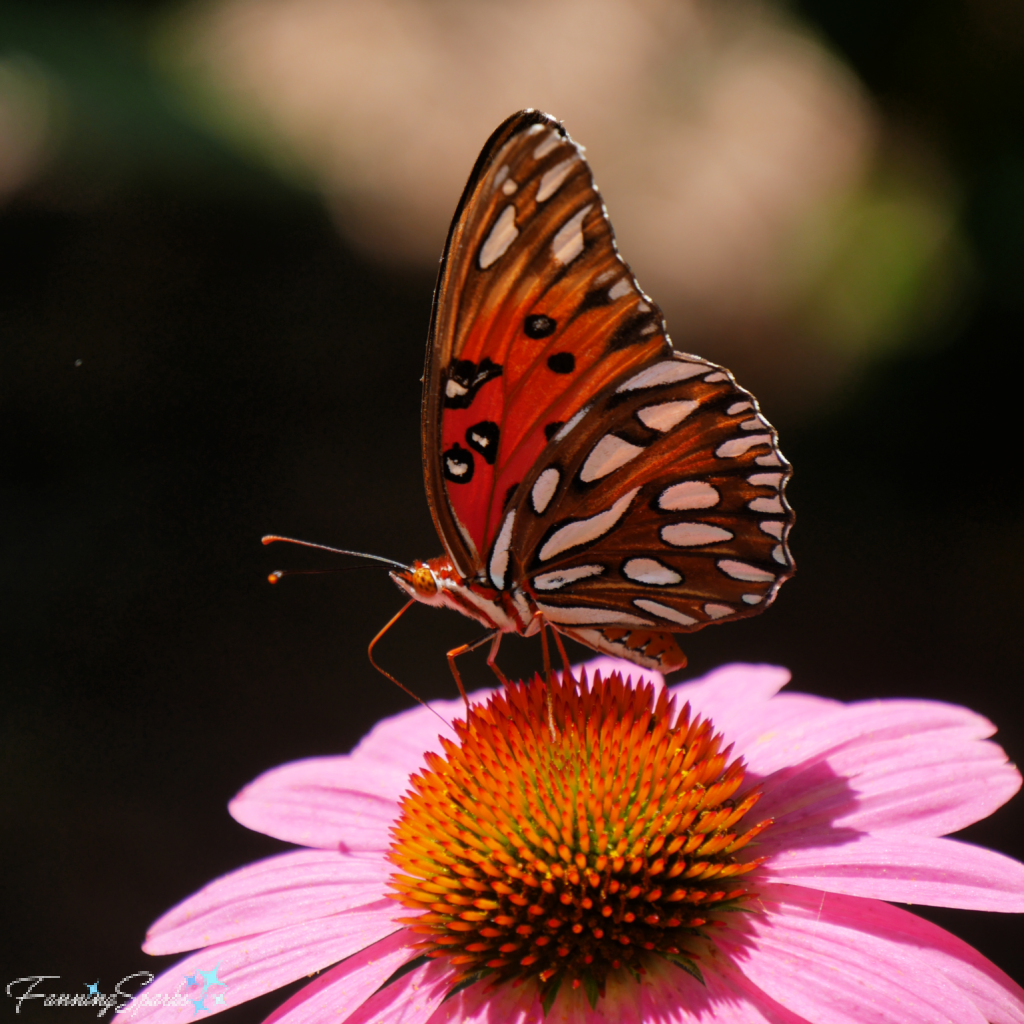
 Pictured below is a splendid Gulf Fritillary (Agraulis vanillae) on a purple coneflower. It is sometimes called the “Passion Butterfly”—I assume because the passion vine (Passiflora) is its host plant.
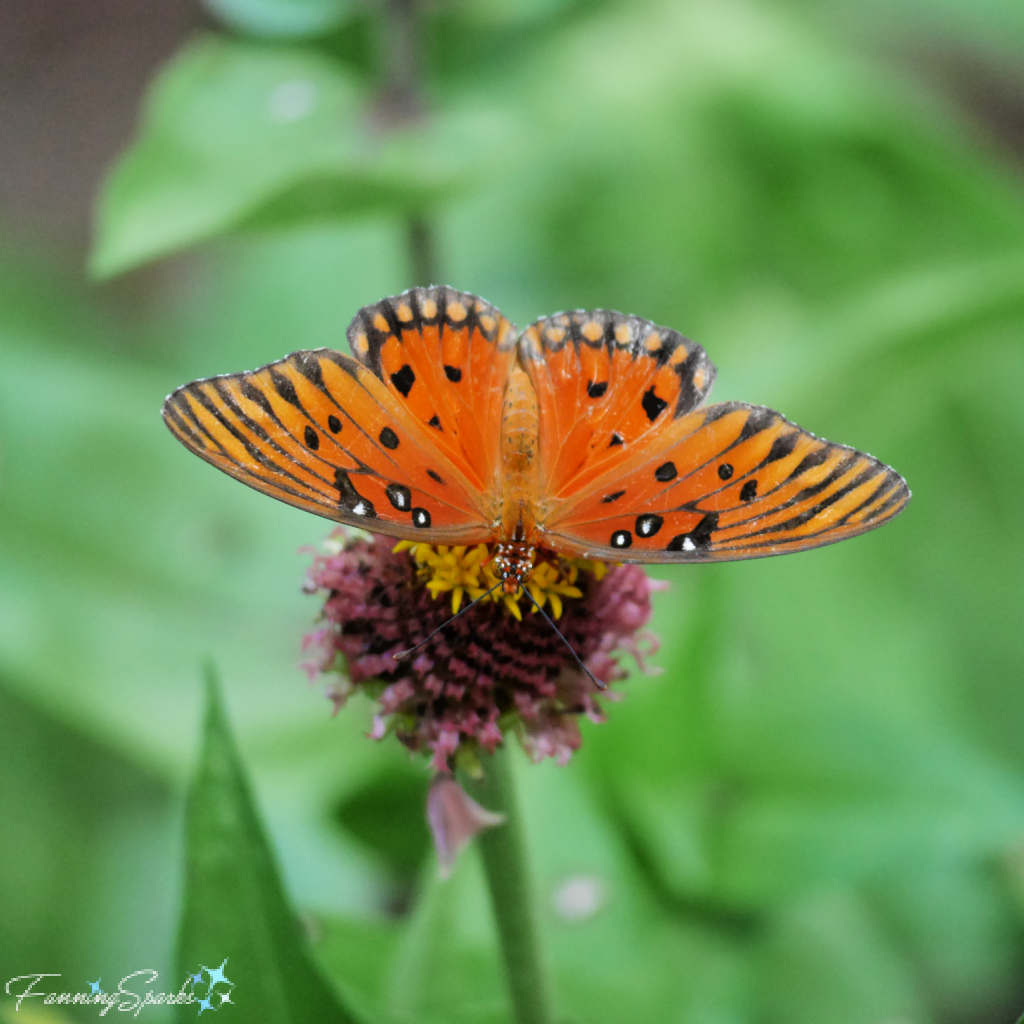
 And another shot of the Gulf Fritillary from a different angle.
 This is the spectacular and much-loved Monarch (Danaus plexippus) on pickerelweed.

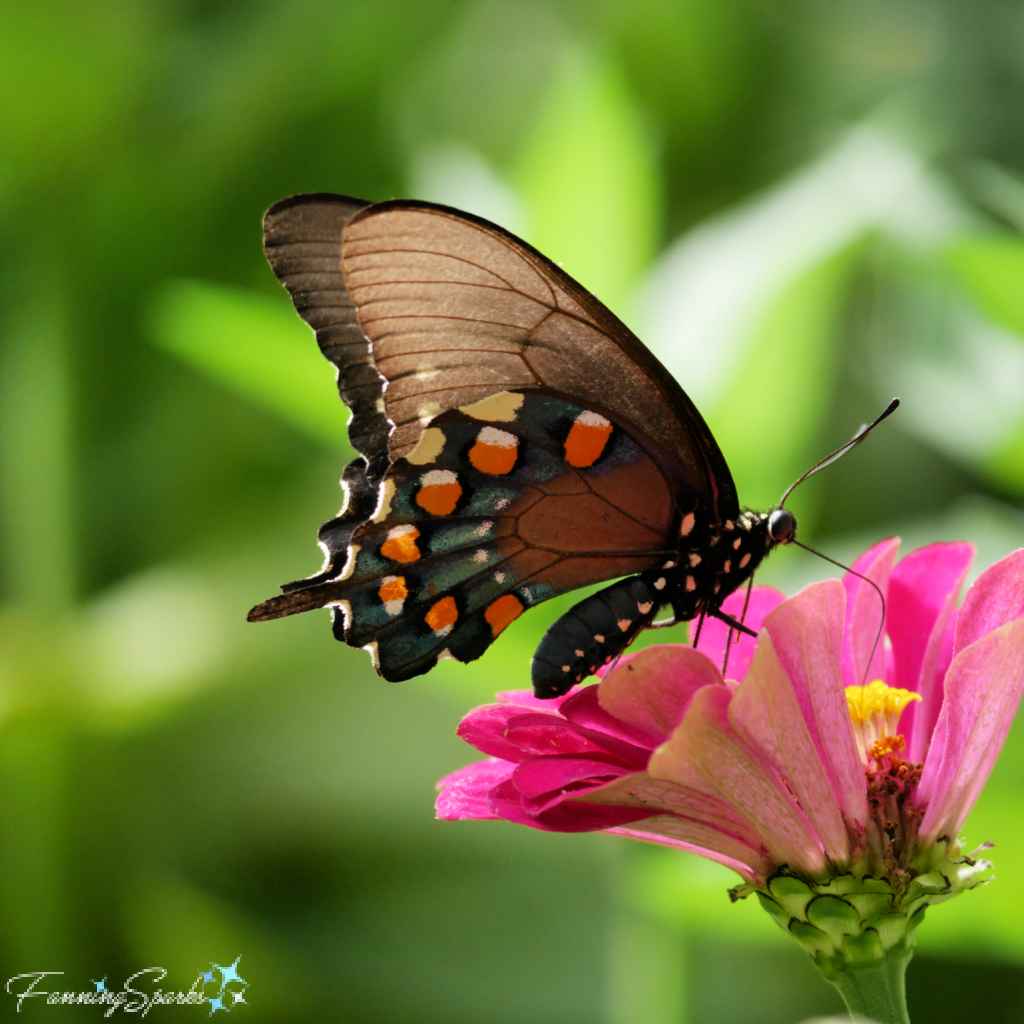
This dramatic Pipevine Swallowtail (Battus philenor) is perfectly posed on a zinnia bloom.
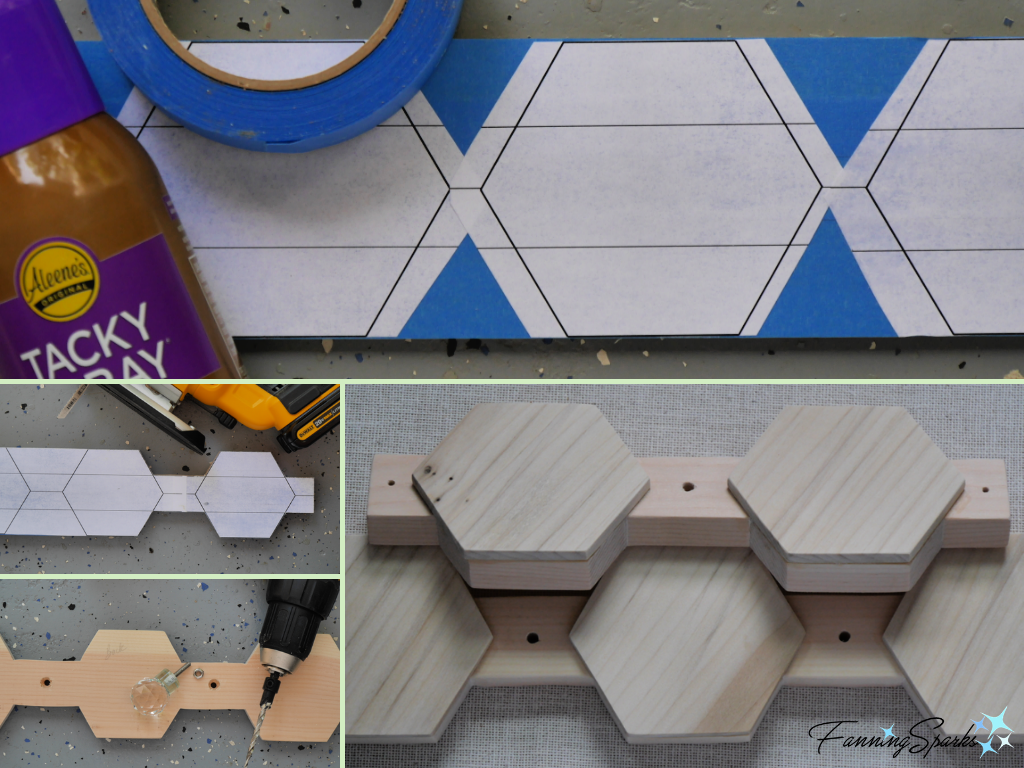
The technique used to create the butterfly hooks is similar to the one I used in my previous projects: Bee in Cosmos OOAK Wall Hook and Sassy Lady Robe Hook. Detailed, step-by-step instructions are provided in this DIY Tutorial so I’ll just skim over the process in this post.
I created two bars of hexagons from wood—one bar with three hexagons and the other with two. The base is ¾“ poplar with ¼“ hexagons glued on top.
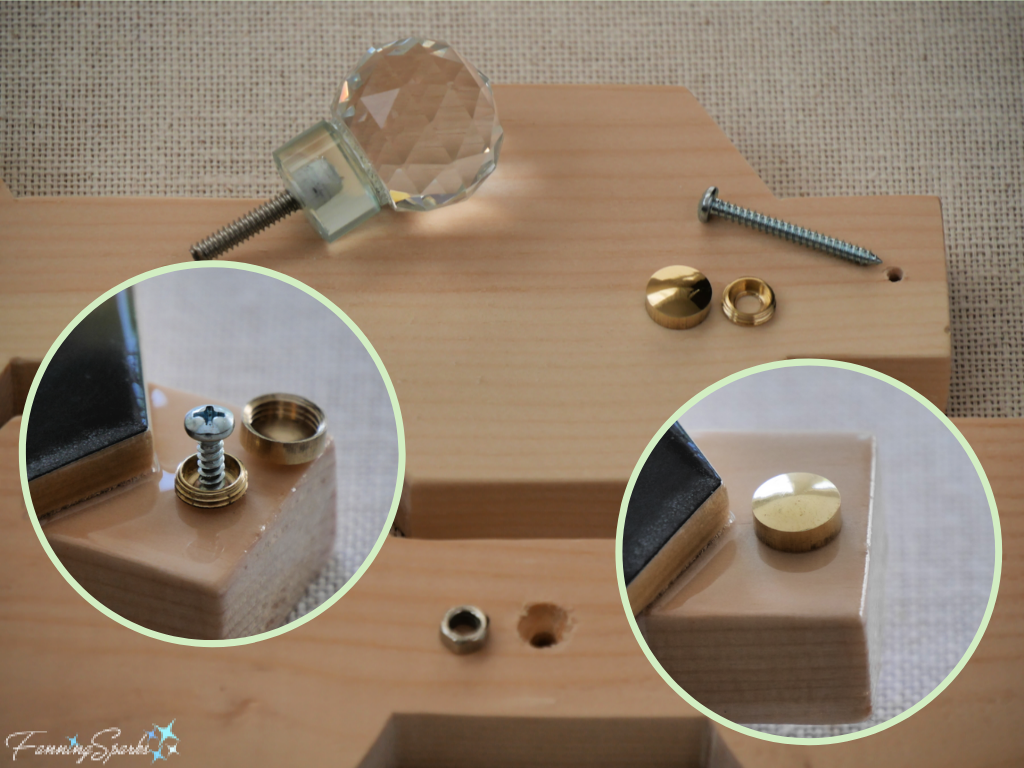
The decorative crystal knobs, found at Hobby Lobby, are the same as those used on my previous projects. But there was a breakthrough on this project: a great new way to hide mounting screws. The brass screw covers, shown below, are really slick! You simply slide the inside ring under the head of the mounting screw, attach the piece to the wall/door, and then screw the pretty brass cover onto the inside ring. They are called “Mirror Screws” or “Decorative Caps” and are available in different sizes and finishes. I selected a 12mm size in gold finish from uxcell via Amazon. The screws that came with the covers were too short for my purposes but I simply switched them out for the longer screws that came with the wall/hollow door anchors.
The butterfly photos were ordered from Snapbox (see More Info below) in 4”x4” glossy prints. Then cut to fit the hexagon shapes and glued onto the wood.
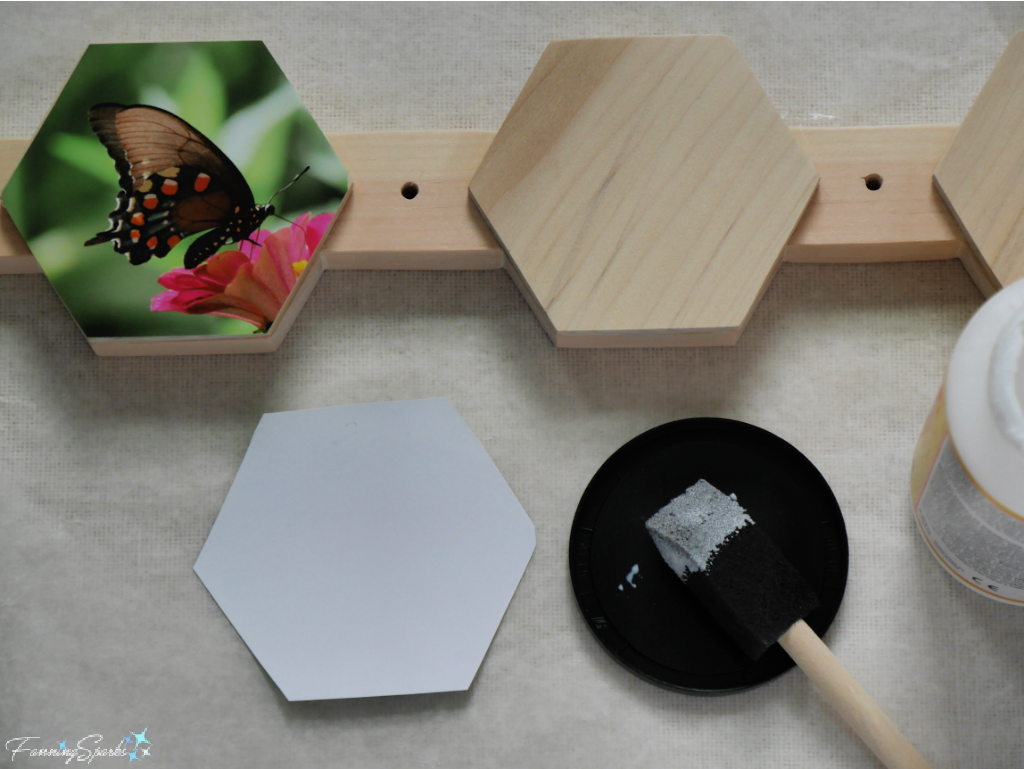
The entire piece was sealed with two coats of Mod Podge Matte.
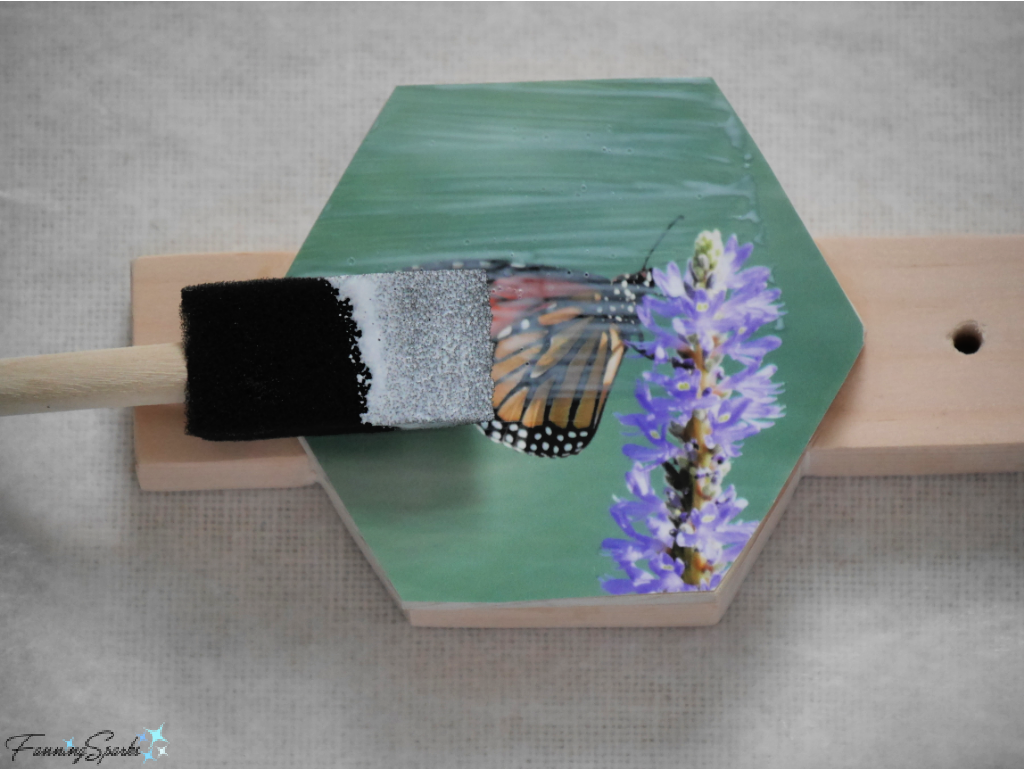
Then a coat of ArtResin epoxy resin was applied for a clear, glossy, protective finish.
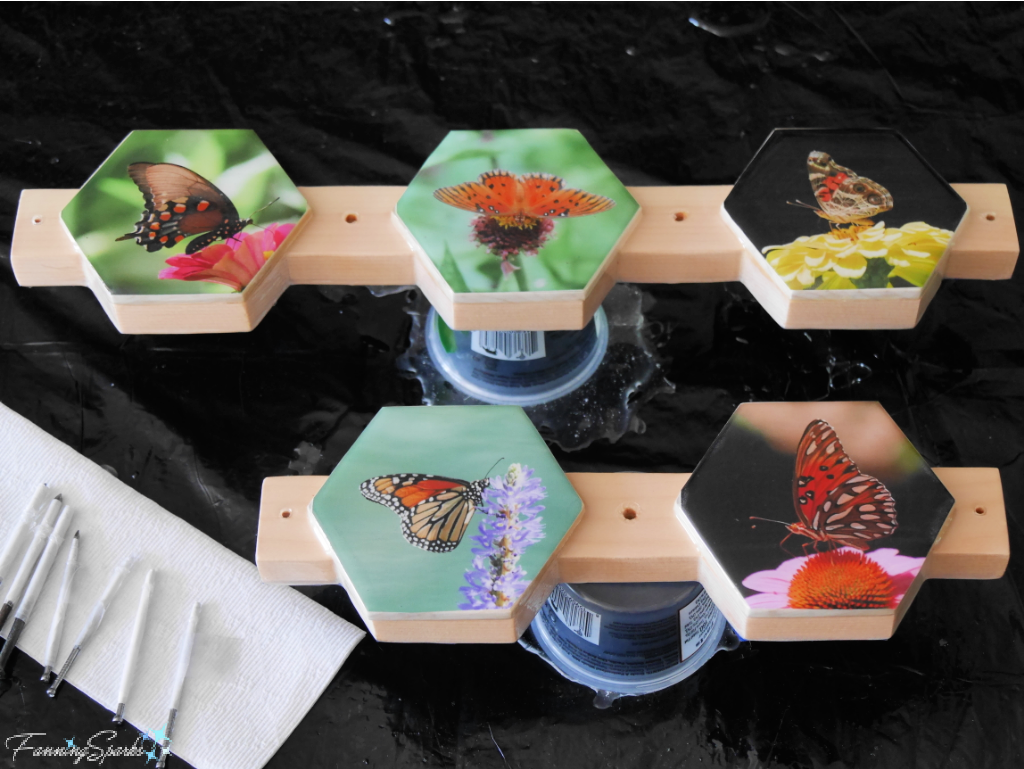
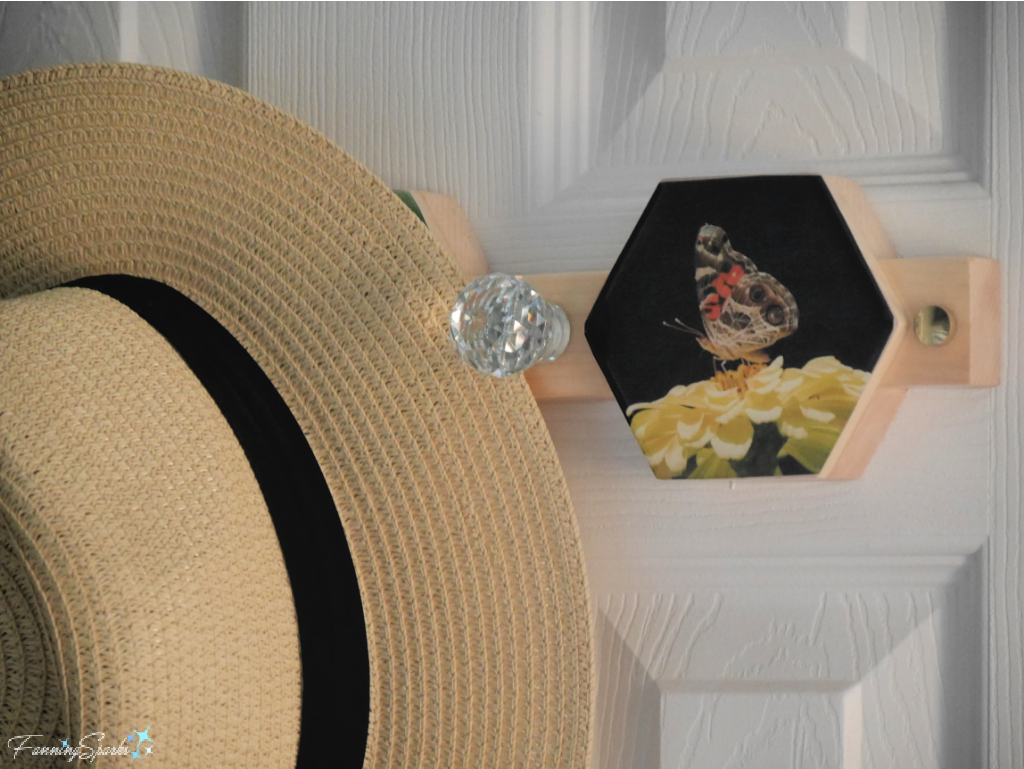
After the ArtResin cured, I installed my little flutter of butterflies inside the door of our coat closet. Now there’s a pleasant surprise every time I open the closet door!
More Info
Check out my post, Chasing Butterflies, to see more of these winged beauties.
There are three posts in this series about turning the mundane wall hook into interesting and beautiful wall art:
. Bee in Cosmos OOAK Wall Hook
. Sassy Lady Robe Hook – DIY Tutorial
. A Flutter of Butterflies in the Closet (this post).
This series was inspired by an artistic challenge hosted by ArtResin. I also used ArtResin in my Fern & Flower Press – DIY Tutorial and Thrifted Frame to Small Tray projects.
Visit the ArtResin website to learn more about or shop for ArtResin epoxy resin. Check out ArtResin’s Instagram account where they actively share and promote the work of artists using their products.
SnapBox offers a suite of professional photo products.
Today’s Takeaways
1. Consider incorporating your favorite photos into functional items for your home and surroundings.
2. Be on the lookout for new supplies and materials to enhance your projects.
3. Challenge yourself to create multiple versions of a similar piece.




Comments are closed.