A long time ago a young boy attended Vacation Bible School and built a wooden birdhouse. The little boy’s mother tucked it away and saved it for decades. At some point, the birdhouse was returned to its maker and has traveled with him ever since. That little boy is my husband and this birdhouse is almost 50 years old.
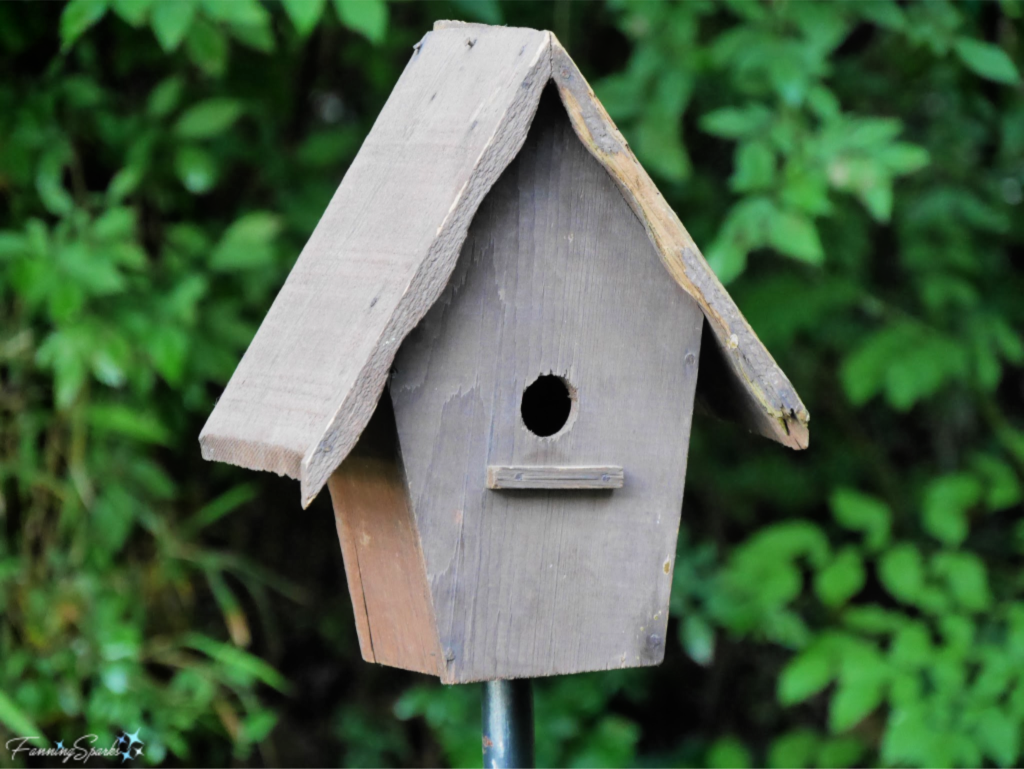
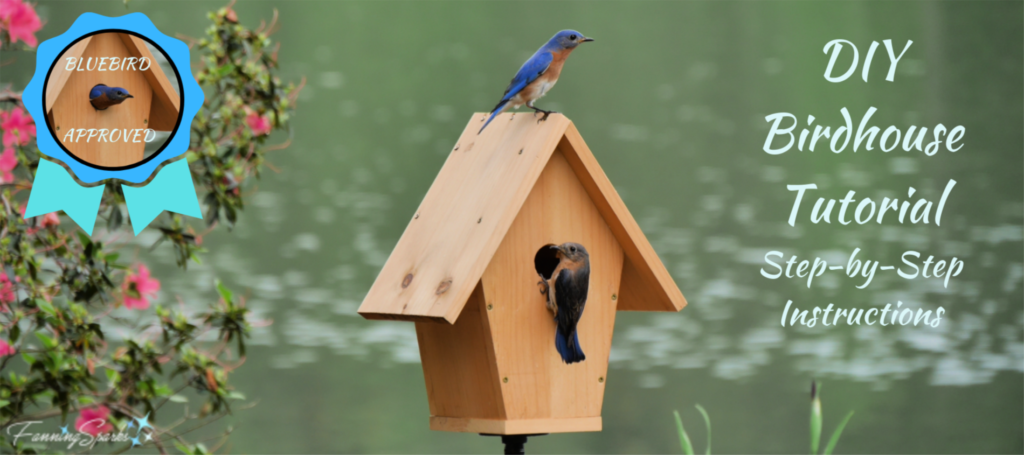
I love this birdhouse. It’s too precious to use outside but has made numerous appearances in our home décor over the years. I love its provenance but I also love the design. It’s served as the model for several birdhouses I’ve built over the years. In today’s post, I’d like to share a step-by-step tutorial for making this birdhouse. There are hundreds of birdhouse designs available but I like this one for a simple reason‒birds like this birdhouse. Over the years, we’ve had several Eastern Bluebirds nest in them.

But it’s not only bluebirds that like this birdhouse. We’ve had other small birds, such as chickadees and wrens, choose to nest in these birdhouses as well. The size and design of this birdhouse are tailored to small birds. For instance, the size of the opening‒at a mere 1½”‒only allows small birds to enter.
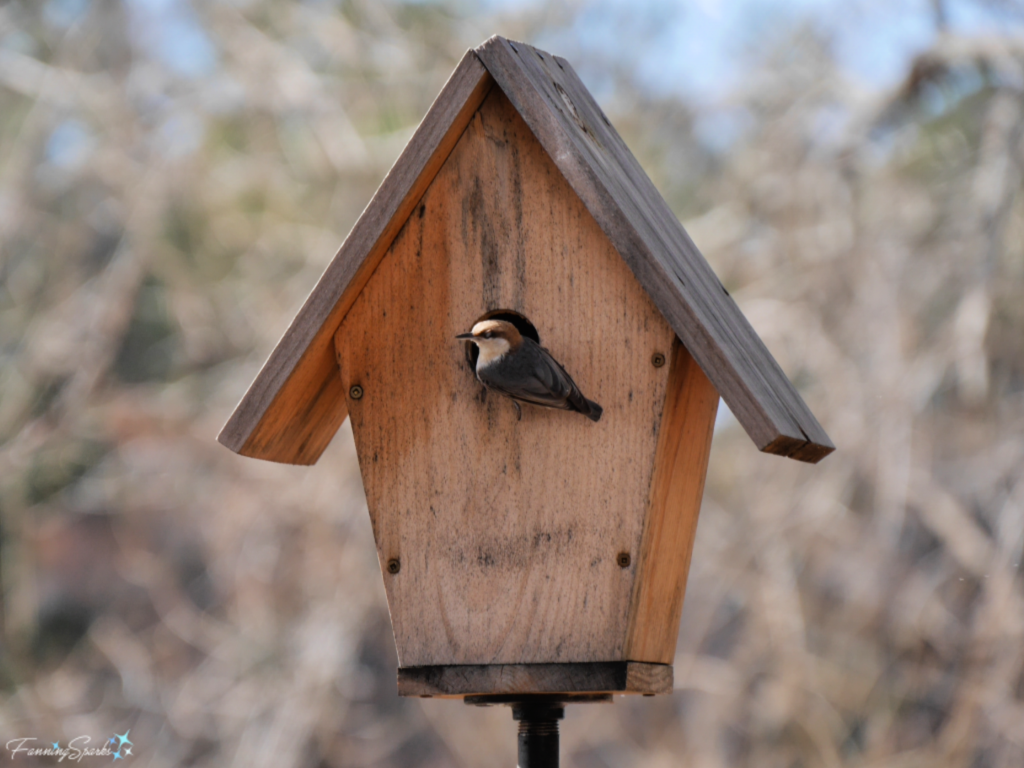
A few other advantages of this birdhouse design are:
. It is attractive and looks pretty in the yard.
. It is sturdy and easy to install.
. It is simple and straightforward to make. Only standard tools, a jigsaw and a drill, and readily accessible supplies are needed.
We’ll start with the supplies and tools needed to make this bluebird-approved birdhouse. Step-by-step instructions follow.
Supplies Needed
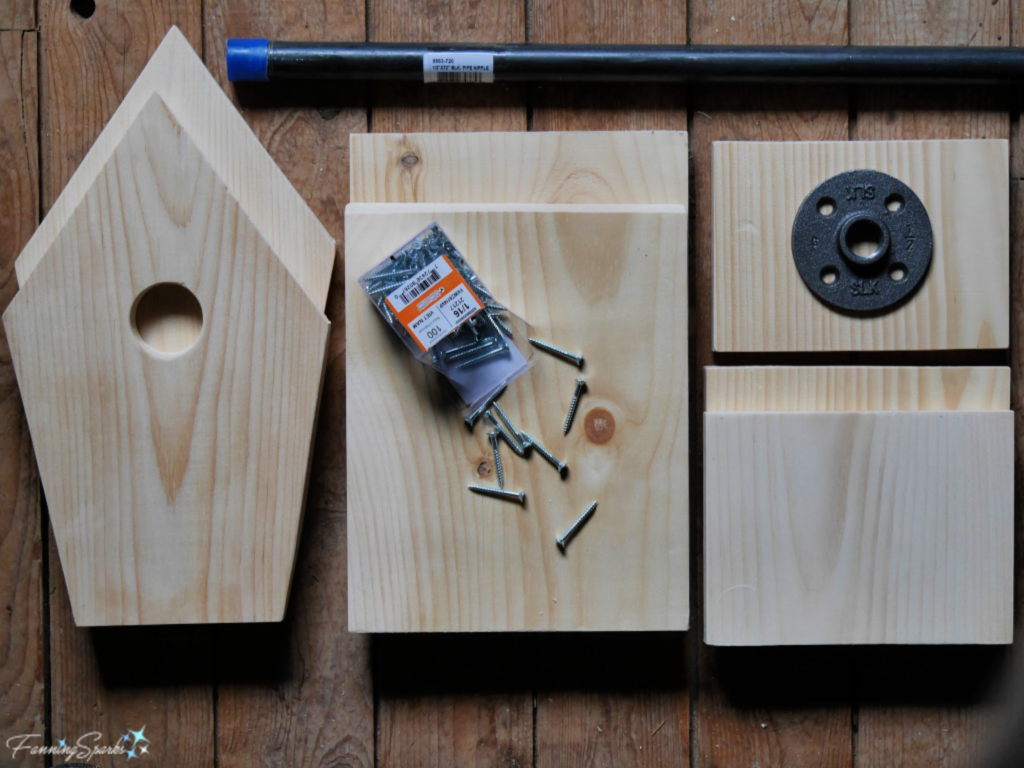
. Lumber: 5 ft of 1” by 8” (actual size is ¾” x 7¾ ”). I used knotty pine boards.
. Screws for House Assembly: 20 Size #6 1¼” length wood screws
. Flange: 3” black metal floor flange for ½” pipe
. Screws for Flange: 4 Size #8 ¾” length wood screws
. Pole: 5 ft length of ½” black steel pipe. The pole needs to be threaded for connection to the flange.
Note: I found the flange and the pipe in the plumbing department at my local Home Depot store.
. Steel Rebar: 2″ ft length
Tools Needed
Jigsaw (or whatever type of saw you prefer to cut the wood)
Drill (alternatively a hole saw or drill press would work)
3 Drill bits:
… 3/32” bit for pre-drilling Size #6 screws
… 7/64” bit for pre-drilling Size #8 screws
… 1½ “ spade bit for opening
Clamps
Screwdriver
Tape Measure
Pencil
TIP: To determine the size of pilot hole to pre-drill for screws, consult a handy cross-reference chart such as this Wood Screw Pilot Hole Sizes chart from BoltDepot.com.
Instructions for Bluebird-Approved Birdhouse
Measurements
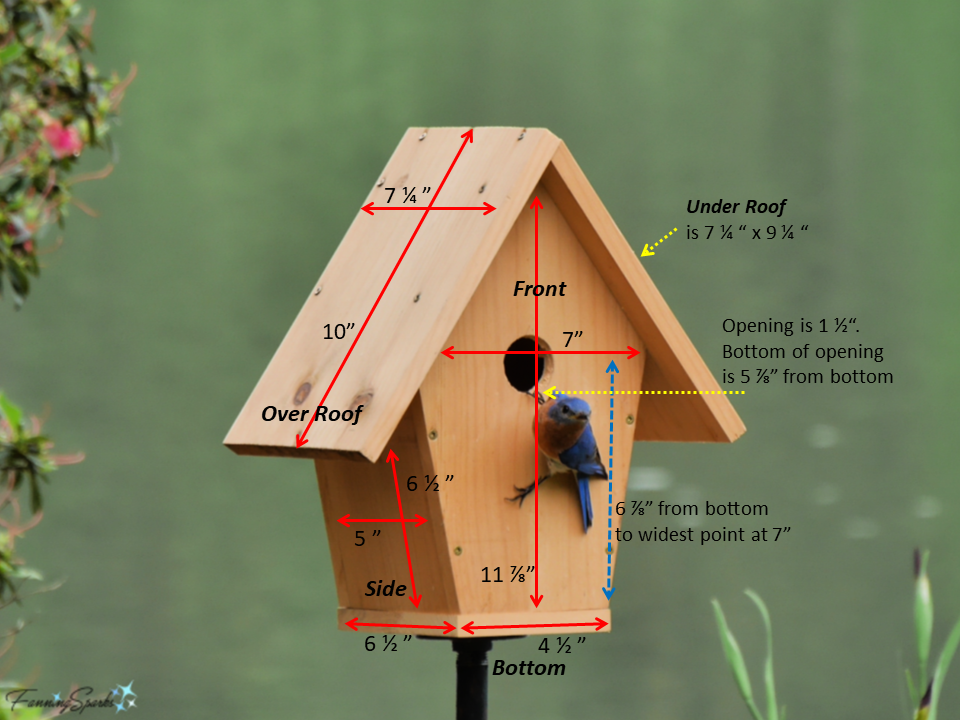
The design and dimensions of the birdhouse are shown below.
Preparations
Step 1 Cut Wood Parts. Start by creating a paper template for the Front following the dimensions and instructions noted in the photo above.
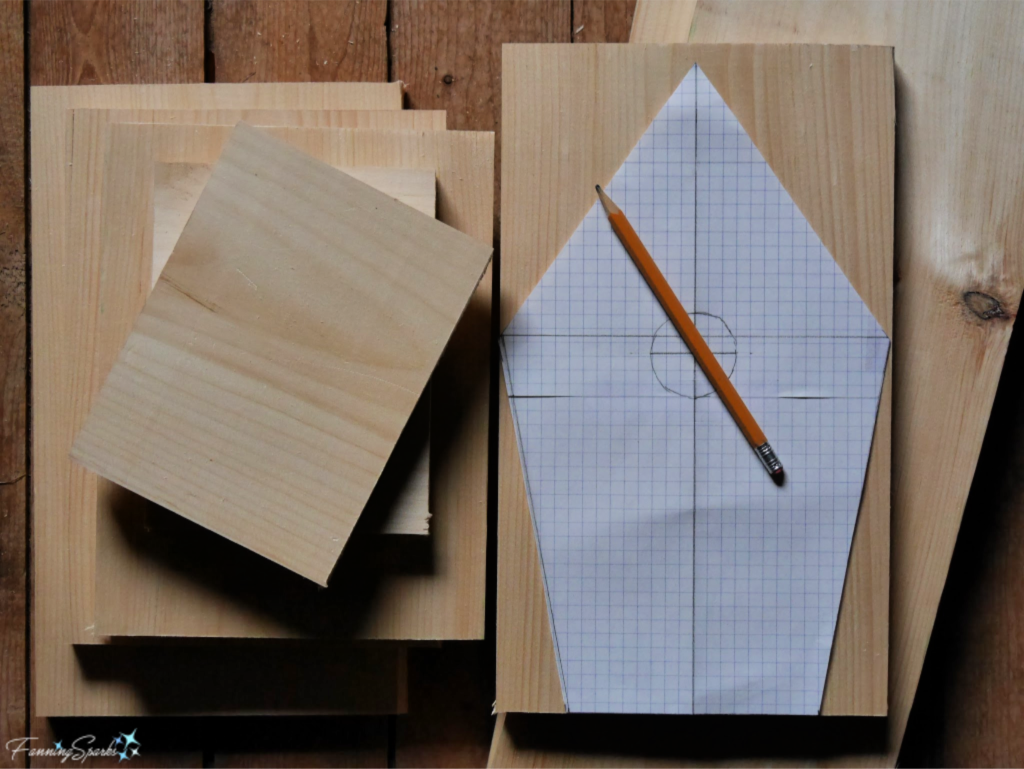
Cut the 8” x 1” pine board into the following parts:
. Over Roof 7 ¼” x 10”
. Under Roof 7 ¼” x 9 ¼”
. Front 7” x 11 ⅞” – to shape specified
. Back 7” x 11 ⅞” – to shape specified
. Side 5” x 6 ½”
. Side 5” x 6 ½”
. Bottom 6 ½” x 4 ½”
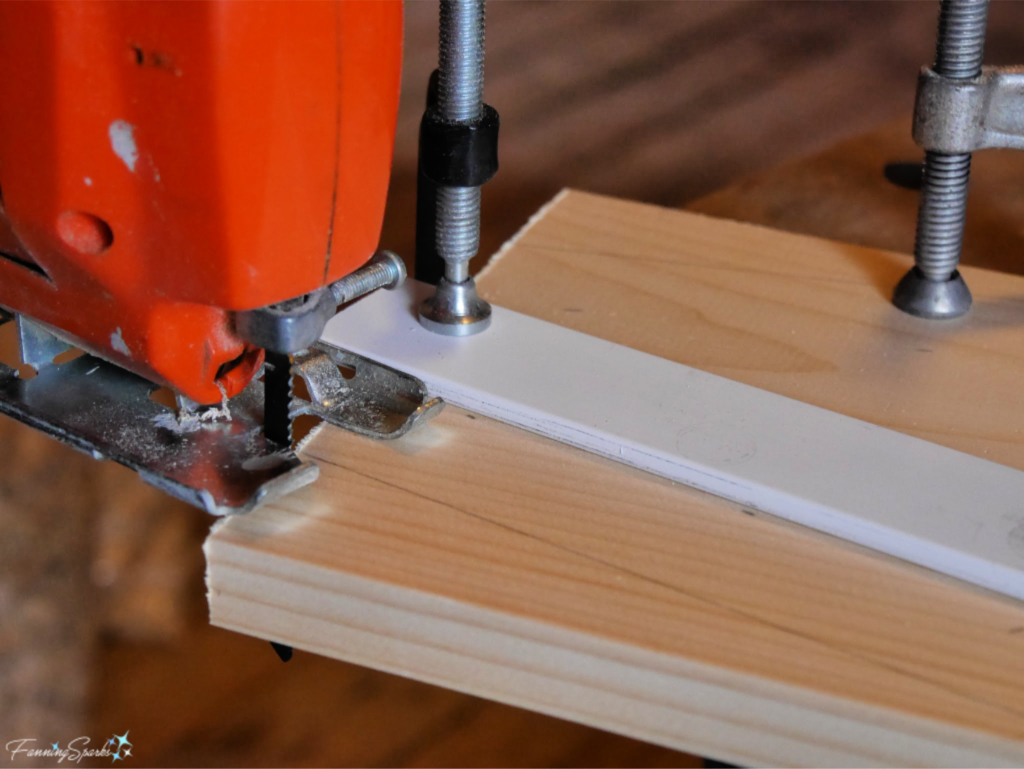
TIP: Use a simple guide to make accurate and straight cuts with a jigsaw. Clamp a length of wood trim along the cutting line to guide the edge of the jigsaw. Measure carefully to determine where the guide should be placed. Note the guide is clamped about 1” from the actual cutting line in the below photo. Take note of the measurement to use on subsequent cuts.
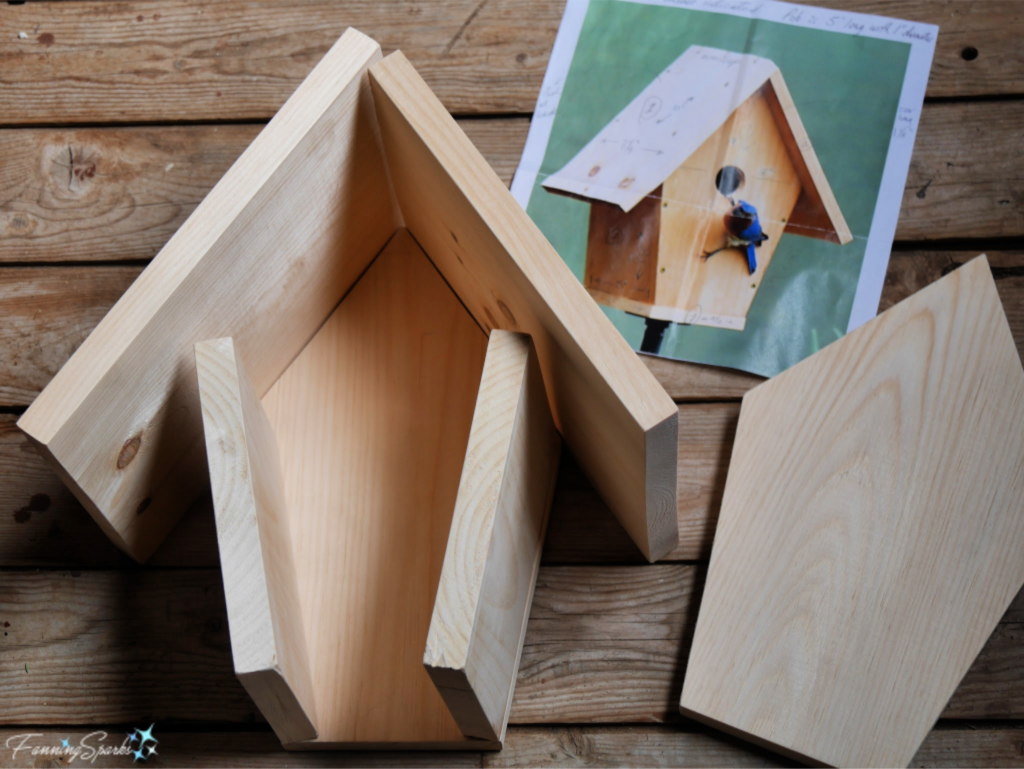
Step 2 Test Fit. Assemble the pieces to get familiar with how they fit together and to ensure they fit correctly. Make any necessary adjustments.
Step 3 Cut Under Roof. The top edge of the Under Roof is the only angled cut required. Cut this edge at a 70⁰ angle so it will fit snugly under the Over Roof section.
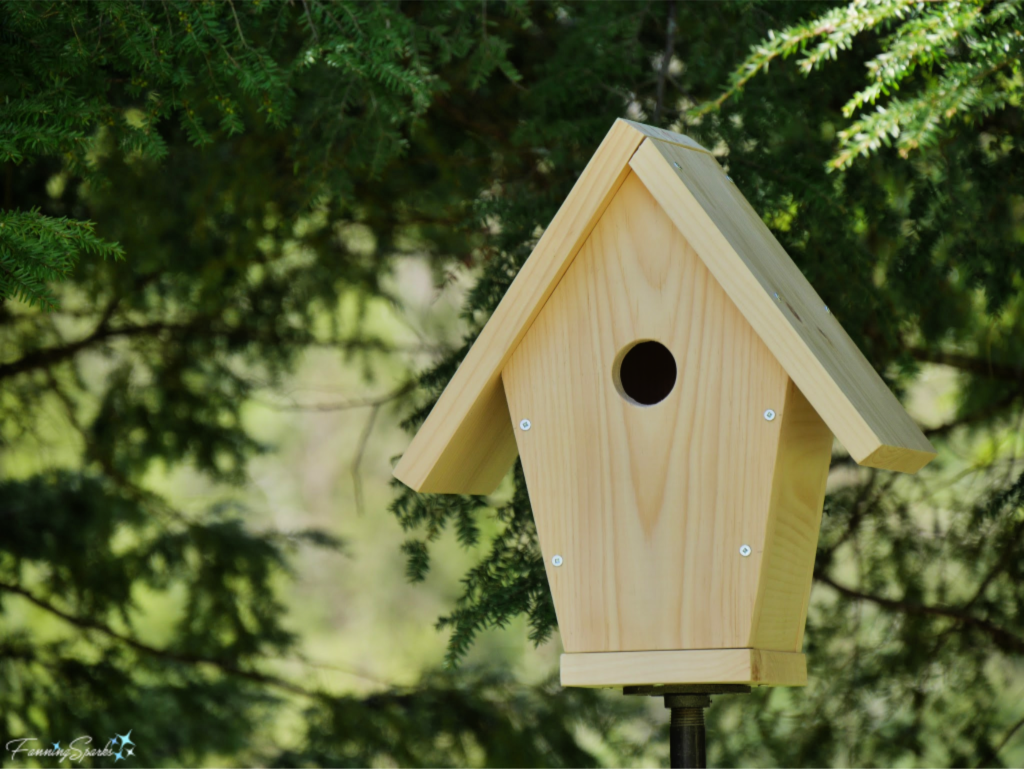
Step 4 Drill Opening. A 1 ½” opening is needed in the Front. Mark circle for hole centered horizontally and with bottom edge 5⅞” from bottom of Front.
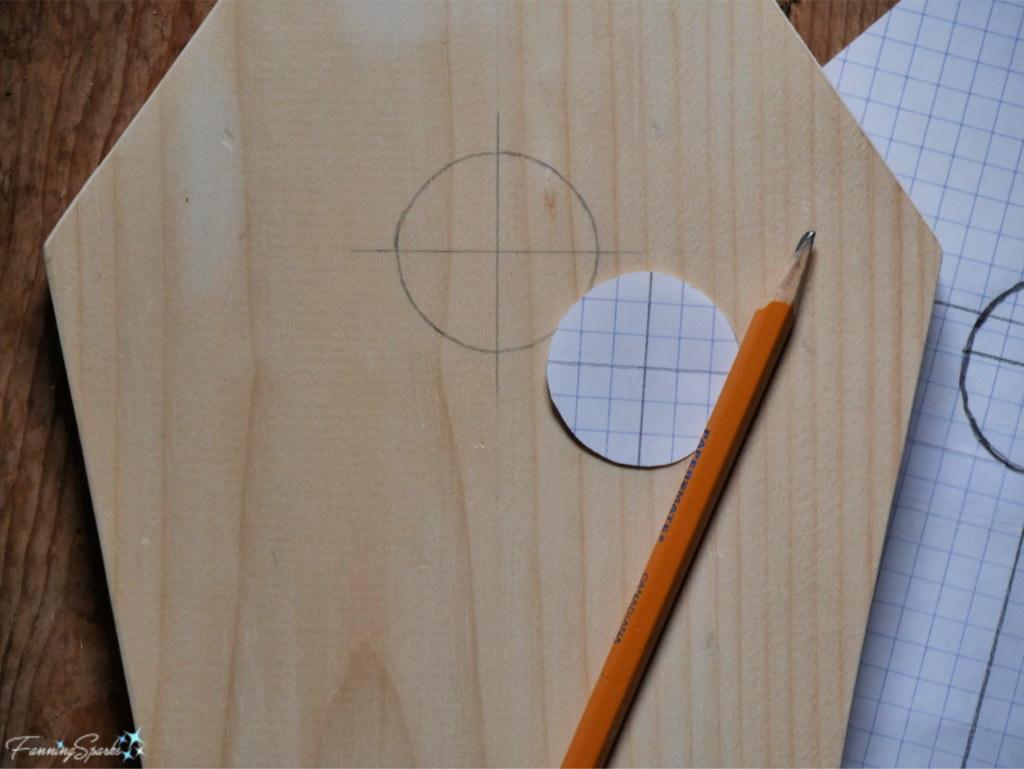
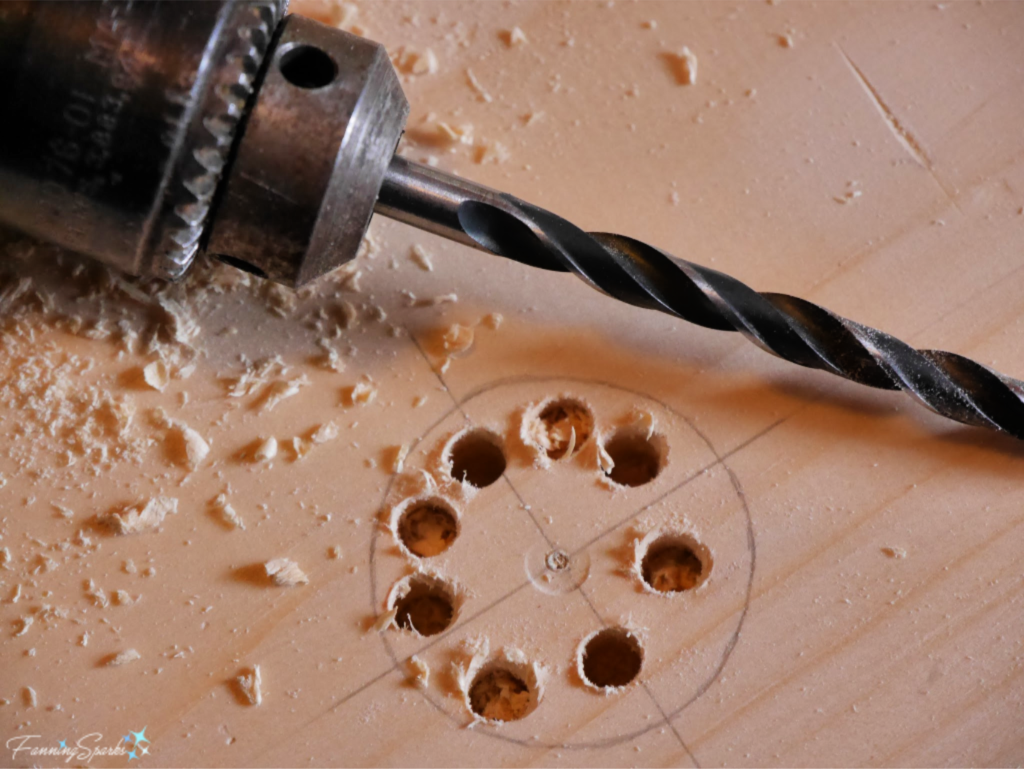
To drill this hole using a spade bit complete the following steps. Clamp Front on top of a piece of scrap wood to cushion the operation and prevent tear out. Drill pilot hole in center of circle using a small bit. Drill series of holes with ¼” bit around outside edge of circle. Ensure holes are drilled all the way through the Front piece. These holes eliminate some of the bulk making it easier to drill the final hole.
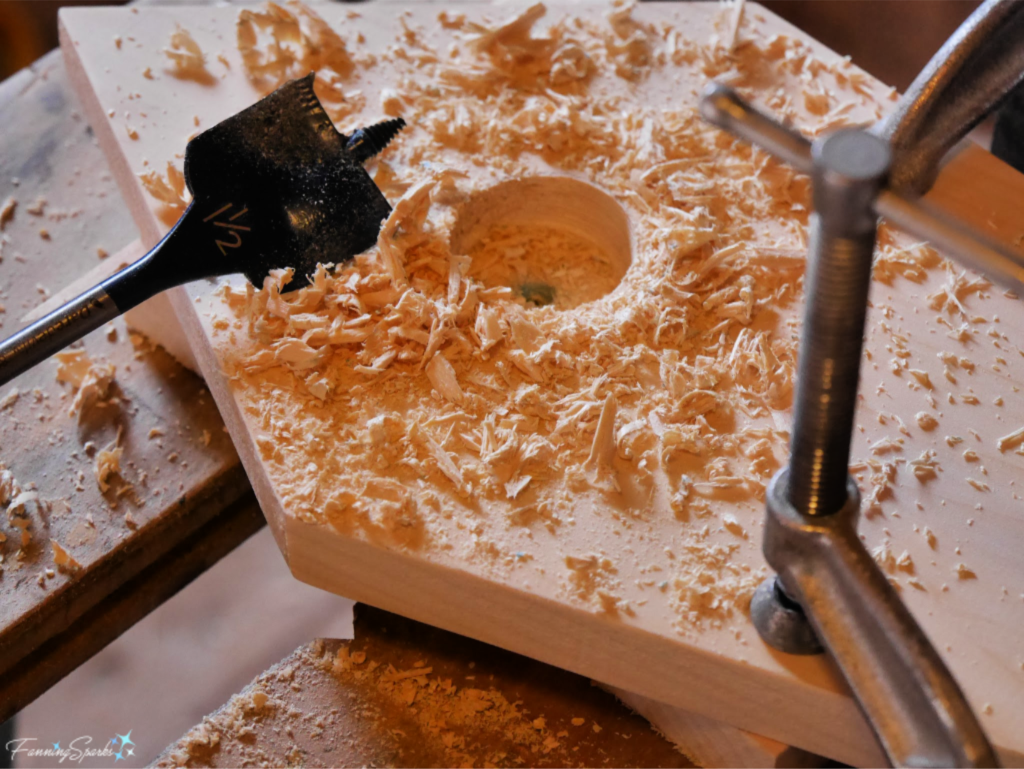
Using the 1½” spade bit, center bit in pilot hole and hold firmly. Drill down until hole is cleared.
Step 5 Attach Back to Side Mark Back for 4 screws.
TIP: Make a simple guide to mark screw placement accurately. Use a piece of scrap wood. Find and mark the center. Align this guide with the edge of the piece to be screwed and mark with pencil. Press tip of sharp nail into wood at pencil mark to indent for pilot hole. This indentation makes it easier to position the drill bit in the right spot.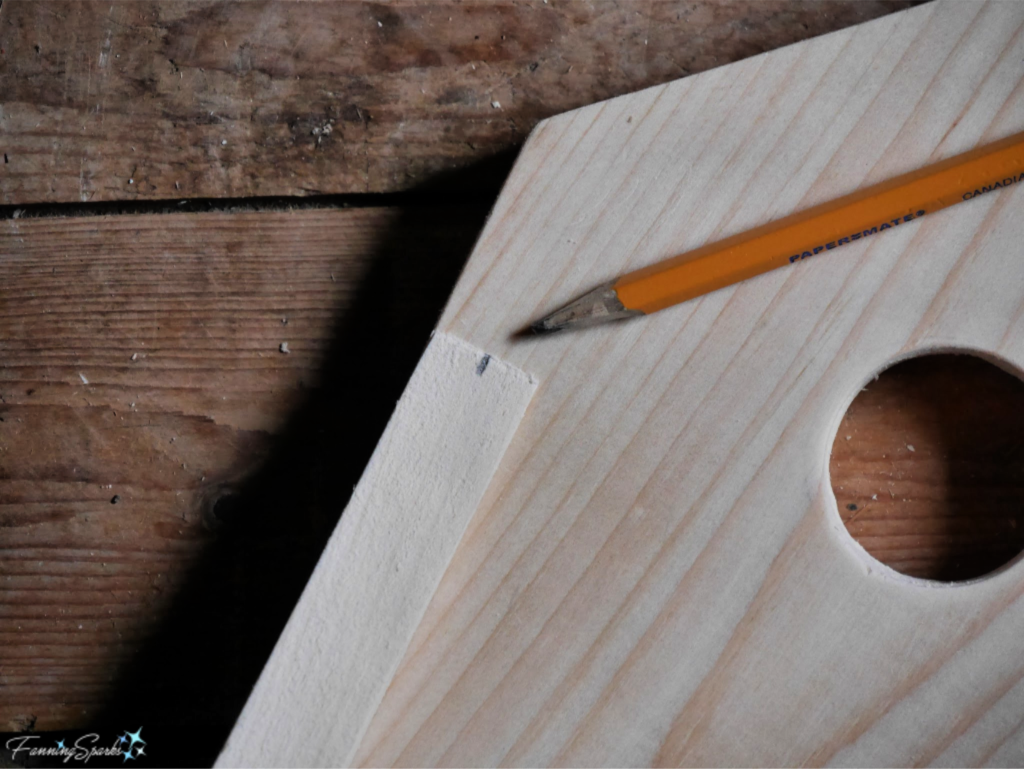
As shown below, clamp Side along 6½ ” edge to hold it steady and level. Hold Back on top of Side, squaring corner and aligning roof line and bottom edges. Drill pilot holes at marks with 3/32” bit. Attach with size #6 1¼” length screws. This will result in an L-shaped piece.
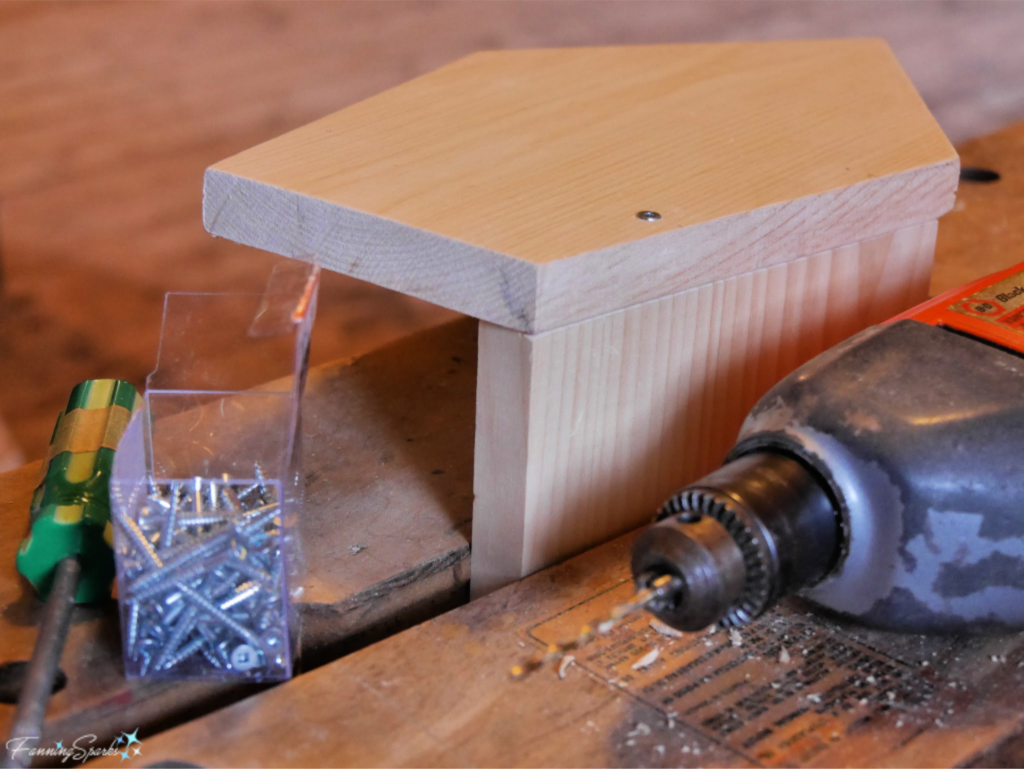
Step 6 Attach Front to Side Repeat Step 5 to attach Front to other Side. This will result in a second L-shaped piece.
Step 7 Construct Nest Box Prepare to attach the 2 L-shaped pieces.
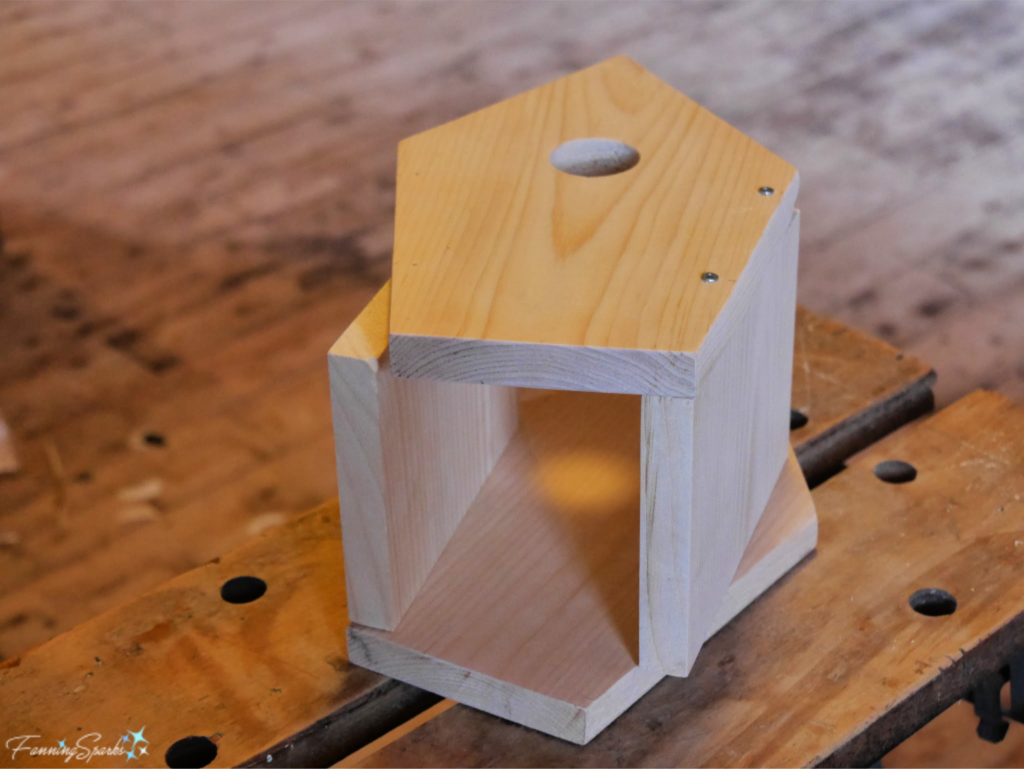
Hold 2 pieces together aligning bottoms and side edges. Drill pilot holes and screw together. This will result in a basic 4-sided box.
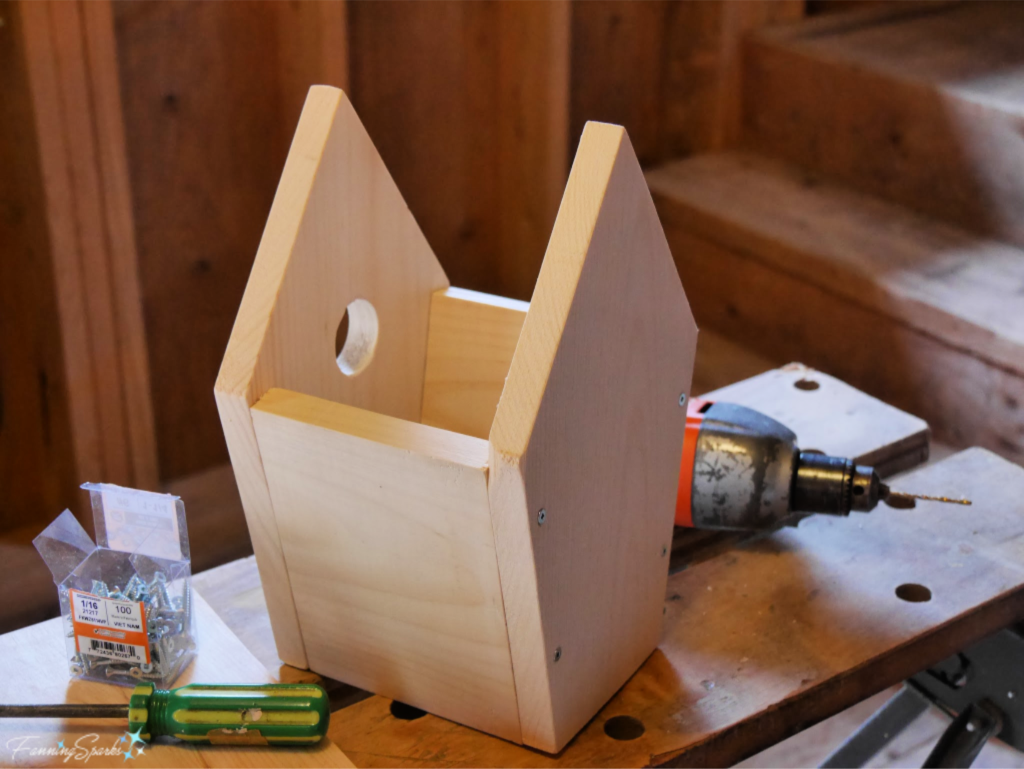
Step 8 Attach Roof Note there is a ¾” overhang on the front edge of the roof but not on the back. Mark Roof pieces for 4 screws. Screws should be about 1″ from the front edge due to the roof overhang.
Lay Under Roof on work surface. Place basic box on top of Under Roof aligning roof edges. Position the Over Roof on top of the basic box aligning edges. Hold together firmly. Drill pilot holes and screw together. I found it most effective to start by attaching the top edge of the Over Roof followed by the top edge of the Under Roof. Then attaching the bottom edges of both roof pieces.
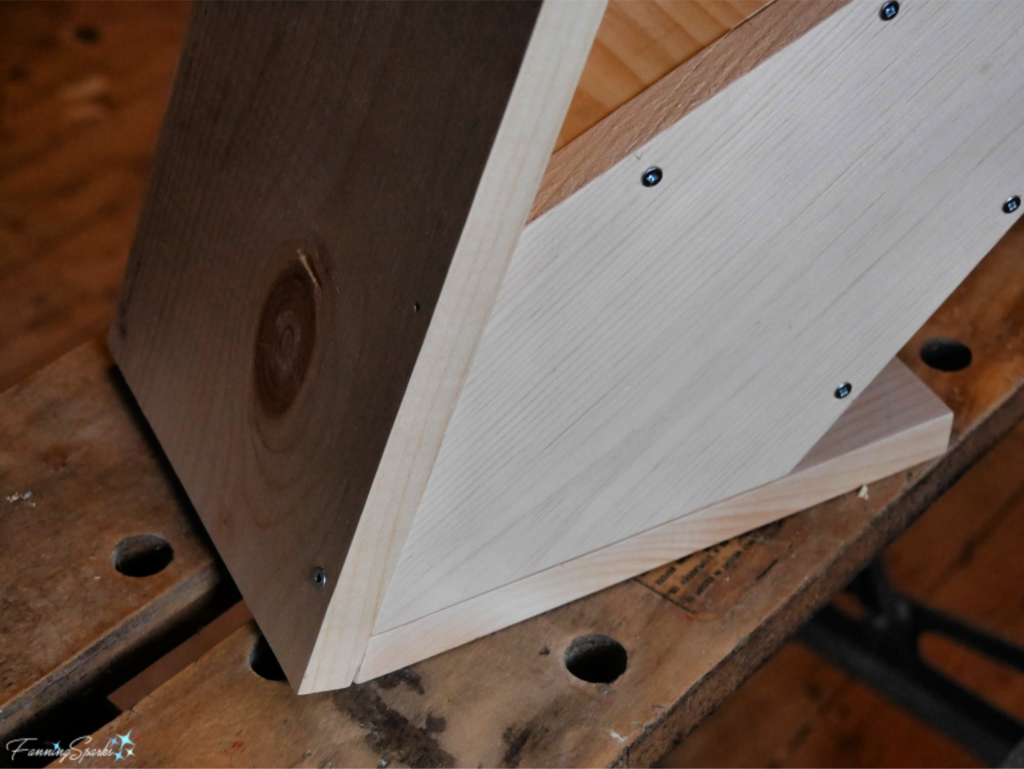
Step 9 Attach Bottom and Pole Mark Bottom for 4 screws. Find center of Bottom and mark. Place metal Flange over center mark ensuring it is centered. Mark screw placement for Flange. Drill pilot holes at Flange marks with 7/64” bit. Attach Flange with size 8 ¾” length screws.
Hold birdhouse with bottom facing up. It’s helpful to wedge the roof peak between two boards so the bottom of the nest box is flat and level. Lay Bottom in place aligning edges on all sides. Drill pilot holes and attach with screws. Screw metal Pole into metal Flange.
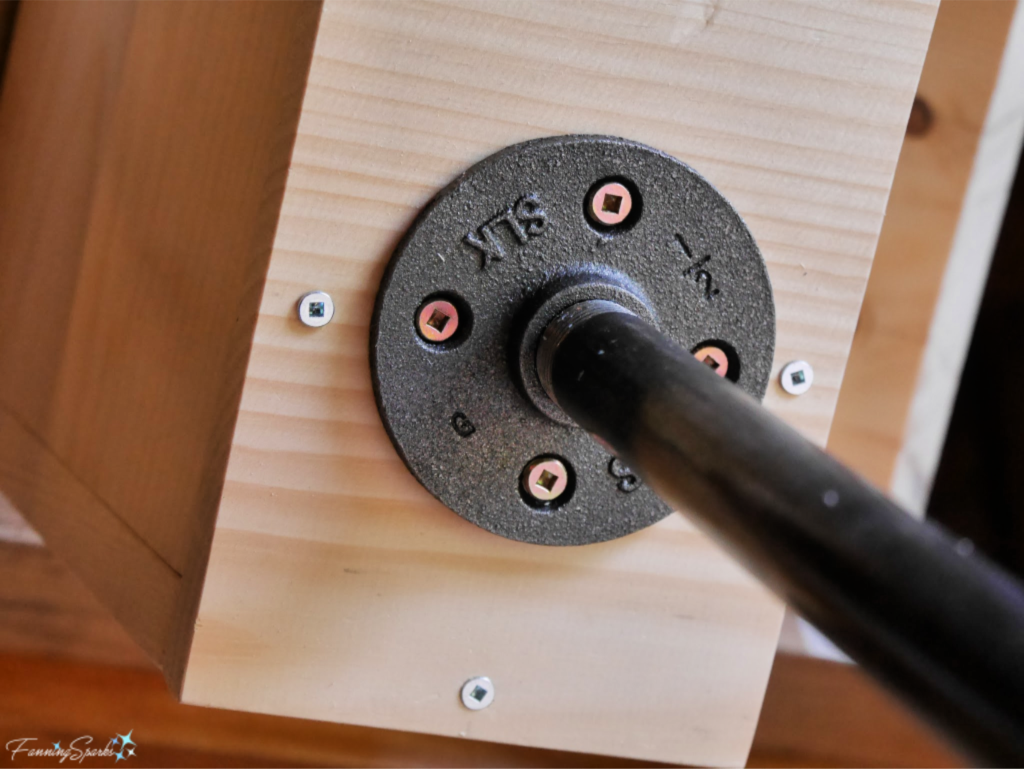
I deliberately do not paint or finish the wood to avoid exposing the birds to harsh materials. Plus I prefer to let it weather naturally. When it comes time to clean the birdhouse, simply back off the screws in the Bottom and carefully lift off the box.
Your birdhouse is ready to install! Take a few minutes to consider the best location. If you’re lucky enough to be in an area where Eastern Bluebirds live (see More Info below), you’ll want to consider the bluebirds’ preferences. According to NestWatch from The Cornell Lab of Ornithology, Eastern Bluebirds prefer “open field or lawn; orchards; open, rural country with scattered trees and low or sparse ground cover; entrance hole should face open field, preferring east, north, south, and then west-facing directions“. See More Info below for advice on other birds. Of course, you’ll also want to consider your own preferences and place the birdhouse in a location that’s convenient and easy to watch.
Insert the Rebar into the ground ensuring it is plumb. Simply slip the metal Pole over the Rebar. Now, wait for the birds to move in…
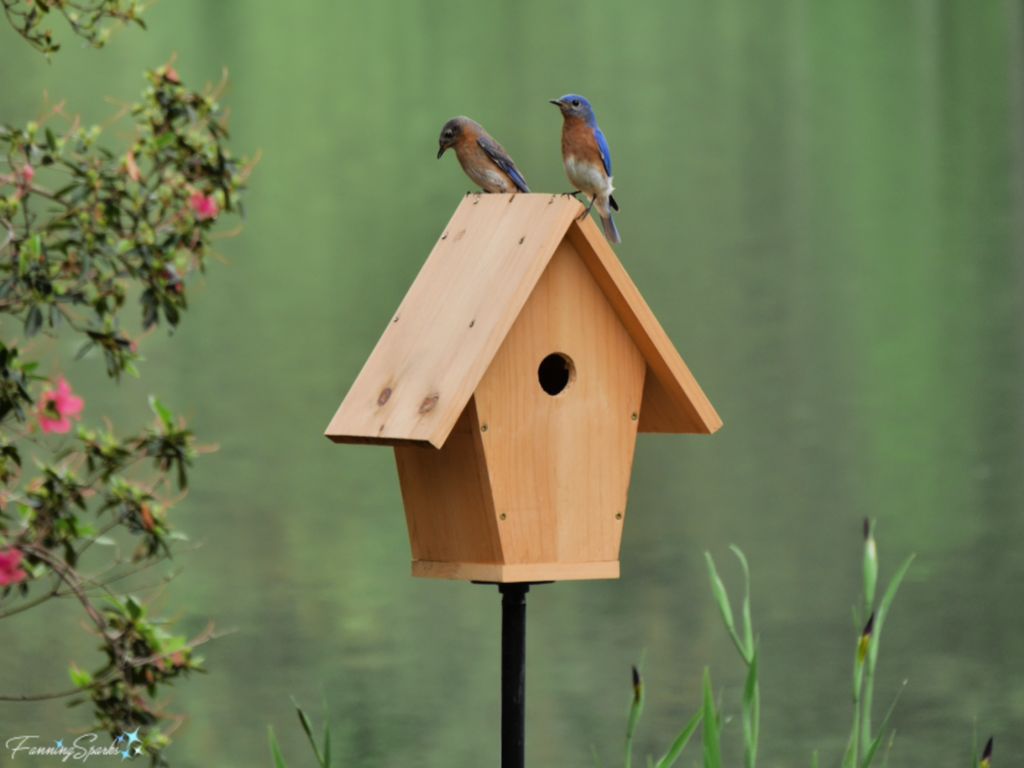
… and the show to begin!
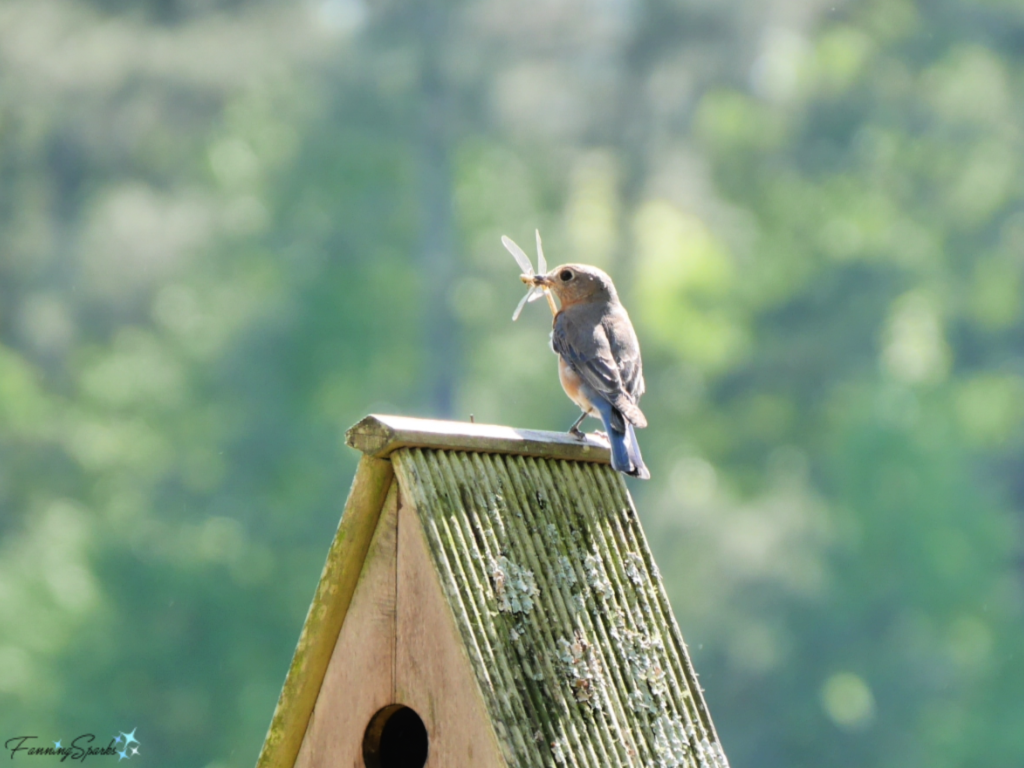
More Info
The Cornell Lab of Ornithology is a great source of information for anyone interested in birds. Their website states: “We believe in the power of birds to ignite discovery and inspire action. Join us on a lifelong journey to enjoy, understand, and protect birds and the natural world.” The All About Birds section of the website is jam-packed with useful and interesting info.
The Birds of North America section of their website includes detailed maps showing where different birds live and migrate.
To learn more about locating your birdhouse, check out the Nest Box Placement on the NestWatch section of their website.
You might also enjoy my previous post From Feeders to Quilts where we took a peek at a busy backyard bird feeding station along with some bird-themed fiber art.
Please pin the below image for future reference.
Today’s Takeaways
1. A birdhouse is a great project for a beginning woodworker.
2. The design of a birdhouse influences which birds will nest there.
3. Choose the location of a birdhouse carefully considering the birds’ preferences as well as your own.




Comments are closed.