The “Weave a Market Basket” class at the John C Campbell Folk School was tailored for a weekend‒it started Friday evening and wrapped up at Sunday noon. The instructor, Susan B Taylor, is a talented basketmaker and a veteran Folk School instructor. Susan skillfully led the class of 10 students through the steps of weaving our own market baskets. This was a new experience for me but one I enjoyed immensely.
Our market baskets are made of basket reed. According to the National Basketry Organization, “There are between 550 and 600 species of rattan … Basket reed is produced from the core of this thorny palm (mostly genera Calamus, Daemonorops or Plectomia) which grows like a vine into the forest canopy. Rattan for commercial use is harvested mostly in the jungles of South East Asia and Indonesia.”
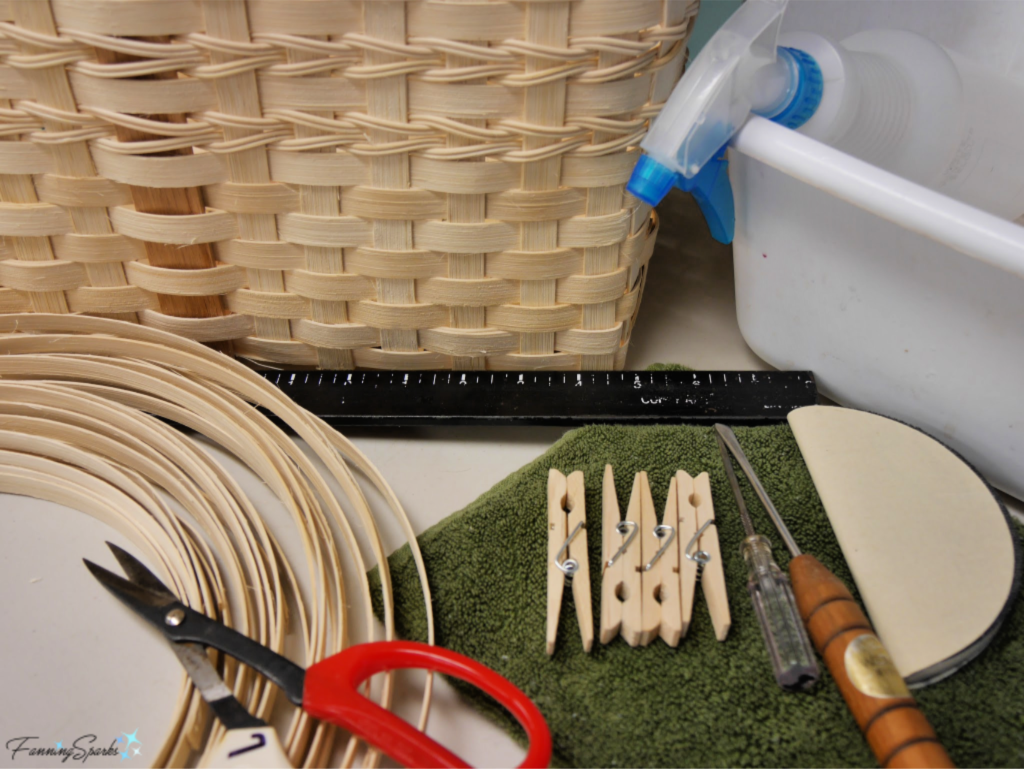
We used Basketmakers Choice Superior Quality basket reed in ½” Flat Flat, ⅝” Flat Flat, ¼” Flat Oval and Round #3. We also used a 8” x 20” “D” Handle in oak. See More Info below for an online source. Our tools included basket shears, a spoke weight (a heavy metal weight that is also a ruler), a Weave-Rite straight packing tool, an awl, a sanding pad, a spray bottle, rubber bands, clothespins and a dishpan.
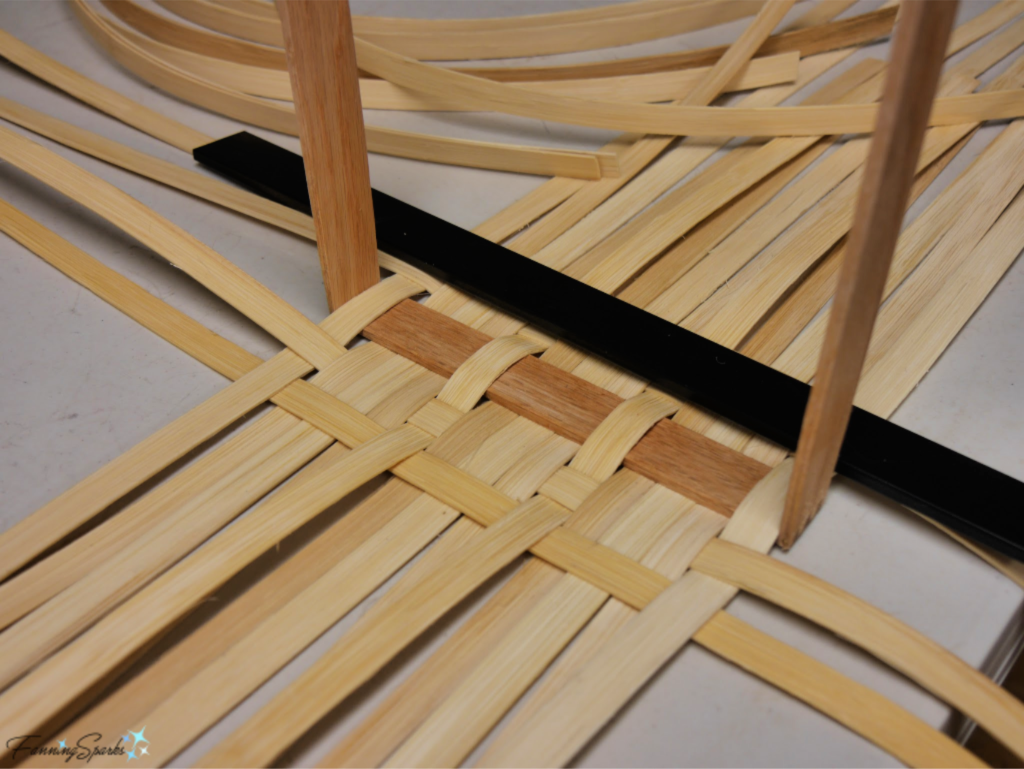
We started by soaking our flat reed in water with a little of Susan’s “secret sauce” (aka Downy fabric softener). The base of the basket is formed around the oak D handle. In the below photo, you can see the oak D handle centered on the lengthwise strips of reed with a few “stakes” (ie horizontal strips of reed) woven in. The black bar is the spoke weight which is used to hold down the reed as the weaving begins.
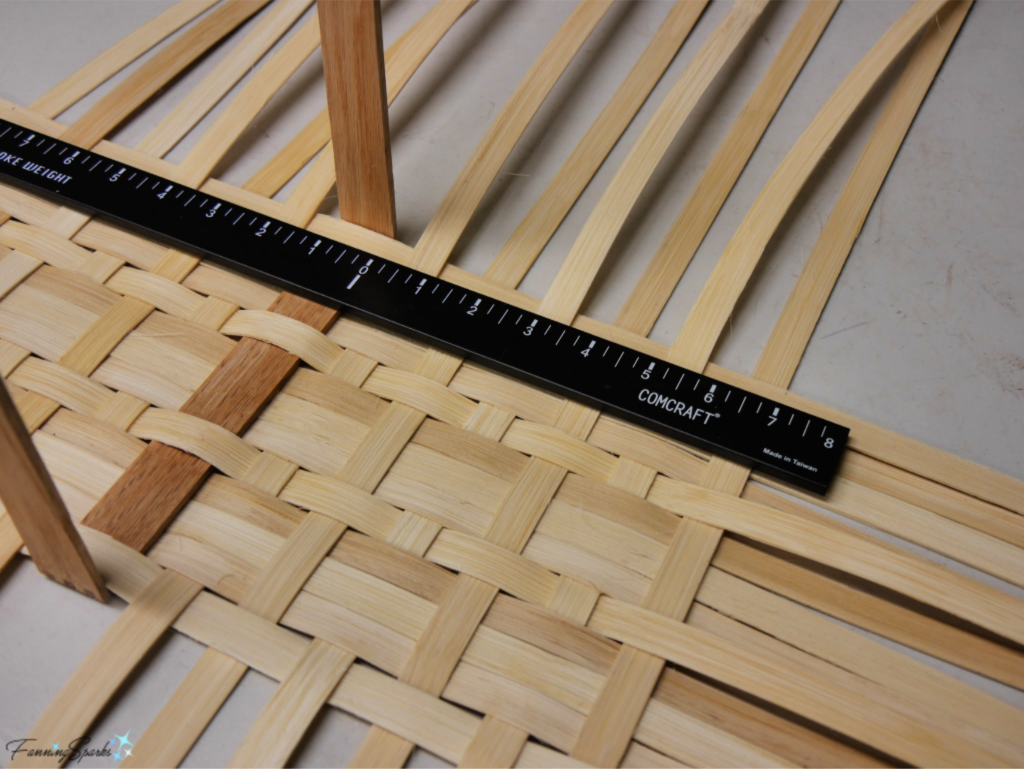
 Here you can see the base woven to size with everything still flat.
 After folding up the stakes and holding them in place with rubber bands and clothespins, the basket started to take shape.
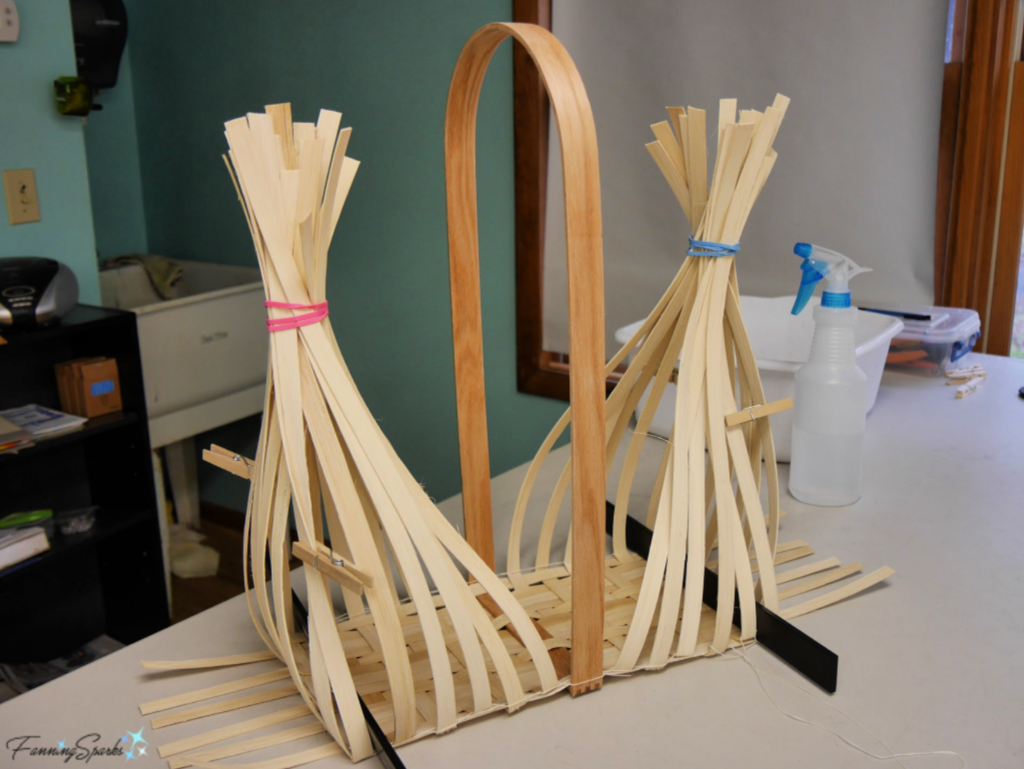 As you might expect, the next step was to weave up the sides of the basket. The twine you see in the below photo is used to keep the base square. This was one of the special techniques Susan shared with the class.
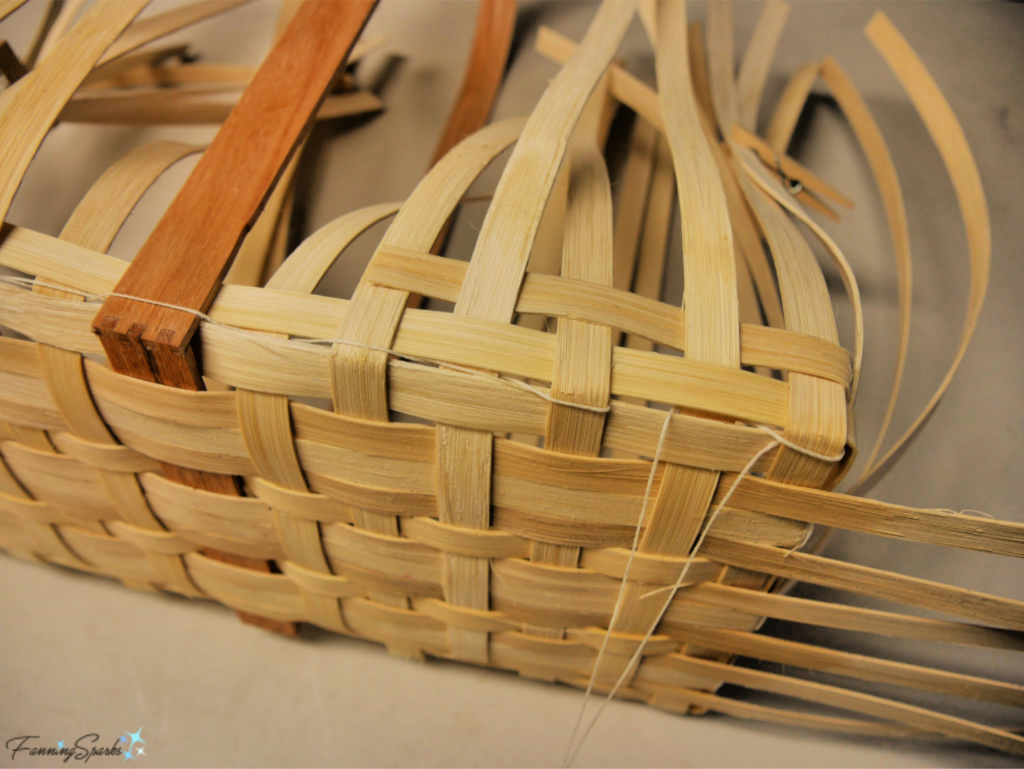
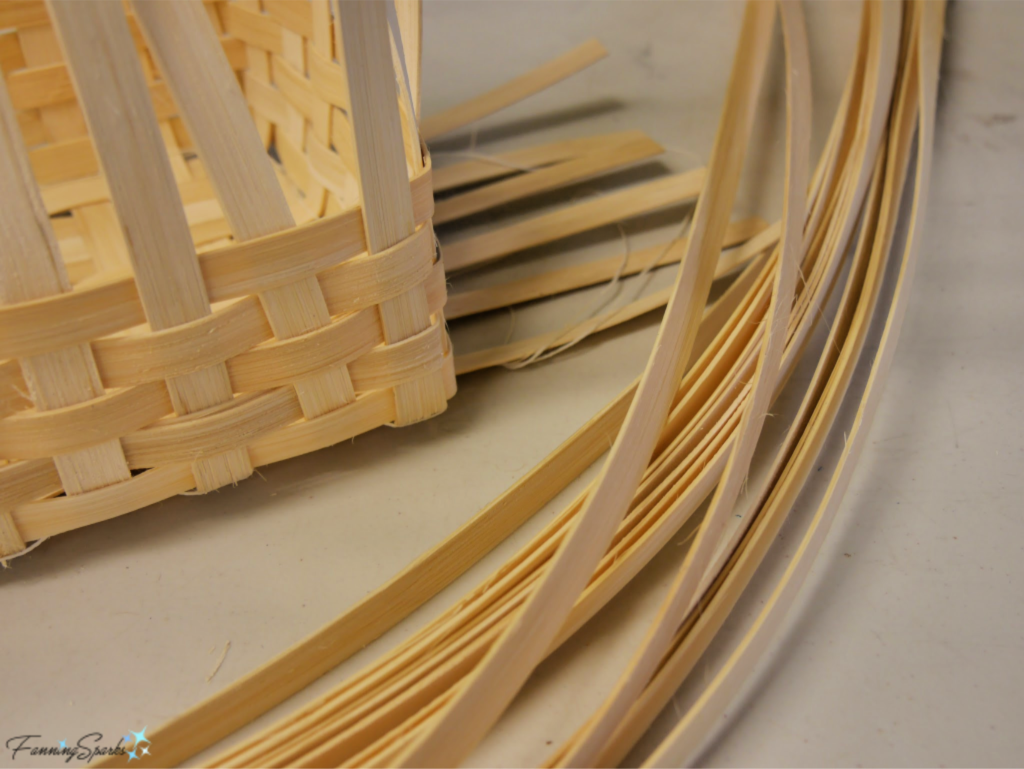 Things got really interesting about midway up the basket when we started experimenting with round reed and twining.
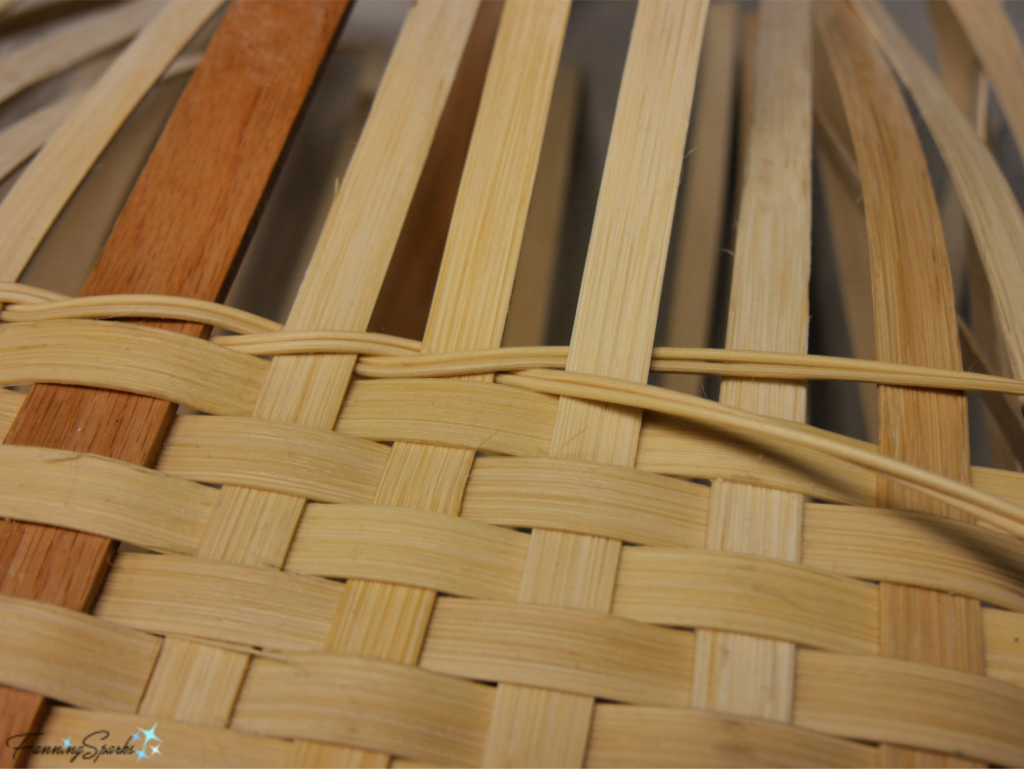 I chose to add 4 rows of twining arranged in an arrow pattern (visible at the bottom of photo below). Next we adjusted our “weavers” (ie the horizontal strips of reed) to taper the sides around the handle.
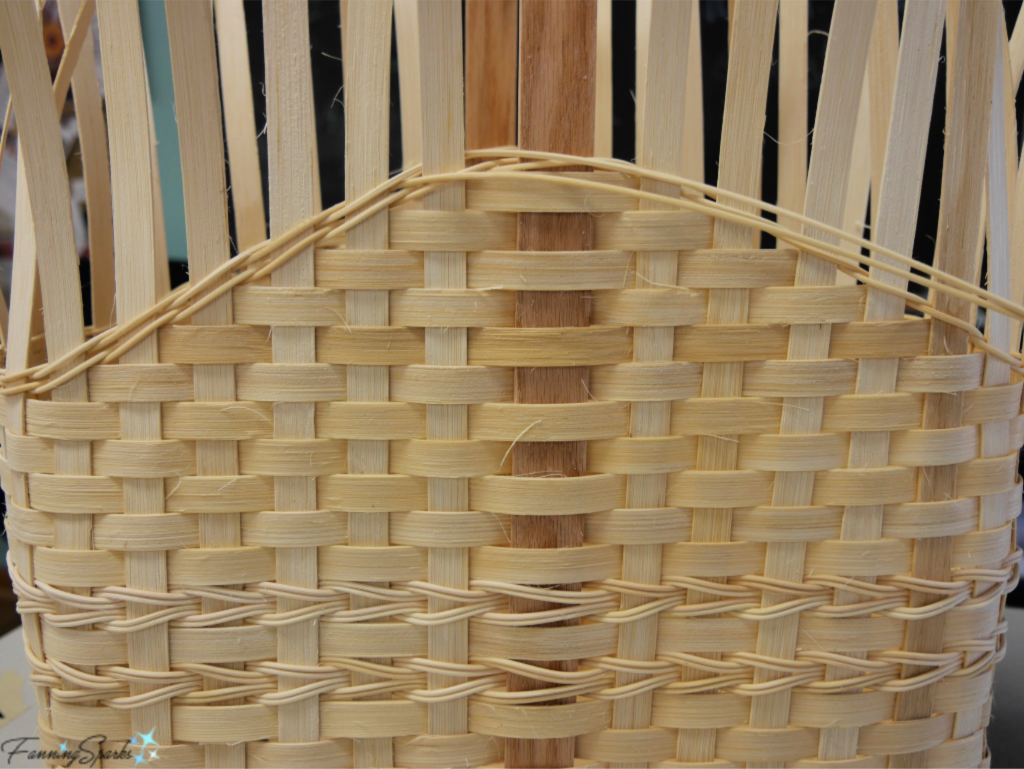 Finishing up the rim and adding the pretty embellishments involved a number of tricky steps. Here’s the top edge in progress.
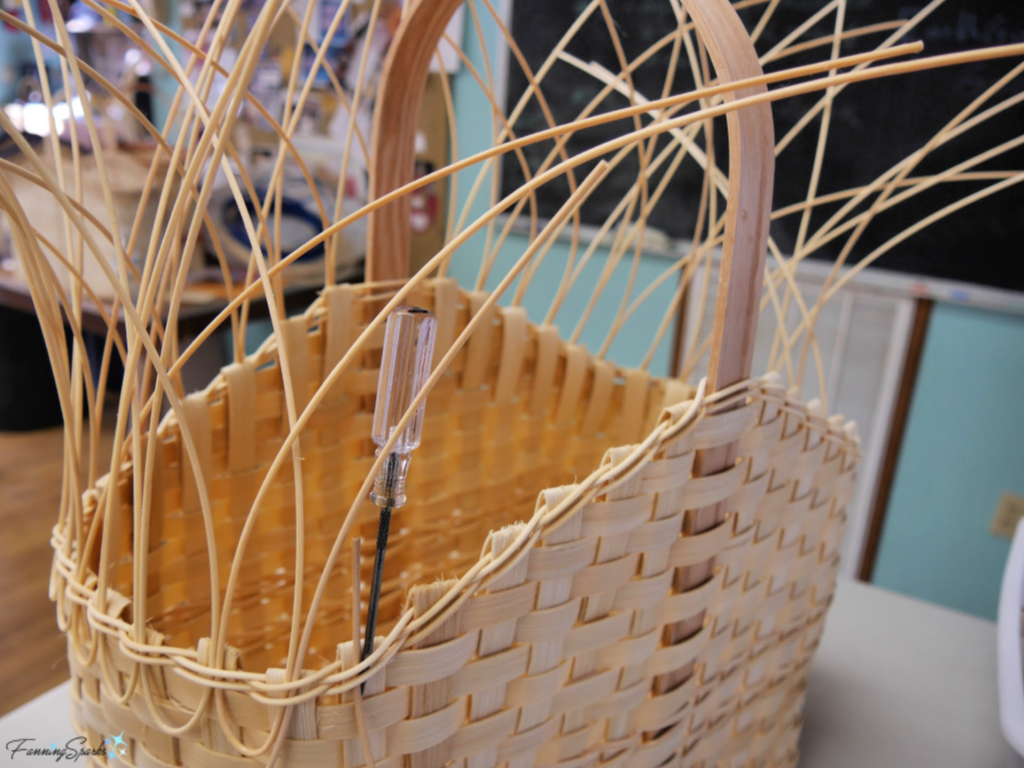
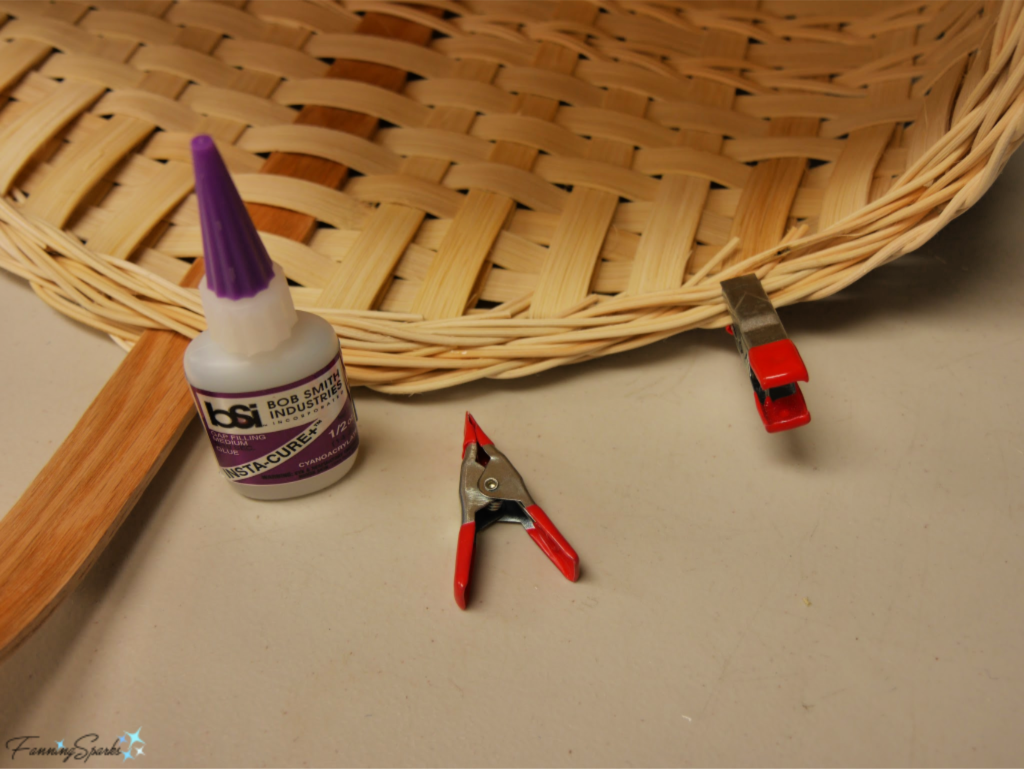
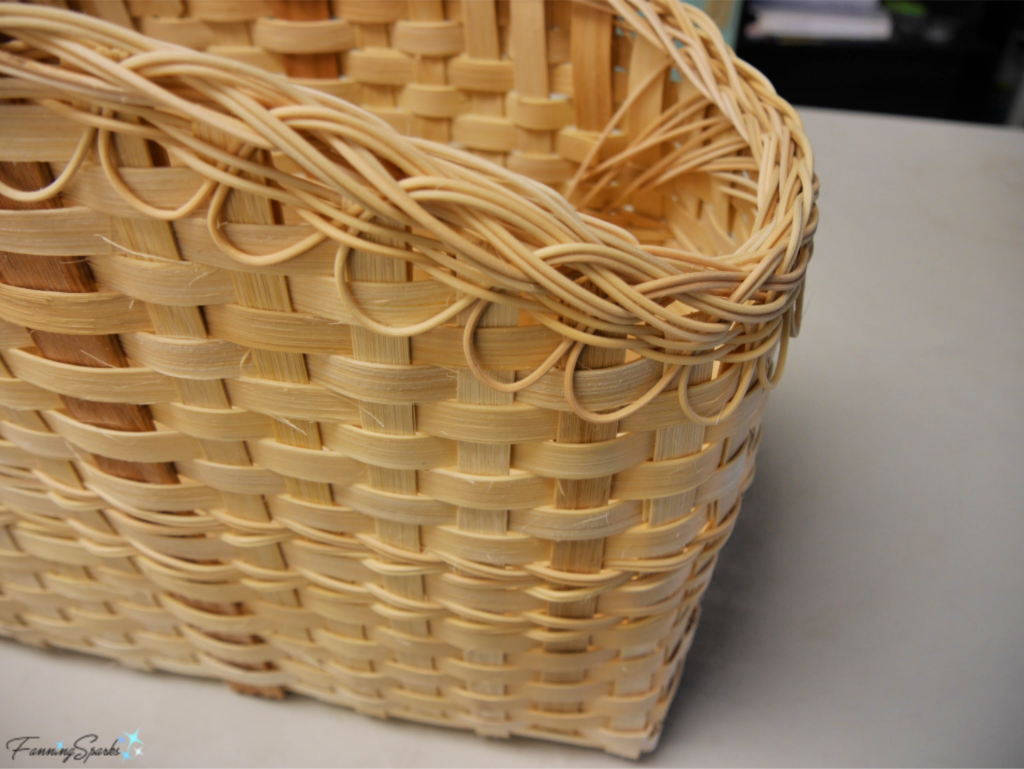 Just as I was finishing the rim, I made a mistake and cut the inside ends too short. Ooops! Luckily, some expert advice and a little glue solved the problem.
 Despite that little misstep, I’m proud to say my market basket turned out beautifully. The sides are nice and straight. The corners are square and level. The double stripes of twining, the lacy finish on the rim and the interwoven wrap on the handle dress it up nicely. Here’s my finished market basket photographed in the Keith House Community Room at the Folk School.
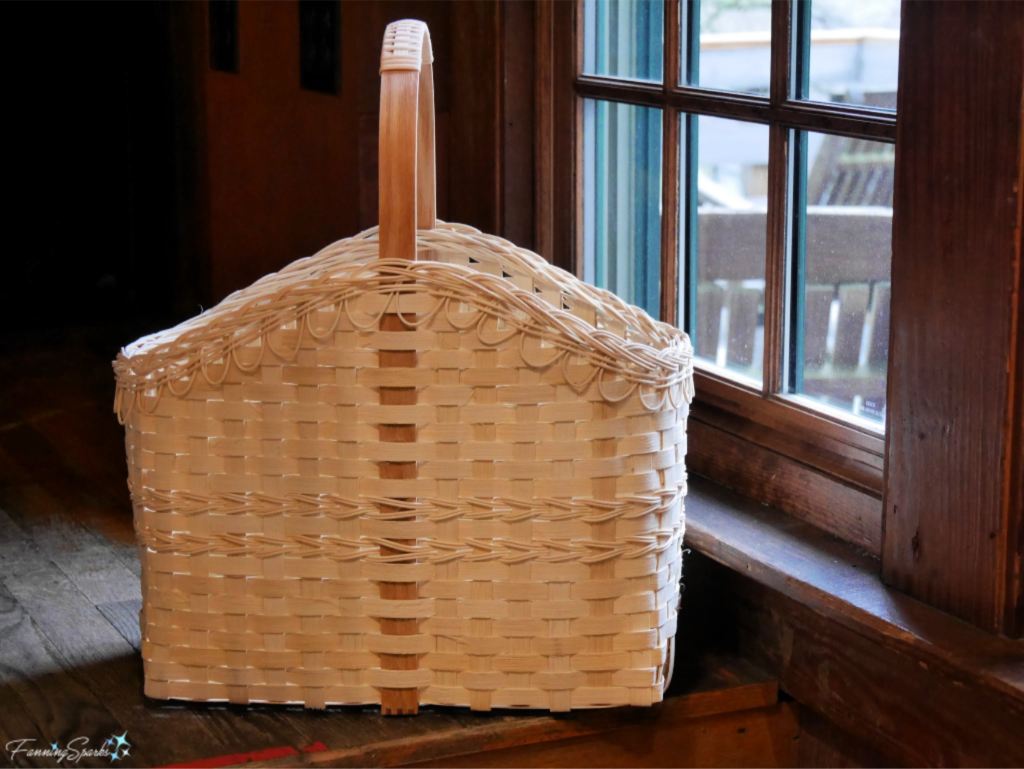 Here it is in our class display at the Student Exhibit.
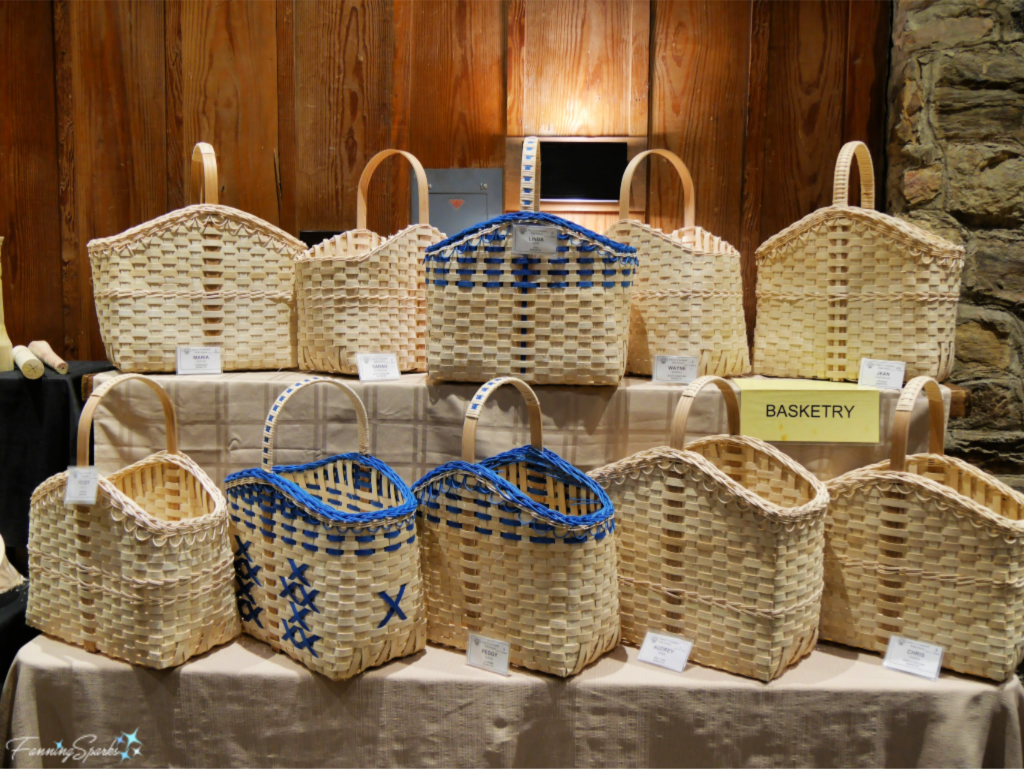 The Student Exhibit is a beloved tradition at the Folk School. On the last day of class, all students display their projects in Keith House. It’s an opportunity for everyone to share what they’ve made and to see or hear everyone else’s work. It’s great fun as we’re all in awe of what has been accomplished! The funny thing is that students are inevitably drawn to exhibits of a new craft they’d like to try and they immediately start making plans to return to the Folk School!
I must admit that as much fun as it was to make this pretty market basket, I’ve had even more fun thinking of ways to photograph it around the Folk School. Here’s my new market basket all ready for a quiet little interlude on one of the cool benches in Noelle’s Garden at the Painting Studio.
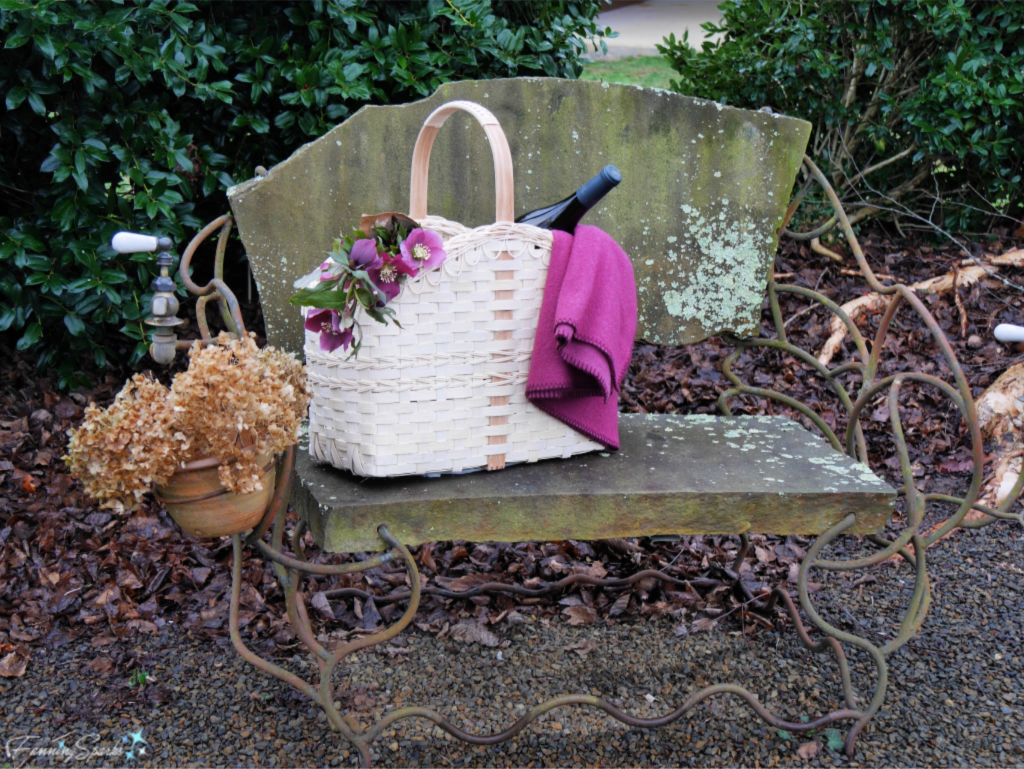 This bench is a splendid marriage of stone and metal with the most amazing little details. Notice how the artist incorporated a vintage tap handle and clay flower pot into the bench design.
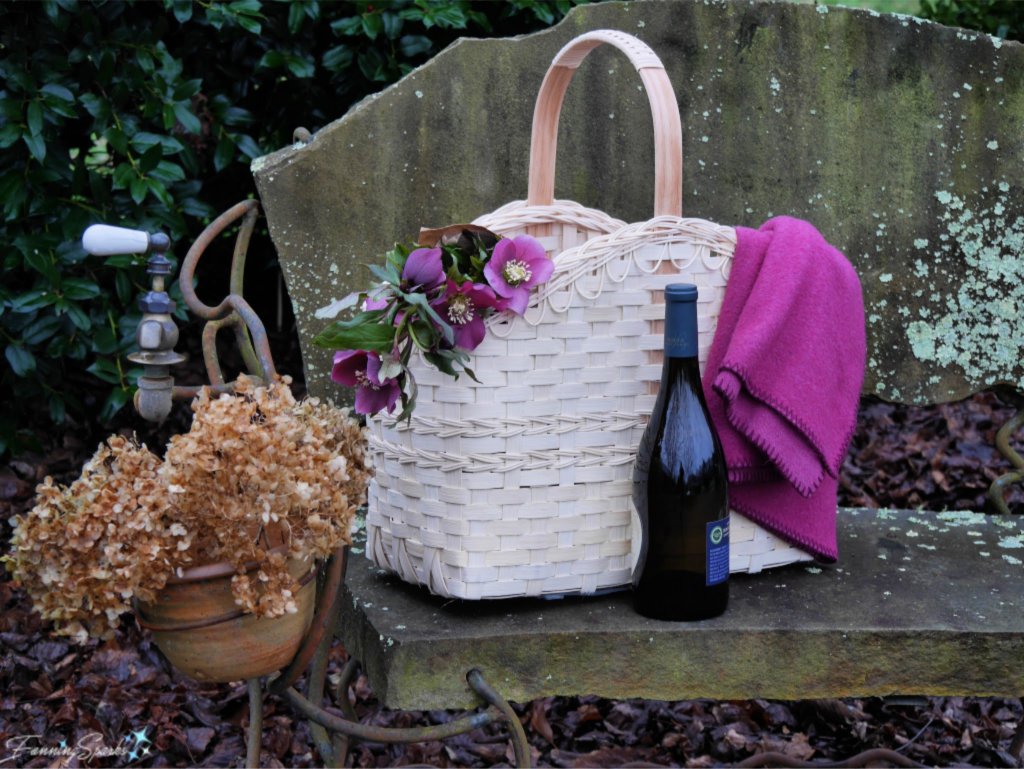
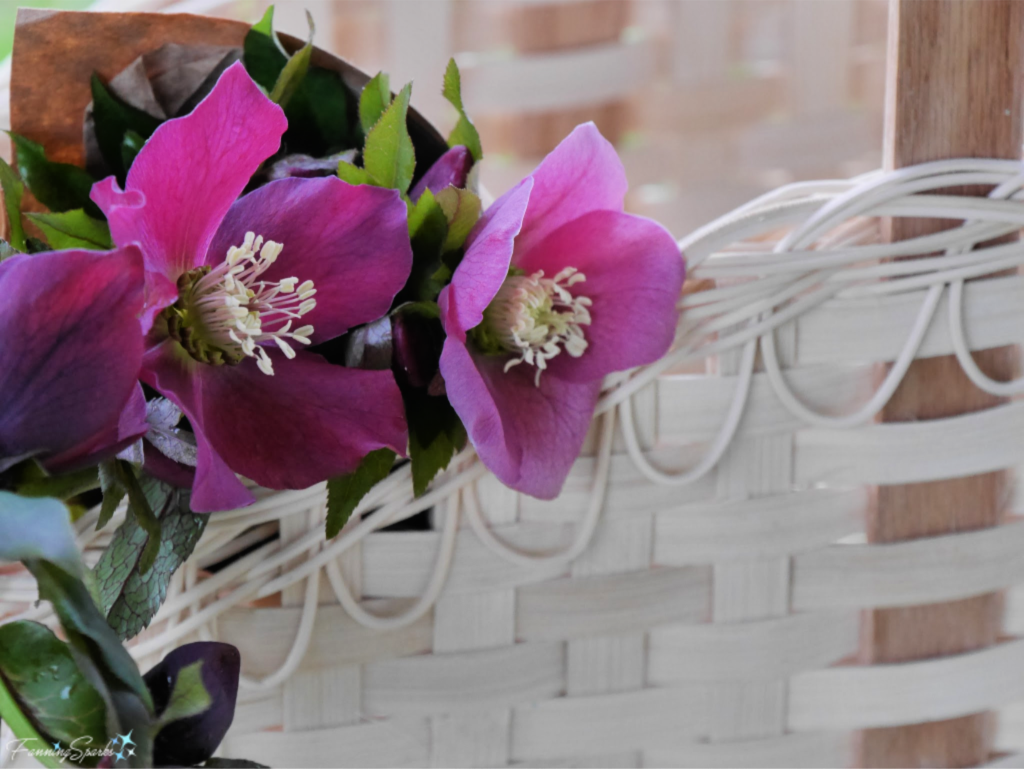
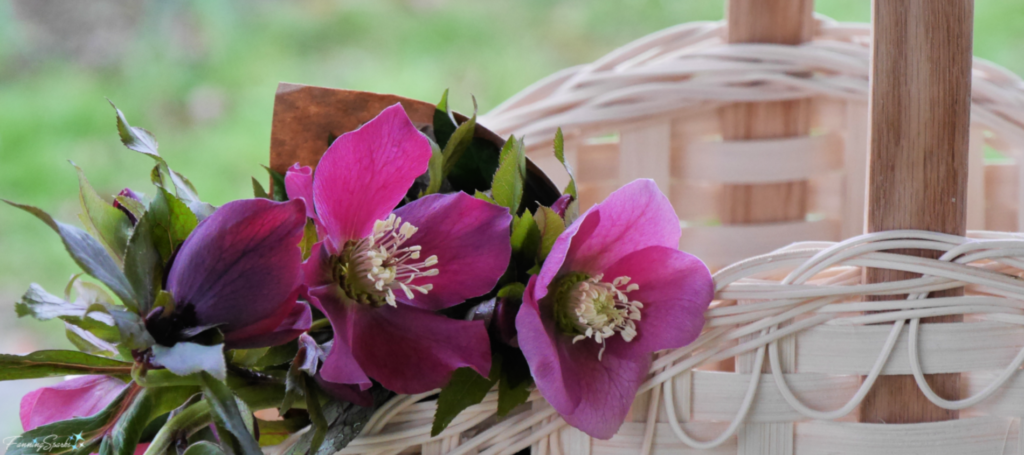
Aren’t those hellebore blossoms gorgeous? Hellebores (commonly known as Lenten roses) are in full bloom at the Folk School while the daffodils are just starting to open. Spring has arrived here in the mountains of Western North Carolina! Here’s my market basket in the Vegetable Garden area.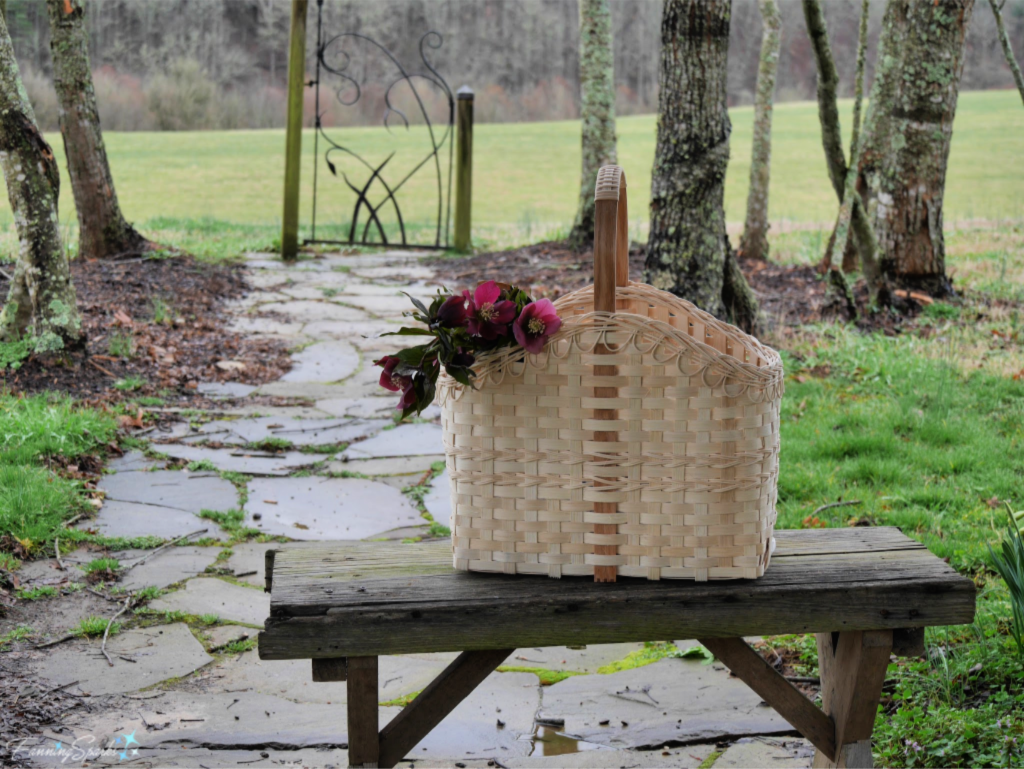
 I’d like to wrap up with a special thanks to my fellow Basketry students and our instructors Susan B Taylor and John Roller. You all made it a great experience!
More Info
If you missed my post on First Impressions as a Work Study Student, check it out to learn about the John C Campbell Folk School and my participation in the Work Study Program.
You can also learn more about the John C Campbell Folk School on their website.
Susan B Taylor will be teaching another Basketry class in July 2019. Check out the course description and details here.
The National Basketry Organization website offers lots of resources and information on basketry.
Materials and supplies can be purchased online. Suzanne Moore’s N.C. Basket Works comes highly recommended.
March 14, 2019 Update: The fun continues at the Folk School. Check out these posts:
. Artistic Details Around Campus
. Carving in Brasstown
. Getting Started with Woodcarving
Today’s Takeaways
There’s a great little notice in the Basketry Studio at the Folk School which reads:
“Basket making is not an exact science – it’s an art.
If you only learn one thing from this course, let it be this: handmade things shouldn’t look perfect! The little imperfections you worry about are the things that give your basket character.
So weave your basket with love and display it with pride!”




2 Comments
@Marian – So glad you liked the post! Add basketry to your list of things to try!
Wow! Beautiful basket.
Great photos showing the progress, and afterwards to display it.
What fun.