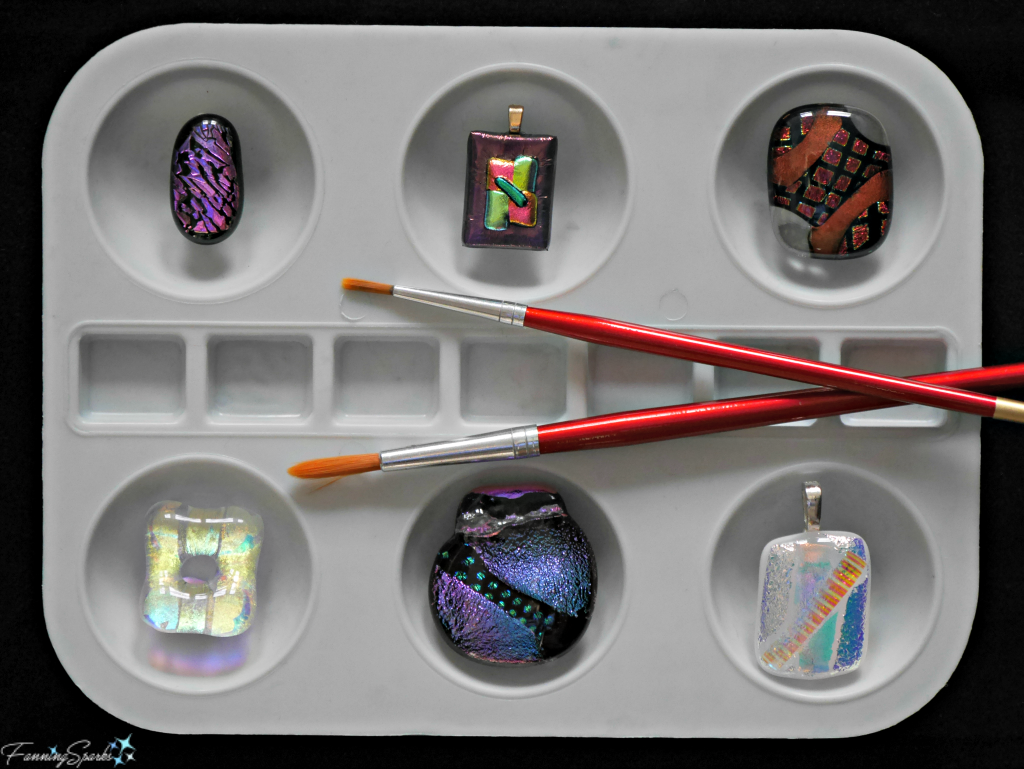
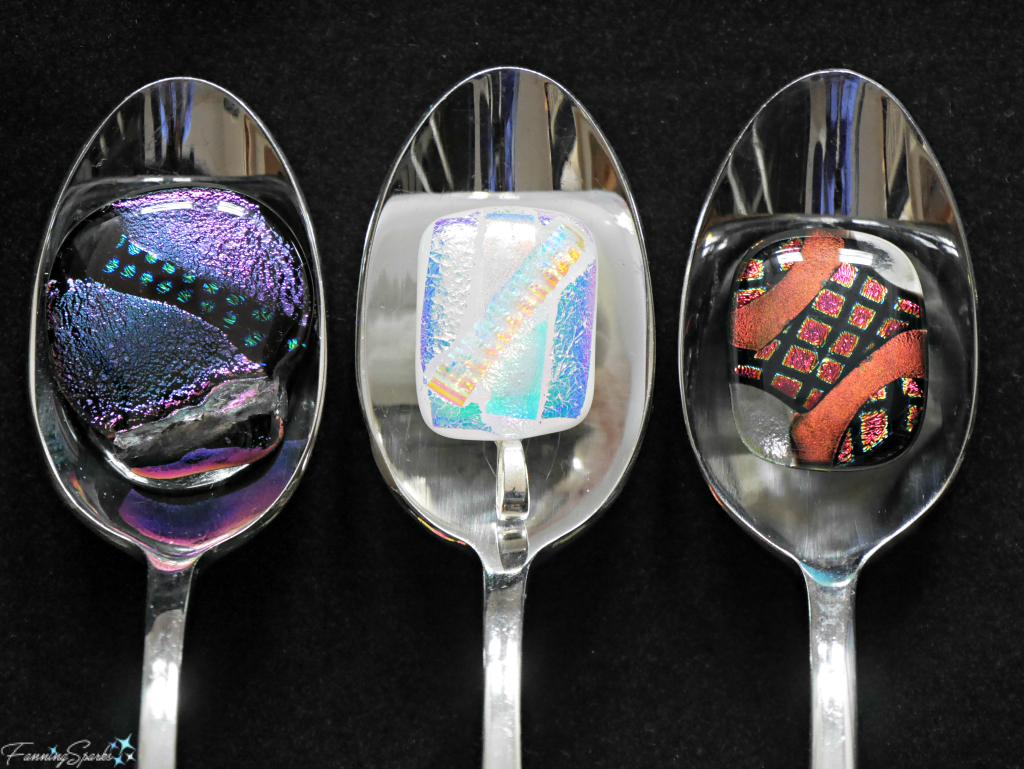
A recent visit to Cat Martin’s glass studio triggered an idea. Why not add a little sparkle to my favorite DIY woven statement necklace for the holidays? Cat has a large selection of fused glass jewelry pieces made of dichroic glass. Dichroic glass has a beautiful shimmer and shine. Viewing it at different angles, backgrounds and lighting, causes the color to shift creating a dazzling array of color. Dichroic glass is a composite of non-translucent glass that is produced by stacking layers of glass and micro-layers of metals or oxides. Choosing which piece to use wasn’t easy; there were so many great options. Each piece suggested a different color palette and style.
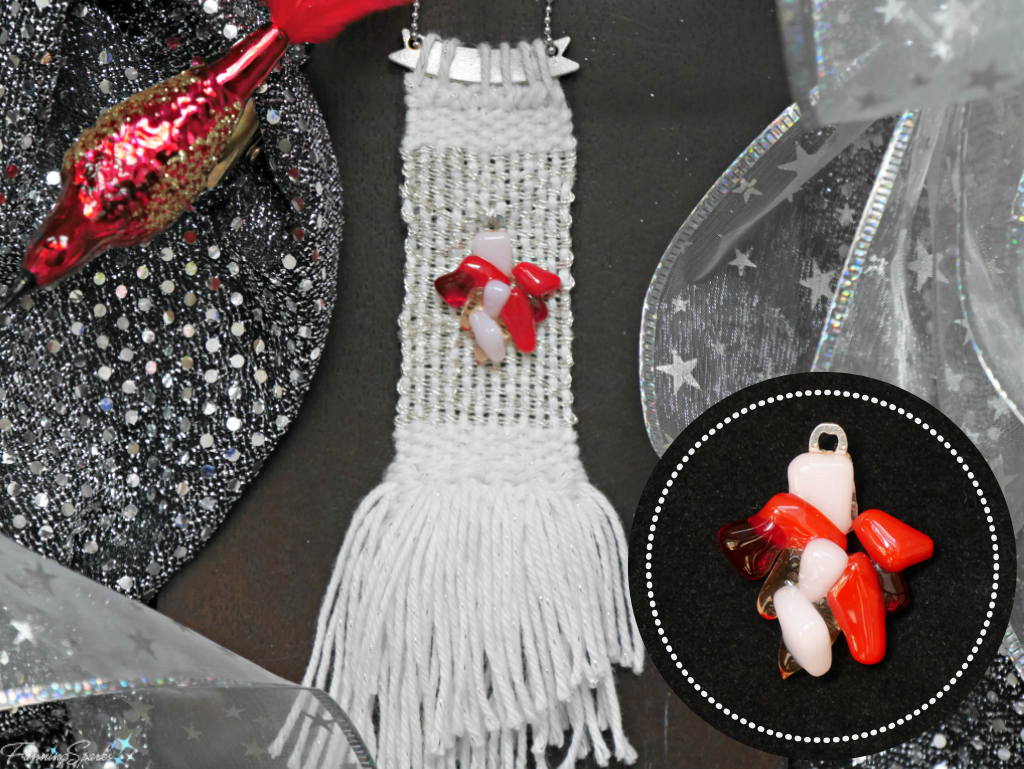
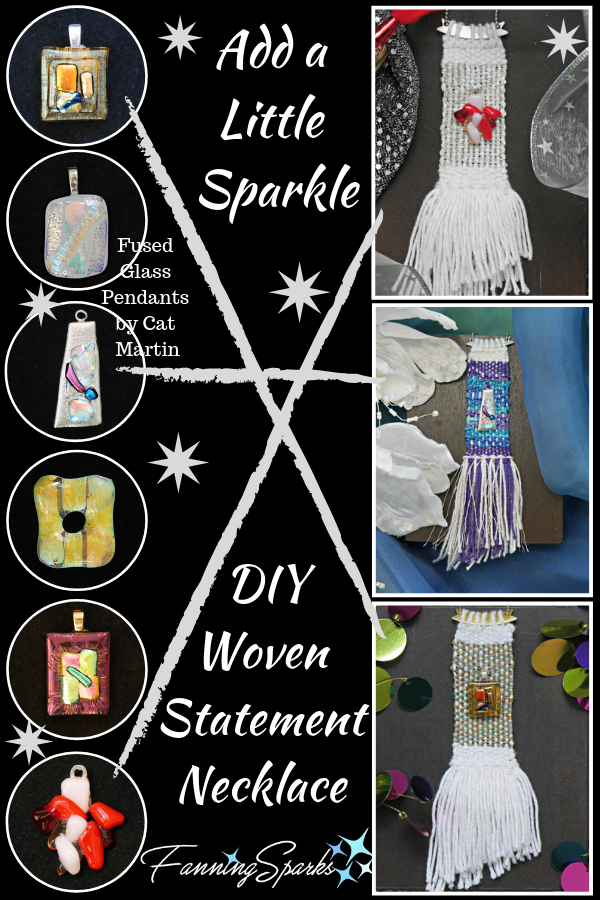
Here are the three fused glass accent pieces I chose and the resulting DIY Woven Statement Necklaces. First is a red abstract fused glass mosaic on silver thread weaving.
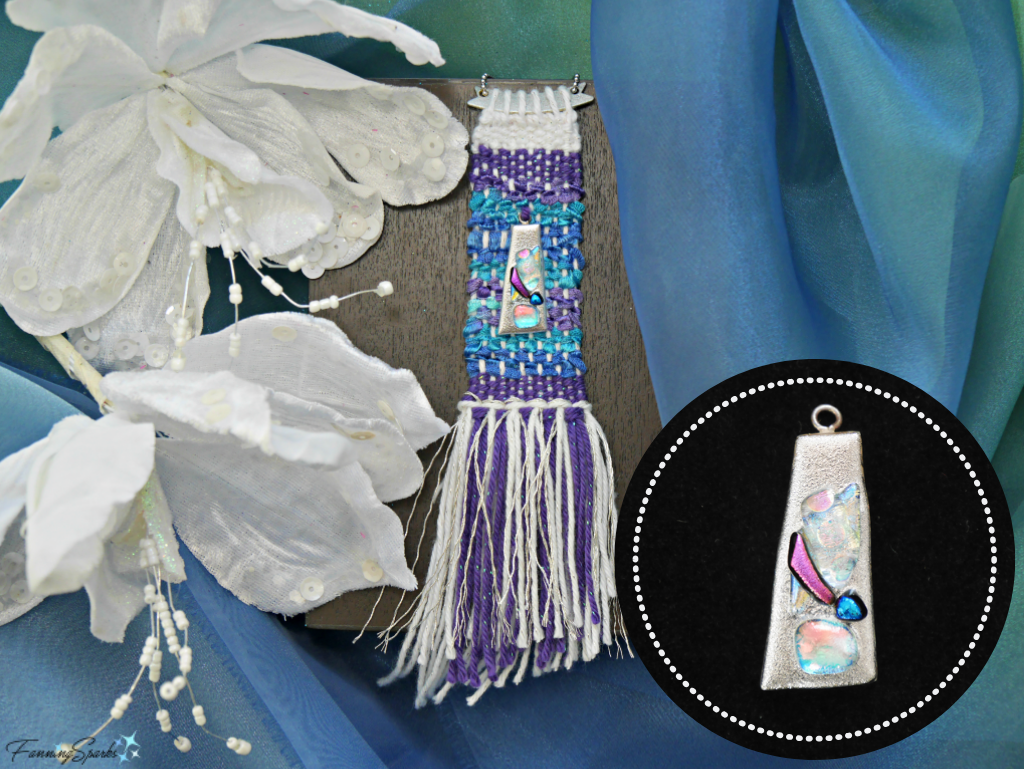
Next is a gorgeous silver dichroic glass pendant with purple and blue accents on purple and blue yarn weaving.
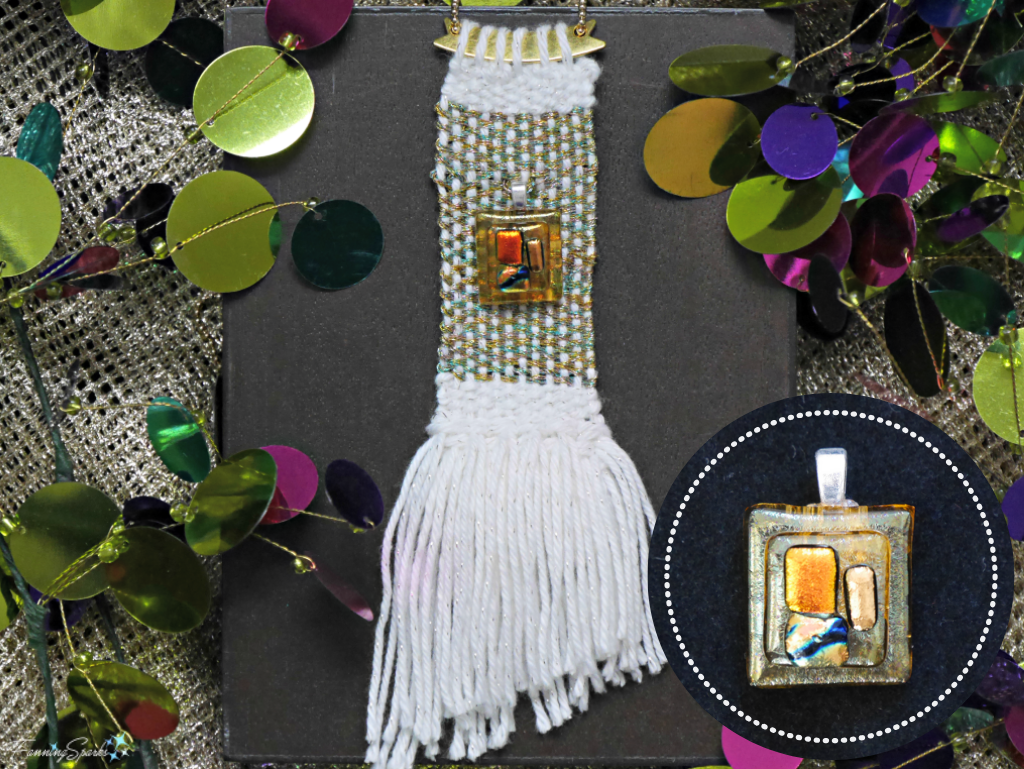
The last one is various shades of gold dichroic glass on variegated gold thread weaving.
Making these Woven Statement Necklaces isn’t difficult but working with metallic thread can be challenging. It took a few attempts to figure out which materials worked best and how to adjust my technique. Today I’d like to share the lessons I learned so you can add a little sparkle to your own Woven Statement Necklace. The complete tutorial, with step by step instructions, on how to make these necklaces can be found in this post DIY Woven Statement Necklace Tutorial. Instead of repeating the full tutorial here, I’ll just point out the adjustments I recommend. Please be sure to start with the full tutorial.
Supplies and tools (only modifications listed)
- Embellishment – As noted above, fused glass accents with shimmer and shine are ideal.
- Cardboard header – Cut the strip of cardboard so it is a little wider at 3″ long by 1” wide. Metallic yarns unravel easily so it helps to have longer loops when it’s time to remove the weaving from the frame and tie off the bottom ends (in Step 18).
- Ribbon Connector Metal Blank – Used instead of a cocktail straw for the top bar. I found these under the Blank Slate by Traditions brand in the jewelry making section at Hobby Lobby.
- Ball link chain with extra small ball links – Bought 36″ lengths in silver and gold color. I found these under the Metal Gallery brand in the jewelry making section at Hobby Lobby.
- Yarn for Red Abstract Glass Necklace: a) Cascade Yarns Sunseeker in white (color #35) and b) DMC Metallic Perle in size 5 in silver (color #5283).
- Yarn for Silver Dichroic Glass Necklace: a) Cascade Yarns Sunseeker in white (color #35), b) Cascade Yarns Sunseeker in purple (color #01) and c) Mango Moon silk ribbon variegated ribbon yarn (color #4304 Saturn but I used only purple and blue sections).
- Yarn for Gold Dichroic Glass Necklace: a) Cascade Yarns Sunseeker in white (color #35) and b) Artiste Metallic Floss in variegated gold (color Heaven).
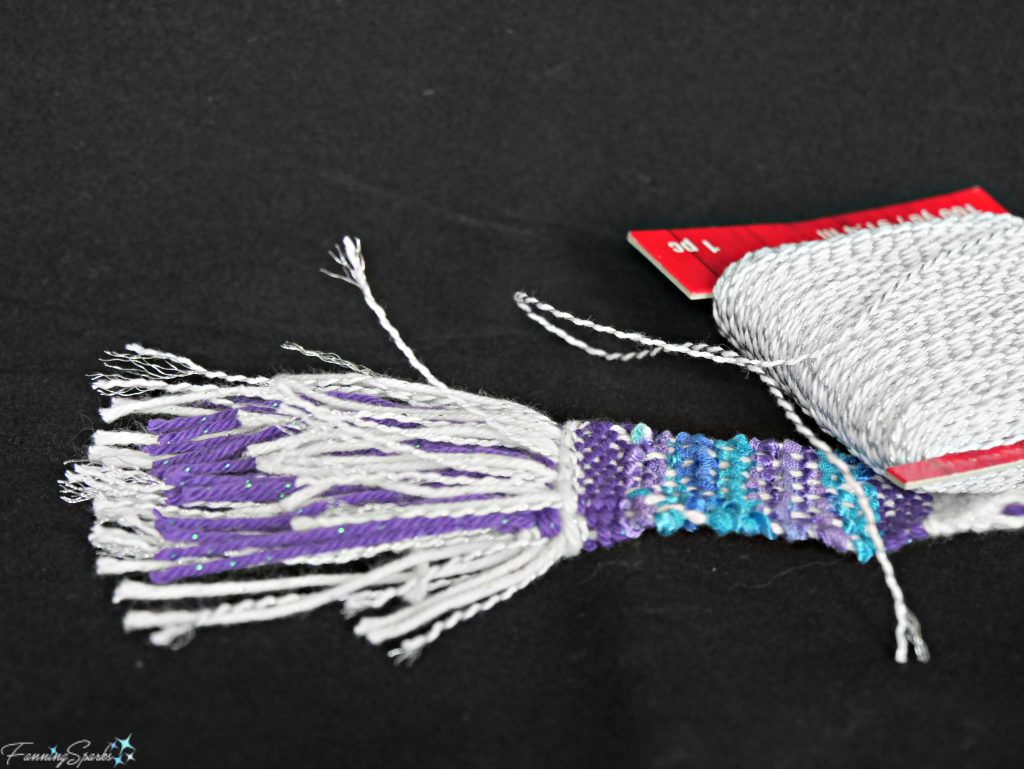
It can be challenging to find yarn with significant shimmer in an appropriate weight. At one point, I tried a white and silver baker’s twine. It looked nice in the weaving but, as I discovered when I trimmed the fringe, the twine was far too stiff and made the fringe stick out in all directions. It was back to the yarn shop after that fail!
Instructions (only modifications included)
Step 10. On the Silver Dichroic Glass Necklace, I used a mix of white, purple and silver yarns for the fringe. The other necklaces used only the primary white yarn for the fringe.
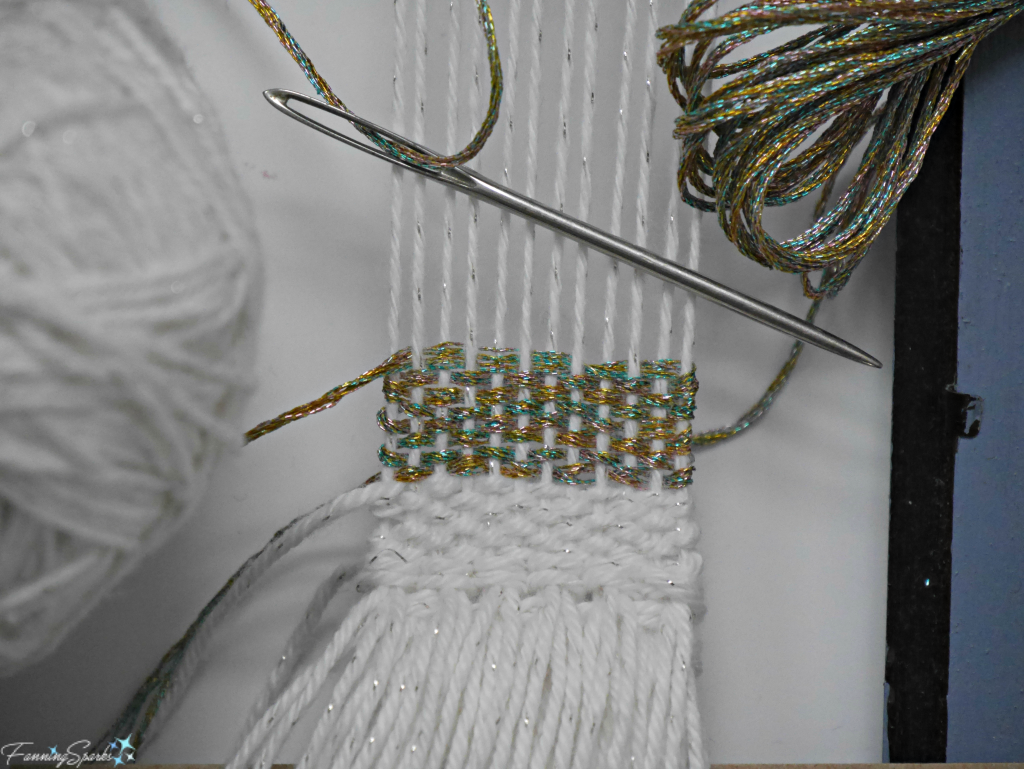
Step 15. In general, working with metallic yarn/thread requires more care. Weave slowly and ensure the metallic thread lies flat and smooth before locking the weaving in place (as shown below). This will give the best light reflection. I learned the hard way that letting the metallic thread twist and turn (as I normally would with other yarn) results in a dull, lackluster finish. I had to redo an entire necklace to achieve my objective of adding shimmer and shine. Go slowly and check/adjust the metallic thread placement after every other stitch. Take extra care to smooth and flatten when turning at the ends. When you reach the end of a row, it helps to let your needle hang loose for a moment so the metallic thread can unwind.
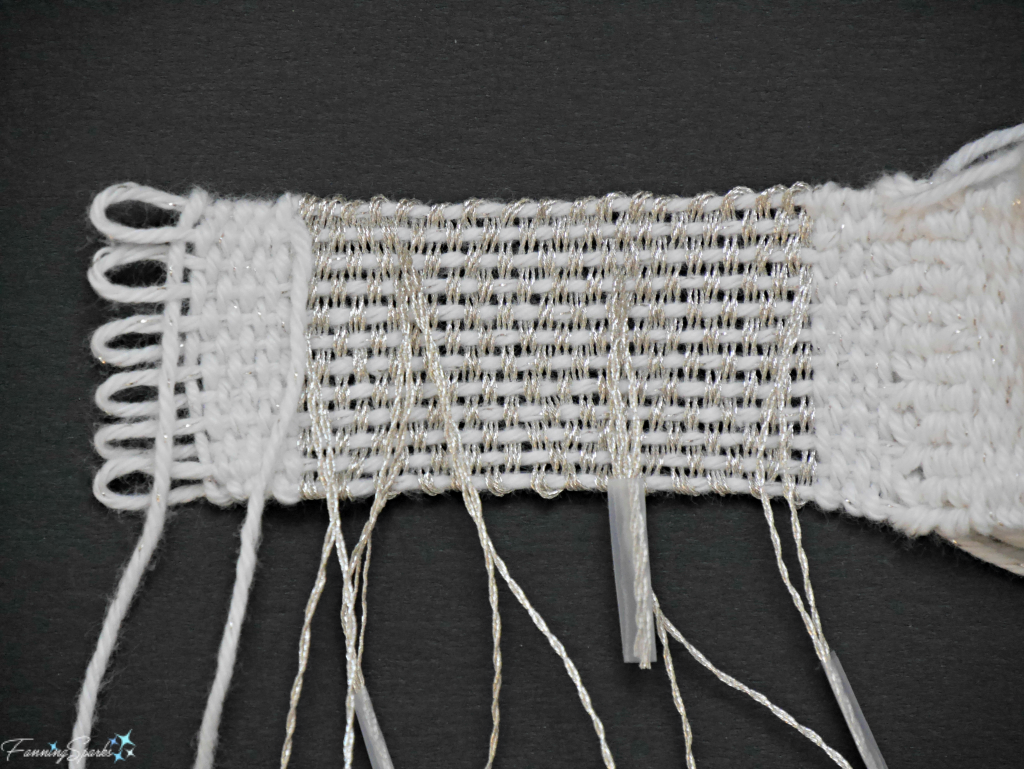
Step 15. Instead of starting and ending a piece of metallic thread at the outer edge, start and end 2-3 warp strands in from the edge. The metallic threads (ie new thread started and “old” thread ended) will overlap for about 2-3 stitches but the overlap disappears as you continue weaving. In addition, leave slightly longer tails when starting and ending a strand of metallic thread. I found it helpful to put a small piece of tape over the ends of the metallic thread to prevent them from unraveling. Here’s a photo showing the back of a section of metallic thread weaving.
Step 15. Adjust the number of rows of weaving. The size of the embellishment should determine the size of the metallic/ decorative yarn section. More rows of decorative weaving may be needed because the metallic thread is lighter/thinner than other yarn. The Gold Dichroic Glass Necklace, for instance, has 34 rows of decorative yarn/thread.
Step 21. When finishing the tails on the back of the weaving, it’s better to hide the ends by weaving them vertically along the warp threads (instead of horizontally along the weaving). This helps keep the weaving square and avoids puckers on the front. Finish the final tail (the end from the last row of plain weaving) by overcasting through the TOP loops and the last row of weaving.
Step 22. Insert the Ribbon Connector Metal Blank through the TOP loops. This replaces the piece of cocktail straw used in the original necklace.
I hope you’ll give this holiday version of the DIY Woven Statement Necklace a try. Have fun selecting a nice embellishment with lots of sparkle. Then follow the step-by-step instructions from the full tutorial incorporating the modifications for selecting and working with metallic yarn/thread.
Please pin this image.
More Info
This is the original DIY Woven Statement Necklace Tutorial. A second version of the necklace was introduced in the post Artisan Transforms Quahog Shells.
For more information about Cat Martin and her beautiful fused glass, see the post Peeking Behind the Studio Curtain. Contact Cat at CatMartinGlassArt@hotmail.com
Today’s Takeaways
1. The holidays provide a great opportunity to add sparkle and shine.
2. Consider re-working a successful project in a different material or design.
3. Much can be learned from trial and error when making something new.




Comments are closed.