
Who doesn’t love a good portmanteau? These clever made-up words, aka frankenwords, are created by blending words. Brunch (breakfast + lunch), motel (motor + hotel) and smog (smoke + fog) seem to be cited most frequently as examples.
There are lots of other fun and interesting portmanteaux—chillax (chill + relax), brainiac (brain + maniac), glamping (glamorous + camping), jeggings (jeans + leggings) and hattitude (hat + attitude), to name a few. My current favorite is destinesia (destination + amnesia) which gives me a legitimate excuse when I open the fridge door and realize I’ve forgotten why I wanted to go there!
But caroma (car + aroma) is the portmanteau which brings me to the topic of this blog post. While established dictionaries don’t actually list “caroma”, it is included in several published lists of made-up words and defined as “a repugnant smell in a car”.
A popular way to fight unpleasant car odors is with essential oils. Special decorative hangers, designed to clip onto the air vents, diffuse the oils into the vehicle. In today’s blog post, I’d like to share how to make one of these essential oil diffusers for your car. I’ve dubbed it the “Caroma Buster”. Consider it an upscale version of the ubiquitous pine tree air freshener everyone used to hang from their rearview mirrors.
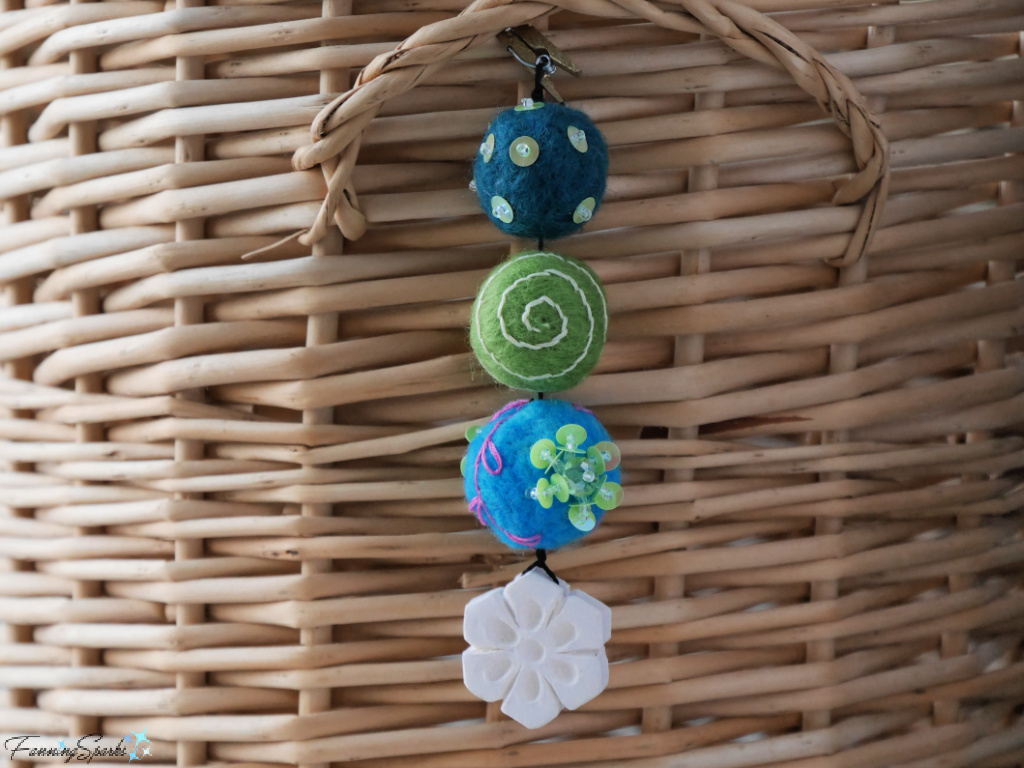
The Caroma Buster is a fun, little maker project which involves stringing together a few elements into a charming hanger. It’s made with primarily natural pieces, such as wood, bisqueware and wool felt, which can absorb and then slowly diffuse a few drops of essential oil. Although it’s designed to be clipped to the air vent in your vehicle, it’s not limited to this role. It could also be used throughout your home by hanging it from a closet door, robe hook, cabinet door knob, drawer pull, etc.
The best thing about the Caroma Buster is its simplicity and versatility. You can easily customize the design with materials, forms, colors and embellishments of your choice. It can be sleek and modern or warm and cozy. It can be understated elegance or over-the-top flashy. It can be generic, themed or personalized. There are many possibilities. In addition to customizing the hanger, you can customize the scent by choosing your favorite essential oil.
A variety of elements can be used in the Caroma Buster. Small pieces, about 1” or smaller in diameter, work best. The pieces must have a hole through them, or be soft enough to pierce, so they can be strung together.
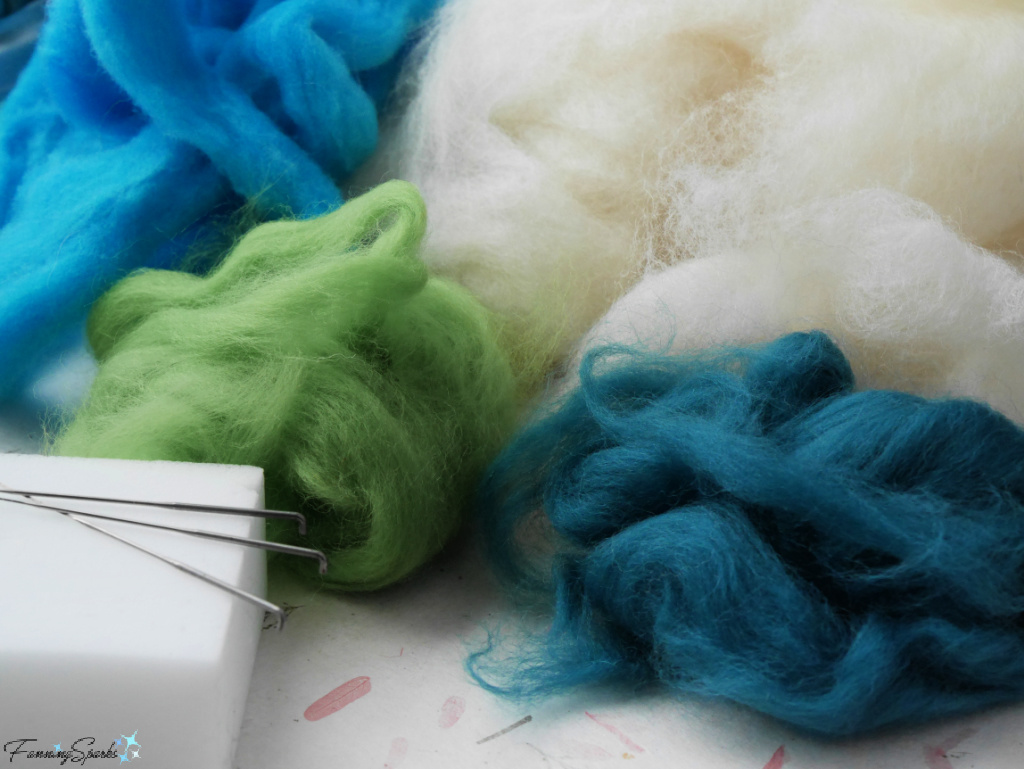
Felted wool balls are a popular choice for car essential oil diffusers. You can create your own from wool roving or purchase them already formed. The balls are made by needle felting (see my previous post Needle Felting: Makers Stabbing Wool for an introduction), in which you repeatedly stab wool fibers with a felting needle to build up your form to the desired size and shape. Begin with wool roving in your choice of color as well as some core wool (an undyed mix of coarse and fine wool).
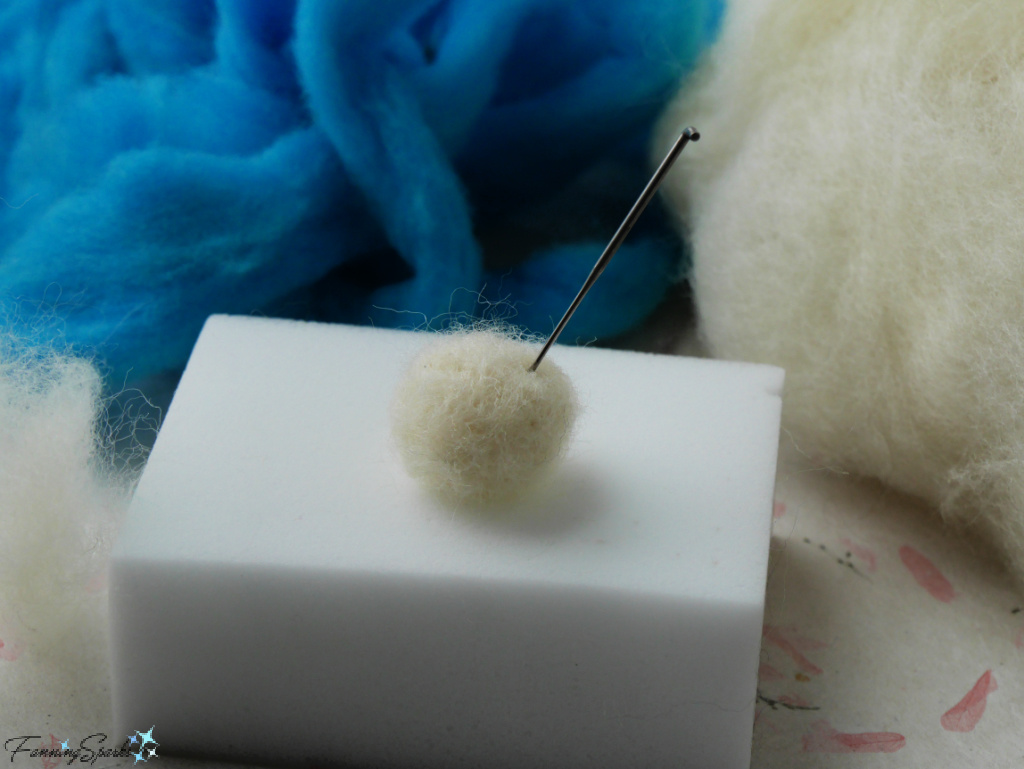
 An easy way to make a felted wool ball is to start with a small knot. Take a short, narrow length of core wool and tie it into a simple overhand knot.
 Wrap the ends around the knot to form a ball. Place the wrapped ball on a piece of foam (or your preferred working surface) and stab it repeatedly with your felting needle. Turn the ball as you work to maintain the round shape.
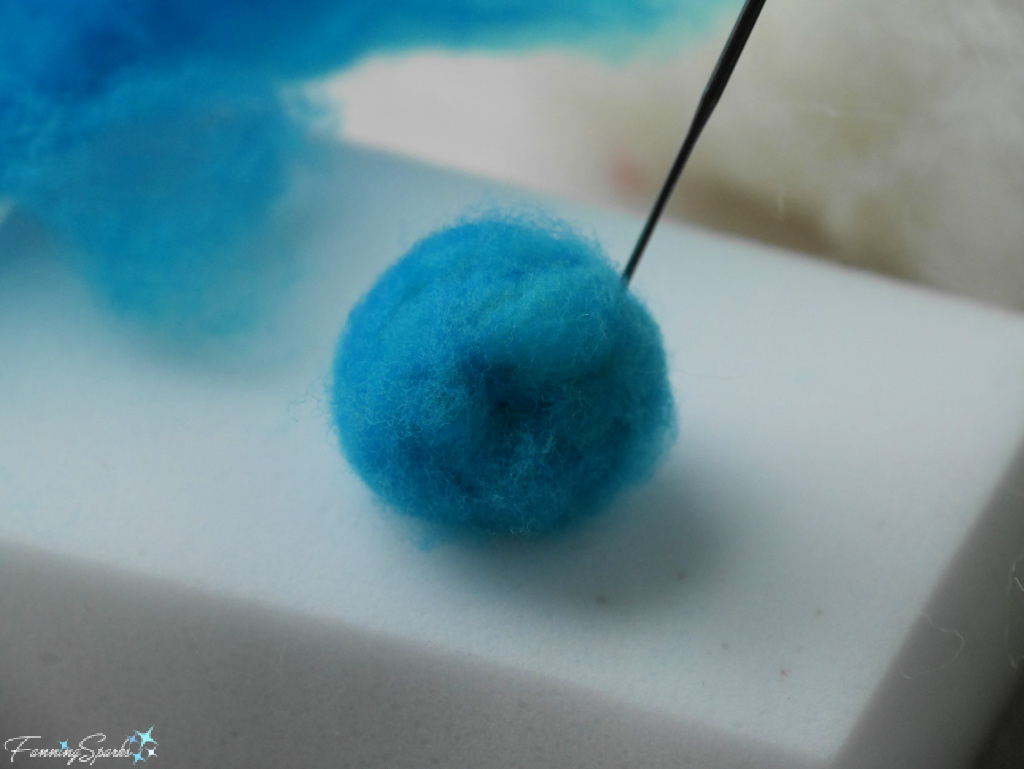
 After the ball is quite firm and most of the fiber ends have been worked into the ball, take a piece of your dyed wool roving and wrap it around the core wool ball.
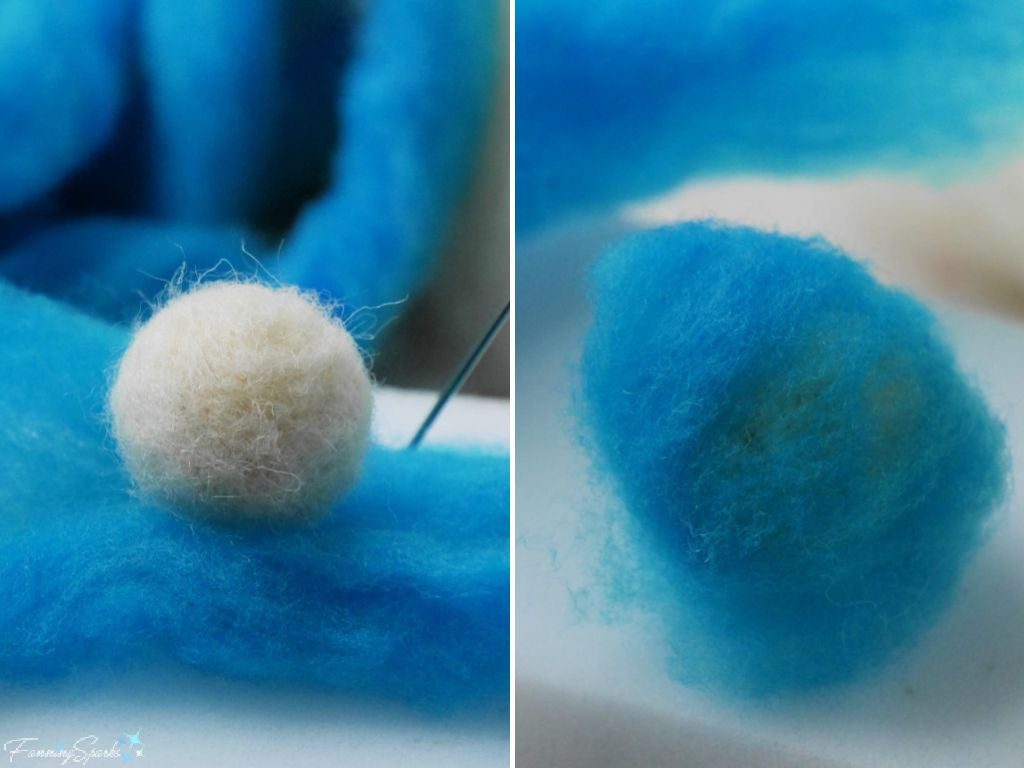 As before, stab the ball repeatedly with your felting needle turning it between stabs to maintain the round shape.
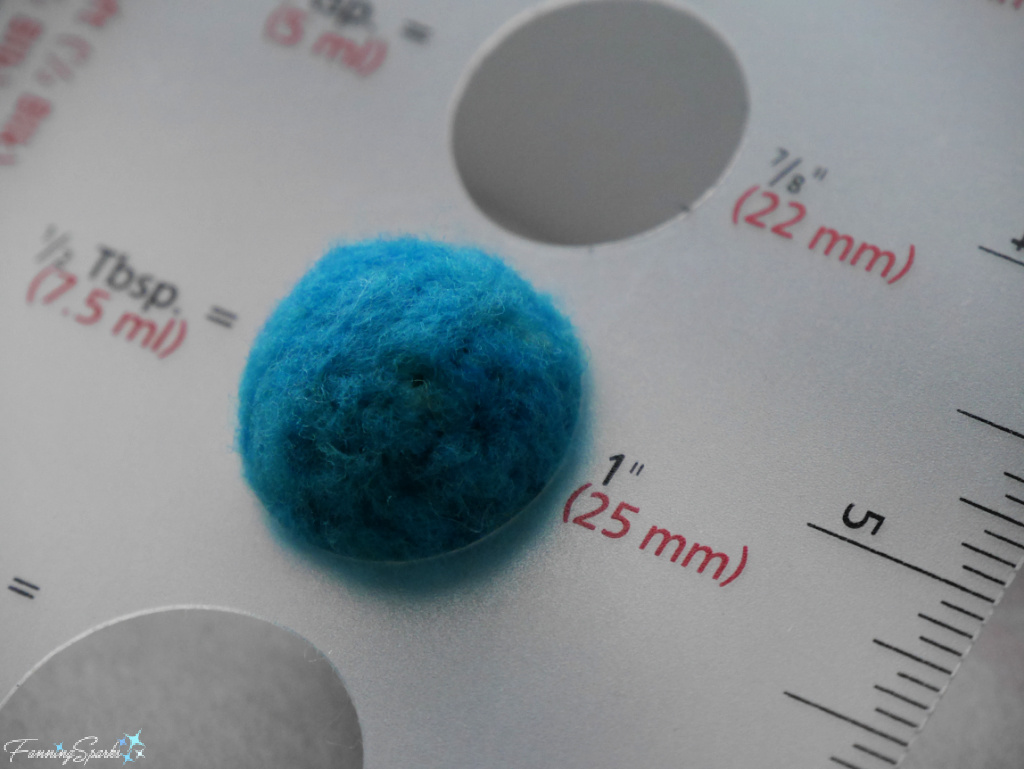
 A cutout circle temple, such as the Polymer Clay Template from American Art Clay shown below, is handy for checking the size of your felted wool ball. I made 3 different-sized felted wool balls—the largest is 1” in diameter. Felting compacts the wool fibers and the ball shrinks as you stab. This makes it challenging to predict the amount of roving needed to produce the desired size. It’s best to start small and gradually build up the ball since it’s much easier to add more wool roving than to remove it.
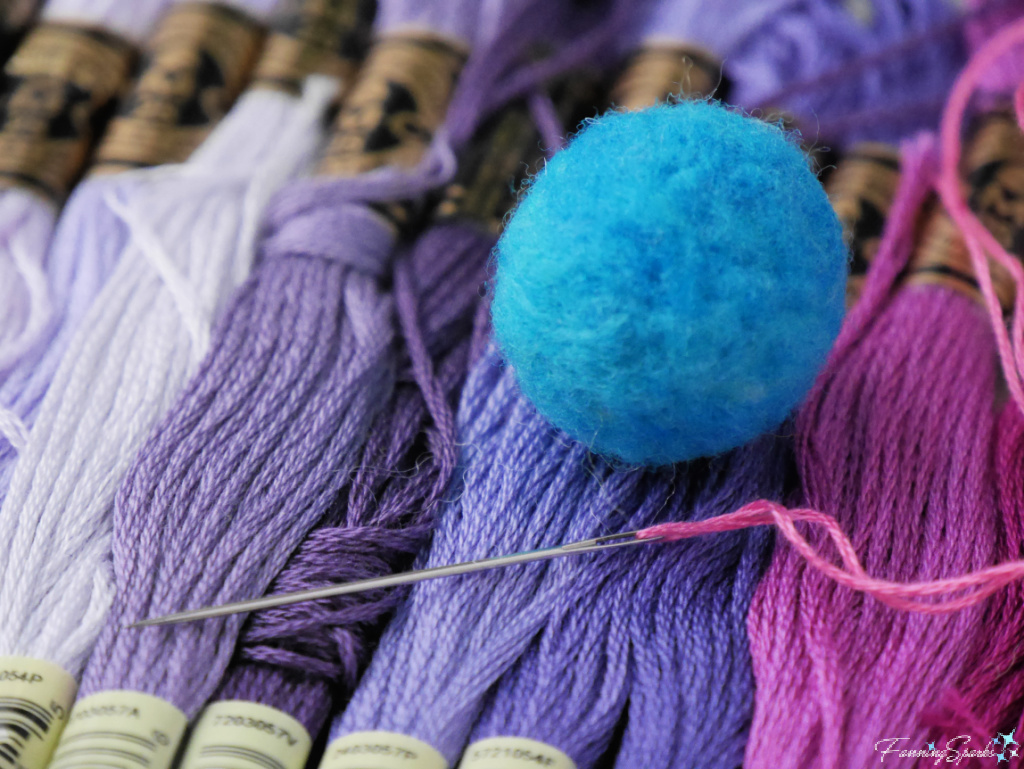
 Felted wool balls can be left plain or embellished with needle felting, embroidery or beading. I chose to add a row of colorful embroidery to my turquoise felted wool ball.
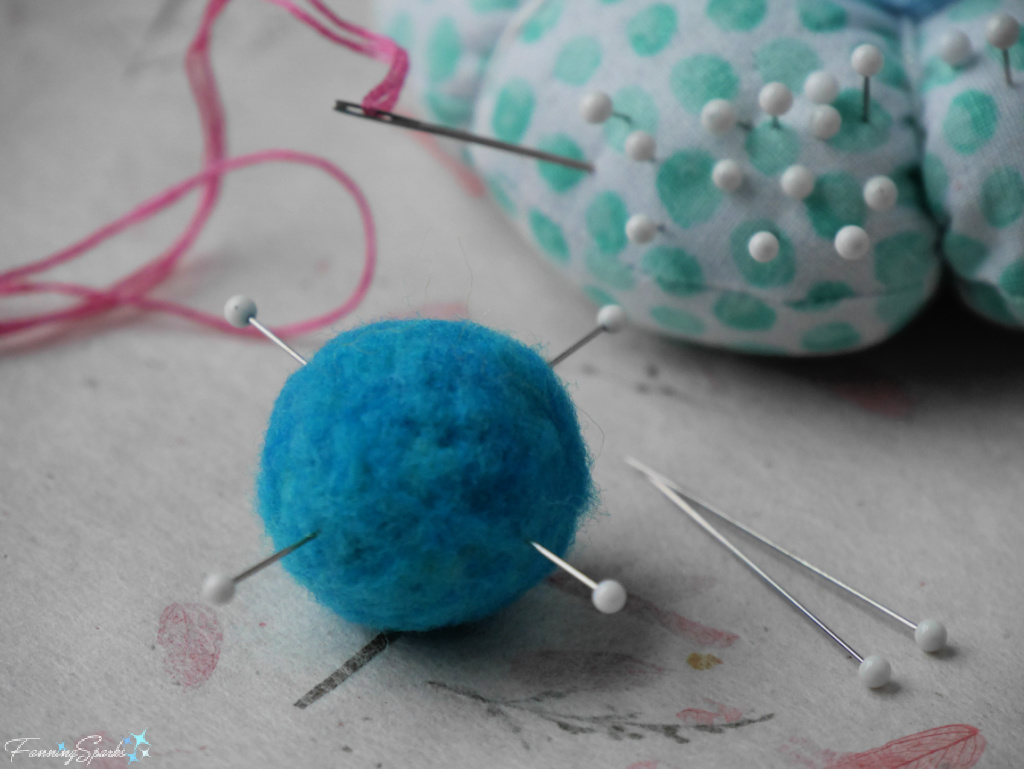
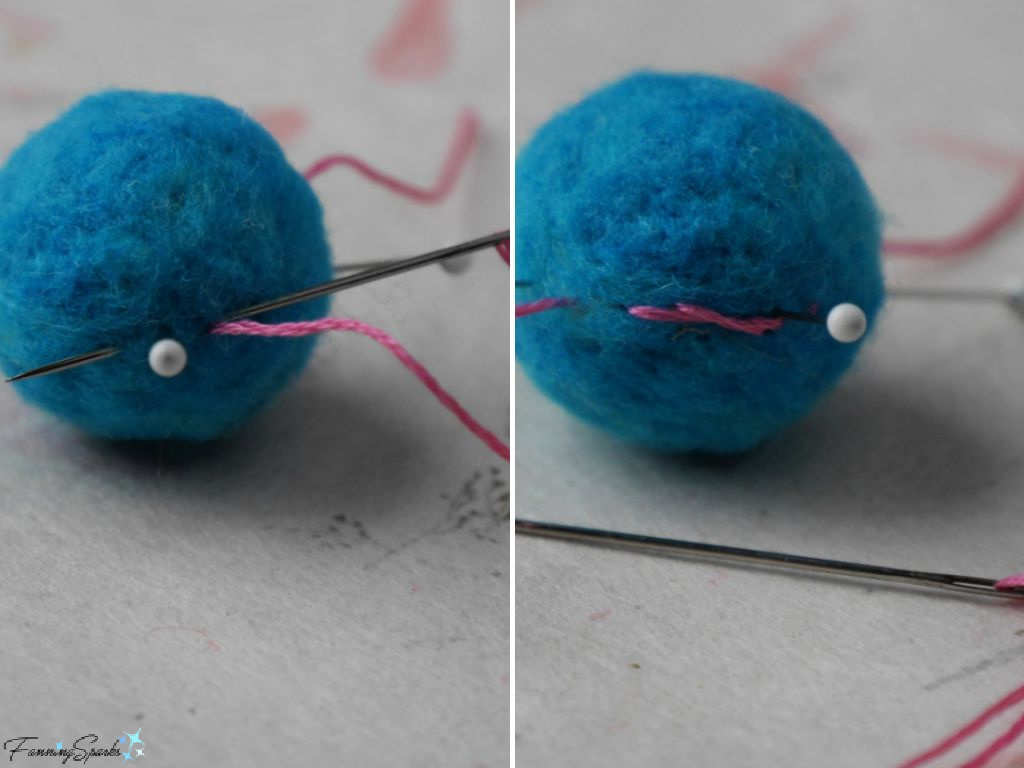
 When stitching a row around the center of a felted wool ball, it’s helpful to start by marking a centerline with a few pins.
 I used my favorite stitch, the outline stitch (aka stem stitch), which is the one I use most often when embroidering photographs and paper projects. To learn more about this stitch, including the diagram and instructions I use to refresh my memory, see my previous blog post Hello Marvelous Photo Embroidery – DIY Tutorial. Here are a couple of photos showing the outline stitch in process.
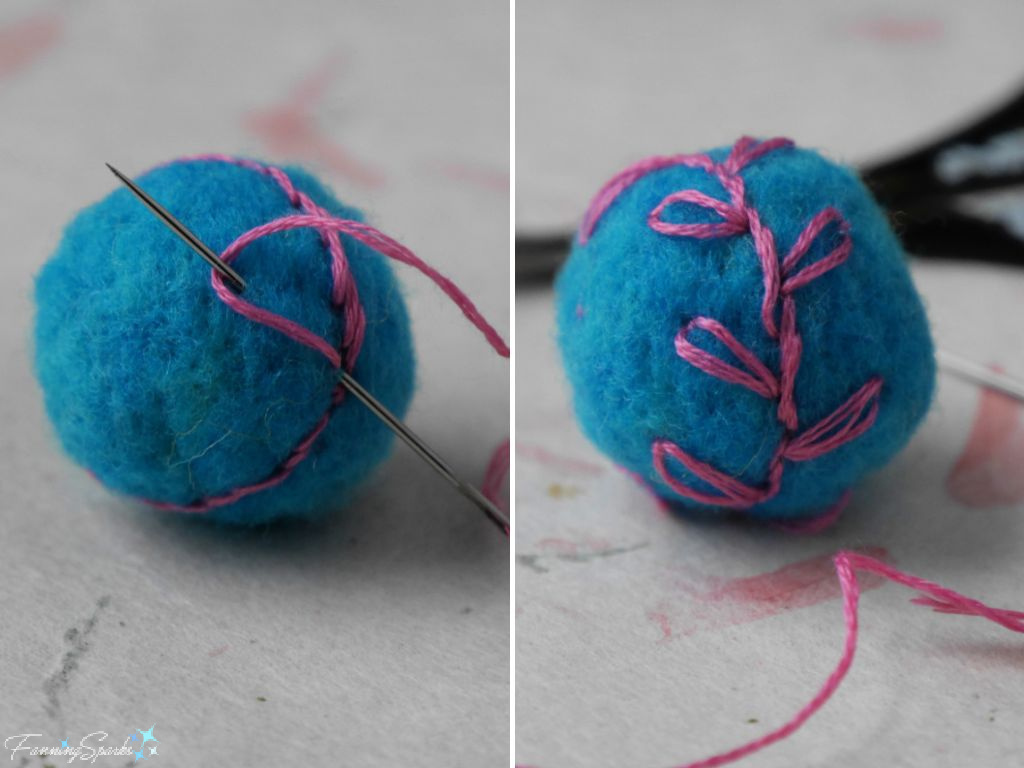
 After sewing a row of outline stitches around the center, I added leaves with a lazy daisy stitch.
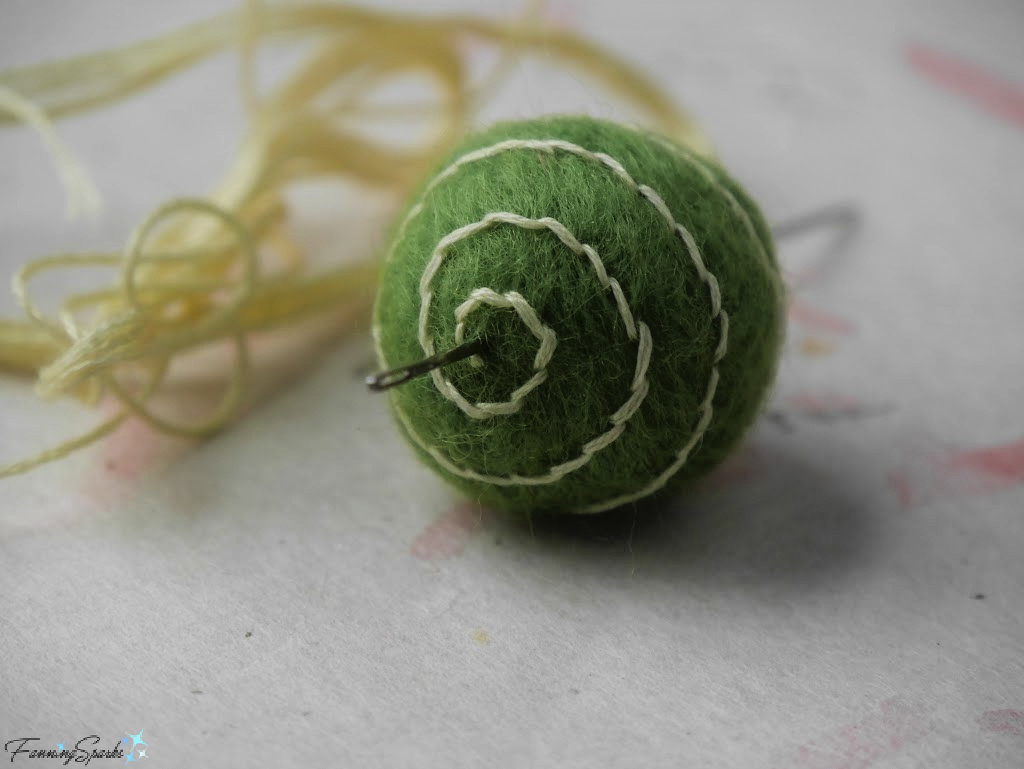
 I chose a different design for my medium-sized, green felted wool ball—a spiral pattern in an outline stitch. The trick to getting a smooth, evenly-spaced spiral is to insert a long needle down through the center of the ball and to rotate the ball around the needle as you stitch.
 Another embellishment option is to add beading to felted wool balls. A variety of small beads, especially seed beads, and sequins can be used.
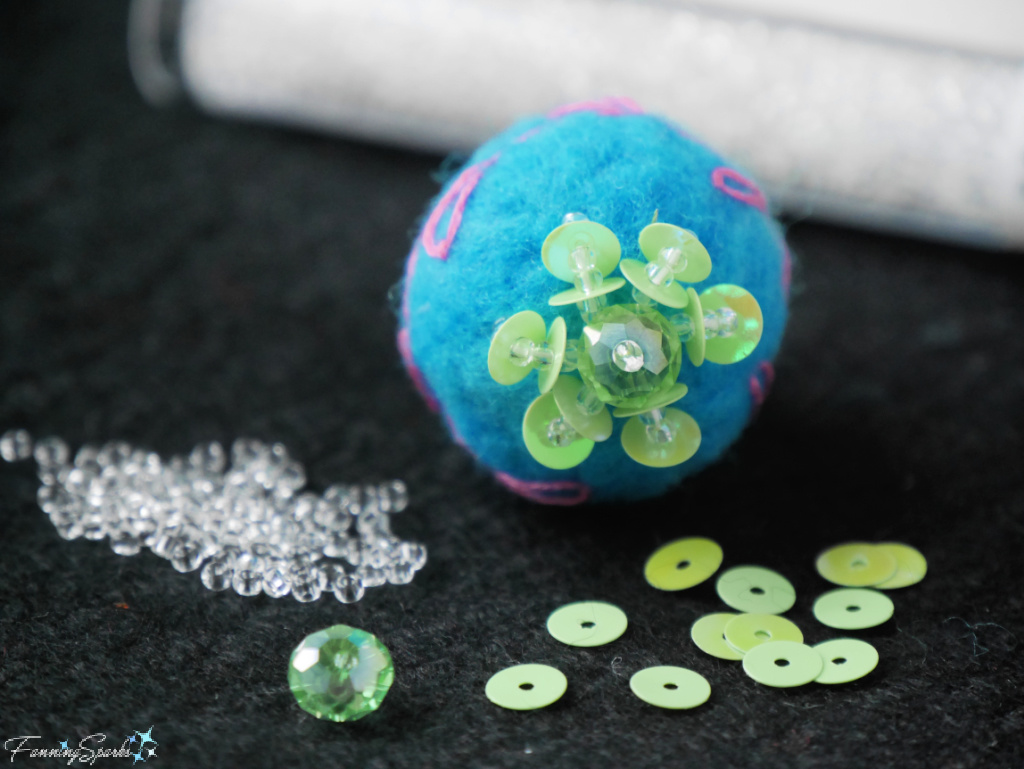
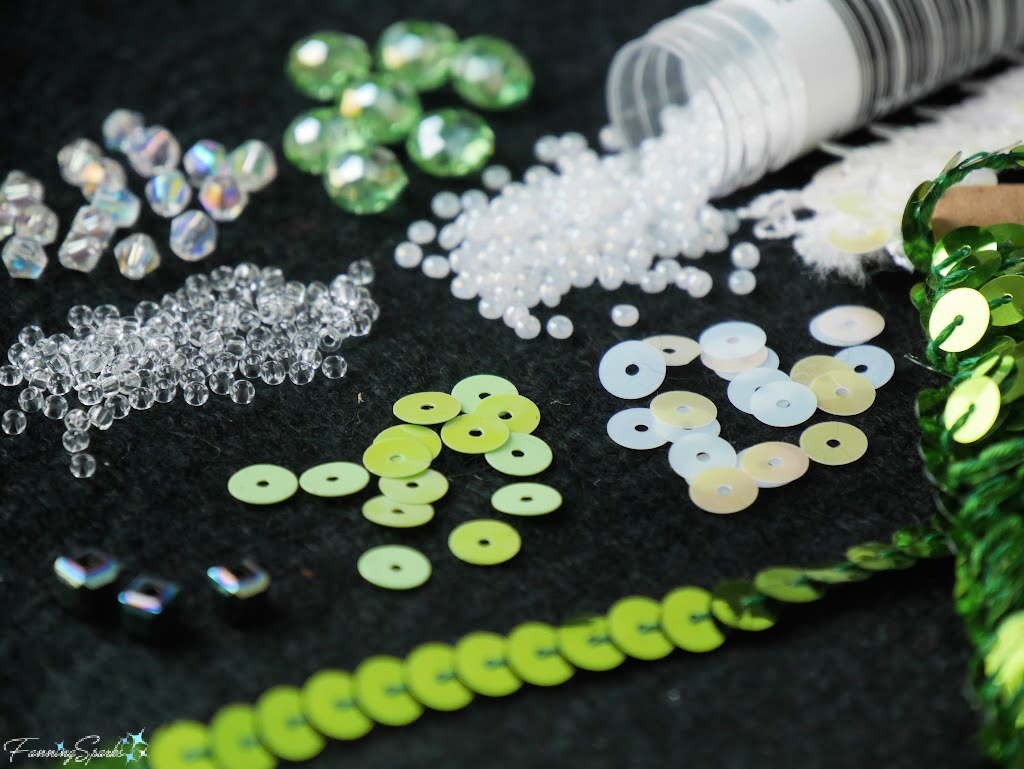 I chose to add two, 6-petalled sequin and bead flowers to my turquoise felted wool ball. The flower is comprised of a series of clear seed beads (ie Czech Seed Beads 10/0) and shiny green sequins—specifically 3 seed beads, 1 sequin, 2 seed beads, 1 sequin, and 3 seed beads form each petal.
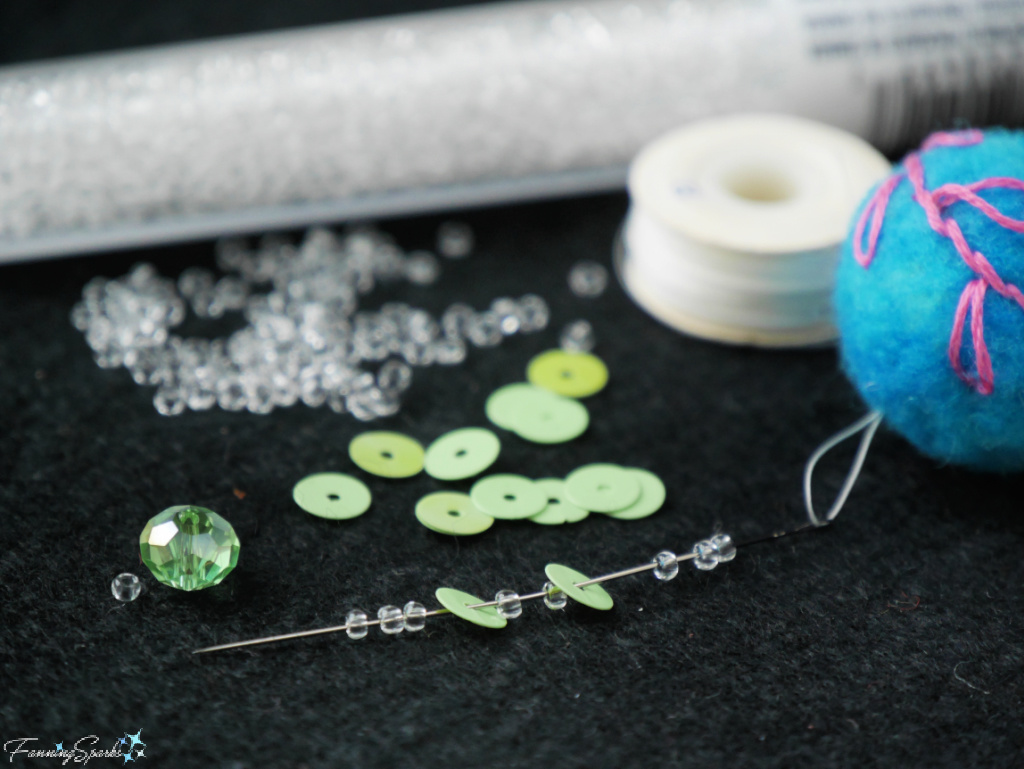 The center of the sequin and bead flower is made with one glass aqua 8mm rondelle bead topped with a seed bead.
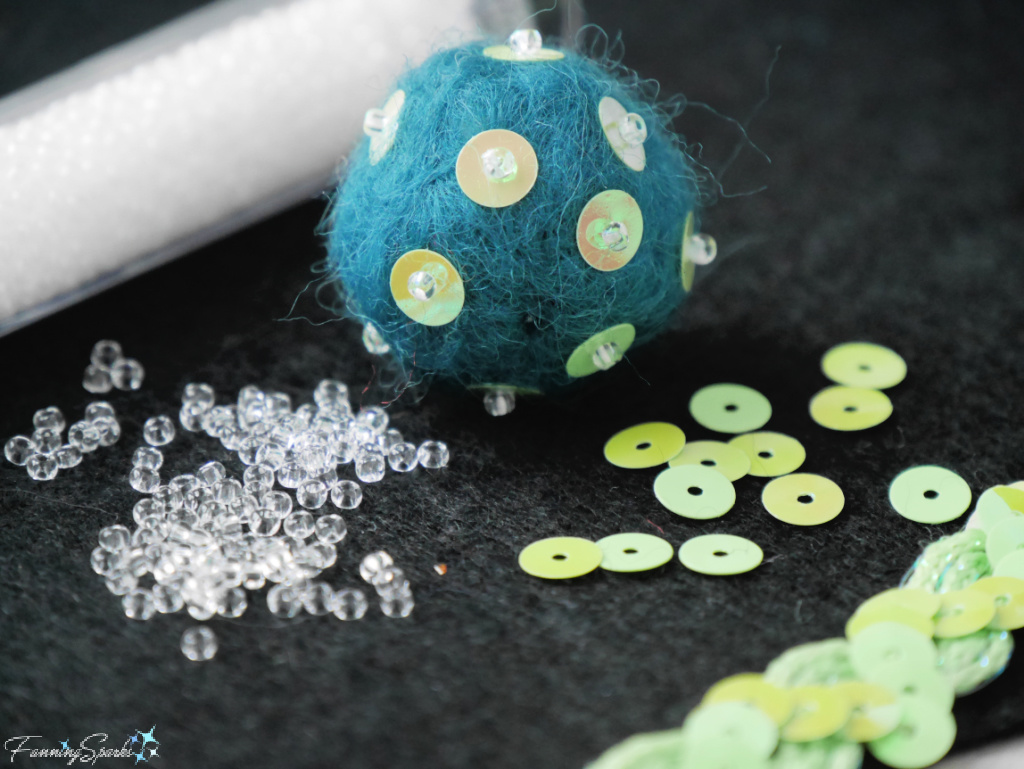
 My smallest felted wool ball is teal colored. I chose to dress it up with randomly-placed individual sequins. The sequins are topped with seed beads.
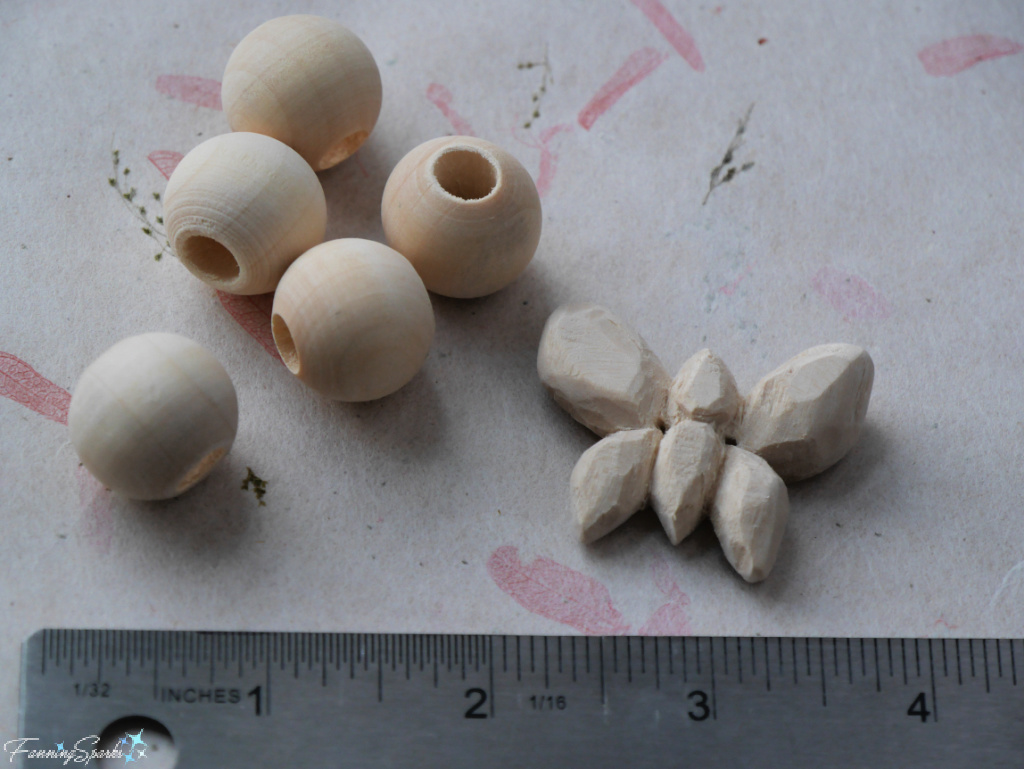
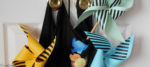
 Wooden beads can provide a nice contrast to felted wool balls. You can make your own wooden pieces or purchase pre-made wooden beads which are available in a variety of sizes and shapes. The wooden pieces can also be left plain or embellished. Shown below are purchased wooden beads and a small, wooden butterfly I carved from basswood. See my previous blog post, Getting Started with Woodcarving, for a few basics about this traditional craft.
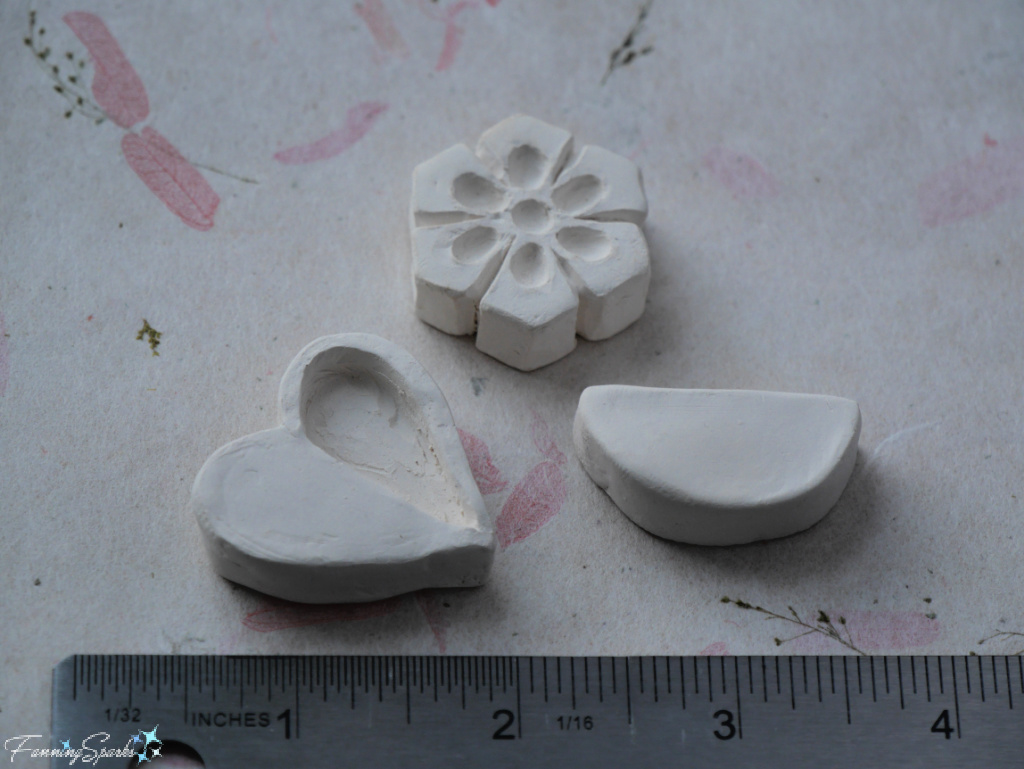
 Bisqueware, or bisque-fired pottery, is unglazed clay which has been fired only once. It is very porous and ideal for holding and diffusing essential oil. I chose to repurpose one of my bisqueware pieces for my Caroma Buster. It was originally intended to be used for stamping patterns into clay projects. The only change needed was to drill a tiny hole along the top.
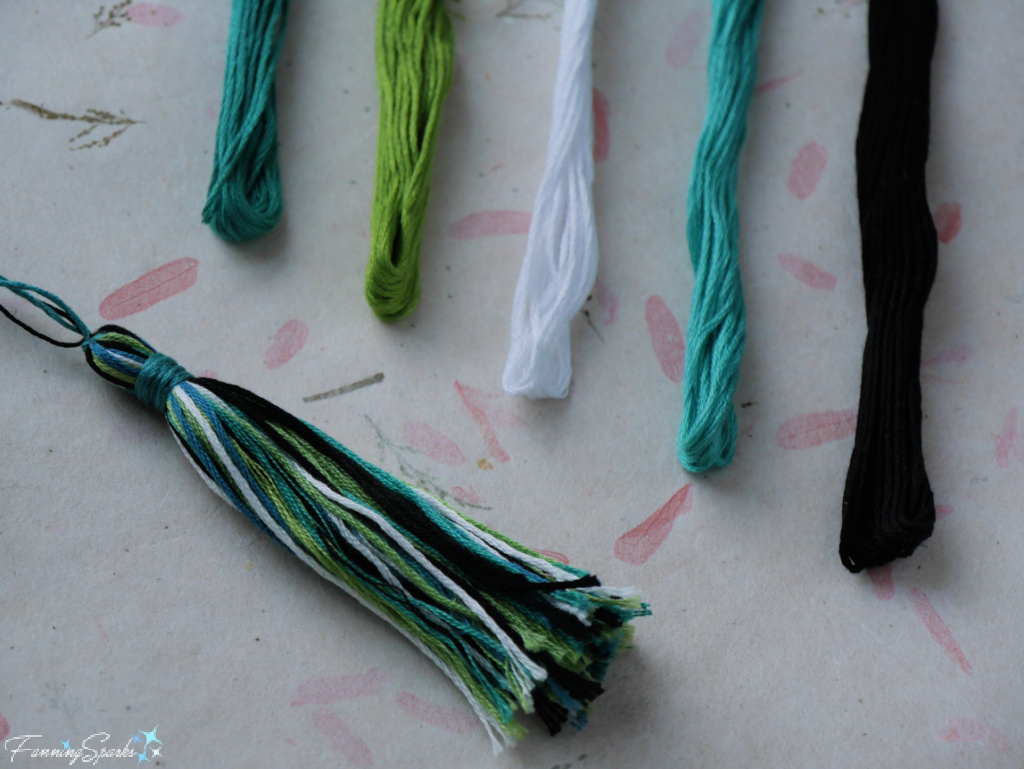
 Tassels are a popular way to finish off the bottom of car essential oil diffusers. This is another element you can make yourself or purchase already made. There’s a detailed explanation on how to make tassels with embroidery floss in my previous blog post, DIY Personalized Fabric-Covered Journal Tutorial Part 2. The instructions make a plump 4” long tassel. You may wish to reduce the width of the “tassel maker” to make a shorter tassel or reduce the number of wraps to make a slimmer tassel for your hanger.
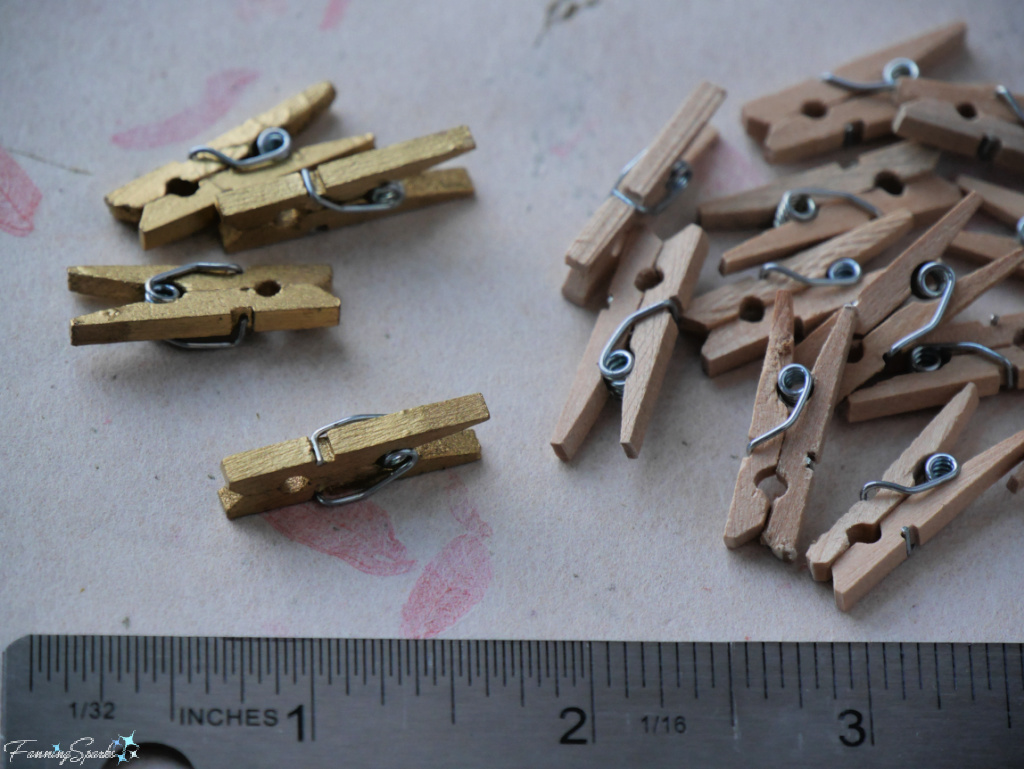
 To assemble the Caroma Buster, thread a sturdy needle with a piece of cord and pull the needle through the various pieces. Don’t forget to include a clothespin, or your preferred clipping or hanging mechanism, to the top of the hanger. Knot the cord at the top and bottom. I used a tiny, wooden, spring clothespin (about 1” long) painted in gold. In hindsight, I think a small clothespin (about 1¾” long) would be stronger and, thus, a better choice.
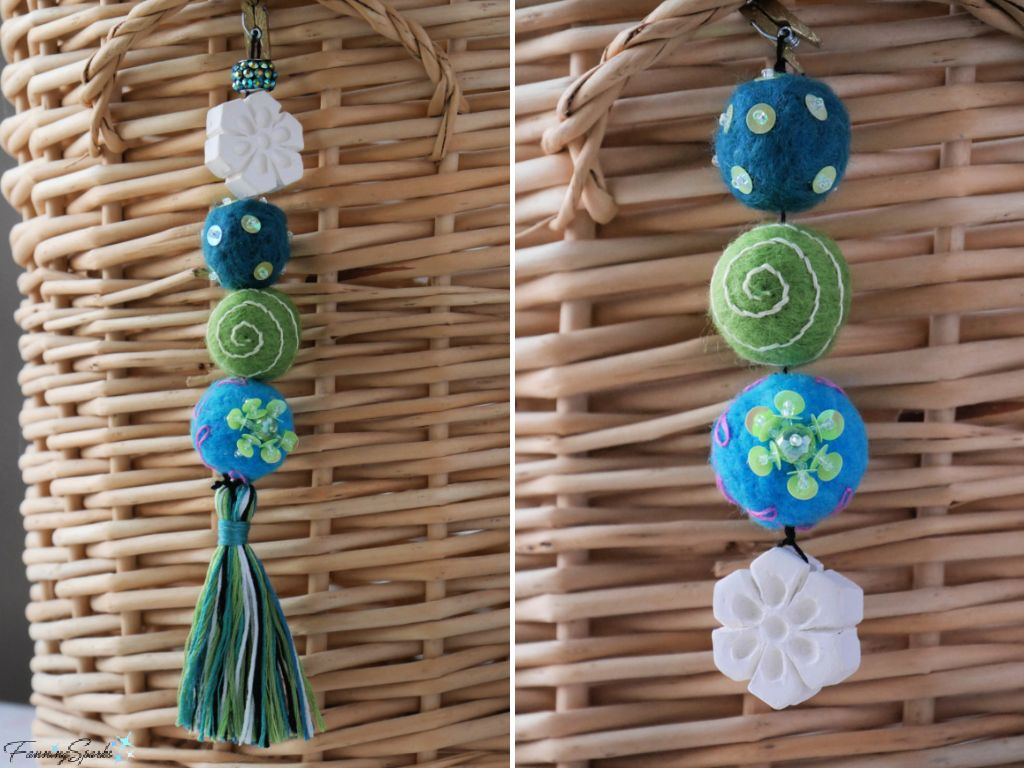
 Originally, I assembled my Caroma Buster with the bisqueware flower at the top and a tassel at the bottom. It measured about 8” long. It looked nice in my car but the bisqueware flower wouldn’t lie flat and the hanger had the potential to interfere with my navigation system display.
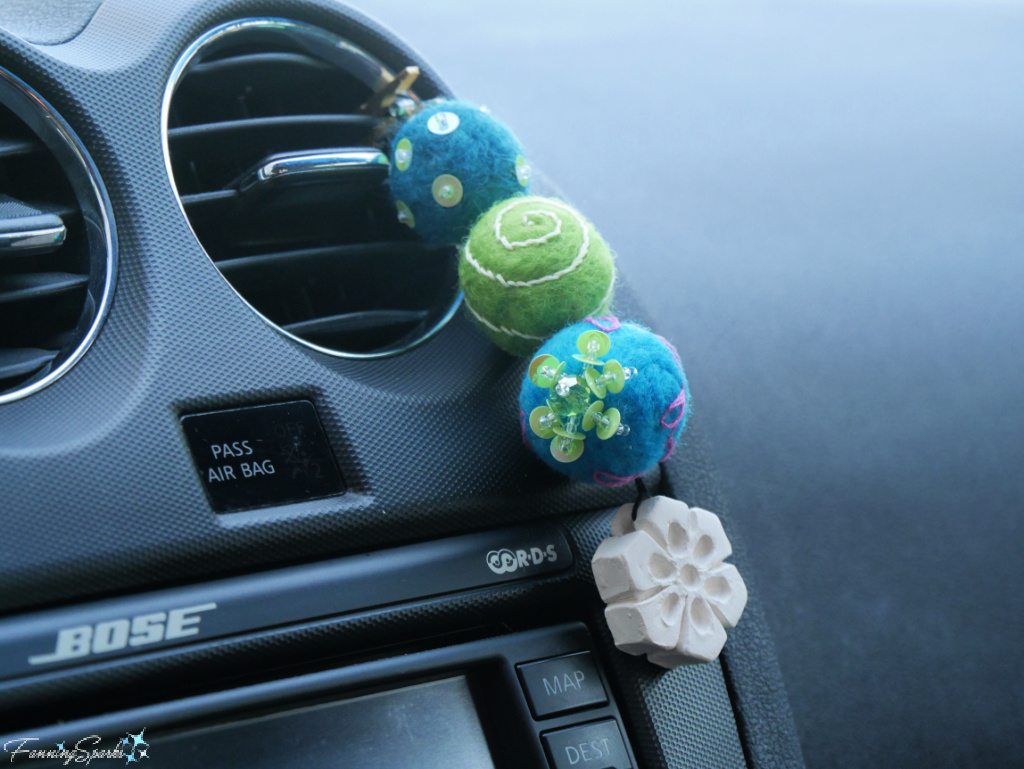
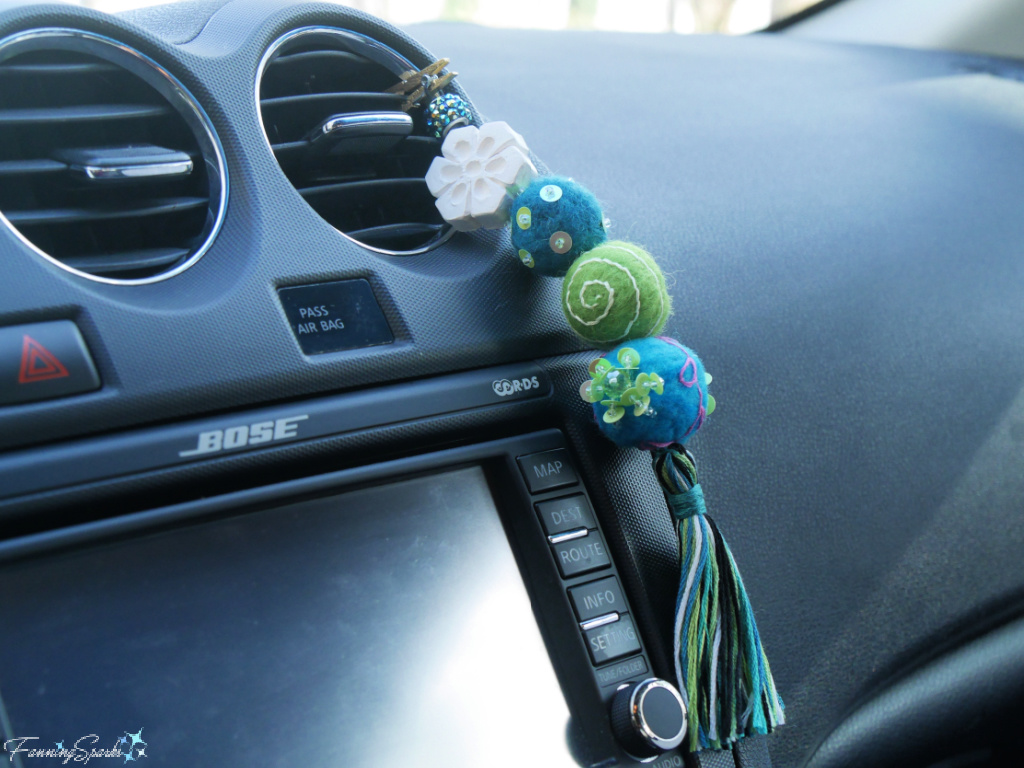 So, I reconfigured it. I removed the tassel and repositioned the bisqueware flower to the bottom of the hanger. The revised Caroma Buster is shown below. Now, the weight of the bisqueware holds the hanger in place so it stays put and the shorter version (only about 4½” long) stays clear of the navigation system. Much better!
 Here are the two versions side by side.
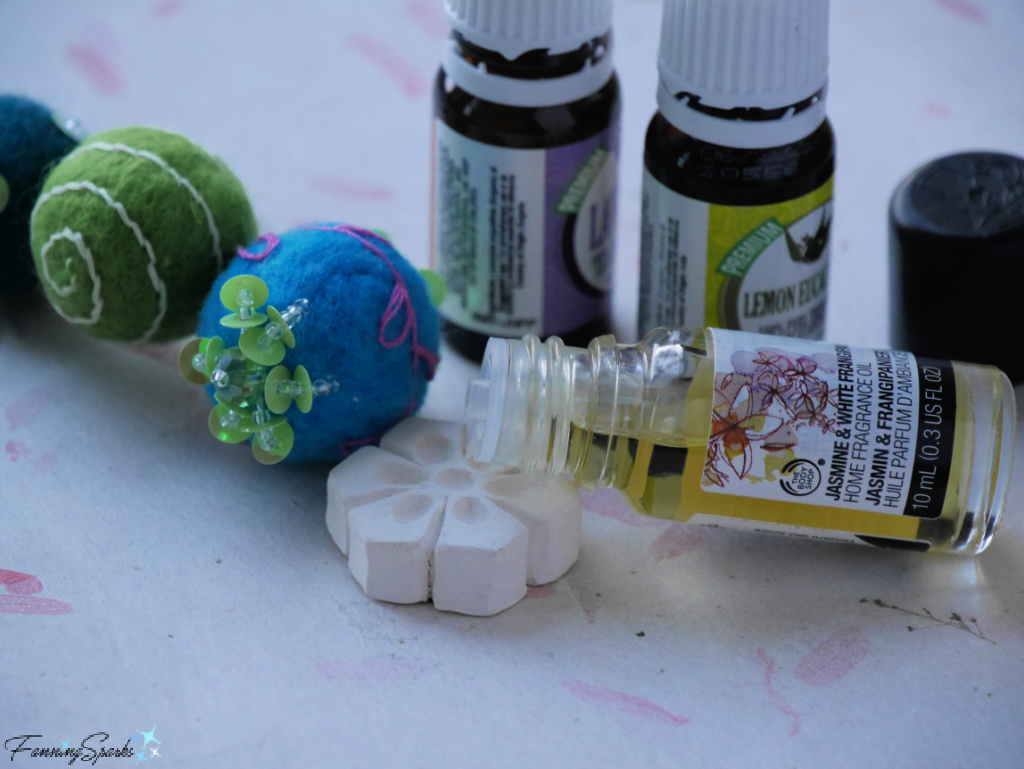
 The final step is to add a few drops of essential oil to your Caroma Buster. I chose to put mine on the bisqueware flower because it is very porous and holds the scent for an extended period of time. Alternatively, you could put the essential oil on other naturally porous pieces such as wooden beads or felted wool balls.
More Info
Previous blog posts mentioned in today’s blog post include:
. Needle Felting: Makers Stabbing Wool
. Hello Marvelous Photo Embroidery – DIY Tutorial
. Getting Started with Woodcarving
. DIY Personalized Fabric-Covered Journal Tutorial Part 2 which includes instructions to make a tassel.
Credit for today’s blog post idea goes to Marian (Thanks for the inspiration, Sis!)
Today’s Takeaways
1. Caroma is a portmanteau meaning a repugnant smell in a car.
2. Essential oils can be diffused to fight caroma.
3. Simple projects, such as the Caroma Buster, offer opportunities to be creative.

Comments are closed.