The T-shirt yarn fun continues! I recently discovered how easy (and Earth-friendly) it is to turn discarded T-shirts into yarn (see Extending the Life of the Common T-Shirt). Predictably, the next step was to find ways to use all that great repurposed material.
Two ideas I shared in my last blog post were lucet cordmaking and weaving. This past week, I went in a slightly different direction and tried crocheting with T-shirt yarn. Crocheting is another one of those low investment/ high reward crafts. All you need is a crochet hook, yarn, a little know-how and patience.
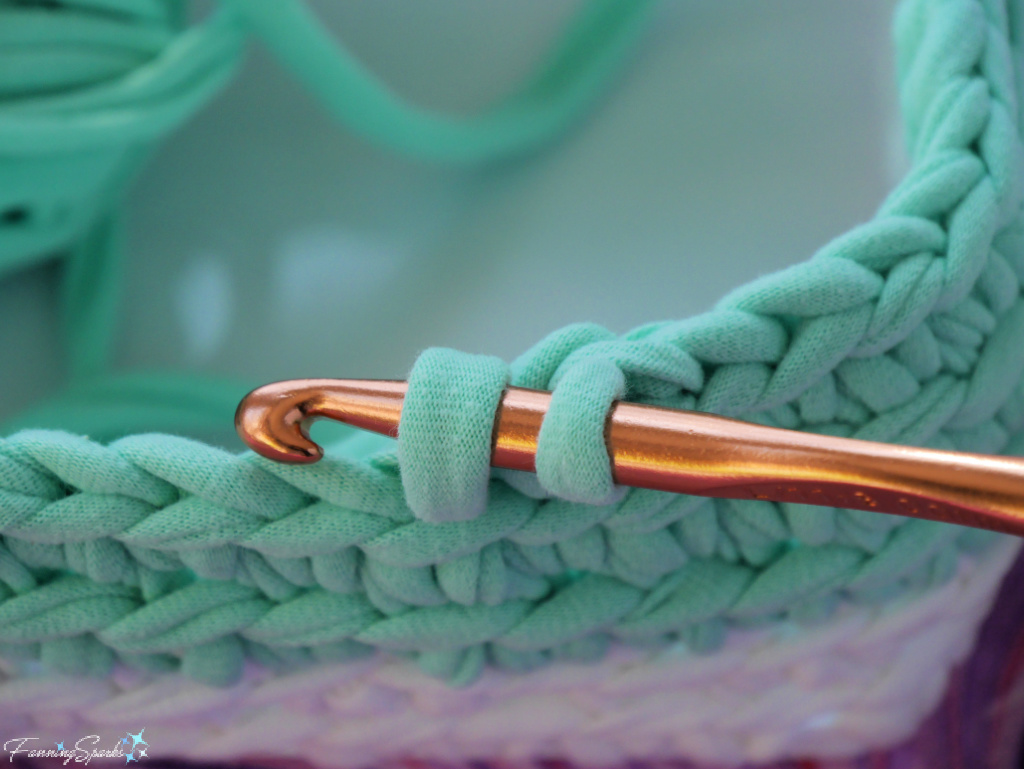 I haven’t crocheted in some time, so I had to refresh my memory on the basics—how to hold the crochet hook, how to hold the yarn, how to control the tension, how to join yarn, how to fasten off and exactly how to make the stitches. There are lots of great resources that can help you get started, or restarted, with crocheting. I share my favorites in the More Info section below.
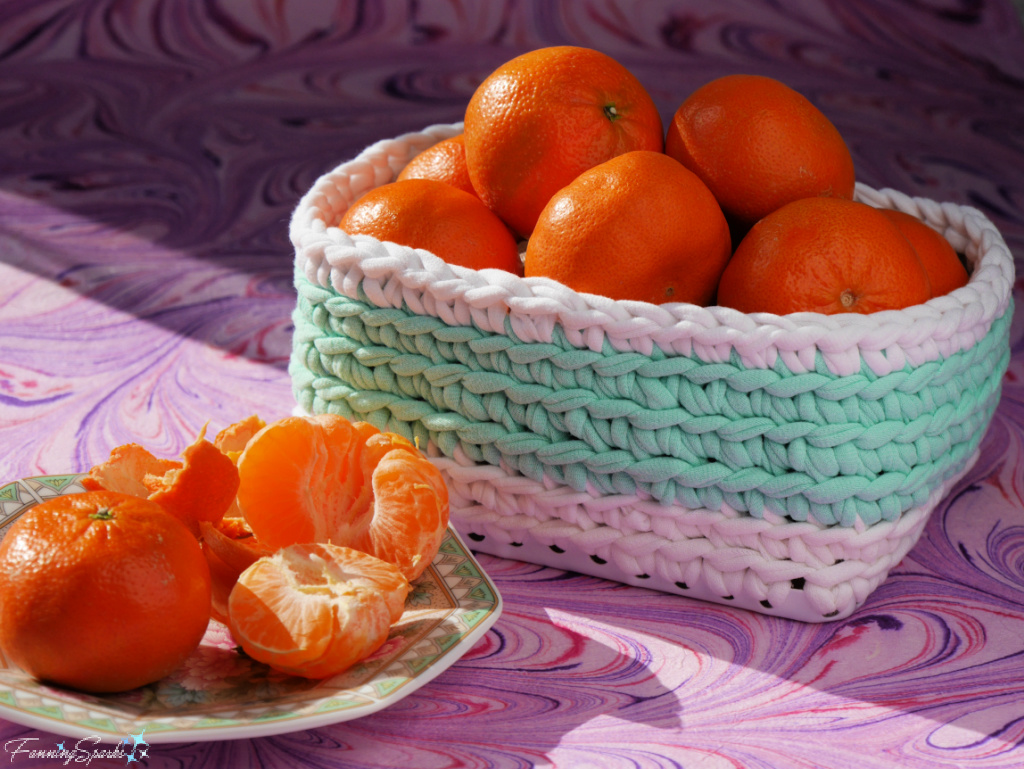
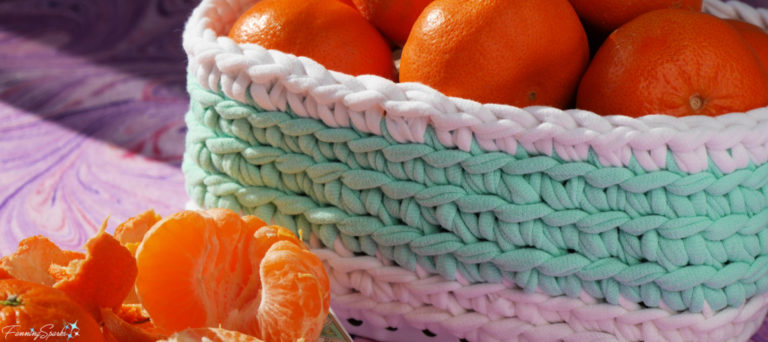
My crash course on crocheting paid off. I was able to design and make a handy basket from T-shirt yarn—perfect for holding fruit…
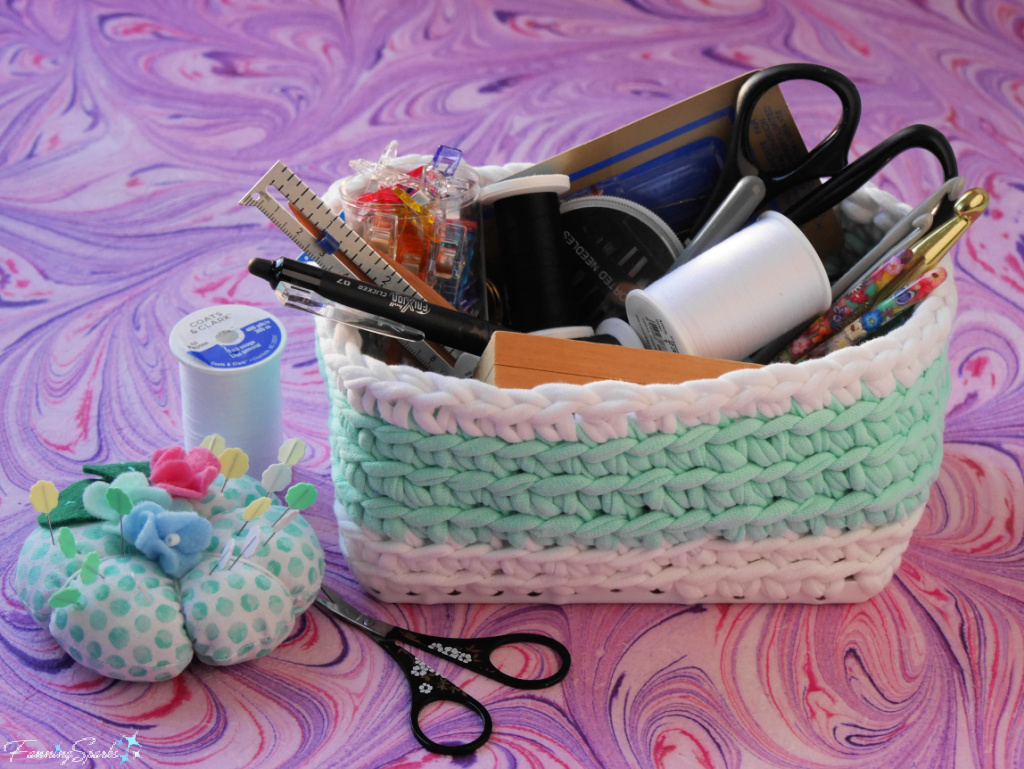
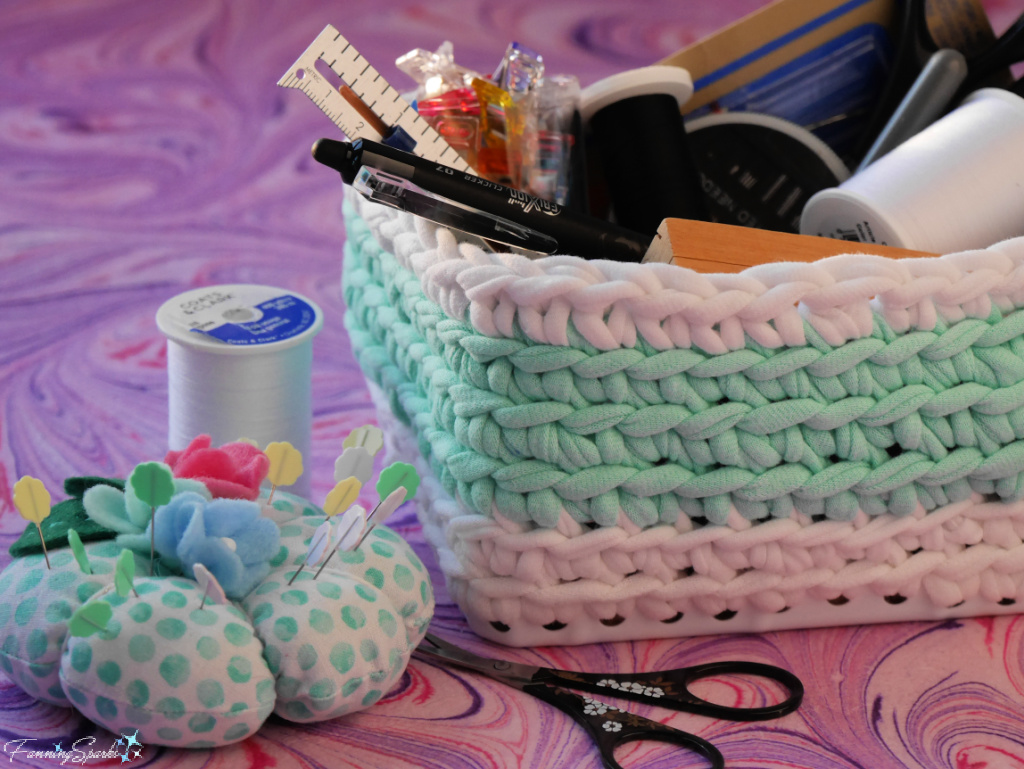
 … or sewing tools and notions.
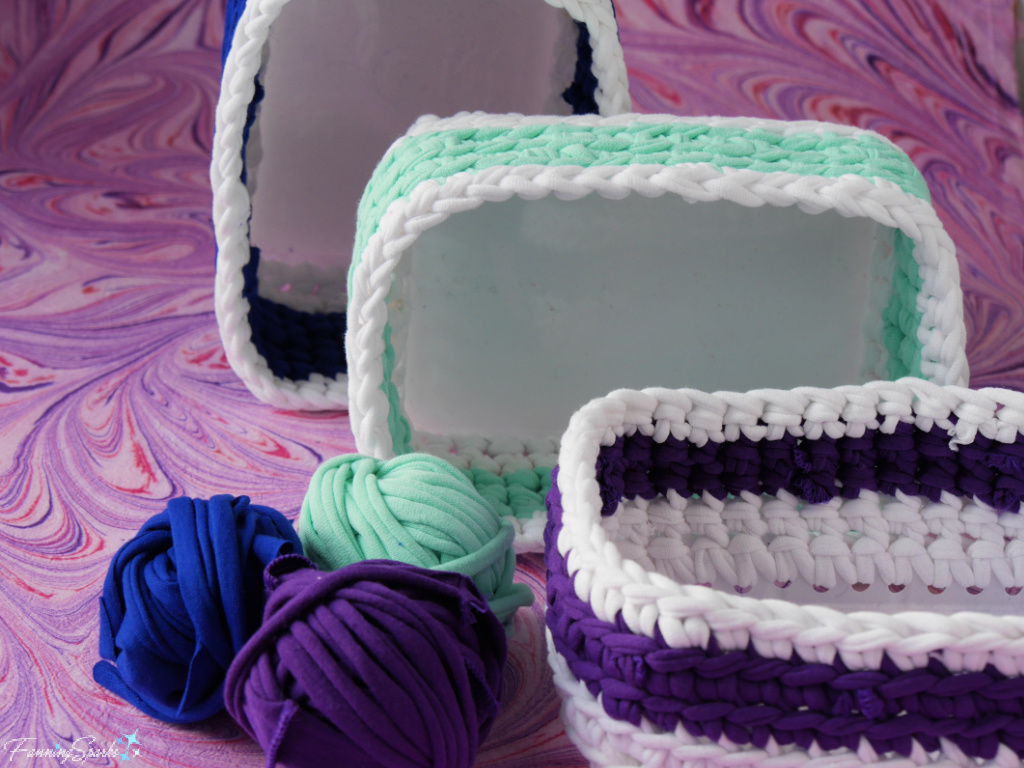
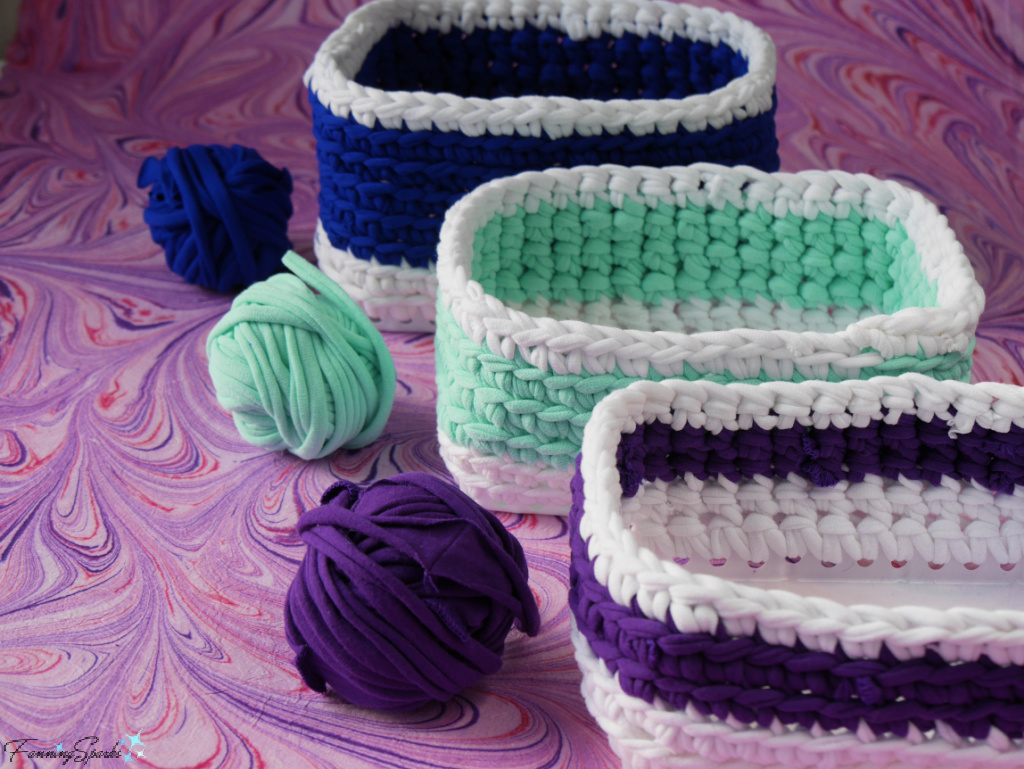
 I liked this T-shirt yarn basket so much I made two more in different colors and slightly different sizes.
 The key to this project is the base. It’s made of, you guessed it, repurposed plastic packaging. Frozen samosas are a favorite lunchtime meal in our house but, unfortunately, they are only available in plastic packaging. I’ve been hoarding the trays in the hopes of someday finding a purpose for them. That day has come!
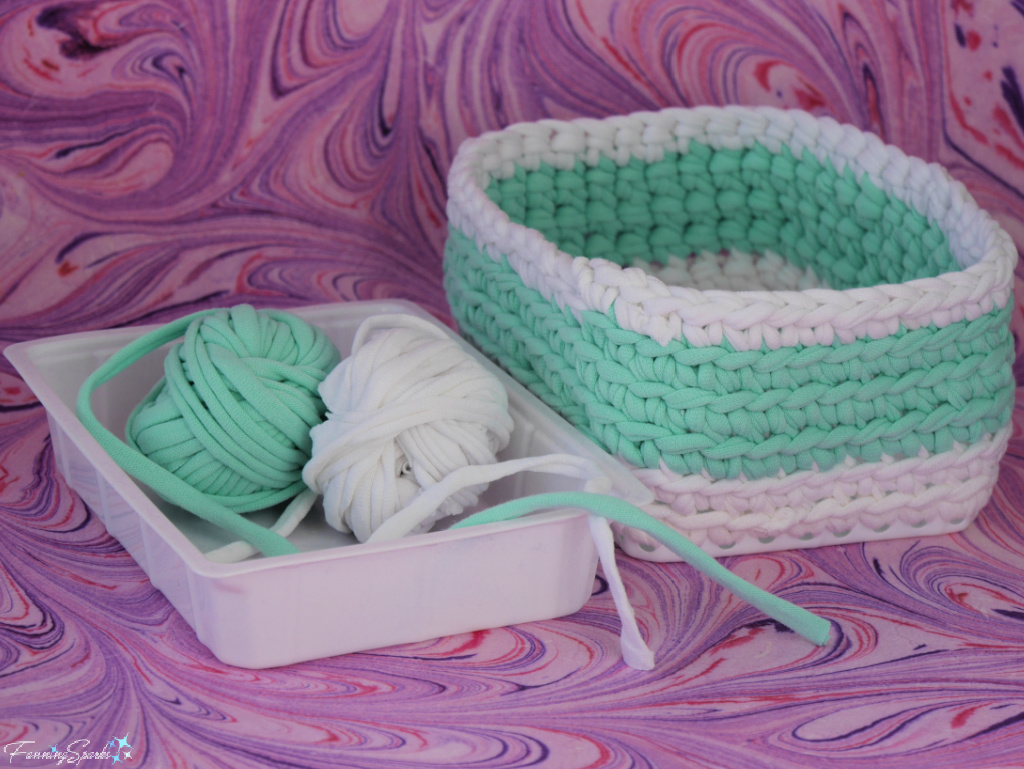 Since this project combines two discarded items, diverting discarded T-shirts and plastic trays from the recycling center or the landfill, I’m considering it a double win.
This blog post provides easy, step-by-step instructions to make a T-Shirt Yarn Basket. Let’s get started.
Supplies Needed
The following supplies are needed to make ONE rectangular basket measuring about 7” long x 4½” wide x 3¼” high. It’s big enough to hold a dozen mandarin oranges. The size of your basket will be determined by the size of the base you choose.
. T-Shirt Yarn: Approximately TWO medium-sized cotton T-shirts, in color(s) of your choice, turned into T-shirt yarn. See my previous blog post, Extending the Life of the Common T-Shirt, to learn how to make T-shirt yarn from discarded T-shirts. Note: I chose to start with white T-shirt yarn to make the plastic base less noticeable.
. Rectangular Plastic Tray: Repurpose a shallow, rectangular, thin plastic container for the basket base. I used a repurposed frozen food package measuring about 6½” long x 4½” wide x 1½” high. Alternatively, you could use firm cardboard.
. Paper: To make a template.
. Tape: To temporarily attach the paper template to the plastic tray.
Equipment and Tools Needed
. Scissors: Suitable for cutting the plastic tray. Alternatively, an X-Acto Knife could be used.
. Ruler
. Marker
. Hole Punch: An ordinary paper hole punch to cut ¼” holes in the plastic tray.
. TWO Crochet Hooks: Size G/6 – 4.25mm and L/11 – 8mm.
. Scissors: Suitable for cutting yarn.
. Clip: To hold end of yarn.
. Sewing Needle: With large eye to sew in the yarn tails.
Step-by-Step Instructions
The first task is to prepare the base for the basket.
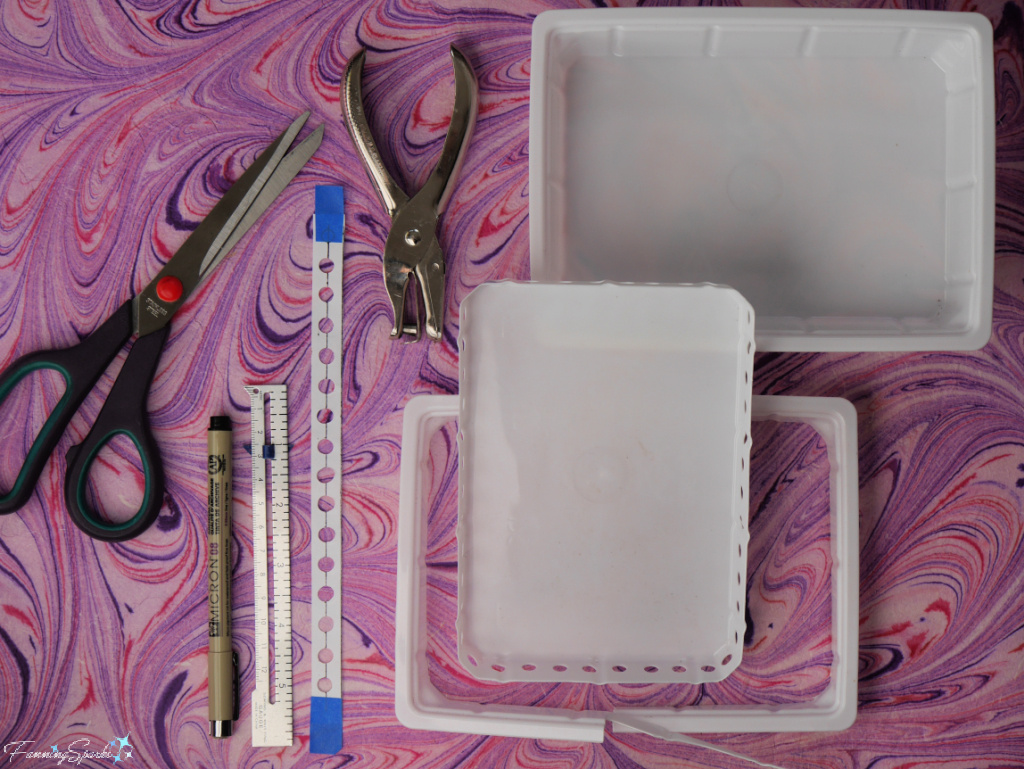
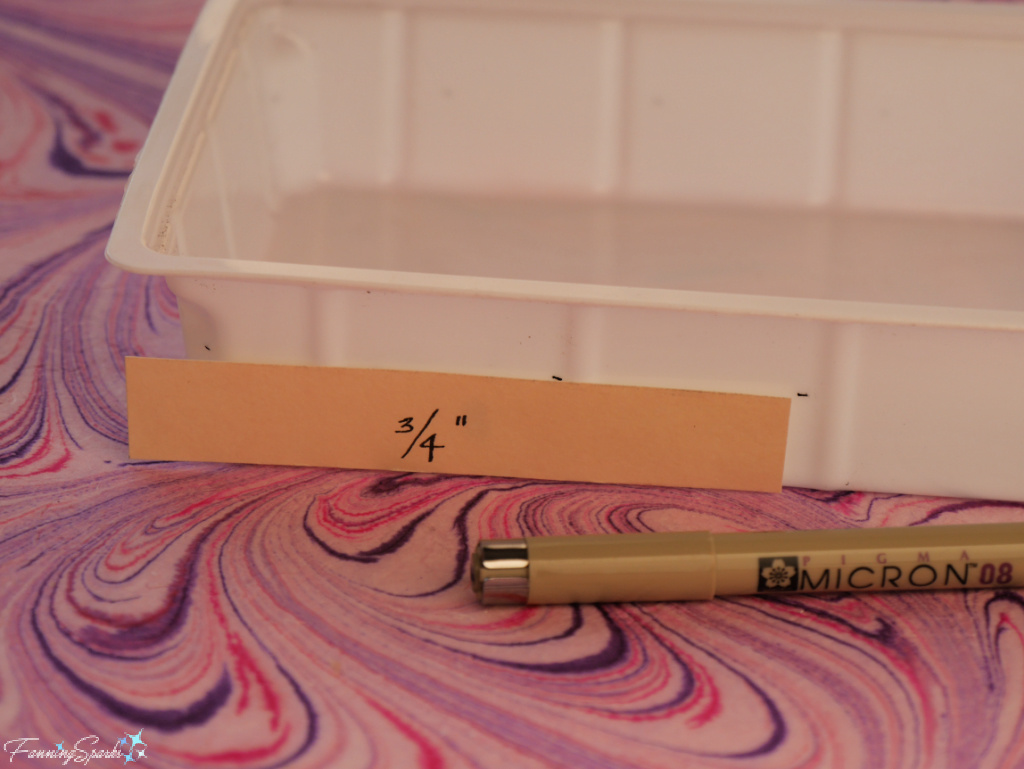
Step 1 Cut Base Start by trimming the sides of the plastic tray. Measure and mark ¾” from bottom edge.
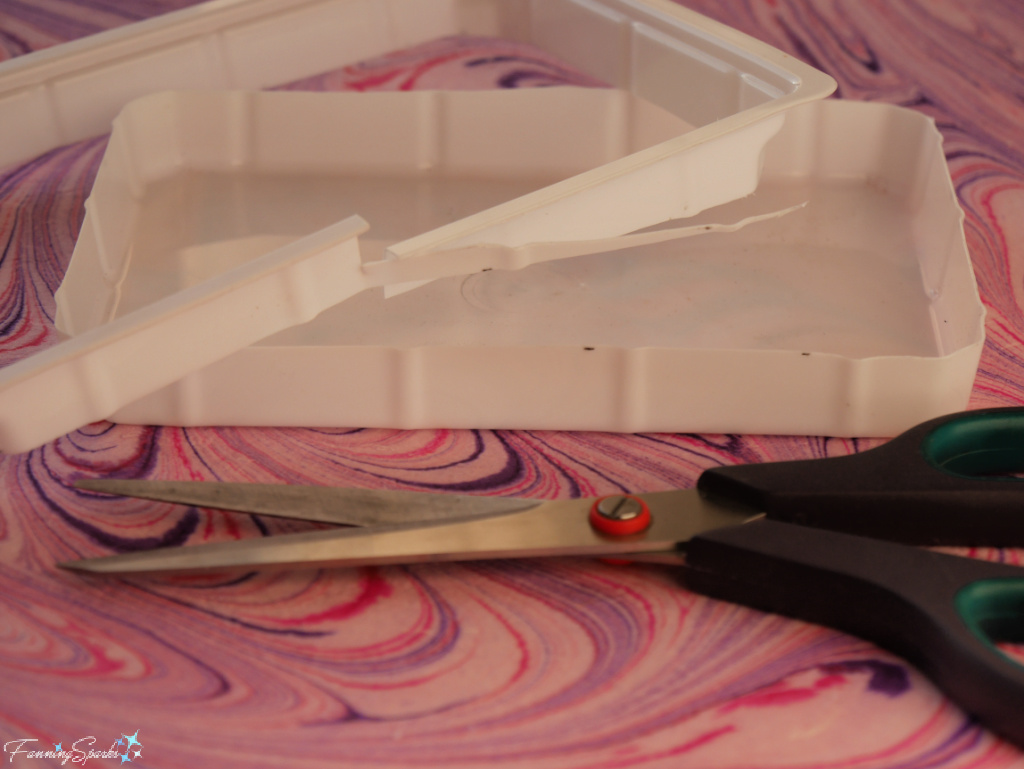
Cut the sides of the tray with scissors to create a shallow, tray-like base.
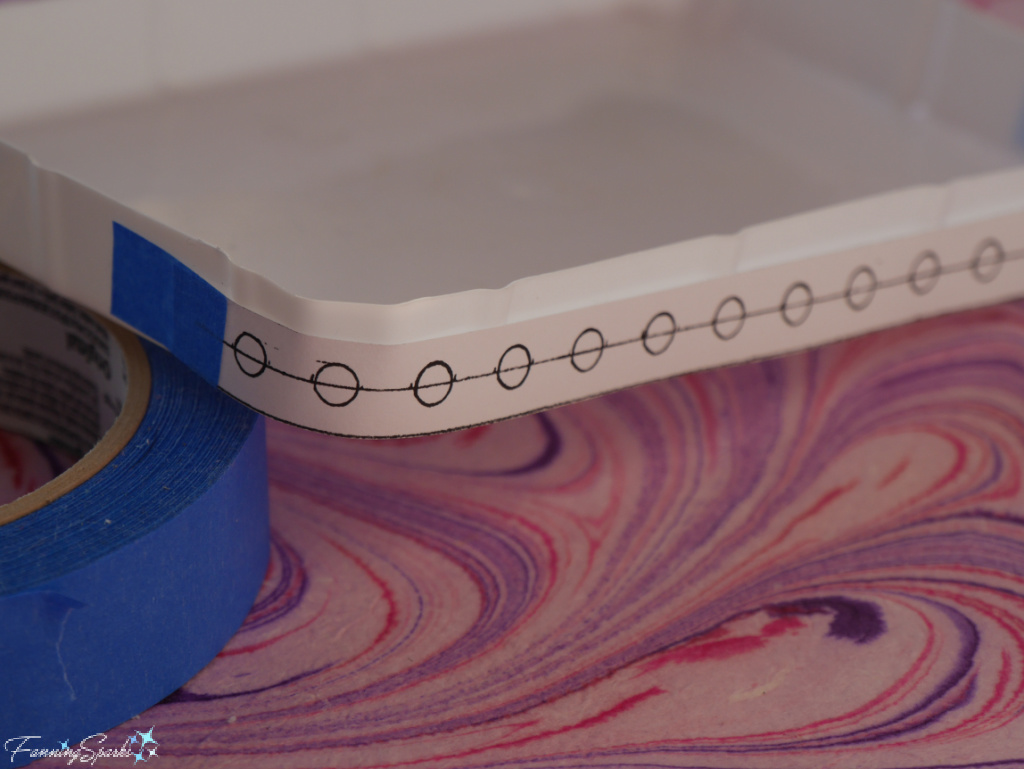
Step 2 – Punch Holes in Base Prepare a paper template with the hole placement. The holes are ¼” in diameter, spaced with ¼” between each hole and positioned about ⅛” up from the bottom edge. Tape the template onto the base aligning with the bottom edge. Try to position a hole at the outermost point of each corner. Alternatively, you could skip the template and simply mark the holes directly on the base.
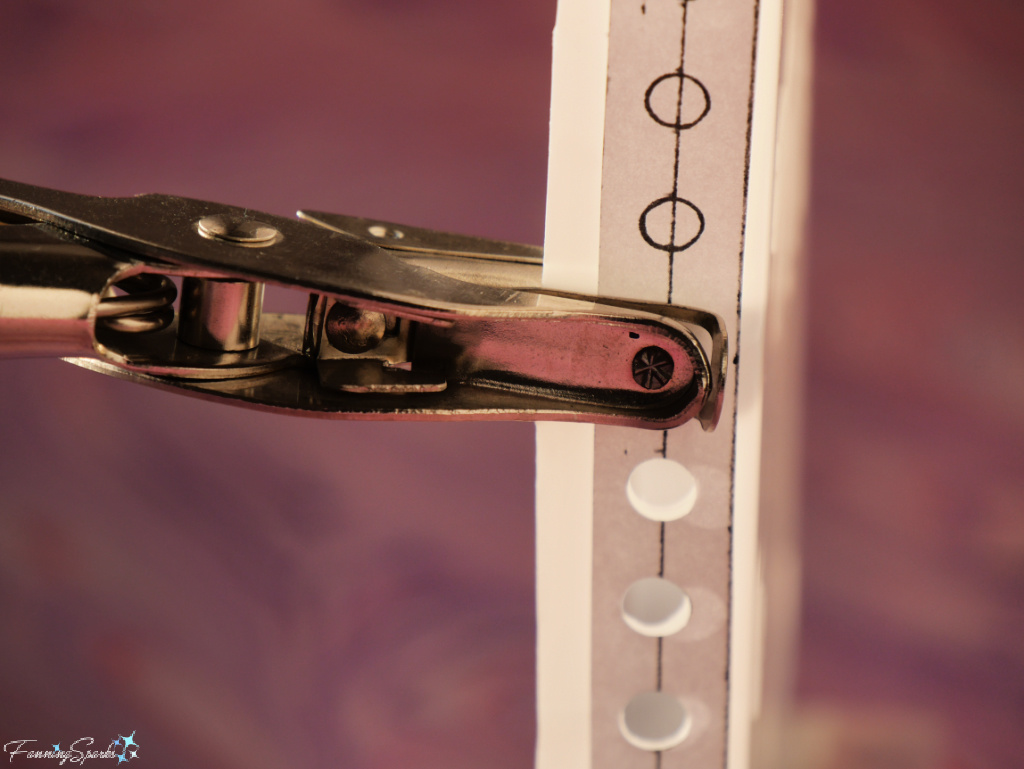
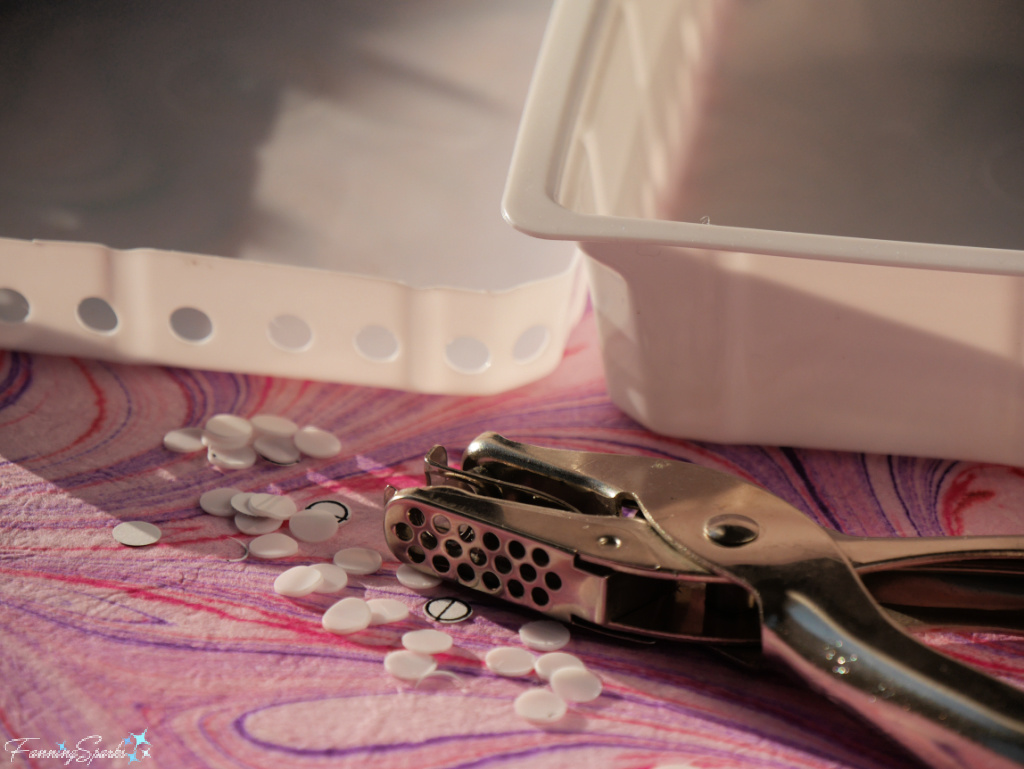
 Use a hole punch to make holes as indicated.
The next major task is to crochet the basket walls onto the plastic base.
Step 3 Crochet First Row on Base Use the smaller crochet hook, size G/6 – 4.25mm, so it will fit through the punched holes. Select your T-shirt yarn for the first row. I chose to start crocheting with T-shirt yarn in the same color as my base so the base would be less visible.
The basket is crocheted with a simple slip stitch. From what I can tell, the slip stitch is typically used to finish edges and join sections not to make an entire piece. Regardless, I used a slip stitch to attach the base and to build up the entire basket and it worked great!
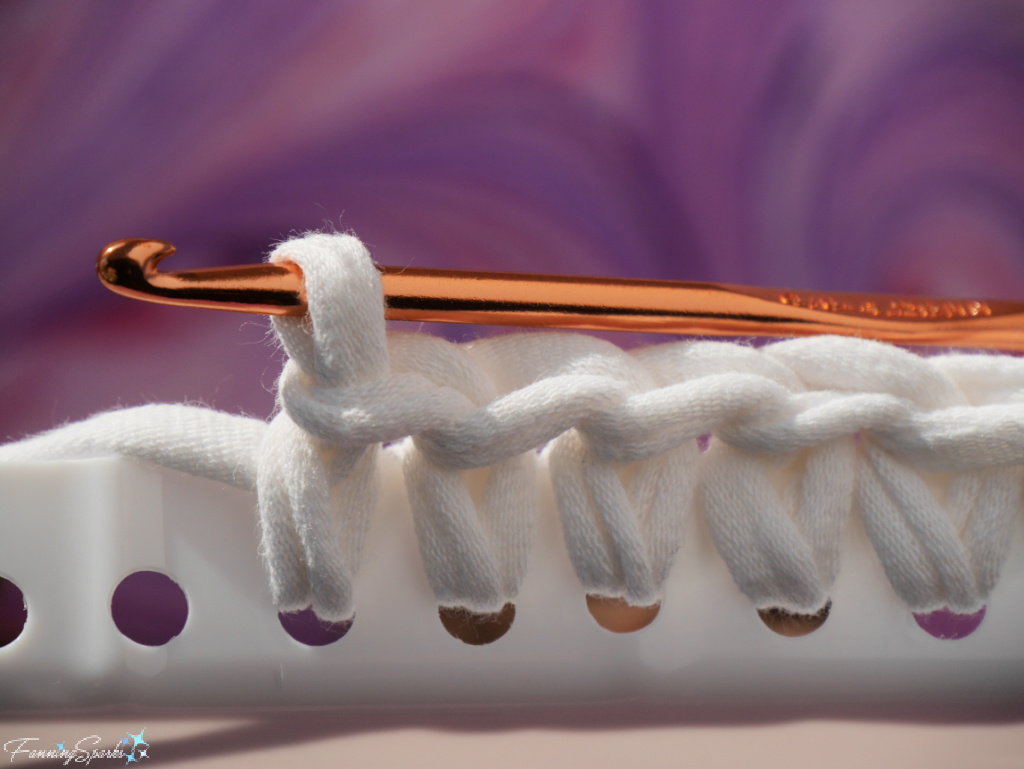
Start by folding back the end of your yarn by about 3 inches. We’ll be working from right to left, so hold the folded end inside the plastic base in the right corner. Insert the crochet hook into the first hole before the corner.
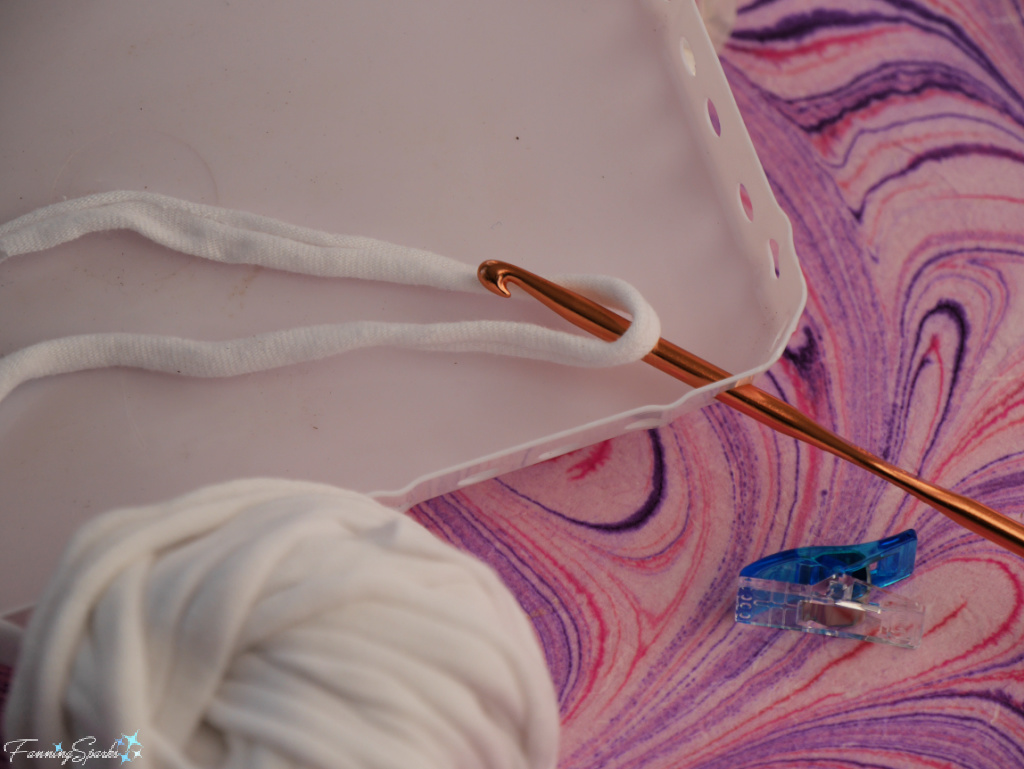 Catch the folded end of the yarn with the crochet hook and pull them through the hole. This will result in a small loop on the outside of the plastic base. Leave a 3-5” tail inside the plastic base and secure it with a clip or pin.
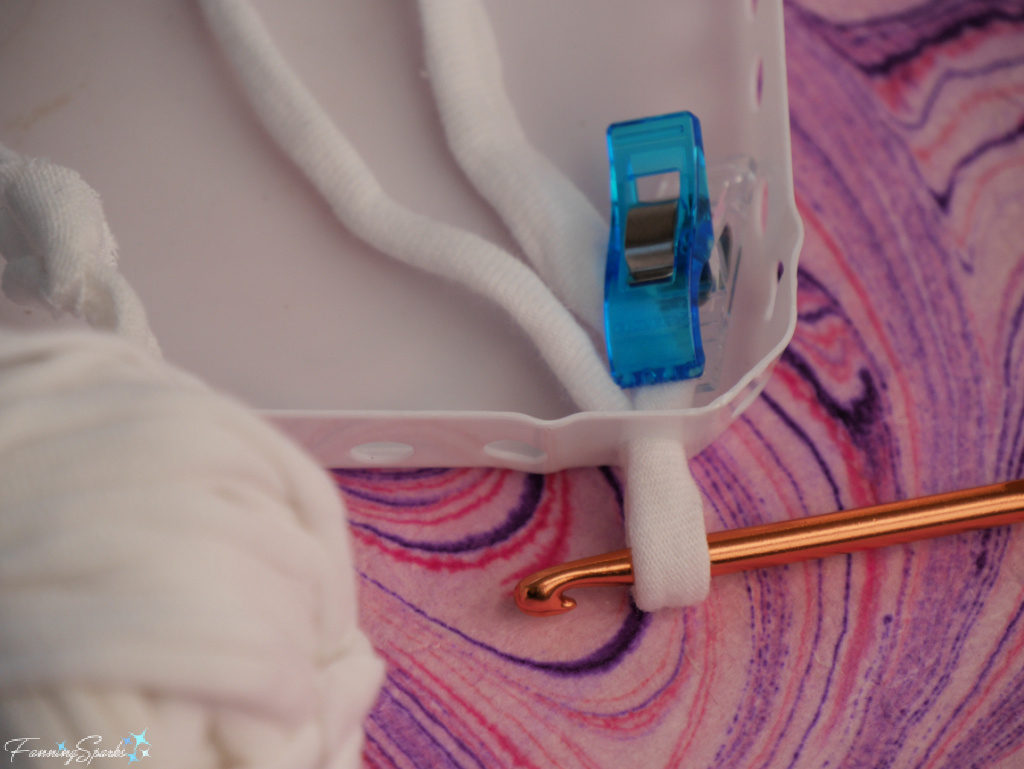 Insert the crochet hook into the next hole. Catch the yarn with the crochet hook and pull them through the hole to form a second loop.
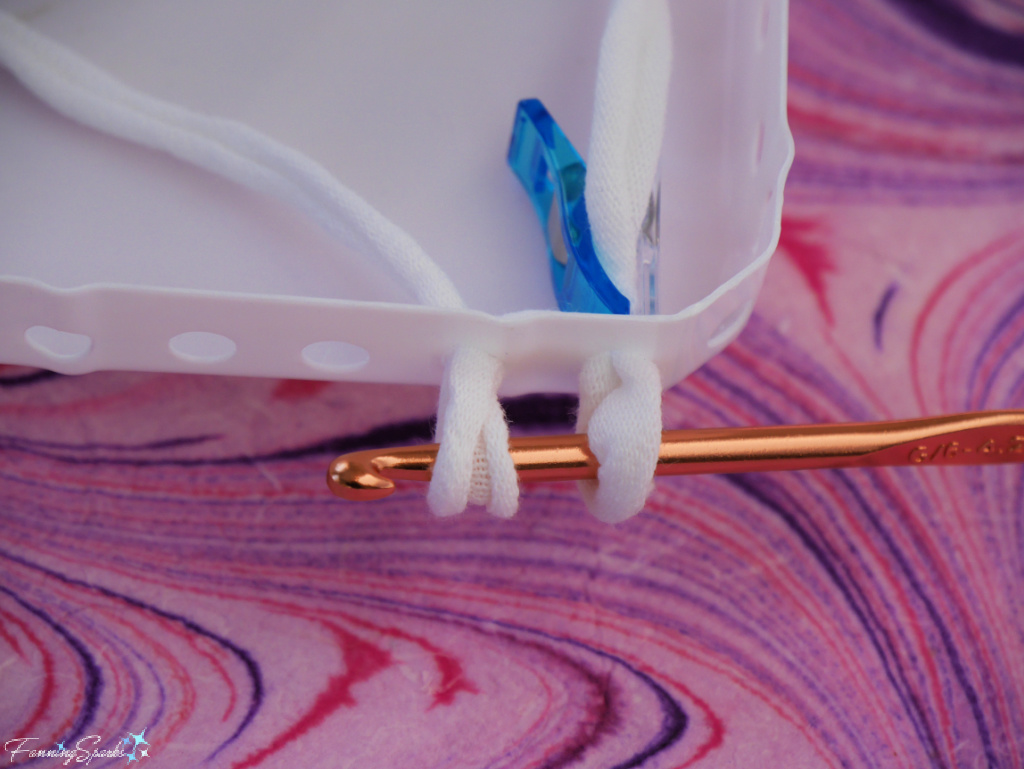 Holding the crochet hook on the outside of the base, bring the yarn over the hook.
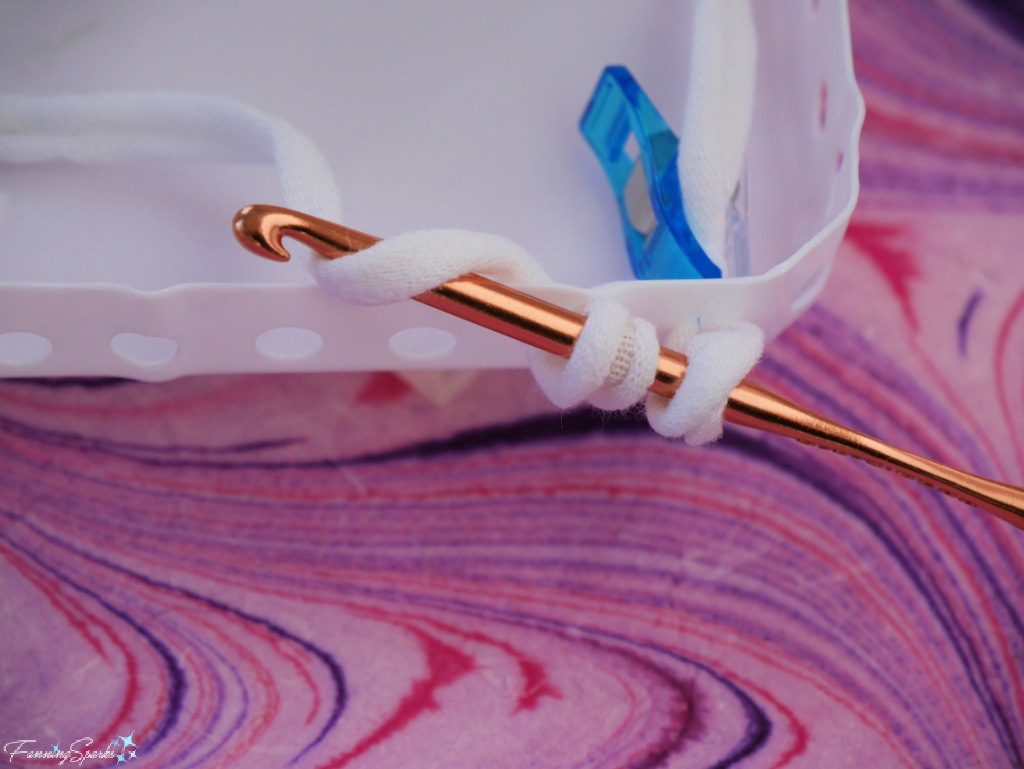 Pull the wrapped yarn through both loops on the crochet hook to form a single loop.
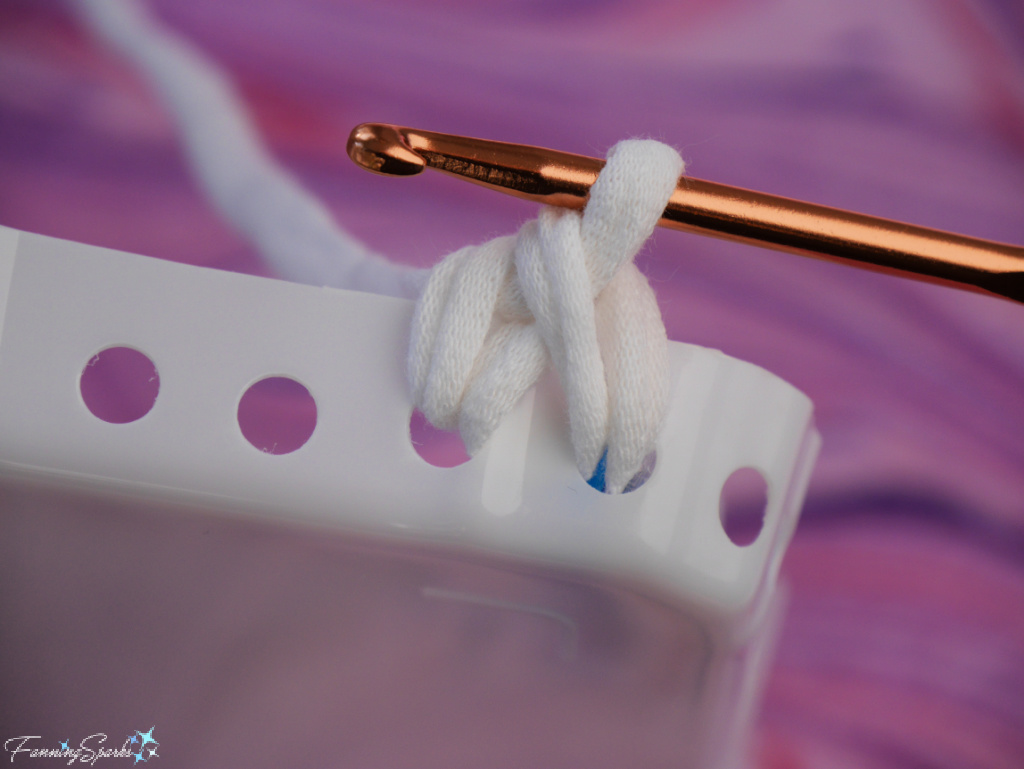 Repeat the process by inserting the crochet hook into the next hole, catching the yarn with the crochet hook and pulling them through the hole to form another loop. Then holding the crochet hook on the outside of the base, bring the yarn over the hook and pull the wrapped yarn through both loops on the crochet hook. Continue around the entire base.
Step 4 Crochet Second Row After reaching the start of the first row, switch to the larger crochet hook—the L/11 – 8mm size. From this point forward, a more standard slip stitch is used. Insert the crochet hook into the top strand of the previous row stitch.
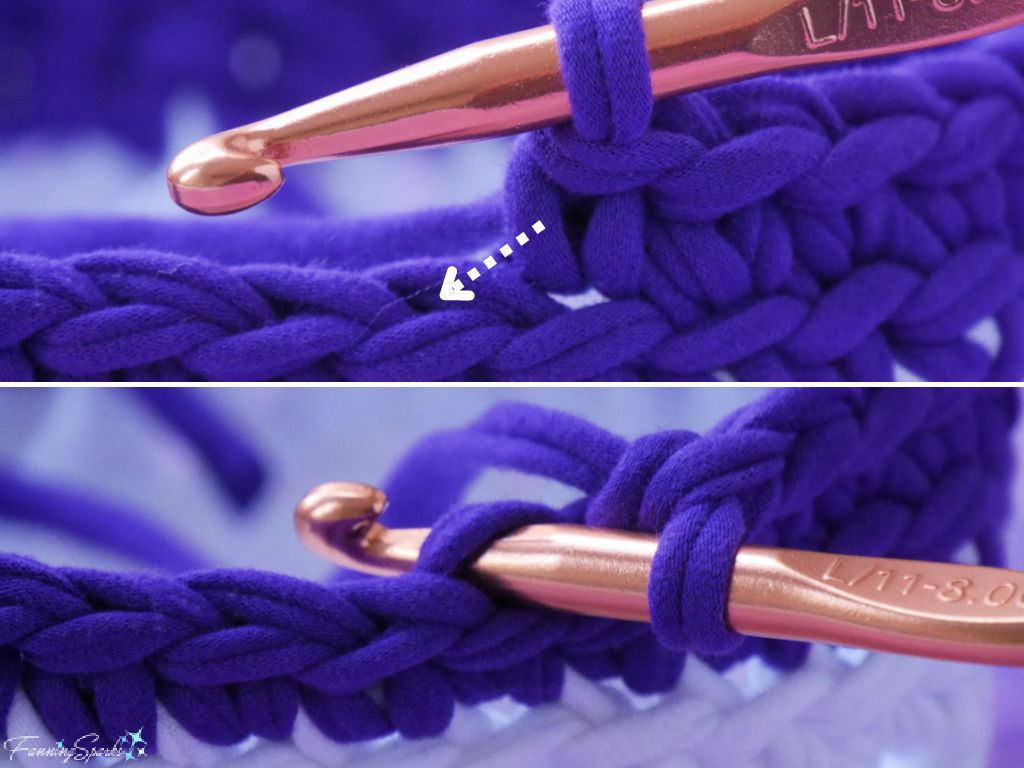 Bring the yarn over the crochet hook.
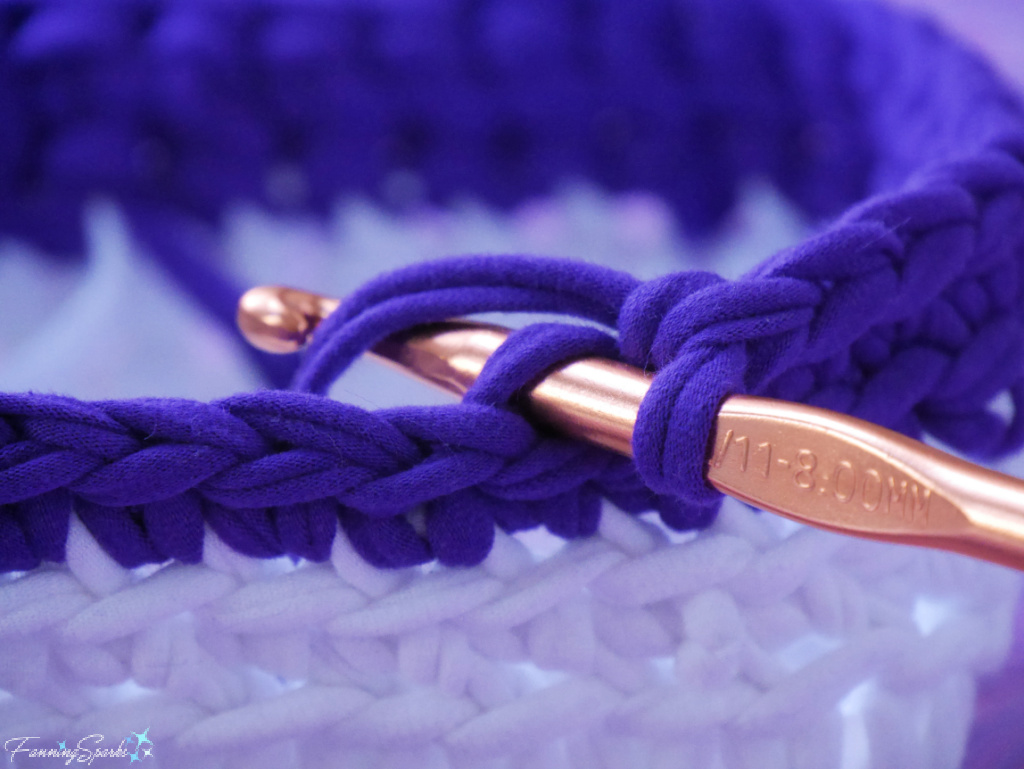 Pull the hook and yarn through the first and second loop.
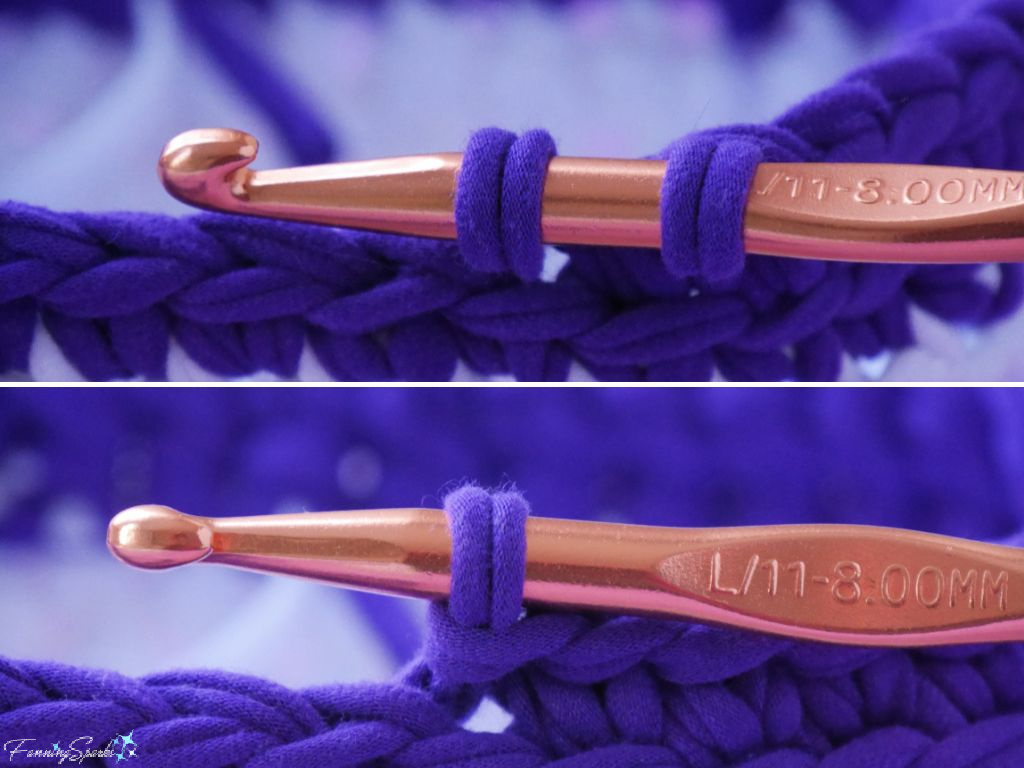 Continue until you reach the first corner. At the corner, take a second slip stitch in the same spot (as shown below). The extra stitch helps shape the basket and keeps it from caving in. Repeat this process at the three remaining corners. The extra stitches are ONLY needed in the second row of stitching.
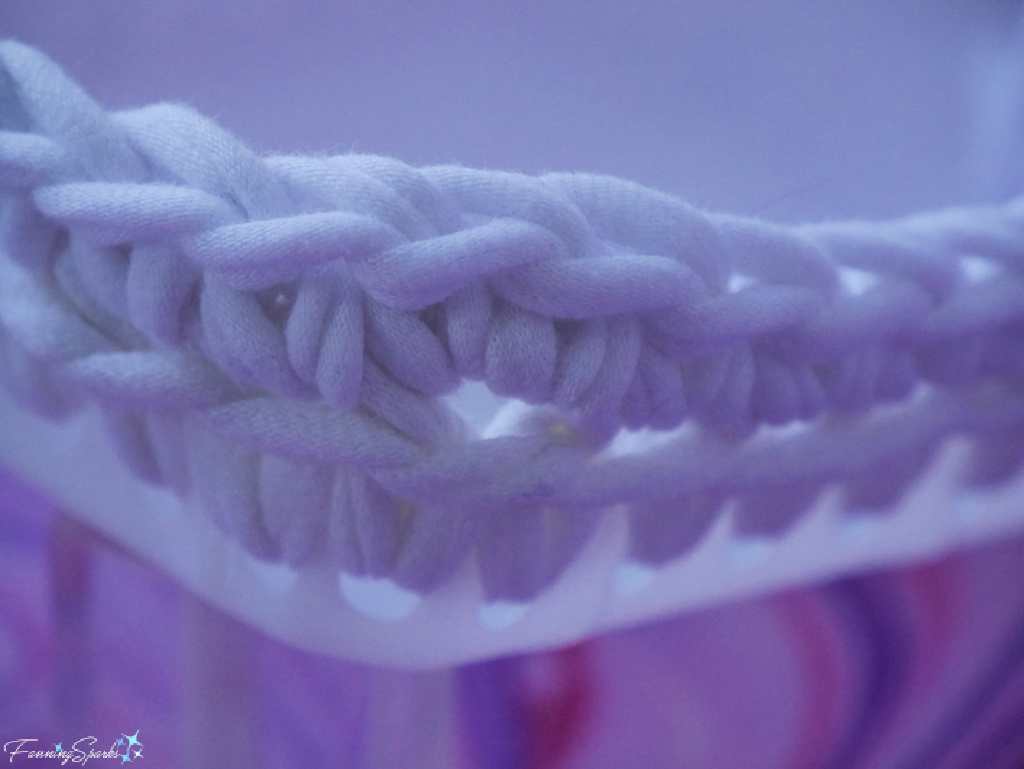 Step 5 Crochet Rows 3 to End Continue crocheting with the slip stitch as described in Step 4. You can make the walls of your basket as tall as you wish. I made three baskets. The smallest basket, made with a purple stripe, has 5 rows of crocheting and measures about 3” tall. The medium-sized basket, made with the turquoise stripe, has 6 rows of crocheting and measures about 3½” tall. The tallest basket, made with the blue stripe, has 8 rows of crocheting and measures about 4½” tall.
To change colors, start crocheting with the new colored yarn at the start of a row. Simply substitute the new yarn, when you bring the yarn over the crochet hook in the middle of the slip stitch. Then work the two tails into that row of stitching.
 Step 6 Finish To finish, stop crocheting at the end of a row. Cut a 3-4” yarn tail. Then fasten off by pulling the tail through the last stitch. Use a sewing needle with a large eye to sew the yarn tail through the previous stitches. Do the same with the yarn tail you clipped at the base when you started crocheting.
There you have it! Your new T-Shirt Yarn Basket is ready for service.
More Info
Check out the FanningSparks January Maker Challenge for Earth-friendly projects:
. See the blog post, Earth-Friendly Project Roundup, which kicked off the challenge with a roundup of previous Earth-friendly maker projects and initiatives from the blog.
. The blog post, Getting Roped Into Coiled Rope Basketry, is my first response to the challenge. It features using natural materials like cotton rope for maker projects.
. My second response to the challenge, the blog post Coiled Rope Animal Coasters – DIY Tutorial, includes step-by-step instructions to make a sheep-shaped coiled rope coaster.
. The blog post, Extending the Life of the Common T-Shirt, is my third response to the challenge. It explores options for repurposing T-shirts in light of the global overabundance of fast fashion garments like T-shirts.
. This post is my fourth response to the challenge.
As noted in this blog post, there are lots of great crocheting resources available. The two online resources I found most helpful are Yarndrasil and Crochet Guru. Both have websites, tutorials and videos.
. See the Yarndrasil website and YouTube channel for more info. Here is Yarndrasil’s Slip Stitch tutorial.
. See the Crochet Guru website and YouTube channel for more info. Crochet Guru has several short beginner videos including How to Hold a Crochet Hook and How to Hold Yarn for Crochet.
Today’s Takeaways
1. Discarded T-shirts can be made into T-shirt yarn which, in turn, can be used to make other items.
2. Consider ways to repurpose plastic packaging.
3. Crocheting is a low investment/ high reward craft.




2 Comments
@Marian, These baskets would be perfect in a nursery! You can make them in just the right color(s) and the crocheted surface adds a little cozy texture. Good luck! Peg
Neat idea, I love it !
Honestly have been looking for baskets for Nat’s nursery and might attempt these.