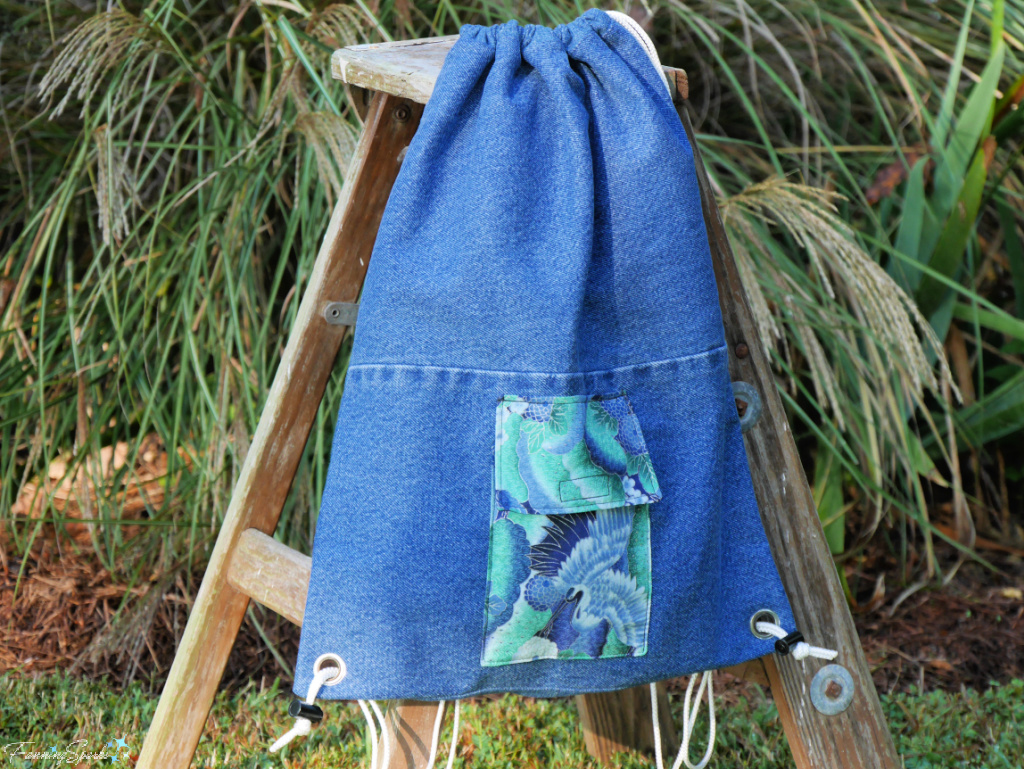
The beauty of a drawstring backpack is its simple, elegant design. It’s essentially one large pocket with a long cord drawstring to close the top opening and create the backpack straps.
There are quite a few good online tutorials that explain the basic construction. The FanningSparks version, however, has several additional features which might be worth your consideration.
The FanningSparks drawstring backpack offers:
. Repurposed denim for strength, durability and easy maintenance.
. Sliding cord locks to adjust the length of the backpack straps.
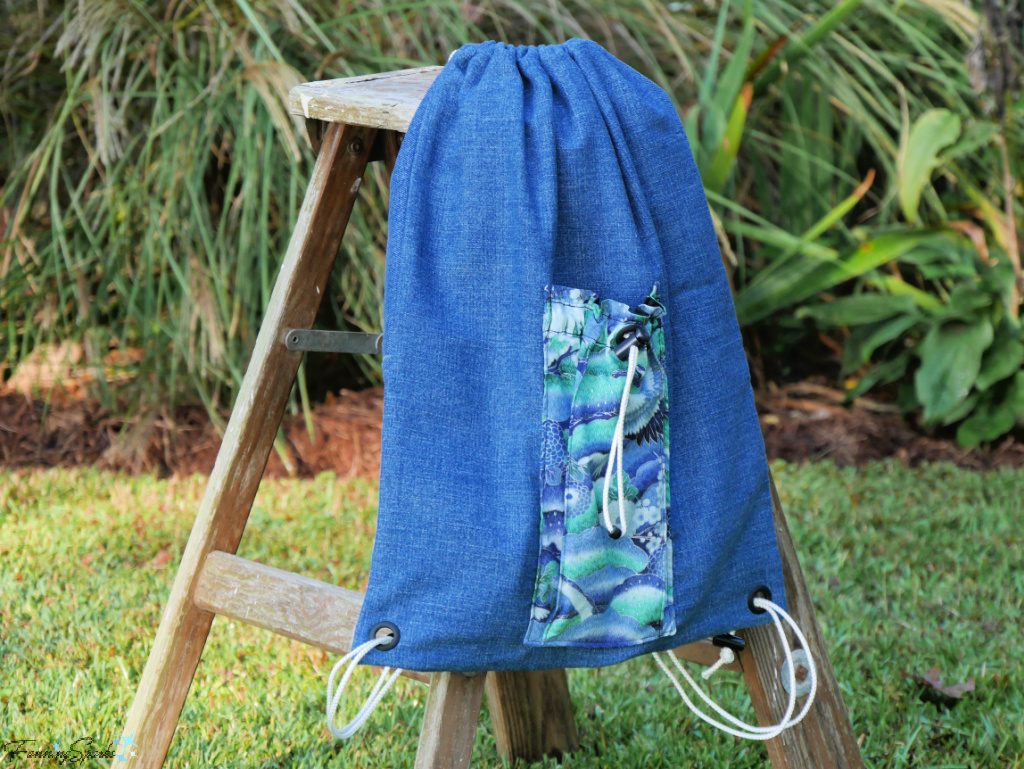
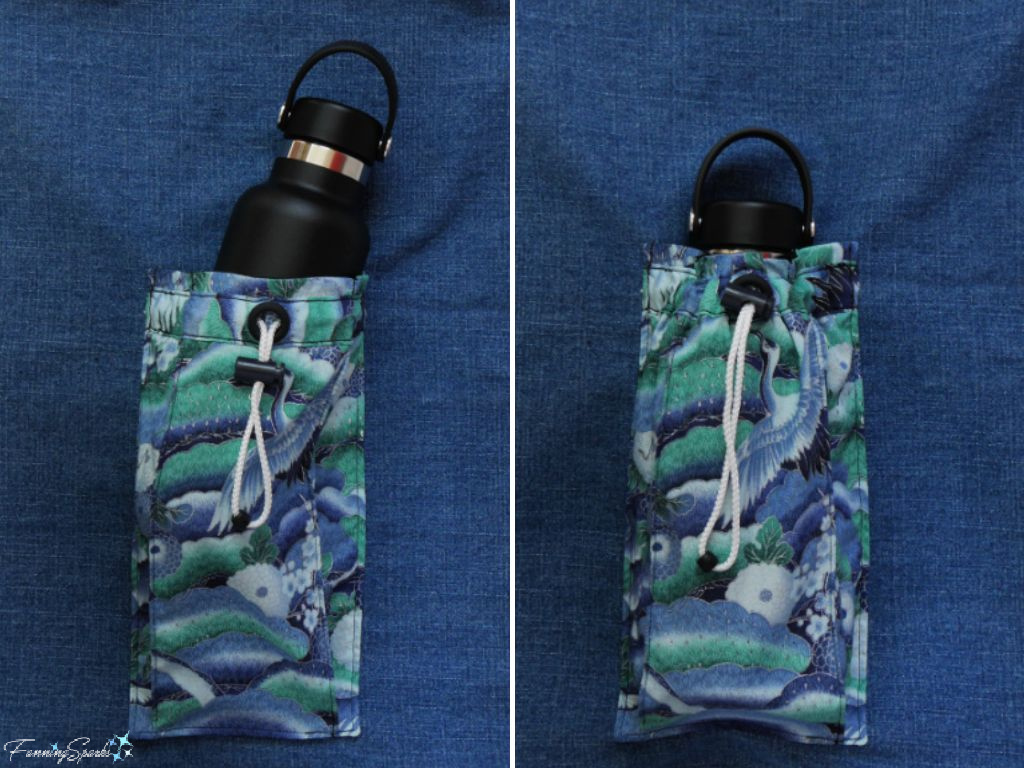
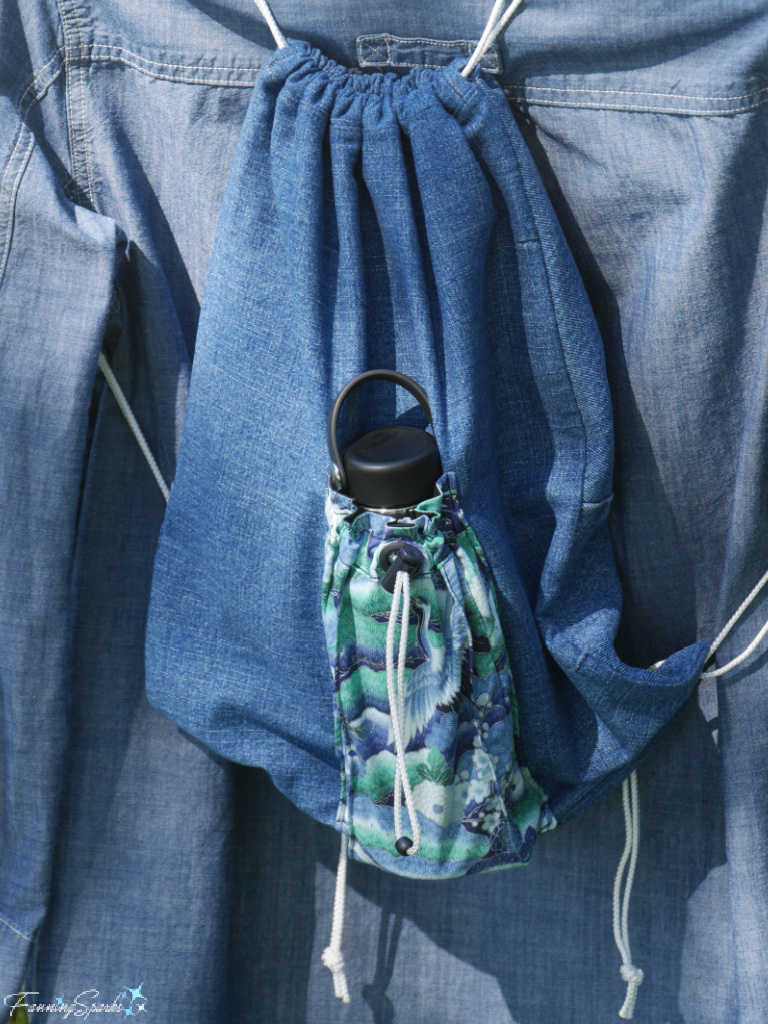
. A pleated front pocket with a drawstring closure, on the front of the bag, specifically designed to hold an insulated water bottle.
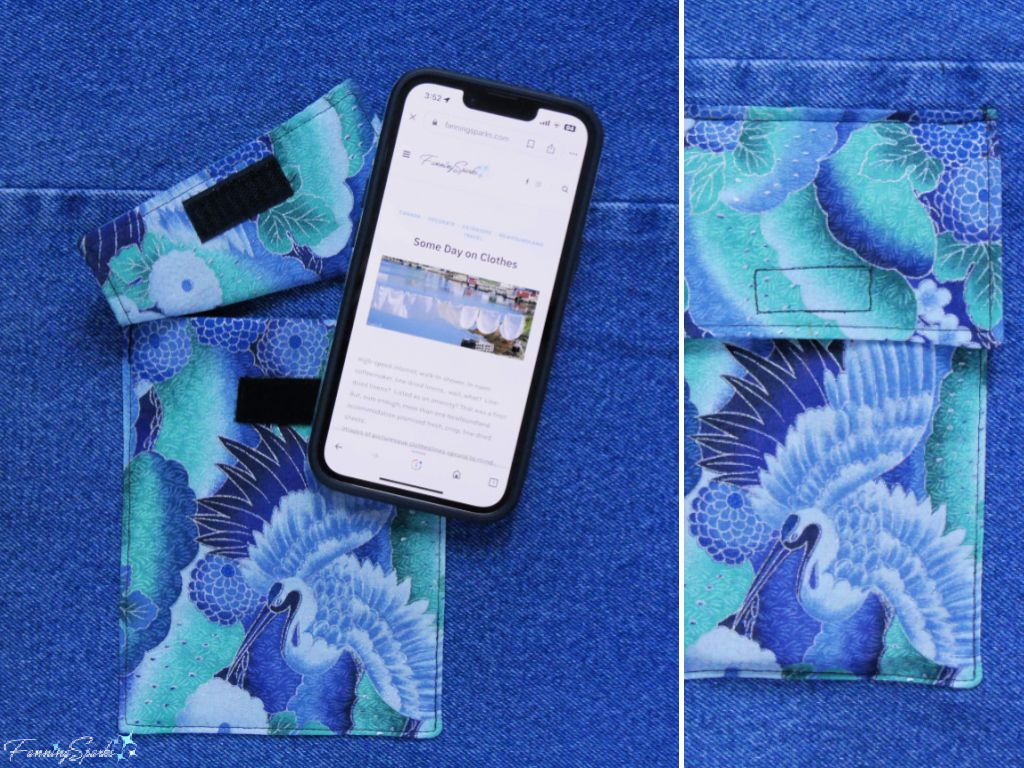
. A flat flap pocket with a hook-and-loop closure, on the back of the bag, specifically designed to hold a phone.
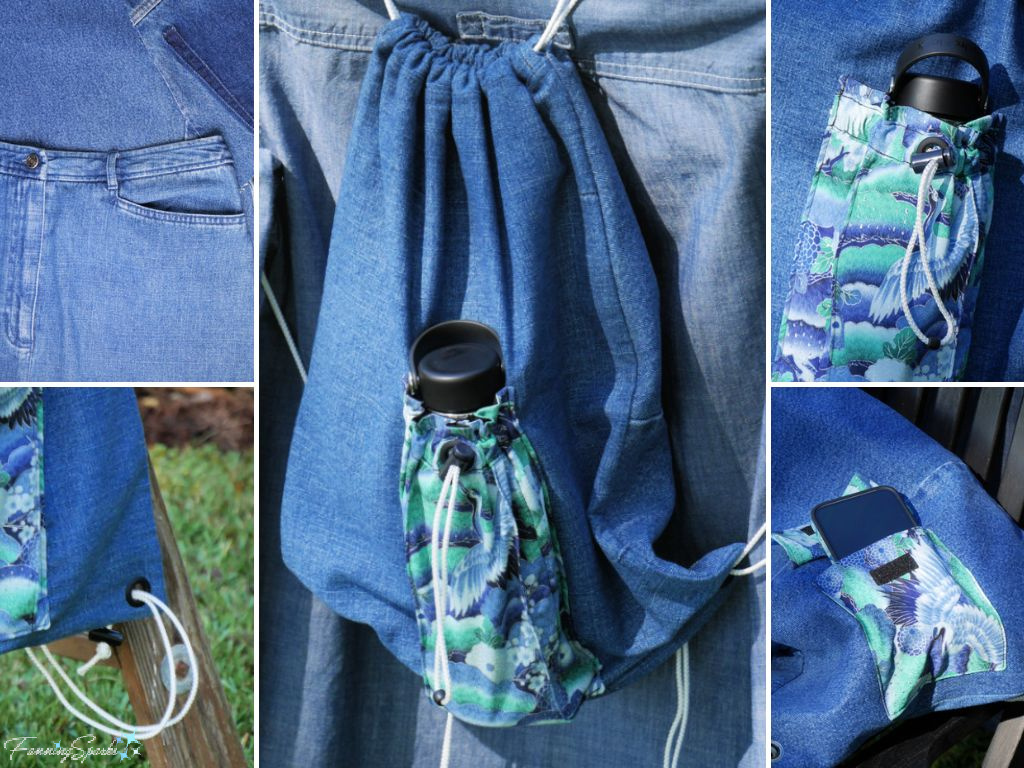 A basic drawstring backpack is a straightforward sewing project. The step-by-step instructions in this blog post will walk you through the project from beginning to end. Only basic sewing skills and the use of a sewing machine are involved. The pleated pocket may be a little tricky for beginners but both pockets are optional and you can choose to skip them if you wish.
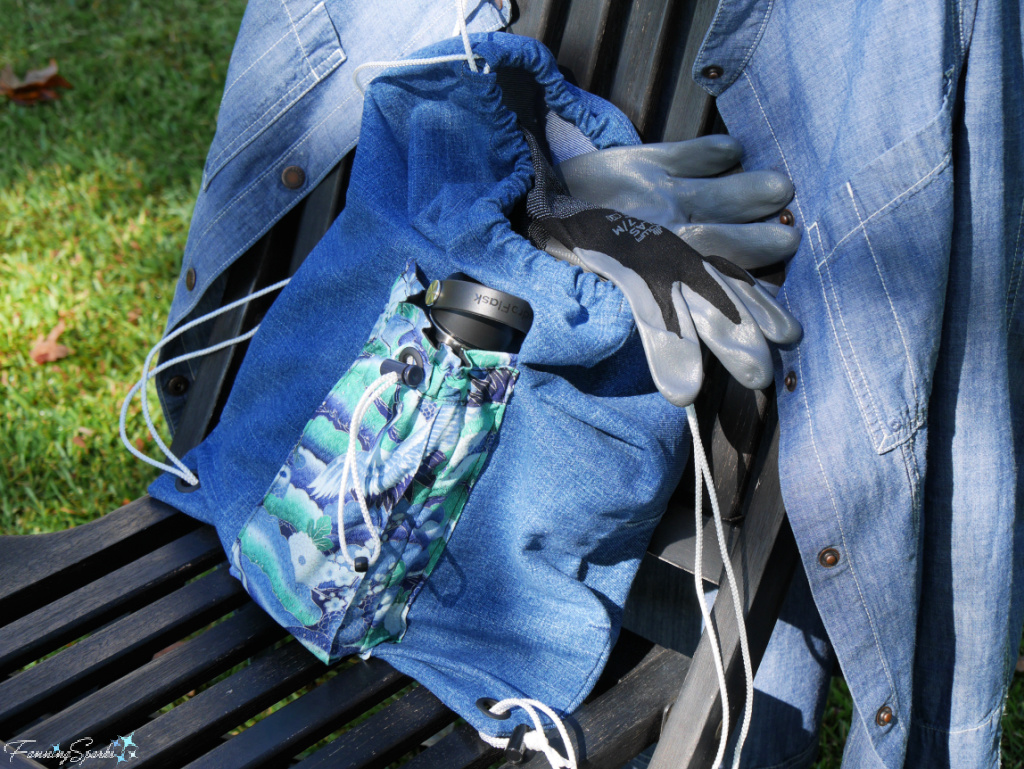
Supplies Needed
There are three basic components to this project: the basic drawstring backpack, a pleated pocket specifically designed to hold a water bottle on the front panel and a flap pocket specifically designed to hold a phone on the back panel. The two pockets are optional.
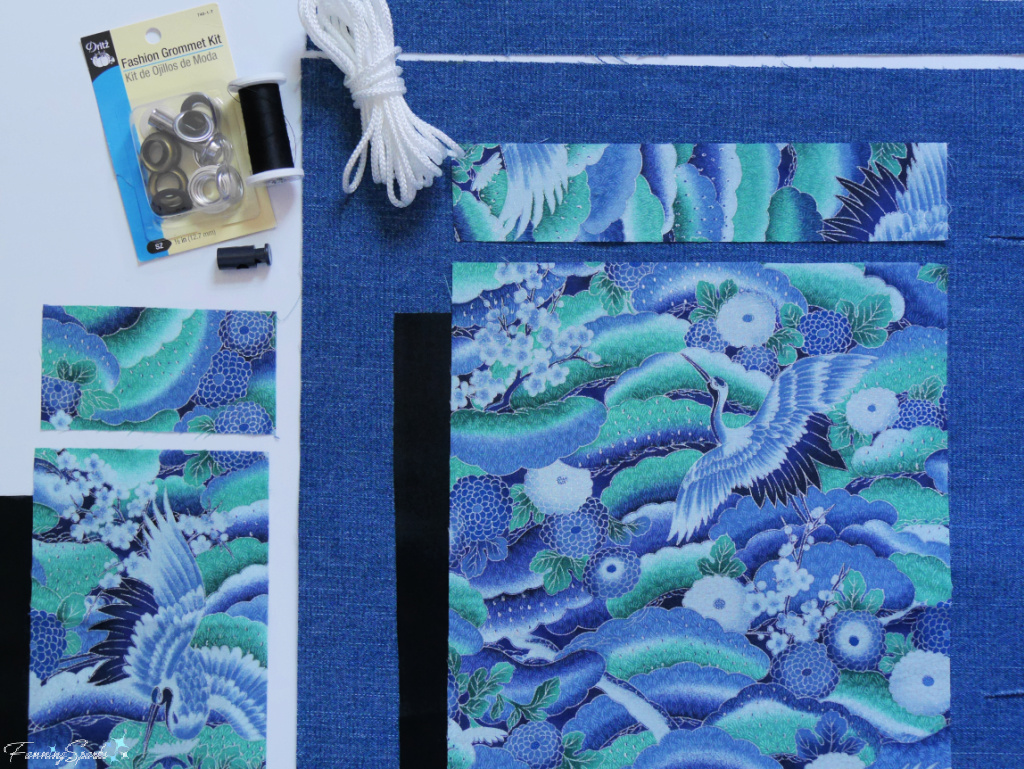
The supplies needed for the basic drawstring backpack are:
. Denim: TWO 15” wide x 18” tall for front and back panels and TWO 15” wide x 2” tall for casings
. Cord: TWO 72” pieces of round braided cord
. Thread
. Grommet: TWO ½” fashion grommets
. Cord Lock: TWO sliding cord locks which fit on the selected cord.
The additional supplies needed to make a pleated pocket for an 18 oz water bottle (about 3” diameter x 11” tall) are:
. Decorative Fabric: ⅓ yd or one fat quarter
. Lining: ⅓ yd or one fat quarter
. Cord: 18” piece of round braided cord
. Grommet: ONE ½” fashion grommet
. Cord Lock: ONE sliding cord lock which fits on the selected cord
. Cord Bead: ONE small bead which fits on the selected cord.
The additional supplies needed for the back flap pocket are:
. Decorative Fabric: If making both pockets, you can use the same yardage as for the pleated pocket. Else ⅓ yd or one fat quarter is needed.
. Lining: If making both pockets, you can use the same yardage as for the pleated pocket. Else ⅓ yd or one fat quarter is needed.
. Sew-on Hook-and-Loop (Velcro®) Tape: ONE 1” piece.
Section A – Pleated Pocket with Drawstring
The first step is to create the pleated pocket with the drawstring closure. This pocket will be sewn to the front panel of the backpack. It is specifically designed to hold an 18 oz insulated water bottle (about 3” diameter x 11” tall). The pocket dimensions could be adjusted for a different sized water bottle.
The pleated pocket is optional so if you choose not to make it, simply skip these instructions and go to Section B – Pocket with Flap.
Step A1 Cut the following pieces from the decorative fabric:
. ONE 10” wide x 11” tall for pocket
. ONE 10” wide x 2” tall for casing
Cut the following piece from the lining fabric:
. ONE 10” wide x 11” tall.
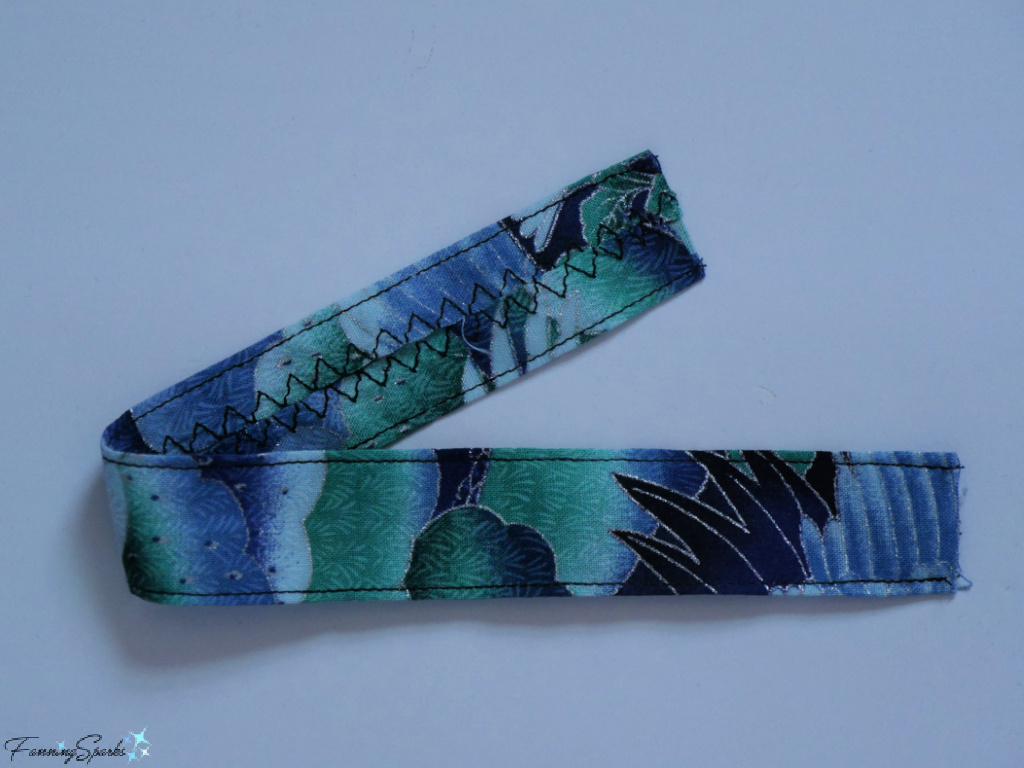
Step A2 Prepare to make the pleated pocket casing. Overcast all long edges on the casing piece. Press under ½” along both long edges. Stitch ⅛” from the fold along both long edges.
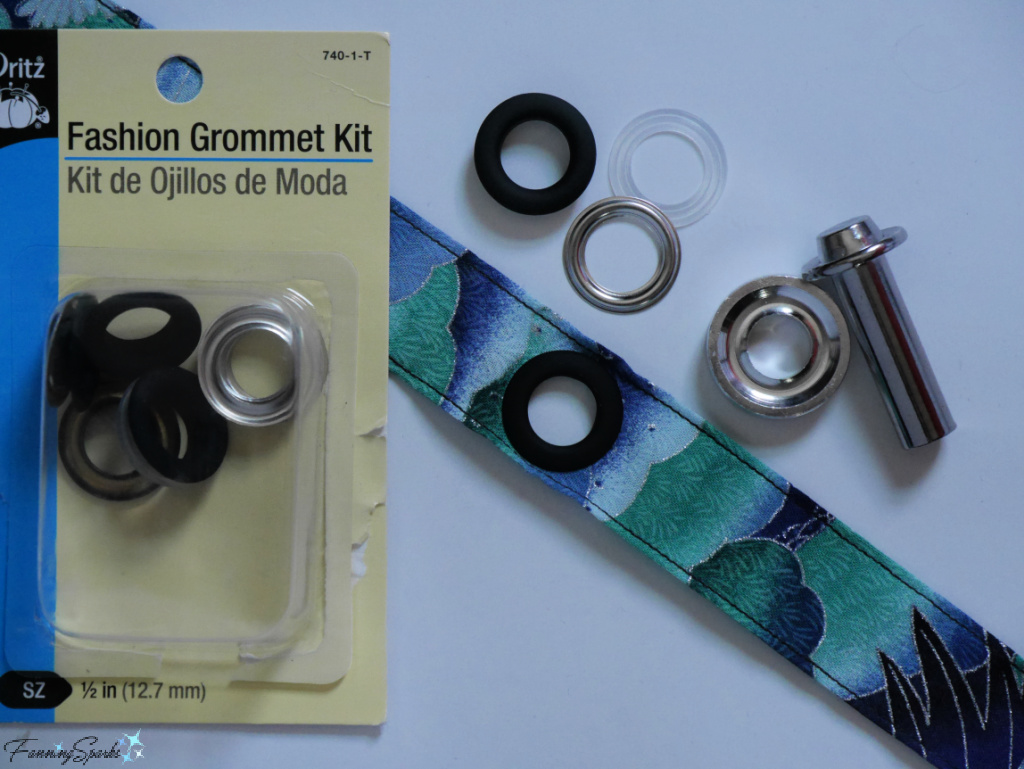
 Step A3 Find center point of casing both horizontally and vertically. Mark. Install grommet at center point following manufacturer’s instructions.
Step A4 Prepare to make the pocket section. Place pocket fabric and lining fabric right sides together and align all edges. Stitch with ½” seam around all sides leaving a small opening (2-3”) along the bottom edge. Trim corners. Turn pocket right side out pushing out corners. Press all edges. Stitch opening closed.
Step A5 Prepare to make pleats. Press under 2 ½” along each of the 10” side edges. Top stitch ⅛” from the folds. Press.
Step A6 Lay pocket on flat surface. Mark a line ½” from each of the 10” side edges. Fold pocket to align the stitched edge with the ½” line. Press.
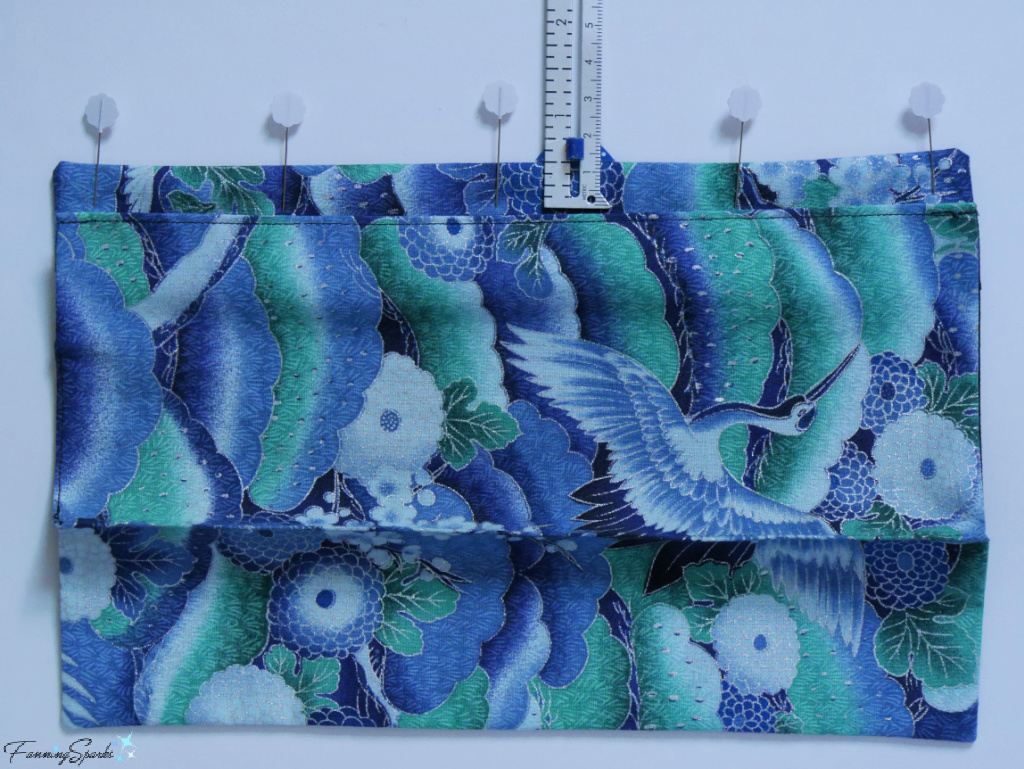
Step A7 Working on the backside of the pocket (on the lining fabric), top stitch ⅛” from the new folds.
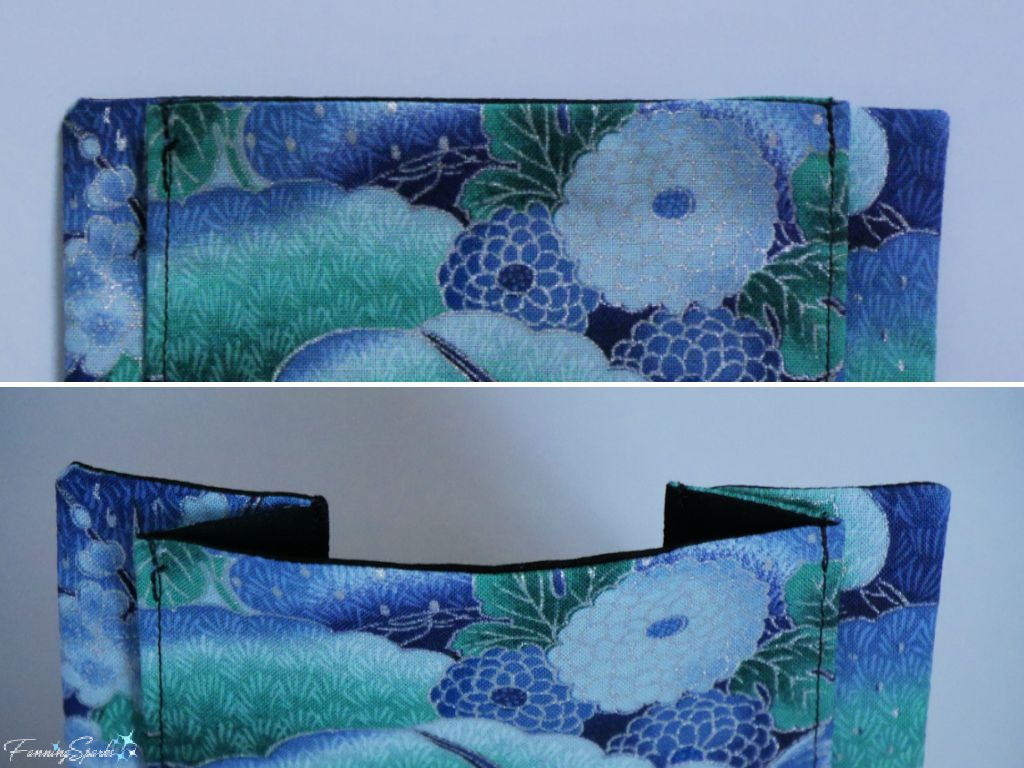 Step A8 Prepare to attach casing to pocket. Mark ⅜” from top edge of pocket. Align top edge of casing with the ⅜” line and pin in place. Take care to pin stitched pleat edges in the correct direction—the pleat folds closest to the sides point towards the center while the pleat folds in the middle point towards the sides.
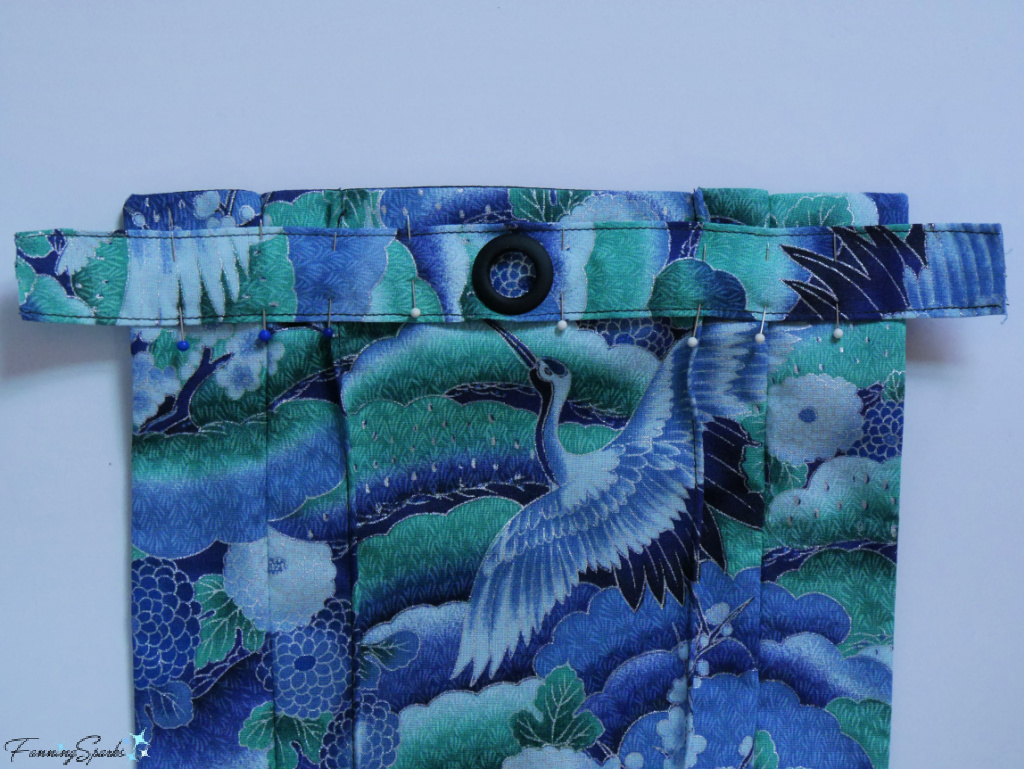
Step A9 Stitch casing in place ⅛” from folded long edges but STOP about ¾” from the ends. Stitch slowly and carefully past the grommet.
Step A10 Prepare to finish the short edges of the casing. Trim ends about ½” beyond the side edge of the pocket. Overcast ends. Fold under ends aligning with the side edge of the pocket. Press and stitch. Pin remaining edge of casing (¾” sections left unstitched) to the pocket. Stitch ⅛” from the folded edges. Fold casing at pleats to match pleats in pocket. Press.
Step A11 Prepare to insert cord. Pull one end of an 18” piece of round braided cord into one side of the pocket casing. Pull cord out through grommet. Slide a cord lock onto cord. Slide a small bead onto the cord. Then slide the cord back through the cord lock. Pull cord through the remainder of the pocket casing.
Step A12 Stitch through the cord at both ends of the casing. Trim the cord close to the stitching.
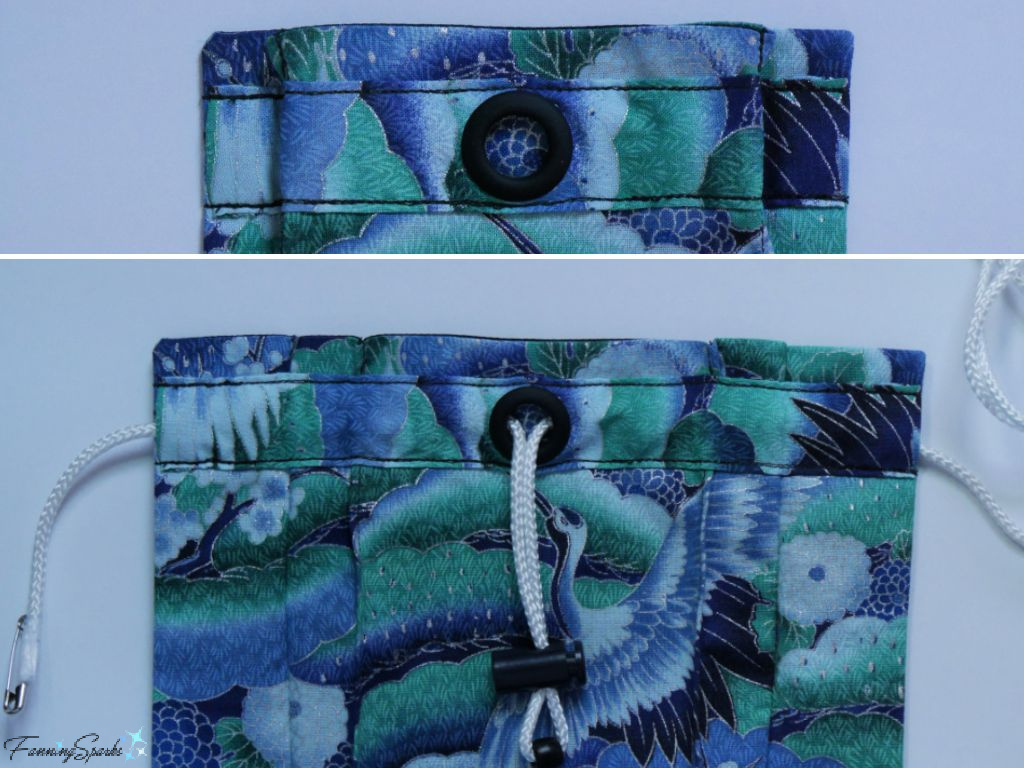
Step A13 Close the pleats so the pocket lays flat. Pin to hold in place. Find and mark the center of the pocket at the top and bottom edges. Find and mark the vertical centerline of the front panel of the backpack. Mark a line 1½” from the bottom edge. Align the pocket with the centerline and the 1½” line. Pin. Stitch ¼” from the edge along the sides and the bottom of the pocket. Reinforce stitching at top edges.
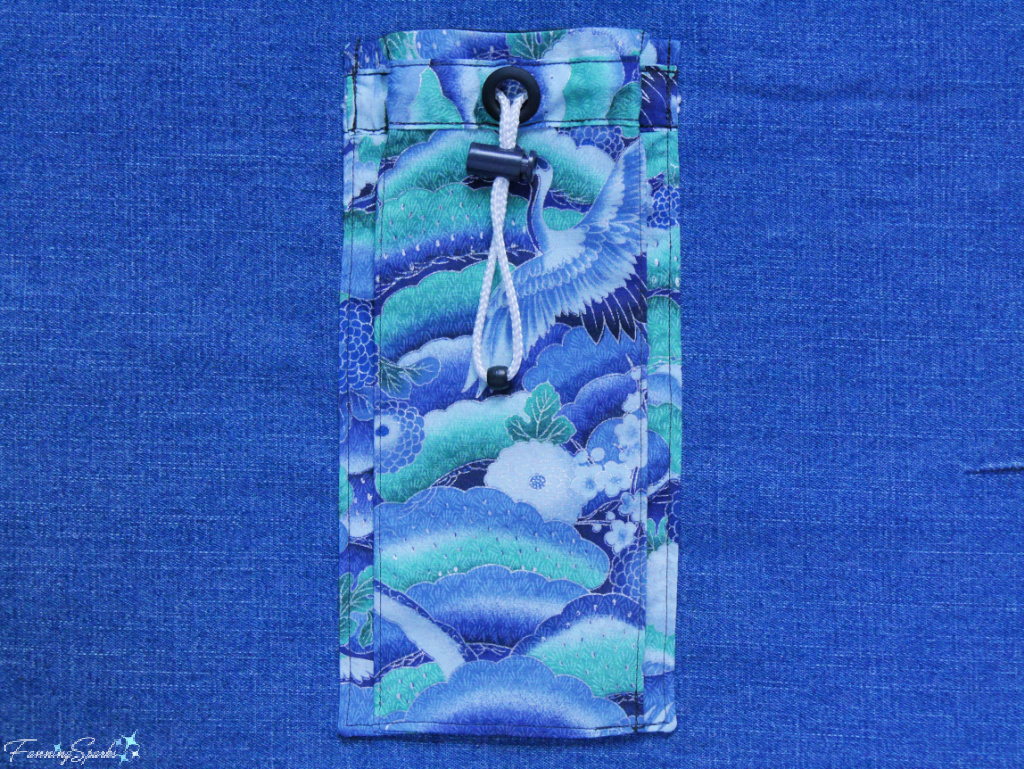
Step A14 The pleated pocket with the drawstring closure is complete.
Section B – Pocket with Flap
The second step is to create the flap pocket. This pocket will be sewn to the back panel of the backpack. The pocket flap is secured with a hook-and-loop closure and is specifically designed to hold a phone about 6” x 3” x ½”. The pocket dimensions could be adjusted for a different sized phone.
The back flap pocket is optional so if you choose not to make it, simply skip these instructions and go to Section C – Drawstring Backpack.
Step B1 Cut the following pieces from the decorative fabric:
. ONE 5¼” wide x 6½” tall for pocket
. ONE 5¼” wide x 6½” tall for pocket flap
Cut the following piece from the lining fabric:
. ONE 5¼” wide x 6½” tall for lining.
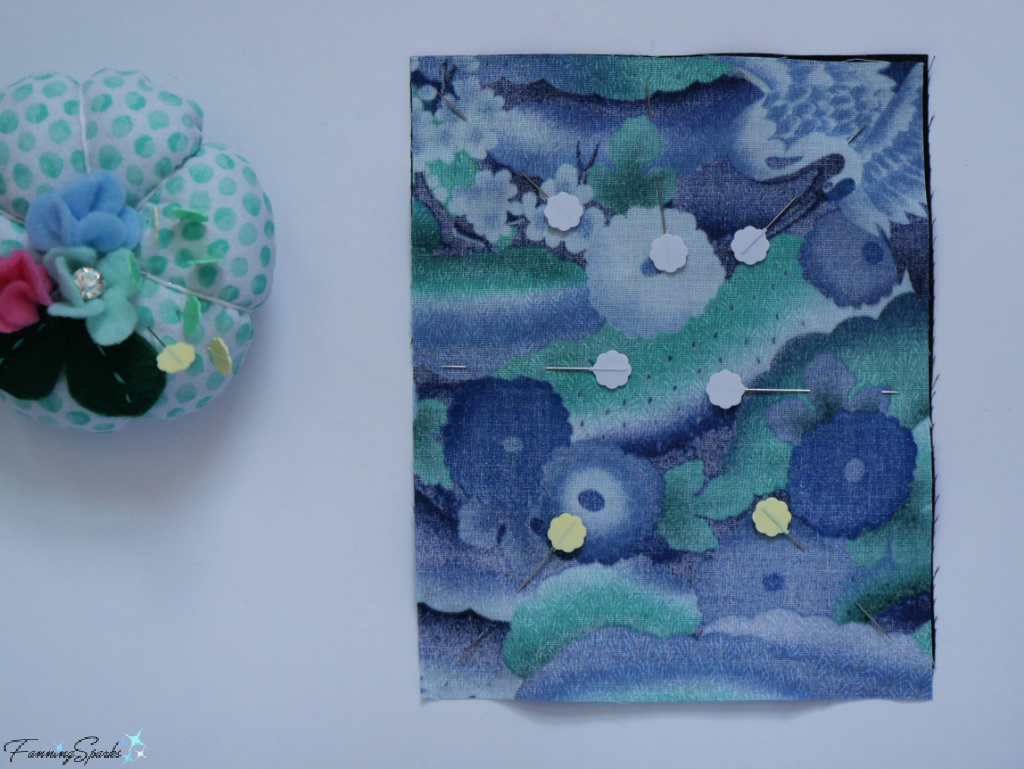
Step B2 Place the pocket fabric on the lining fabric with the right sides together and the edges aligned. Pin. Stitch with ½” seam around all sides leaving a small opening (2-3”) along the bottom edge. Trim the corners. Turn the pocket right side out and push out the corners. Press all the edges. Stitch the opening closed.
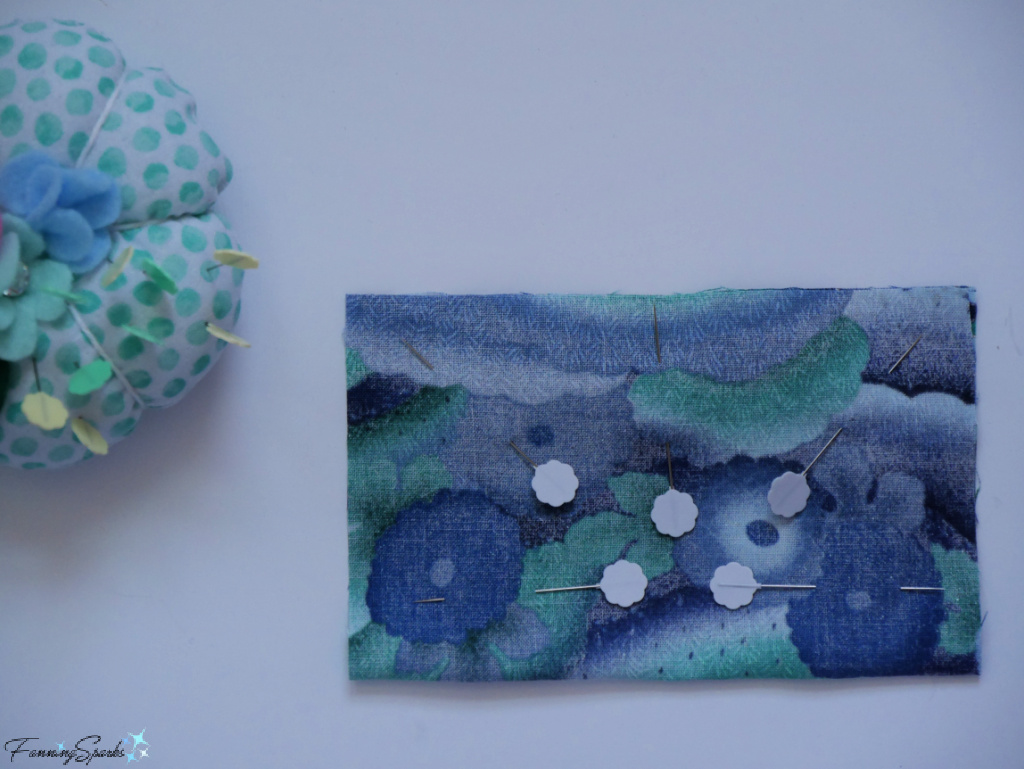
Step B3 Fold the pocket flap in half lengthwise with right sides together. Pin. Stitch with ½” seam around the two sides and the bottom leaving a small opening (2-3”) along the bottom edge. Trim the corners. Turn the pocket right side out and push out the corners. Press all the edges. Stitch the opening closed. Topstitch around all four edges of the pocket flap.
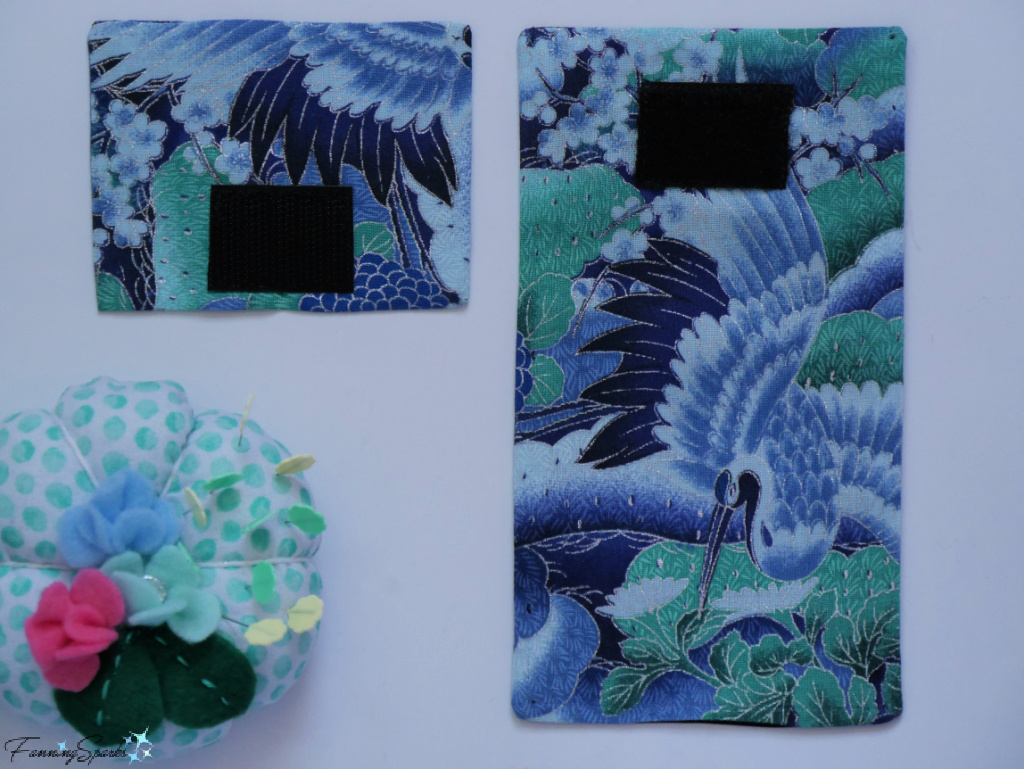
Step B4 Prepare to attach a 1” piece of hook-and-loop tape (Velcro®) to the pocket and flap. Find the vertical center on the backside of the pocket flap. Align the hook section of the hook-and-loop tape with the centerline and position about ¼” up from the bottom edge of the flap. Pin hook tape in place. Sew the hook tape in place with a single line of stitching close to the edges. Stitch neatly as it will be visible on the finished pocket flap. Turn the pocket flap over and stitch around the hook tape a second time following the previous stitching line.
Step B5 With the right sides facing up, place the flap over the top of the pocket with a 1¾” overlap. Align the side edges of the flap with the pocket. Carefully place the loop tape on the pocket section ensuring the pocket and flap remain aligned. Pin the loop tape in place on the pocket. Sew the loop tape in place with two rounds of stitching.
Step B6 Align the pocket and flap sections and fasten the hook and loop tape. Find and mark center of pocket at top and bottom edges. Find and mark the vertical centerline of the back panel of the backpack. Mark a line 1½” from the bottom edge. Align the pocket with the centerline and the 1½” line. Pin. Stitch ¼” from the edge along the sides and the bottom of the pocket. Reinforce stitching at top edges.
Attach the pocket flap by stitching ¼” from the edge along the top of the pocket flap. Reinforce stitching at both ends.
Step B7 The back flap pocket is complete.
Section C – Drawstring Backpack
The drawstring backpack is essentially one large pocket with a long cord drawstring to close the top opening and create the backpack straps.
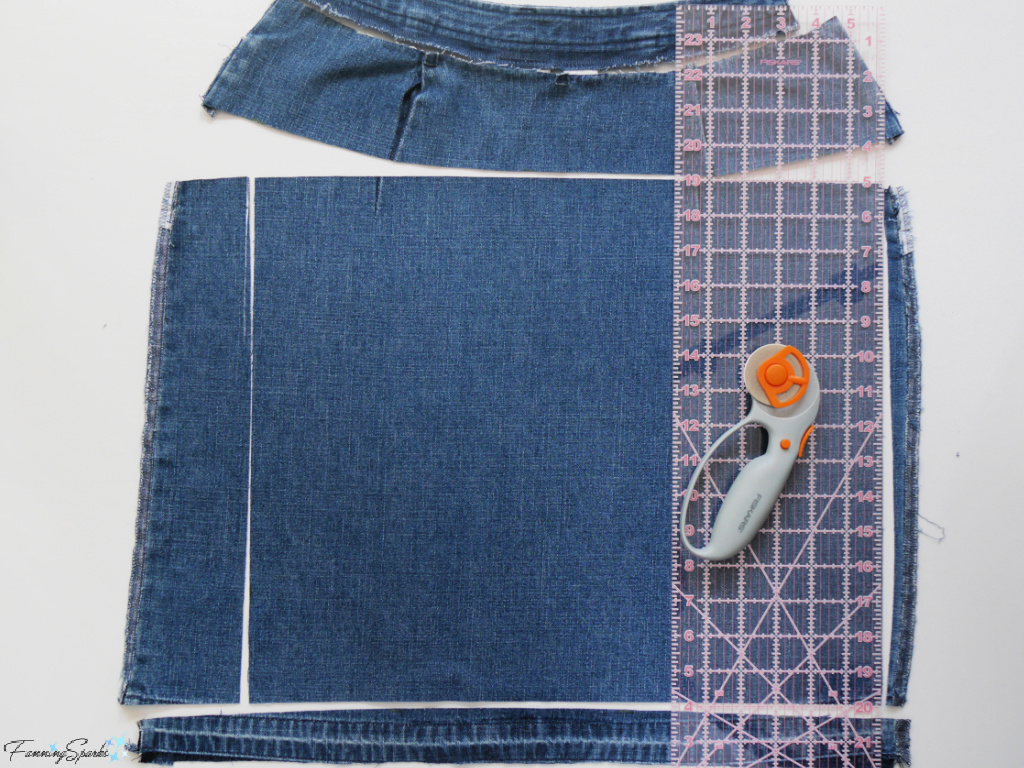
Step C1 If you wish to make this backpack from repurposed denim, source a piece of denim clothing that will yield the following rectangular pieces:
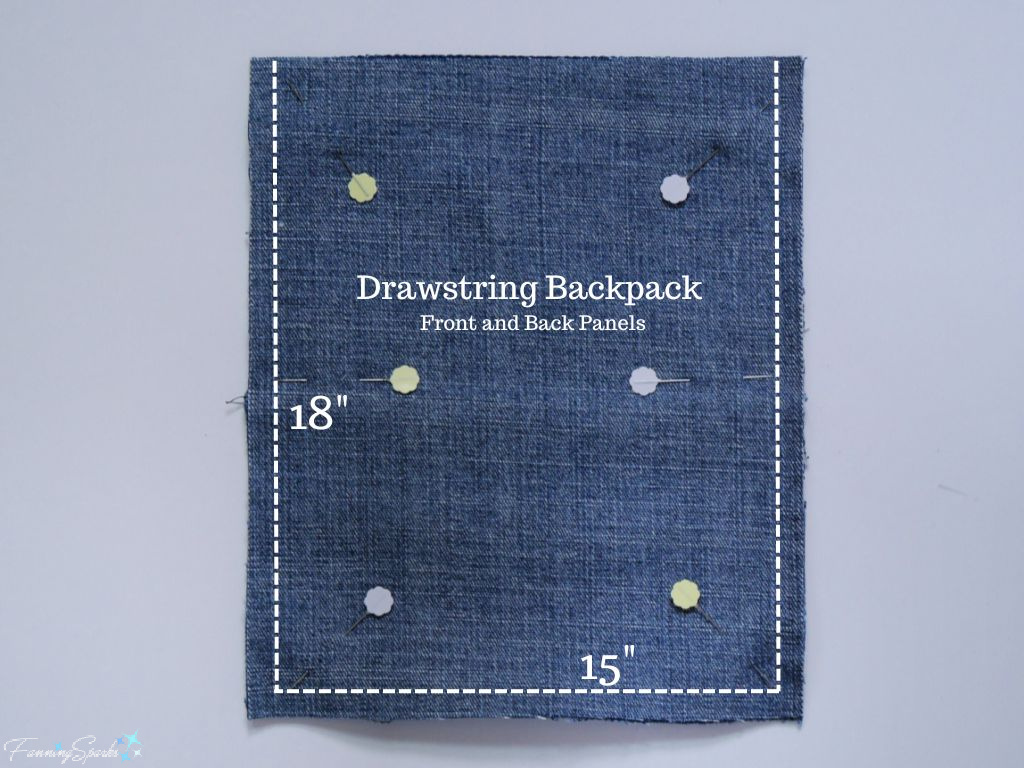
. TWO 15” wide x 18” tall
. TWO 15” wide x 2” tall
I used an old denim skirt and a jean pant leg. I chose not to retain elements of the original clothing but you could incorporate original elements such as pockets or waistbands. You could also piece together smaller sections of fabric.
Alternatively, you could choose to purchase denim yardage.
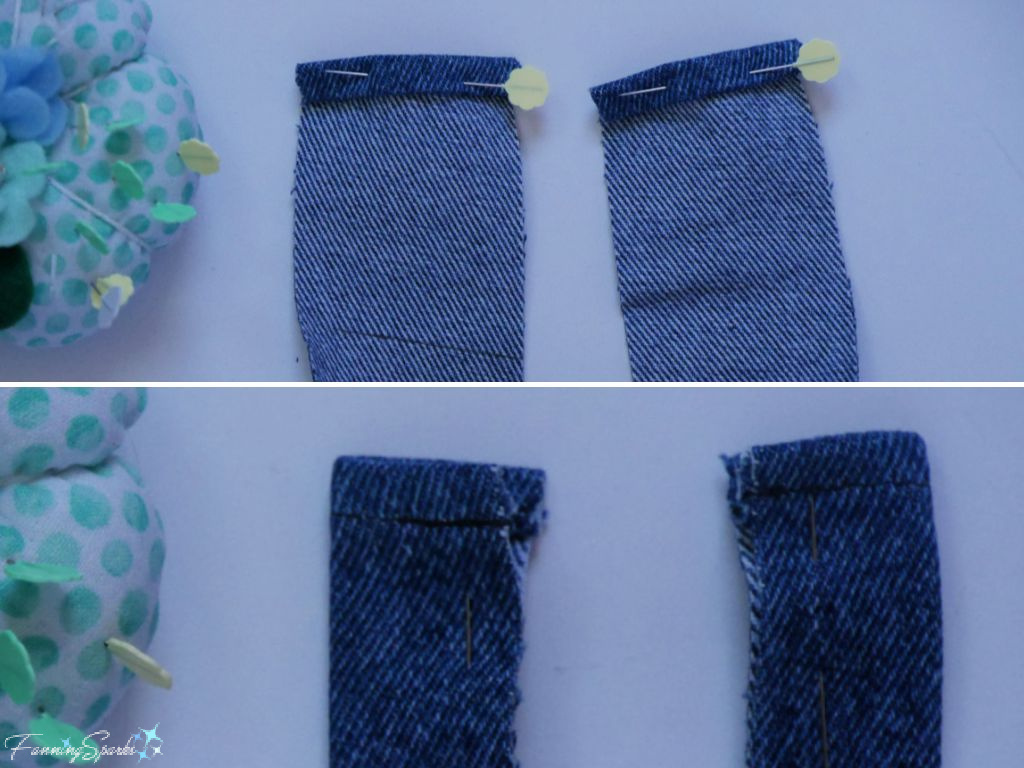
Step C2 Prepare to create the casings at the top of the backpack. Fold over ¼” on the short ends of the casing piece. Press and fold over another ¼”. Pin and stitch. Repeat on second casing.
Step C3 Fold a casing lengthwise with wrong sides together. Place folded casing on the right side of the front panel aligning the long unstitched edge with the top of the panel. The casing will be 1” shorter than the front panel so leave ½” open at each end. Pin in place. Repeat with the second casing on the back panel.
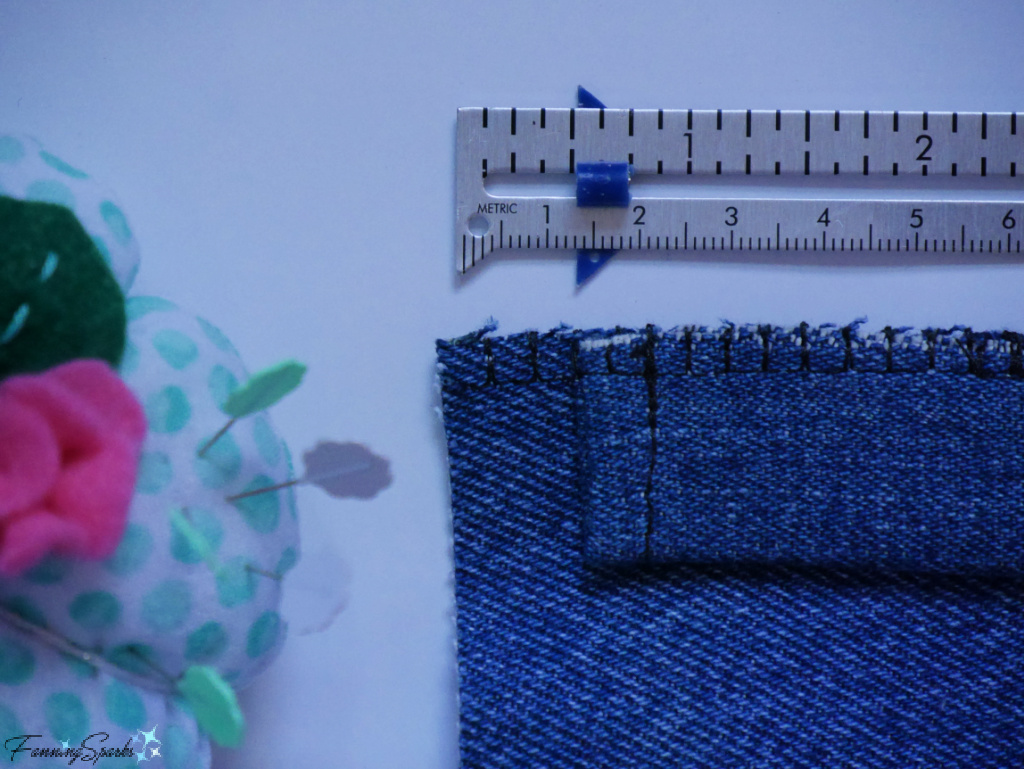
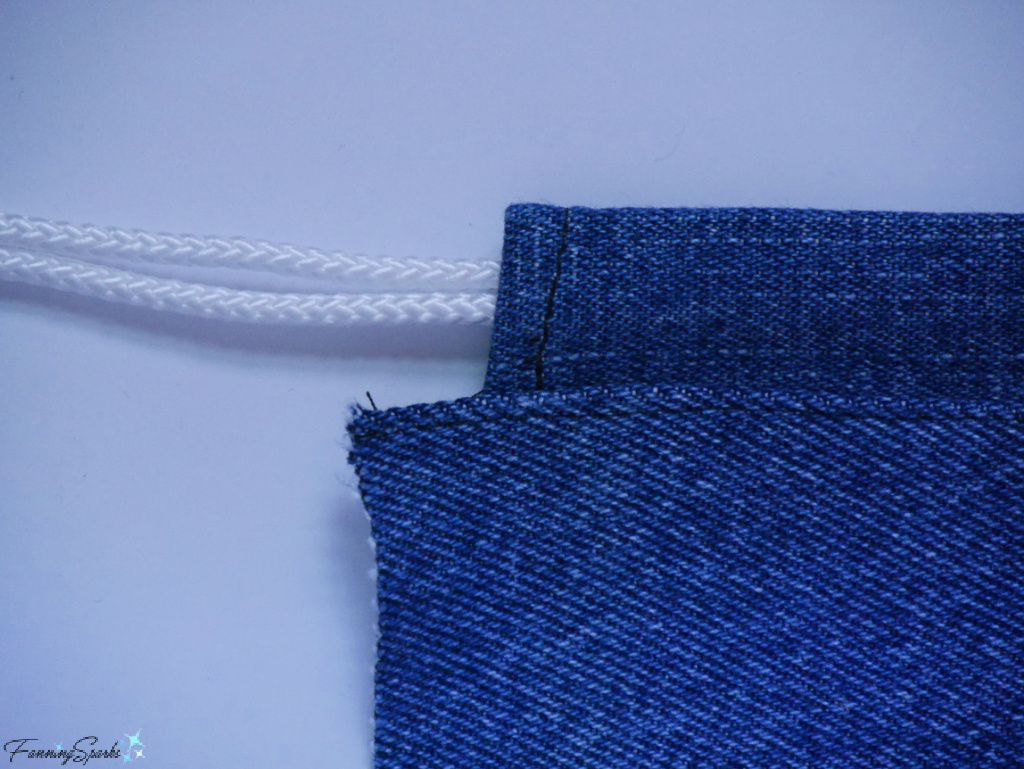
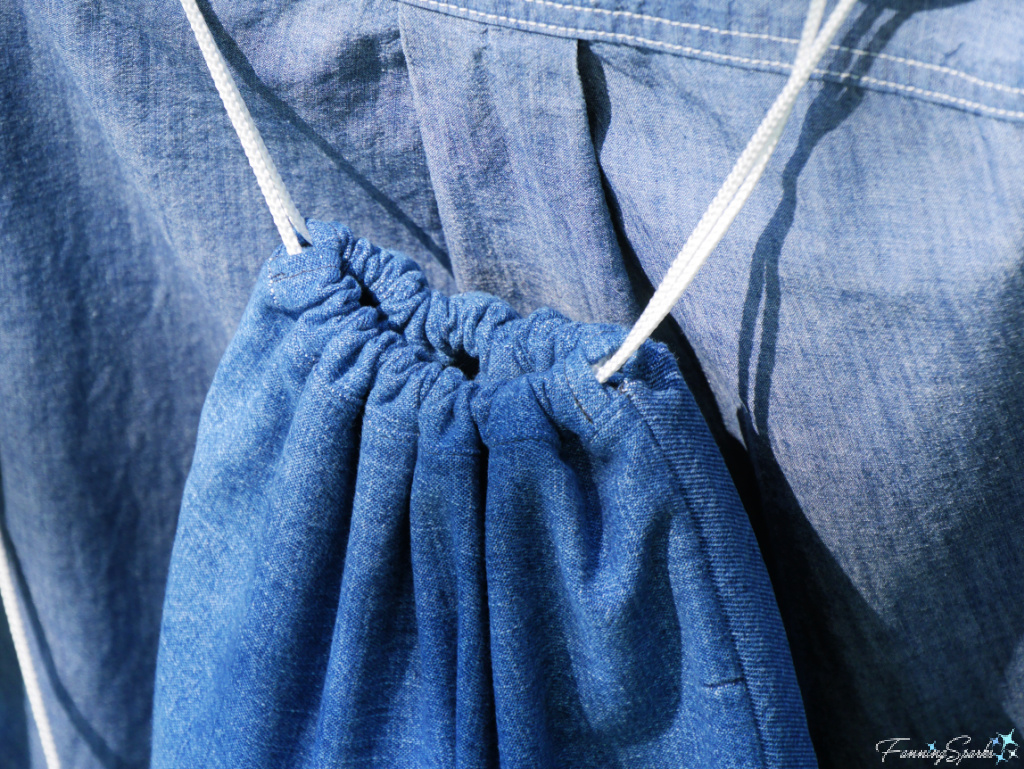
Step C4 Sew ¼” seam along the top edge of the front panel. Finish the seam with an overcast stitch. Repeat with the casing on the back panel. Press casing up away from the panel and press the seam allowance down towards the panel. Top stitch across the top of the panel through the seam allowances. In a later step, the cord will be run through the casing as shown below.
Step C5 Prepare to sew front and back panels together. Lay the two sections flat with the right sides together. Align all the edges. Keep the casings free of the seams. Stitch with ½” seam along the bottom and the two sides. Trim the seam and clip the corners. Finish the seam with an overcast stitch.
Step C6 Turn backpack right side out, push out the corners and press the seams.
Step C7 Install grommet in each of the backpack bottom corners following the manufacturer’s instructions.
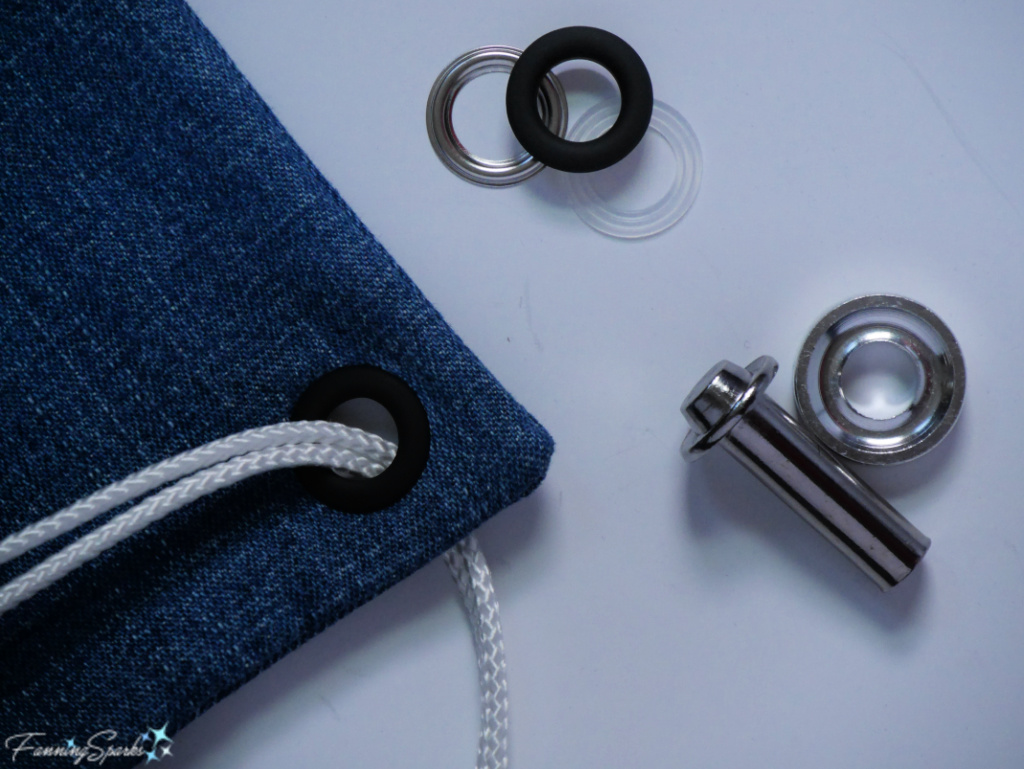
Step C8 Prepare to make the drawstring. Cut TWO 72” pieces of round braided cord.
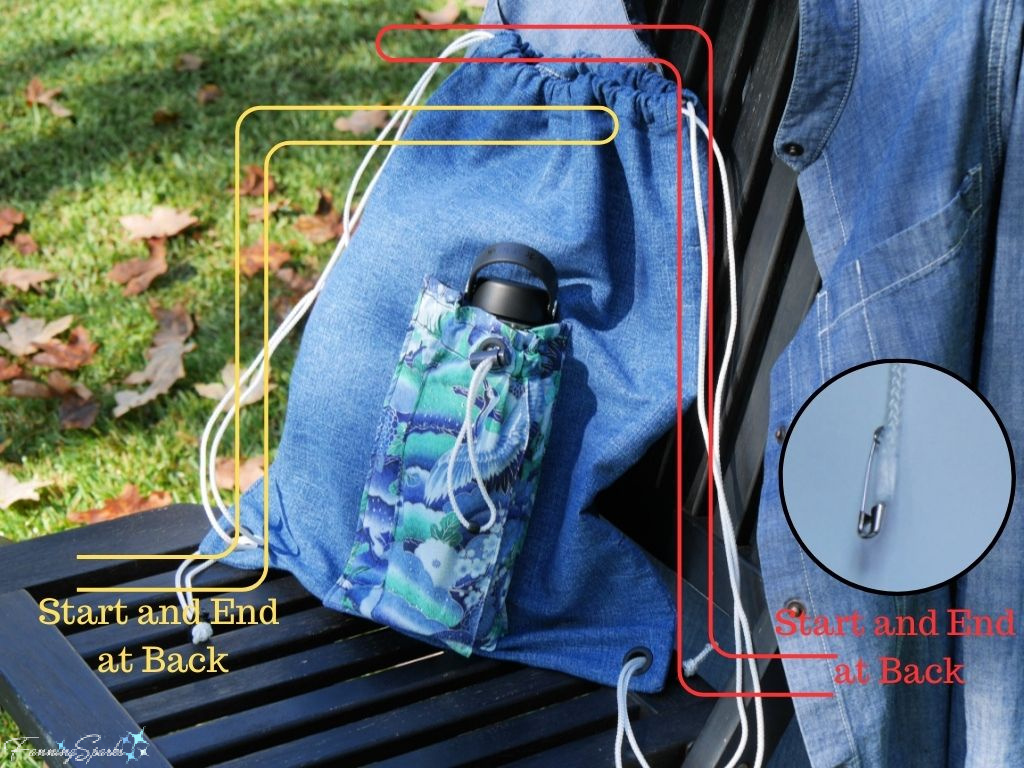
TIP: Wrap the end of the cord with a piece of tape. Then insert a safety pin through the taped end. Pull the safety pin through the casing slowly.
Cords are strung through the backpack on the left side and the right side. Follow the yellow lines in the image below to string the left side. Start at the back behind the left grommet. Pull the cord through the grommet and up to the casing at the top of the backpack. Insert the cord into the left end of the front casing, out the far end, back into the right end of the back casing, and out the left side. Then pull the end of cord to the back through the grommet. Slide the two ends of the cord through a sliding cord lock. Tie the cord ends with a knot.
Follow the red lines in the image below to string the right side. Repeat the process entering and exiting the casings from the right.
Step C9 Simply pull the two cords in opposite directions to tighten the drawstring and extend the shoulder straps.
Your FanningSparks Drawstring Backpack is ready to use!
More Info
The FanningSparks Drawstring Backpack was first introduced in my previous blog post, Gearing Up for the Garden Crew, in which I shared by my favorite, go-to gardening gear.
Today’s Takeaways
1. Repurposed denim is ideal for small accessories.
2. Making your own backpack allows you to add unique features such as customized pockets.
3. A simple drawstring backpack is convenient and versatile.




Comments are closed.