Richard Cadbury holds the Guinness World Record for the earliest box of Valentine’s Day chocolates. “Richard Cadbury, the eldest son of John Cadbury, founder of the world-famous company, created the first known heart-shaped box of chocolates for Valentine’s Day 1868. He was a pioneer in chocolate box design and often used his own paintings to make the lids of the boxes more appealing.” states the record.
Over 150 years ago, Cadbury, the British chocolate company, faced a number of serious challenges. They had invested heavily in new machinery to improve their primary product, drinking chocolate, which left them with large quantities of cocoa butter by-product. Other chocolatiers, such as their competitors Fry, had successfully sold cocoa butter as eating chocolate. But, as Deborah Cadbury explains in her book The Chocolate Wars, “the Cadbury brothers [younger brother George focused on purchasing, policy and development while older brother Richard tackled sales] were after something altogether more luxurious. They found that when the cocoa butter was mixed with sugar and then cocoa liquor was folded back into the mix, it produced a superior dark chocolate bar. Then they went one step further. They wanted to launch a new concept that would bring the exotic qualities of the French chocolatier to the popular market. Richard called it the Fancy Box.”
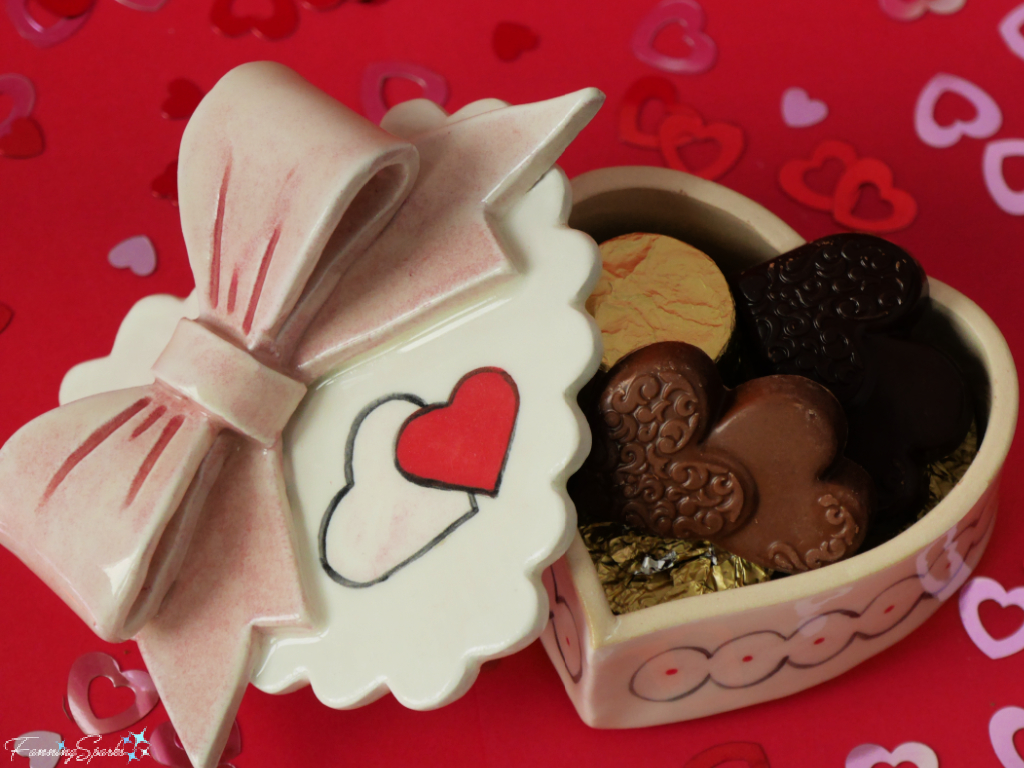
Today’s blog post features my own version of a Fancy Box—just in time for Valentine’s Day! It doesn’t contain exotic chocolates from my own secret recipe but it does hold some delicious treats I purchased for the occasion.
Richard Cadbury painted the designs to decorate the lids of the original Fancy Box himself. His efforts did not go unnoticed—a January 1869 newspaper article in the Birmingham Gazette reports “Among the pictorial novelties introduced to the trade this season, few if any excel the illustration on Messres Cadburys’ four-ounce box of chocolate cremes … It is chaste yet simple, and consists of a blue eyed maiden some six summers old, neatly dressed in a muslin frock, trimmed with lace, nursing a cat.”
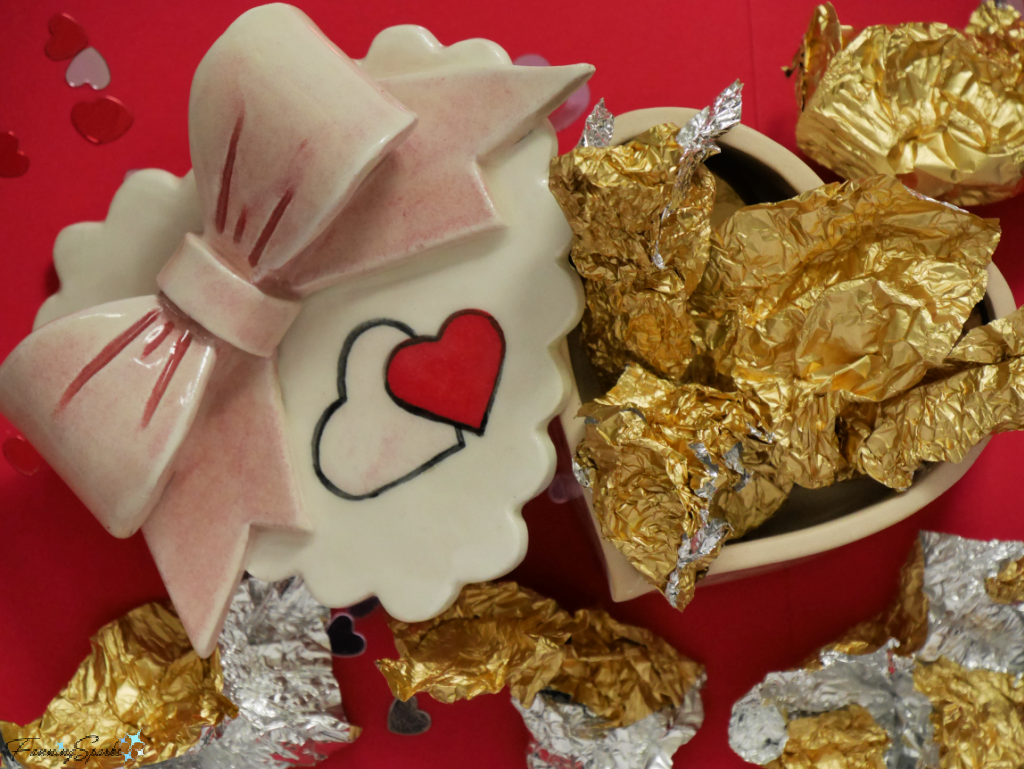
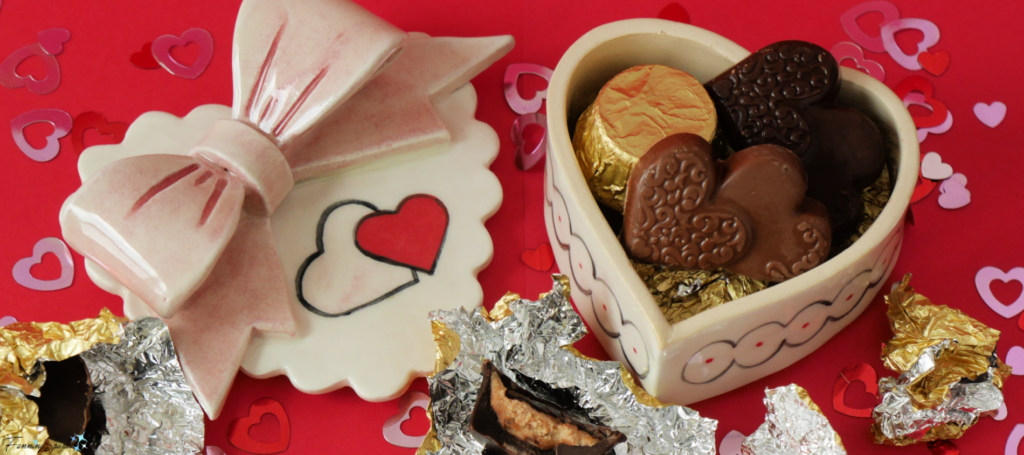
My Fancy Box doesn’t showcase a Victorian girl or a cat but it does sport a big pink bow and a simple heart motif.
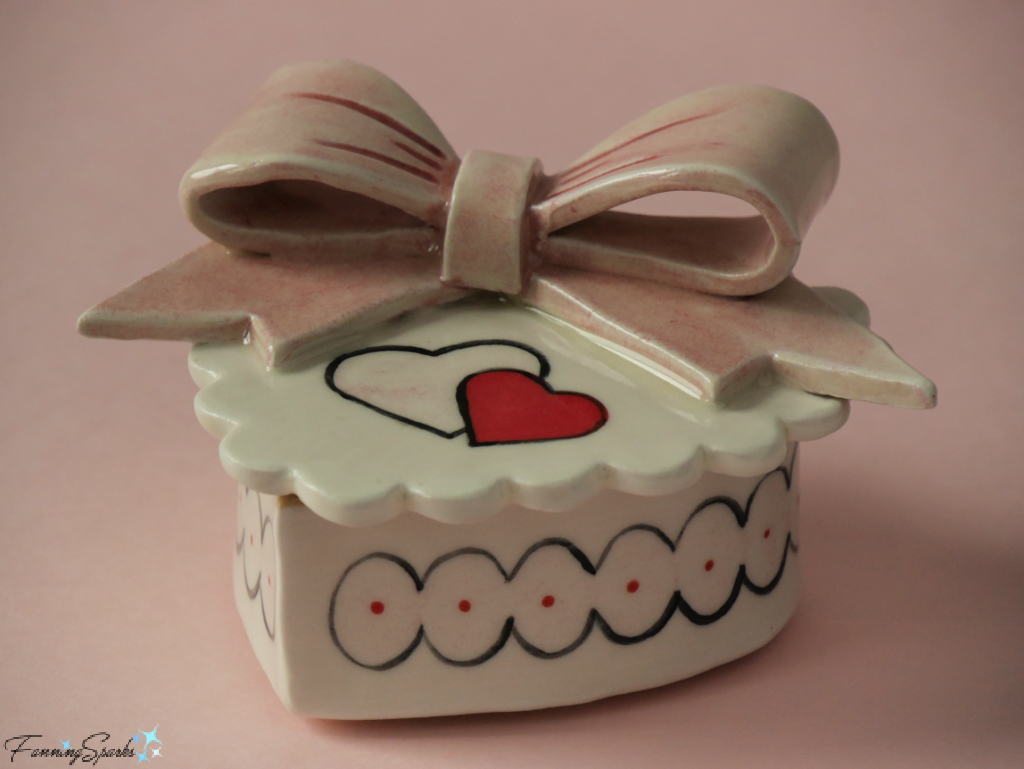
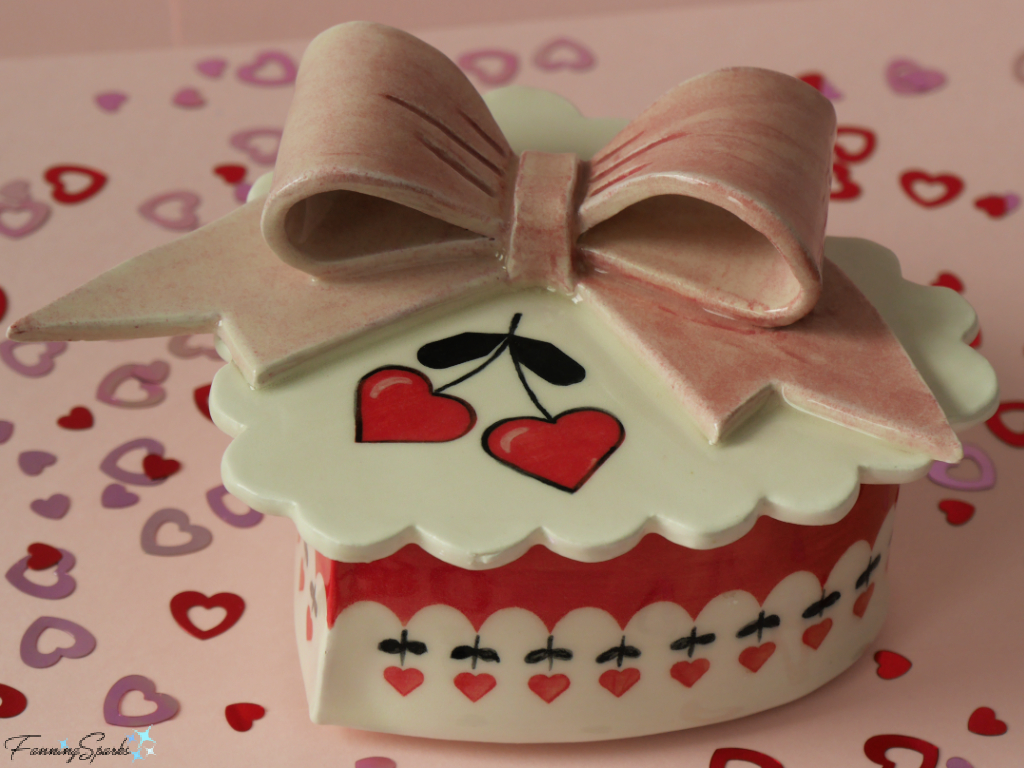
My heart-shaped box for Valentine’s Day chocolates is ceramic. I actually made two of them—a small one, pictured above, which measures 3¼” across and a slightly larger one, pictured below, that’s 4½”.
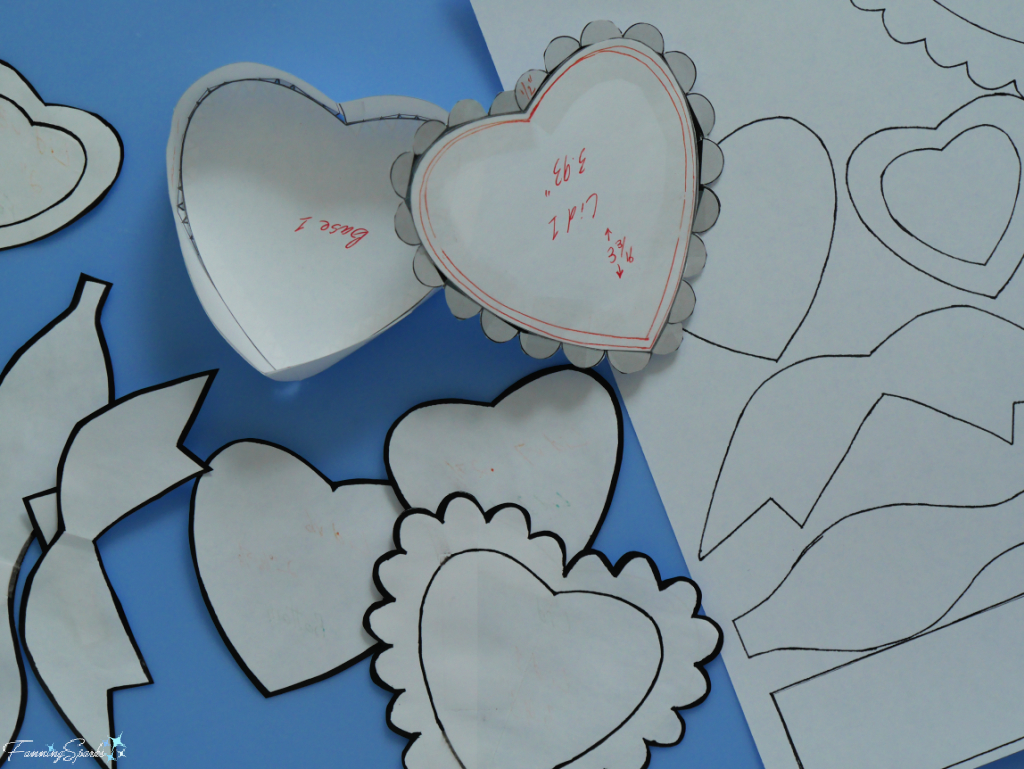
I started by making a paper prototype and then designing the template. I’m sharing a complimentary download containing the templates for my ceramic Valentine’s heart box here.
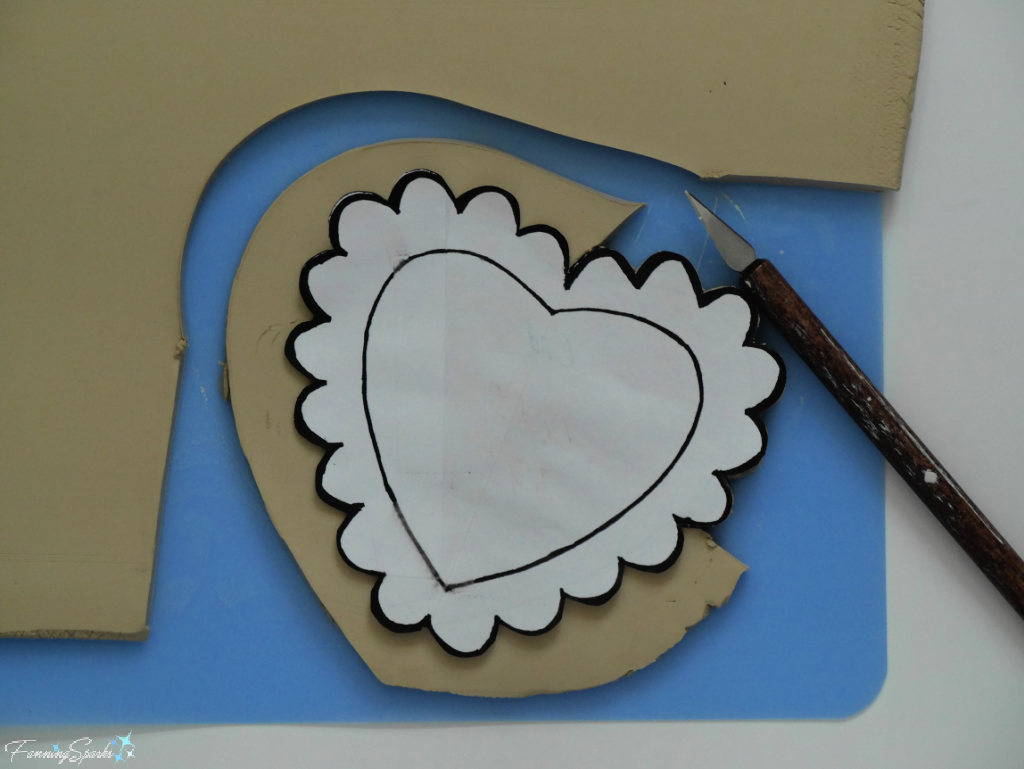
Once the design was set, I rolled out some clay and cut out the various parts.
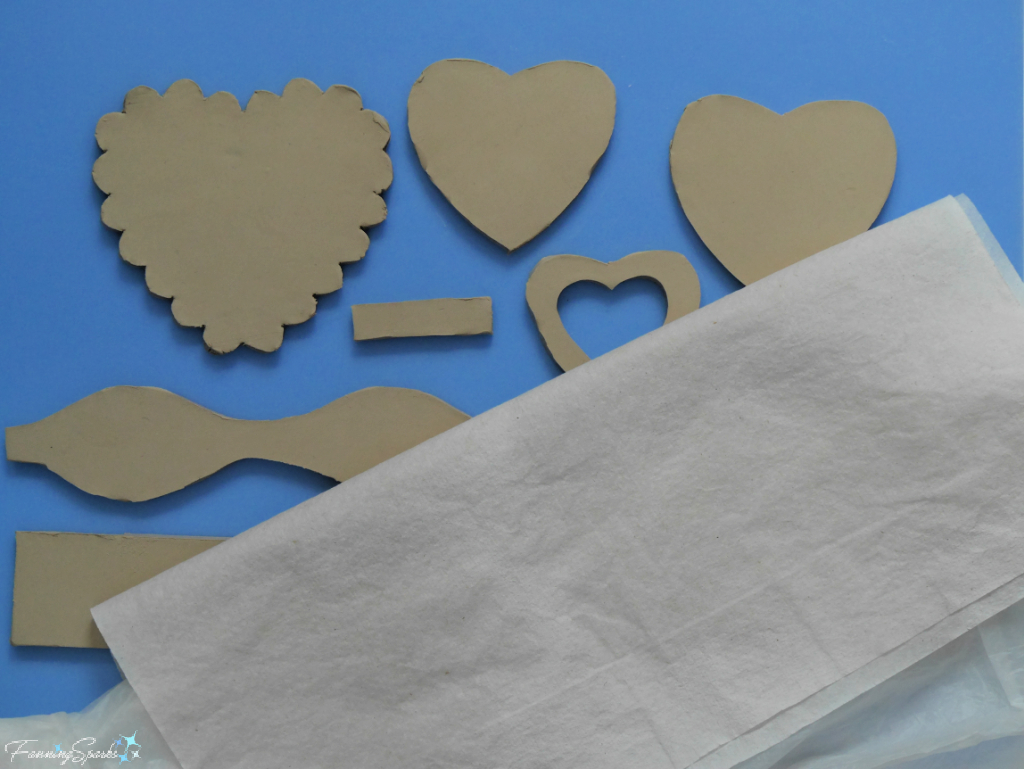
I covered the parts with damp paper towel to prevent them from drying out while I worked.
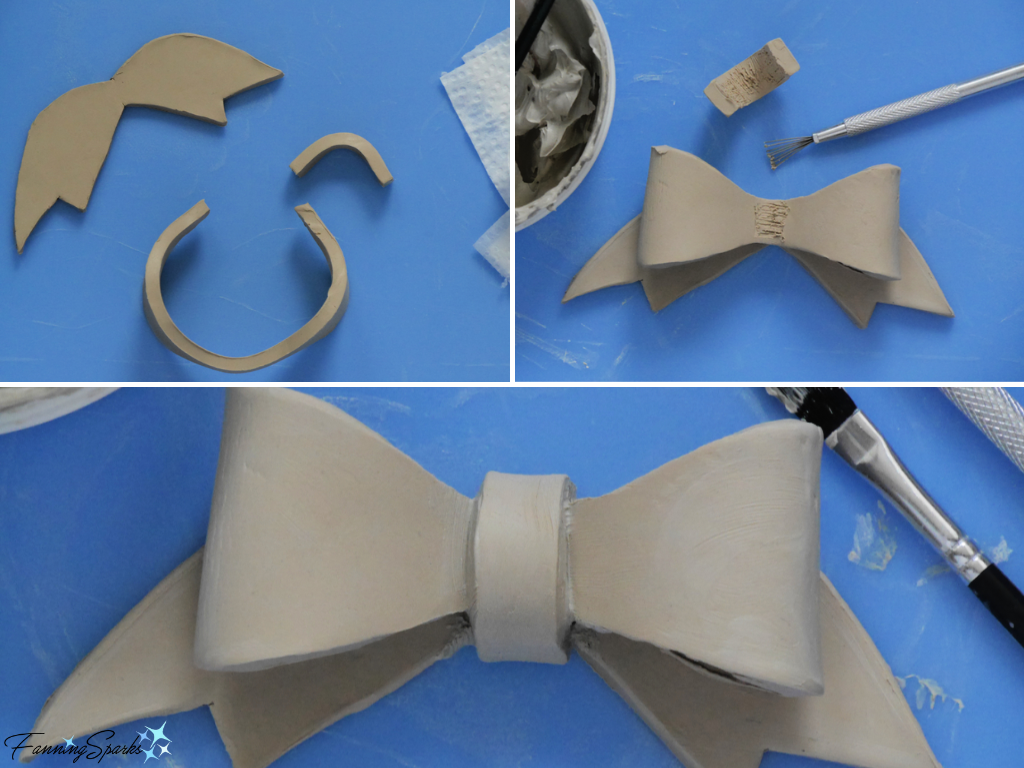
The bow is made with three parts: loops, tie and ribbon ends. The bow’s loops and tie are shaped to give the appearance of a tied ribbon. This is done by gradually bringing the two ends of the bow’s loops together at the back and by rounding the tie into a U shape. I’ve learned to be patient with these steps because bending the clay too quickly will make it crack. After the parts were shaped, I scored, slipped and sealed the parts to assemble the bow.
Next, I built the heart-shaped box. The first step was to shape the sides around the heart-shaped bottom. Once again, it was important to work slowly and give the clay time to adjust to the modified form.
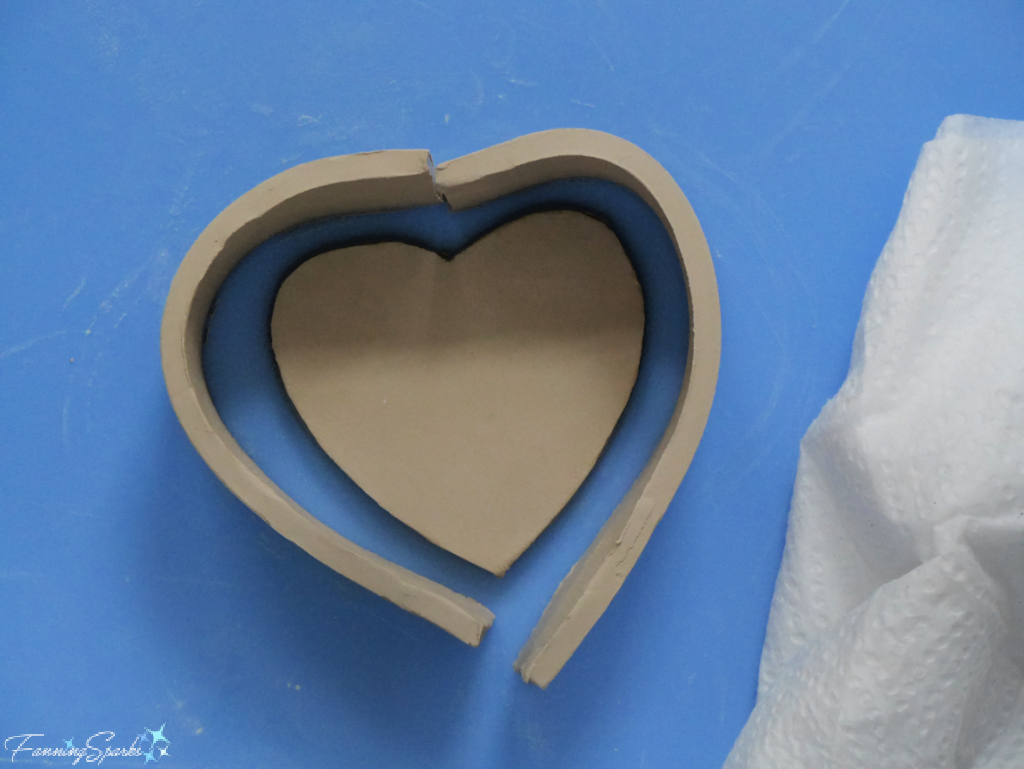
After the sides were shaped, I trimmed the first one to fit in place and attached it to the bottom by scoring, slipping and sealing. I repeated the process for the second side.
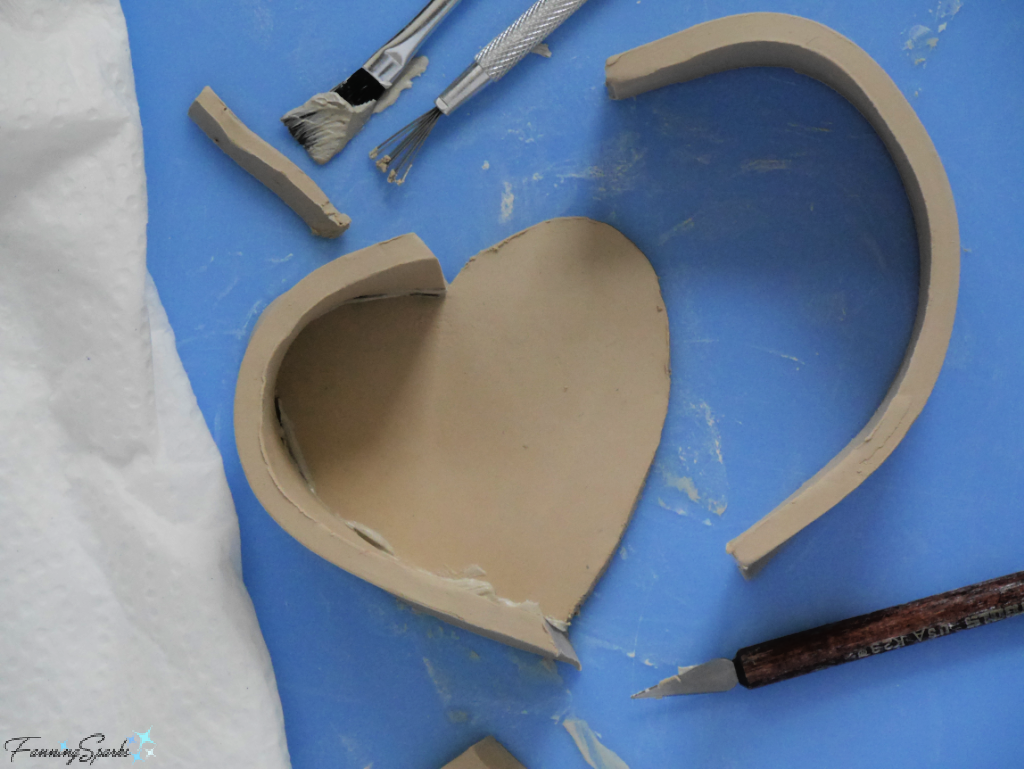
Here’s the assembled heart-shaped box.
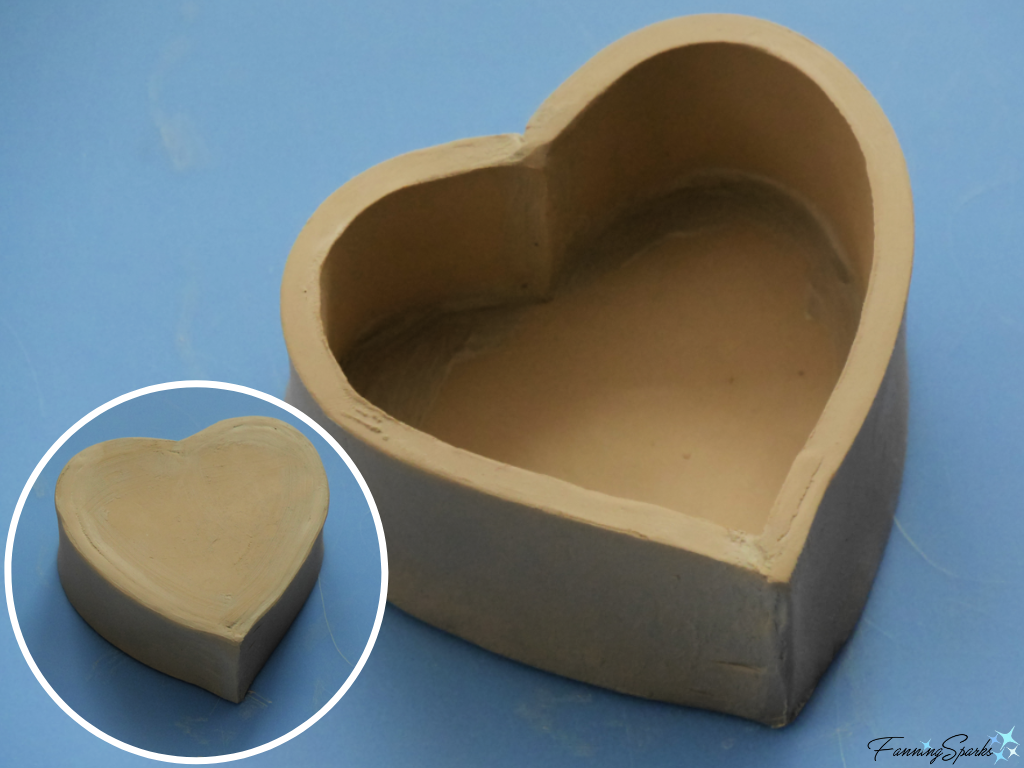
Next, I attached a heart-shaped foot to the bottom of the box and a heart-shaped flange to the bottom of the lid.
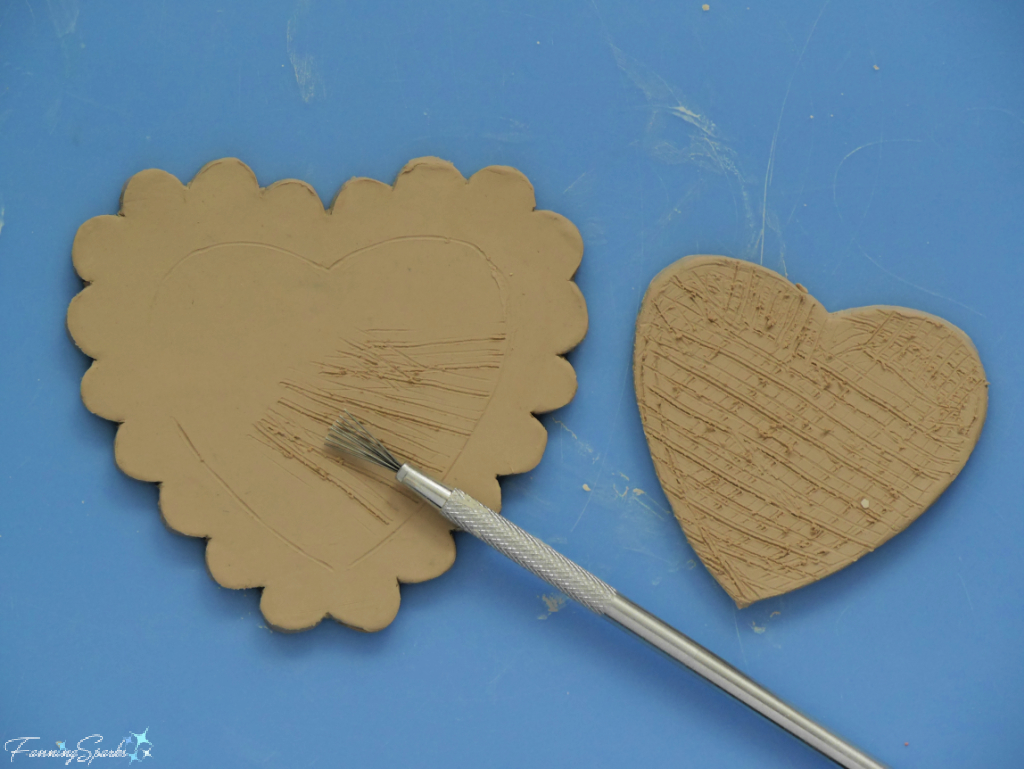
Here are the three major components for the heart-shaped Valentine’s box.
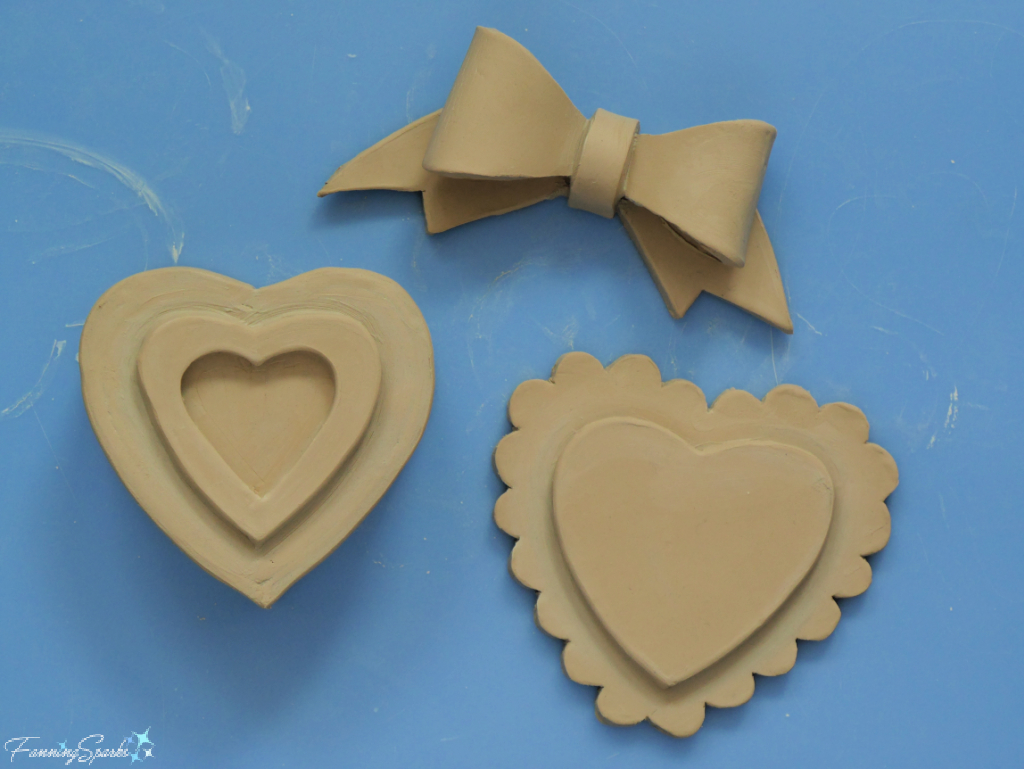
The final step in the assembly is to attach the bow to the lid. I positioned the bow and marked around the outside edge so I would know where to score the clay.
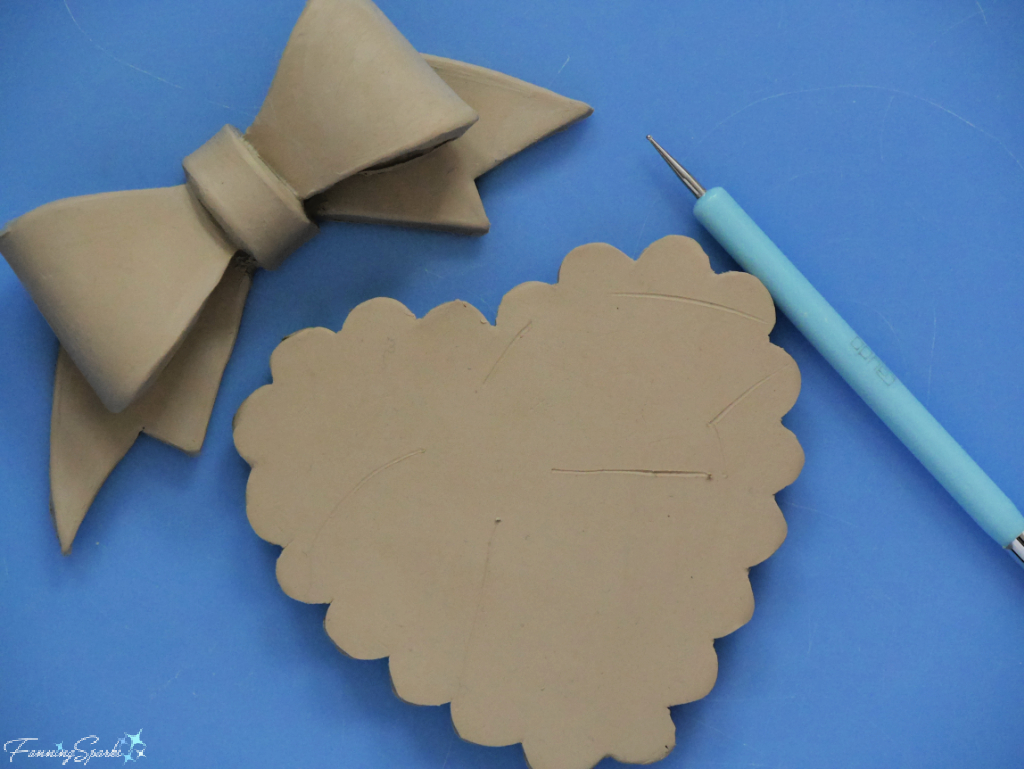 Next the piece was covered with plastic and set aside to dry. It’s best to place the lid on the box while it’s drying so the dried parts will fit properly.
In the meantime, I turned my attention to designing the decorative elements and selecting a glaze treatment. I tested Amaco Velvet Underglazes in white, rose, bright red and black on a couple of test tiles. The fine-detail brushes, “Something Blue” by Winstonia, which are designed for fingernail art were perfect for this detailed work. (Special thanks to Little Street Pottery for this excellent recommendation!)
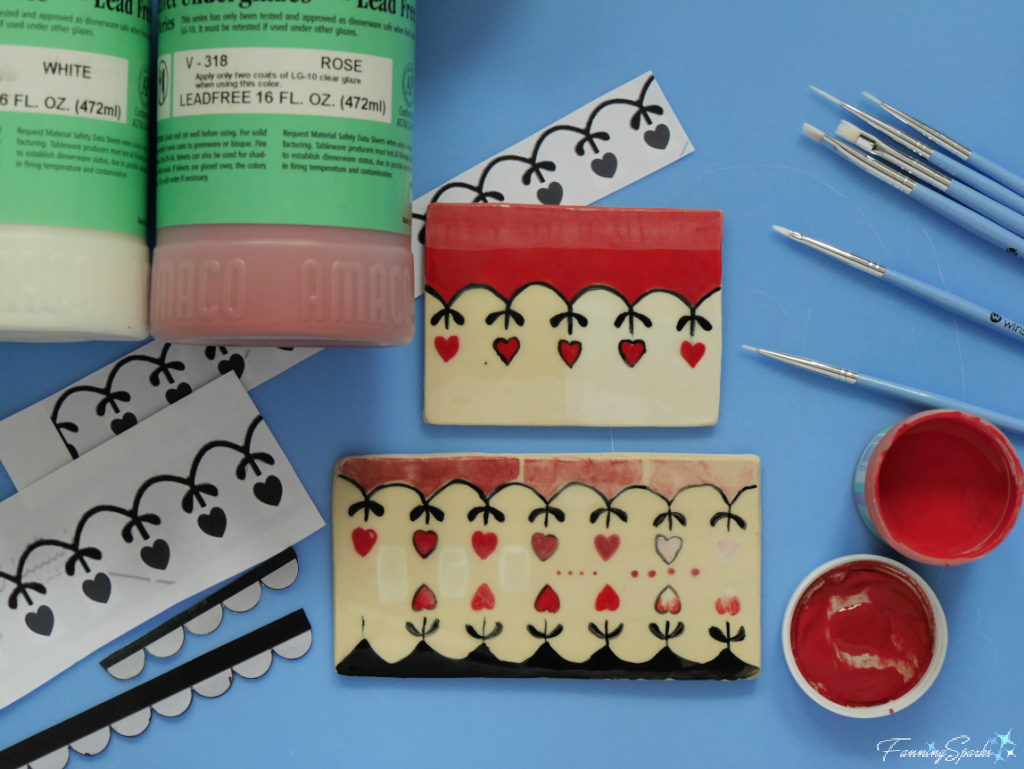
After settling on the decorative treatment, I used my Cricut electronic cutting machine to cut stencils from adhesive vinyl. The vinyl sticks amazingly well to dried clay although curved sections require a little fussing.
I started by applying three coats of white underglaze to the sides and lids and three coats of rose underglaze to the bows. Once the underglaze was completely dry, I stuck the stencils over the sections that were to remain white and applied the other colors. The stencils were removed as soon as the underglaze was dry. The leaves, stems and outlines were added in black underglaze with the fine-detail brushes.
After the pieces were bisque fired, I dipped them in clear glaze for the final finish. The pieces were fired with the lids in place which means there could be no glaze where the pieces touched. I learned this the hard way because there was a spot of glaze on one of the rims causing the lid and body to bond together. Luckily, with the help of a fellow Pottery Studio potter who knew just how to tap the pieces apart (Thank you Aurora!) , the lid was removed without damage.
These ceramic Valentine’s heart boxes are the grand finale to my self-proclaimed Heart Maker Challenge. The challenge, which I announced in my previous blog post Setting My Heart on a Maker Challenge, is an effort to create at least three different projects featuring hearts before Valentine’s Day. This is actually the fourth project I managed to complete so I consider it a bonus. Another bonus was the chocolates used in the photos—I don’t often get to eat my props after a shoot!
More Info
You can download my project template here: Ceramic Valentines Heart Box – Complimentary Download.
Check out the FanningSparks Maker Challenge to create at least three different projects featuring hearts before Valentine’s Day:
. See the blog post, Setting My Heart on a Maker Challenge, to learn how this maker challenge came about.
. See the blog post, Maker Heart Challenge #1: Hearty File Storage Boxes, for my first response to the challenge.
. See the blog post, Maker Heart Challenge #2: Broken Heart Trivet, for my second response to the challenge.
. See the blog post, Maker Heart Challenge #3: Froufrou Sachet – DIY Tutorial, for my third response to the challenge.
To learn more about the history of Cadbury and the other major chocolate firms of the early nineteenth century, check out Deborah Cadbury’s book Chocolate Wars: The 150-Year Rivalry Between the World’s Greatest Chocolate Makers which can be found here on Archives.org.
As noted above, I learned about using nail art brushes for detailed glazing from Little Street Pottery. They have an active YouTube channel where the talented Ann Ruel shares her outstanding pottery projects. Check out Little Street Pottery on YouTube for lots of ideas, techniques, tips and workshops. Thank you Ann and Little Street Pottery for generously making these great resources available to all!
I’m fortunate to have easy access to the Oconee Cultural Arts Foundation (OCAF) School Street Pottery Studio for my pottery fun. The studio is located in Watkinsville, Georgia, USA. You can learn more on the OCAF website.
Today’s Takeaways
1. The first known heart-shaped box of chocolates for Valentine’s Day was created by Richard Cadbury over 150 years ago.
2. Beautiful, specialty product packaging can be inspiring.
3. Clay is an ideal medium to create functional vessels which are also decorative.




Comments are closed.